 BERNINA Corporate Blog -
This lessons topic is the View Toolbar: we will look at icons and command buttons in the Bernina Embroidery Software DesignerPlus8.

17 Icons to visualize embroidery designs – let’s start from left, to right:
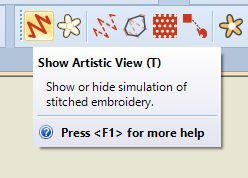
1) Show Artistic View (T) = Show or hide simulation of stitched embroidery. This is a very useful tool, because it shows how your embroidery as if stitched on your embroidery machine. This helps to see errors, or imperfections in advance, and gives you the opportunity to change before stitching it out.
The (T) behind the heading shows you can use this letter as a shortcut on your keyboard. That means you don’t always have to click on the icon to show or hide the actual view of your embroidery. Don’t use Shift, just click on the small (t) and it will work. Remember to place an embroidery object on your workspace first: the heart of the example is NA556.ART80, from the BERNINA Embroidery Library.
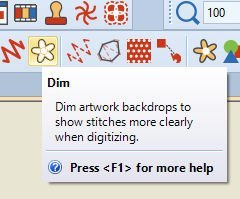
2) Dim artwork = Dim artwork backdrops to show stitches more clearly when digitizing. It can be useful to have the original artwork you’ve used in sight, ‘behind’ your embroidery, but sometimes you want to fade it, when editing an embroidery design.
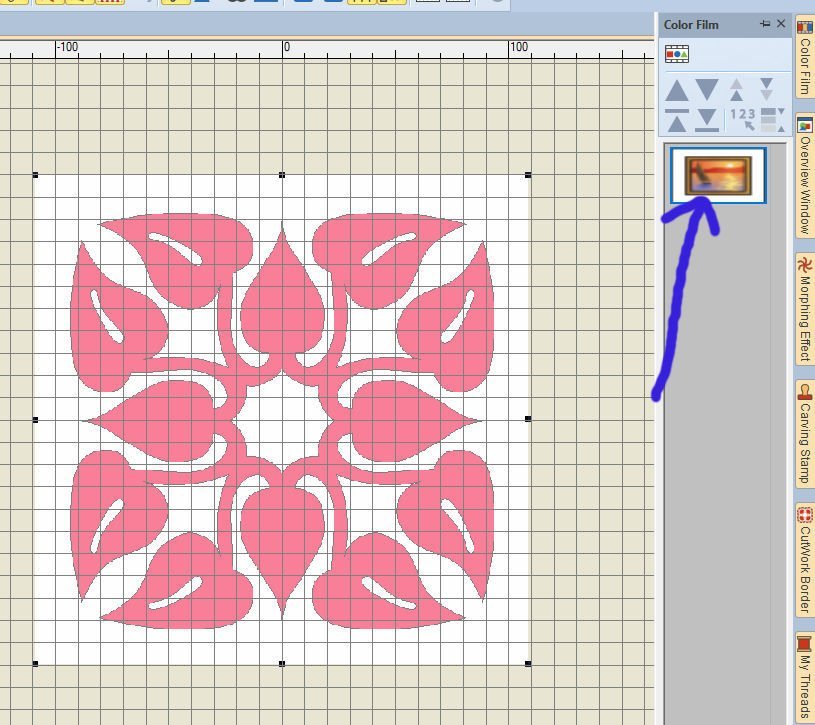
The artwork is still there, only much more faded. By opening the docker ‘Color Film’, the first box shows a picture, reminding you of your inspiration source.
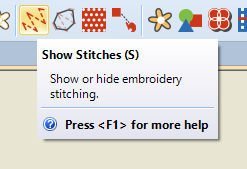 3) Show Stitches (S) = Show or hide embroidery stitching. Notice the (S): again, use the small ‘s‘ on your keyboard as a shortcut.

Seeing only (fill) stitches gives you an idea about directions/angles, but also where the center, the start and finish points are placed. You will get a similar image with the docker ‘Overview Window’. In this case, Show Artistic View is disabled.
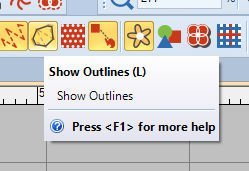
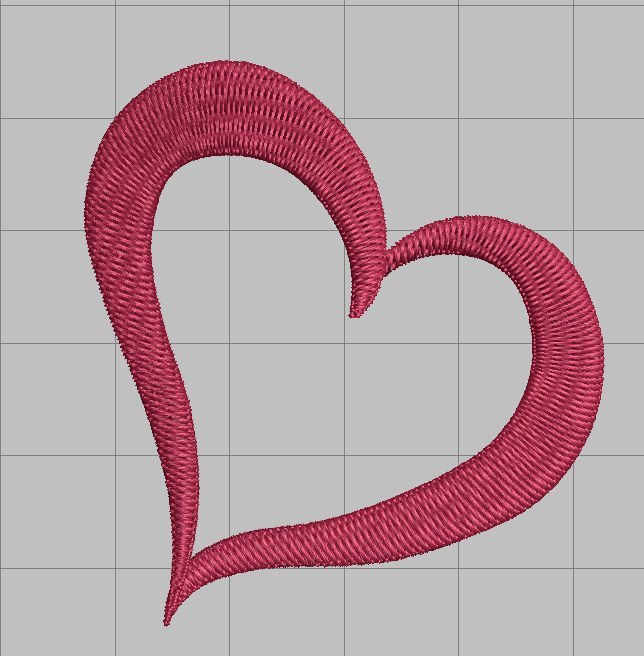
4) Show Outlines (L) = Show (or hide) outllines. Use the small ‘l’ on your keyboard as a shortcut.

If you just want to see the stitches, hide the outlines: the picture above shows stiches with outlines (left) and without outlines (right). Outlines are visible as black lines around objects. They are the first stitches made; the base of an embroidery design. They are stitched with each object.
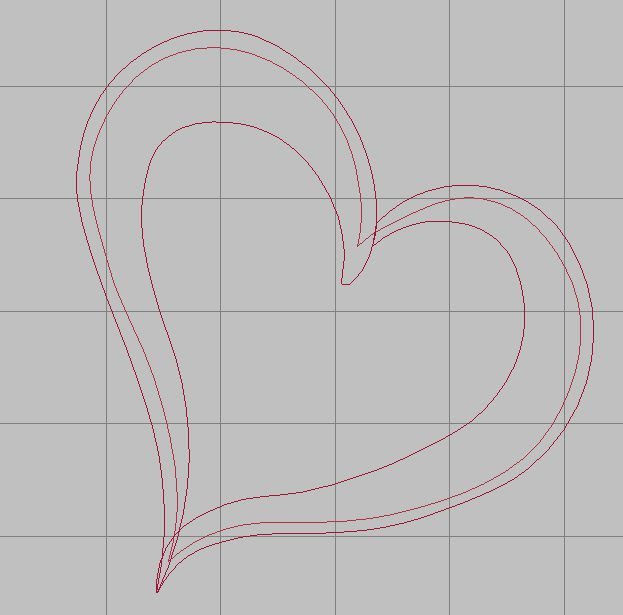
With the stitches turned off, you can clearly see the outllines of the heart. This one has three (closed object) outlines: one for the shape of the heart (middle of the figure), and two half hearts – a left and right object, which are filled with stitches. Looking at an embroidery design this way makes you understand how it is designed.
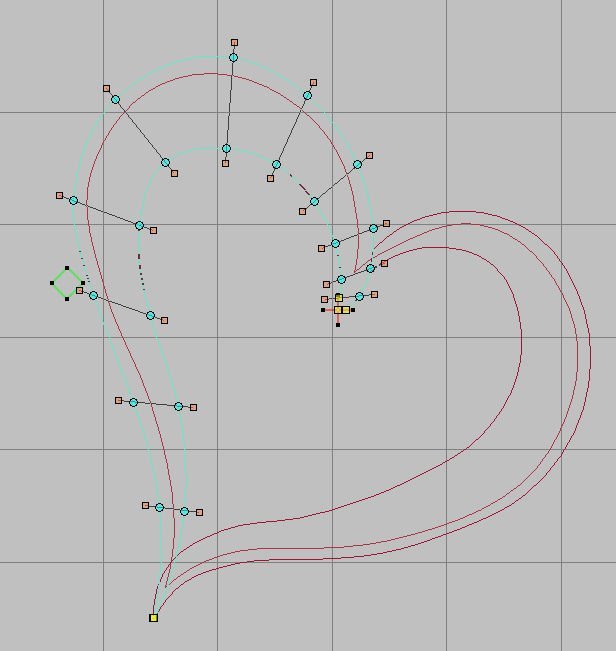
Another advantage of looking at your design this way: you can edit it much easier now, using ‘Reshape’ (Transform Toolbar): the reshape nodes and stitch angles, and the start and end points are much more visible without fill stitches.
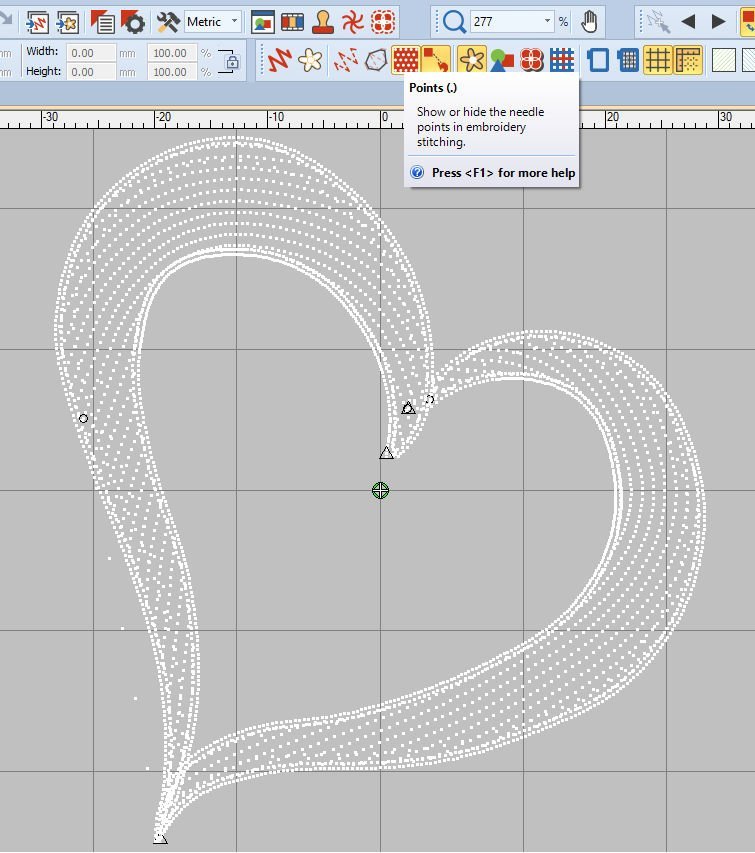
5) Points (.) = Show or hide the needle points in embroidery stitching. As you can see, I have disabled ‘Show Artistic View’, ‘Show Stitches’ and ‘Show Outlines’ to be able to get a clear view of the needle points. All white dots – more on the outlines and slightly less inside the outlines = fill stitches, are needle penetrations. When I first discovered this function, I was amazed how many times the needle will go through the material. This gives you an idea of the density of your embroidery design. When removing stitches, there will be less needle points, which can be useful when working on a fine stretchy fabric.
The shortcut for this functions is the ‘.’ from your keyboard – easy to remember, when working with needlepoints; the shortcut is also a ‘point’.
6) Connectors (Shift+C) – Show or hide connecting stitches between embroidery objects. Use Shift+C as a shortcut.

Some connectors are jump stitches: loose threads or long stitches that can be cut during or after embroidery (You can choose to ‘always trim’ the jump stitches on your machine). Others are travel runs, which will be covered later by other elements of the design, or – when worked over an open area – can be cut too afterwards. Connecters will be visible either as a dotted or solid line: the first are long connectors (more than 12.1mm), the second are short connectors (2mm). When long connectors are stitched down too, with 7mm lengths, your machine will slow down while moving the hoop to the next needle penetration points.
7) Bitmap (D) = Show or hide any bitmap artwork included in the design: bitmaps are pictures/photos etc. You can also use pictures/photos with other extensions, such as .jpg or .gif, but V8 prefers bitmaps. This icon is used if you want to hide the artwork ‘behind’ your embroidery design completely for the time being. It will NOT be removed (check the first box with docker ‘Color Film’ and you can still see the picture).
Use ‘d’ on your keyboard as a shortcut.

8) Vectors (Shift+D) = Show or hide any vector artwork included in the design such as CorelDRAW clipart. Use Shift+D as a shortcut.
Vector artwork is different from bitmap artwork: an image created in Artwork Canvas/CorelDRAW is a graphic, sometimes called a geometric file. Such a vector graphic is the creation of digital images through a sequence of commands or mathematical statements that place lines and shapes in a given two-dimensional or three-dimensional space. A bitmap image is stored as a series of tiny dots called pixels and not lines and shapes like a vector. Vector images are also more scalable than bitmap images. When a bitmap image is scaled up you begin to see the individual pixels that make up the image. This is most noticeable in the edges of the image.
9) StumpWork = Show or hide any stumpwork sub-designs included in the design. StumpWork is a raised form of embroidery. It is created on one backing fabric and transferred to another ‘ground fabric. V8 allows you to visualize all components of a stumpwork design in a single window, and lets you edit each stumpork piece individually.
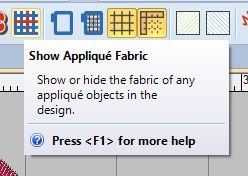
10) Show Appliqué Fabric = Show or hide the fabric of any appliqué objects in the design. You can bring background fabrics/colors of any appliqué object in the design, or hide them.

The picture above shows this option ‘on’ (left) and ‘off’ (right).
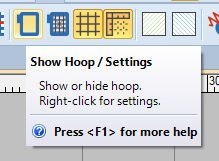
11) Show Hoop/Settings = Show or hide hoop. Right-click for settings.
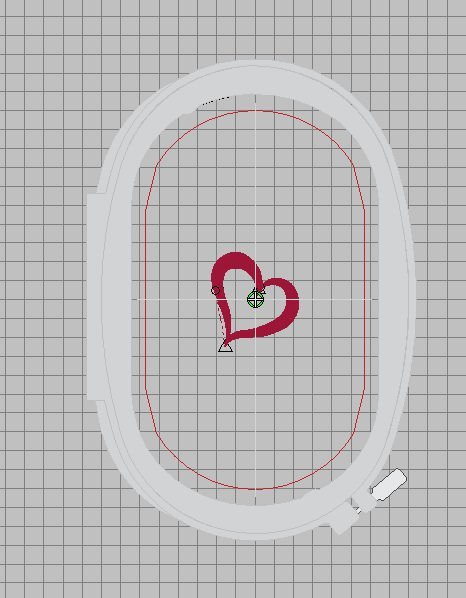
A quick option to see if your design fits in the selected hoop.

If not, right-click on this icon to select the right hoop. You can also use this to choose the right (type of) machine, presser foot, hoop position, and even create hoops when you don’t see yours on the list.
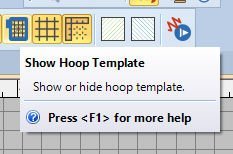
12) Show Hoop Template – Show or hide hoop template: this is the clear plastic template with grid, which can be placed in your actual embroidery hoop. It helps you understand measurements and makes it easy to center designs.
13) Show Grid/Settings = Show or hide grid. Right-click for settings.

A grid can be helpful for measurements, but sometimes you only want to see your embroidery design. It’s easy to remove it (temporarily) or bring it back. There are multiple options with settings: the grid spacing can be adjusted, you can set a reference point, and choose to show rulers & guides (default) or snap to guides.
14) Show Rulers & Guides/Settings = Show or hide rulers and guides. Right-click for settings. Another quick and easy way to adjust, similar settings as 13).
15) Show Work Area = Show or hide work area. This is to specify a work area shape, size and color. Right-click for settings.

16) Show Quilt Block = Show or hide quilt block. You can display a quilt block as a work area, by specifying a quilt block size and color. Right-click for settings.
17) StitchPlayer (Shift+R) – Simulate embroidery design stitchout onscreen in either stitch or TrueView.
Use Shift+R as a shortcut.
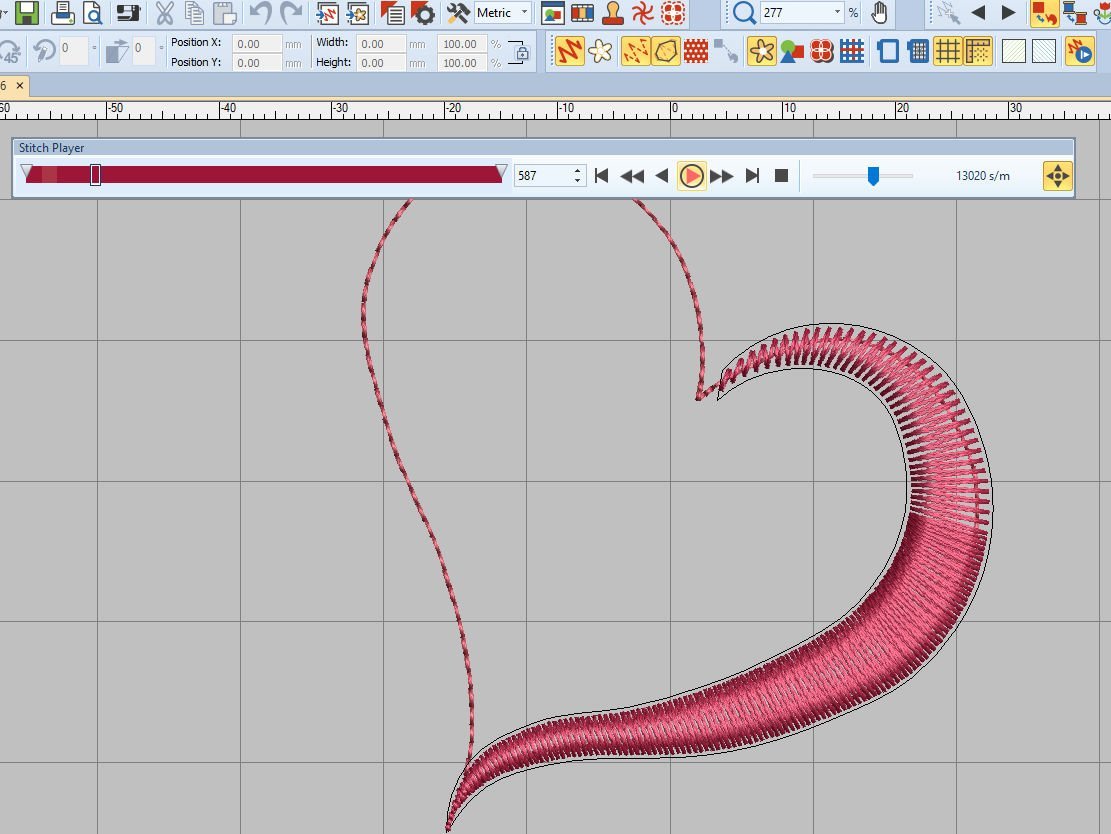
I find this option very helpful: to see the stitching sequence makes you understand how an embroidery motif is designed, which is important when making your own designs.
Next time we’re going to look at functions of the Zoom Toolbar. See you then!
Happy stitching!
Sylvia Kaptein
Sylvia’s Art Quilts Studio
www.sylviasartquilts.nl
[email protected]

I am very new to the Bernina software and I recently tried my hand at digitizing from a coloring page. I thought the digitized image looked good on screen but when I stitched it out my machine went very slow even though I had it on a fast setting. I think it may be a problem with the digitizing process. I wish there were some in person classes I could take classes. I am doing the Mastery workbooks on my own but along the way I have so many questions.
Hello. In V8 software the Docker Panel shows the tabs Design Overview, Color Film and My Threads. Well, I accidentally deleted my Design Overview and Color Film tabs off from the Docker Panel. Can you please tell me how to get them to show up again. Thank you!
Hi Colleen,
You can find the icon ‘Overview Window’with the General Toolbar, click on it to open dockers. Hope this works
Thank you ?
Hi Ann,
You’re welcome. Hope you enjoy it all!
Sylvia