 BERNINA Corporate Blog -
In a previous post ‘Quilting Free Motion Feathers: how do you start’ I’ve showed you how to prepare making free motion feathers with your sewing machine (and BSR). This time I will take you a step further, to show that you can make ANY kind of feather, as long as you practice with a piece of (white) paper and a pen first, because practicing for the hand-eye coordination is essential.
Draw the base of a feather: end up in a curl. This is the first thing you have to draw before the actual feathers are added. Remember that these feathers – whatever shape they will be – will make the entire figure larger, so it is important to leave enough space between the base and borders/seams of your sandwich – in this case the edges of the paper. So keep this base in the center of your paper.
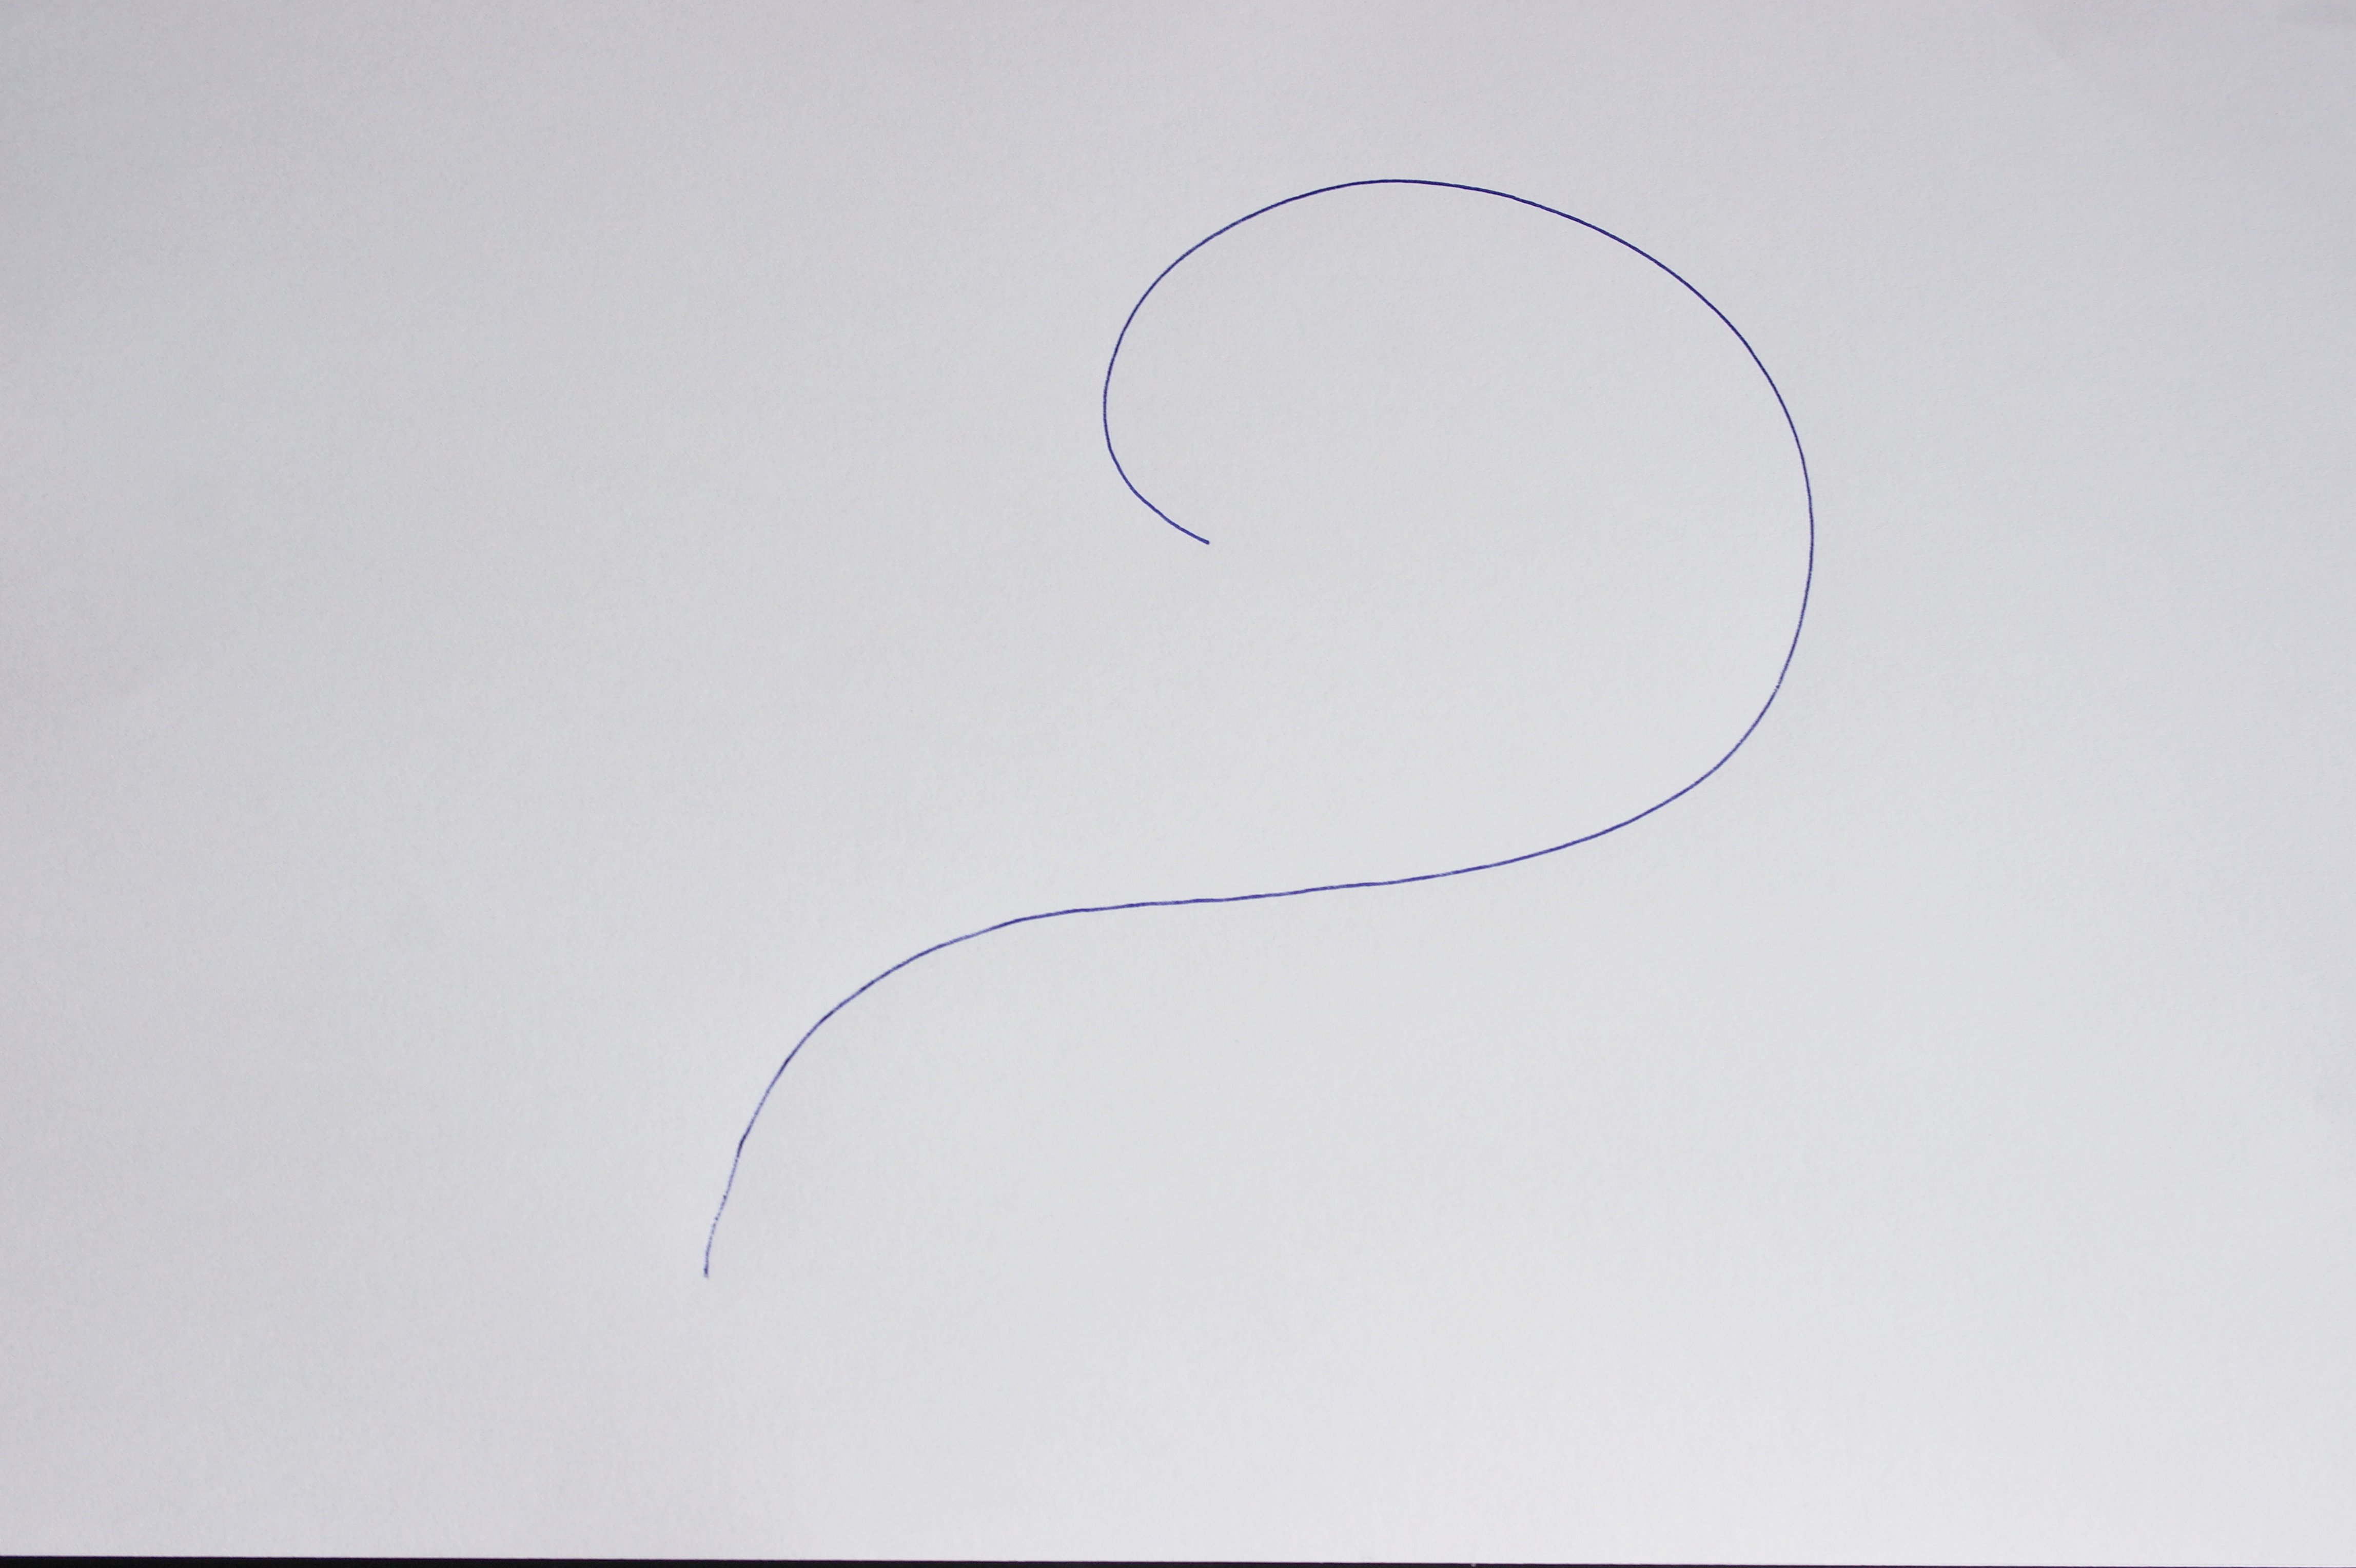
This is my base: I am a lefty, so this is the direction I have drawn. If you are a righty, you can draw in the other direction, or the same: whatever suits you. Just remember to start at the bottom, make the curl on top and back to the bottom, preferably on the same line. This is called backtracking.
Try to draw a continuous line, just like you do with your machine needle and thread: you cannot begin and end all the time. Machine quilting is done in a continuous line, as much as possible. So simulate that, keeping your pen on paper the entire time.
It is not really important to exactly draw back over the line: you can leave a small gap between both lines (back and forth) if that works better for you.
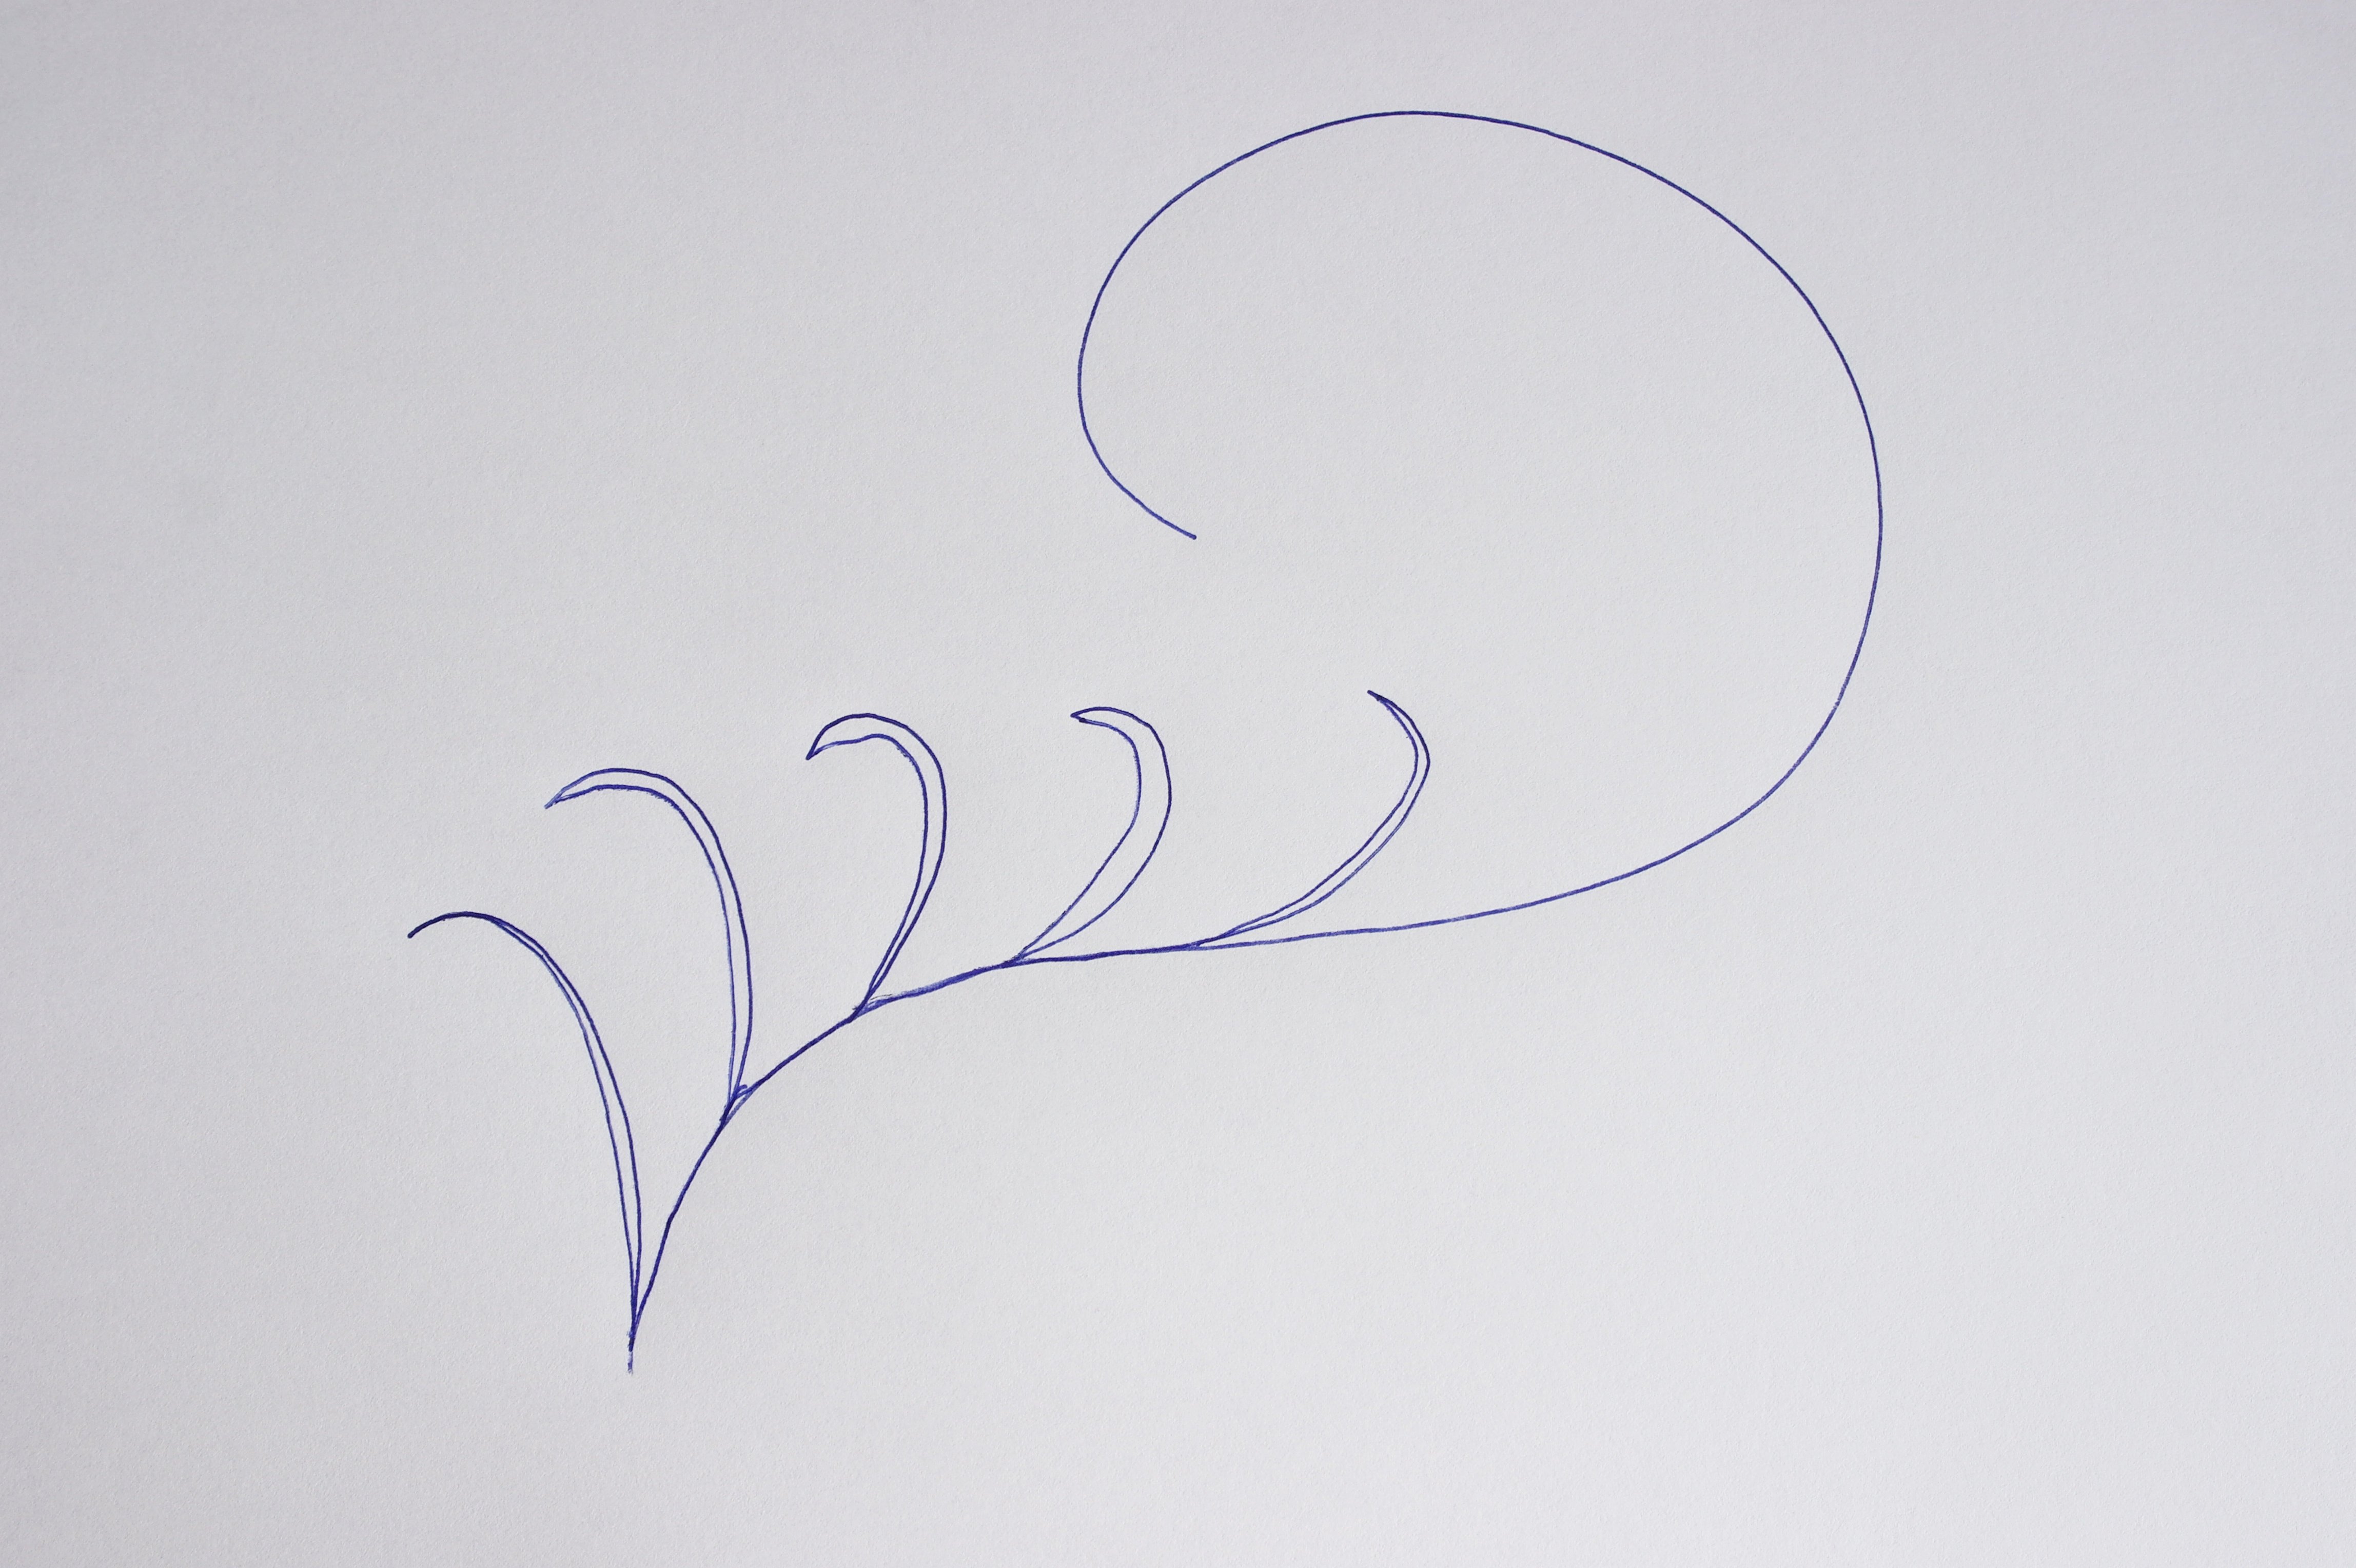
I want to mimic fern leaves, and the trick is to make them the same way as original feathers. Start from the base line, work your way up and to the left, slightly curl the line at the end, then back to the baseline. It is not necessary to follow the same line: to make a leaf, you will HAVE to leave a gap between the lines, otherwise they will be just lines and not shapes.
Keep it simple, follow the base line and work your way up to the end of the curl. Try to draw as ‘natural’ as possible.
The first leaves are drawn, on the inner side of the curl: the last leaf on top of the curl, using the end of the line. Make suret the leaves still curl on top, as if they bend in the wind.
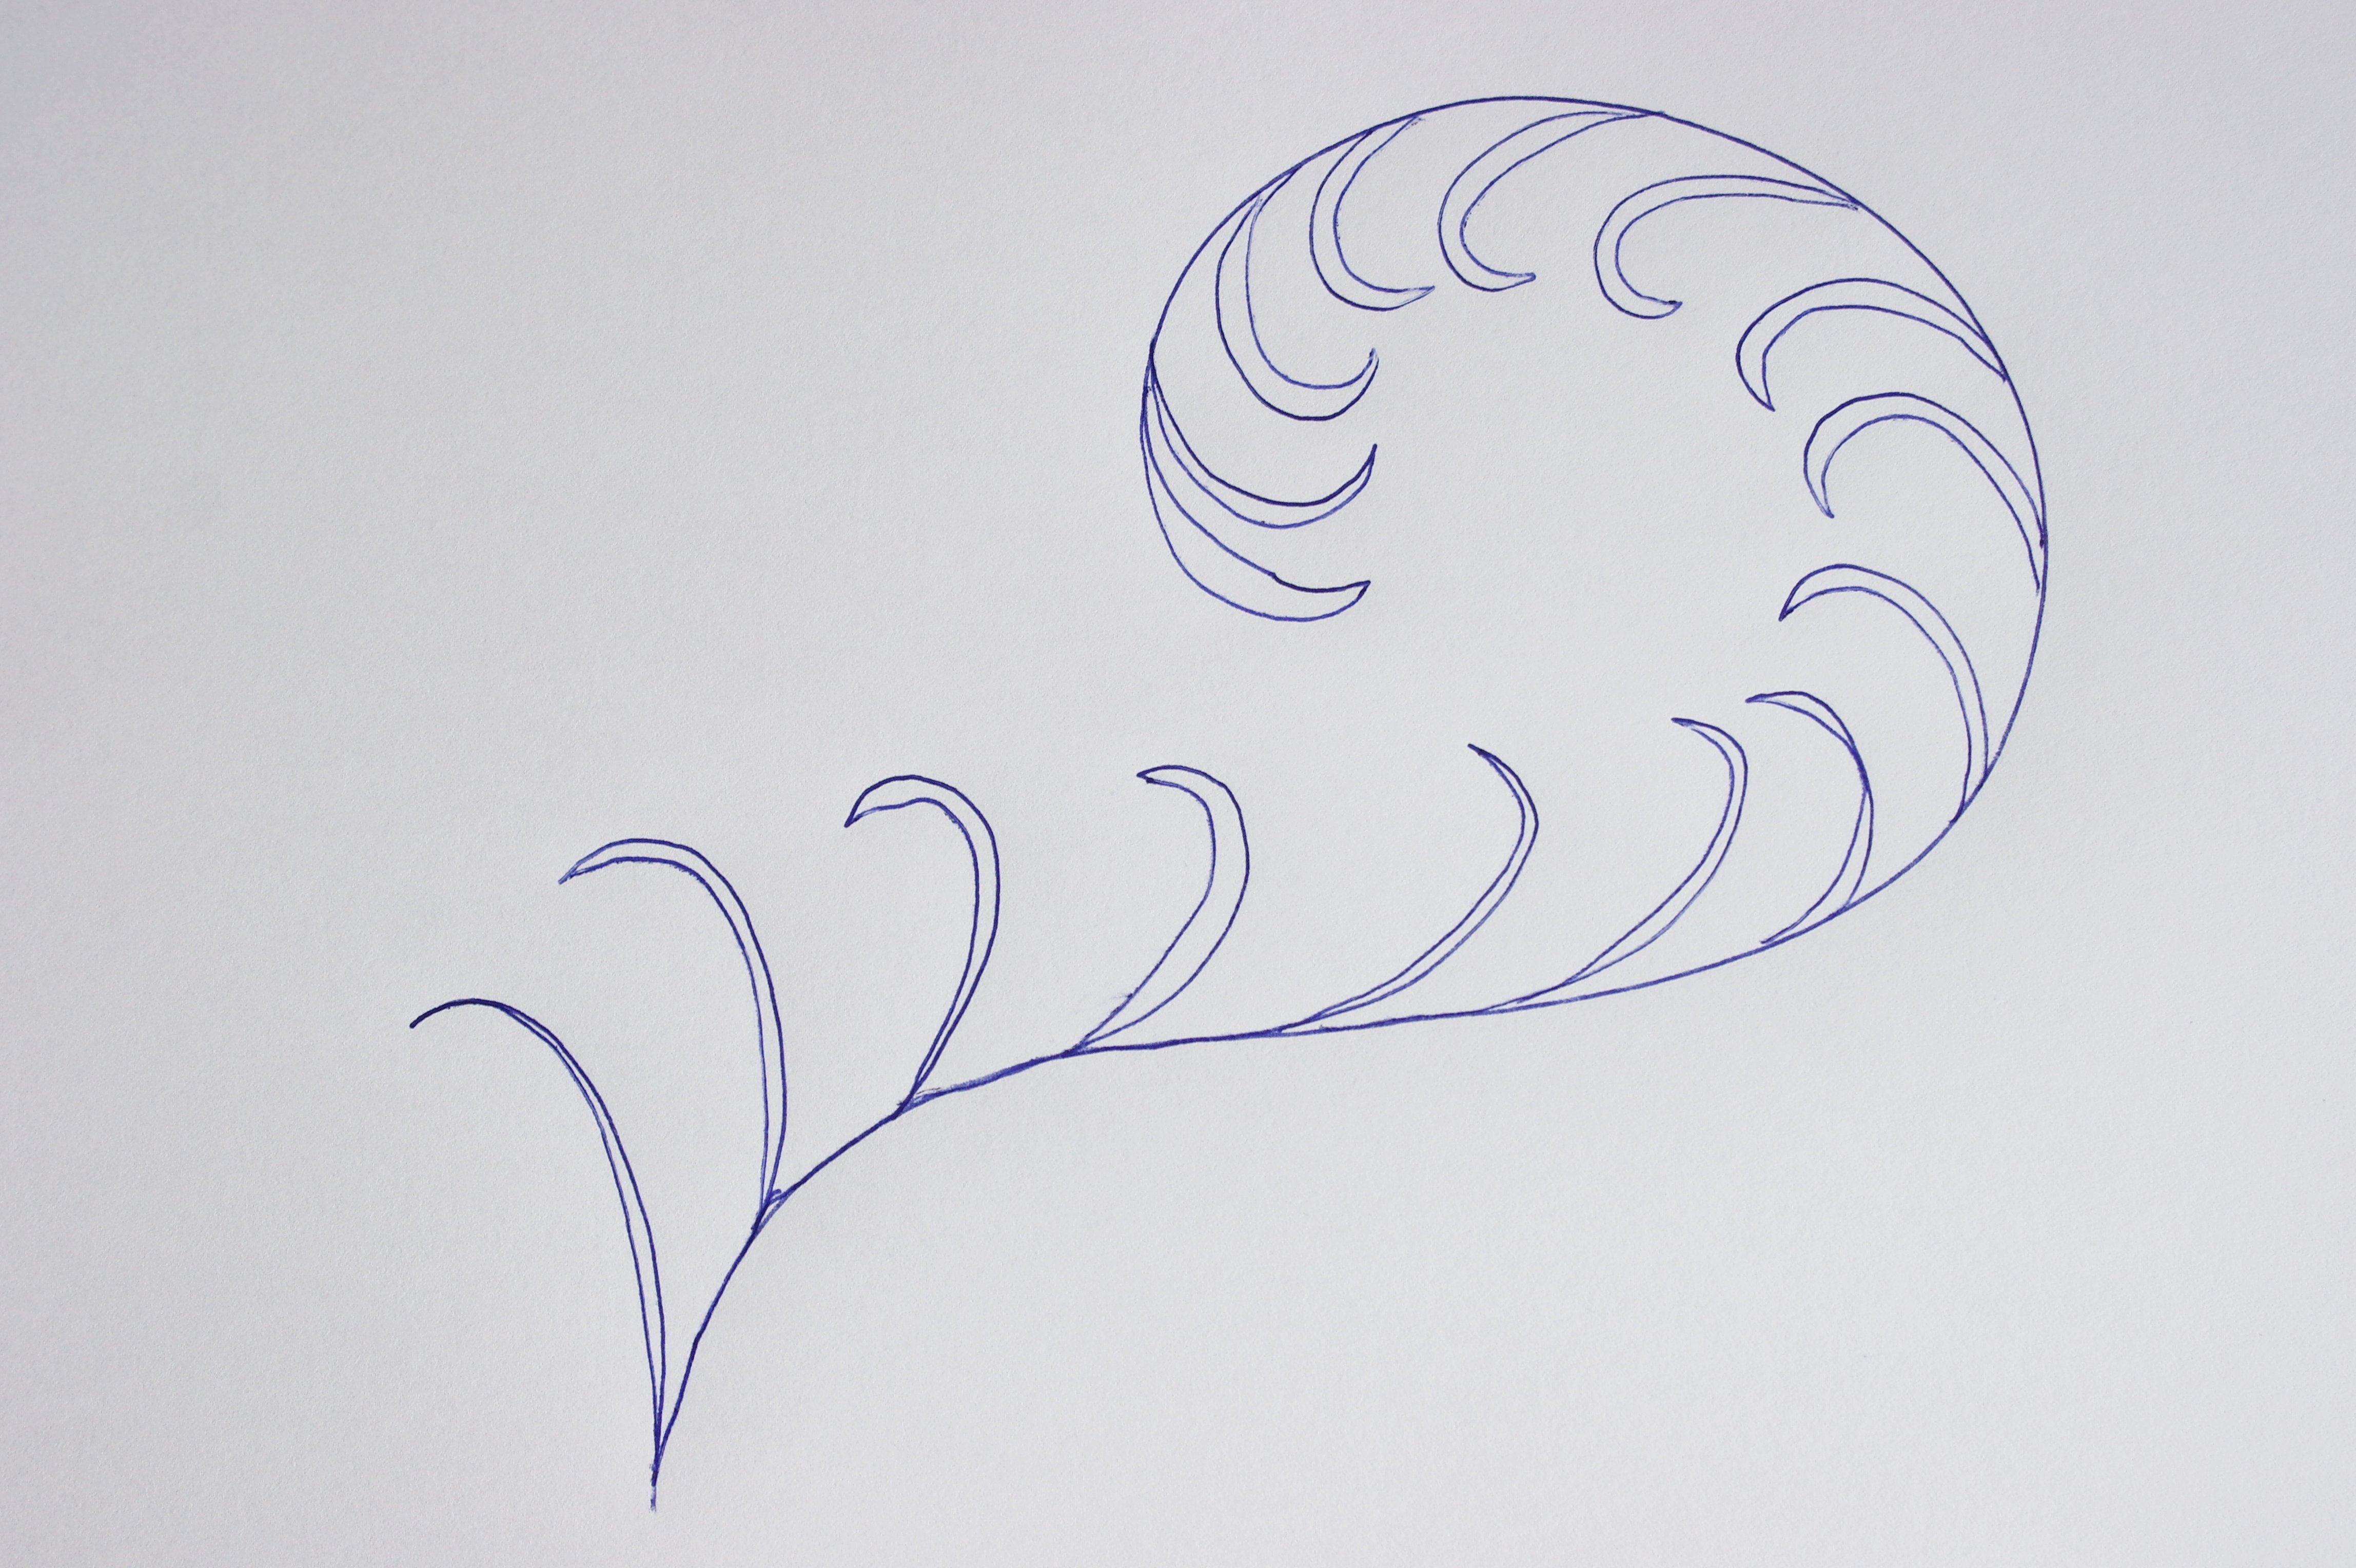
Drawing the leaves on the other side means you will have to work in a different direction, without turning the paper. This can be tricky: drawing in one direction works fine, and the other is ‘against your feeling’, but it just needs practice. As a freemotion quilter, you will have to be able to work in all directions: left, right, up, down, diagonal, and even upside down in all directions, because you don’t turn your sandwich.
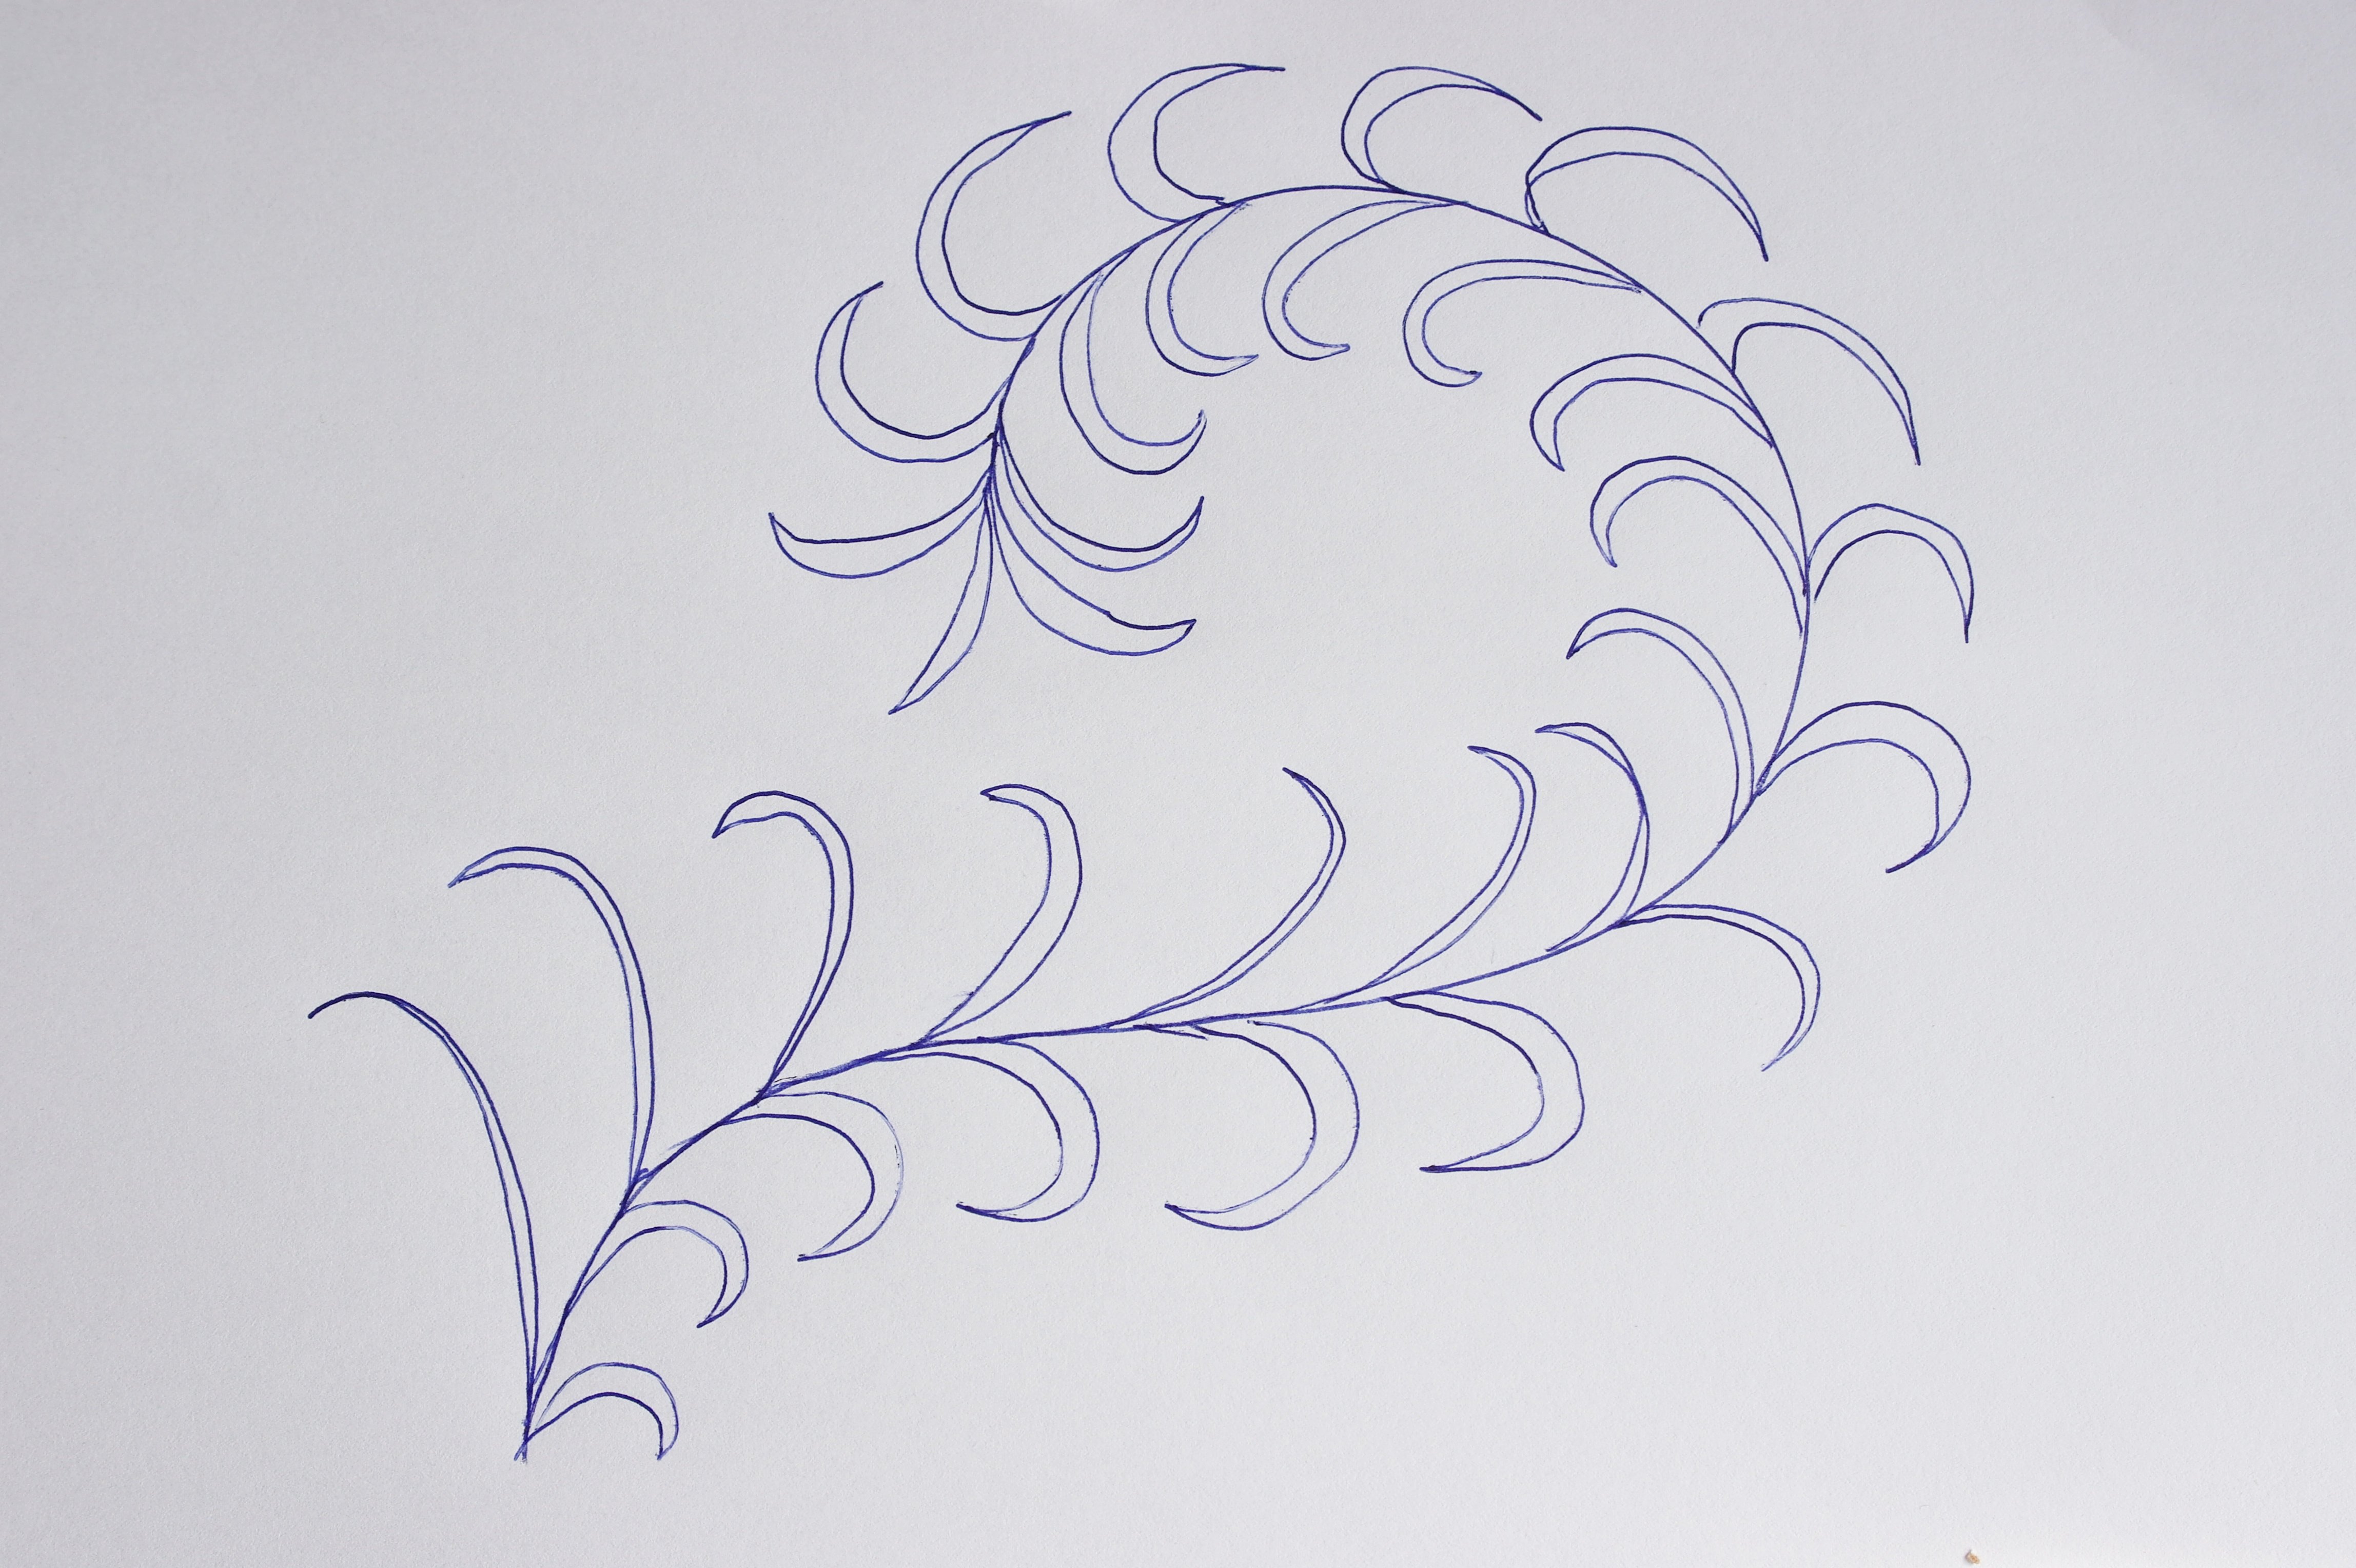
And this is my ‘fern’: I have kept it airy. Of course you can draw much more leaves, but remember with more quilting it will be stiffer, more dense and your sandwich/quilt will shrink at that place. Of course it all depends on the scale of your quilting.
Now I will quilt this, freehand. I have made a sandwich: backing, batting 100% bamboo and topping. You can always make a pinscushion out of this small sample, or frame it. I am storing my samples in a folder, for future reference.
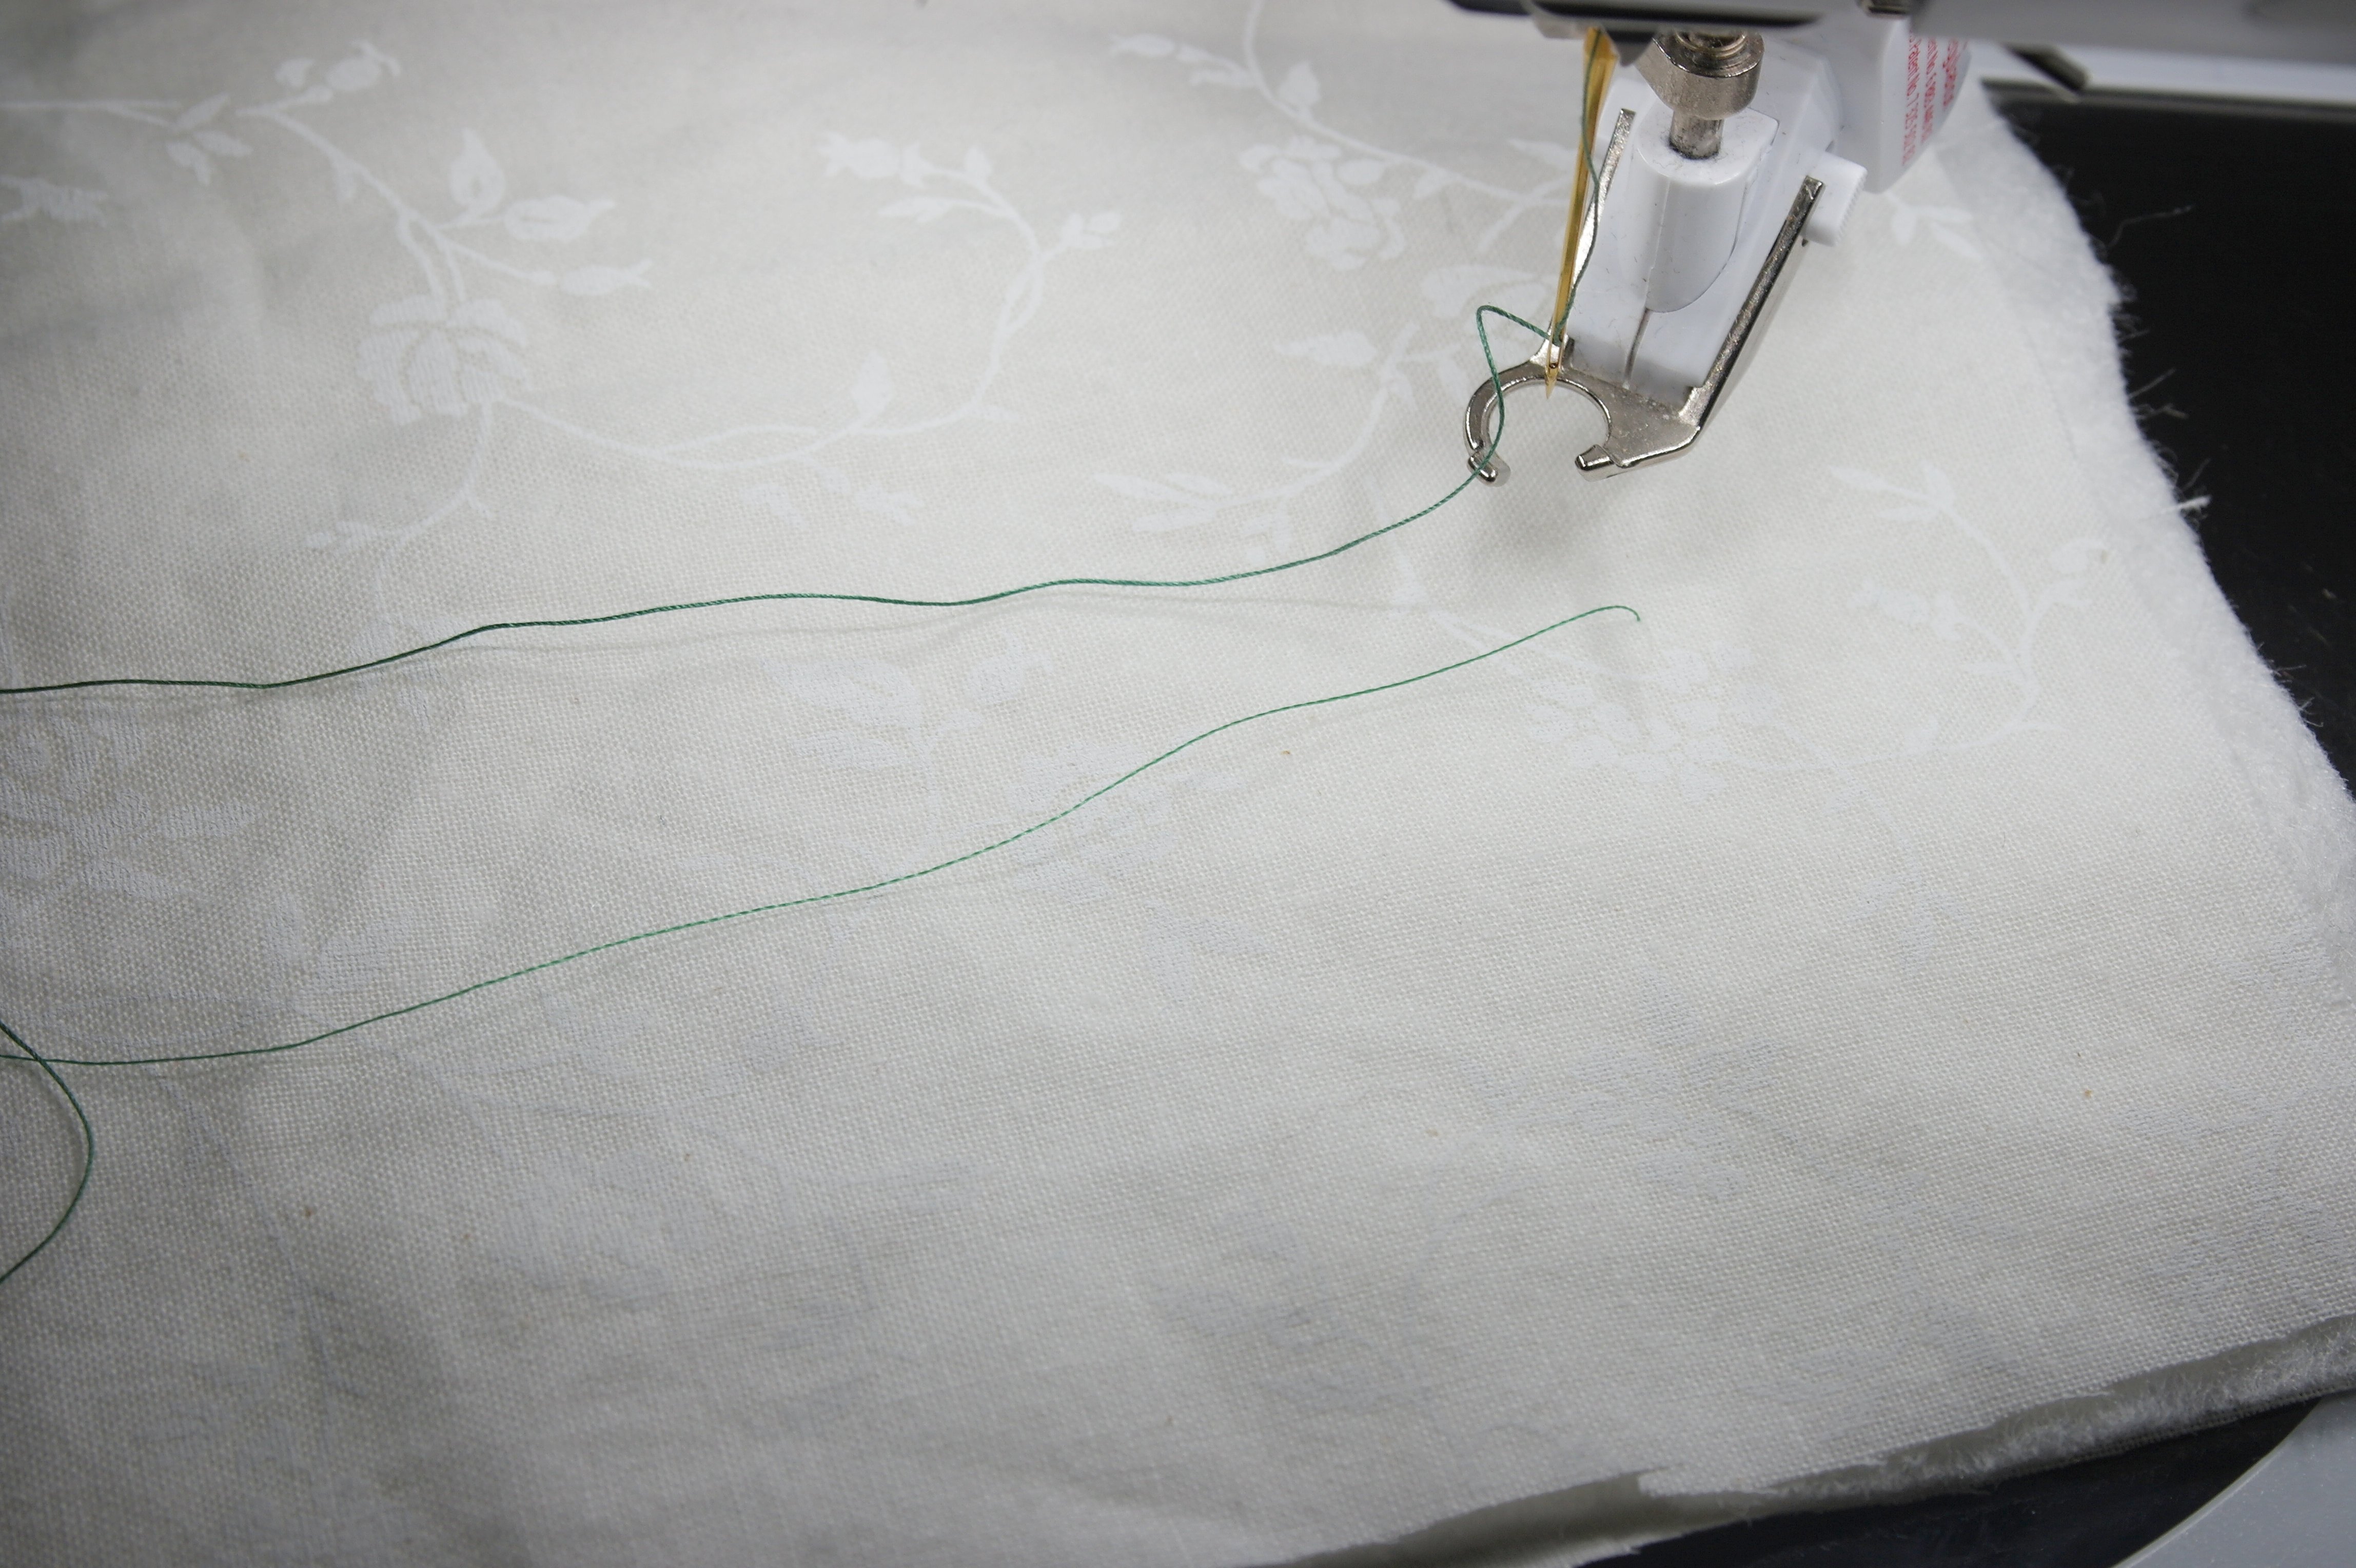
Use the BSR on your BERNINA machine if that’s available, or use a quilting foot. Machine quilting thread and matching bobbin thread will make the stitches. Bring up the bobbin thread while making the first stitch and hold on to both threads to create a bit of tension (but don’t pull to hard!): that prevents birdnests (building up thread behind your sandwich).
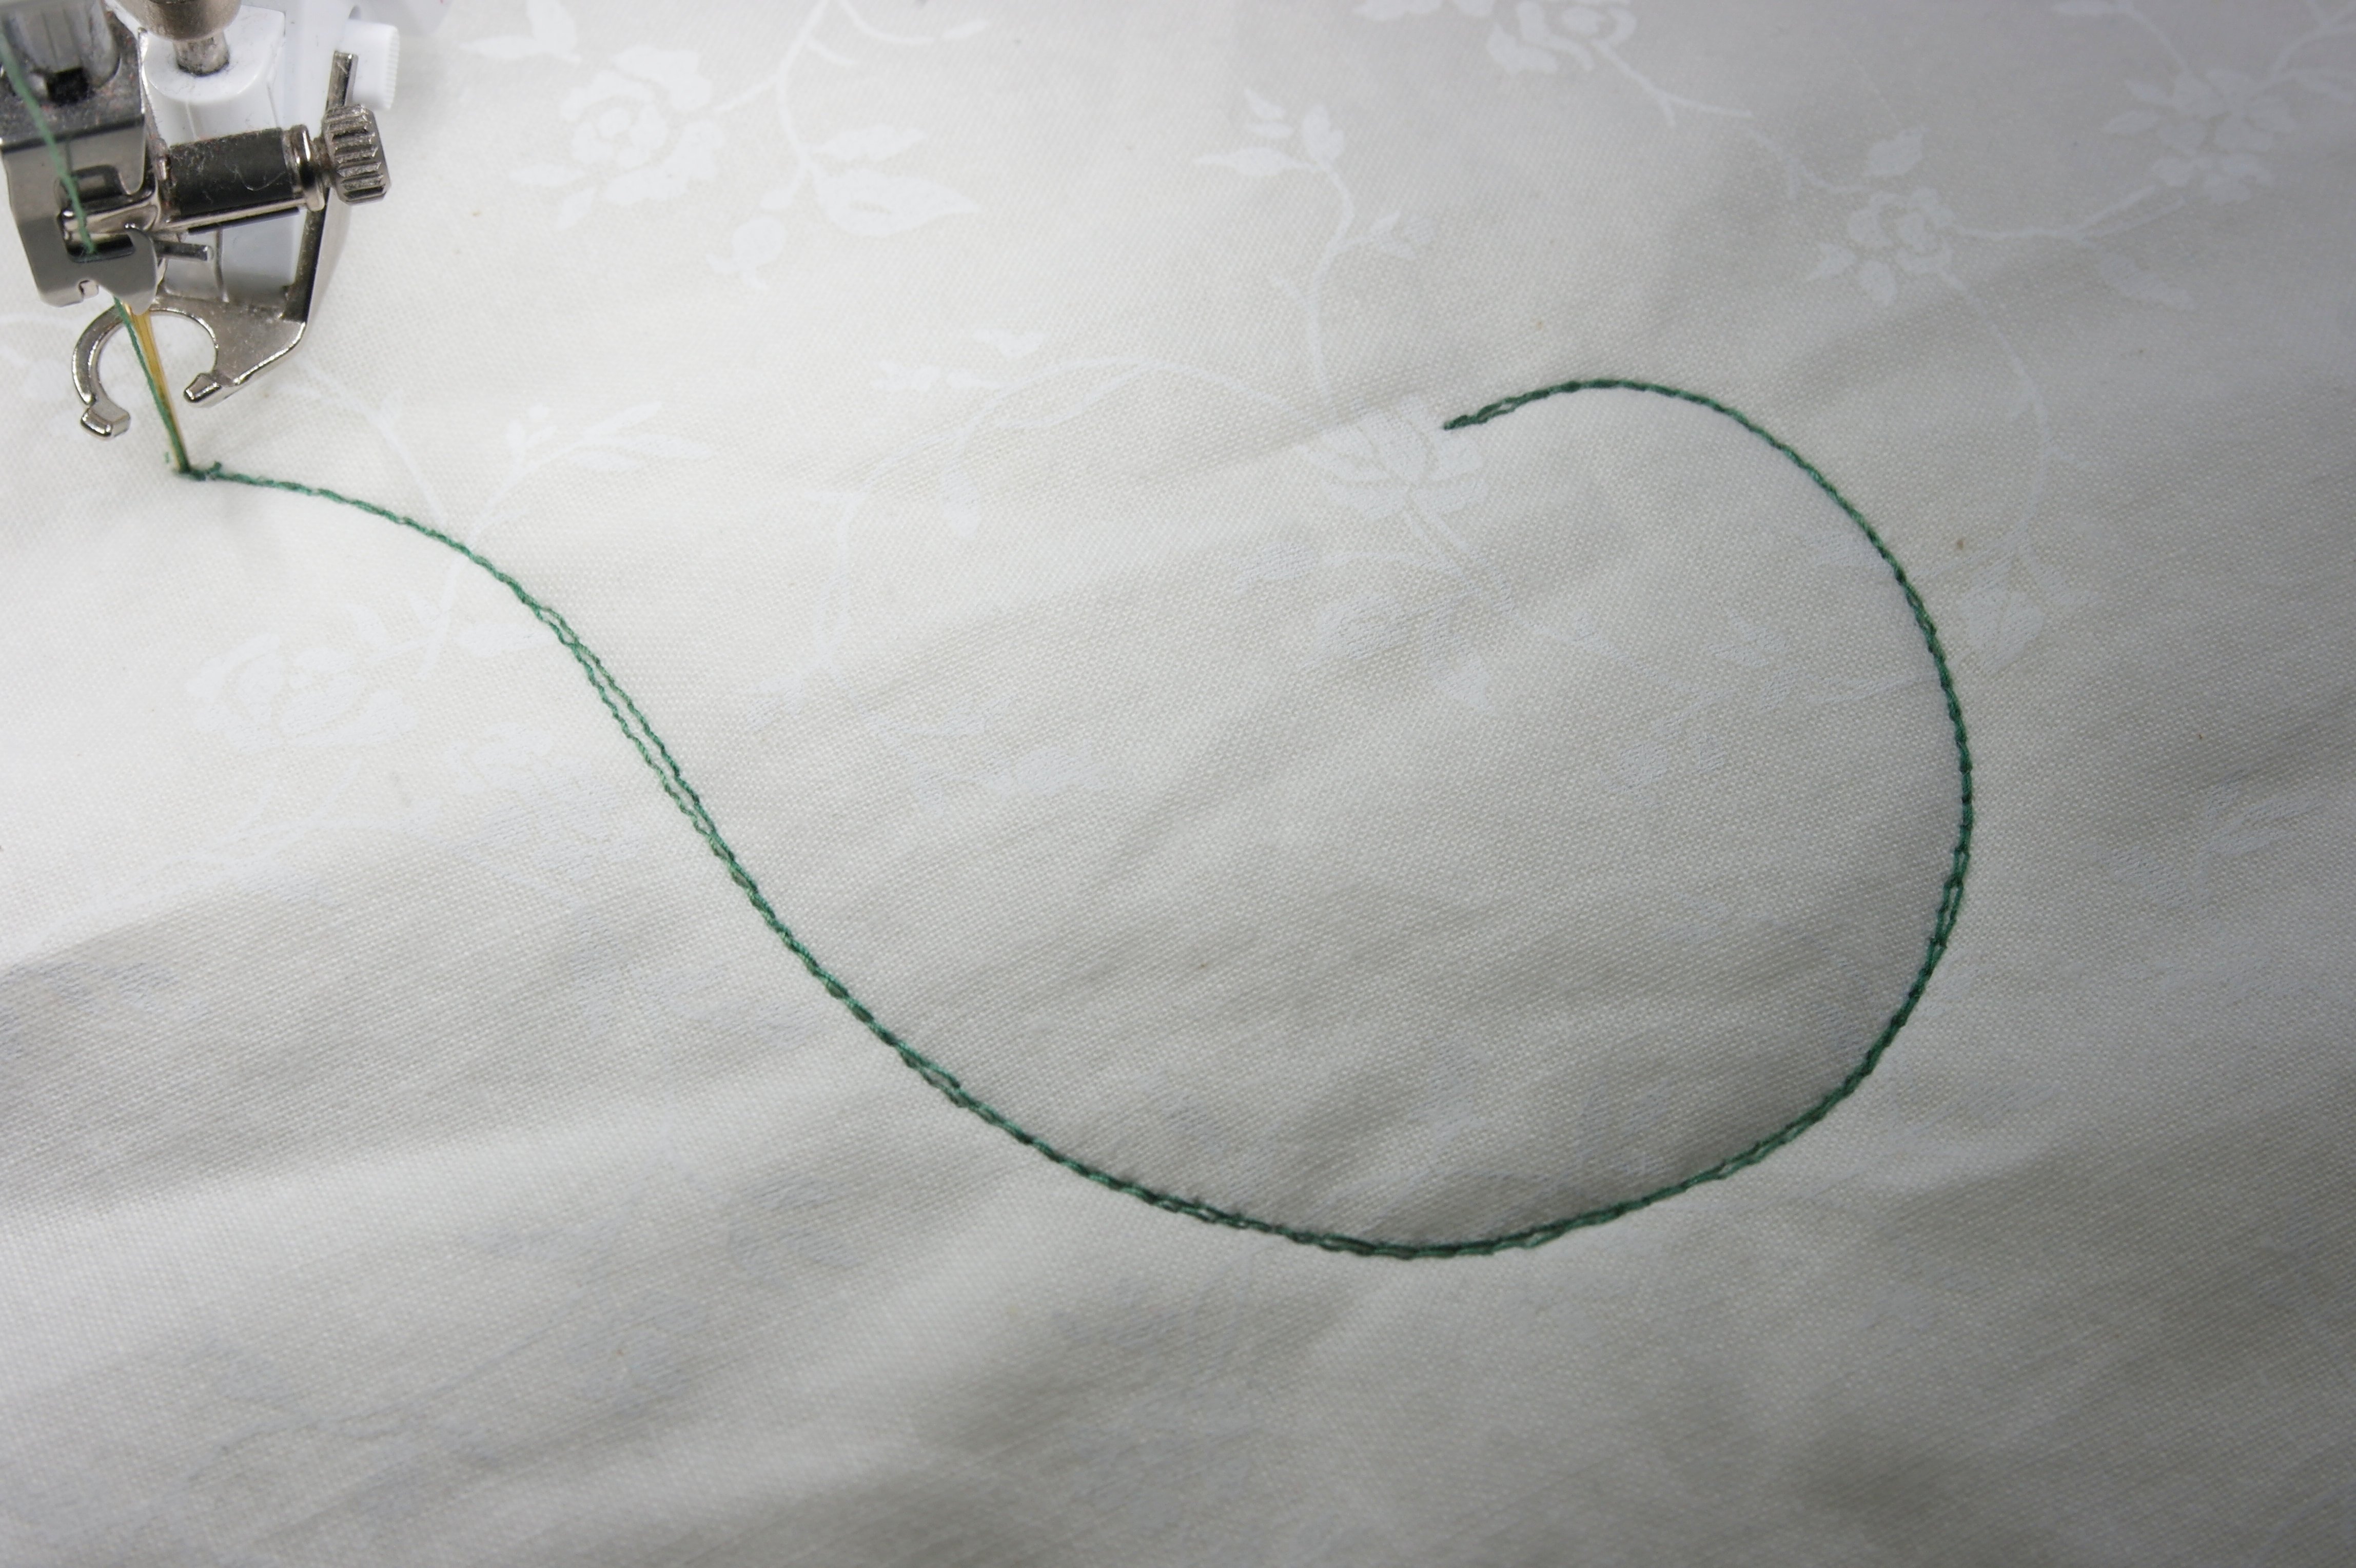
Quilt the baseline: start from the bottom, quilt the curly top and backtrack again. Try to work over the same stitches, or place the second line a bit away from the first line to create an opening. Relax, keep it simple.
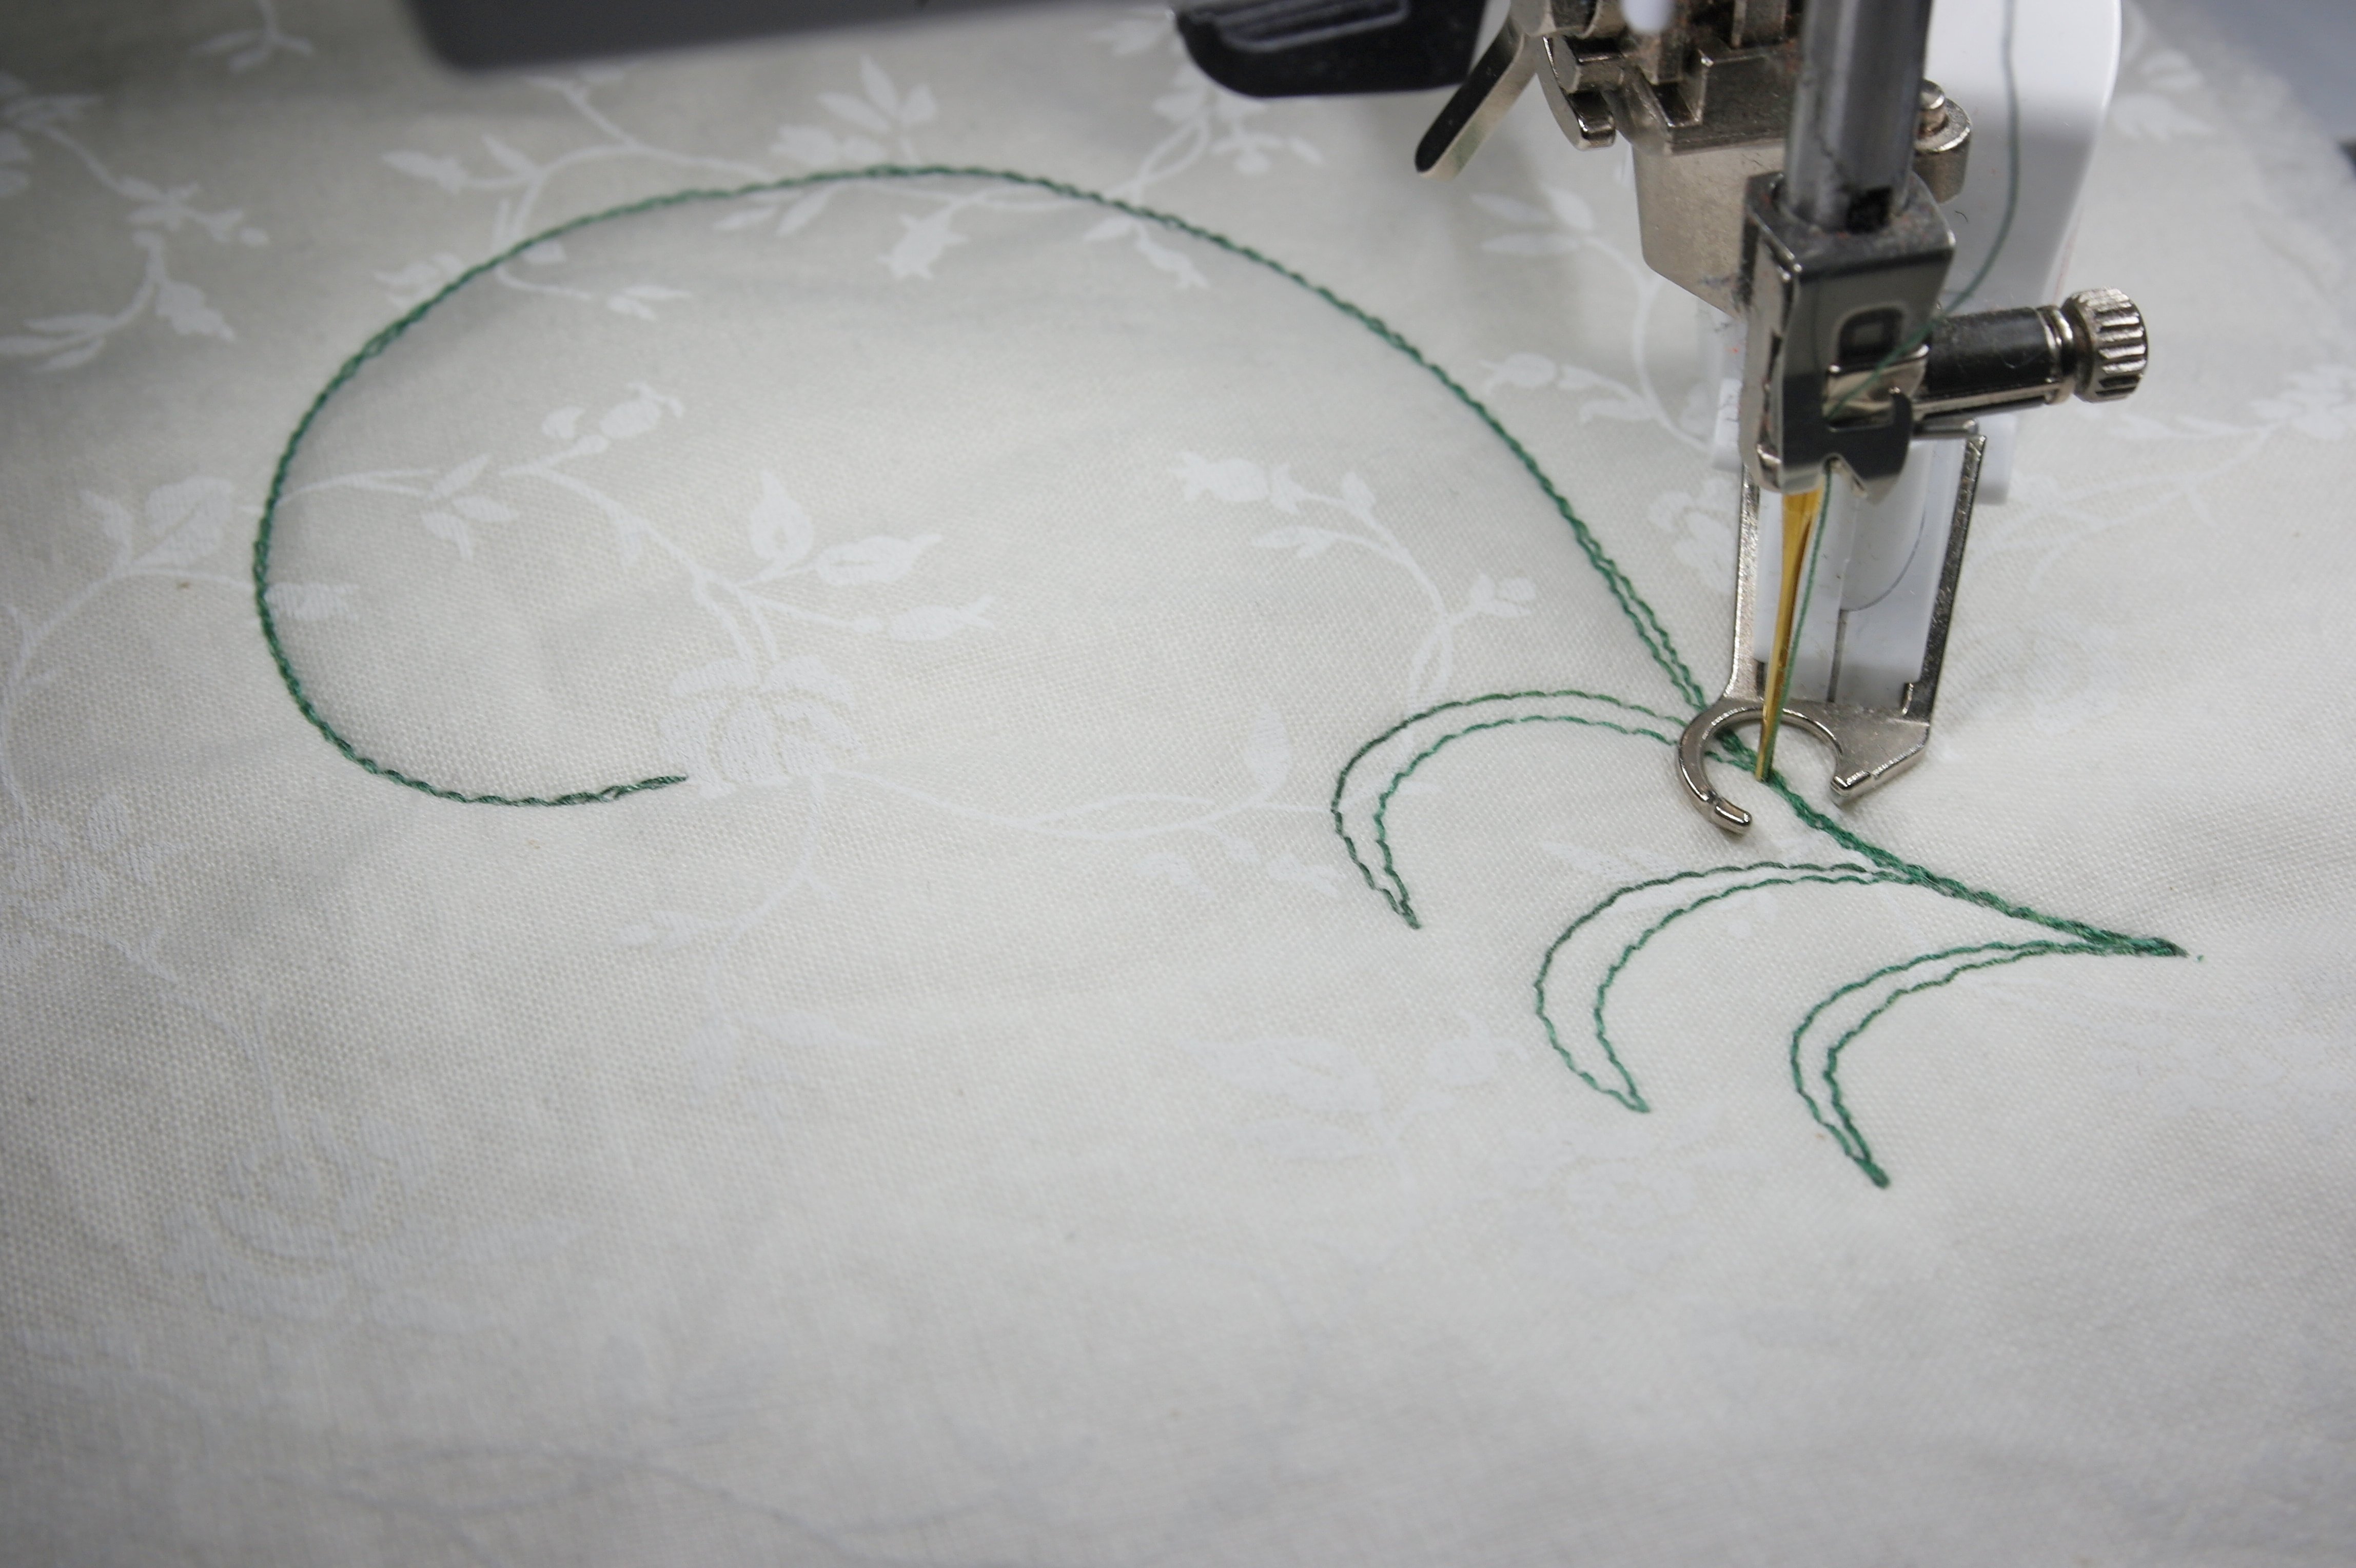
Quilt the leaves, starting from the bottom, working first on the inner side of the curl. In fact: repeat what you have done while drawing.
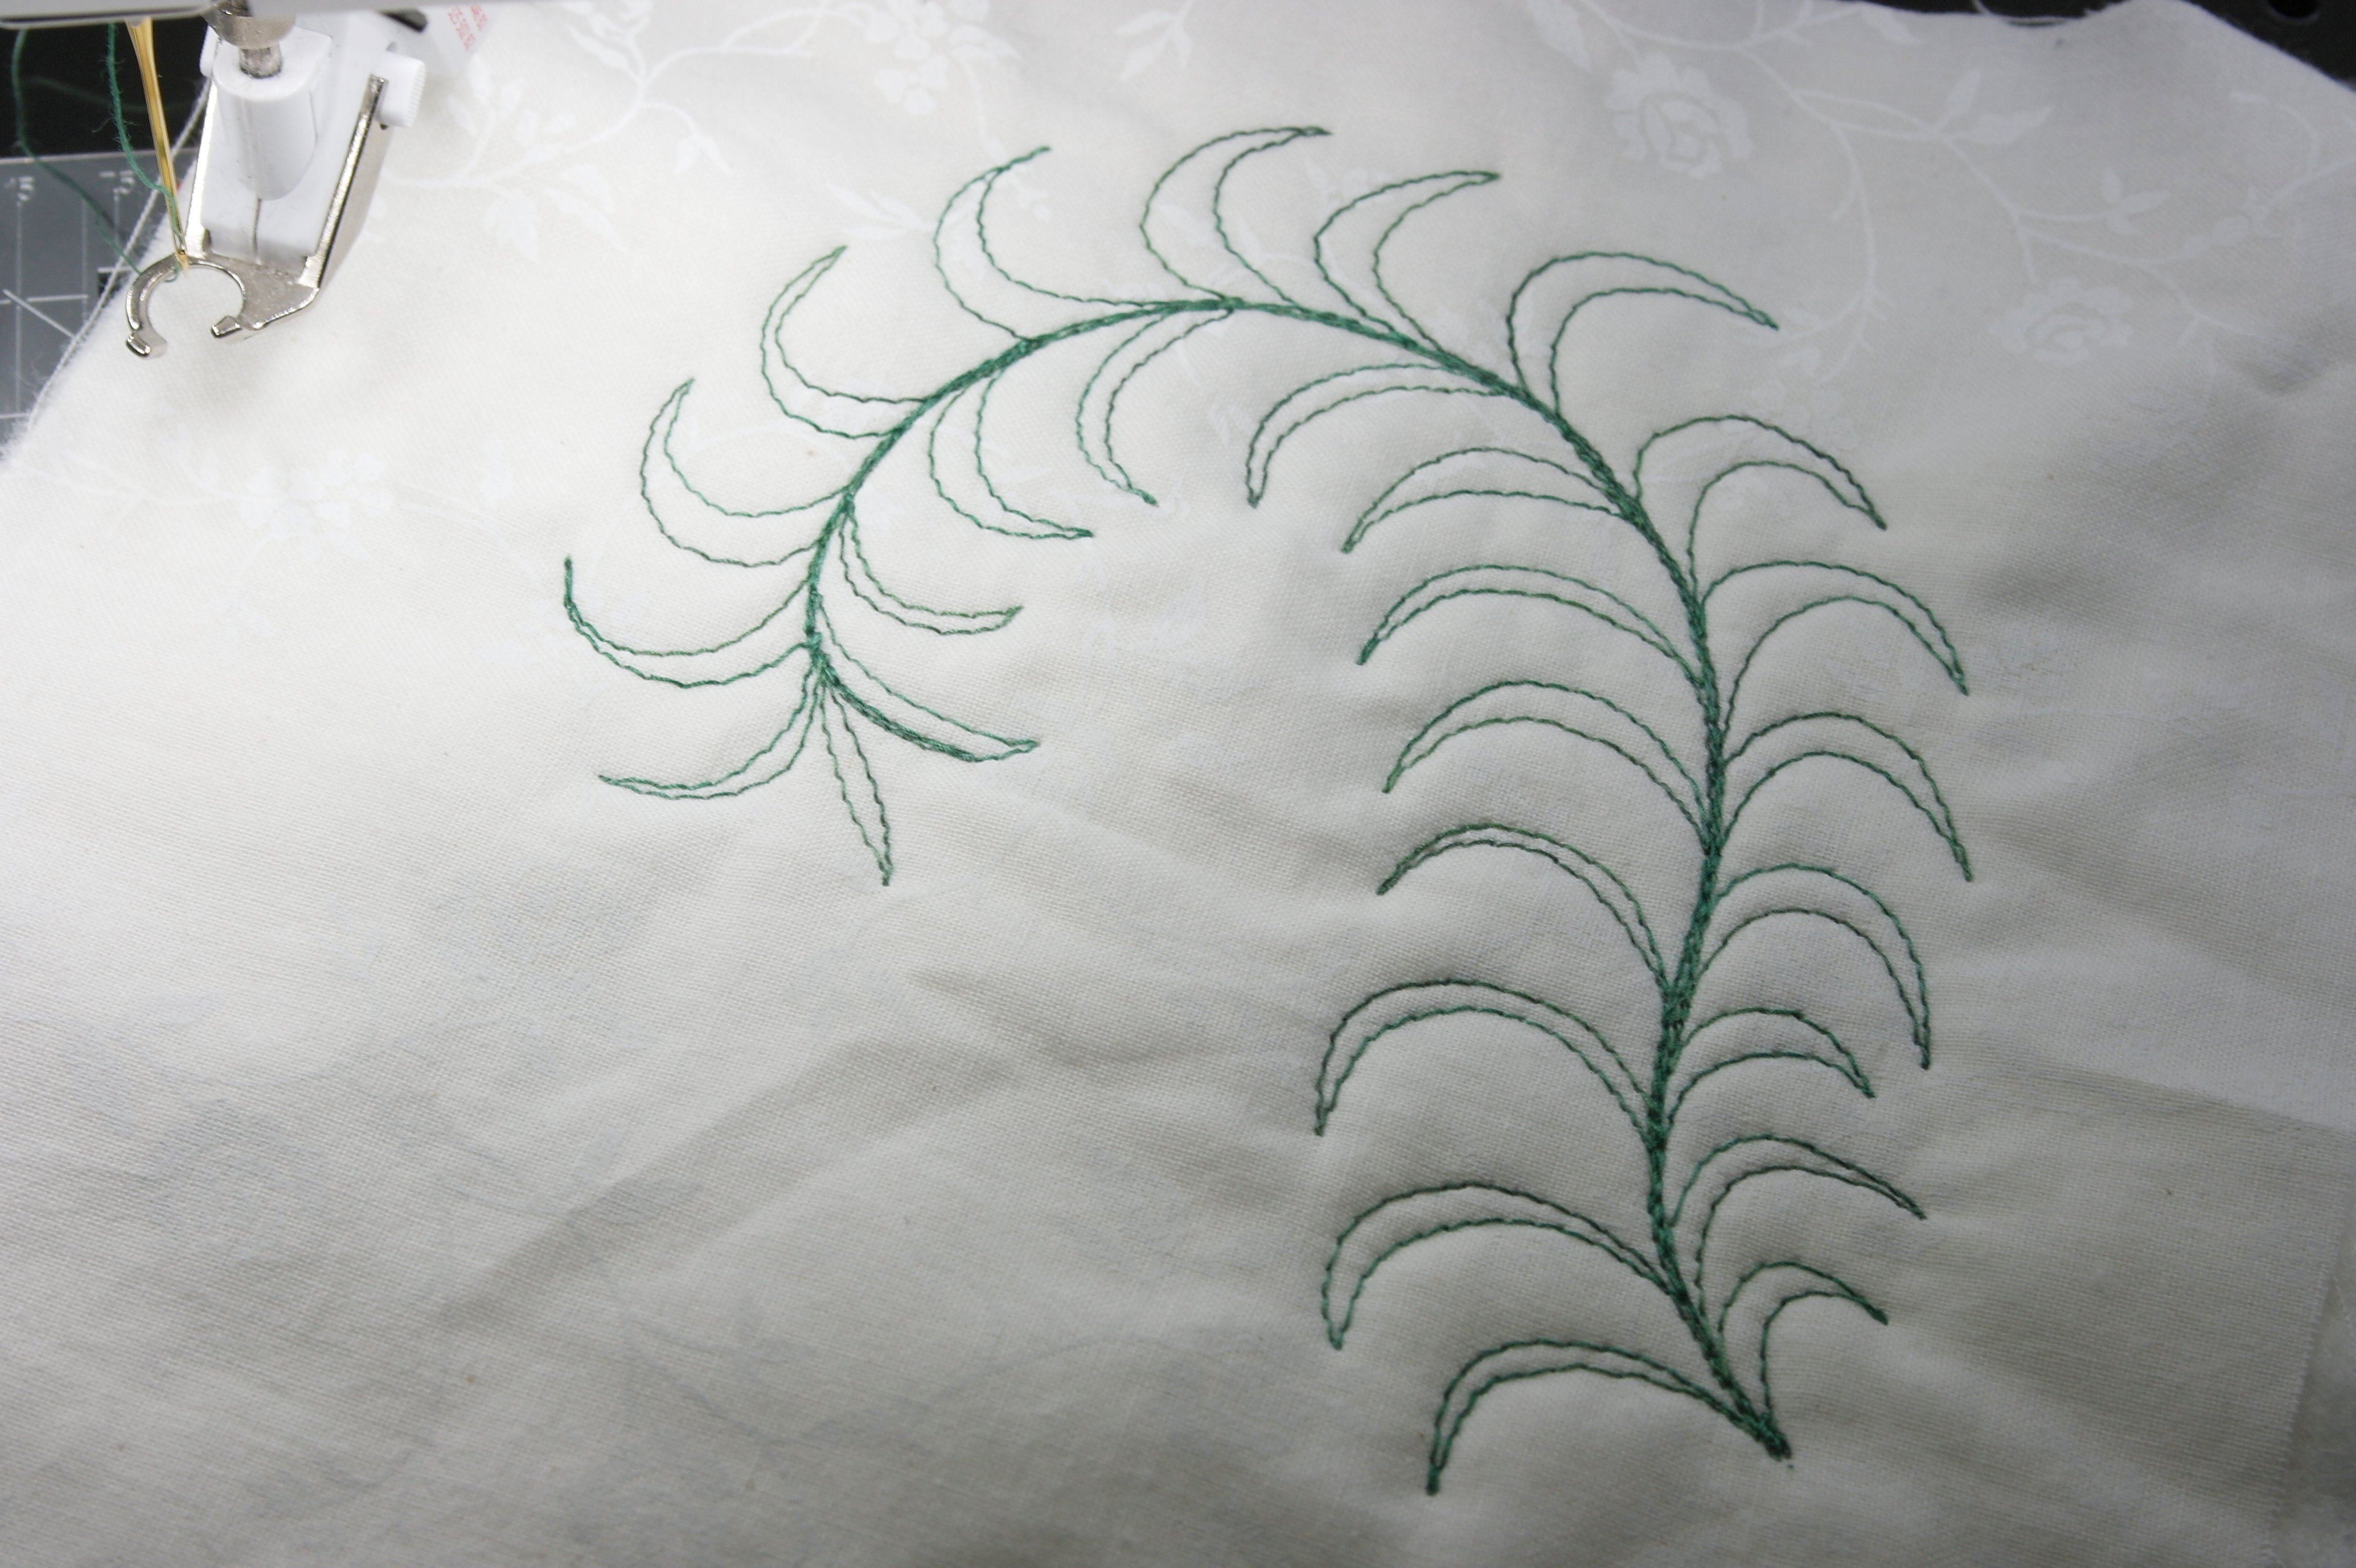
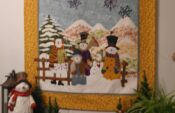
My fern is ready. The baseline stands out, because I have quilted this multiple times going forth and back(tracking): this gives it more body and creates a ‘natural’ fern/feather variation, which will do nicely with a landscape quilt.

There are much more figures to make instead of the original feathers: how about flowers? Again I have started with drawing the base line, from bottom to curled top and backtracking. The first flower is drawn, without taking my pen away from the paper = continuous line.

The drawing shows the ‘path’ you will follow: first making the stem towards the flower, then the five petals in one direction (see arrows), and going down again along the stem, making the two small leaves. It is in fact the same procedure as with the fern leaves: keep it natural, keep it simple.
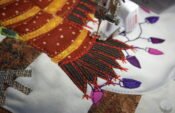
You can quilt this in one color, but I will make this figure with two colors machine thread: pink for the flowers, green for the small leaves.
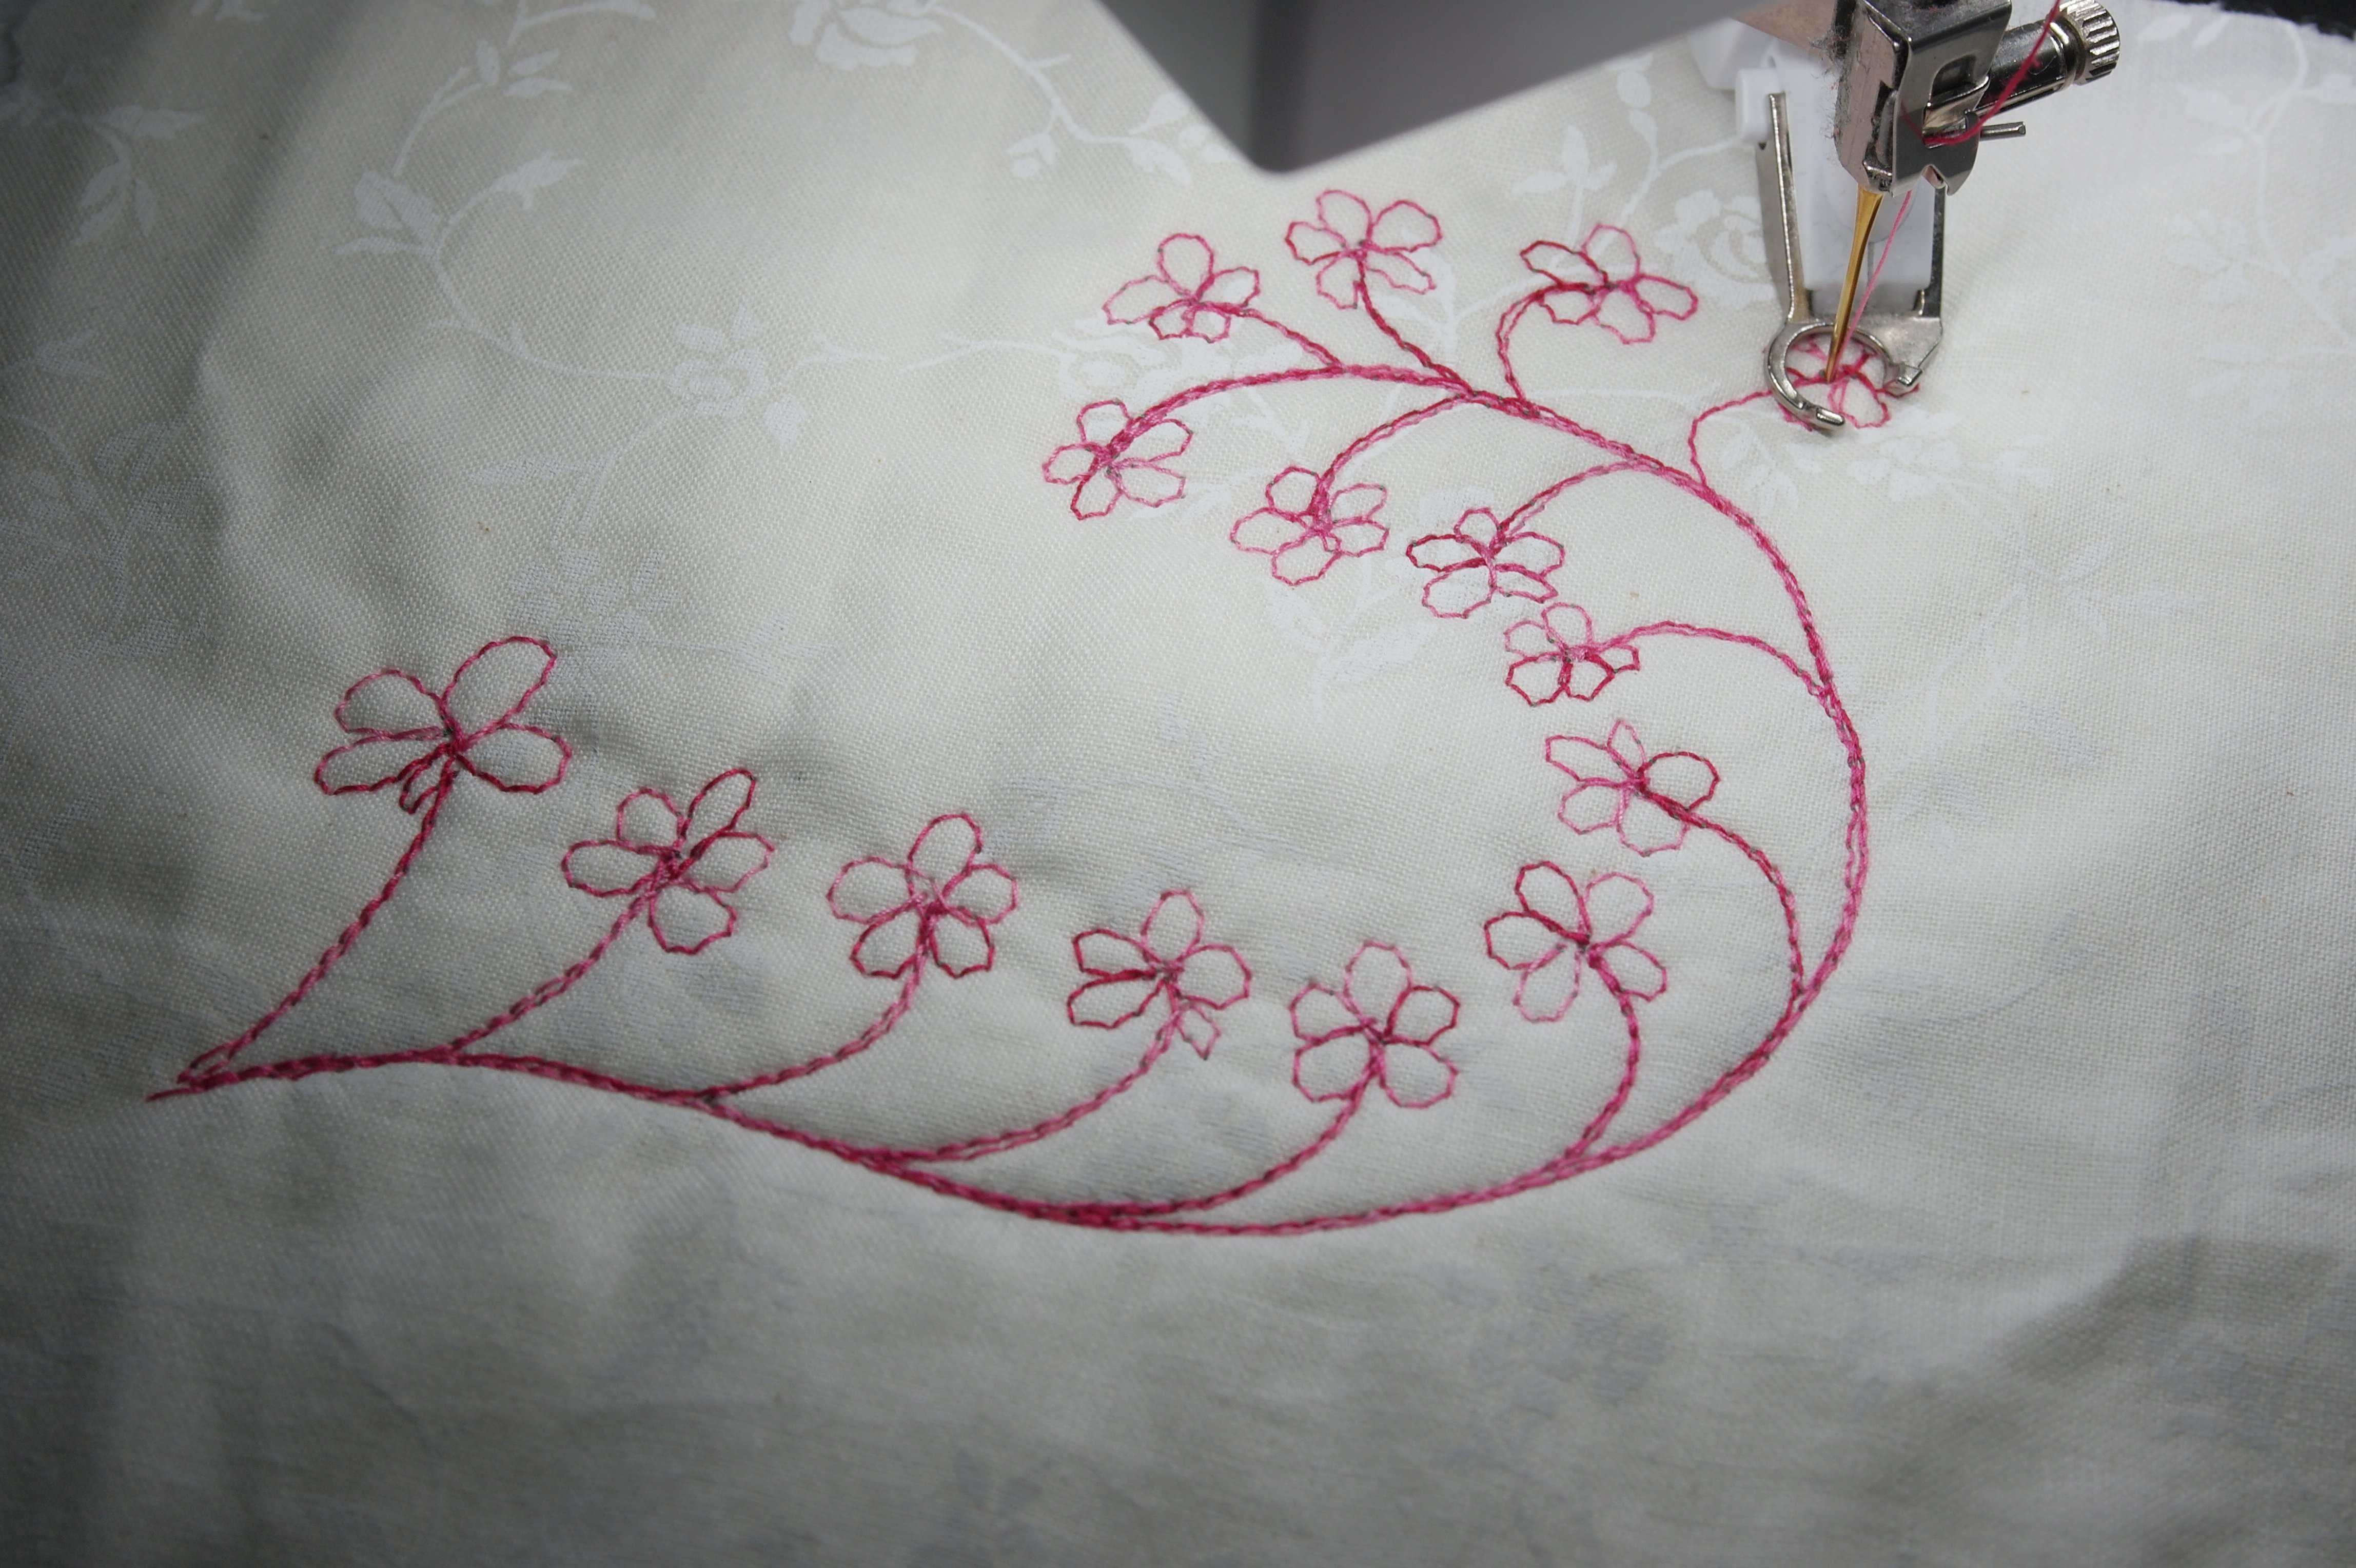
Starting the same way as the ferns, making only the stems and flowers (not the leaves yet), working my way along the curly base. Remember: when making small figures, lower the stitch length – larger stitches are not suitable for small objects.
A lot of flowersl: this looks nice already.

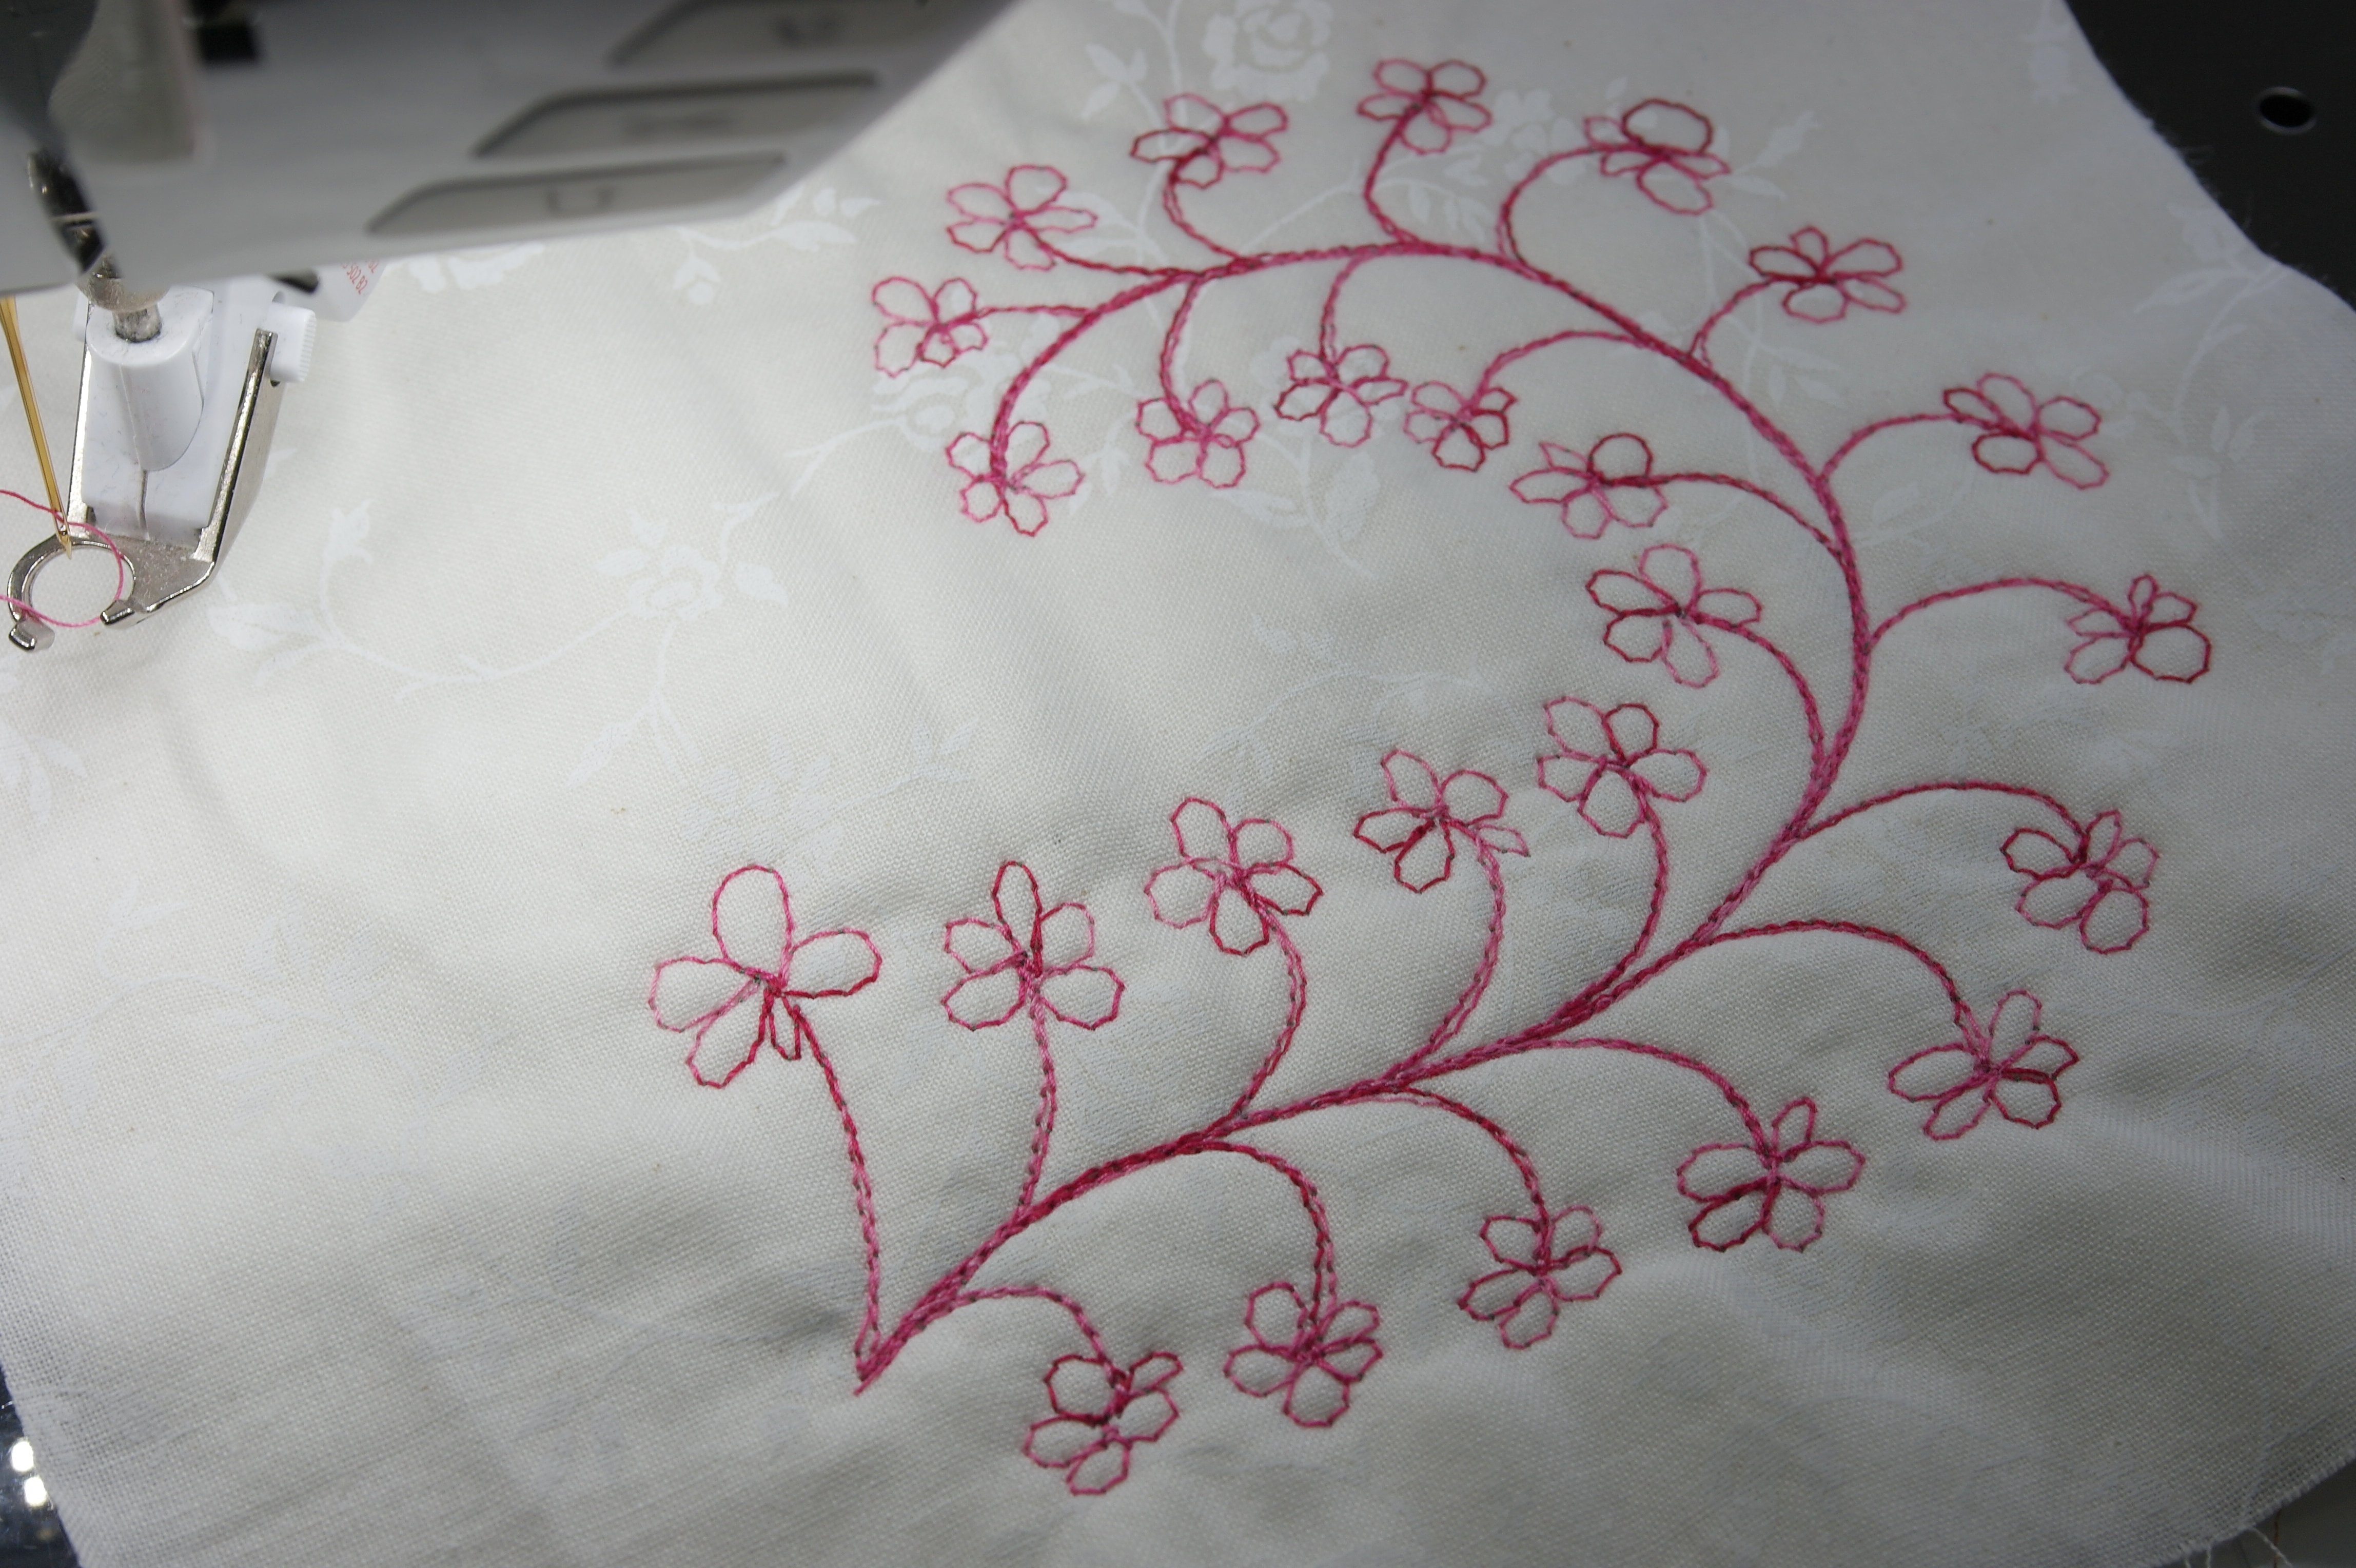
Quilting again from the beginning, now making the green leaves, gives it pizzazz! Not just because of the shape, but using two colors = two rounds of quilting, enhancing the effect. Where the pink meets the green, brown is created, so in fact there are three colors present! How wonderful is that!
Play with your variation of feathers: use variegated threads or add more colors… have fun.
Sylvia Kaptein
Sylvia’s Art Quilts Studio
I used to practise some new quilting designs without thread on my old Bernina Virtuosa QE – just to get a feel of the flow of the design – either on fabric scraps or paper with an old needle. I now have a Bernina 570 – am I able to somehow adjust settings so I can do the same? It doesn’t seem to want to stitch at all if bobbin or top thread is missing.
Dear Chriselle,
The B 570 has a thread watcher, one for the bobbin thread and one for the top thread. If the machine detects that either is missing, it will stop to not cause any needle breaks or other issues, and therefore will stop making any stitches if the thread is missing. Try switching off the thread watchers in the machines settings.
Ahaaa!!!! Thank you!!! I will try this.
I’ve not tried free motion designs in two colours before. Great idea. I shall give a go. Thank you
Hi Bren,
Glad you like it. It is fun to experiment with colors, solid or variegated, and use different colors for different pieces of the quilting. You can do anything you want, to make it your own!
Have fun, Sylvia