 BERNINA Corporate Blog -
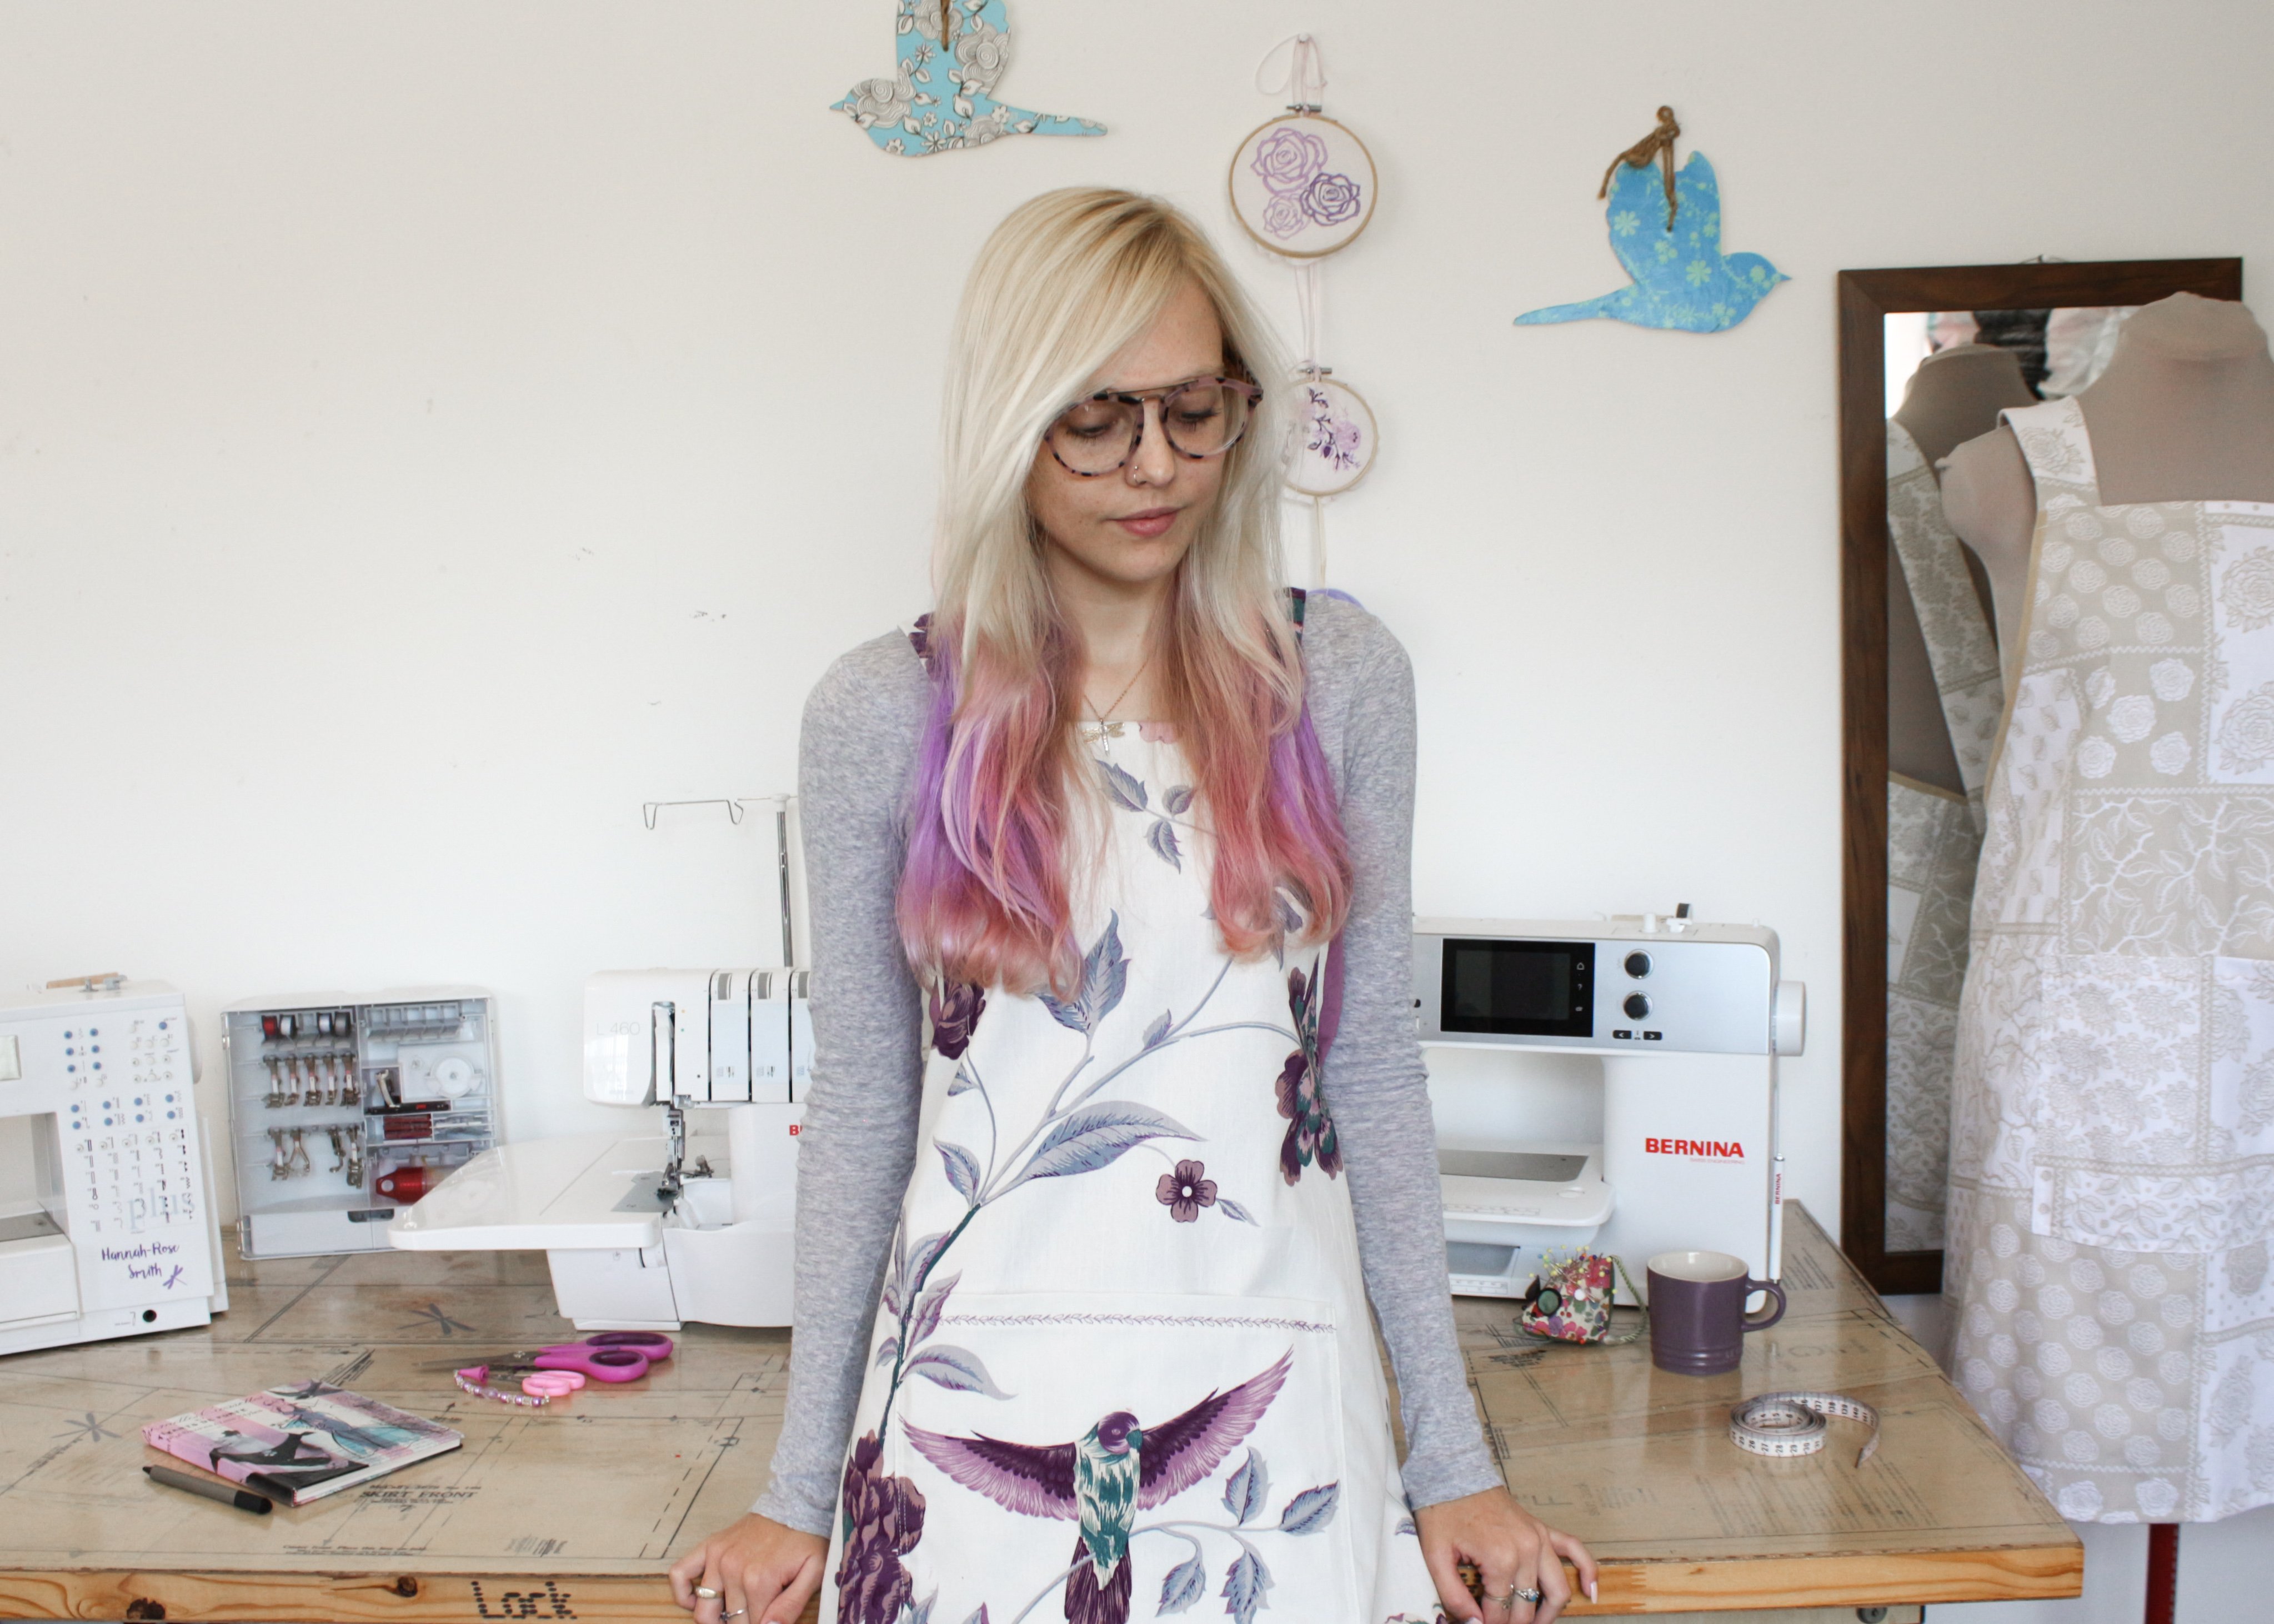
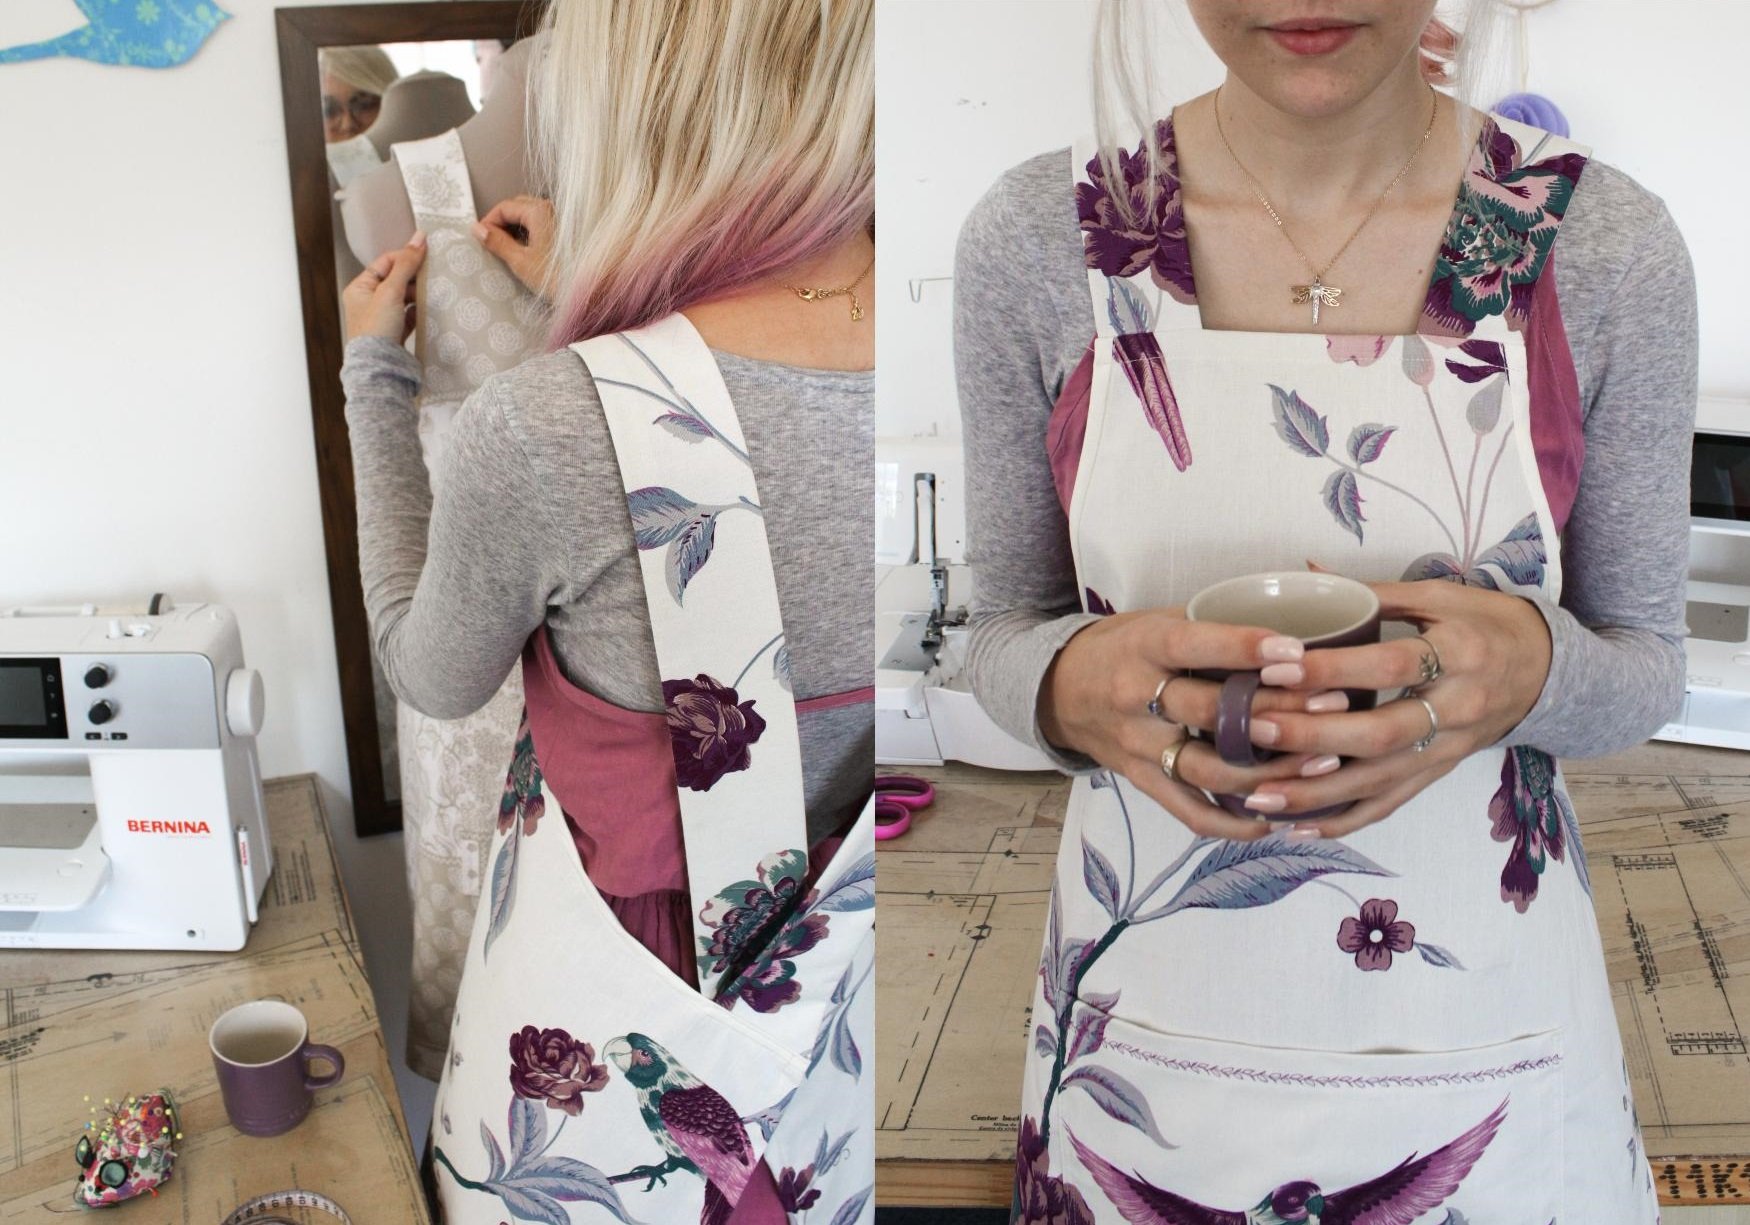
For Mother’s Day I made my mom a sewing pinafore. I loved it so much that I made myself one too!
In last year’s Mother’s Day post “‘Nurturing mothers & mother nature” I spoke about how my mom taught me to sew and nurtured my passion for sewing.
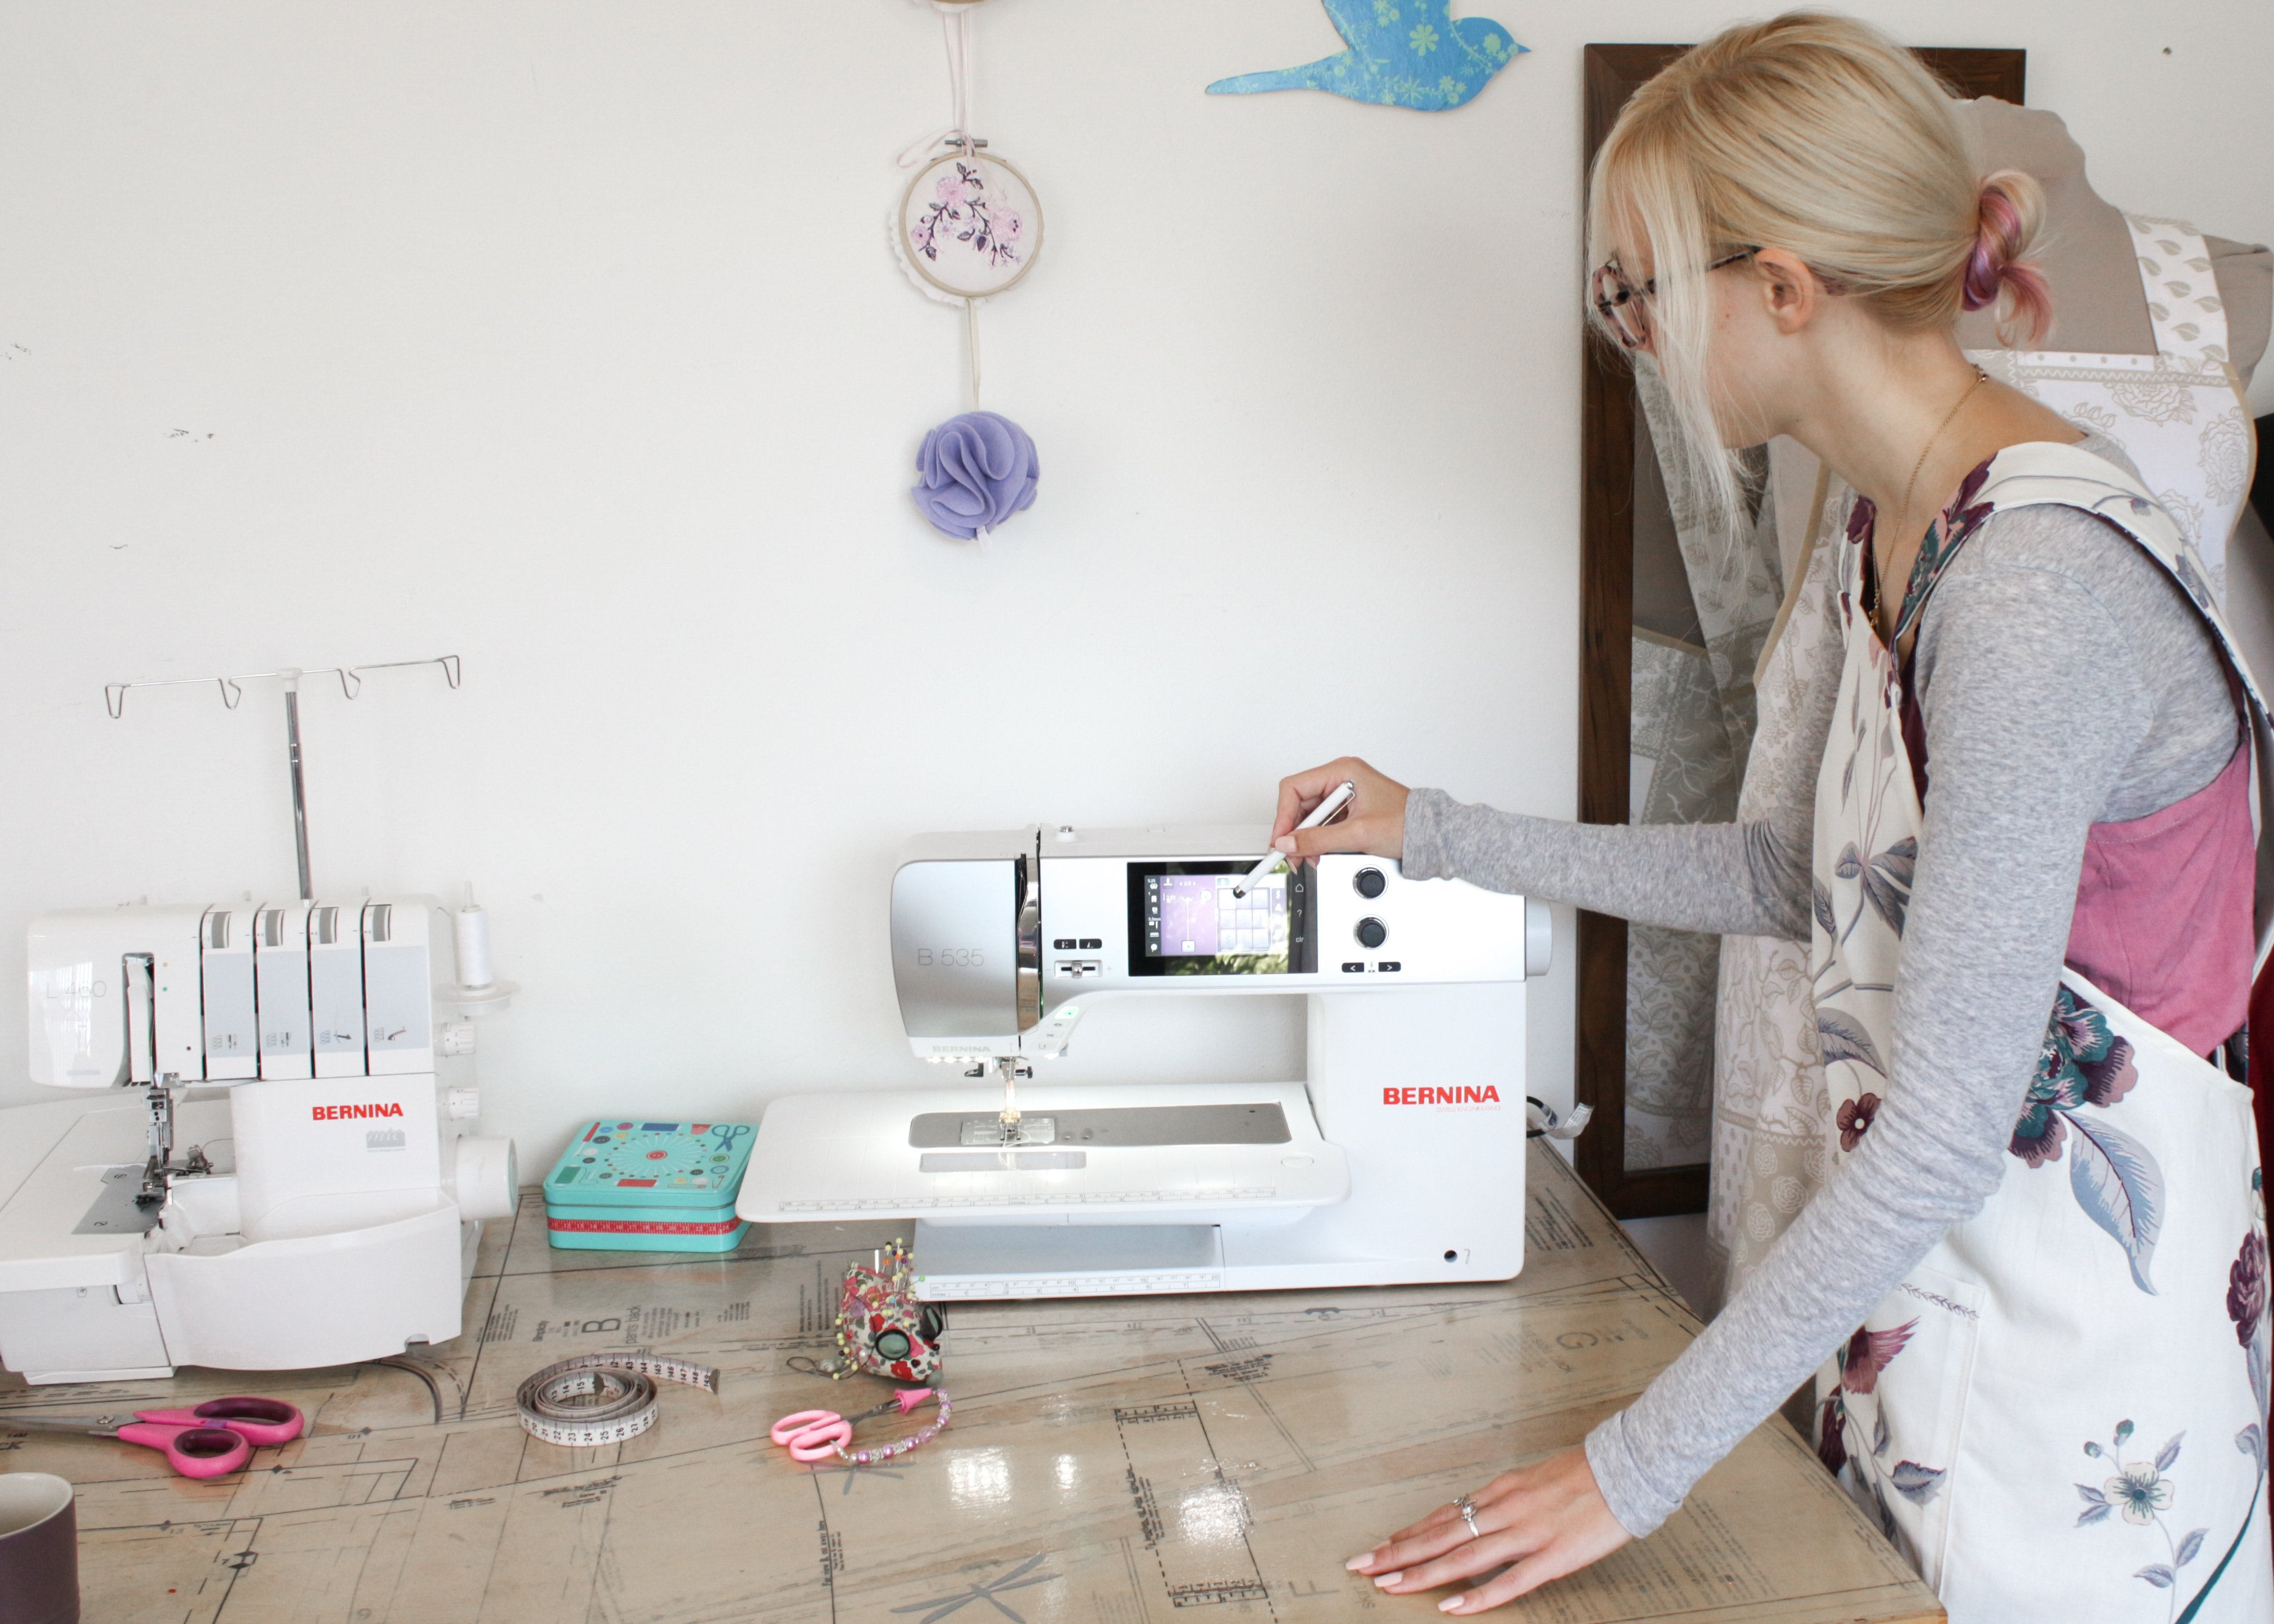
Not only do my mom and I share the passion for sewing, we also share a sewing room. Often we find ourselves covered in loose threads and fluff from our sewing projects. This tends to be annoying when we dust ourselves off and pop down to the shop or visit a friend only to find we still have a few pesky threads clinging to our clothes!
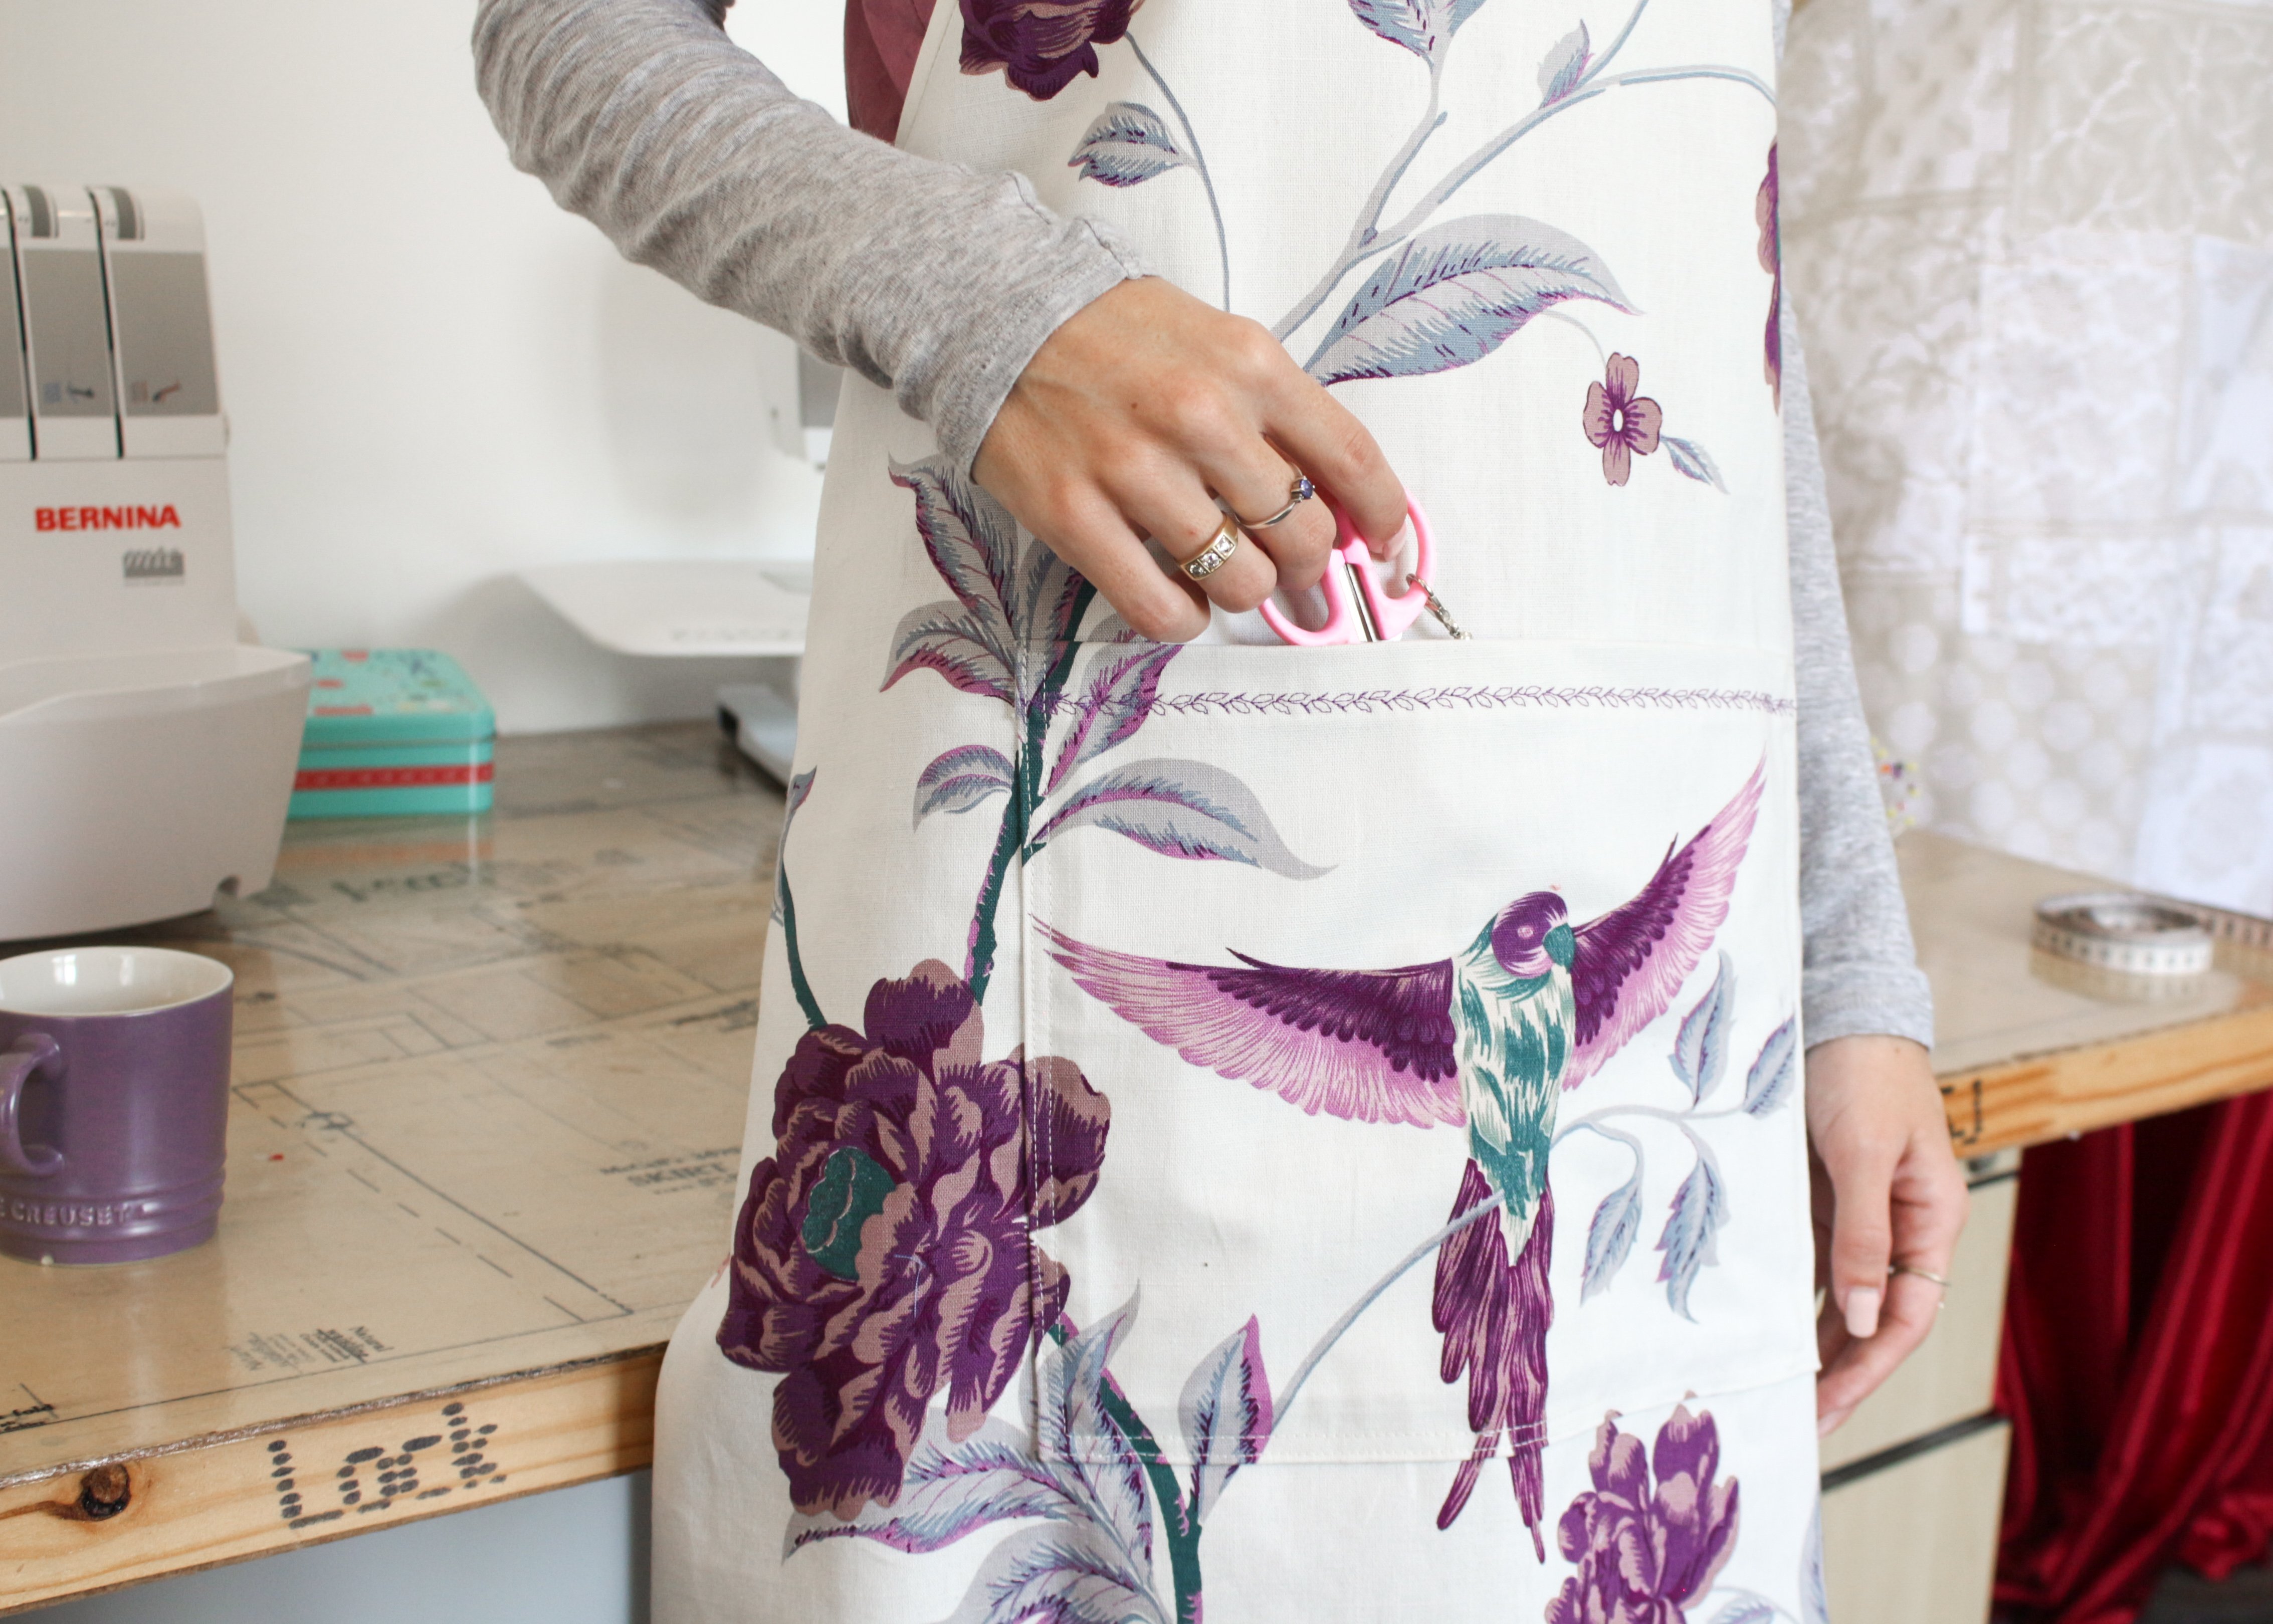
I can’t believe we didn’t think of such a simple solution as a pinafore sooner. Not only do they look cute, they keep our clothes clean and we have easy access to our most used tools with the pocket.
I remember when I was 7 or 8 my classmates and I had to wear a pinafores to protect our uniforms. My mom of course made me a variety of cute little pinafores, the ladybug patterned one being my favourite. I would like to think that I have returned the favour.
I feel that each of our pinny’s reflect our favourite colour palette and personalities. We both love flowers, I like bird details and of course the colour purple and my mom is great at mixing bold patterns with subtle colours.
In this blog post I’ll share how I adapted an existing apron pattern to create these cross back pinafores and how I sewed them up.
What will be needed:
- Sewing machine
- Overlocker
- Bias Binding
- The Great British Sewing Bee Butcher’s Apron Pattern
- Apron Pattern Hack Guide
- 1m Medium weight Fabric (amount dependent on your pattern)
- 2m bias binding (amount dependent on your pattern)
- 3-4 matching threads
Pattern

Download and assemble the Butchers Apron Pattern (not the Cooks Apron) from the provided link.
Download and follow my Apron Pattern Hack Guide to create a Cross Back Pinafore.
Steps

- Attach the binding along the Armhole edge.
- Overlock the Back seam & Hem.
I used the 4-thread stitch on my L460.
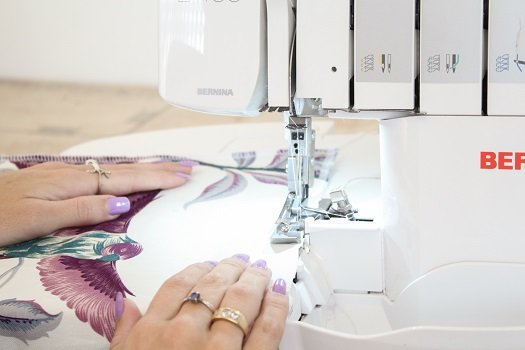
- Overlock all 4 edges of the Pocket piece.

- I made the bottom corners of the pocket, mitred corners.
To do so, mark the 1.5cm seam allowance along the bottom edge. Then fold the fabric so that the perpendicular edges meet.
Where the seam allowance meets the fold, draw a perpendicular line.
Stitch along the line.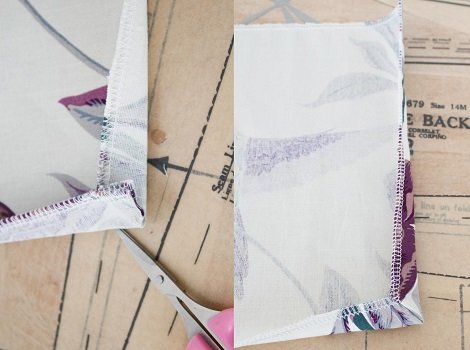
- Trim the excess fabric and turn the fabric right-side-out.
Use something pointy to help you turn out the corner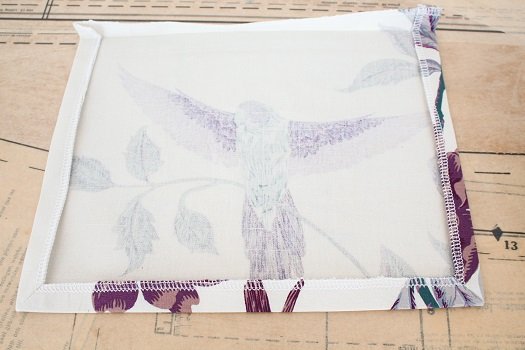
- Do the same for the other Bottom corner and then press.
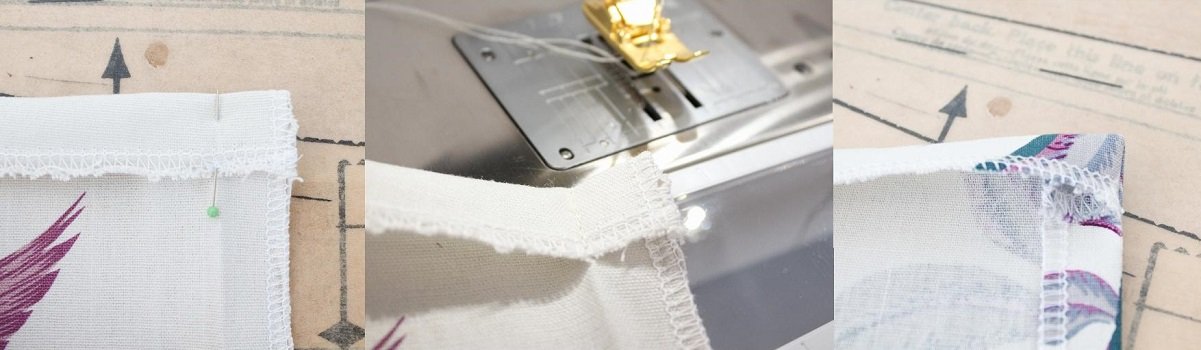
- For the top of the Pocket I did a different technique.
Fold the top edge over 2cm.
Sew the fold in place with a 2cm line, 1.5cm from the edge.
Turn the fabric right-side-out.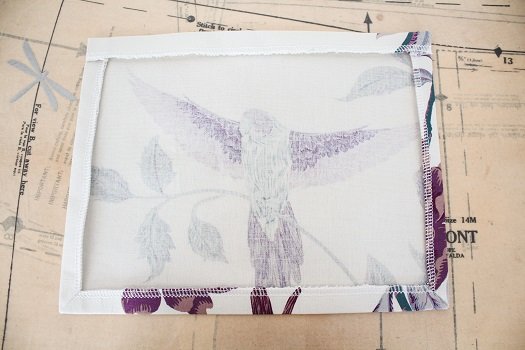
- Do the same for the other Top corner and then press.
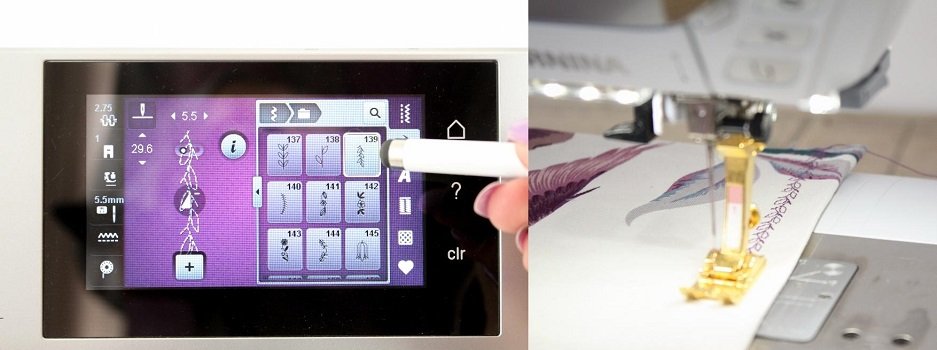
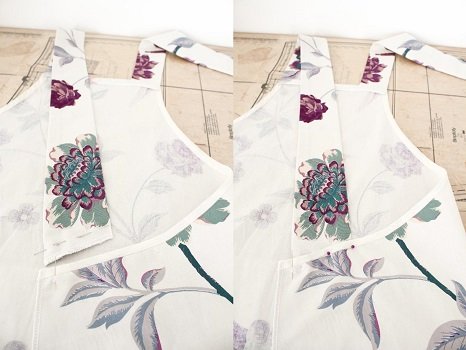
- I used a decorative stitch to secure the fold at the top of the Pocket.
I chose stitch #139 from my machine’s collection.
I sewed 1.5cm from the folded edge to ensure that the 2cm fold was secured.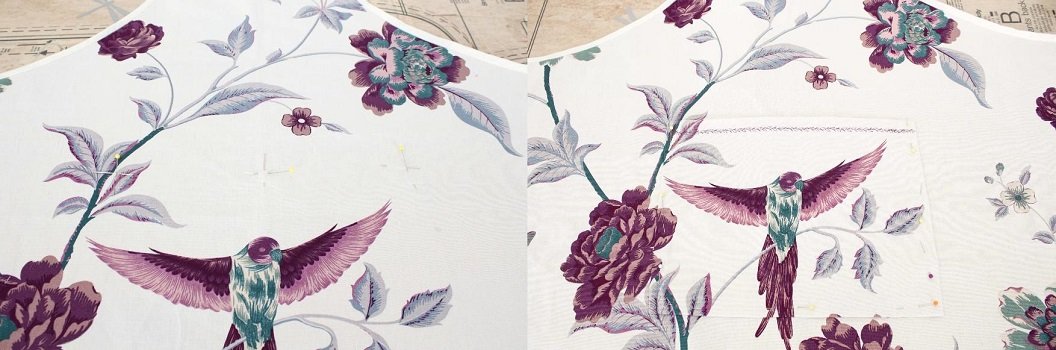
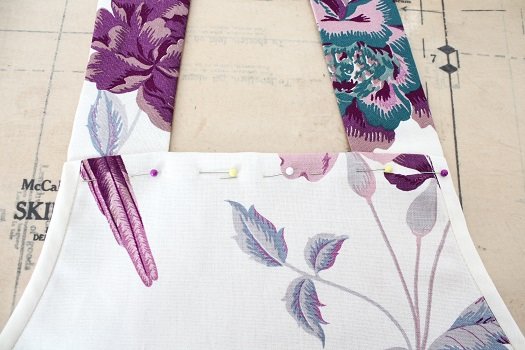
- Refer to the pattern for the placement of the pocket.
Pin the pocket in place. Remember to leave the top open (I know this seems obvious but sometimes when one is in the sewing zone it can be easy to forget!)
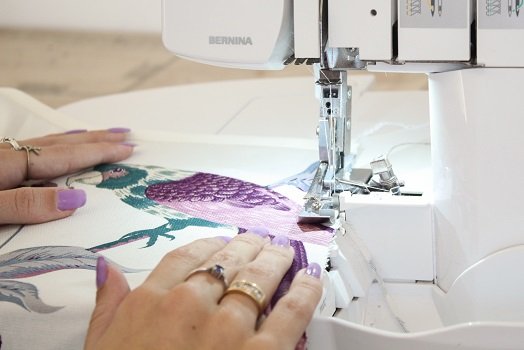
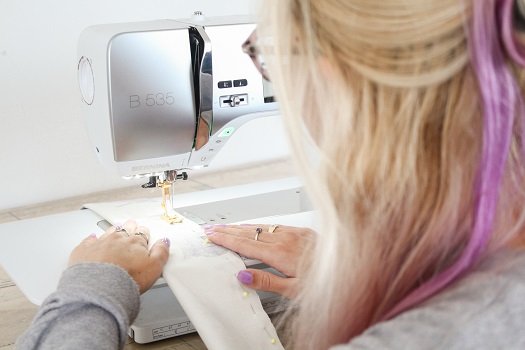
- When securing the pocket to the apron, line up the edge of the pocket with the inside edge of the foot.
Do a second row of stitching and line the edge of the pocket with the outside edge of the foot.
Straps
- Fold the straps in half and sew along the long seams (1.5cm seam allowance).
Turn them right-side out and press.
- Join one end of each Strap to the top edge of the Apron with a 1.5cm seam allowance.
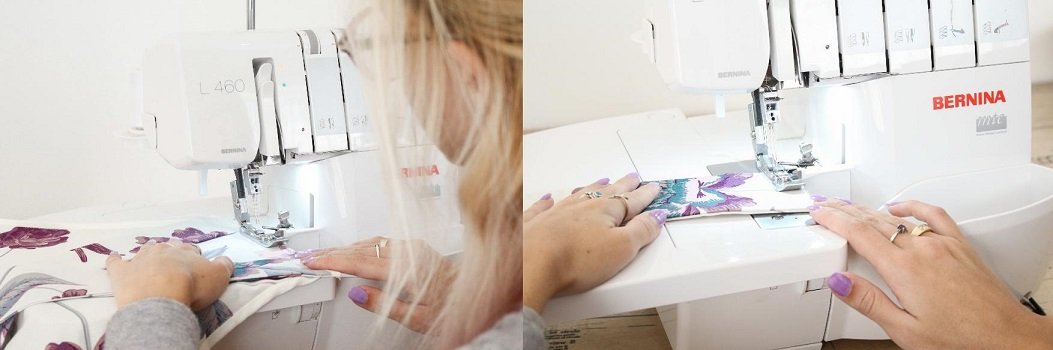
- Overlock the top edge of the Apron as well as the other end of each strap.
- Fold the top of the apron over 1.5cm and sew in place.
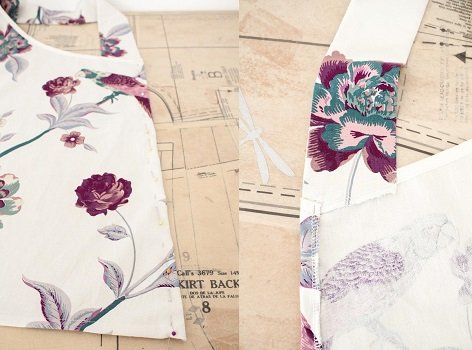
- On the other end of the strap, mark a line 1.5cm from the edge.
Match the end of the strap to the opposite side of the apron (so front left will join to back right.)
Line up the top edge of the binding with the line marked on the strap.
Pin the strap 1.5cm in from the back edge.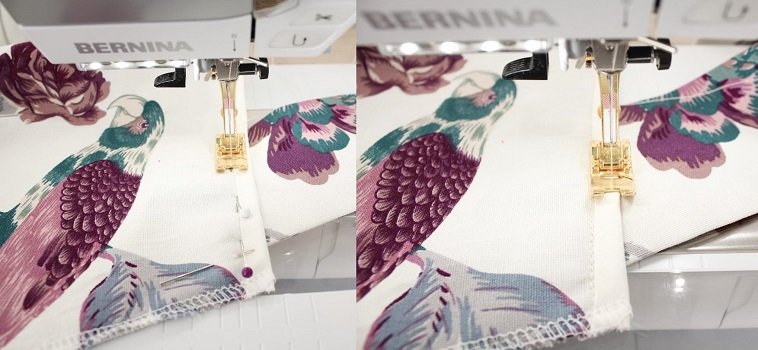
- To secure the Strap to the Apron do 2 rows of stitching.
For the first row, sew along the binding seam and for the second row, sew just below the binding edge.
Finishing
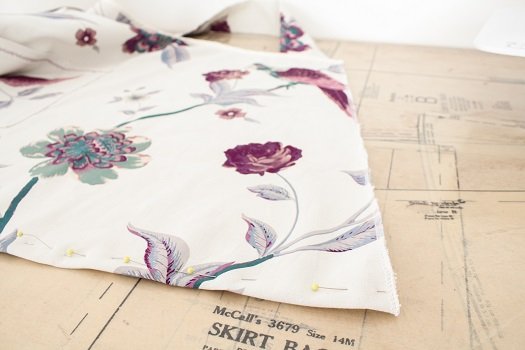
- Sew a 1.5cm hem.
- Fold the Back seam by 1.5cm.

- To stop the edge poking out below the Hem, tuck it inside the fold.
Sew the seam in place.
Tips
- The techniques used to sew the corners of the pocket work best when the angles are 90’.
I used a different technique for where the Back seam joins the Hem because the angle isn’t 90’. - A mid-weight fabric works best for this style of apron. A bull denim, Cotton Twill or Linen would be great choices.
I would love to see the pinafore you make, please feel free to share with me!
Instagram
Facebook
-Hannah-Rose


0 Responses