 BERNINA Corporate Blog -
An extensive amount of colors for threads is available with the BERNINA Embroidery Software V8. At the bottom of your screen, colors with numbers are already available for direct use, or you can (re)place them, adding your own brand of thread and special numbers. These colors can be changed before, during and after digitizing your embroidery objects.
You can adjust colors/threads, customize threads with your ‘own’ brand, view them in different ways (by moving the horizontal bar to vertical if you want that) and do much more. The BERNINA Embroidery Software allows you to search specific threads, and even adjust the colors of ready-made or purchased embroidery motifs.
New objects are digitized with the existing colors of the Color Palette, but you can change that whenever you want. The used colors are shown in the Color Palette are indications, due to differences in computer monitors and/or computer video cards. The colors displayed can be different from the threads you are using with the same brand/color number. Therefore use the colors only as guides.
![]()
There are a couple of icons we can look at, besides the colors: in order of appearance.
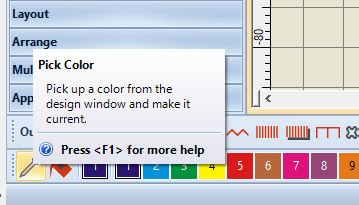
Picker Color: to pick a color from the design window and make it current.
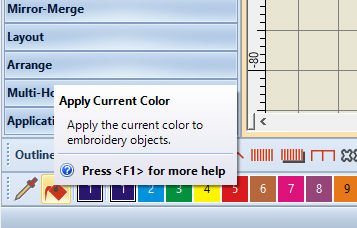
Apply Current Color: Apply the current color to embroidery objects.
Current Color: shows current color, blue square top right = current color.
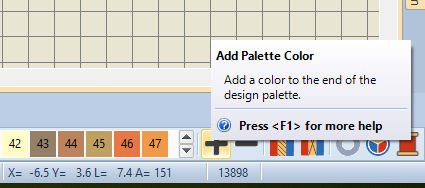
Add Palette Color: add a color to the end of the design palette.
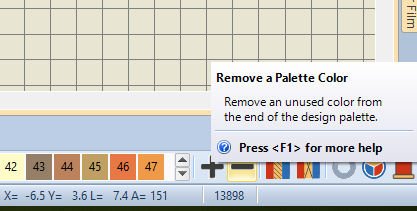
Remove a Palette Color: remove an unused color from the end of the design palette.
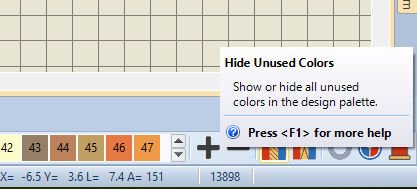
Hide Unused Colors: show or hide all unused colors in the design palette.
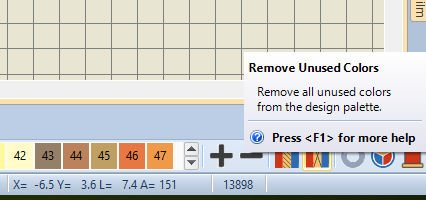
Remove Unused Colors: remove all unused colors from the design palette.
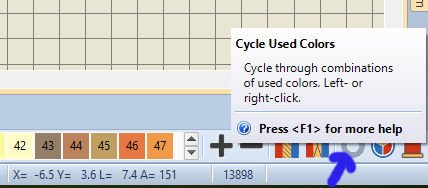
Cycle Used Colors: cycle through combinations of used colors. Left- or right-click.

Color Wheel: access color wheel to test combinations of related colors.

My Threads/Thread Colors: left-click to show or hide the My Threads docker and right-click to open the Thread Colors tab of Design Properties dialog. Search for and match threads from different charts, and assign for use.

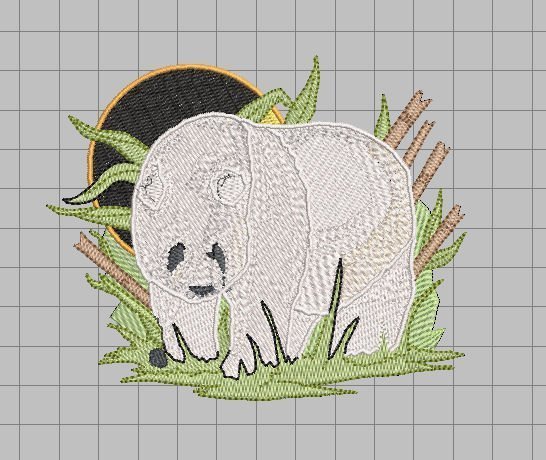
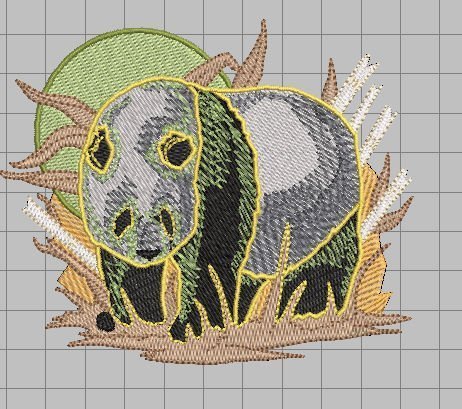
To see what you can do with an existing embroidery design, I have placed one from the BERNINA Embroidery Library onto my workspace: Animals & Bugs, the Panda (WO583.ART80). Looking at the details, shows me that this embroidery motif is 10.8cm wide and 8,89cm high, made with 25.438 stitches.
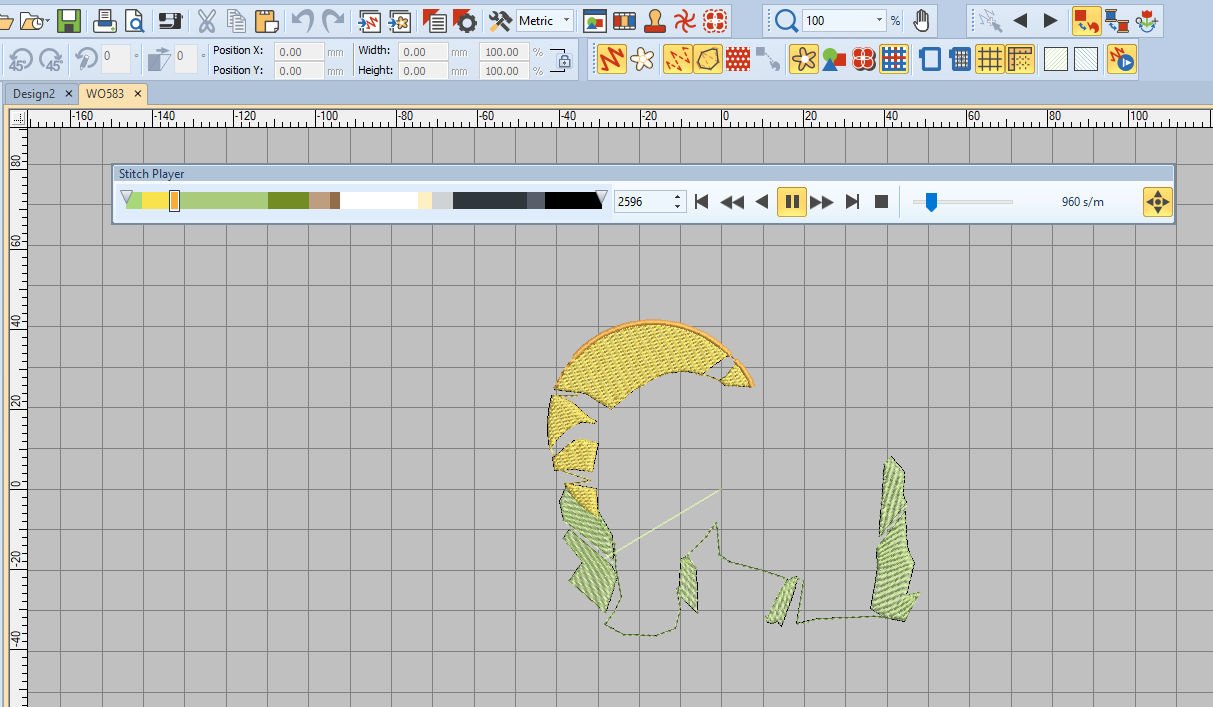
First I want to see how this will be embroidered, so I’ve clicked on ‘Stitch Player’ (View Toolbar). You can play this ‘video’ to see the embroidery sequence, slow or fast, shifting the speed/slider to a higher number. You can watch my short video at the end of this Blog post.

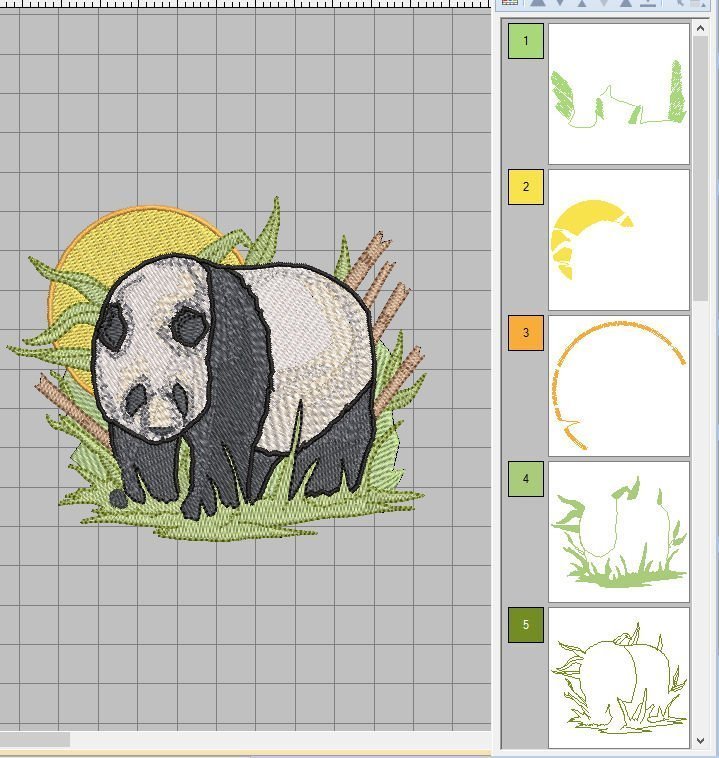
The Color Palette shows 14 Used Colors. The very first box shows the ‘Current Color’, and the other 13 colors are the actual number of colors used, consecutively. There are no unused colors at this time, because all boxes are provided with a blue square on the top right. With the cursor hovering over a box, you will get information about the color and thread that is used, When clicking on the box, that number/color will appear as current color: so that shows you right away what you have selected.

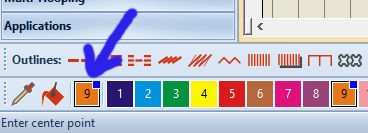
So in this case, the first box and the fourth box are both color number 3, with this design, i.e. the current number/selected number. You can also quickly check colors of the design, by using the first icon ‘Pick Color’.
If you want to see more details with the rest of the colors, just hover above them, which will show you the thread number, brand and what part of the design is colored with this particular thread. 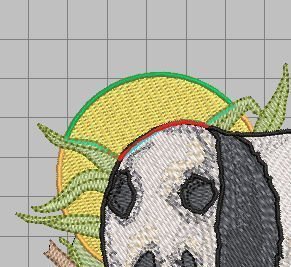
Using the indicated icon ‘Pick Color’, I hovered above the object/area of the yellow sun, after selection lines are surrounding this area. Clicking on this area, turns this color into the ‘current color’. You will see that the second icon ‘Apply Current Color’ is activated.
If I change the current color in nr. 13 = black, and use click on the yellow area, it will turn into nr. 13 = black. This is a fast way to play with colors.
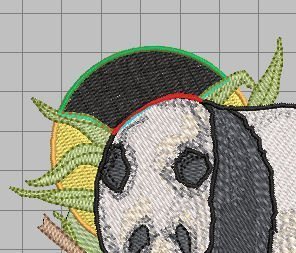
With the selection still active, choose any other number/color = box, and change the color of the indicated area. I wanted to change the Panda into an Polar Bear, and changed colors wherever I needed to.
Not quite finished, but what a difference! It is fun to change a design this way: it shows you nothing is permanent, because with V8 you can always customize designs (for your own use! Remember © copyright).
Use ‘Undo’ if you have done something wrong, or just go on changing colors. Save this in your own files, changing the name of this file to keep the original design.
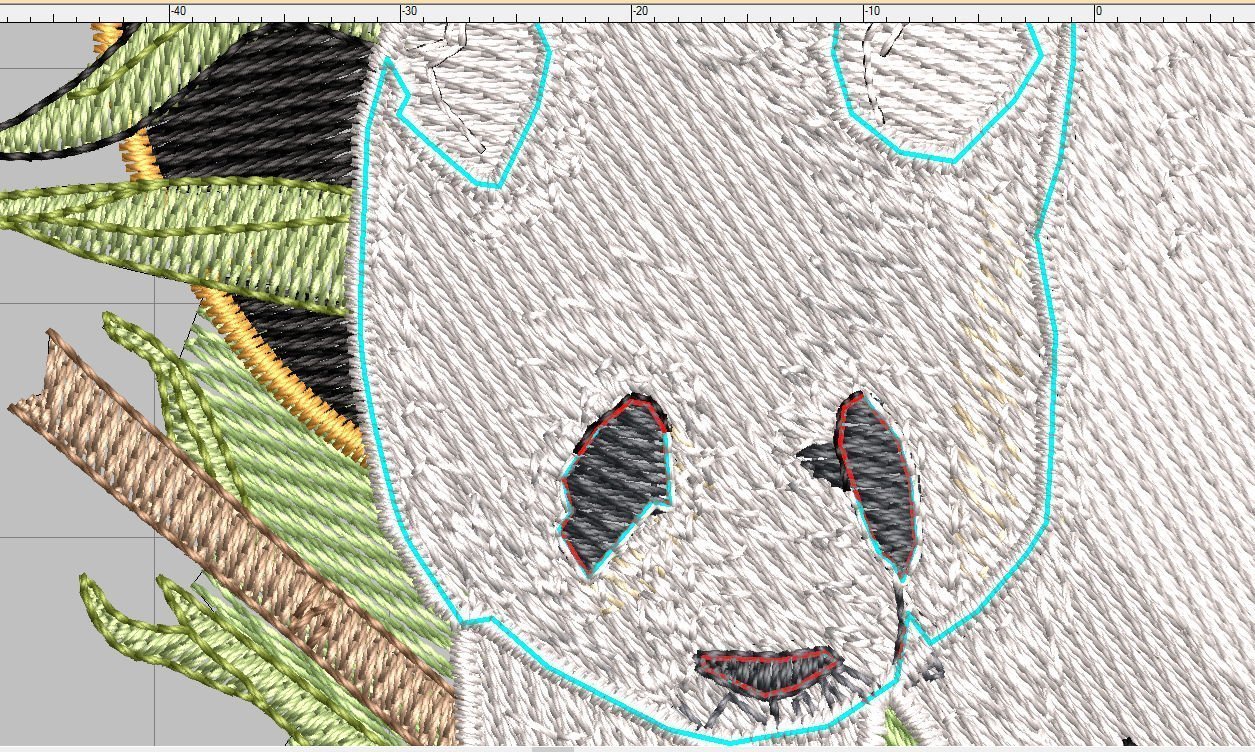
To quickly check the colors of each object/outlines, use the docker ‘Color Film’. Every box represents a part of the design, in embroidery sequence. Use the scroll bar on the right to travel through all boxes.

Click box nr. 1 = top of the Color Film: the box background turns blue, which indicates that all stitches of that color/part of the design is selected.
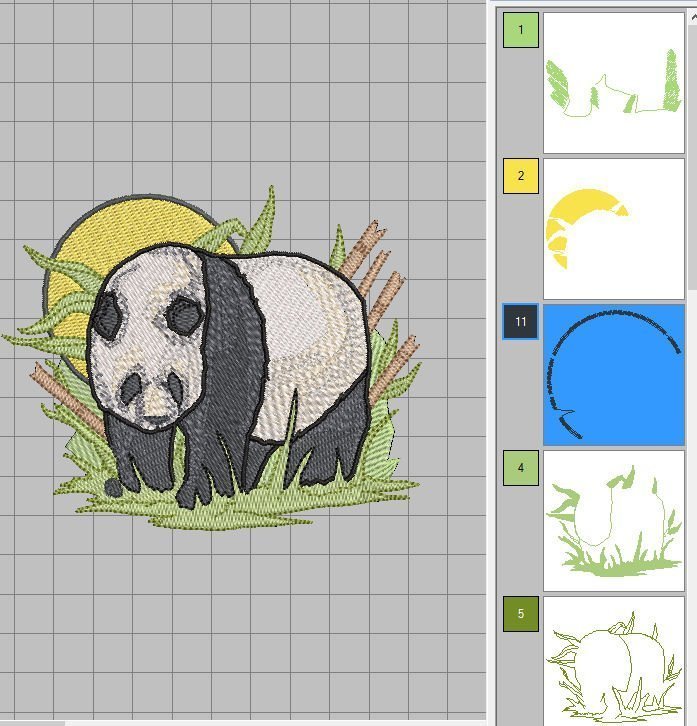
You can also use the boxes in Color Film to change colors quickly: just click a box in the Color Film, then click on a color box in Color Palette. I have changed the Satin stitches around the sun. Because this Outline consists of different pieces, normally you’d had to select and change each piece, one at the time. Using the box in Color Film changes them all at once.

Do you want to add more colors, to be able to change a lot? Use ‘Add Palette Color’ and each new box is given a sequential number, by which the last color/number is also placed in the box of the current number (but without a blue square, because you haven’t clicked on that box/number). If you want to reduce the number of random colors, use ‘Remove a Palette Color’, and one by one they will disappear.
The icons ‘Remove a Palette Color’ and ‘Remove Unused Colors’ are activated after adding one or more boxes/colors.
The icon ‘Cycle used colors’ gives you an indication about changing colors; with every click the next color will be the ‘current color’, while all the other colors are moved one place to the right. This is a way to see if a colors in a different place of the design will be interesting too. The video above gives you an impression.
See how everything changes? Looking at designs this way gives you a good impression how color changes can effect your embroidery.
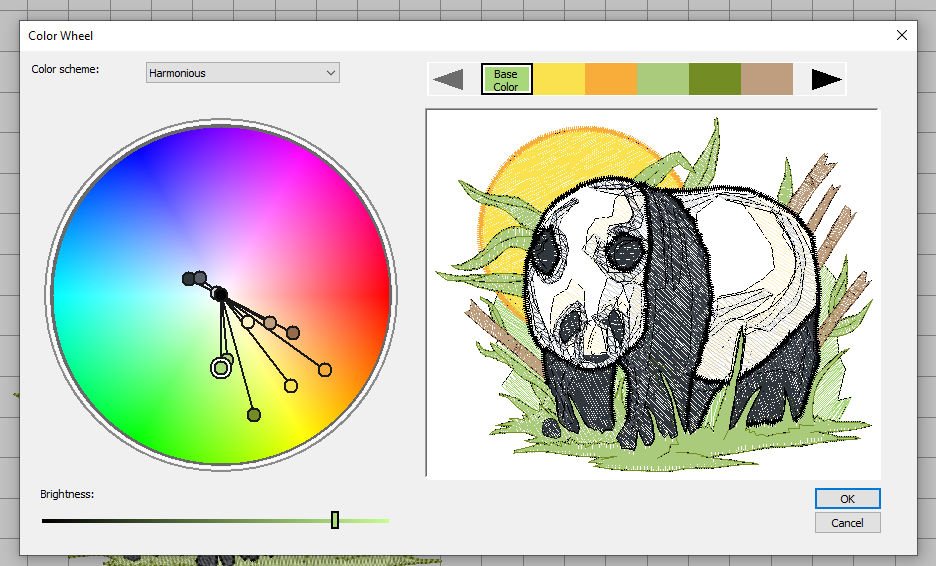
Lets try the ‘Color Wheel’ function. The Color scheme ‘Harmonious’ gives you an impression about how the colors are divided in the design. The slider for ‘Brightness’ is set almost to the right (85, you can see this number when ‘standing’ on the slider (not moving)). Shift the slider to the right, or to the left for different Brightness, and V8 will adjust it for you.

You can shift the nodes into the Color Wheel too: clicking on one of the nodes, gives you information about the RGB of the used color – holding the node and shifting it to another position on the Color Wheel changes the color/RGB. You can see the slider of ‘Brightness’ shift at the same time: that gives you information about that particular color. The Node with the whit ring surrounding it, is the Base Color – that is indicated on the color bar top right. Click on any of the boxes with a color, and it will be surrounded by a white border, indicating that at thát moment can adjust/change this color.
As long as you are changing things like this, it will not be permanently. By clicking on ‘OK’, this will set your current colorway. If you just want to play with color changes and nothing more, click ‘Cancel’ and your original design is on your work space.

More Color schemes can be used: use the down arrow with ‘Color Scheme’ and try different set ups: the picture above shows ‘Complementary’, just using the two Complementary colors of the Color Wheel = opposite colors: in this case Reds and Greens.

Shifting the ‘Base Color’ node, to Blues and Yellows, gives a dramatic difference. Also you can push the nodes to the center of the Color Wheel, which makes the colors fade.
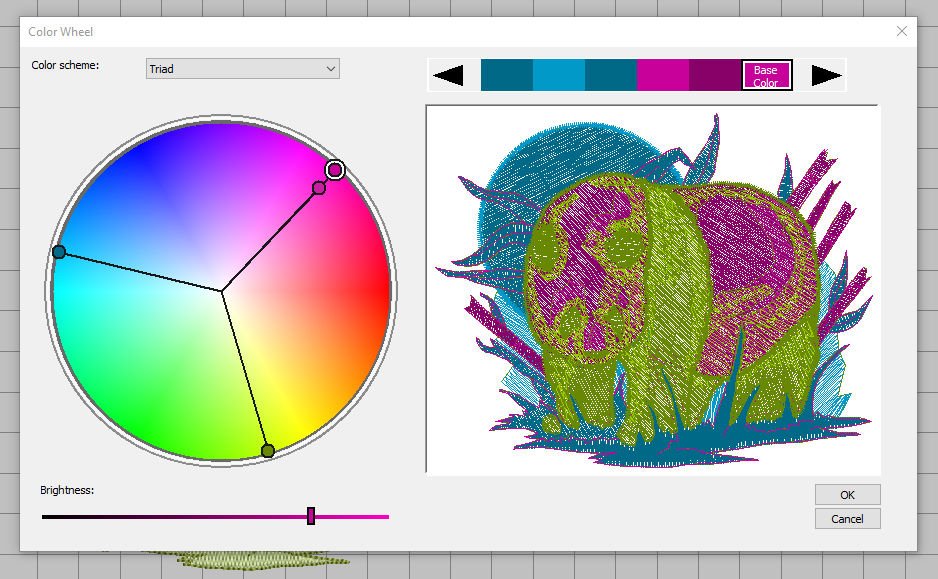
With ‘Triad’, three colors are selected, dividing the Color Wheel in three segments. You can move the nodes, and – with this design – you can shift the small node underneath the Basic Color along the line, to just change that color.
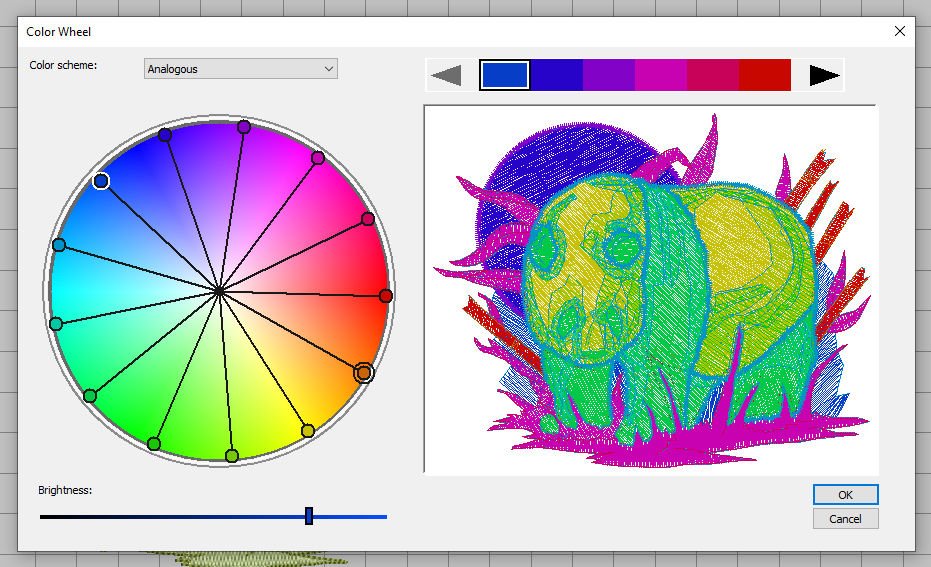
Try ‘Analogous’: the Color Wheel is divided into many parts. Pulling the Basic Color node (which is blue at this time), turns everything all at ones to a different Base color/scheme, pulling another node changes the size of the parts.
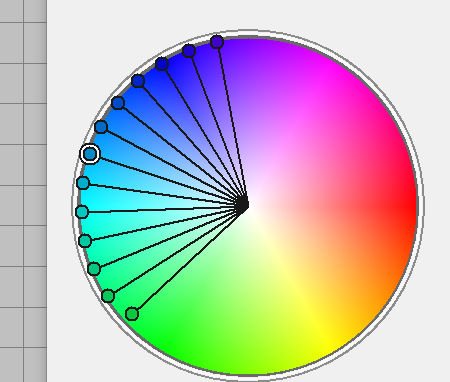
You can also pull one node very close to the Basic Color, which compresses the parts to a much smaller area in the Color Wheel. That means there are not as many colors used anymore, but just the part of the Color Wheel you have pulled the nodes to. Pushing the nodes to the edge, or pulling them back to the center changes brightness, without having to use the slide bar beneath the Color Scheme.
So, this is fun. Practise a lot. Play with the colors as much as you want. Use OK if you want to set the Color Scheme, or ‘Cancel’ if you want to stop and use the original colors of the design. You can Set a new design with ‘OK’, and save it under a different file/name, for future use too.
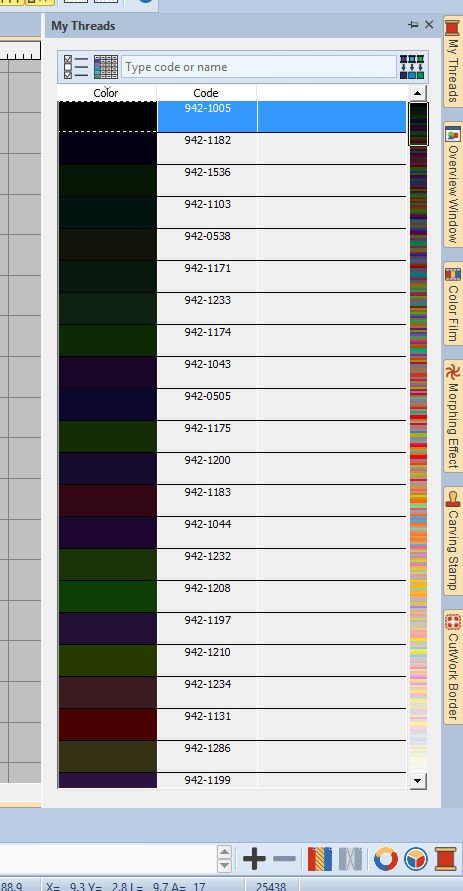
When using the last icon of the Color Palette toolbar = ‘My Threads/Thread Colors’, this ‘docker’ appears. At some point, I have chosen Sulky Rayon threads, so that is what you see at the picture above.
You can change the Threads by using the icon ‘My Thread Charts’. Click on this icon, after which a menu ‘Thread Charts’ appears.
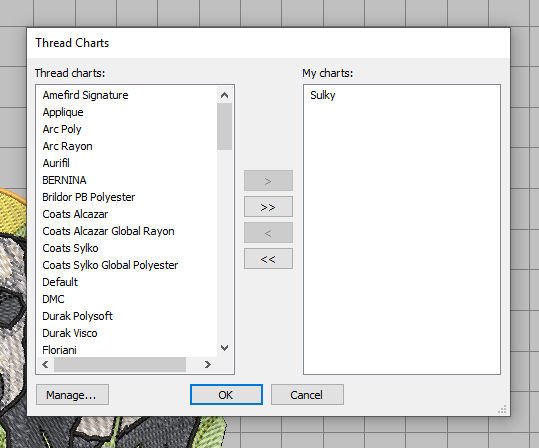
An extensive list with Thread Brands on the left, and ‘My Charts’ = my current choice of Thread on the right. If you want to add a Thread Brand to your Thread Chart, just click on a name (list on the left), and click on an arrow, pointing to the right. Your new Thread brand/type is added. If you want to shift ALL brands to the right, use the double arrow, pointing to the right. If you want to change it back, use the double arrow pointing to the left, or click on a name, to just shift one Thread brand to the left. Again, using ‘OK’ sets your Thread Chart; with ‘Cancel’ everything is as it was, no changes.

Using ‘Manage’, you can change everything in the menu ‘Manage Thread Charts’. The Thread Brand is indicated first (for me that was Sulky),

but by using the down arrow you can choose to select another brand too. You can rename, create, delete, add, remove, edit, copy, clear all….
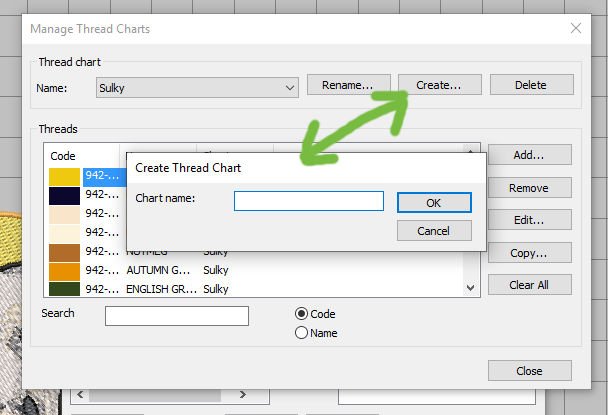
With ‘Create’ you can make your own Thread Chart – using your own Chart name and add threads.
With ‘Search’ you can search by Code (numbers) or Name of a Thread Brand. But remember: with ‘code’, fill out the ENTIRE code, or V8 won’t find your thread. You can see the full numbers with my Sulky threads: 942-…., which means that the code for the BRAND Sulky Rayon 40 is 942, so if you are looking for Color 1182 of this Brand, search ‘942-1182’, and it will appear in the box. (Don’t forget the ‘dash‘ between the brand number and the color number).
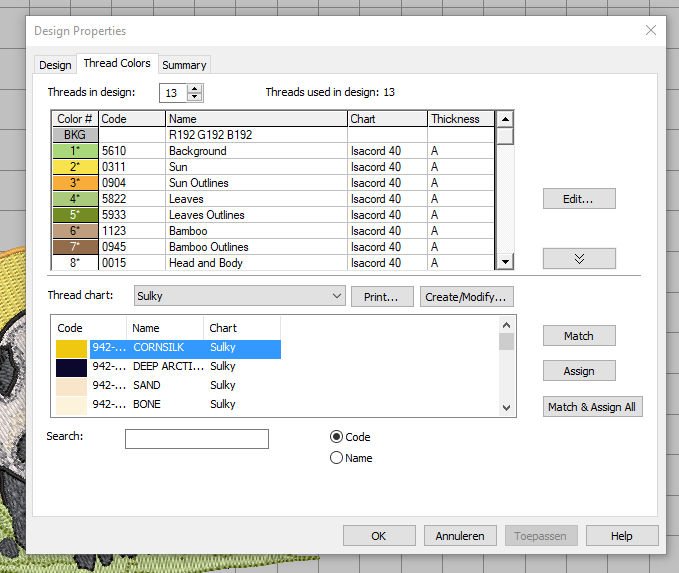
When you right-click on the icon ‘My Threads/Thread Colors’, another menu pops up ‘Design Properties’. The Tab which is openend by default ‘Thread Colors’.

Click the Tab ‘Design’ to get information about the embroidery design on your worksheet. The Design Name, Version, Stitches, Color Changes, Colors, Trims and the machine Run time are indicated. 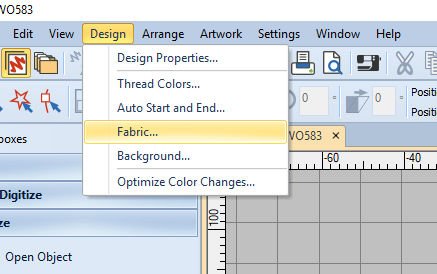
With Fabric Type, there is no type indicated, as is with ‘Required stabilizers’: that’s because you haven’t selected any fabrics or stabilizers yet (you can do by using ‘Design’ on the Menu Toolbar, then ‘Fabric’ and fill out the type of fabric you want to use, which gives you a direct indication of the required stabilizers).
Next time I will show you how to edit a design, ungroup it and embroidery it on the BERNINA 770QE with embroidery module. See you then!
Happy Stitching
Sylvia Kaptein
Sylvia’s Art Quilts Studio
www.sylviasartquilts.nl
[email protected]
The video ‘Stitch Player’ of the View Toolbar, showing the Panda embroidery motif.

Hello,I’m new to using both the Bernina 8 Software and the Bernina E16 machine and software. I have a basic question that I cannot seem to find the answer to. We have a certain 16 colors threaded on the E16 machine. Do these colors need to match the color numbers on the color bar on the Bernina 8 software? For example, we have Isacord 1703 on thread #1 on the E16. How do I correlate that between the two softwares?
Dear Christi,
You do not have to match the numbers of the thread on your machine to the numbers in the software or vice versa. The machine doesnt know which thread you have on it, so if its a BERNIA Thread number 6 or the Isacord 1703 in the embroidery file does not matter.
However, I like to preview the designs with the Isacord Threads in the Software, and also, if I use the same design half a year later, I want to know which colors I used instead of trying to find the correct ones. Also, the correct Thread will be shown on the machine, so I wont have to figure out which thread is which Bernina color. So, if you match the thread in the software to the threads you have on your machine, you will have some organisational benefits, but its not necessairy.
Kind regards, Ramona from BERNINA International
Hello, I recently added threads that were not in my software, along with the rgb values that the manufacturer supplied. When I use the match and assign function, does the software match by these values. Thank you
Dear Kathleen,
Yes, the match and assign function uses the RGB values to match.
The color bar at the bottom of the screen disappeared and i am trying to add it back. I just switched to the new software in january and i know it is probably easy but cannot figure out how to do it.
Would so appreciate any help
Do you see it anywhere on your screen? Perhaps you don’t have V8 on full screen ? Try That first. Or go to ‘HELP ‘ to find out how to retrieve it
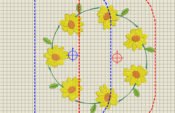
A colorful one, Ann, hope your own designs will be colorful too!
Sylvia
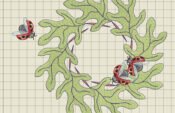
Another great exercise