Another toolbar: Stitches. A vast amount of outlines and fill stitches; basic and more artistic or decorative. In this lesson we will limit ourselves to Outlines (fill stitches are covered in the next lesson). Icons can be used by left-click = activate, and right-click = properties.
![]()
The Stitches Toolbar can be found at the bottom of your screen, with 12 icons for making Outlines:
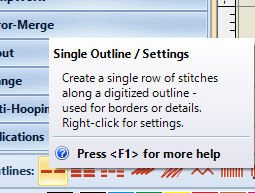
1: Single Outline/Settings. Create a single row of stitches along a digitized outline – used for borders or details. Right-click for settings.
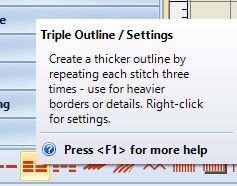
2: Triple Outline/Settings. Create a thicker outline by repeating each stitch three times – use for heavier borders or details. Right-click for settings.
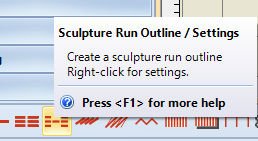
3: Sculpture Run Outline/Settings. Create a sculpture run outline. Right-click for settings.
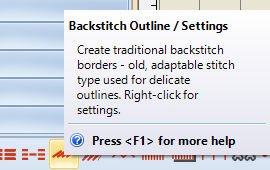
4: Backstitch outline/Settings. Create traditional Backstitch borders – old, adaptable stitch type used for delicate outlines. Right-click for settings.
5: Stemstitch Outline/Settings. Create traditional Stemstitch borders or details such as stems and vines. Right-click for settings.

6: Zigzag Outline/Settings. Create a zigzag outline. Right-click for settings.
7: Satin Outline/Settings. Create thicker borders or columns of even thickness. Right-click for settings.
8: Raised Satin Outline/Settings. Create raised satin borders – can be used with Trapunto for quilting effects. Right-click for settings.
9: Blanket Outline/Settings. Create long, narrow borders with a ‘comb’ effect. Right-click for setting.
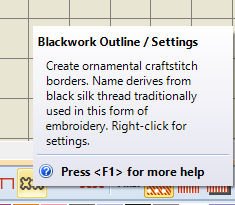
10: Blackwork Outline/Settings. Create ornamental craftstitch borders. Name derives from black silk thread traditionally used in this form of embroidery. Right-click for settings.
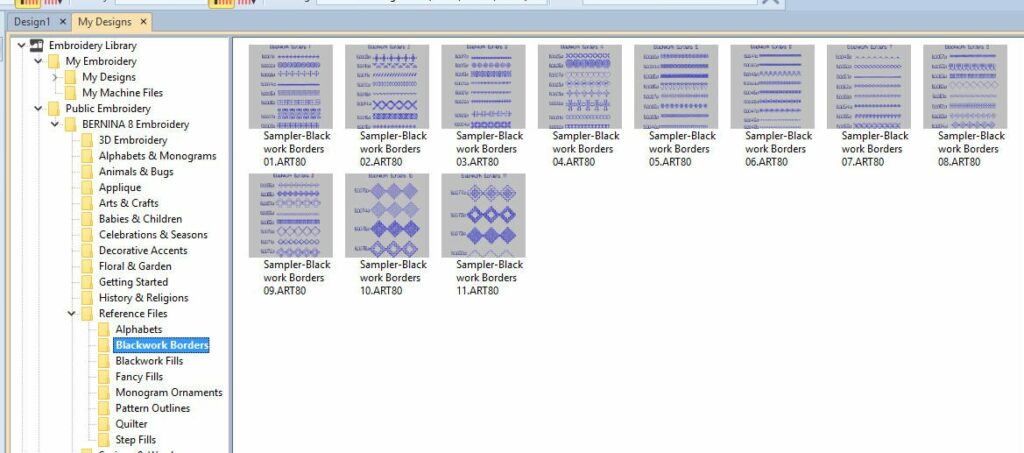
If you want to see the different Blackwork outlines and embroider them for Stitch samples, go to the BERNINA Embroidery Library, Public Embroidery, Reference Files – Blackwork Borders. There are 11 Sampler Blackwork Borders embroidery files you can place on your workspace,then use your USBstick to write to card/machine and move these to your embroidery machine and stitch them out for future reference.

11: Candlewicking Outline/Settings. Create ornamental craftstitch borders. Specify exact pattern size and spacing. Right-click for settings.
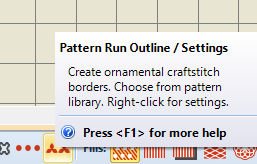
12: Pattern Run Outine/Settings. Create ornamental craftstitch borders. Choose from pattern library. Right-click for settings.
The first two icons for Outlines are the simplest type of stitching to digitize. You can use this for anything: object outlines, details and simple borders.
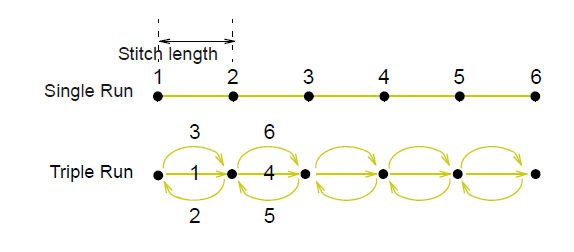
The single Outline places a single row of stitches along a digitized line. The tripe Outline repeats each stitch three times, to make a thicker line. The schedule above shows the steps your machine takes, while making this stitch.
If you want your embroidery to look more hand-stitched, use the Sculpture Outline: this alternates single and triple stitching for a variable (thick-thin) Outline. You will not see much difference on screen, between these three stitch types. Just view the stitching with the Travel tools, to be sure which type you want to use.
To use a single or triple Outline, select either from the Stitch Toolbar. Select a digitizing tool (Toolbar, left, ‘Digitize’) and make a shape – open or closed. I have used both ‘Open Object’ and ‘Closed Object’ to make different samples. 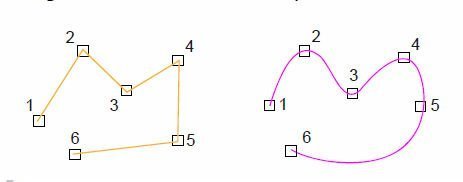
The pictures above are showing the steps of making an object. From 1 to 6: each represents a click. Left-click for straight lines, right-click for curved lines. If you want to end an open object, use Enter: the line will stop. If you want to actually close a closed object, stop at (6 or pre-last node=click) and use Enter: you don’t have to make a final click placed on the first node and close – V8 will do that for you.

I have made a zigzag line by left-clicking 5 times: the first = start of a line, second, third and fourth are the corners and the fifth = the last click, then Enter = end of the line. Each click is the end of a line/corner point, making a reference point. With right-clicking, each click is the curve point. If your Outline is ready, click on the icon ‘Select’ to stop making Outlines. If you don’t use ‘Select’, the next click will be the start of another Outline.
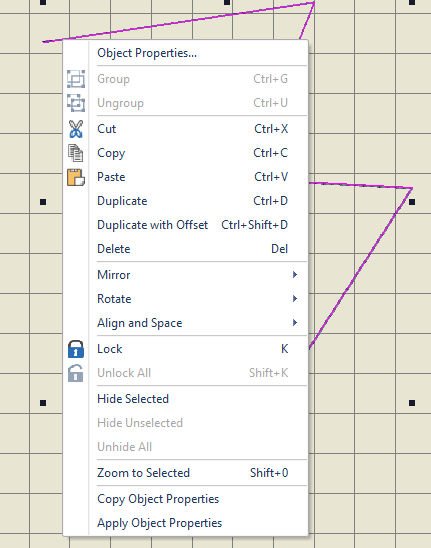
Right-click on the Outline, or double-click with left mouse button to open a menu with ‘Object Properties’. Click on ‘Object Properties’ for the tab ‘Outline Stitch’, which will be activated by default.
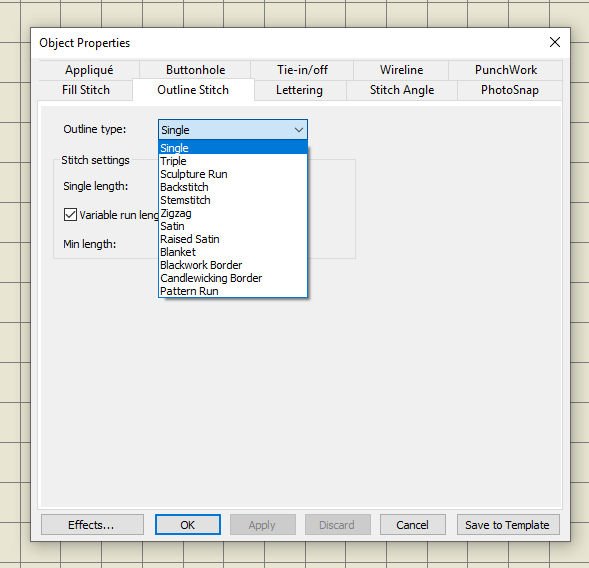
You can choose a different Outline Type – so don’t worry if you picked the ‘wrong’ stitch type in the first place. Changing it is easy, using the down-arrow: all 12 Stitch Types are available.
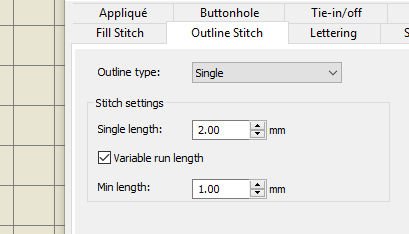
Use ‘Stitch settings‘, to adjust ‘Stitch Length’. Remember, when making curved Outlines, the sharper and tighter the curves, the shorter the stitch length should be, otherwise you will get angular curves, instead of smooth curves. By default, the stitch length is set on 2.00mm, for sharp curves use 1.80mm. Sometimes embroiderers want to mimic hand-stitches: in that case, use a 4.00mm stitch length. Click ‘Apply’ if you want a first look at the changes, use ‘OK’ if the changes are final.
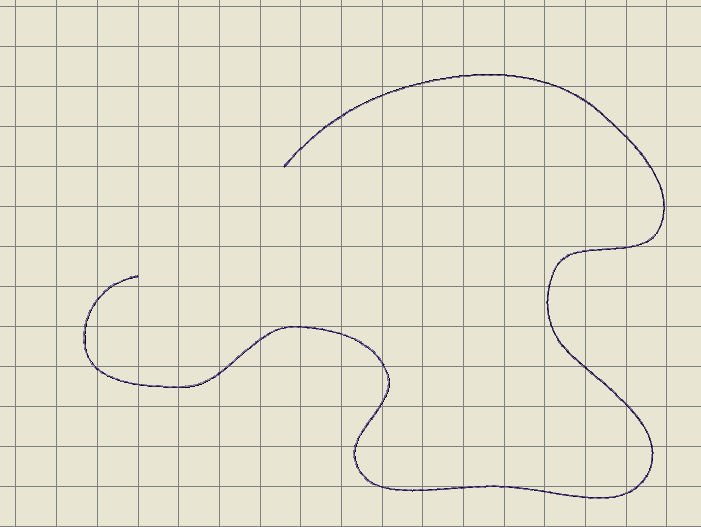
When right-clicking for Open Objects, the first line seems to be straight. But as soon as you are clicking the second time, it will be curved.
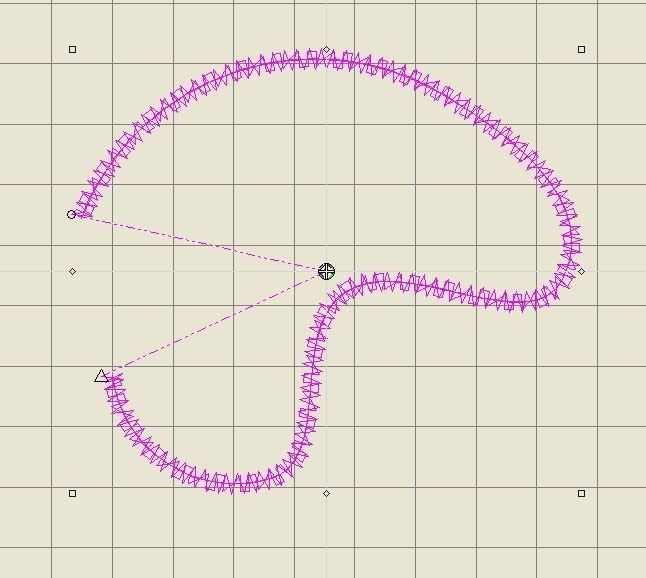
Select the line, and change them into ‘Zigzag’, 6th icon on the Stitch Toolbar. The width of the stitches are changed: now 3.00mm, which ‘Object Properties’, ‘Outline Stitch’ will show after right-clicking on the line. Again, you can change an Outline also by selecting a different type with ‘Object Properties.
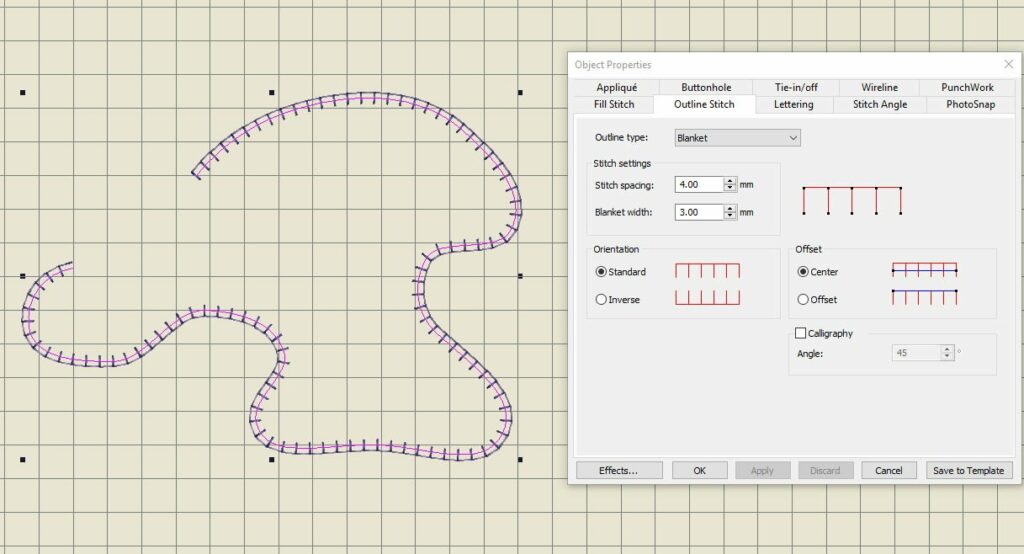
I have changed it into a Blanket Stitch, by selecting that type of stitch, and use ‘Apply’. It is not set yet, just an example is shown. Once happy with the settings, click ‘OK’ and your Outlines are set and final. If you want to adjust density or spacing, change the settings.
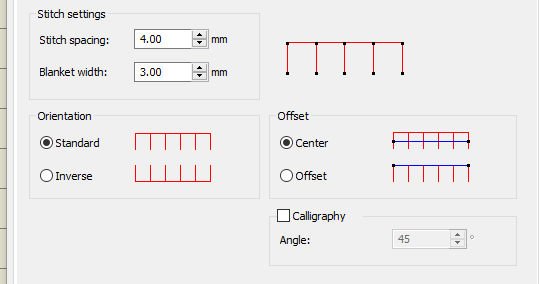
The orientation of the Blanket stitches are ‘standard’, which means that a solid line is made with protruding stitches, which are so characteristic for this stitch type, pointing inwards. That is because this stitch type is originally used to finish the edge of a fabric, stopping it from fraying and/or giving it a decorative look. 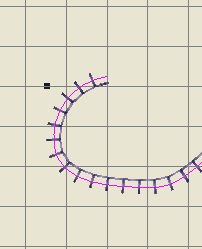 You can change this by clicking the box ‘Inverse’, and then ‘Apply’, so the protruding stitches are pointing outwards.

When hovering over the mm of ‘Stitch Spacing’, blue arrows appear, to indicate what you are changing if you adjust the stitch spacing. Hover over the mm with Blanket width, a blue arrow appears to indicate the height of the protruding stitches.
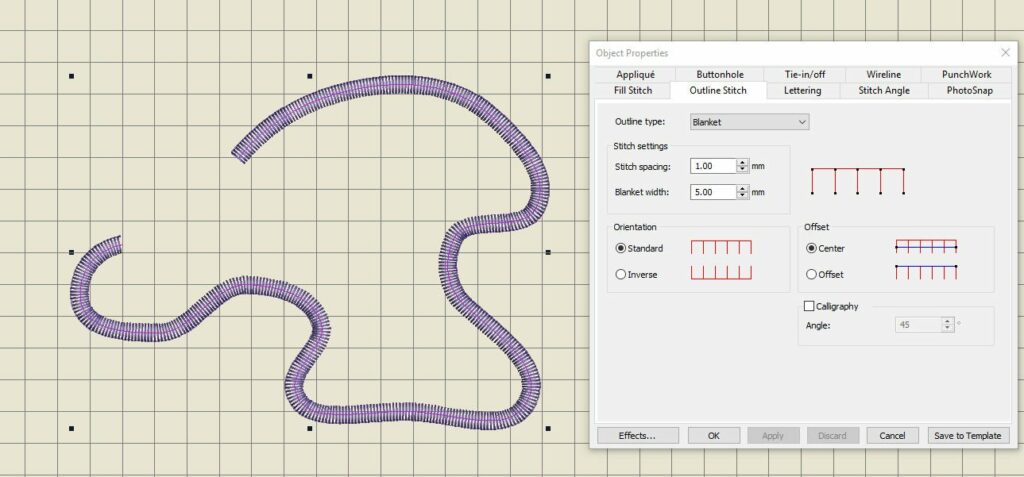
I have changed the appearance of the stitches dramatically, by setting the Stitch spacing to 1.00mm and the Blanket width to 5.00mm.
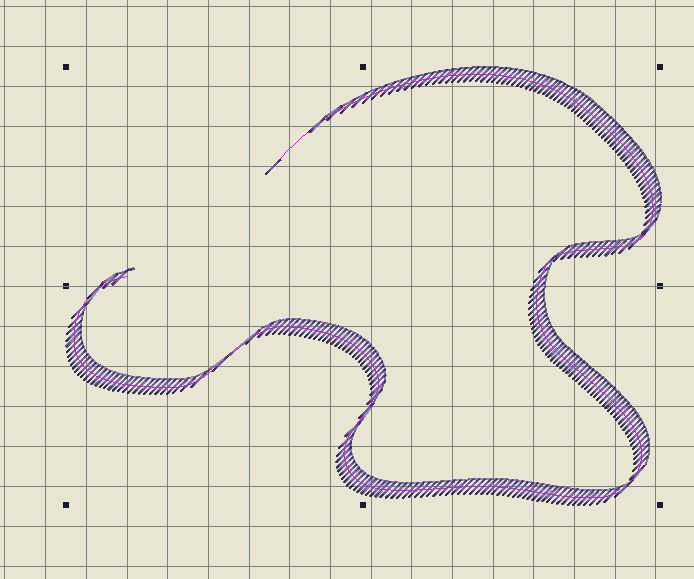
To give it a totally different appearance, click the box ‘Calligraphy’, and set the angle to 45°. Looks great!
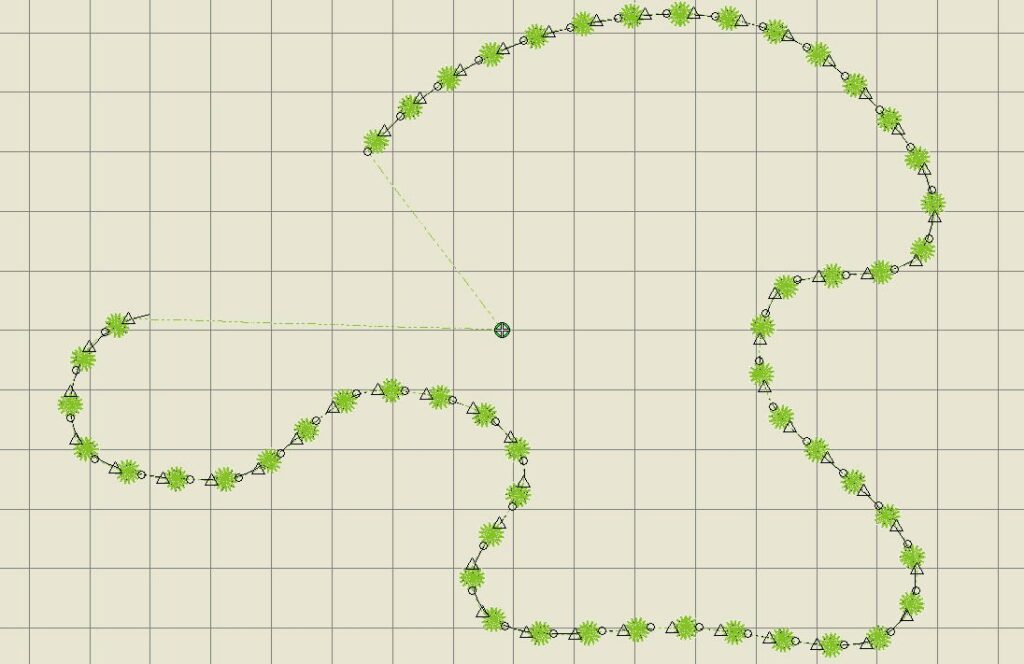 To change from Blanket Outline to Candlewicking Outline, just click on the icon on the Stitch Toolbar. Deactivate ‘Show Artistic View’ on the View Toolbar to see that, with this type of stitches, a lot of trims are made: each small shape is a separate pile of stitches/candlewicking figure, where each triangle represents a trim = tie-off, and each small circle indicates where stitching starts again = tie-on. HINT: if you don’t want your machine to actually trim every time a tie-off is indicated, deactivate the actual trimming with your embroidery machine. That will save time, but you will have to cut each connector yourself later. How easy that will be, depends on the spacing between the stitches.
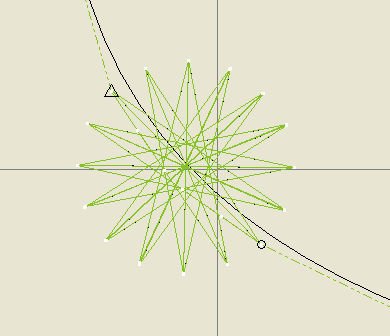
In this close-up you can see the ‘star’ shaped Candlewicking objects, with the triangles for trim/tie-off and the small circles where stitching starts again. The dotted lines are the connectors. Zooming in on a stitch line makes you understand the way it will be stitched.

Drawing a closed shape (Ellipse) and using the 5th icon = Stem stitch, is done by clicking twice on your workspace. The first click is for setting the height of the ellipse or circle, the second click is for setting the width.
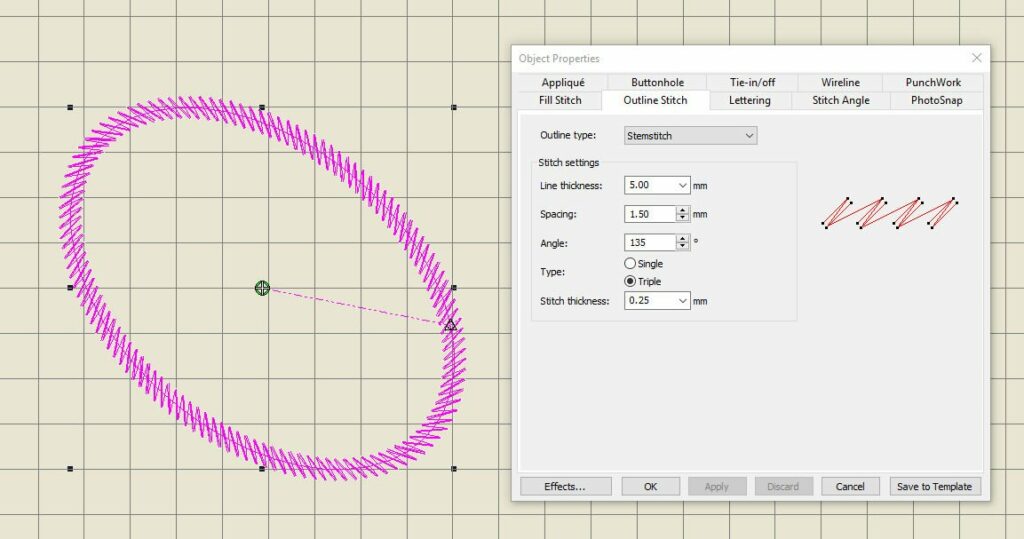
With ‘Enter’, the object sets. Right-click for ‘Object Properties’ to be able to change settings. You can change Line thickness, spacing, angle and Type (single or triple), and the stitch thickness too. Just play with it to learn. Remember: with every change, the stitch count can change too. Sometimes it is not do-able, but fun to see what happens. Try some more stitch types and change settings. Practice makes perfect!
Changing default settings, using apply, is just for temporary change. Using ‘OK’ = final. When saving your object, the settings are saved too, so next time you are opening that file, the default settings are different. If you don’t want that, because you are just playing with the possibilities, don’t use ‘OK’, but ‘Cancel’, and undo everything you have done with the ‘Undo’ command, before closing V8.
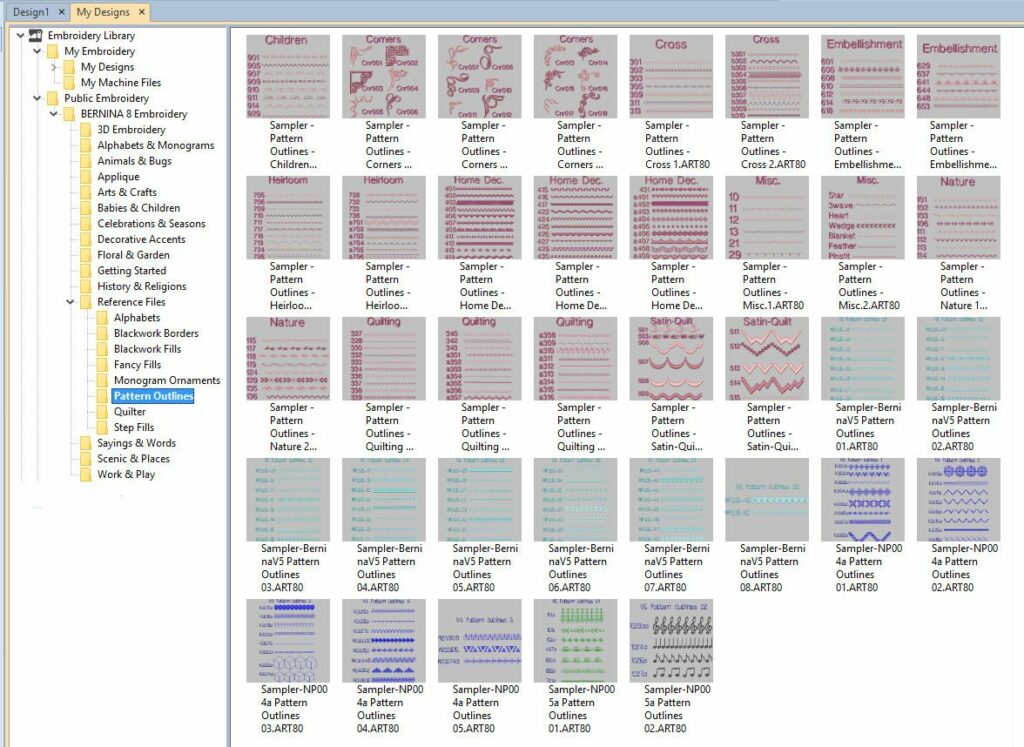
If you want to see the all the different Pattern Outlines and embroider them to get your own Stitch samples, go to the BERNINA Embroidery Library, Public Embroidery, Reference Files – Pattern Outlines. There are 37 Sampler Pattern Outlines embroidery files you can place on your workspace, then use your USBstick to write to card/machine and move these to your embroidery machine and stitch them out for future reference.
Next time the other type of stitches this Stitch Toolbar: Fill stitches. See you then!
Happy Stitching!
Sylvia Kaptein
Sylvia’s Art Quilts Studio
www.sylviasartquilts.nl
[email protected]
 BERNINA Corporate Blog -
0 Responses