 BERNINA Corporate Blog -
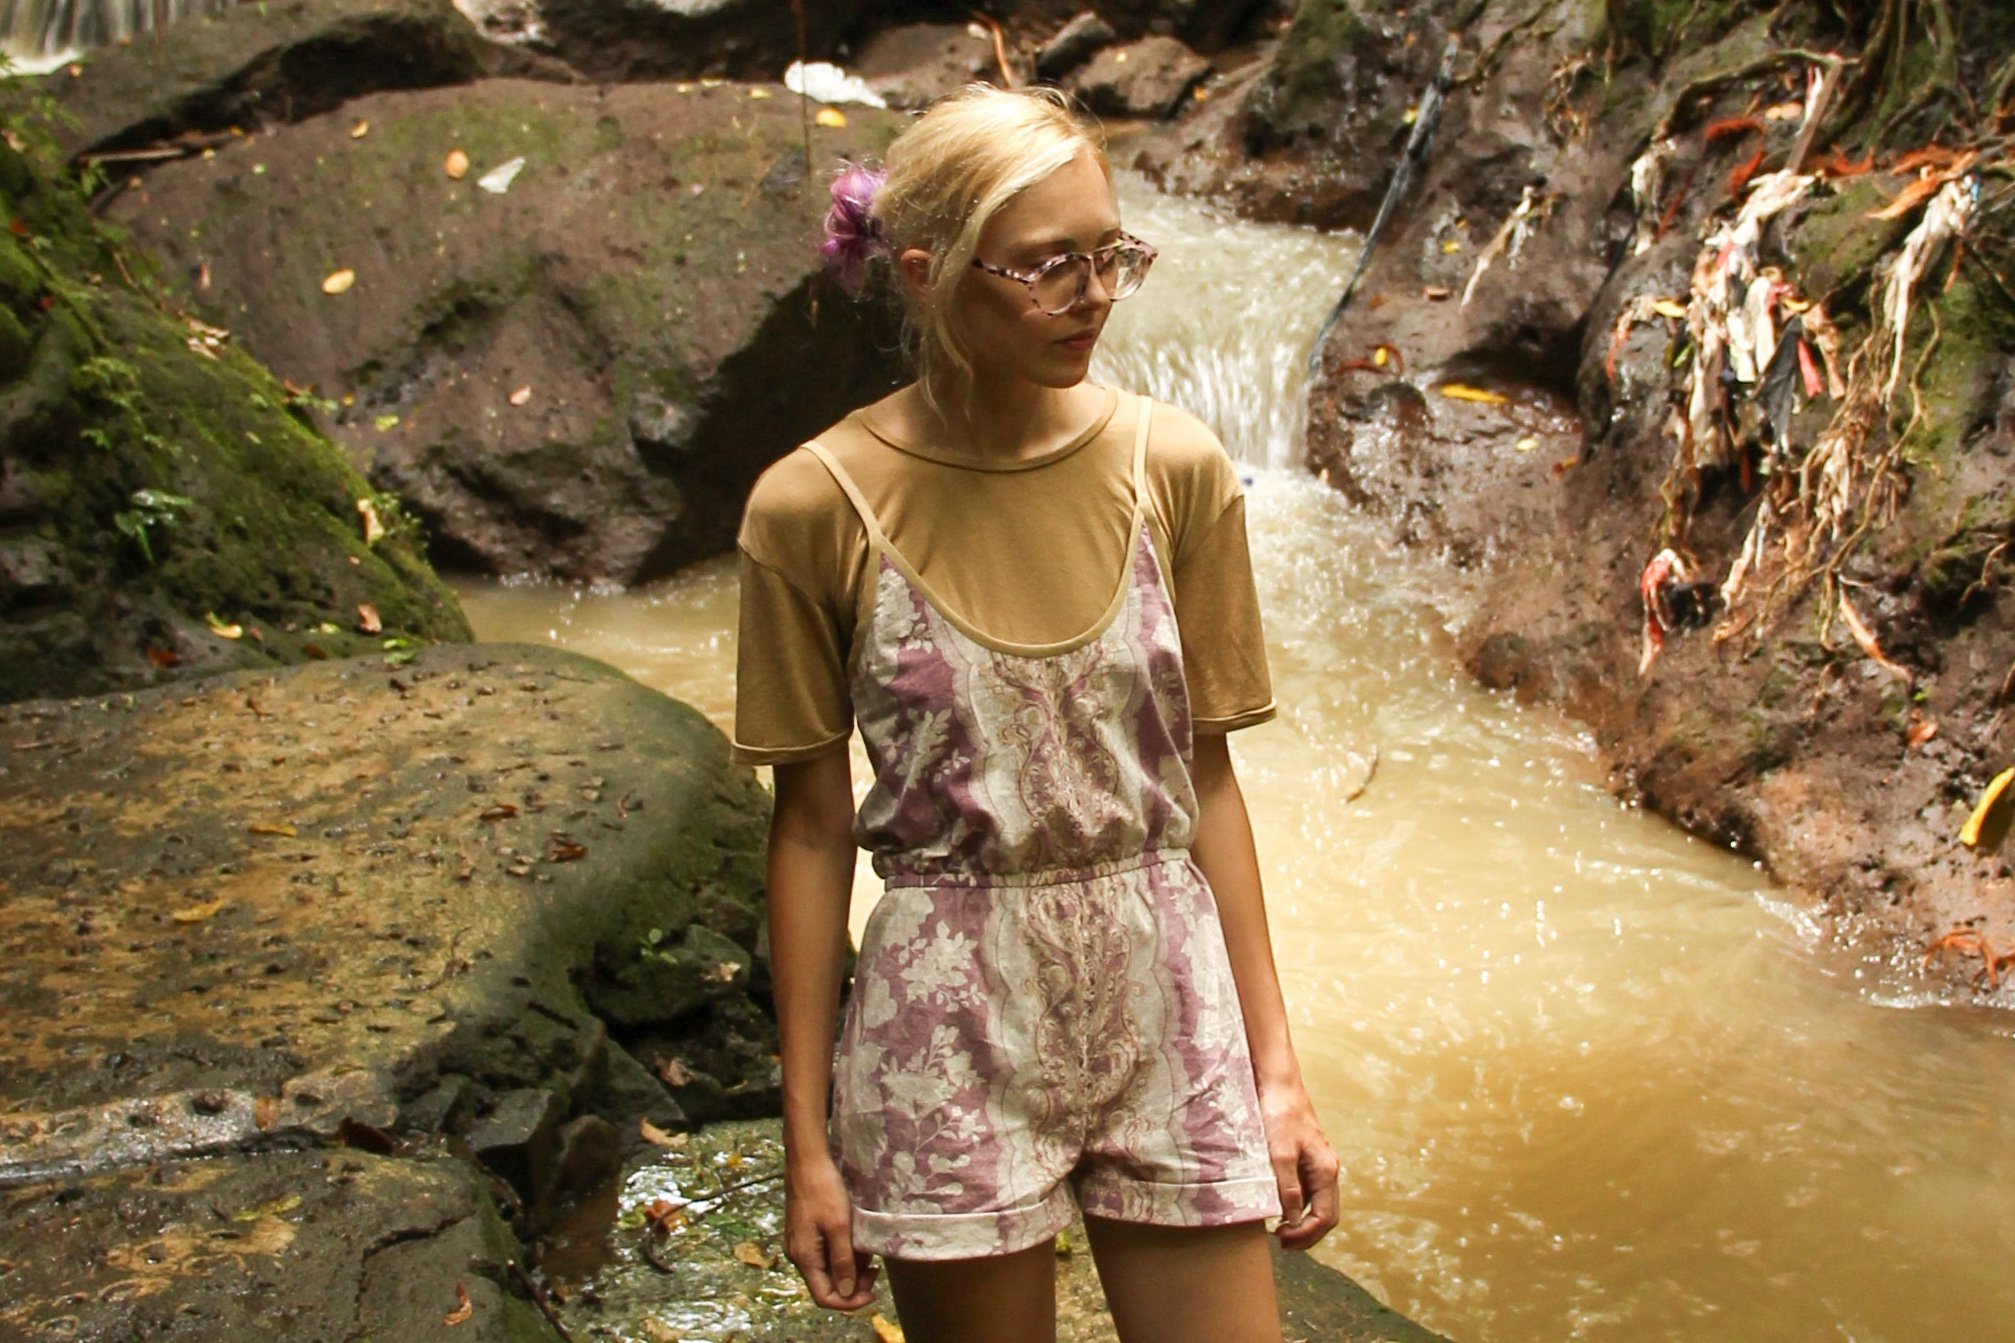 In a previous blog post Coffee Inspired Embroidered Tshirt (also pictured here) I mentioned my recent trip to Bali.
When planning our trip to Ubud we decided to visit the Sacred Monkey Forest. I was rather nervous as the monkeys are wild and roam free, often leaving the forest to explore the village of Ubud.
Through some research, I found that the monkeys are rather inquisitive and enjoy climbing on people walking through the forest. Even though I really hoped the monkeys wouldn’t climb on me, I kept this in mind when deciding what to wear.
A skirt or loose tshirt was definitely out of the question… I saw too many videos of monkeys lifting up the skirts and tops of some unsuspecting ladies visiting the forest!
I decided that a playsuit would be perfect as it is an all in one garment and paired it with my coffee coloured Stellan Tee to protect my shoulders from their little paws.
I could’nt find the exact pattern for the playsuit I wanted to make. Instead I used a pattern I already had and adapted it to make the exact playsuit I wanted. I used the In the Folds Peppermint Playsuit Pattern as a base and heavily altered it to suit my vision. The original pattern is fantastic, I just wanted to have an elasticated waist and an open back.
In this blog I’ll share how I made my playsuit but not how I adapted the pattern. The adaptions were tailored to my measurements so they wouldn’t necessarily work for everyone. But I want to encourage you to try adapting the patterns you already own if the style is similar to something else you want to make. You might surprise yourself by how much you can accomplish!
Side note: While I tried very hard to side step around the monkeys (which is difficult as they were everywhere!) I did get climbed on by 3 monkeys at the same time! One even left a little paw print on my thigh.
I posted the video on Instagram and Facebook if you would like to have a watch…
What I used
- B535 Sewing machine
- L460 Overlocker
- In the Folds Peppermint Playsuit Pattern (free pattern)
- 4 matching threads
- 1m Printed Cotton
- 3m pre-folded Bias Binding
- 70cm Elastic (1cm wide)
- 2 x lingerie sliders & rings
Steps
 1. I joined the Crotch seams of the Shorts and the Side seams of the Bodice with my sewing machine.
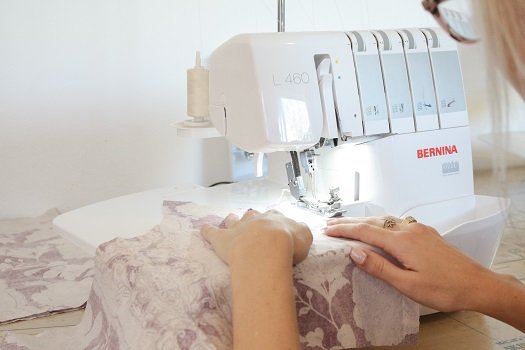 2. Using my 4-thread stitch, I overlocked the raw edges of the seam.
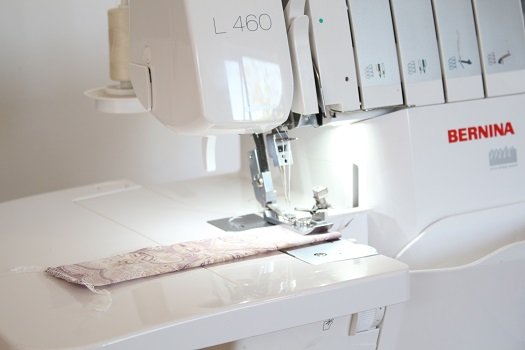 3. I overlocked the little Back Waist piece together at the side seams (leaving the base open.)
 4. The shaped neckline is edged with bias binding.
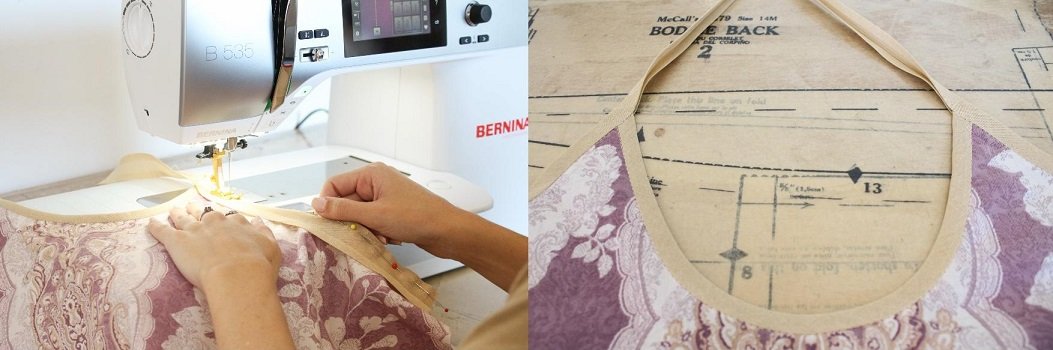 5. I also edged from the back seam, along the armholes to the neckline with bias binding.
I extended the binding past the neckline for the straps.
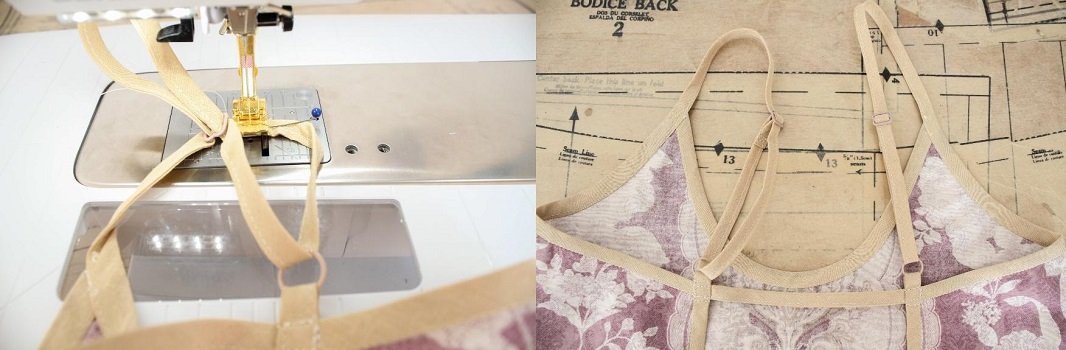
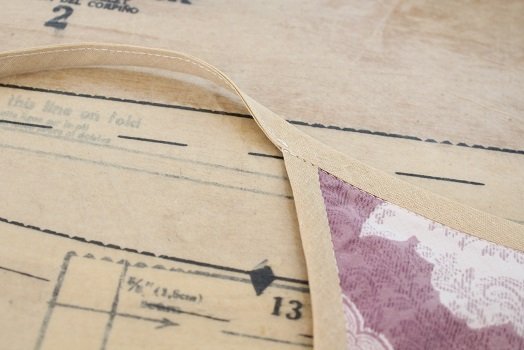 6. Once the binding was secure, I stitched along the open edge of the binding for the straps.
 7. I bound the Back edge and extended the binding by 5cm for the ring and Back strap.
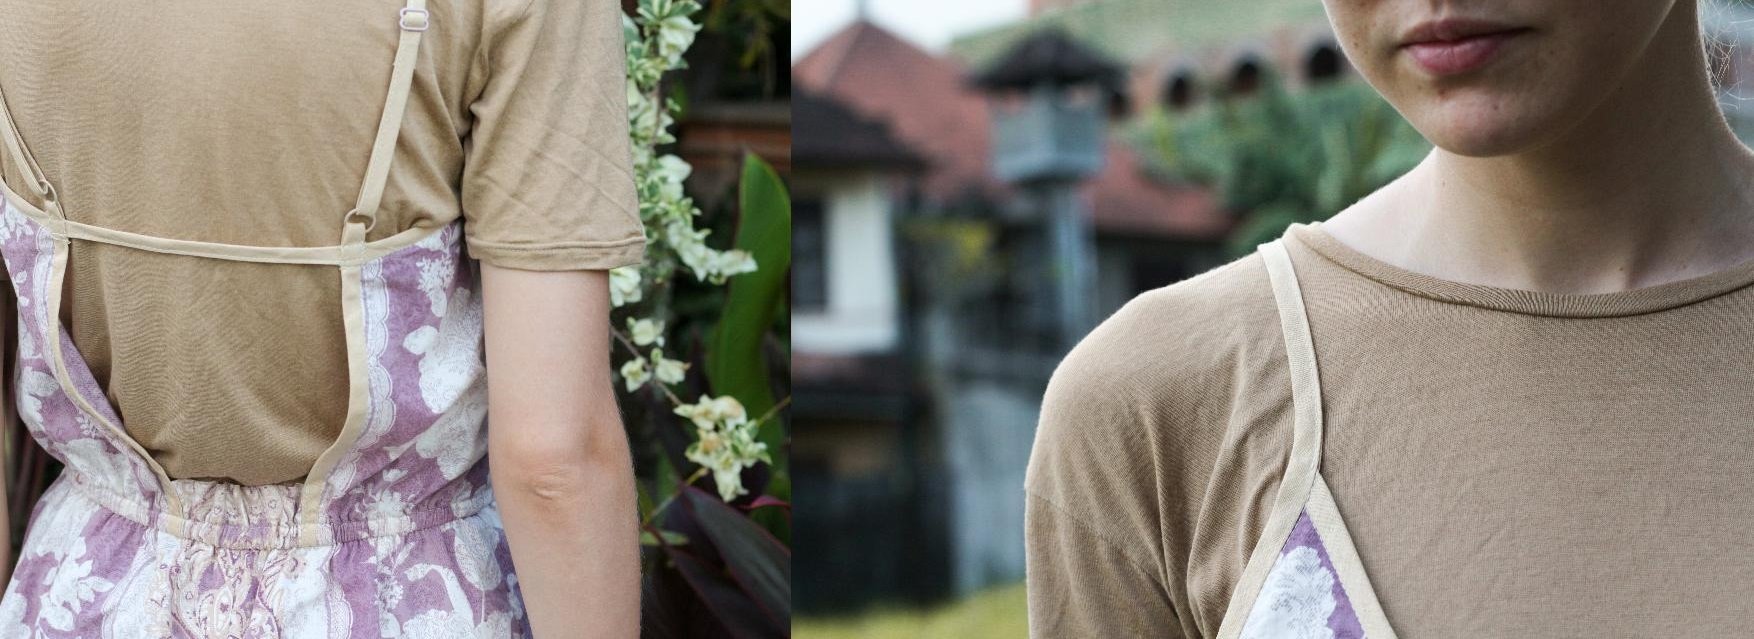
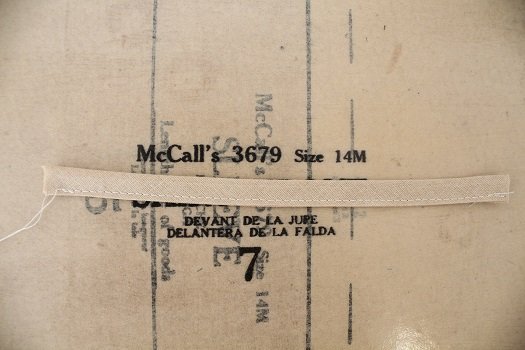 8. The Back Strap is a piece of stitched binding. I made it to support the open back and prevent the bodice from gapping.
 9. I pinned the Back strap to the binding of the Back edge and placed a ring on the extended piece.
The extension was then folded to the inside and sewn in place, securing the Back strap too.
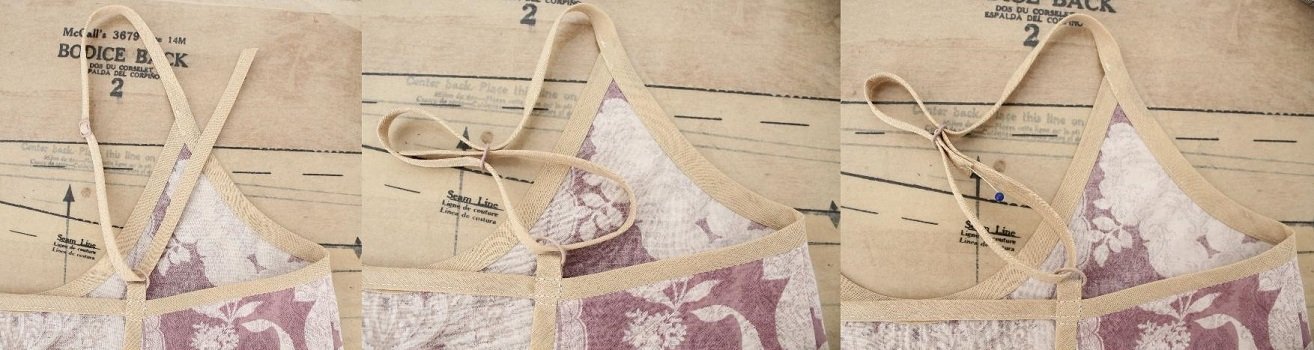 10. To make the straps adjustable, I fed a slider on to the strap and fed the end of the strap through the ring.
I fed the end of the strap back through the slider and pinned it in place.
 11. I sewed it in place.
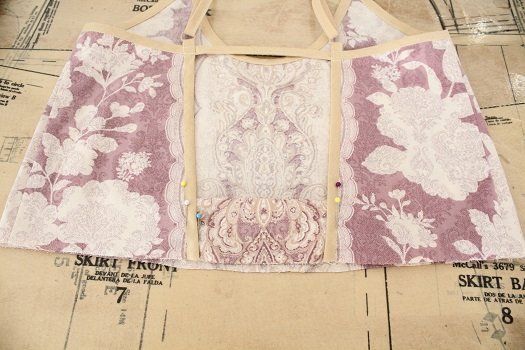 12.The Back Waist piece needed to be sewn in place along the binding seam.
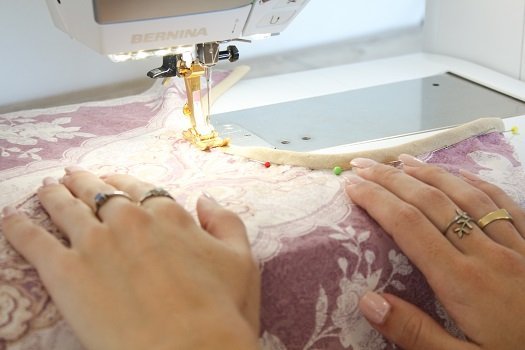
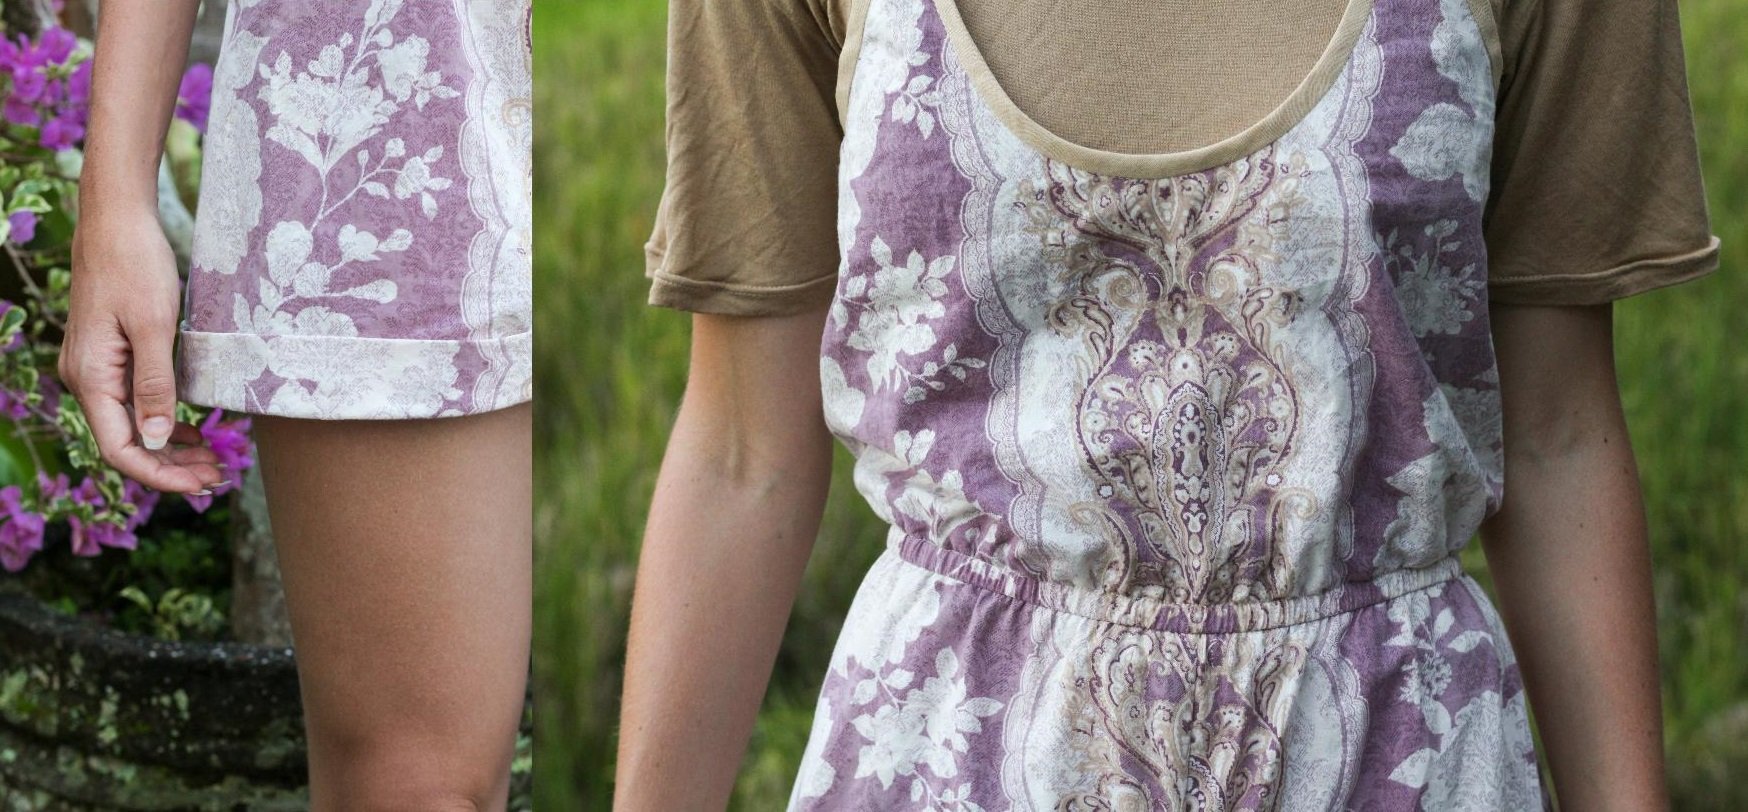
 13. It is important to take the extra time to pattern match when working with a patterned fabric. It can be very obvious when the pattern doesn’t match, especially with a big pattern like mine.
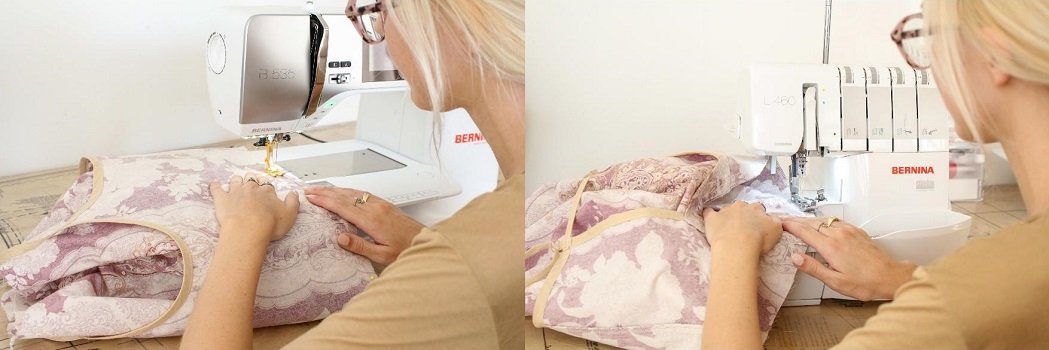 14. I joined the Bodice and Shorts at the waist with a 1.5cm seam allowance and finished the raw edge with the overlocker.
 15. To create a casing for the elastic, I folded the seam upwards and sew in place.
I gave about 1.3cm allowance from the waist seam and left an opening at the side seam to feed the elastic through.
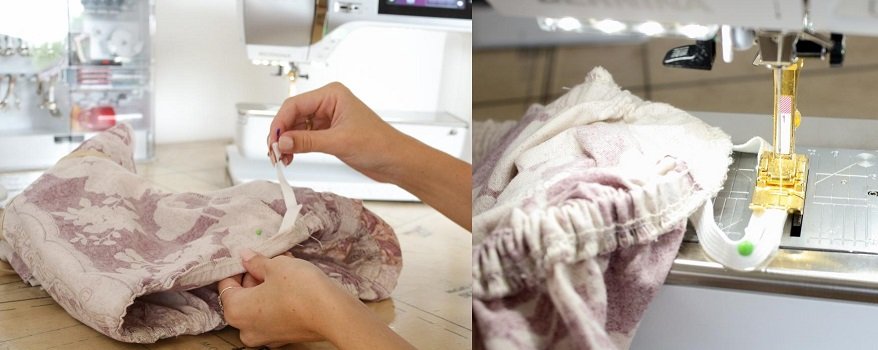 16. I fed the elastic through the casing, joined the ends and closed the opening.

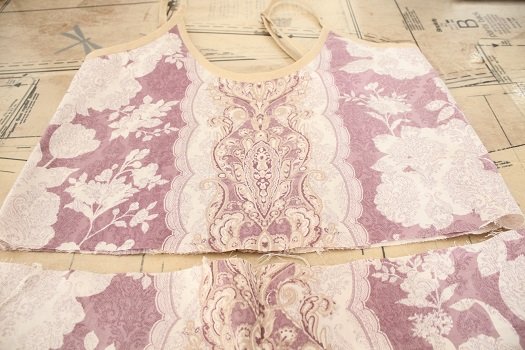
17. I overlocked the hems, folded them inwards 2.5cm and sewed along the overlocked edge. To create the turn up, I folded the hem outwards (keeping the overlocked edge inside) and secured them at the side seams.
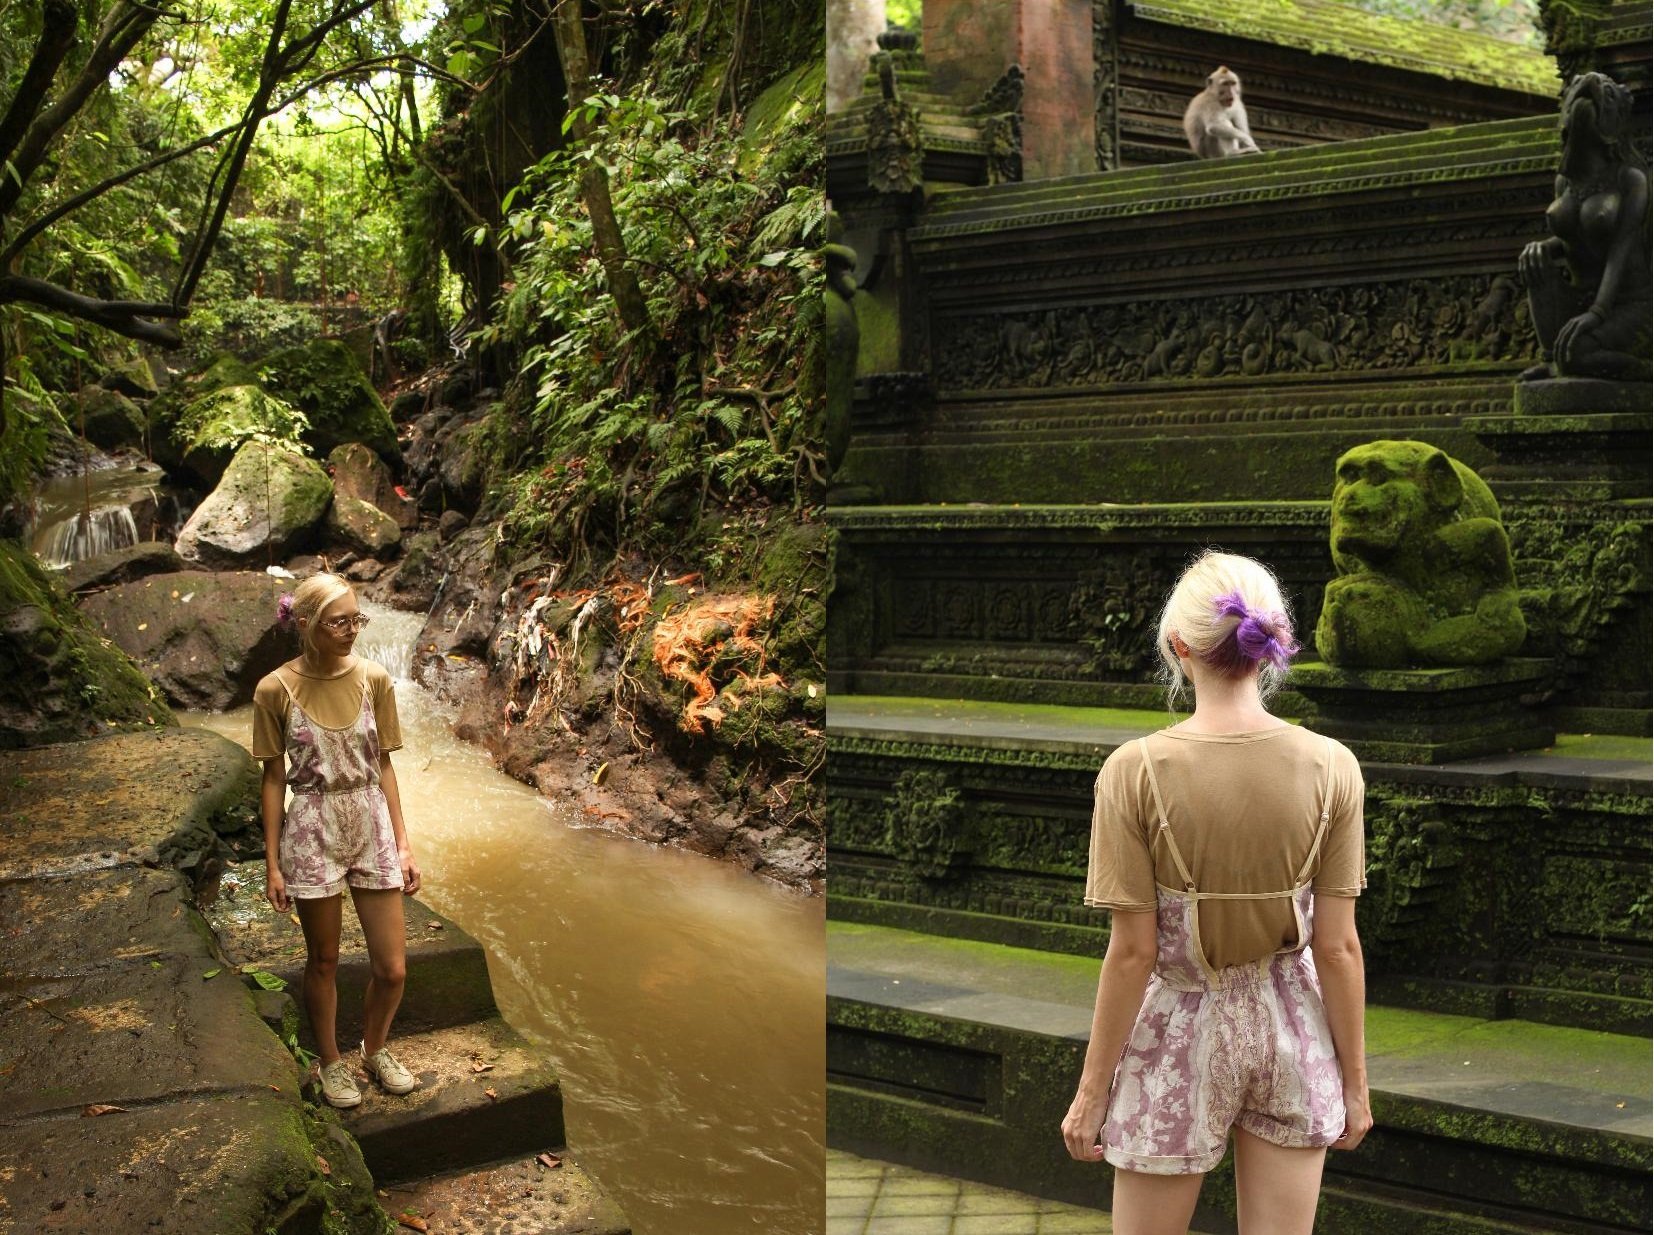
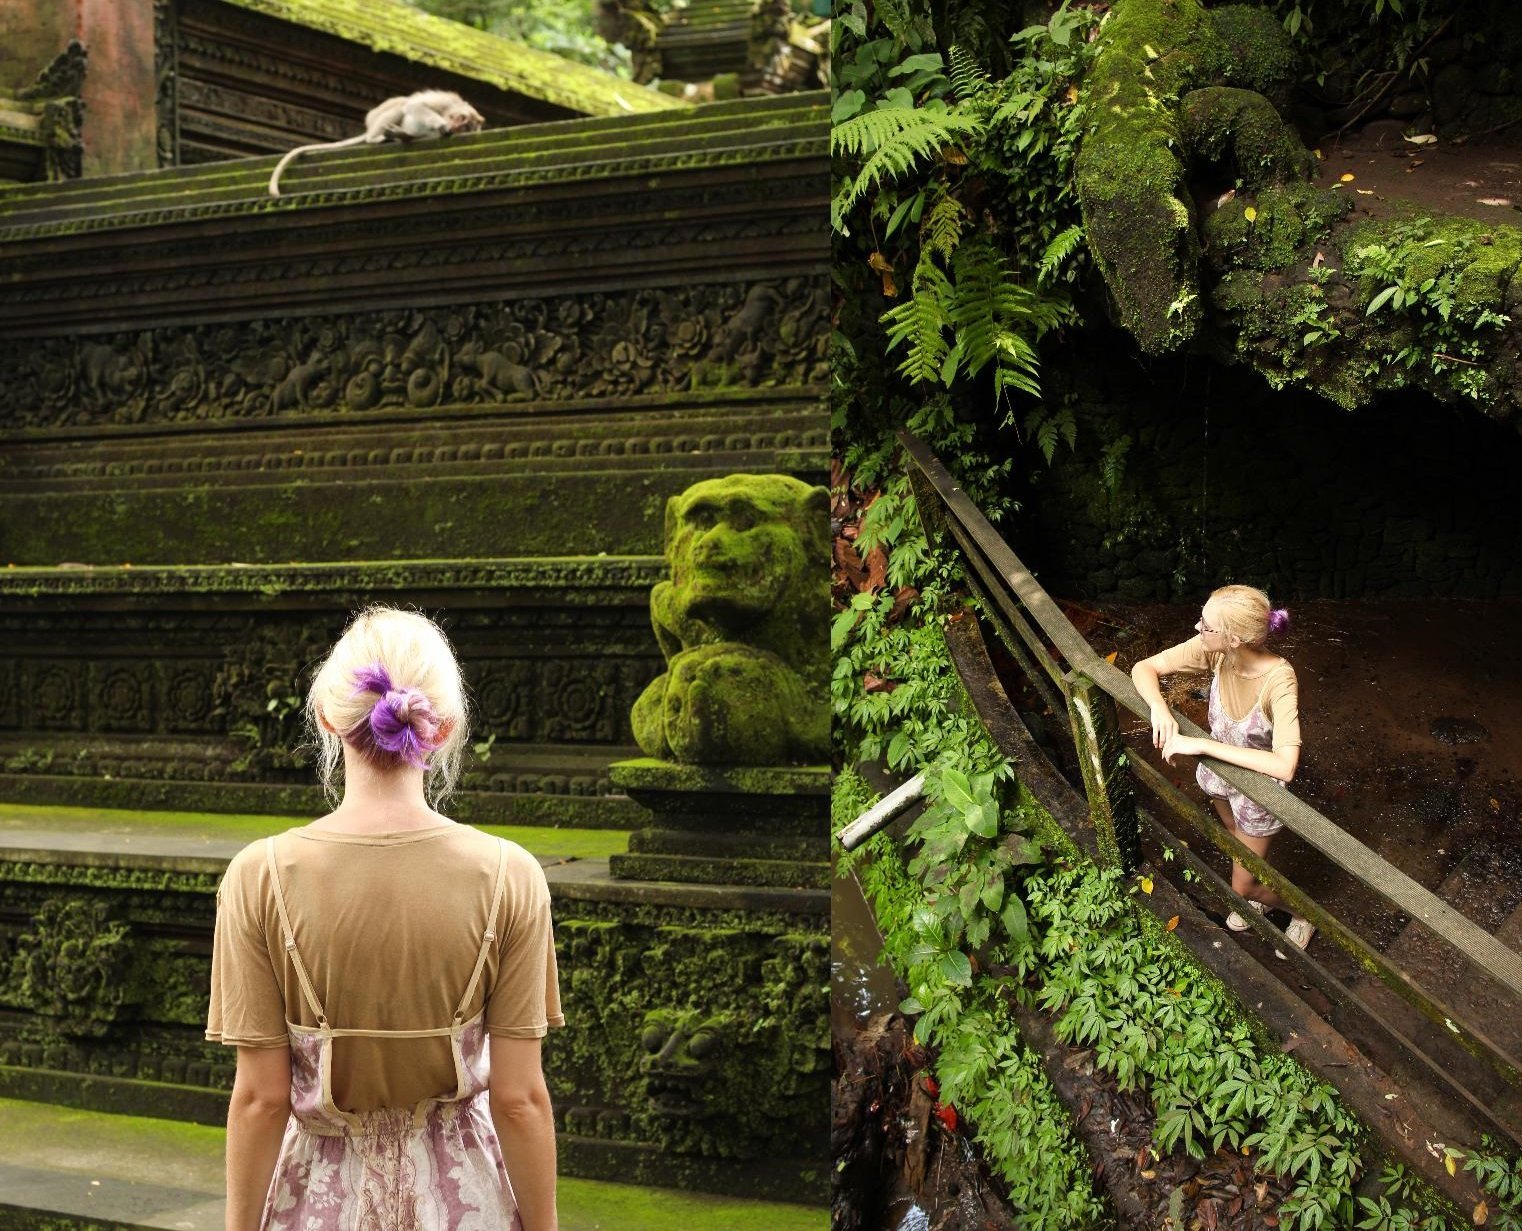
Did you spot the monkey? The Sacred Monkey Forest, Ubud, Bali
Tips:
- For the free pattern of the Tshirt I am wearing, check out my previous blog post: Coffee Inspired Embroidered Tshirt
- If you make an original In The Folds Peppermint Playsuit (free pattern), remember to tag @inthefolds and use #peppermintplaysuit.
I would love to see what you make, whether it is an original Peppermint Playsuit or any adapted pattern, please feel free to share with me!
Instagram
Facebook
-Hannah-Rose


Very cute, & practical ?, outfit ?.
Thank you! The playsuit pairs so well with many tops and works on its own too, perfect for varied weather…