 BERNINA Corporate Blog -
Although I have been sewing my own clothes for almost 20 years, I began sewing my own lingerie just one year ago. I always thought of it as a very complicated and demanding assignment, and I just didn’t dare to try it. But since I write my blog, I have decided for specific challenges of my skills and abilities. One of these challenges was to learn how to make underwear, and I’m still learning.
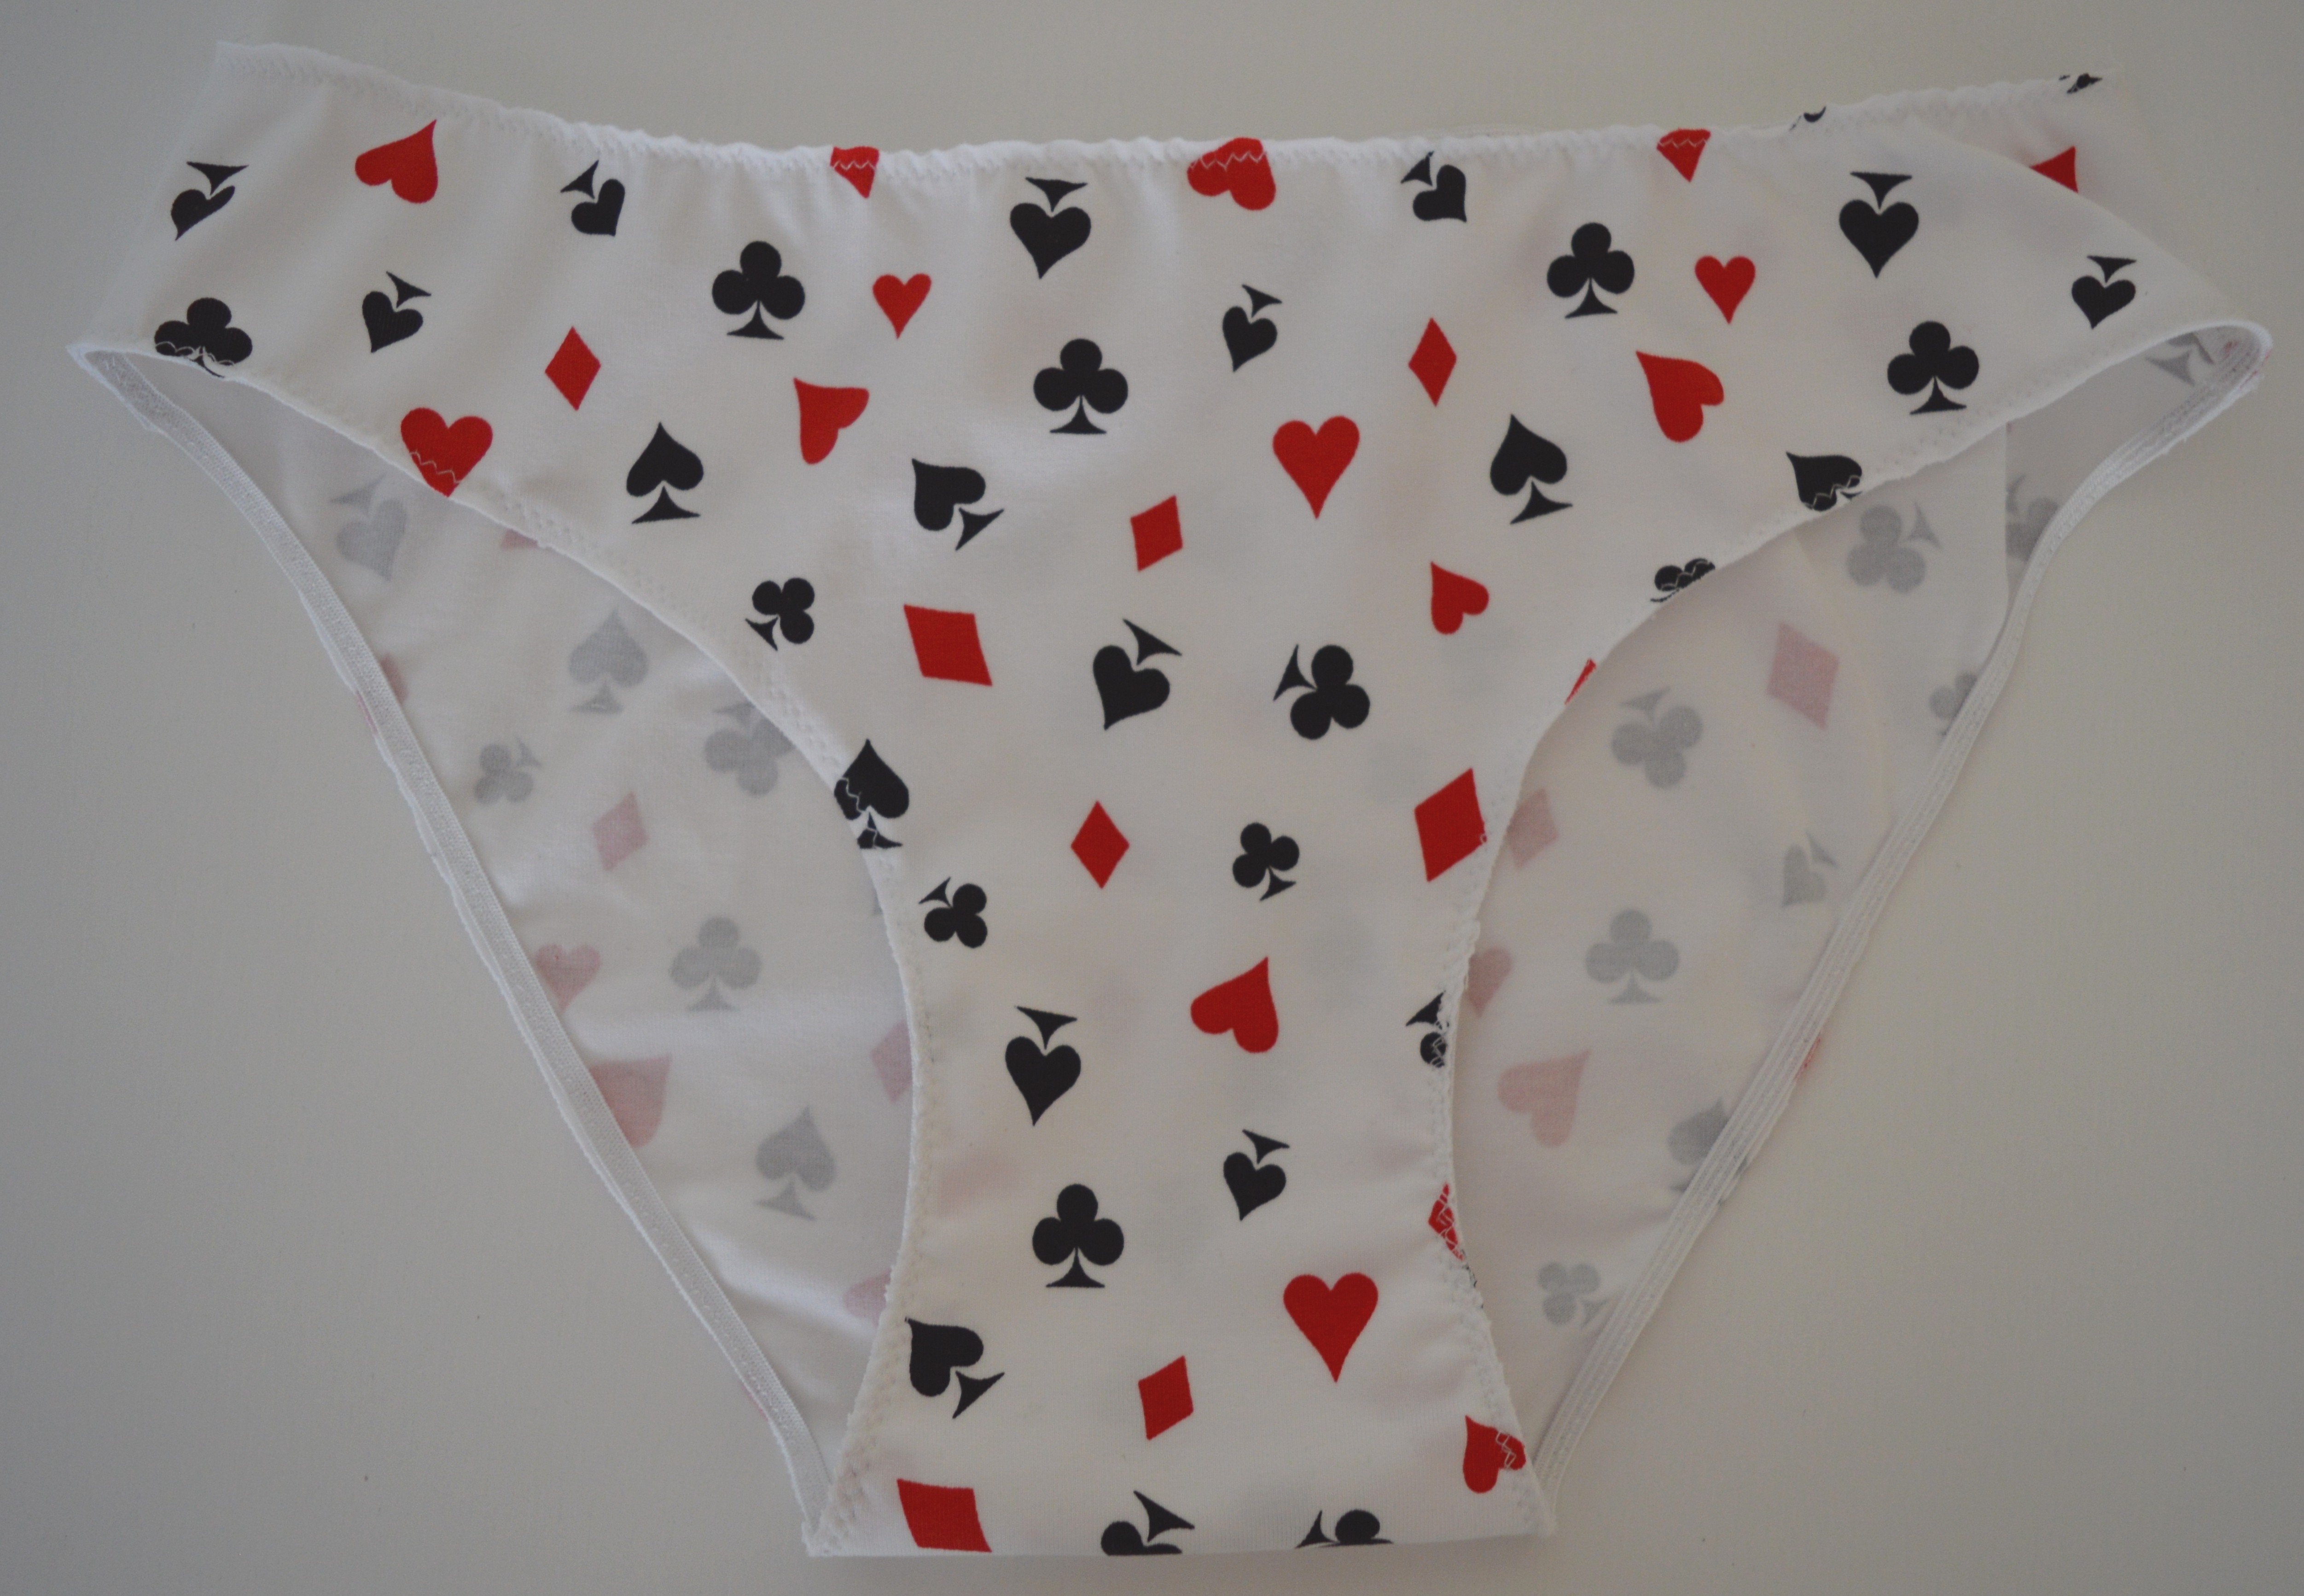
Of course, I started with the most straightforward garments like panties, and in this post, I will introduce you to the sewing of panties by using 3 different types of elastic.
MATERIAL for panties:
- pattern
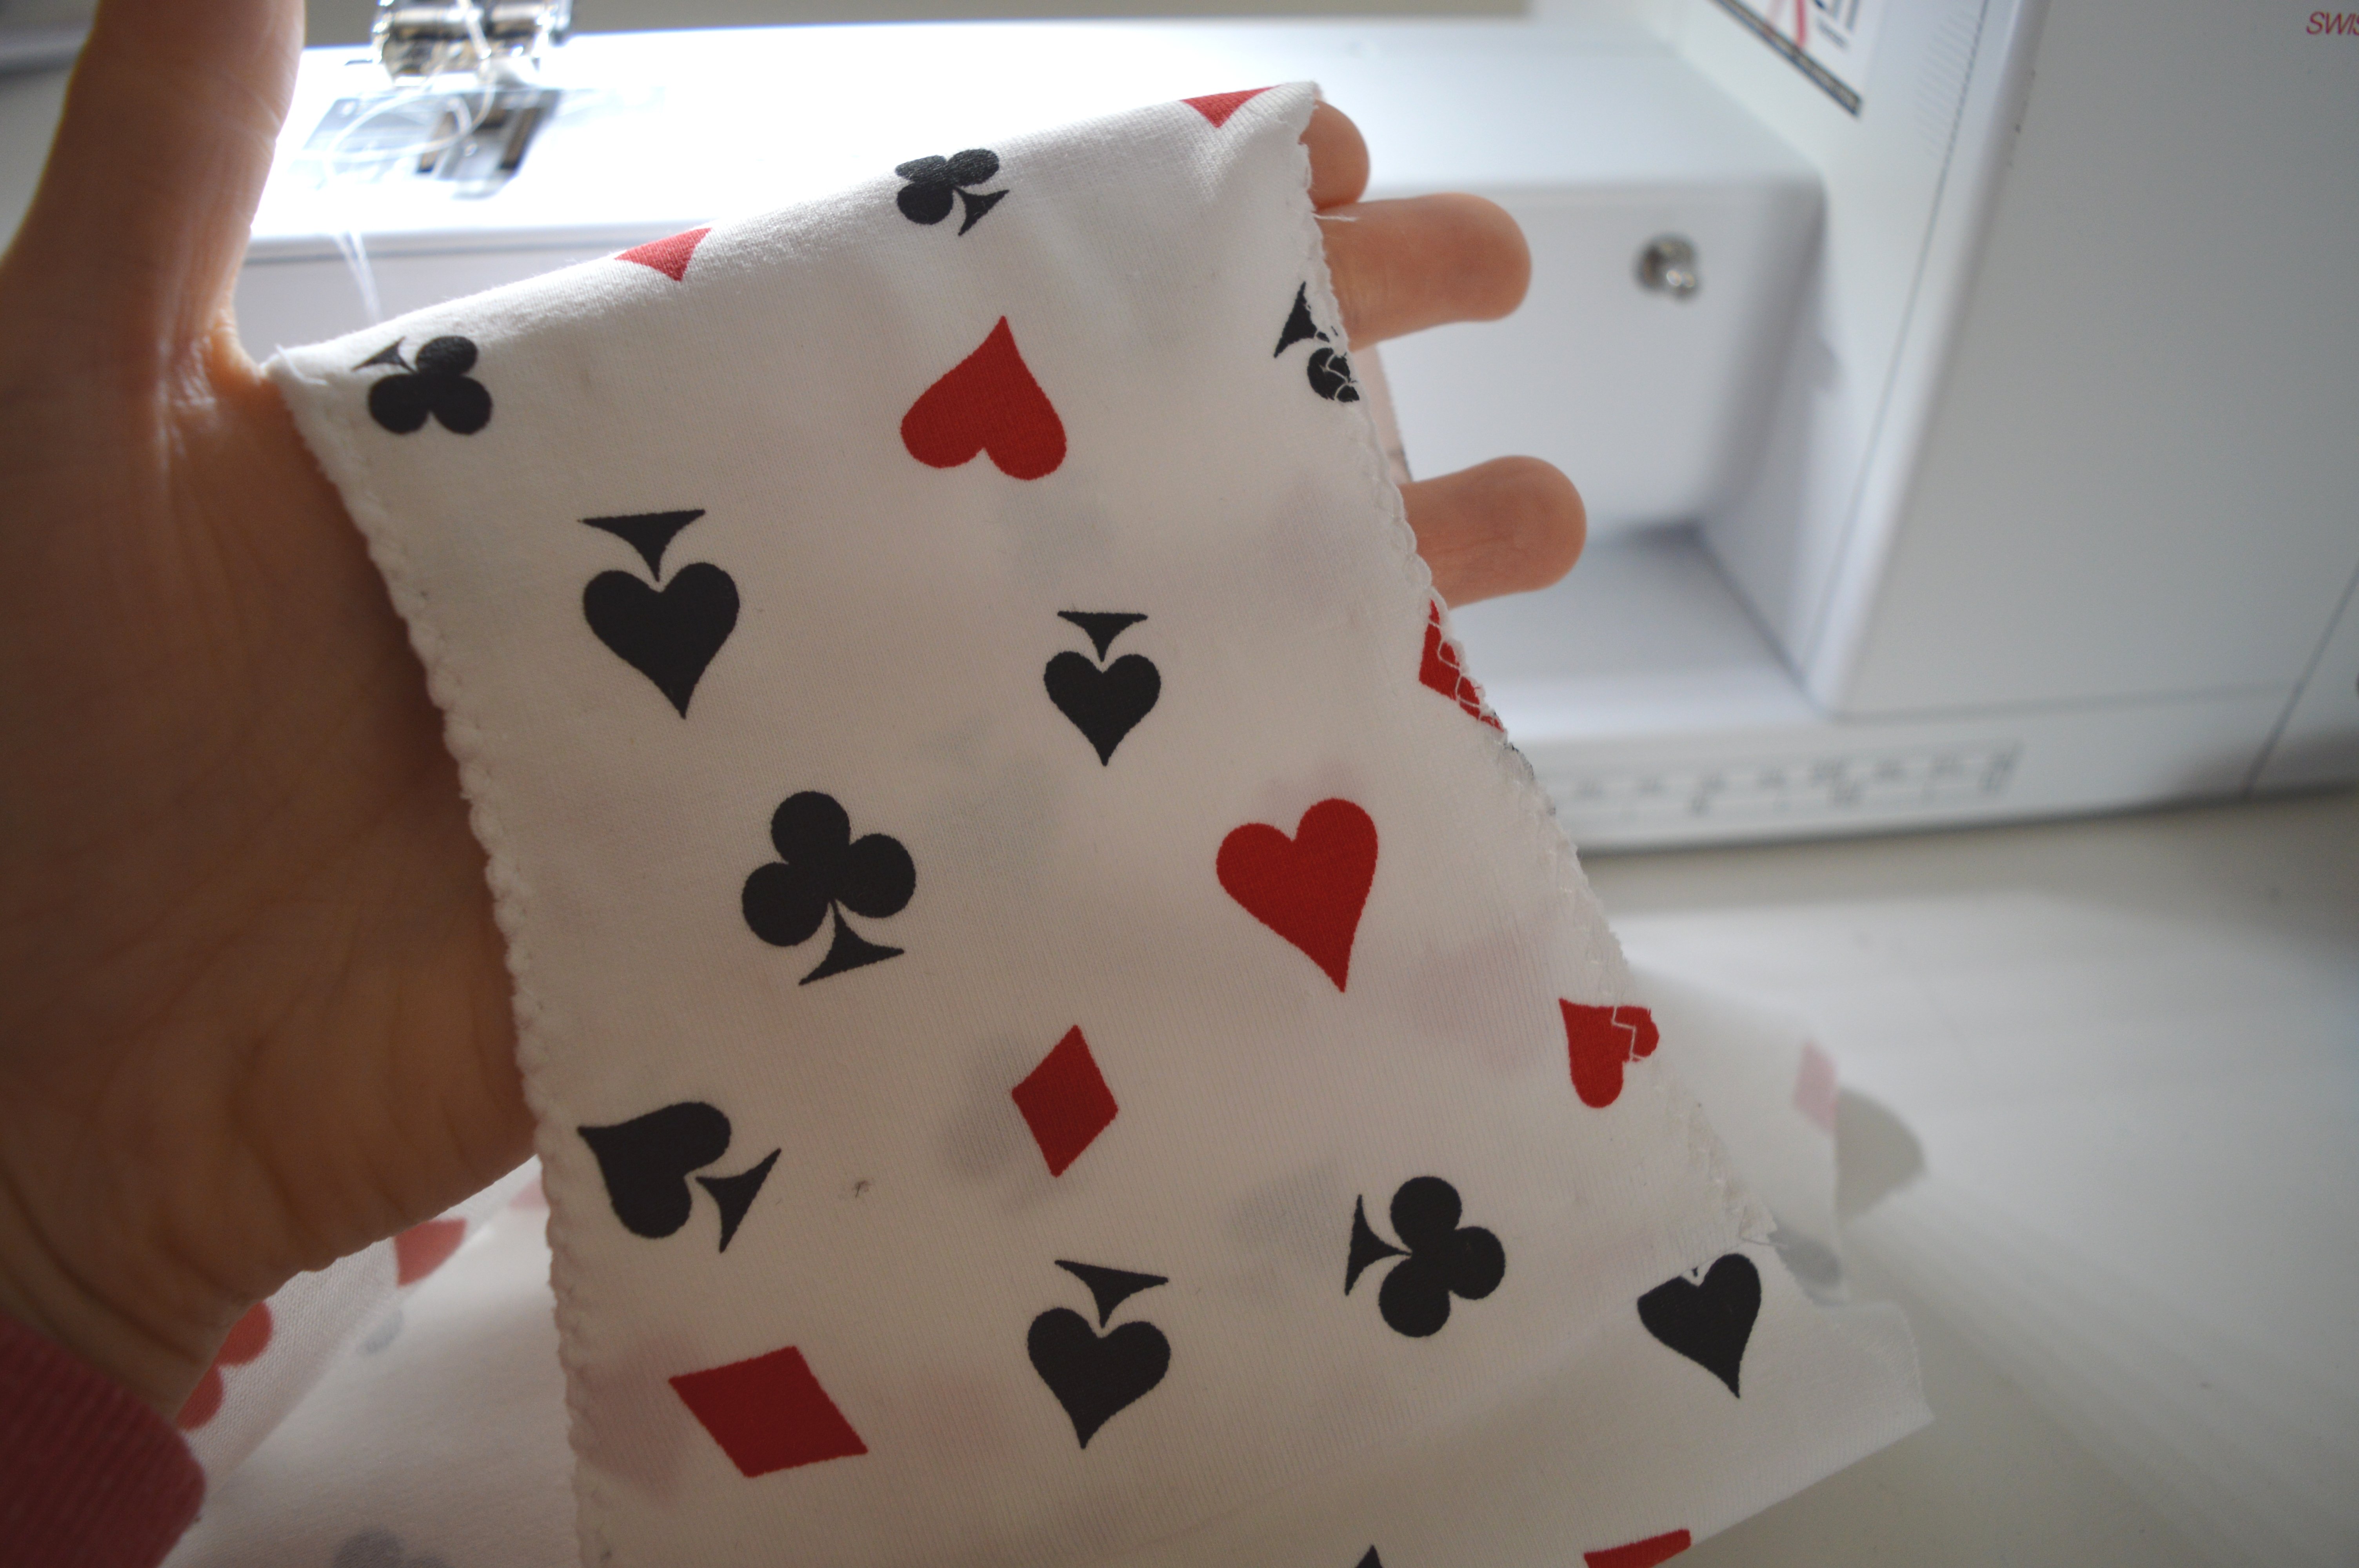
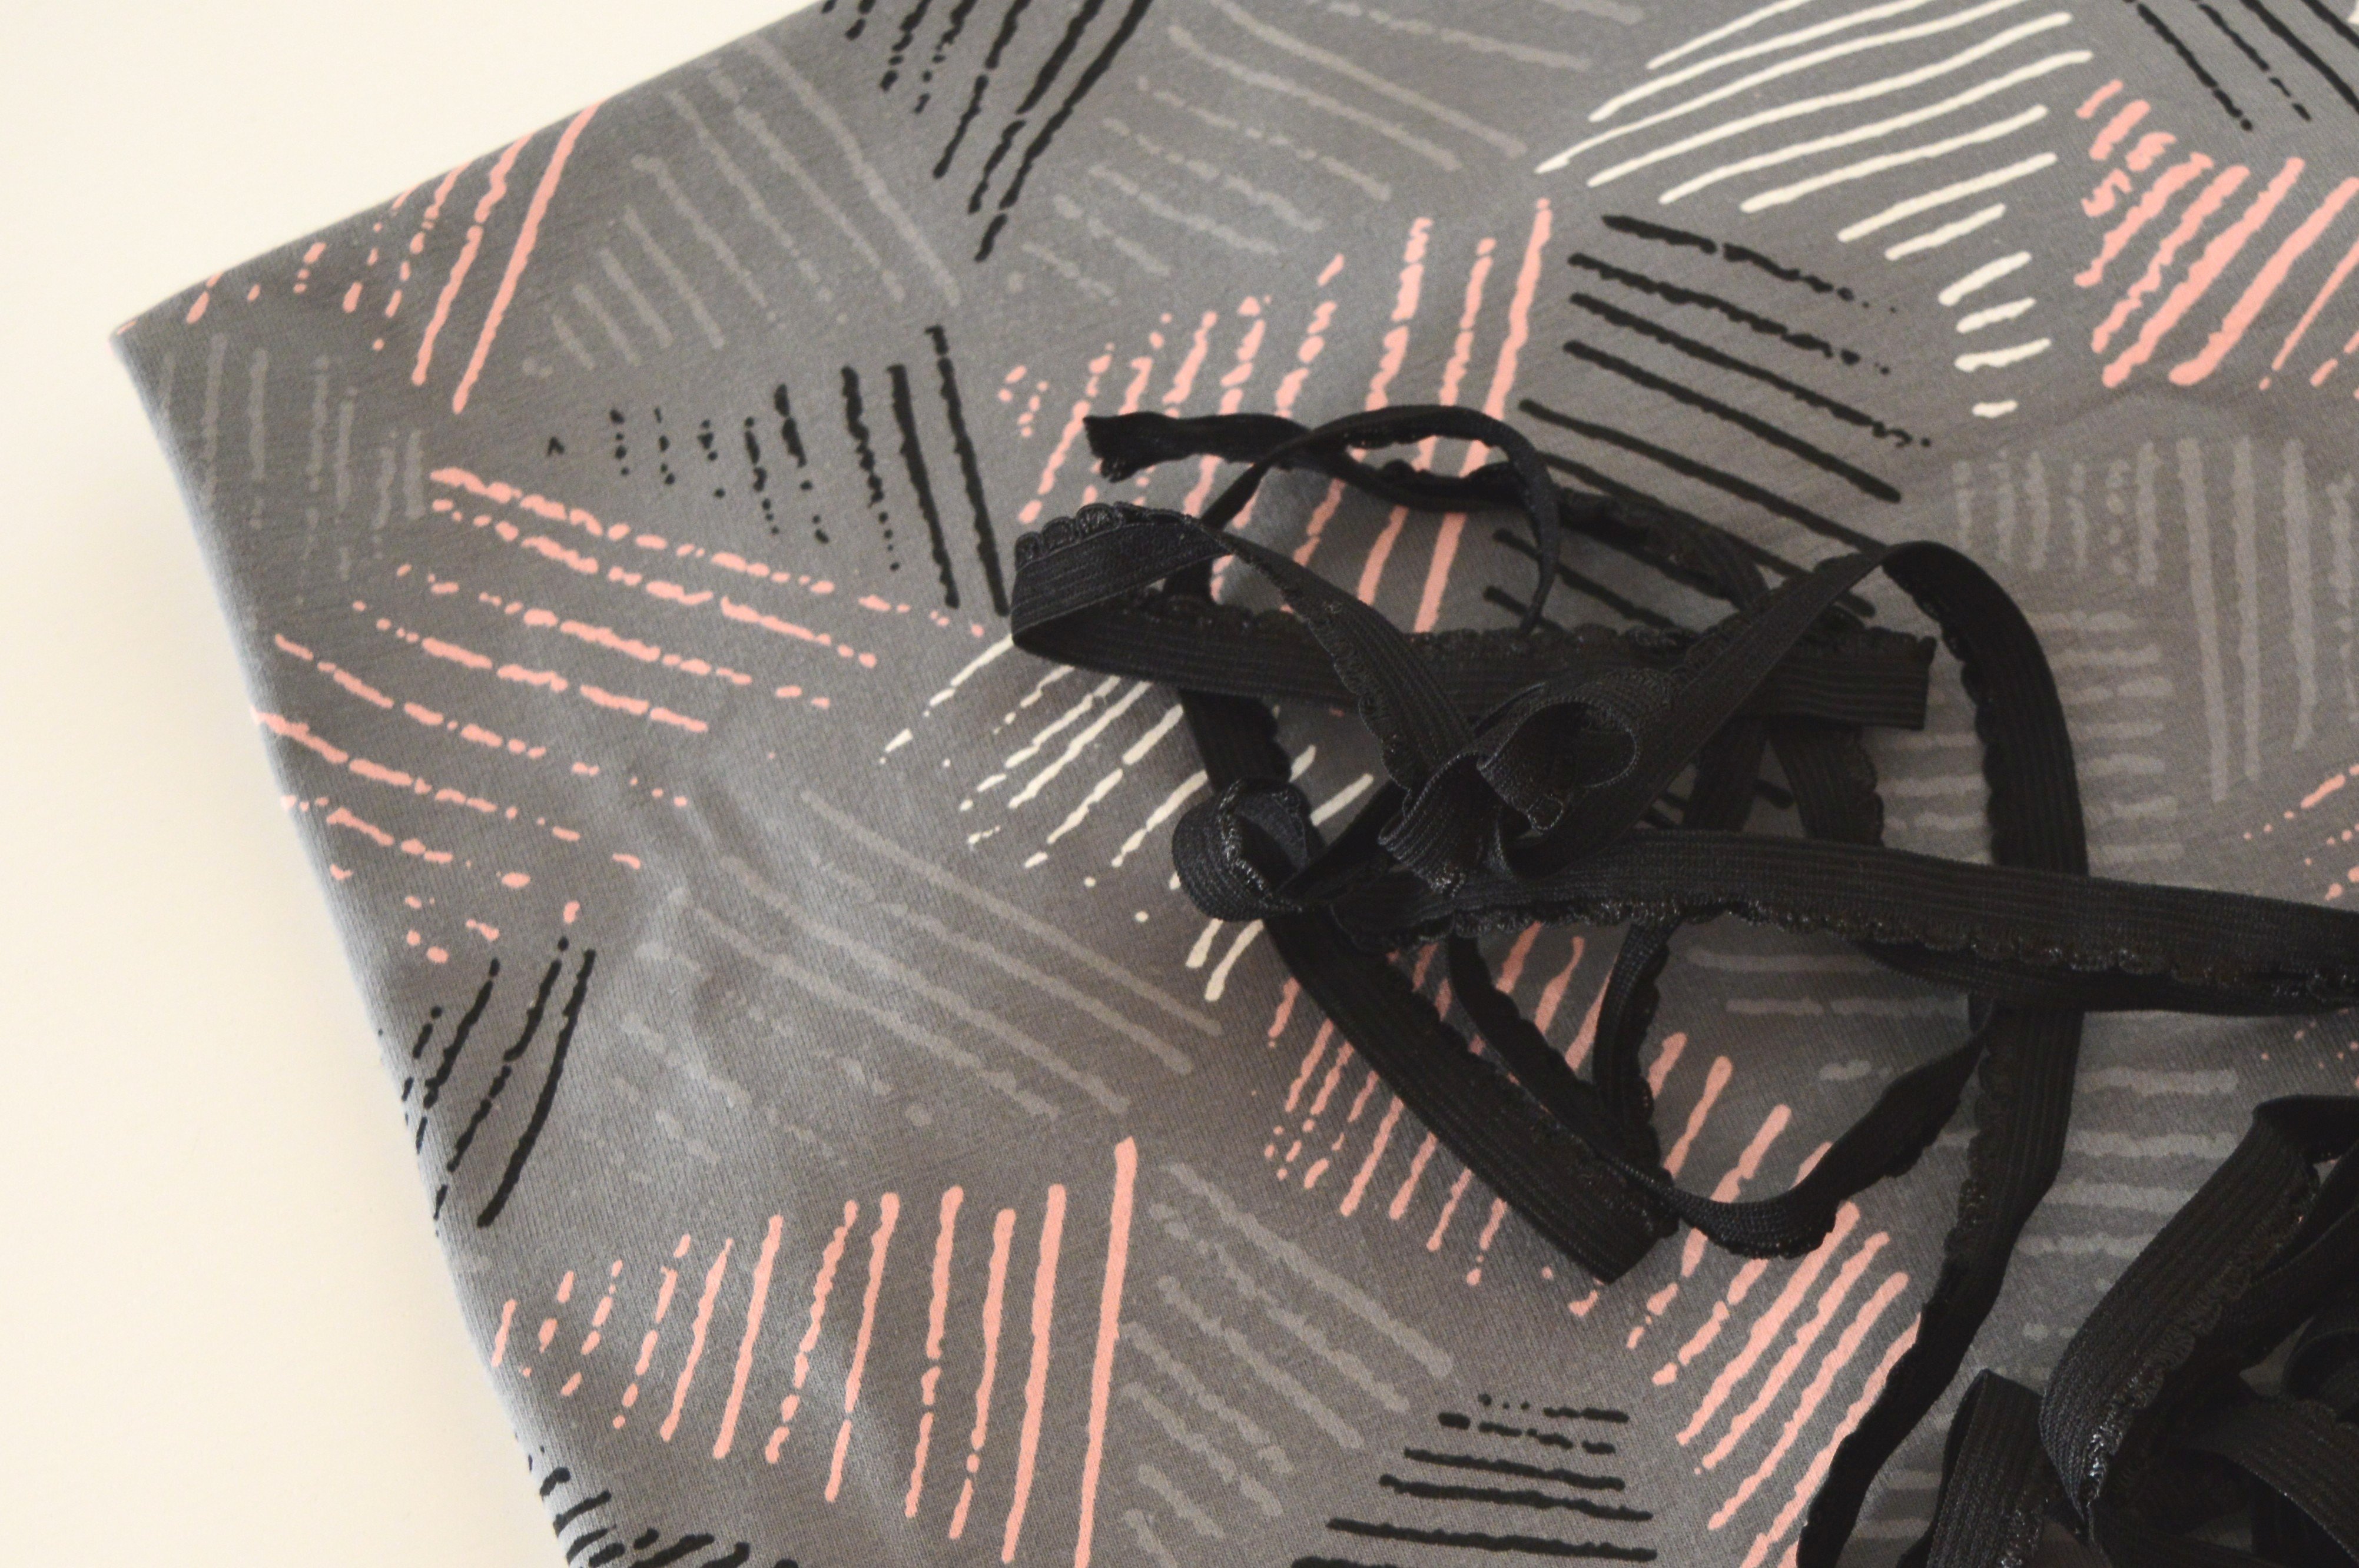
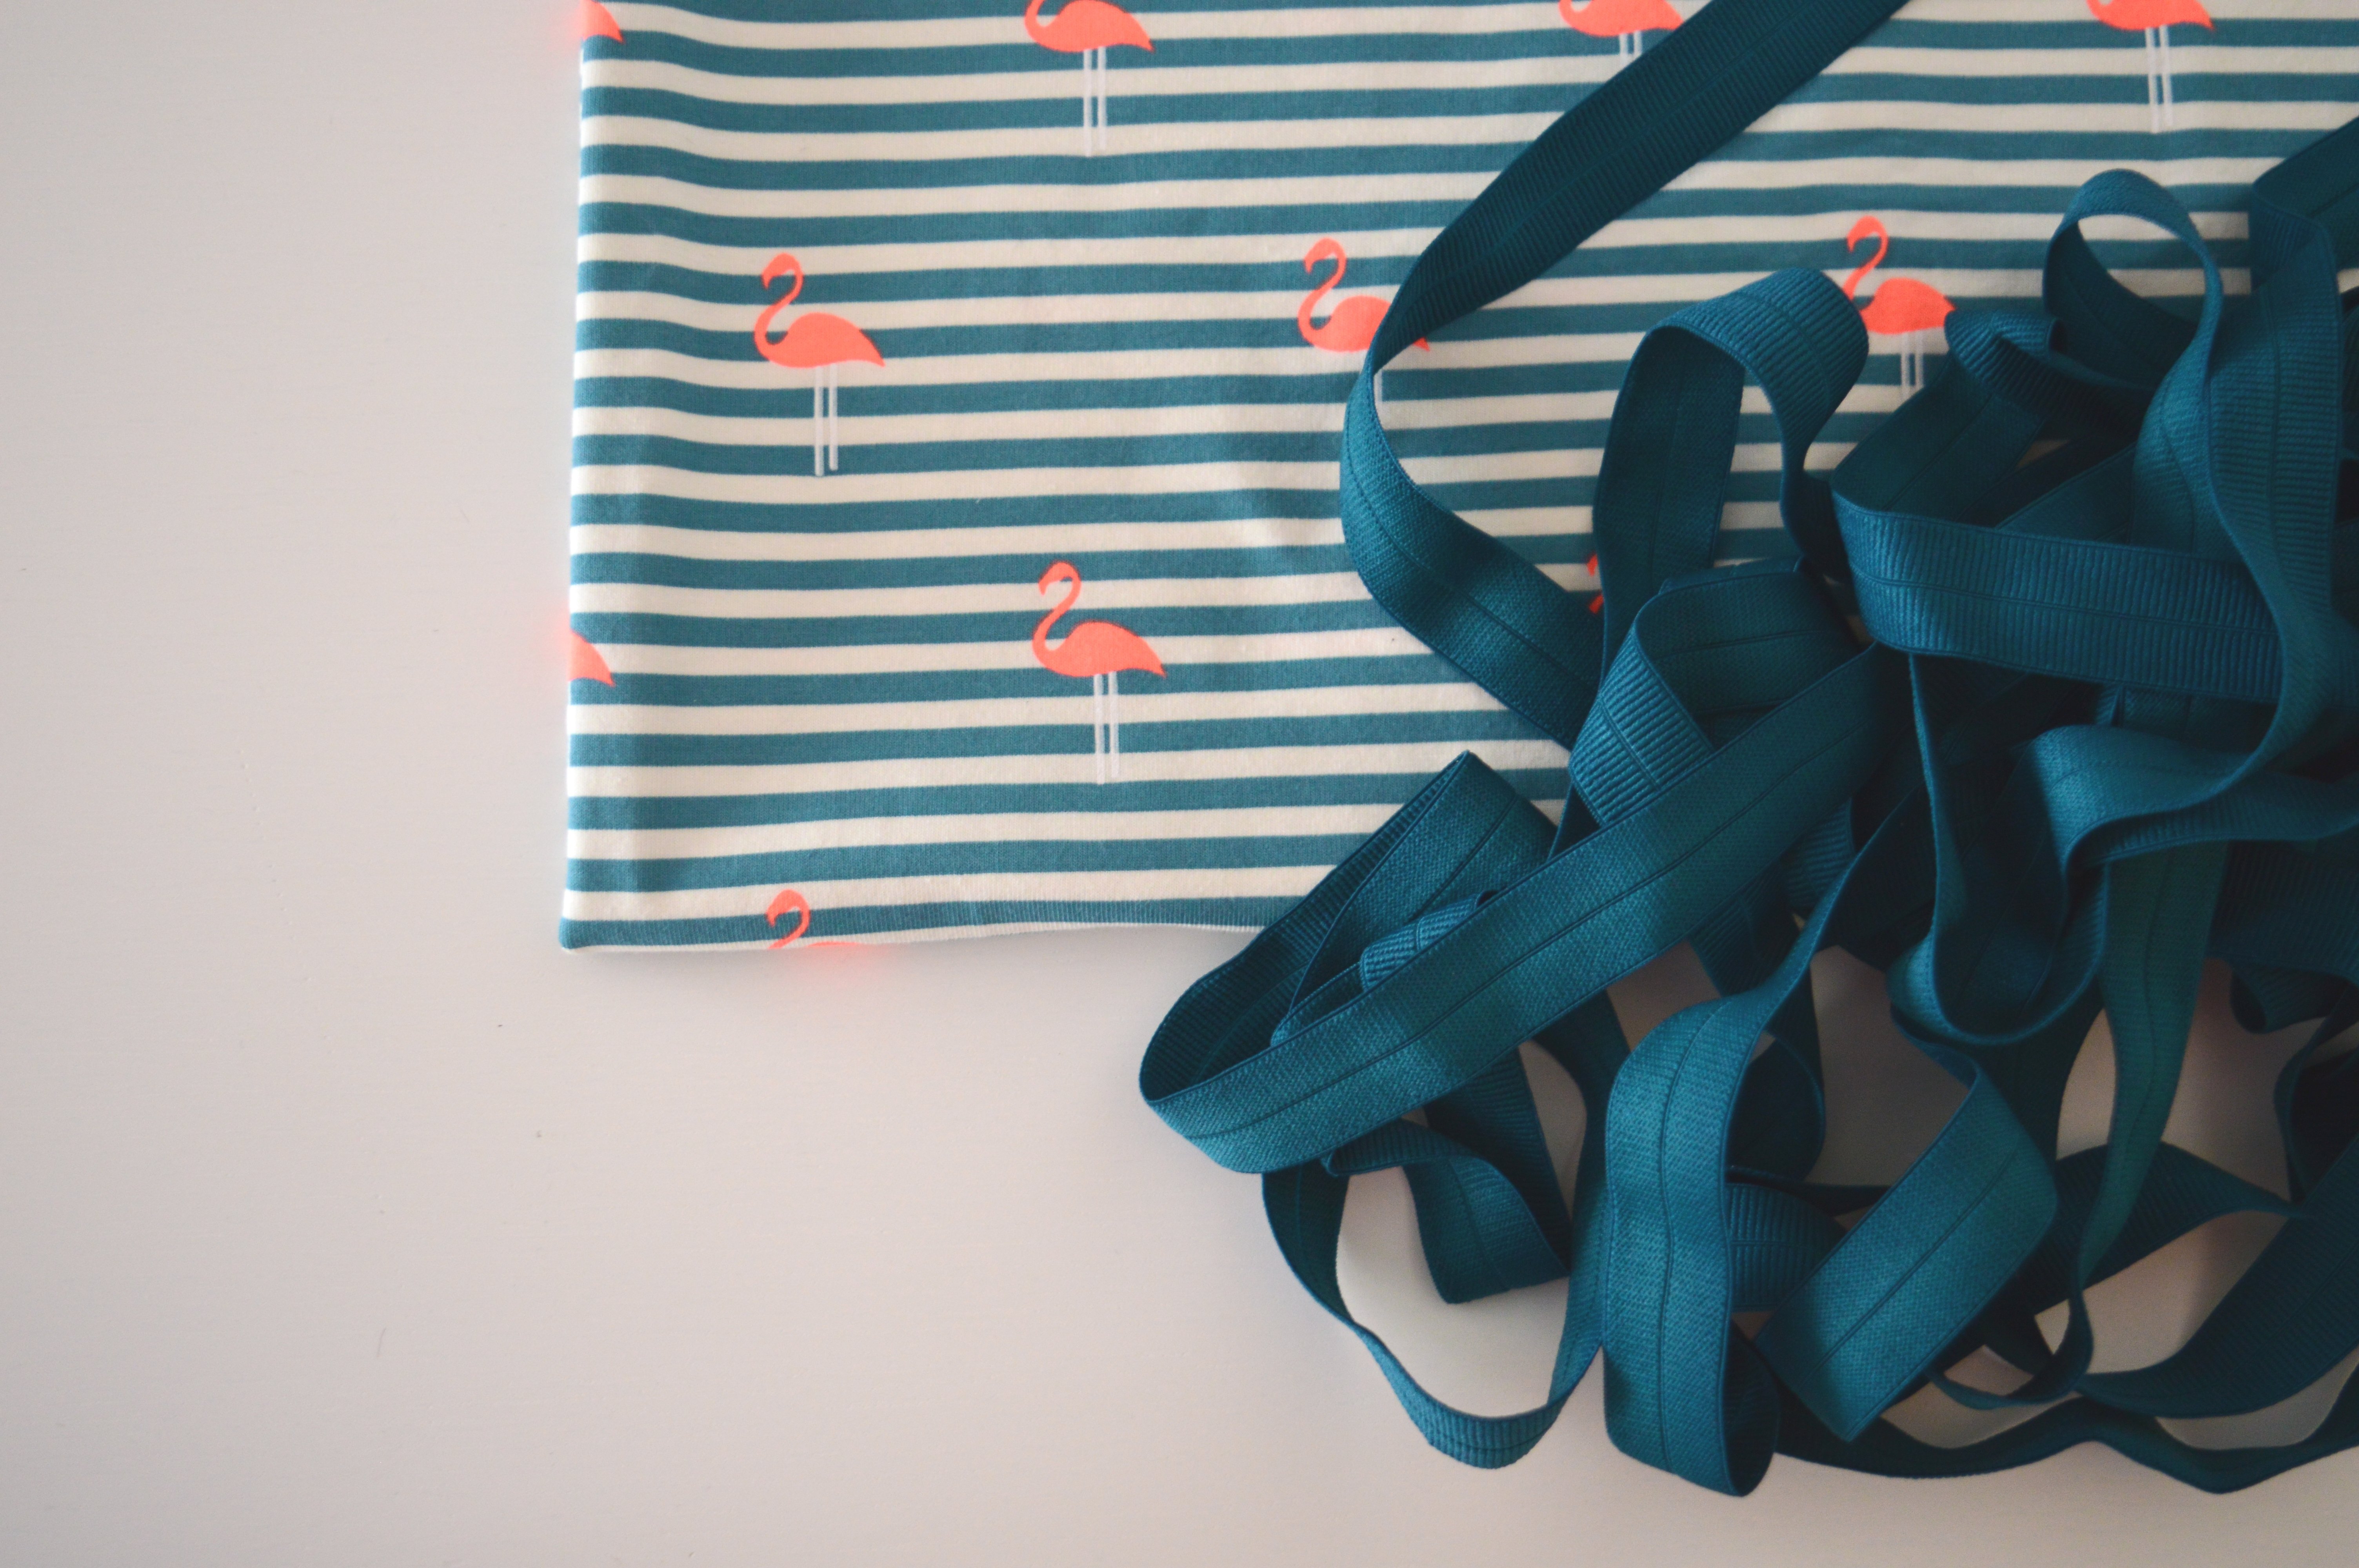
- fabric – jersey, scuba, lace, mesh… – stretchy fabrics with good recovery
- elastic – braided, picot edge or fold-over
- fabric for gusset (if it’s needed)
- thread in the matching color
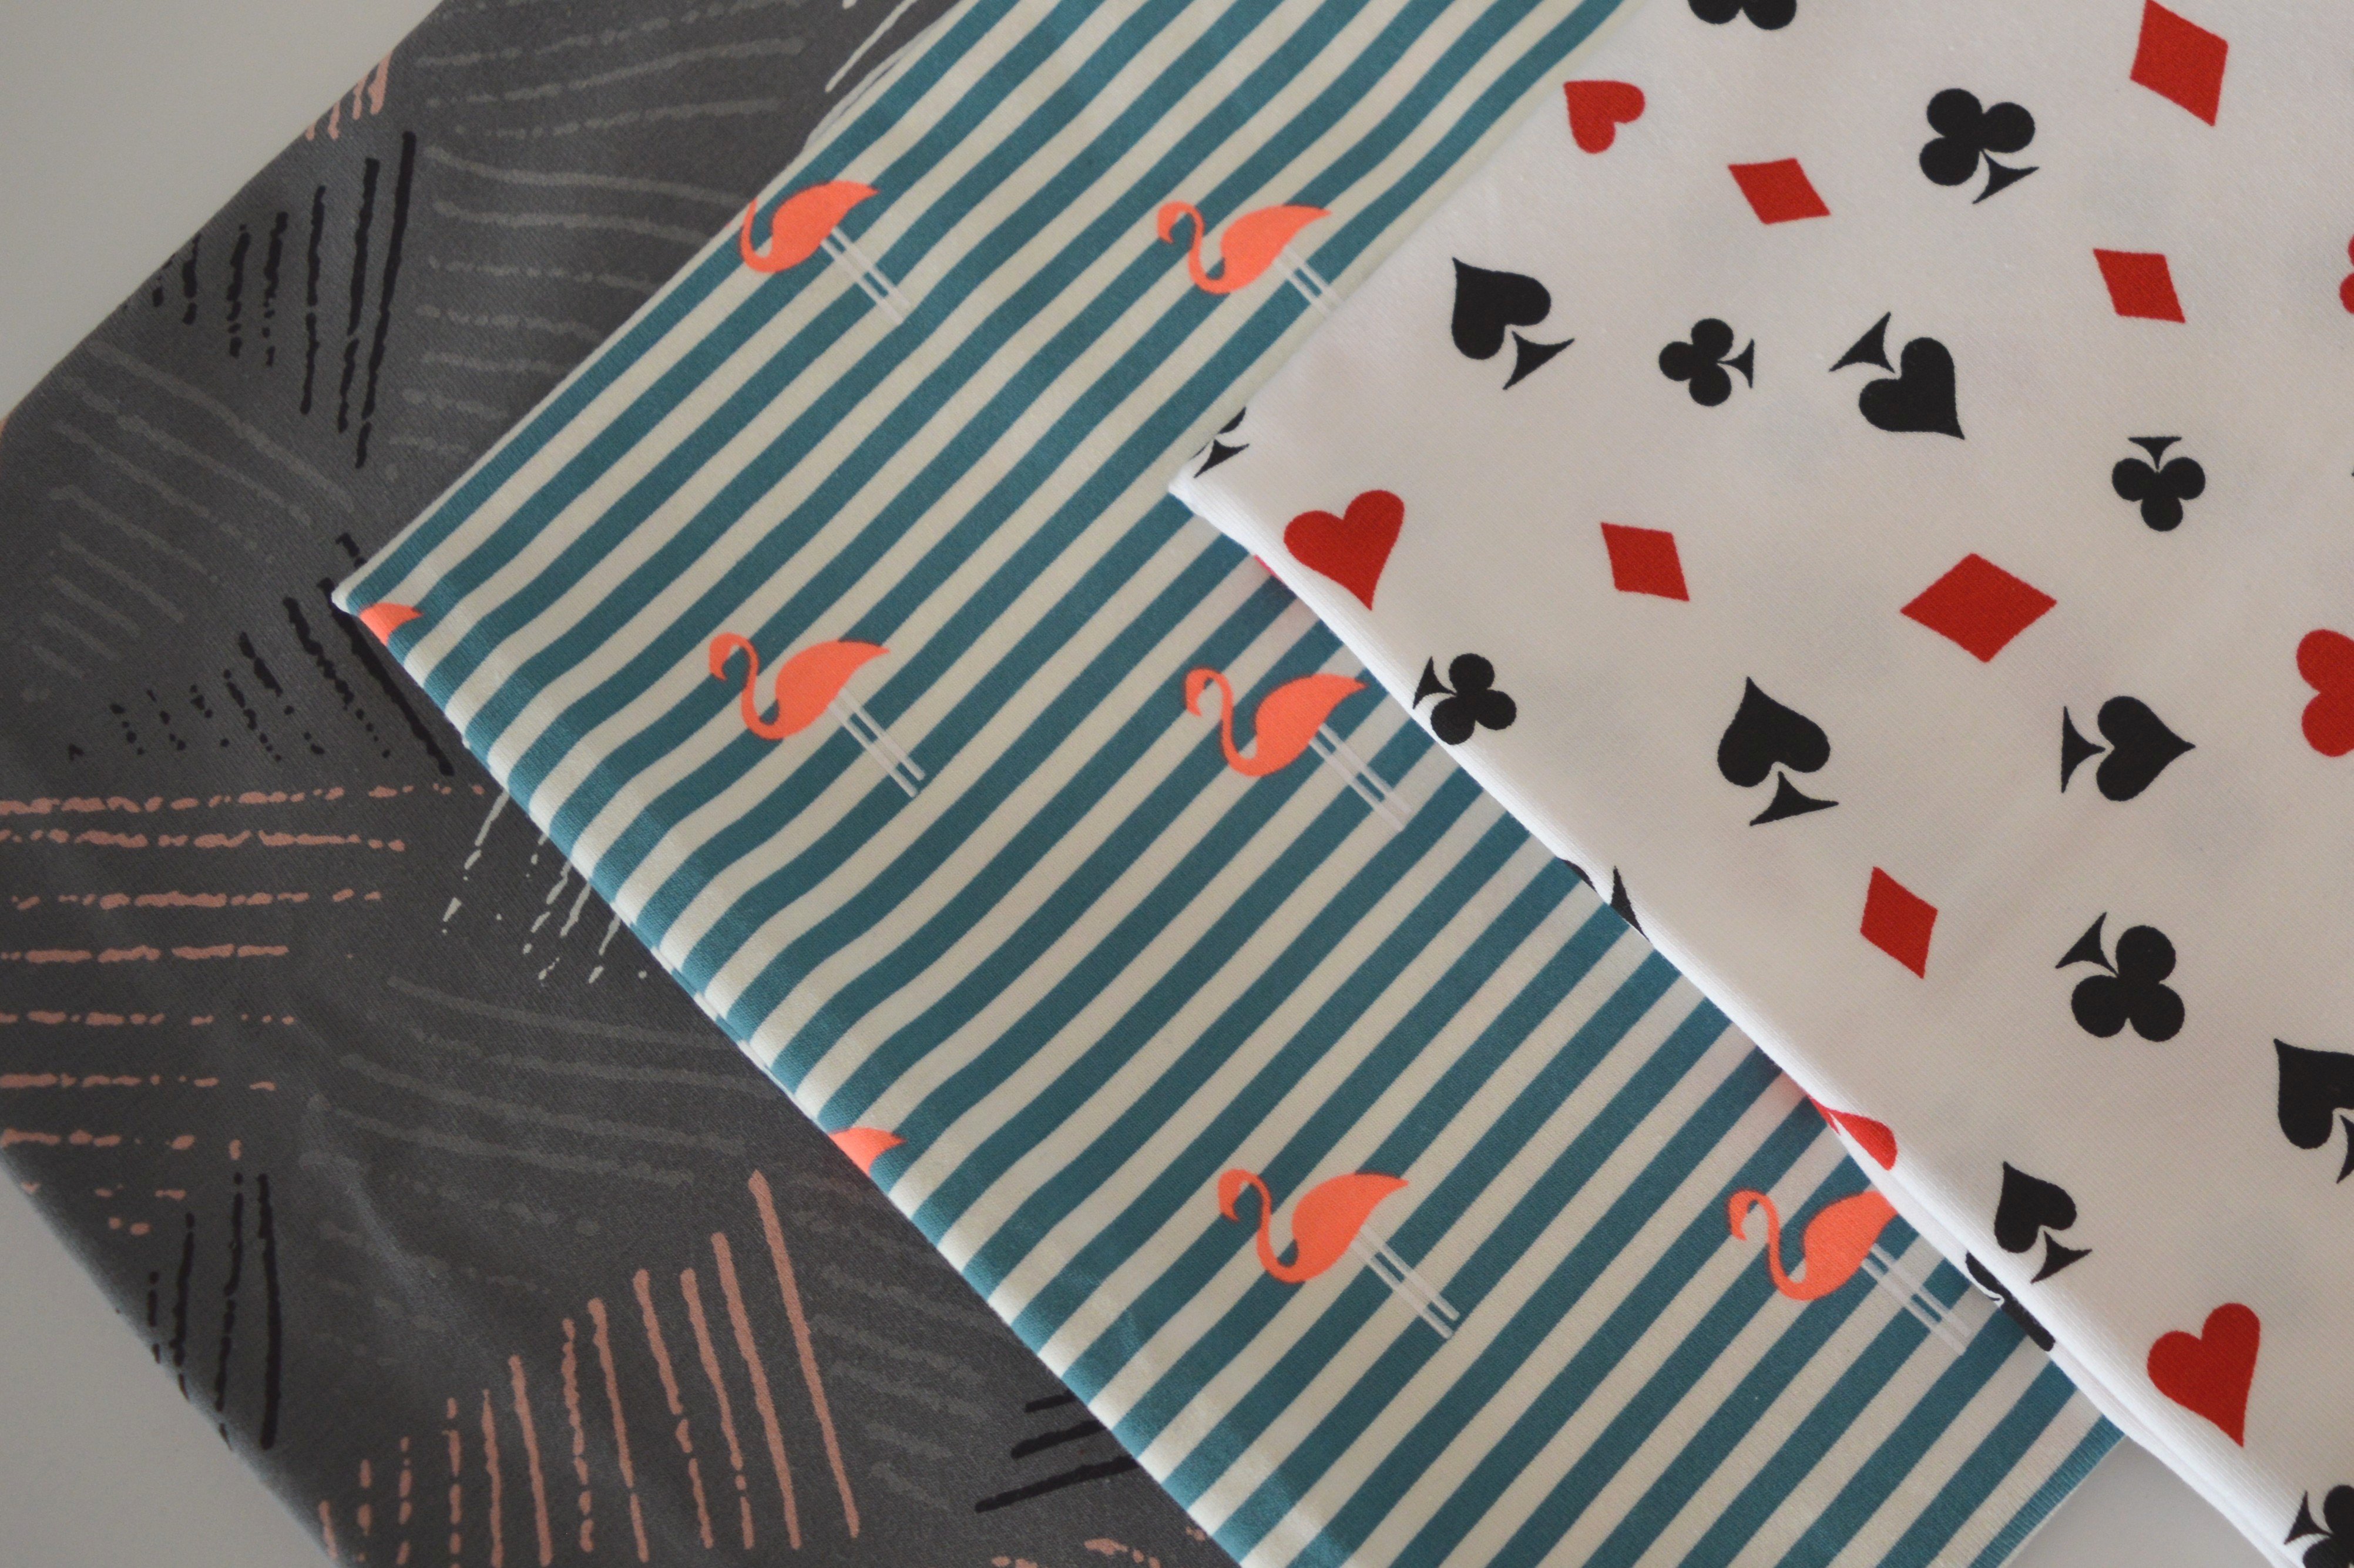
jersey
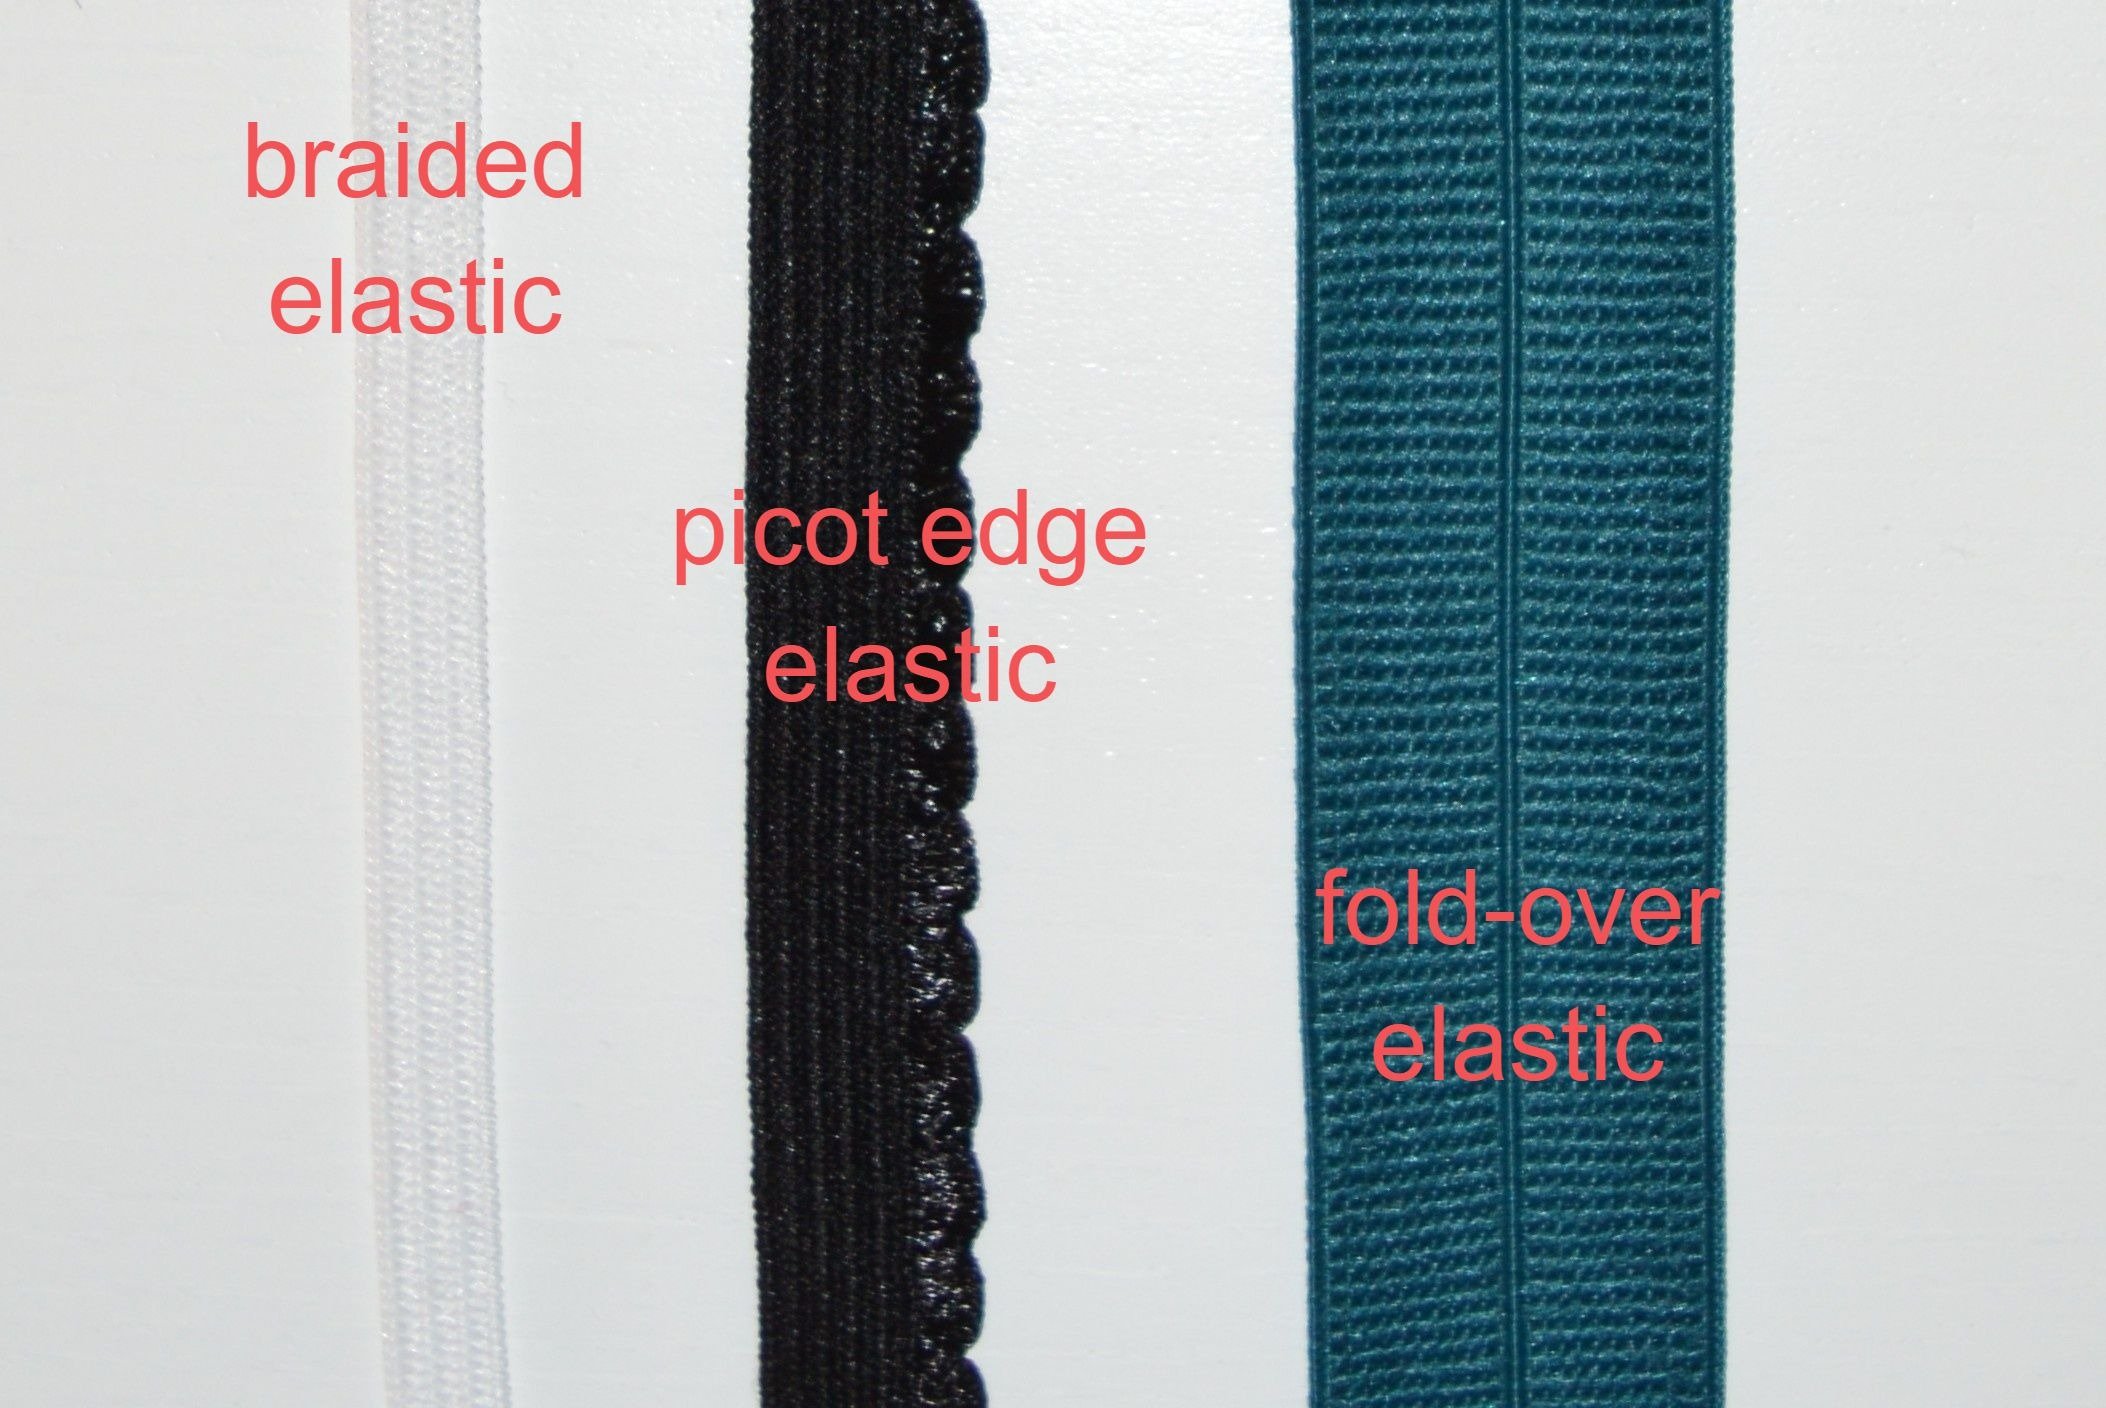
elastics
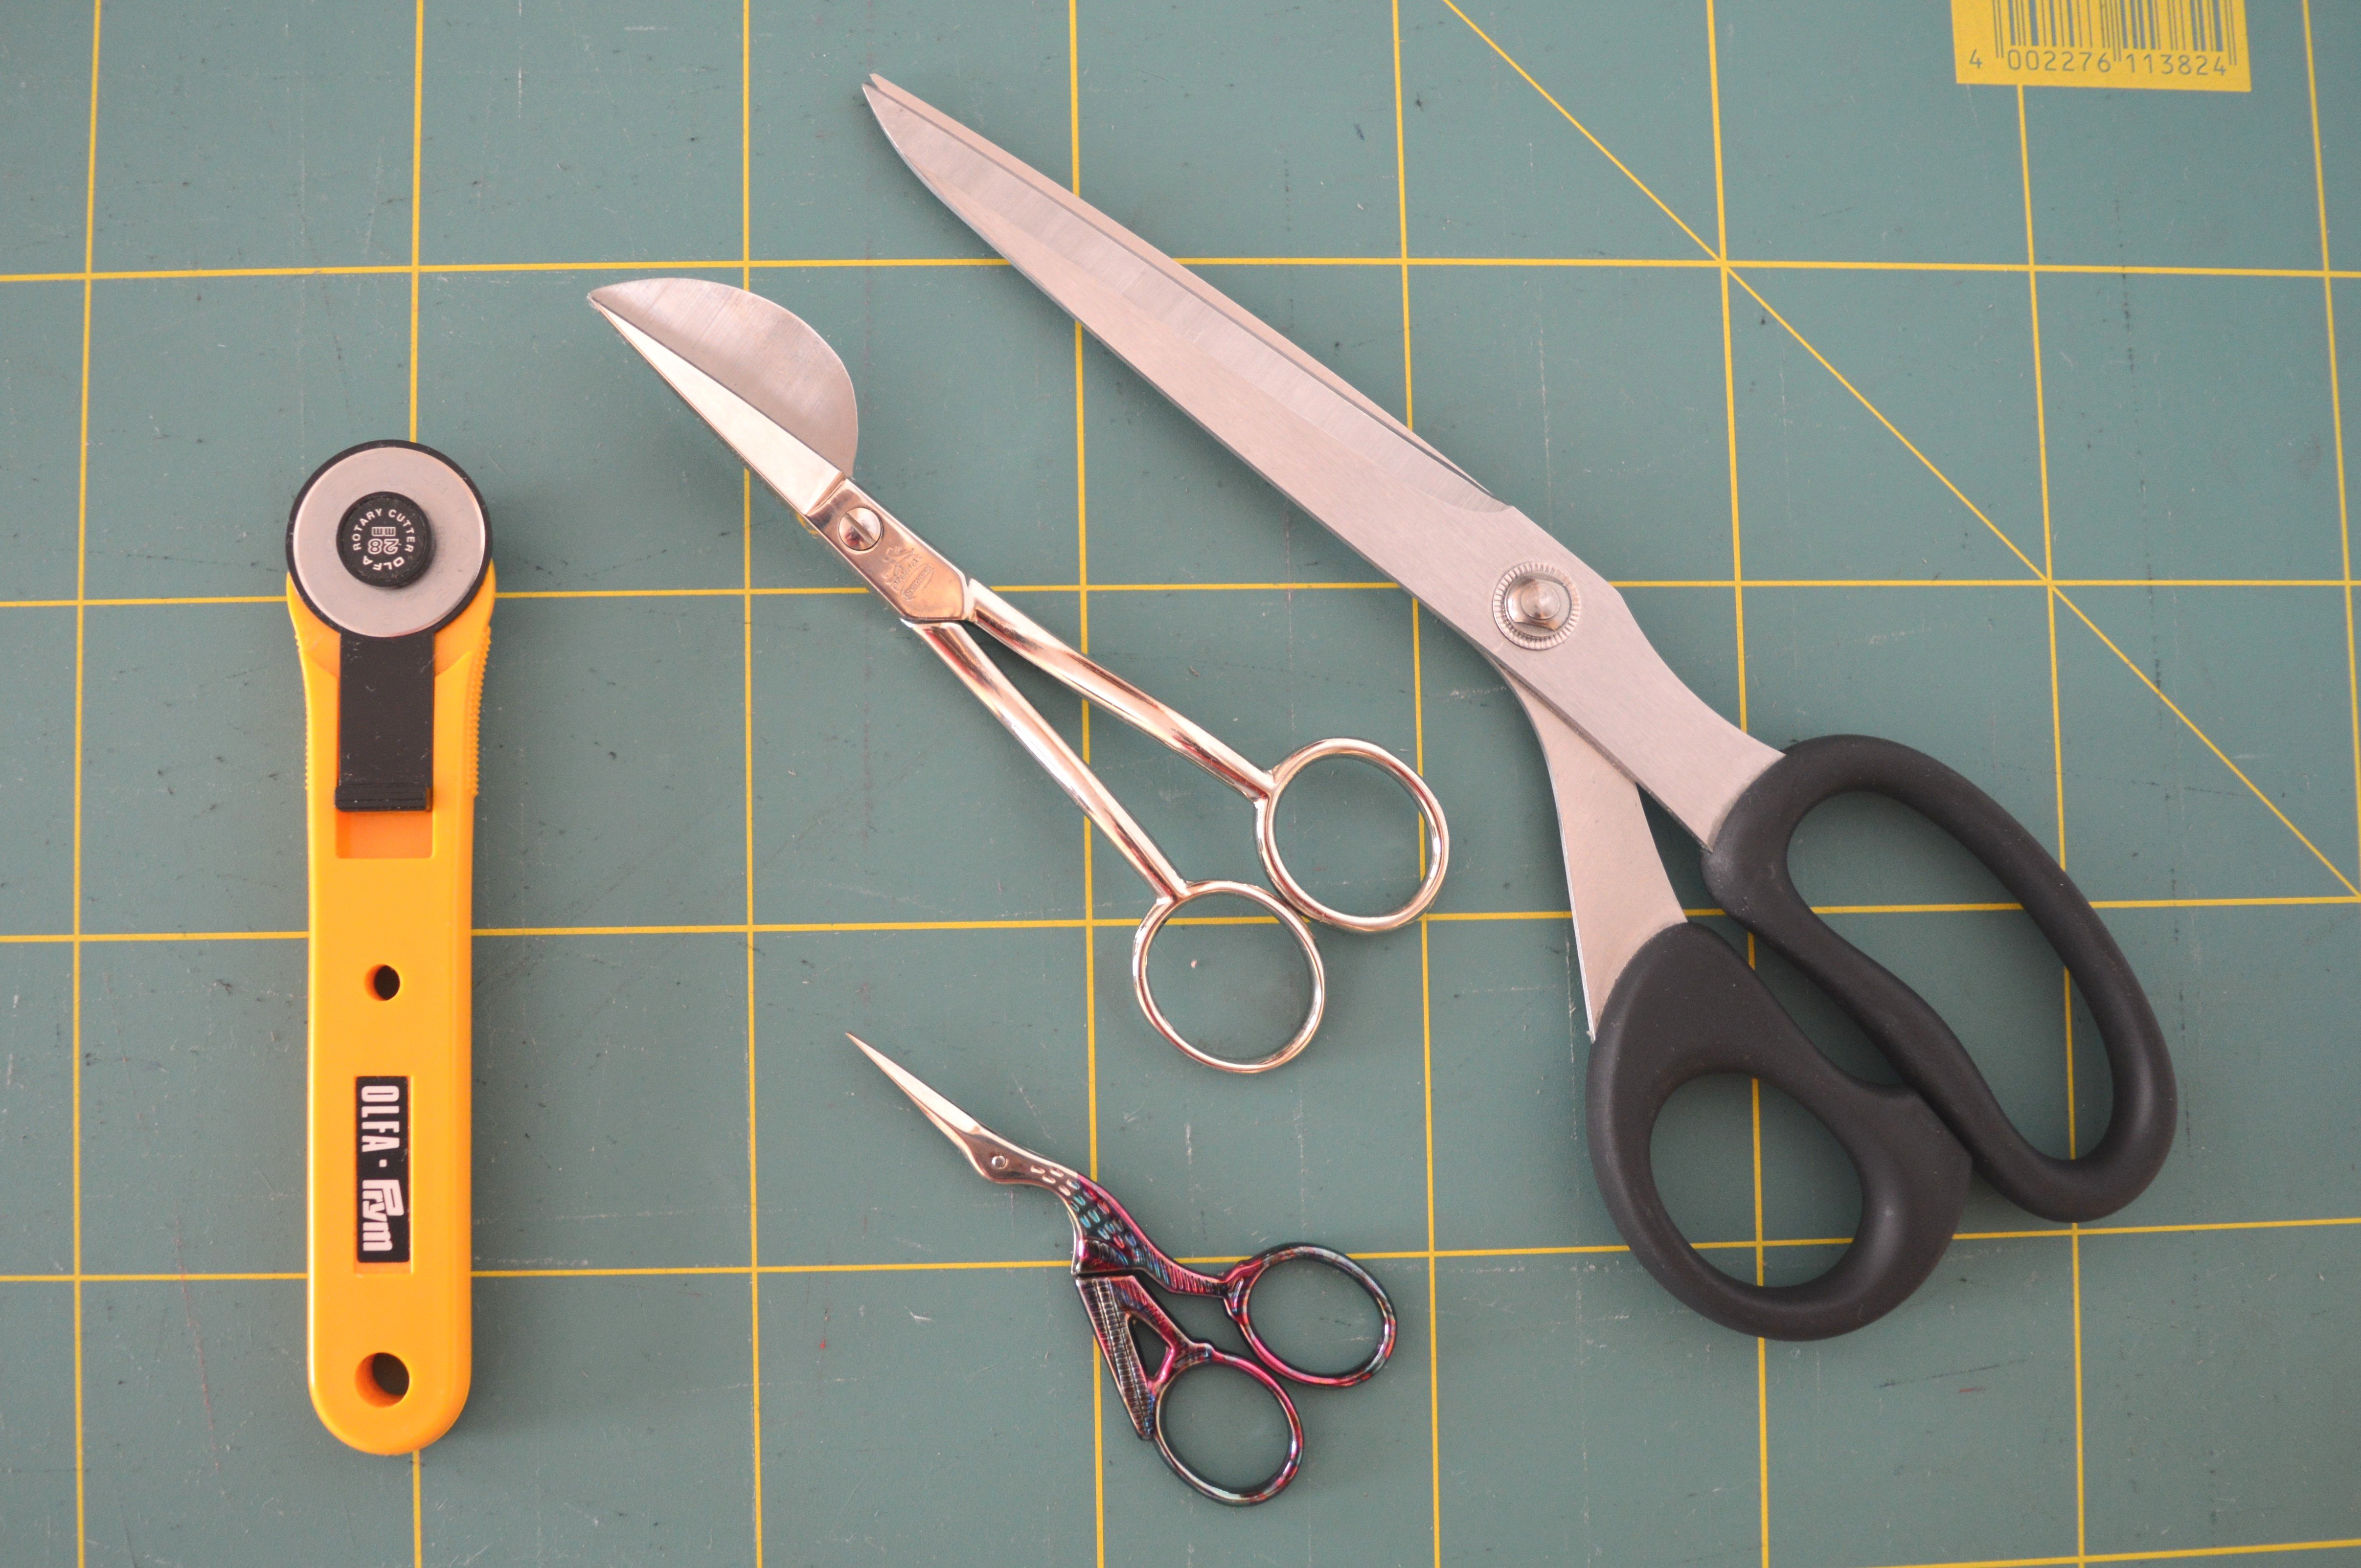
- You still need: pins, needles, scissors of various sizes, rotary cutter, measuring tape, sewing machine, (and serger/overlocker)
NOTE: Sewing of lingerie is possible by using only a sewing machine, which means that it is not necessary to have serger/overlocker, but if you already own one, you will only contribute to the cleaner look of the seams. I shall mention settings for both options.
Before starting with elastic, let’s begin from the essential thing – pattern.
Nowadays, many different patterns for panties exist on the market, and with most of them comes a detailed instruction for sewing. If you don’t want to give money without knowing if that particular model fits you, you can make your pattern by copying some of your favorite models of panties, which I did. (Youtube video)
pattern
Each panties model consists of front and back pieces and 2 gussets (inner and outer), and by some models, front part and outer gusset are already merged together, as in this post.
ABOUT SEWING
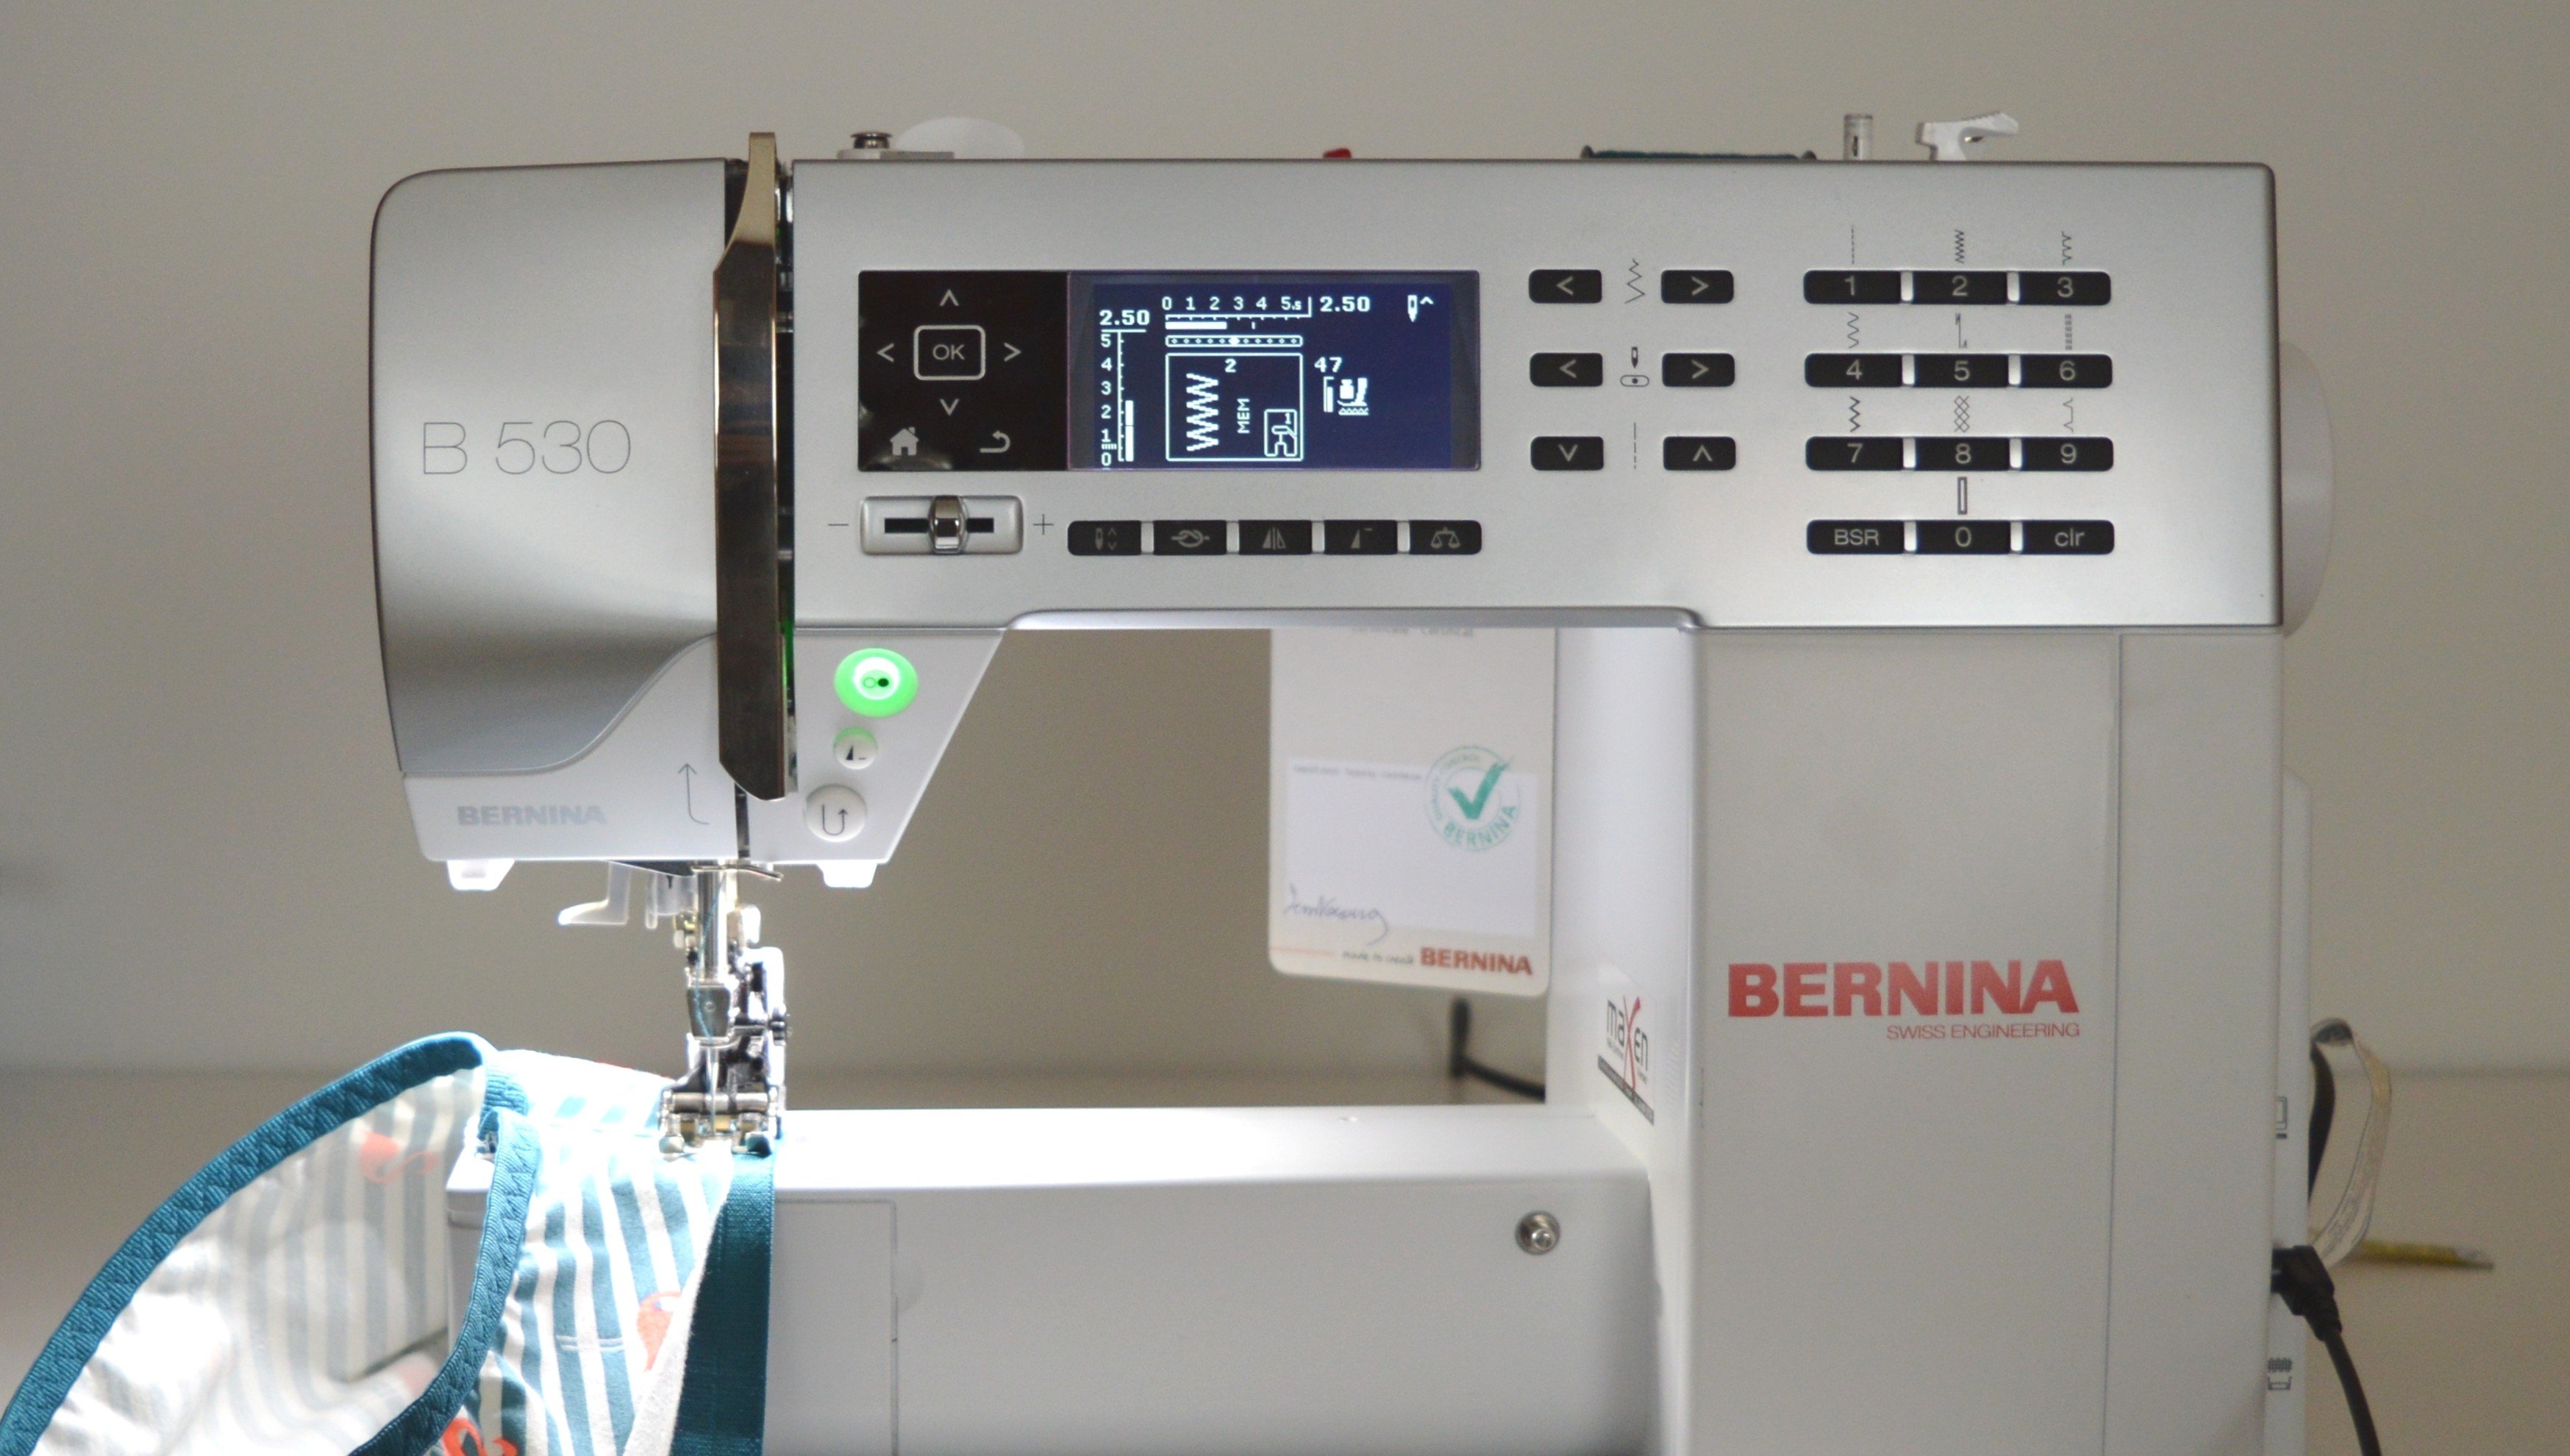
It is always good to know about the different possibilities of your sewing machine.
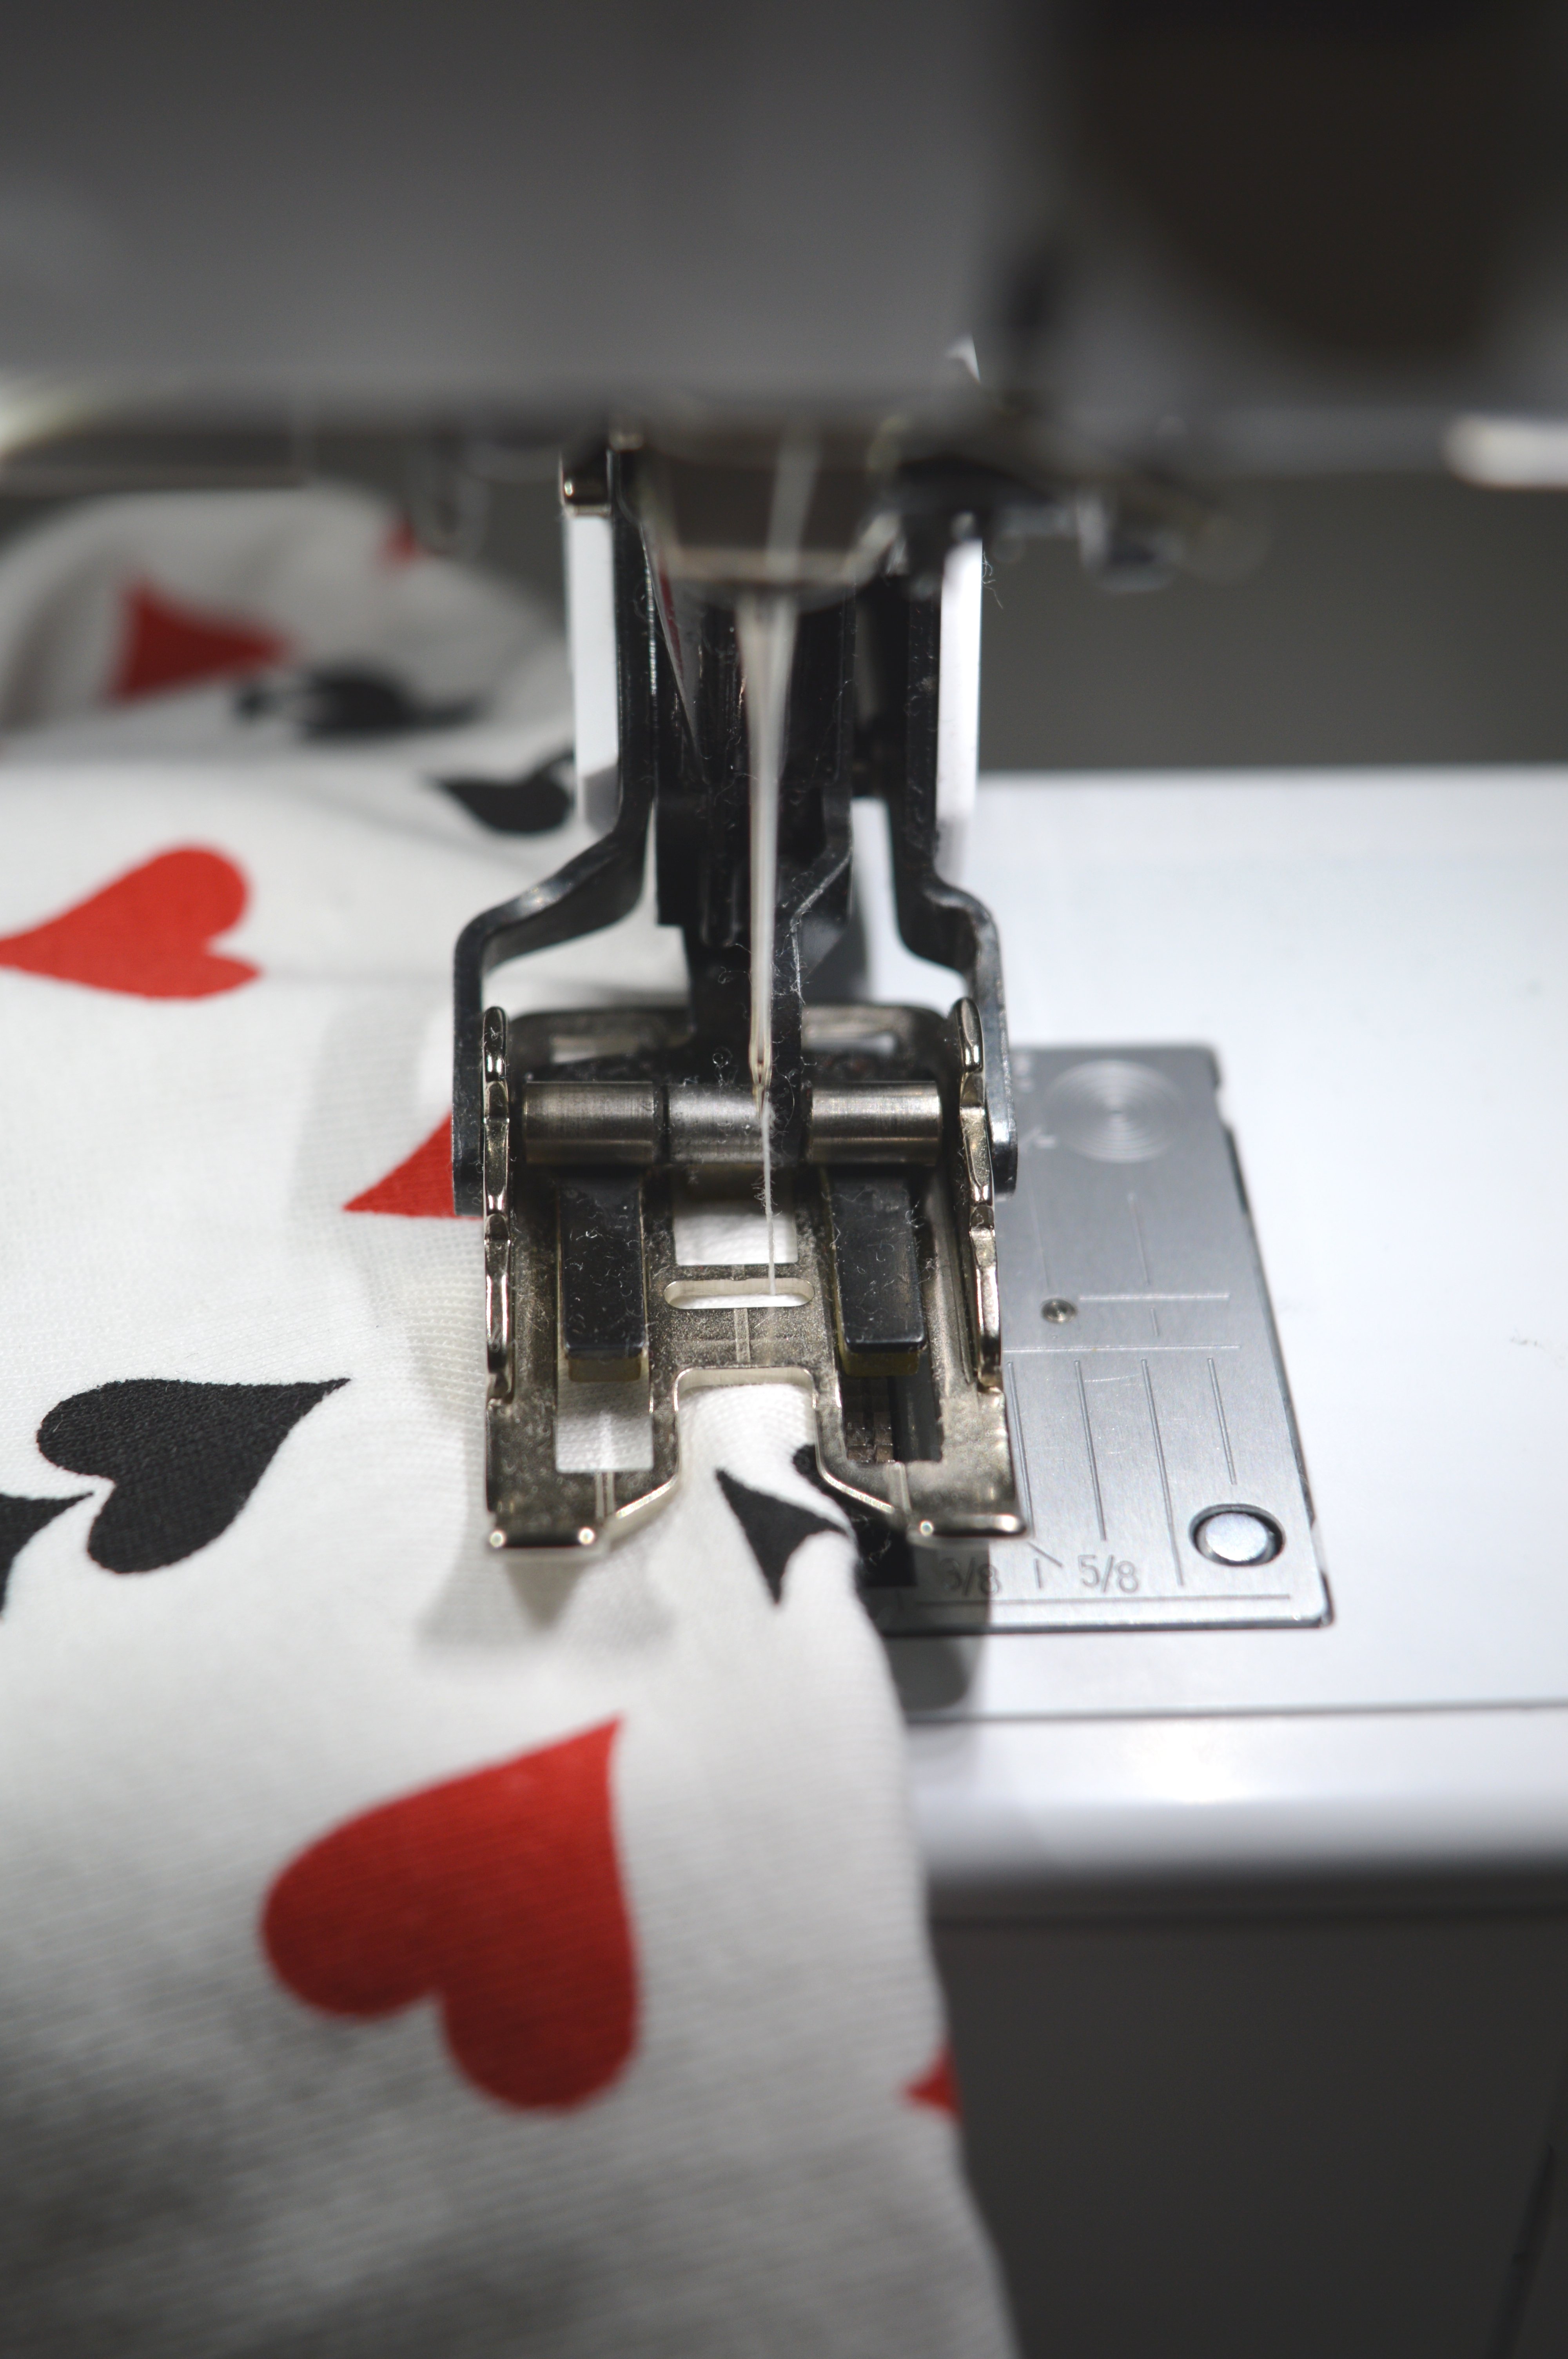
First of all, when sewing stretch fabrics, it is advantageous if you already own #50 Three sole walking foot for your sewing machine.
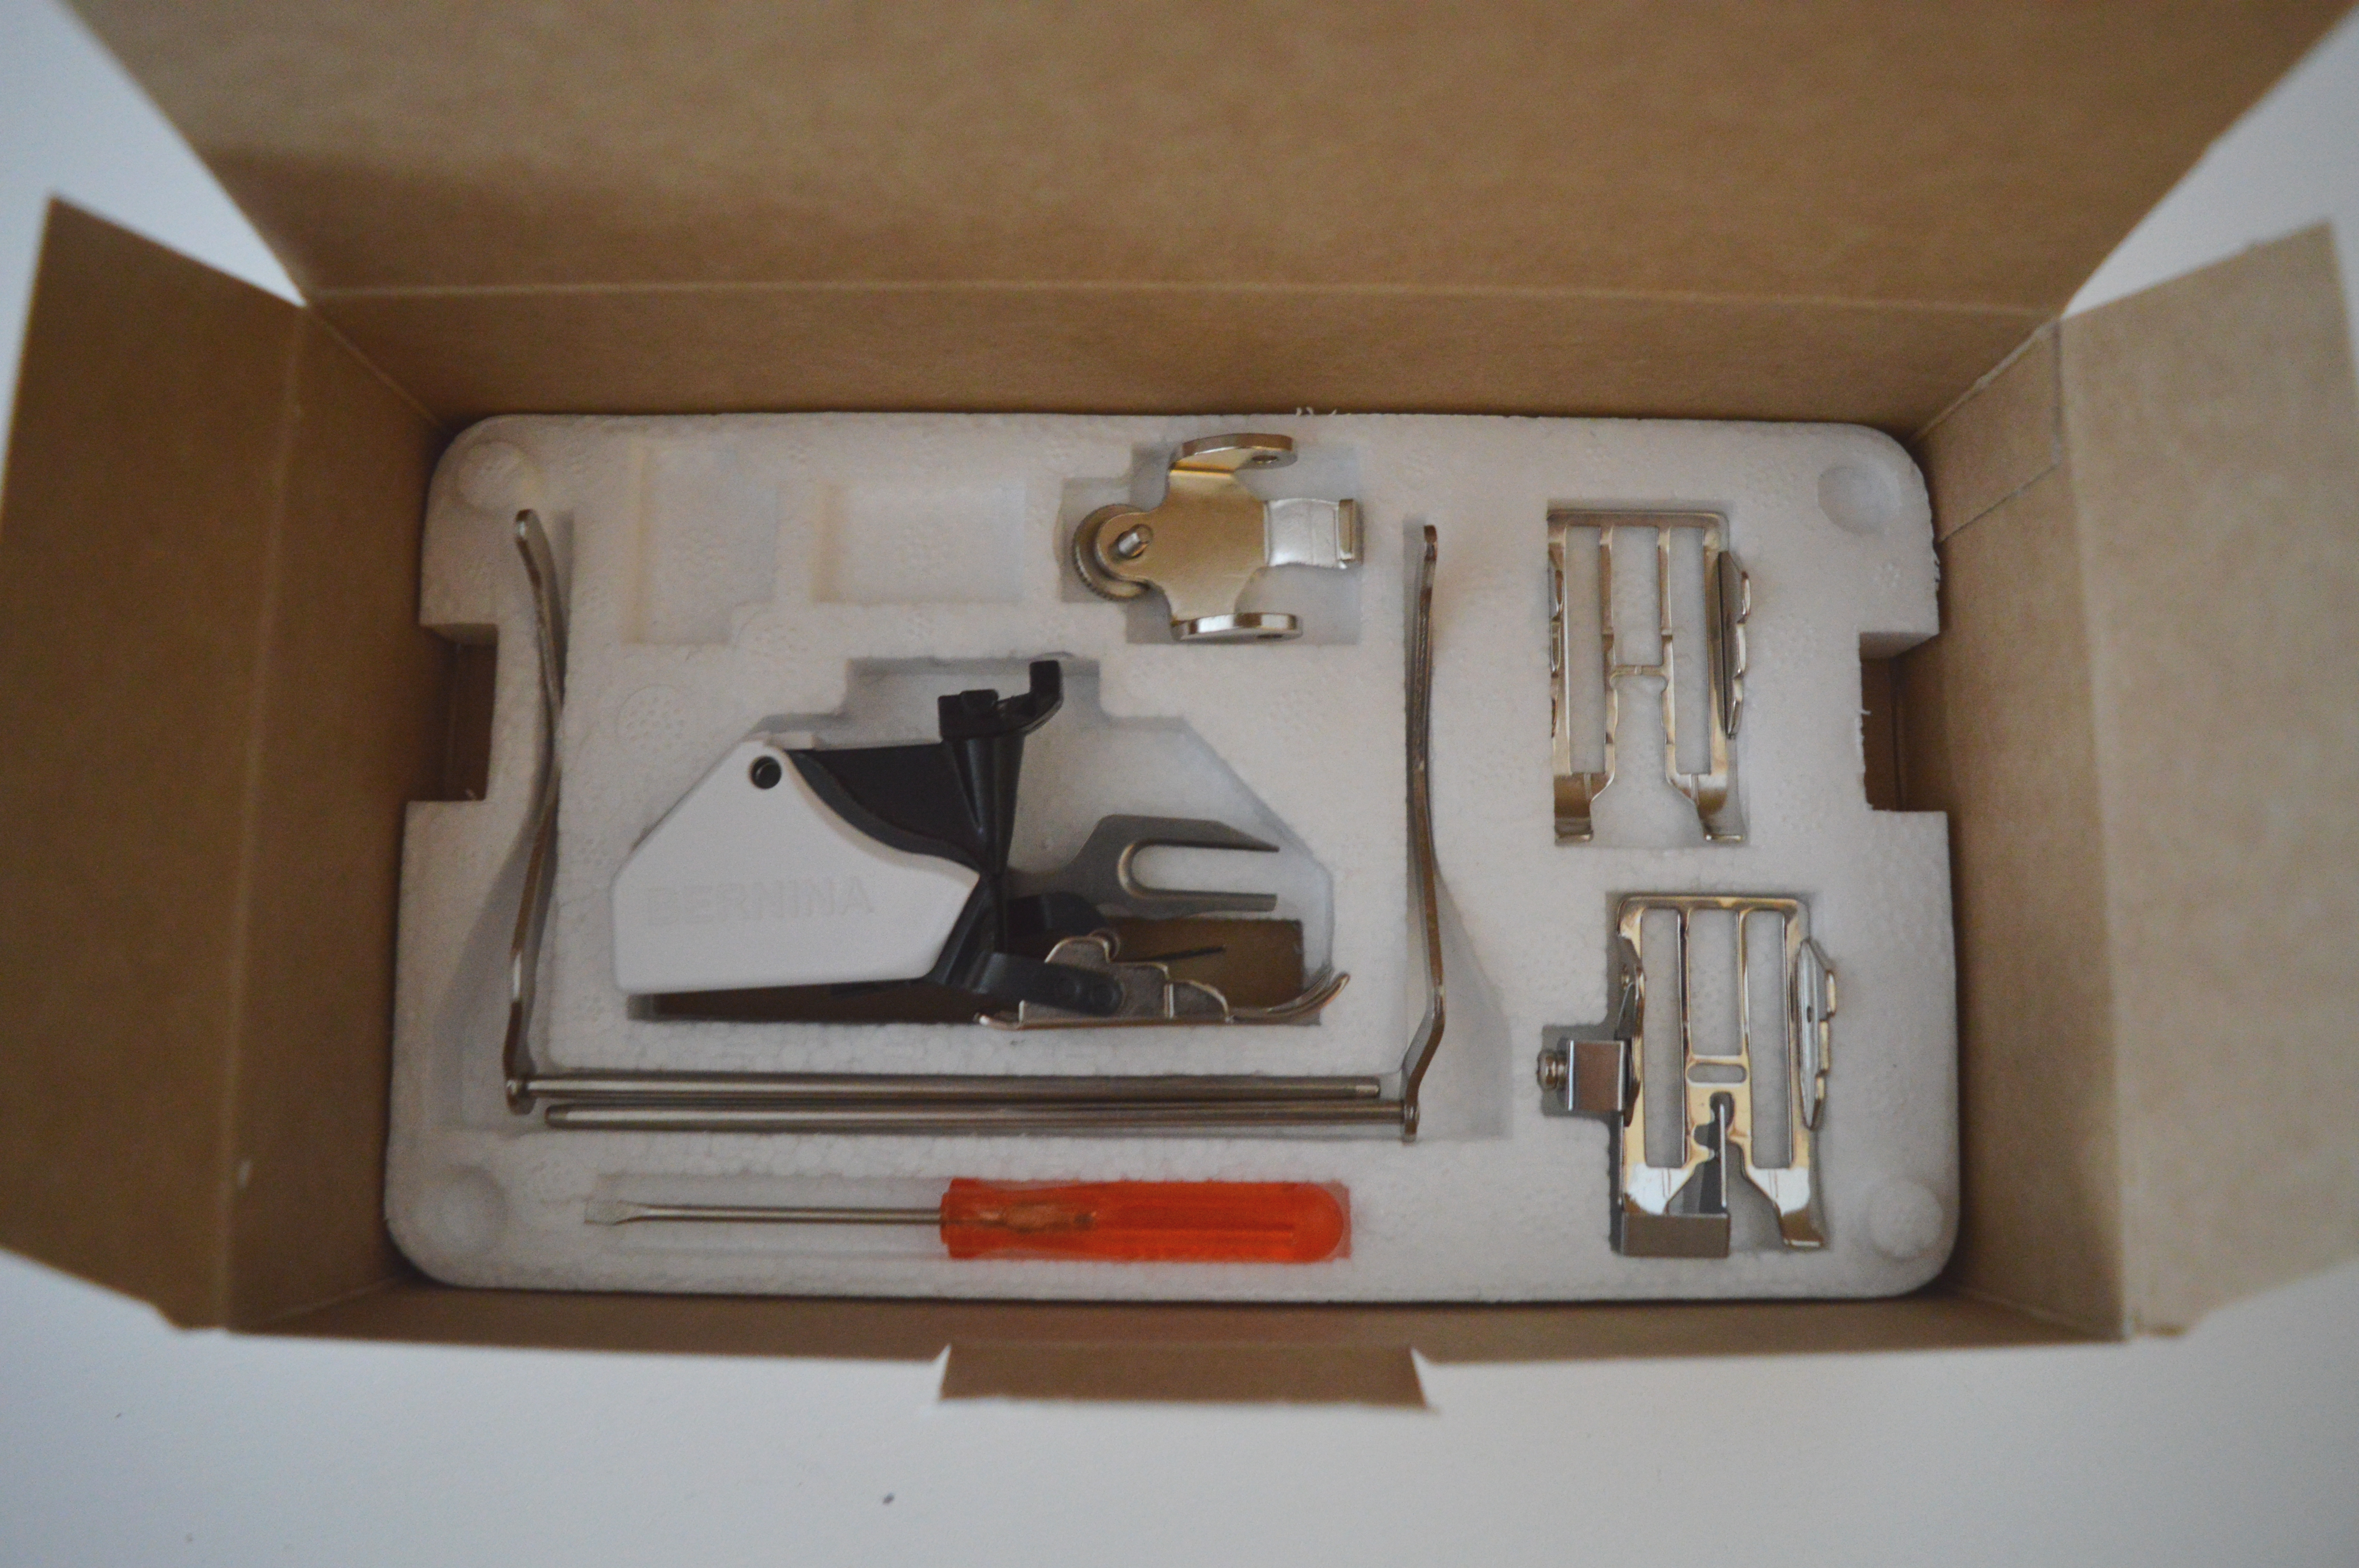
When it comes to sewing some challenging fabrics, the best thing you can afford yourself and to your garment is this foot. It makes work much easier and does work with certain materials a pleasure, not torture. In fact, the seams look nice and clean.
!!! Use Jersey/Stretch NEEDLE!
!!! Stitches used in this post:
- sewing on the elastic – three-thread serger/overlock stitch or on a sewing machine zig-zag stitch #2
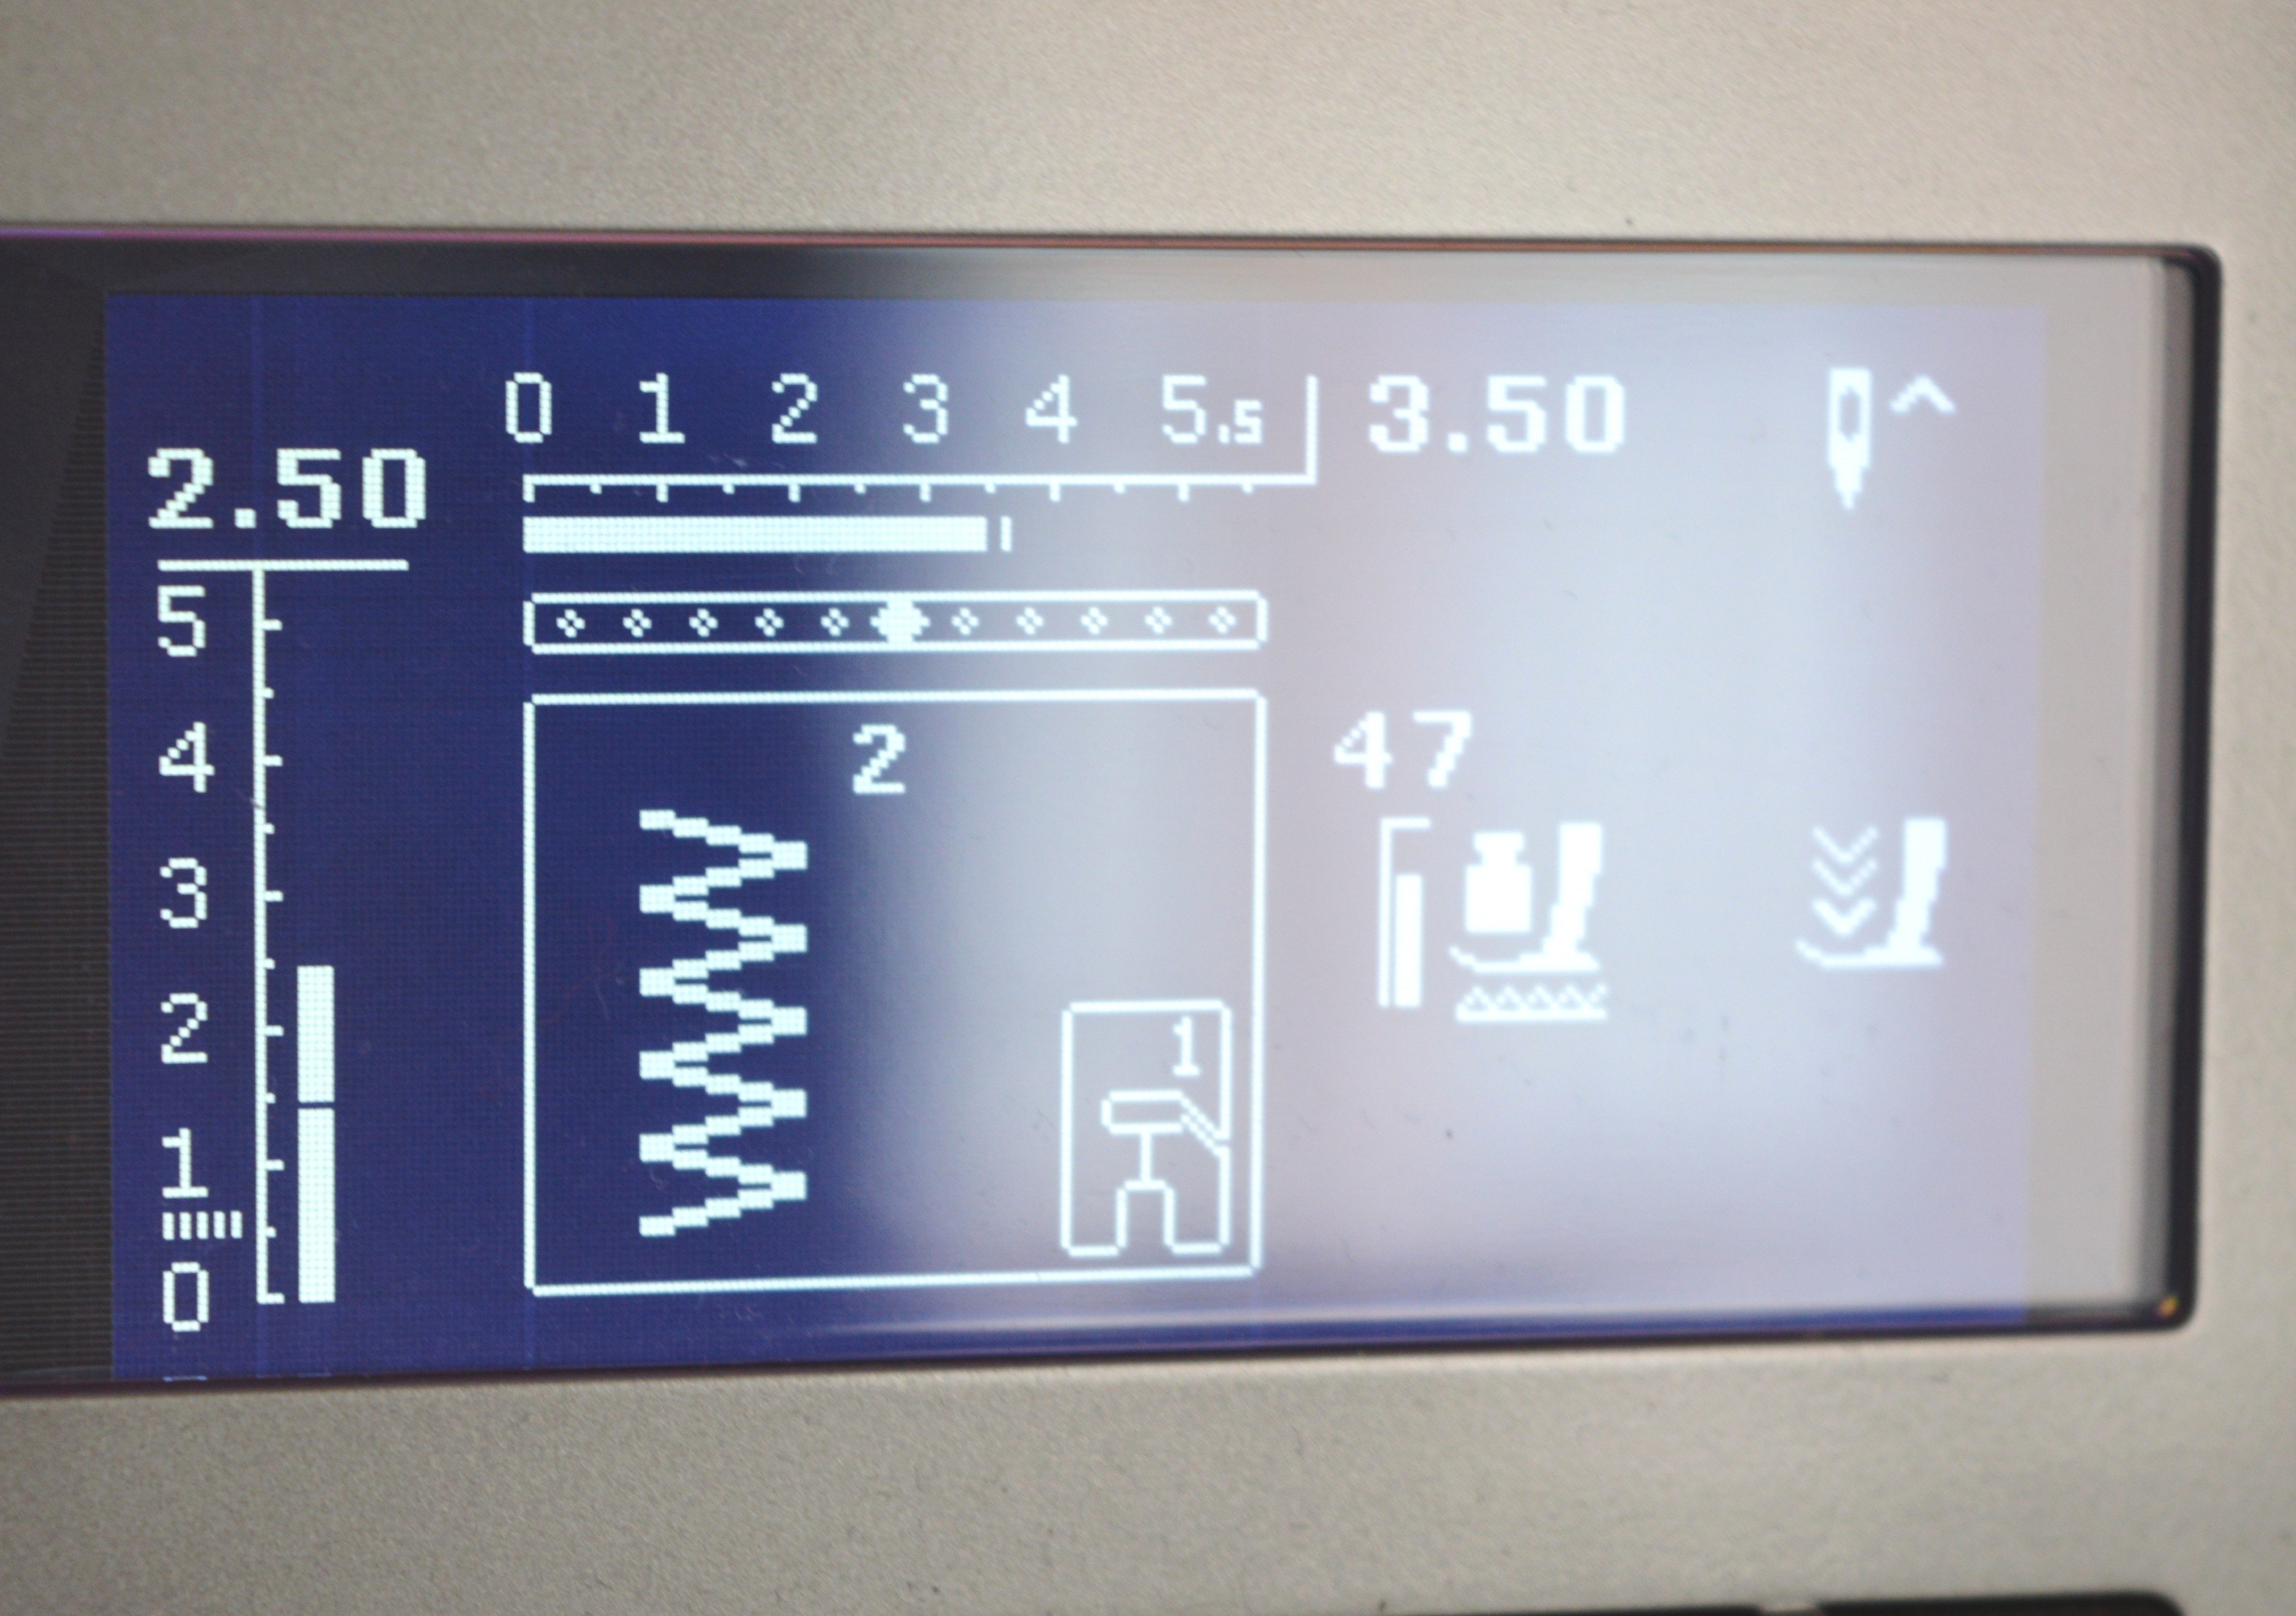
!!! zig-zag stitch #2, stitch length 2,50, width 2,50
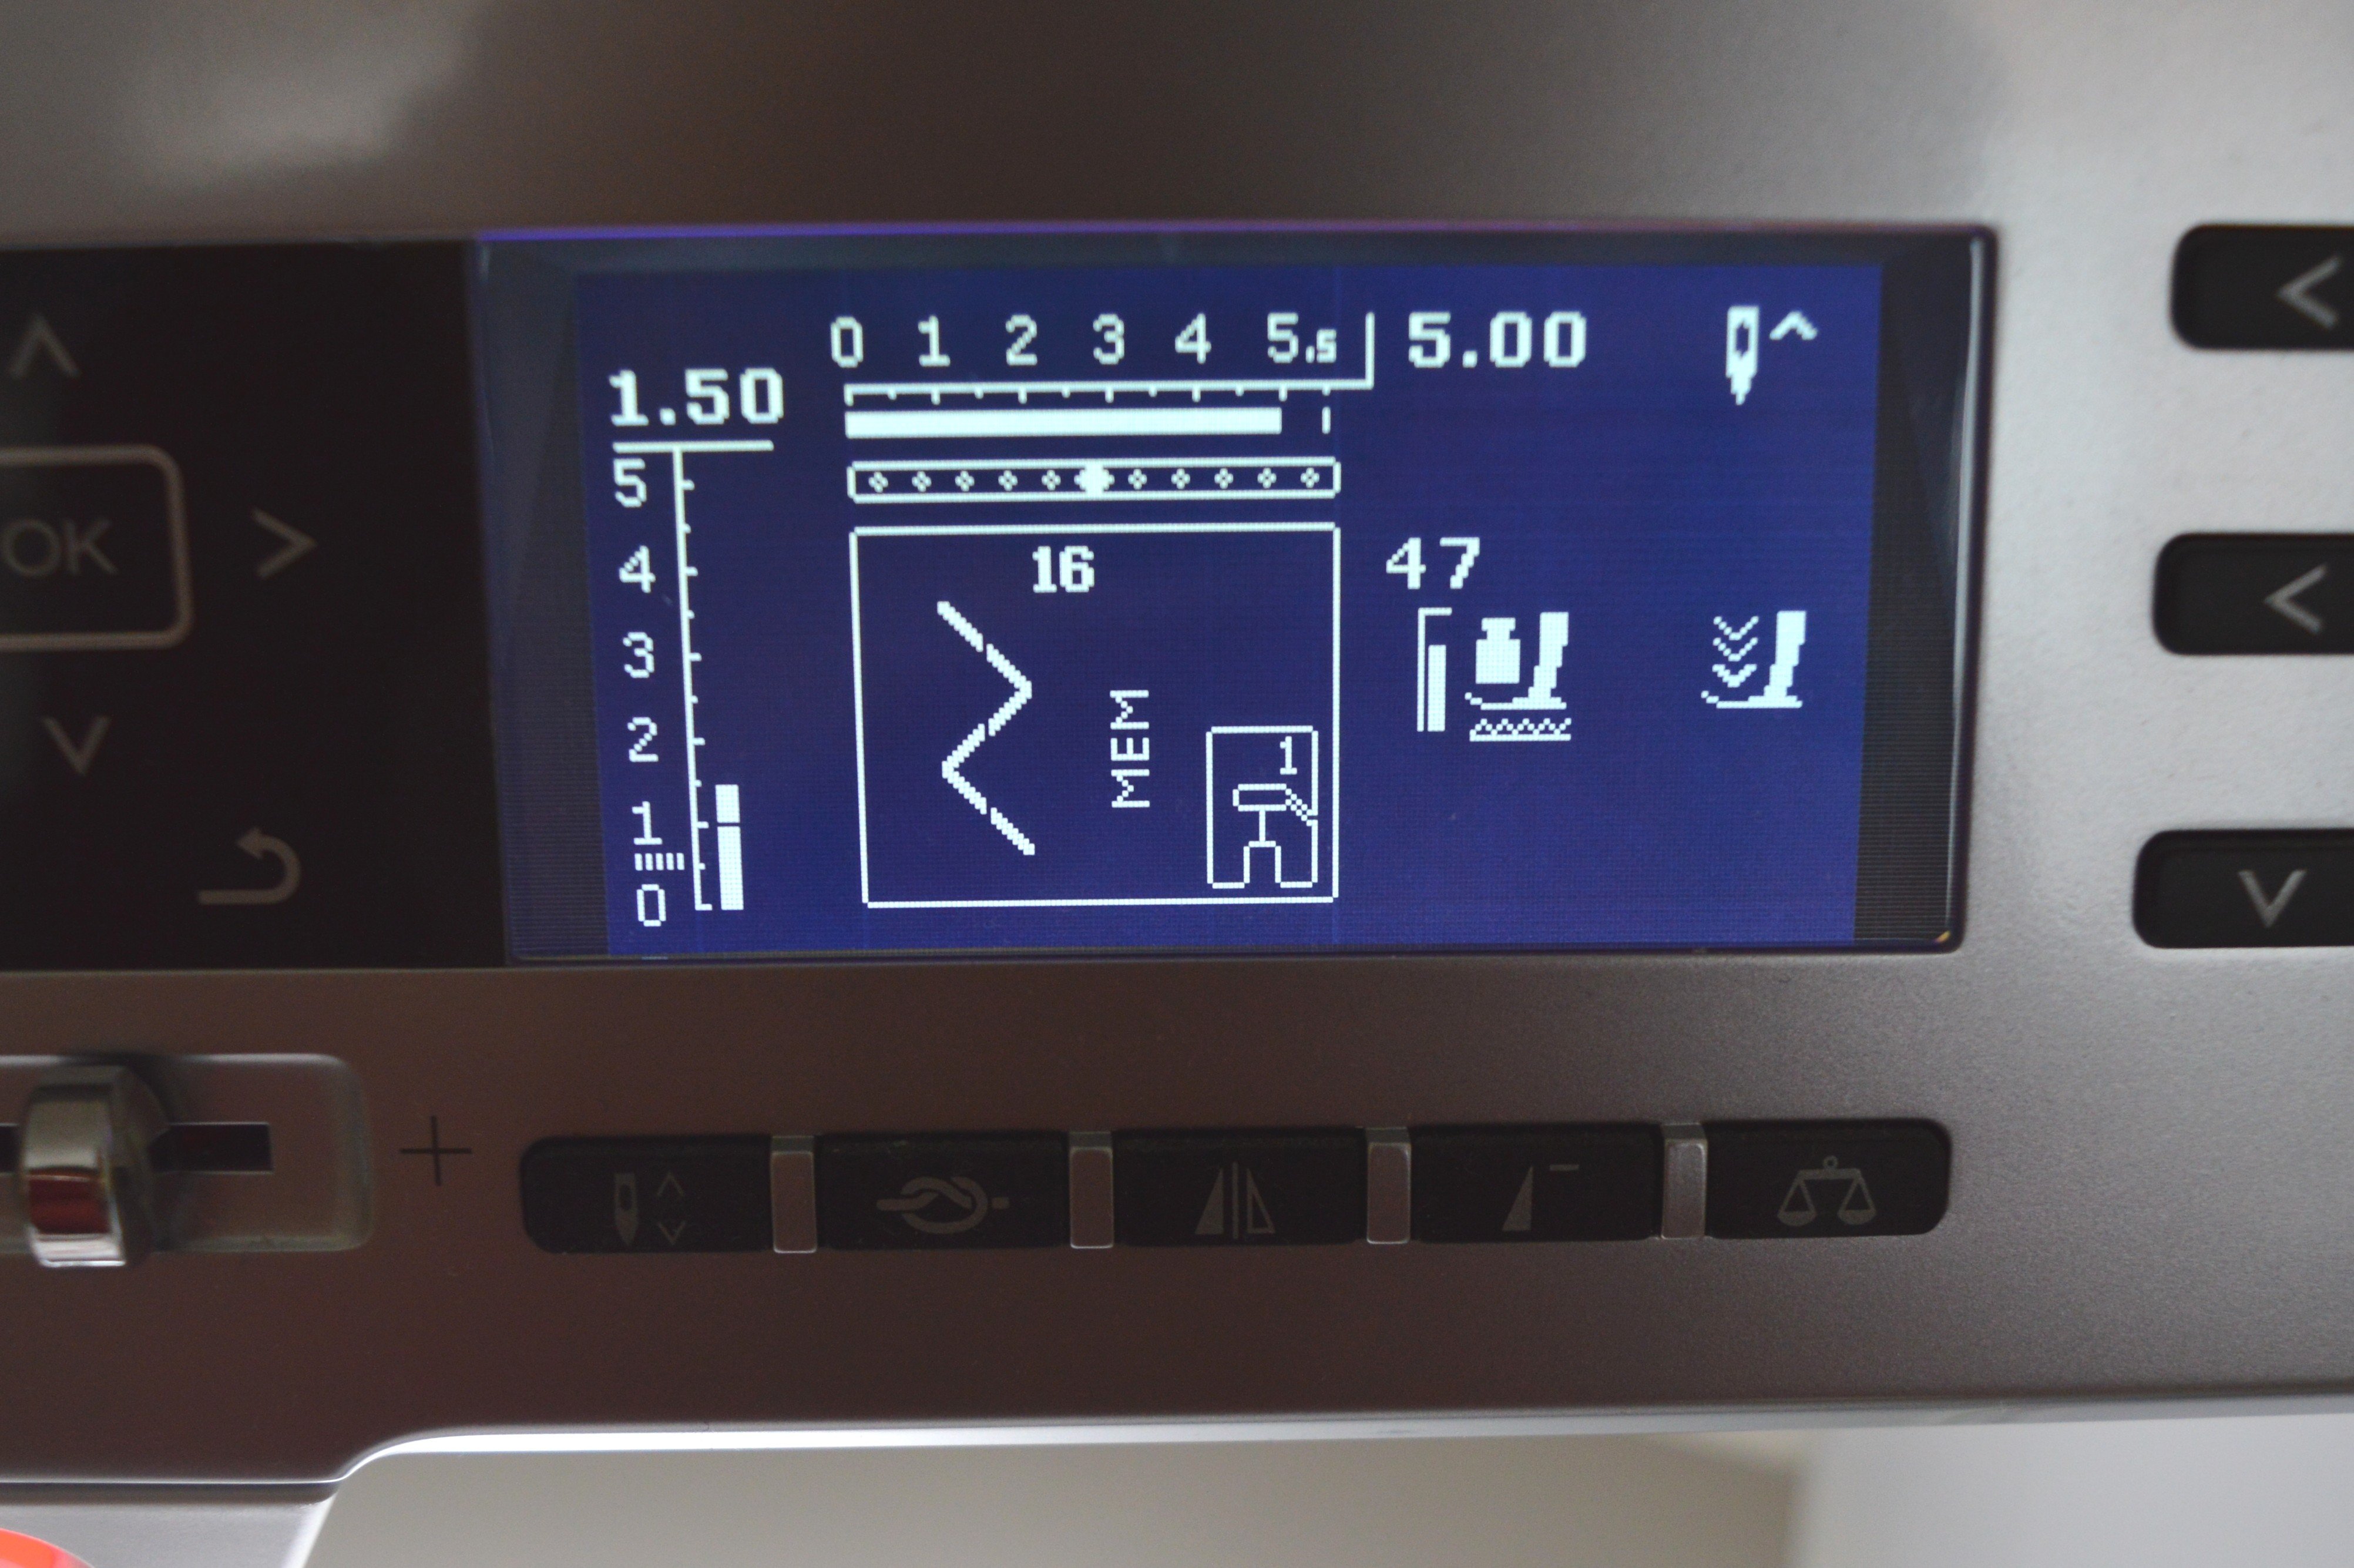
- topstitching – zig-zag stitch #2 or sewn out zig-zag #16
!!! zig-zag stitch #2, stitch length 2.50, width 3.50
!!! sewn out zig-zag stitch #16, stitch length 1.5, width 5.00
- joining seams – four-thread serger/overlocker seam or on a sewing machine double overlock stitch #10 or super stretch #11 + vari-overlock stitch #3 (in this post are seam allowances for these seams 0.6 cm)
Sewing panties using braided elastic
Braided elastic, probably the most used elastic, has parallel ribs going along its length and it narrows when stretched.

!!! What is relevant to the pattern we use when we sew with braided elastic is that seam allowance on the edges on which we are applying elastic must be equal to elastic width.
In this post is used braided elastic widths of 0.5 cm and the seam allowance is also 0.5 cm already drawn on the pattern.
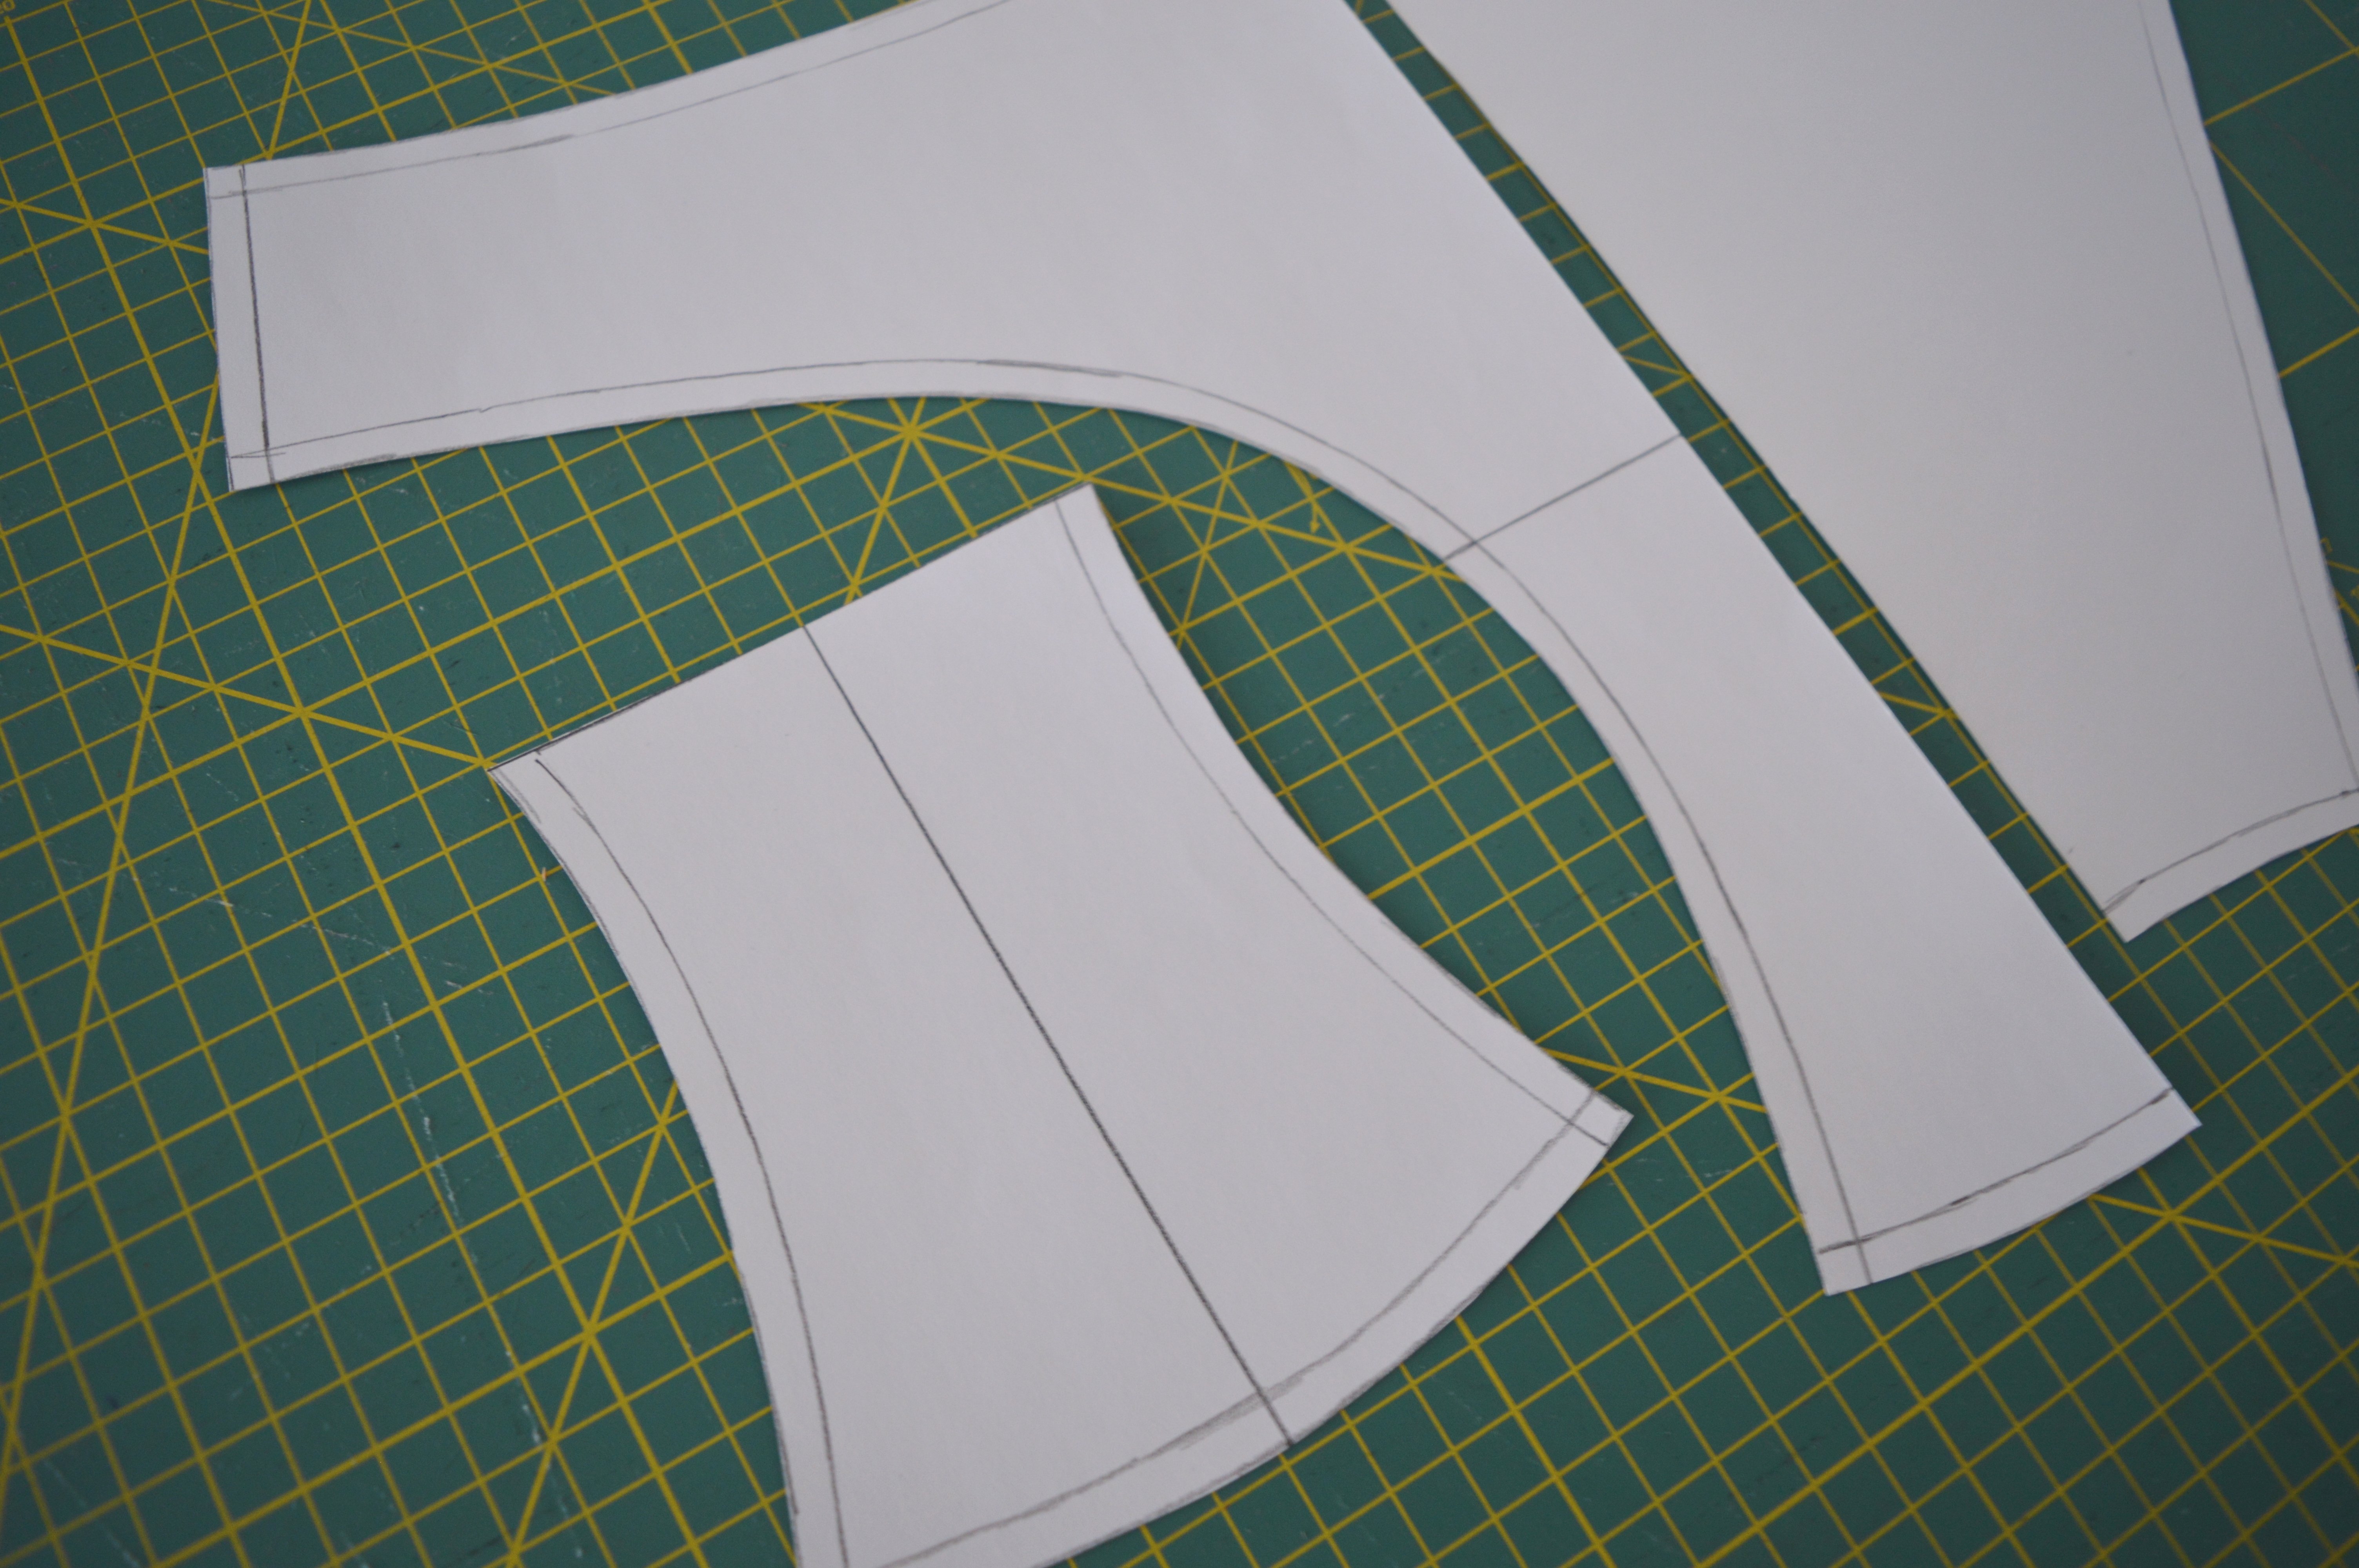
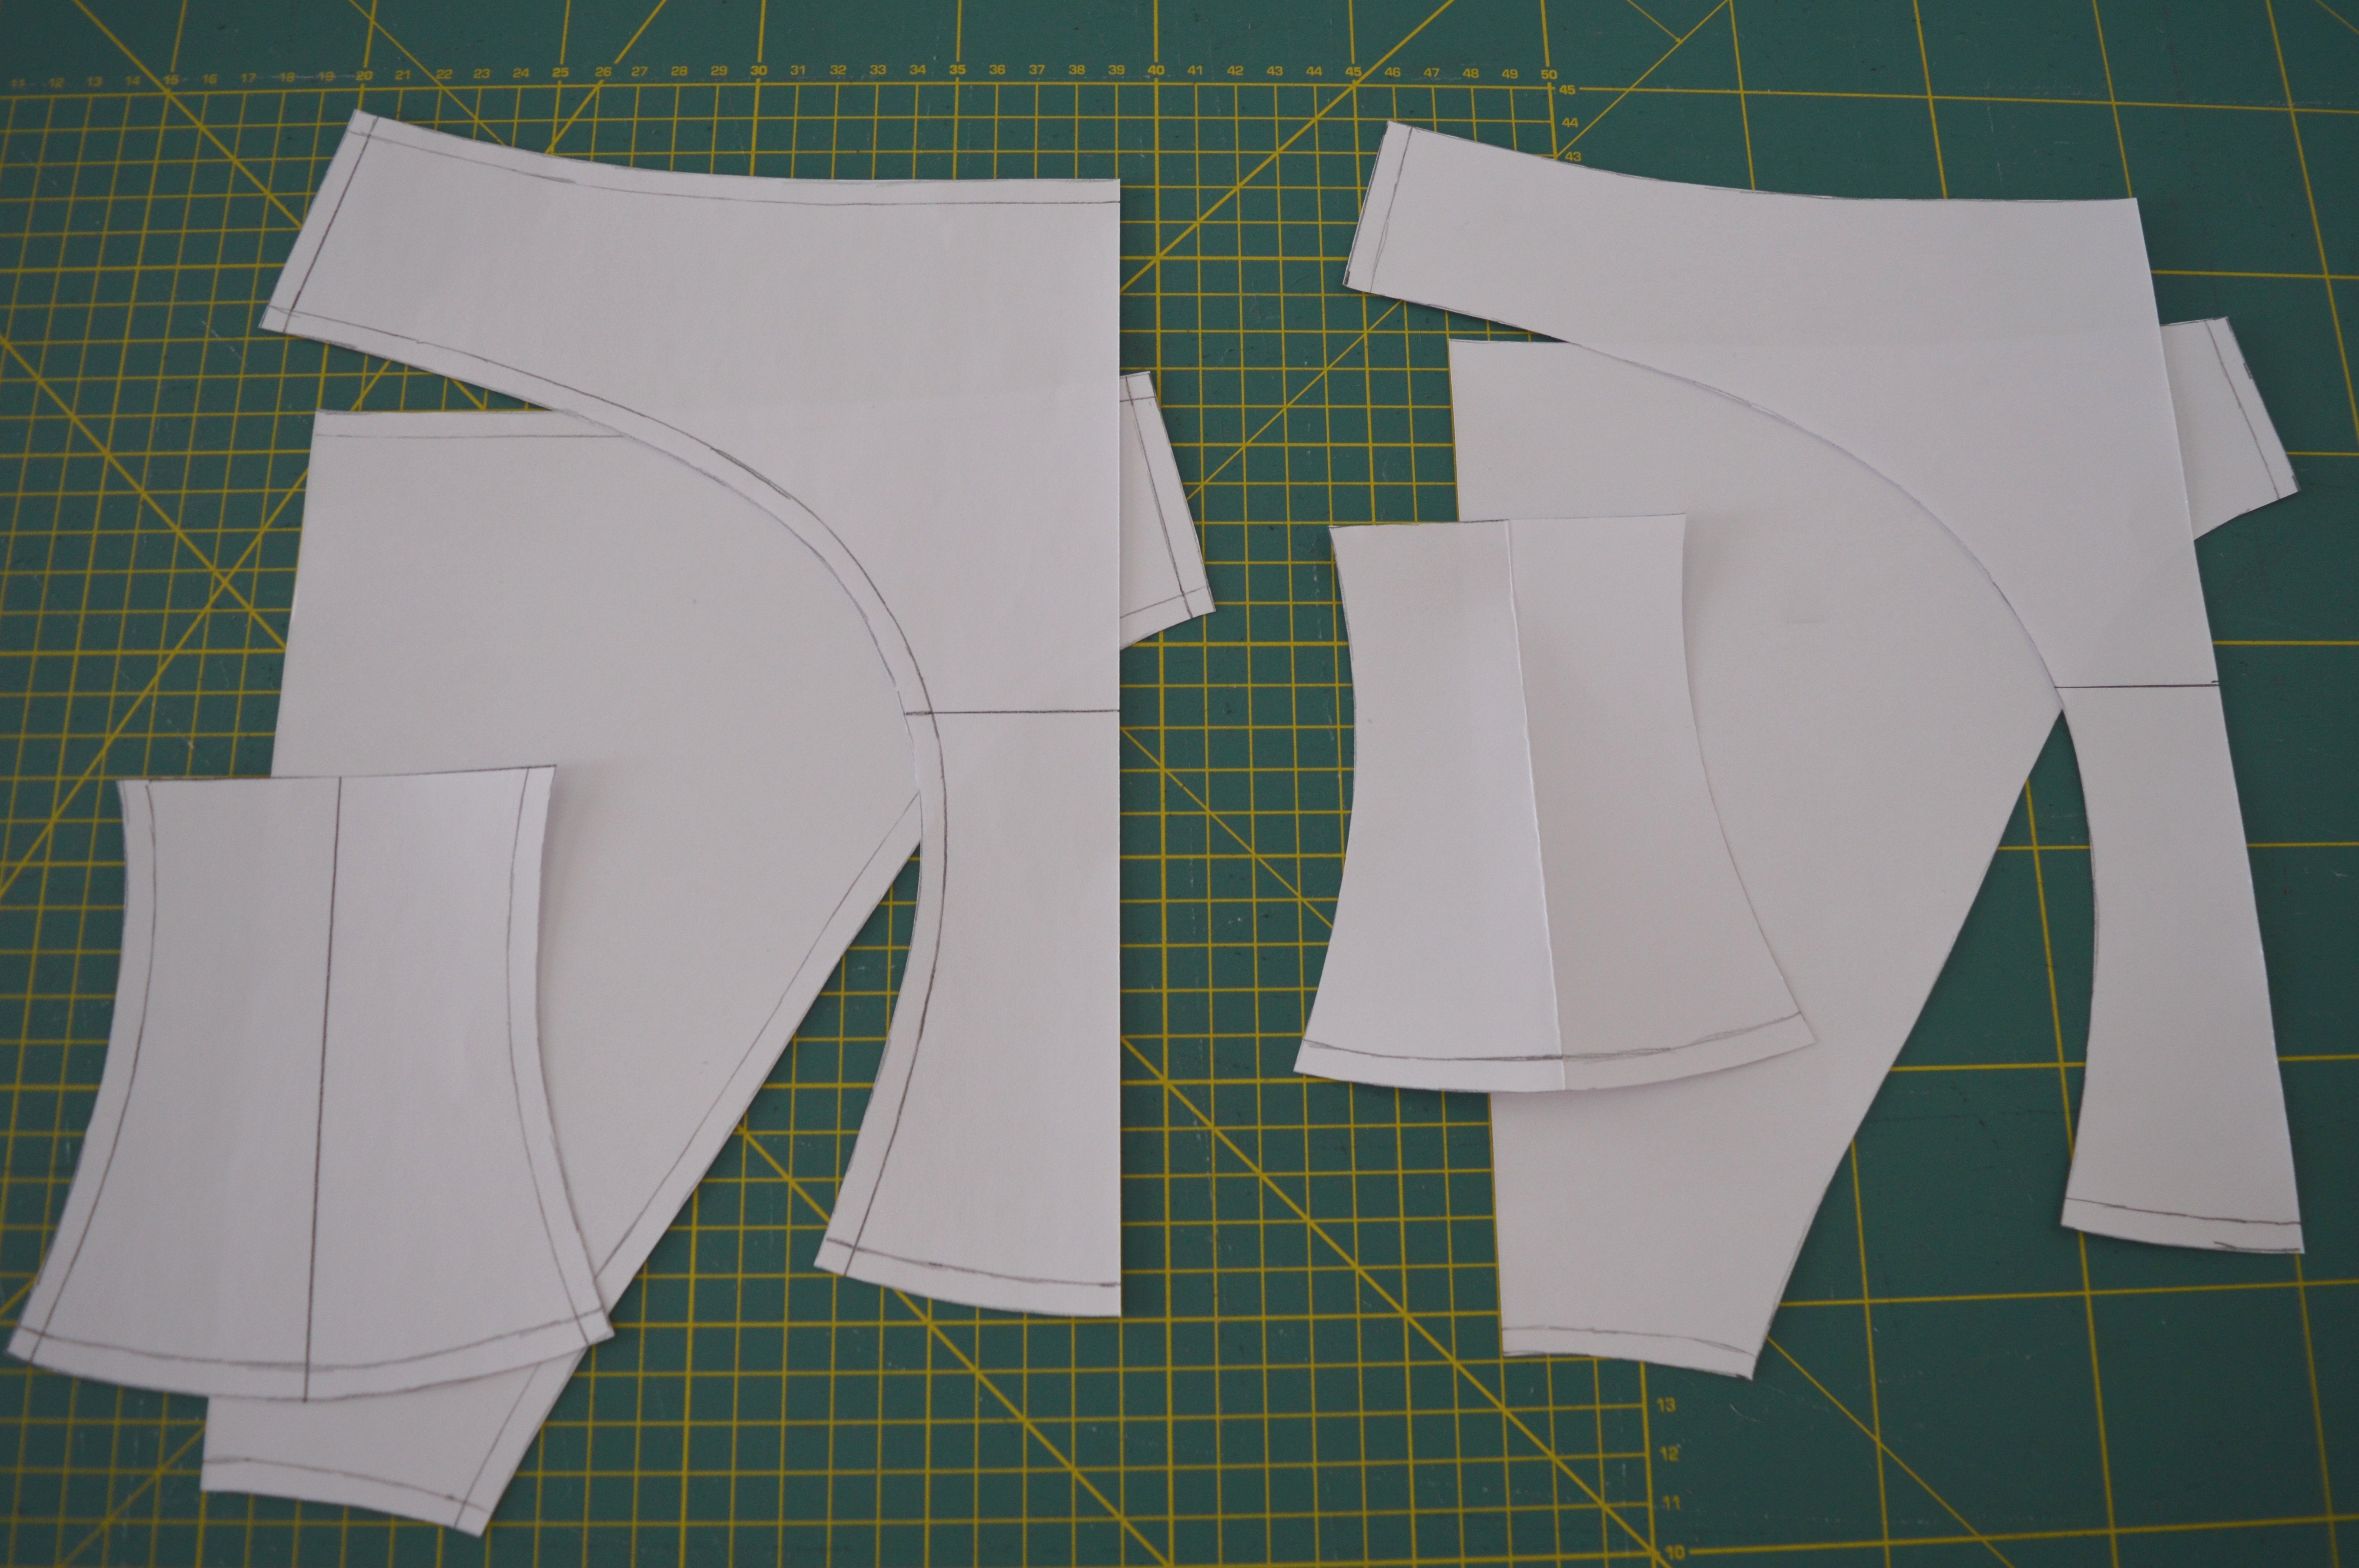
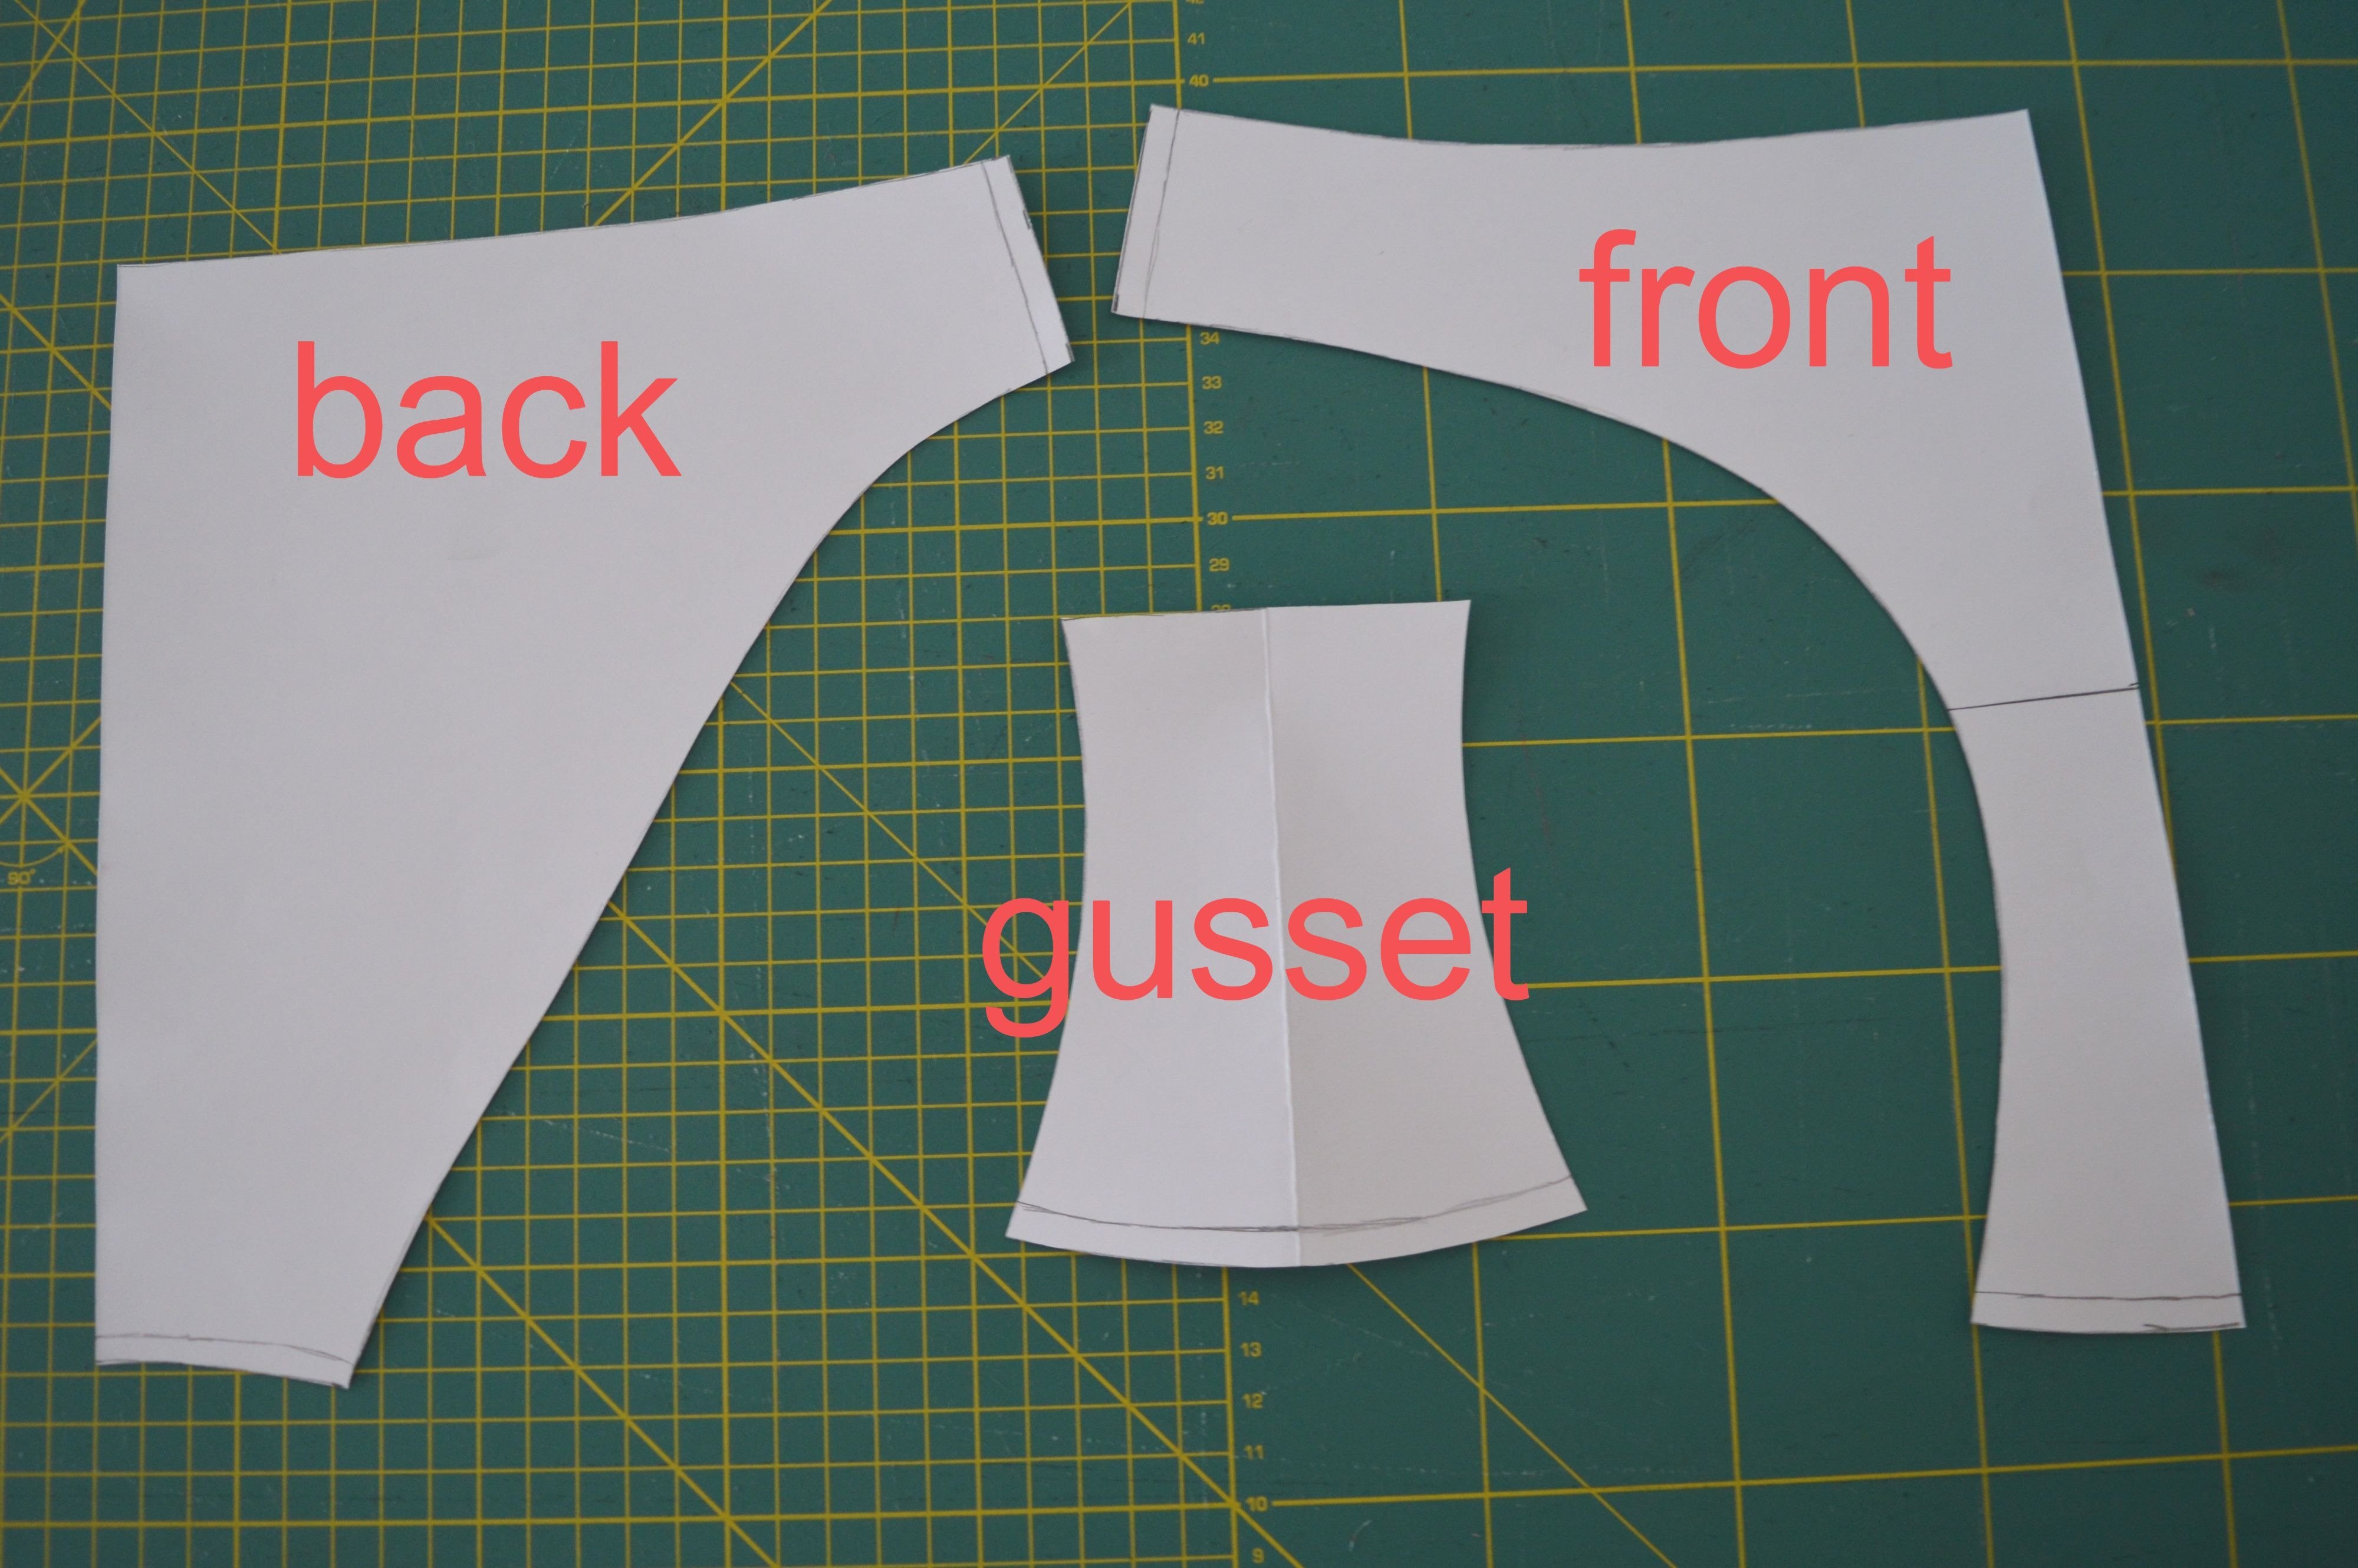
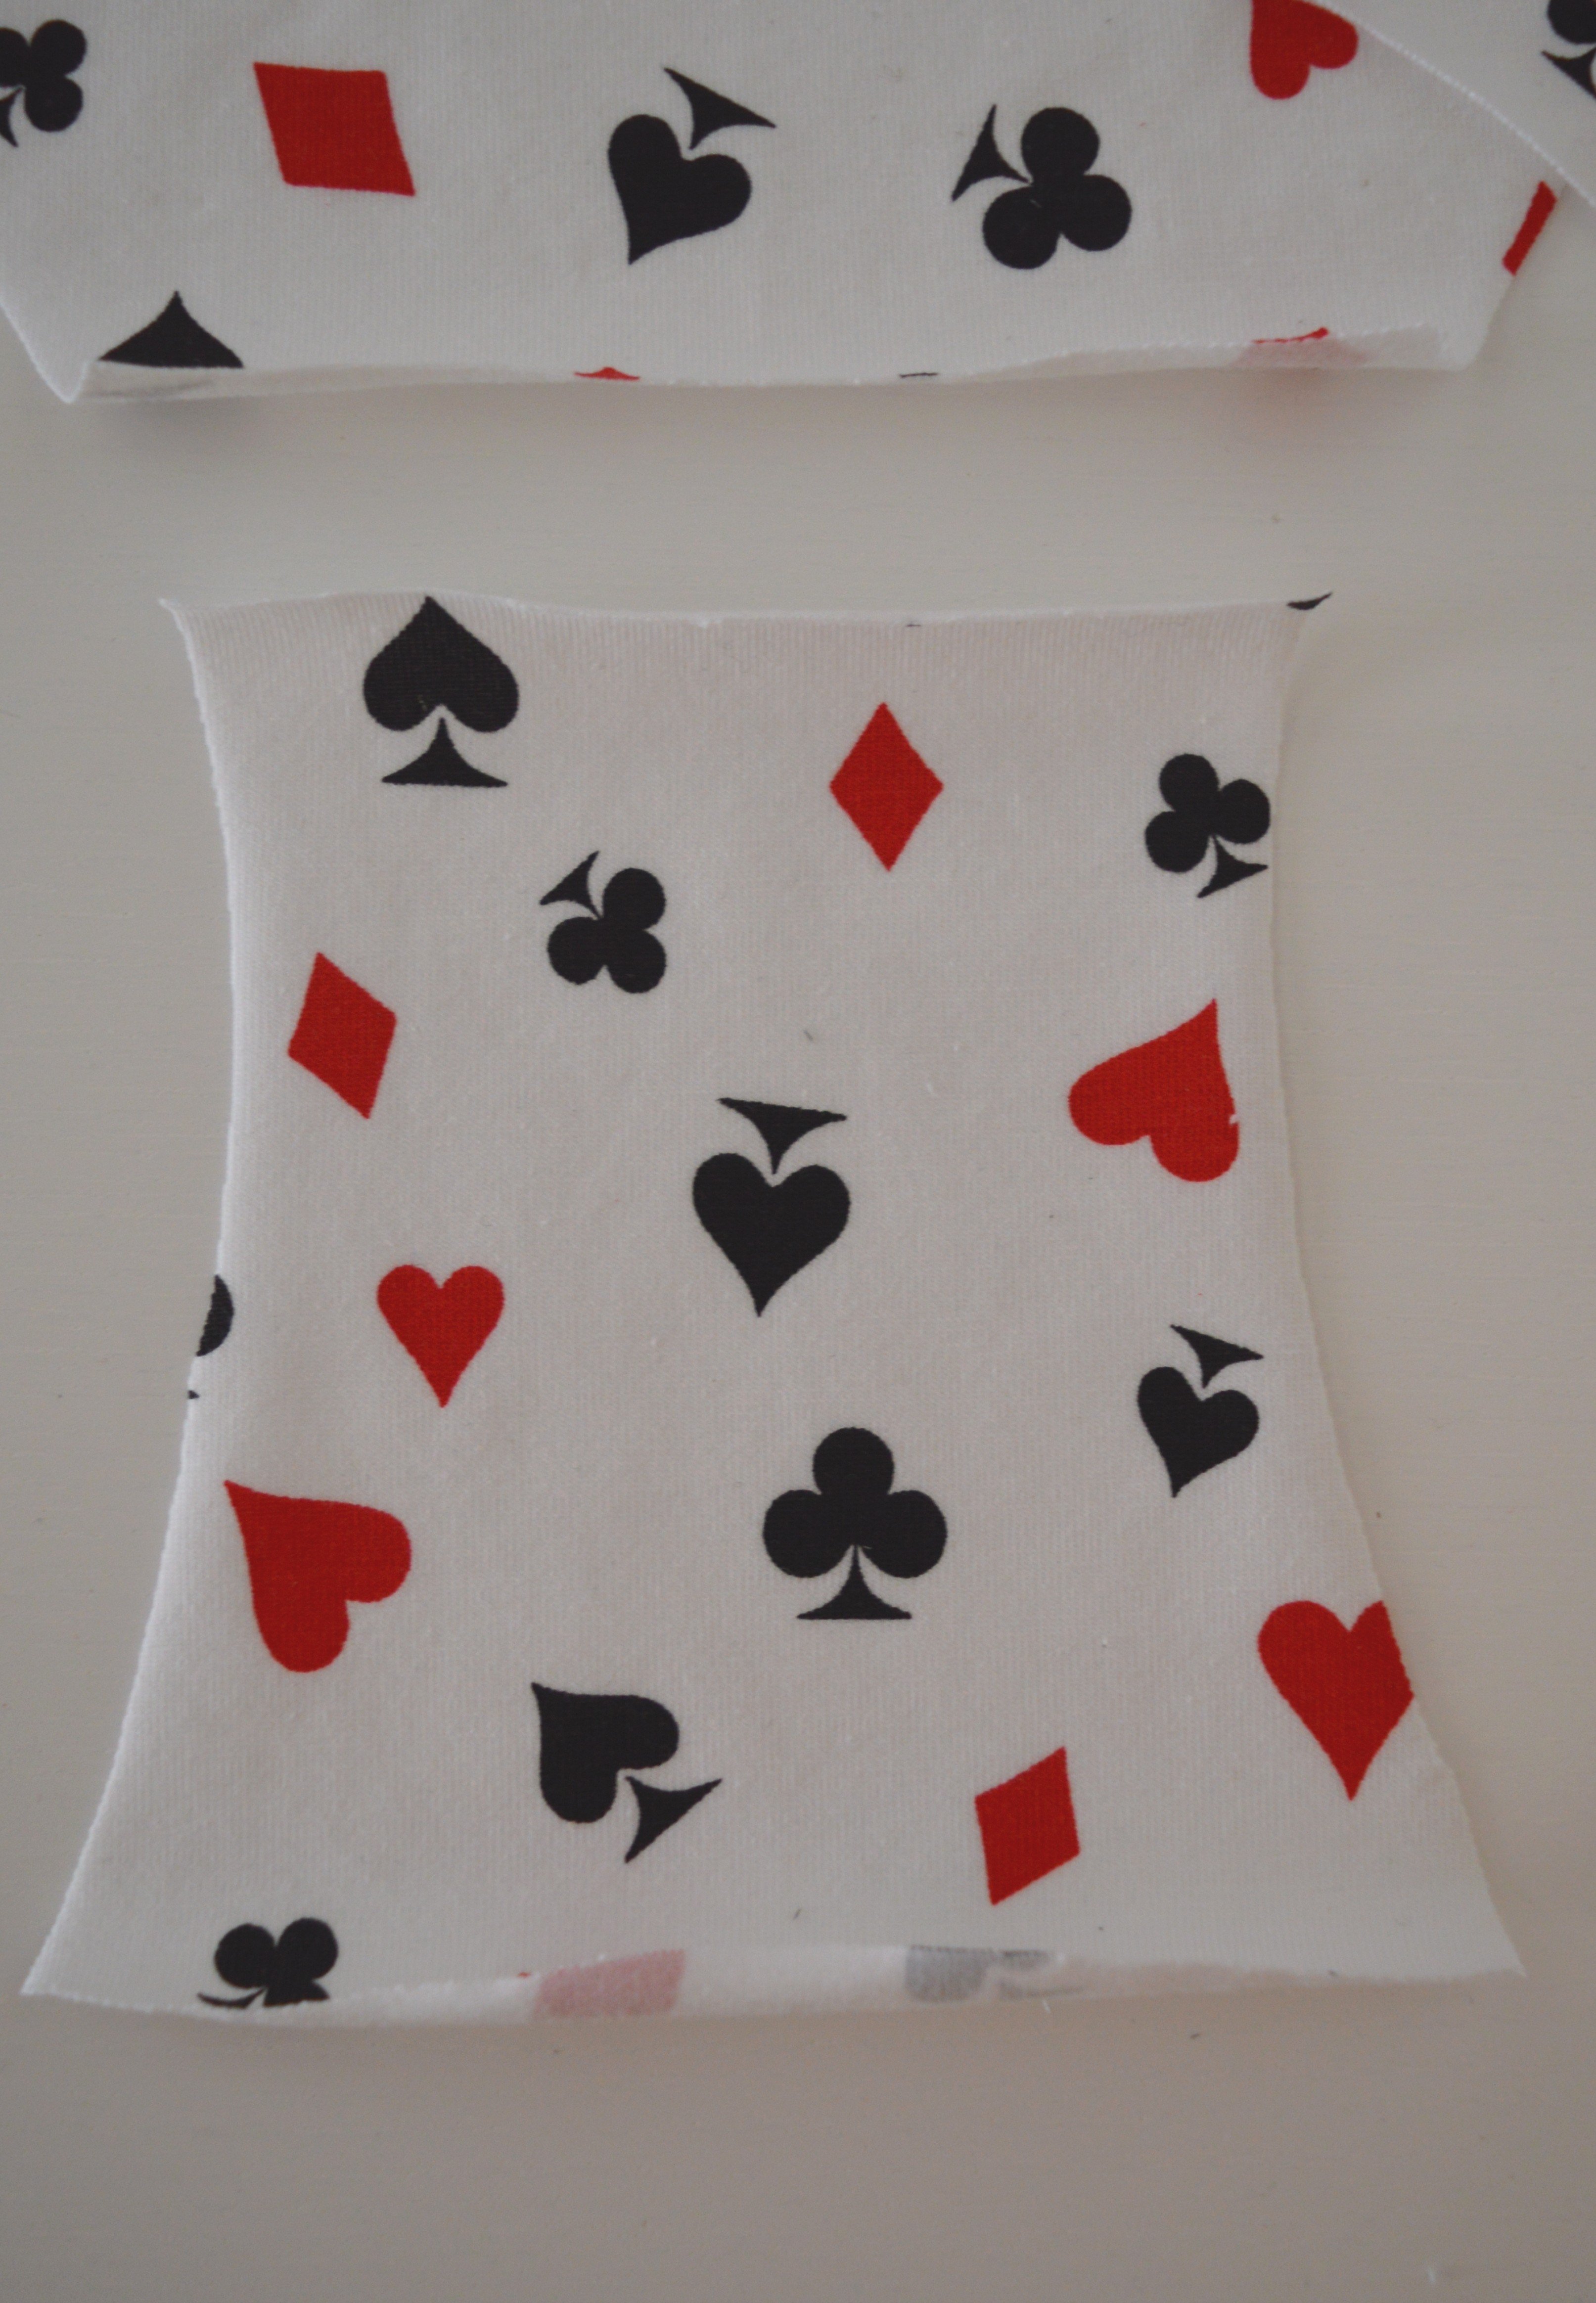
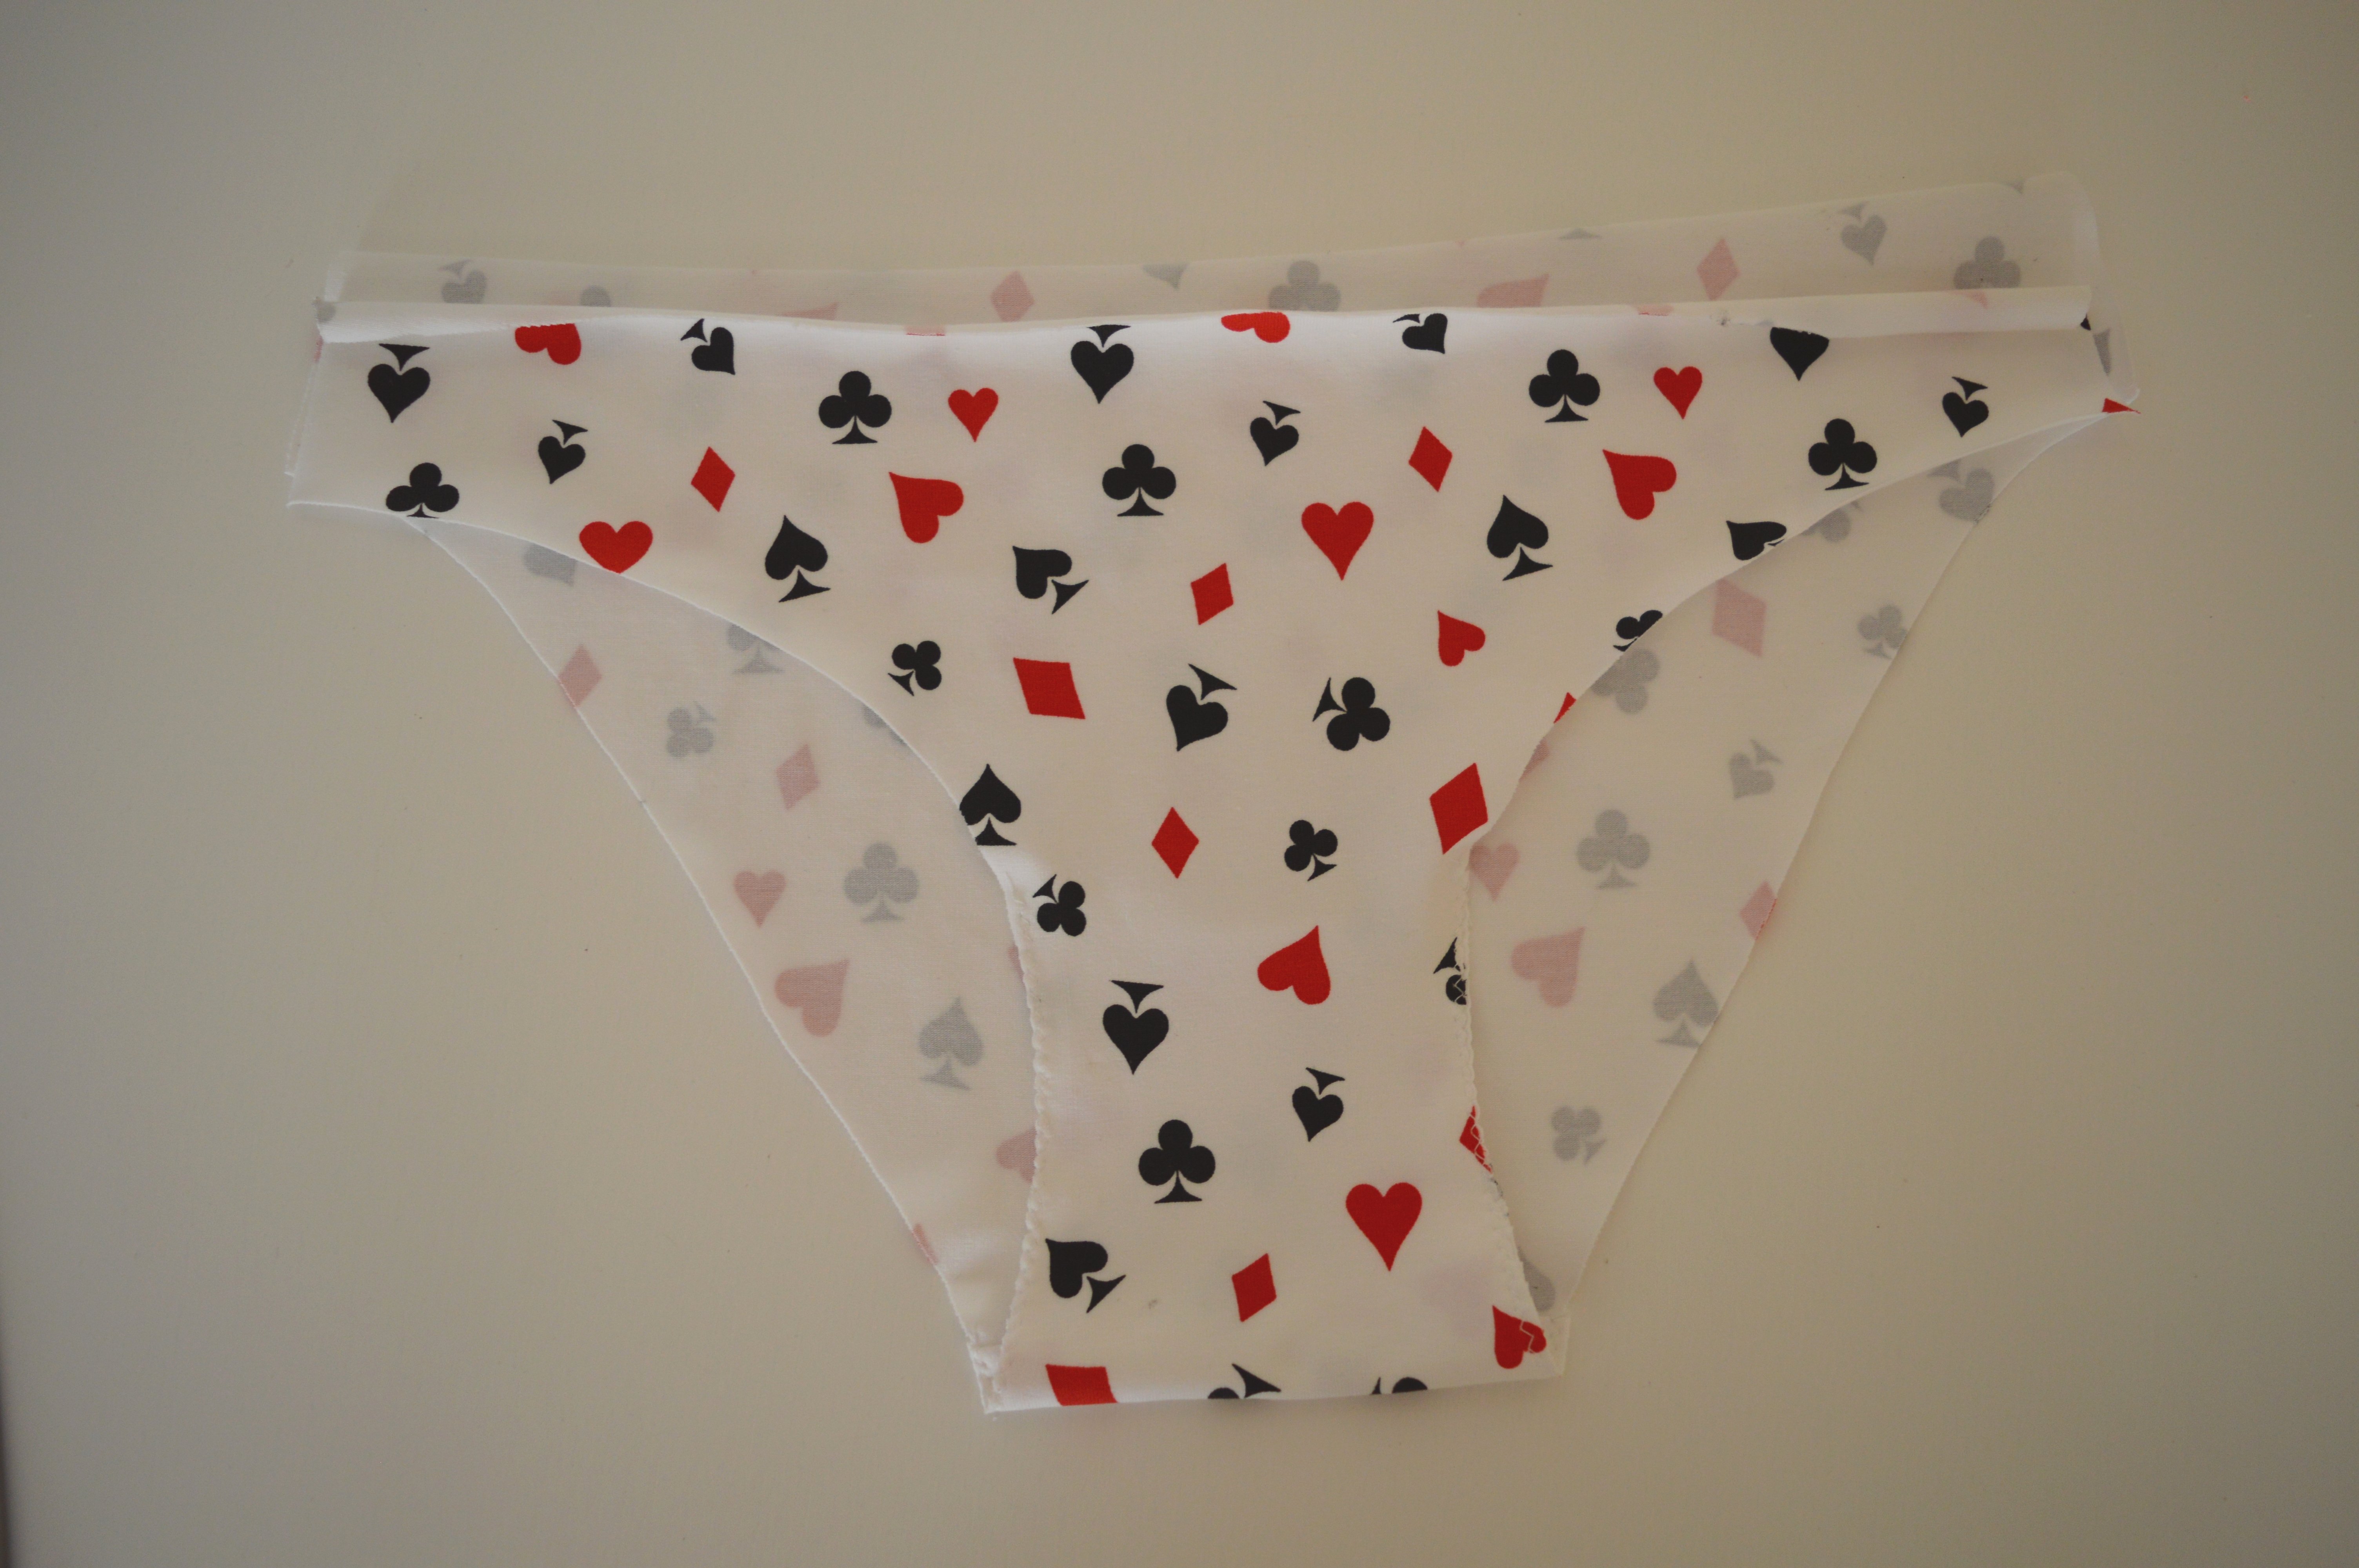
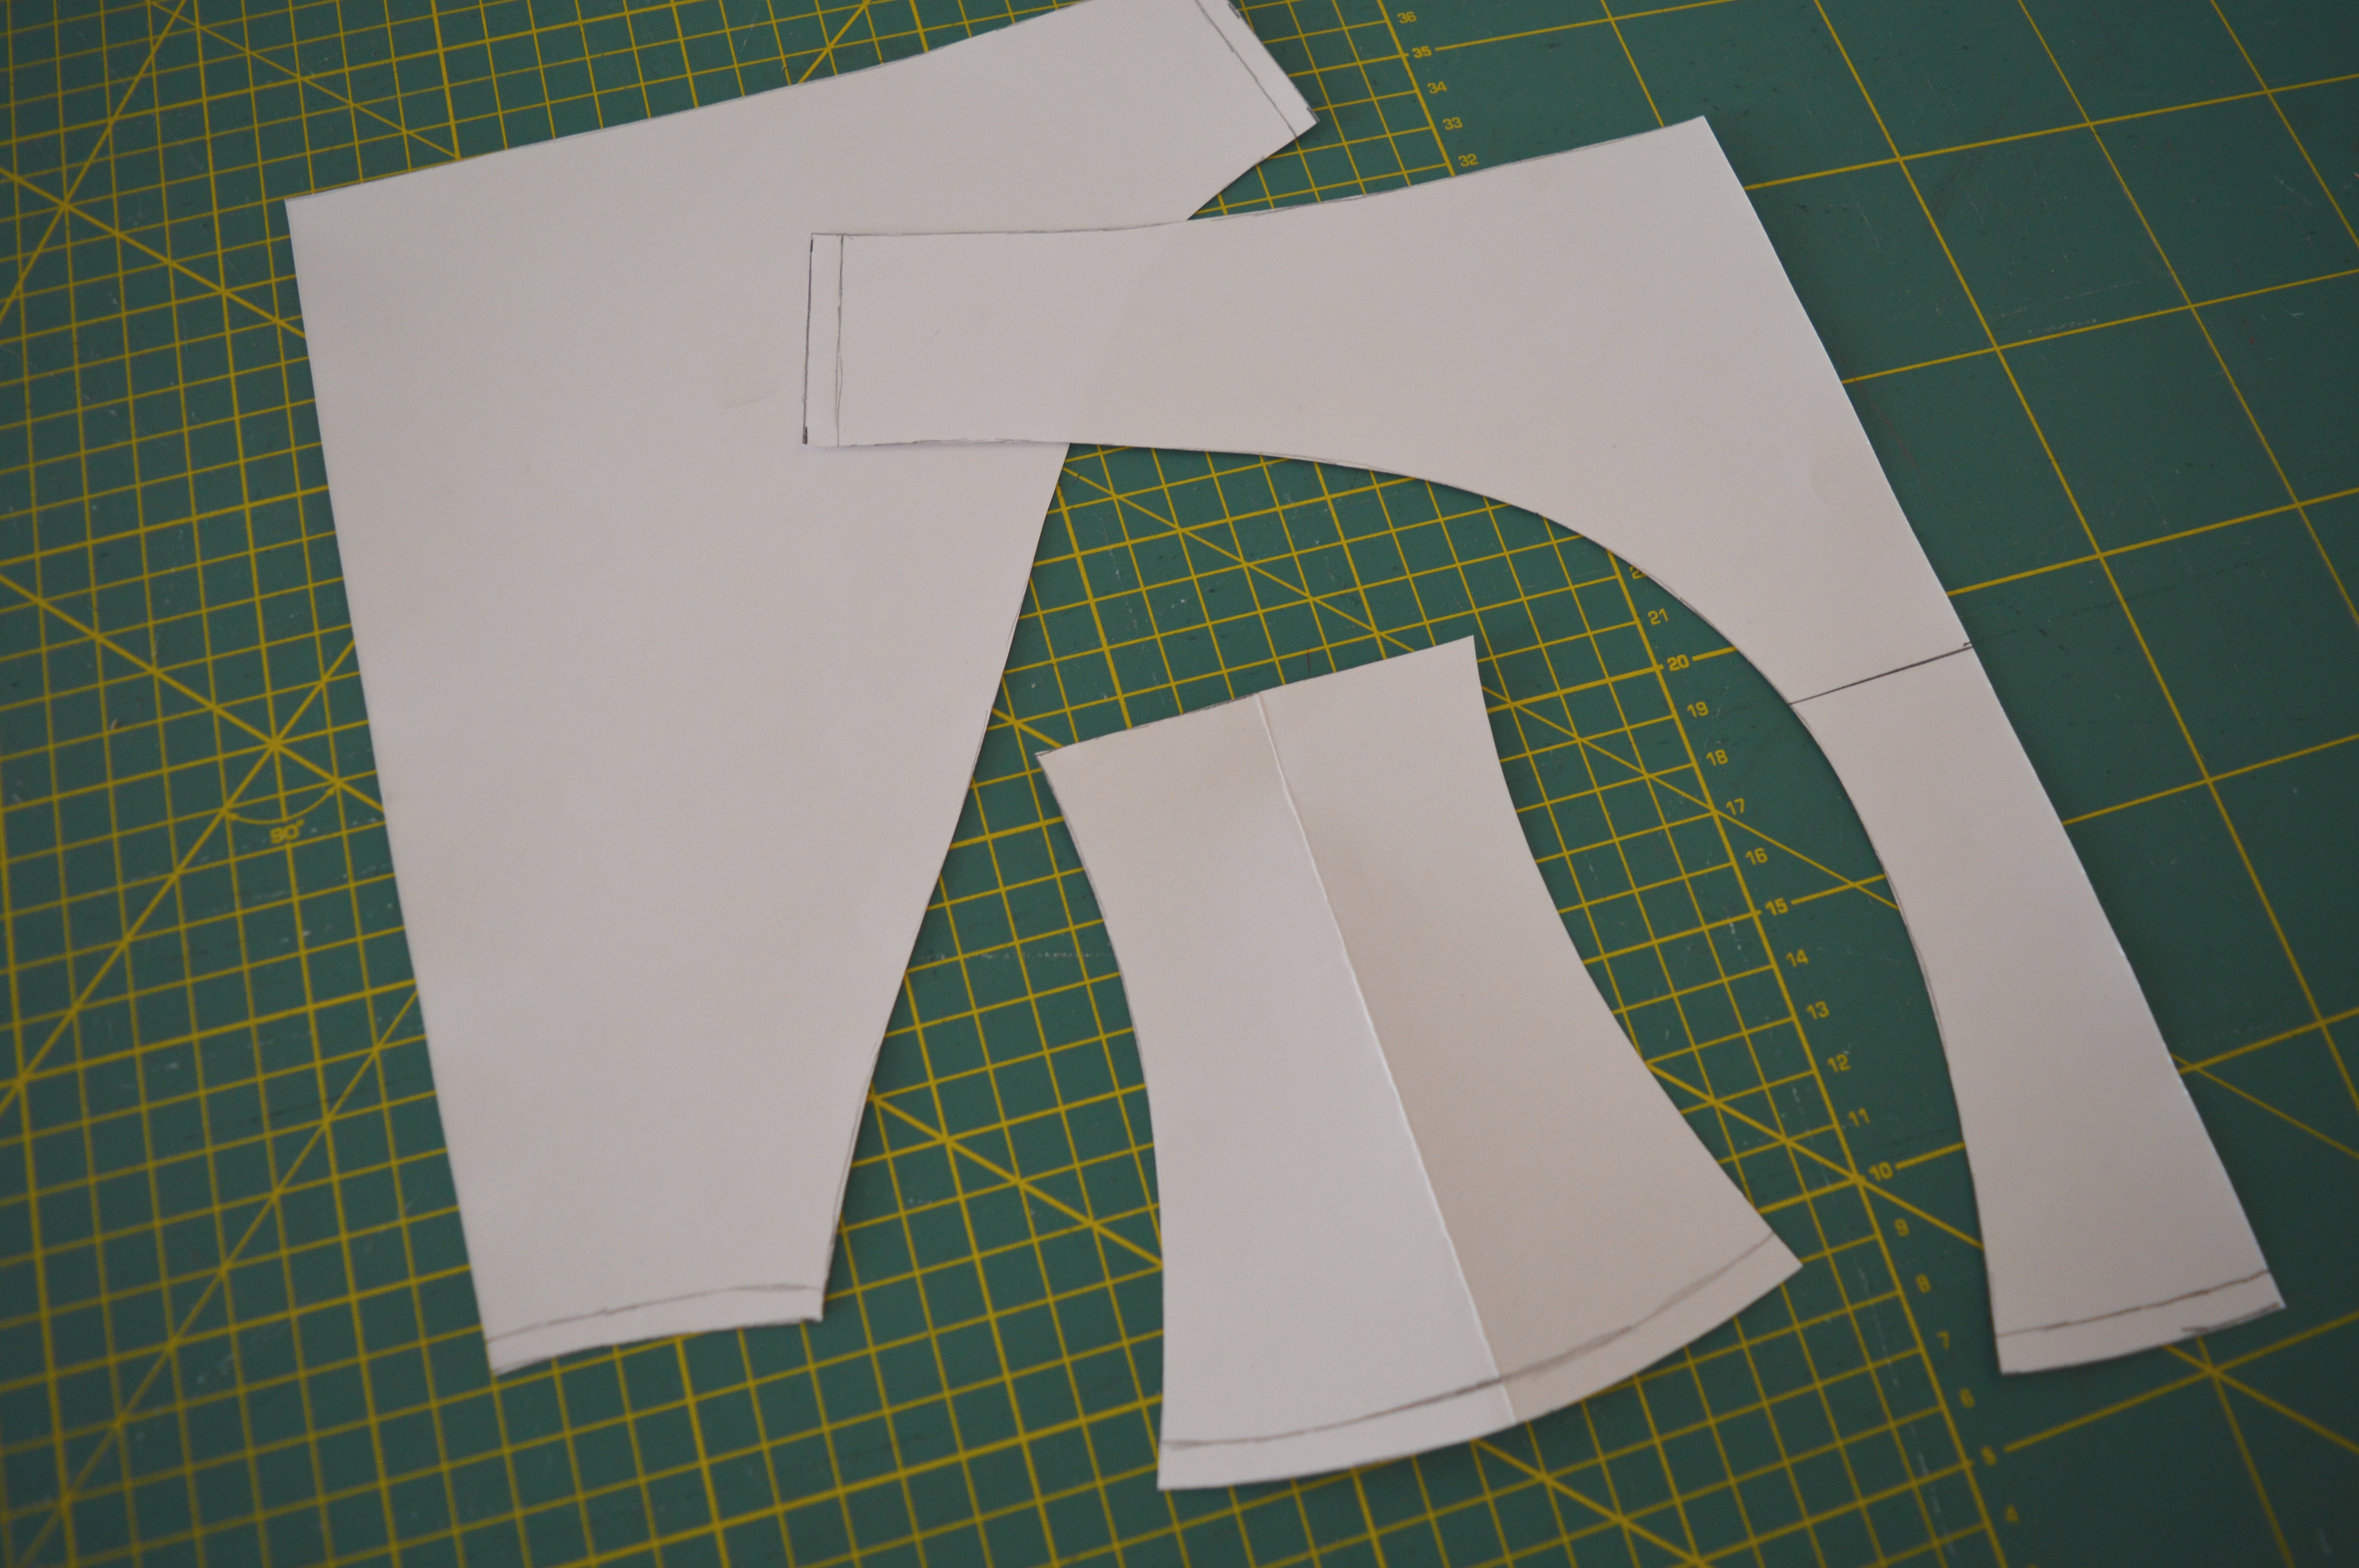
Tailor pattern pieces.

As you can see in the picture below, the parts of the pattern are the front part with the gusset, the back part and another gusset that will be inside the panties.

When working with cotton fabrics, for the inner gusset you can use the same cloth from which you make a garment, and if you work with other types of material, you need another fabric for the gusset.
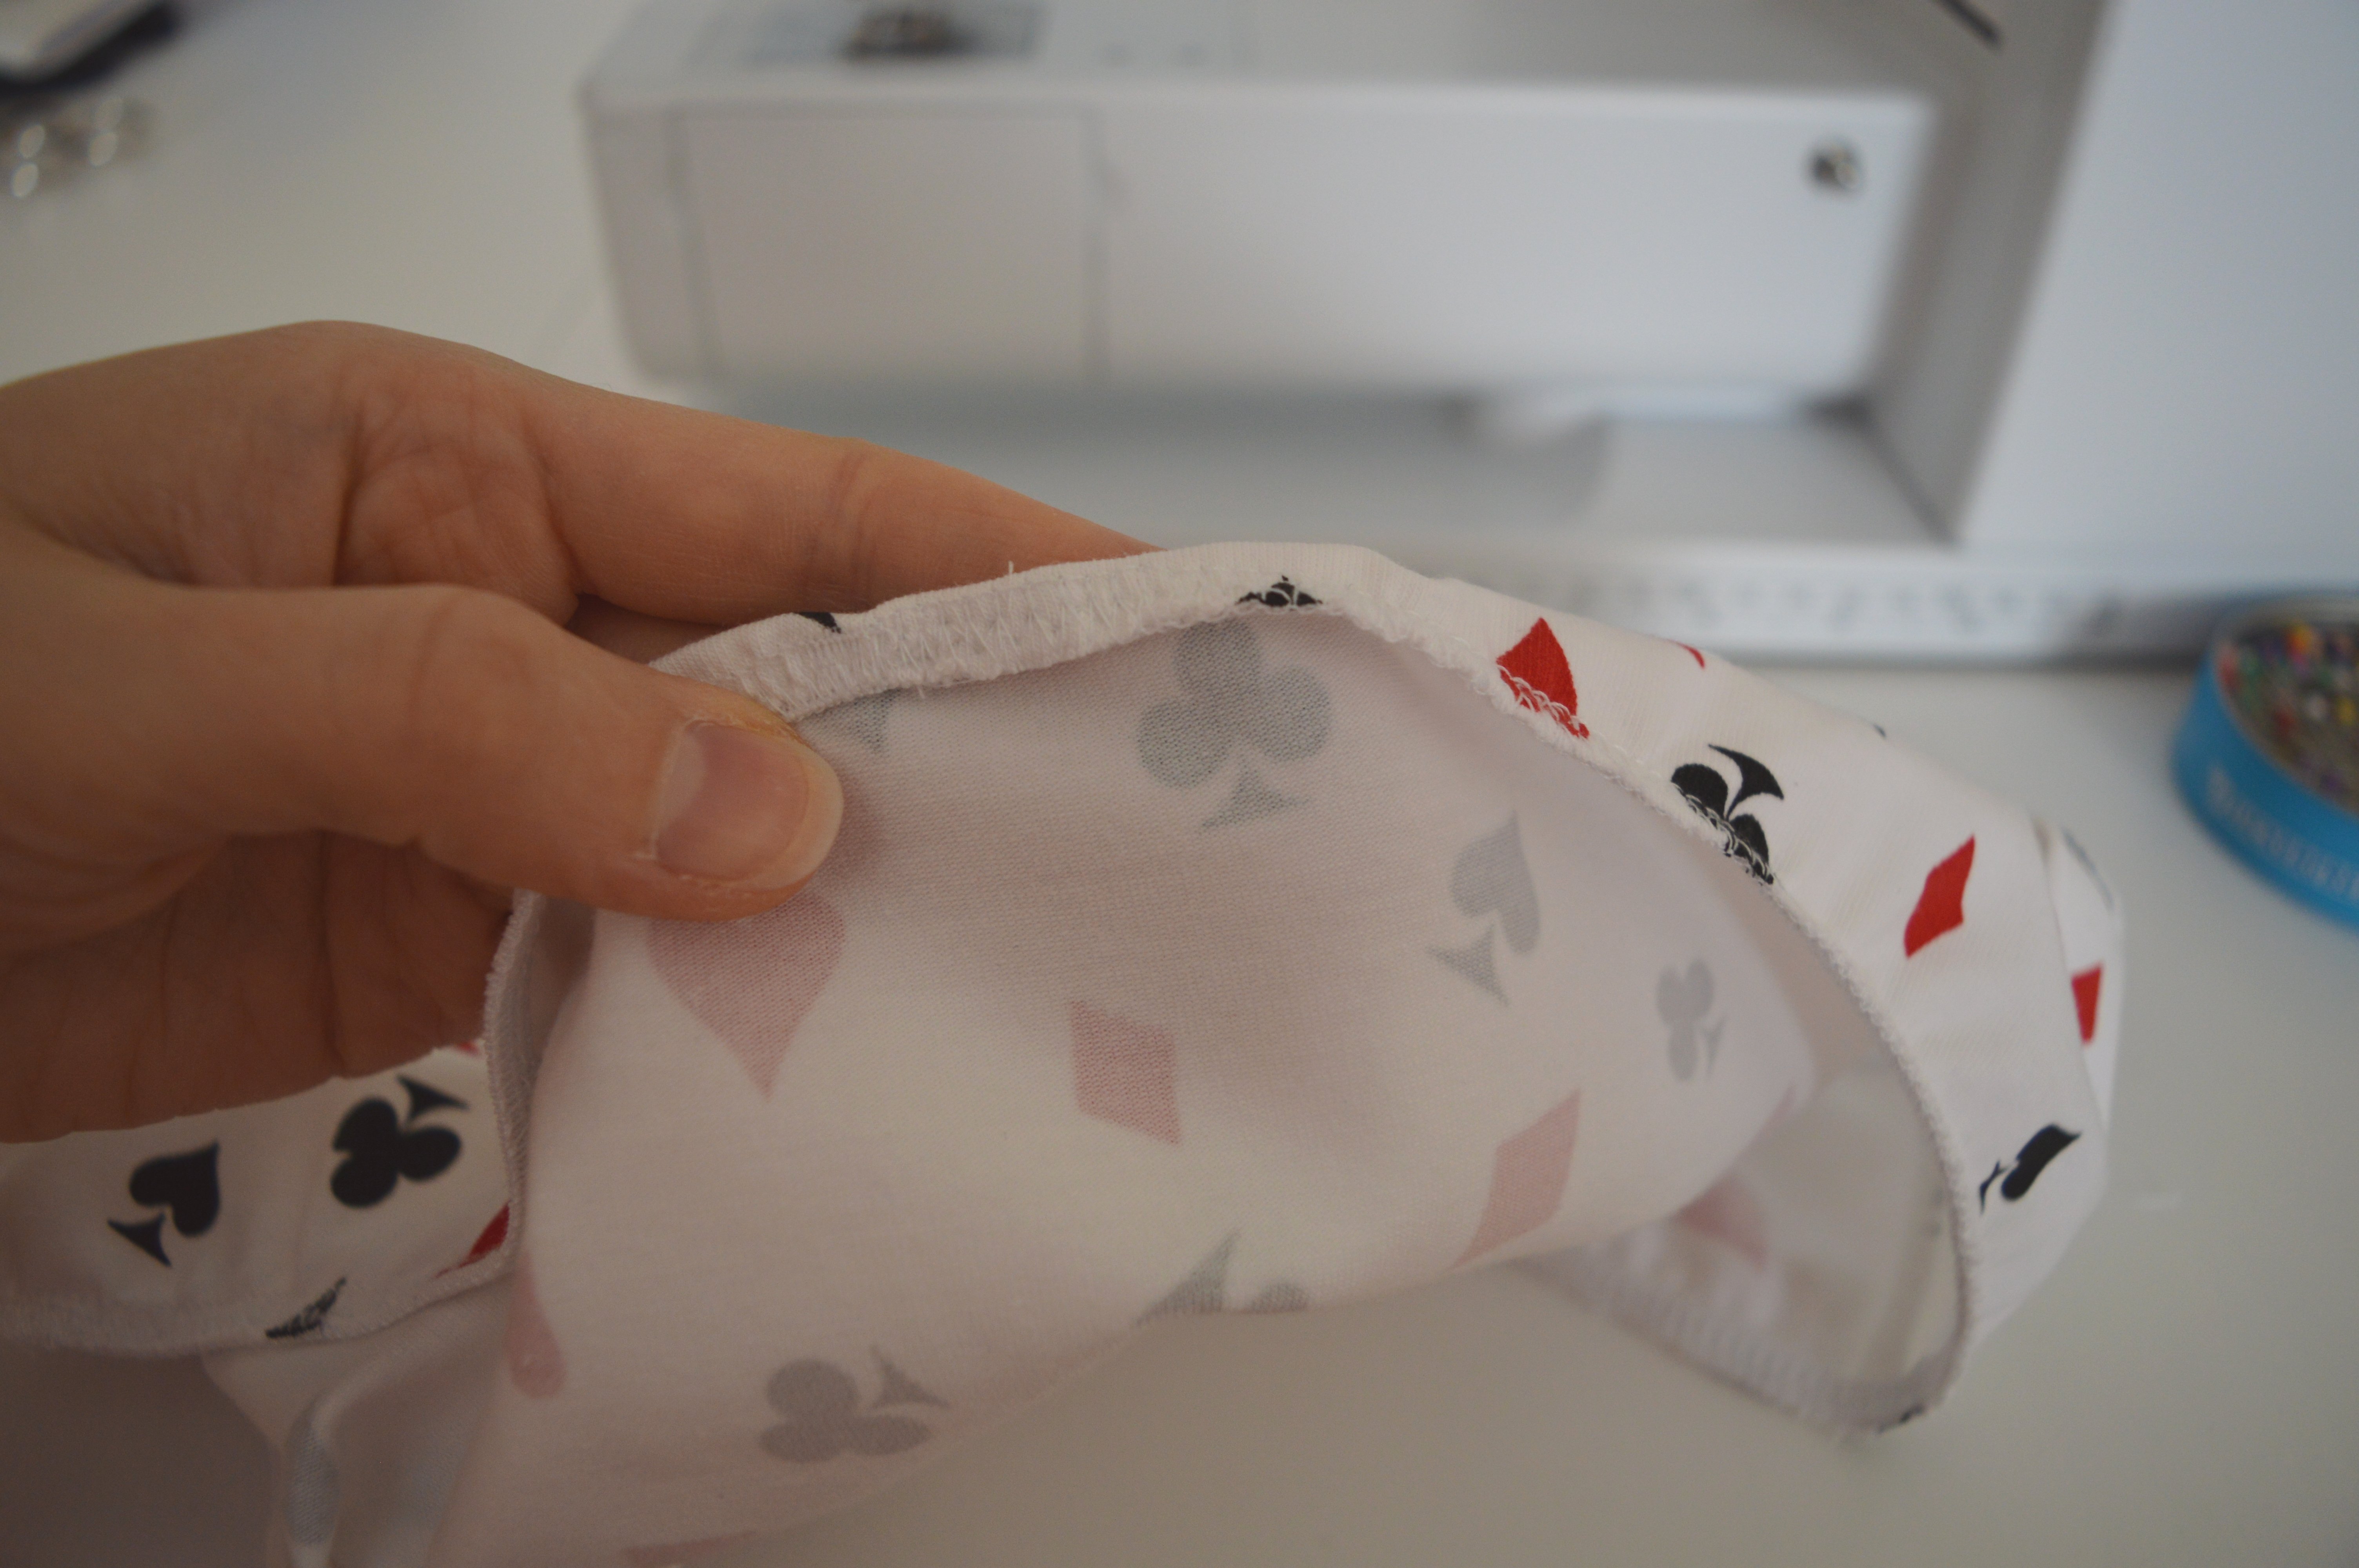
First, overlock the free edge of the gusset. The same thing is possible to do on a sewing machine by using vari-overlock stitch #3.

Place the back part on the front with right sides together, then on the back part place gusset so that the right side of the gusset comes on the wrong side of the back part, ensuring that the edges are aligned.
Stitch together using overlocker/serger or on sewing machine double overlock stitch #11.

Press that seam.

LITTLE HELP: Pin the side edges of the gusset to the side edges of the front piece and then stitch them using the zig-zag stitch to prevent it from moving in the future.

When sewing with braided elastic, stitch side seams of the panties, with right sides together.
In most of the pattern instructions, you will find that the sides are sewn after elastic is applied, but in my opinion, this here is the cleanest way.
Measure the lengths of the leg openings and the top edge of the panties, on which we will apply elastic.
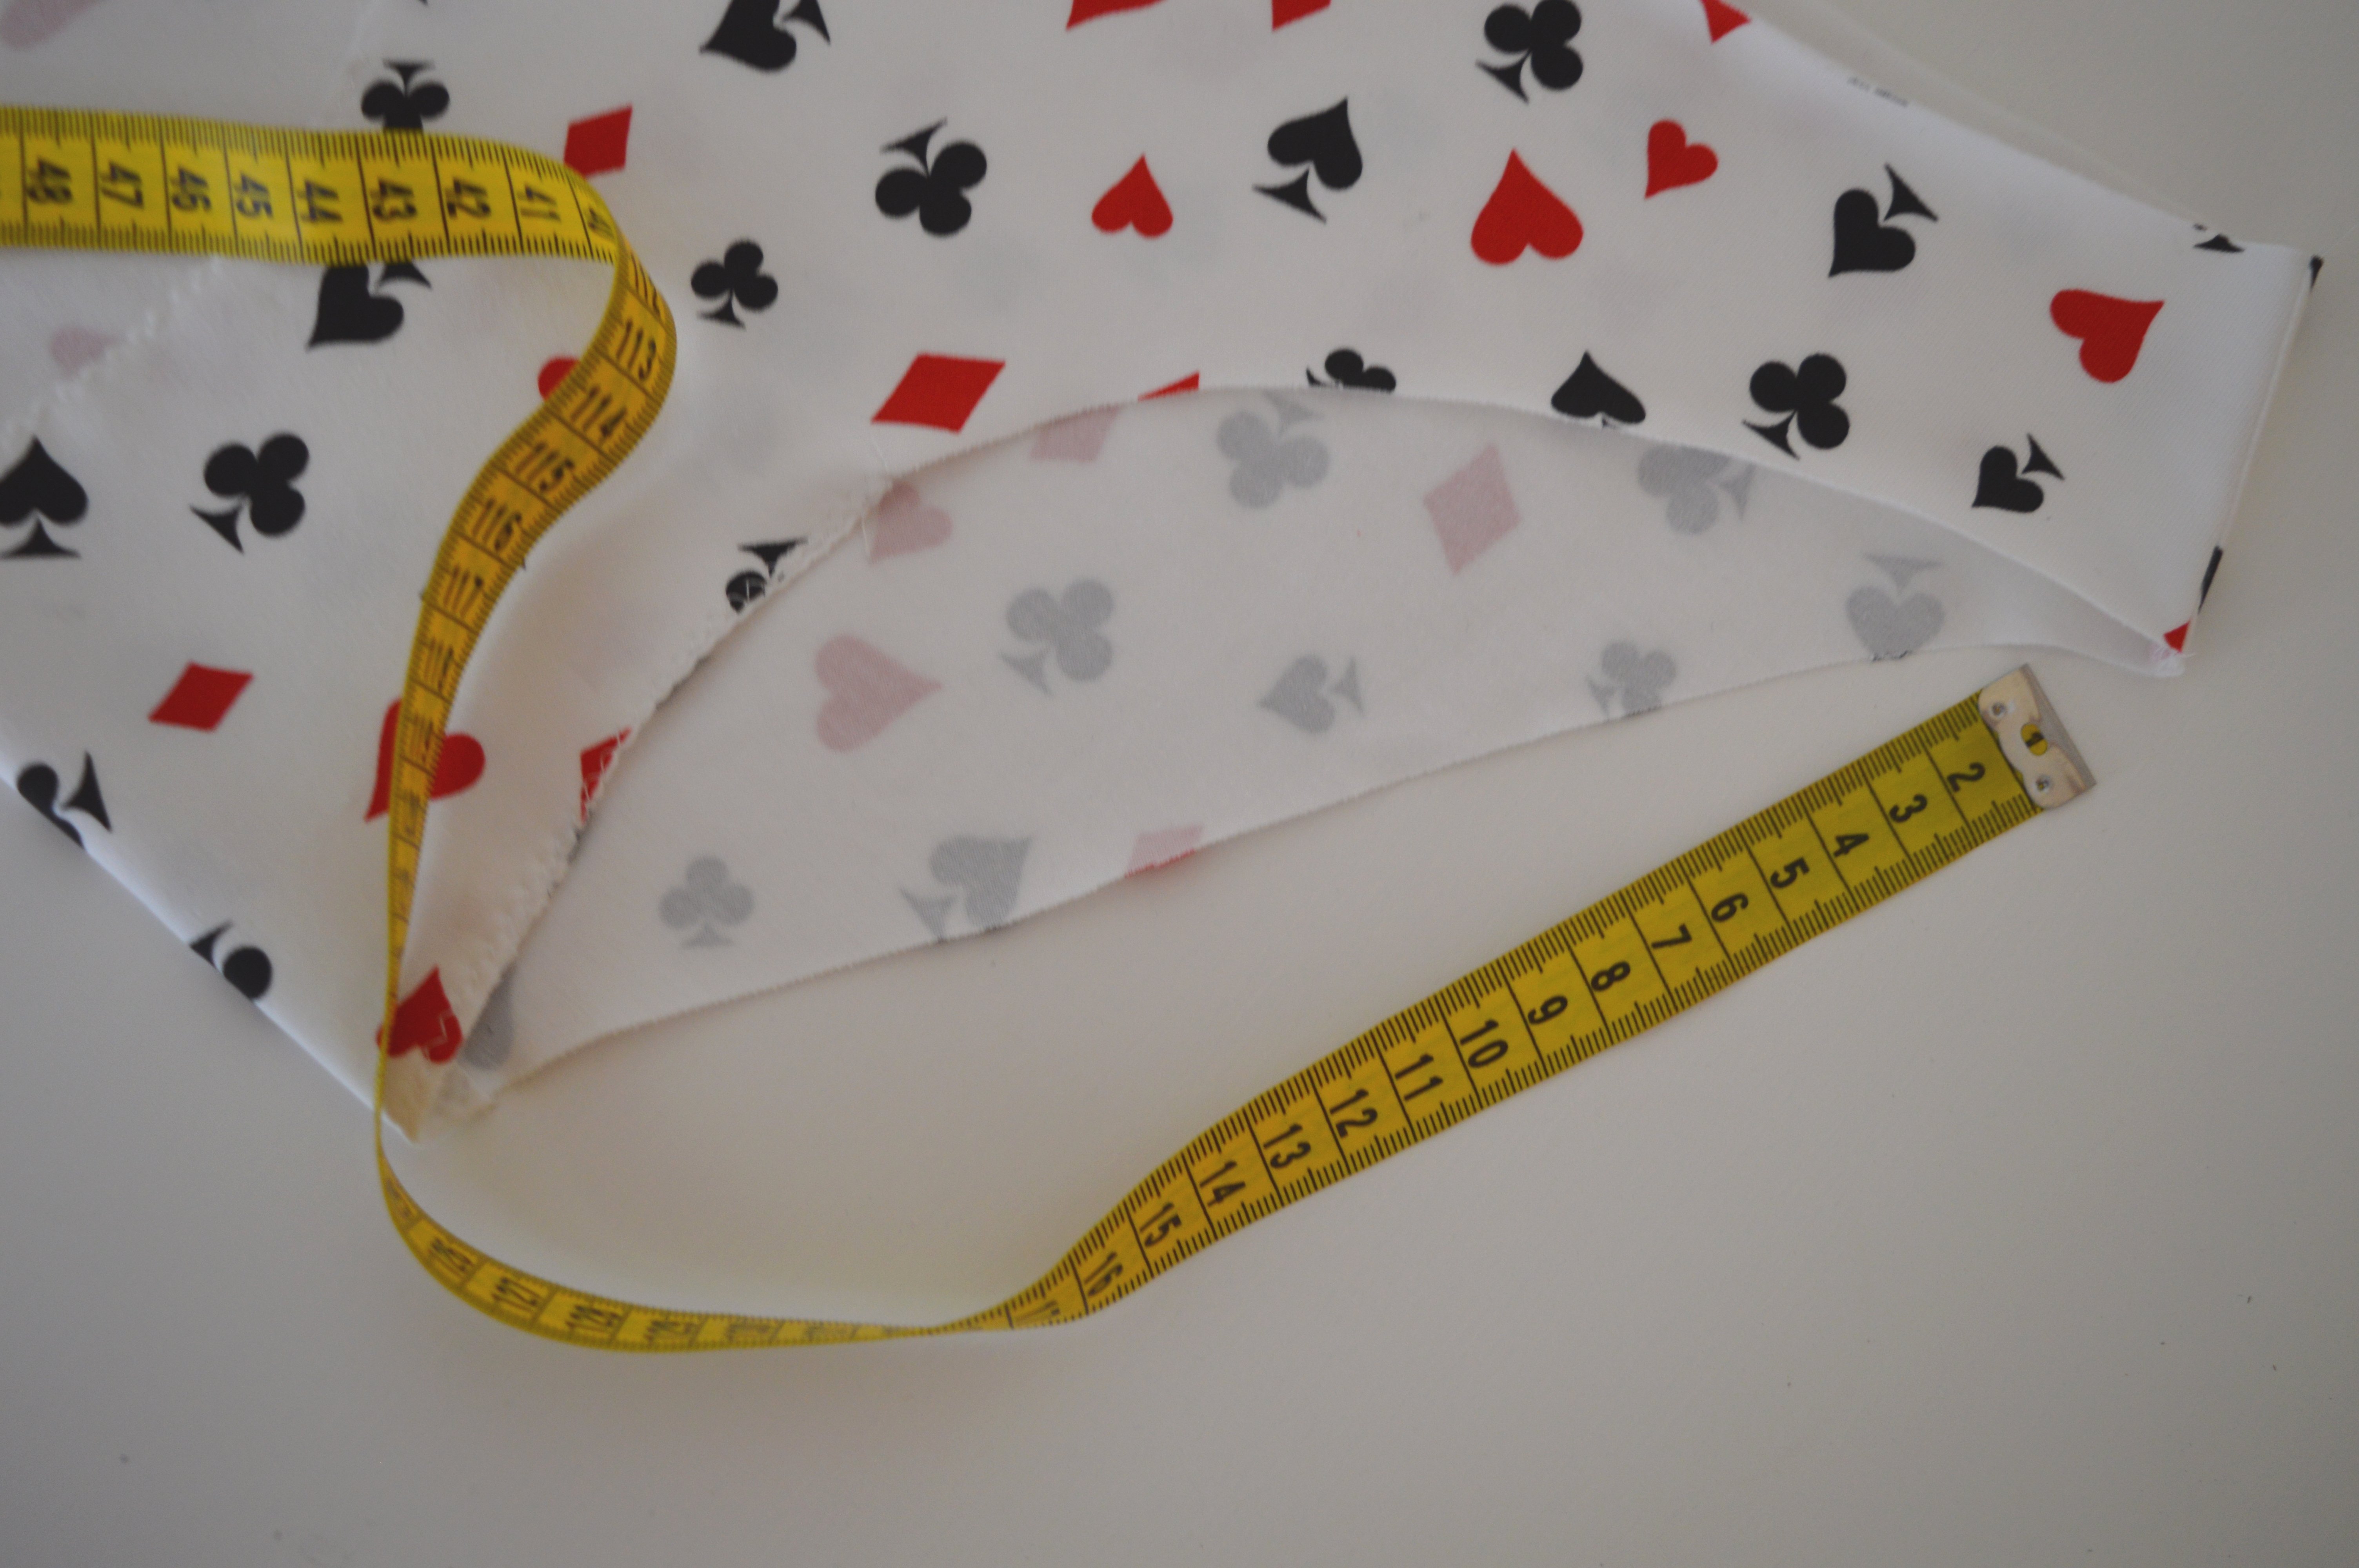
!!! APPLYING ELASTIC: The length of the elastic must always be shorter than the length of the edge for which it is used. However, check out how stretch is elastic, it’s not good when it’s too tight on openings.
And I do this so that I deduct 10% from the measured lengths and cut the elastic in a new measure.
Example: 57 cm is the length of the leg opening, 57-5.7 cm = 51.3 cm, i.e., 51 cm is measure for elastic.
Cut elastic for all three edges.

Join together ends of each elastic.
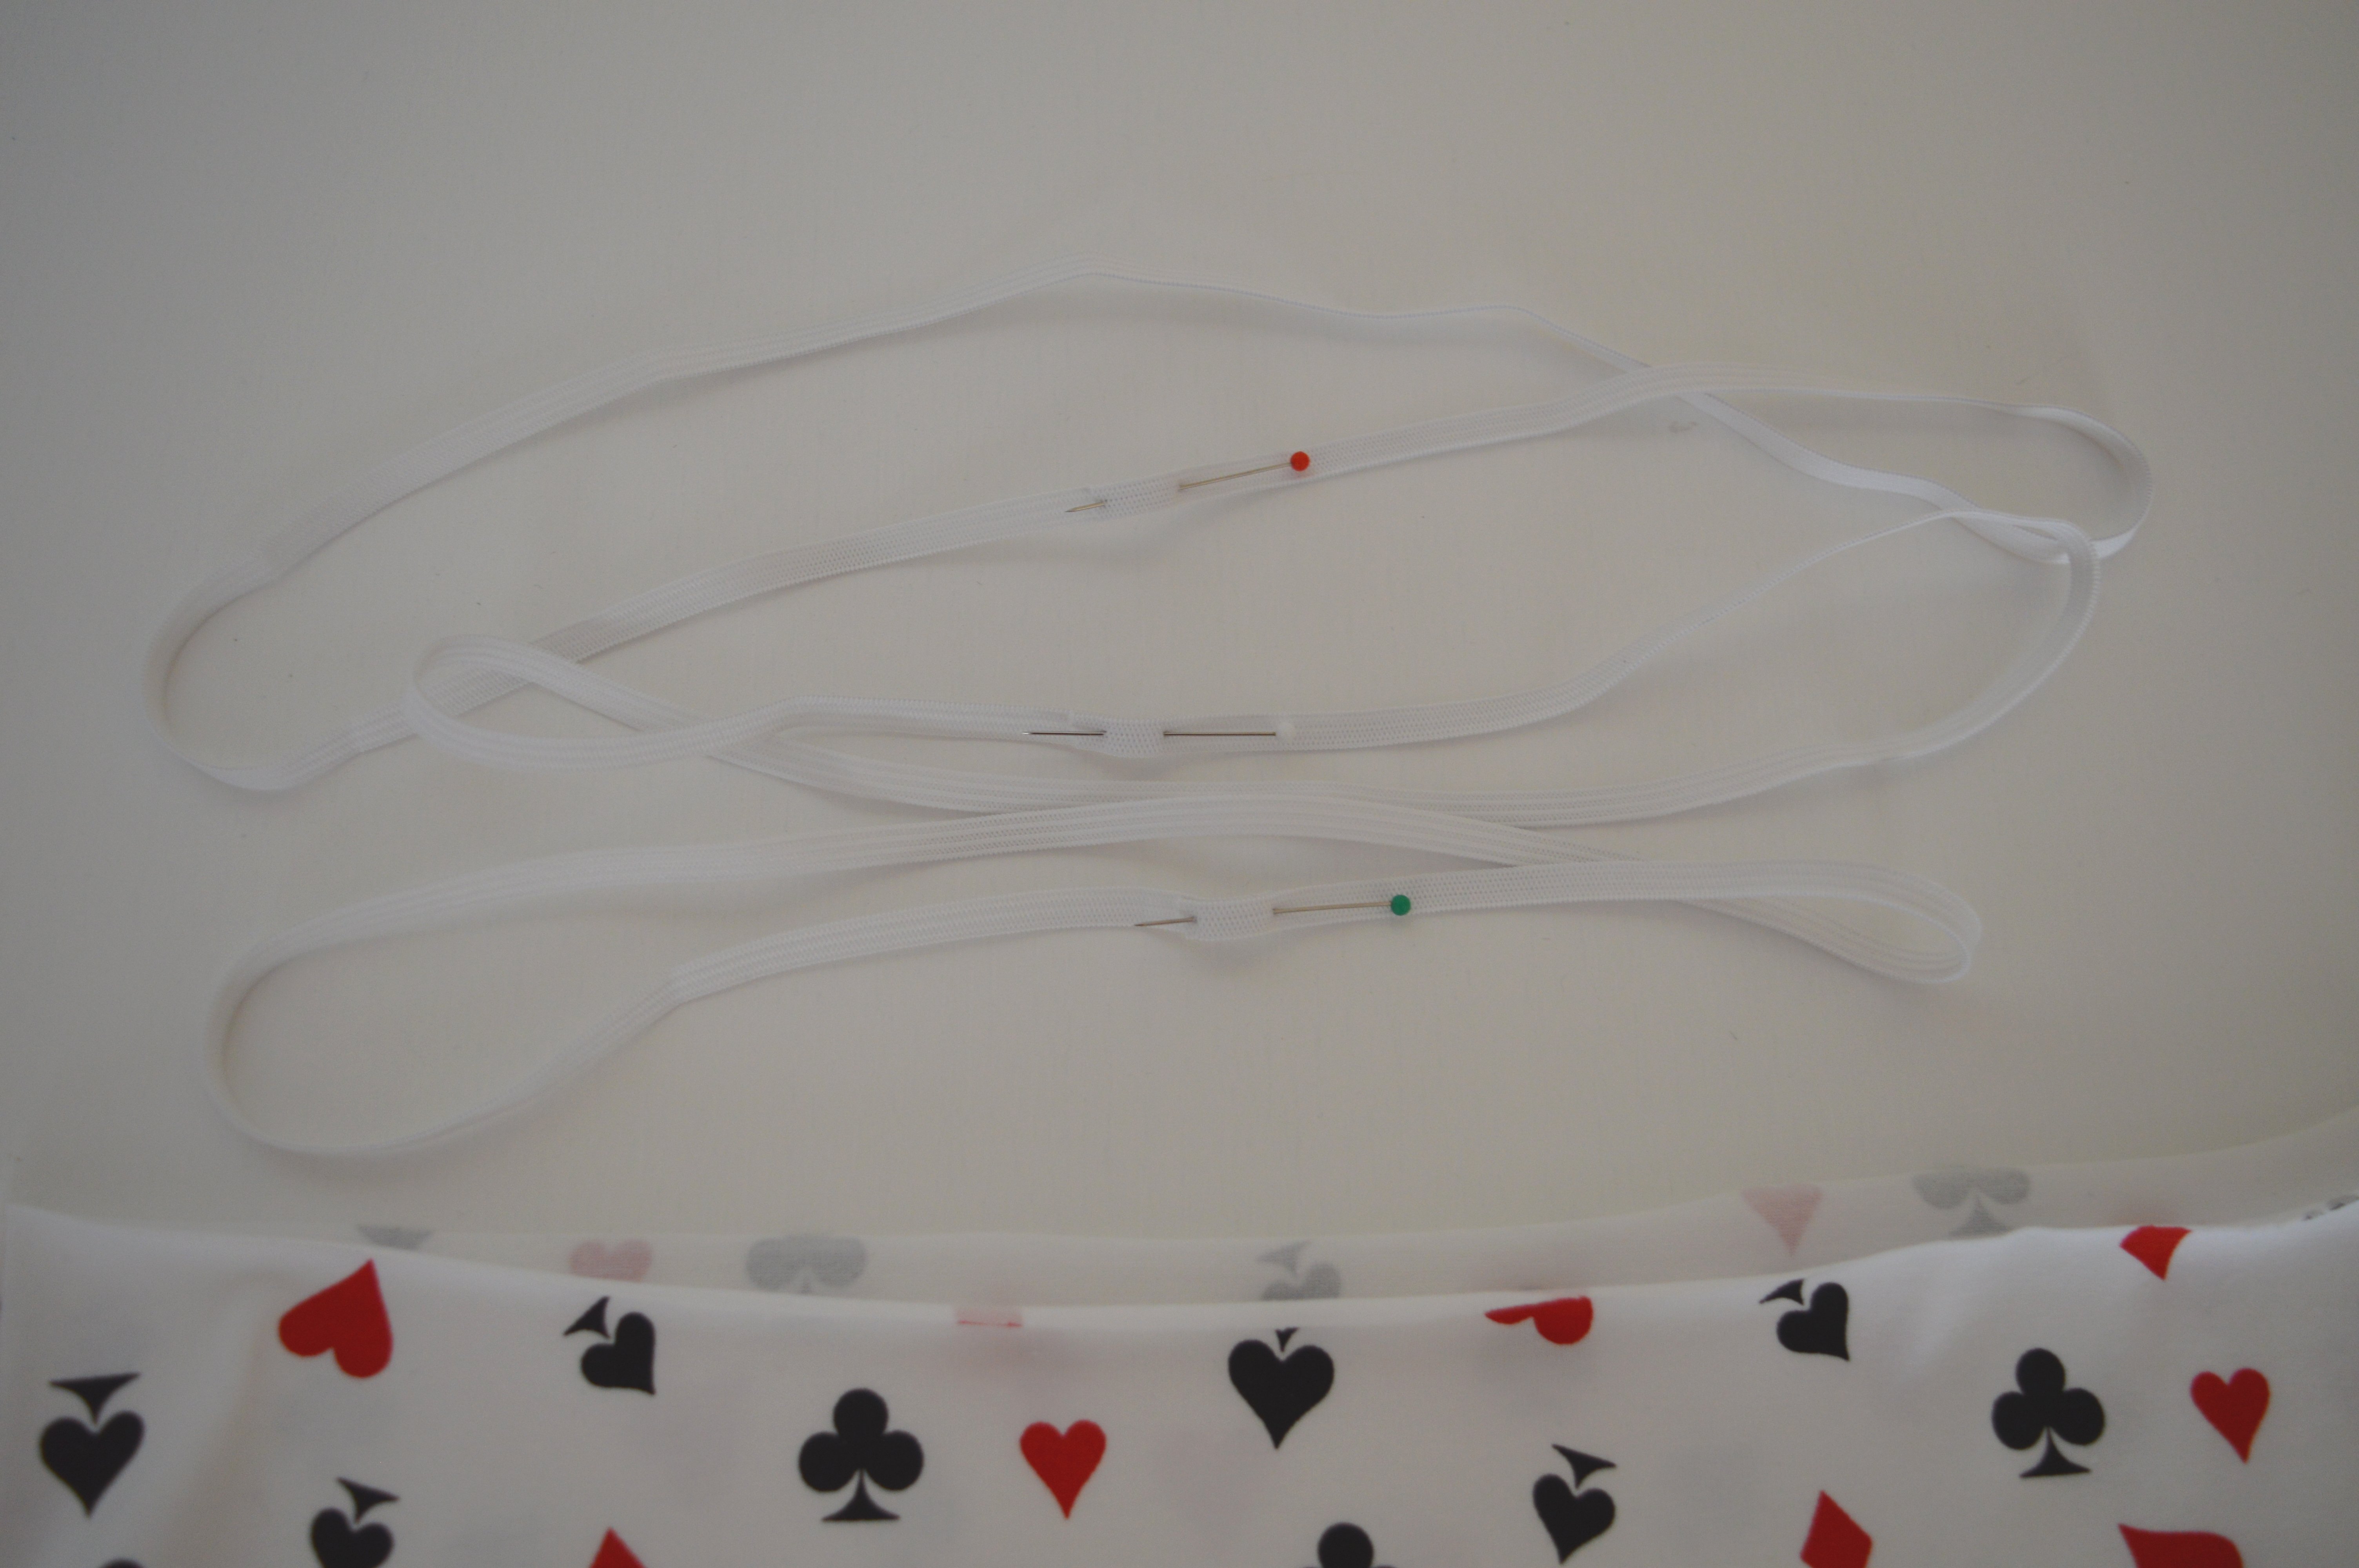
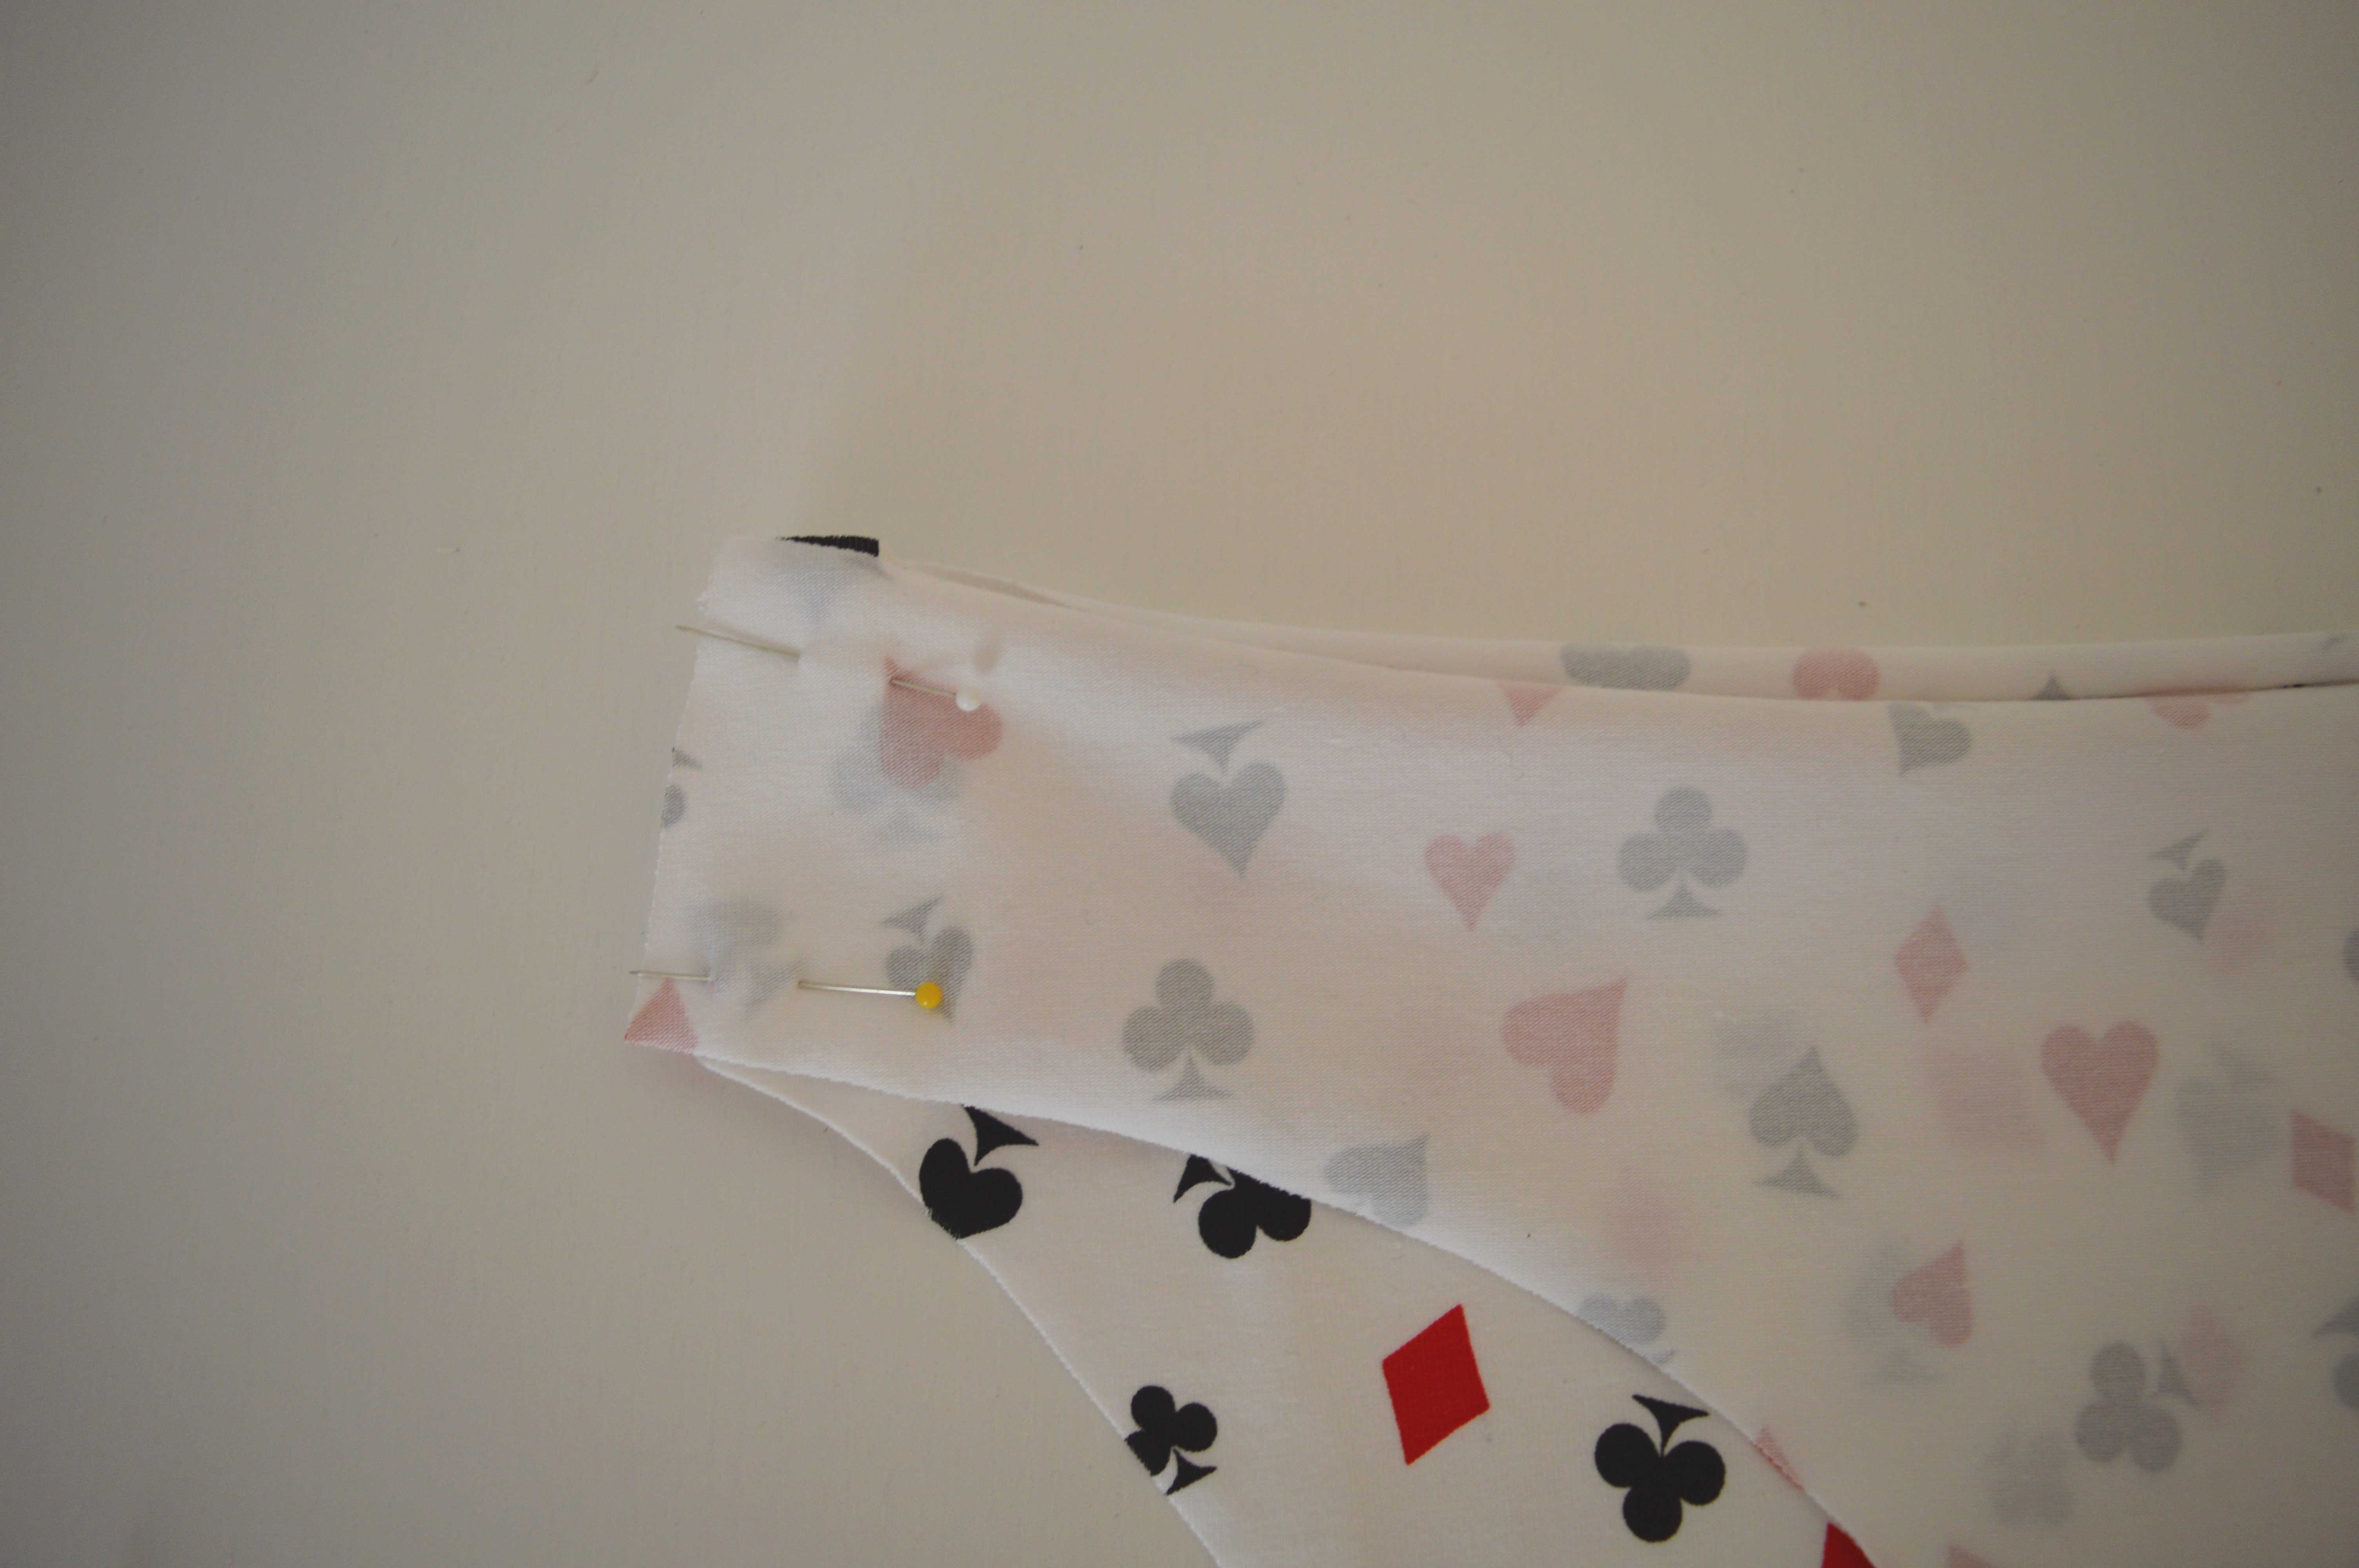
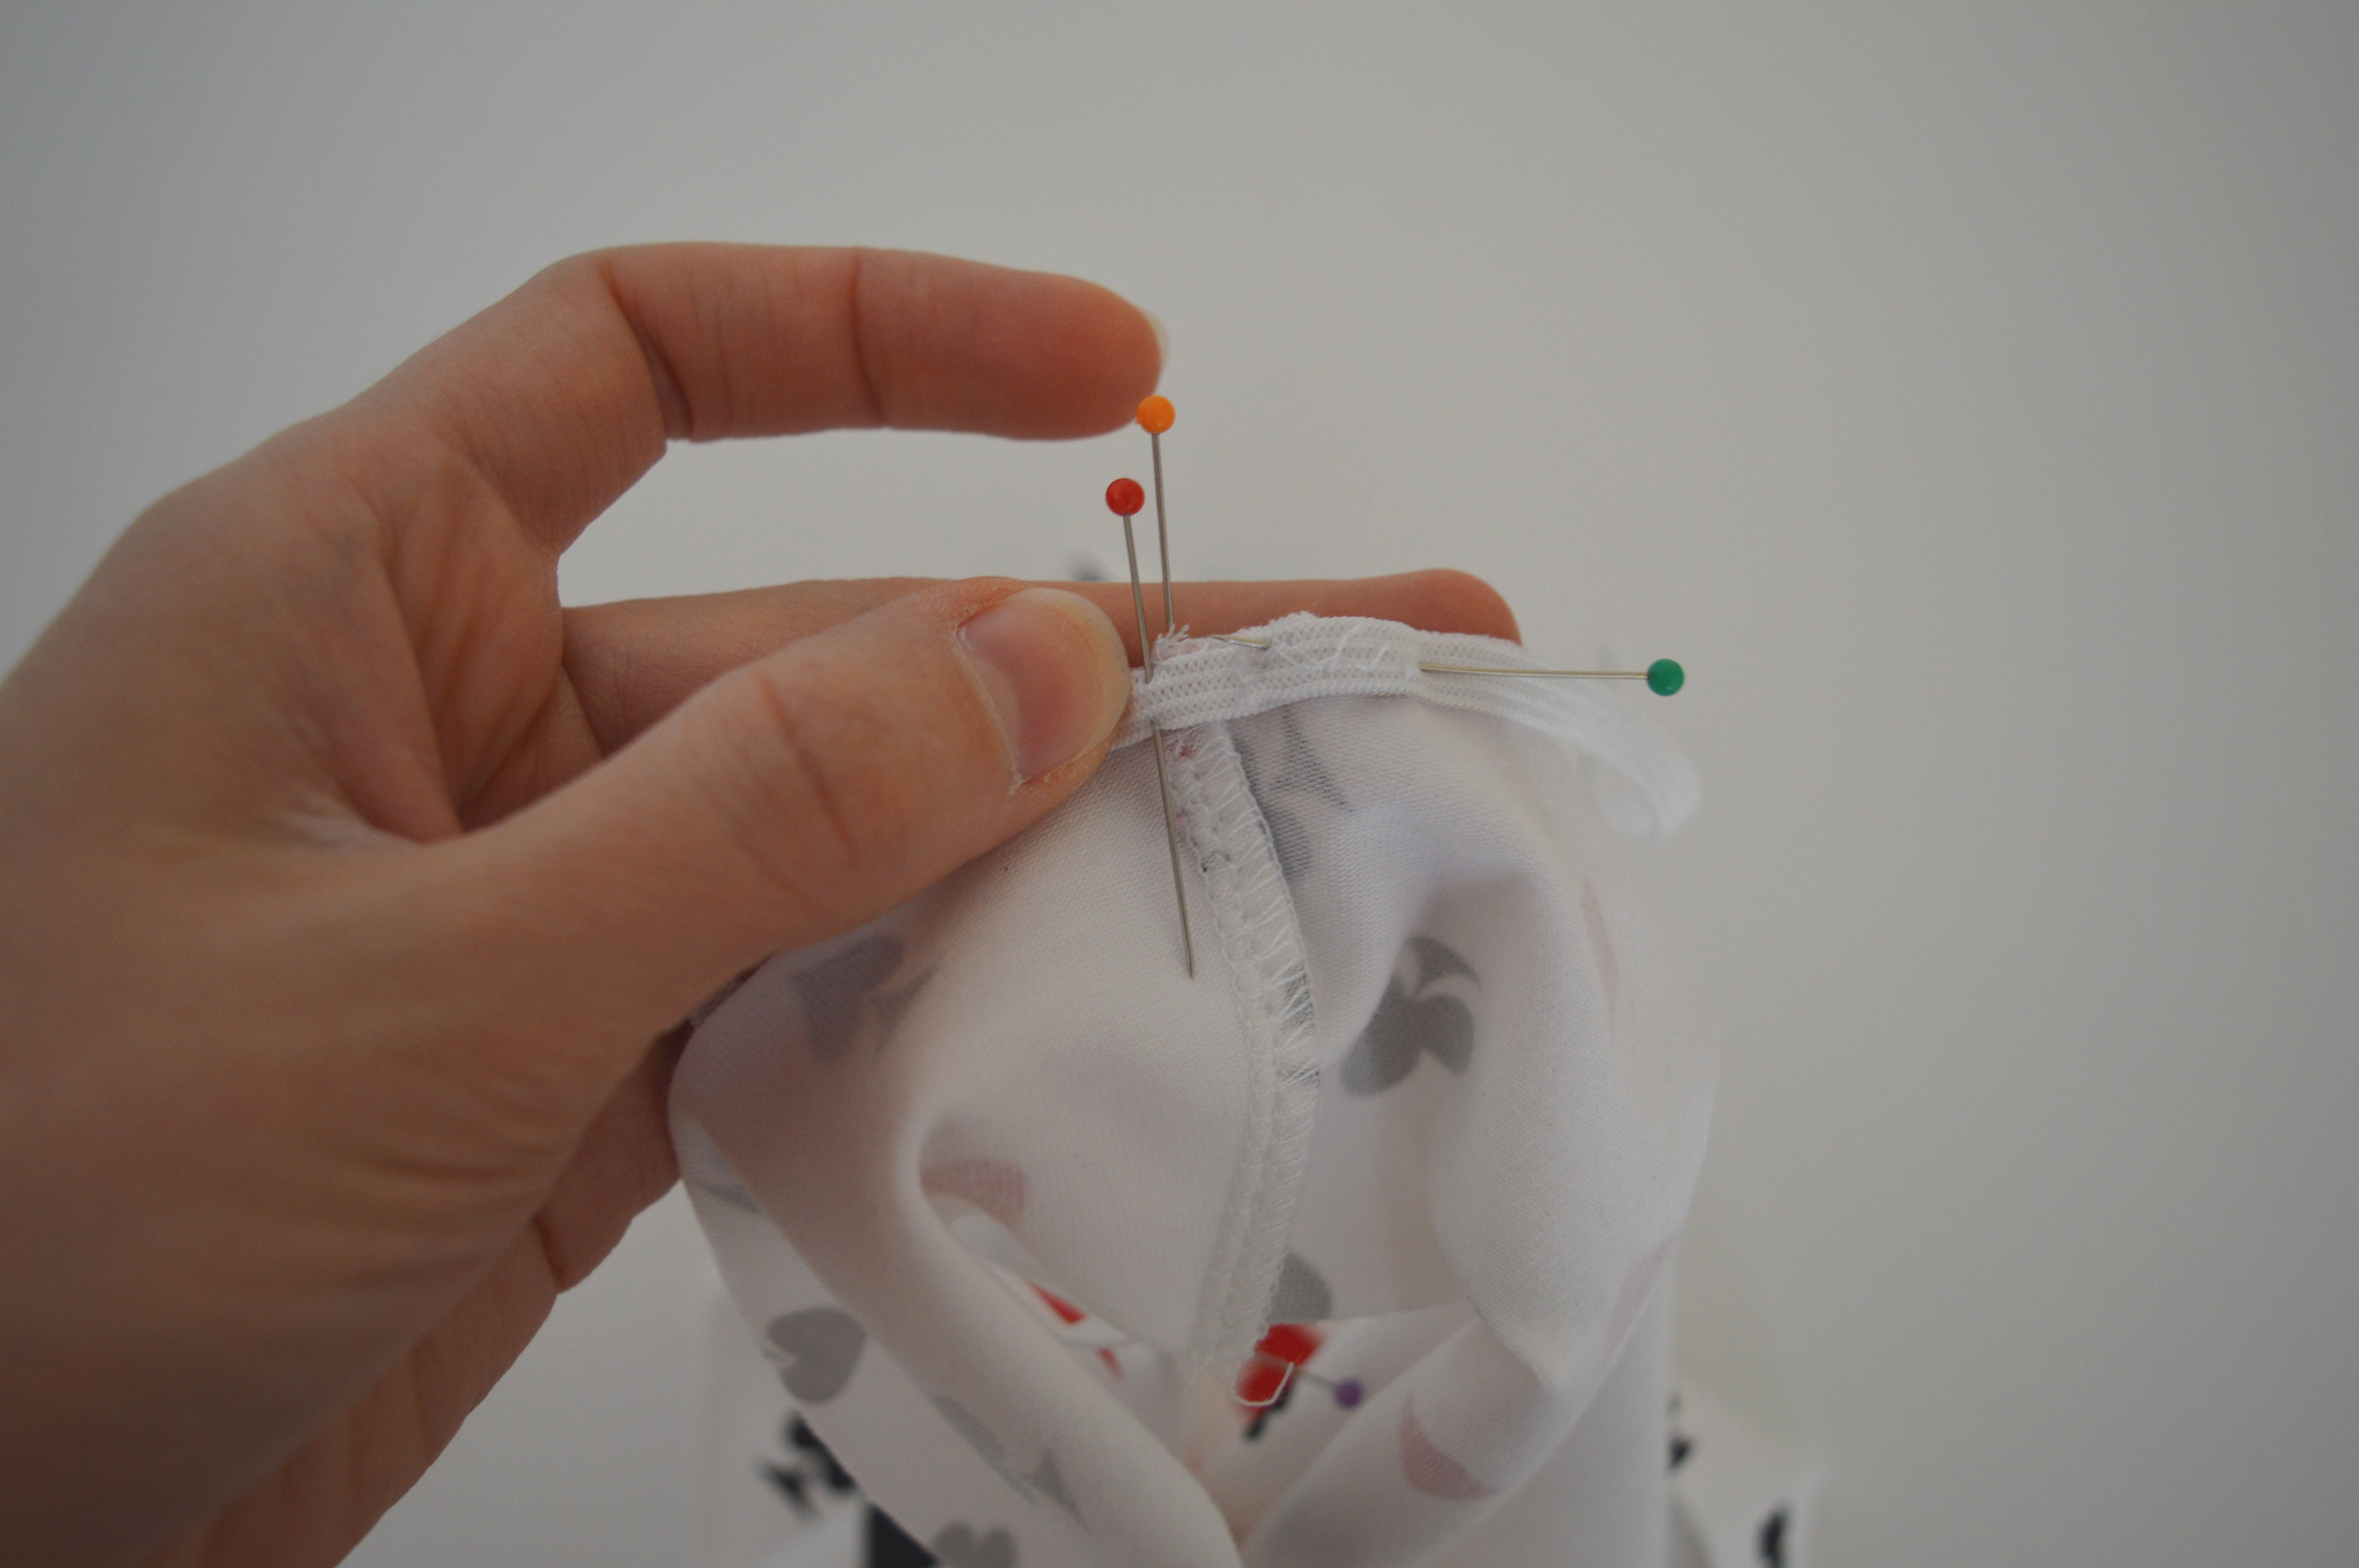
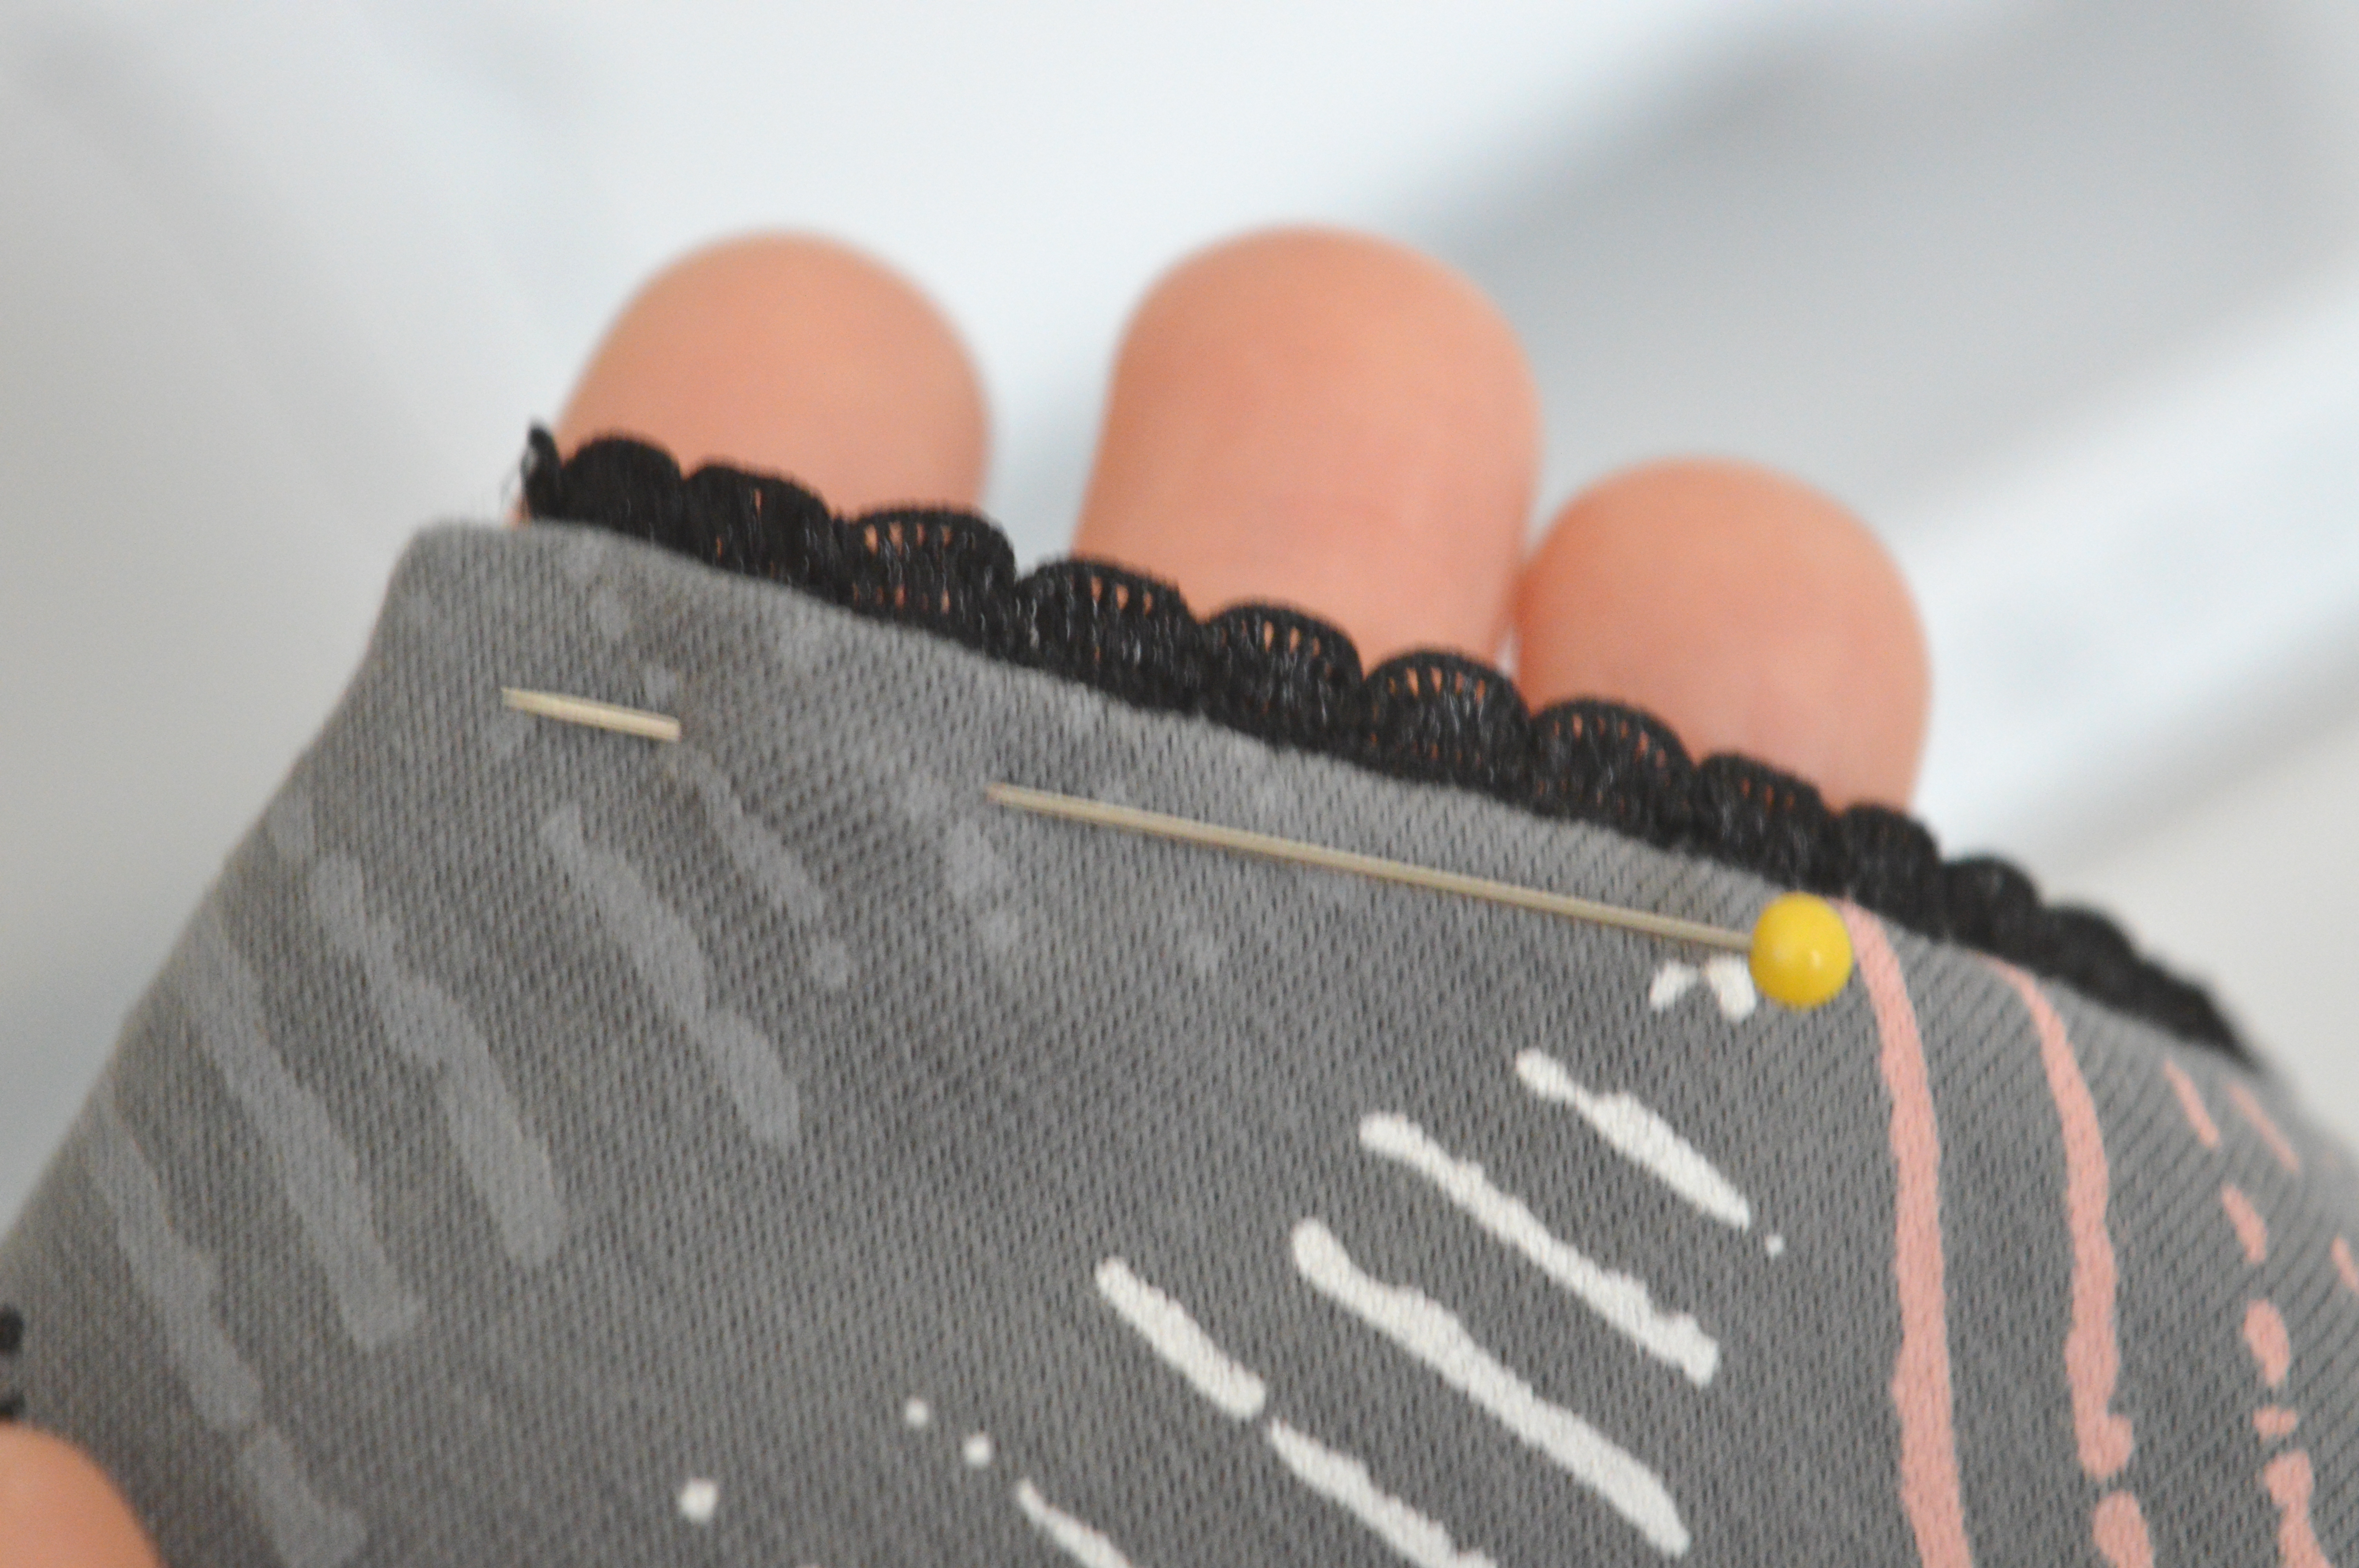
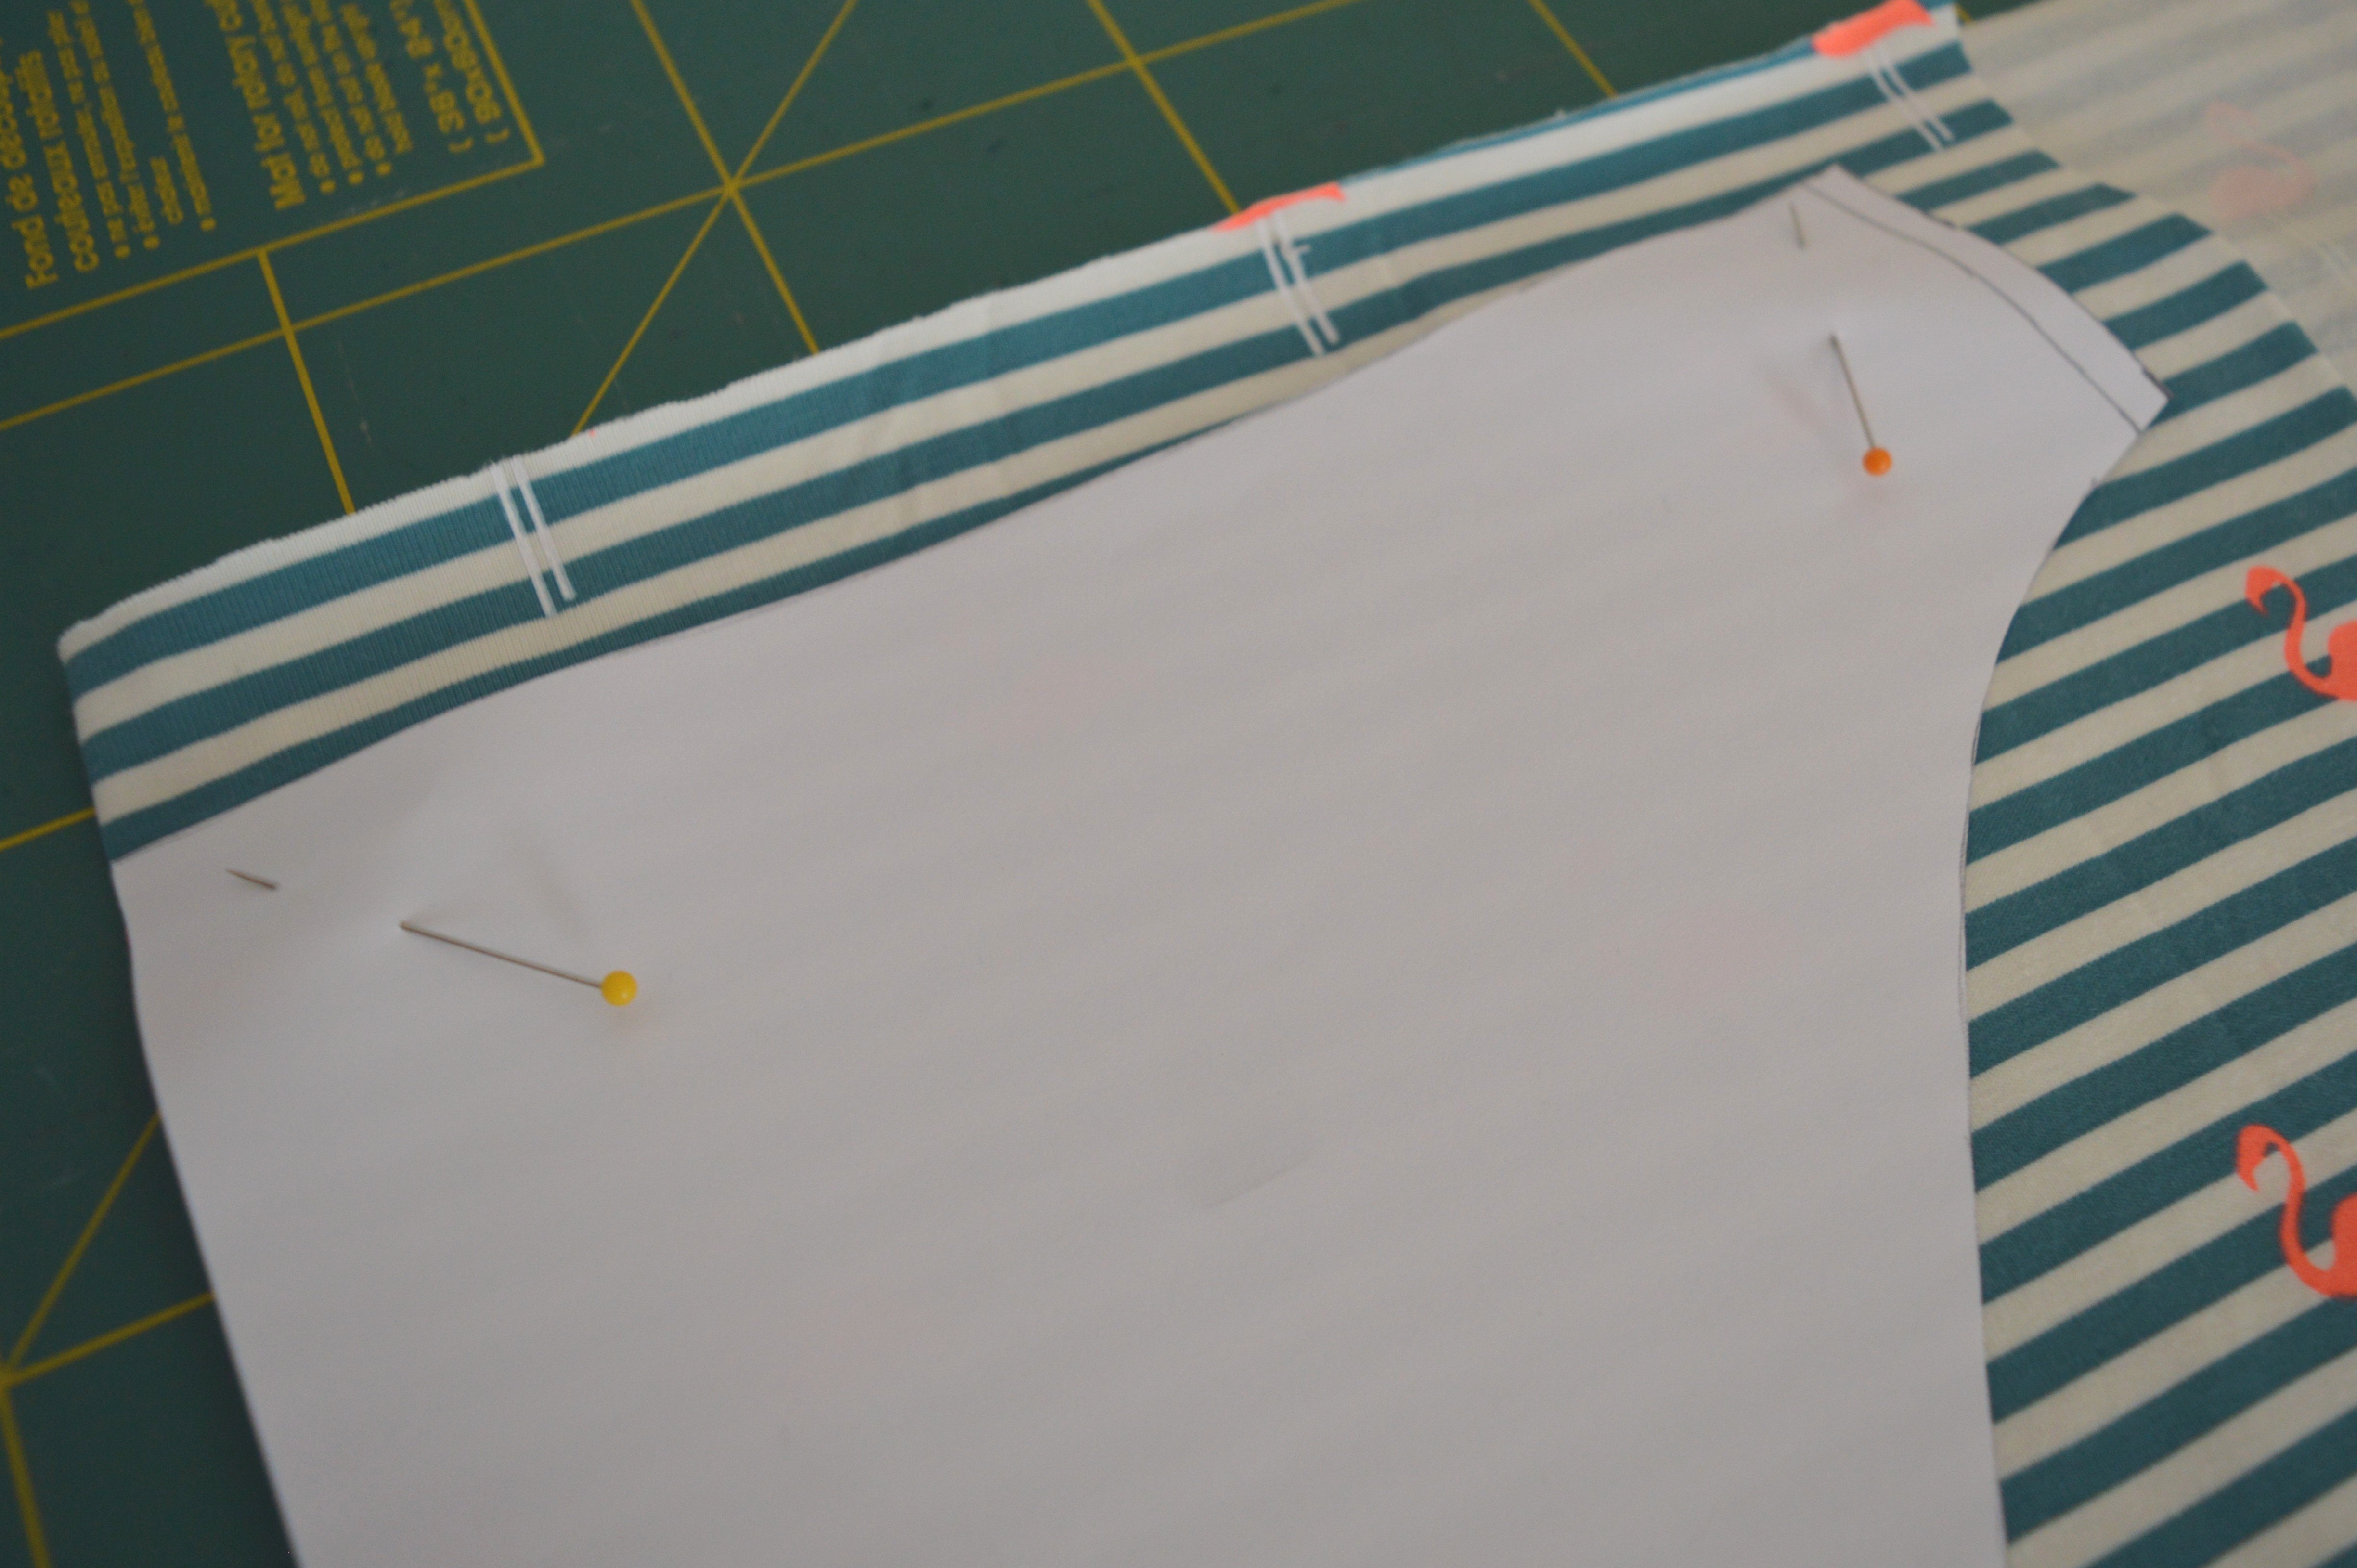
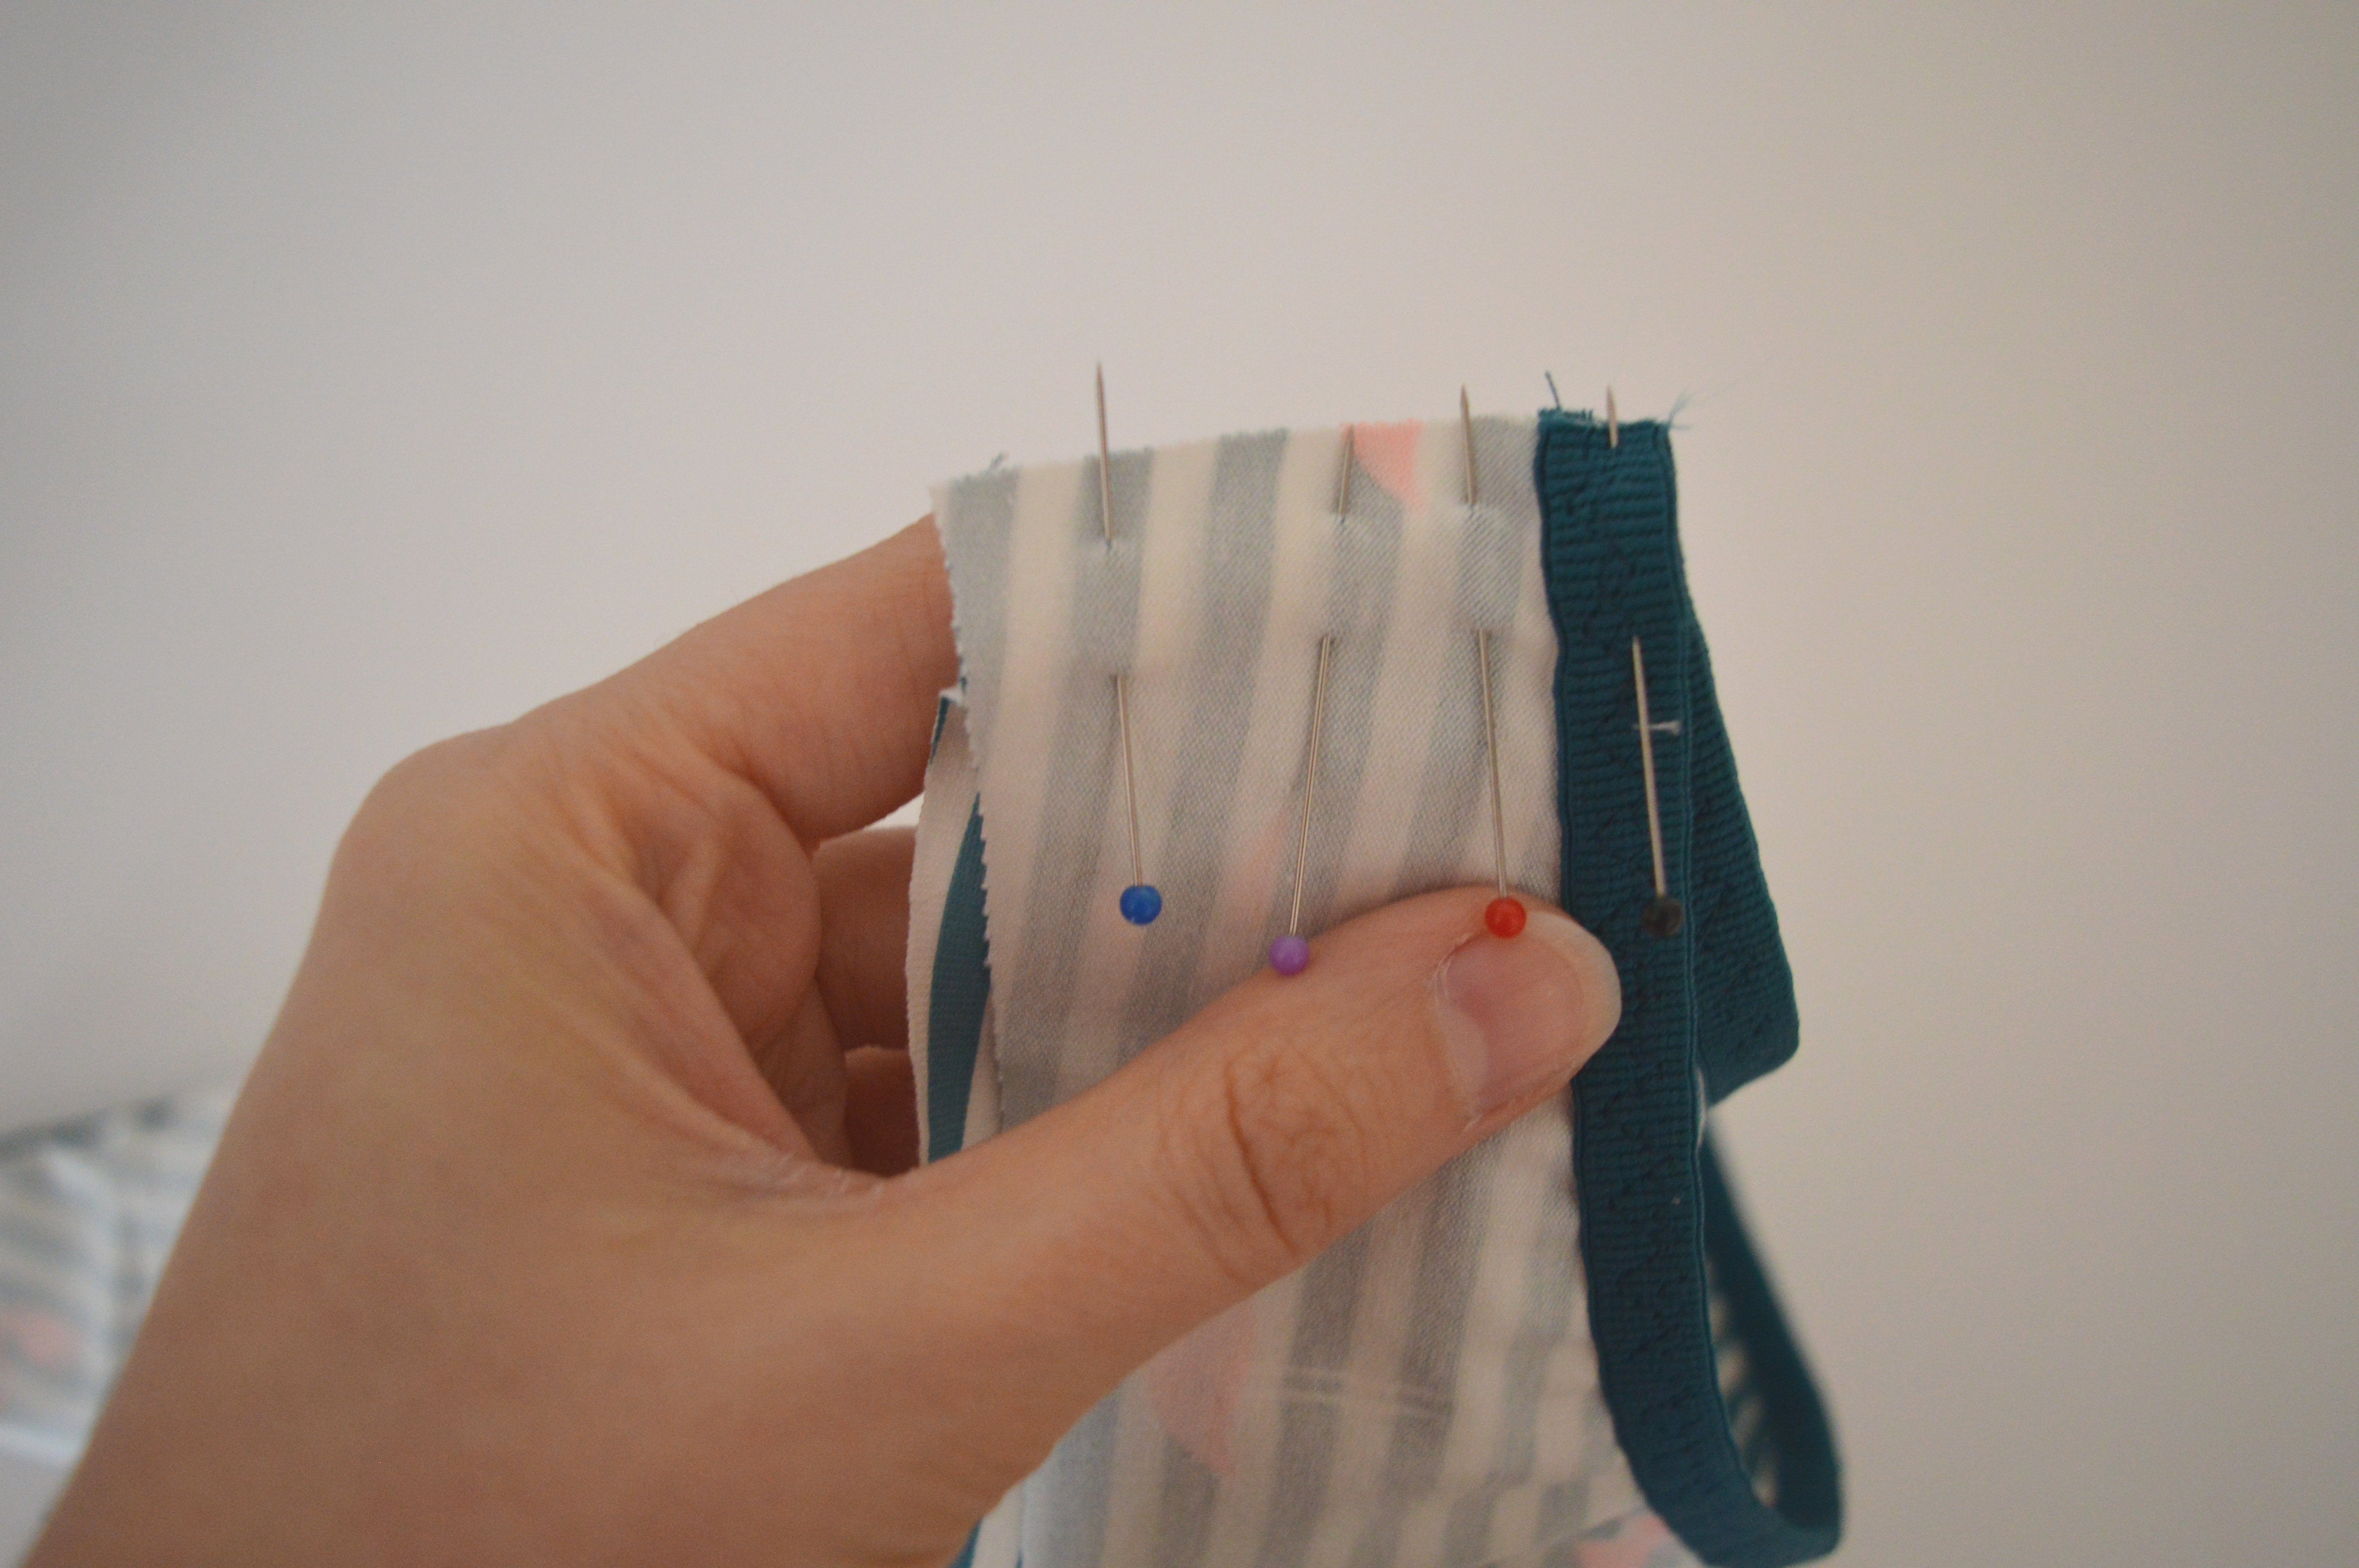
The easiest way to distribute the elastic correctly along the edge you are sewing on is to divide the elastic and edge into 4 equal parts and mark that with pins.
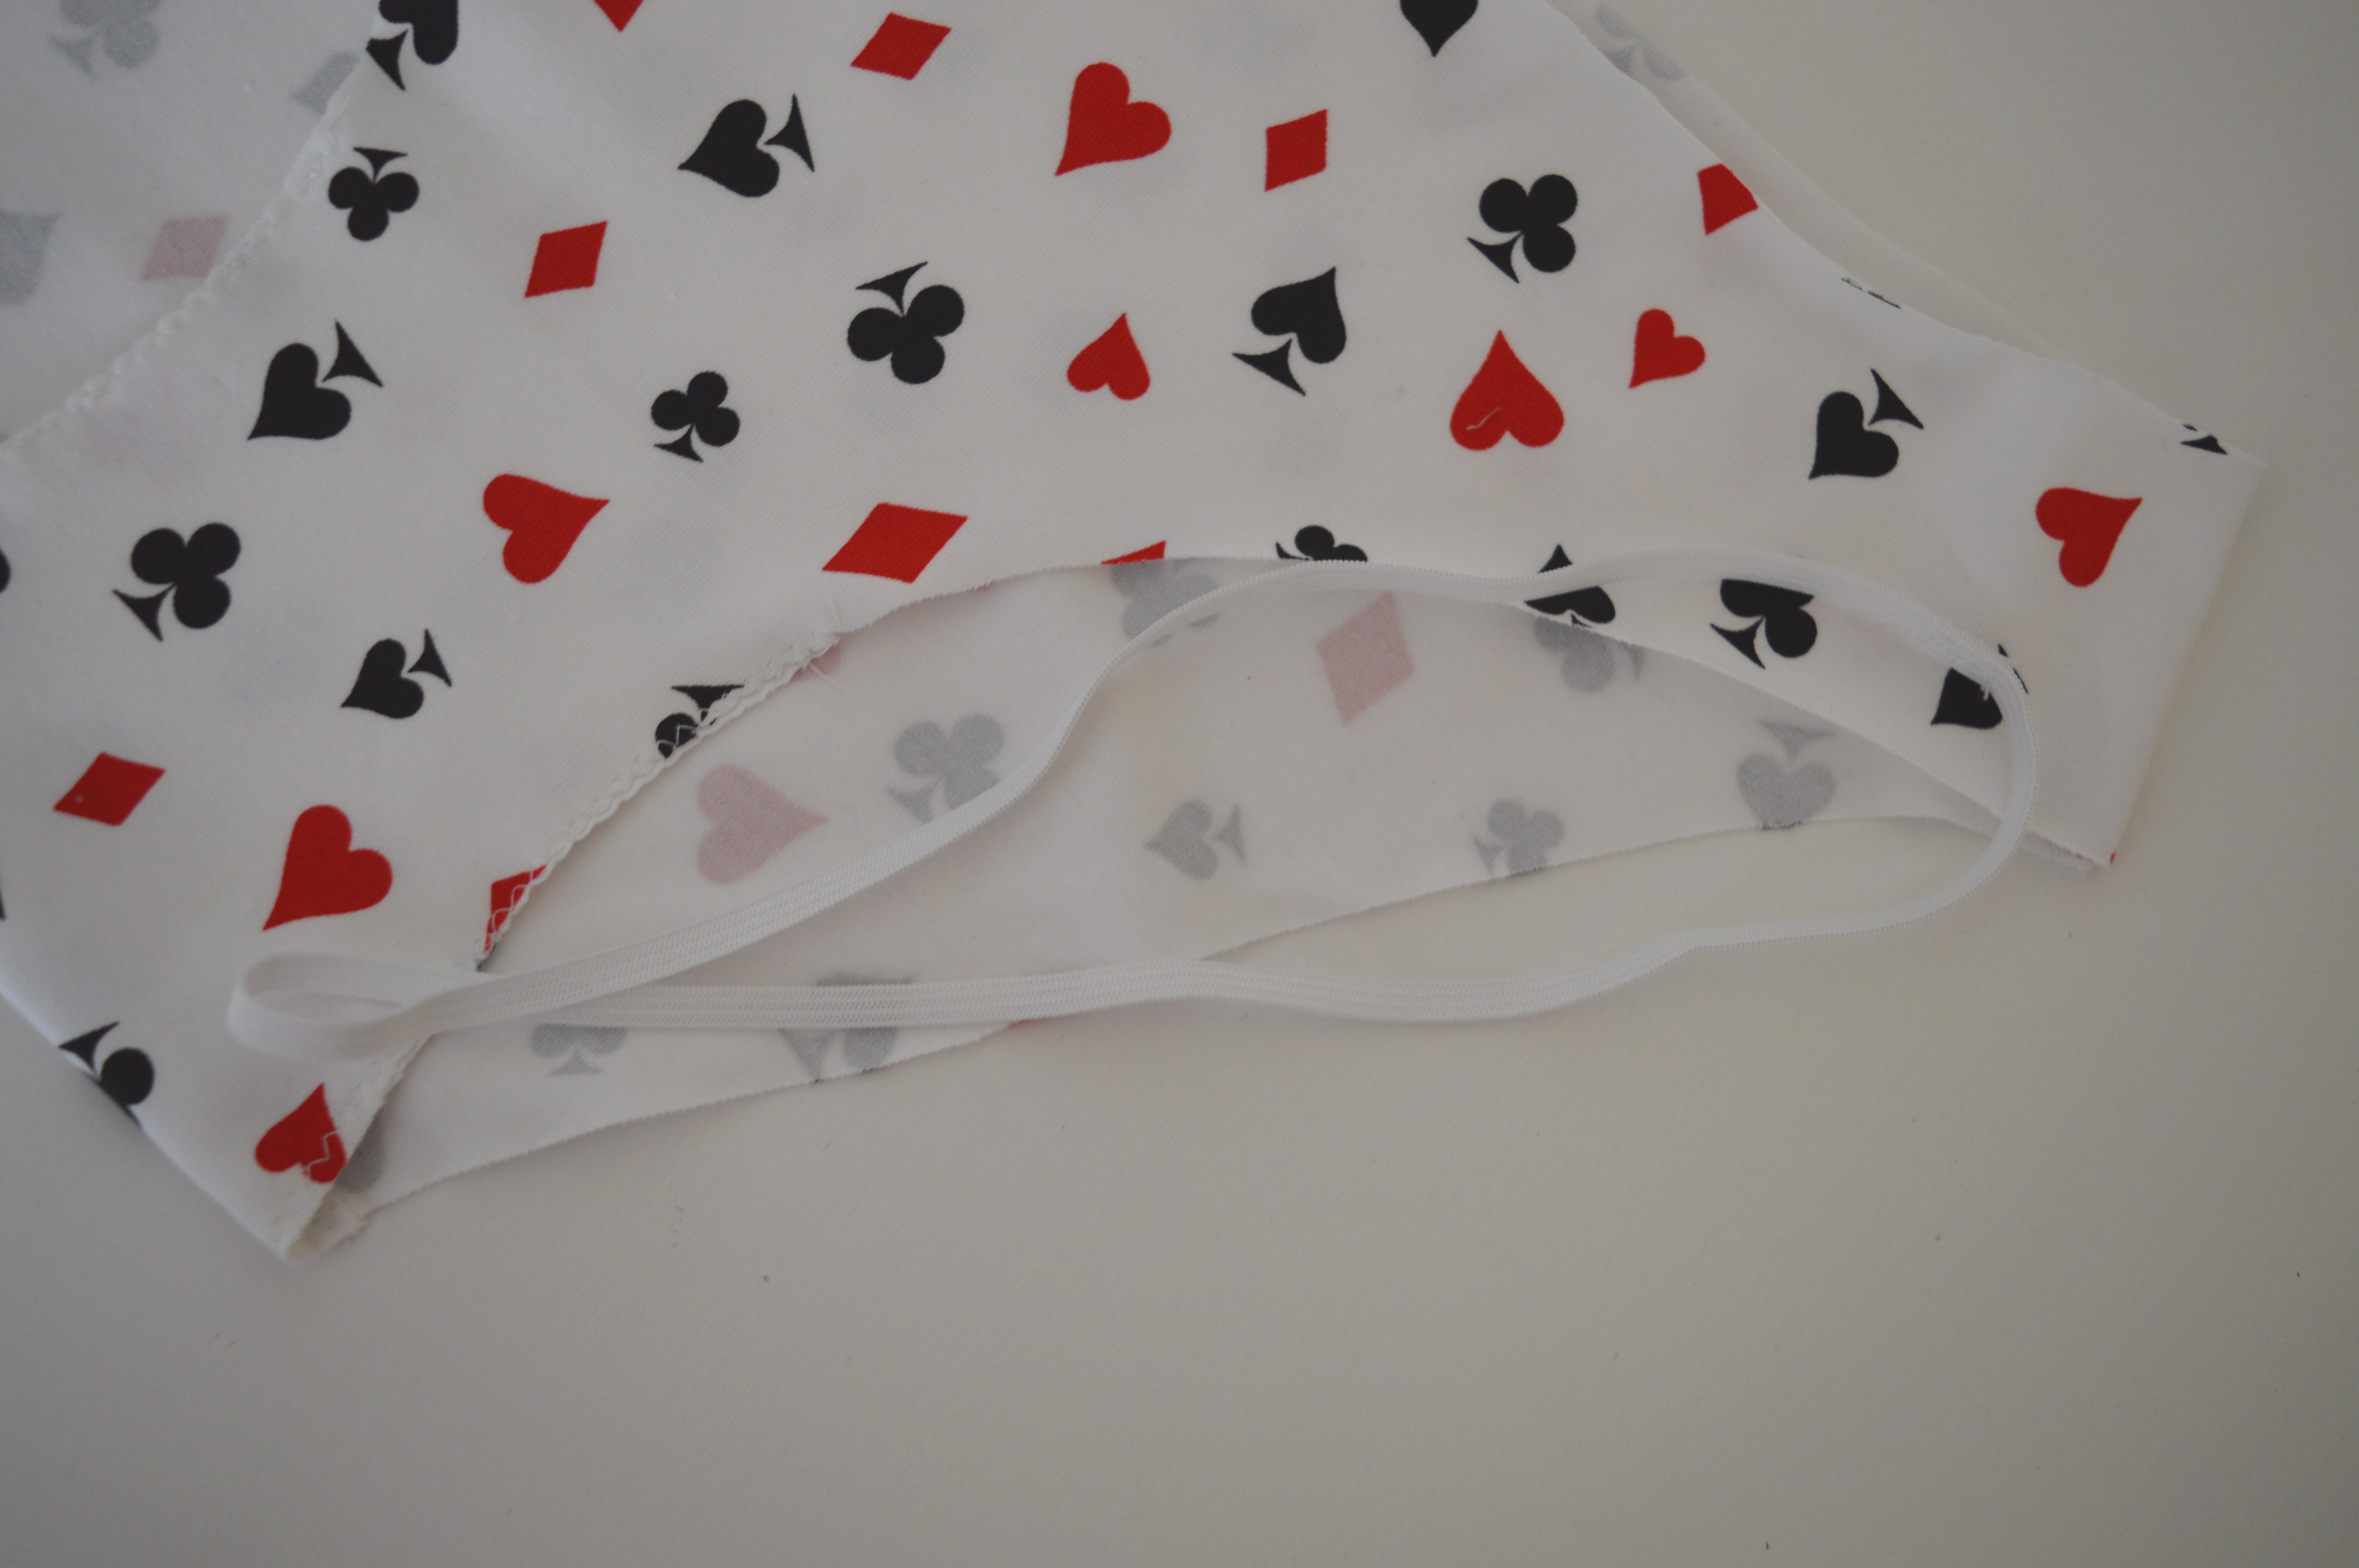
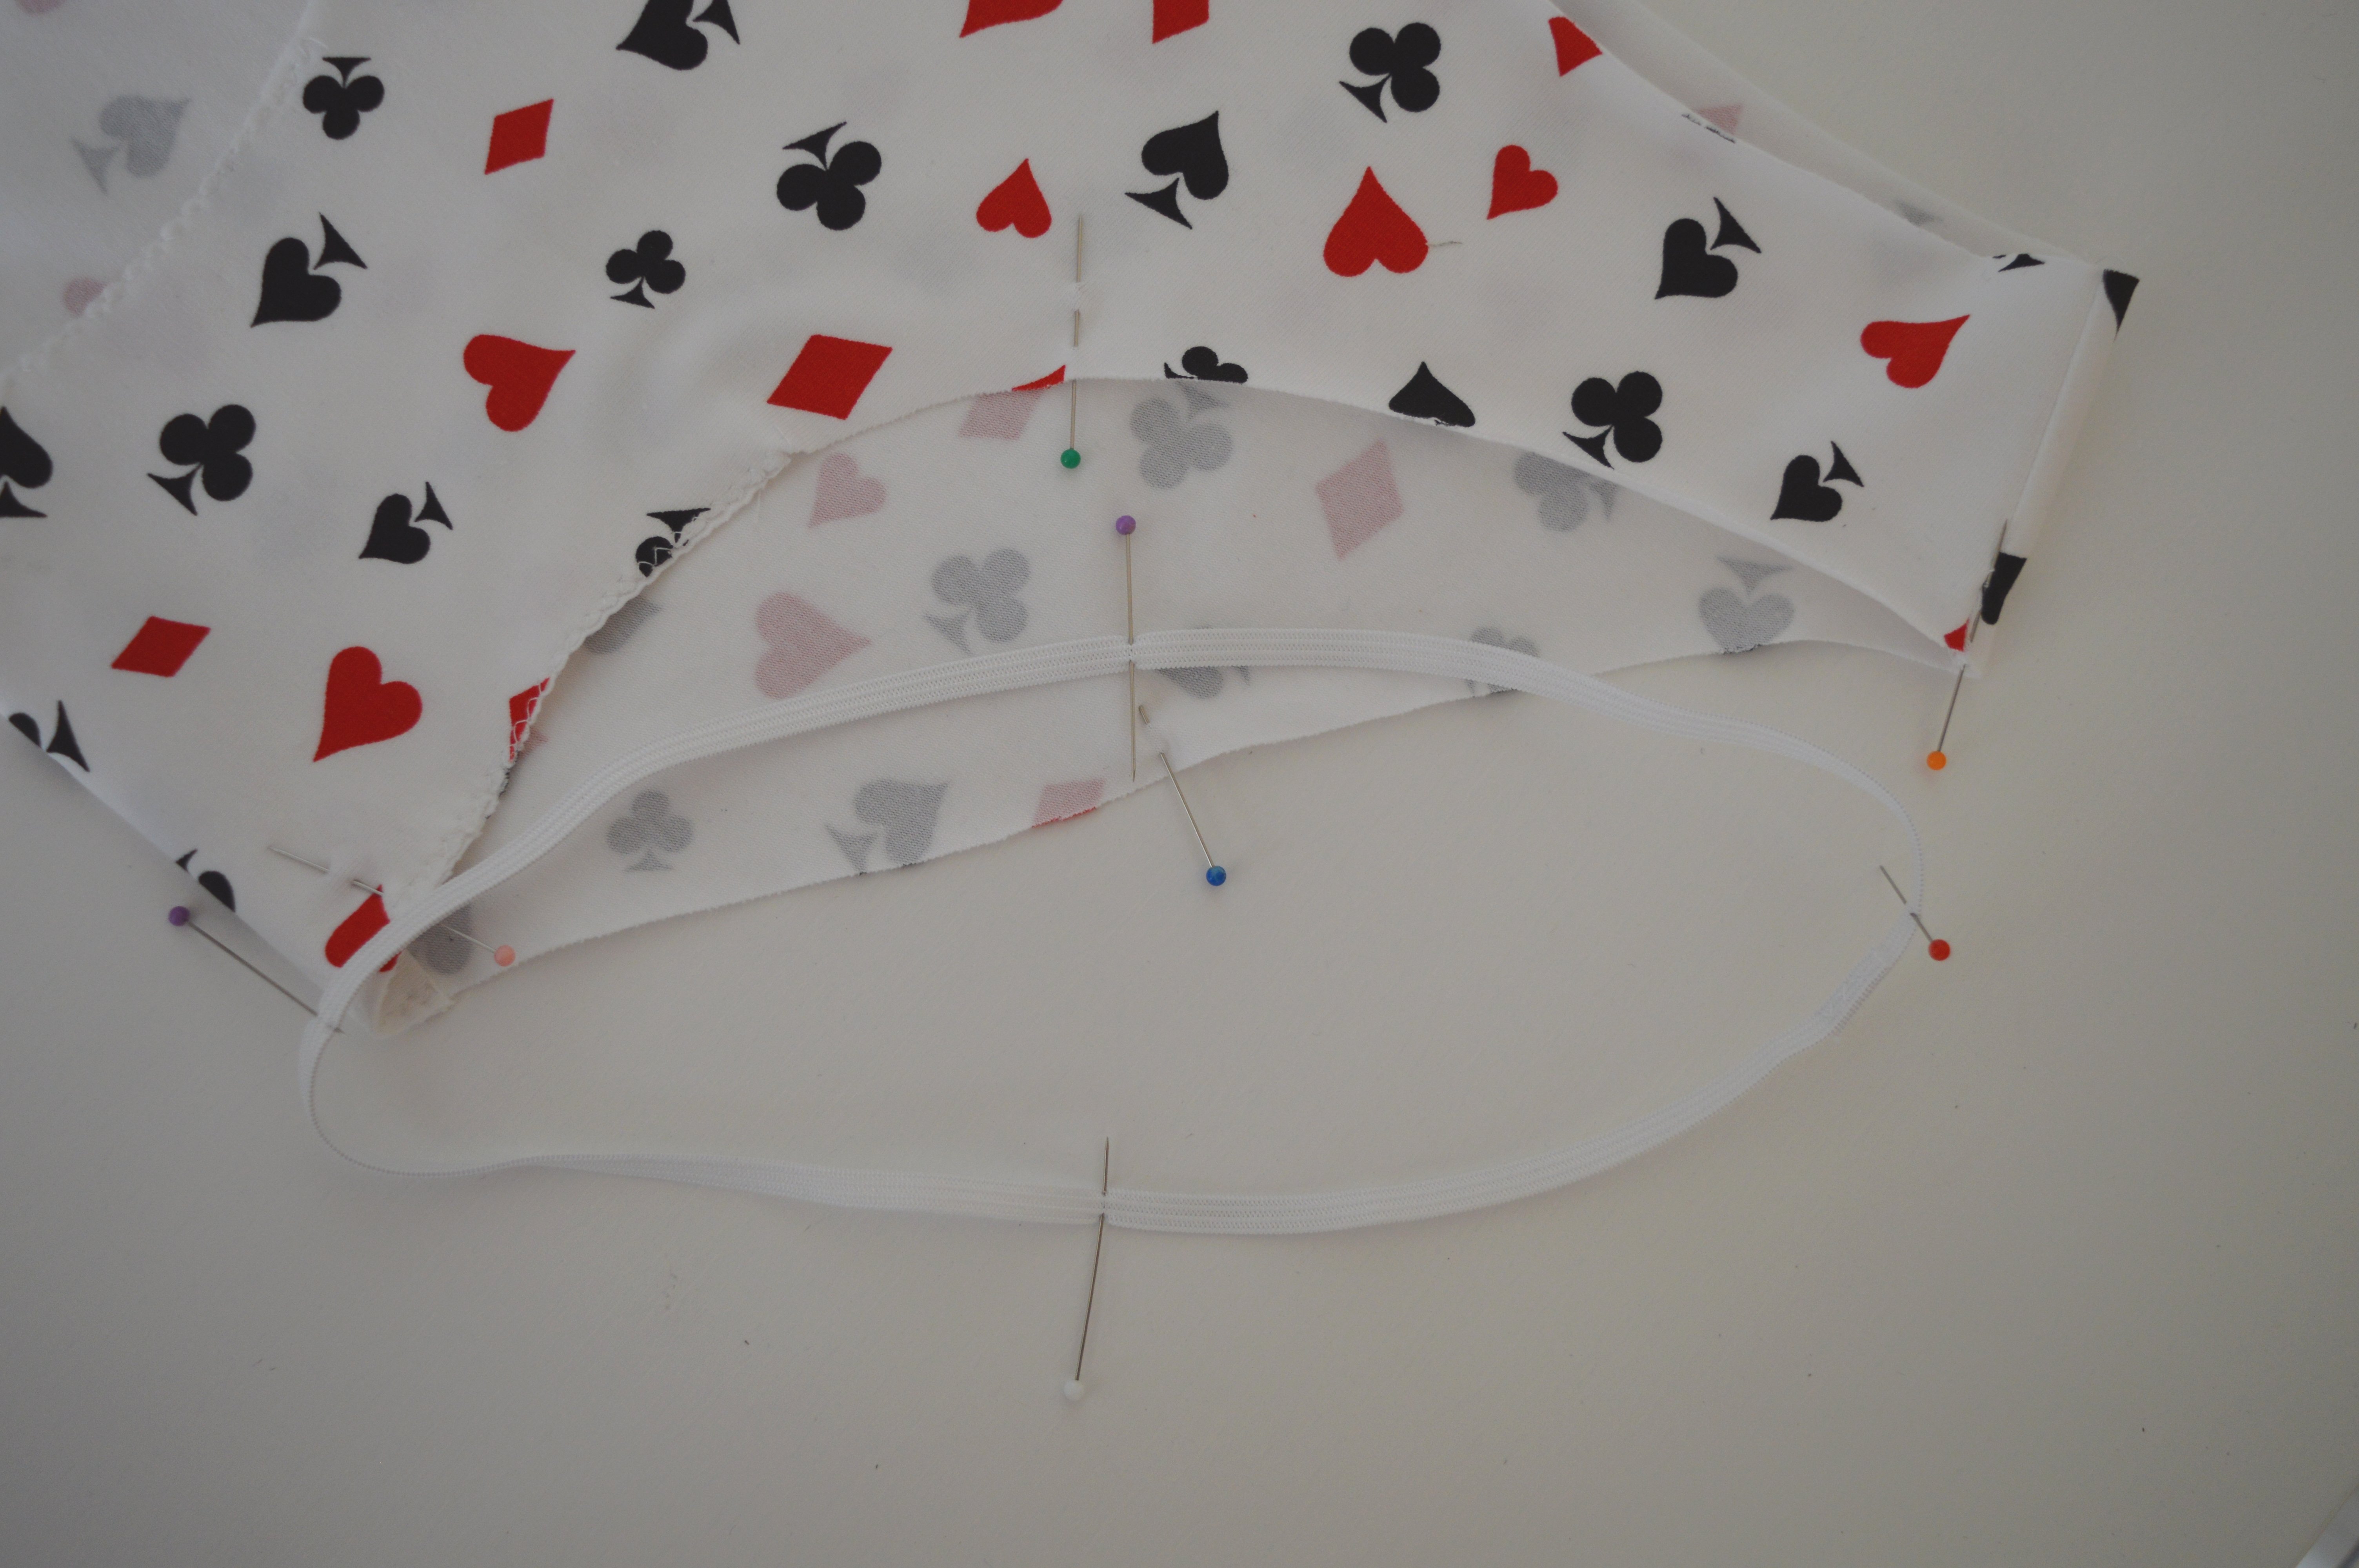
The elastic is applied on the wrong side of the garment so that one edge of the elastic coincides with the edge of the fabric.
Stretch the elastic as you sew so that the elastic and fabric are aligned.
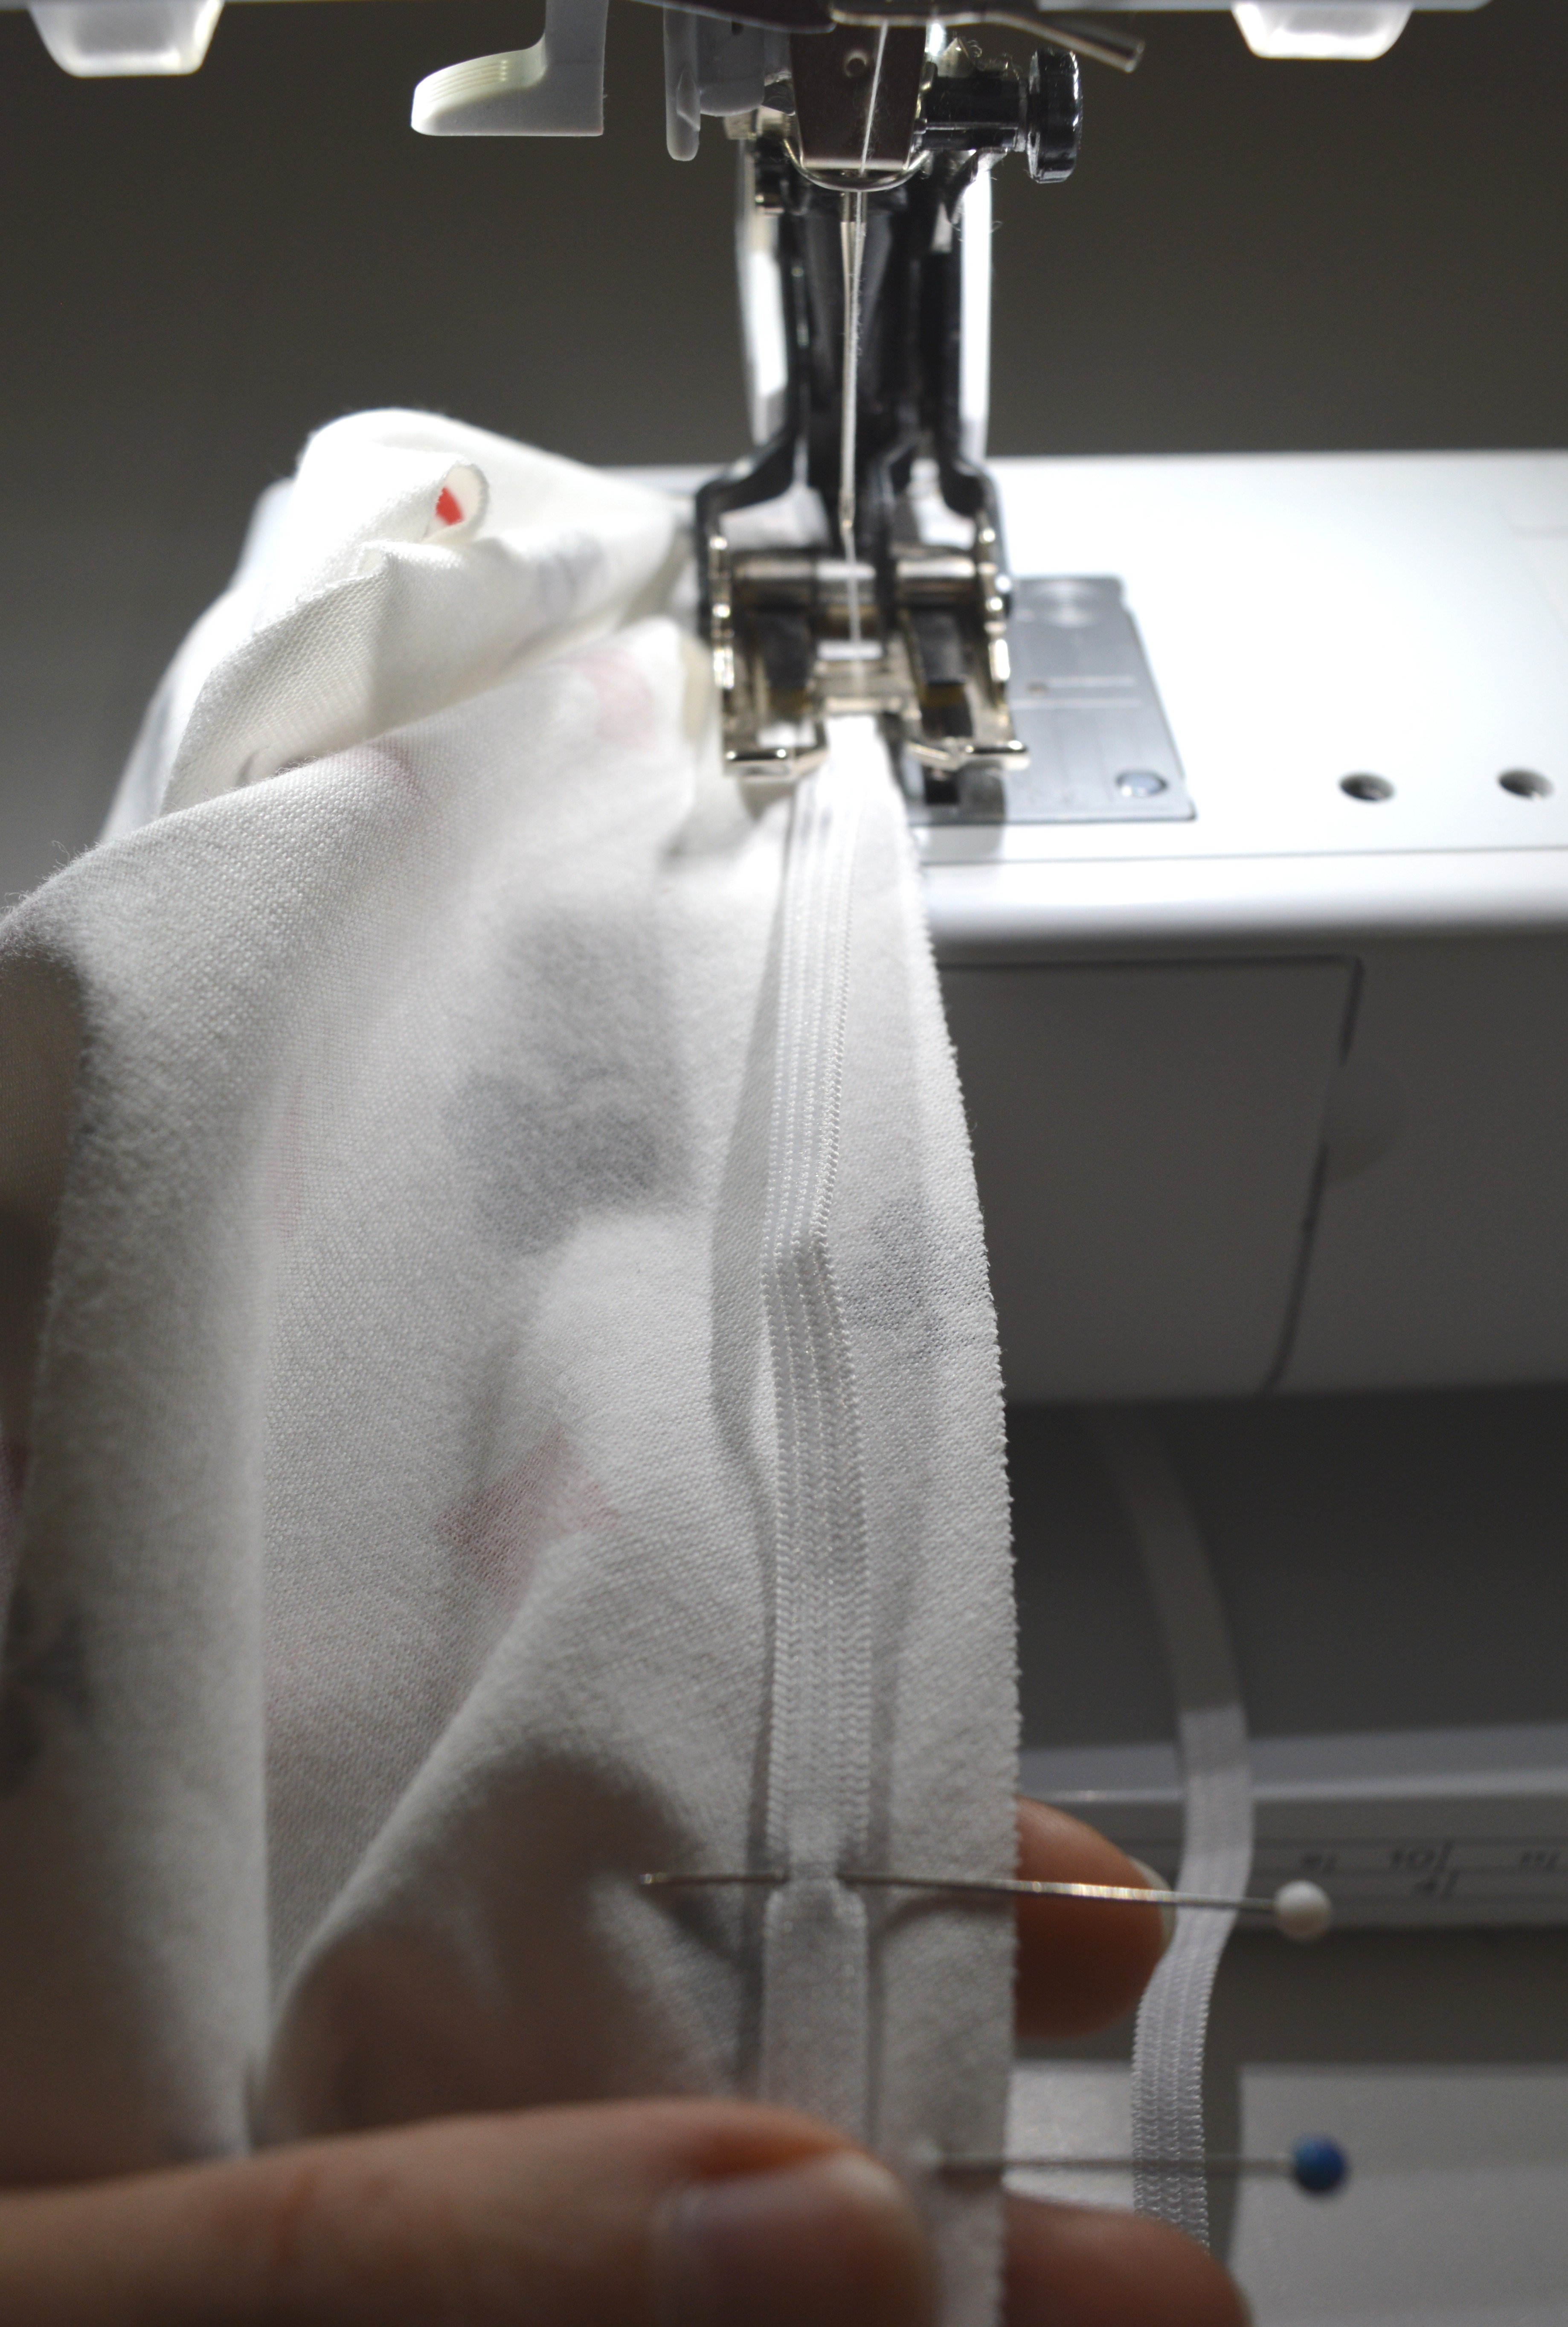
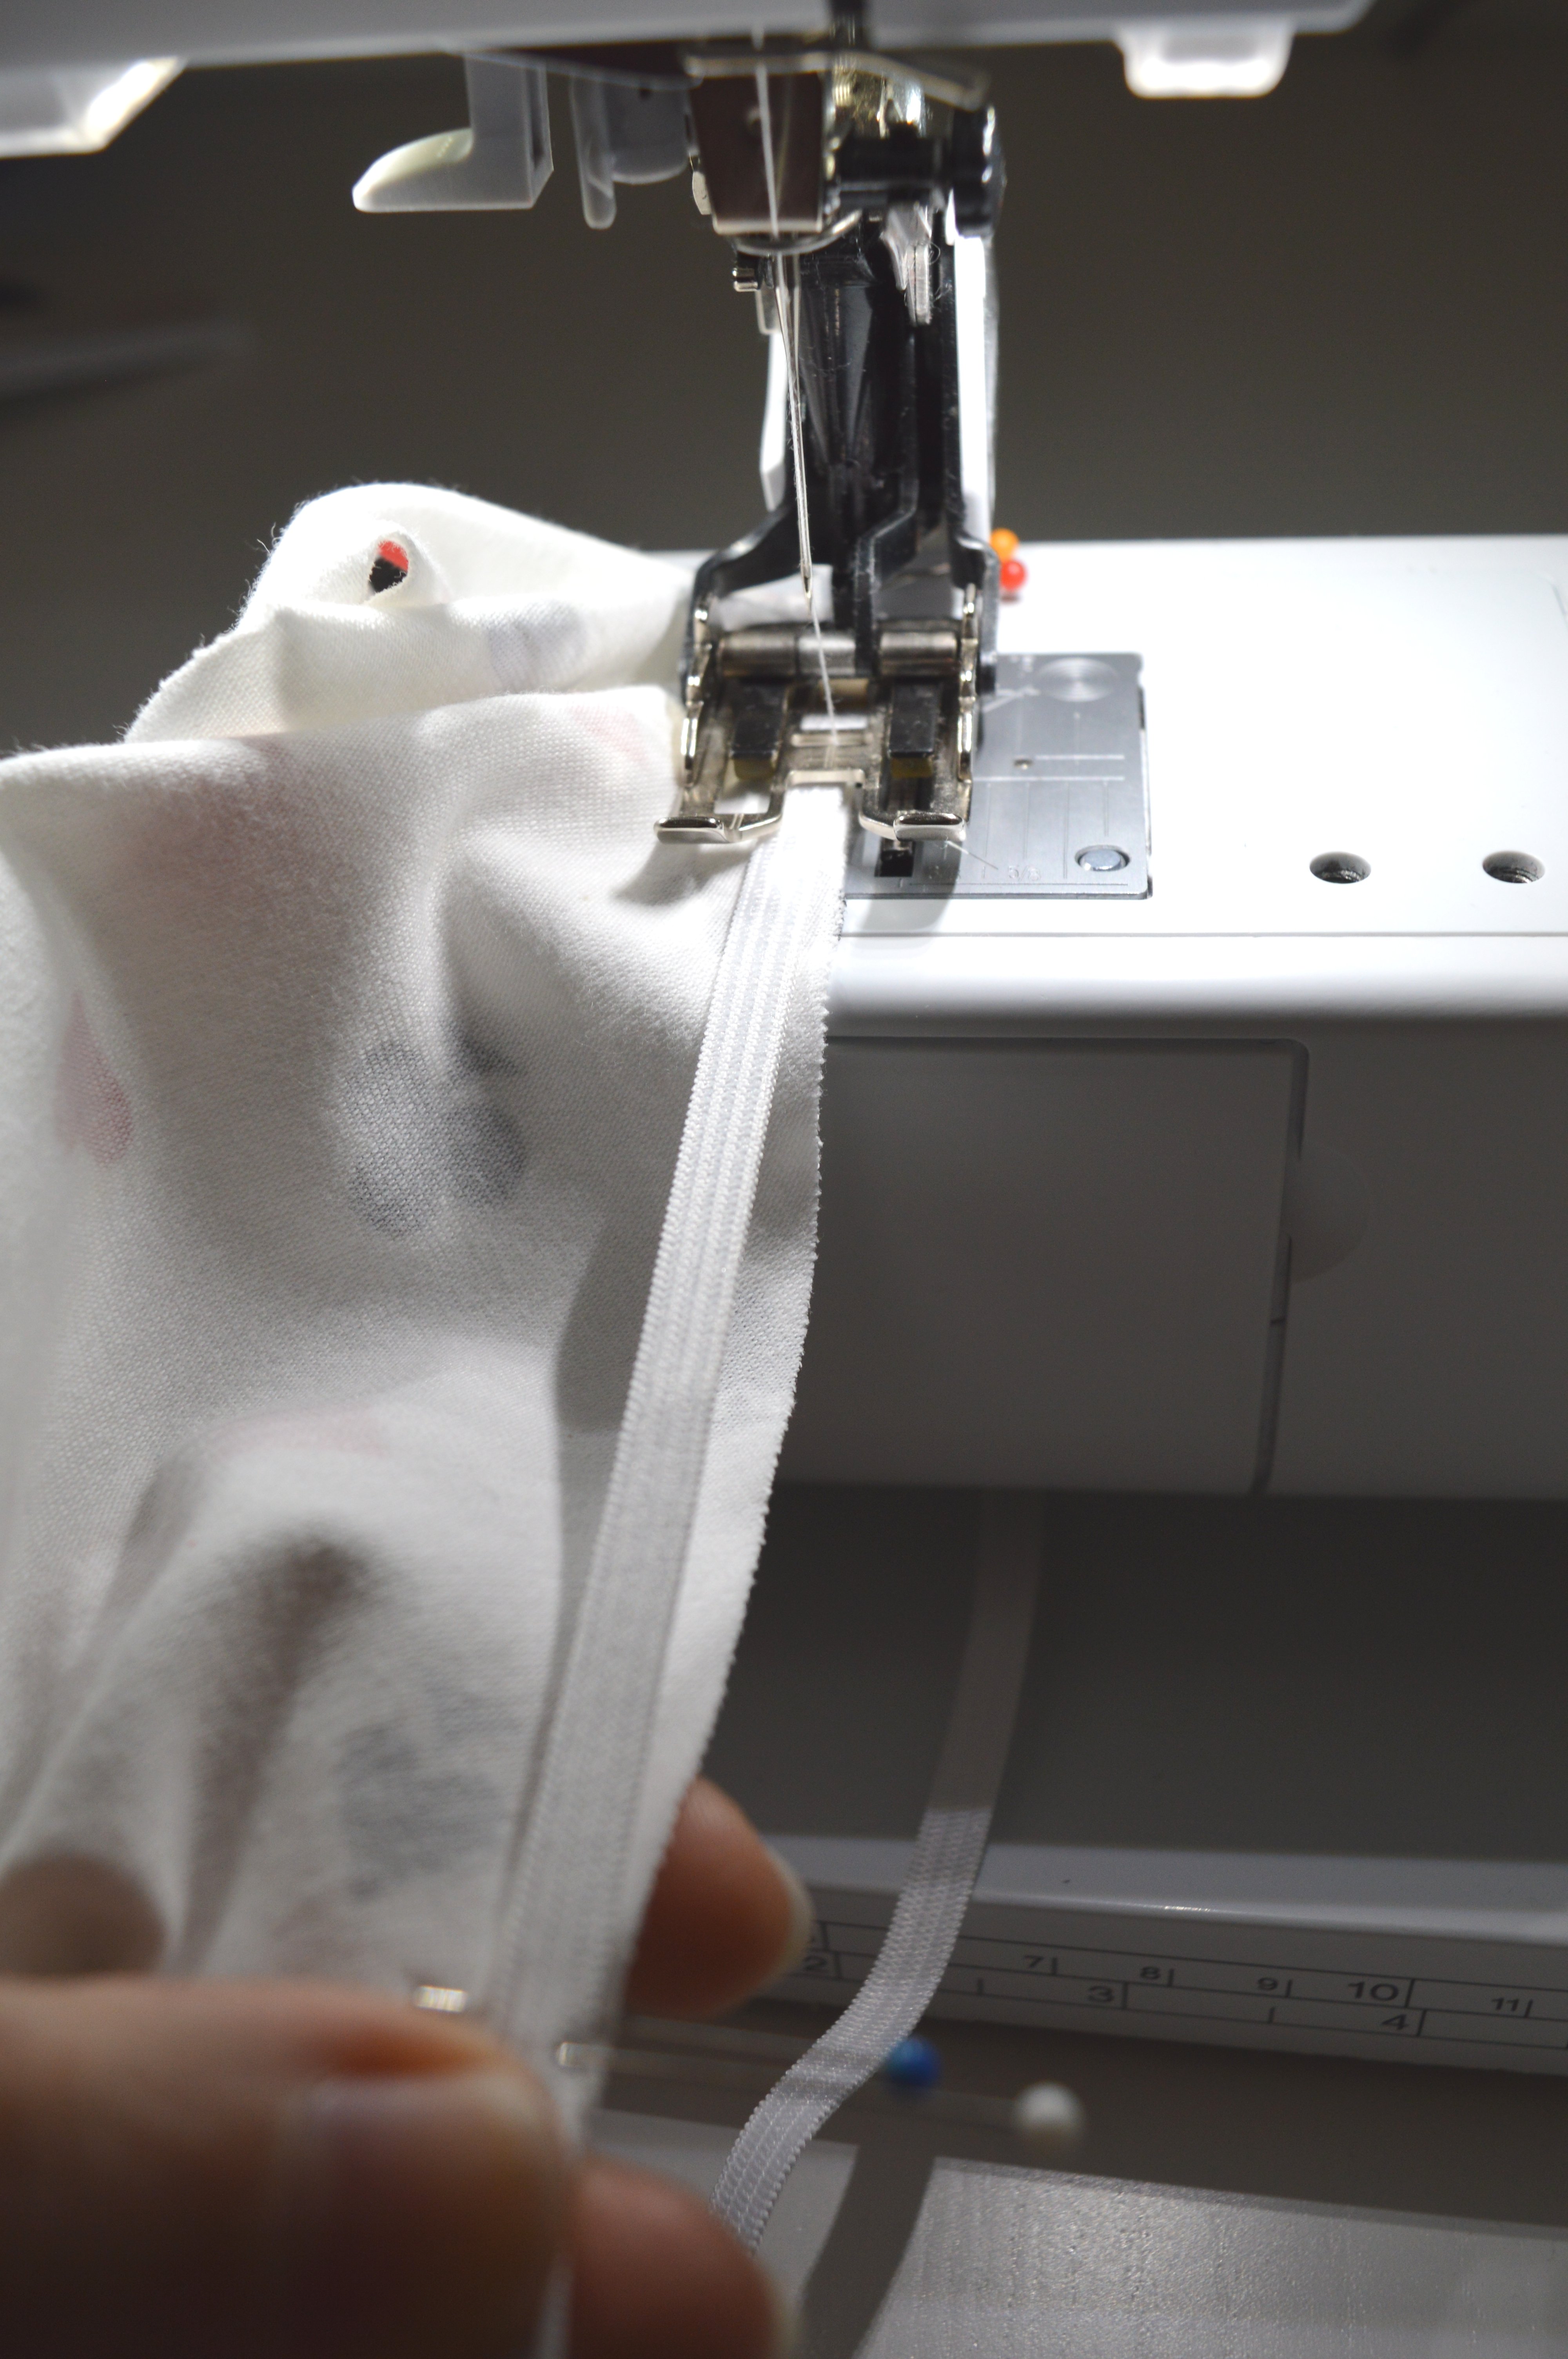
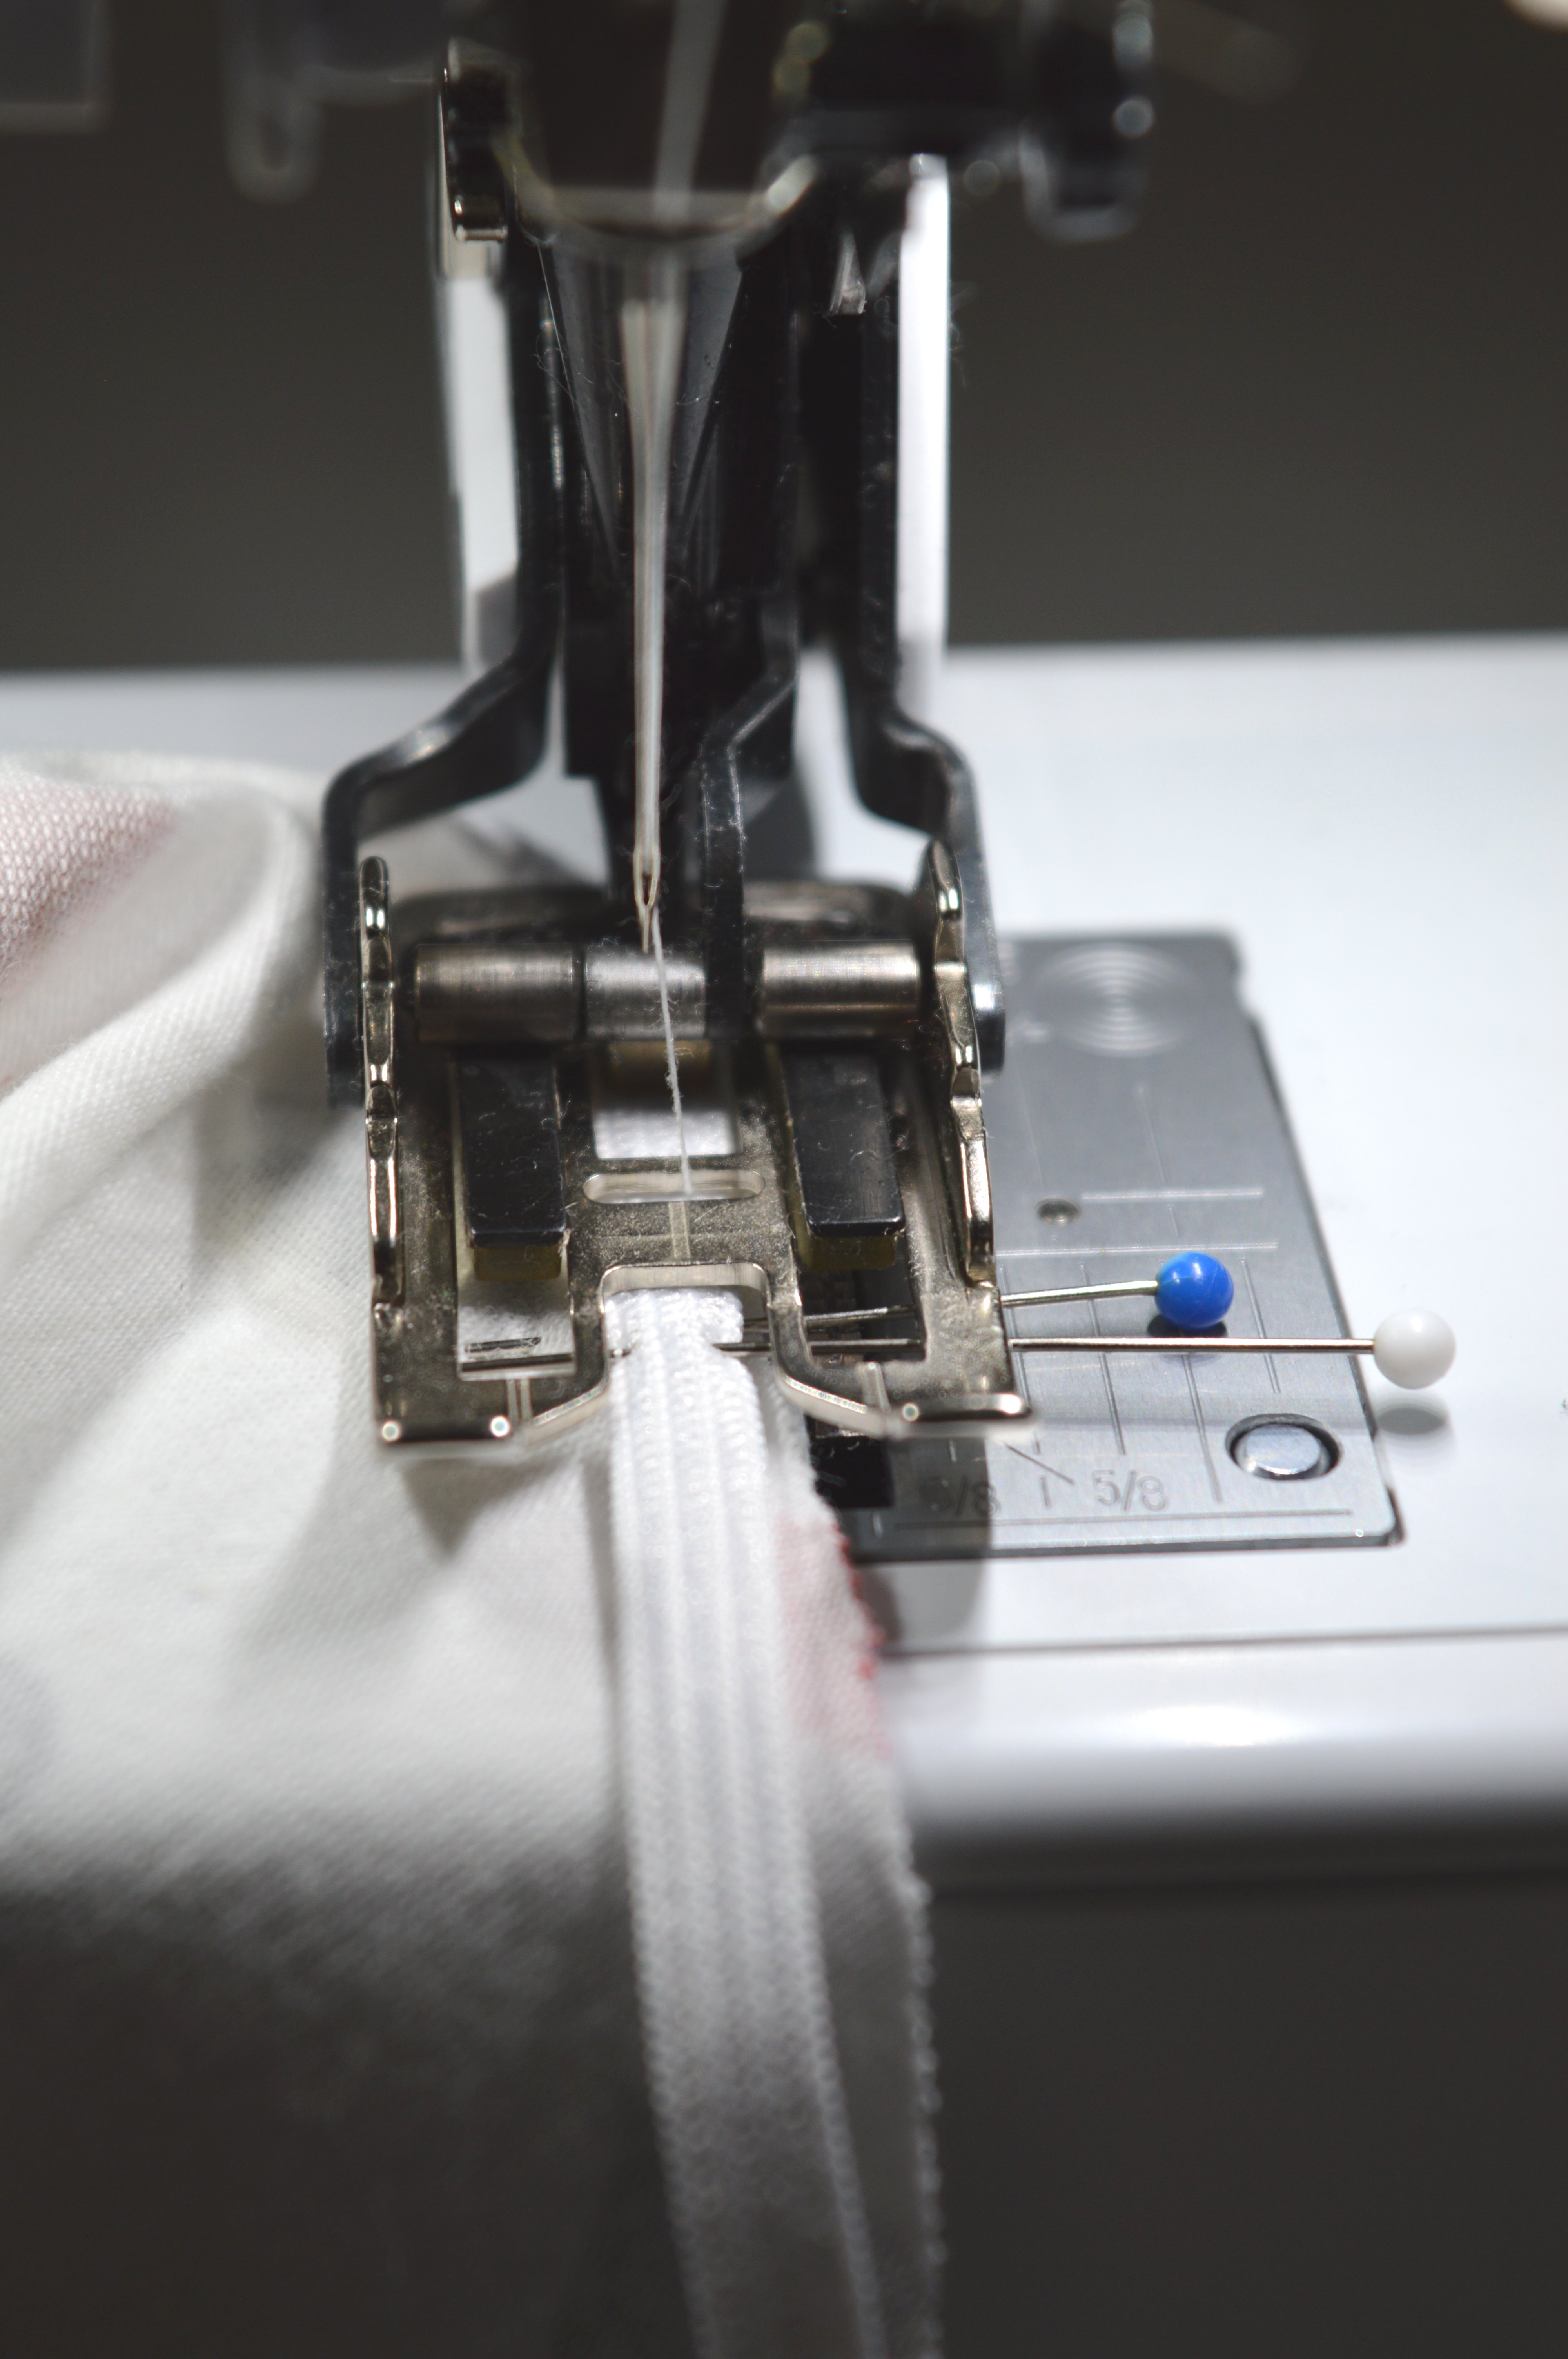
Try to get as close to the inner edge as possible.
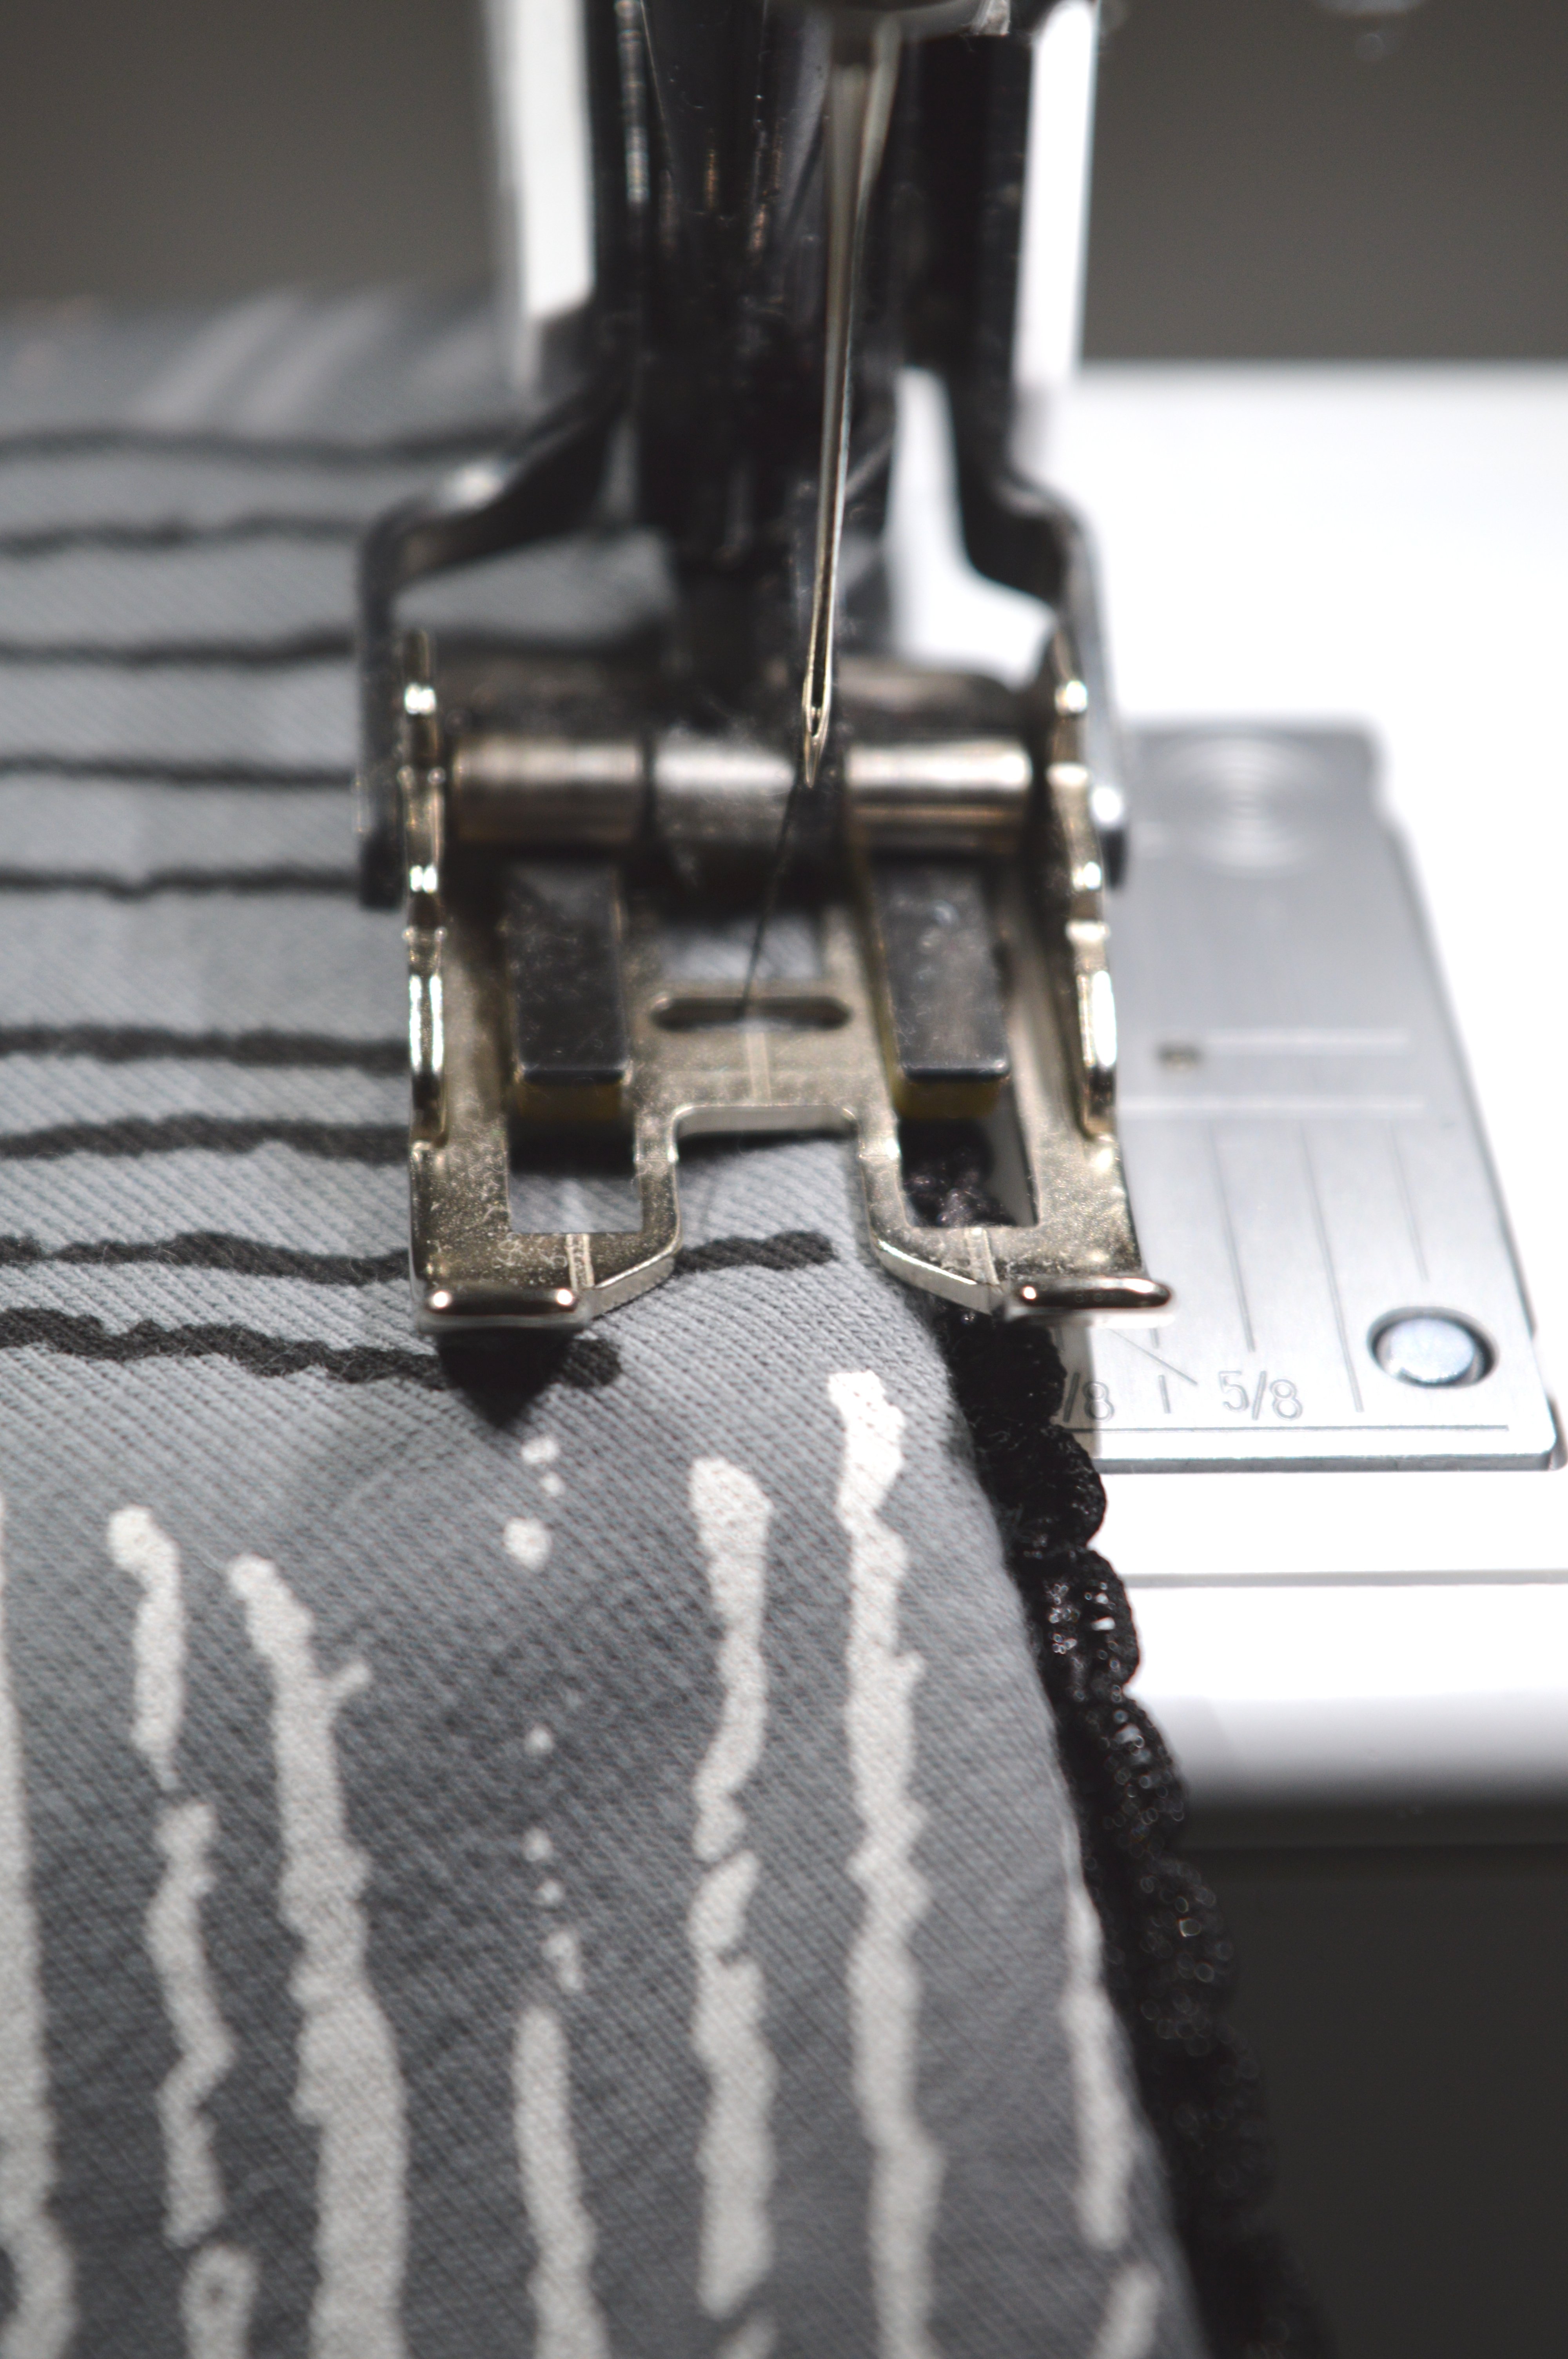
You can use three-thread serger/overlocker stitch or on sewing machine zig-zag stitch.
Apply elastic to all edges for which it is intended.

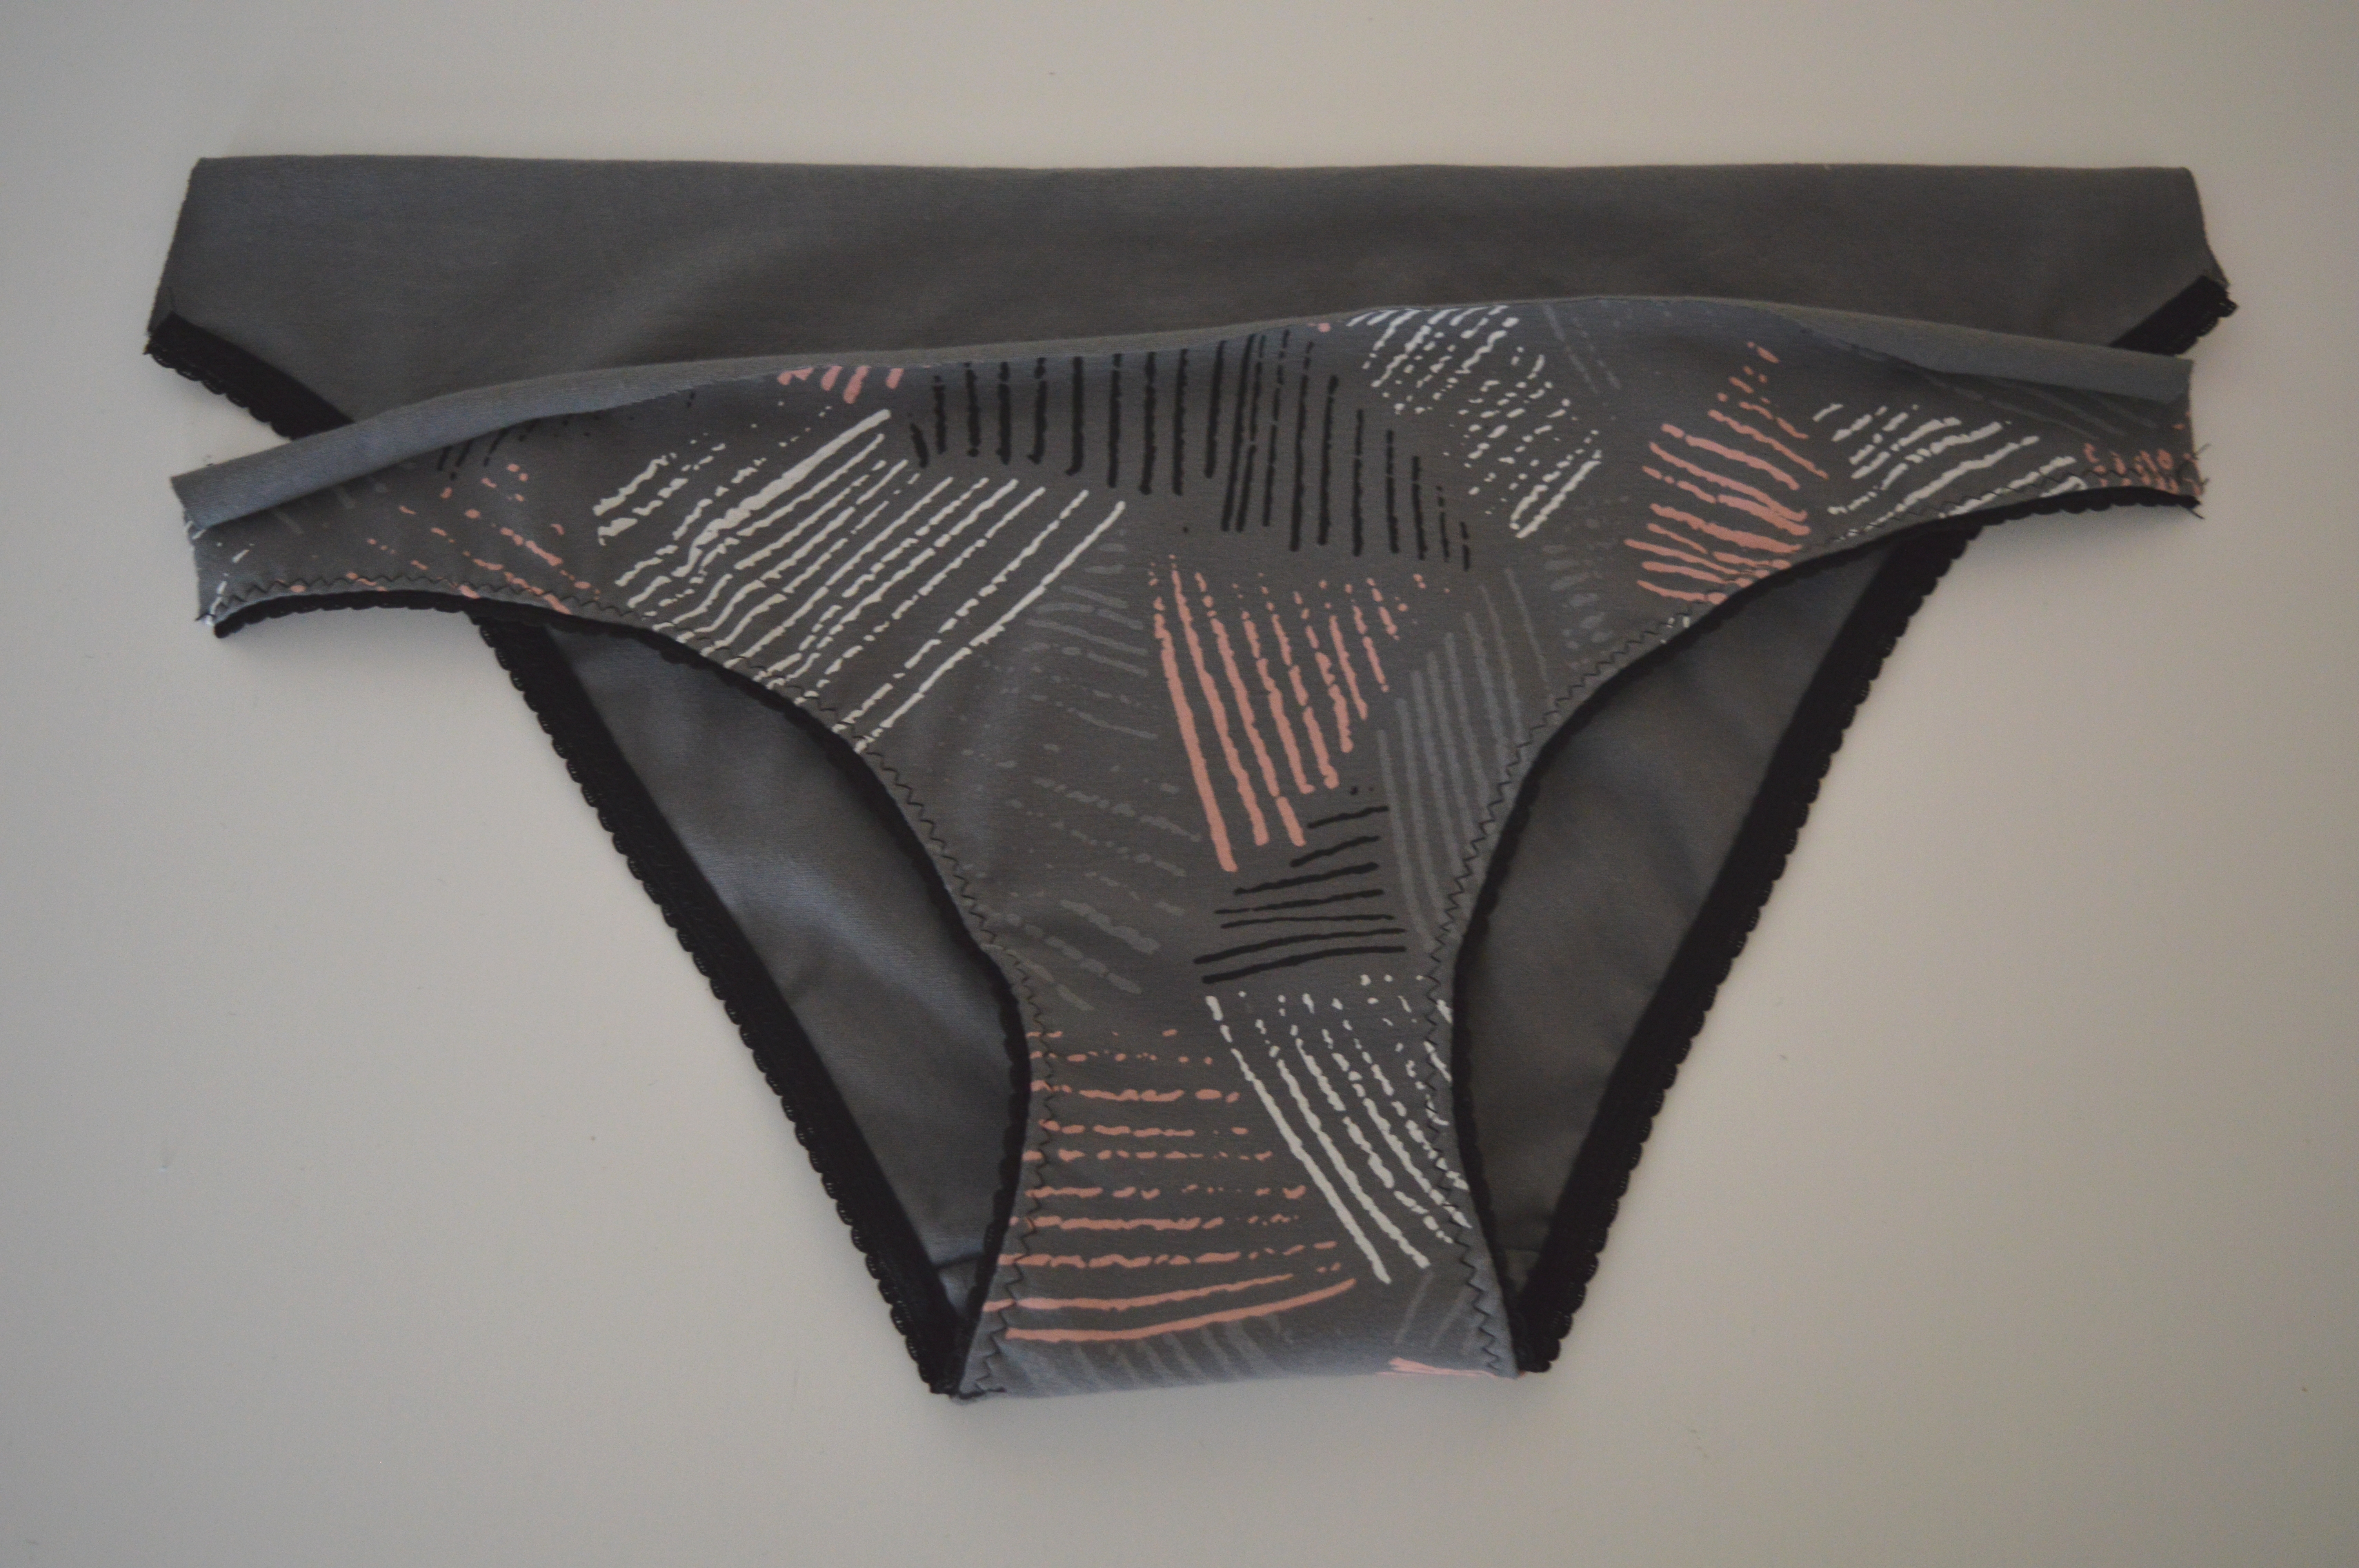
Fold sewn elastic toward the wrong side of the garment.

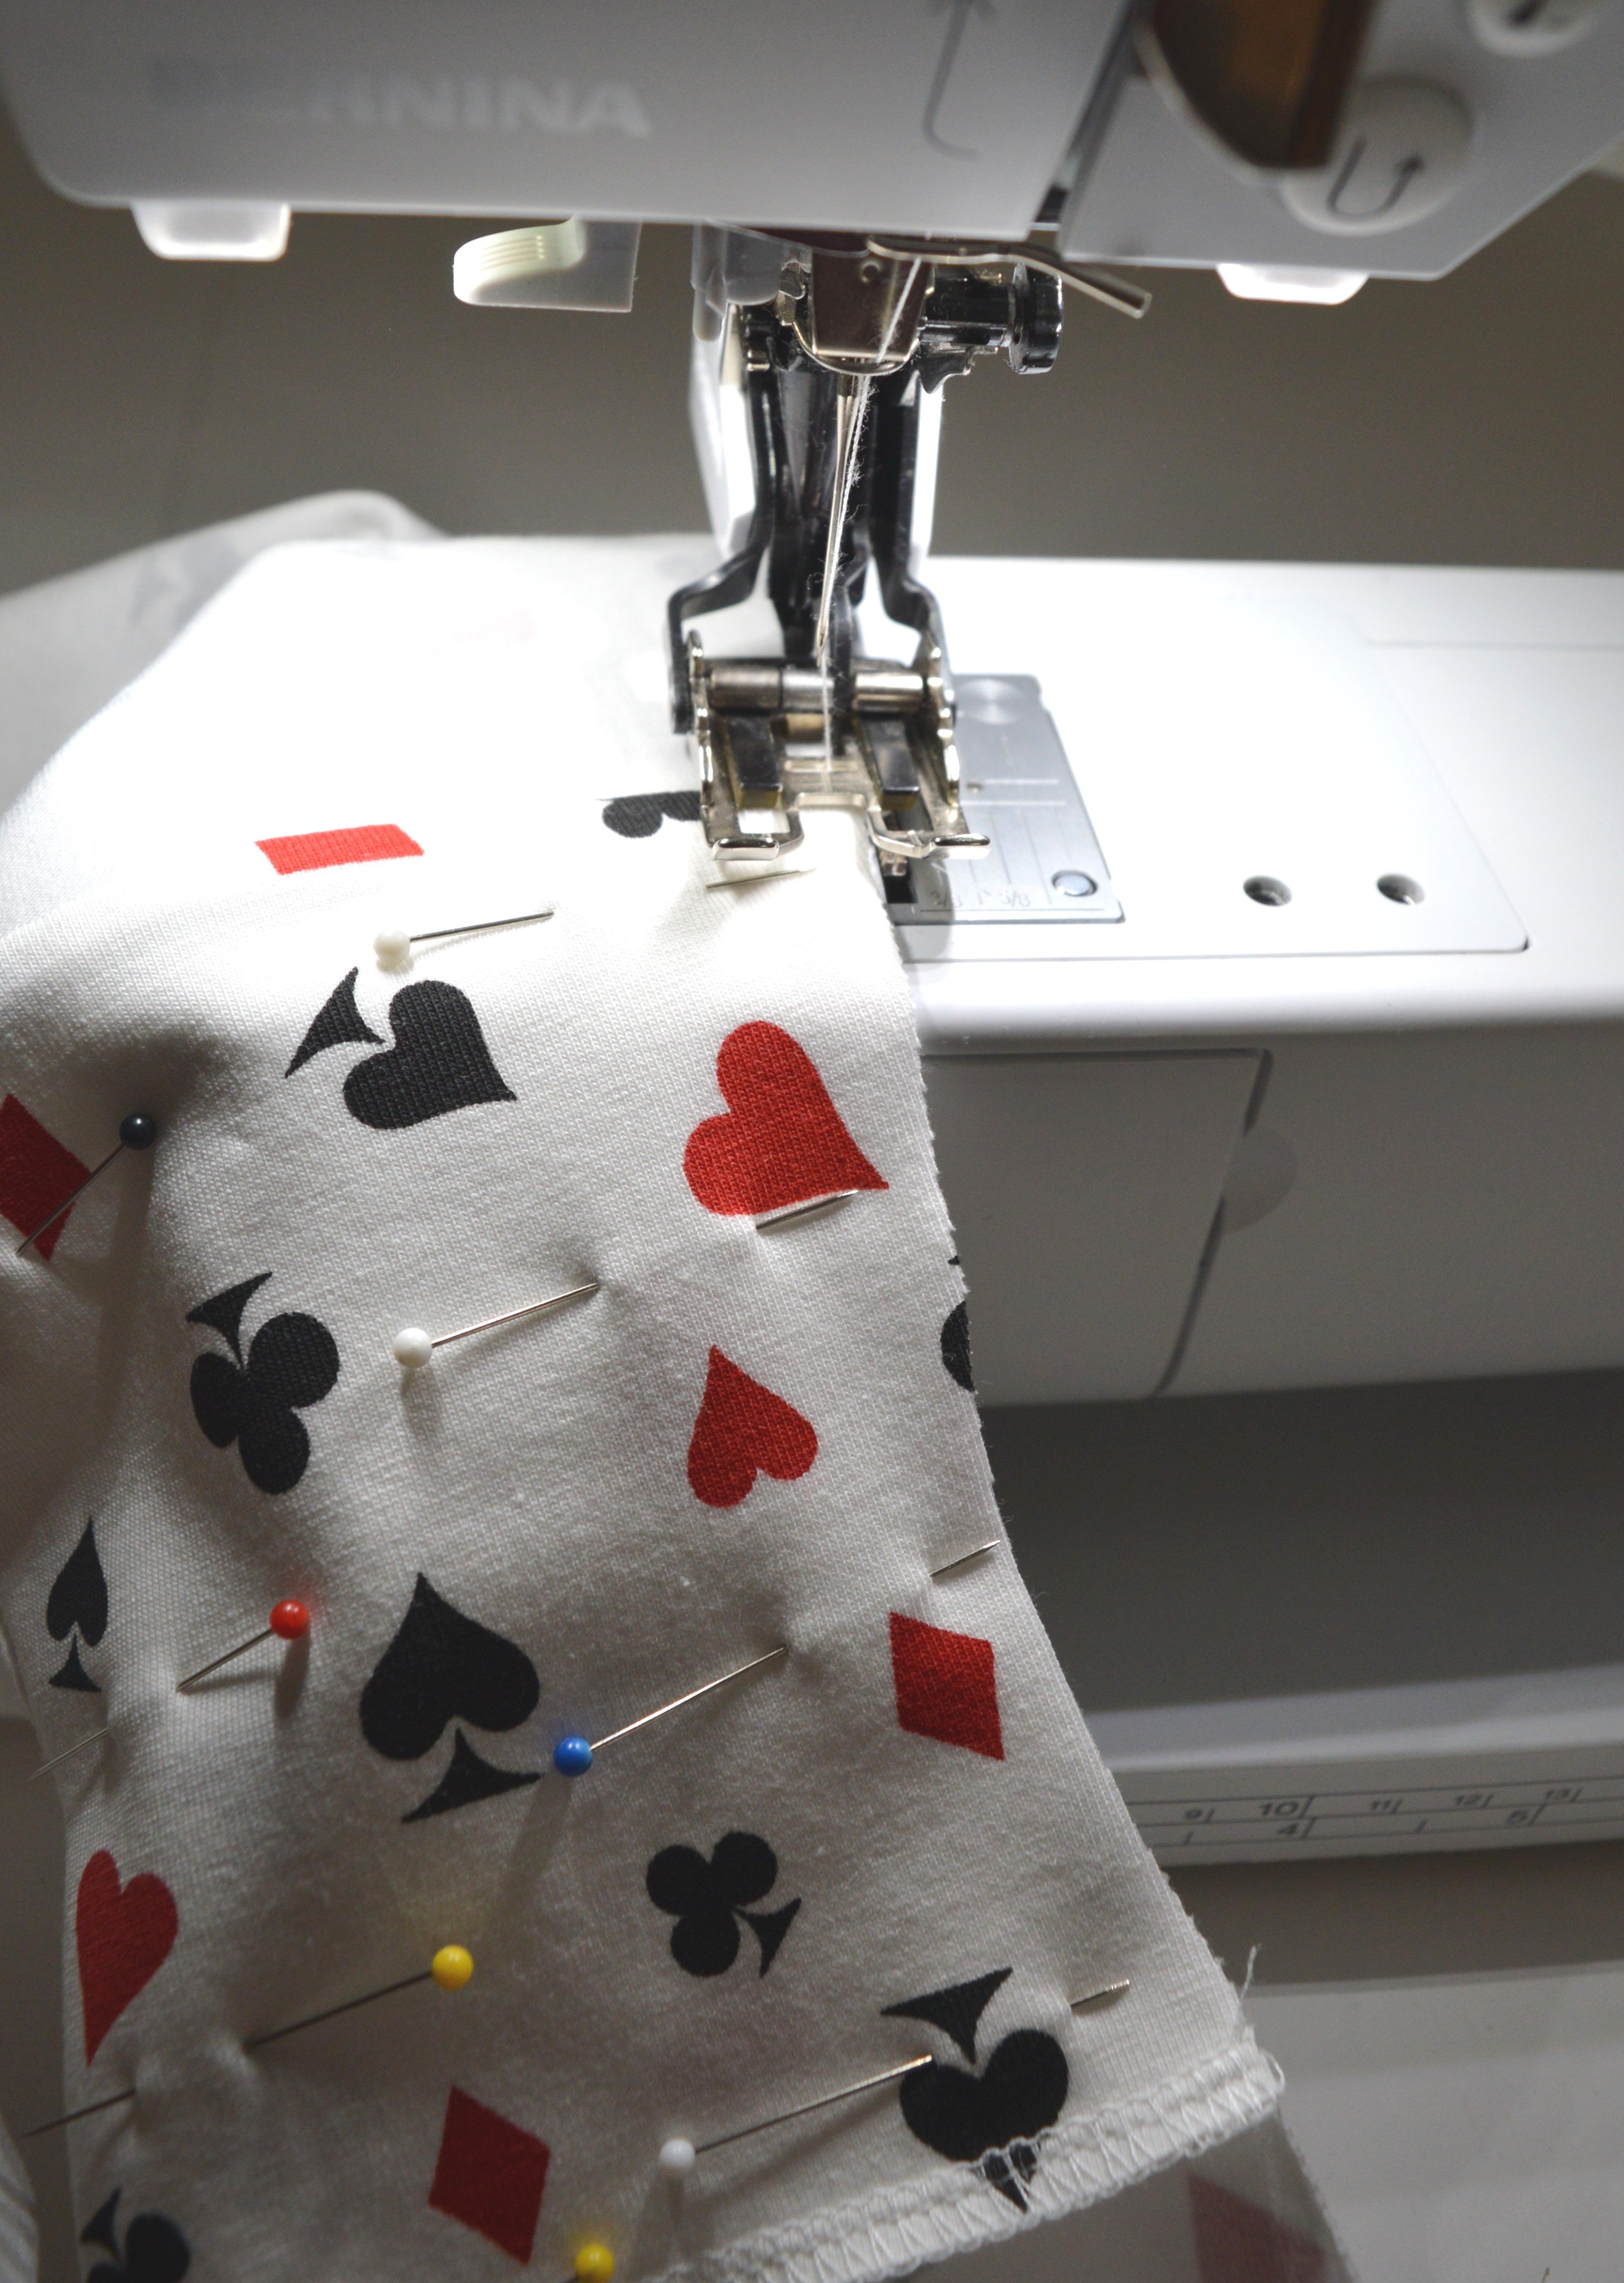
Topstitch using a sewn out zigzag stitch #16 or a zig-zag stitch #2.
When it is needed, slightly stretch the edge of the garment.
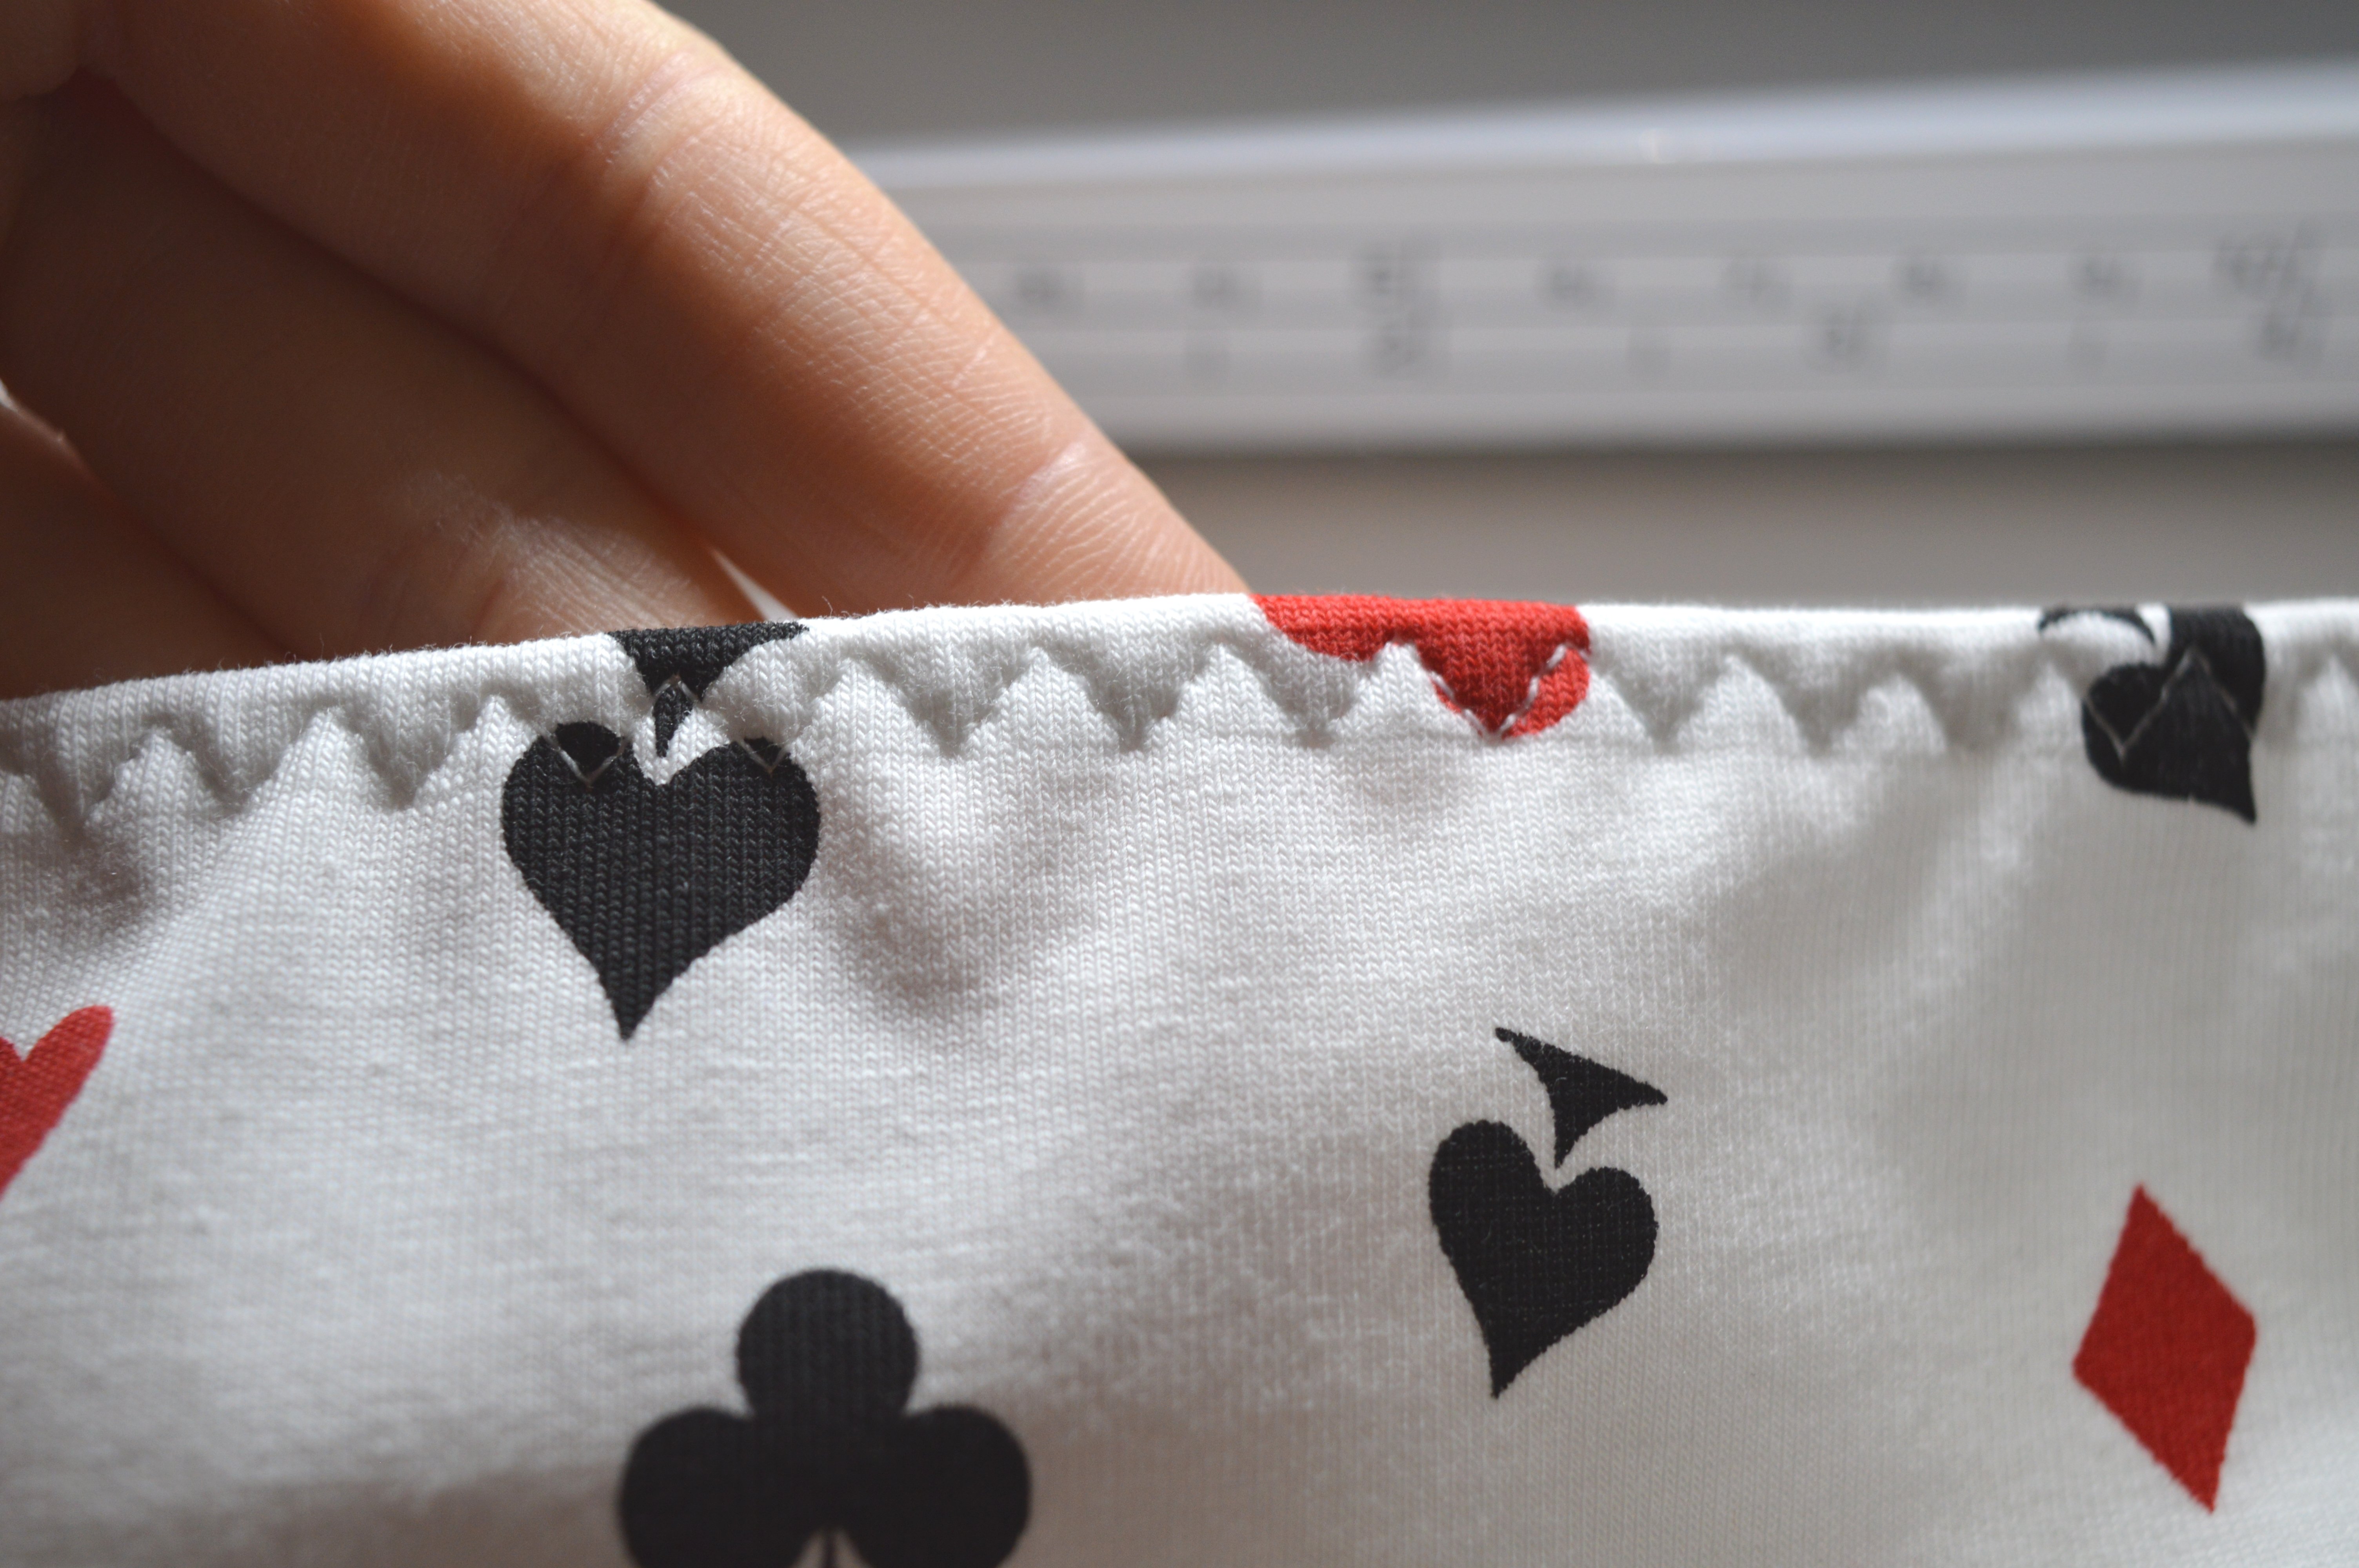
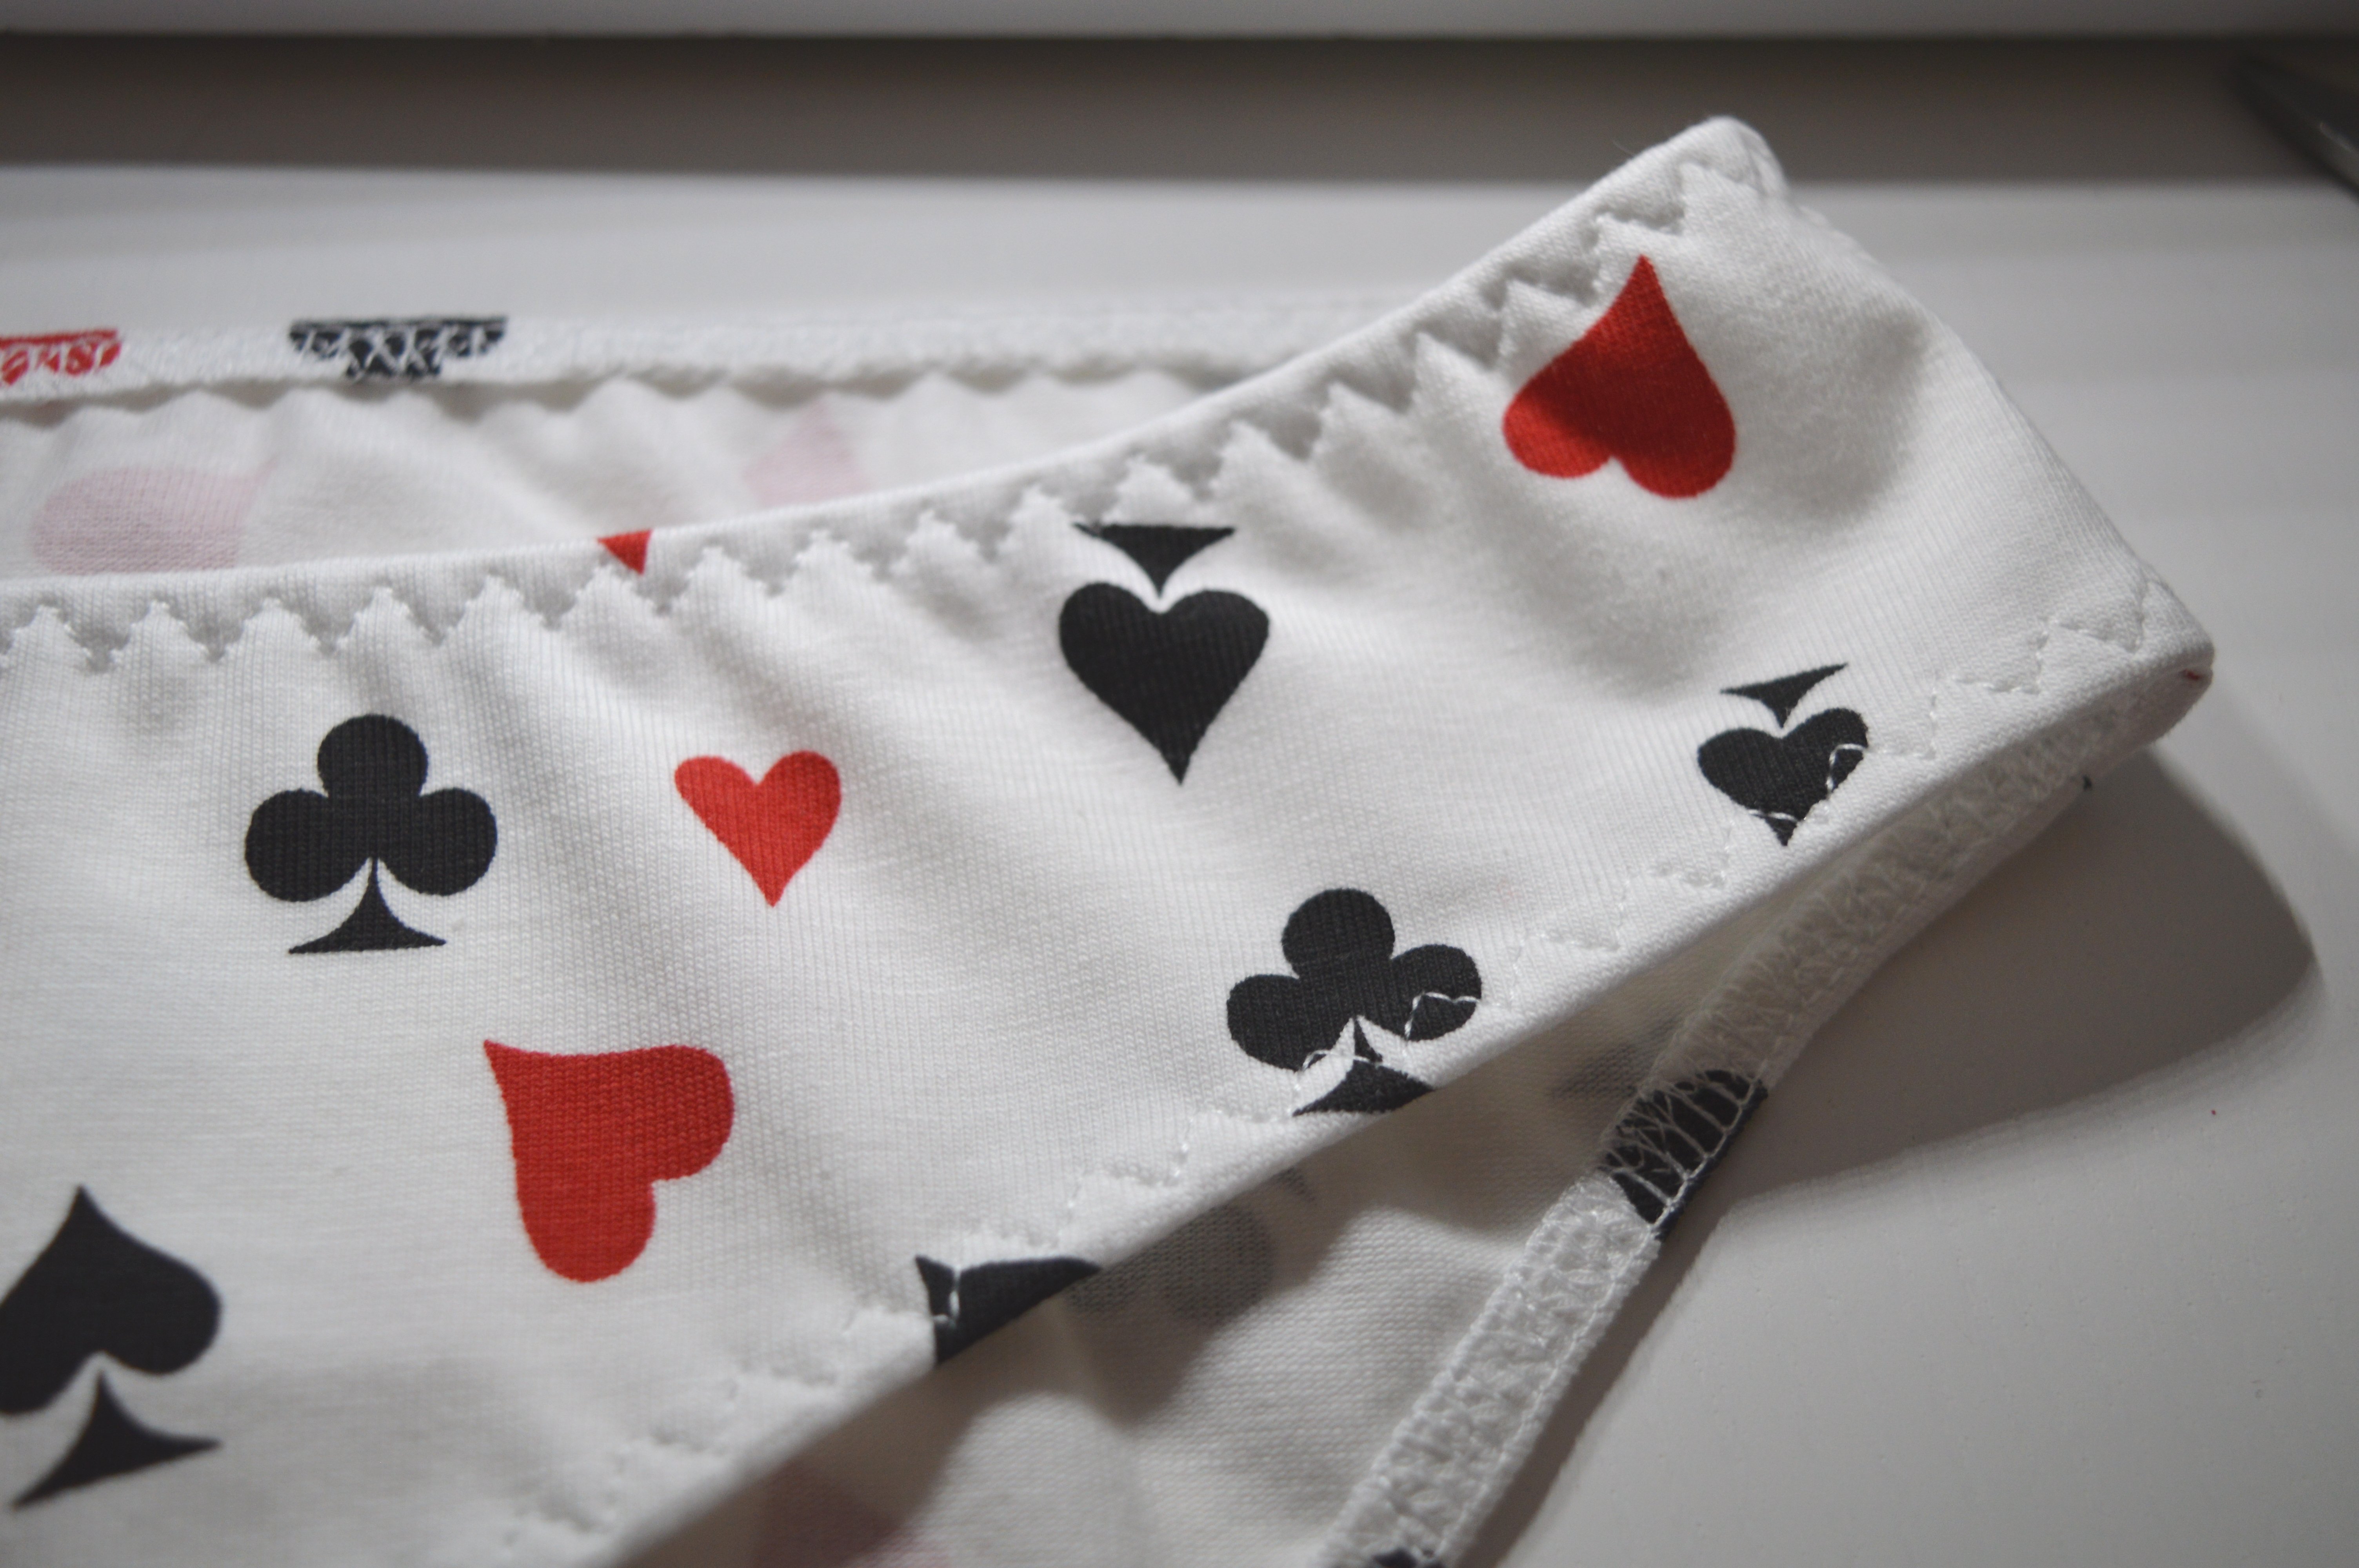
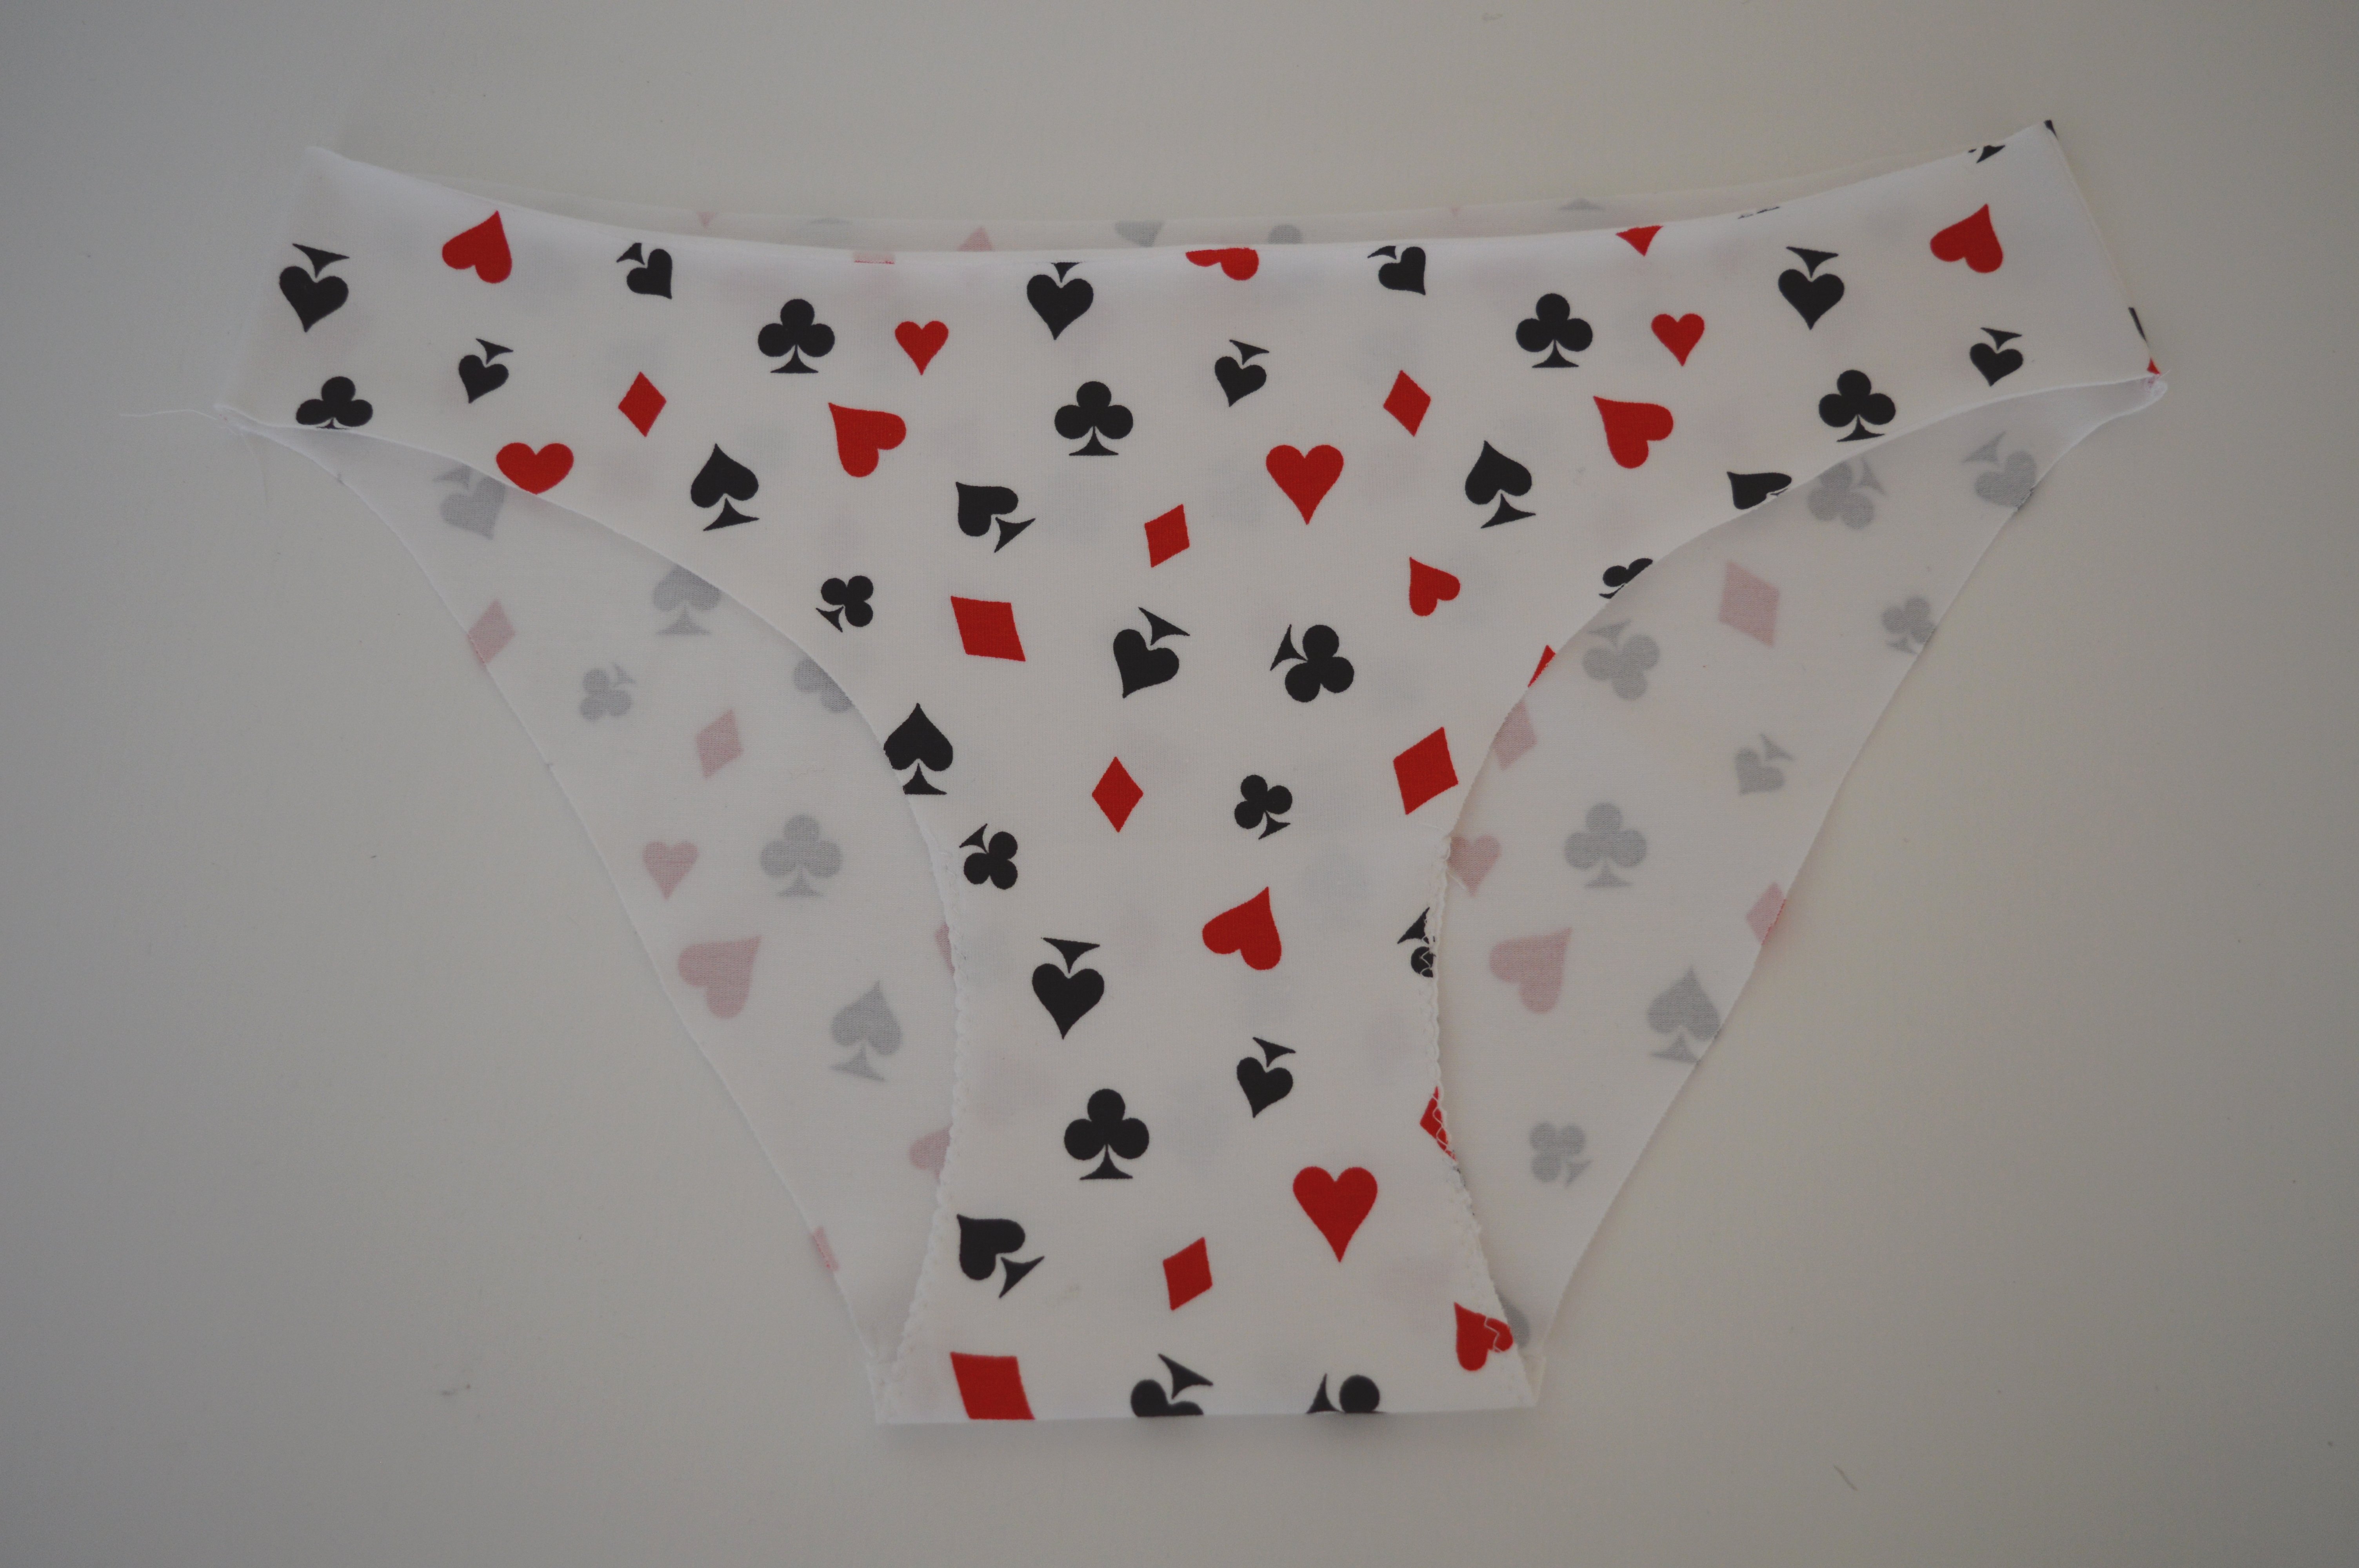
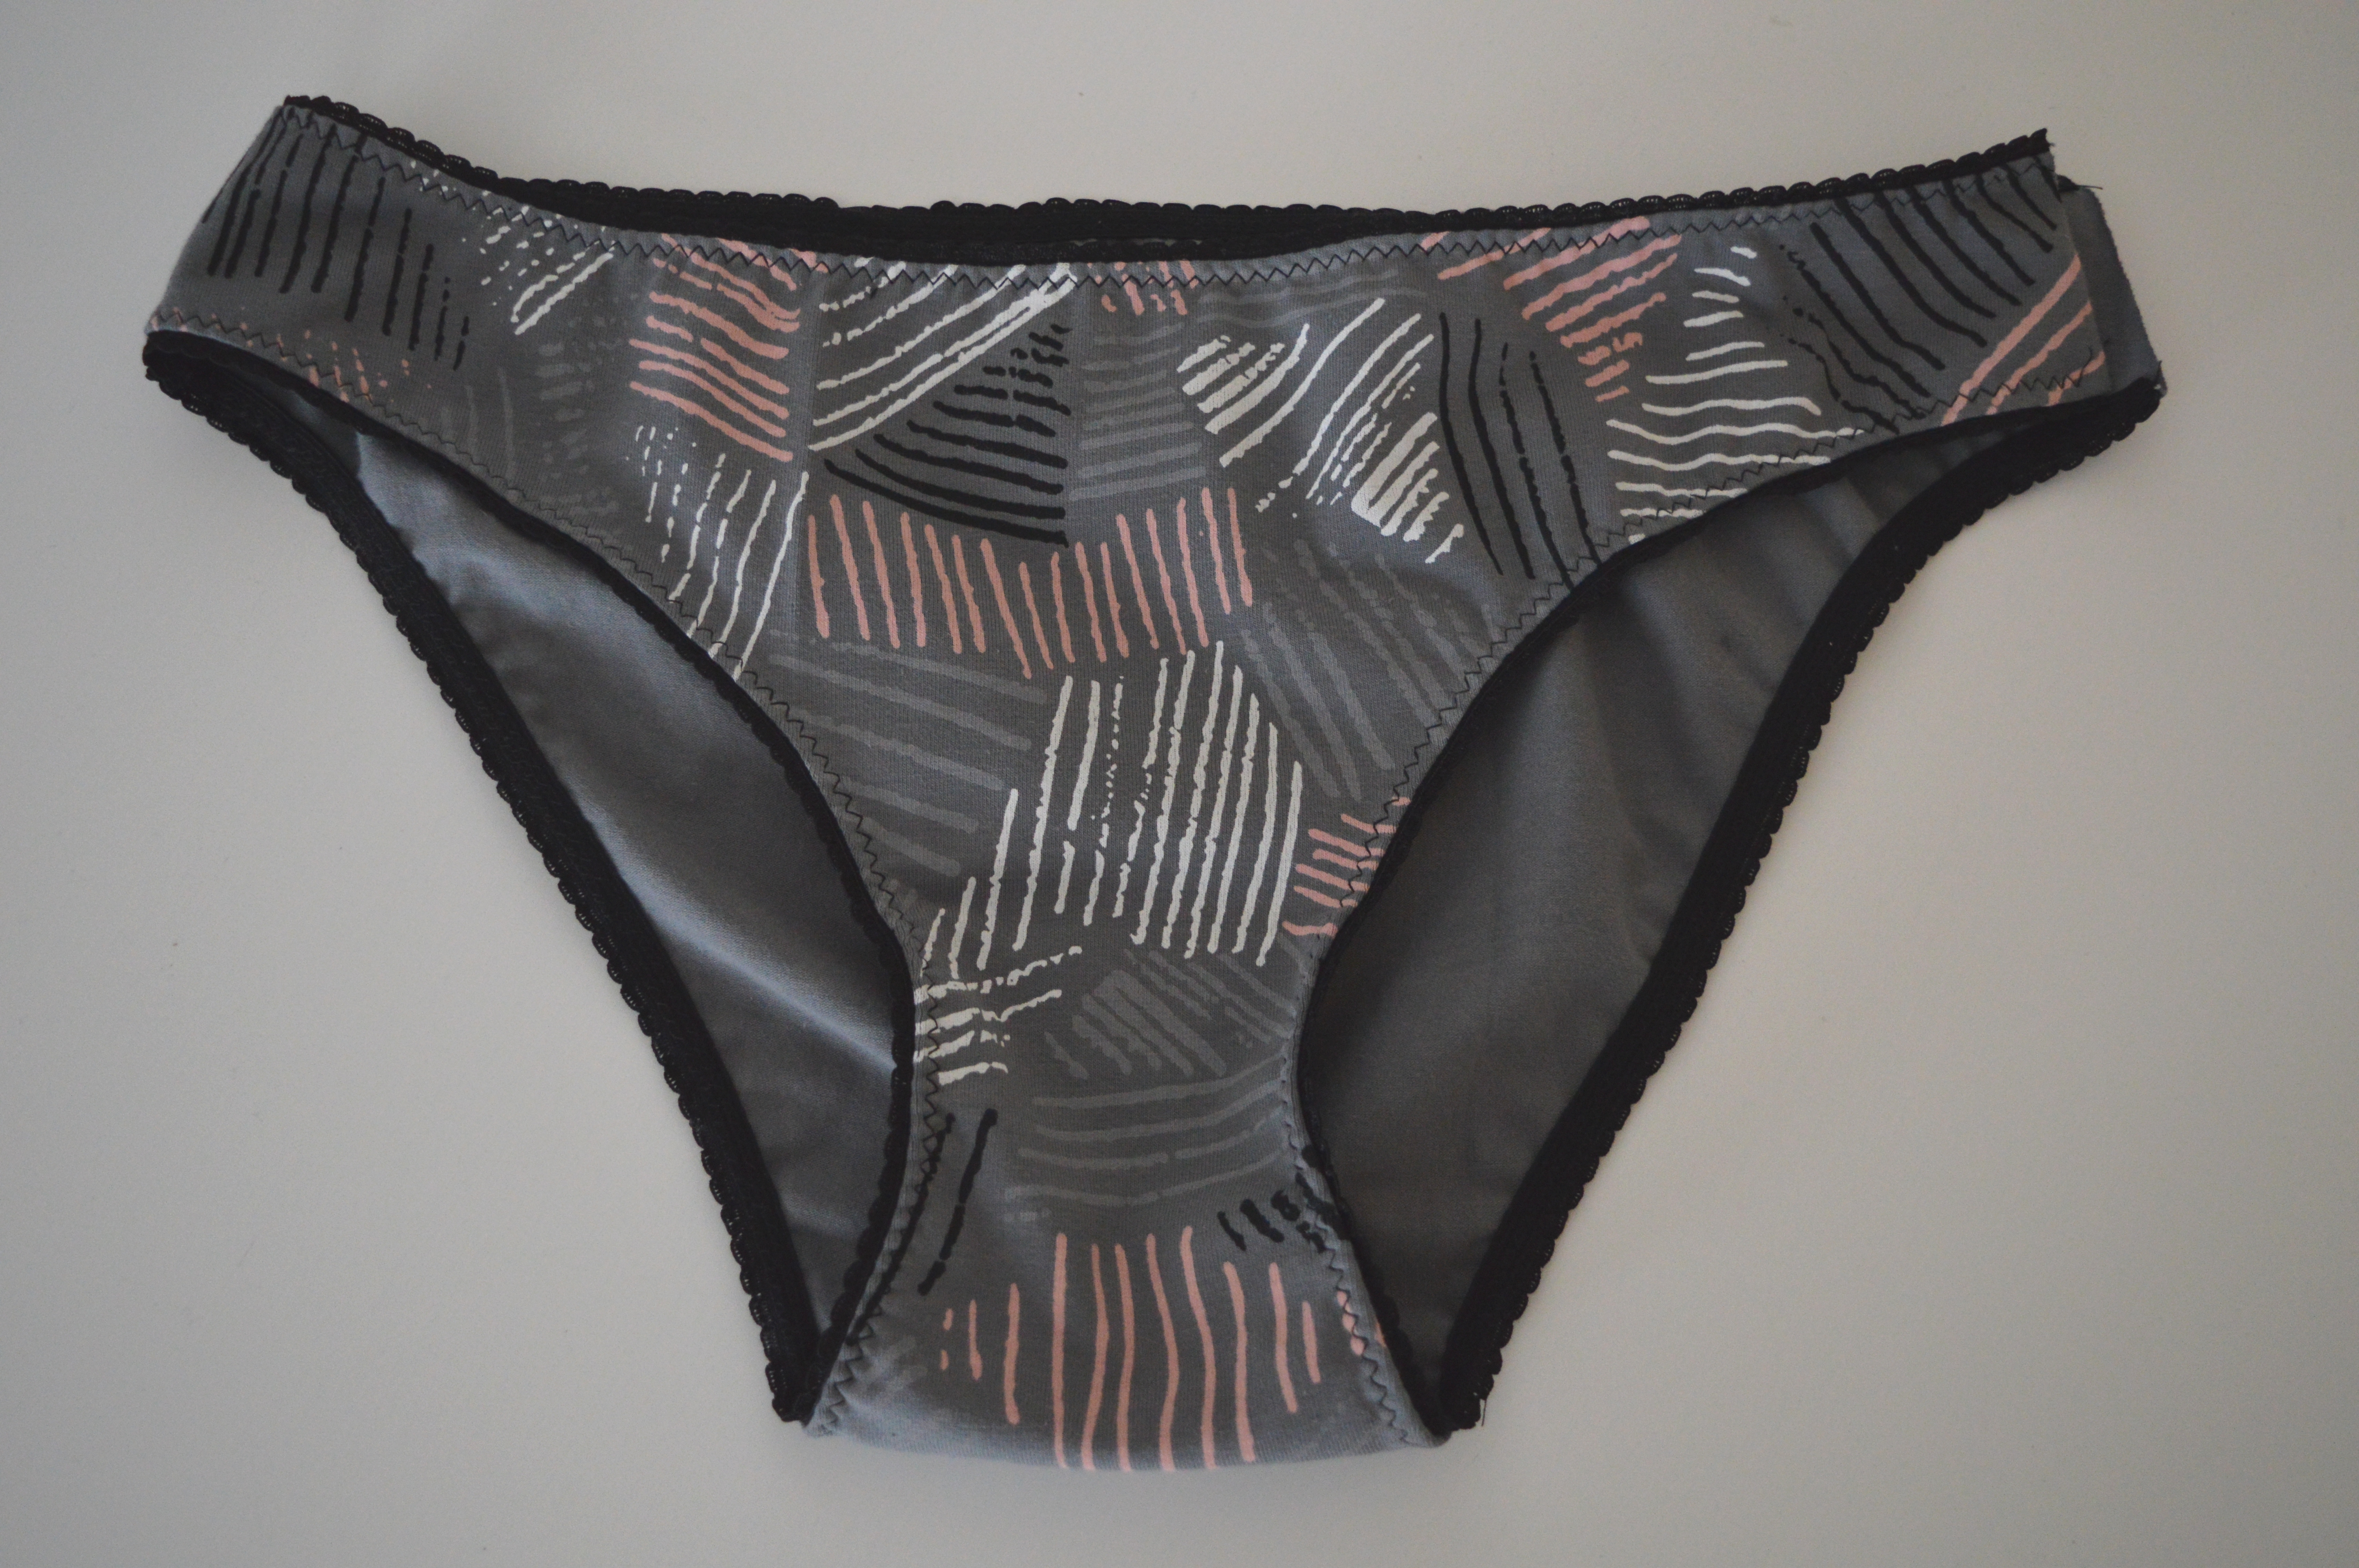
The garment is finished.
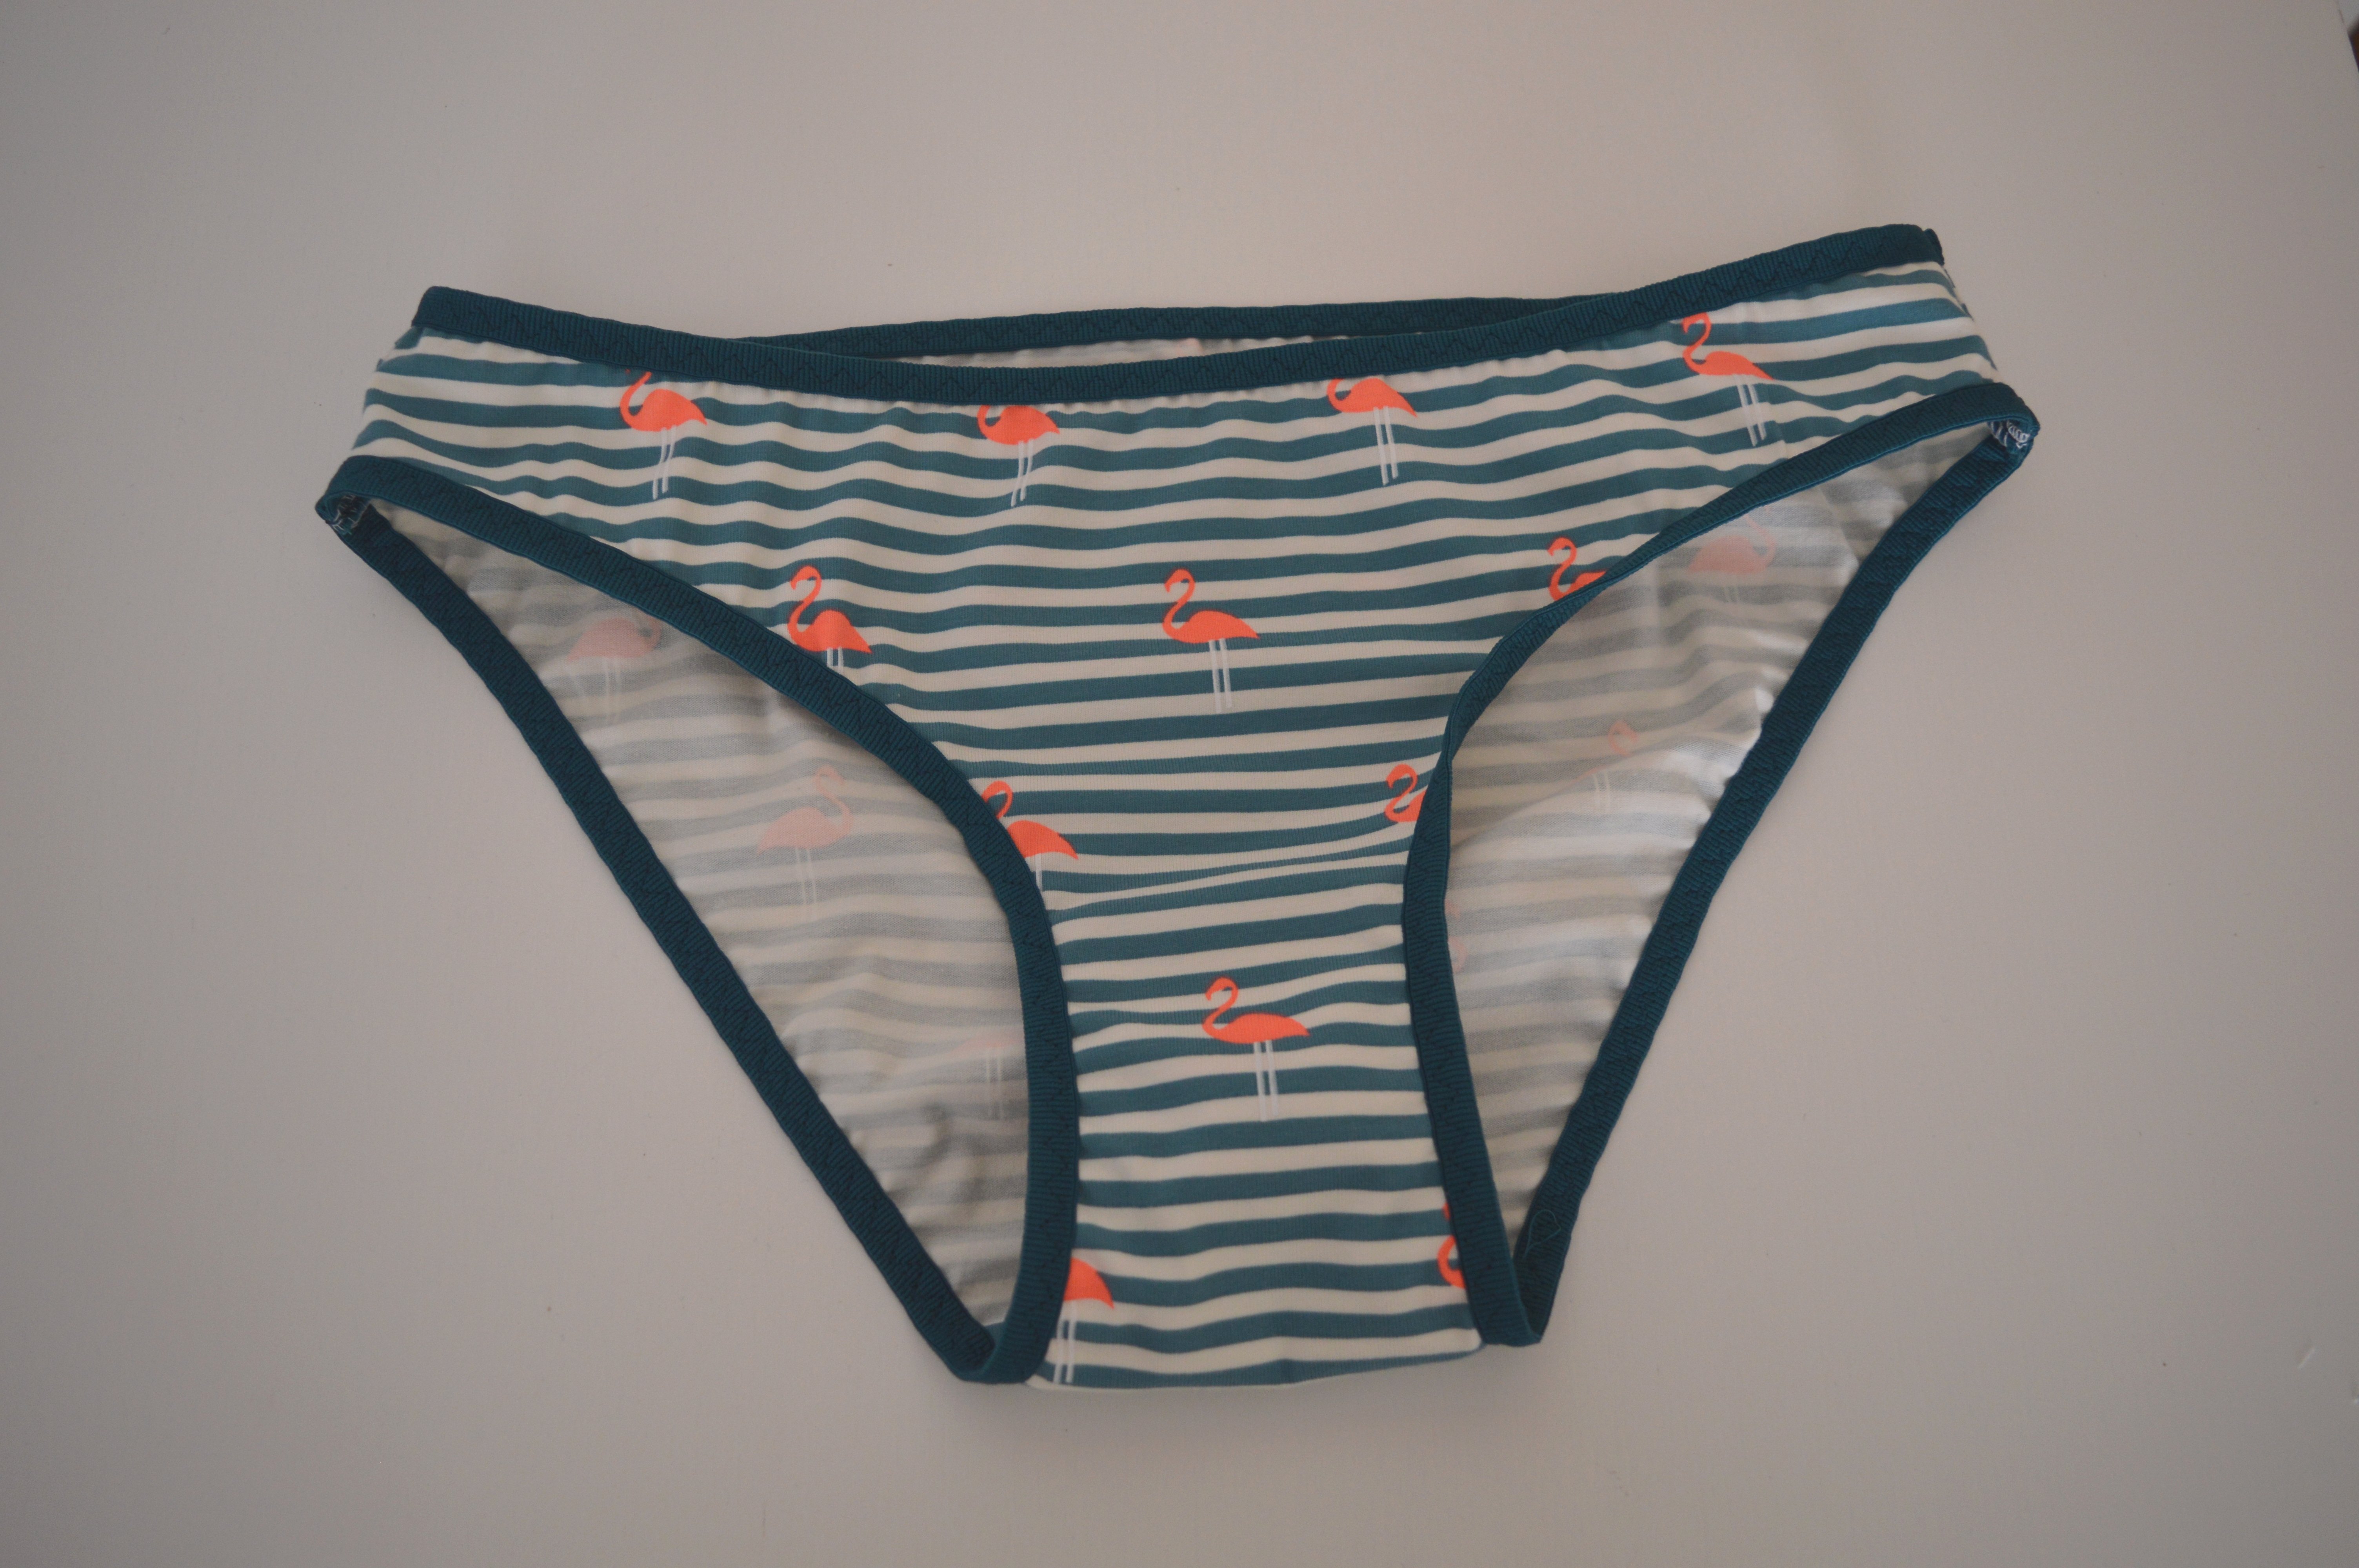
Sewing panties using picot edge elastic
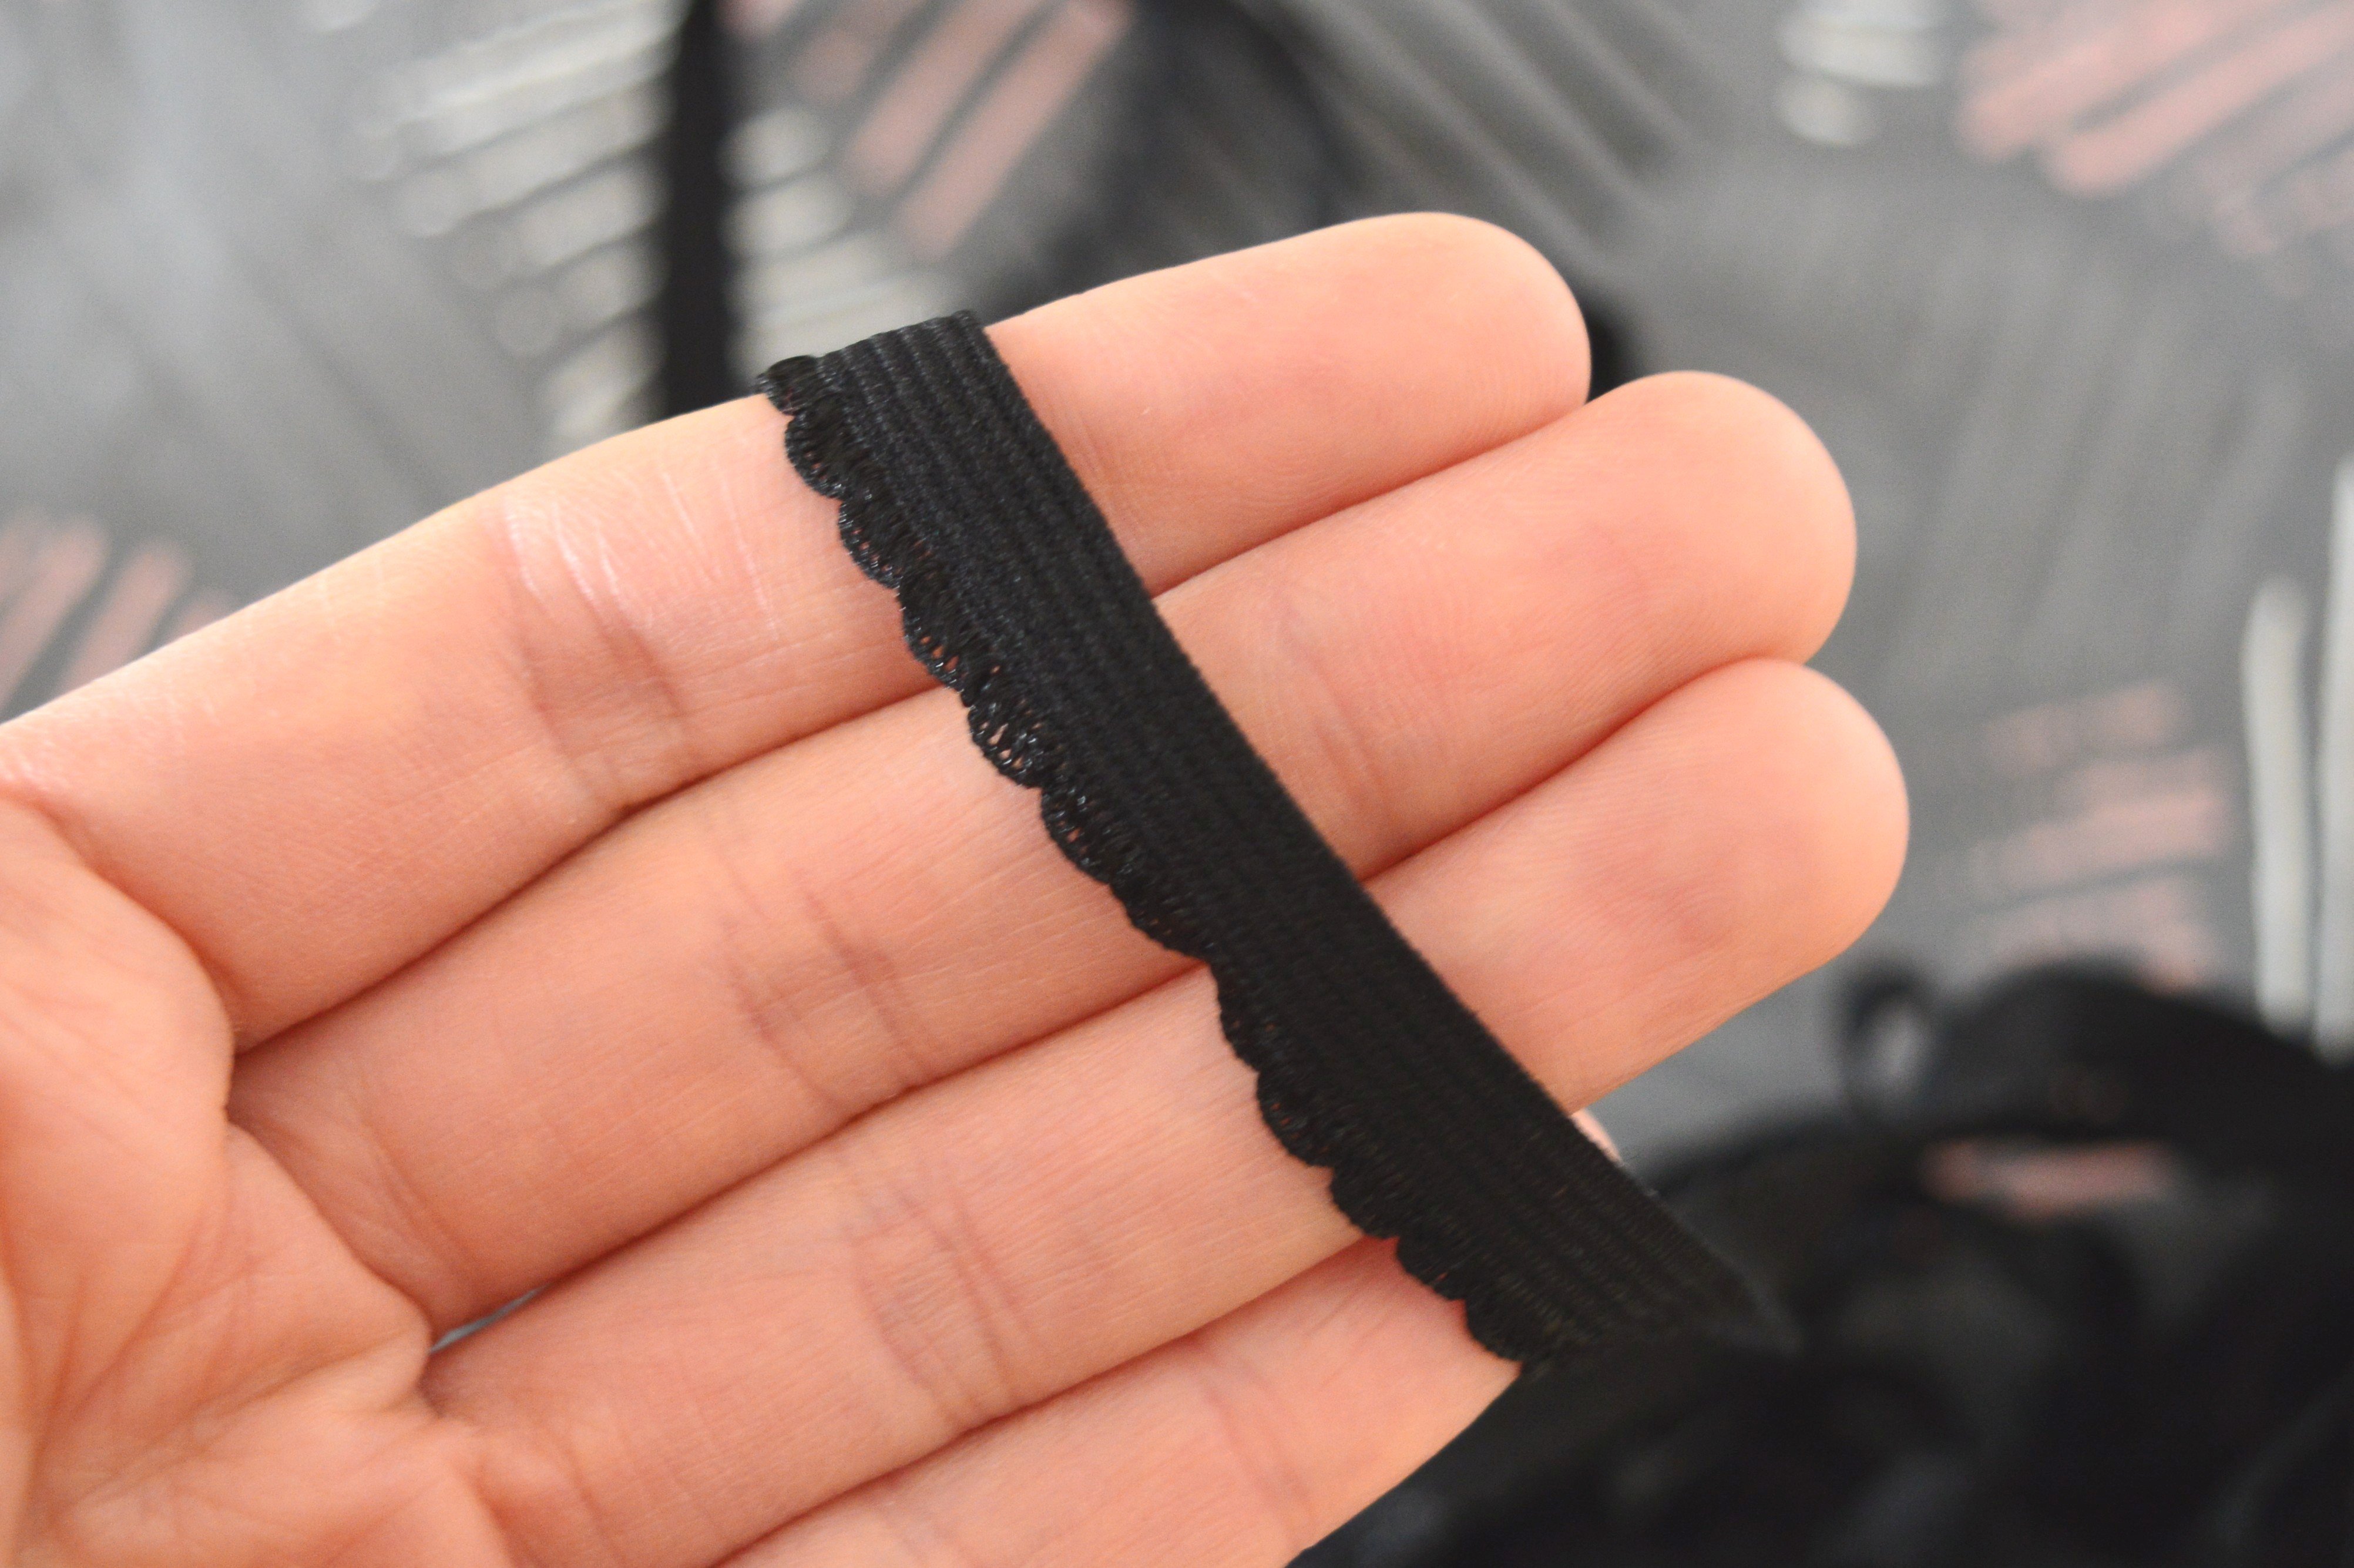
Picot edge elastic is the most used in the lingerie, has a beautiful finished decorative border that is shown on the right side of the garment, can be found in different widths.
!!! The seam allowance for the edges for elastic is equal to the width of the elastic without the decorative edge because the elastics can be of different widths.
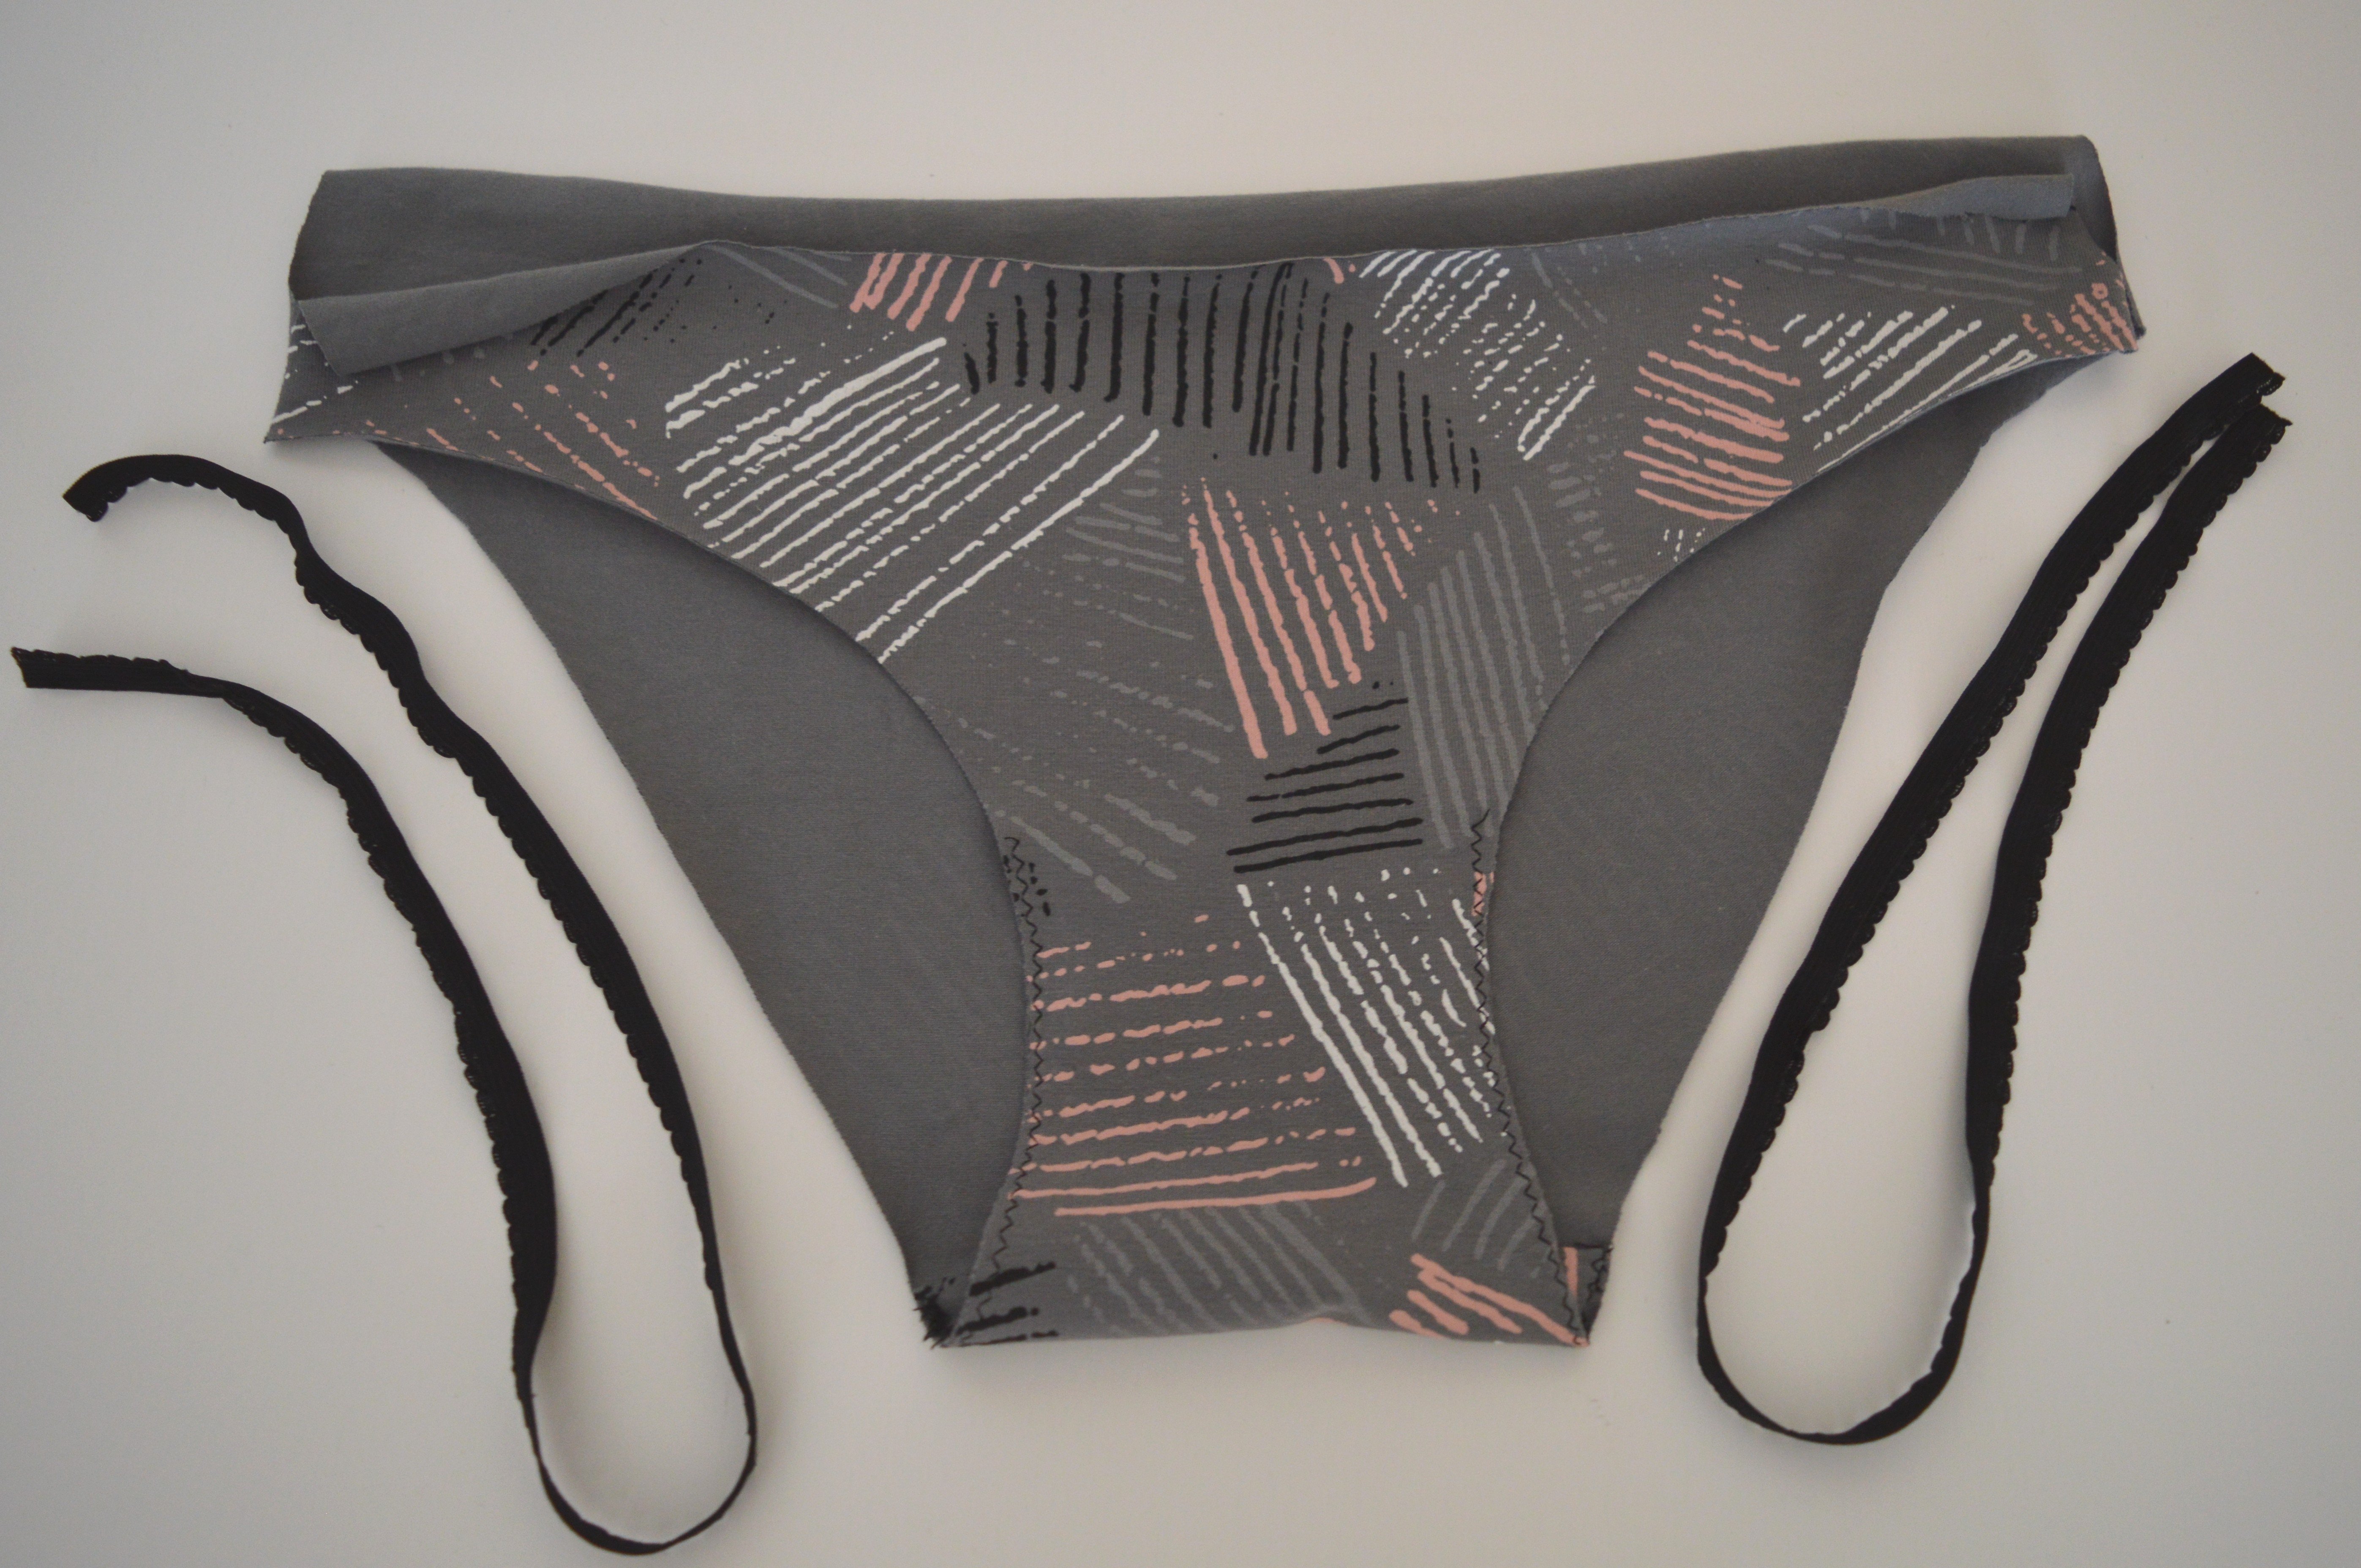
As with the previous example, overlock the gusset and join it to the front and back part of the panties.

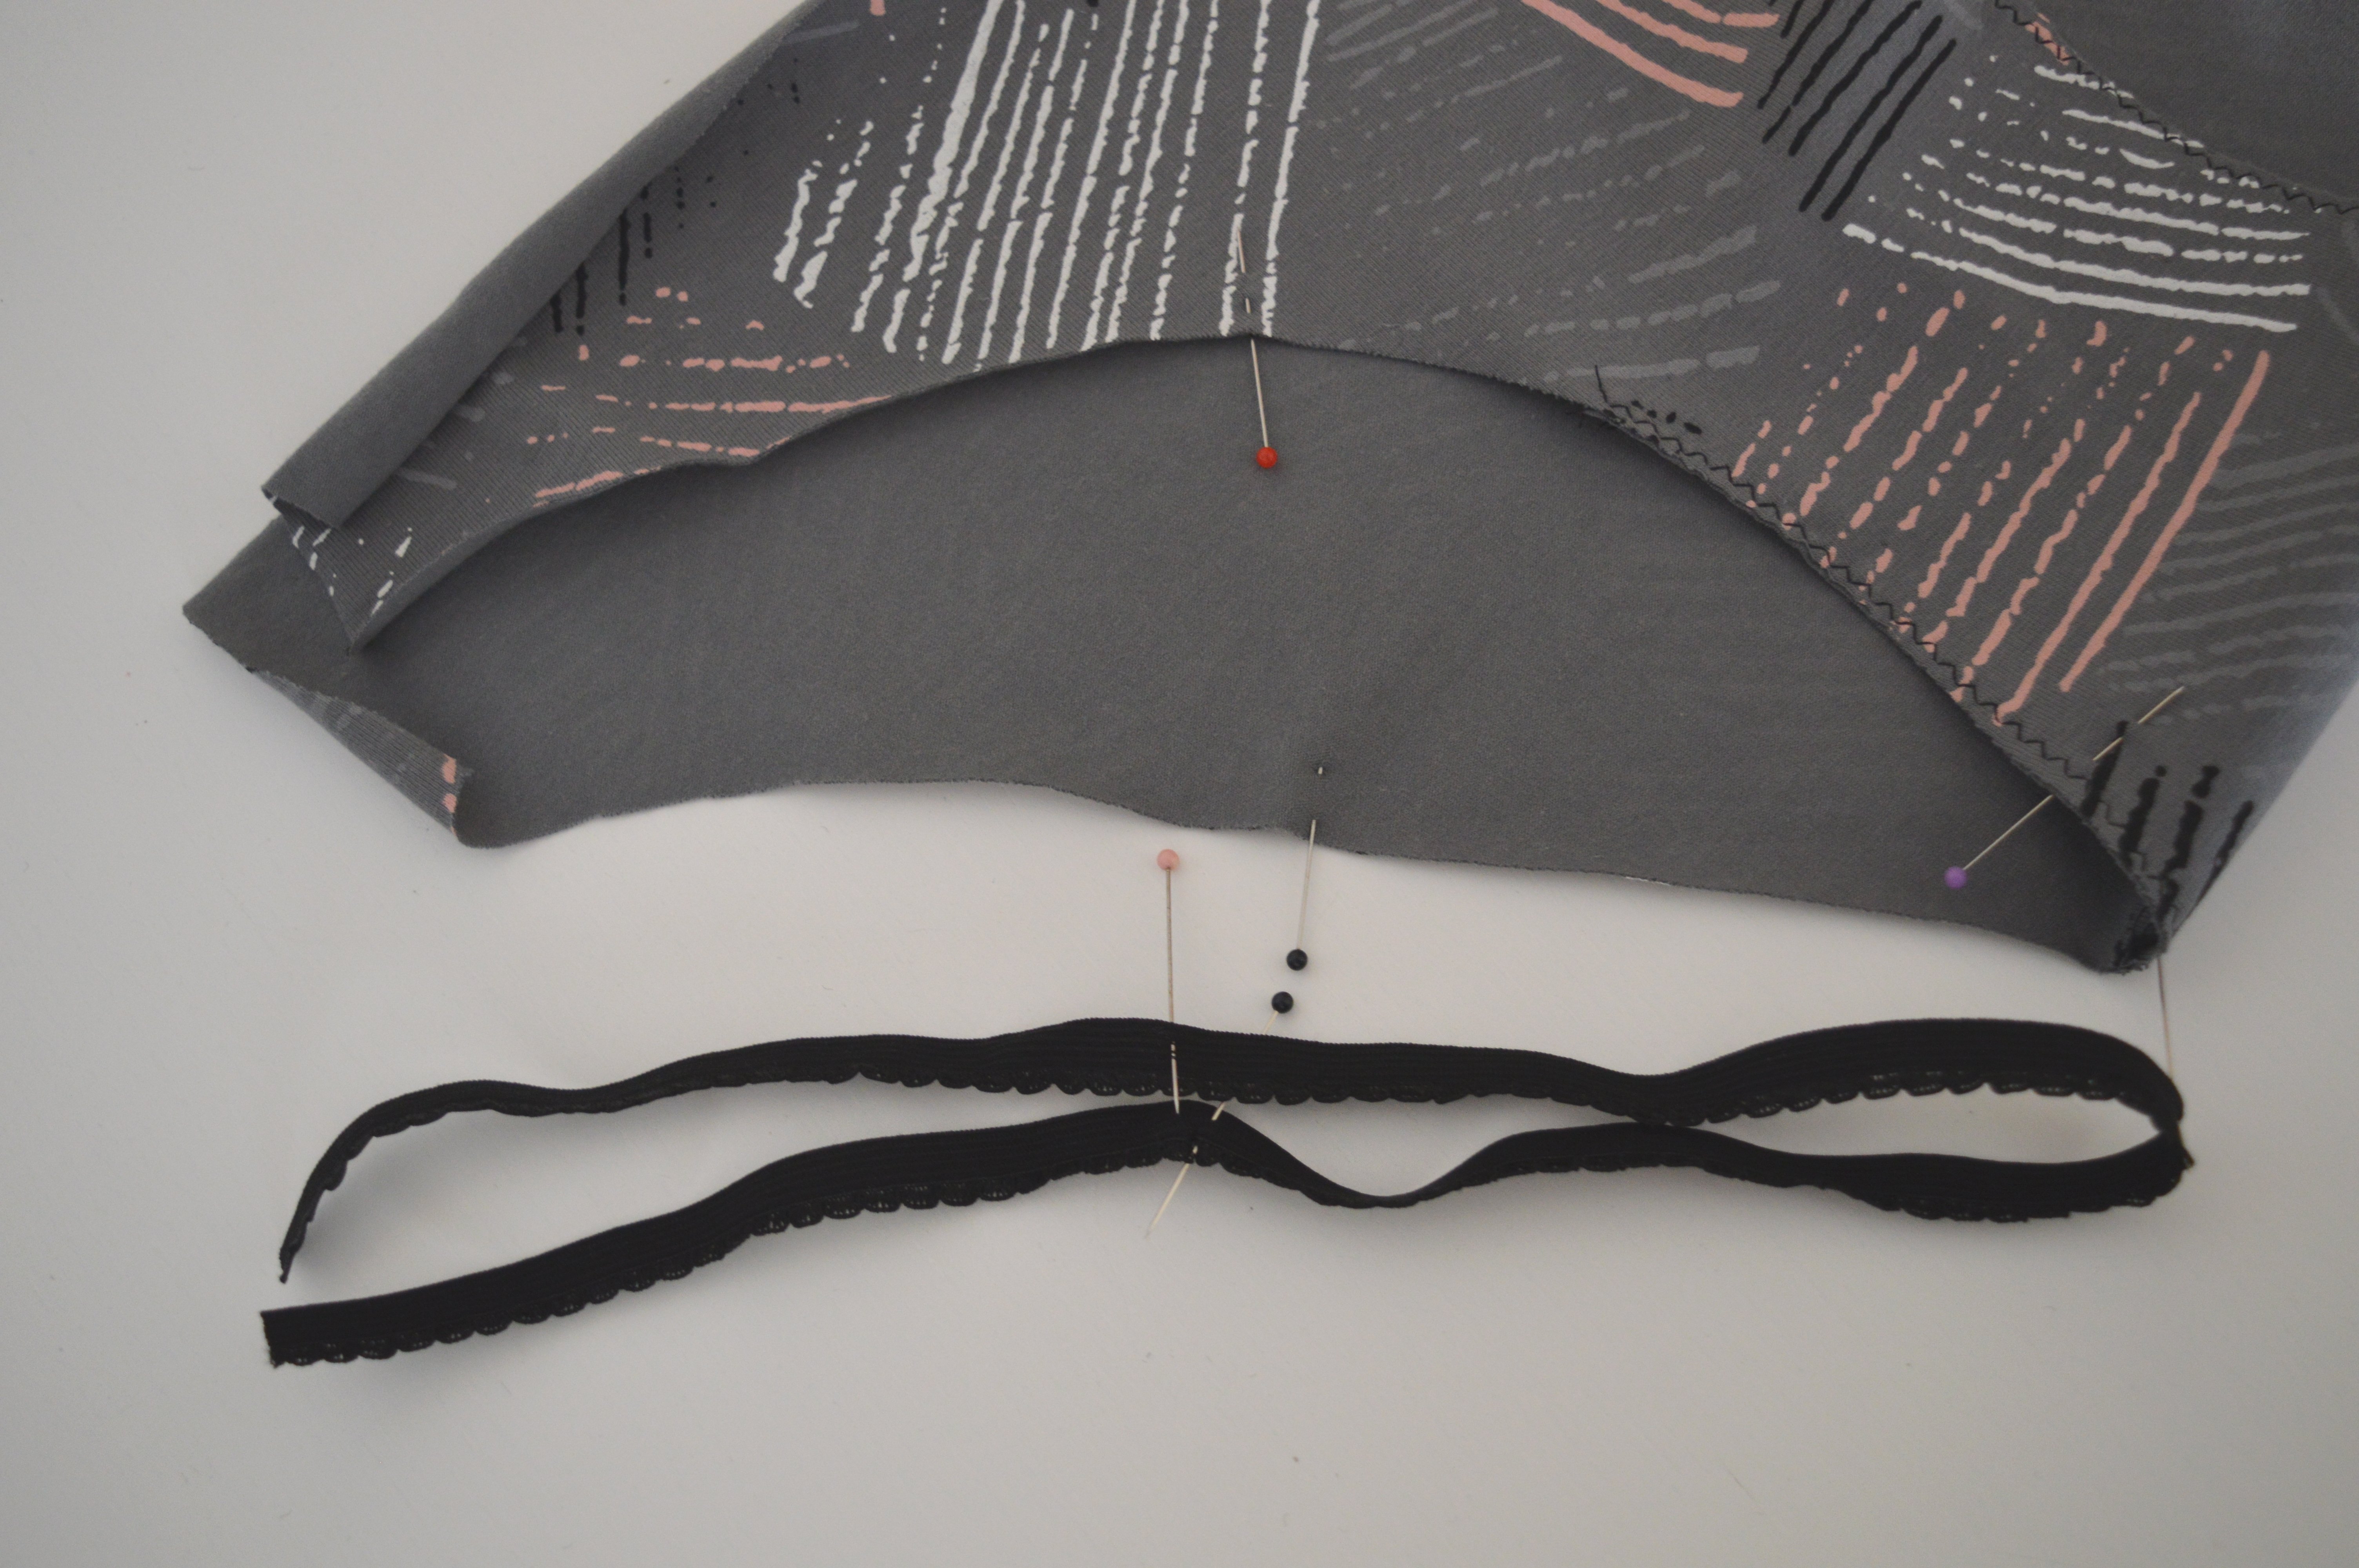
Measure the edges meant to be leg openings, where the side seams of the garment remain unstitched and cut the elastic of adequate length (as well as the previous -10% of the measured length of the edge).
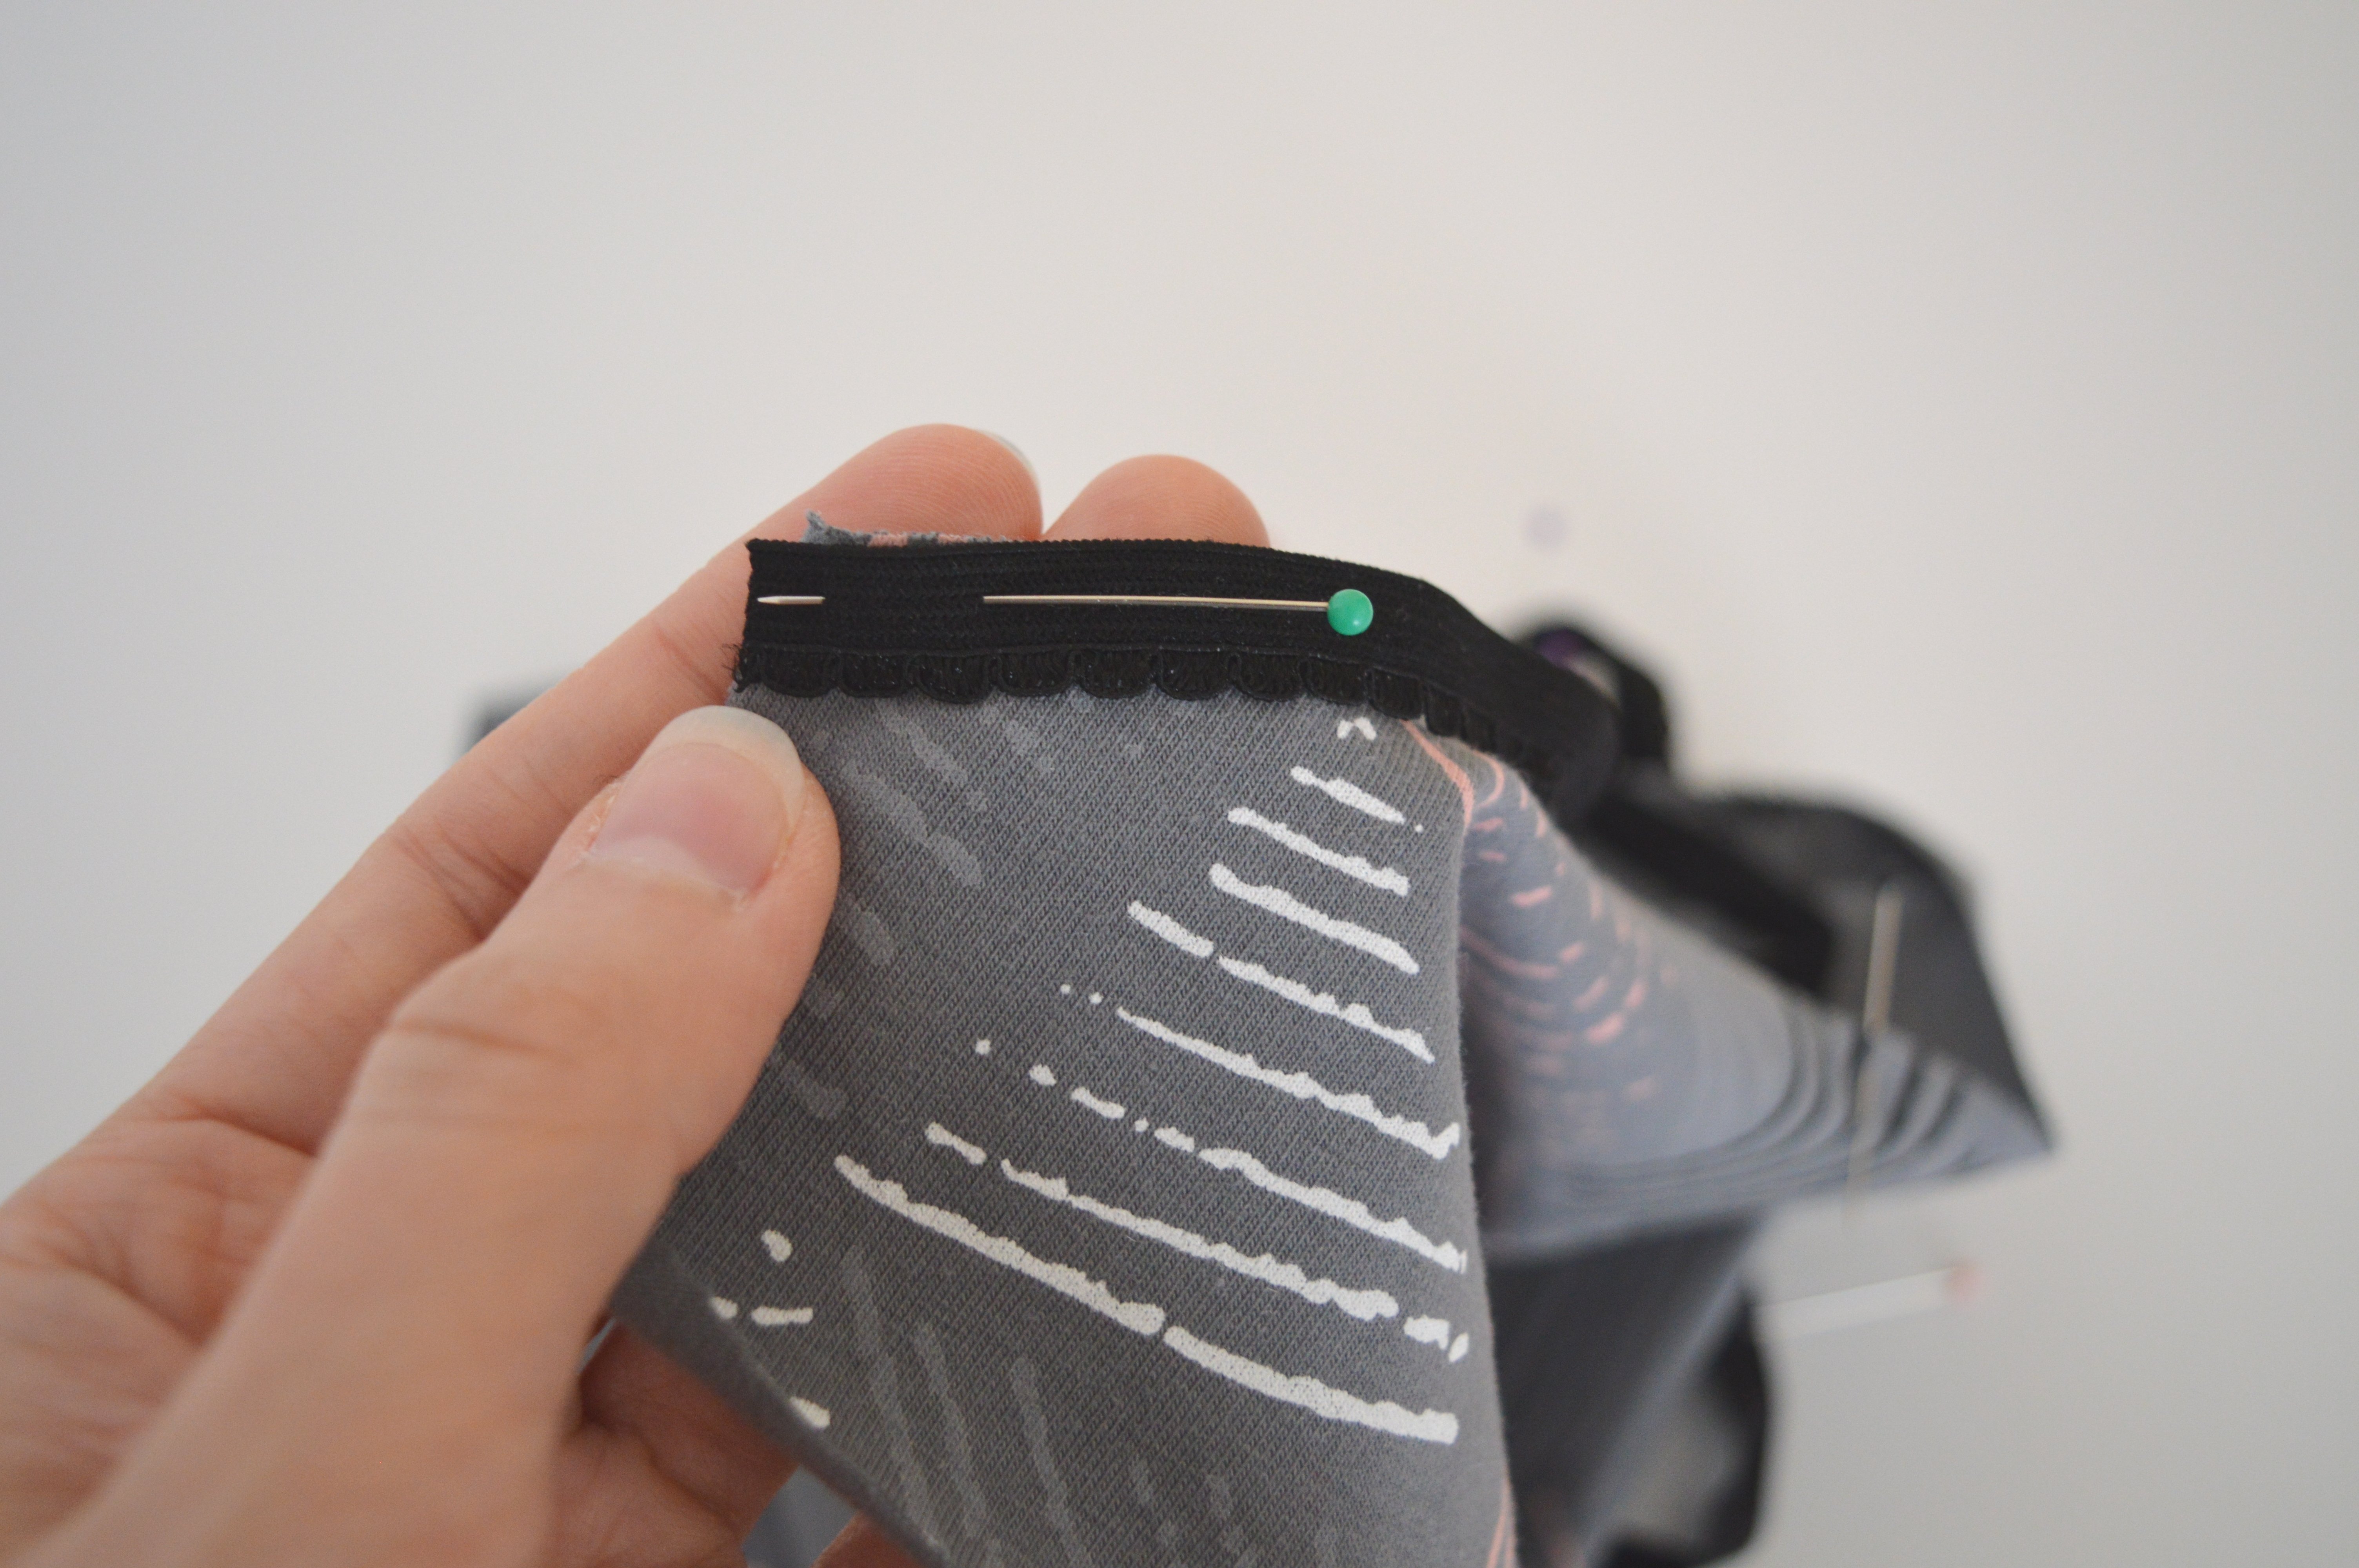
As with the sewing earlier, mark quarters on elastic and also on edge, using pins.
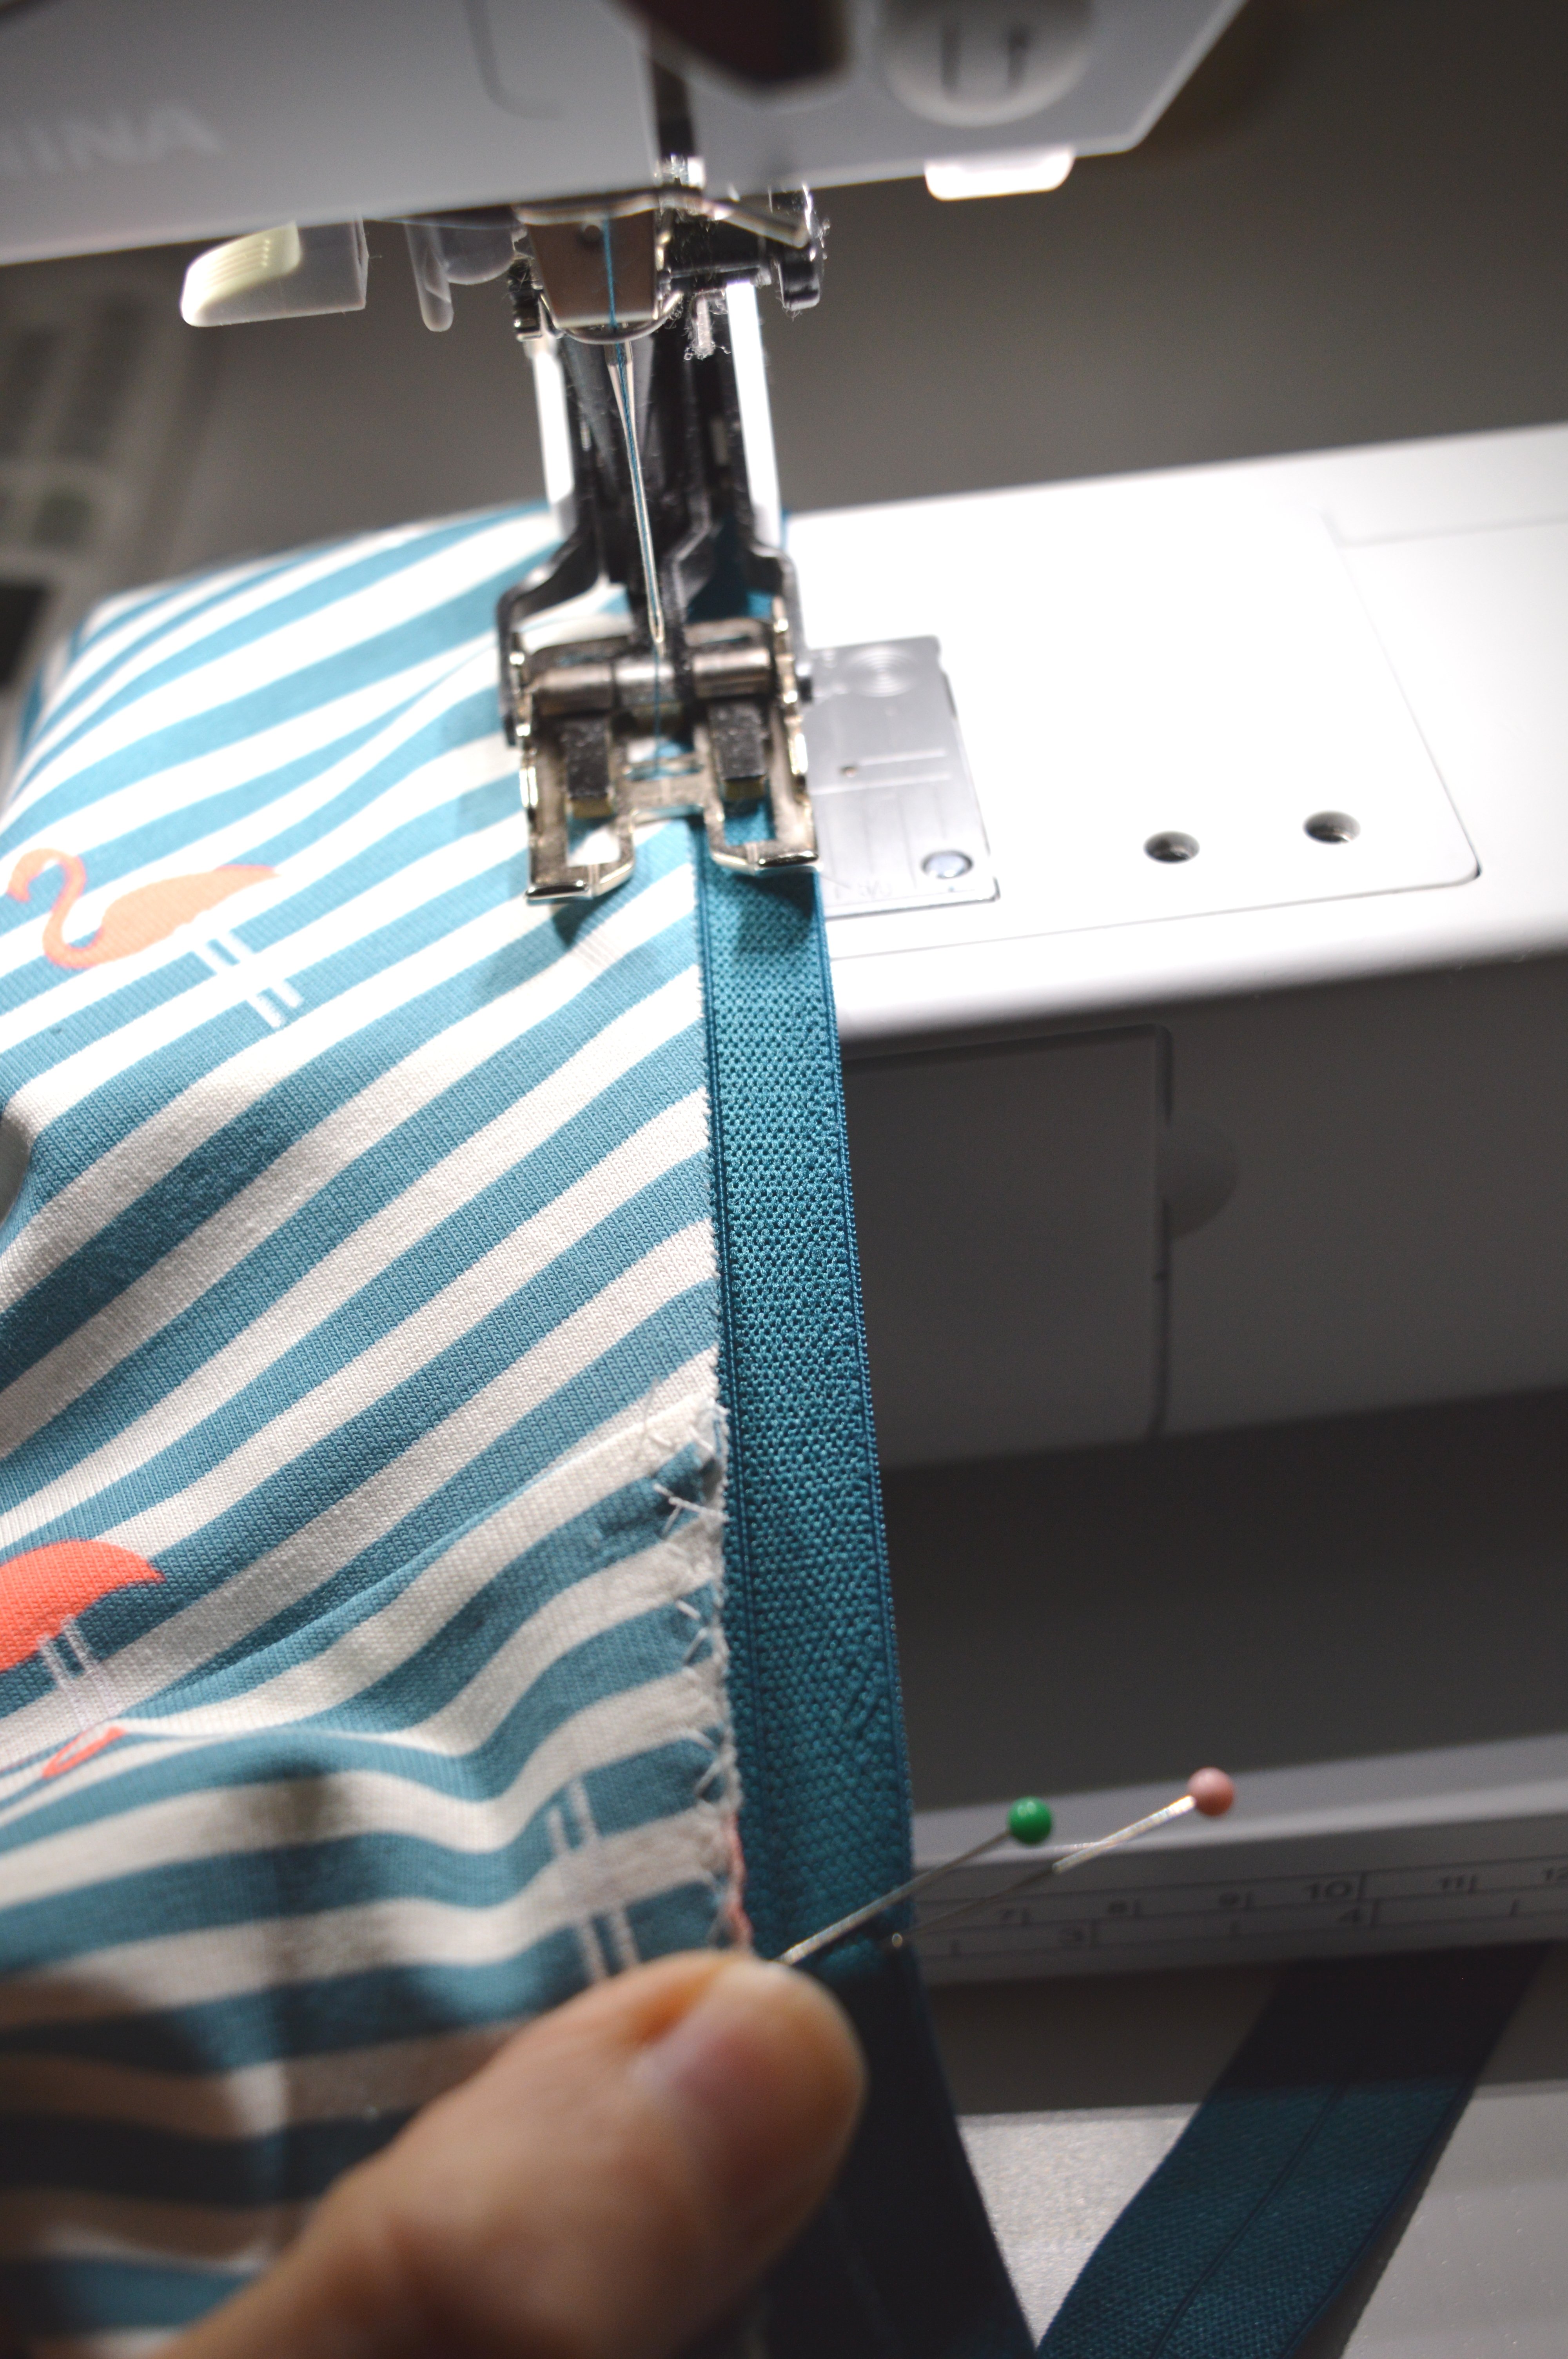
With right sides together, attach the elastic to the fabric, sewing away from the decorative edge of the elastic.
Use zig-zag stitch #2 or three-thread serger/overlocker stitch, pulling elastic not fabric.

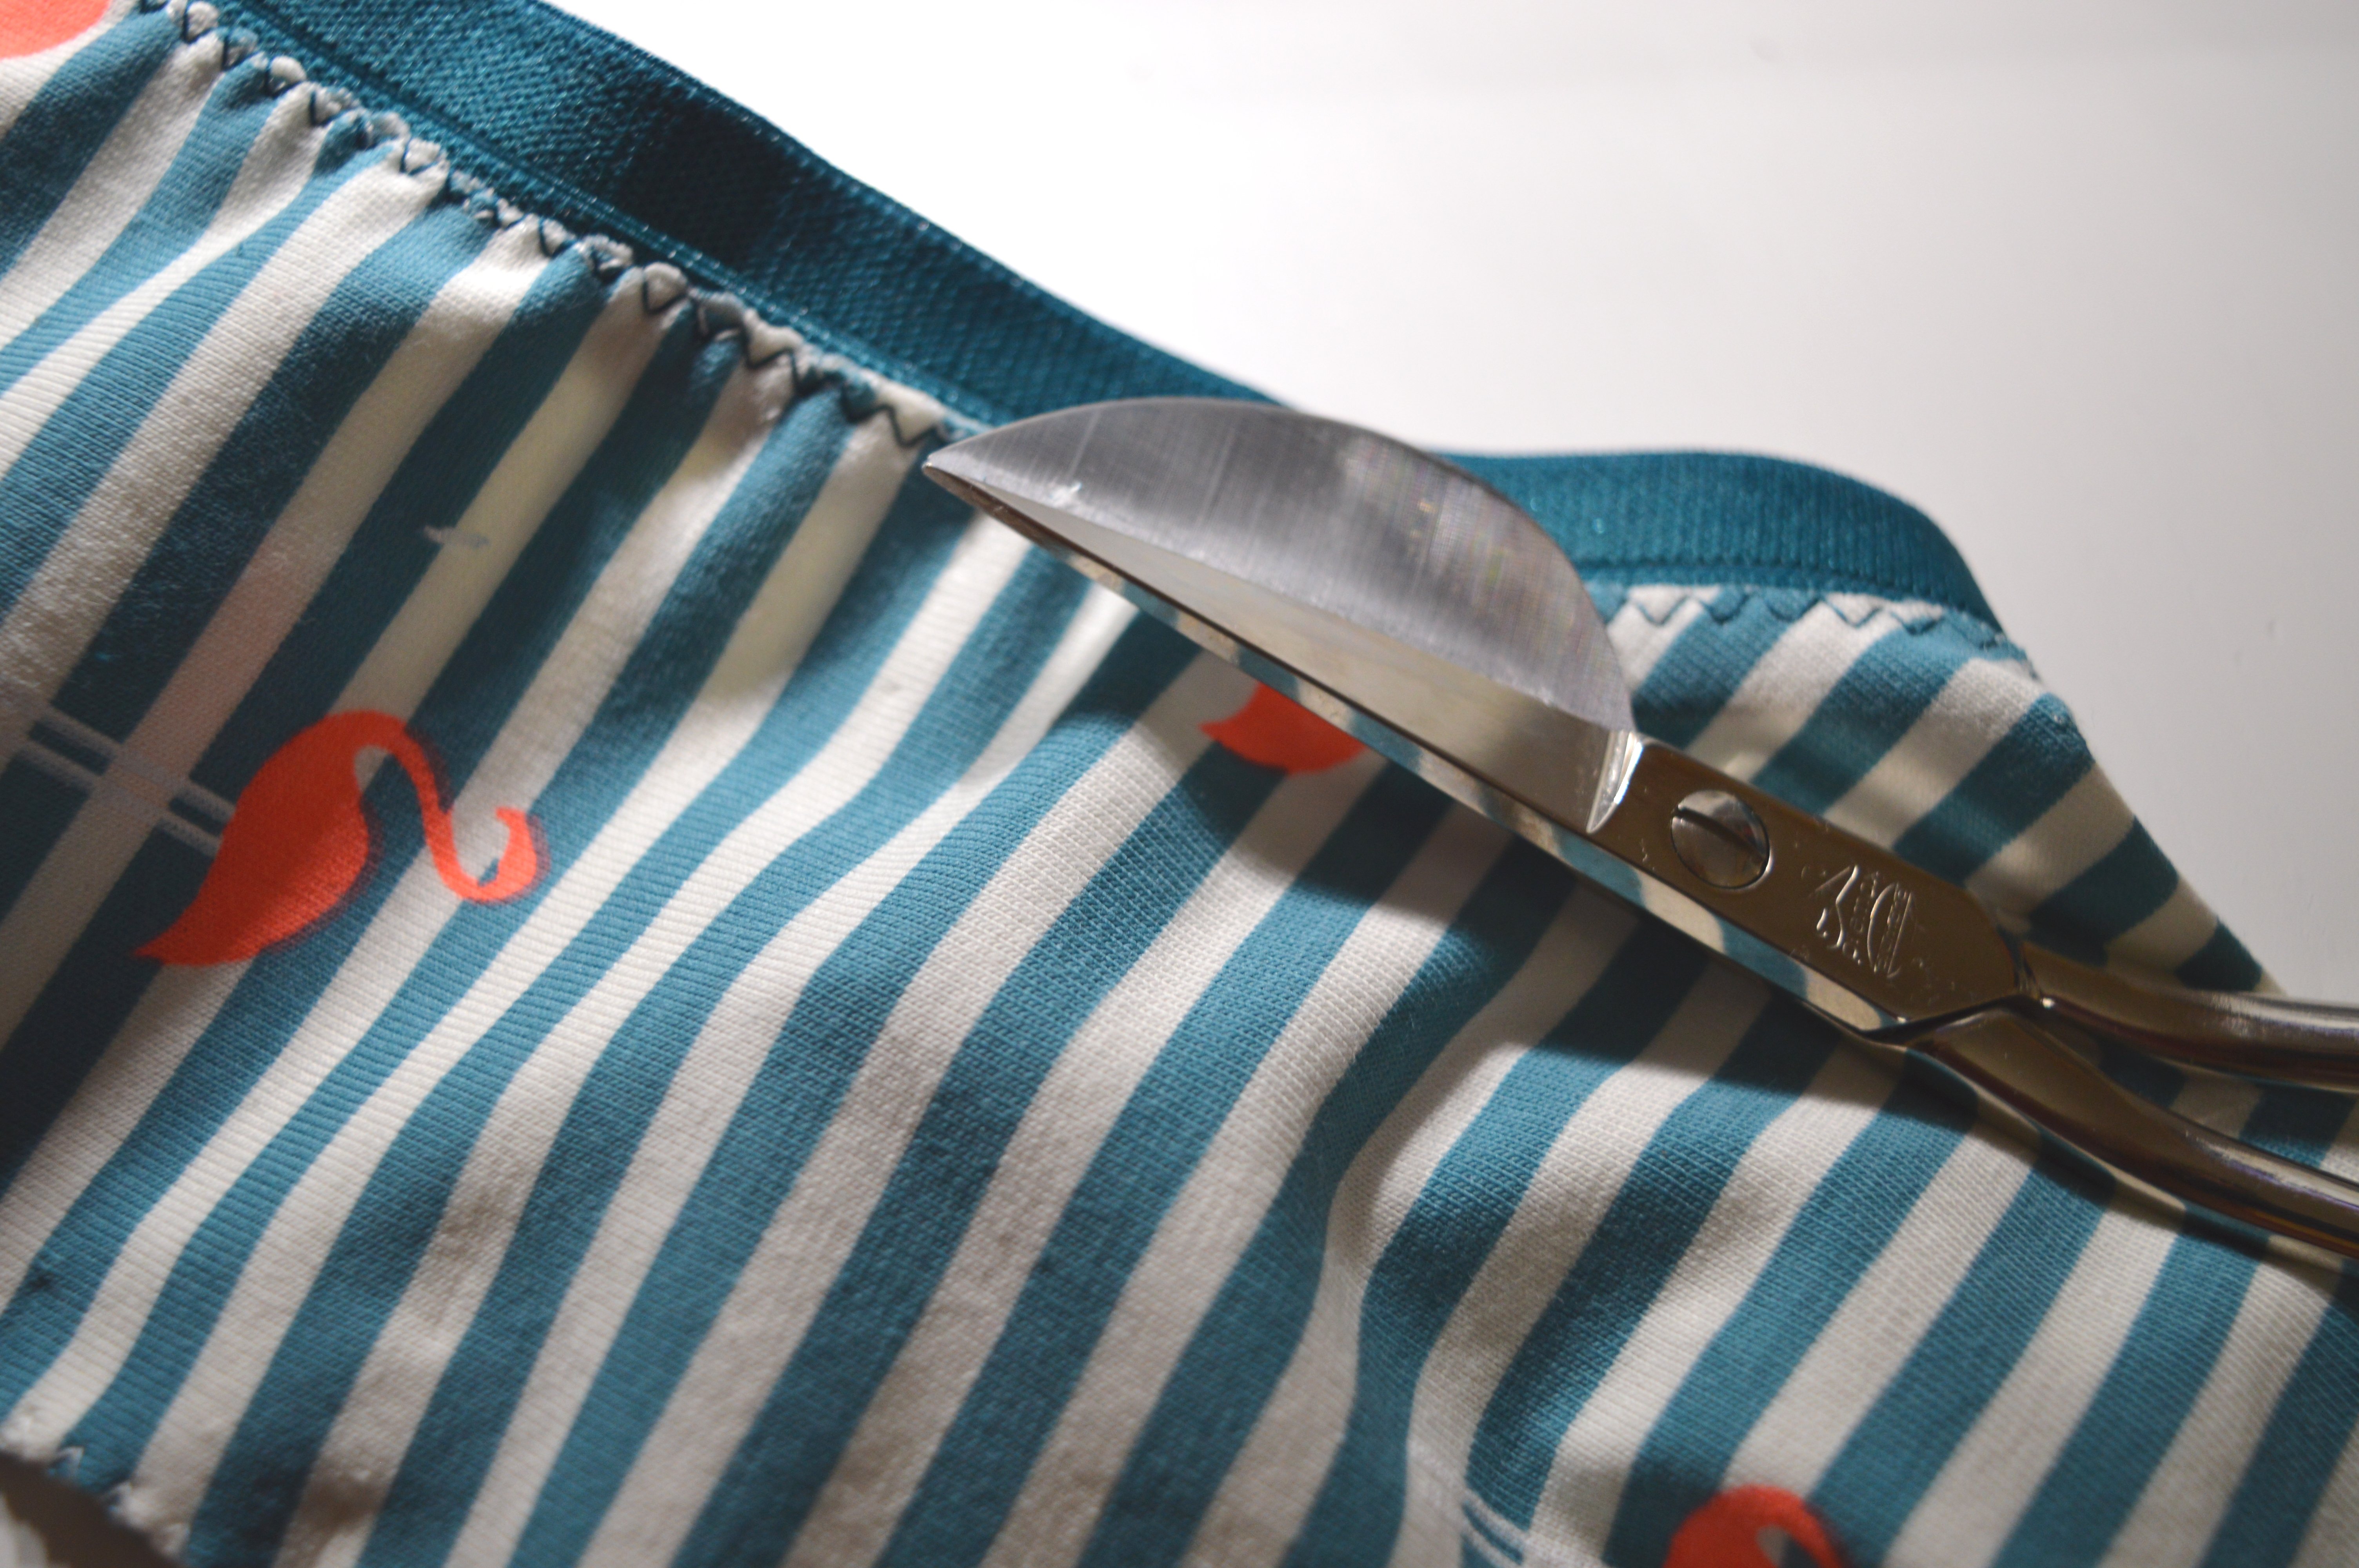
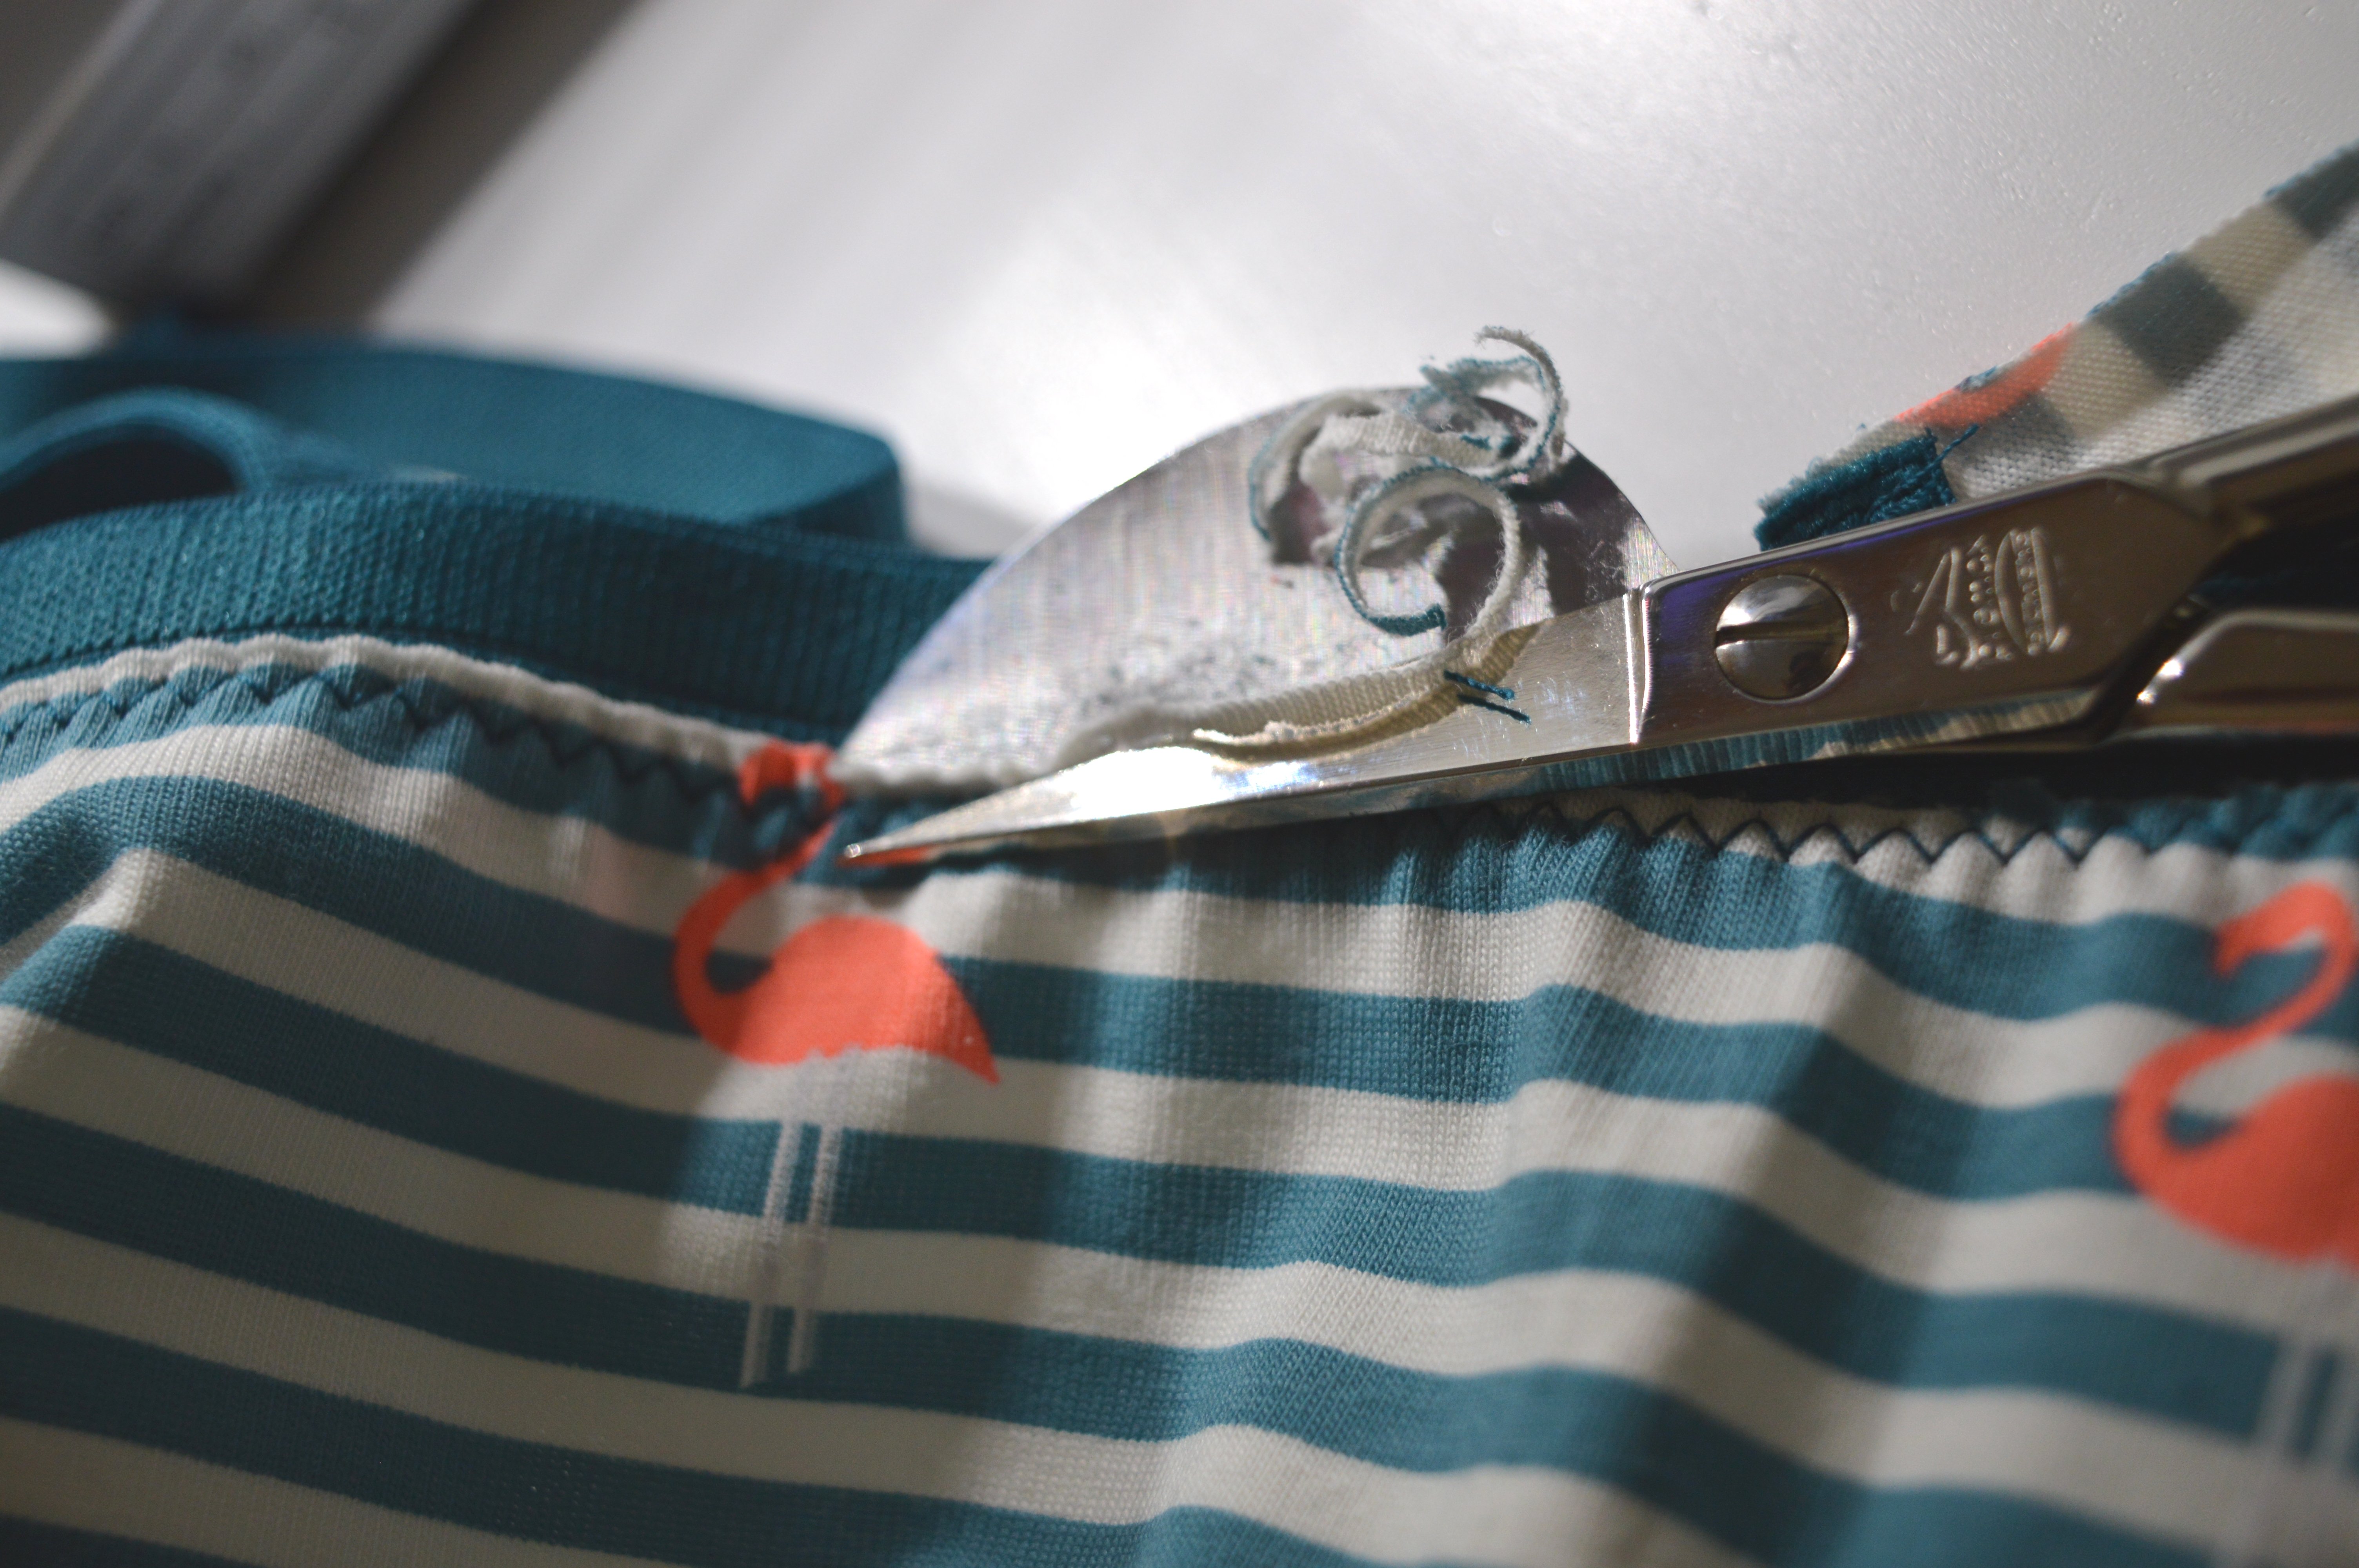
Trim the excess fabric using small or lingerie scissors.

Fold the elastic toward the wrong side of the garment.
Topstitch using a three-step zig-zag #16 or a zig-zag stitch #2.
Using the four-thread serger/overlocker or double overlock stitch #10, sew the side seam on one side.

Attach elastic at the same way on the top edge of the garment. (Cut out elastic 10% shorter from measurement, mark on it and edge quarters, than sew on elastic, right sides together, fold elastic toward the wrong side and topstitch.)
Sew another side seam.
Another garment is finished.
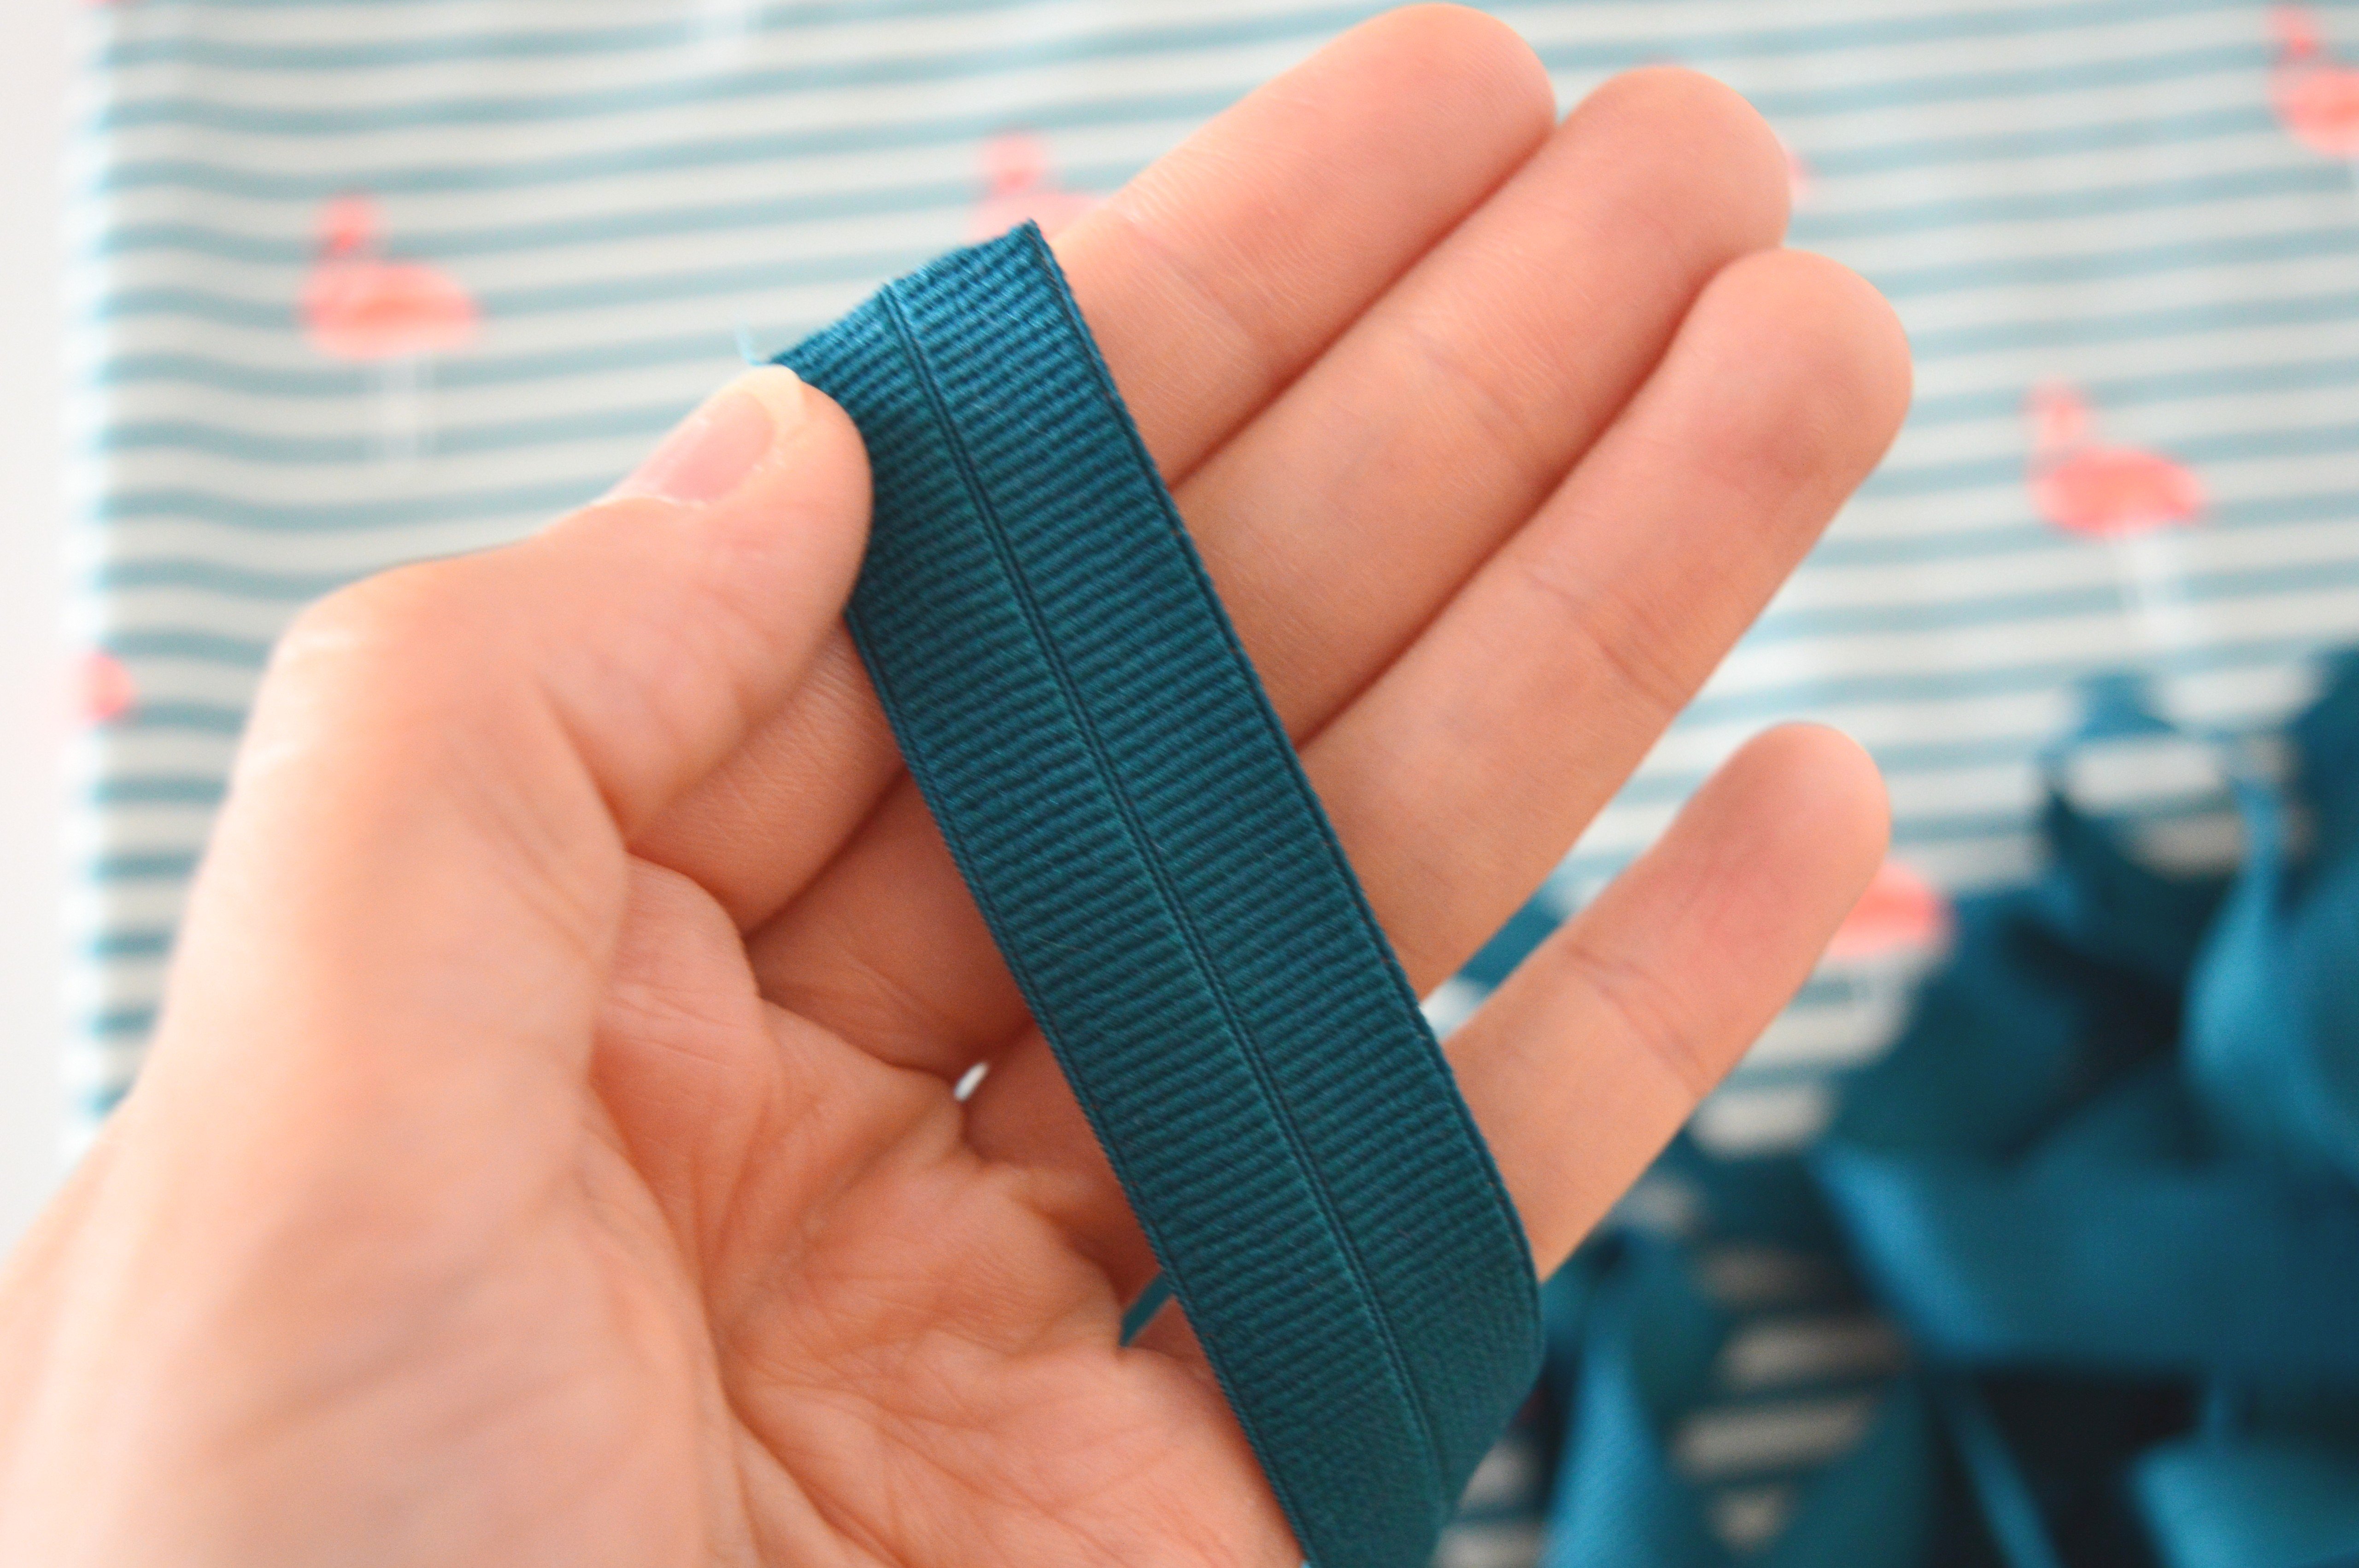
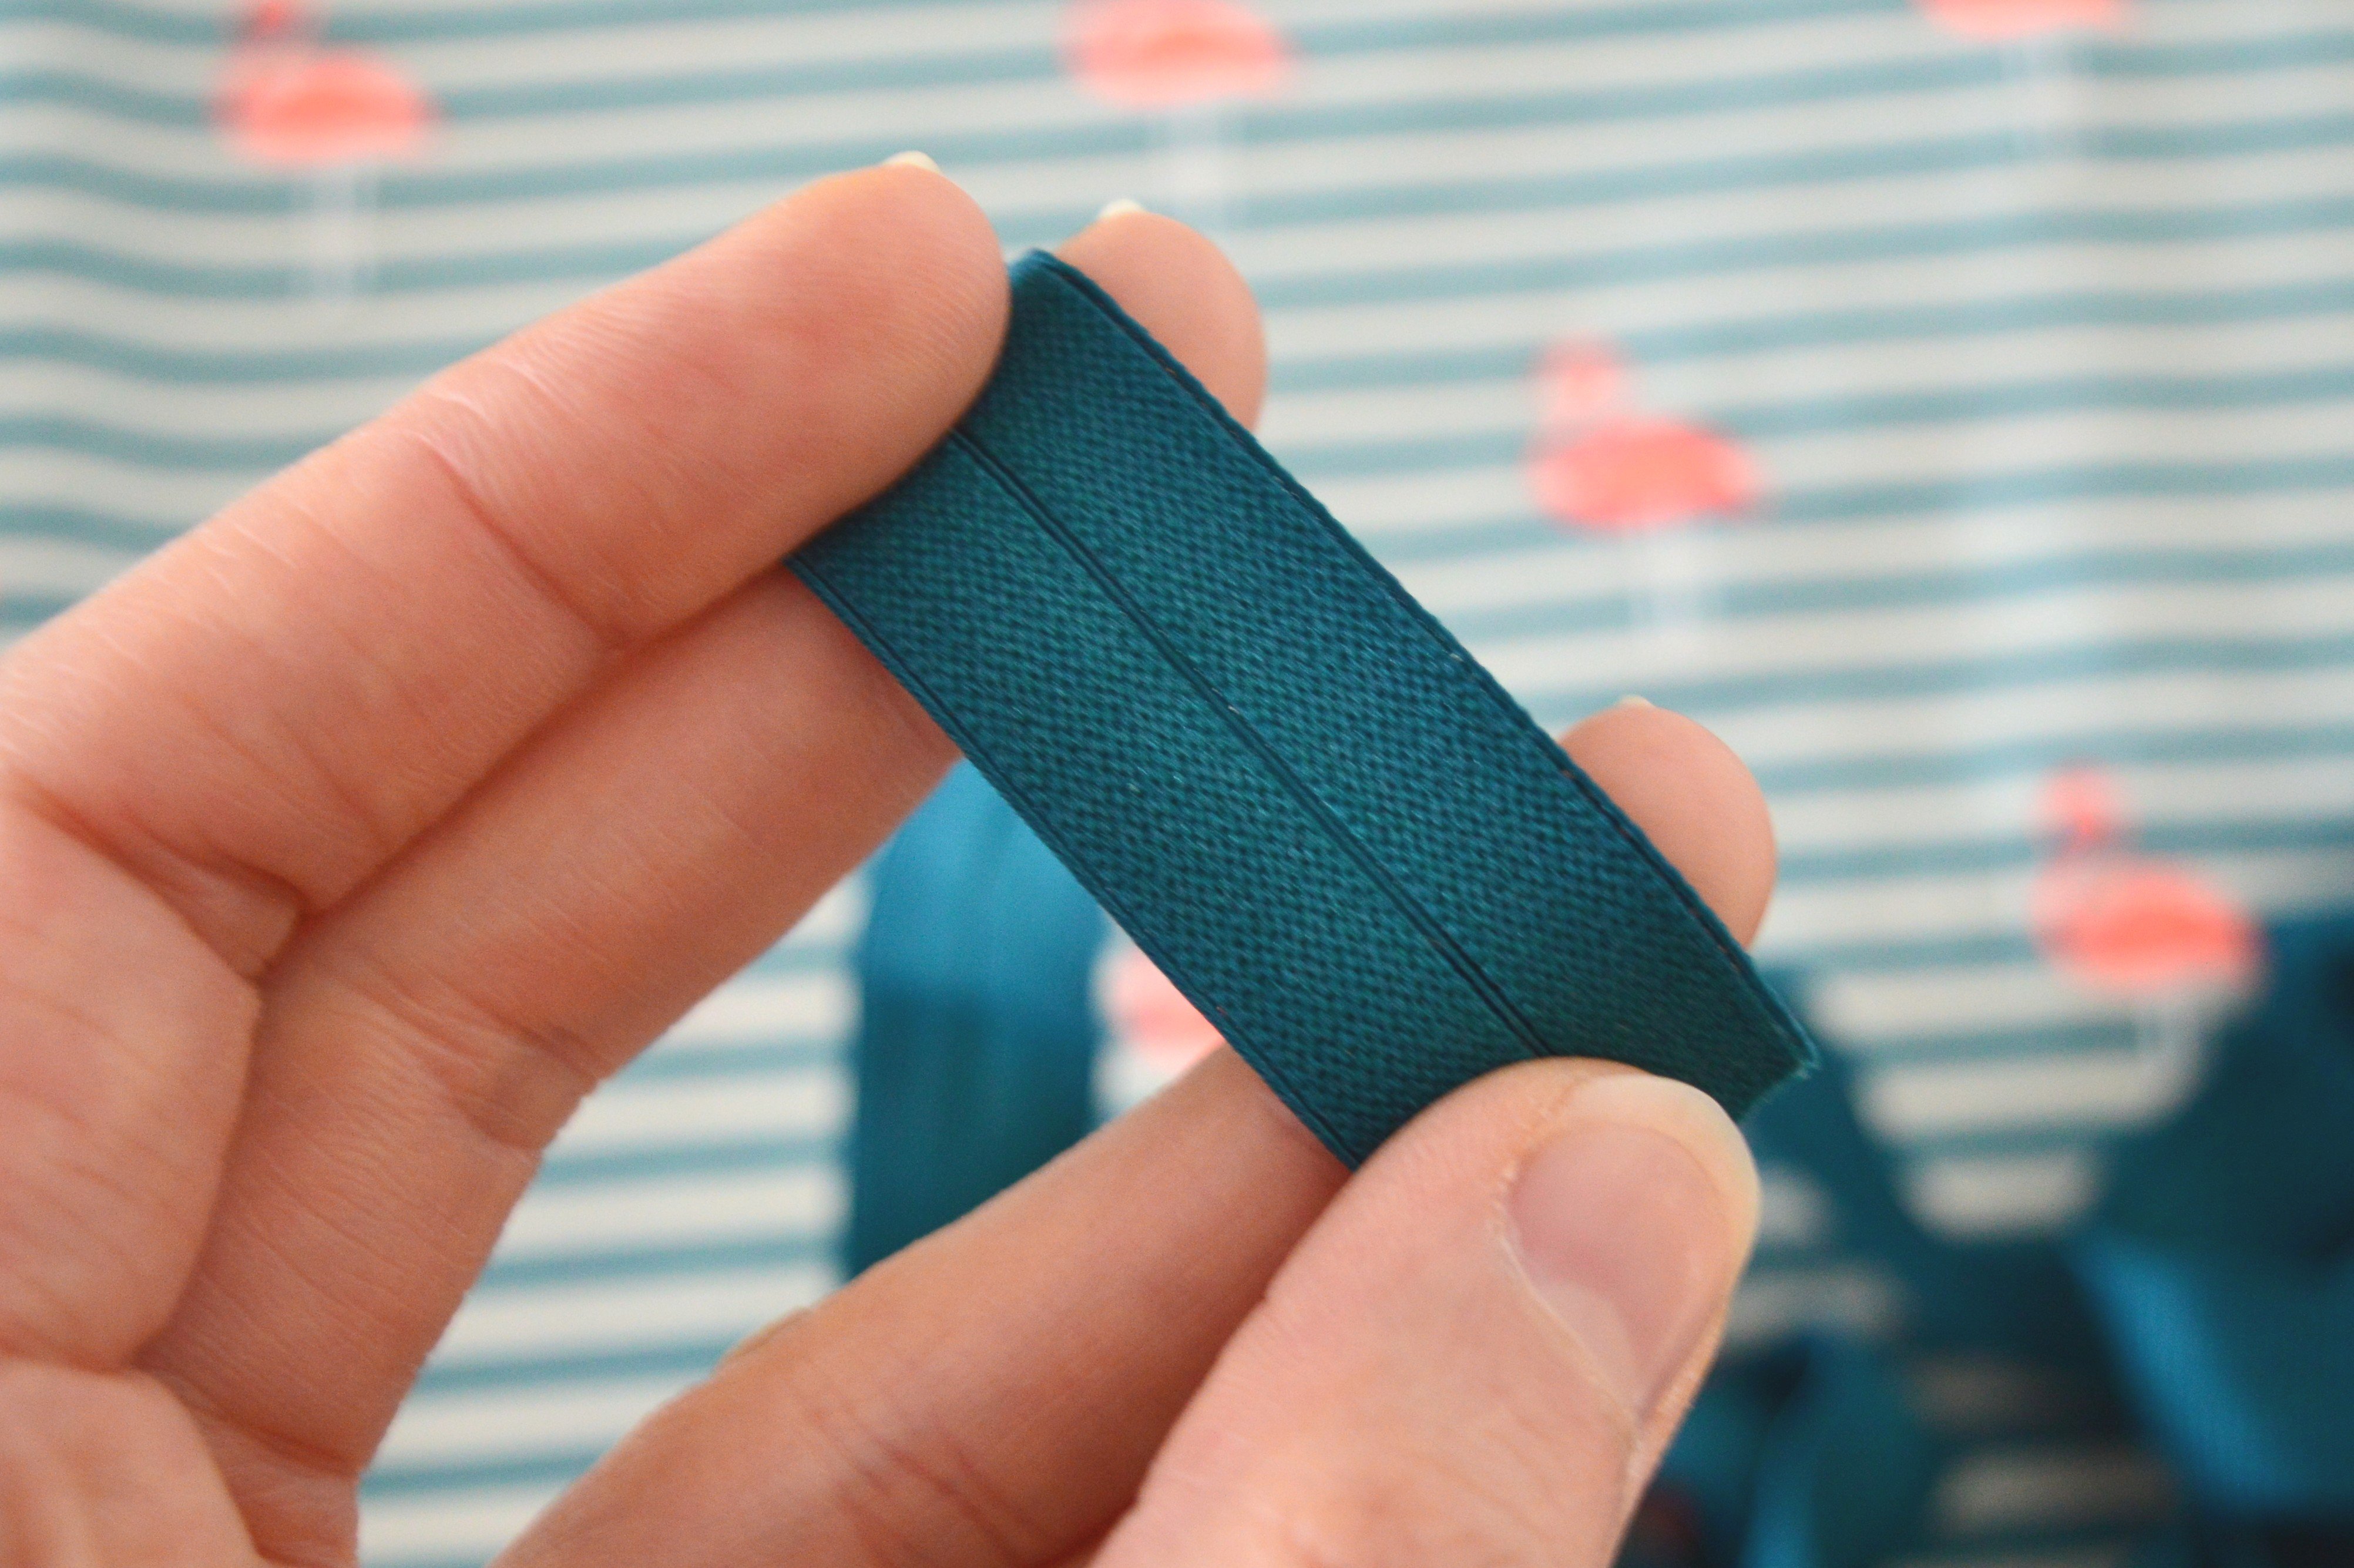
Sewing panties using fold-over elastic
Fold over elastic (FOE) is simply stretchy elastic with a seam down the middle, which helps fold elastic in half. It is with two different sides, mostly one side being the finished, shiny side and the other side matte. Both sides of FOE can be used as the right side of the elastic.
FOE that I purchased was 2.50 cm width and had 2 different sides, but none of them was shiny.
!!! When you tailor parts of the garment with the intent to end the edges by using fold-over elastic, a pattern without a seam allowance is required.
As in the previous examples with the last two elastics, connect the gusset to the front and back part of the garment, the side edges remain unstitched.
Prepare a fold-over elastic for the edges of the leg opening as in the previous examples (always elastic shorter). Mark the quarters on elastic and edges.


NOTE: You can apply fold-over elastic with a single zig-zag stitch or in two steps, but I do it always in two phases.
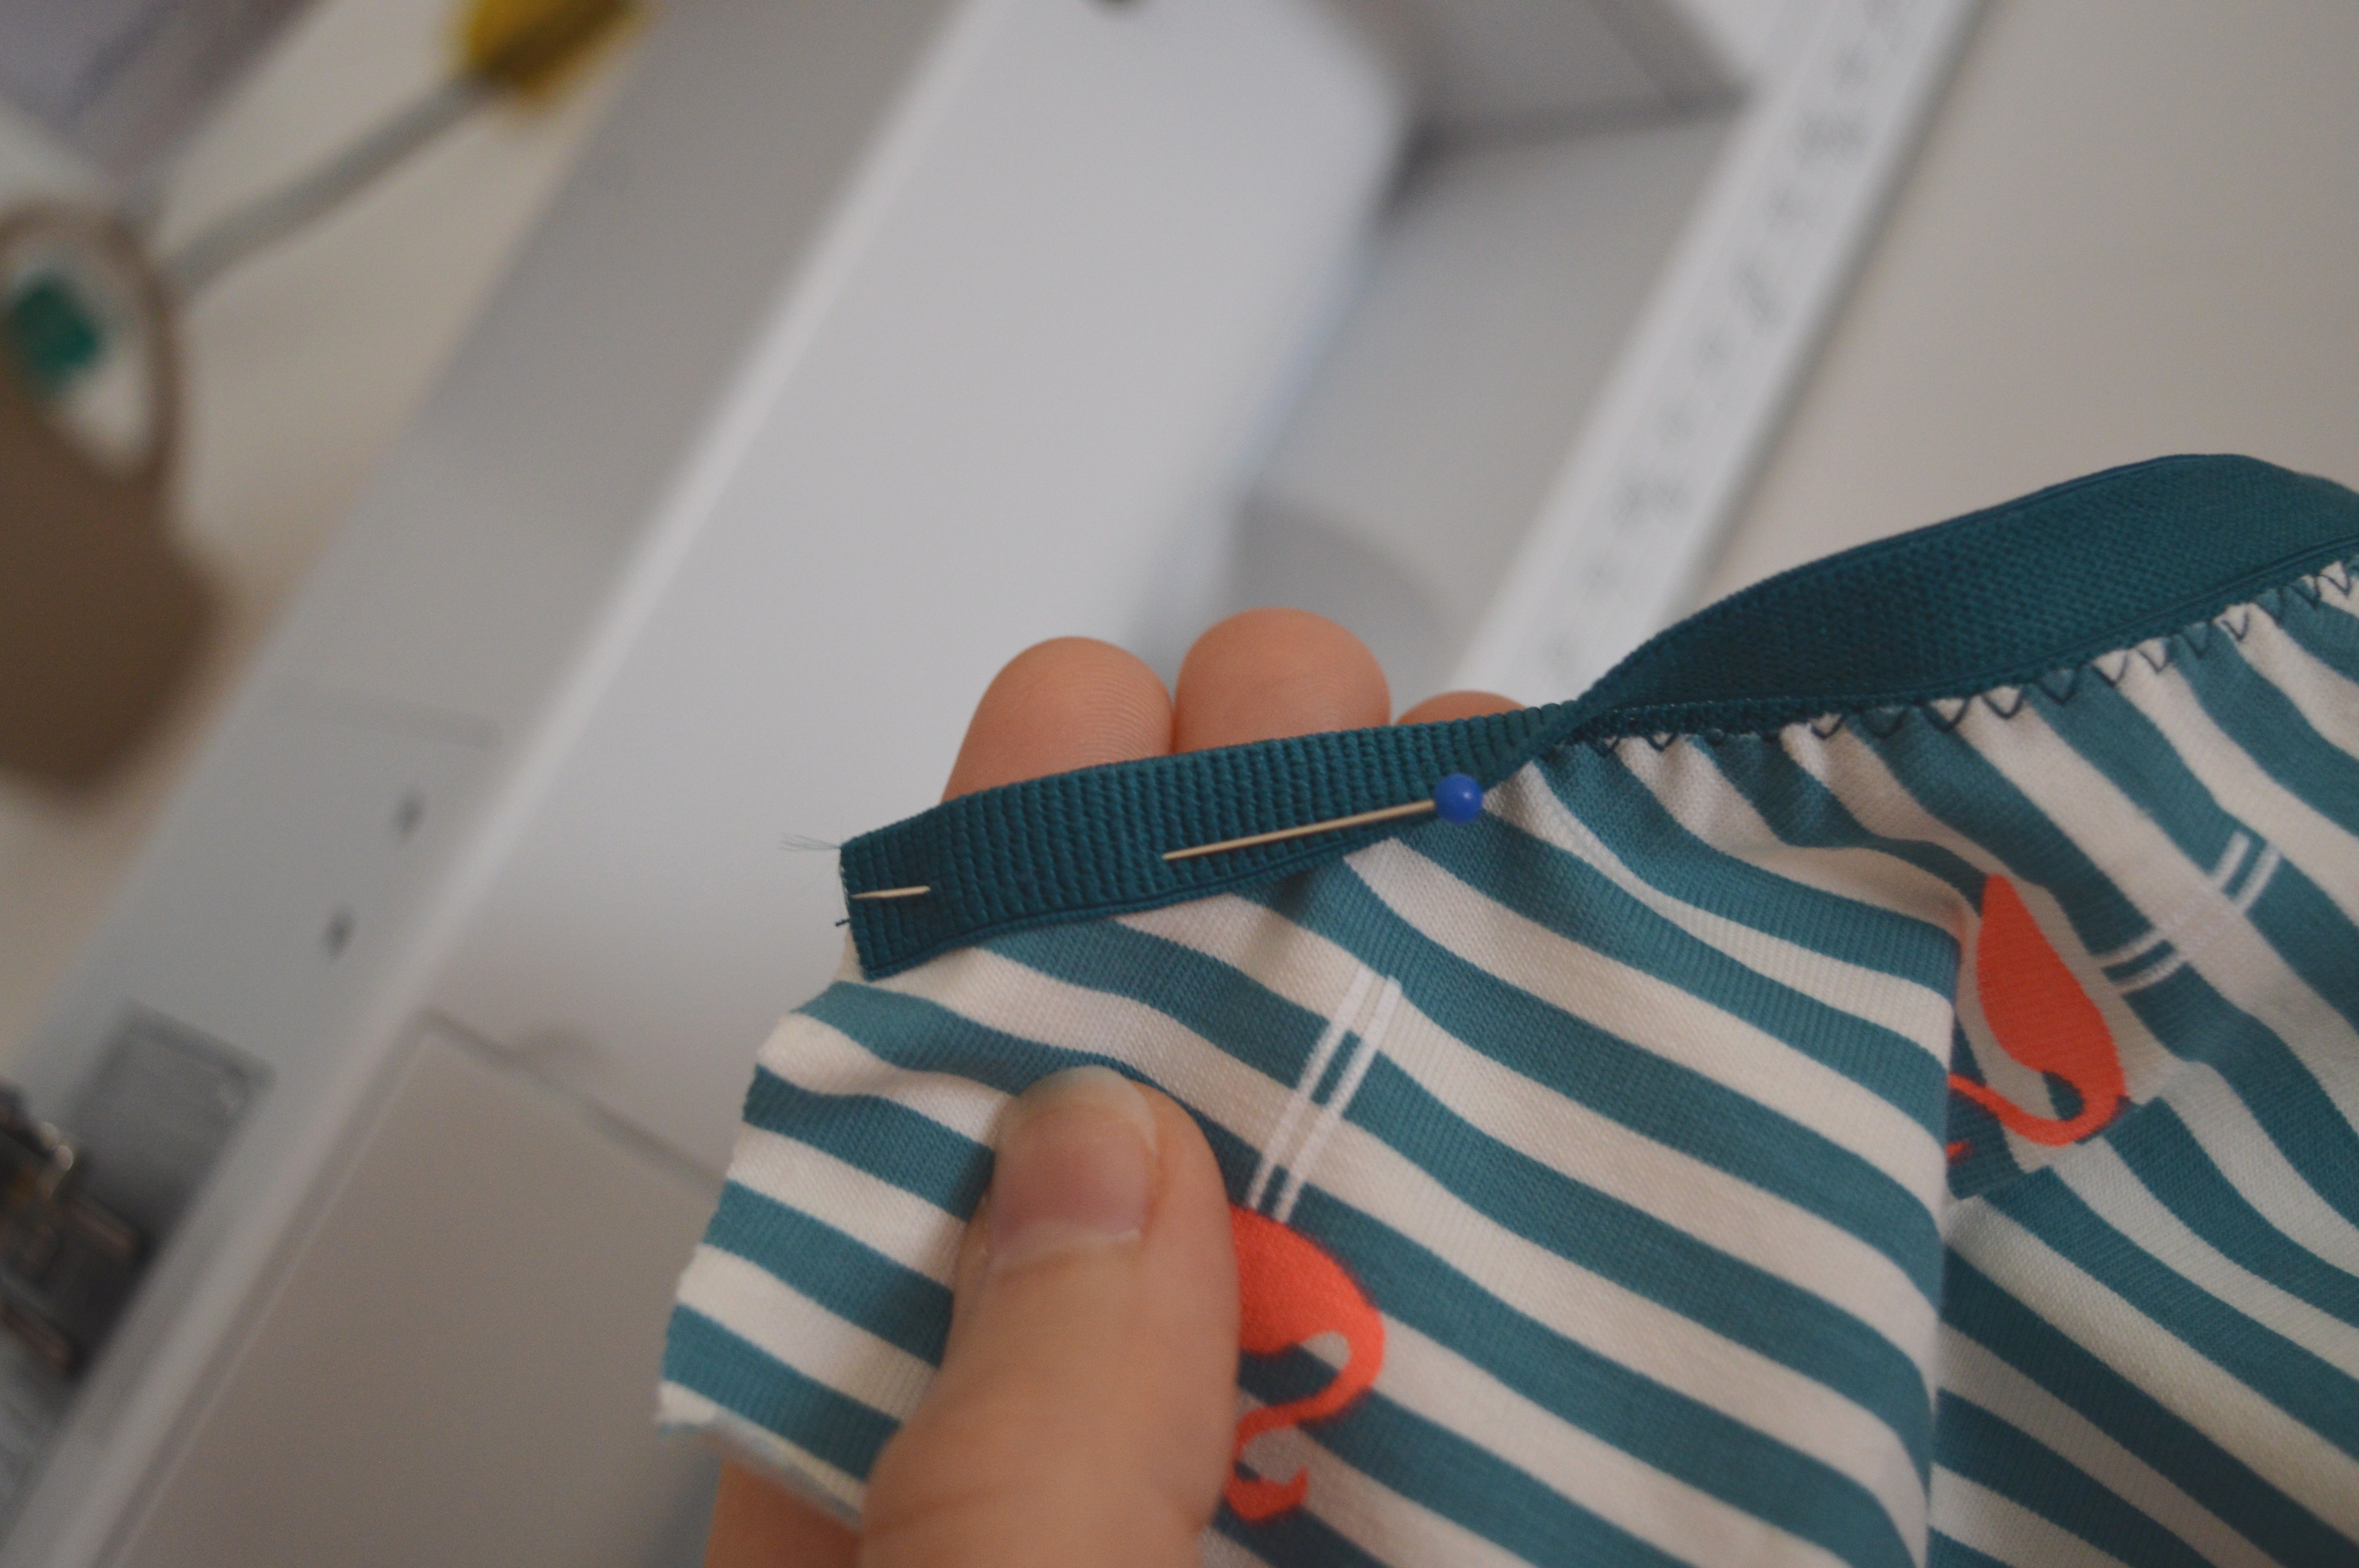
With wrong sides together, align the fold line of the elastic with the edge of the fabric.

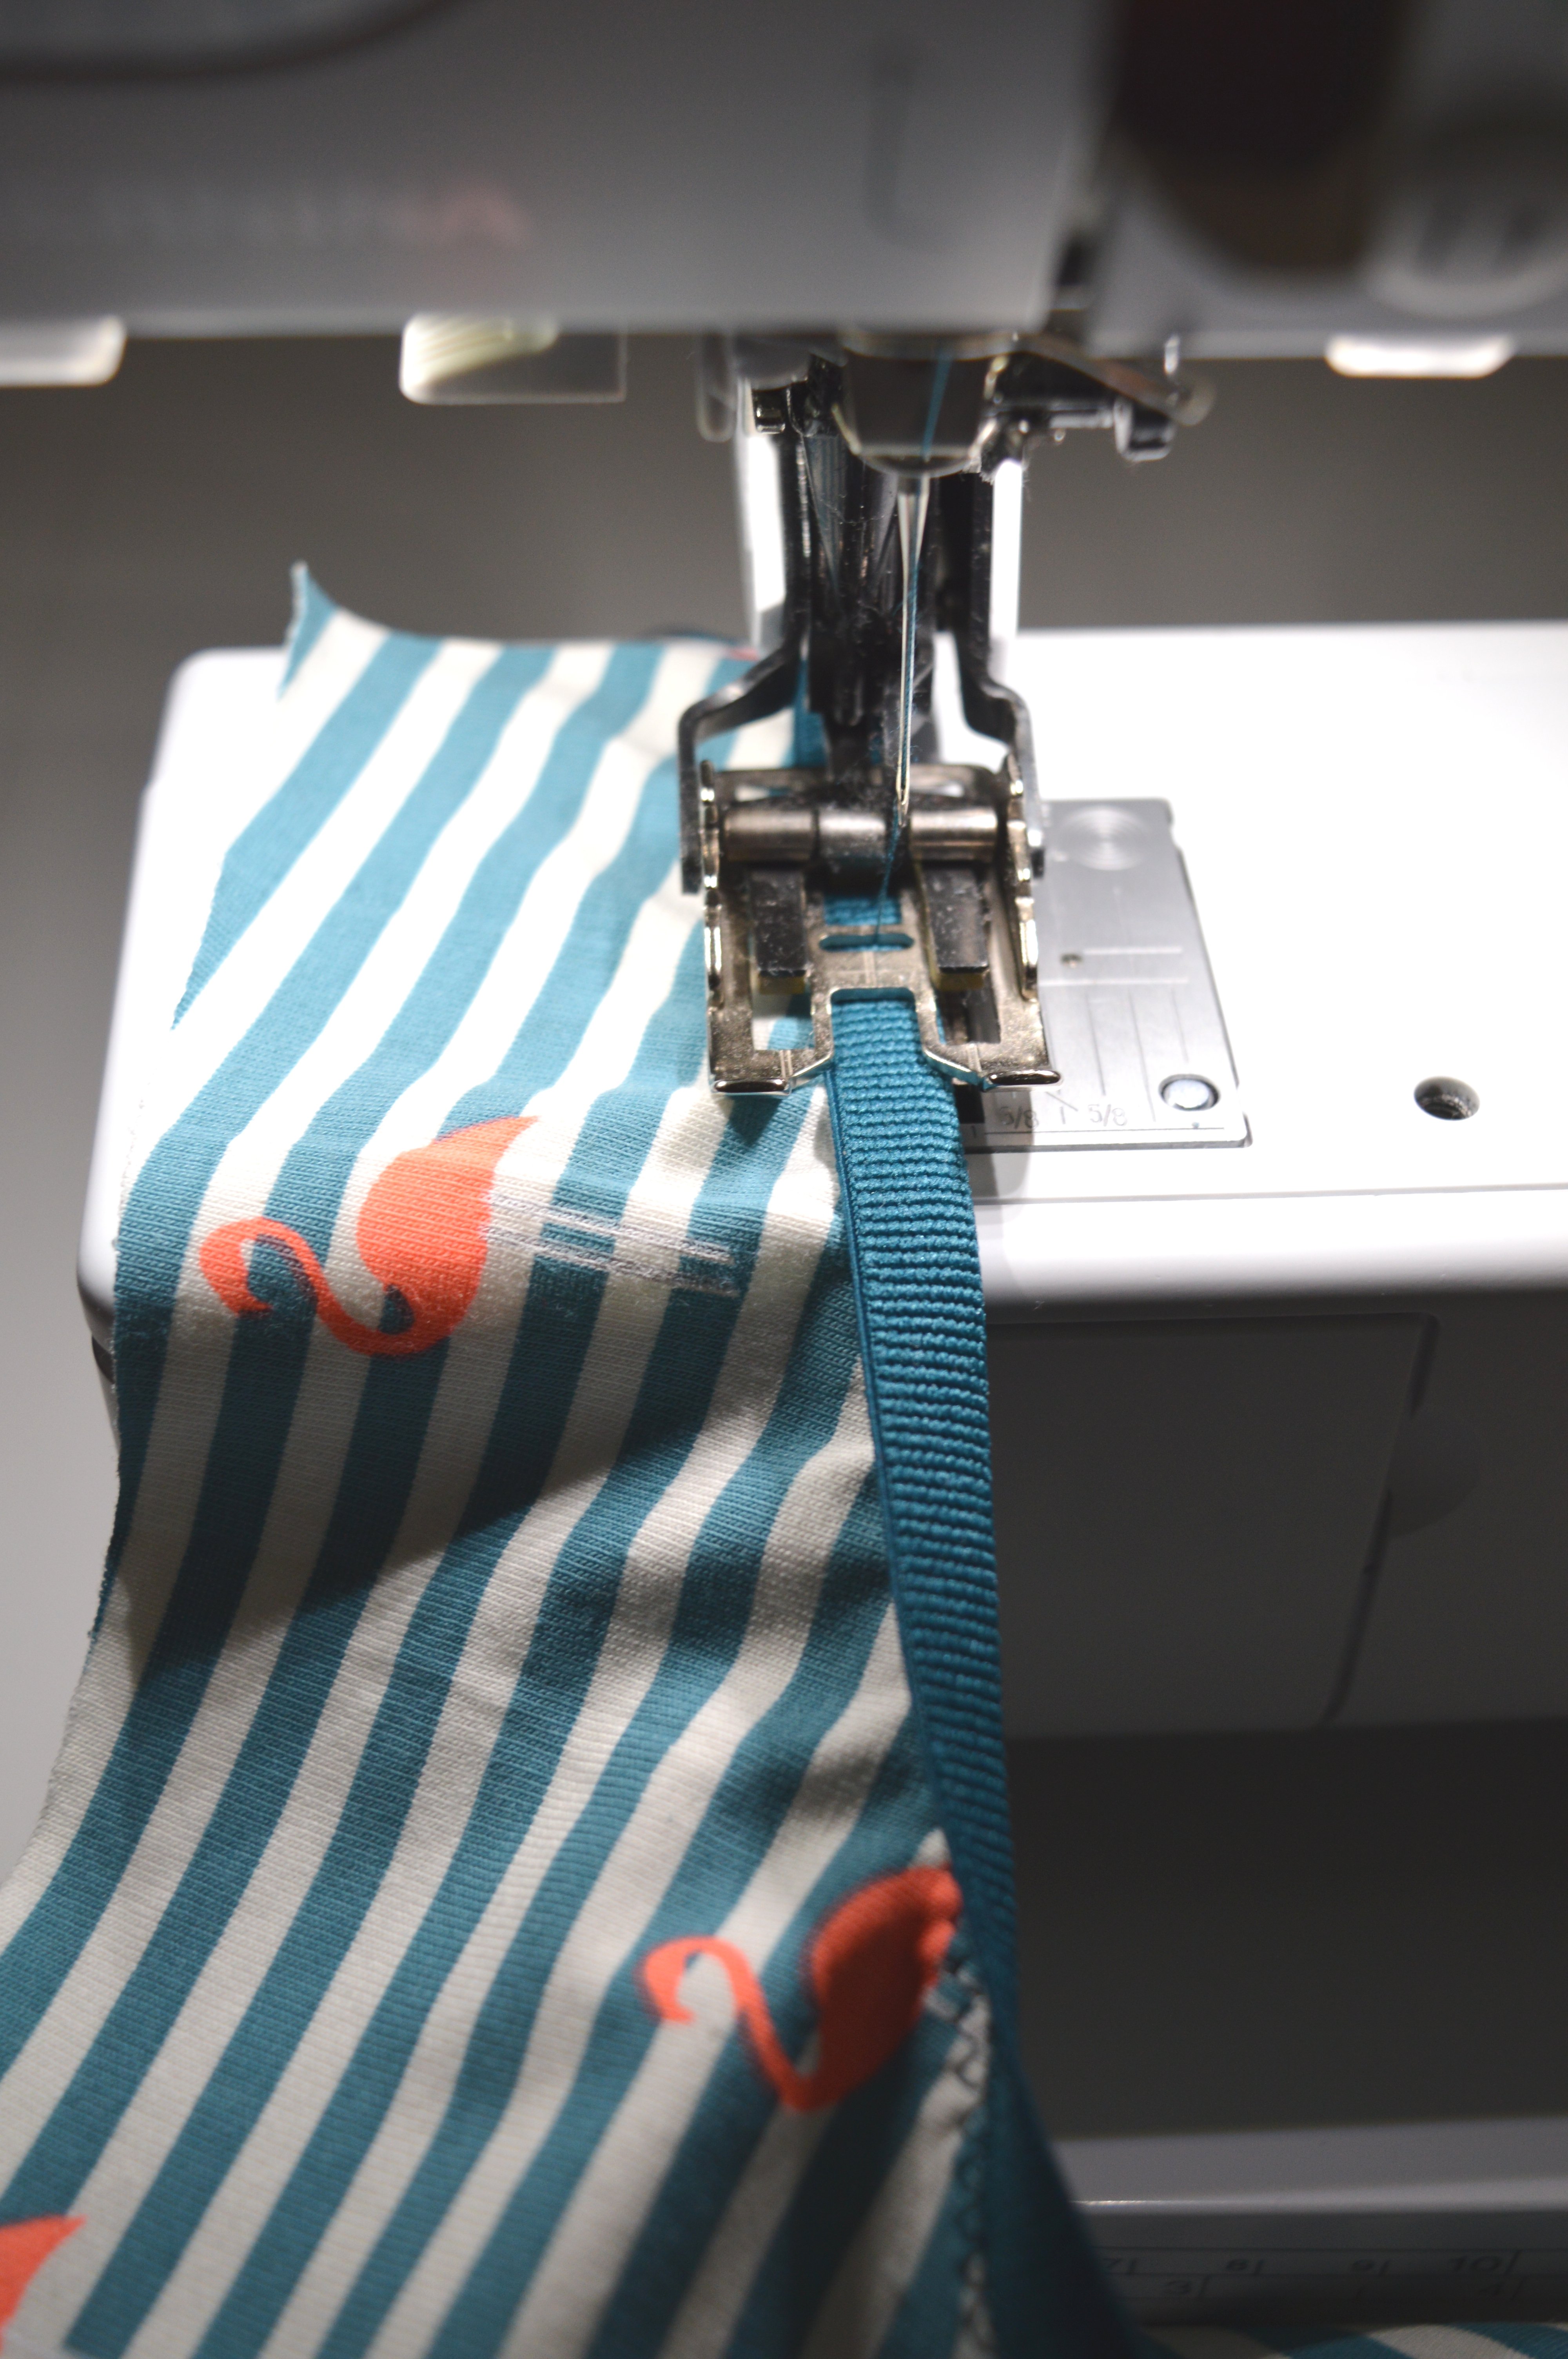
Use a zig-zag stitch #2 to sew along the edge of the elastic.
Trim any excess fabric.
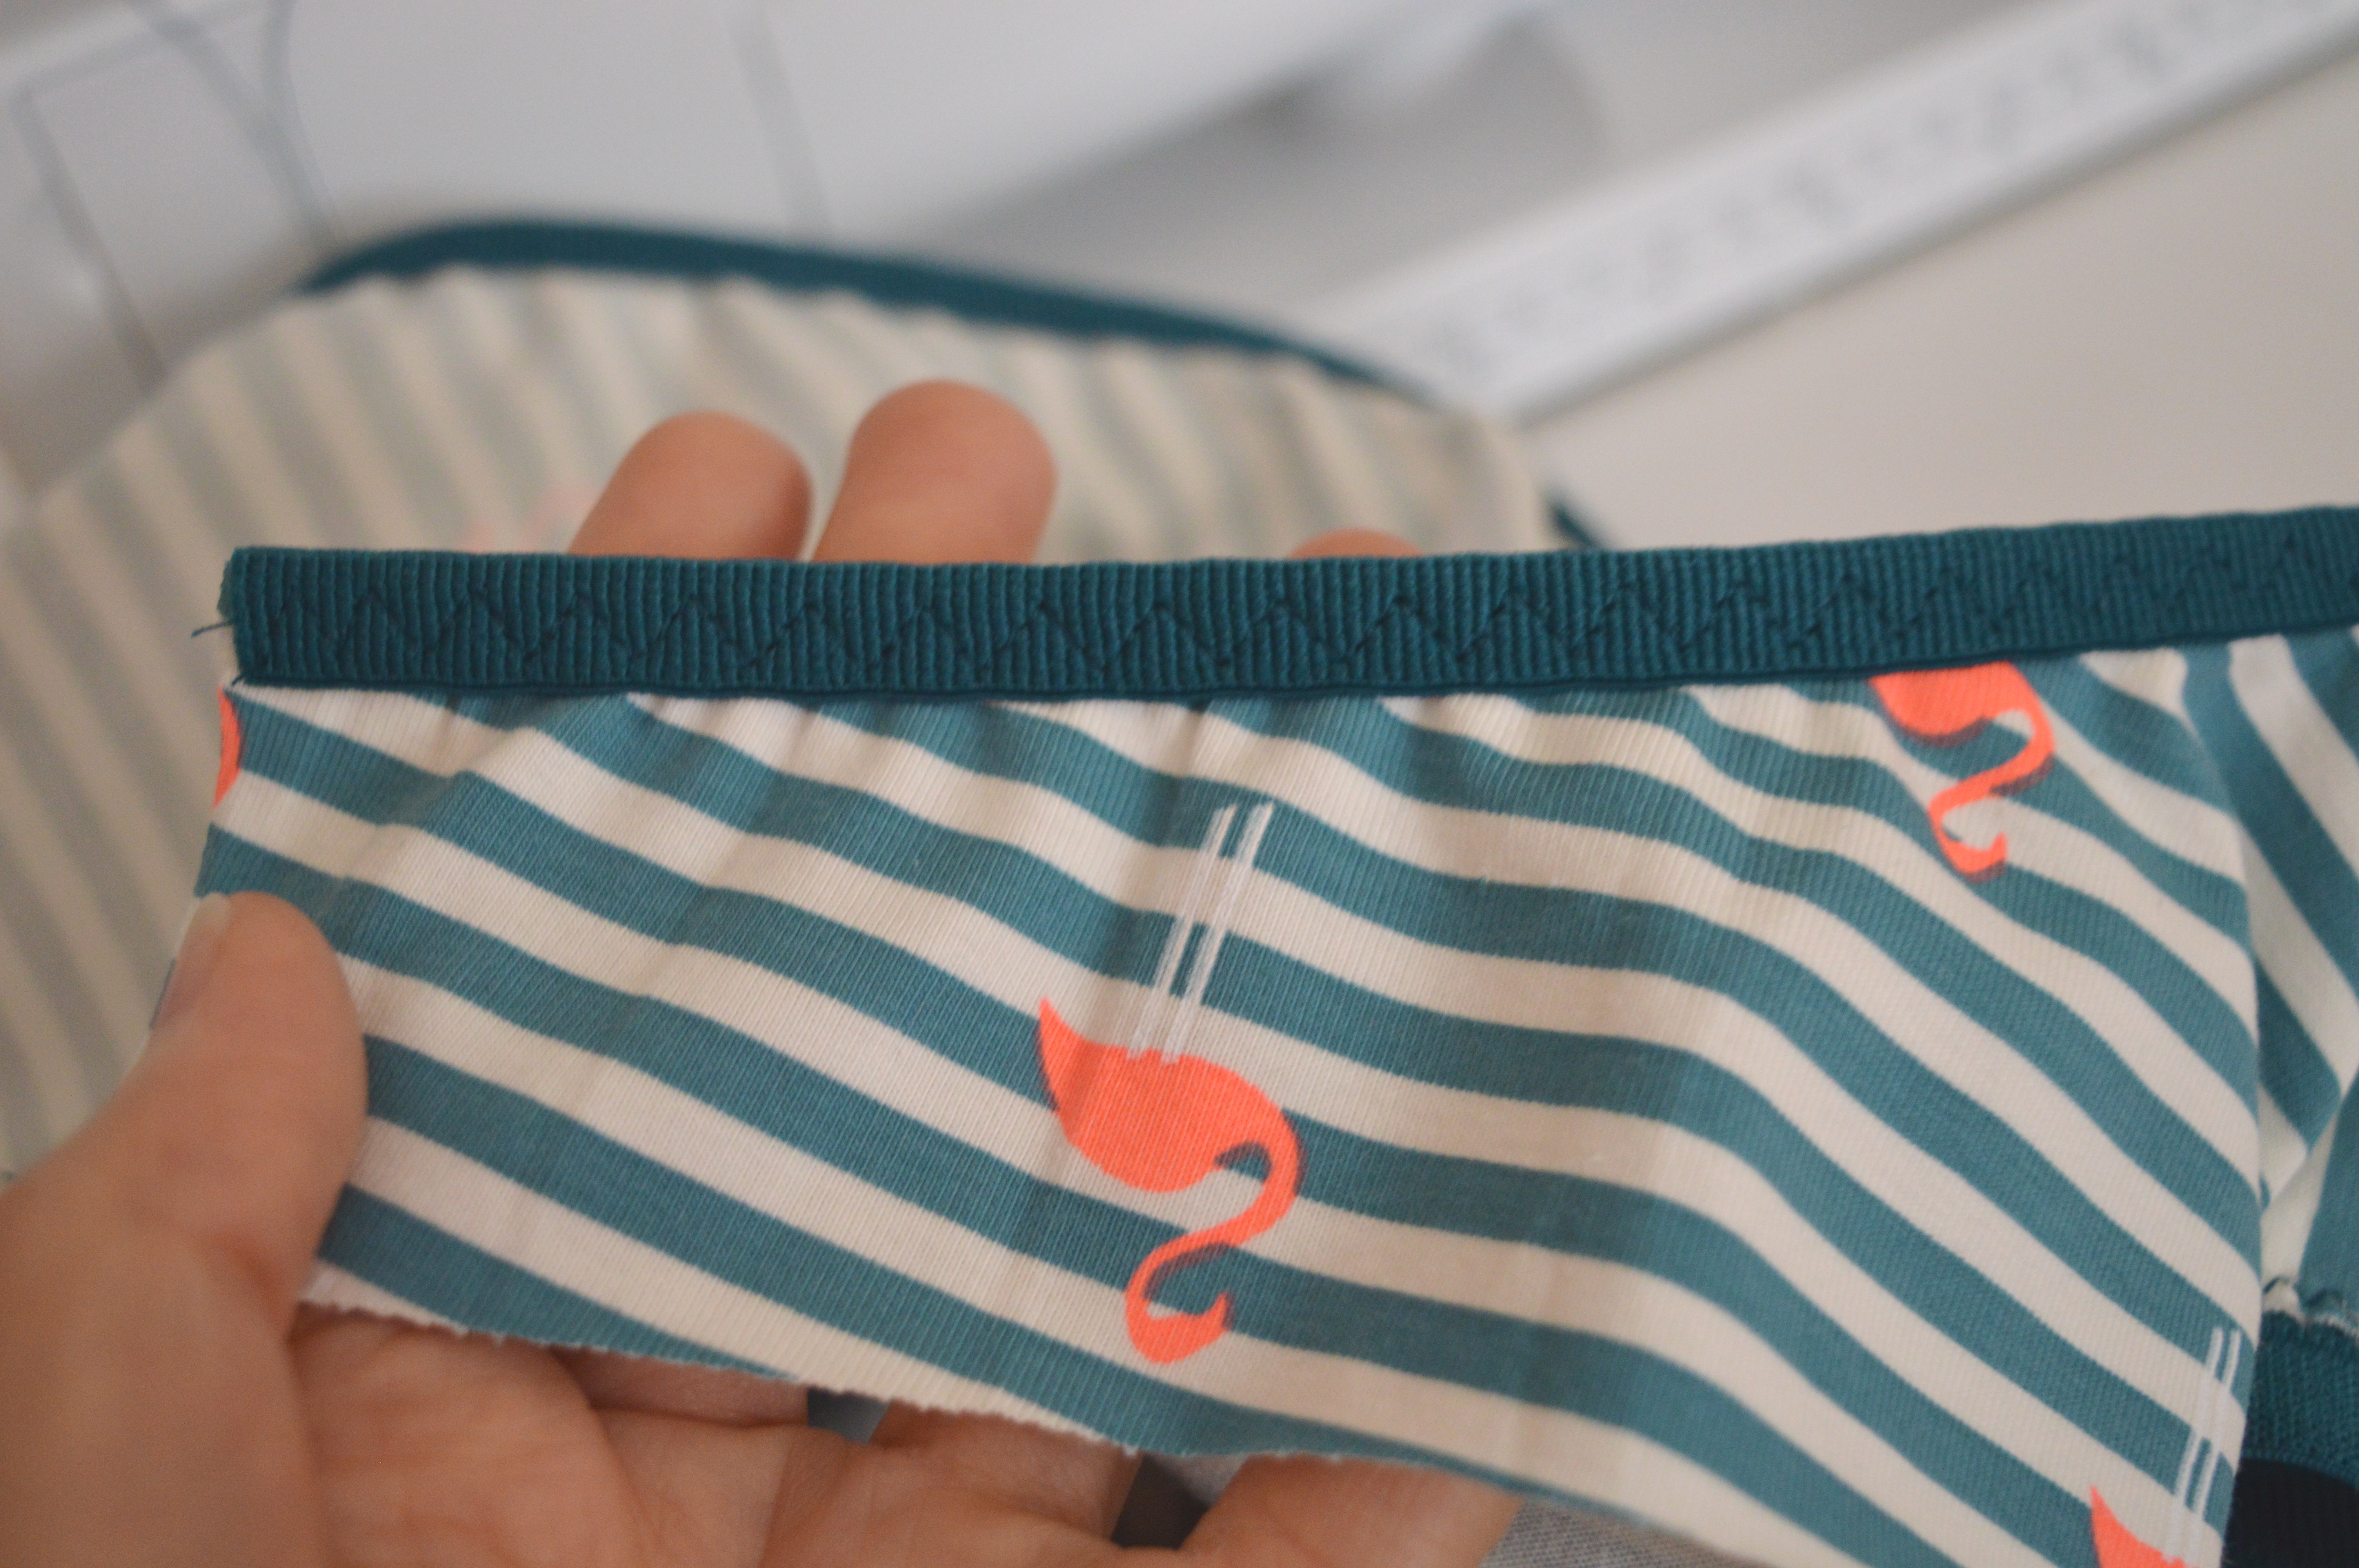
Fold the elastic along the fold line toward the right side of the panties.
Topstitch using a sewn out zig-zag #16 or a zig-zag stitch #2.
Using a serger/overlocker or double overlock stitch # 10, sew the one side seam.

Sew on elastic on the top edge like the previous fold over elastics.


Using a serger/overlocker or double overlock stitch # 10, sew the other side seam too.

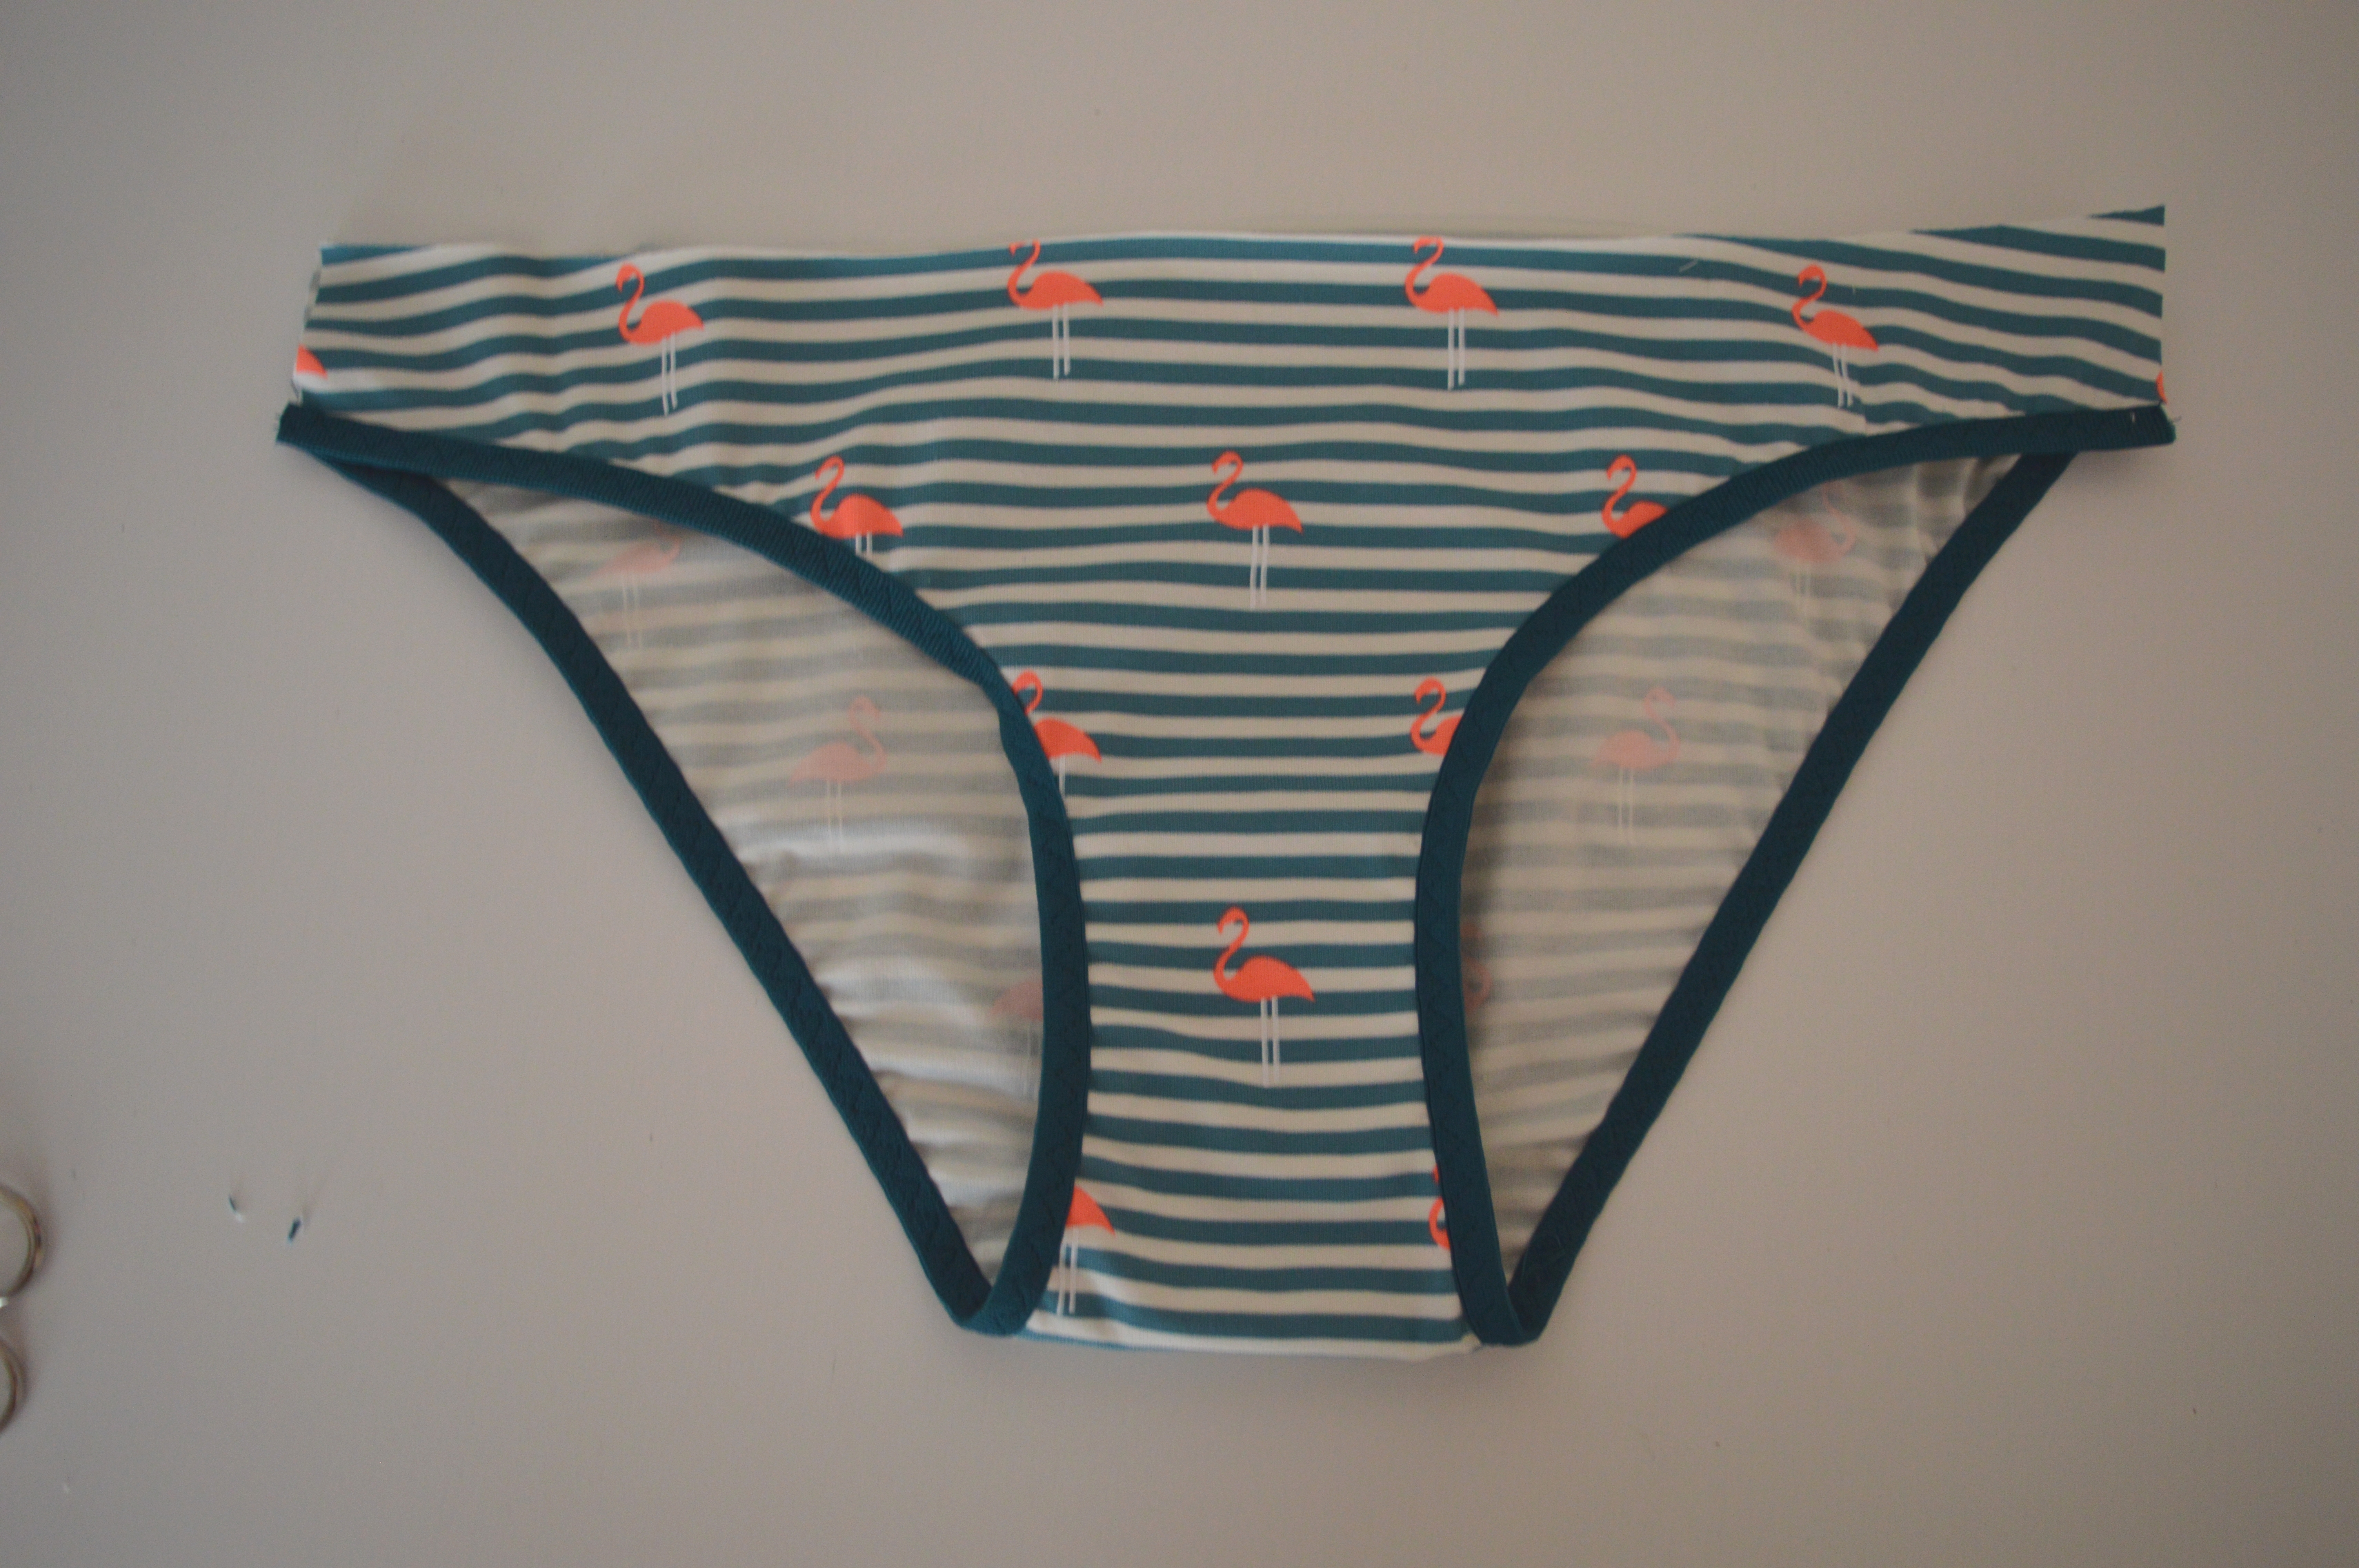
The panties with FOE on edges are finished.
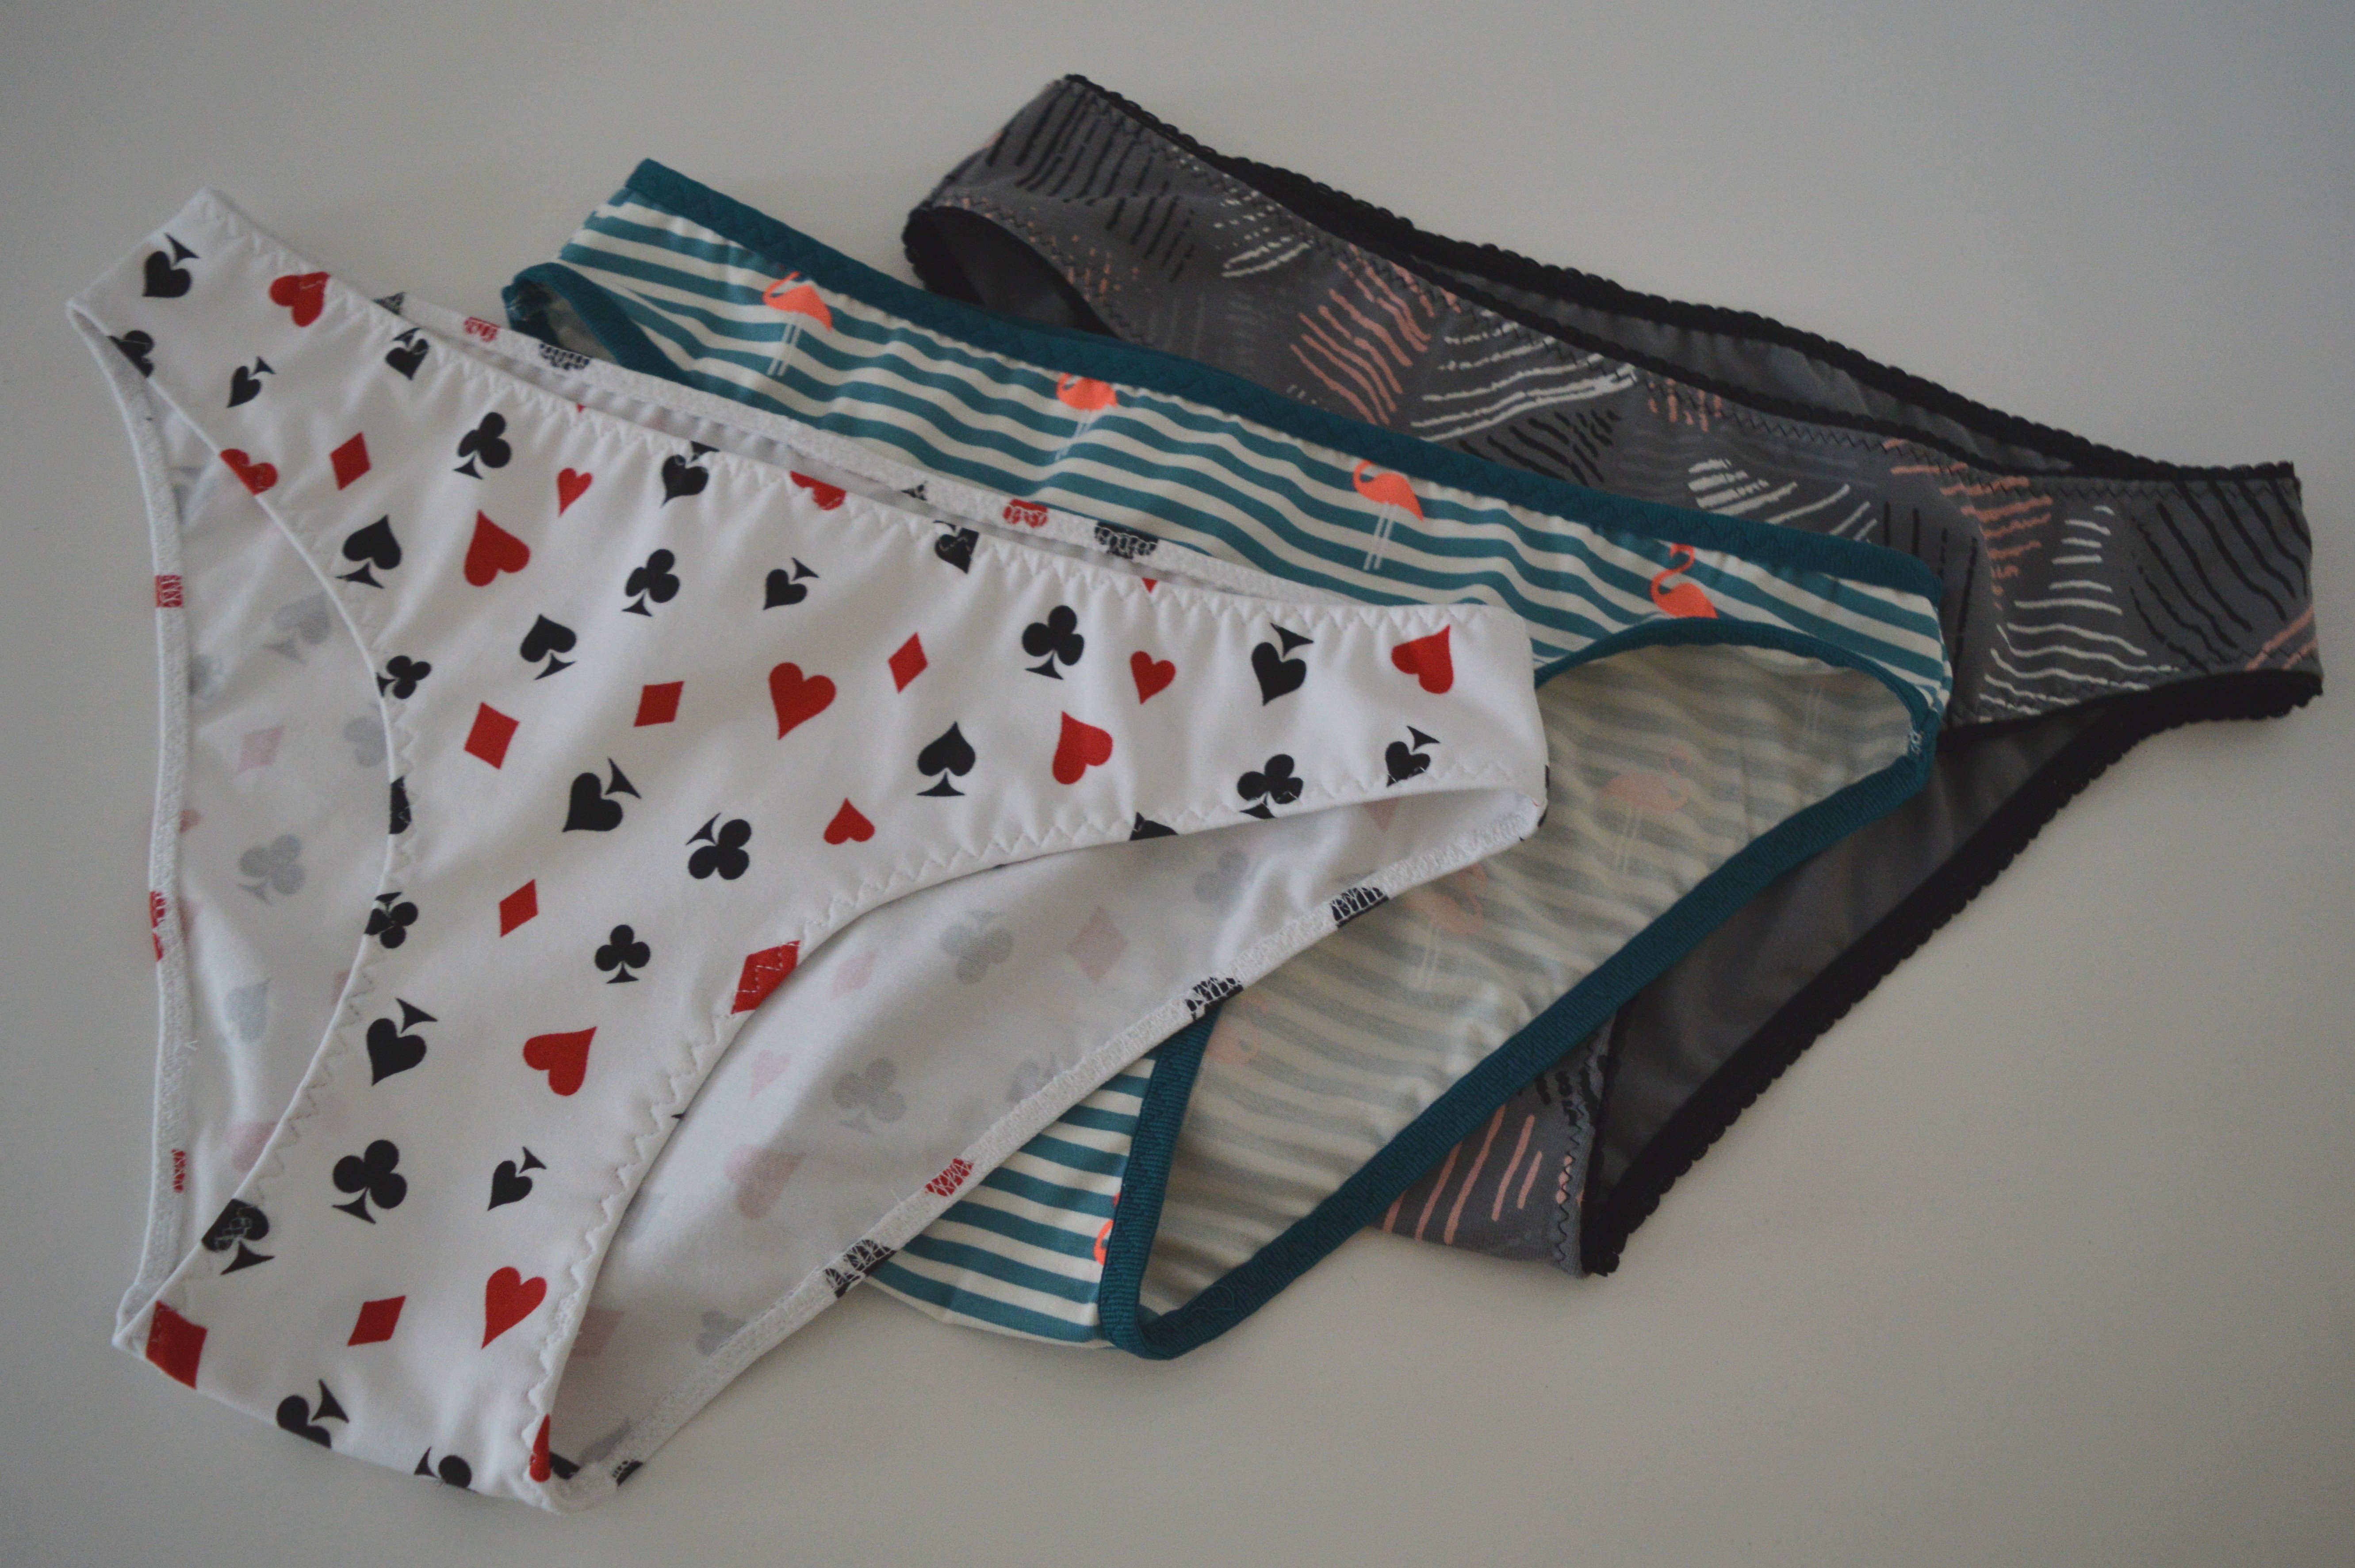
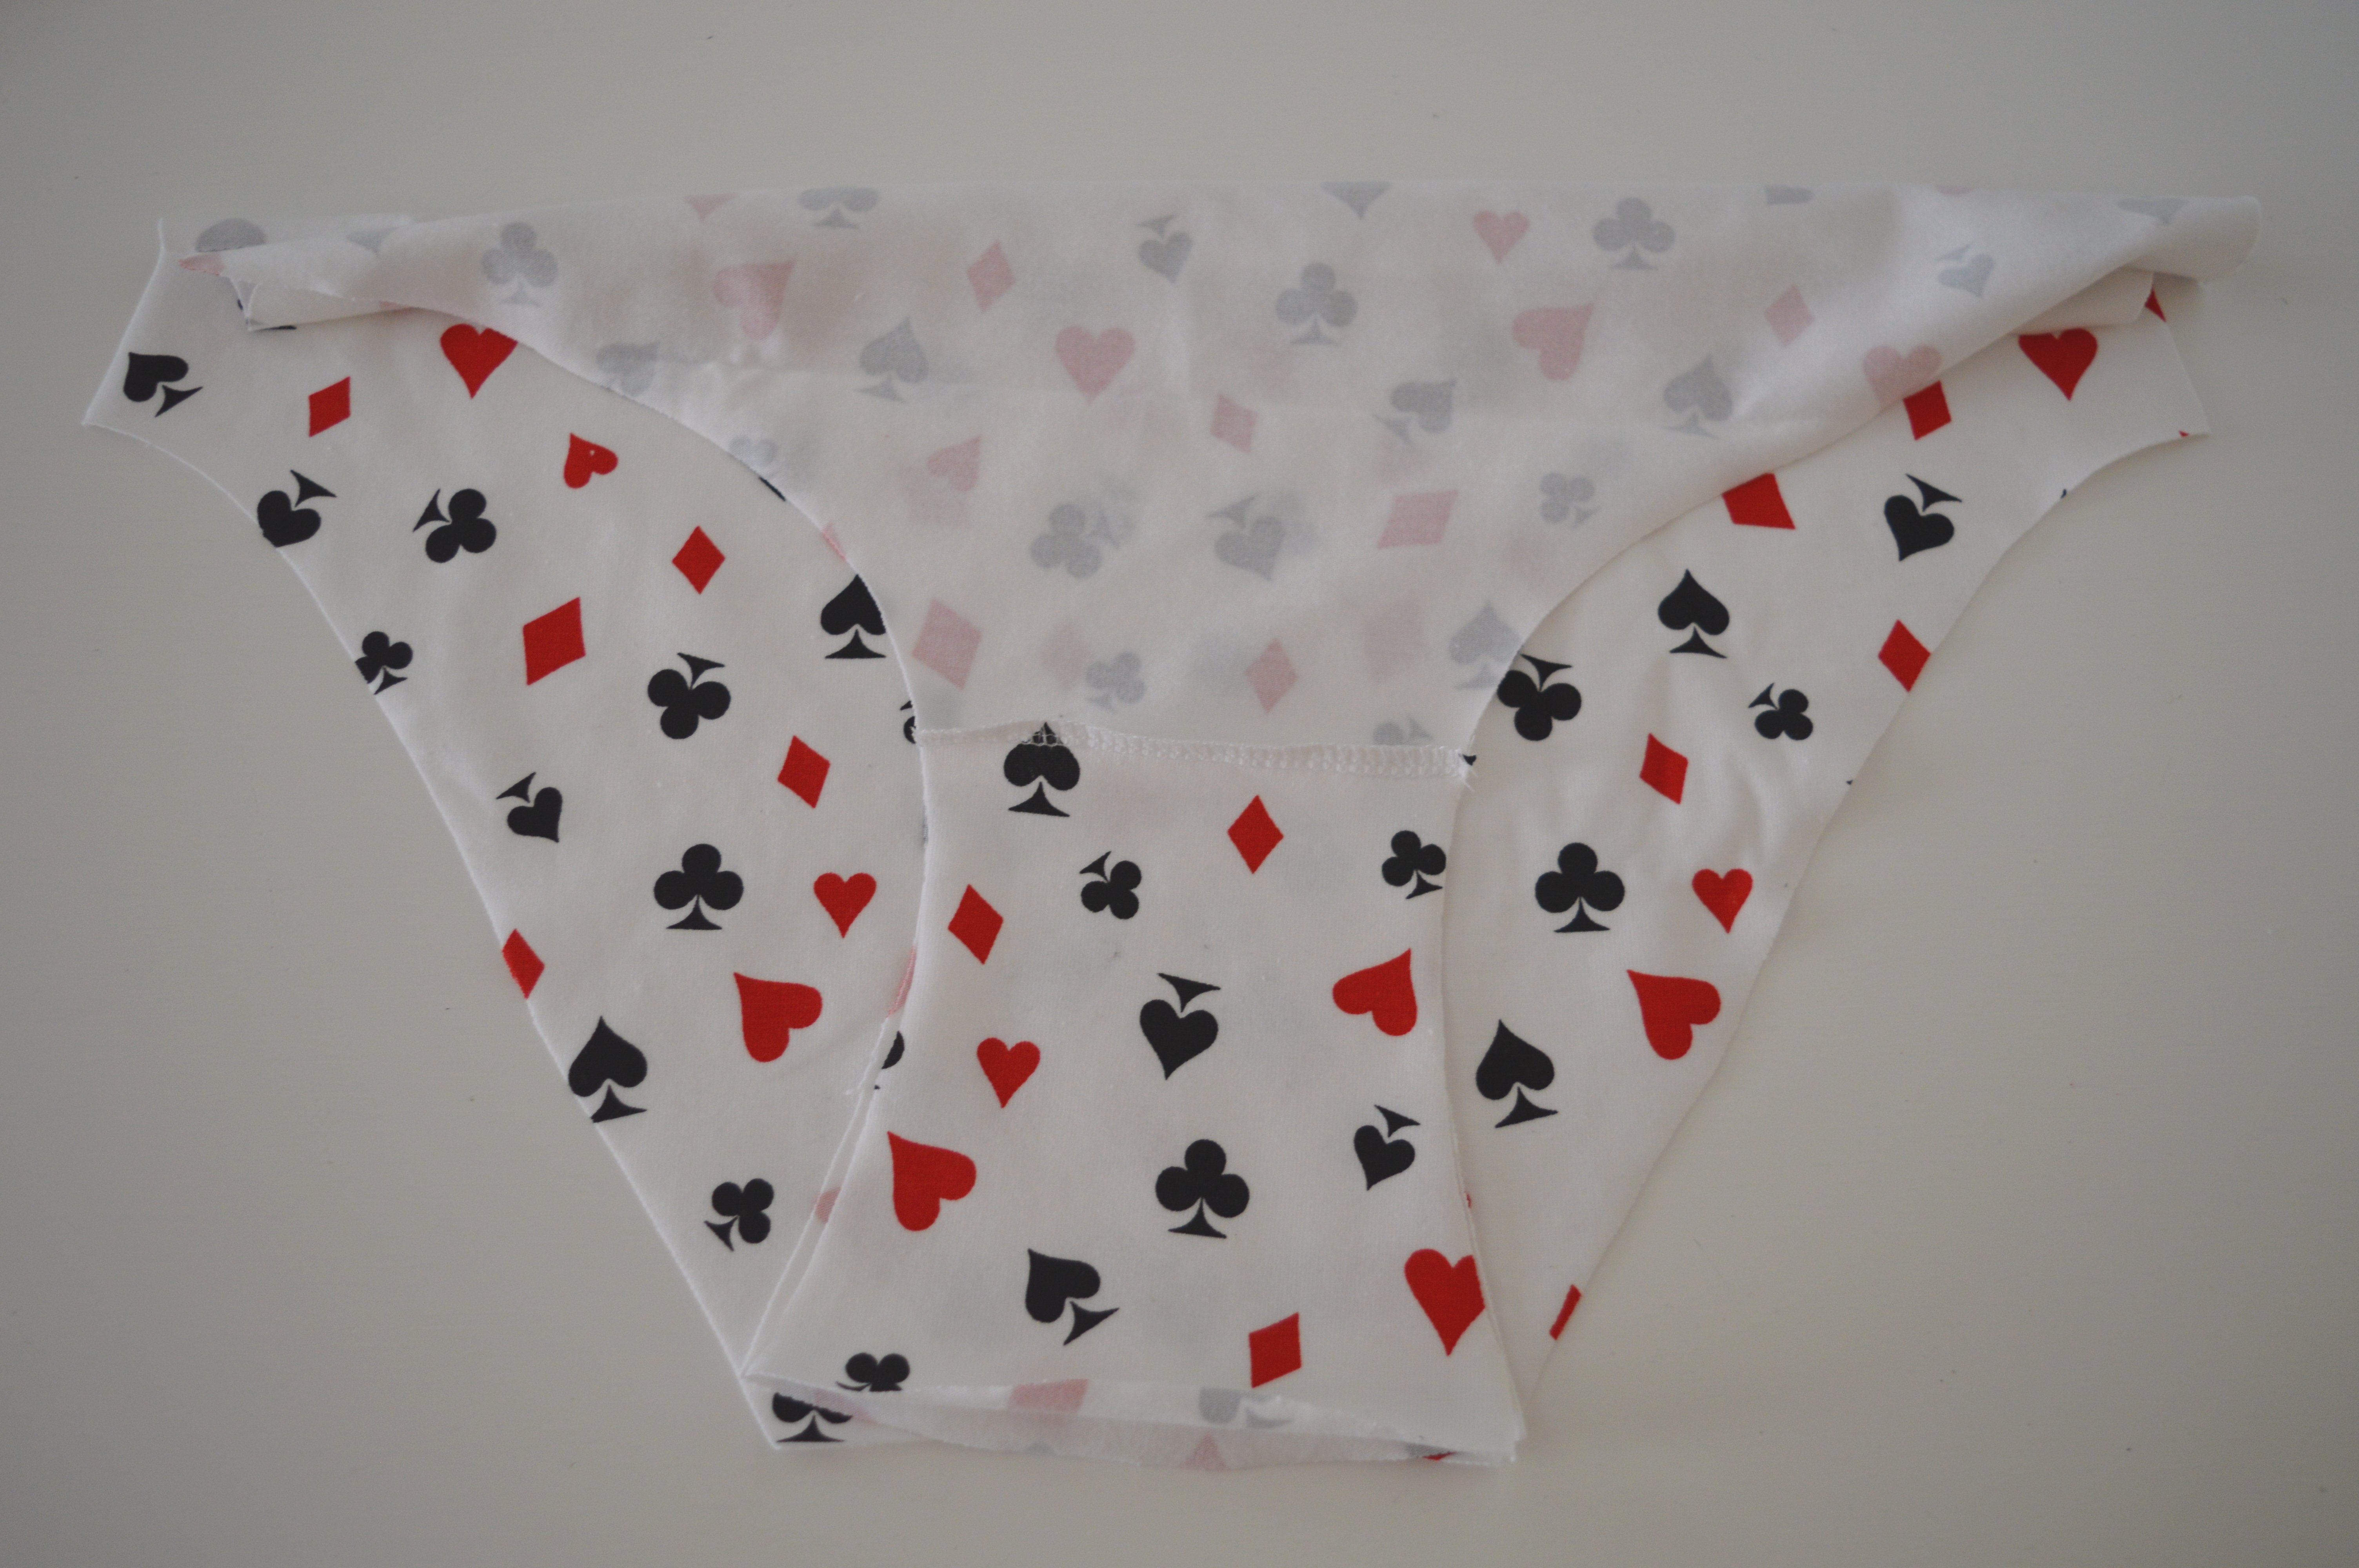
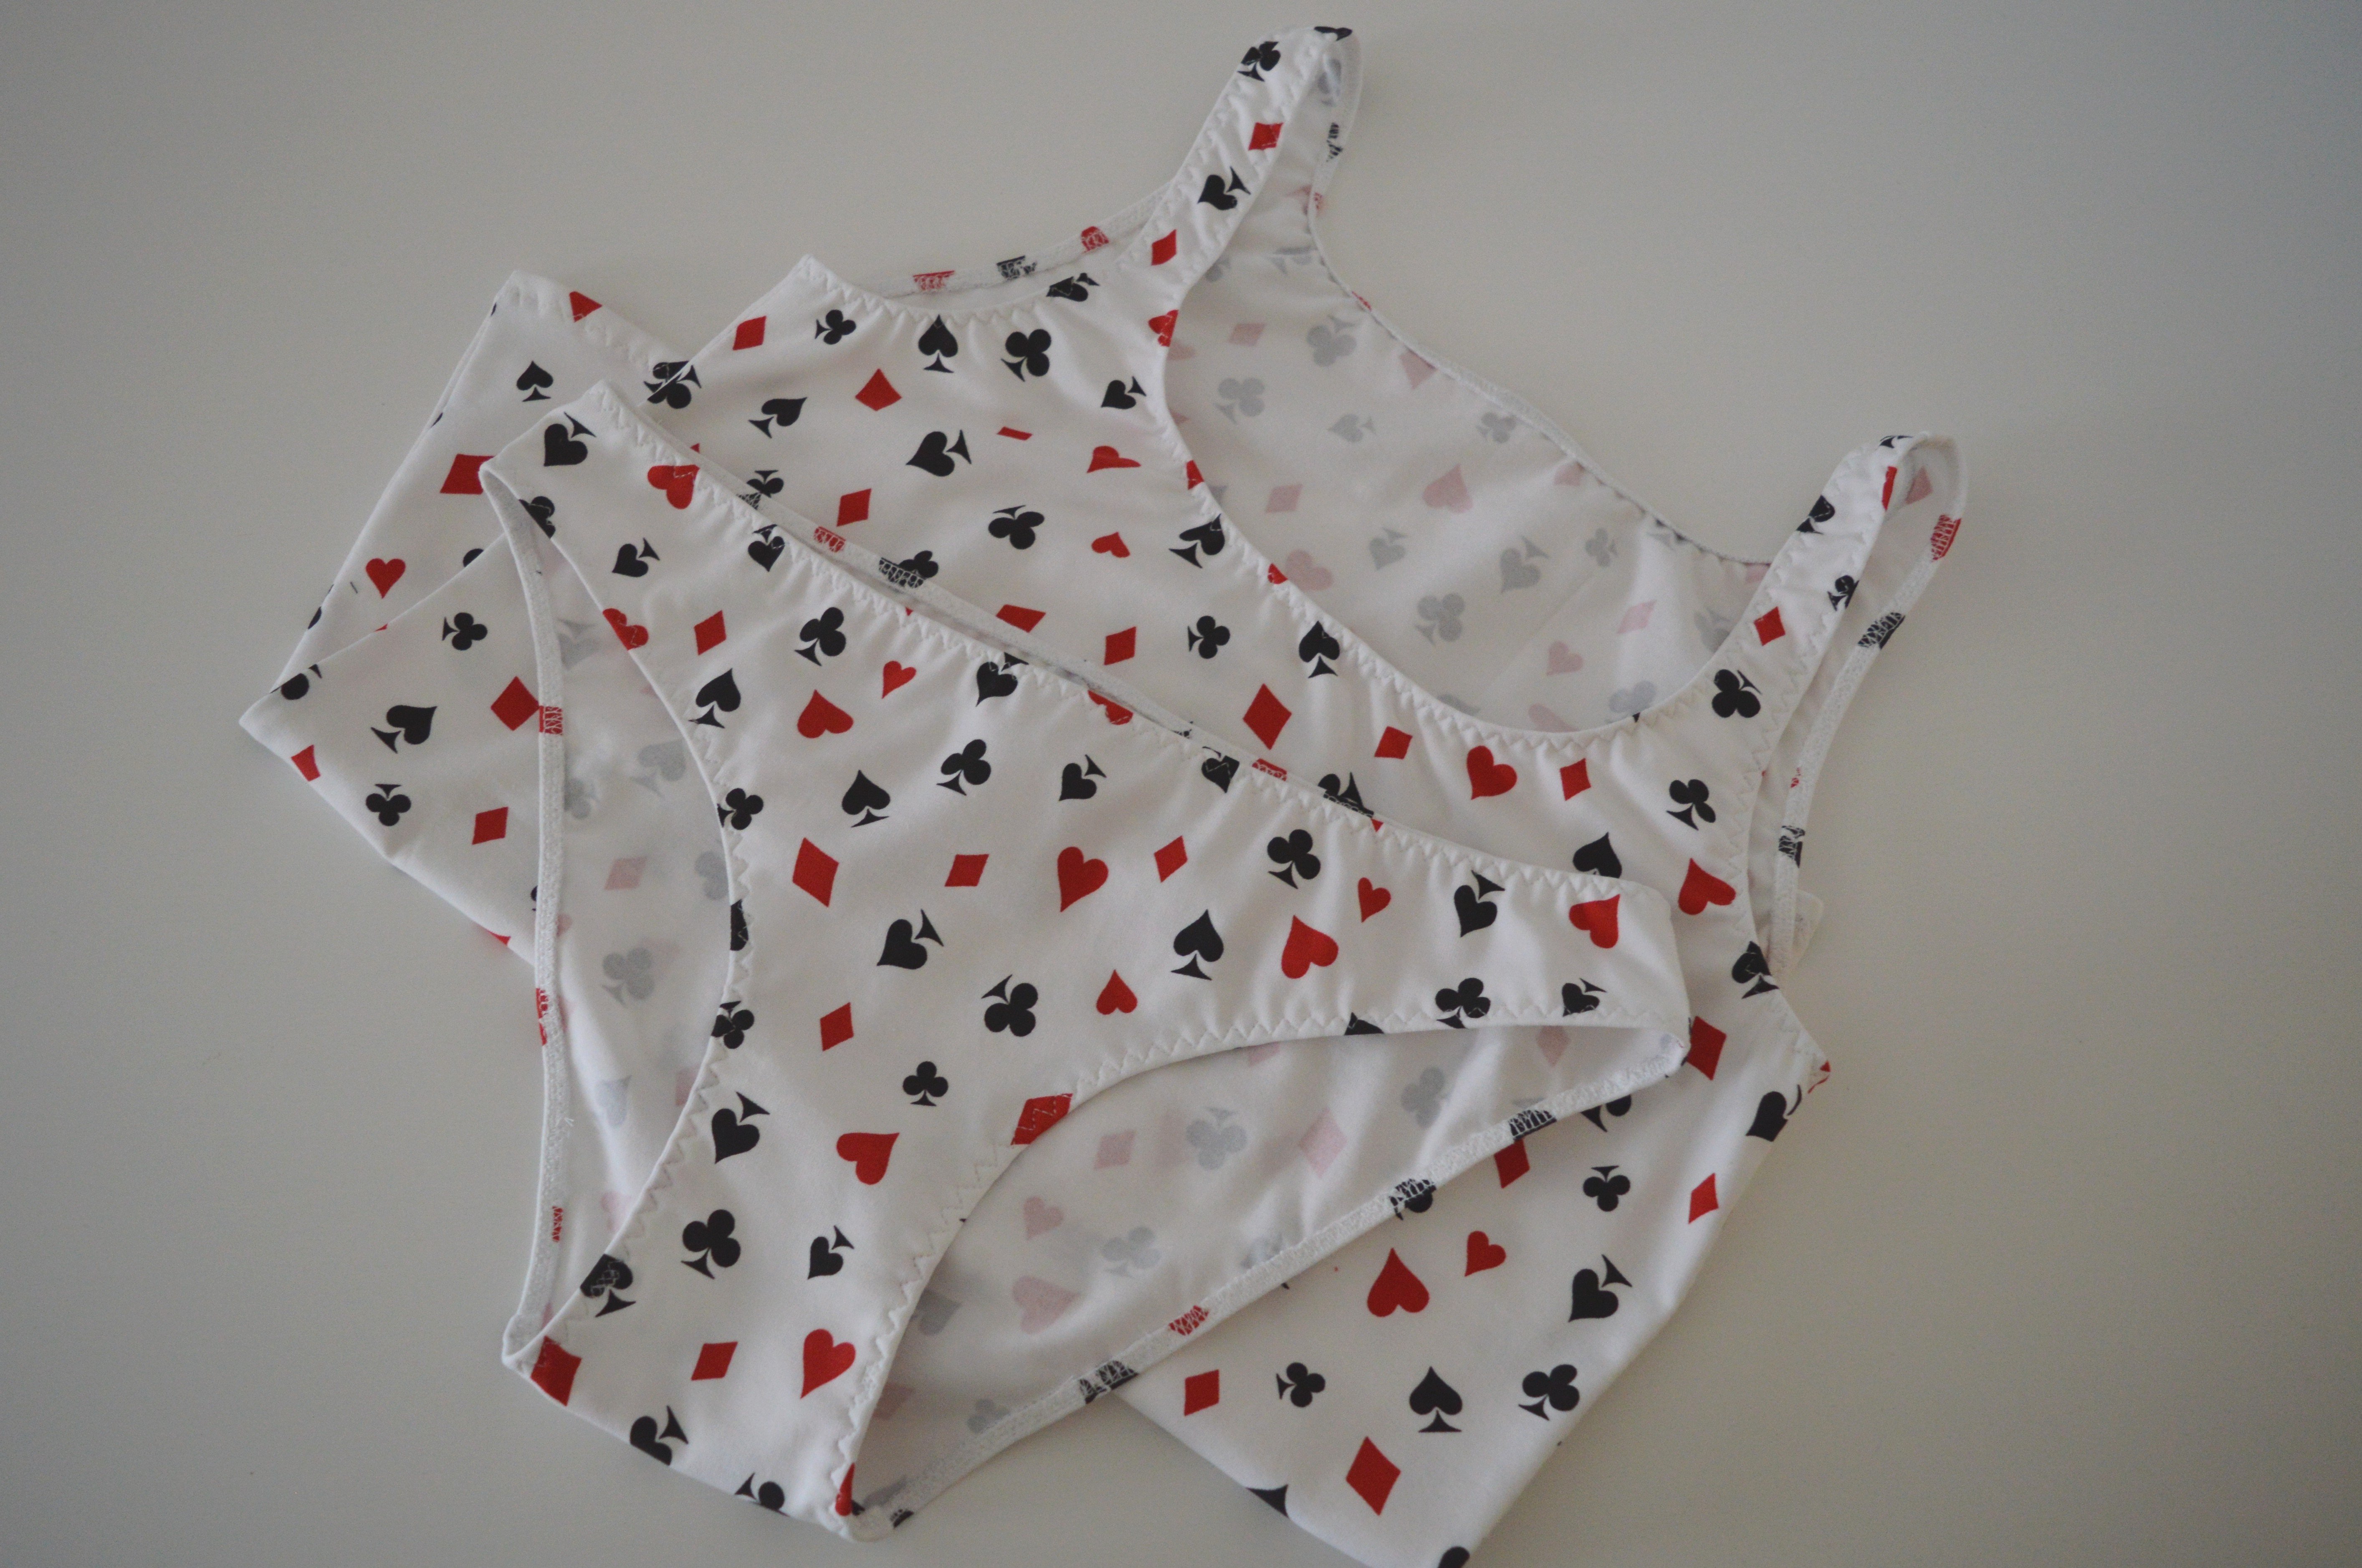
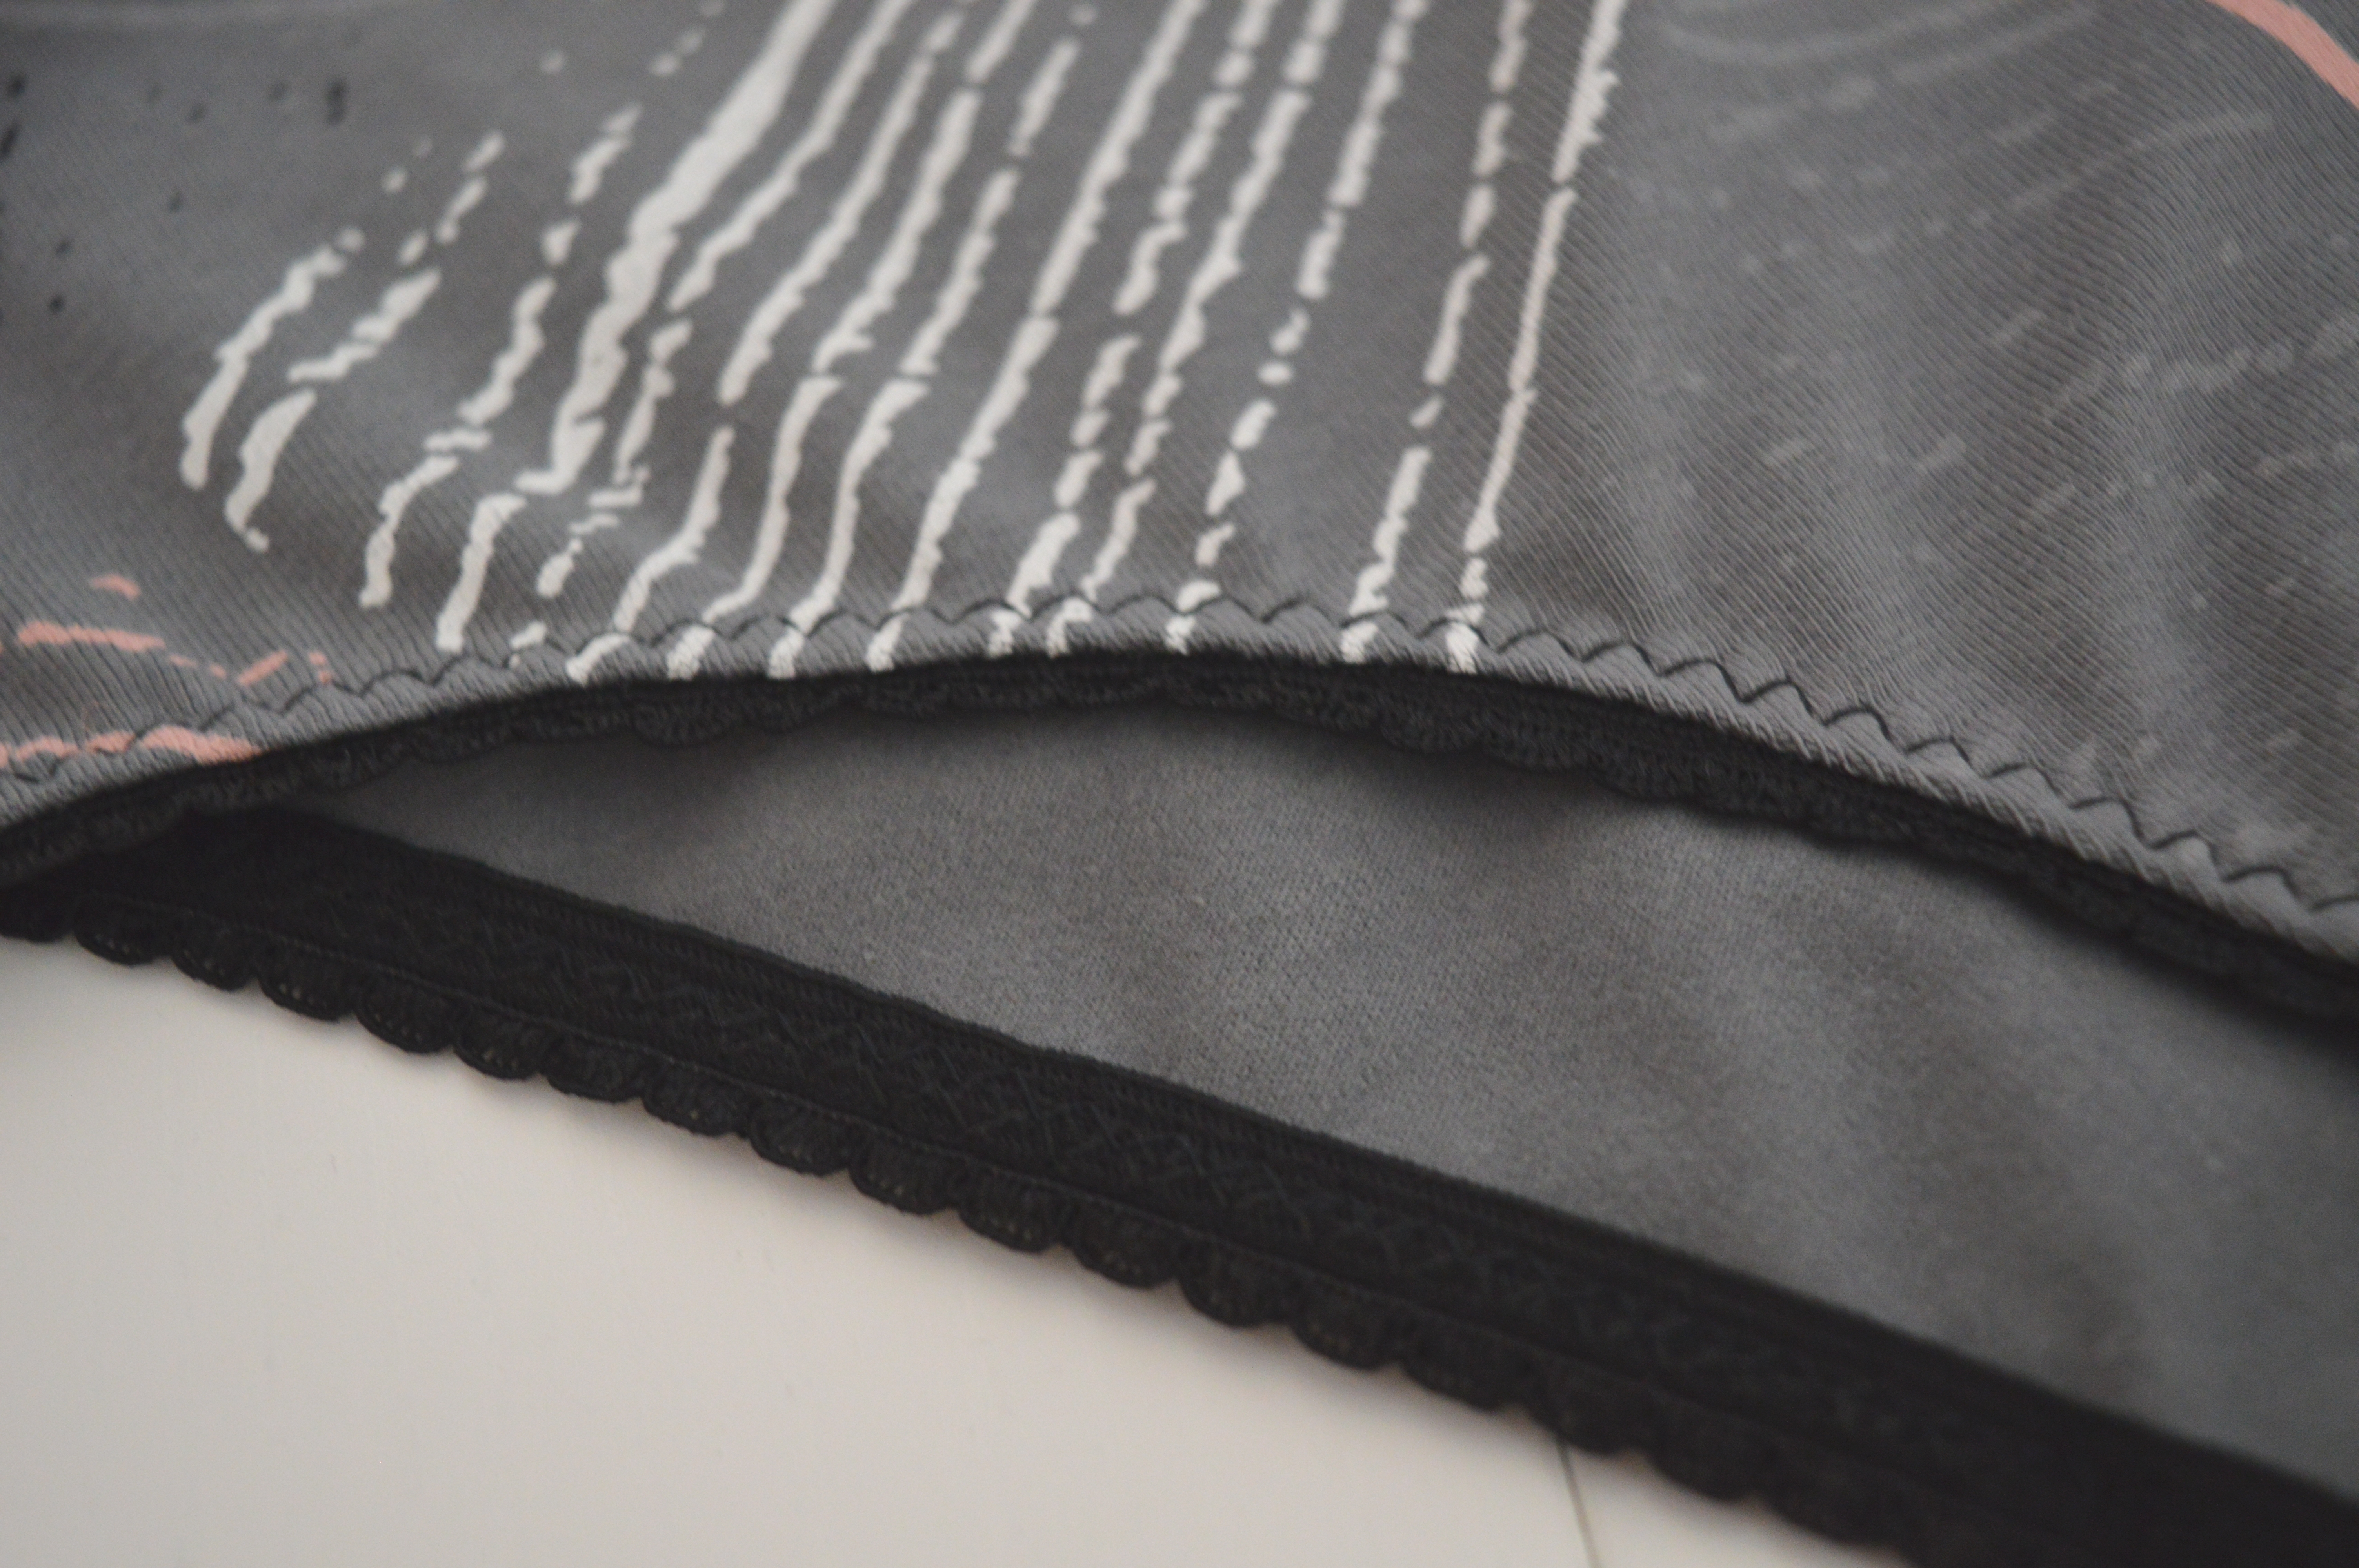
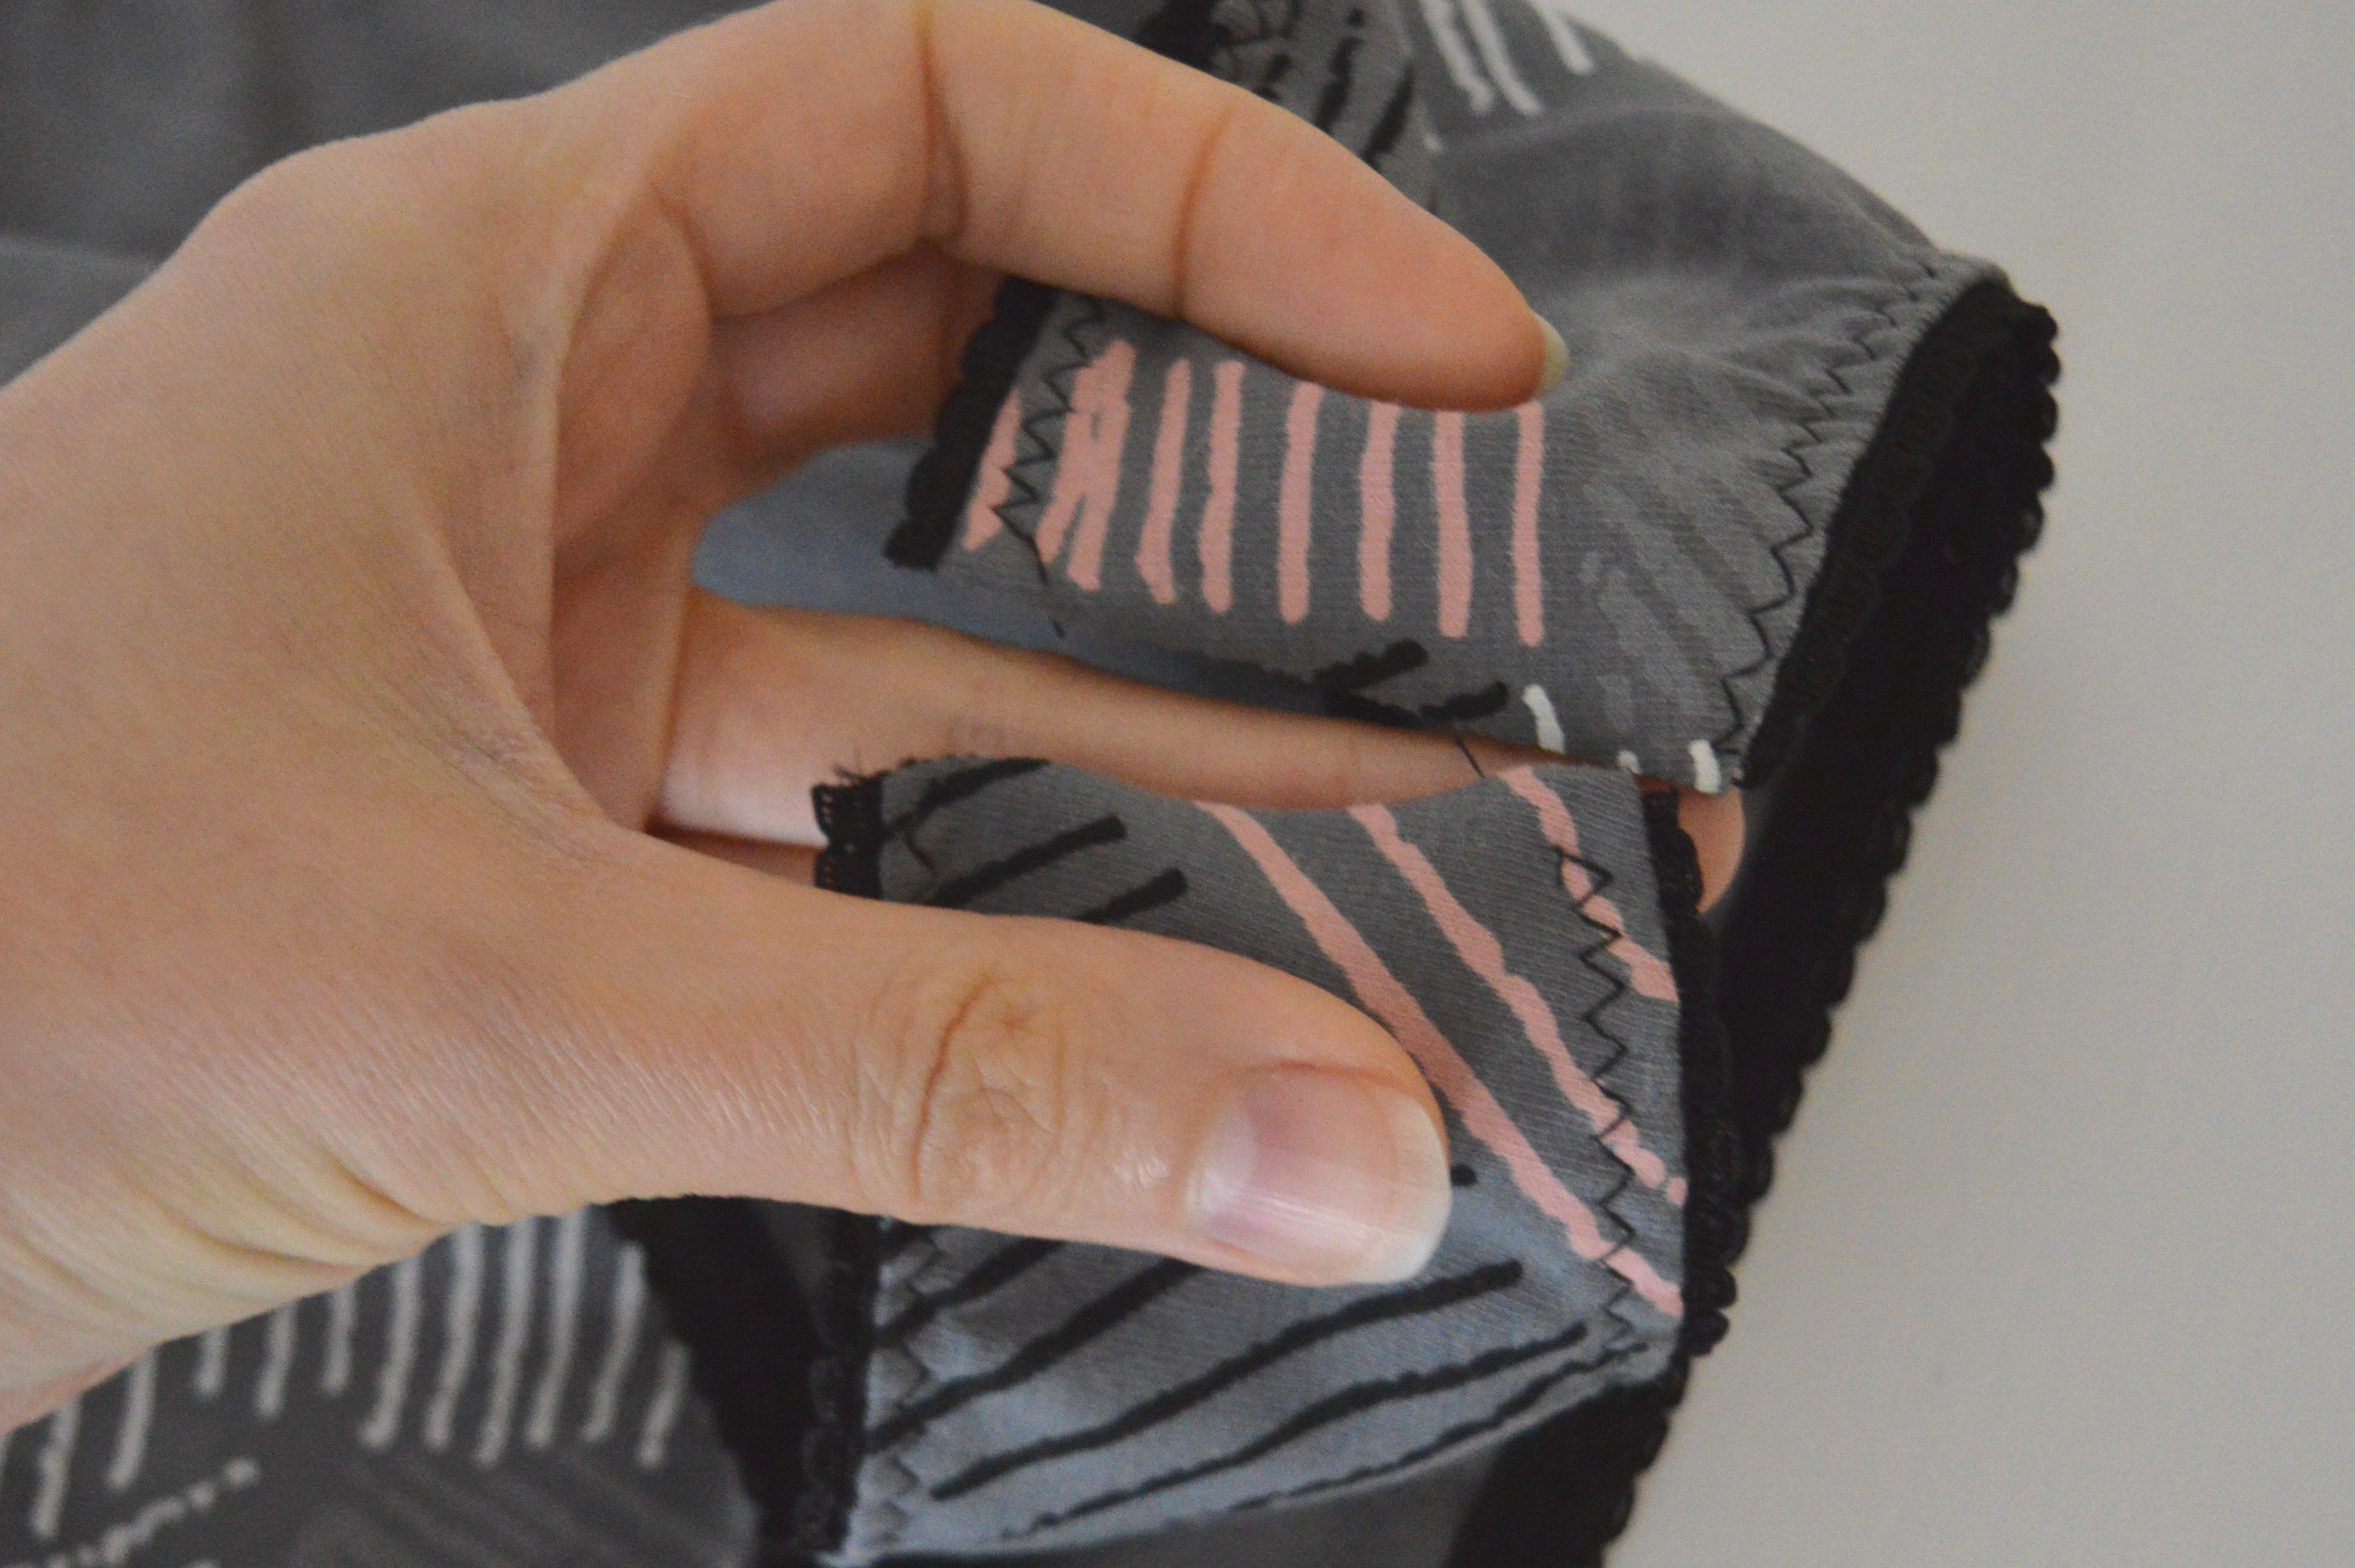
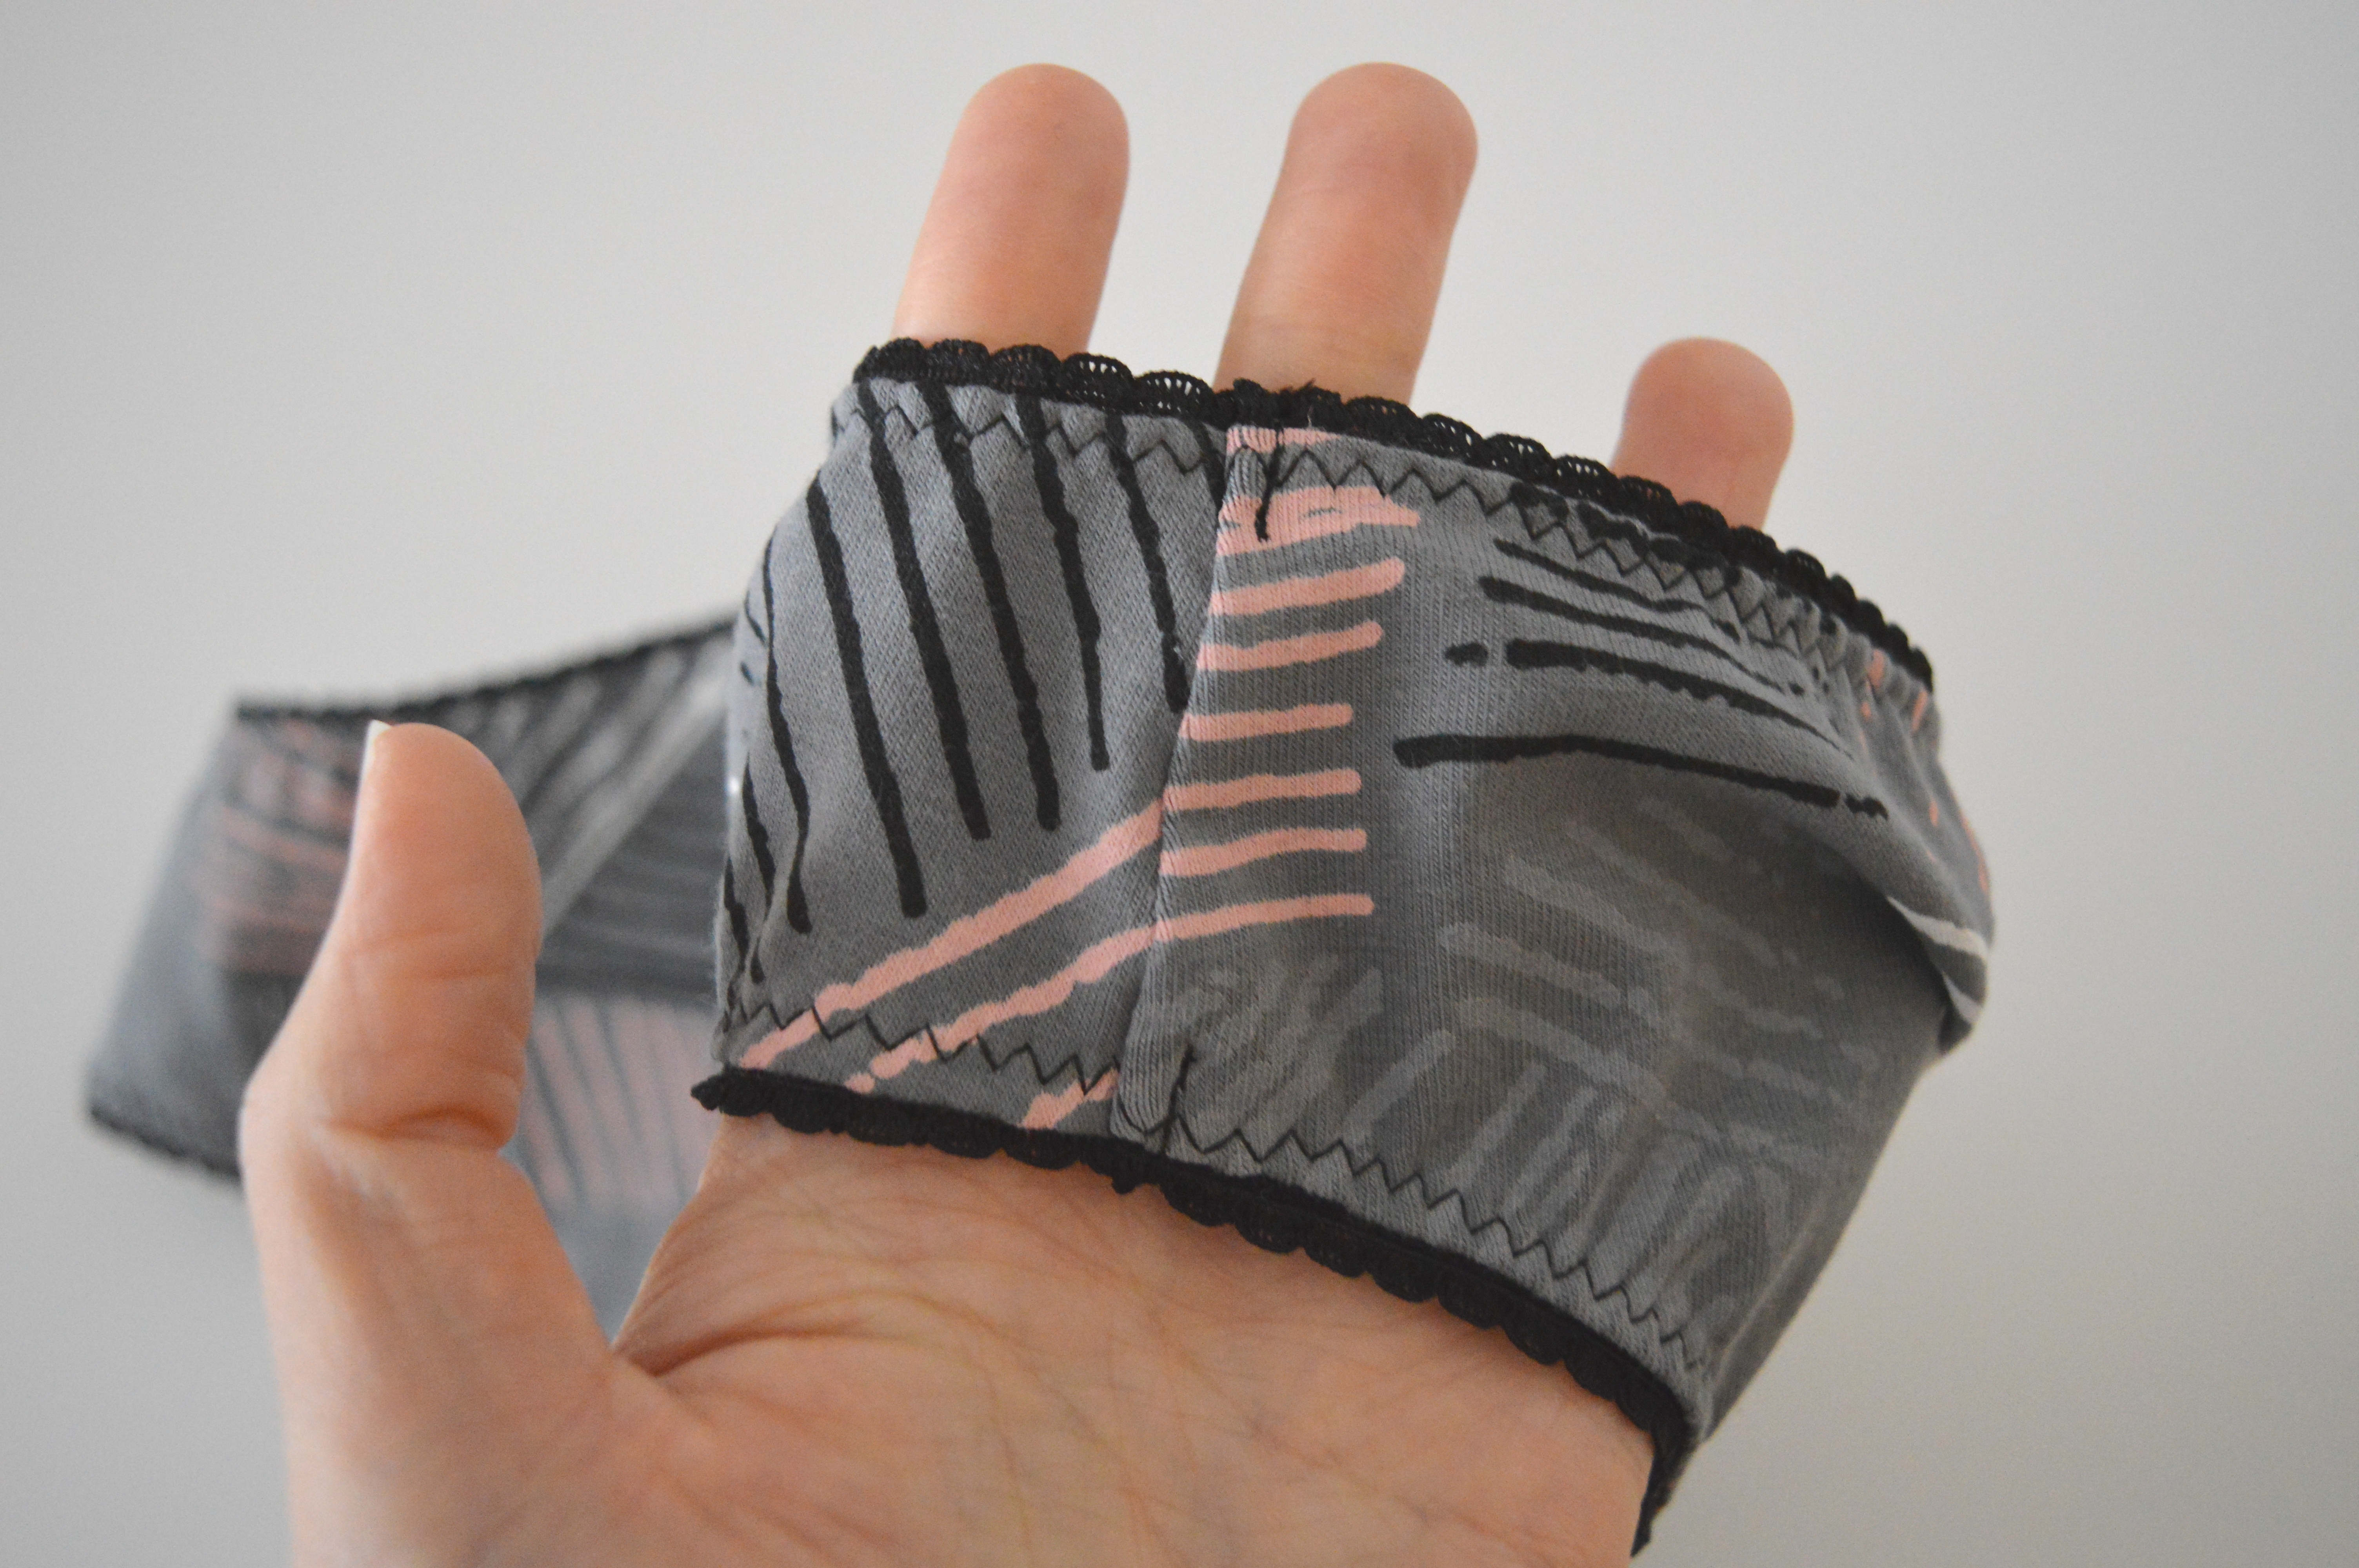
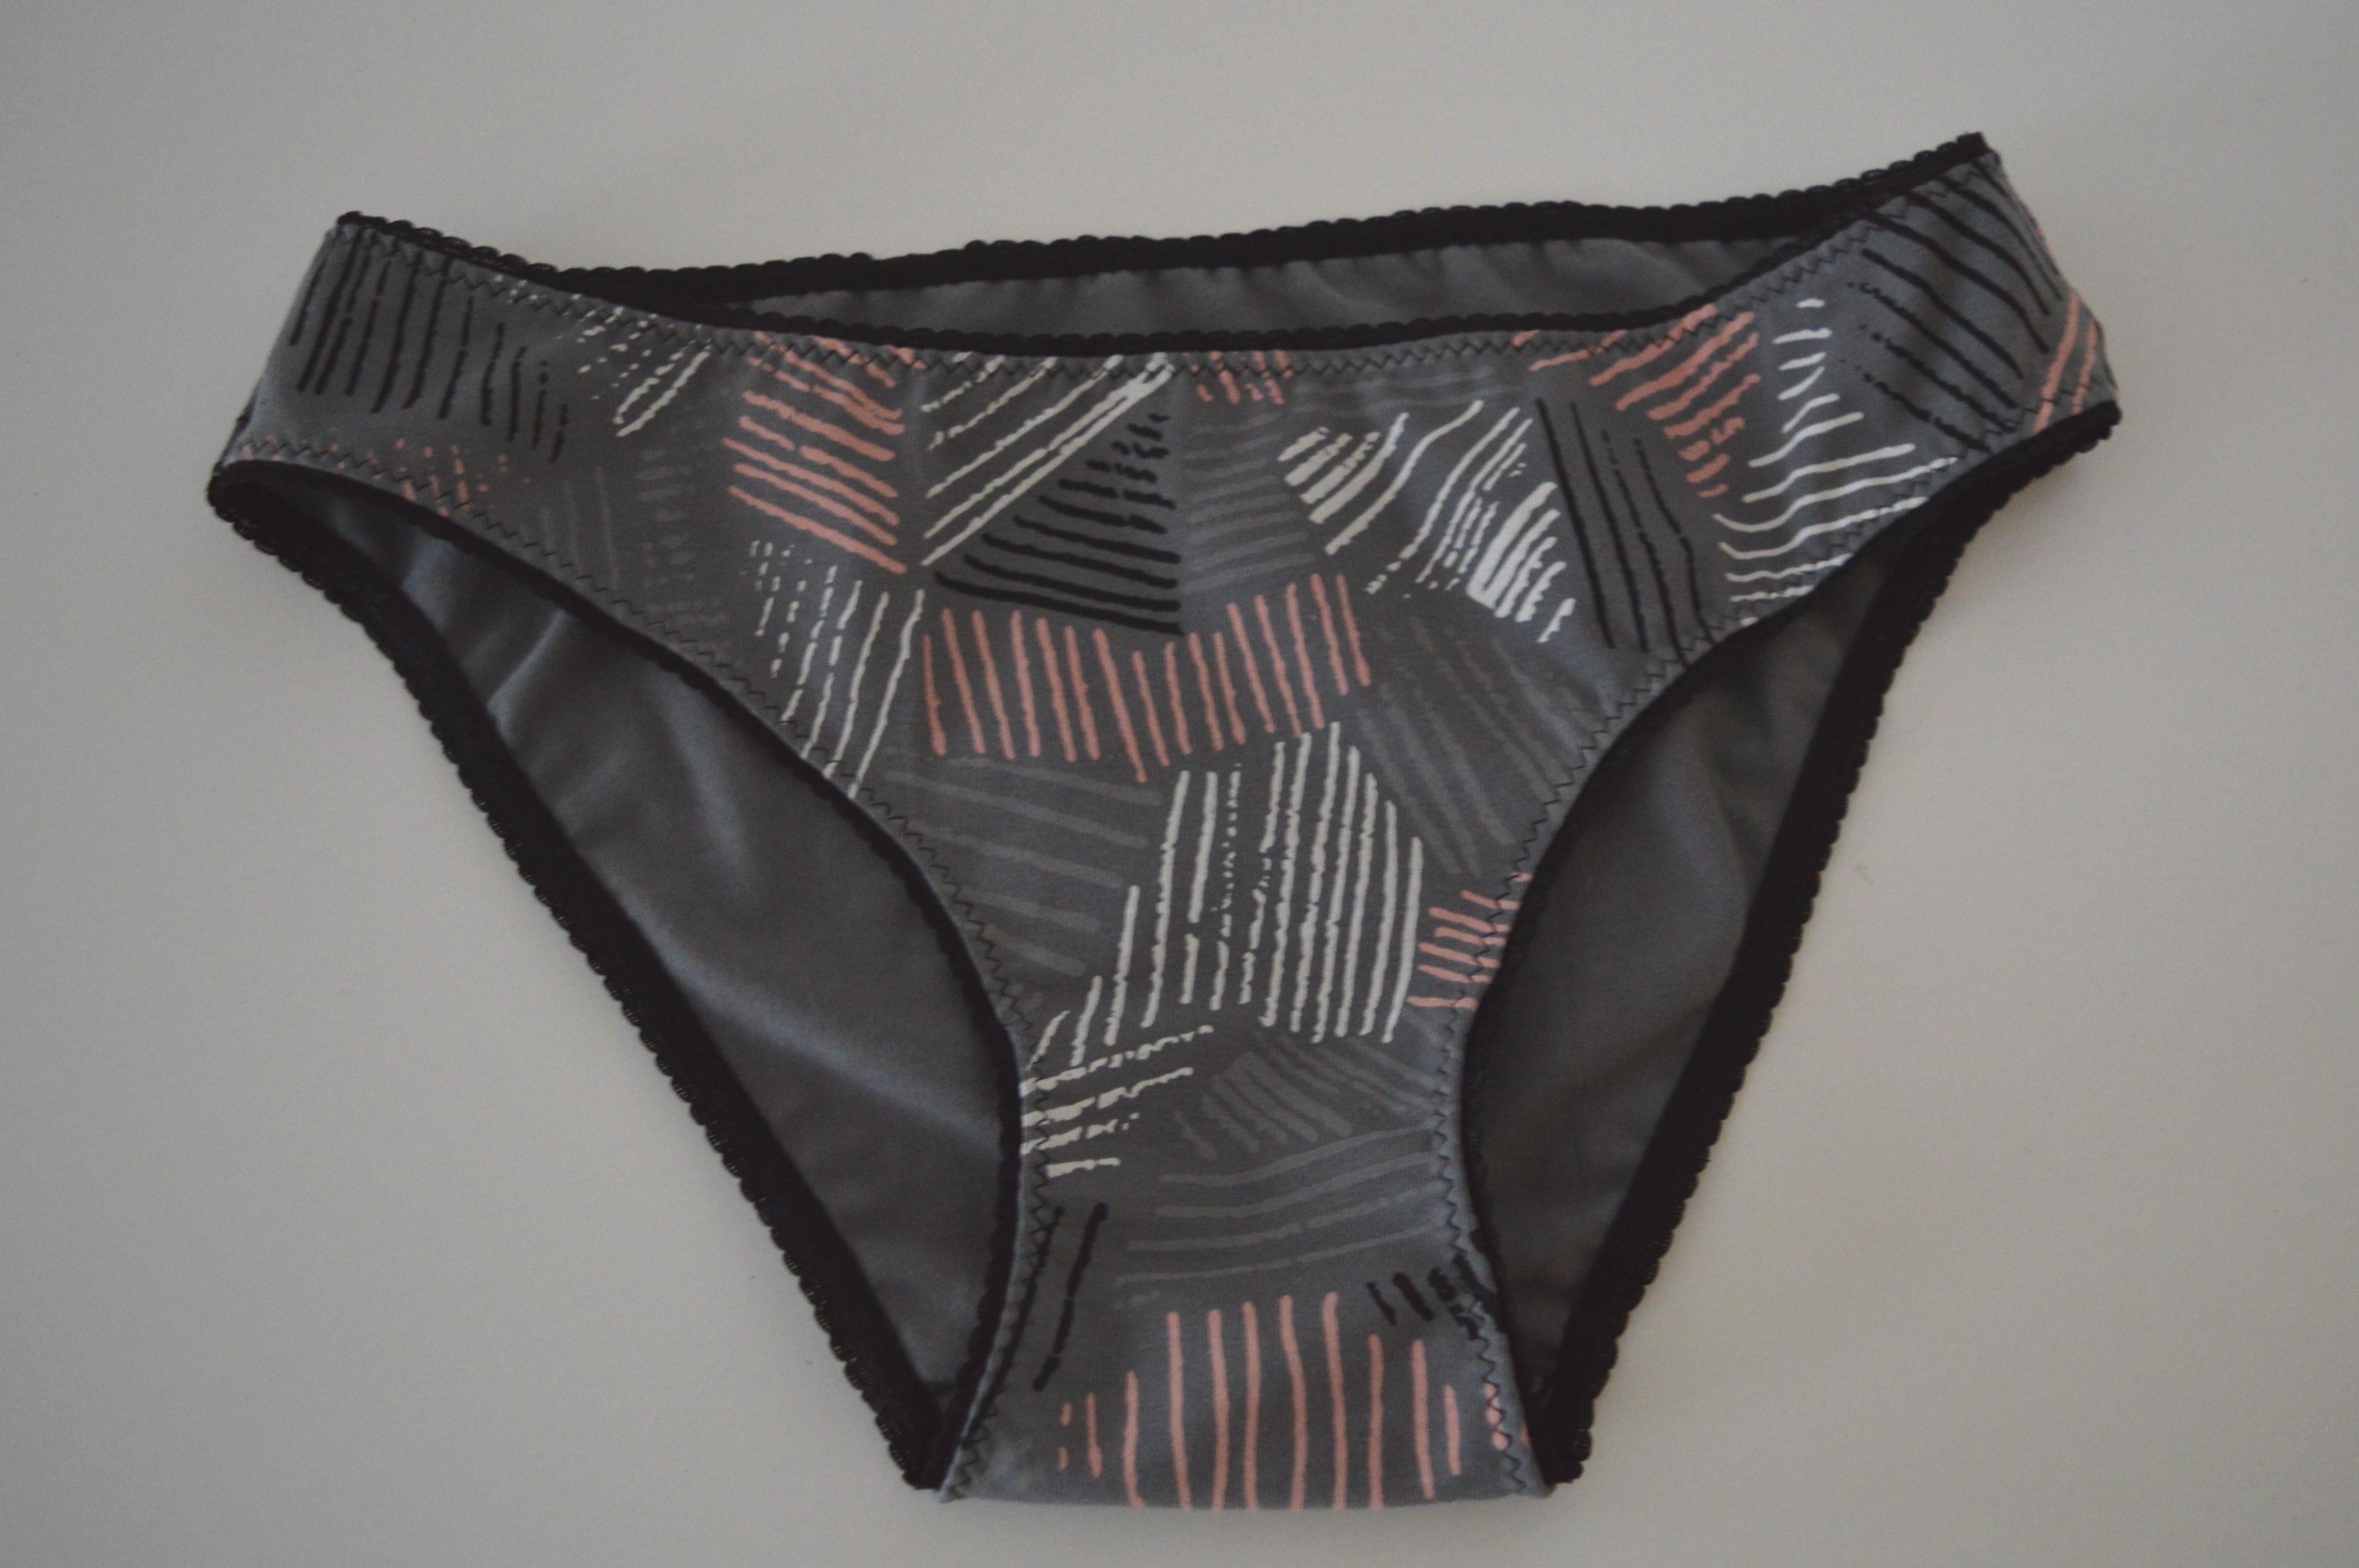
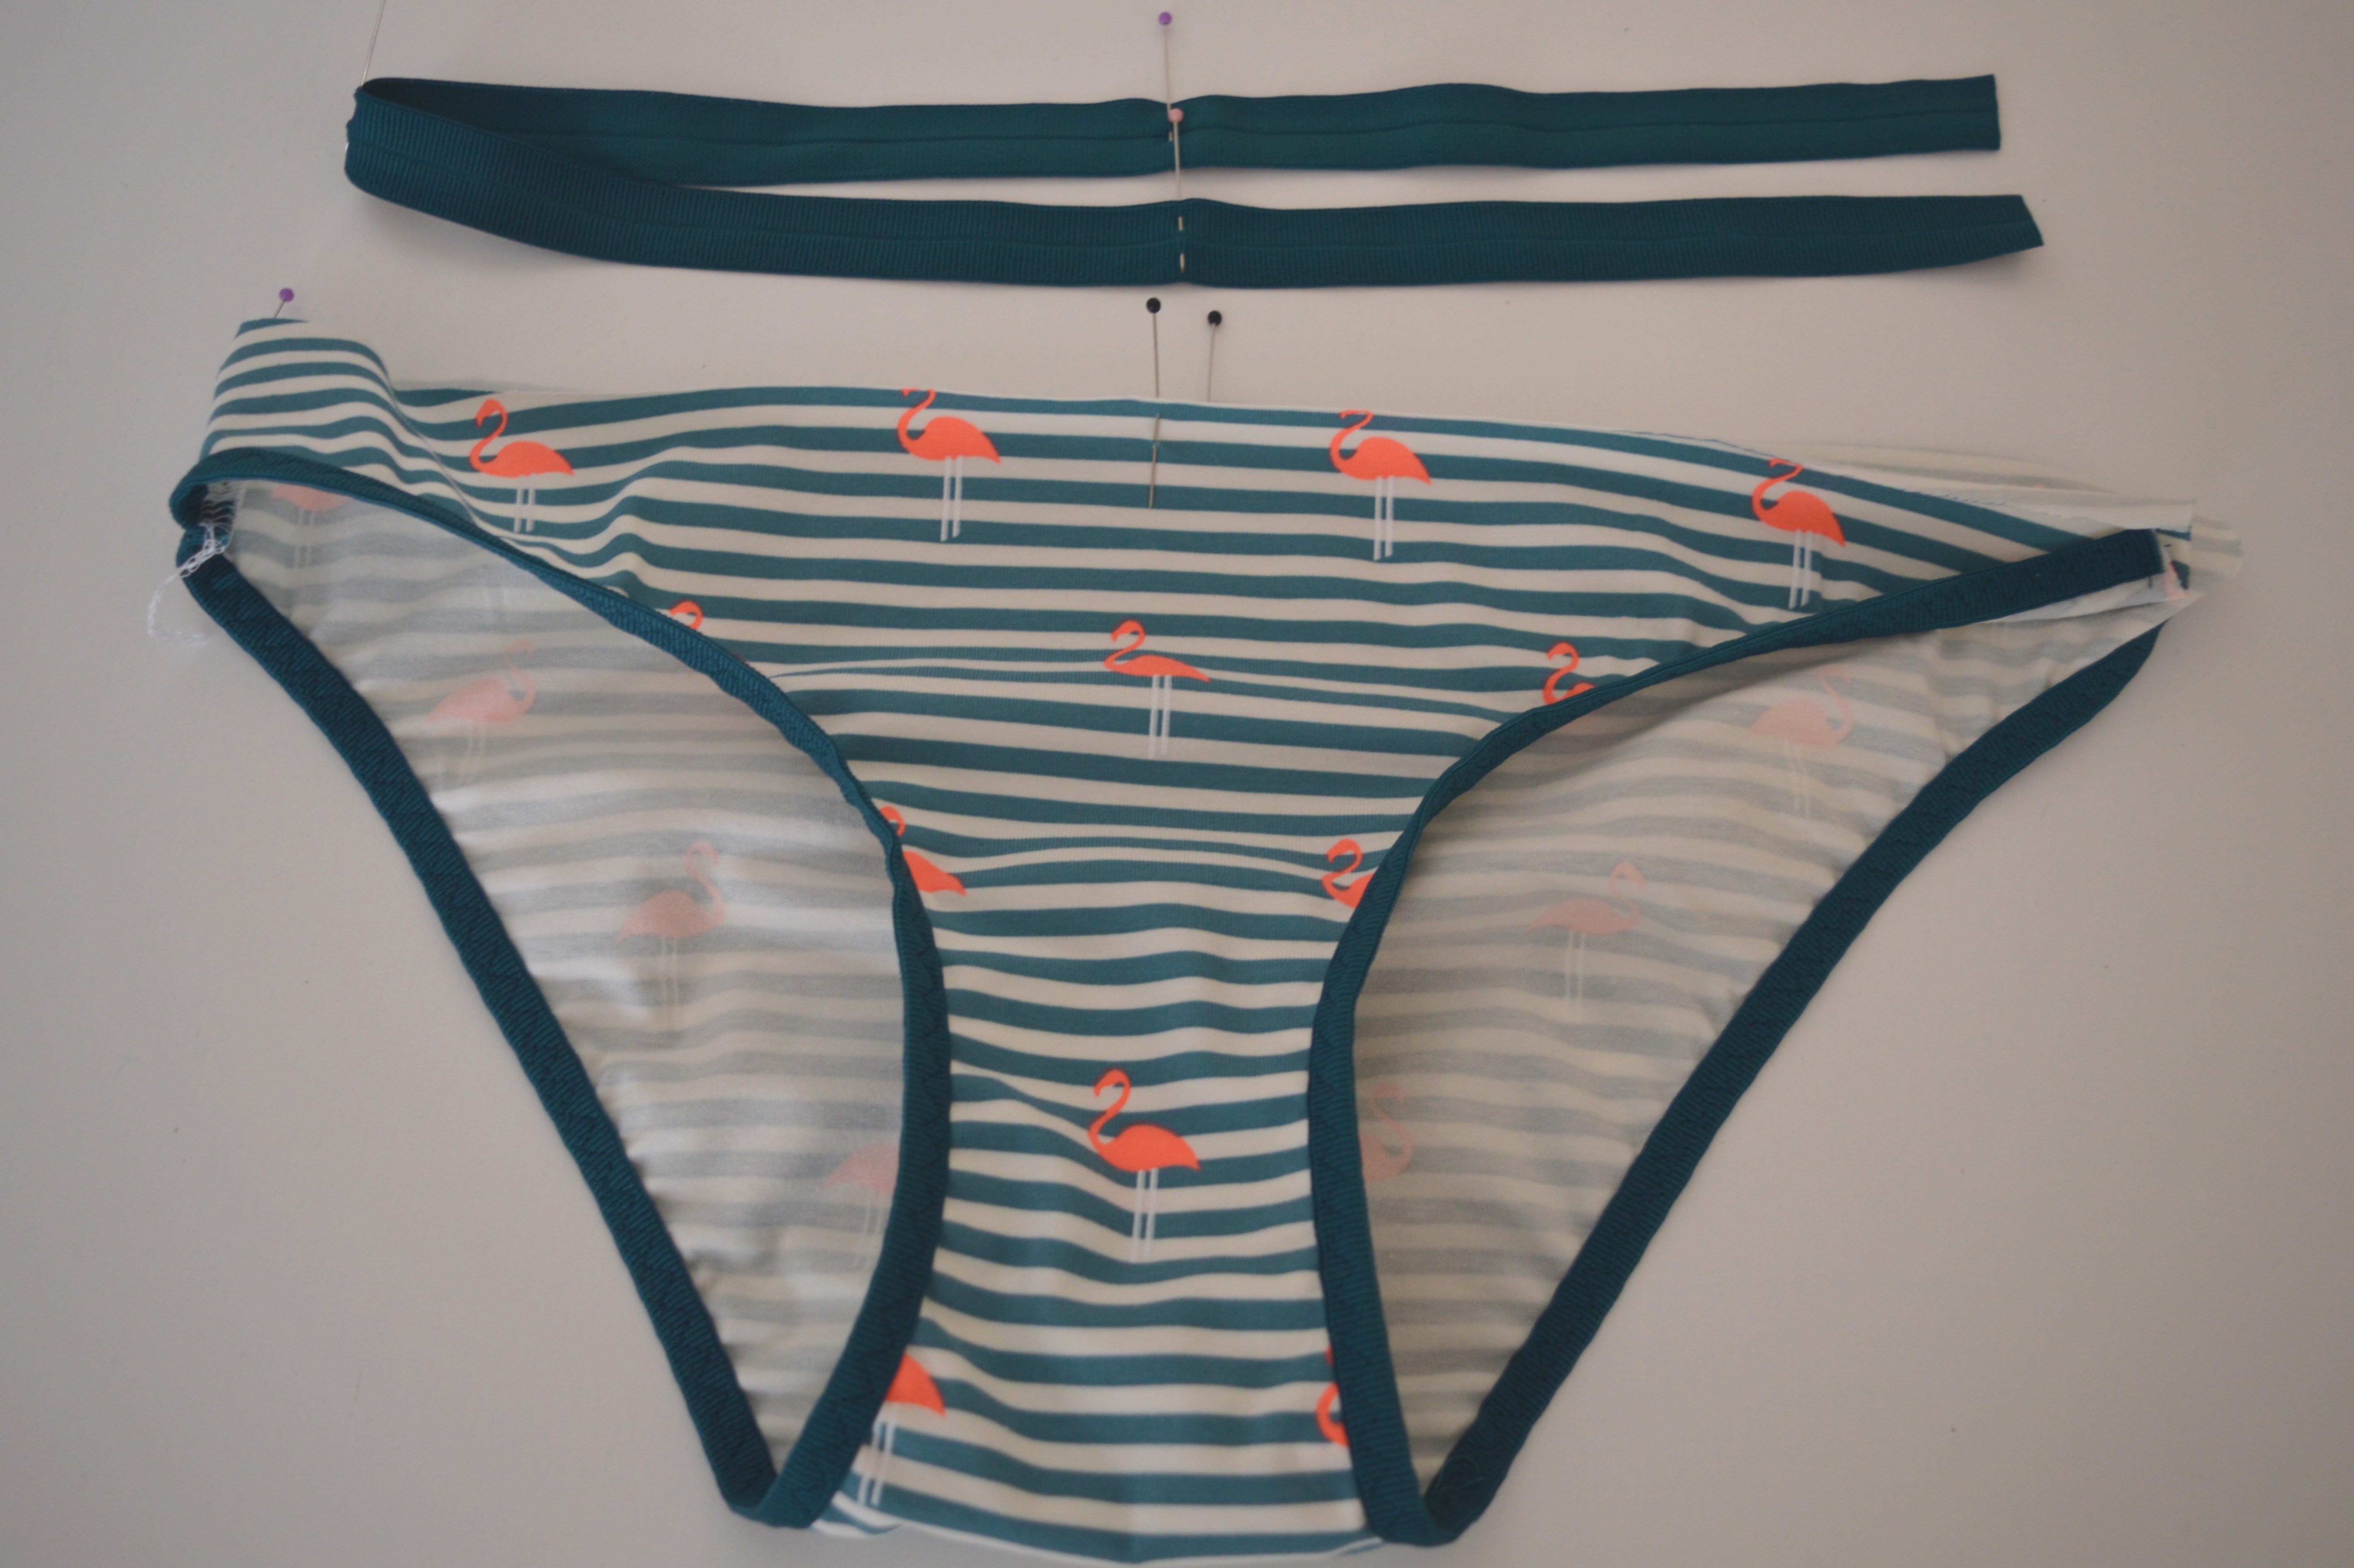
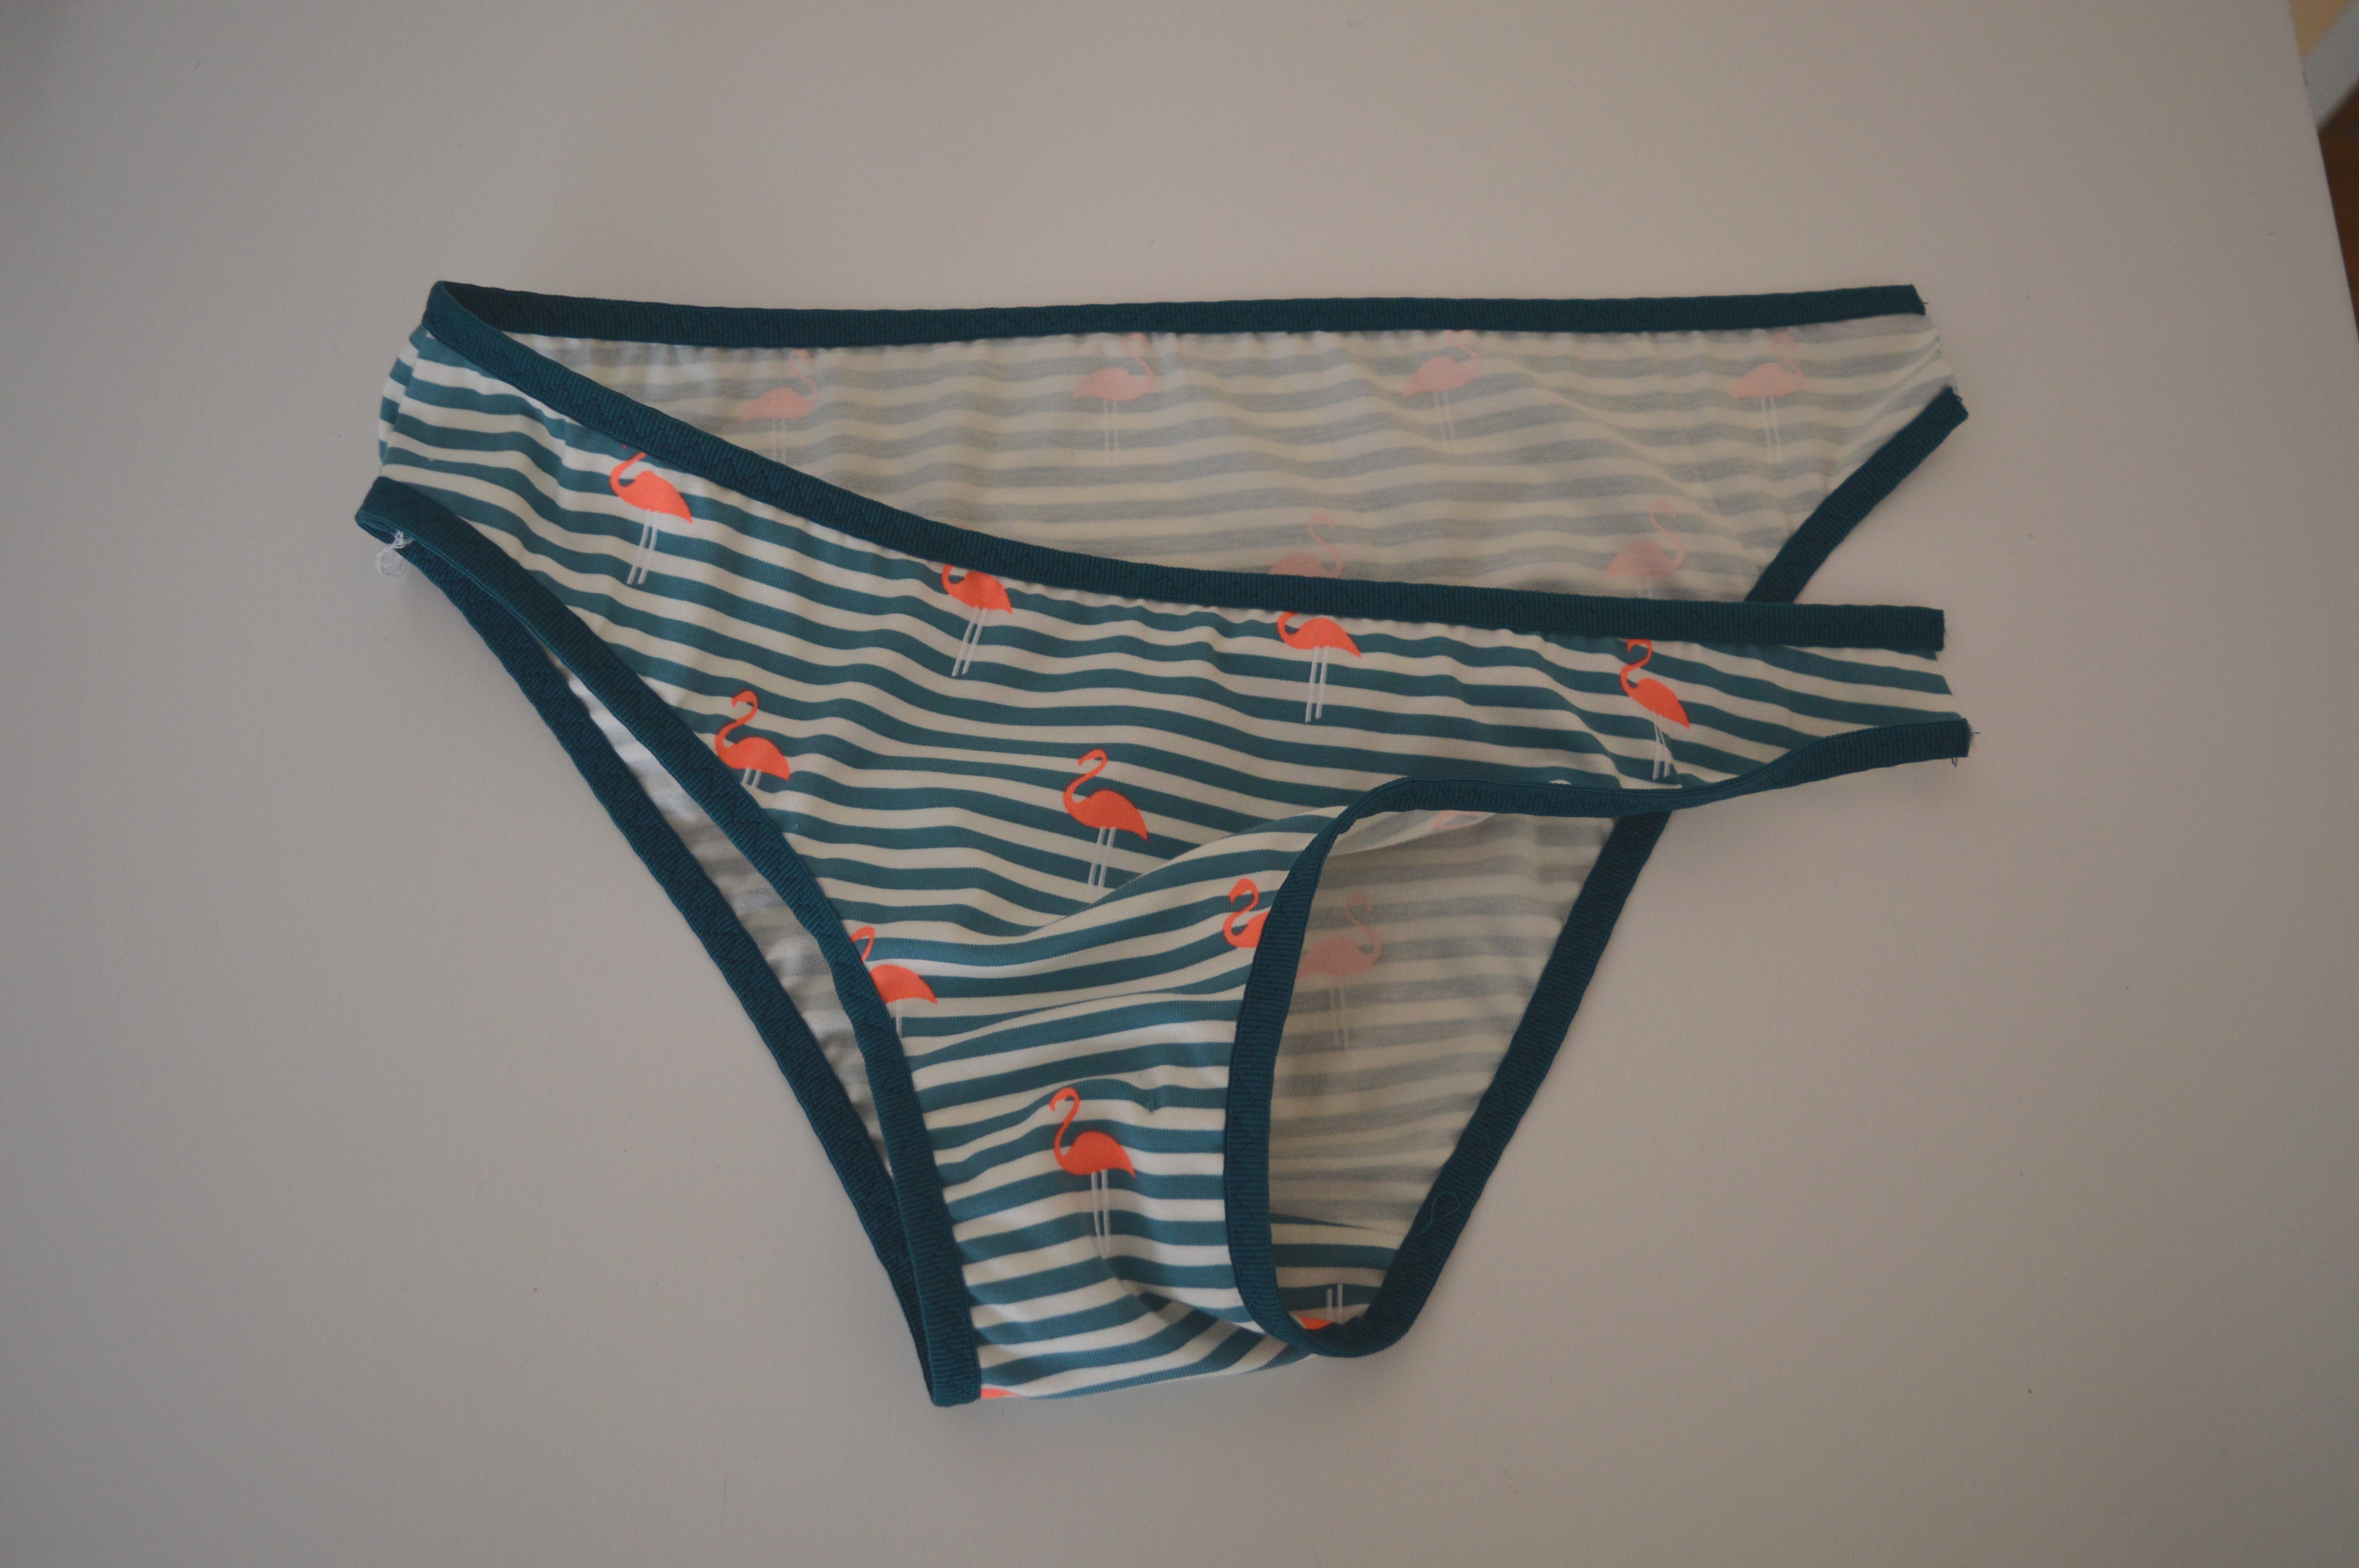
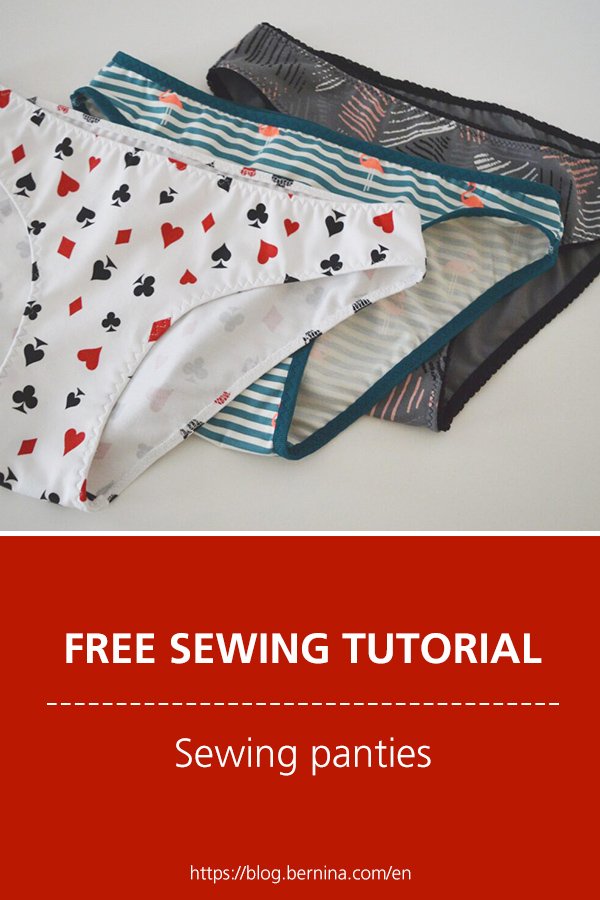
In the picture below, you can see differences in elastics on the panties.

As you can see in the previously written, the sewing of the panties using any of these three elastics is quite easy and straightforward. It is up to you to choose which one you want to use and make your own underwear.
You can always use a variety of elastic on one garment, but pay attention to the seams allowances.


0 Responses