 BERNINA Corporate Blog -
Hello everyone and welcome back to the BERNINA sewing blog. This month I want to talk to you about my whole sewing process from start to finish. Now, I am not as arrogant as to say that this is THE way to go about sewing. It’s just one way – you do you.
Personally, I like to keep my space very tidy and organized because otherwise this hobby would add to my stress and certainly not have a calming effect on me. That is just the way I roll, but you might be different. It also doesn’t take a lot to inspire me but the flipside of this is that I can get overwhelmed quite easily (with messes, with too much fabric, too many patterns, too many projects, etc.).
This is why over the last years I have developed a ‘process’ for me to go about sewing, so I don’t lose ideas or focus.
Finding inspiration
For me inspiration strikes everywhere: Watching TV shows, looking at other people’s clothes (trying not be too creepy and seam-stalk them) or the big one, Instagram. If I find a pattern that I like, I check out the hashtag on Instagram and subscribe to it. This way my feed gets filled with beautiful and inspiring makes from real people. Since I am curvy I can also check out how the pattern looks on different body shapes and sizes. Also, I subscribe to newsletters from pattern companies that I really like so I know what’s out there.
However, fabric inspired me the same way. When I look at online shops I tend to check out the colours and substrates I prefer and then just see what kind of fabric they stock. I rarely buy fabric without a project in mind. I can immediately see what I want to make.
Patterns
Whenever I buy a pattern, it’s usually to make something with it right away. I am into pdf-patterns which is why immediately after my purchase, I think about whether or not I want to stick it together or if I want to have it sent to a printer’s. I’m okay with sticking together about 30 pages, anything more just annoys me.
Usually I listen to podcasts while sticking together pdf patterns
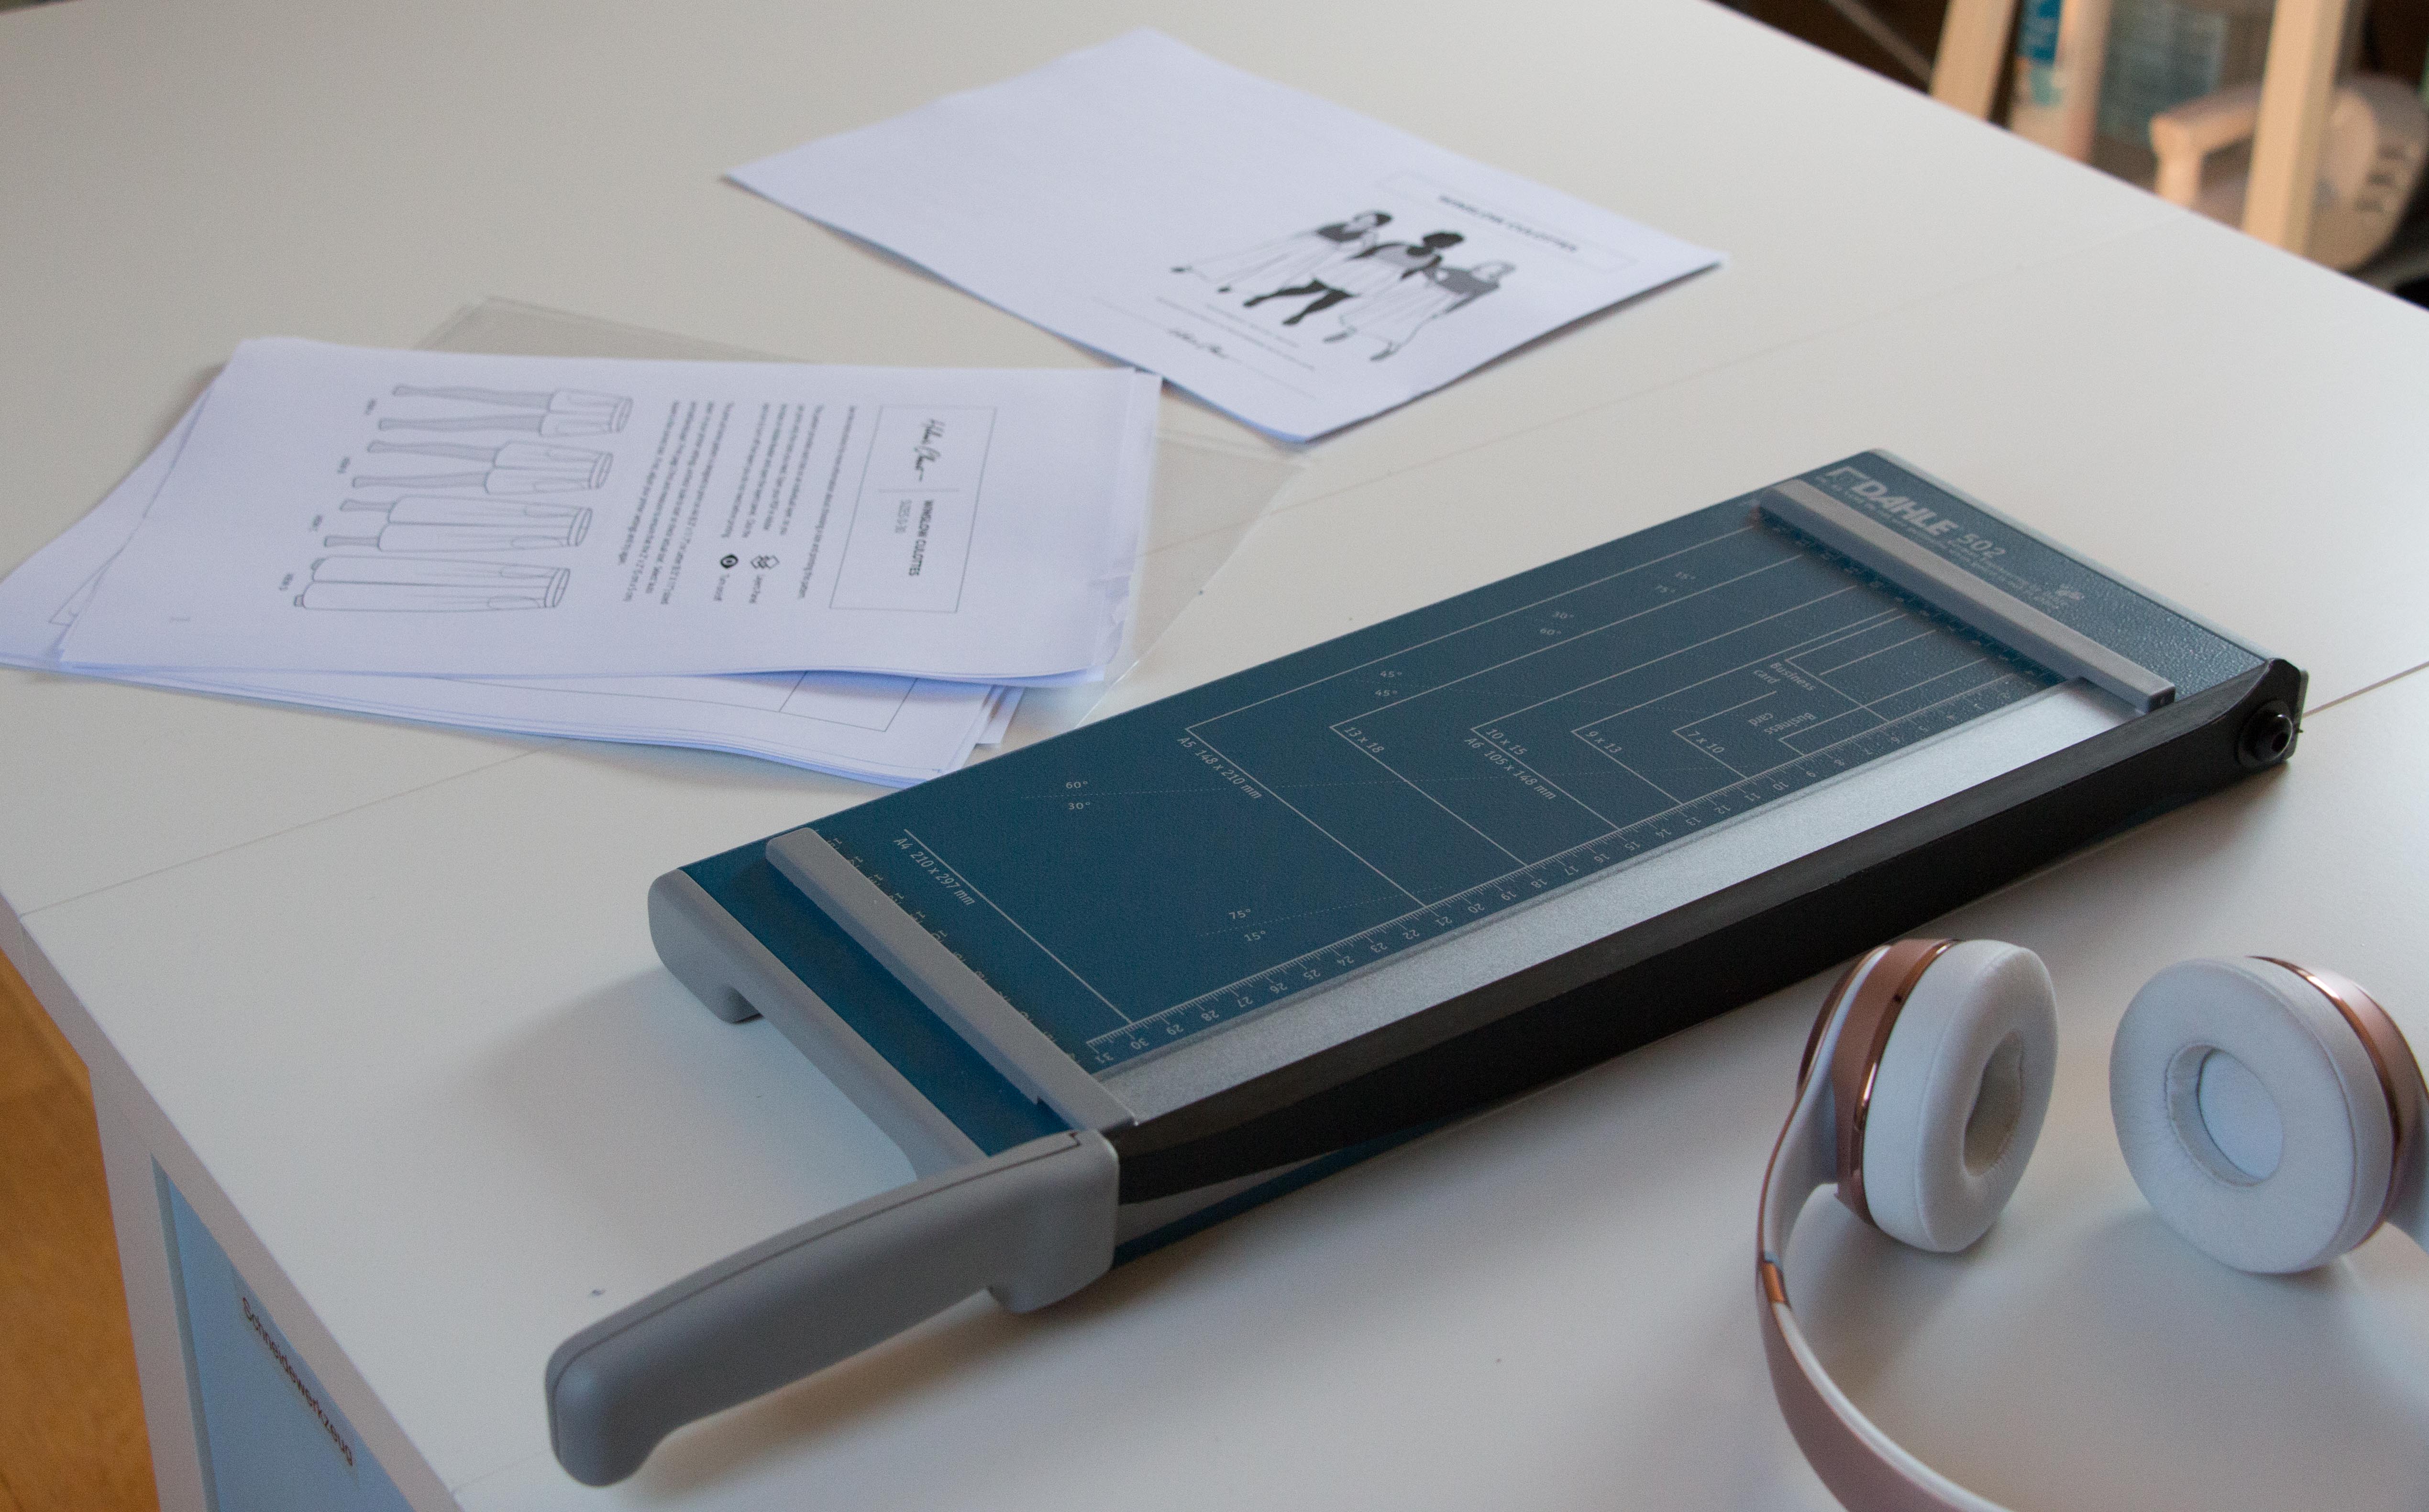
I always cut the bottom and the right side of a page and then stick together row by row first and only when I am done with all the rows assemble them.
I prepare a pattern envelope with the pattern picture and the measurements/fabric requirements on the front. When the pattern is ready (either it has arrived from the printer’s or after I stuck it together) I print out the instructions and make a booklet.
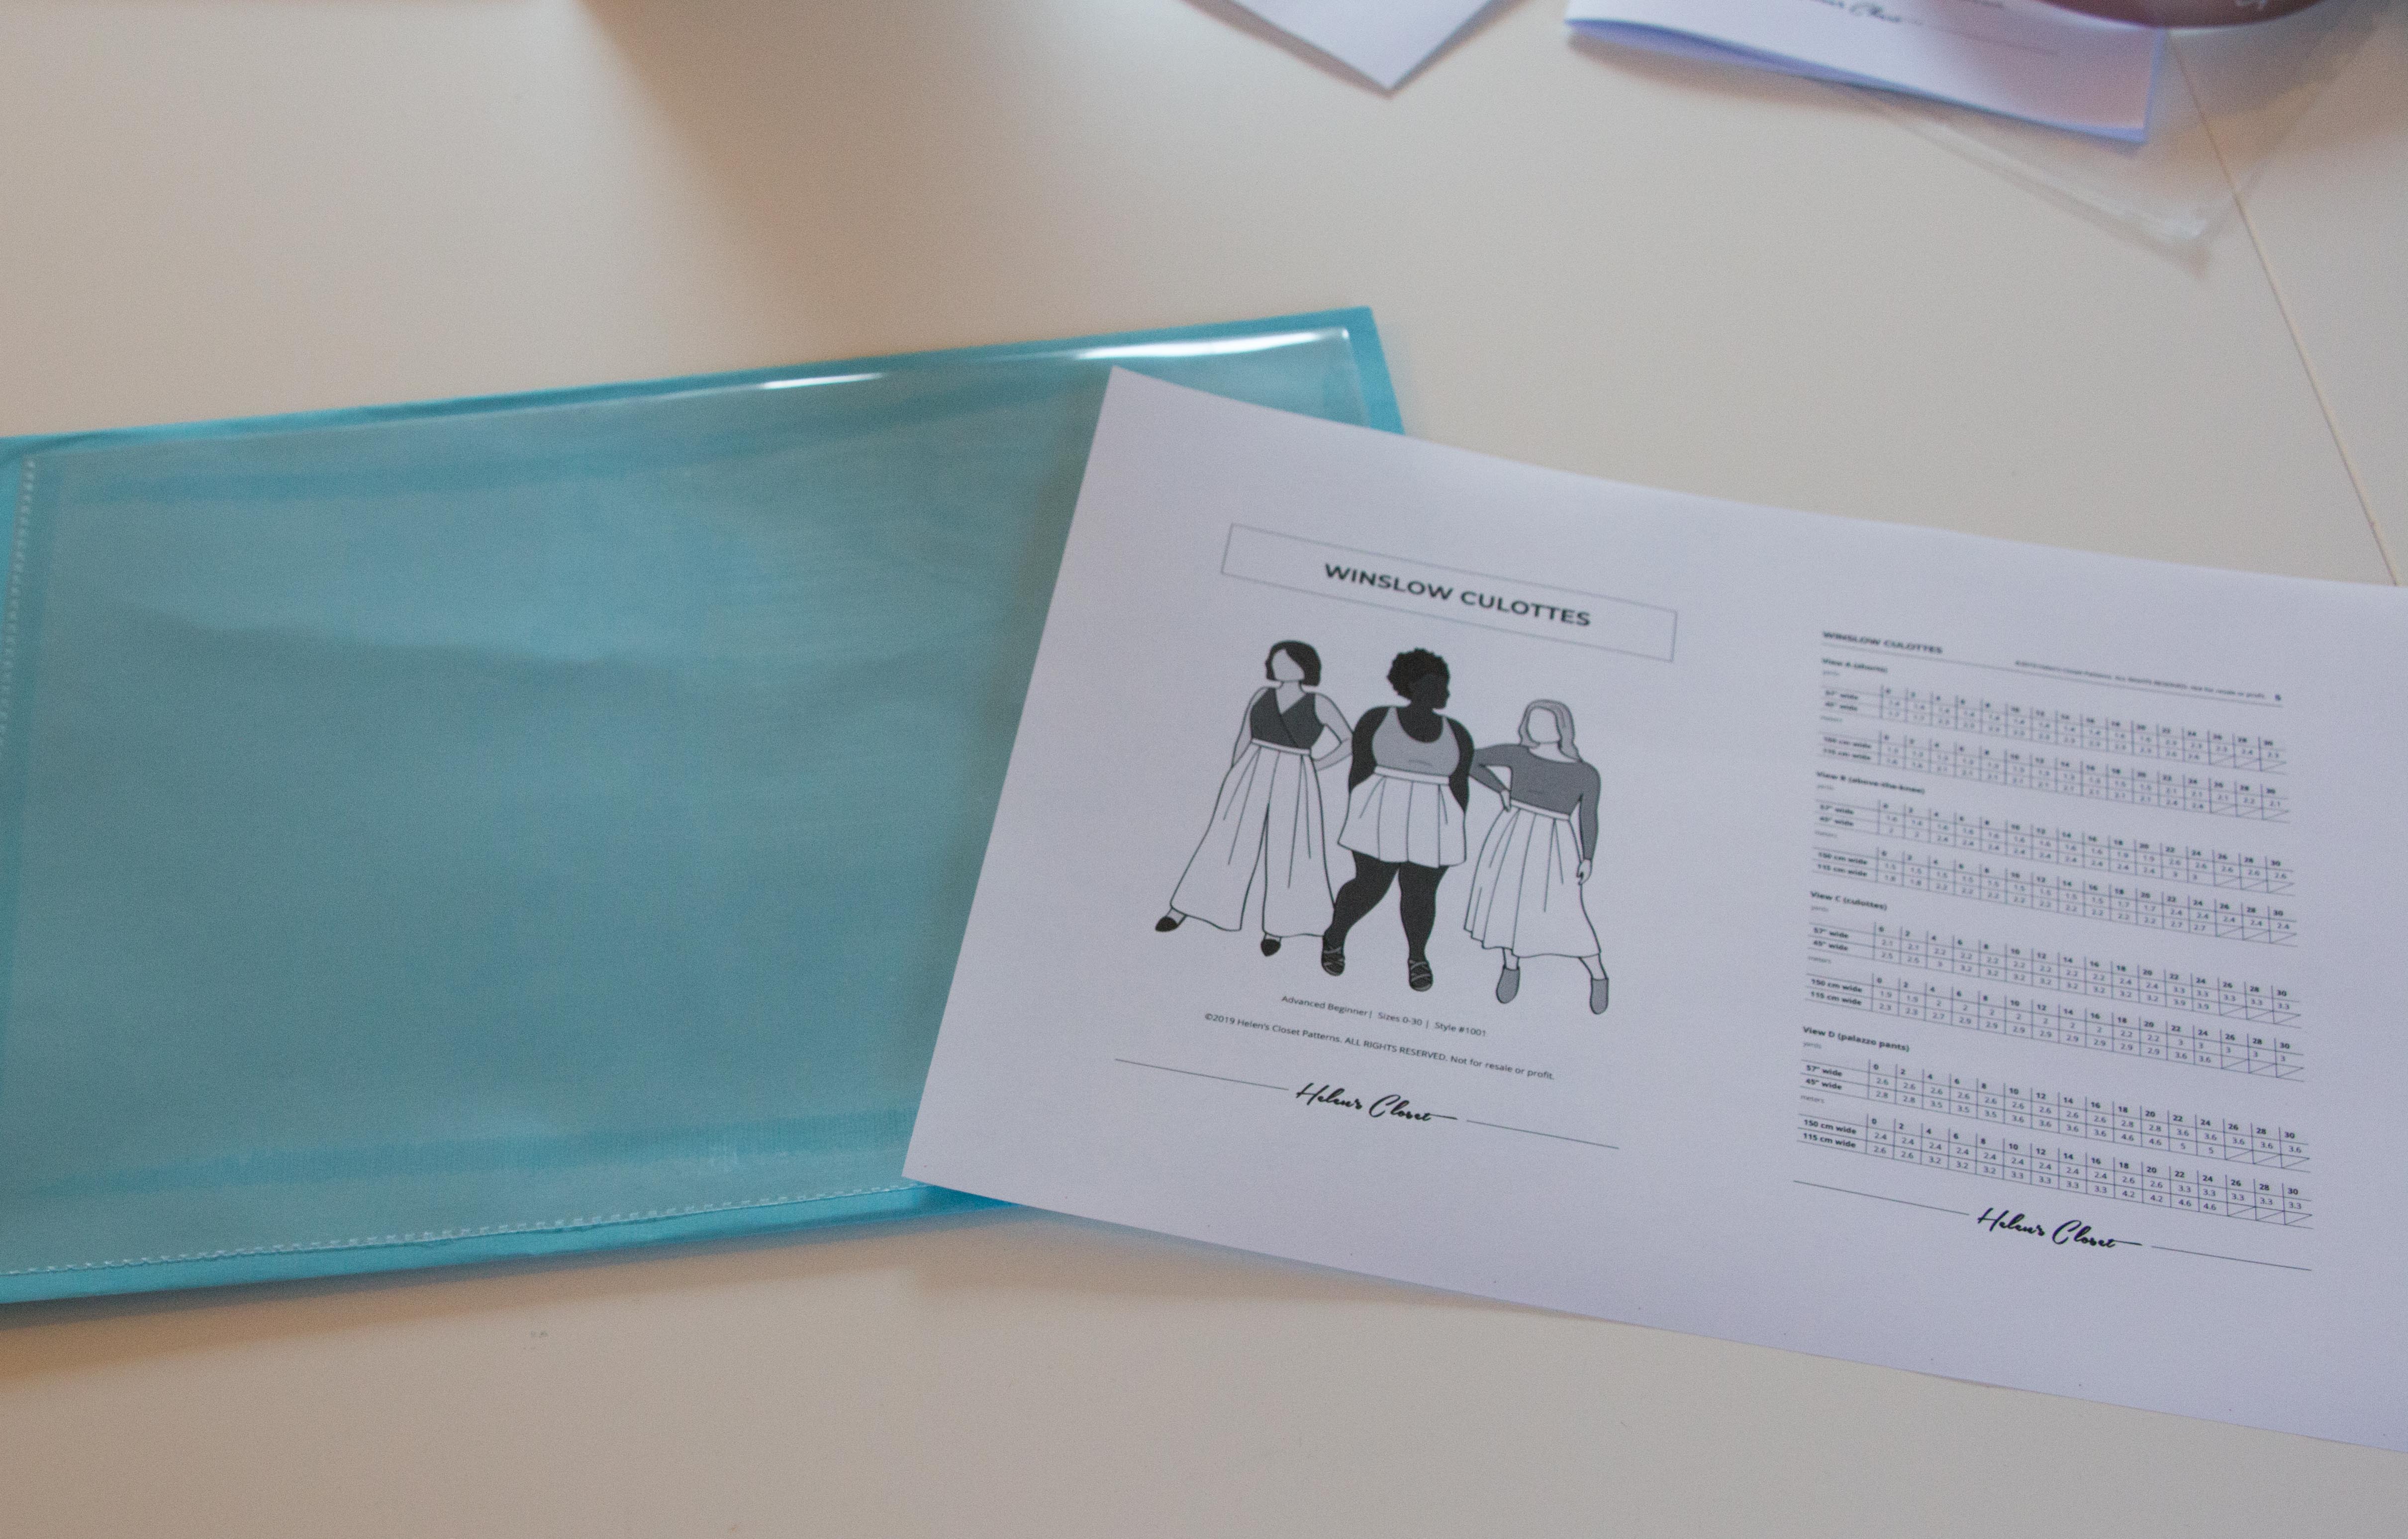
The prepared envelope
At the same time, I add the pattern to my Trello board, so I always know (even when I am in a fabric shop or somewhere else) which patterns I have. I included the sizing information on the card, the link to the online shop and a picture. I’ve sorted my patterns in my Trello board according to garment type.
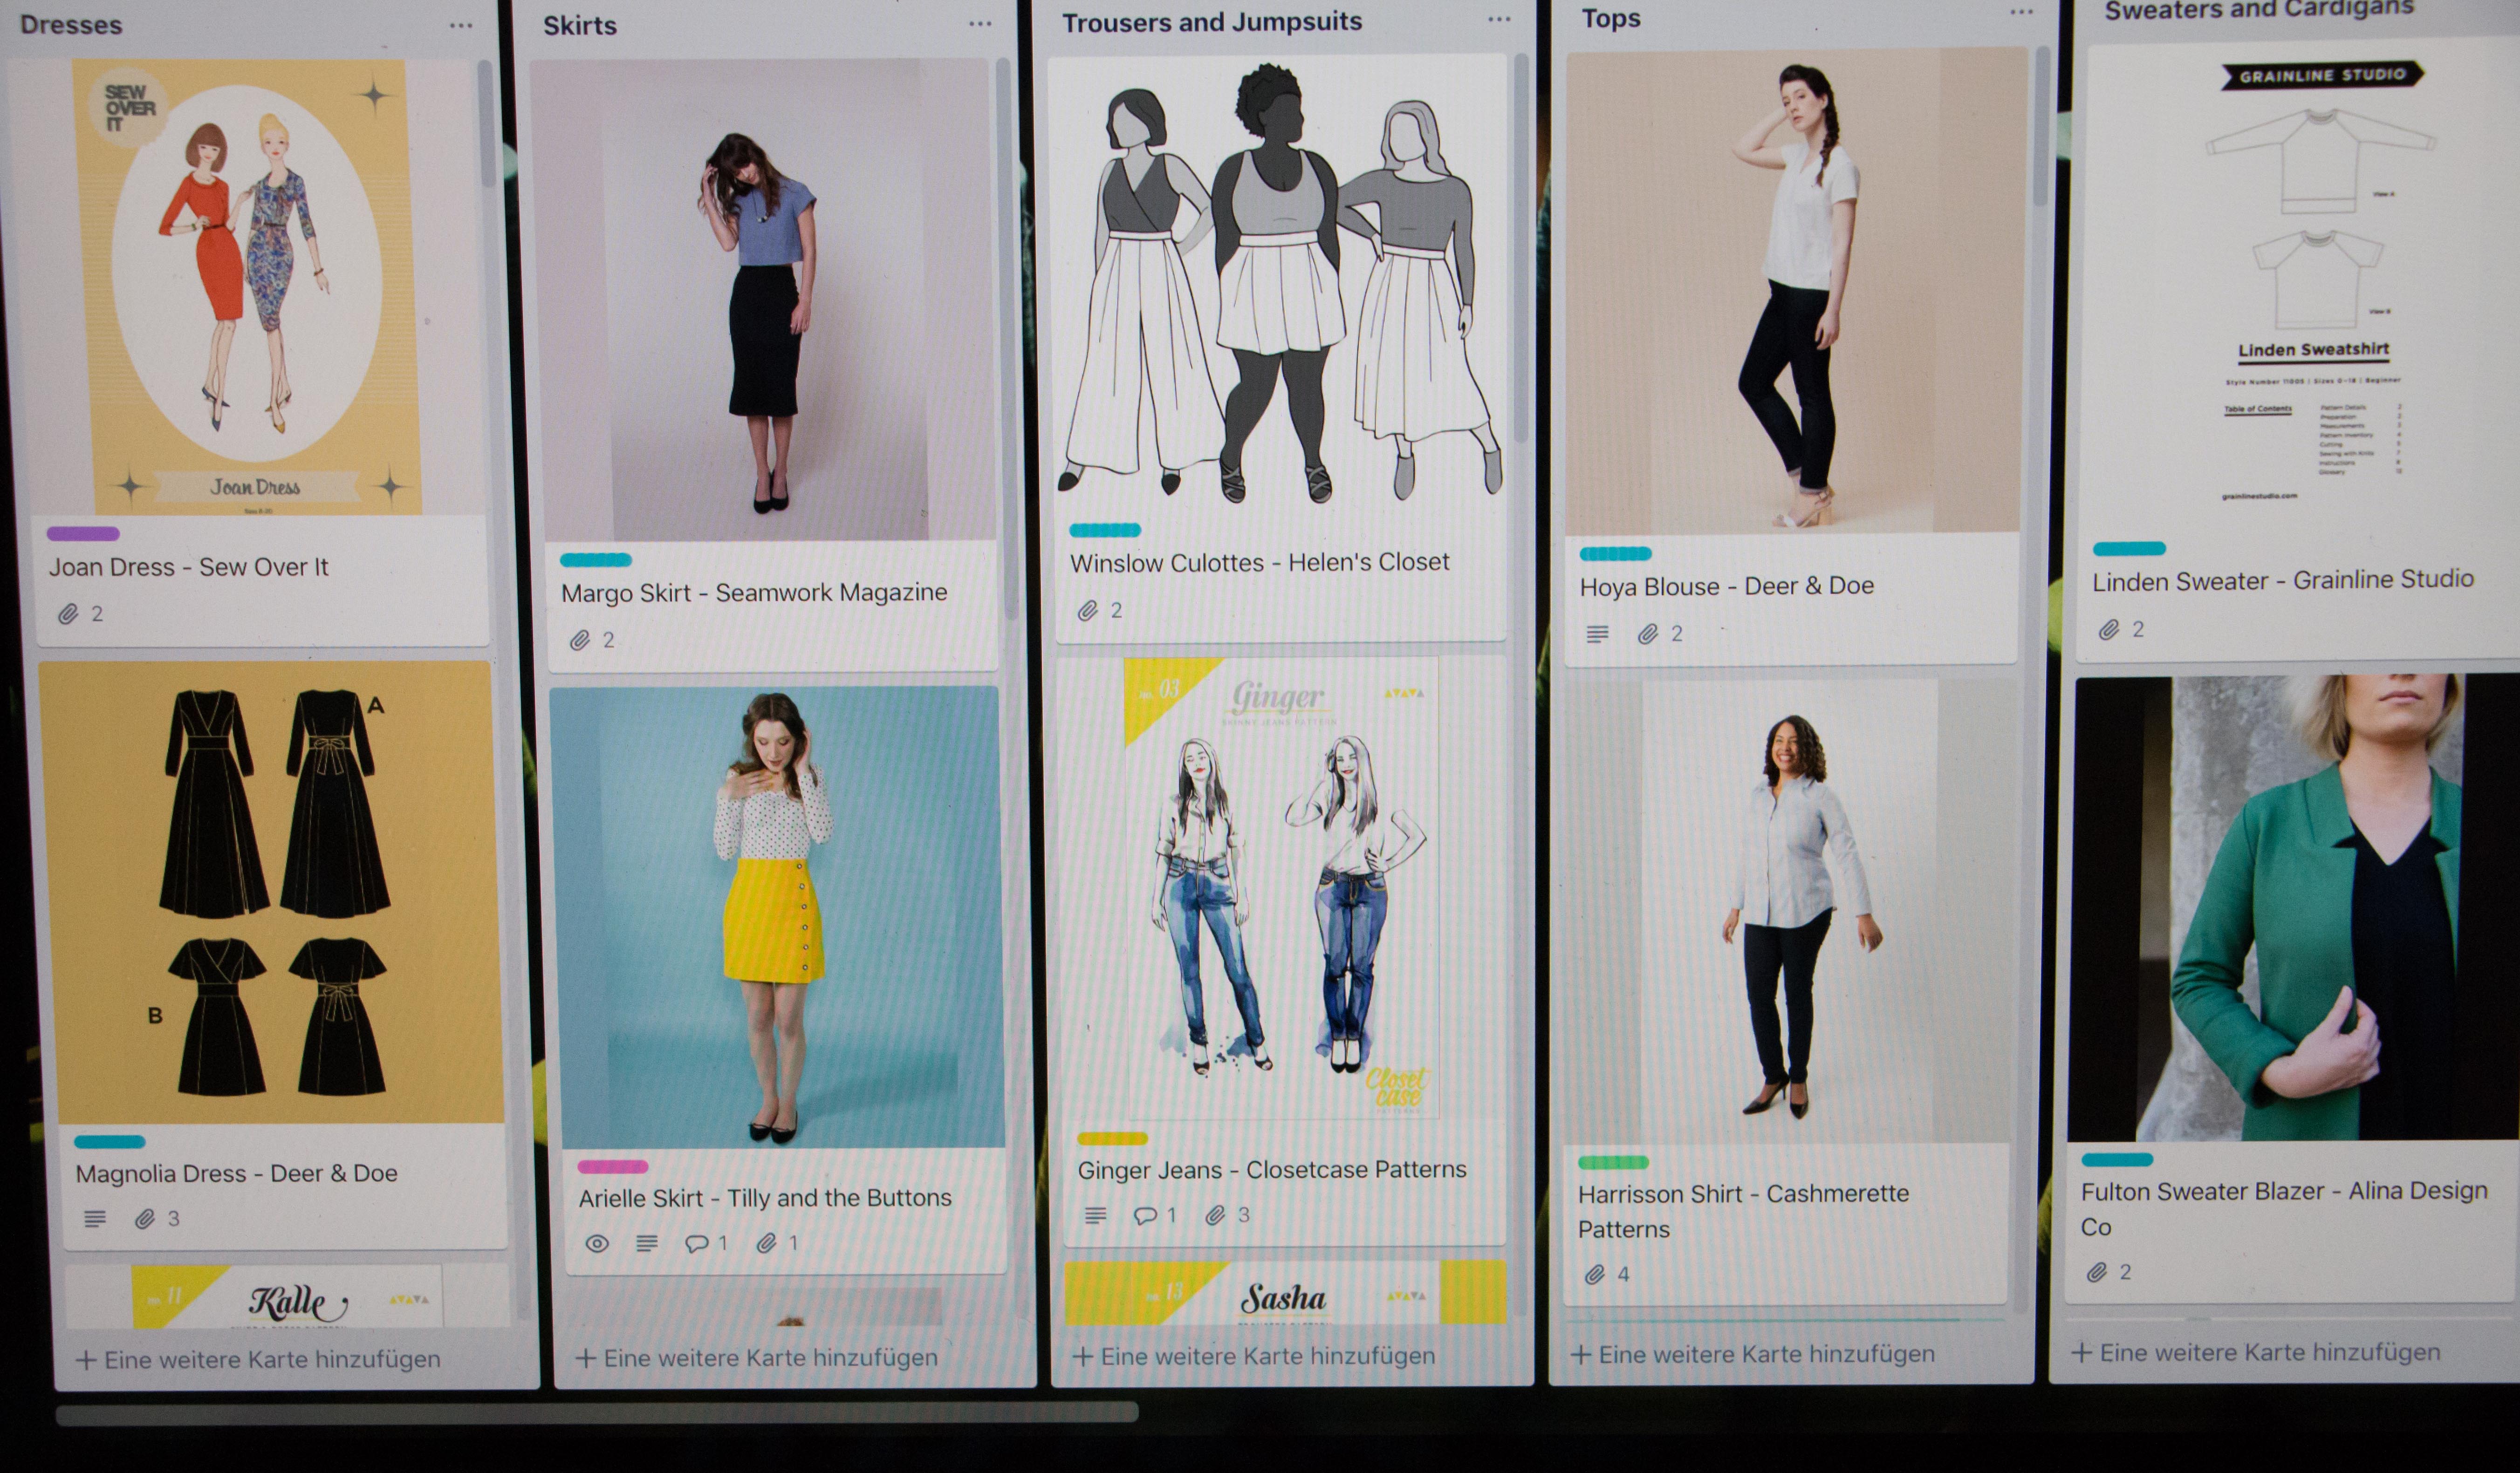
The pattern stash Trello board.
The actual files I keep in a cloud storage in folders named after the pattern companies.
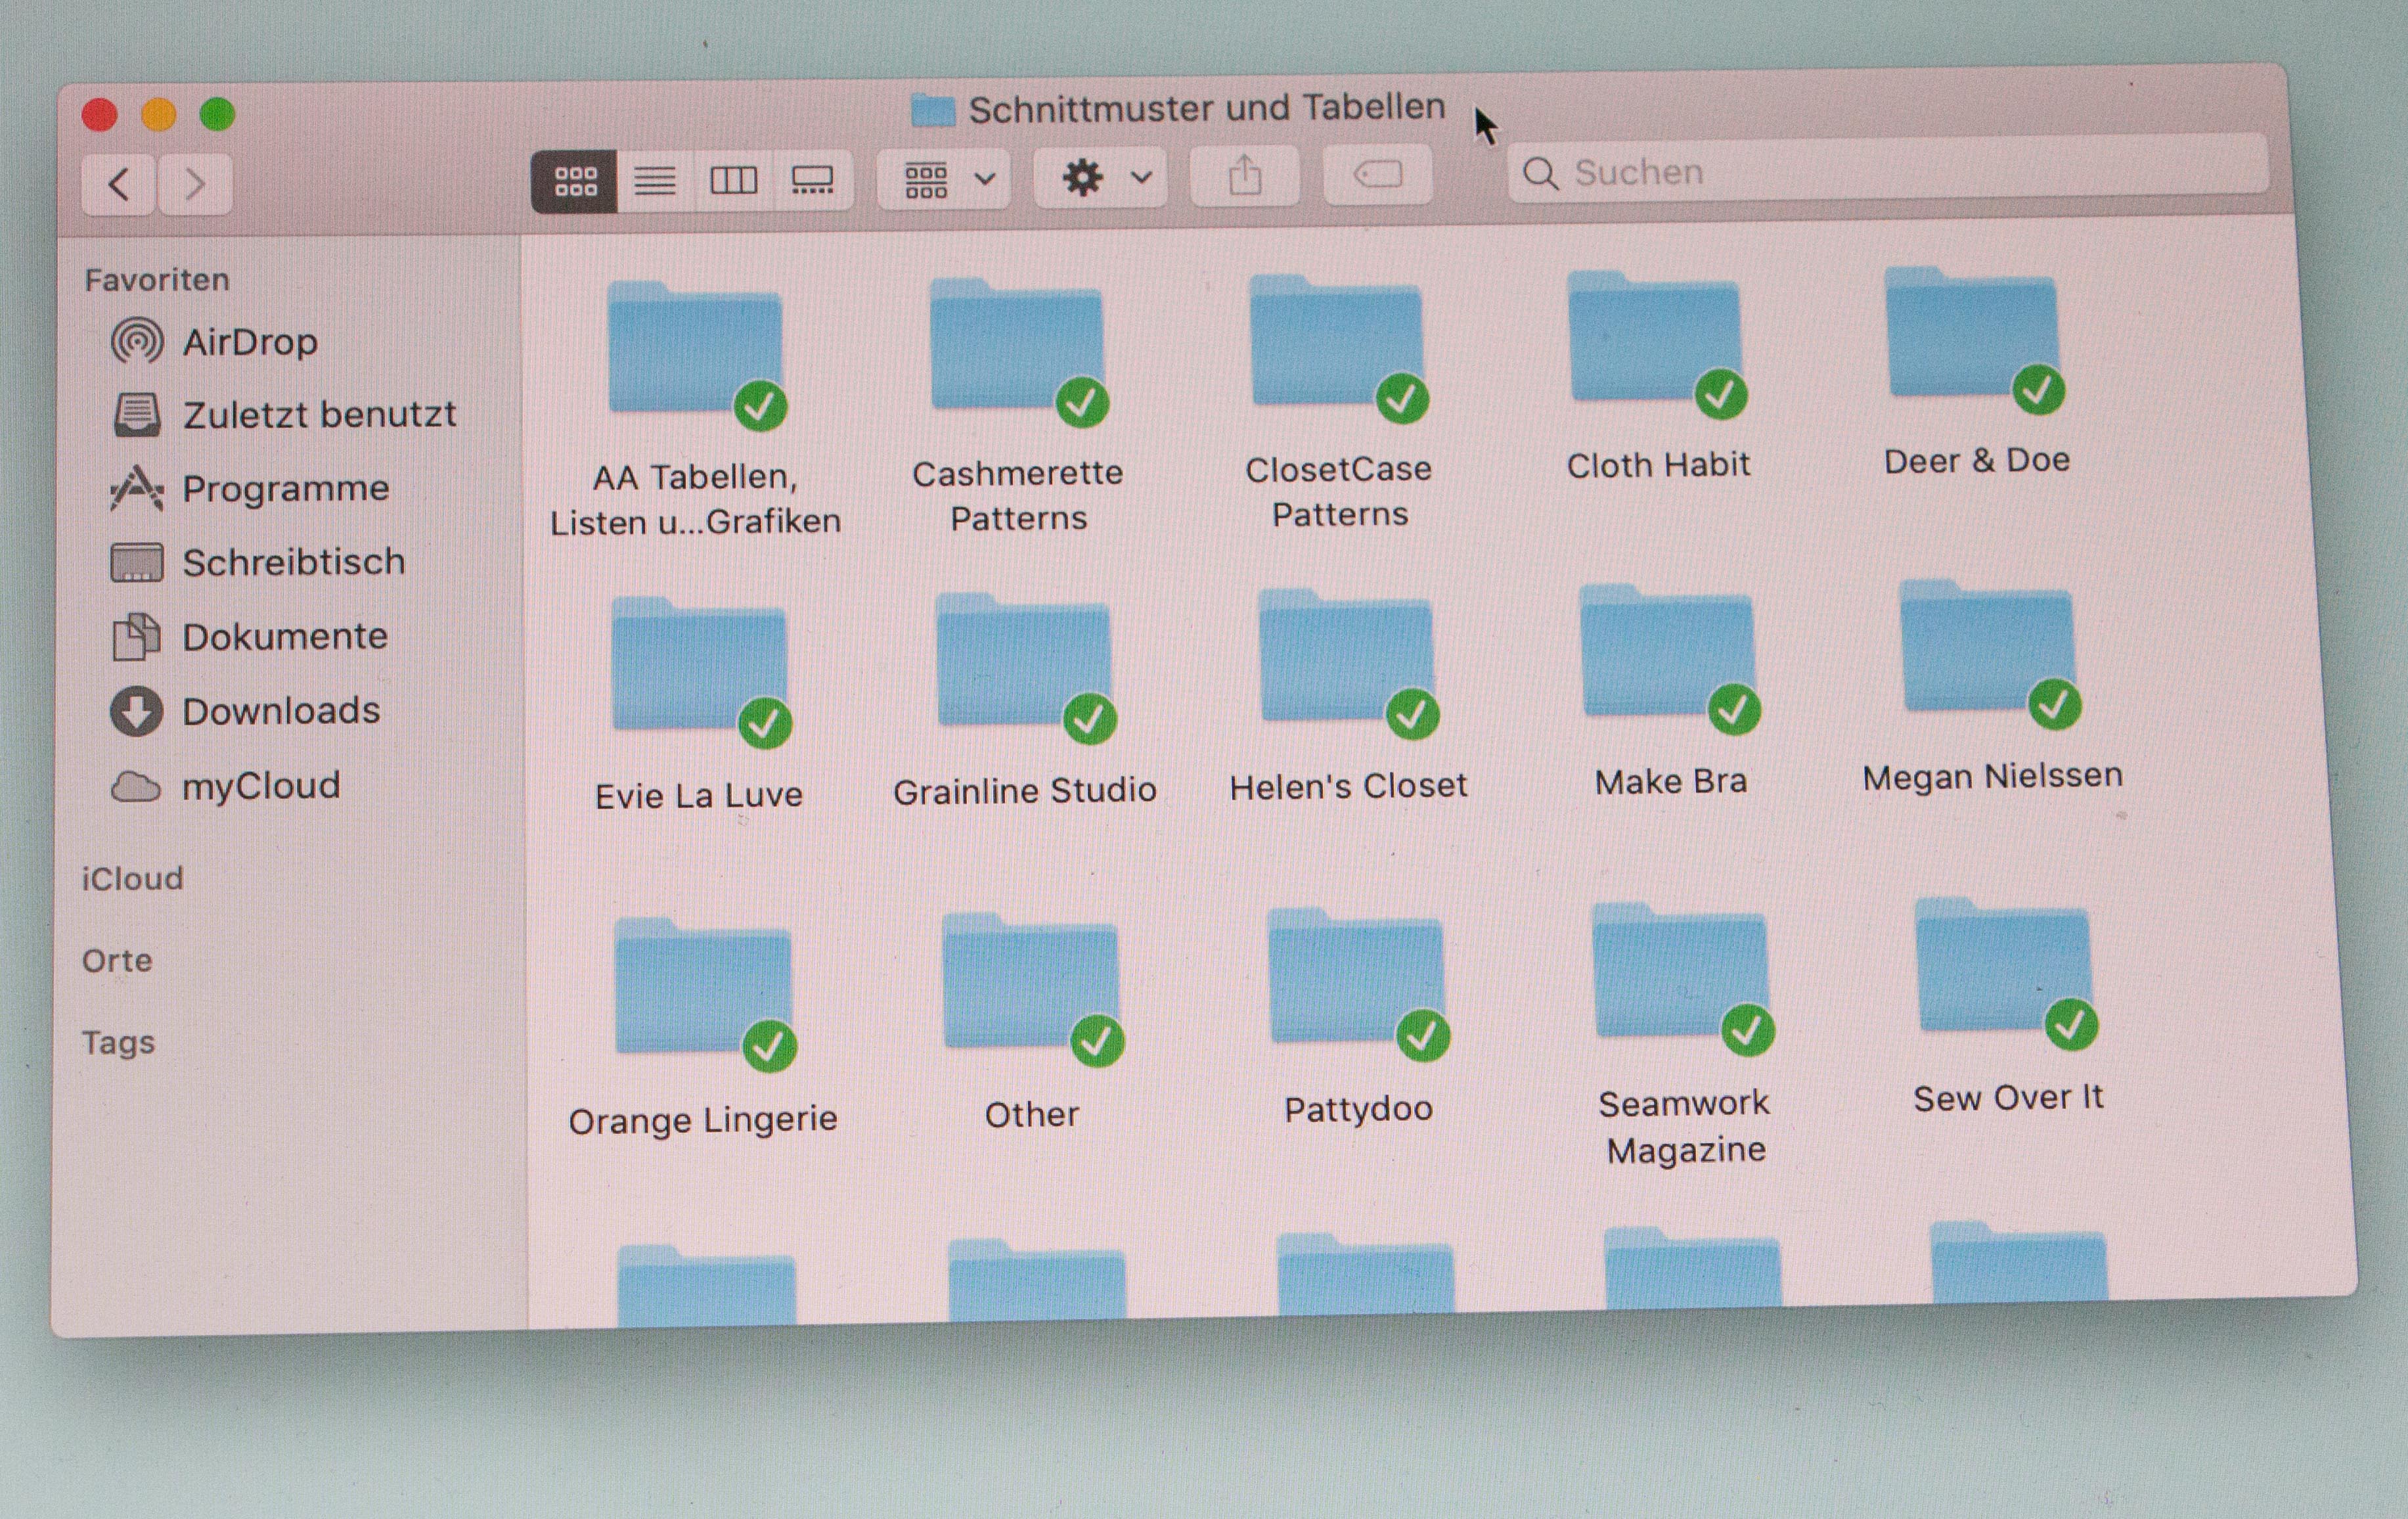
A snapshot of my pattern organization on my cloud service.
Fabrics
The same goes for fabrics. I keep a Trello board on my whole fabric stash. The cards include the amount of fabric I have, the composition, where I bought it, and the weight. This, as well, helps me keep track of my fabric and what I can make with it.
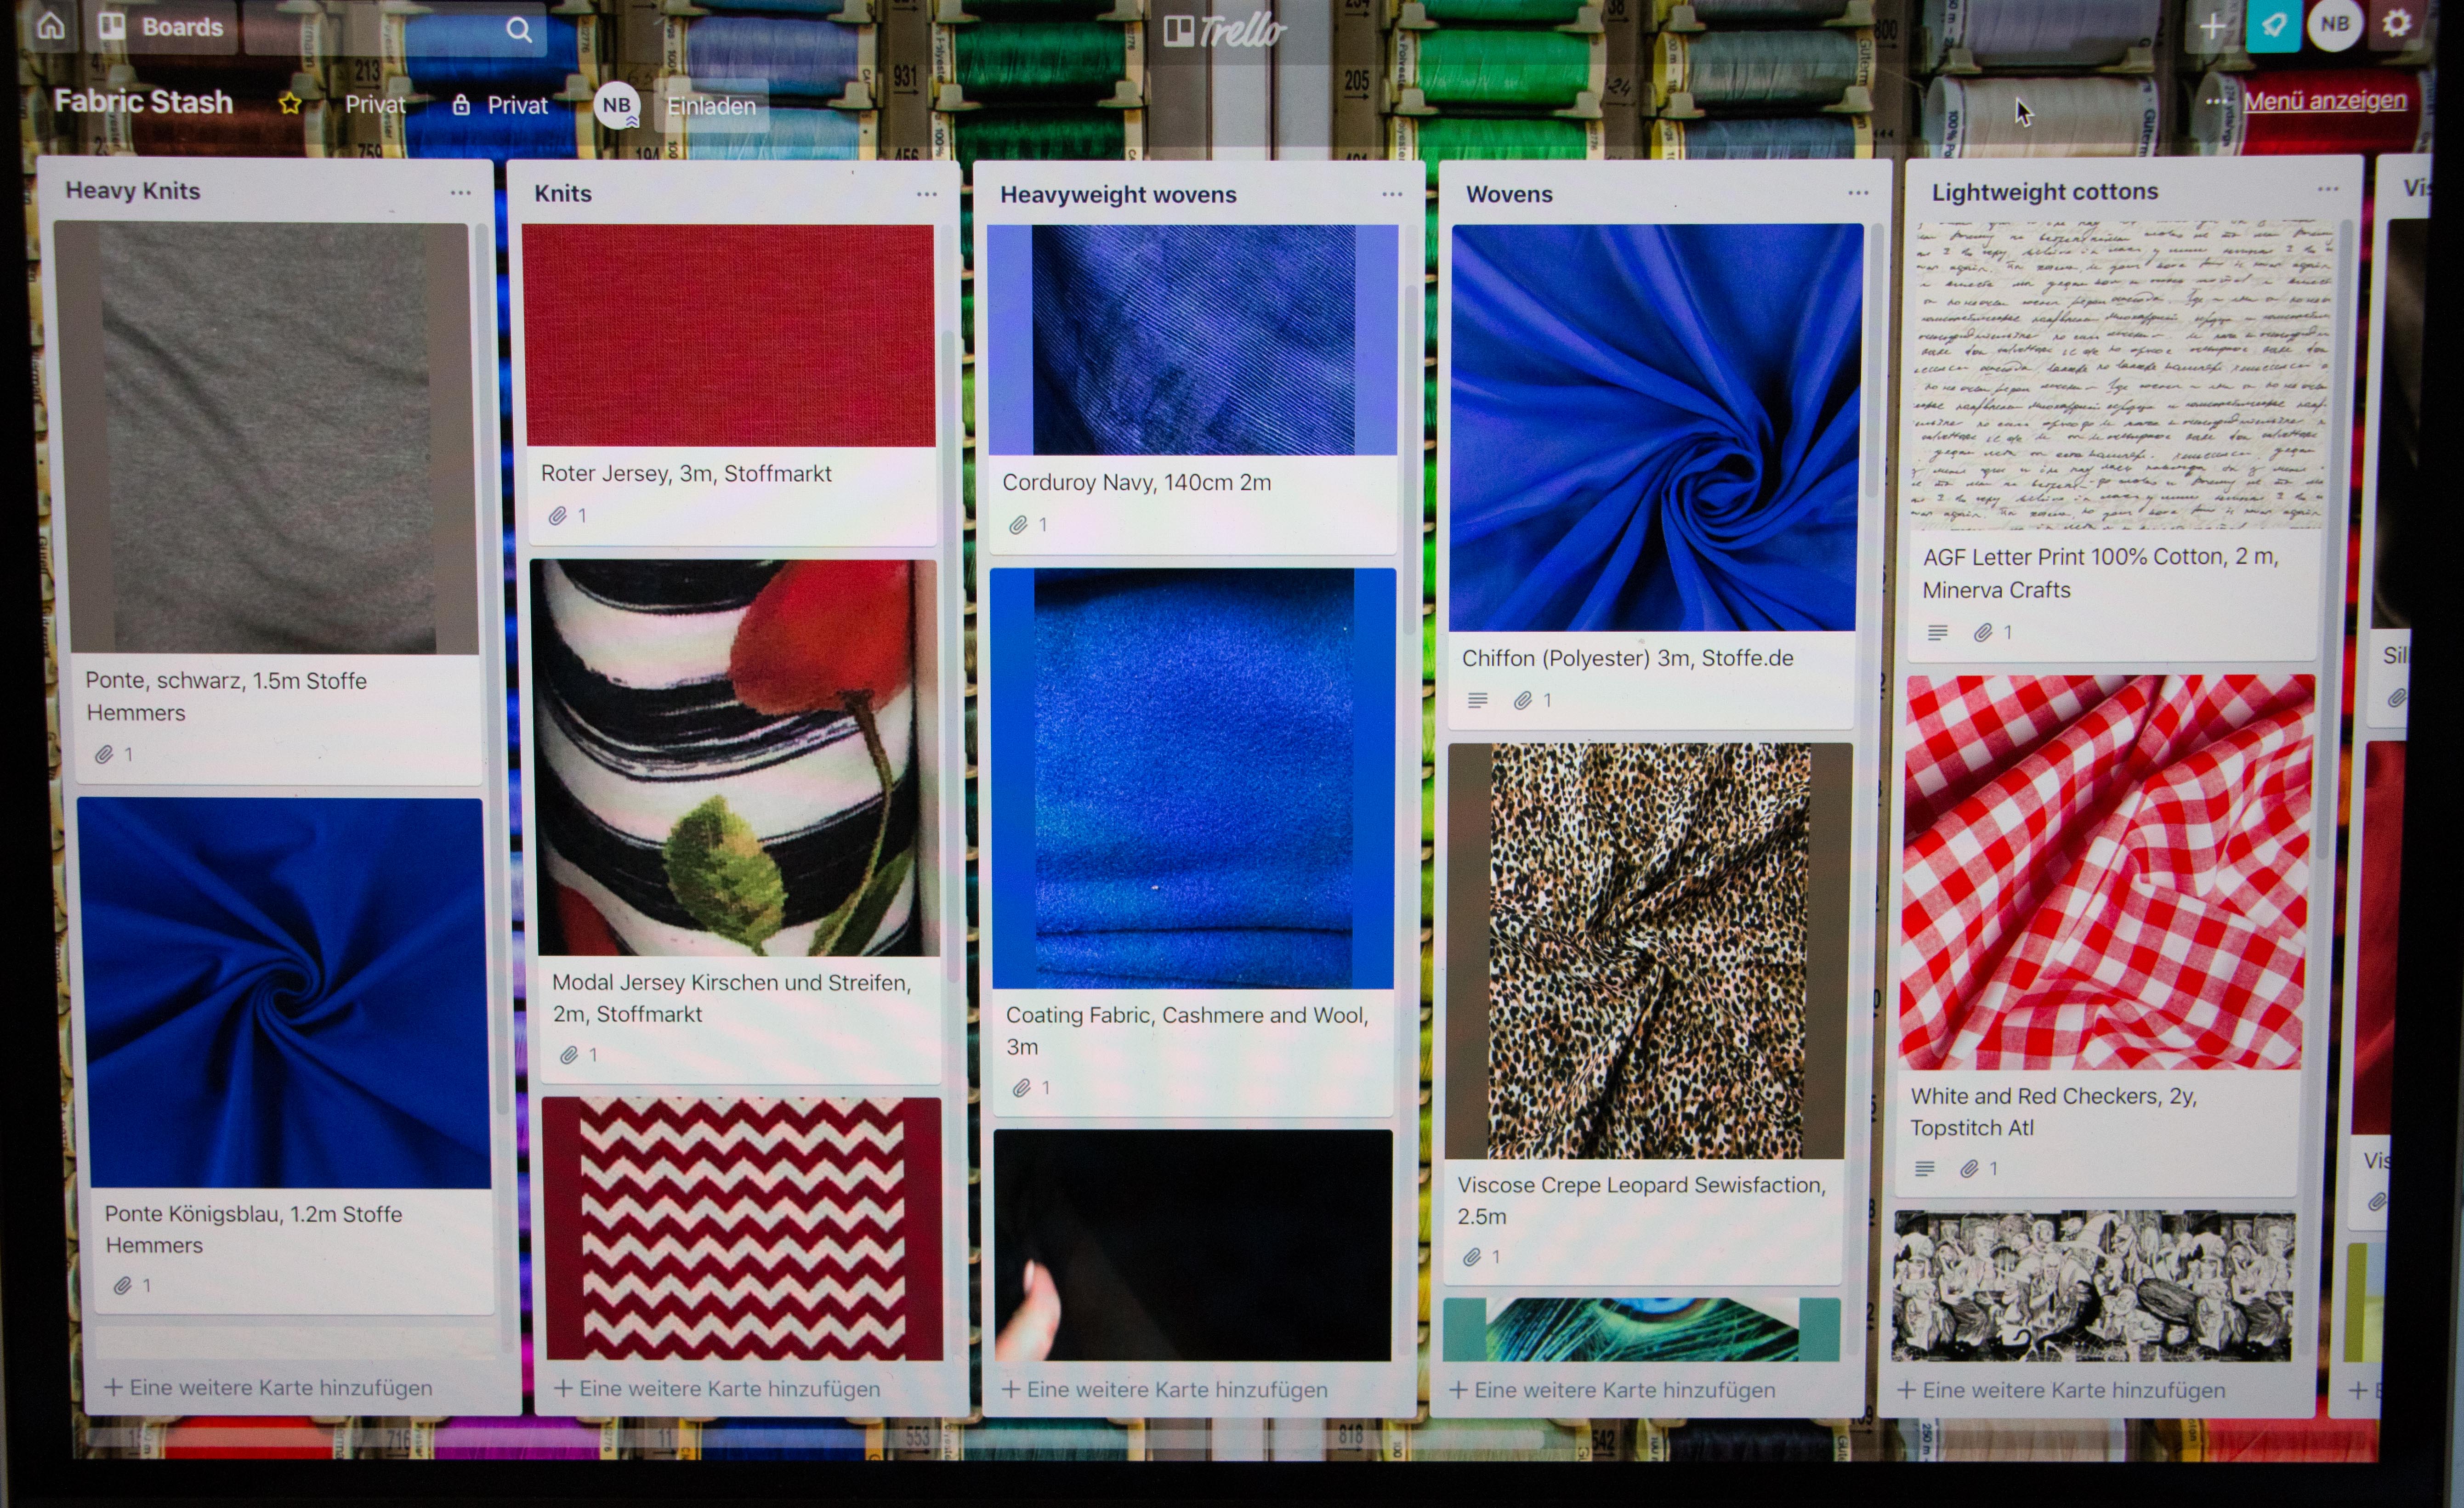
The fabric stash on my Trello board
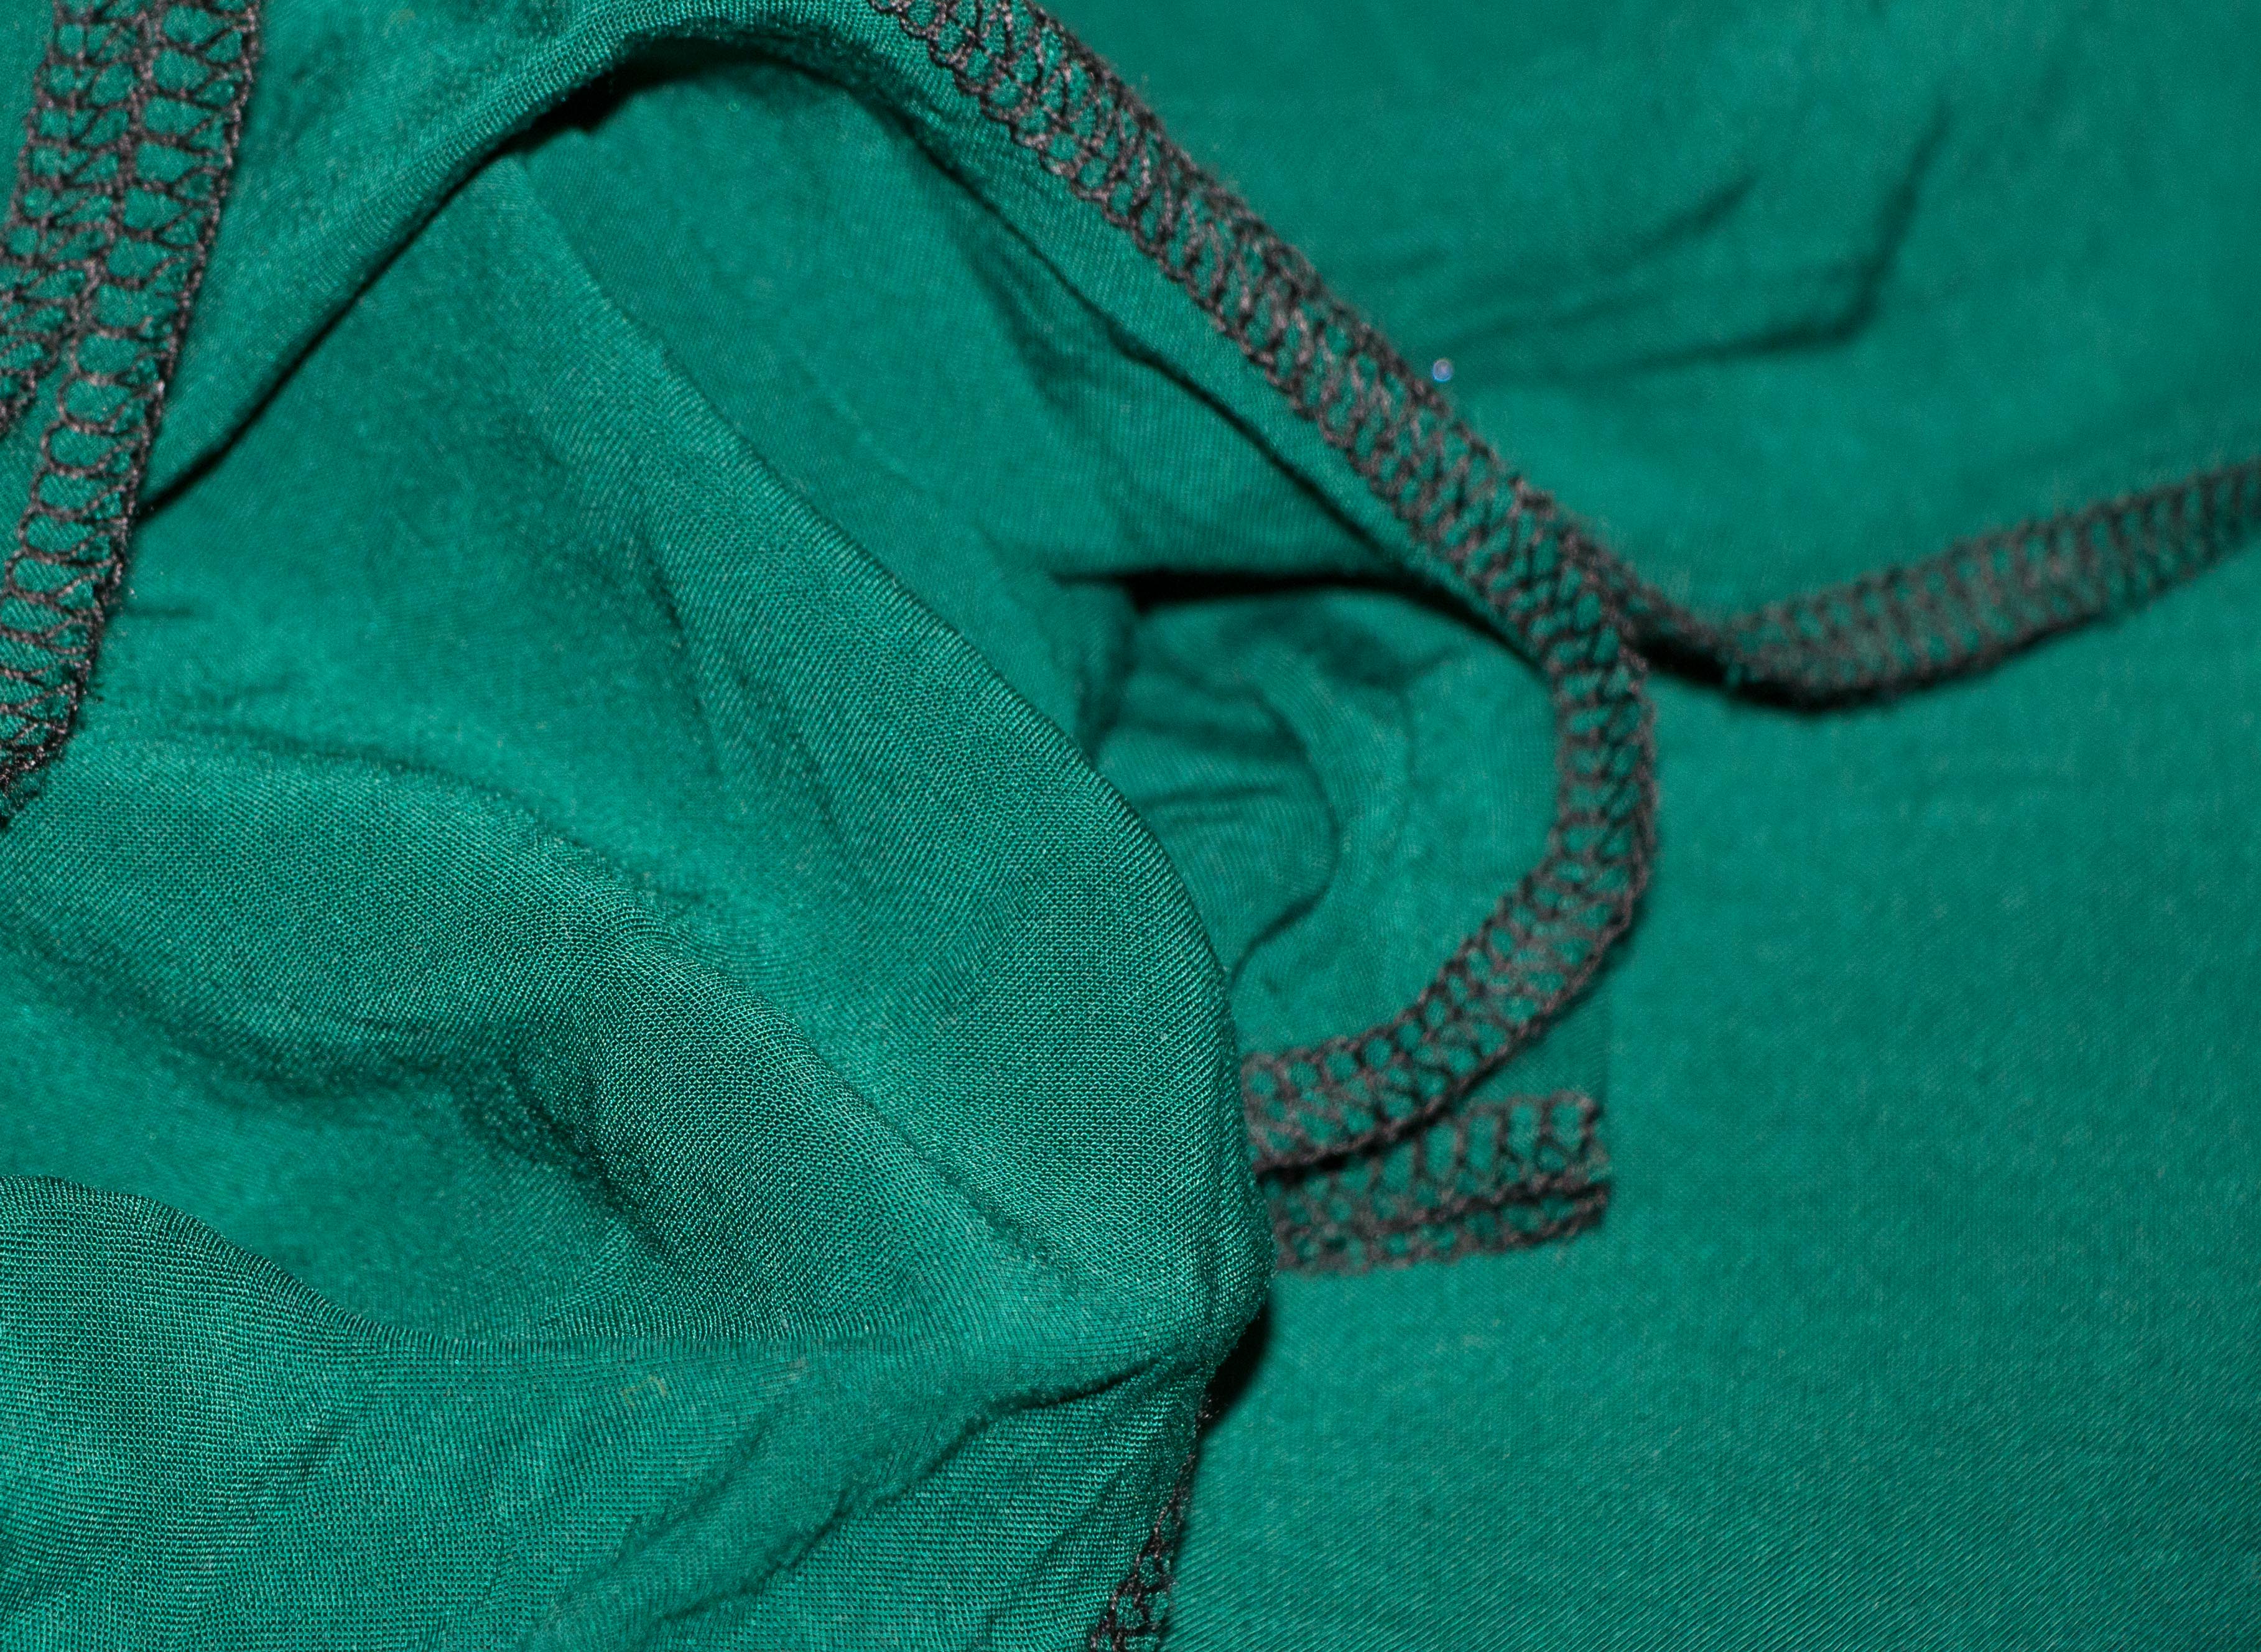
After I’ve ordered fabric I immediately add it to my Trello board. When it has arrived, I serge the edges (only with wovens), put it into my mood tote bag I have standing next to my fabric storage.
 When I’m doing laundry I wash the fabric (seperately of course!) let it dry (or dry it depending on how I plan to wash and dry the garment after) and then store it.
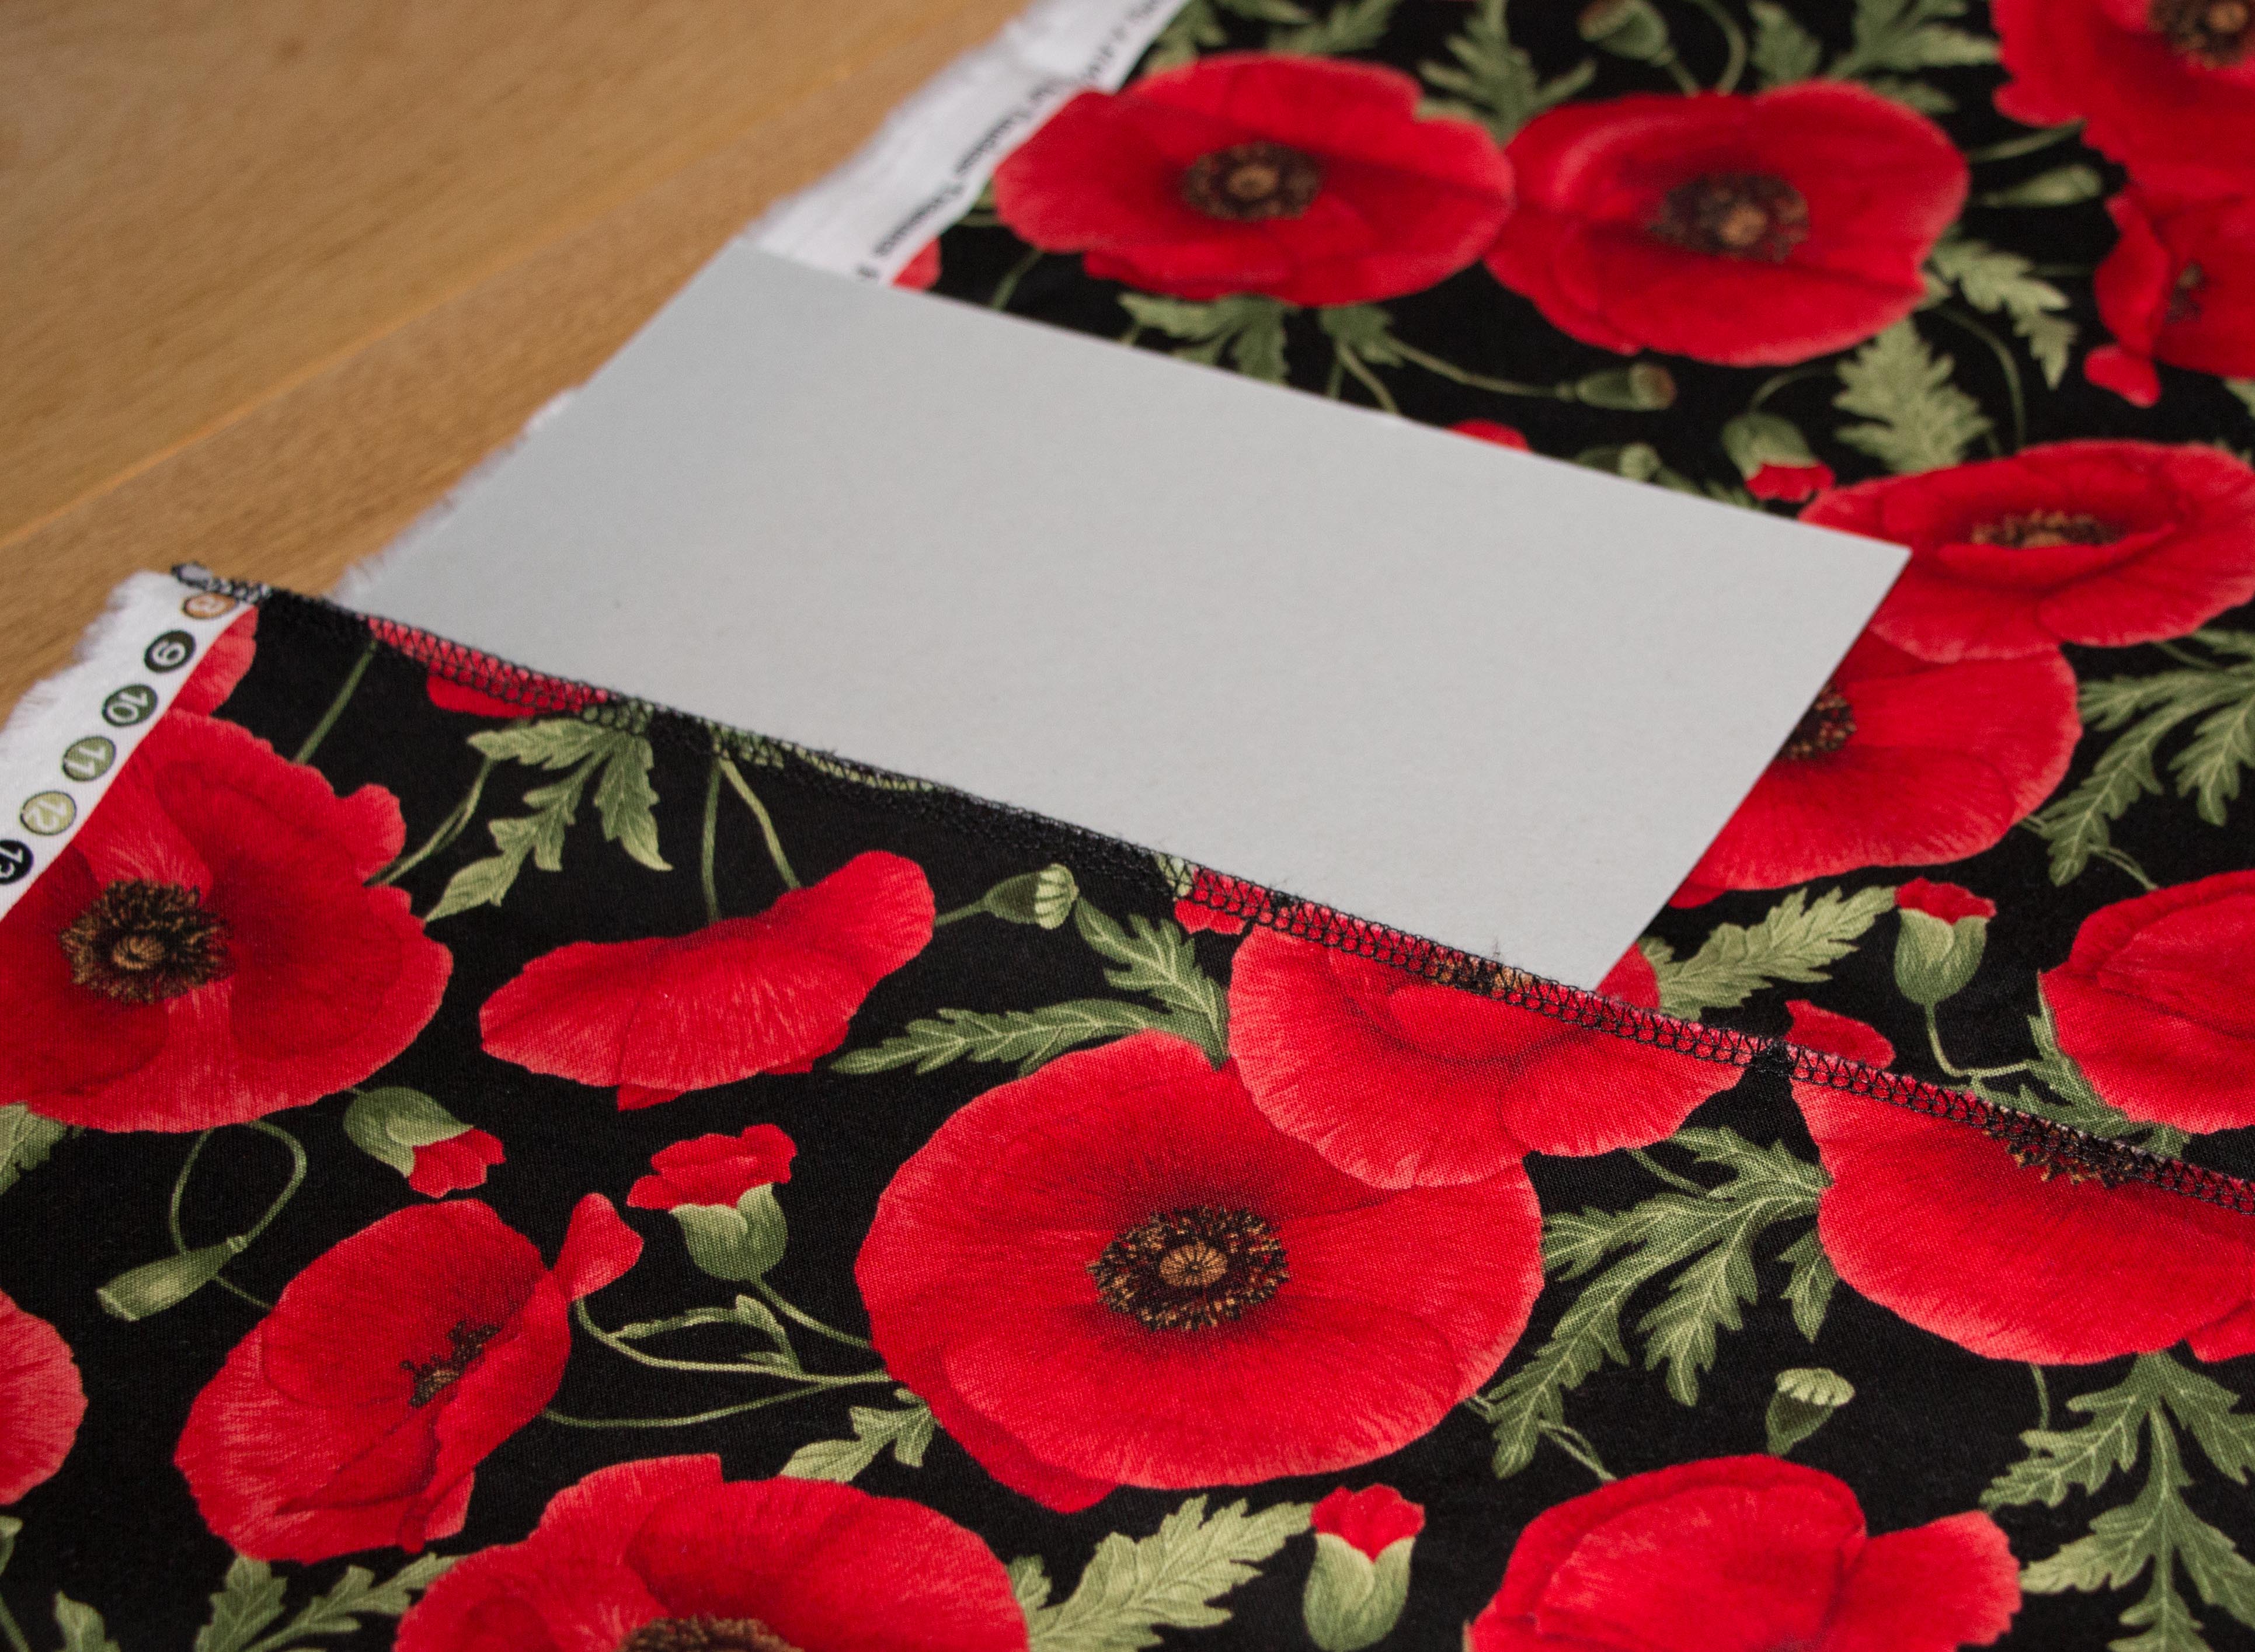
To store my fabric, I use cardboard to wrap the fabric neatly around it.

I put the cardboard in the middle fold the fabric over it…
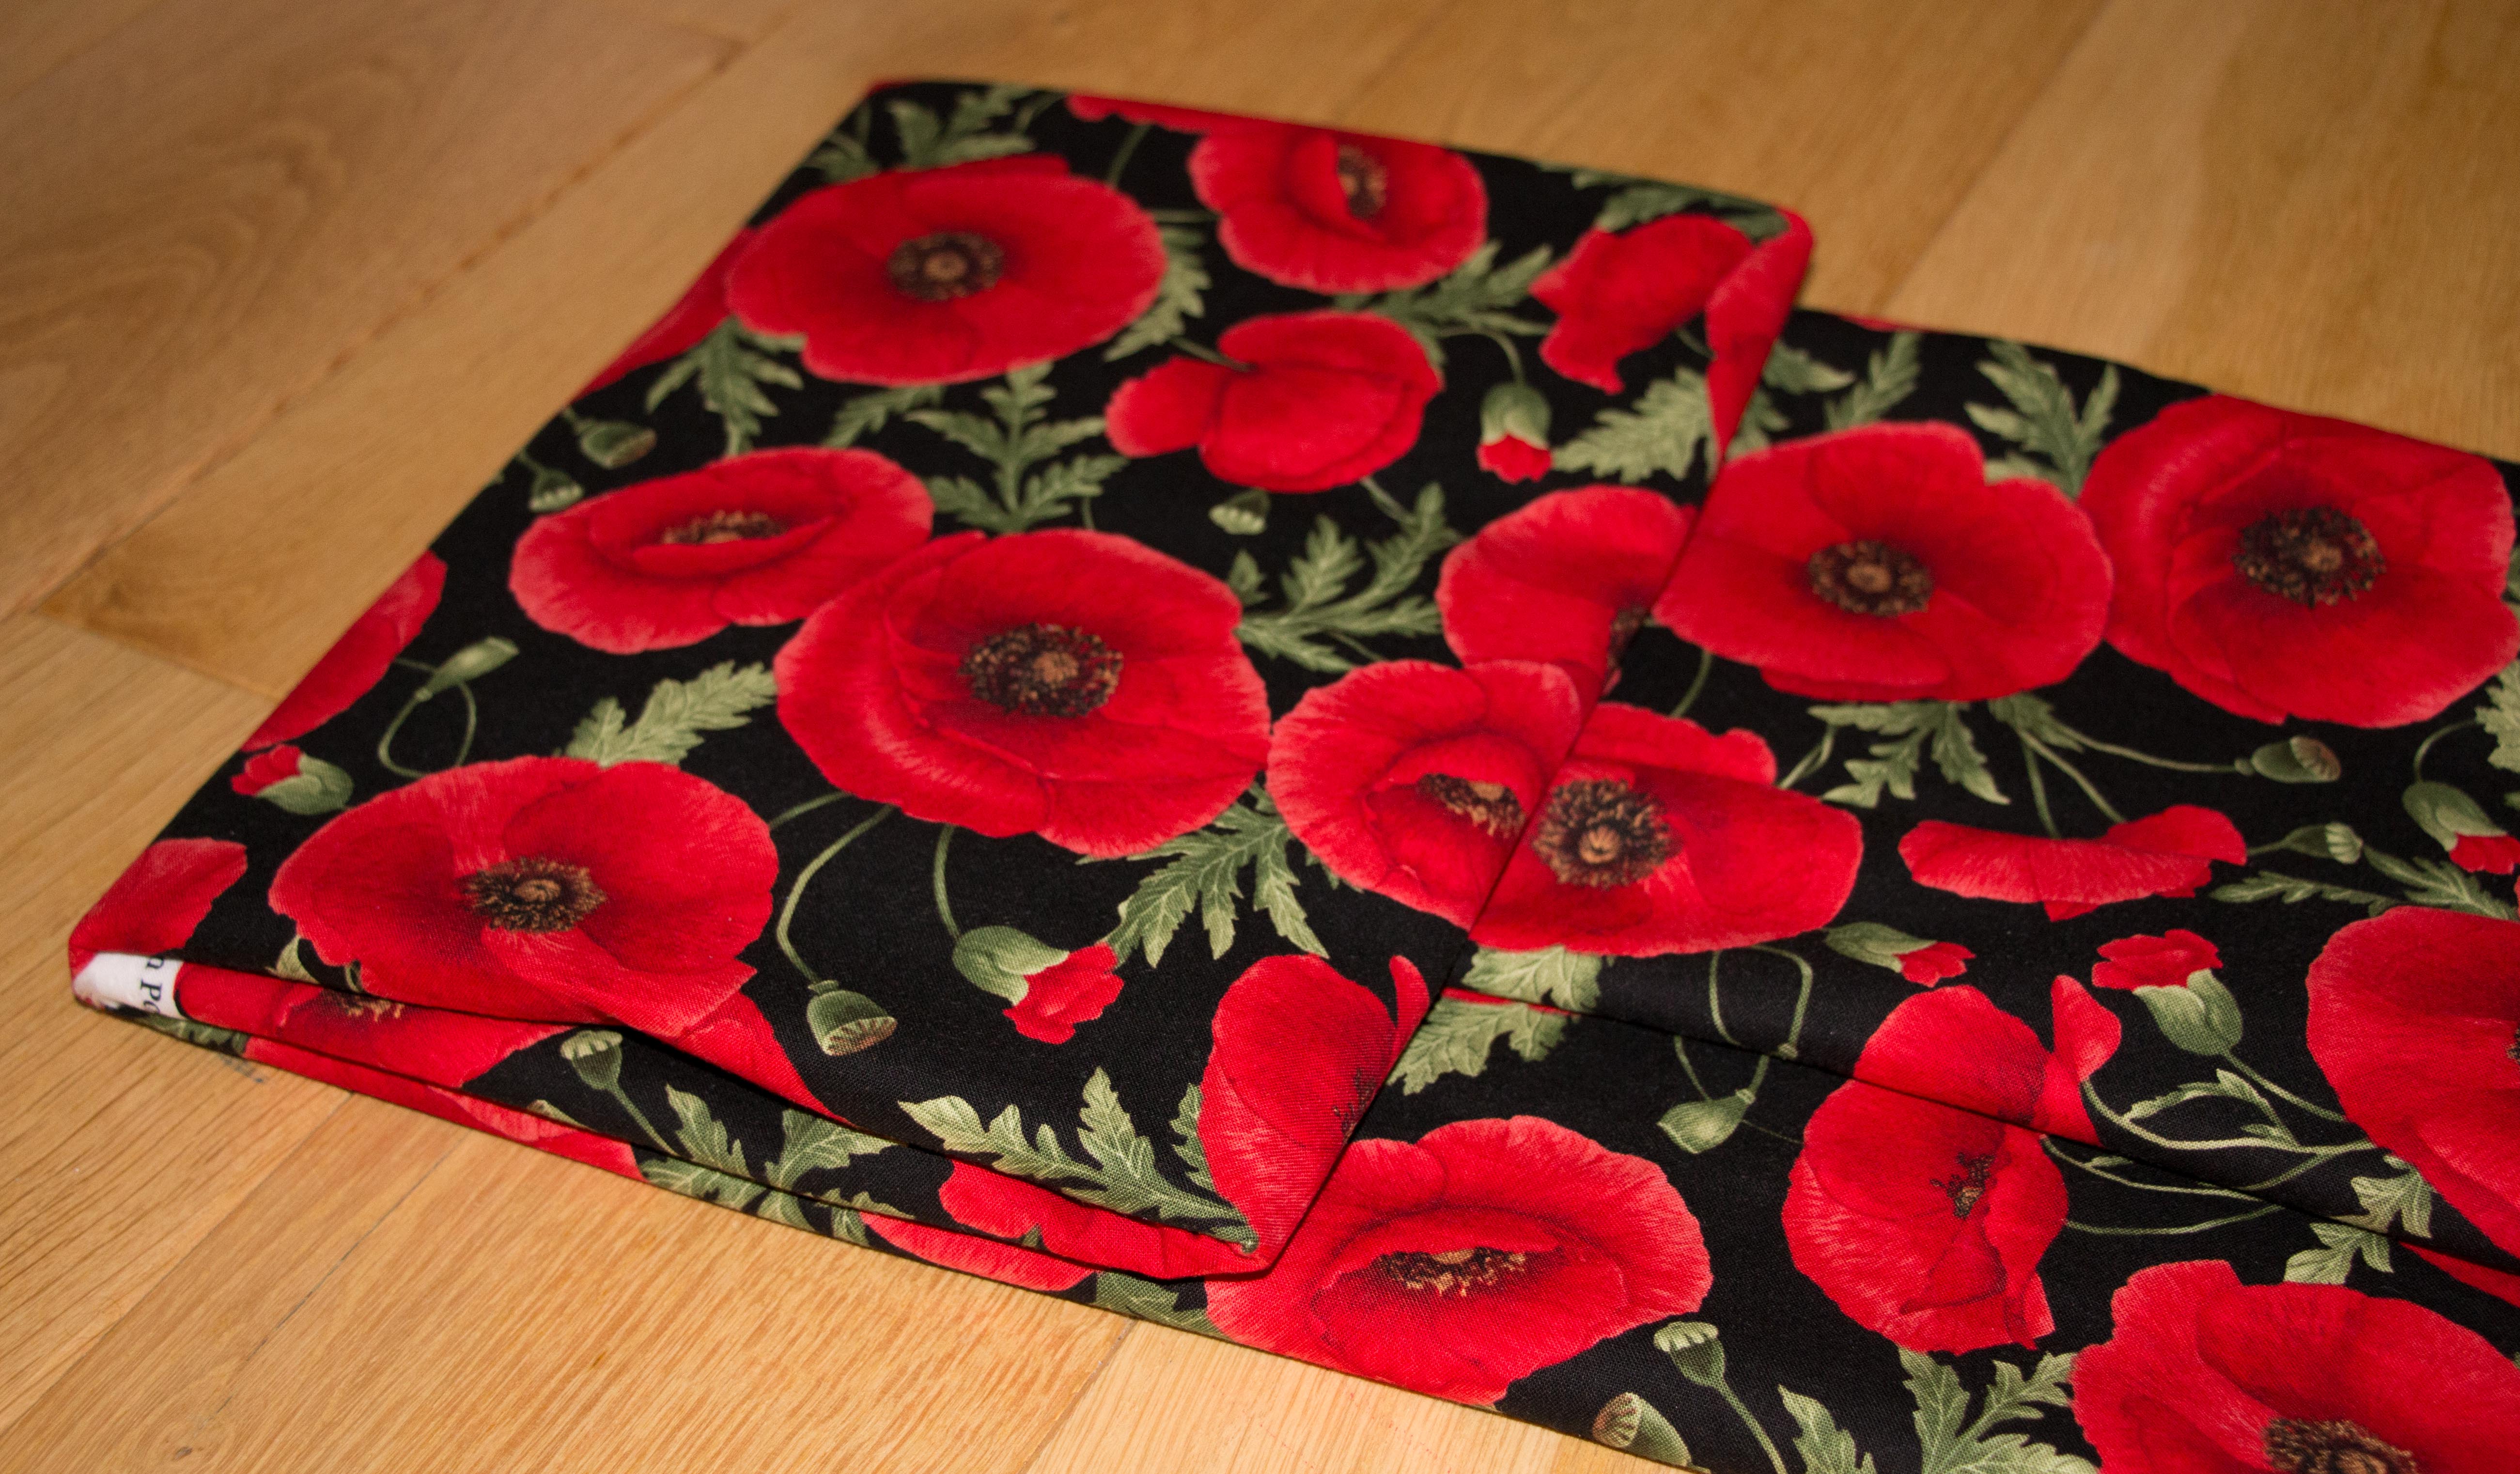
… and the roll up the ‘bolt’.
As I’ve mentioned I usually know in broad terms what I want to make with a fabric. But these plans might change as new patterns get released or my preferences change.
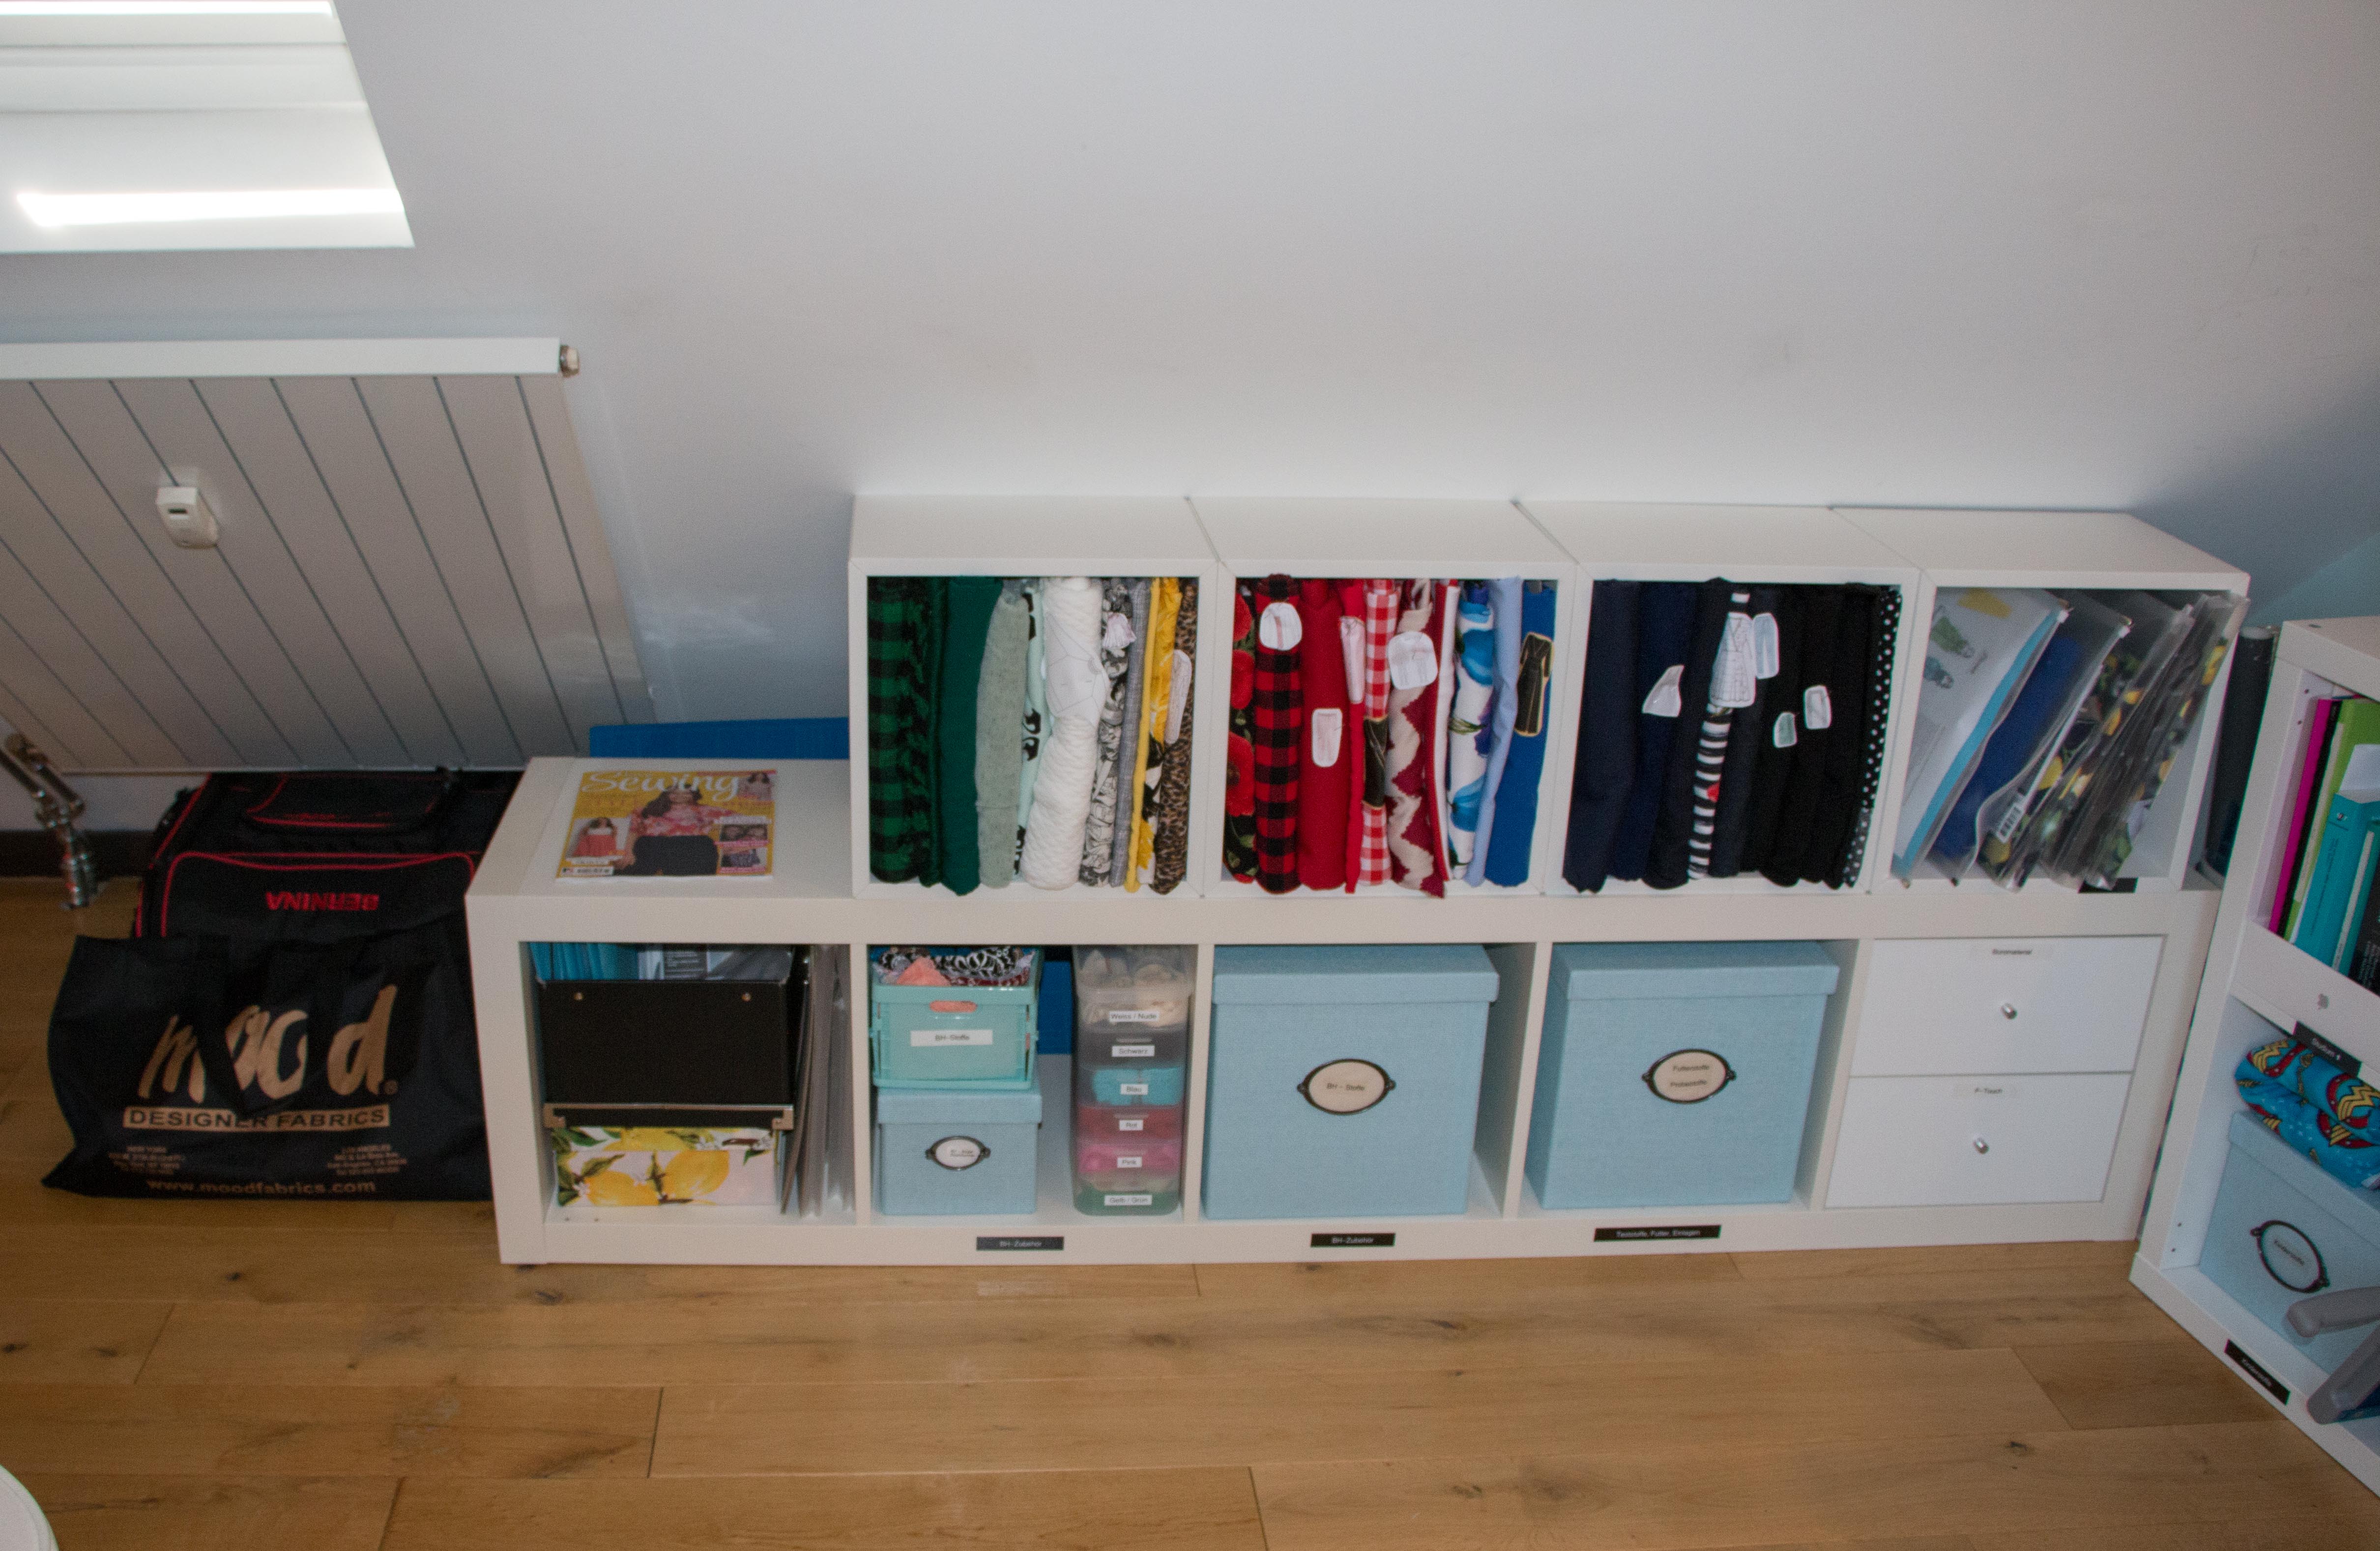
My fabric stash.
When things get overwhelming though, I print out the line drawing of the garment the fabric is destined to become and pin it on the fabric. It actually helps me a lot and represents a sort of ‘sewing queue’.
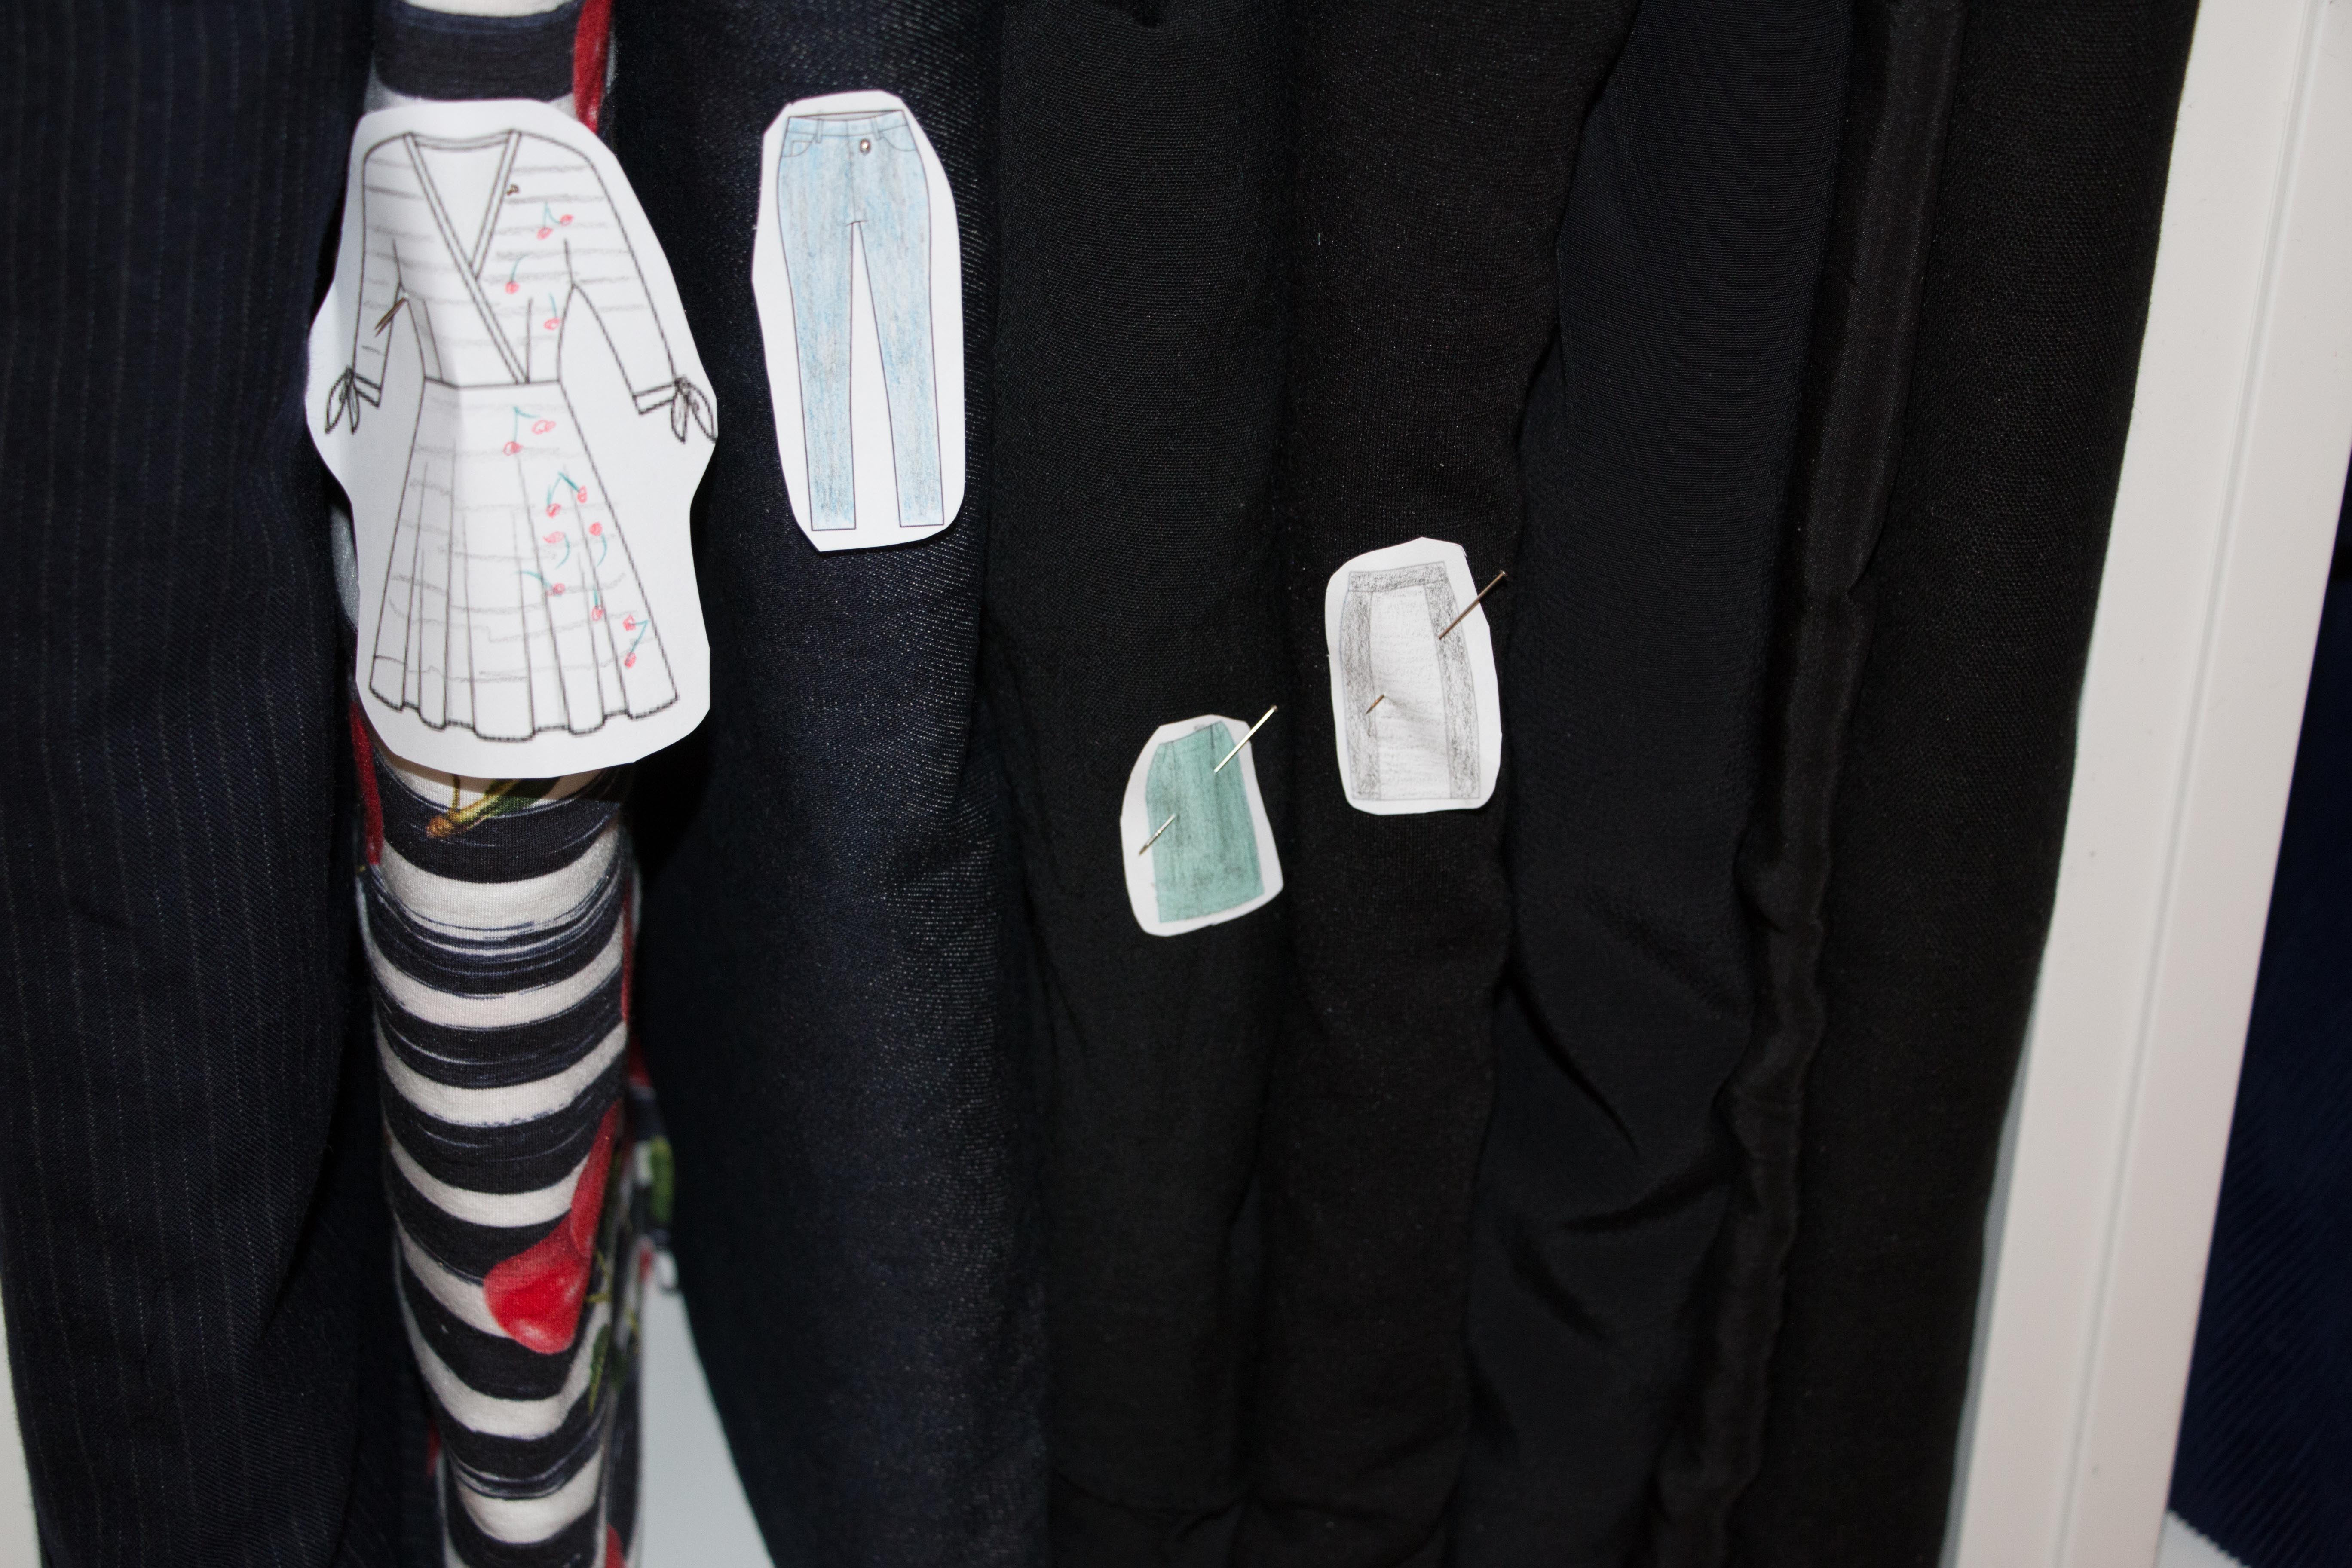
My tiny line drawings pinned to the fabric.
Sewing Queue
But I have an electronic sewing queue as well that helps me plan my makes over the months and years. I am not deadset on anything but, again, it keeps me focused. Sometimes I just sit in my sewing corner thinking ‘hmmm, what next?’.

My Trello sewing queue…
Starting to cut
Because I have a sewing queue, sometimes it makes sense to cut things in batches. Also, when I don’t feel like sewing (yes, that happens often) I can do something else sewing-related like cutting out a pattern or fabric. The scraps go into a fabric scrap bin or, if they are large enough for a specific scrapbuster-project (for me: Acacia panties with knits, and ClosetCase Pouf for others) I cut out this as well. Side-note: If you don’t know what to make with your scraps listen to this episode of the ‘Love to Sew’ podcast– it’s fricking fabulous.
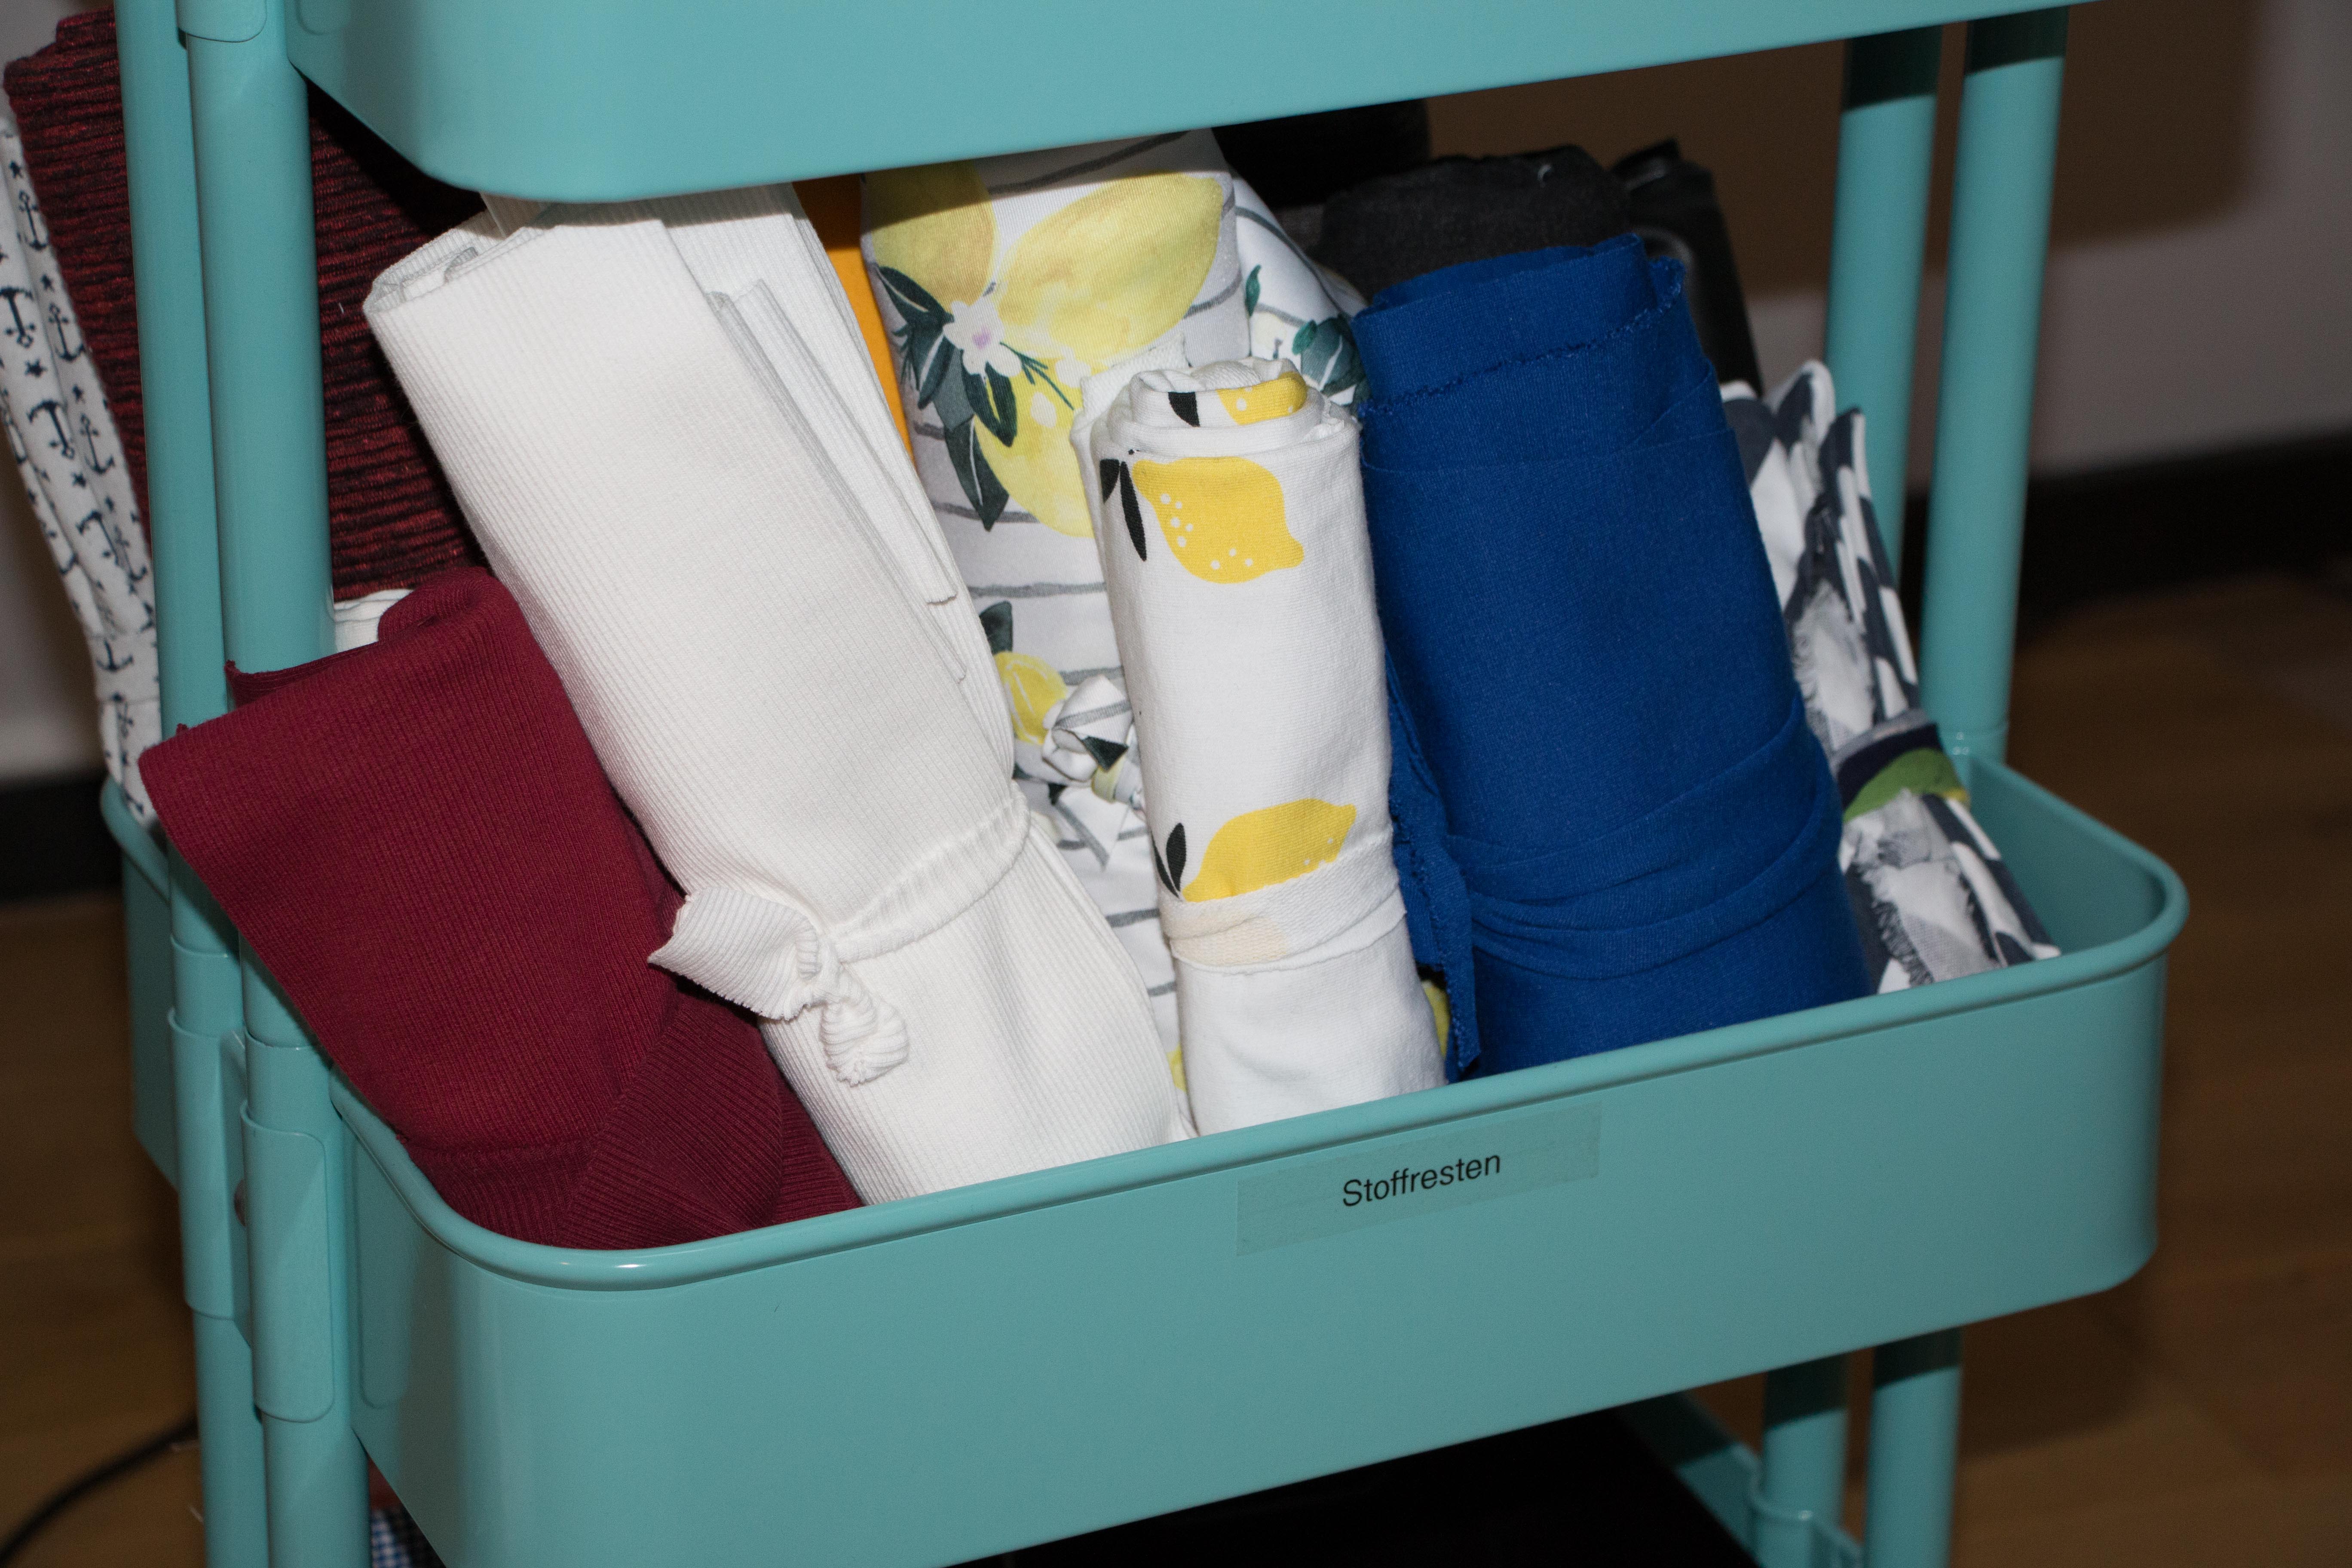
Larger pieces of fabric scraps are rolled up. I can make colorblocked garments out of these.

Smaller ones are being cut out for specific projects like underwear…
After cutting
After cutting I apply the interfacing straight away, because in my book this is the most tedious part of sewing, I really hate it. I transfer all the markings, gather the necessary notions, the instructions, and put it all into a plastic zipper pouch, ready to tackle when I feel like it.
I put the pattern pieces back into the pattern envelope (I transferred the markings already) and either pin it on my pegboard for inspiration or put it back into my pattern stash.
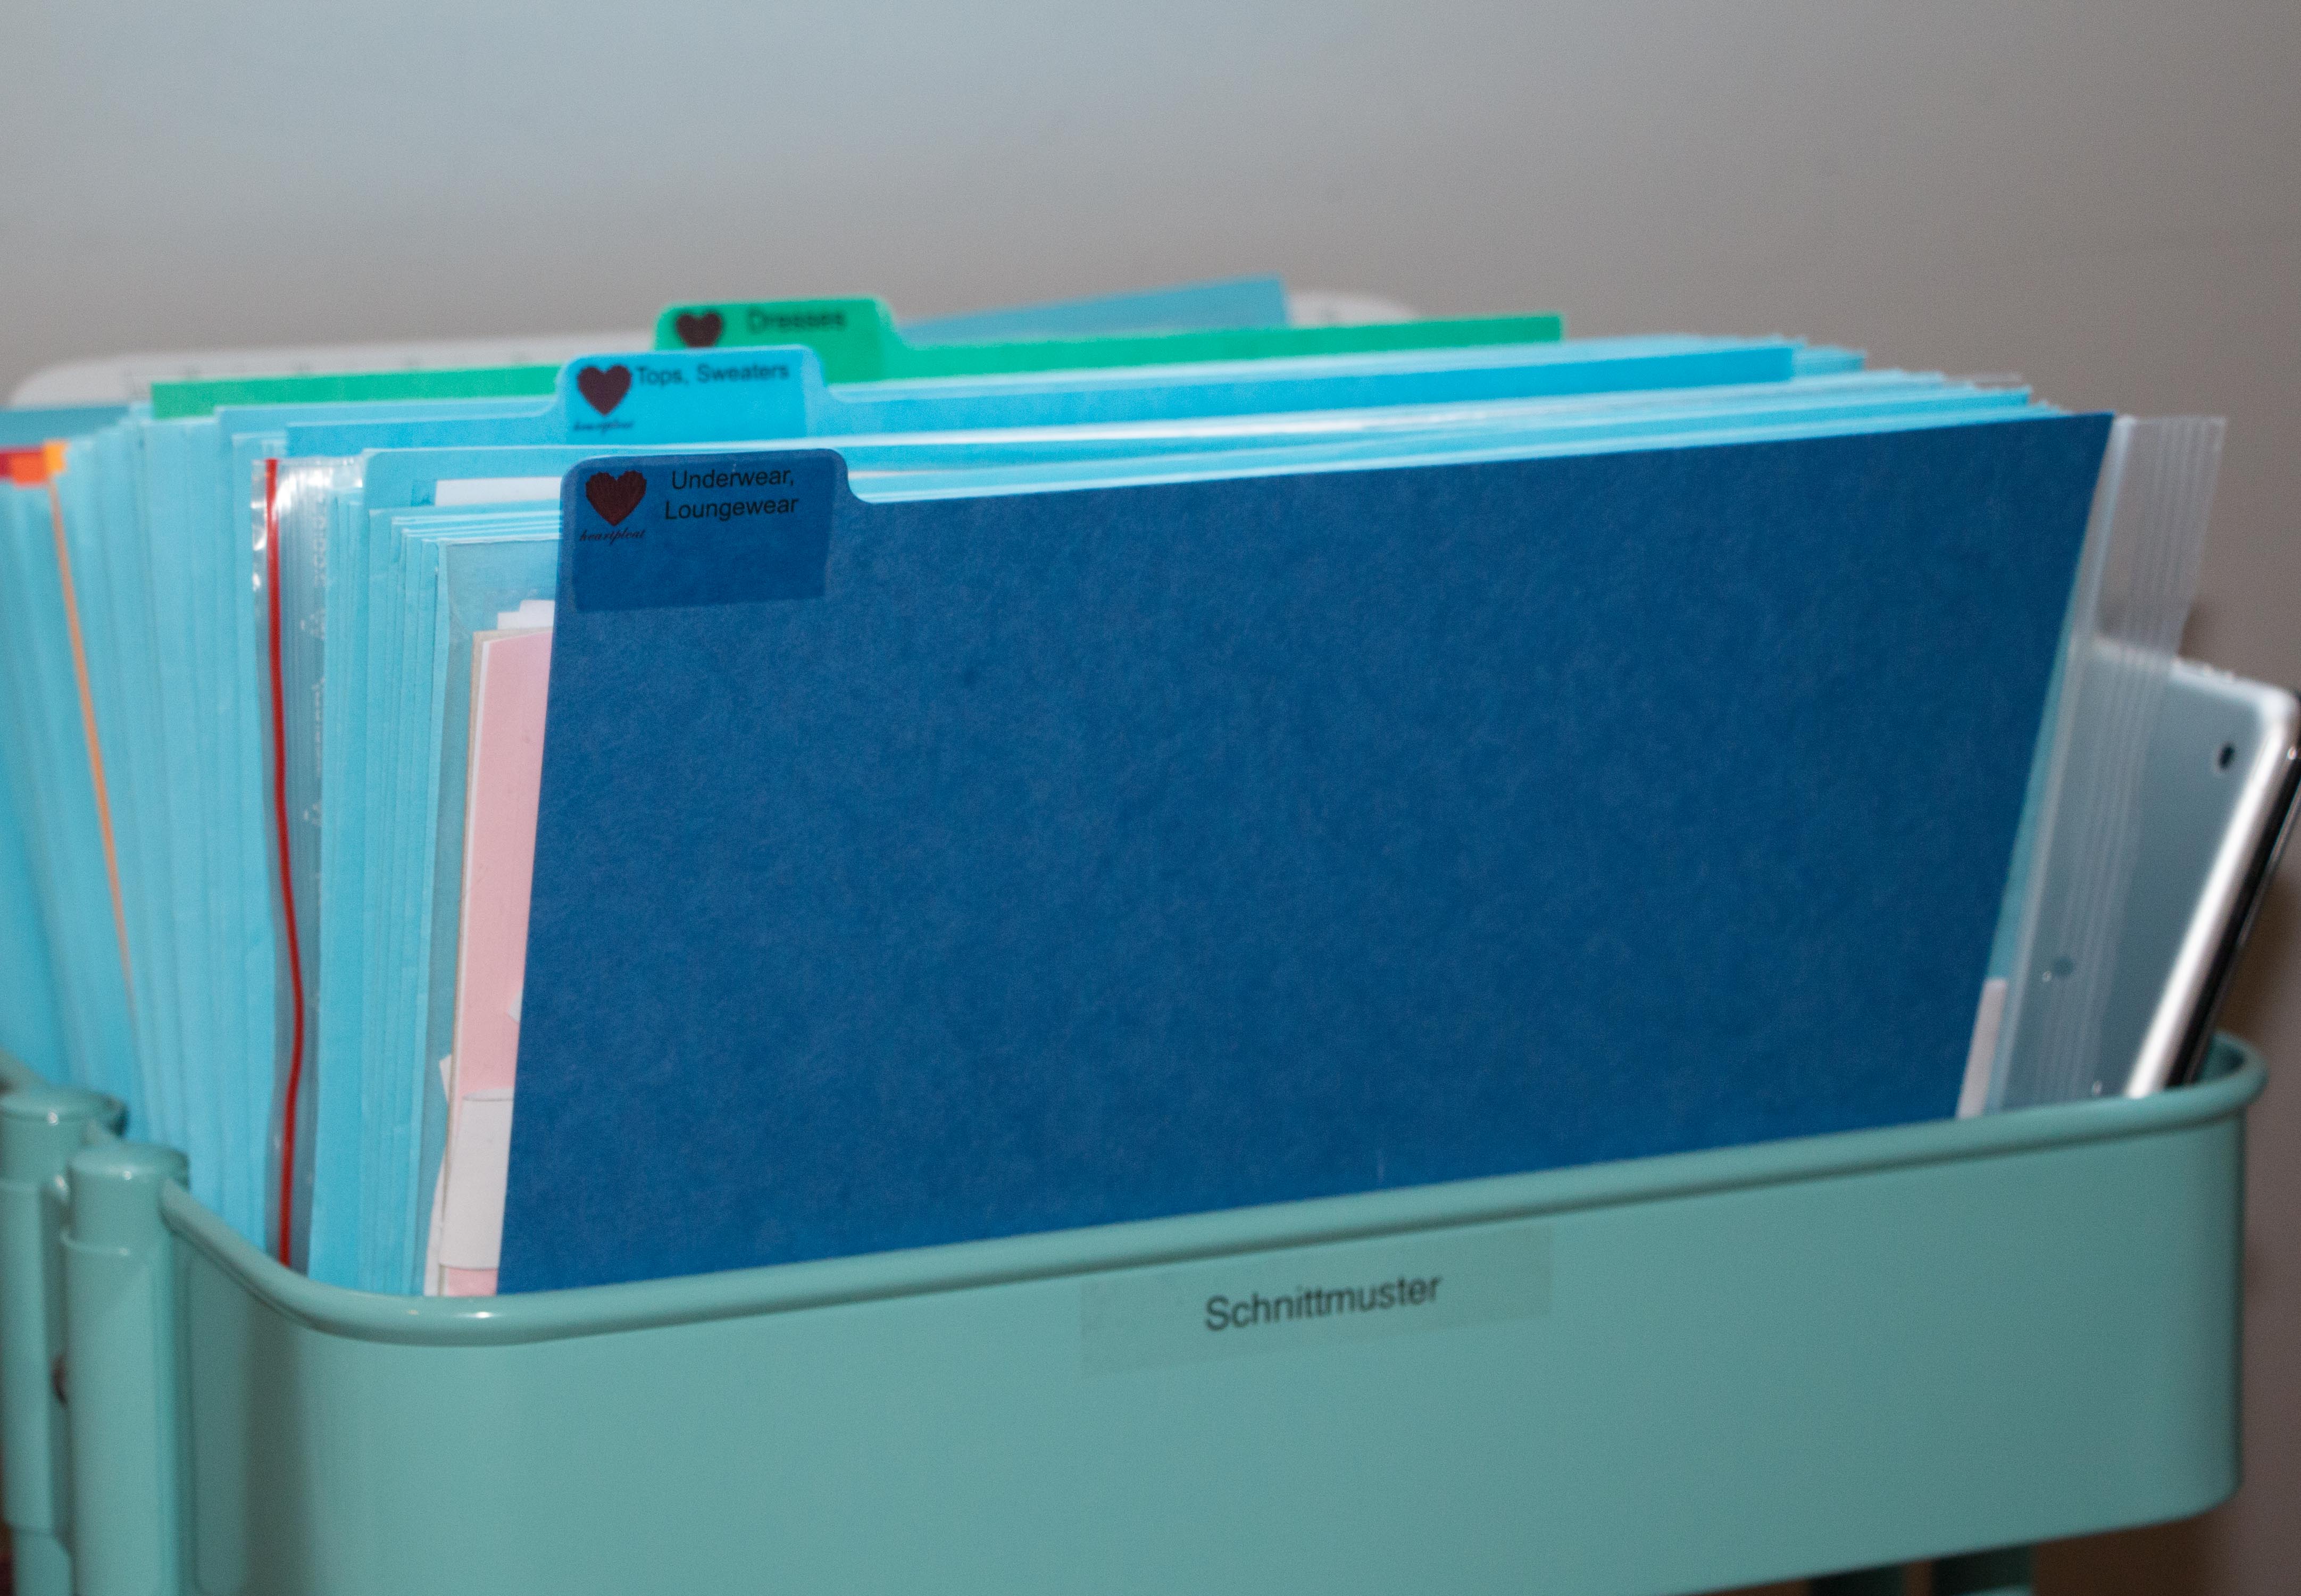
I store all my patterns in this trolley.
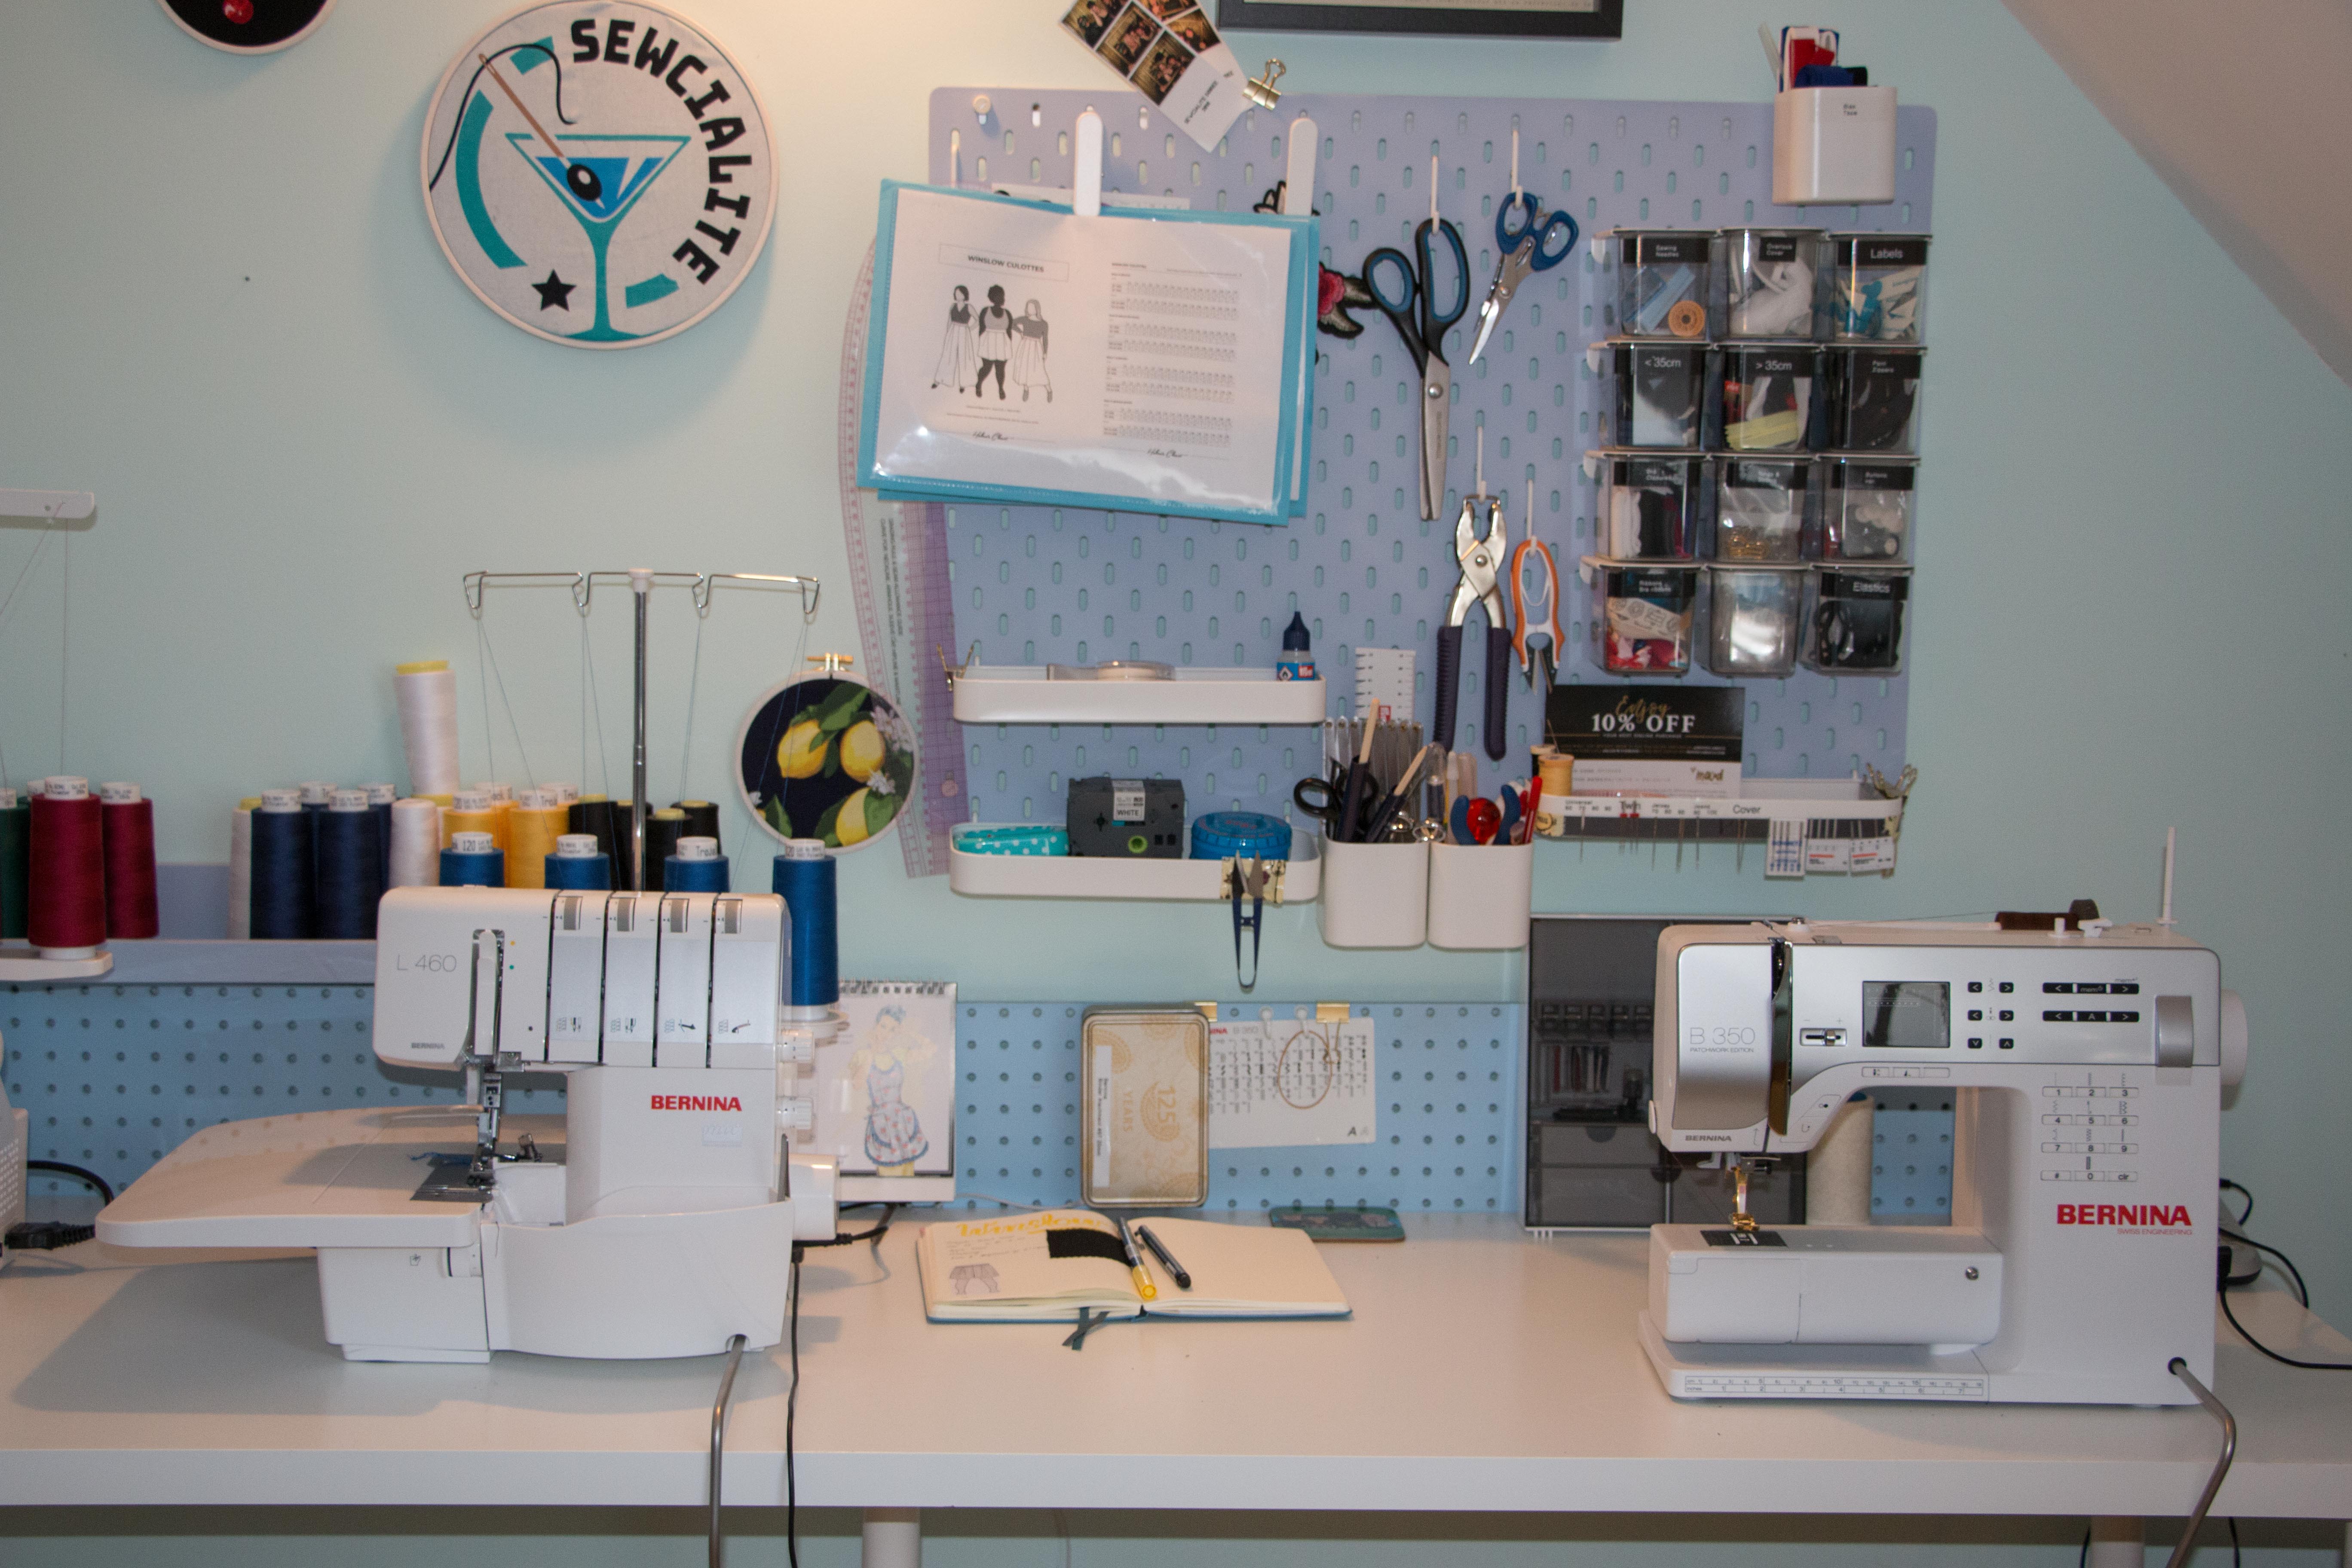
My sewing area with the current pattern on my pegboard.
Write about it
Next, I cut out a swatch for my ‘diary’ or rather my sewing book/sewing planner/regular planner. I take the line drawing I pinned to the fabric, stick everything into my book, and start to write about my projects. I make notes of my measurements, my chosen size, alterations I made, fabric type etc. I prepare this before I sew, so I can take notes while I am sewing. It’s helpful to track my progress, my makes but also for blogging.
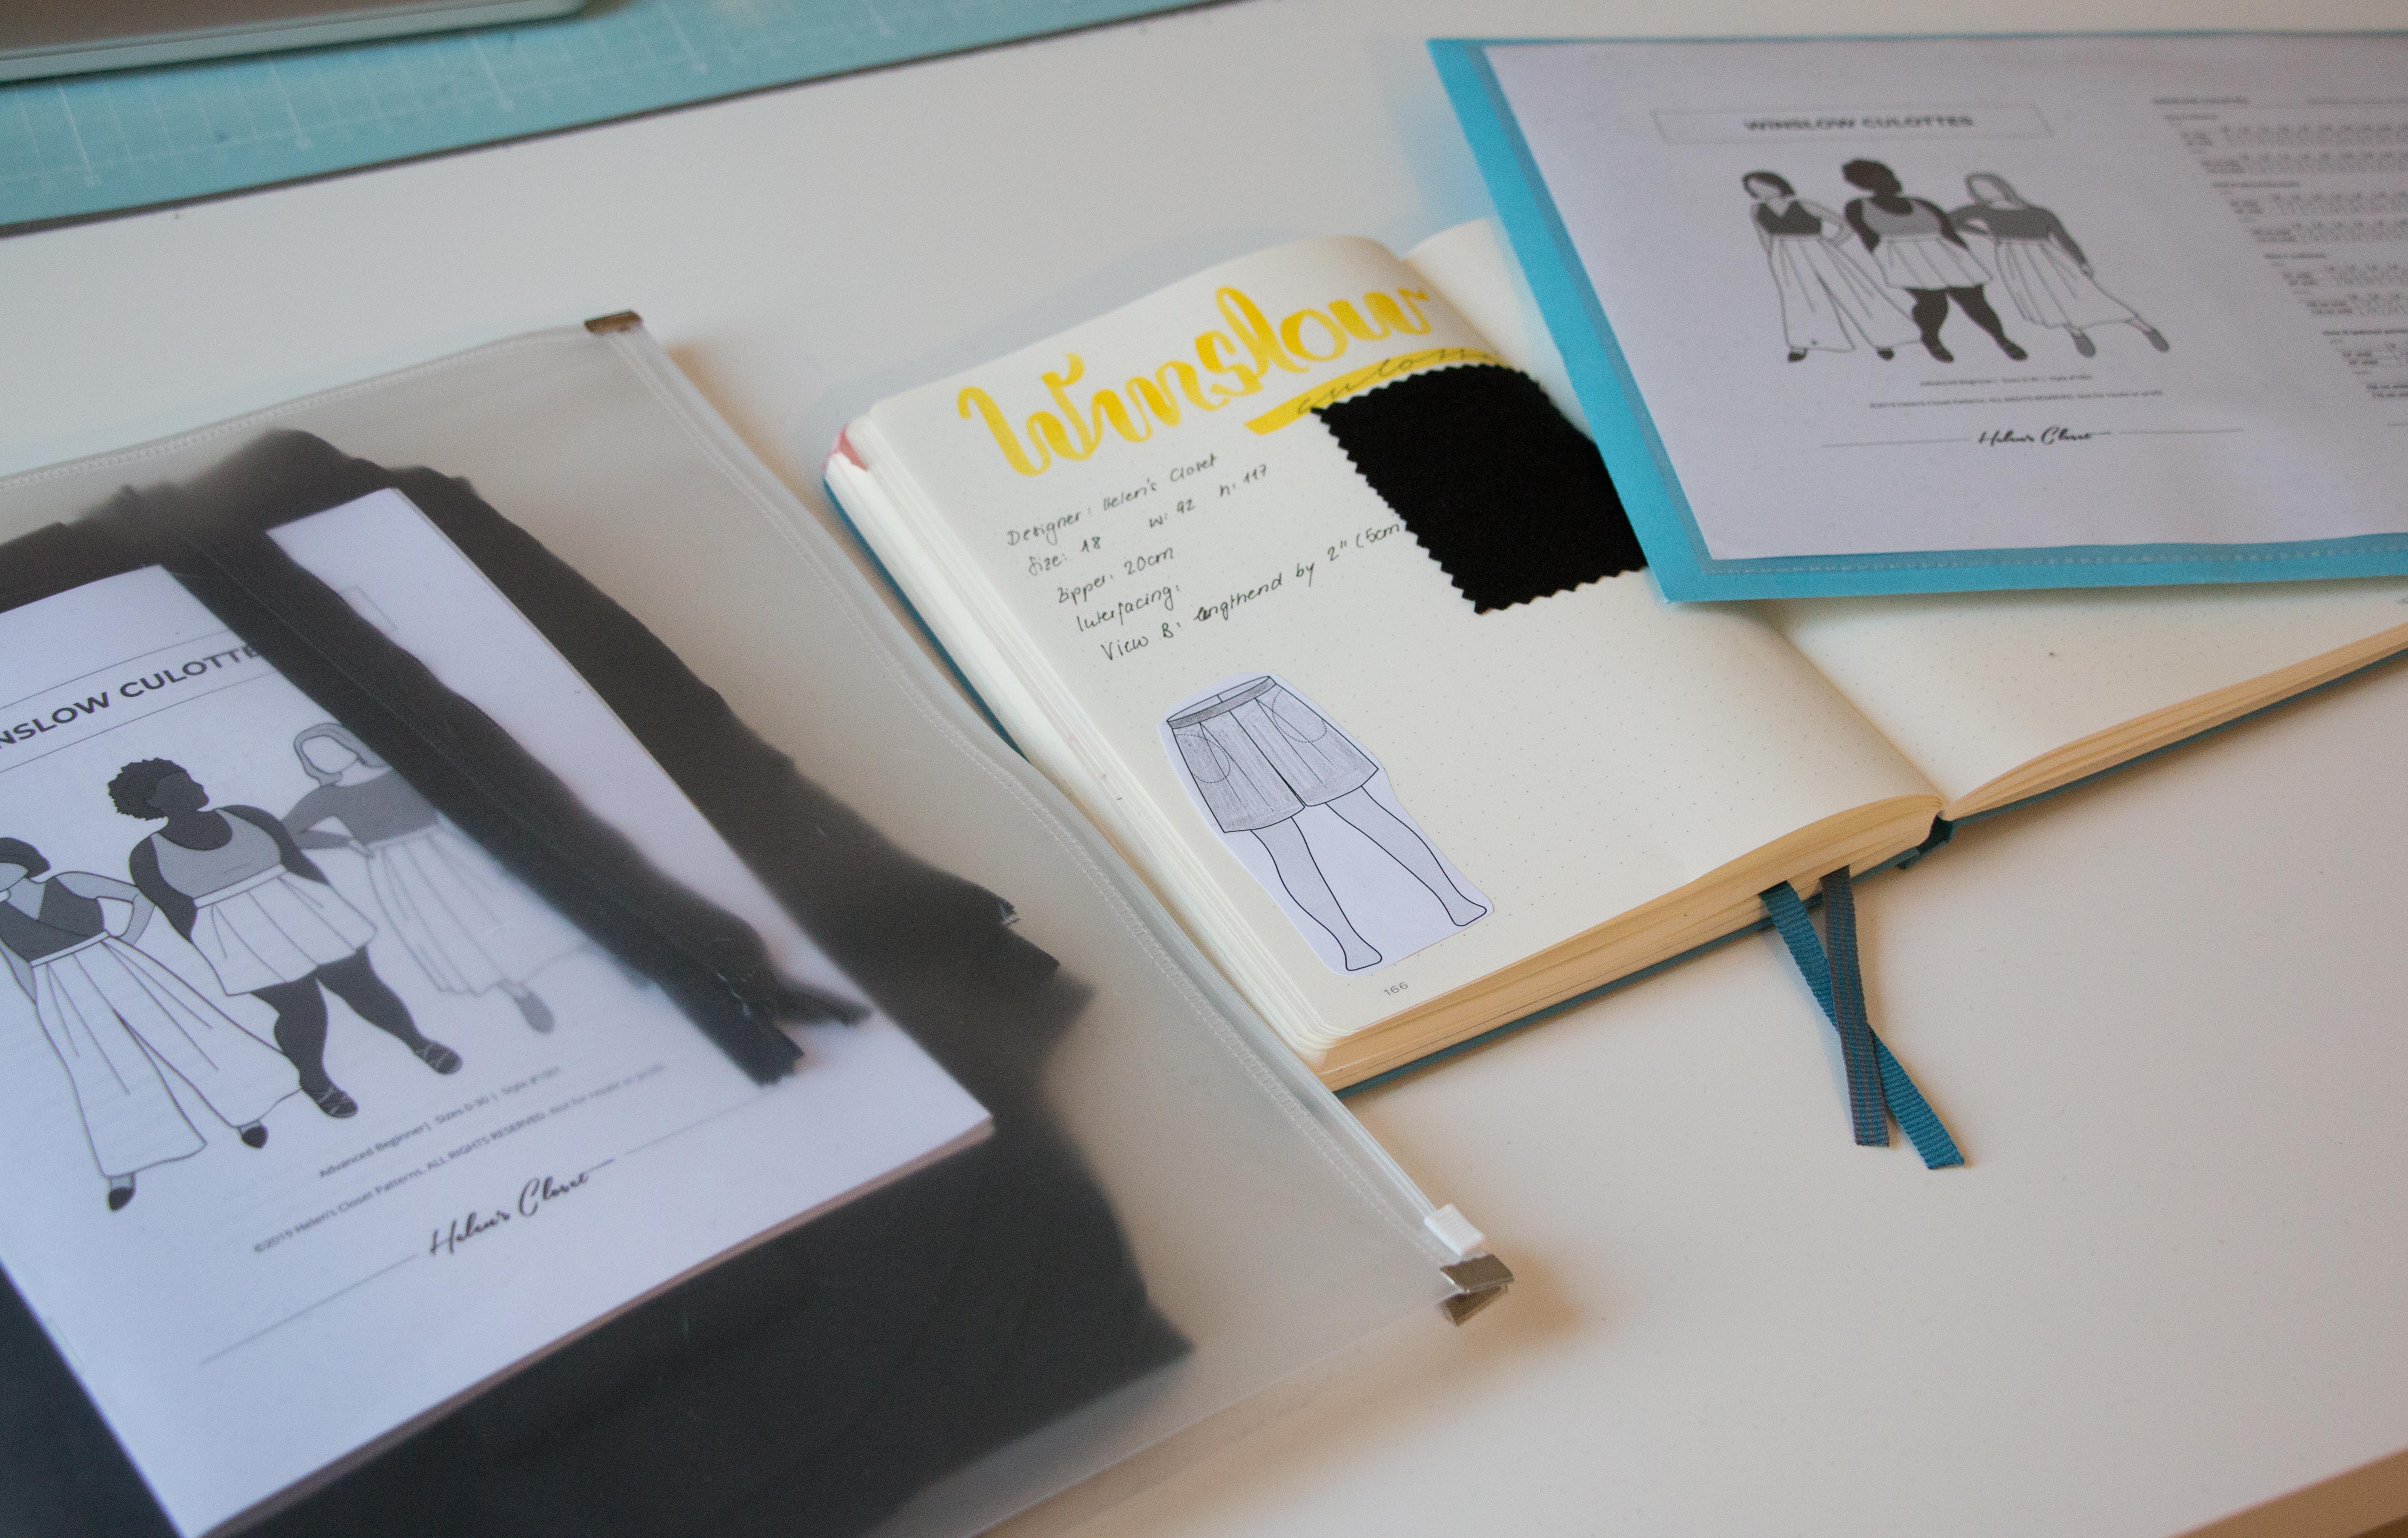
My sewing journal is the one in the middle… with the current project, the Winslow Culottes by Helen’s Closet
Actual sewing prep-work
I thread all the machines I use for the project, pull out all the presser feet I need and then clean the whole space (lint, fabric snips, thread, etc.). So I can start with a clean surface and a clear space. I heat up the iron and start my project.
During sewing
During sewing I stop to take pictures and notes. Usually I can sew a garment in one go but I noticed recently that this circumstance has kept me from sewing at all. Thoughts like ‘No, I really need about 2 hours for this, so I can’t start now’, have kept me company for most part of June. This is why I thought about sewing in smaller increments, just 30 minutes and then do something else – or rather allow myself to do something else.
After I’m done sewing
I usually finish my whole process with writing about it on my blog or on my Instagram. So if you’re ever bored come check out my makes.
That’s it! So happy Sewing
Nadine
Thank you for sharing this, it’s very helpful to me now that I’m having trouble with organization in my sewing space and with my sewing queue, too many projects at the same time made me realize that I need more than only my mind.
I am very happy to have inspired you… Happy Sewing!
Thank you for sharing your experience, I am a new sewer and this arrived at the right time
Thank you so much. Enjoy your new hobby!