 BERNINA Corporate Blog -
You cannot deny it: it’s Summer! Think: sun, water and boats, and you will get the idea about what’s in this Summer project: yes… boats! Six different vessels, all paper piecing. You will be able to download a FREE PATTERN with each post about this Summer project.
You can make a quilt or use the blocks (with extra fabric) for pillow cases, or sew them on a tote bag… or even on a jacket: so much possibilities…. Not just for experienced quilters, but also for novices.
Mark your calendar: boat 2 on July 17, boat 3 on July 25, boat 4 on August 3, boat 5 on August 14 and boat 6 on August 23.
The paper piecing blocks will be aprox. 20 x 12 cm, finished size = without seam allowance.
What do you need to make these blocks?
- Fabrics for patchwork* = bright, fresh colors, but also blues – light and dark (for sky and water)
- Printer paper to print out the free patterns and use this for paper piecing
- Extra white paper – thin – to make templates
- Beige or light machine thread – for top and bobbin
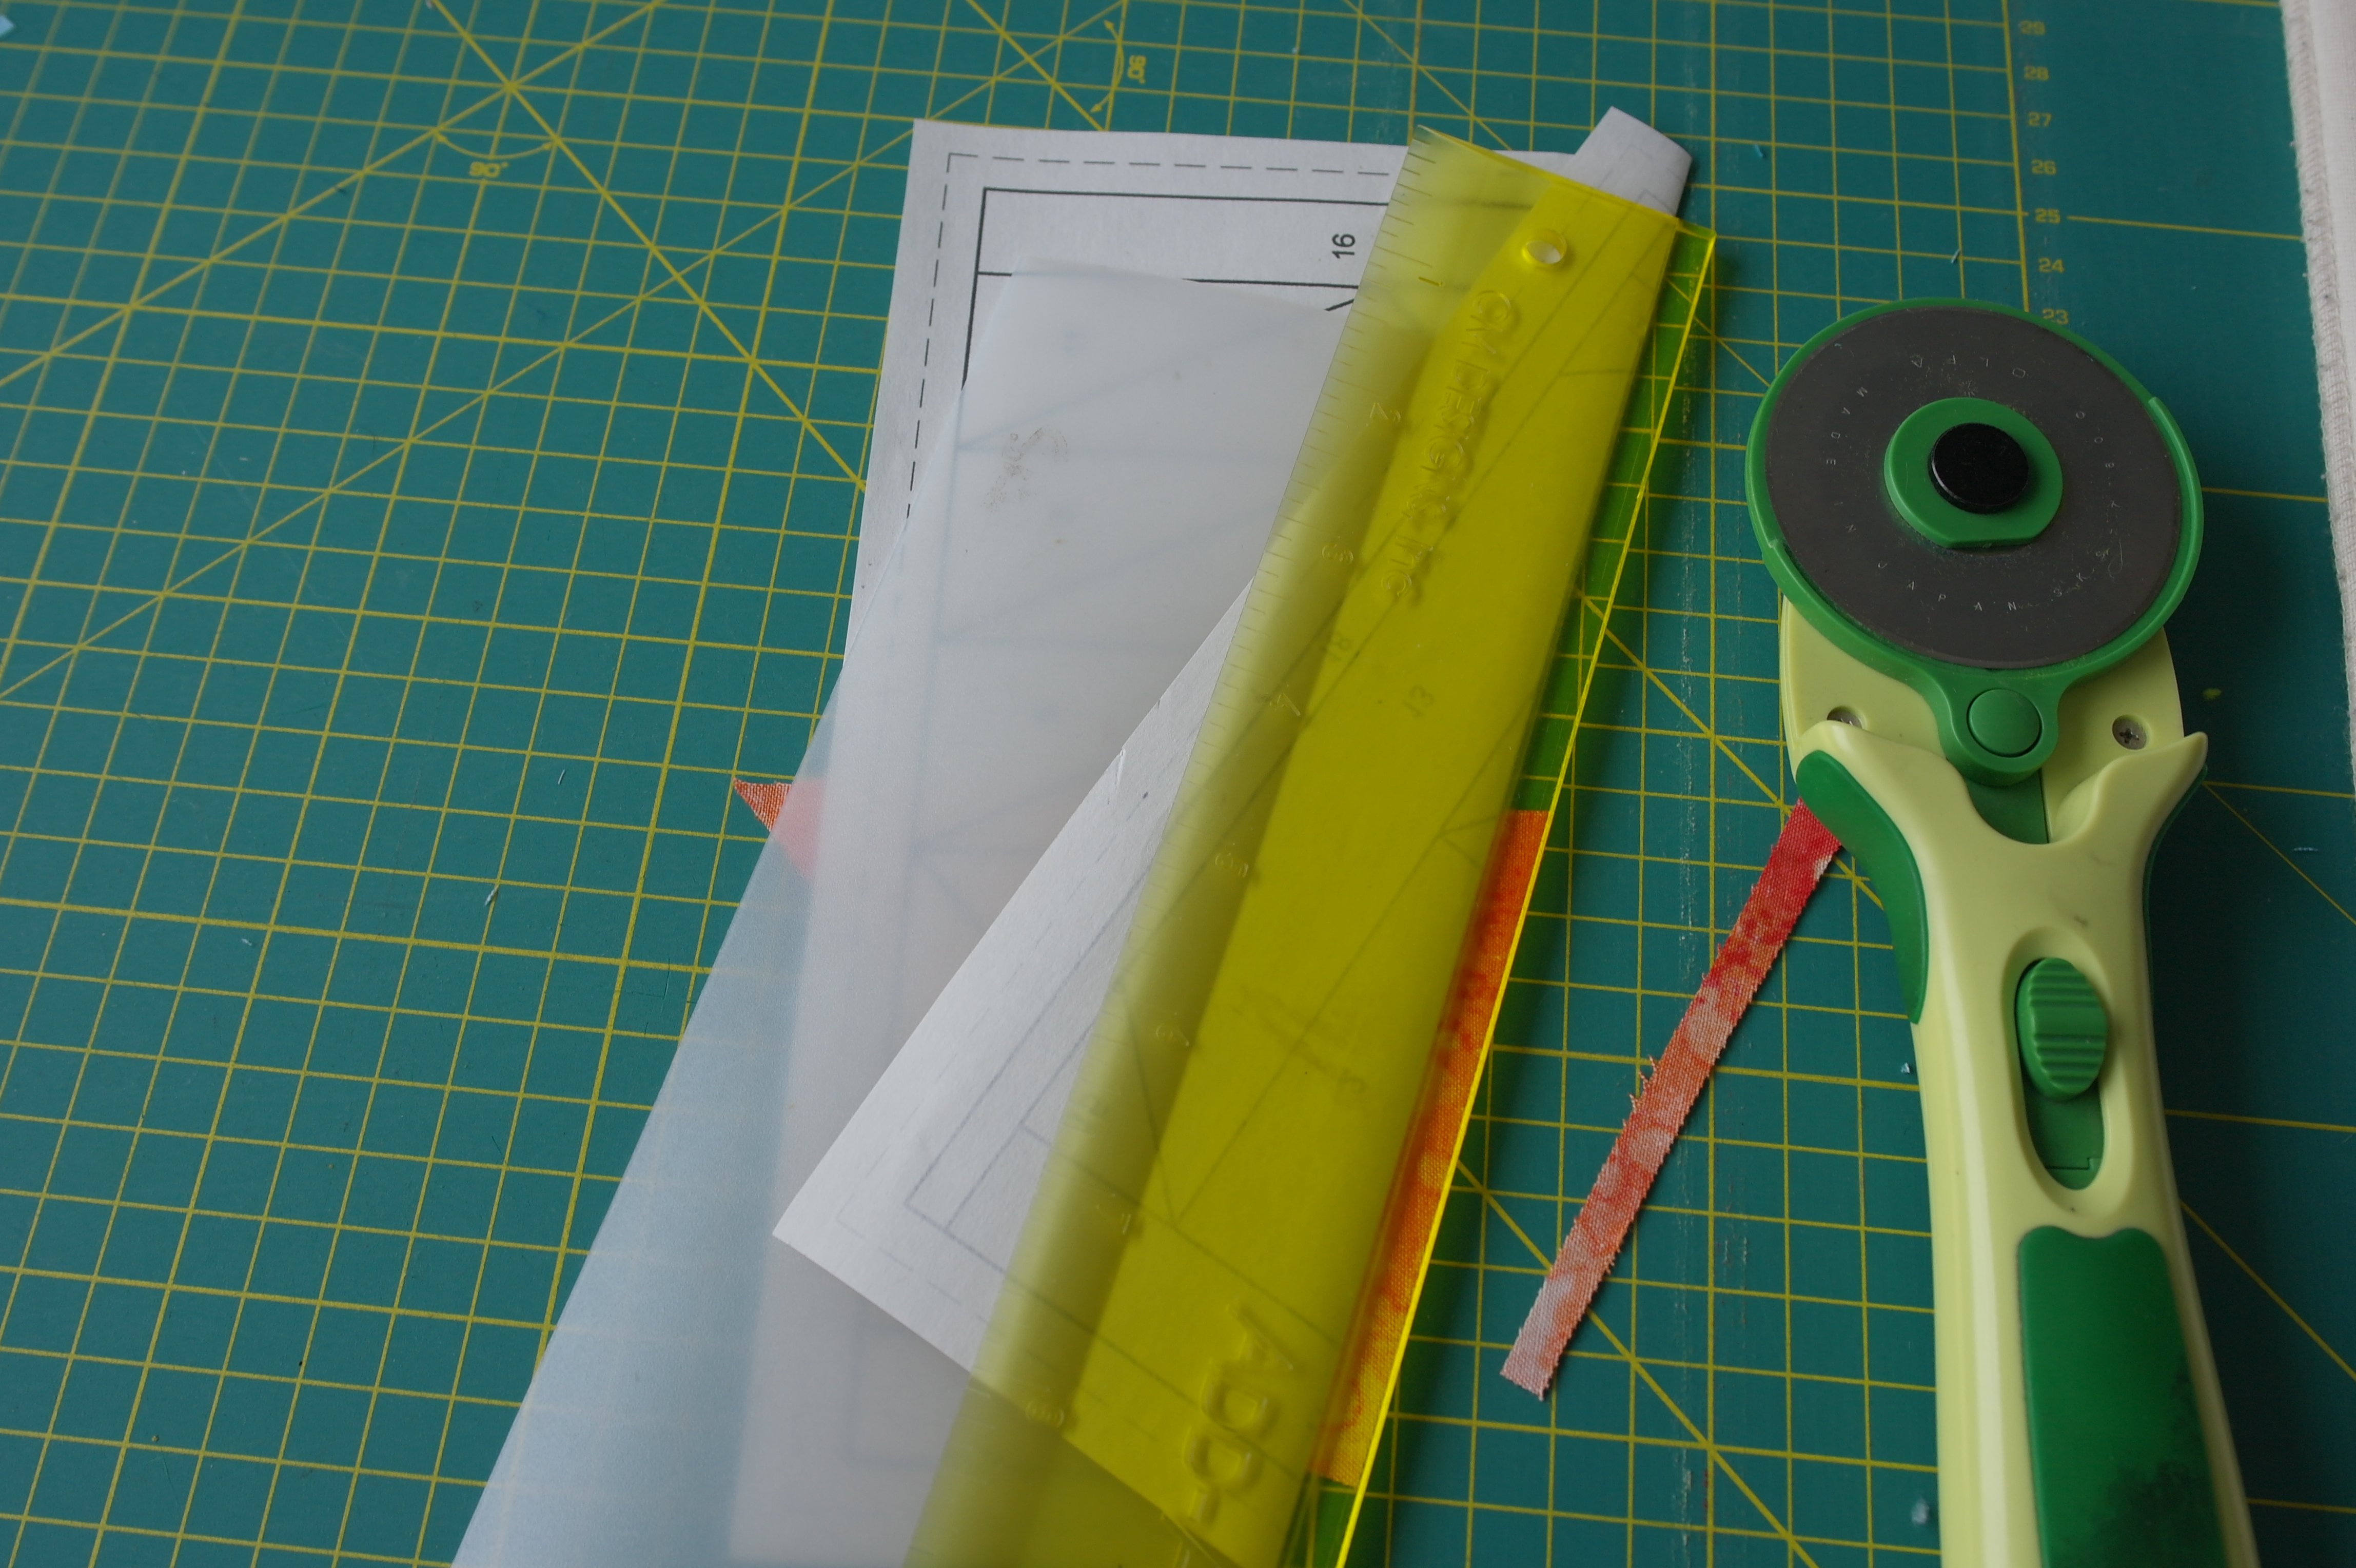
- Fabric scissors and rotary cutter/ruler/cutting mat
- Scissors for cutting paper
- Bohin Glue Pen
- Sewing machine with machine needle 70/10 en regular presser foot: the blocks are designed for machine sewing, not for hand sewing
- Ironing board and iron
- OPTIONAL: Add-a-Quarter ruler and folding template (straight piece of plastic template)
There is a minimum of 2 blues required: 1 for the sky and 1 for the water. You can use different blues for all blocks, like turquoise, sea green etc. Use bright colors for sails and boat, to make it stand out! These are fantasy boats, so let them shine! My boats are all different in color: from bright red and yellow to purple and green. Why not? I have used Fossil Ferns for my blocks: wonderful fabrics with water drops and fine fern prints, available in many colors.
After making all six blocks, and use them for a quilt, you will need background fabric, and also batting and backing, and fabric for binding. Information about making a quilt will be with the last boat.
Today’s pattern is the first boat
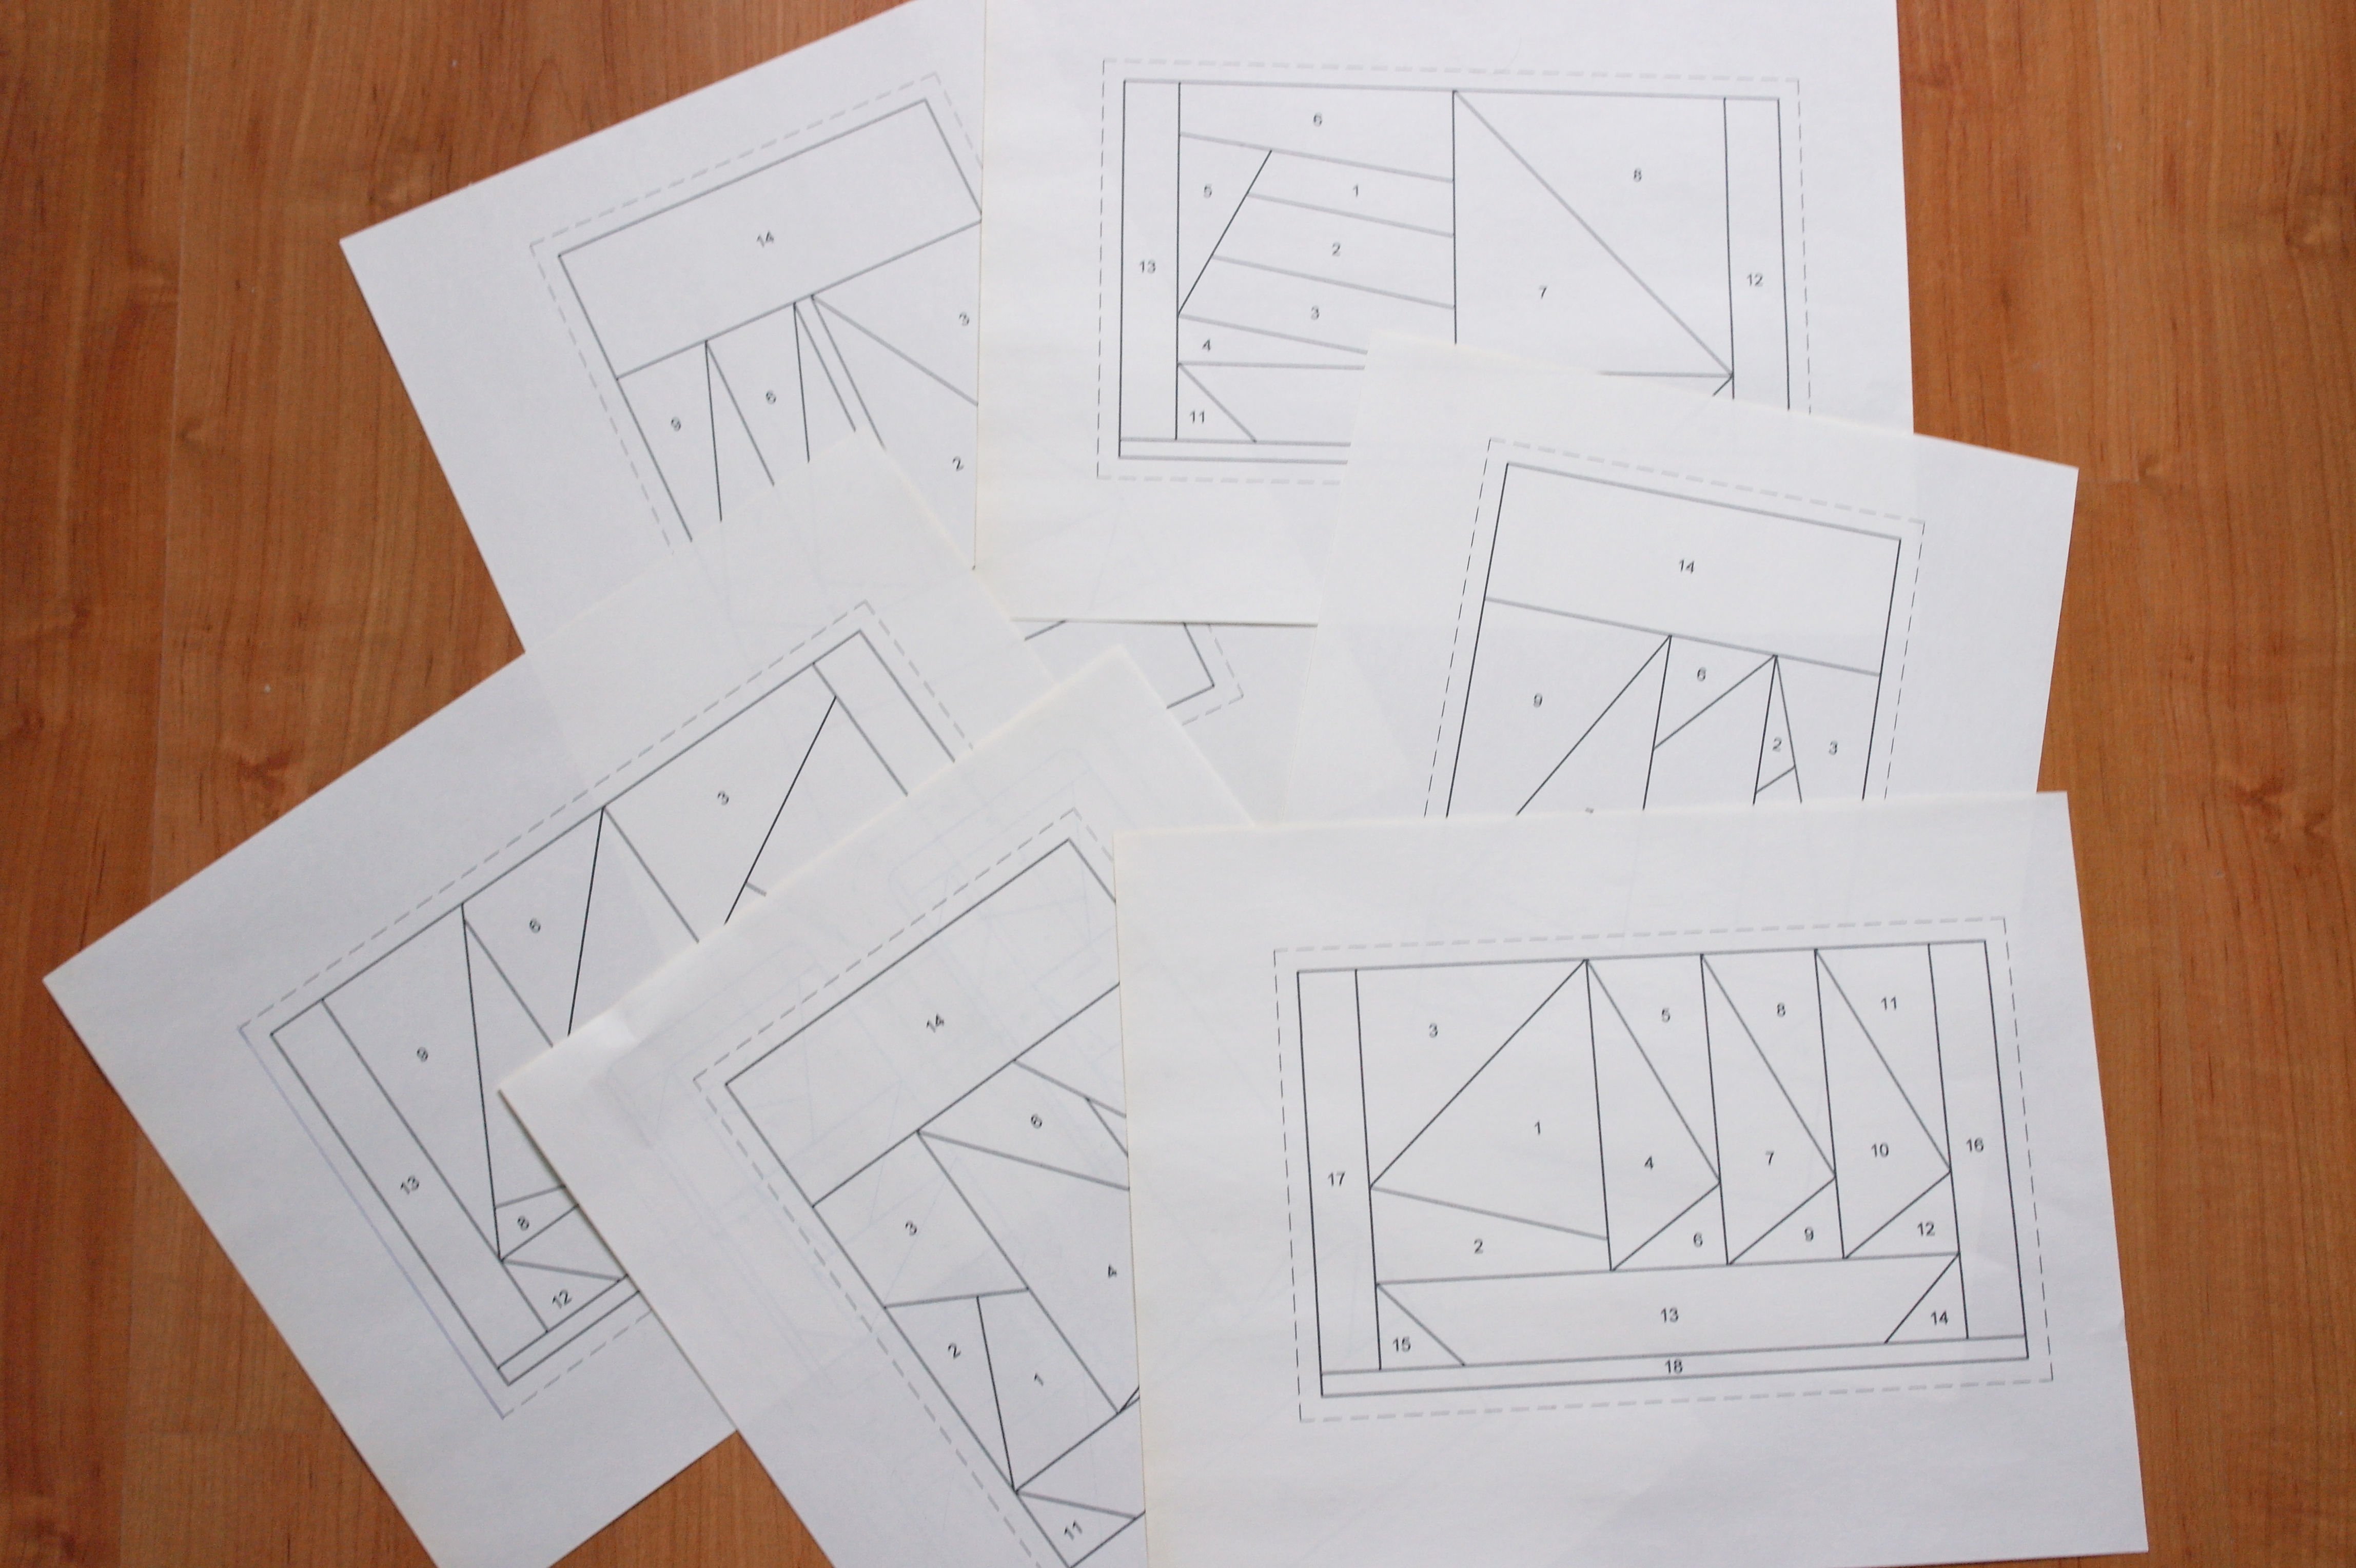
Click HERE to download the paper piecing pattern. Print it 100% size, or actual size.
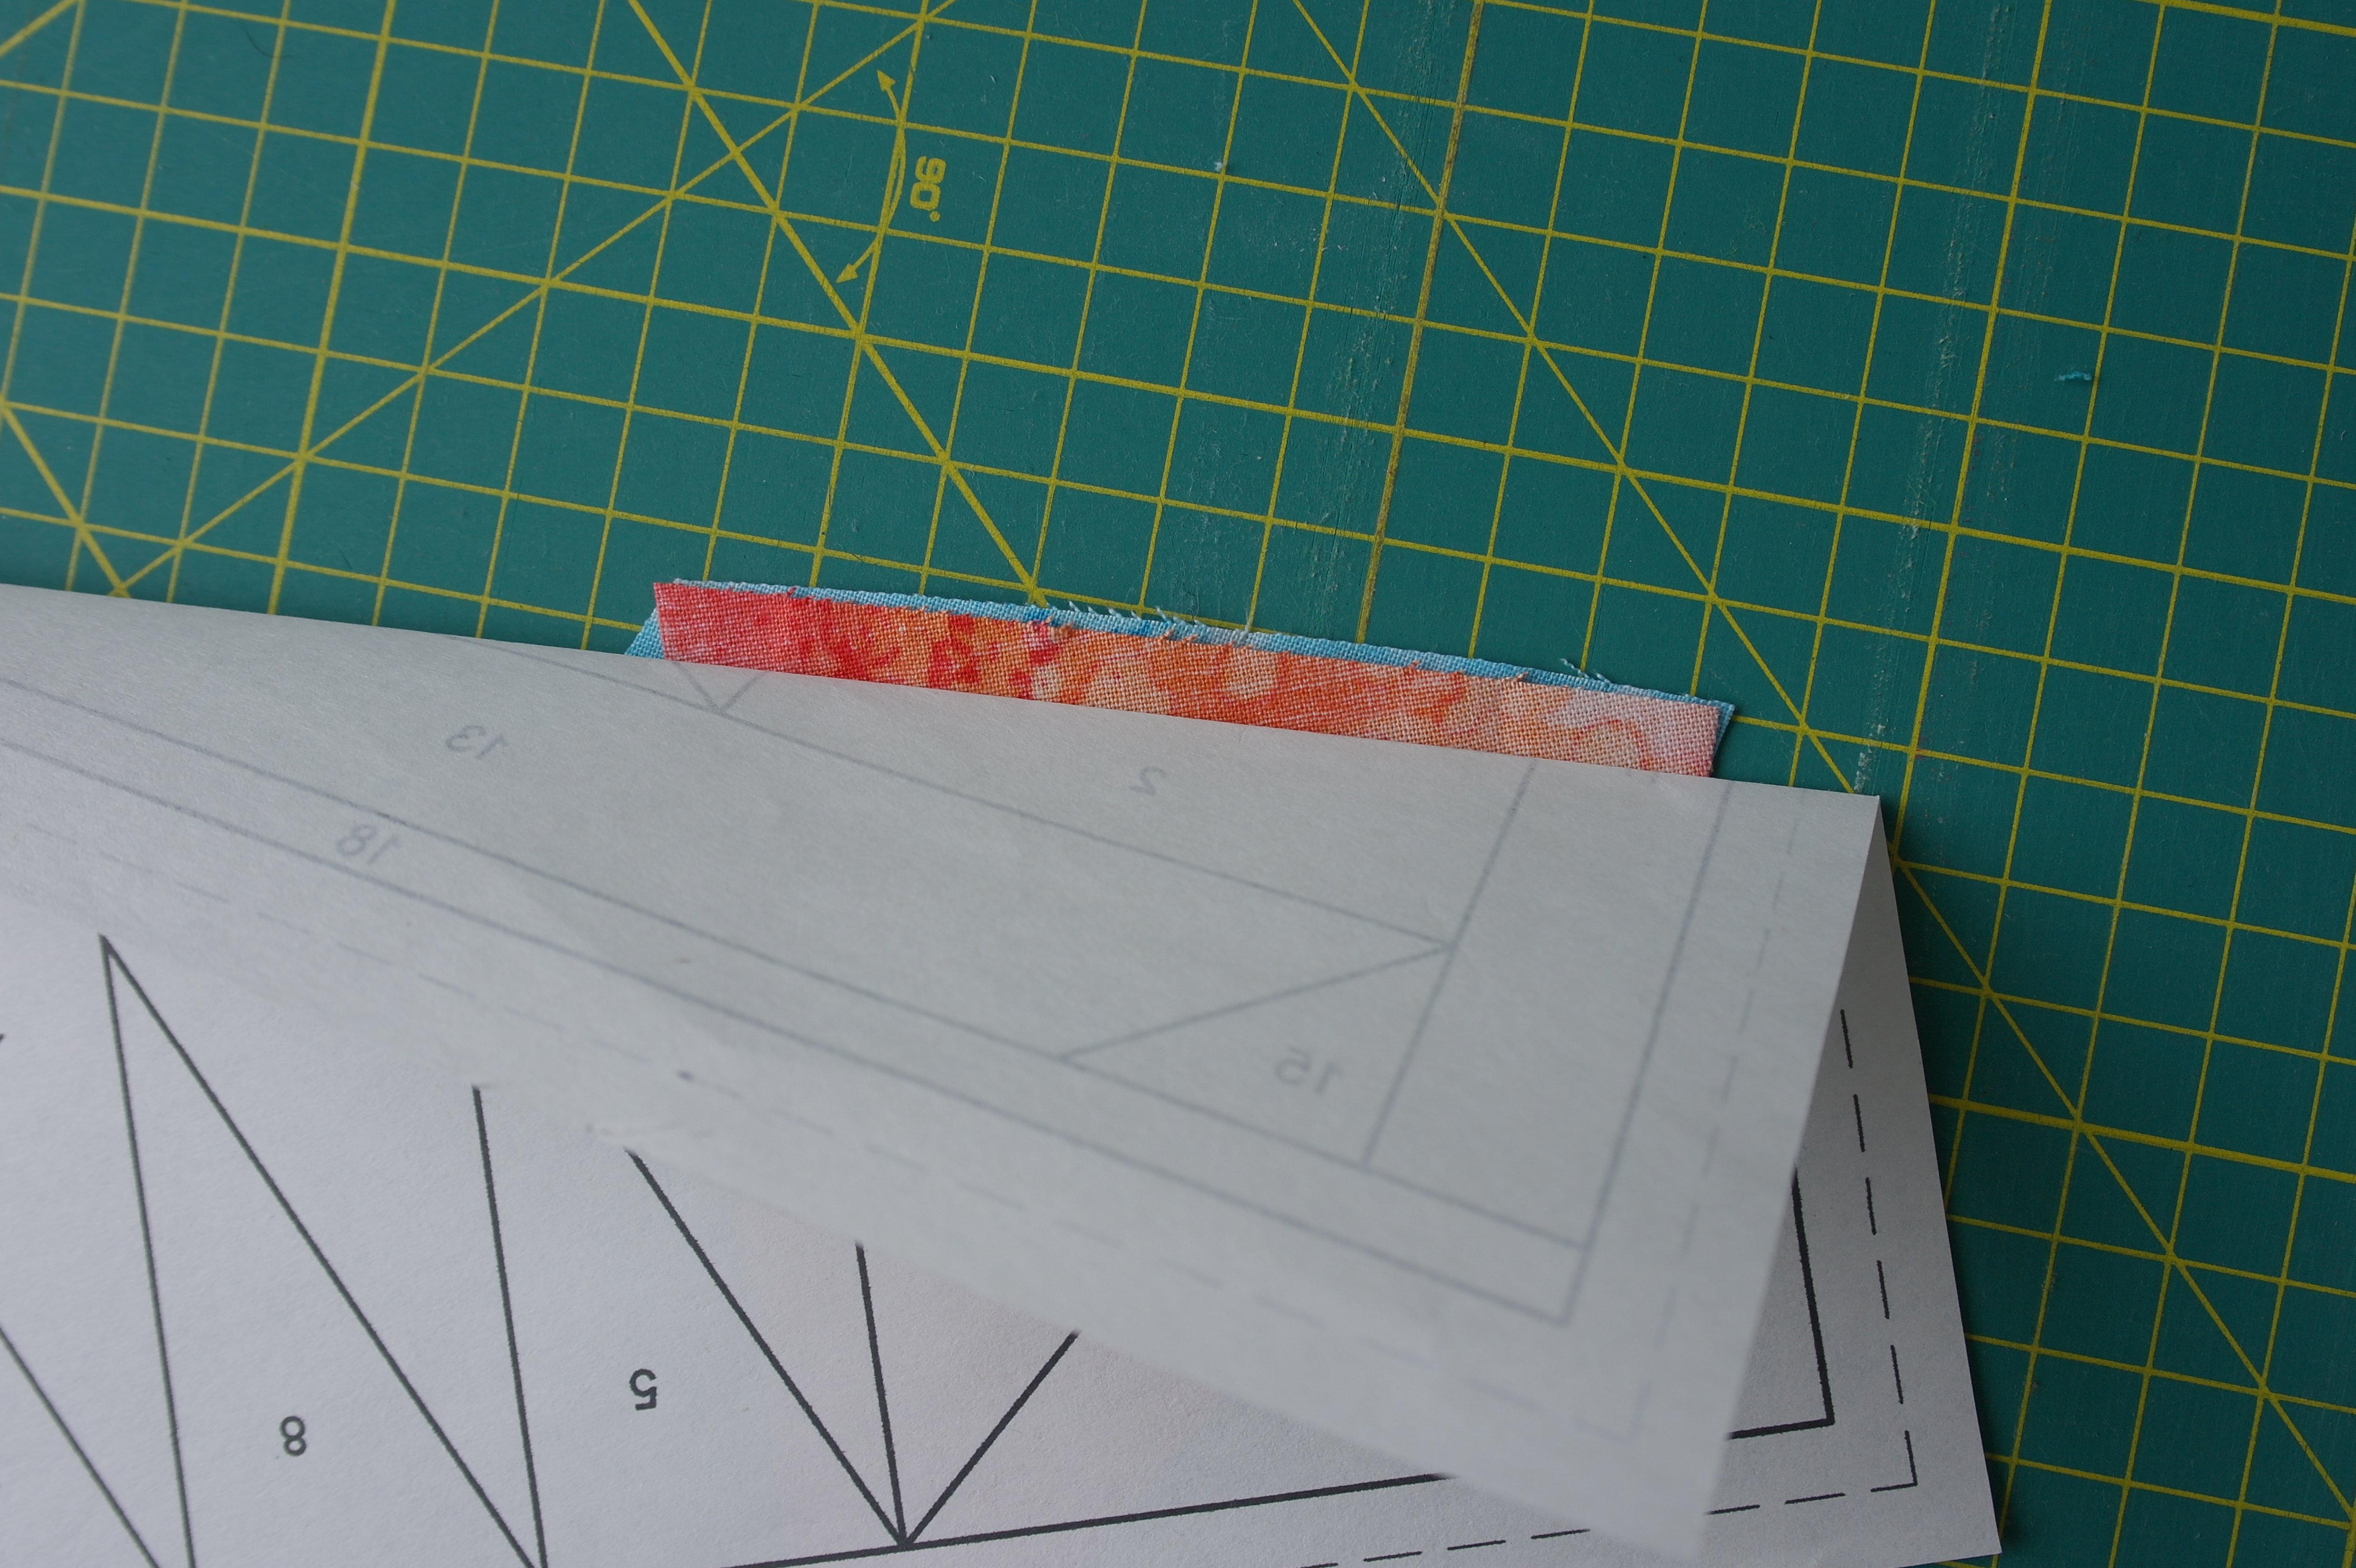
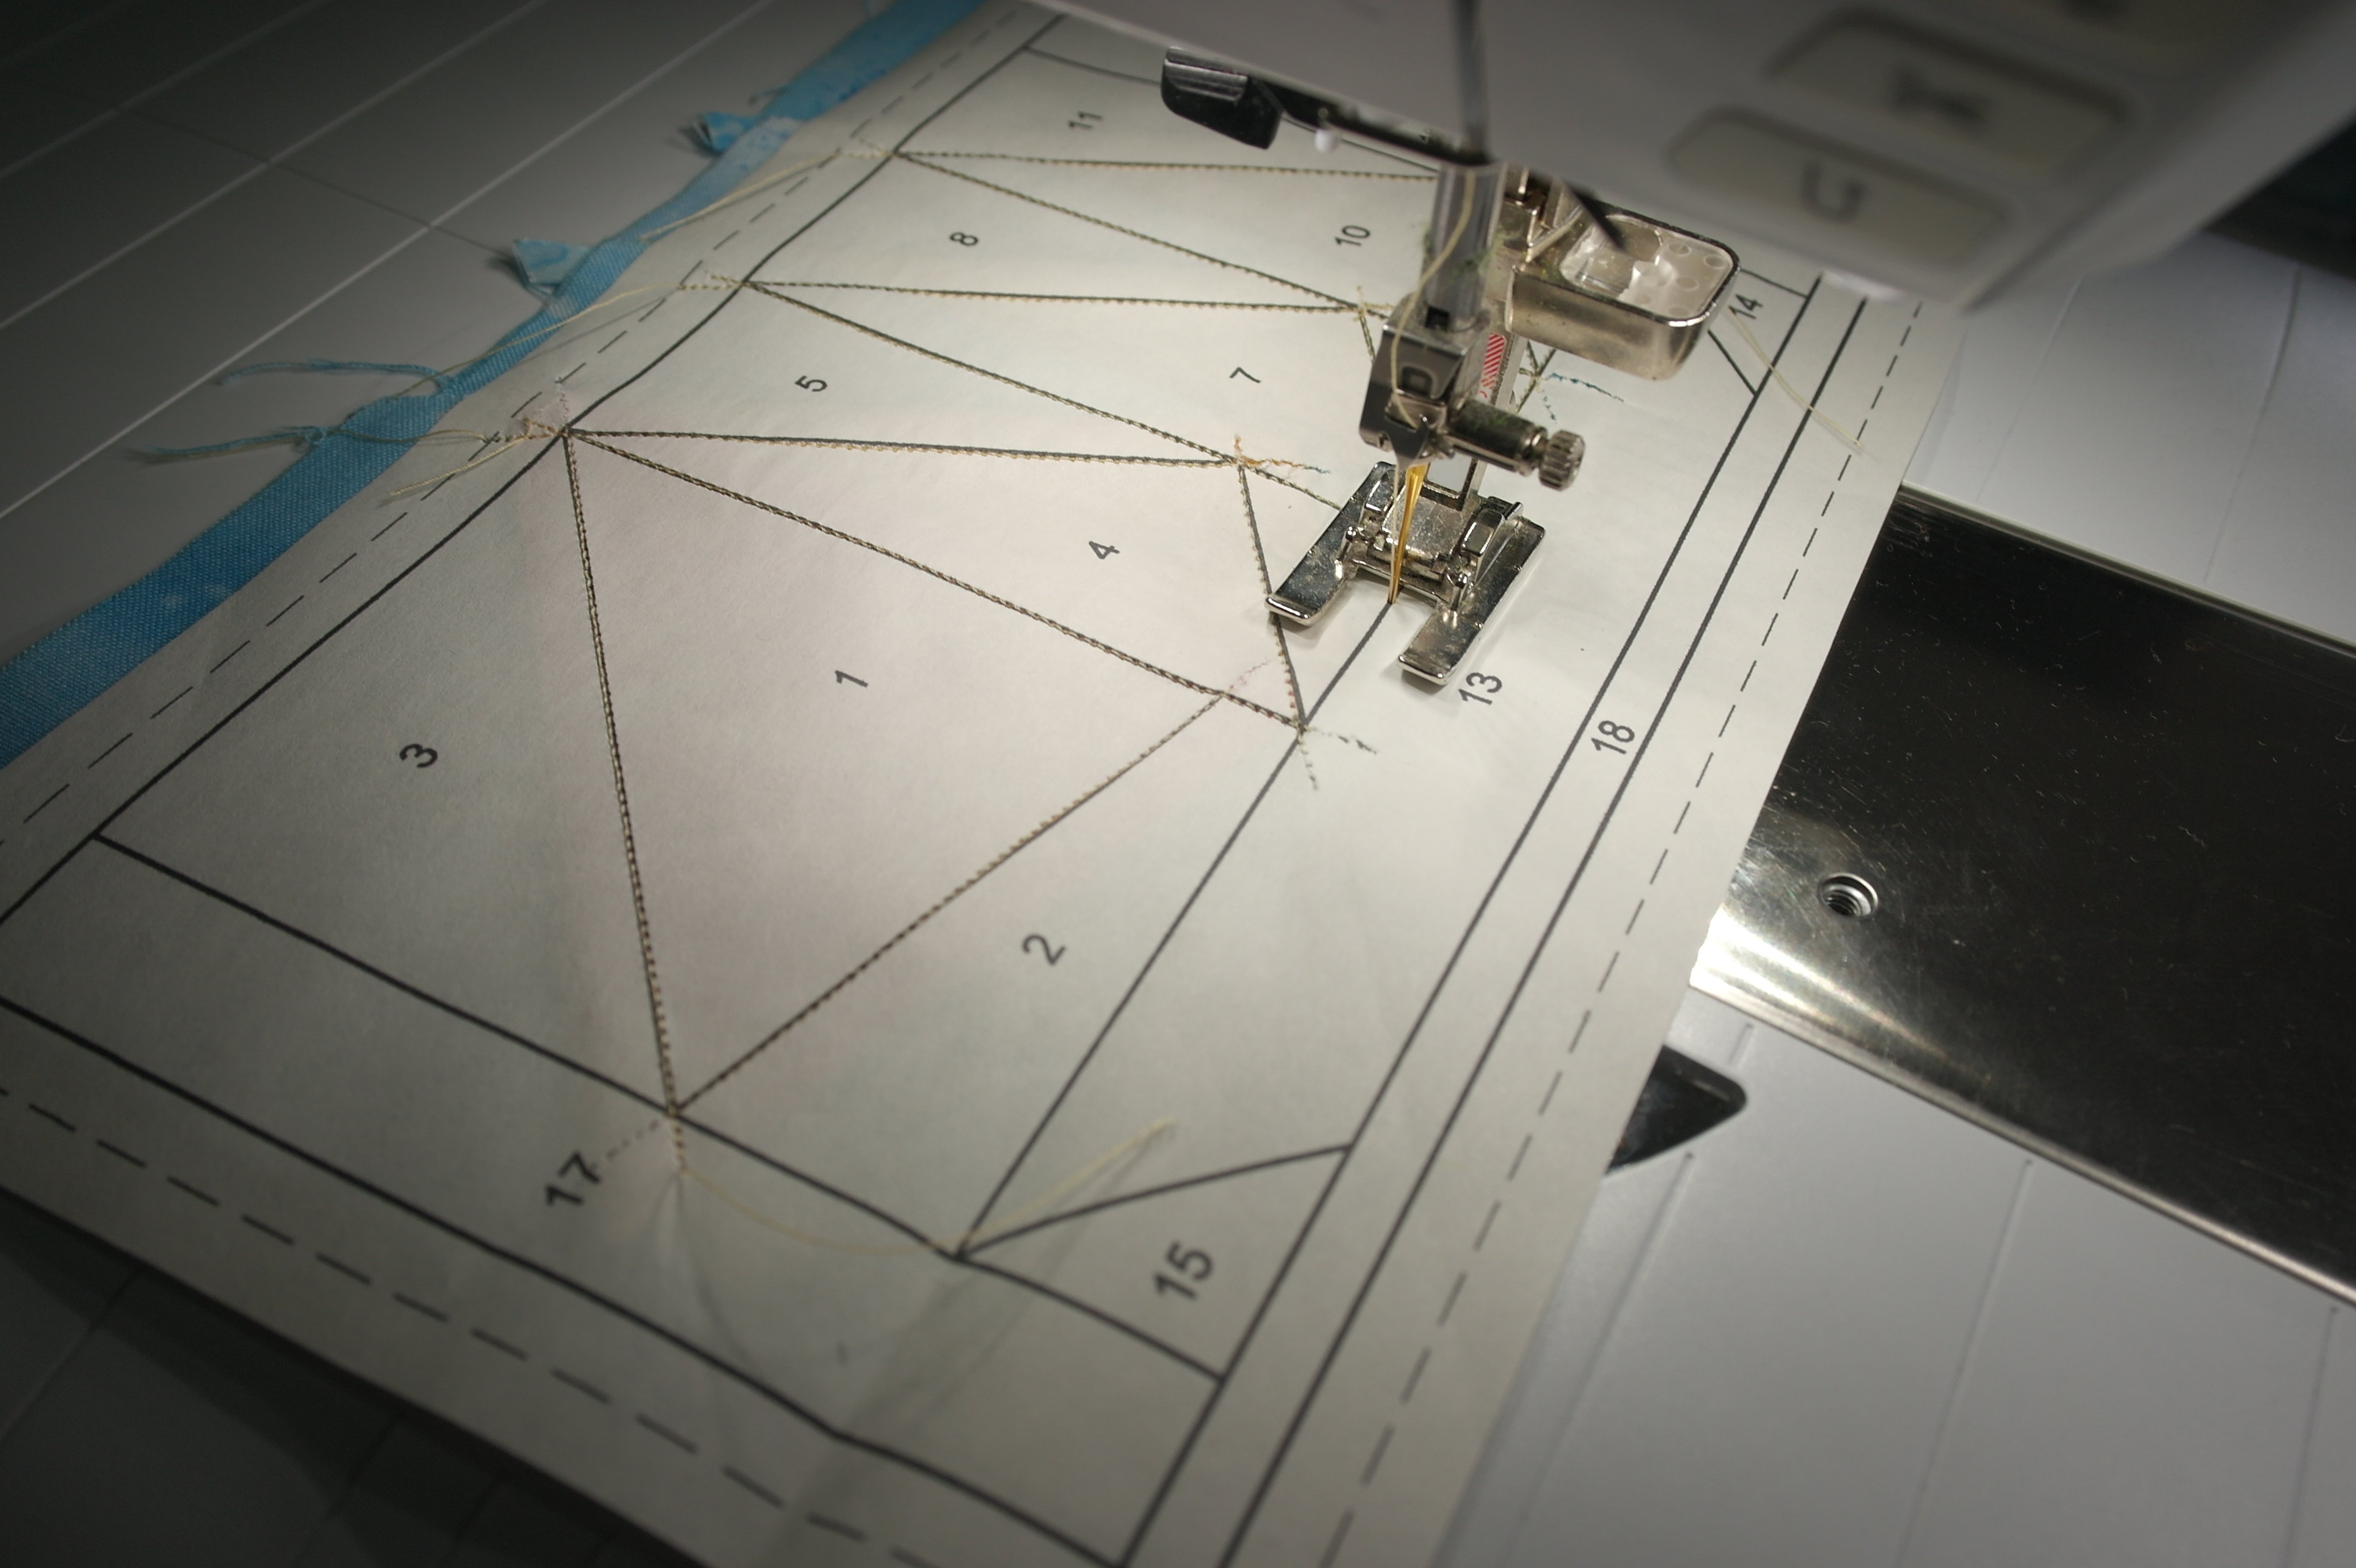
After printing, the block will be made via paper piecing. For those of you who are not familiar with this technique: sew on the side with the lines and numbers, place your fabrics on the ‘other’ side – the last will be the right side. Therefore your pattern is always a mirror image of the finished side. Just follow the directions below and your’re ok.
The numbers indicate the working order.
The fabric for section 1 will NOT be sewn onto the paper, but glued (or pinned). I’d rather use glue, because pins are making holes in the paper, which will tear it. The fabrics for section 2, 3 etc. are sewn on sewing lines, through fabrics and the paper pattern.
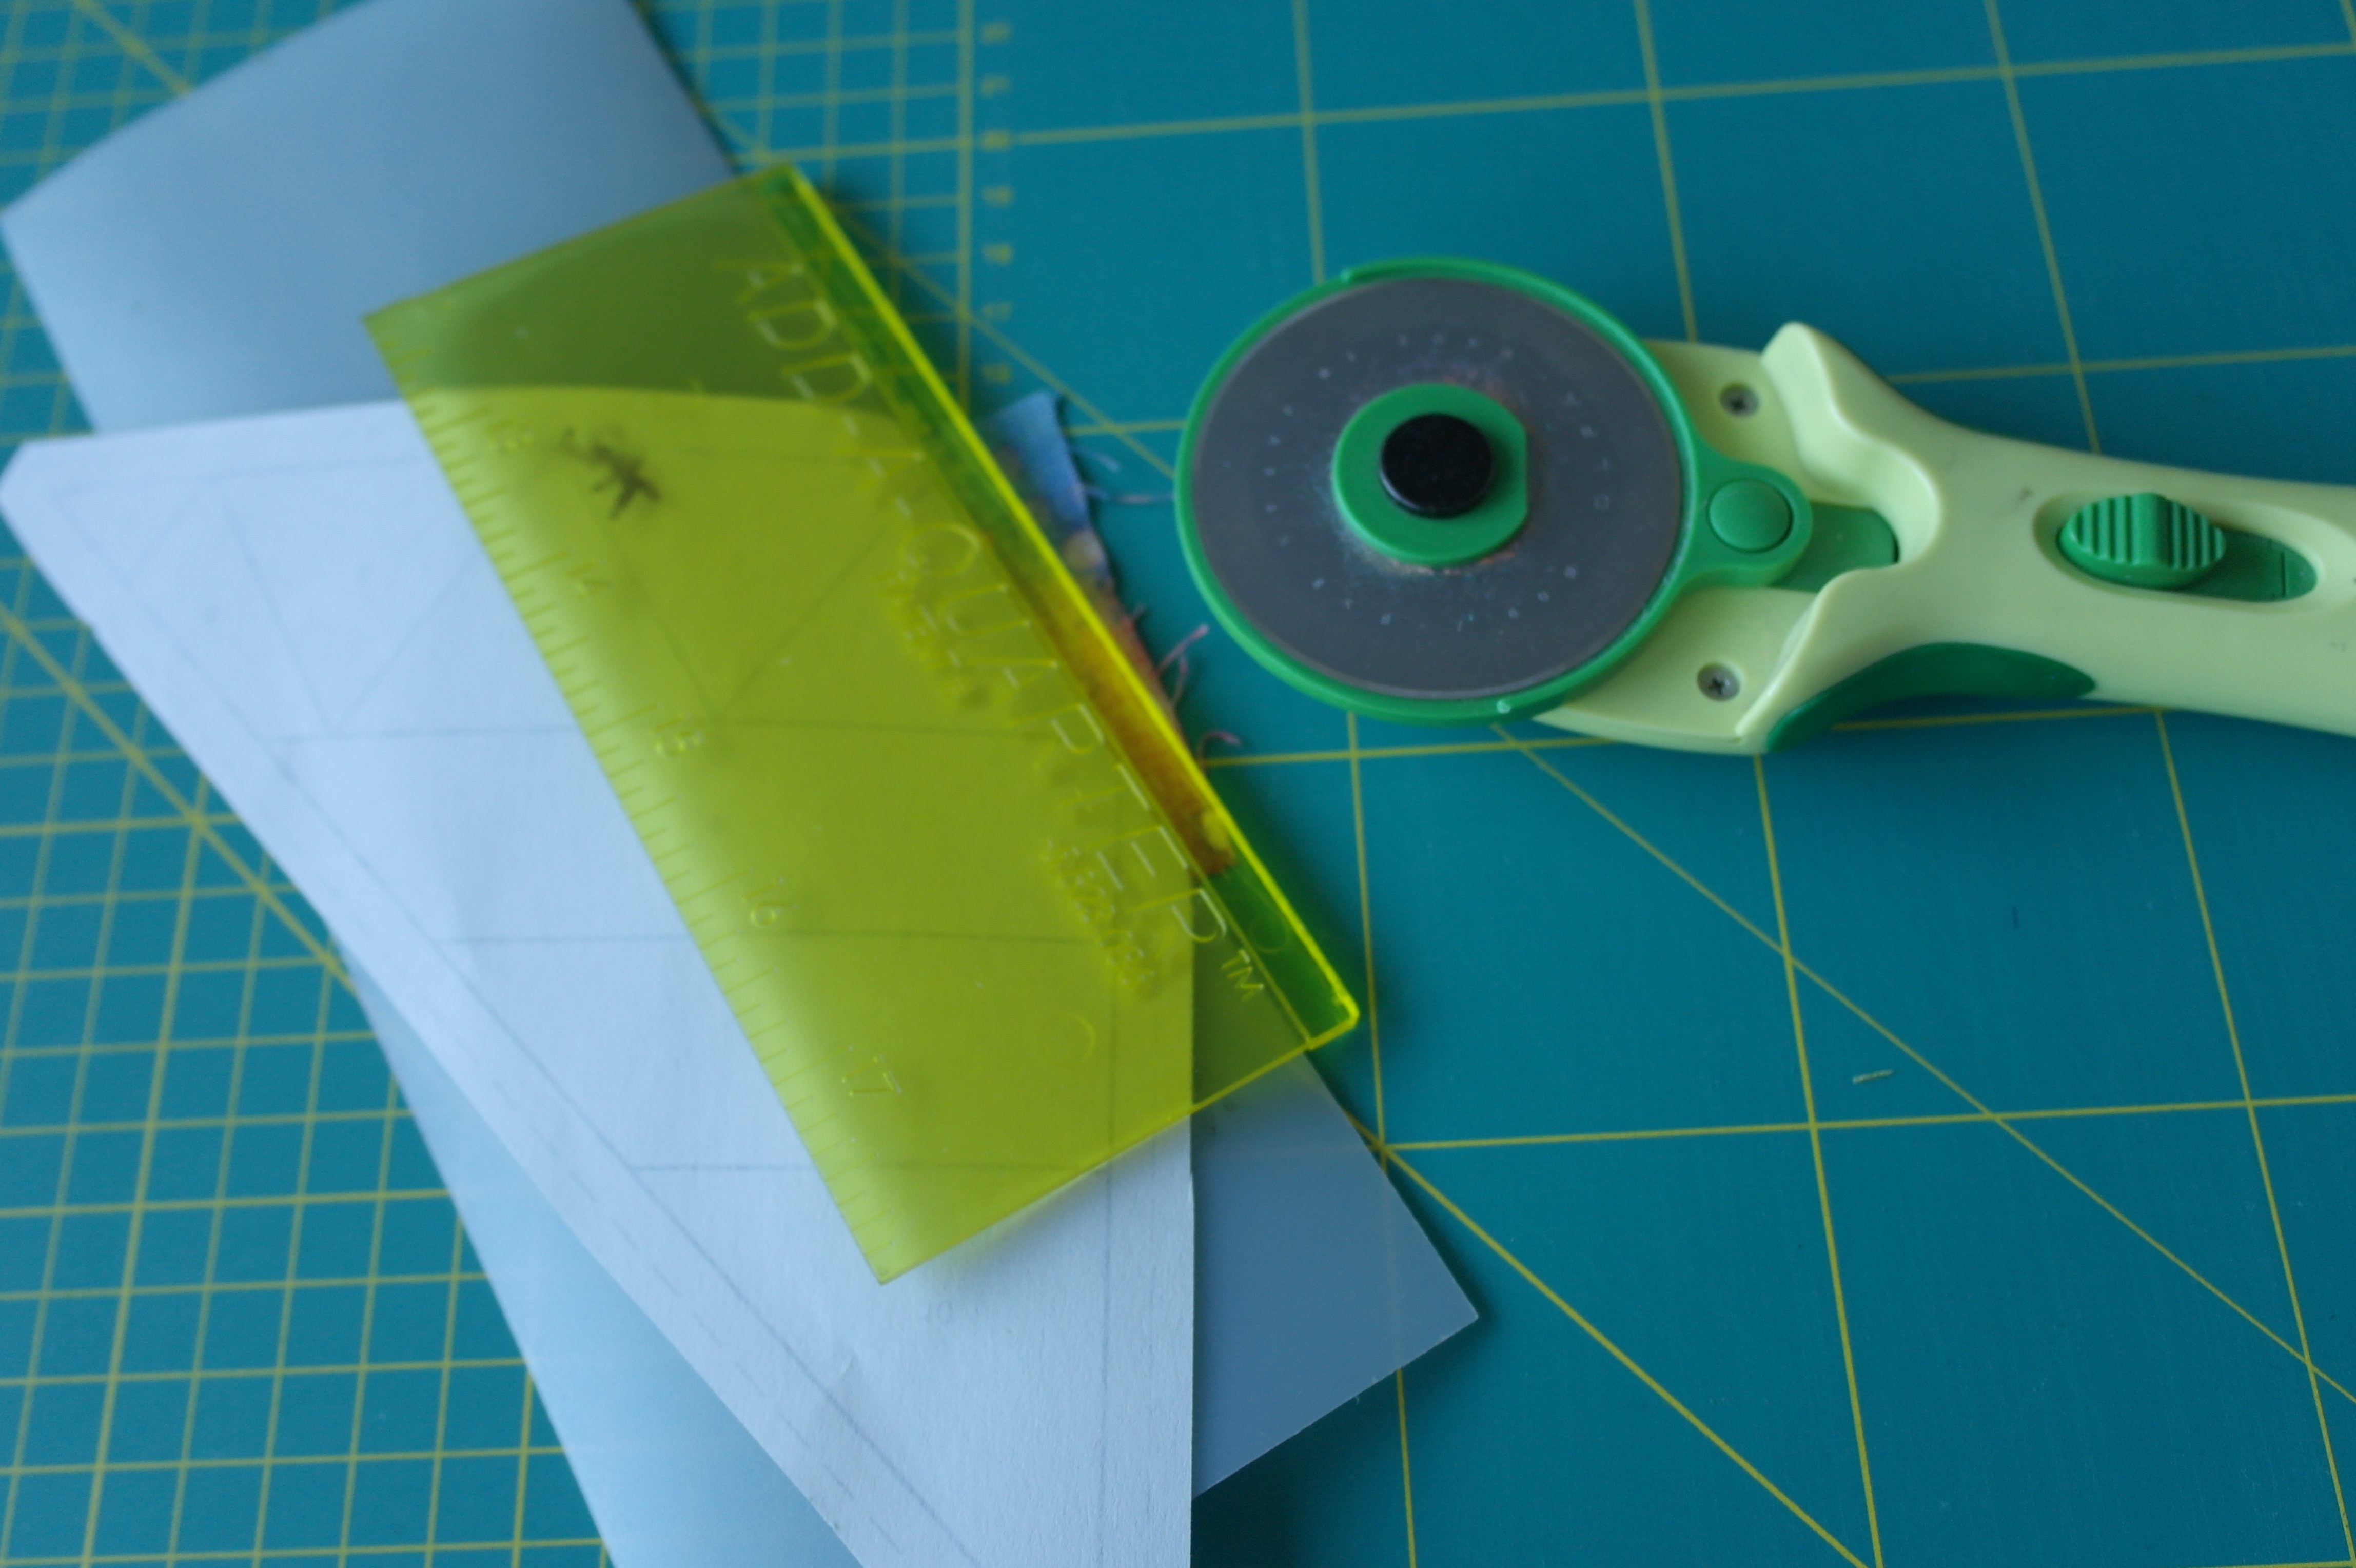
Working with the Add-a-Quarter ruler and the folding template: check the BERNINA Blog from ‘Mix and Match’, June 20 2019 . Step by step directions how to use this handy ruler for cutting 1/4 inch seam allowances. You can use this ruler and the folding template for making these blocks.
It is not mandatory to use the Add-a-Quarter ruler and folding template, you can use a regular quilting ruler too: be sure to work accurate though.
Having made many Judy Niemeyer quilts with the mentioned ruler and folding template, makes me want to use them with every paper piecing patterns, so I adapt these and for me it works just fine.
Using a regular quilting ruler; be sure it is an official one, high enough to hold your rotary cutter in place.
If you want to cut everything by hand, use a sharp fabric scissors and a separate scissors for cutting the block in the end, because you will then cut through fabrics and paper.
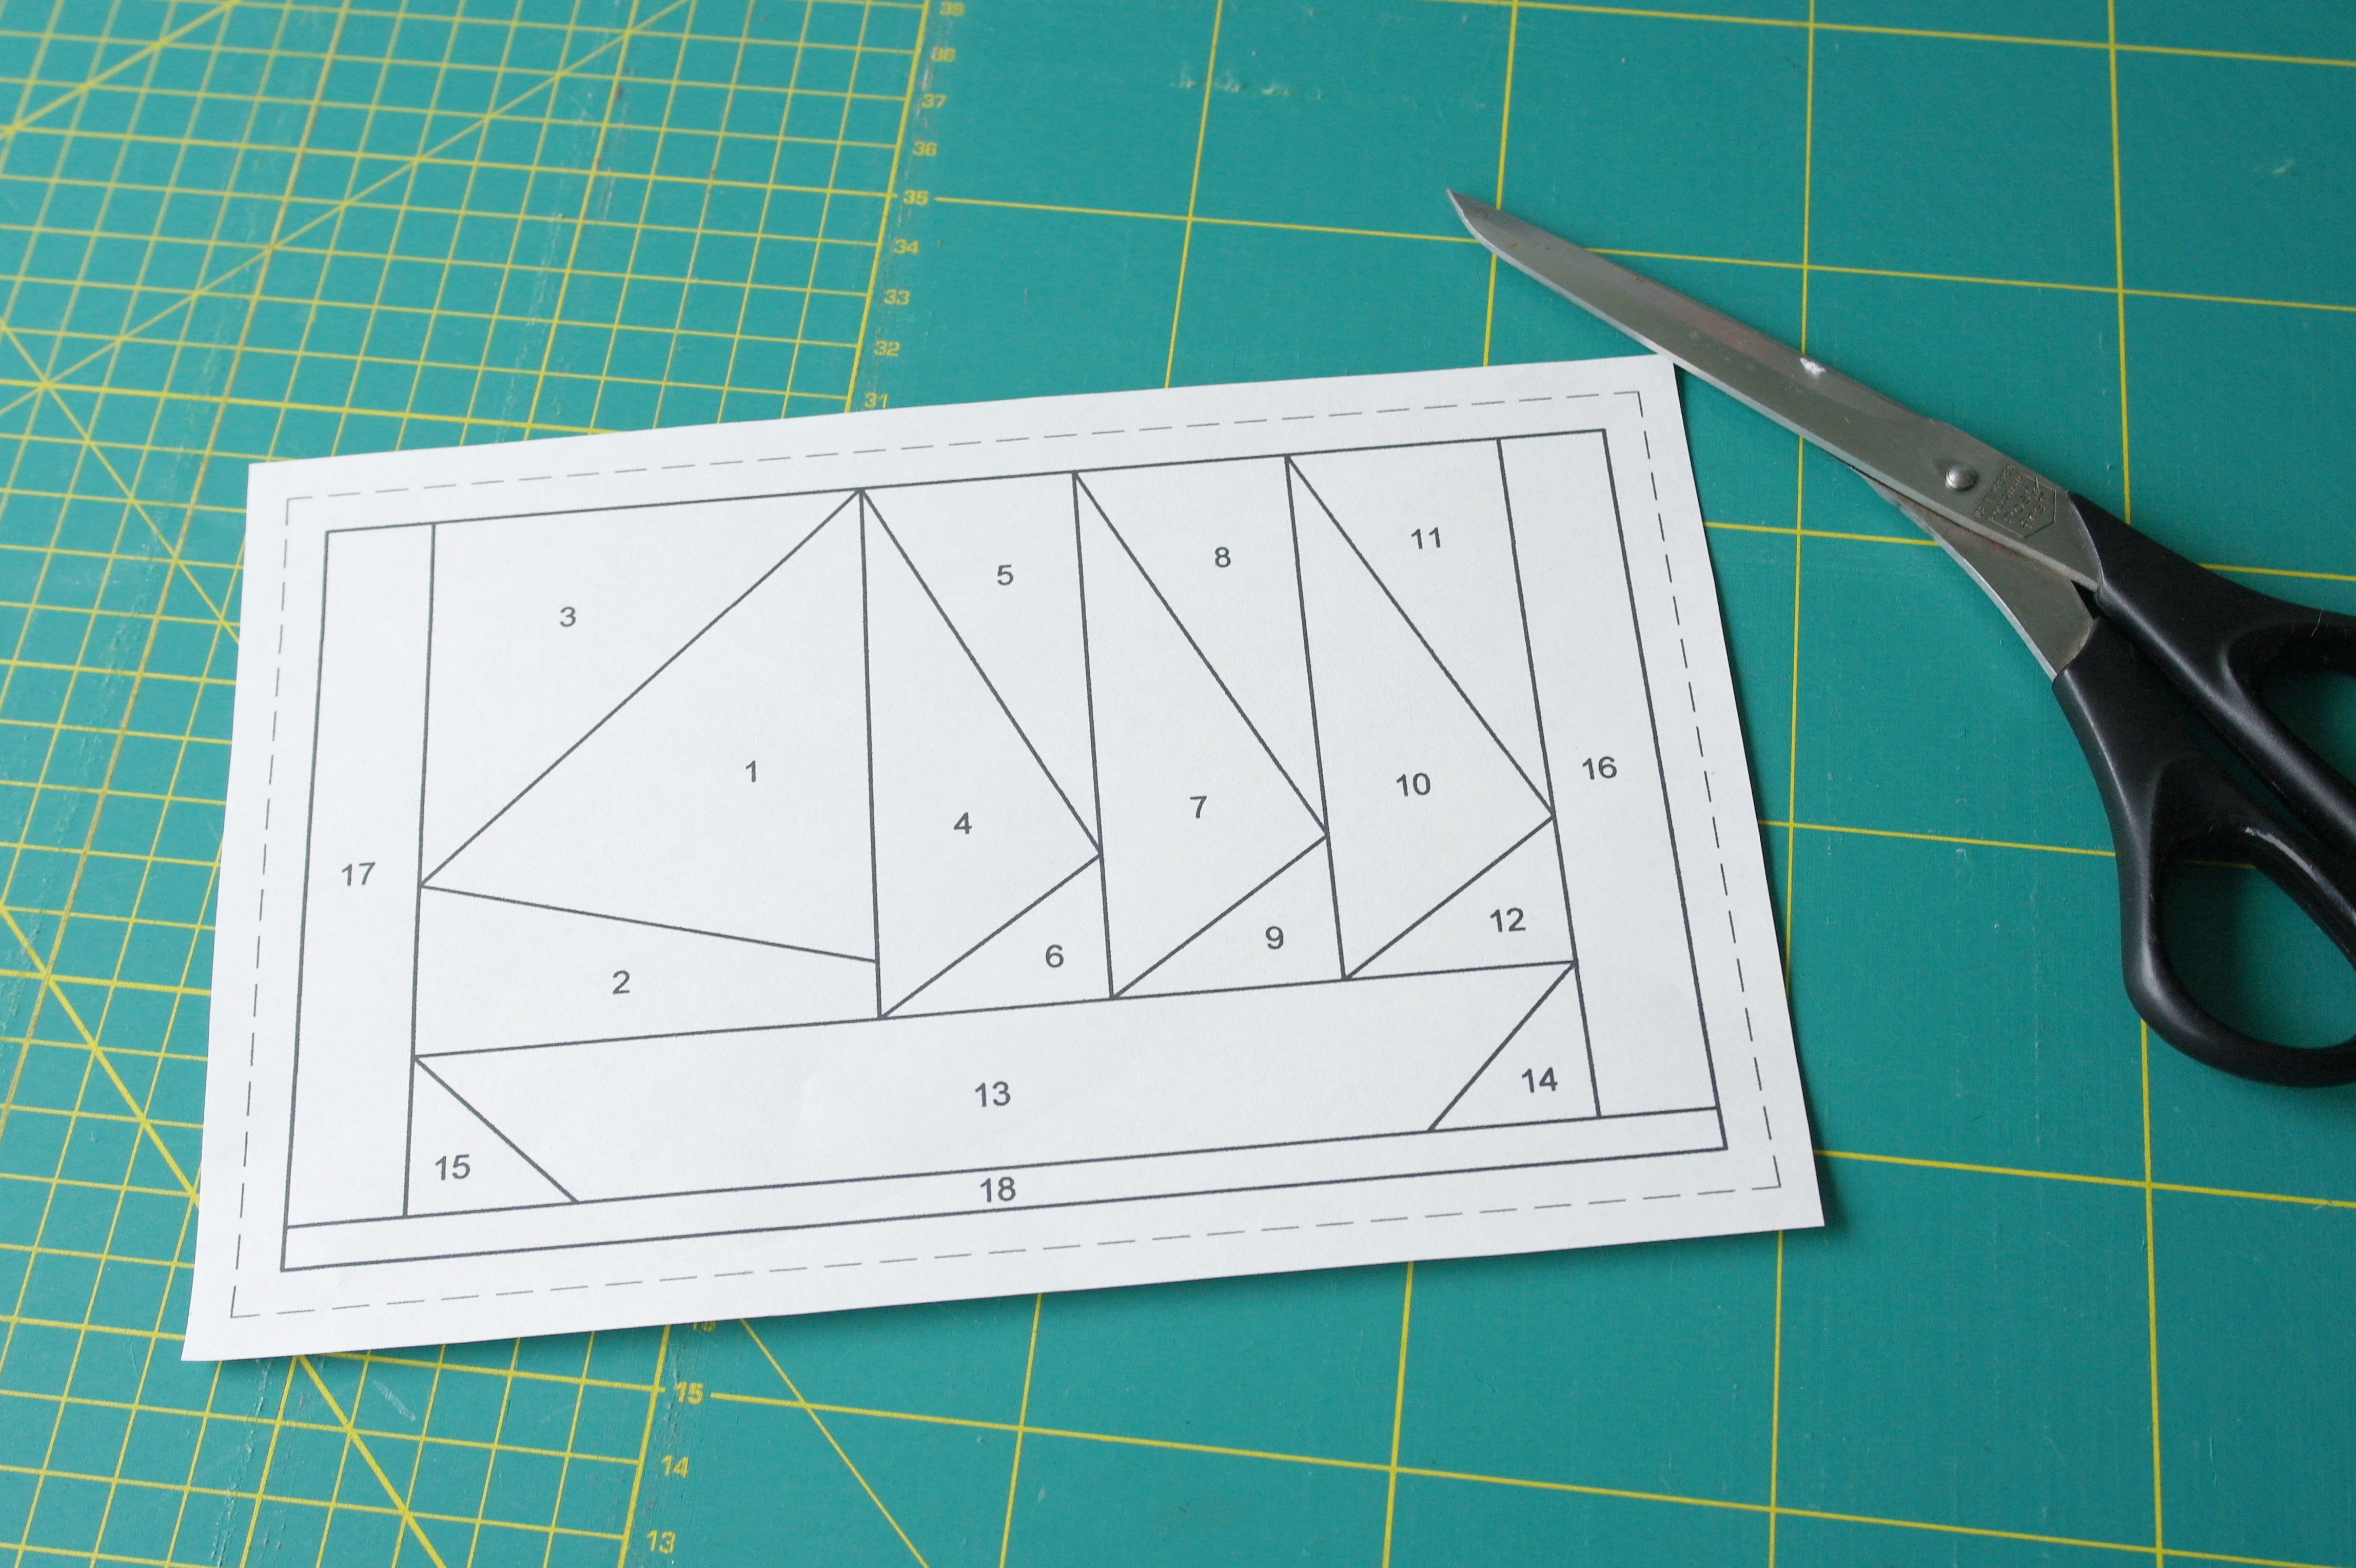
Cut the paper piecing pattern, after downloading, beyond the dotted line (aprox 0,5cm or 1/4inch): this is your ‘extra’, to be sure fabrics will be sewn over the edge = an extra marge. I will explain later.

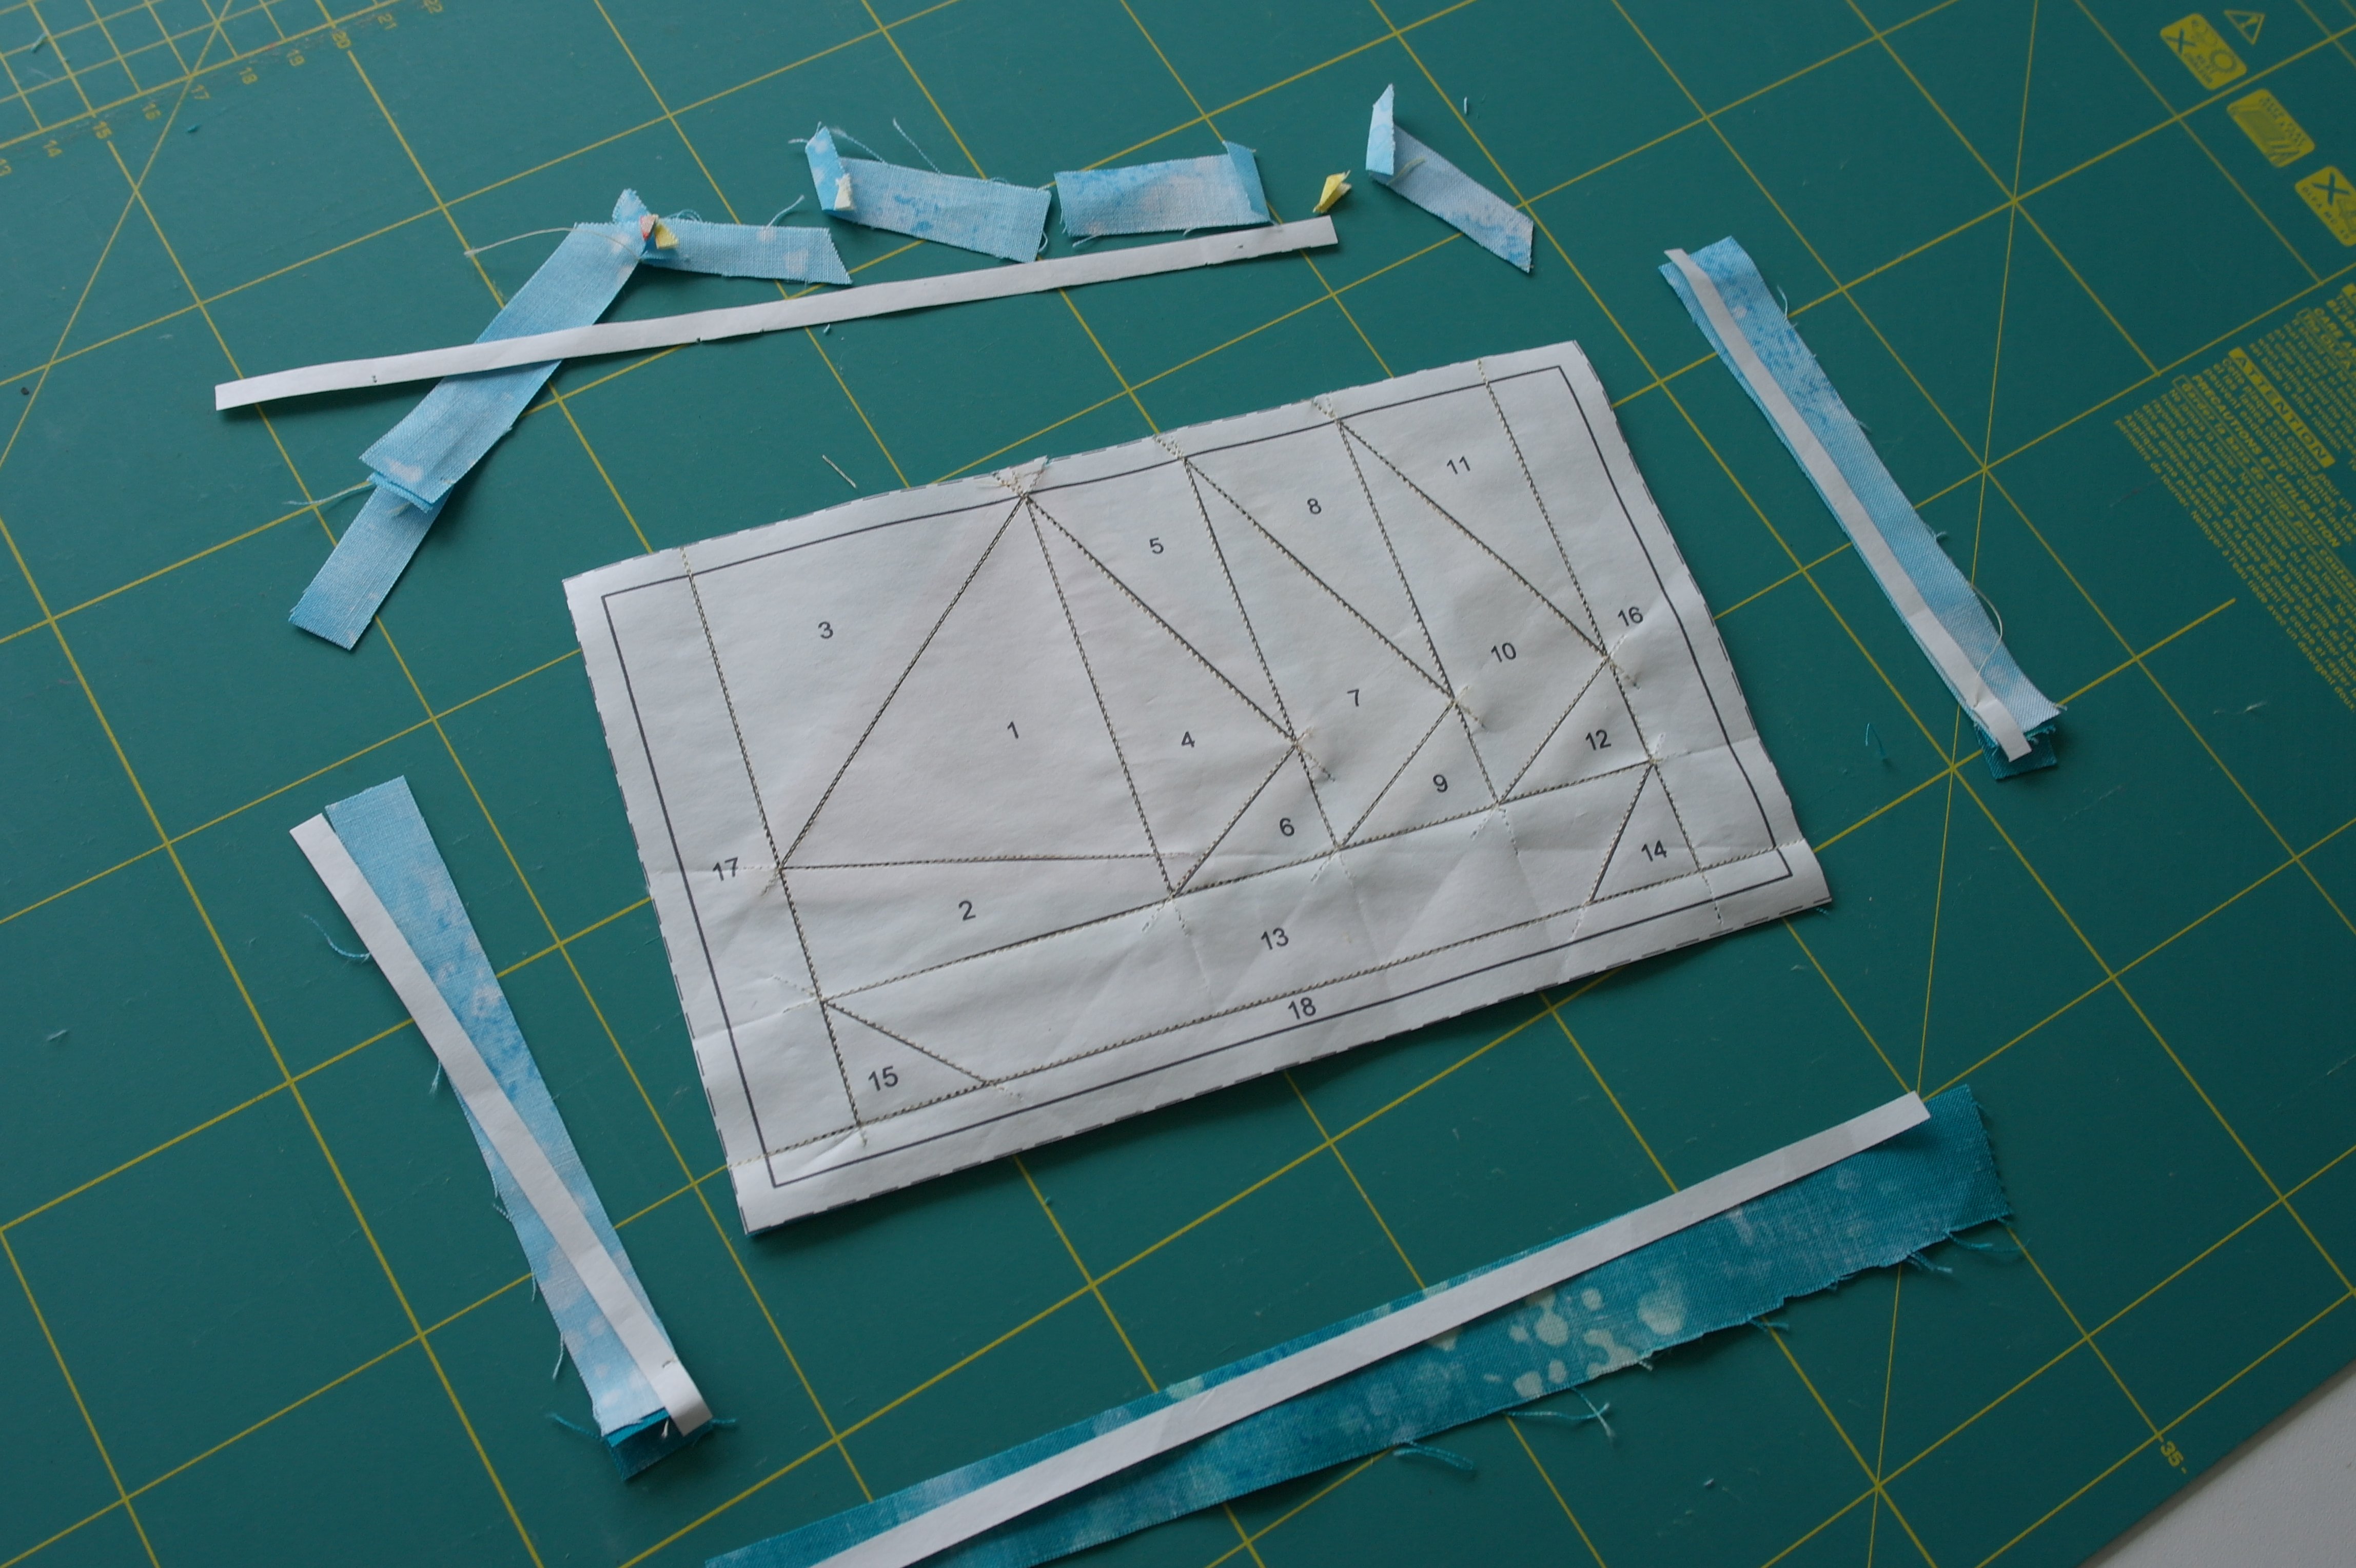
Make paper templates for each section: place the printed pattern on a white surface, to show the lines. Place a white piece of paper over the pattern and draw each section separate: include seam allowance of aprox. 1 cm! Place the number on each section so you know – after cutting the required fabric – where it belongs.
Using and selecting fabrics.
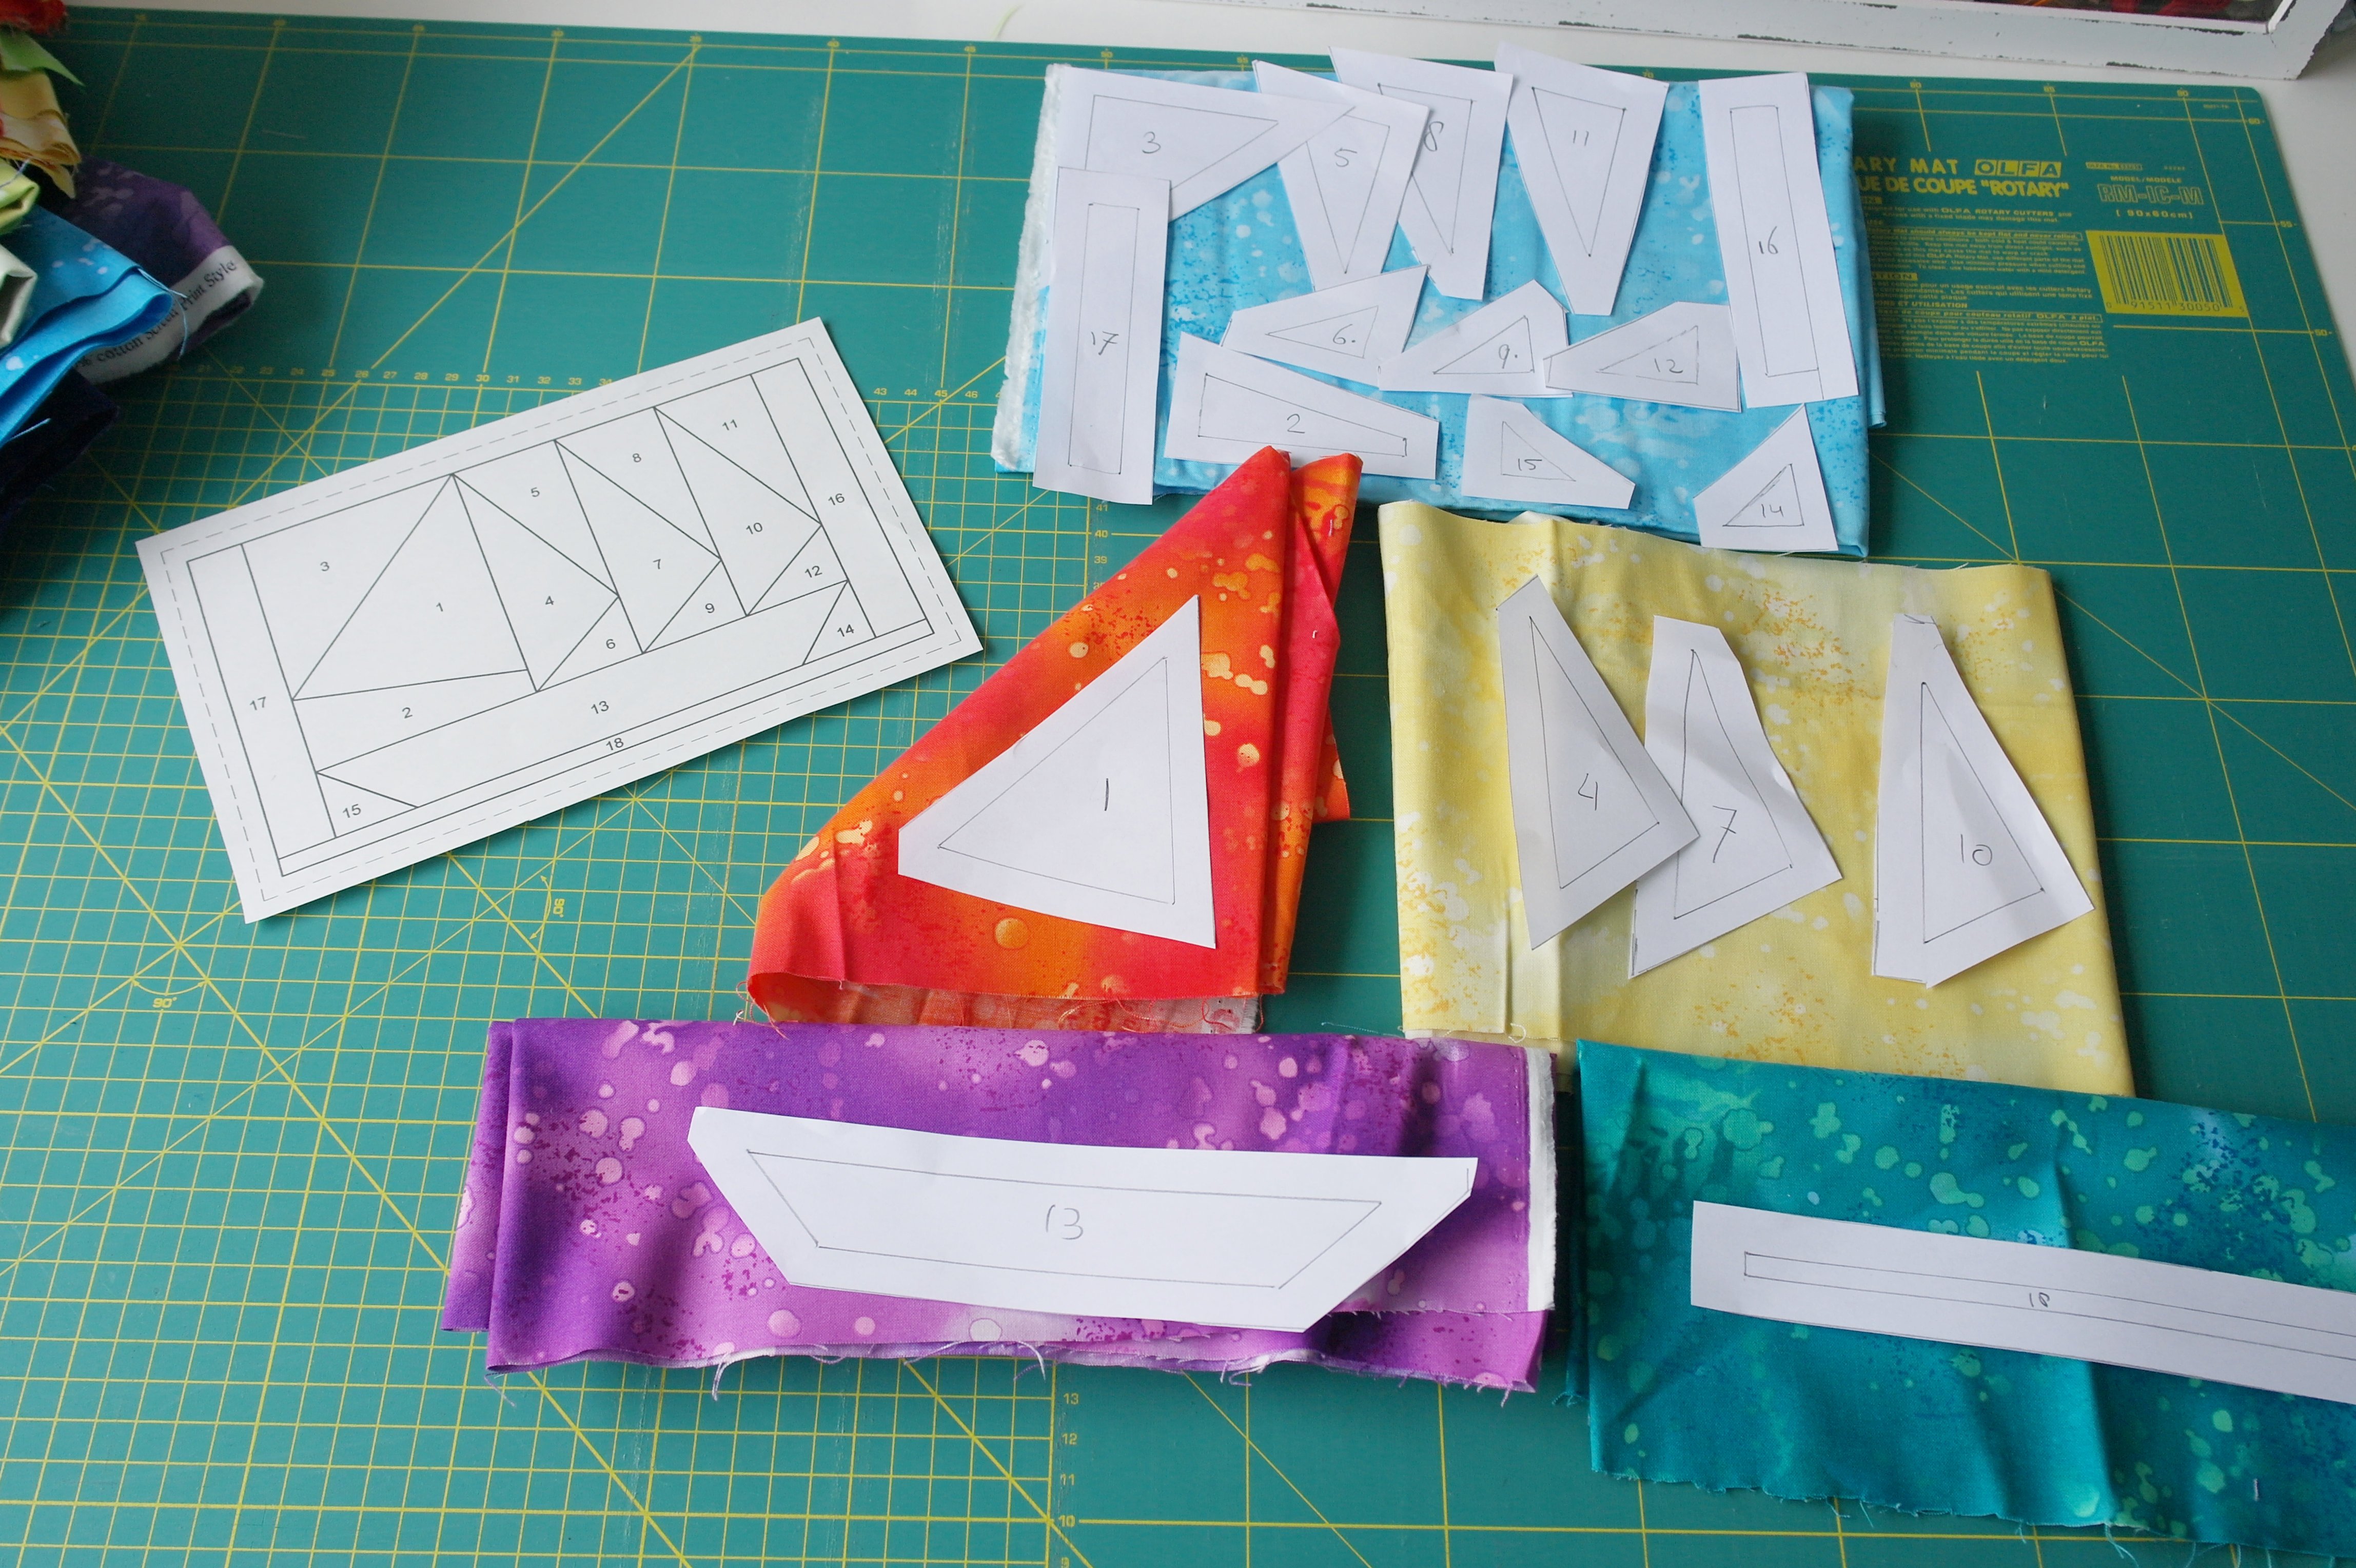
You will need about six different colors of fabrics:
Section 2, 3, 5, 6, 8, 9, 11, 12, 14, 15, 16 and 17 = sky
Section 1 = sail, bright color
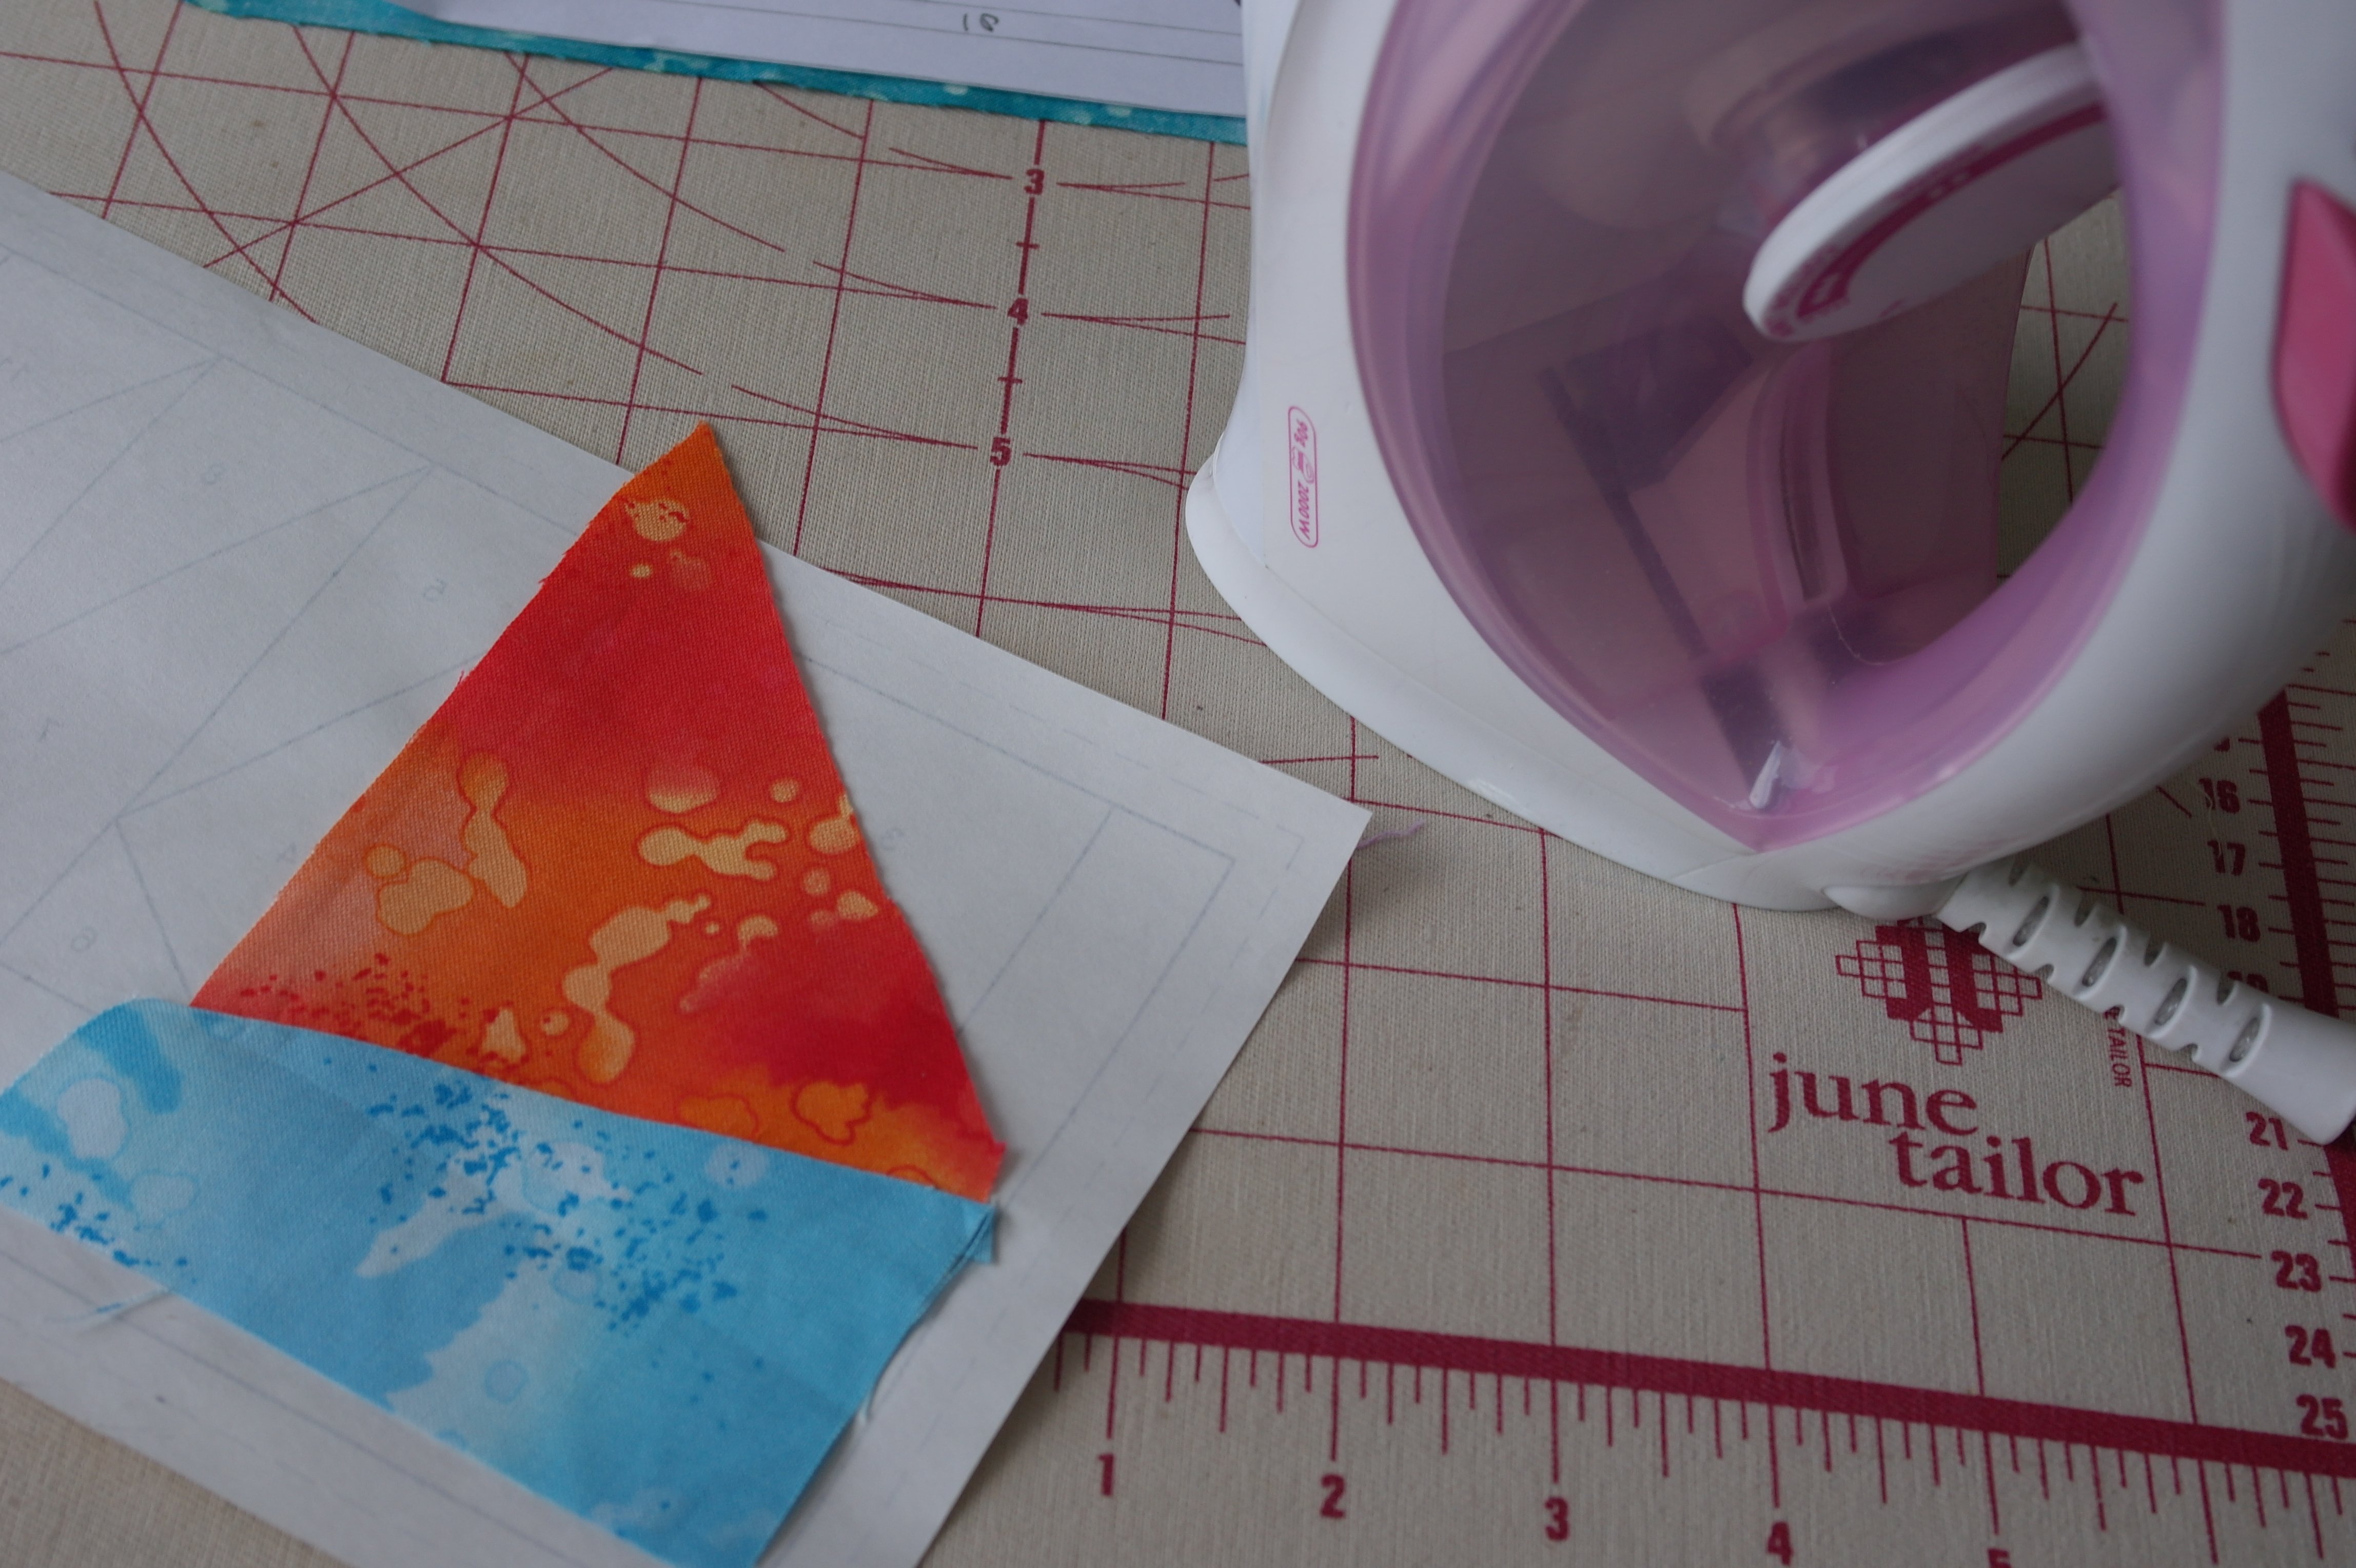
Section 4, 7 and 10 = sails, choose three consecutive colors. The picture shows one yellow fabric, but I’ve changed that into a orange-yellow, yellow and light yellow
Section 13 = the boat. Mine will be purple
Section 18 = water. I’ve picked a blue/green fabric
I have ironed the fabrics and cut all patches.
Straight of Grain is of no importance: the paper piecing pattern will hold your fabrics, even if they are sewn on the bias.
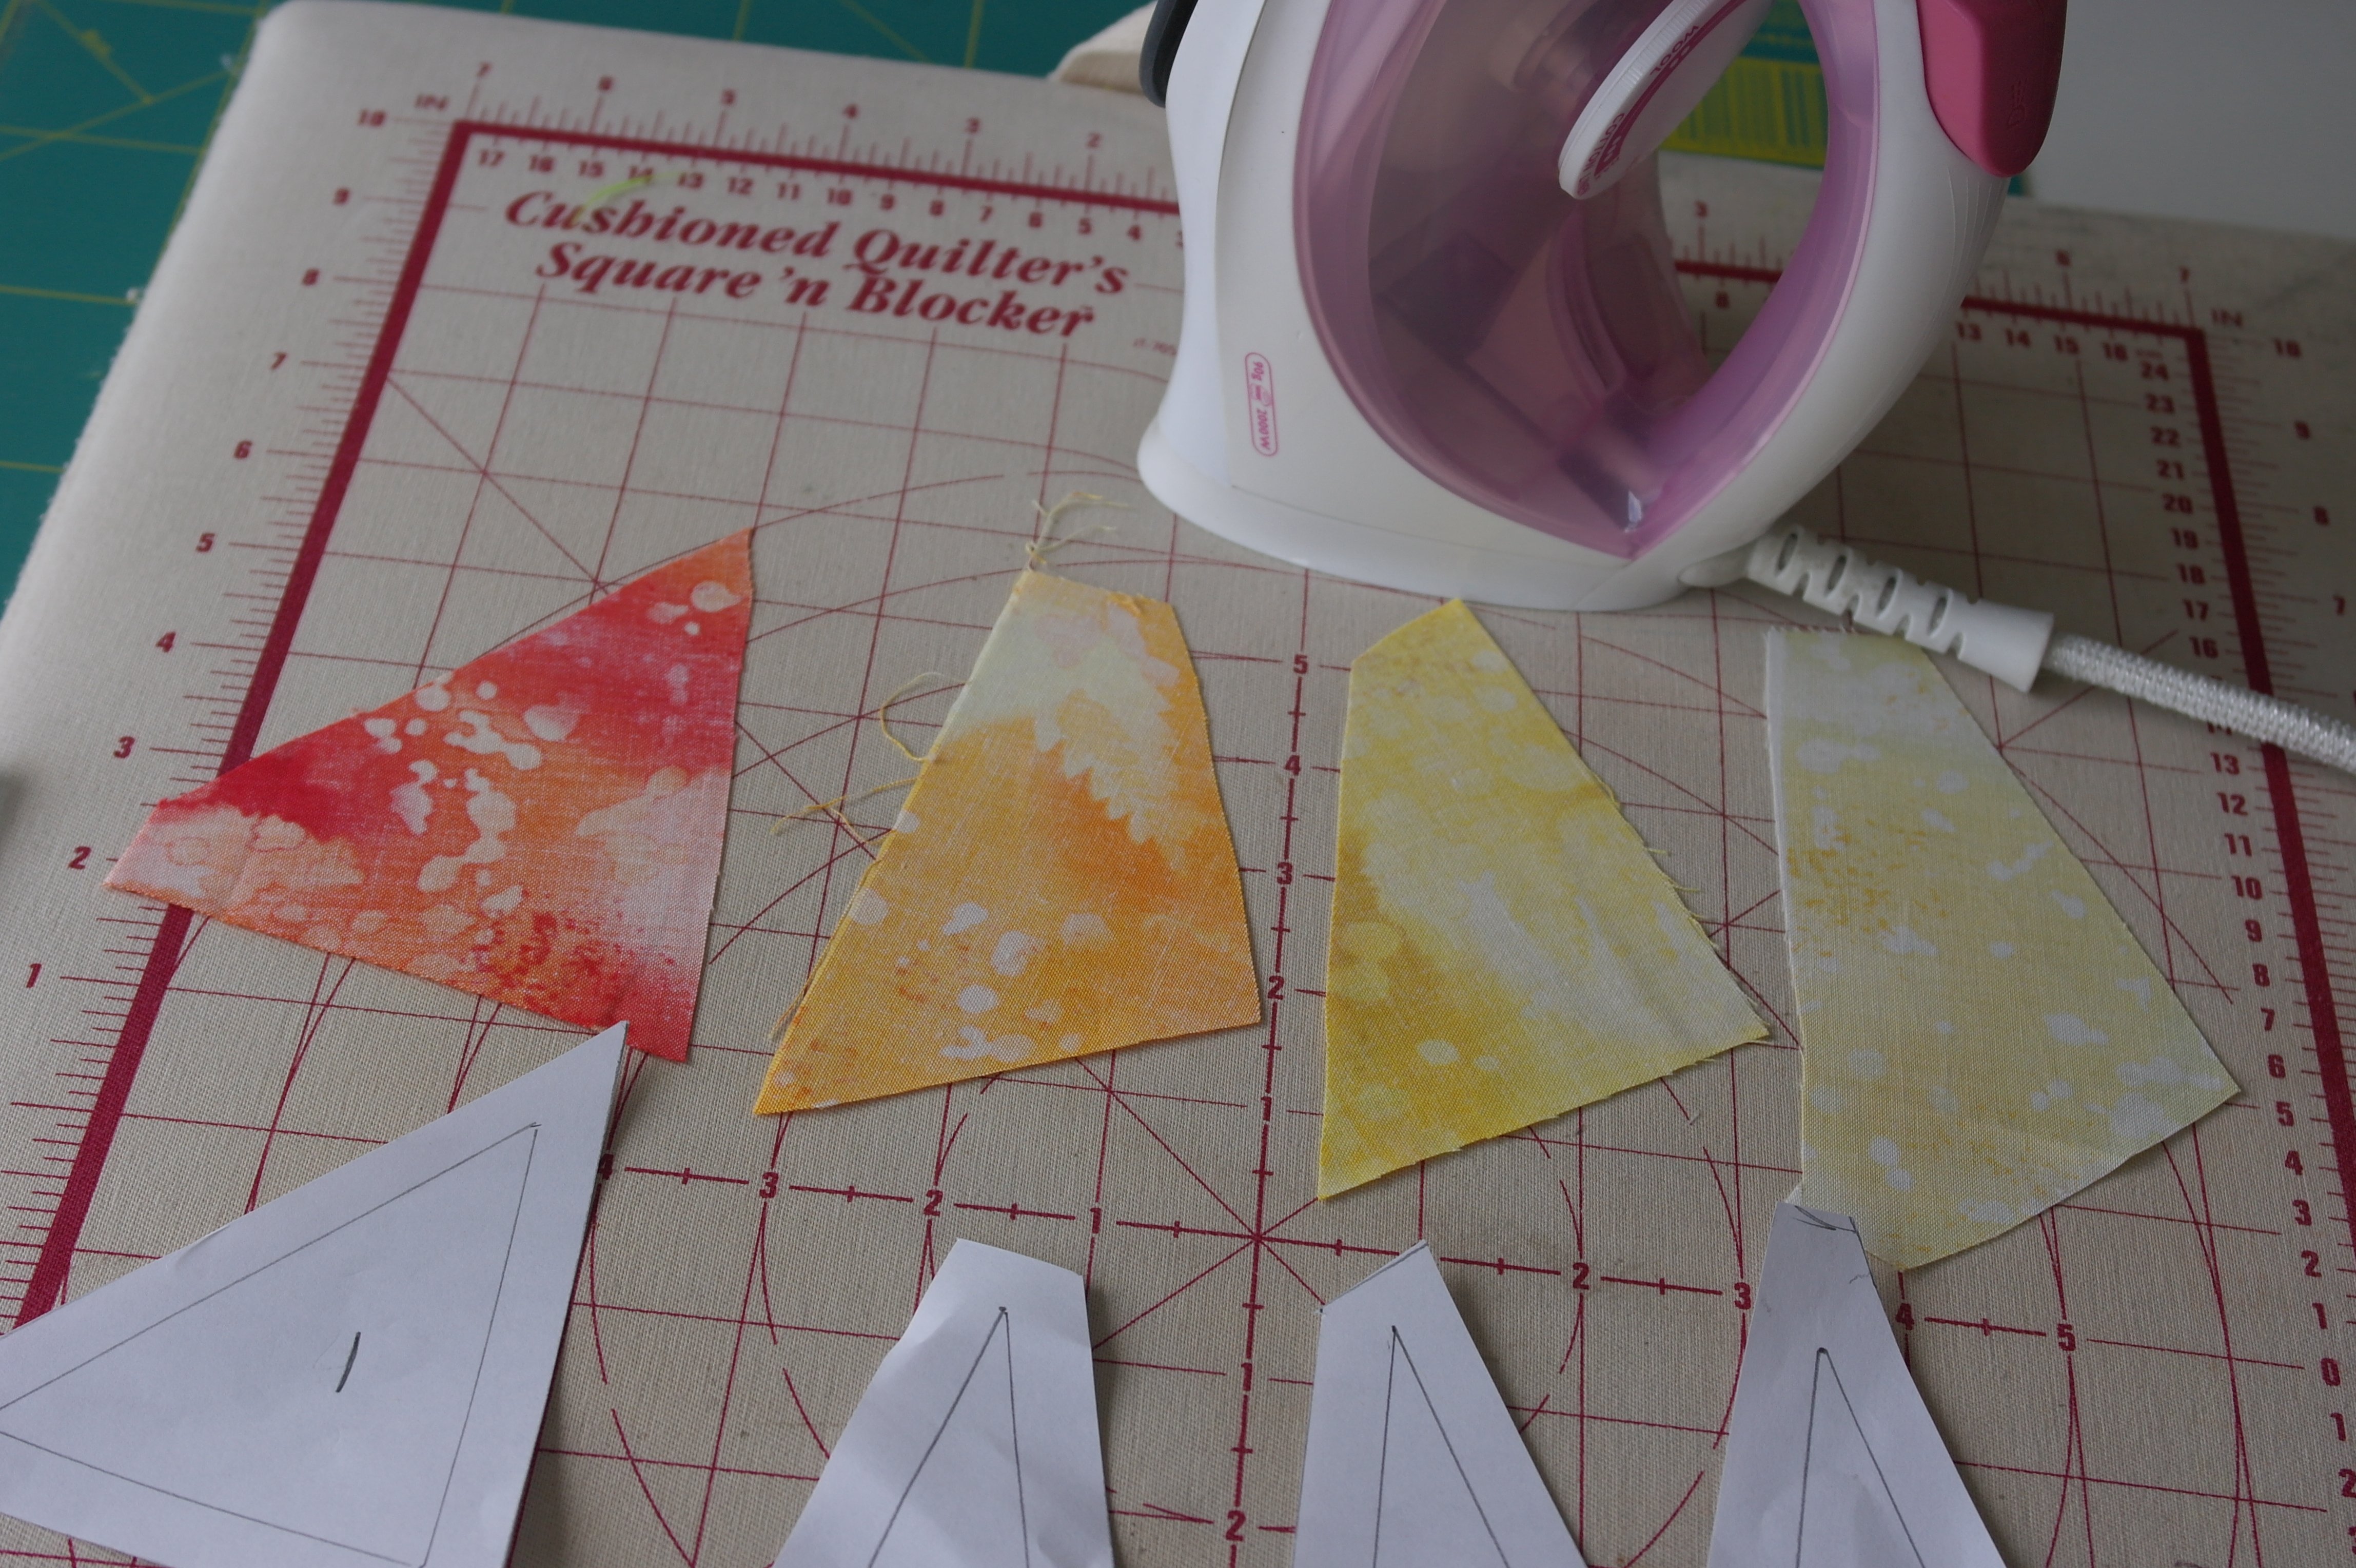
Step by step: Cut the paper templates. Place them on the WRONG side of the fabric, because – as indicated – it will be a mirror image. Because you have cut the paper templates WITH seam allowance, cut the fabric along the edges of the template.
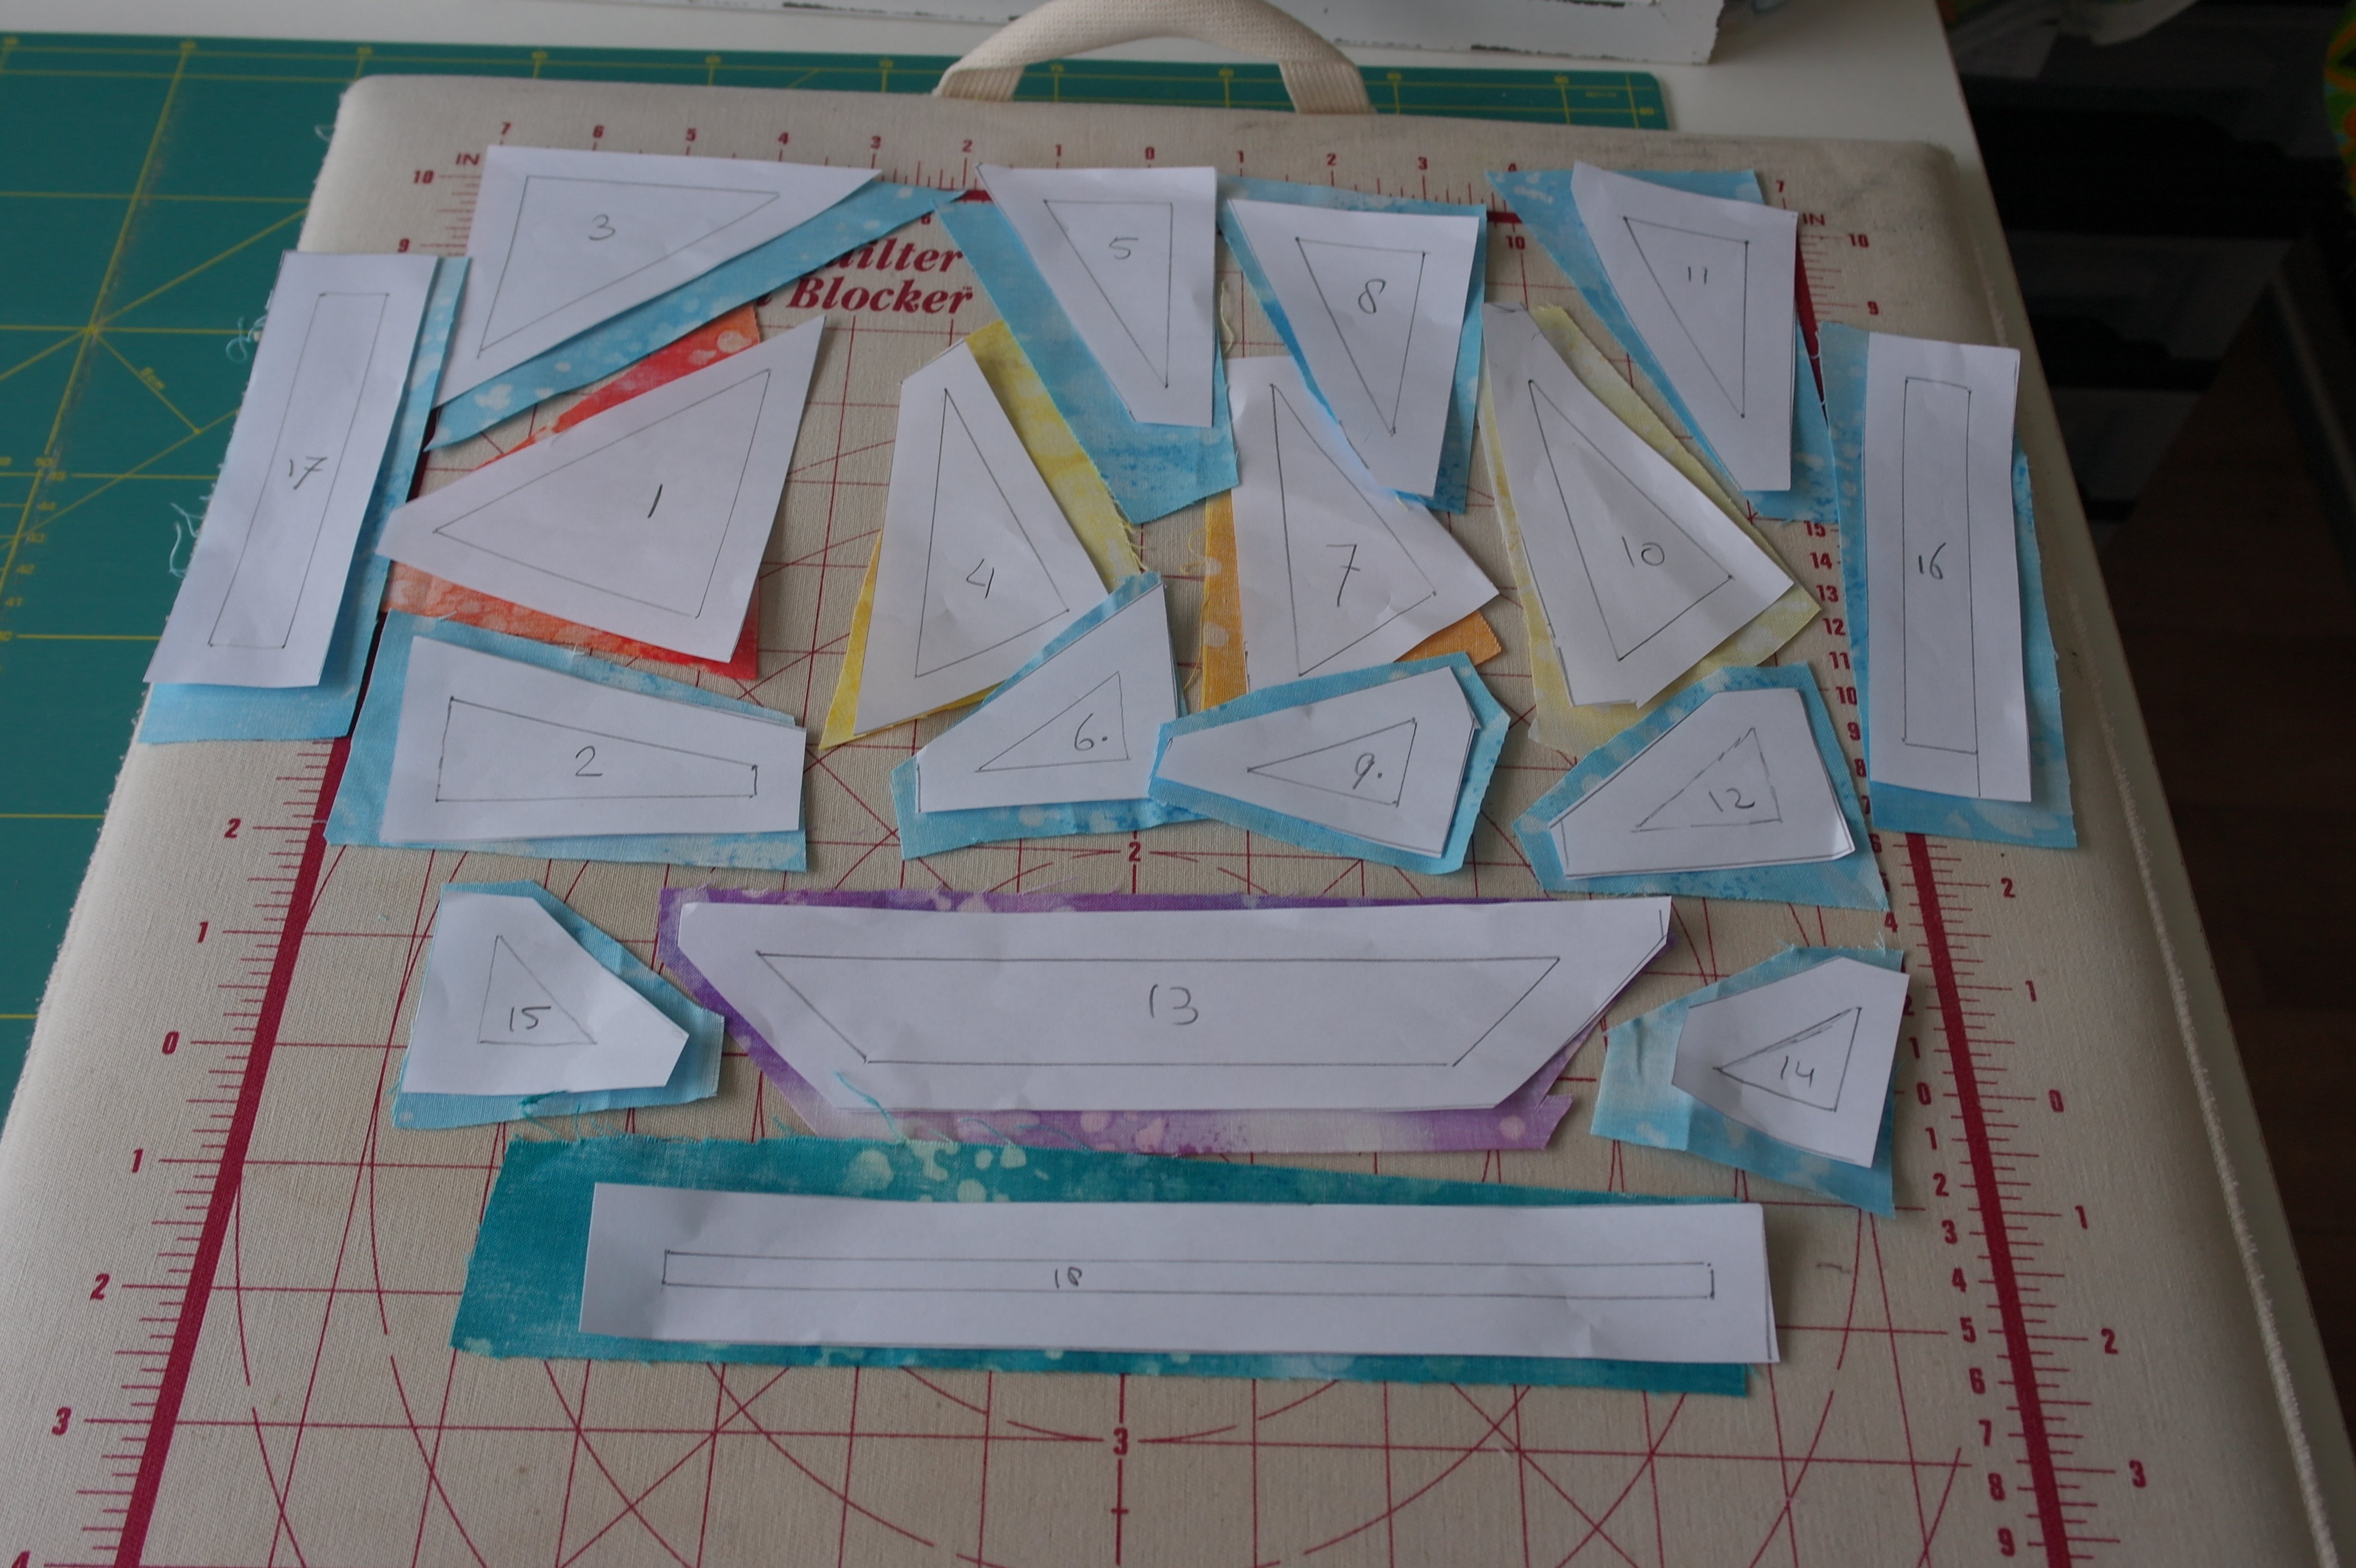
PAY ATTENTION: place the paper templates on the wrong side of the fabrics, and replace everything, the way it shows on your paper piecing pattern. They are upside down at the moment, but this gives you a good overview. The numbers on the paper templates are clearly visible.
No pinning involved, use glue!
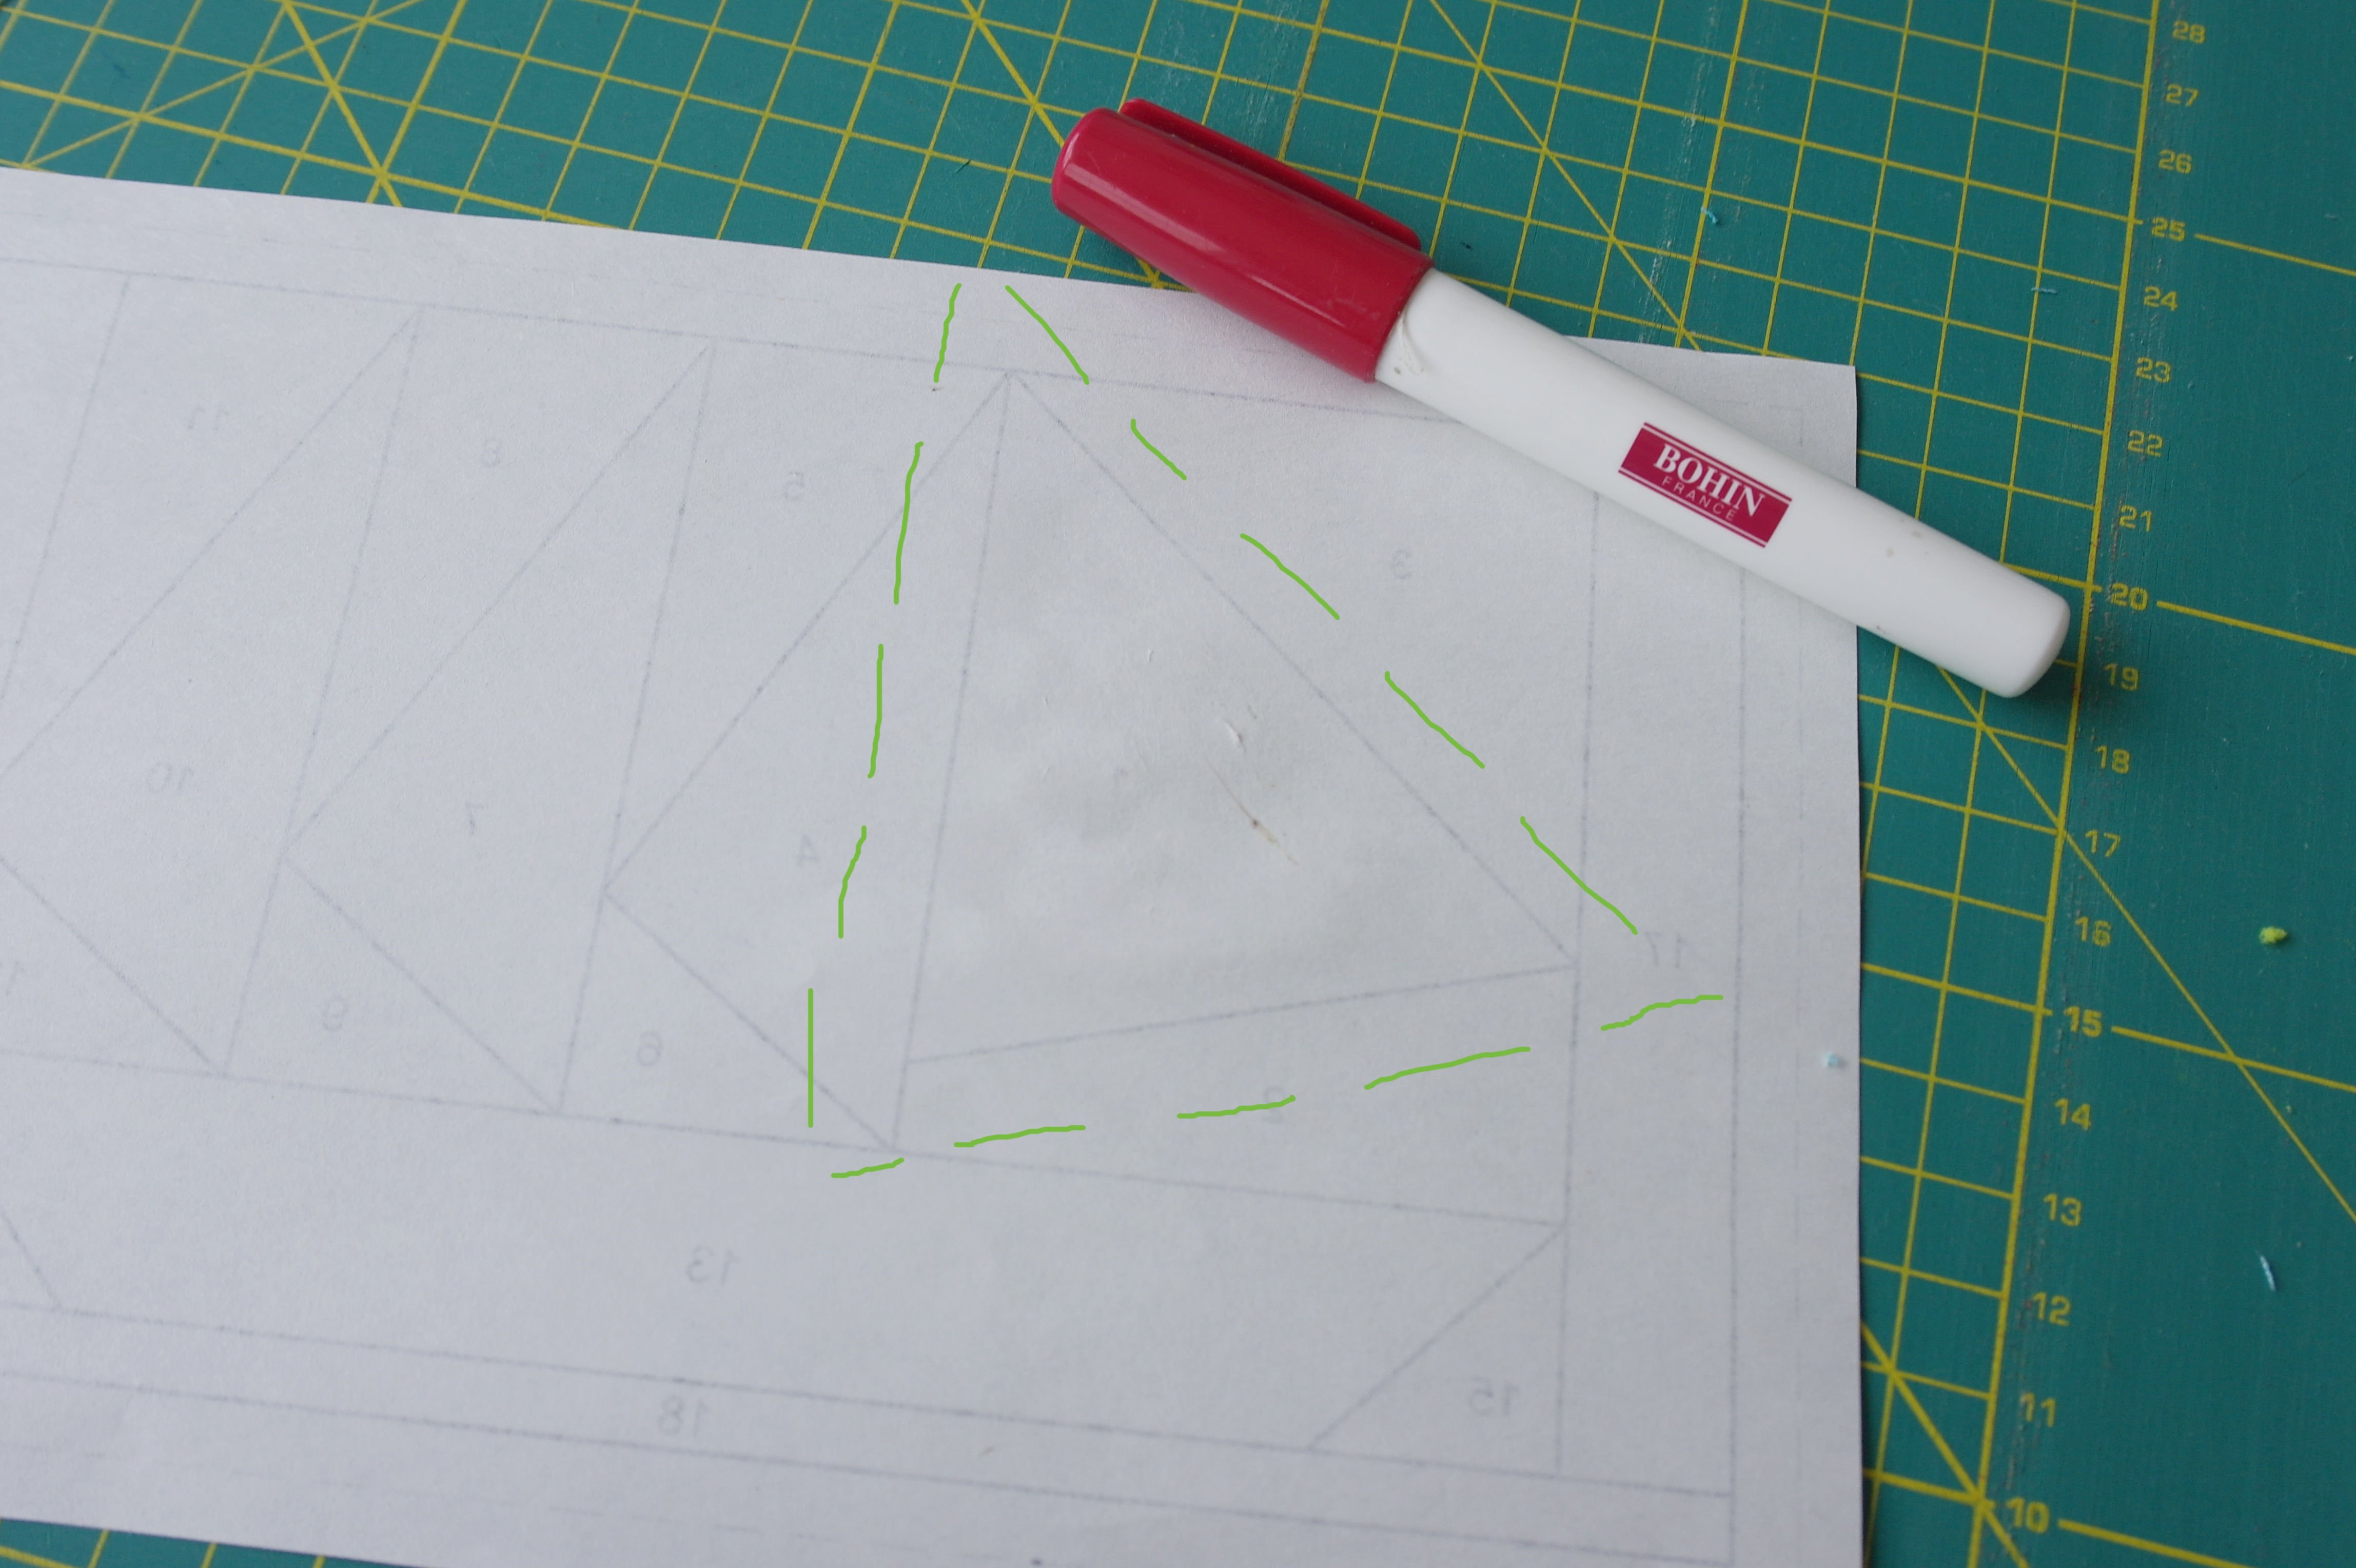
Find section 1 on the wrong side of the paper piecing pattern: place it on a WHITE background again, to make the lines shine through. I have placed mine on my cutting mat: you can see the lines anyway, but make sure you will find them. I have drawn a green dotted line around the section with seam allowance, so you can see where it is: this is where your fabric will be glued on, including seam allowance.
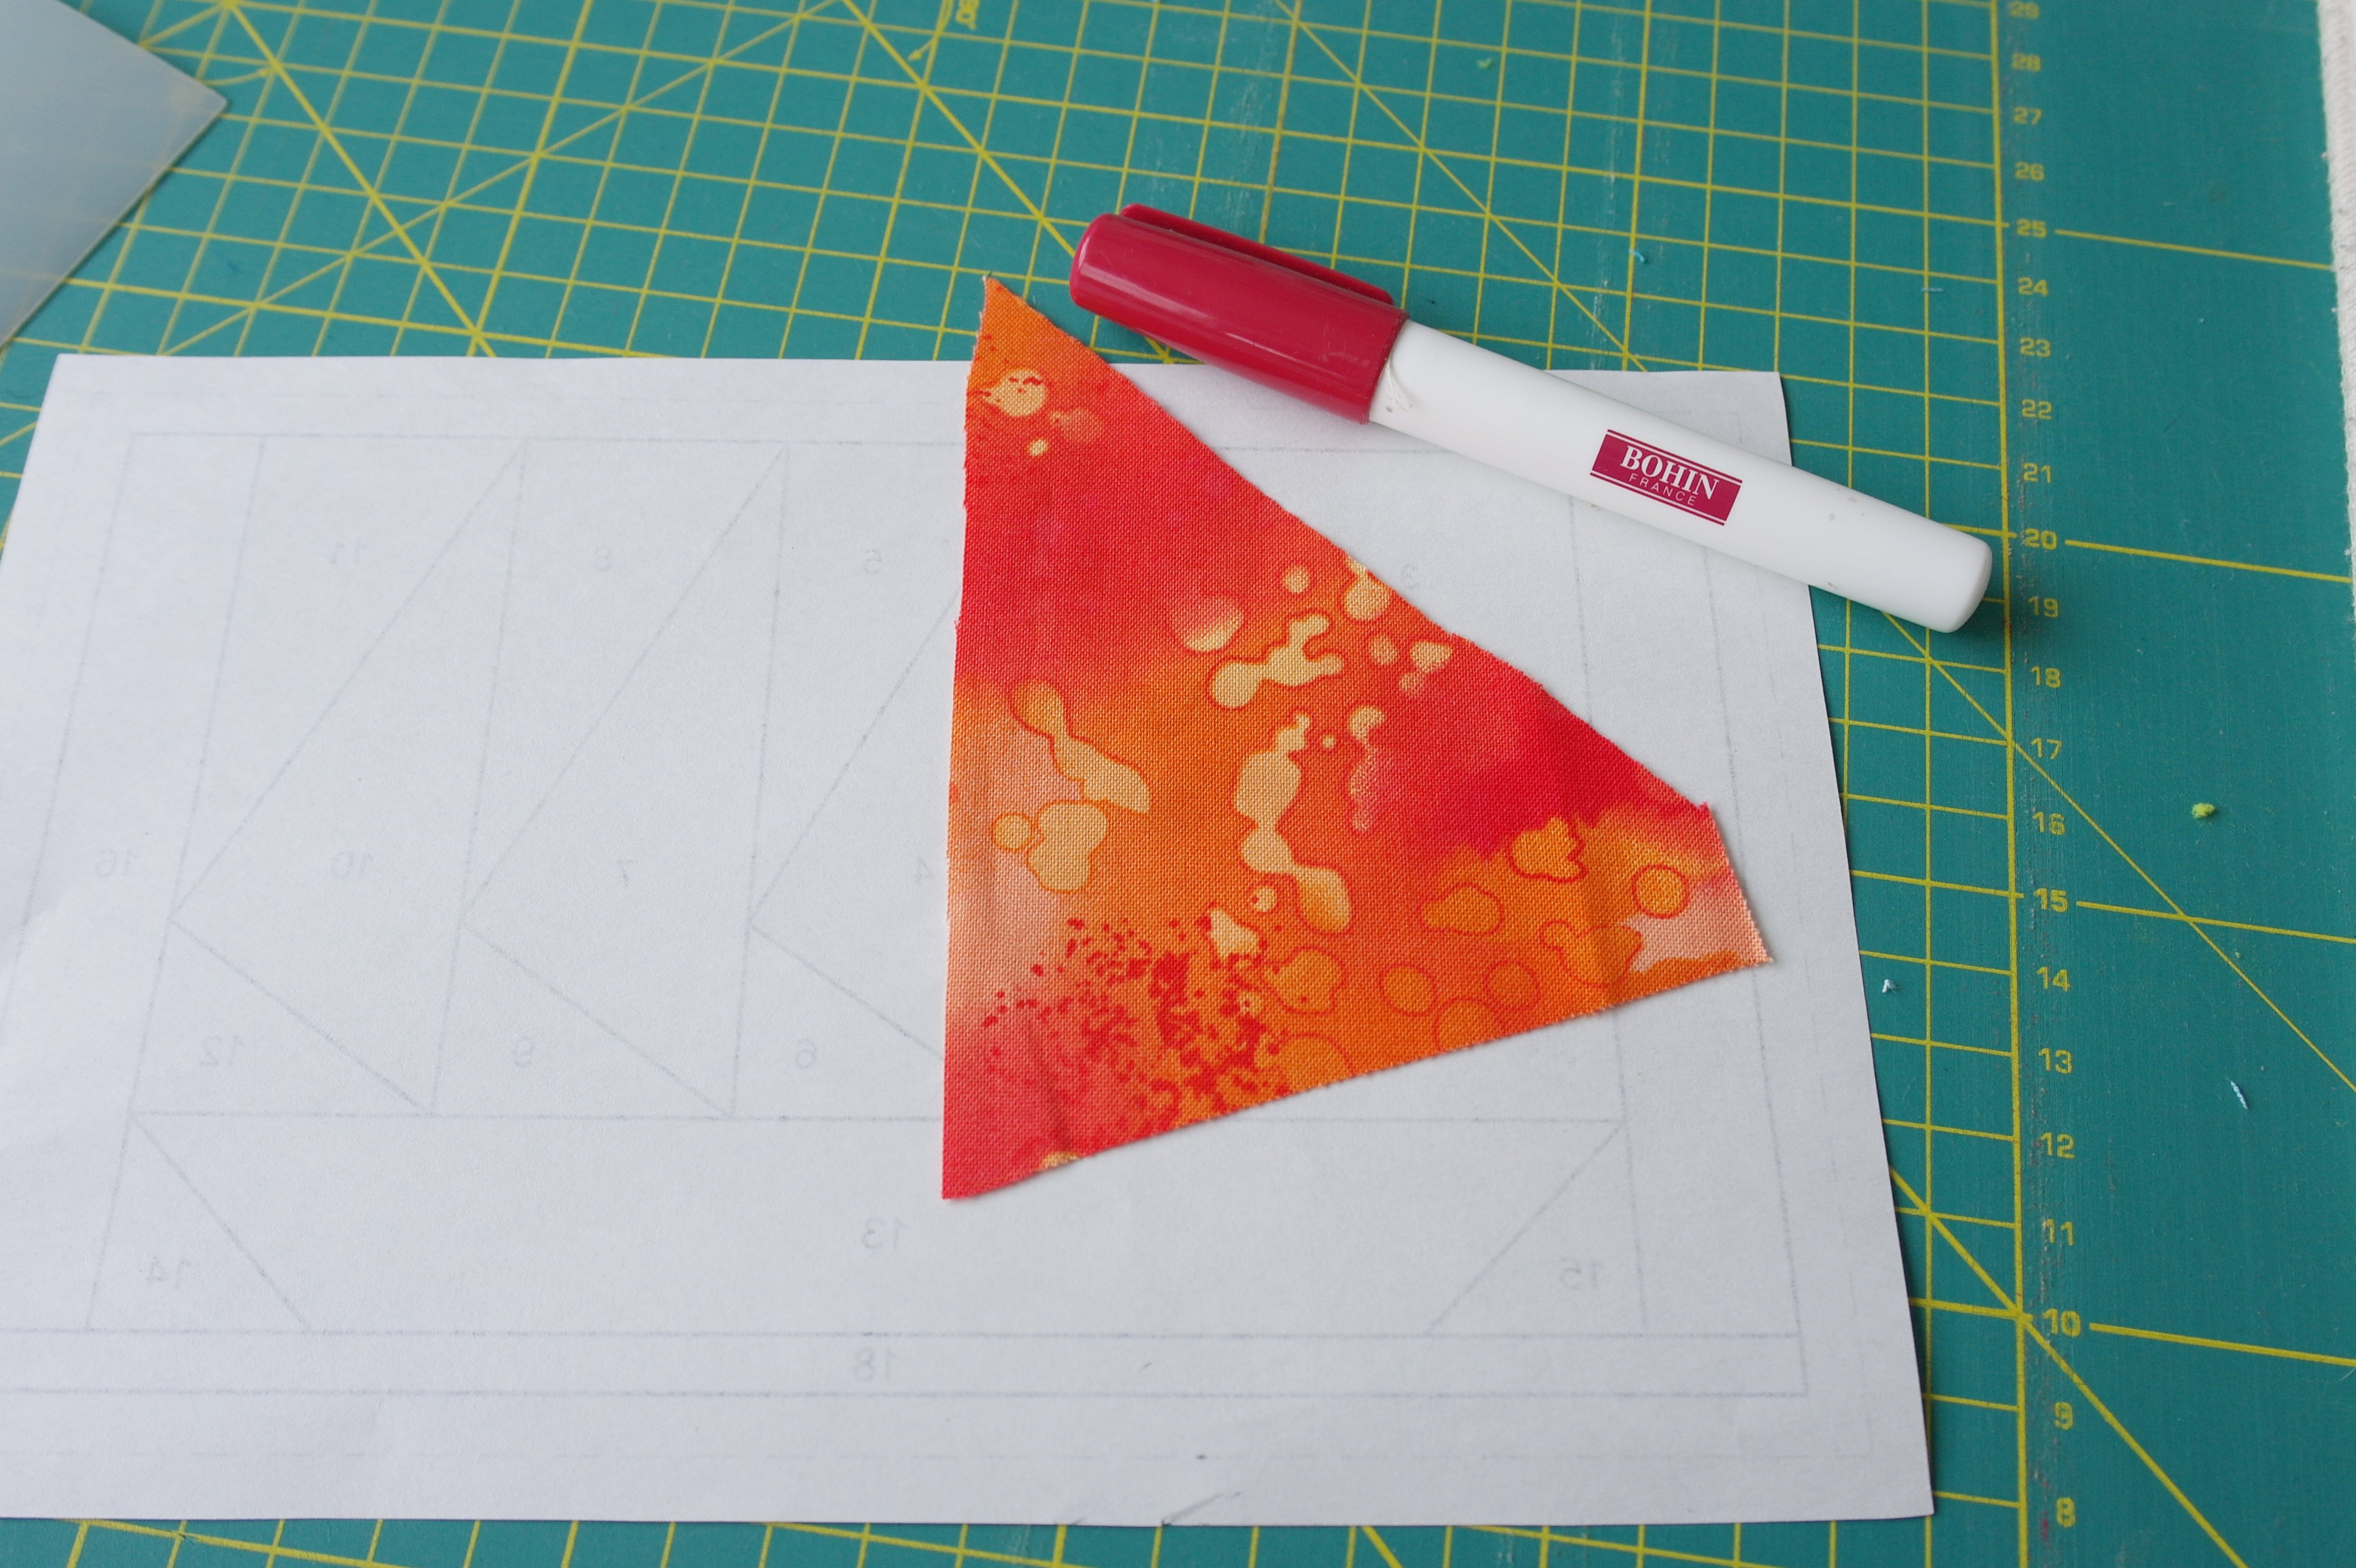
And that’s how its done: right side up. The first fabric for the first section, glued on with Bohin Glue Pen, without using any pins (my preference).
Working with an Add-a-Quarter ruler? use the folding template: place it on the solid line = sewing line between section 1 and section 2, fold the paper back and place your Add-a-Quarter ruler against it. Cutting will give you a 1/4 inch seam allowance and a straight fabric edge, which you will need to place the next fabric/section 2 fabric to.
Working with a regular quilting ruler? Fold the paper piecing pattern on the solid line – sewing line between section 1 and section 2, fold the paper back and place your quilting ruler with a protruding 1/4 inch (or 05cm) over this fold. Cutting will give you a 1/4 inch seam allowance and a straight fabric edge, which you will need to place the next fabric/section 2 fabric to. BE SURE the quilting ruler doesn’t shift while cutting.
Place fabric 2 for section 2 with the wrong side against fabric/section 1: be sure the edges of the fabrics are aligned. To prevent shifting, while bringing this to your sewing machine, put some Bohin Glue on the seam allowance of one fabric and push both fabrics together. This glue is not permanent but will stay while sewing. Be sure NOT to put glue beyond the seam allowance of fabrics, because your needle will catch it.
Start and finish sewing lines.
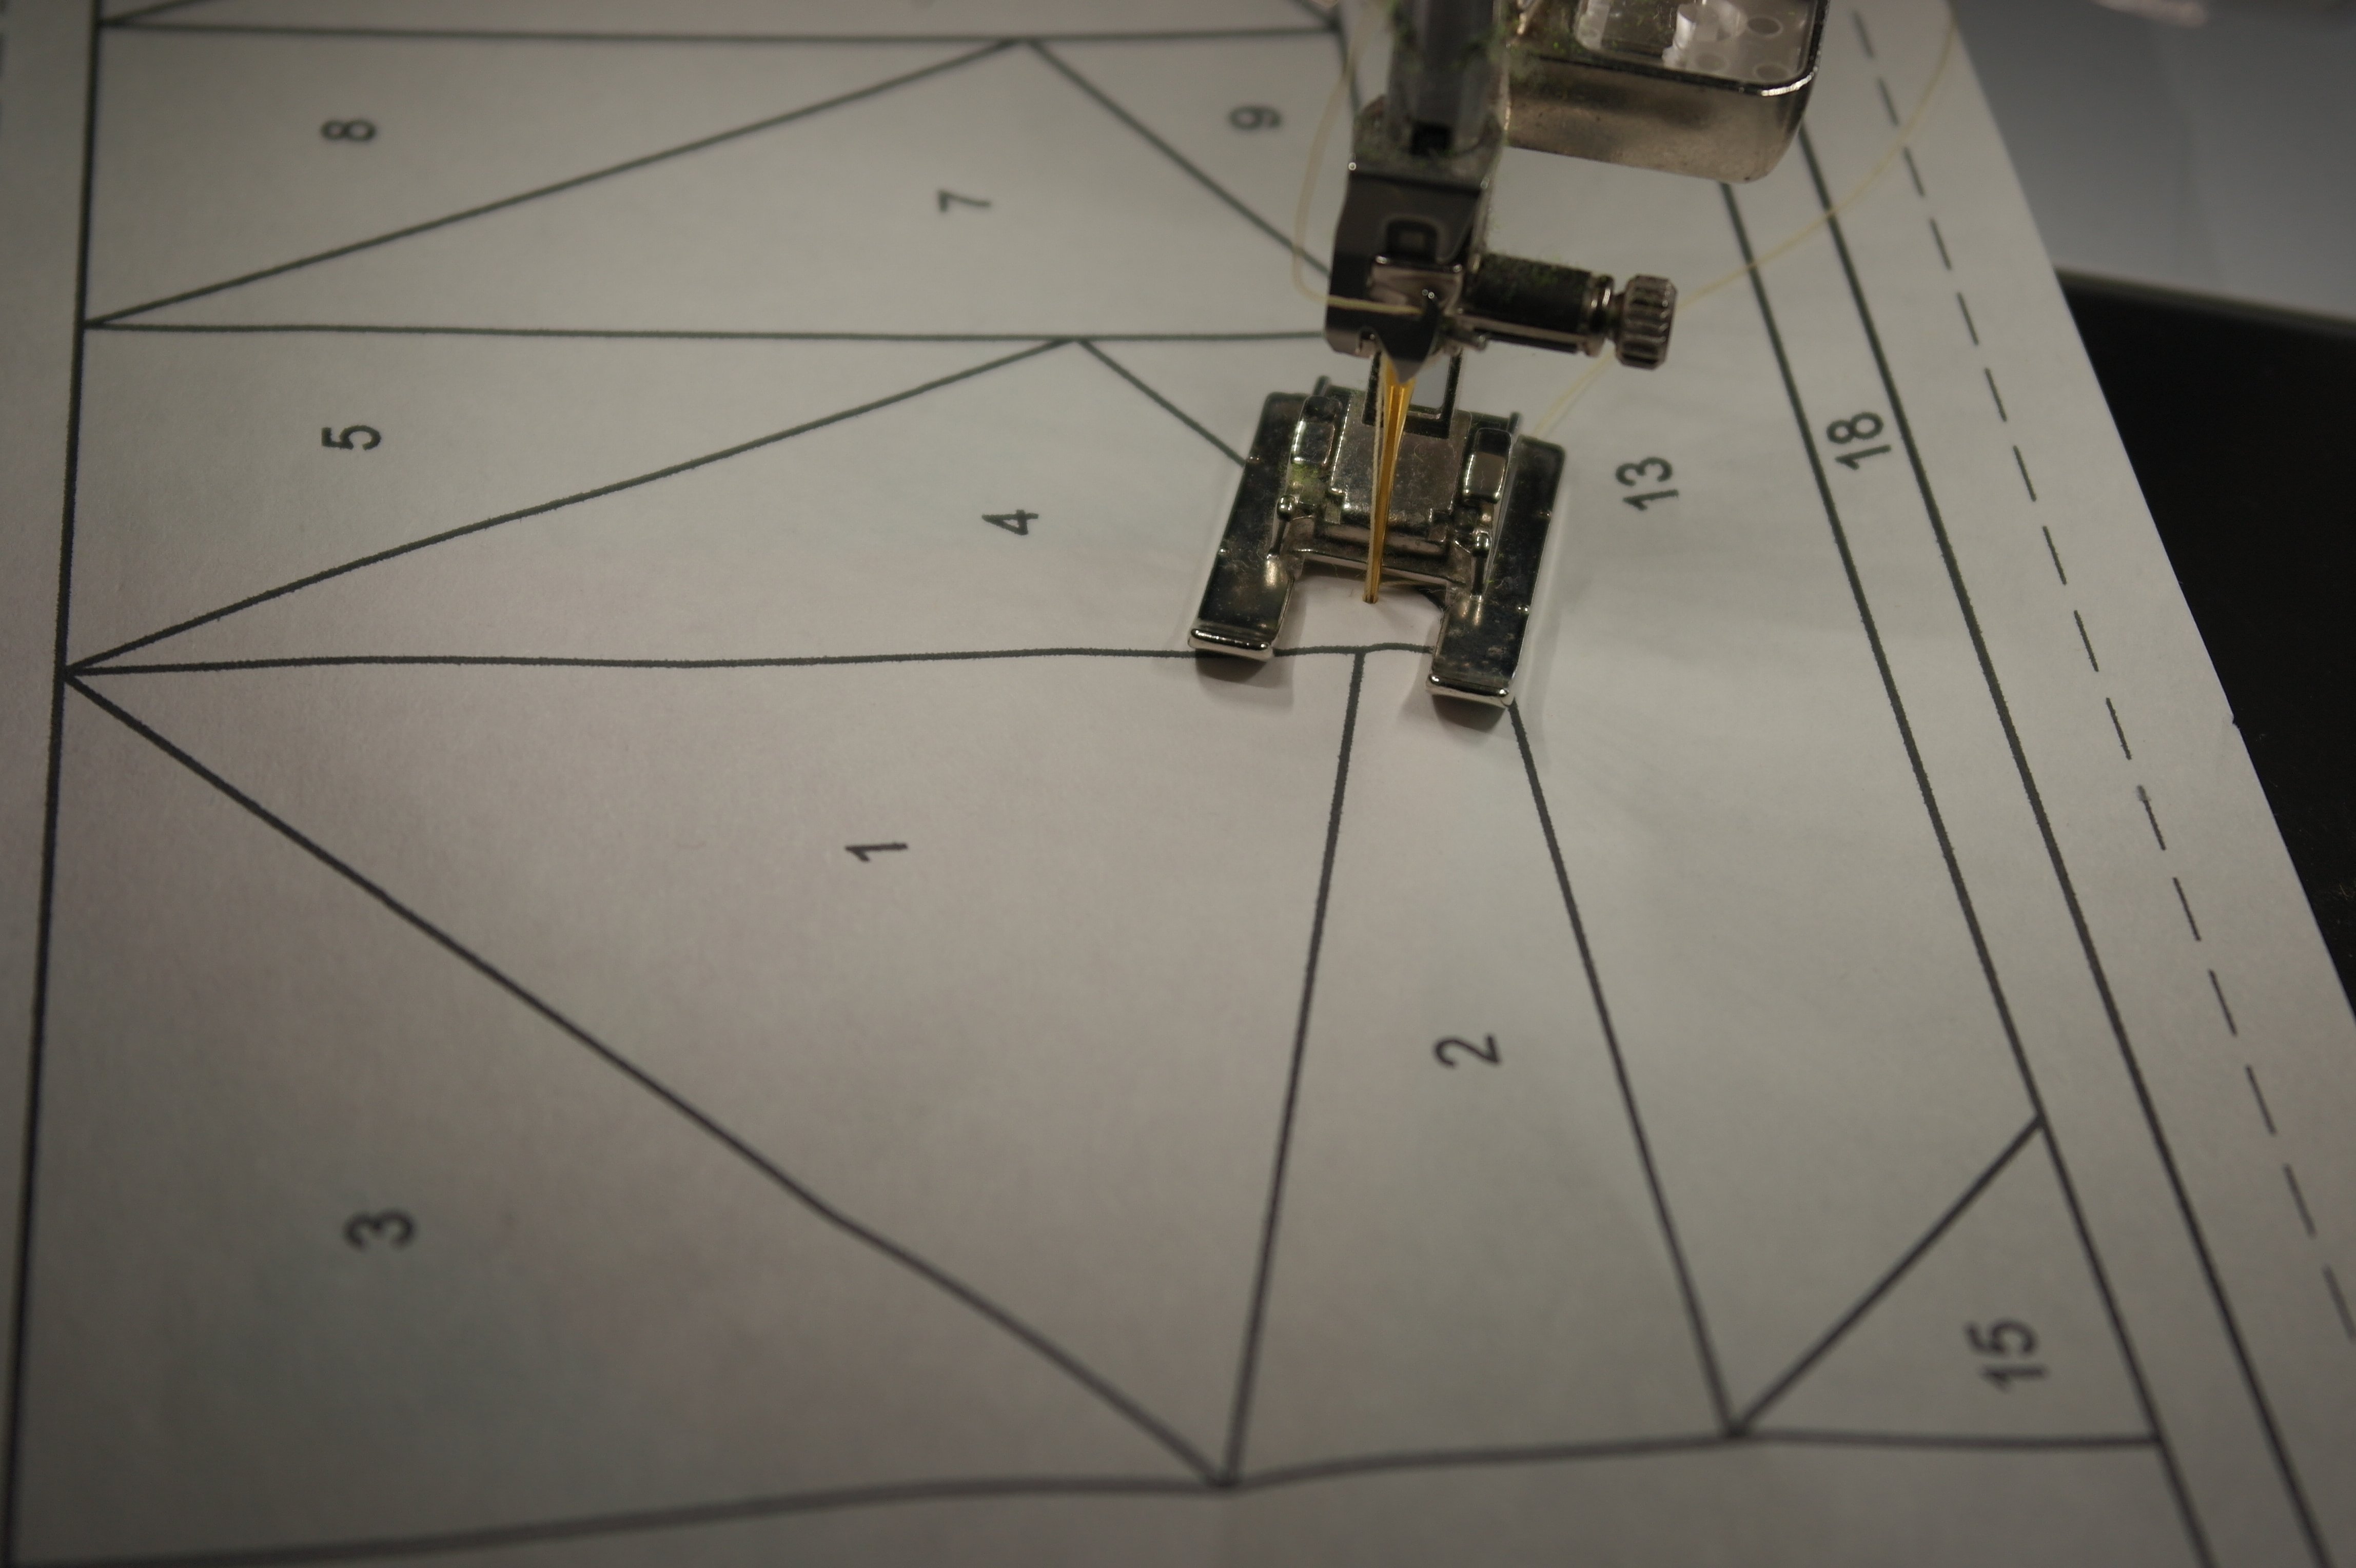
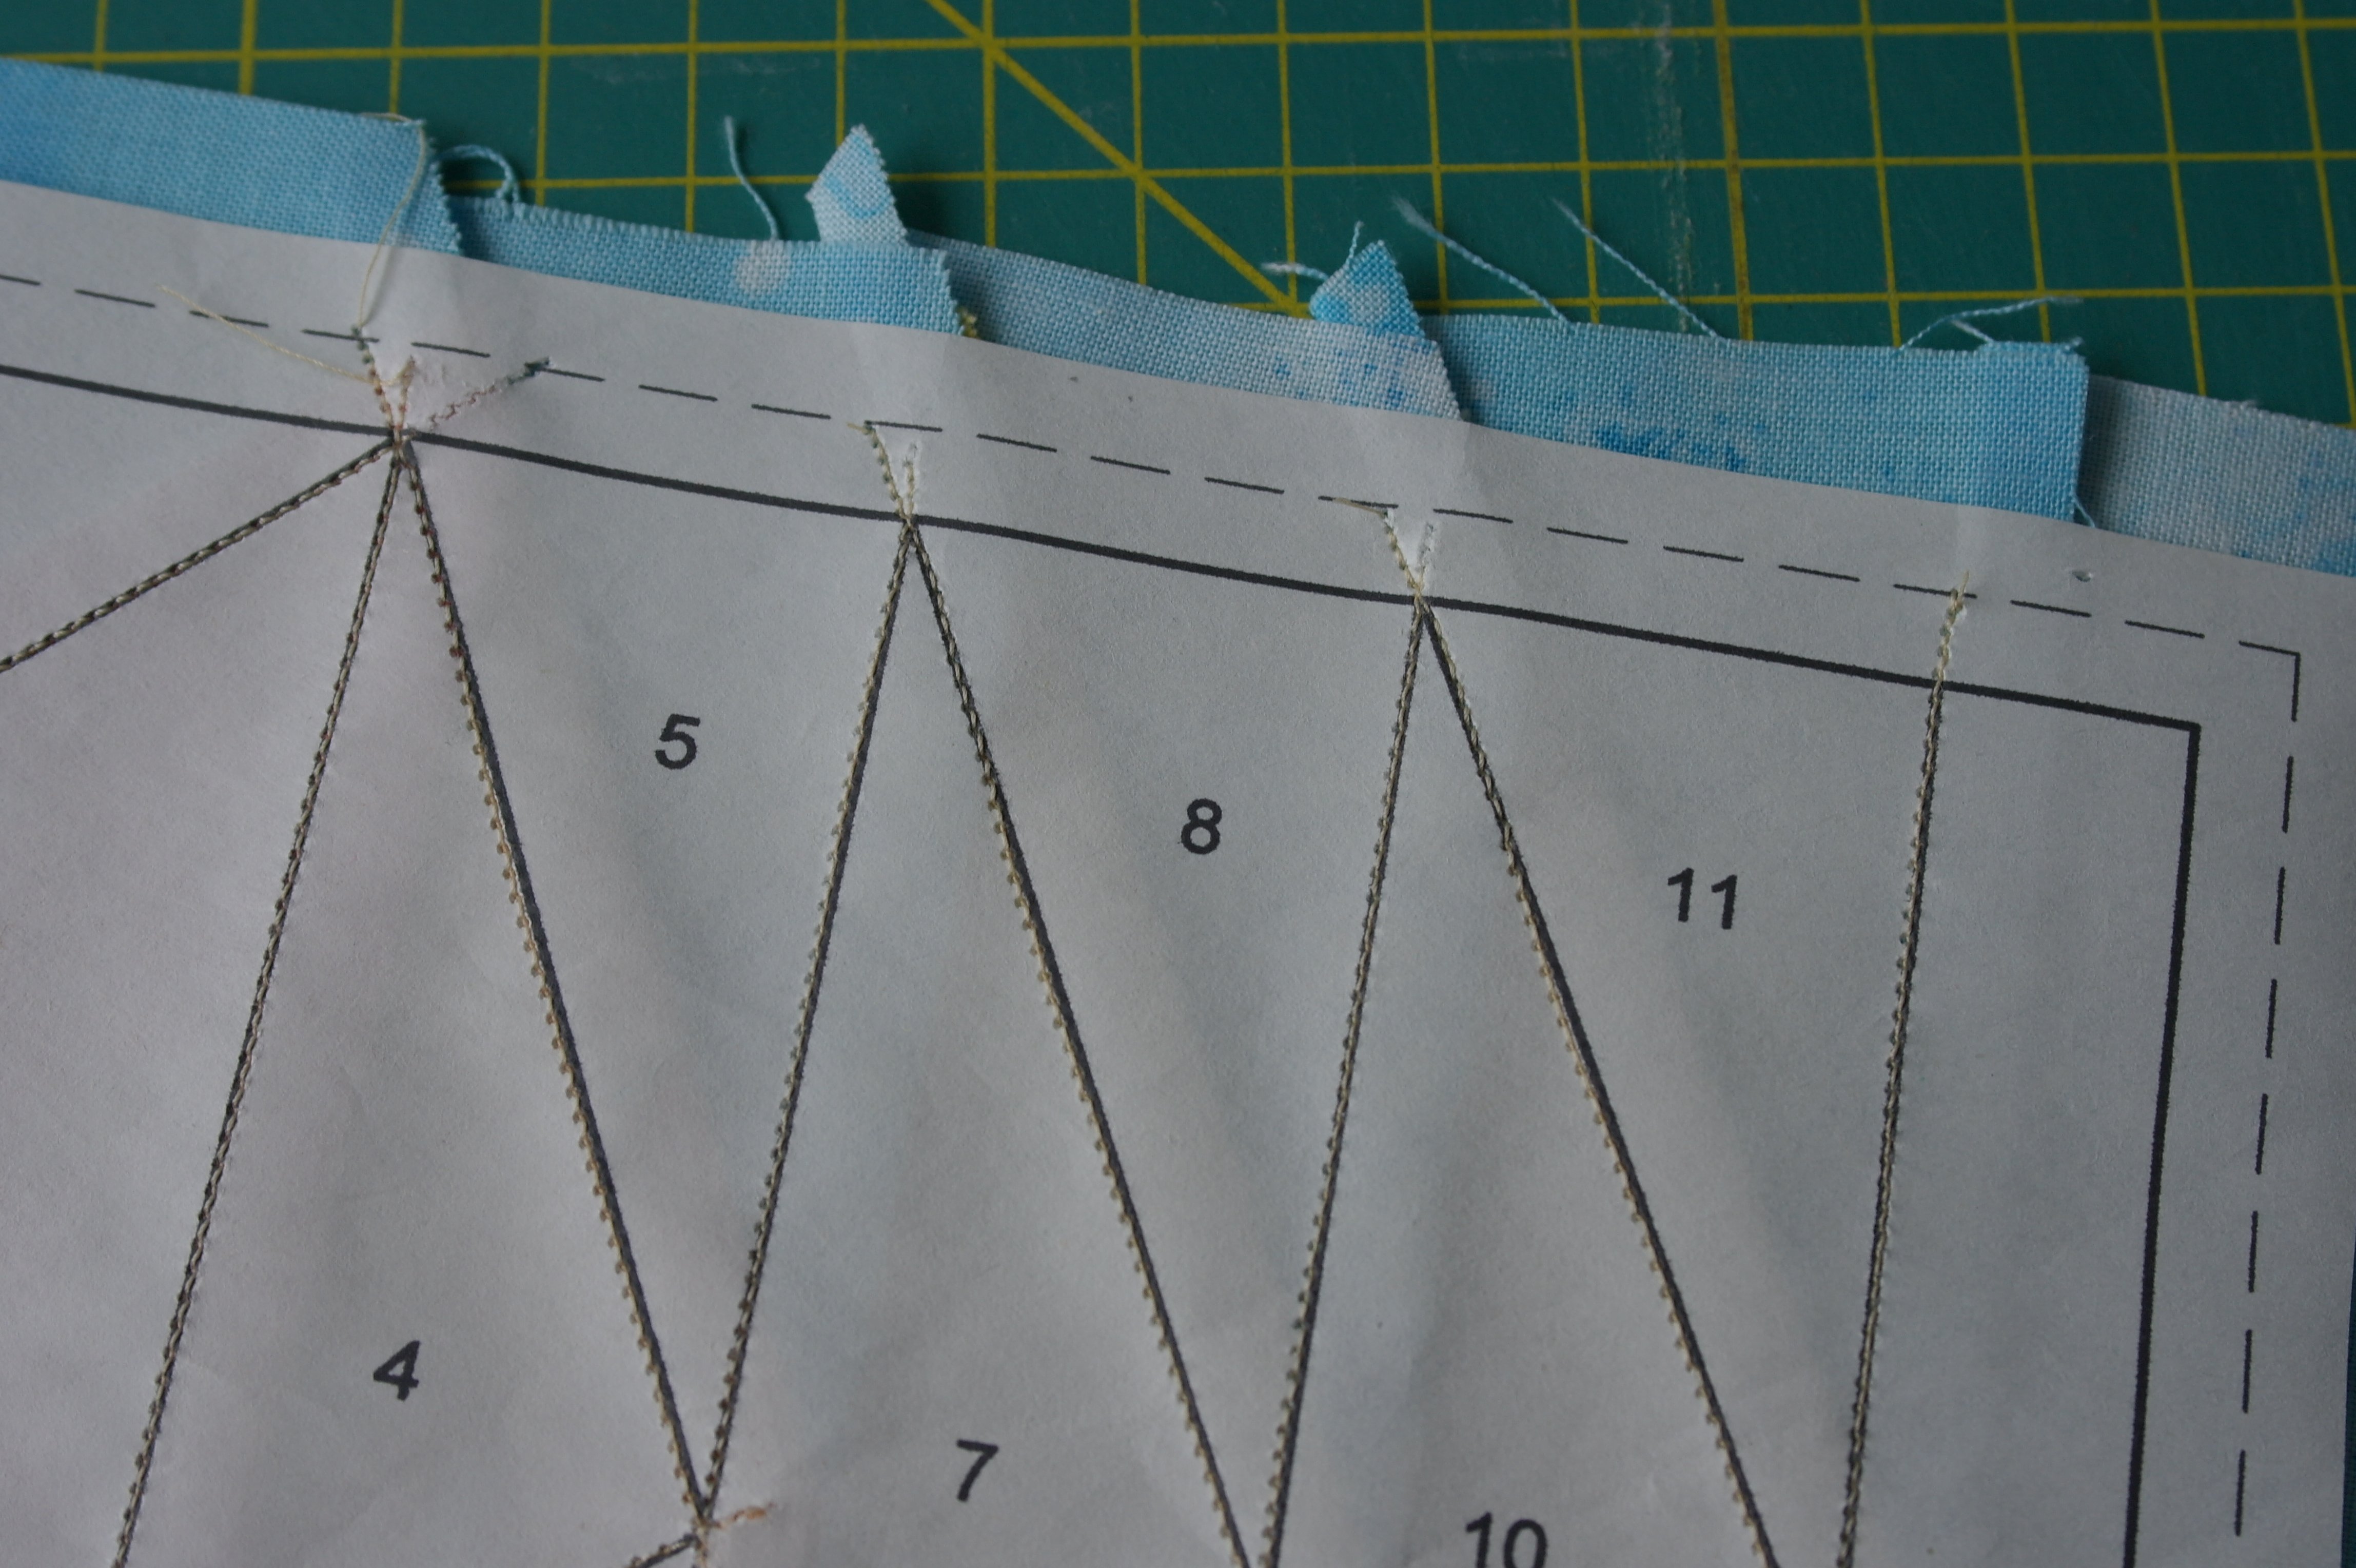
Sew on the line between section 1 and section 2: use small stitches (reduce stitch length). Make a couple of stitches ahead of the sewing line (is solid line) to secure the fabrics: you don’t have to anchor stitches (going back and forth again) if your stitches are small.
and end making stitches beyond the sewing line, to secure it all.

This is how the first line of stitches is done: small stitches, to be able to tear the paper away more easily afterwards.
Ironing the fabric after sewing.
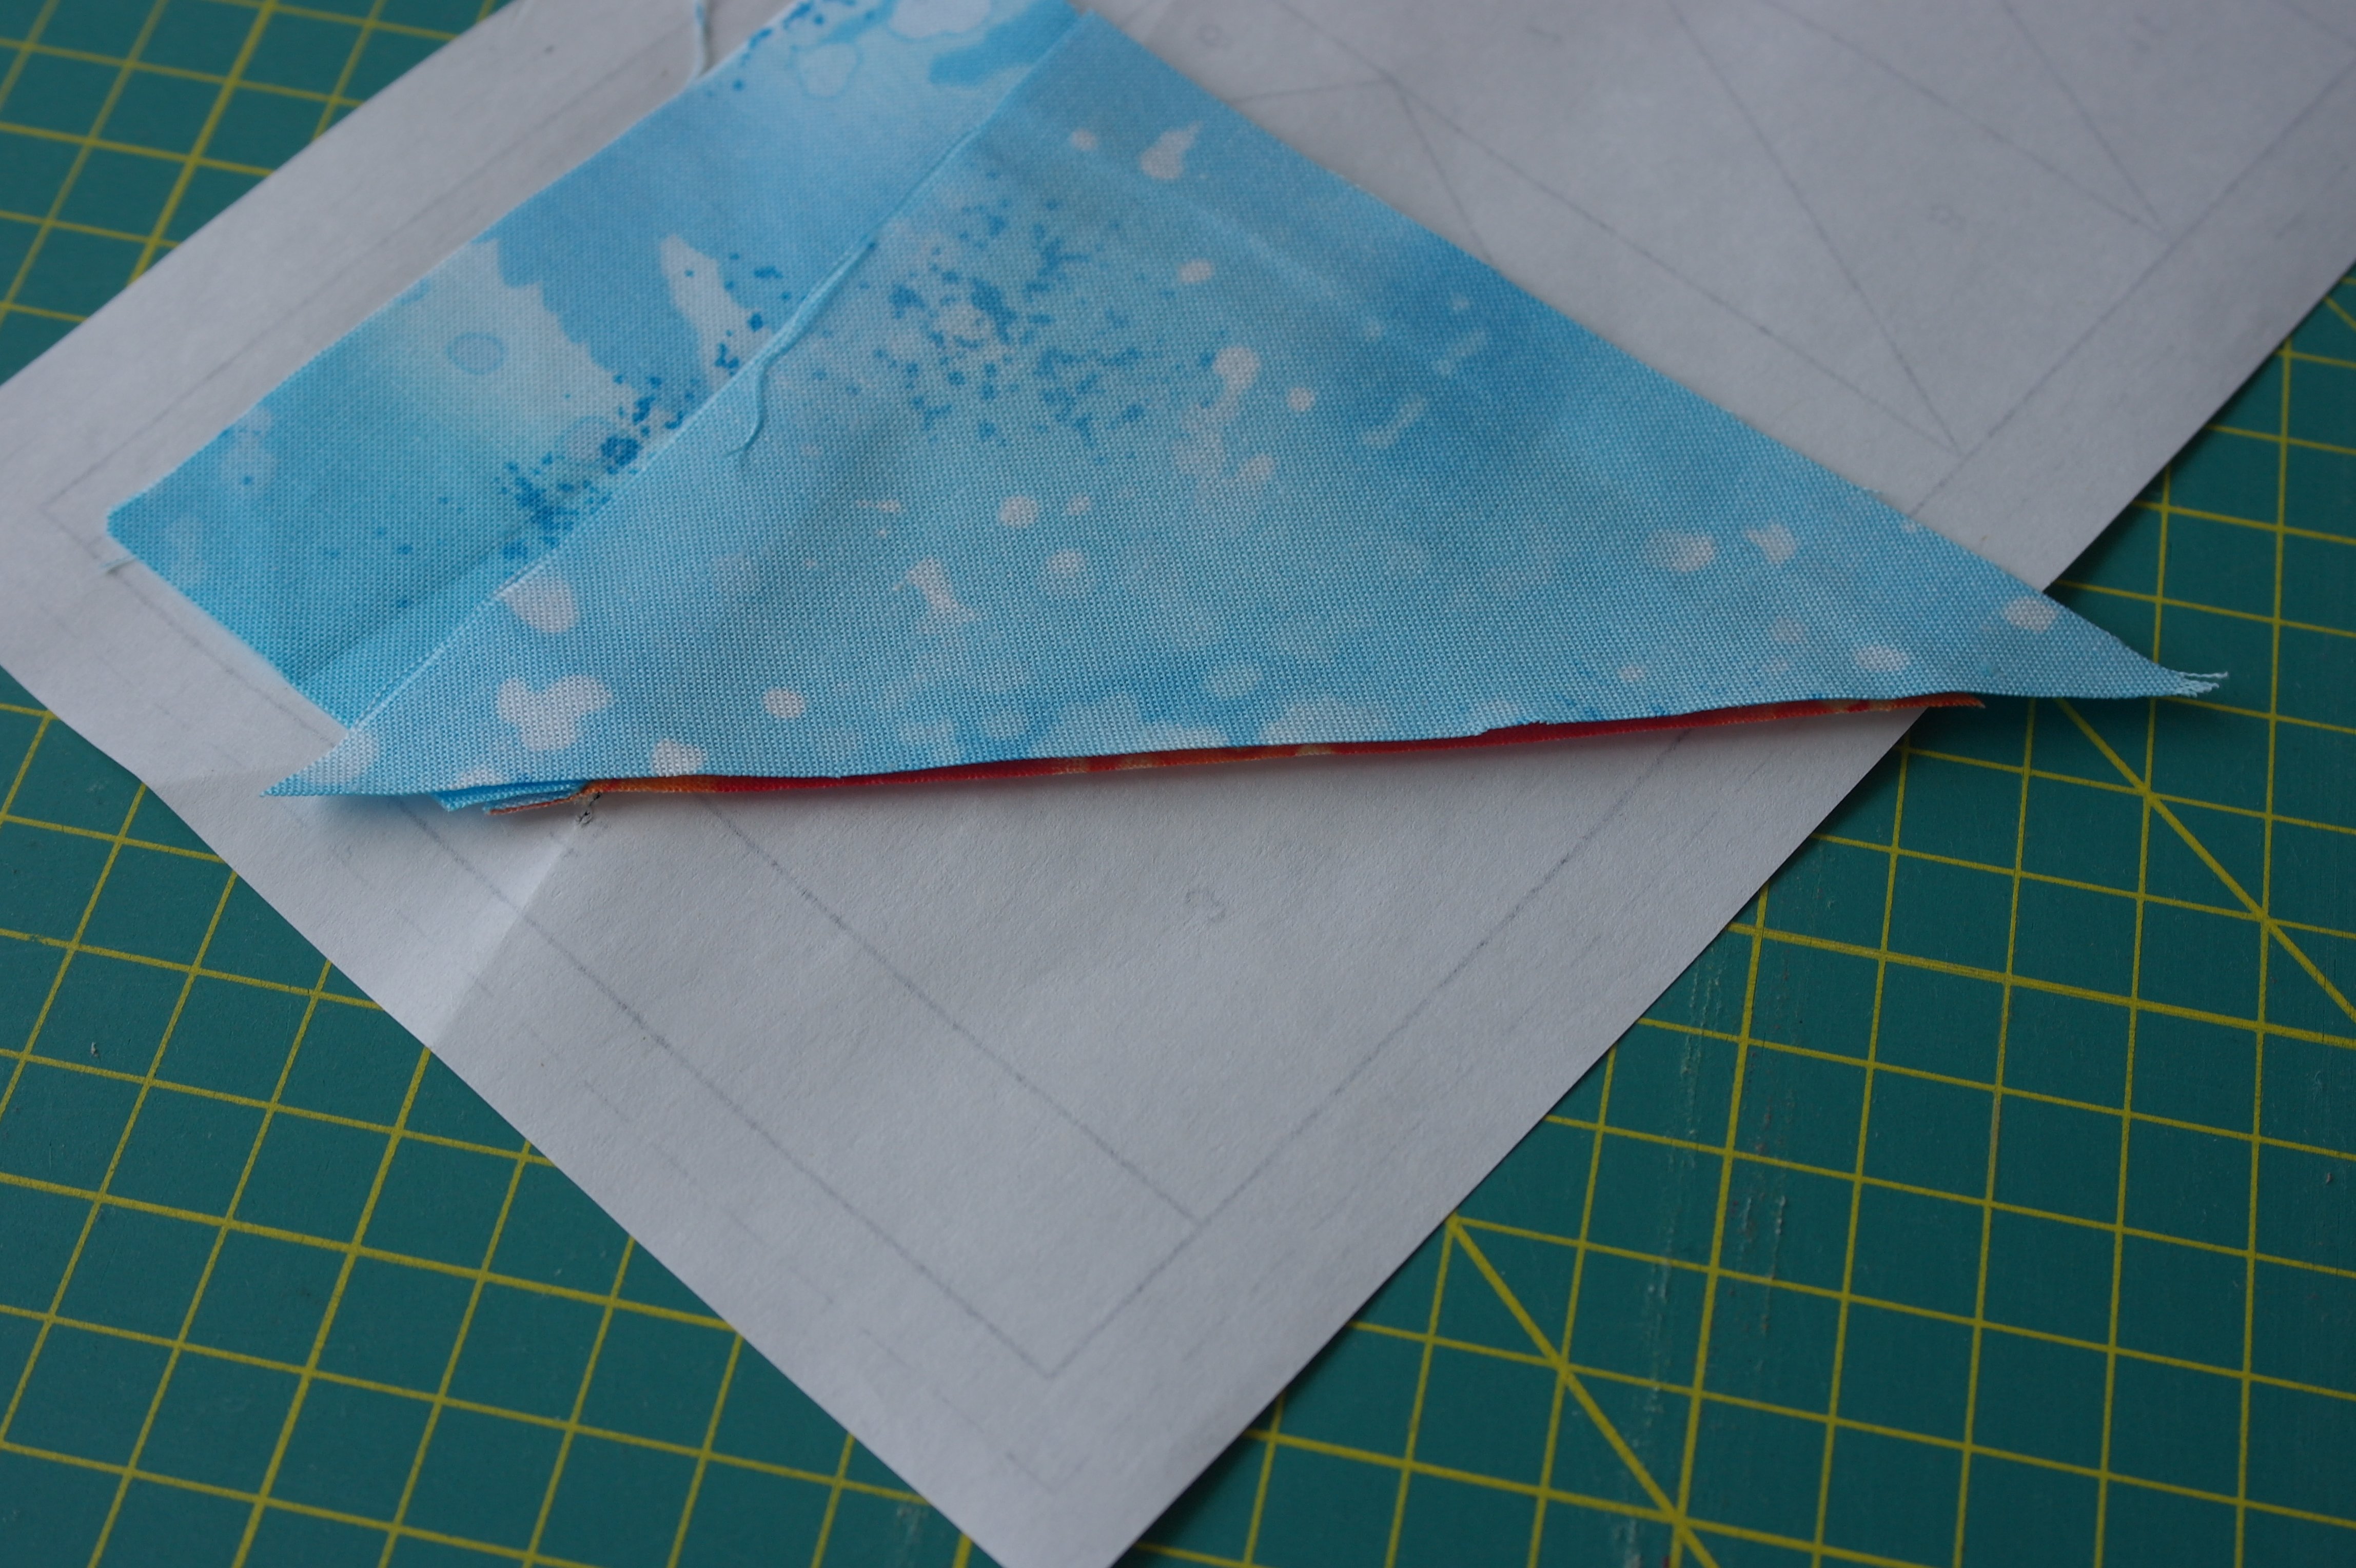
Fold fabric 2 to the right side and iron the seams. Be sure to check if the fabric falls spaciously over the edges of the section it has to cover.
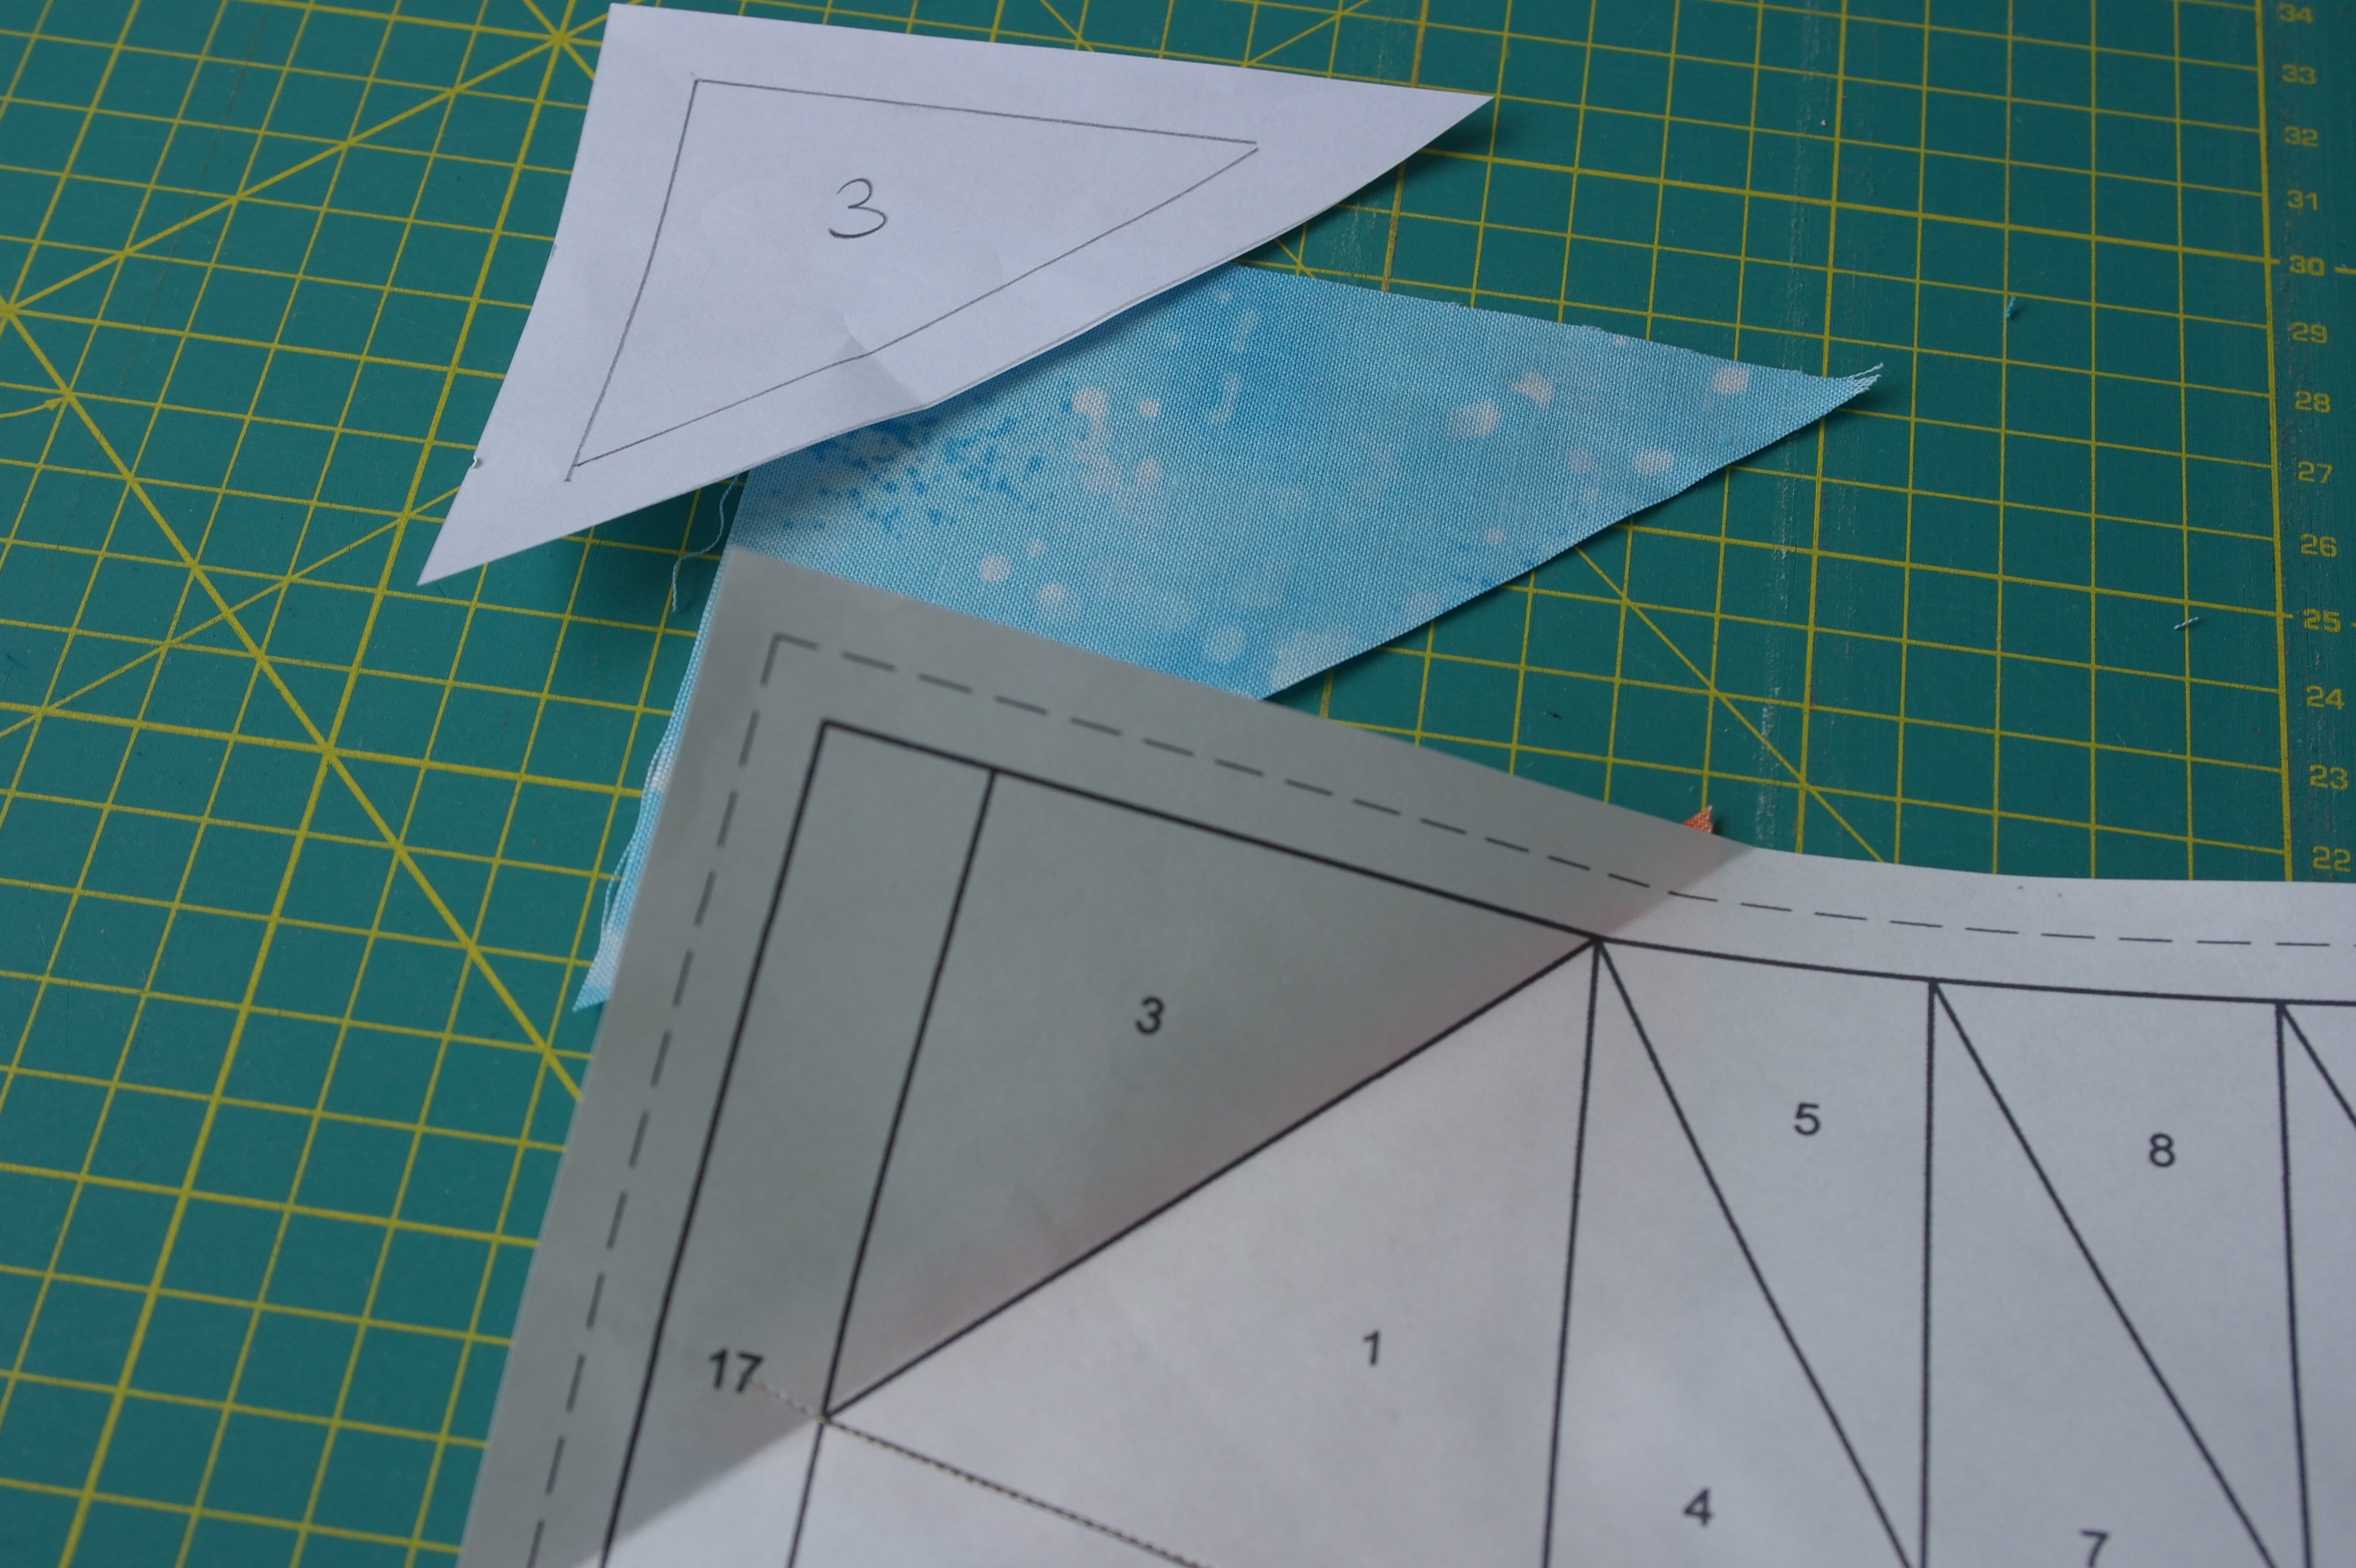
Fabric 3 is sewn on the solid line between section 1 and 3: sew it like the previous.
This is my placement, before sewing: the edges of both fabrics are aligned, right sides together.

Fold fabric 3 to the right side and iron it.

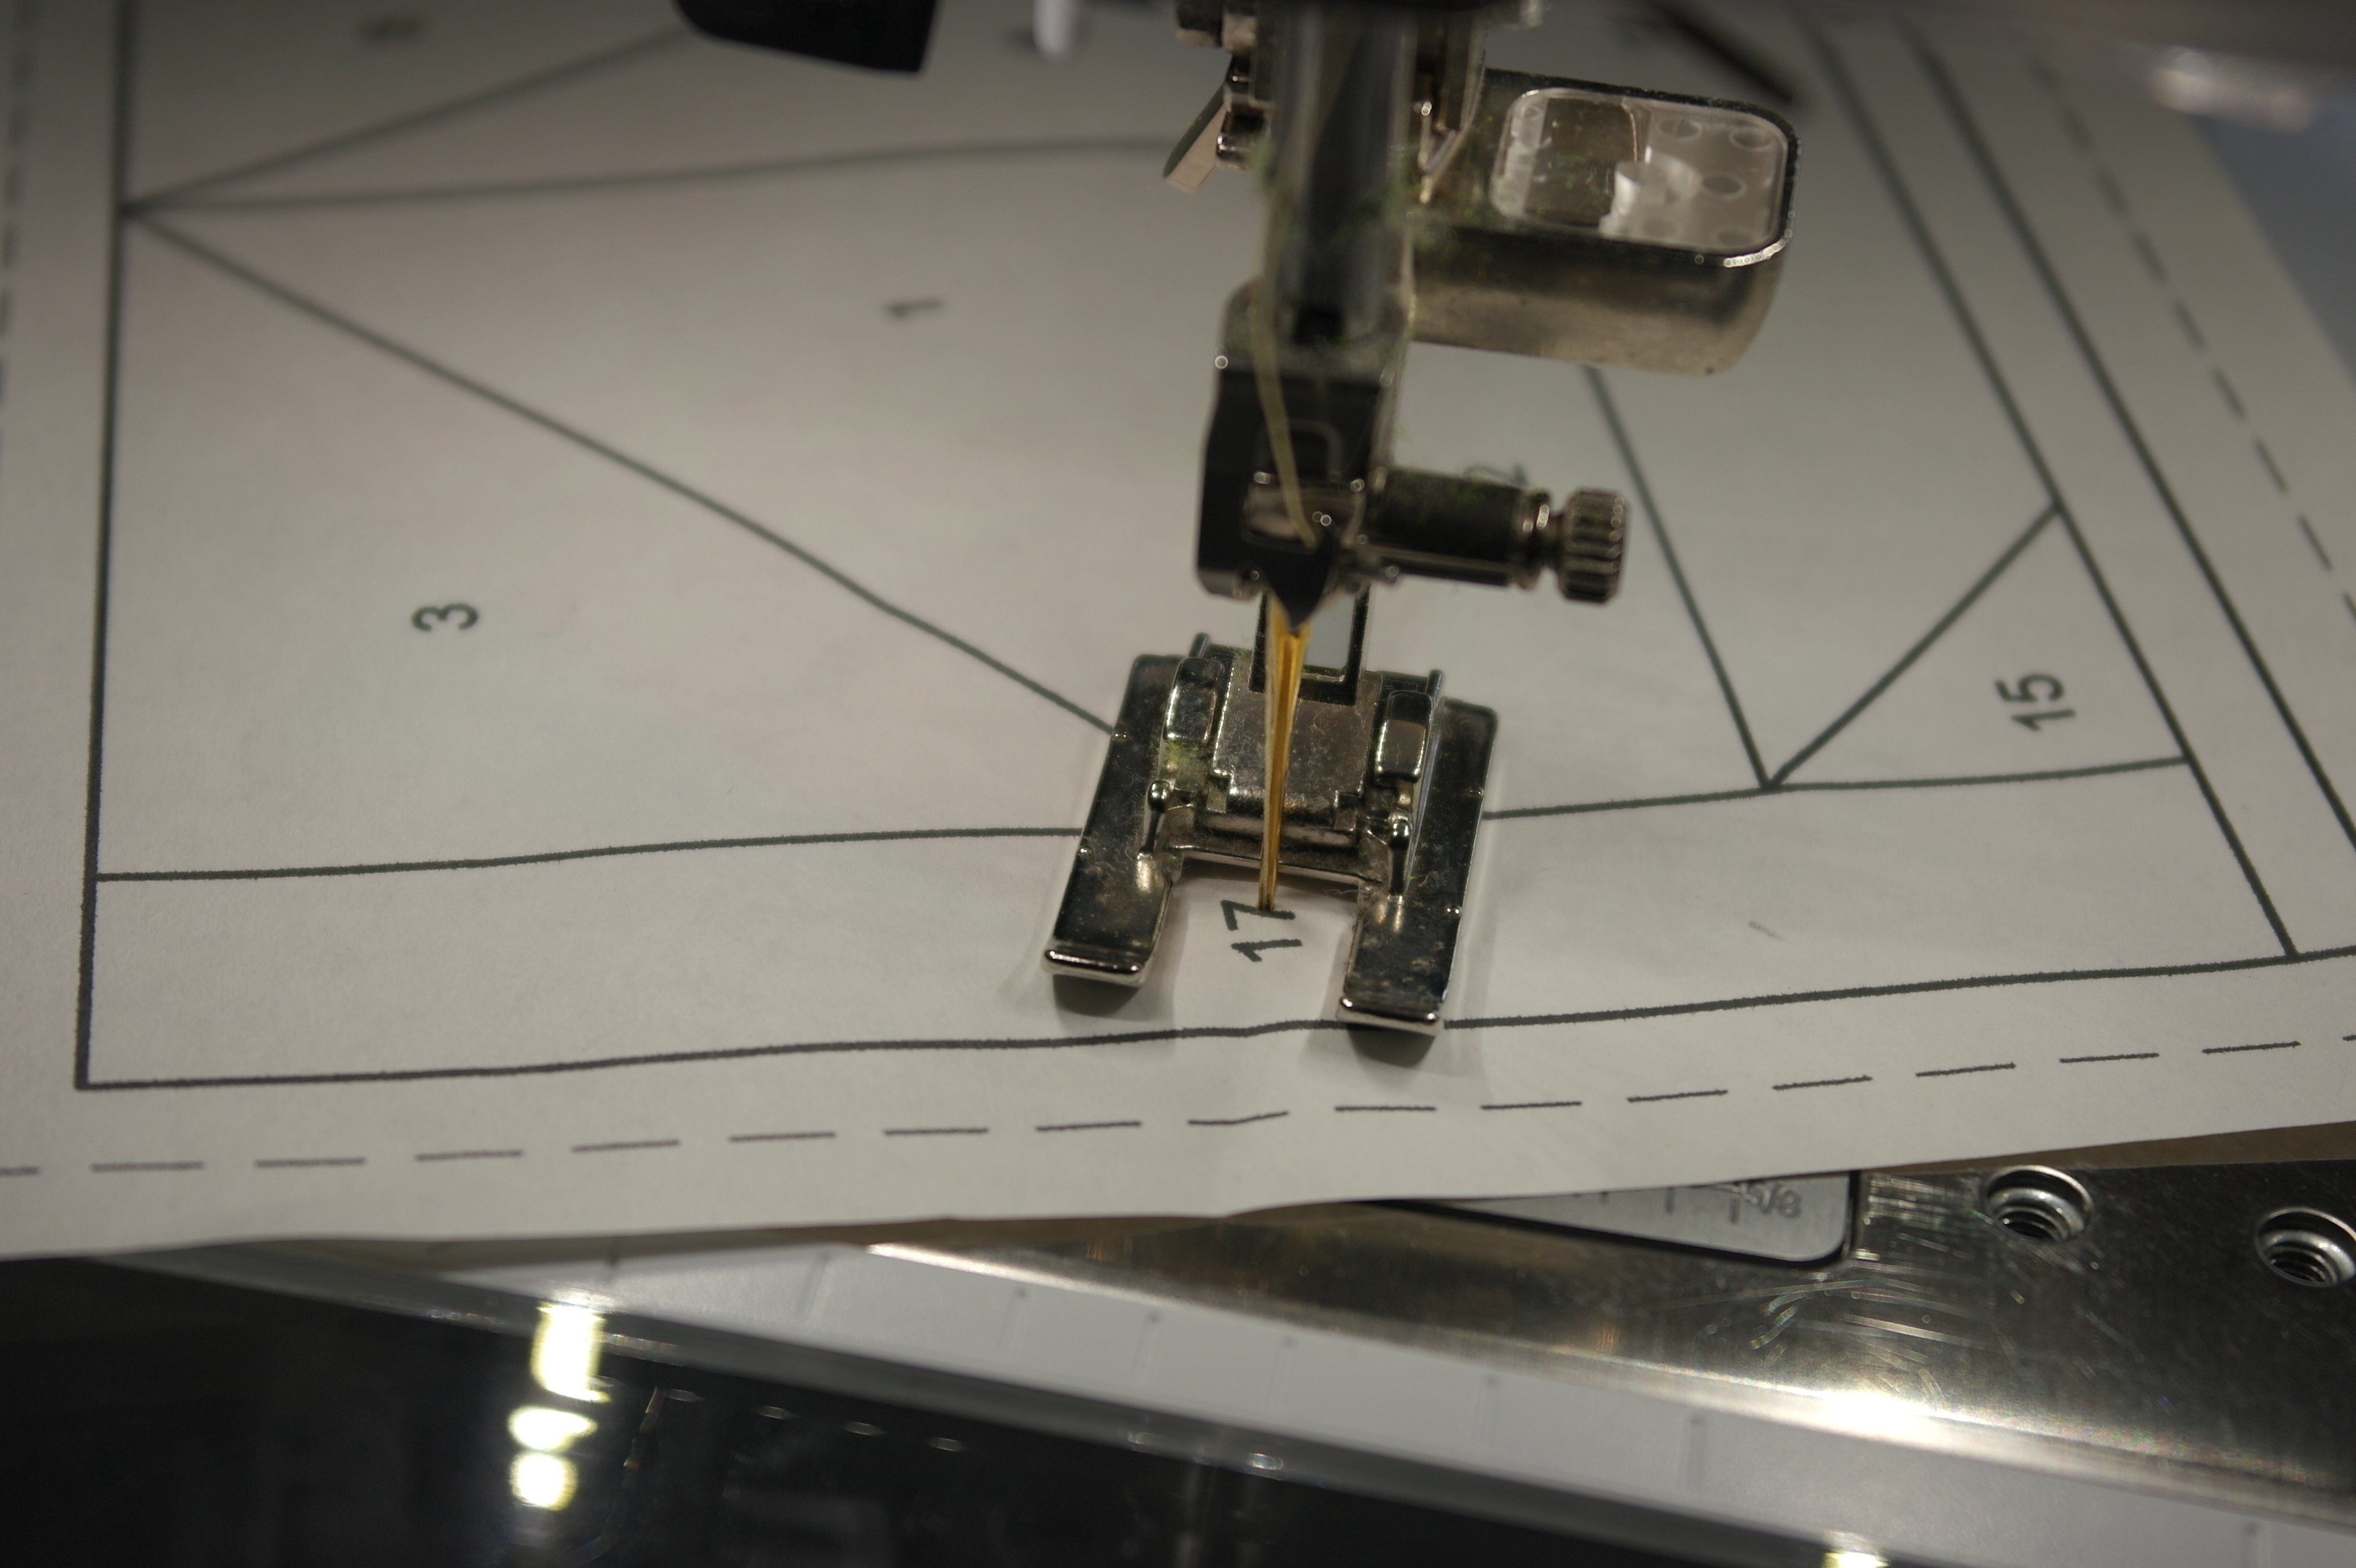
Fabric 4 for section 4 will be sewn to fabrics 1 and 2/sections 1 and 2. The stitches are made aprox. 1/4 inch (0,5cm) beyond the edges of the section.
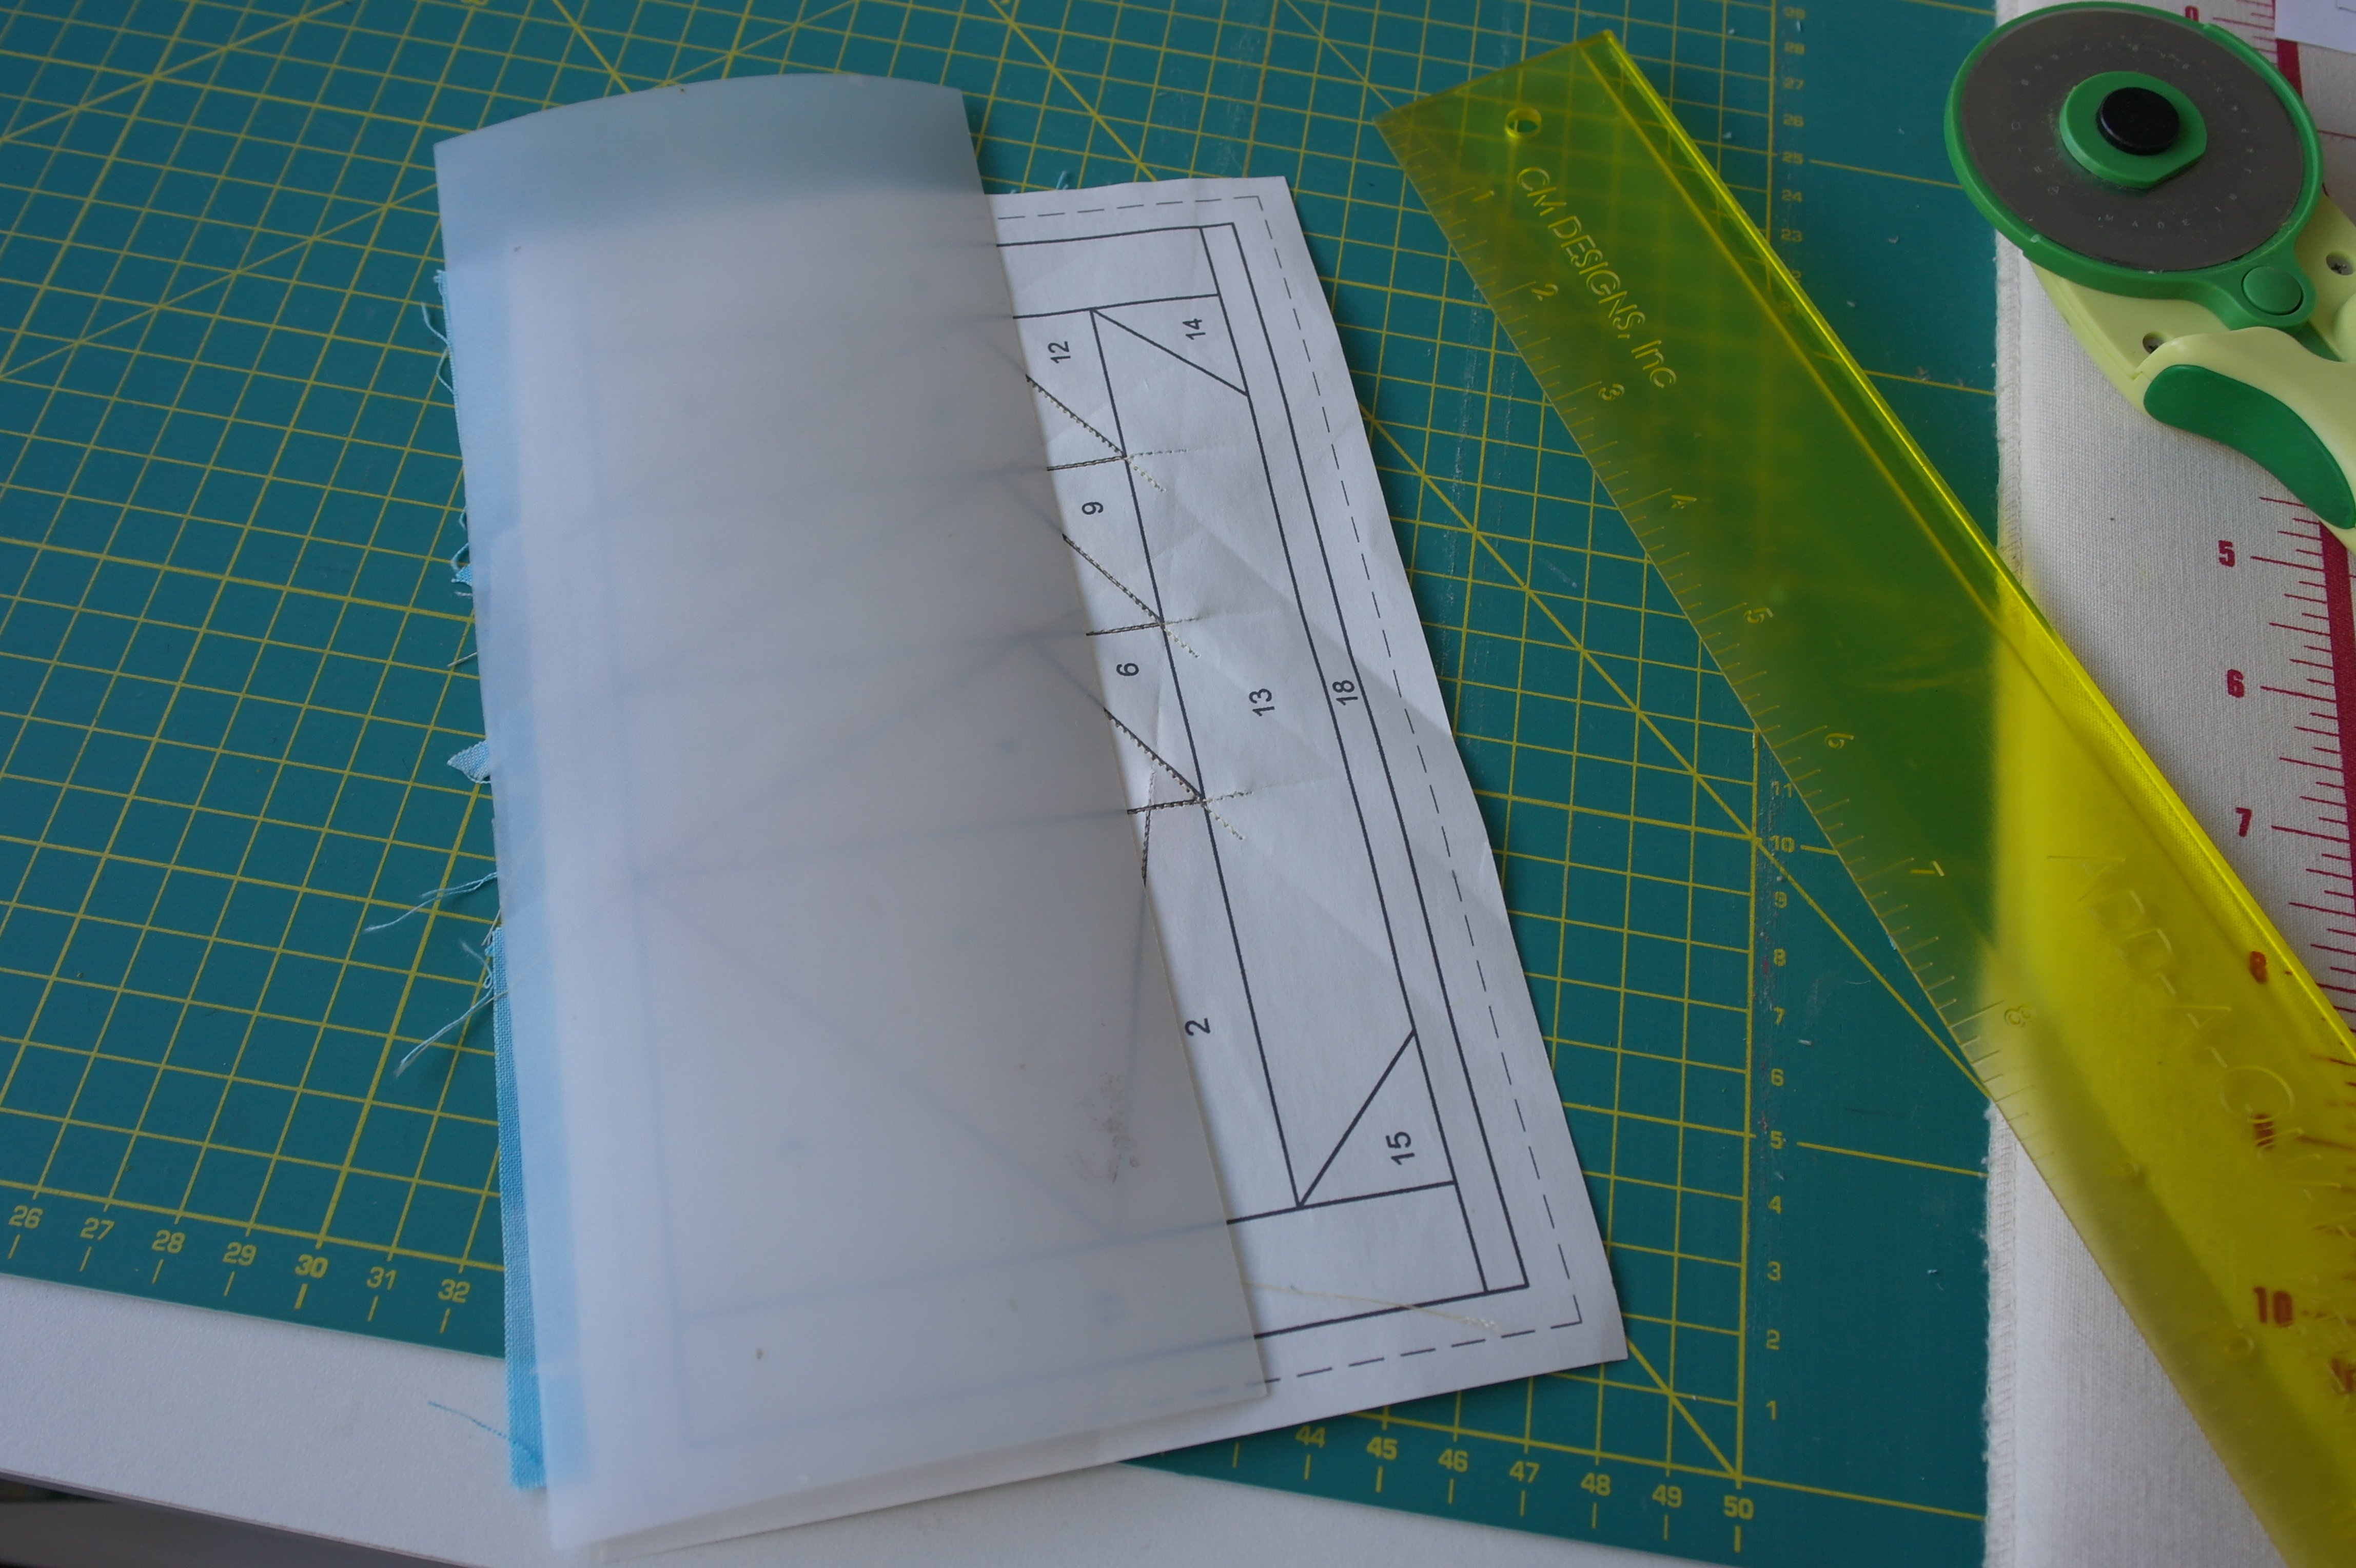
Continue like this. With section 13 = the boat, place the folding template on the solid (sewing) line on the side of 2/6/9/12. Fold the paper back, place your Add-a-Quarter ruler, or use your regular quilting ruler, and cut the fabrics of 2/6/9/12, leaving 1/4 inch (or 0,5cm) seam allowance.

Before sewing fabric 13 for section 13, I have lifted the pattern, used Bohin Glue pen on the seam allowance of fabric 13 and placed all together.
Sewing fabric 13: it becomes a rhythm…

Fold the last fabric to the right side and iron again. This is beginning to look like a boat!
This picture shows you the start- and end stitches, protruding to the dotted line = edge of seam allowance. That is how far your stitches should be made.
Last but not least is fabric 18 for the water: just a small strip, but important because of the extra color it brings to your block. Before sewing, cut the fabrics from 17, 15, 13, 14 en 16 with seam allowance. Because of the length of the strip/fabric for section 18, use Bohin Glue pen again to glue it before bringing it to your sewing machine. Still no pins involved with this project.
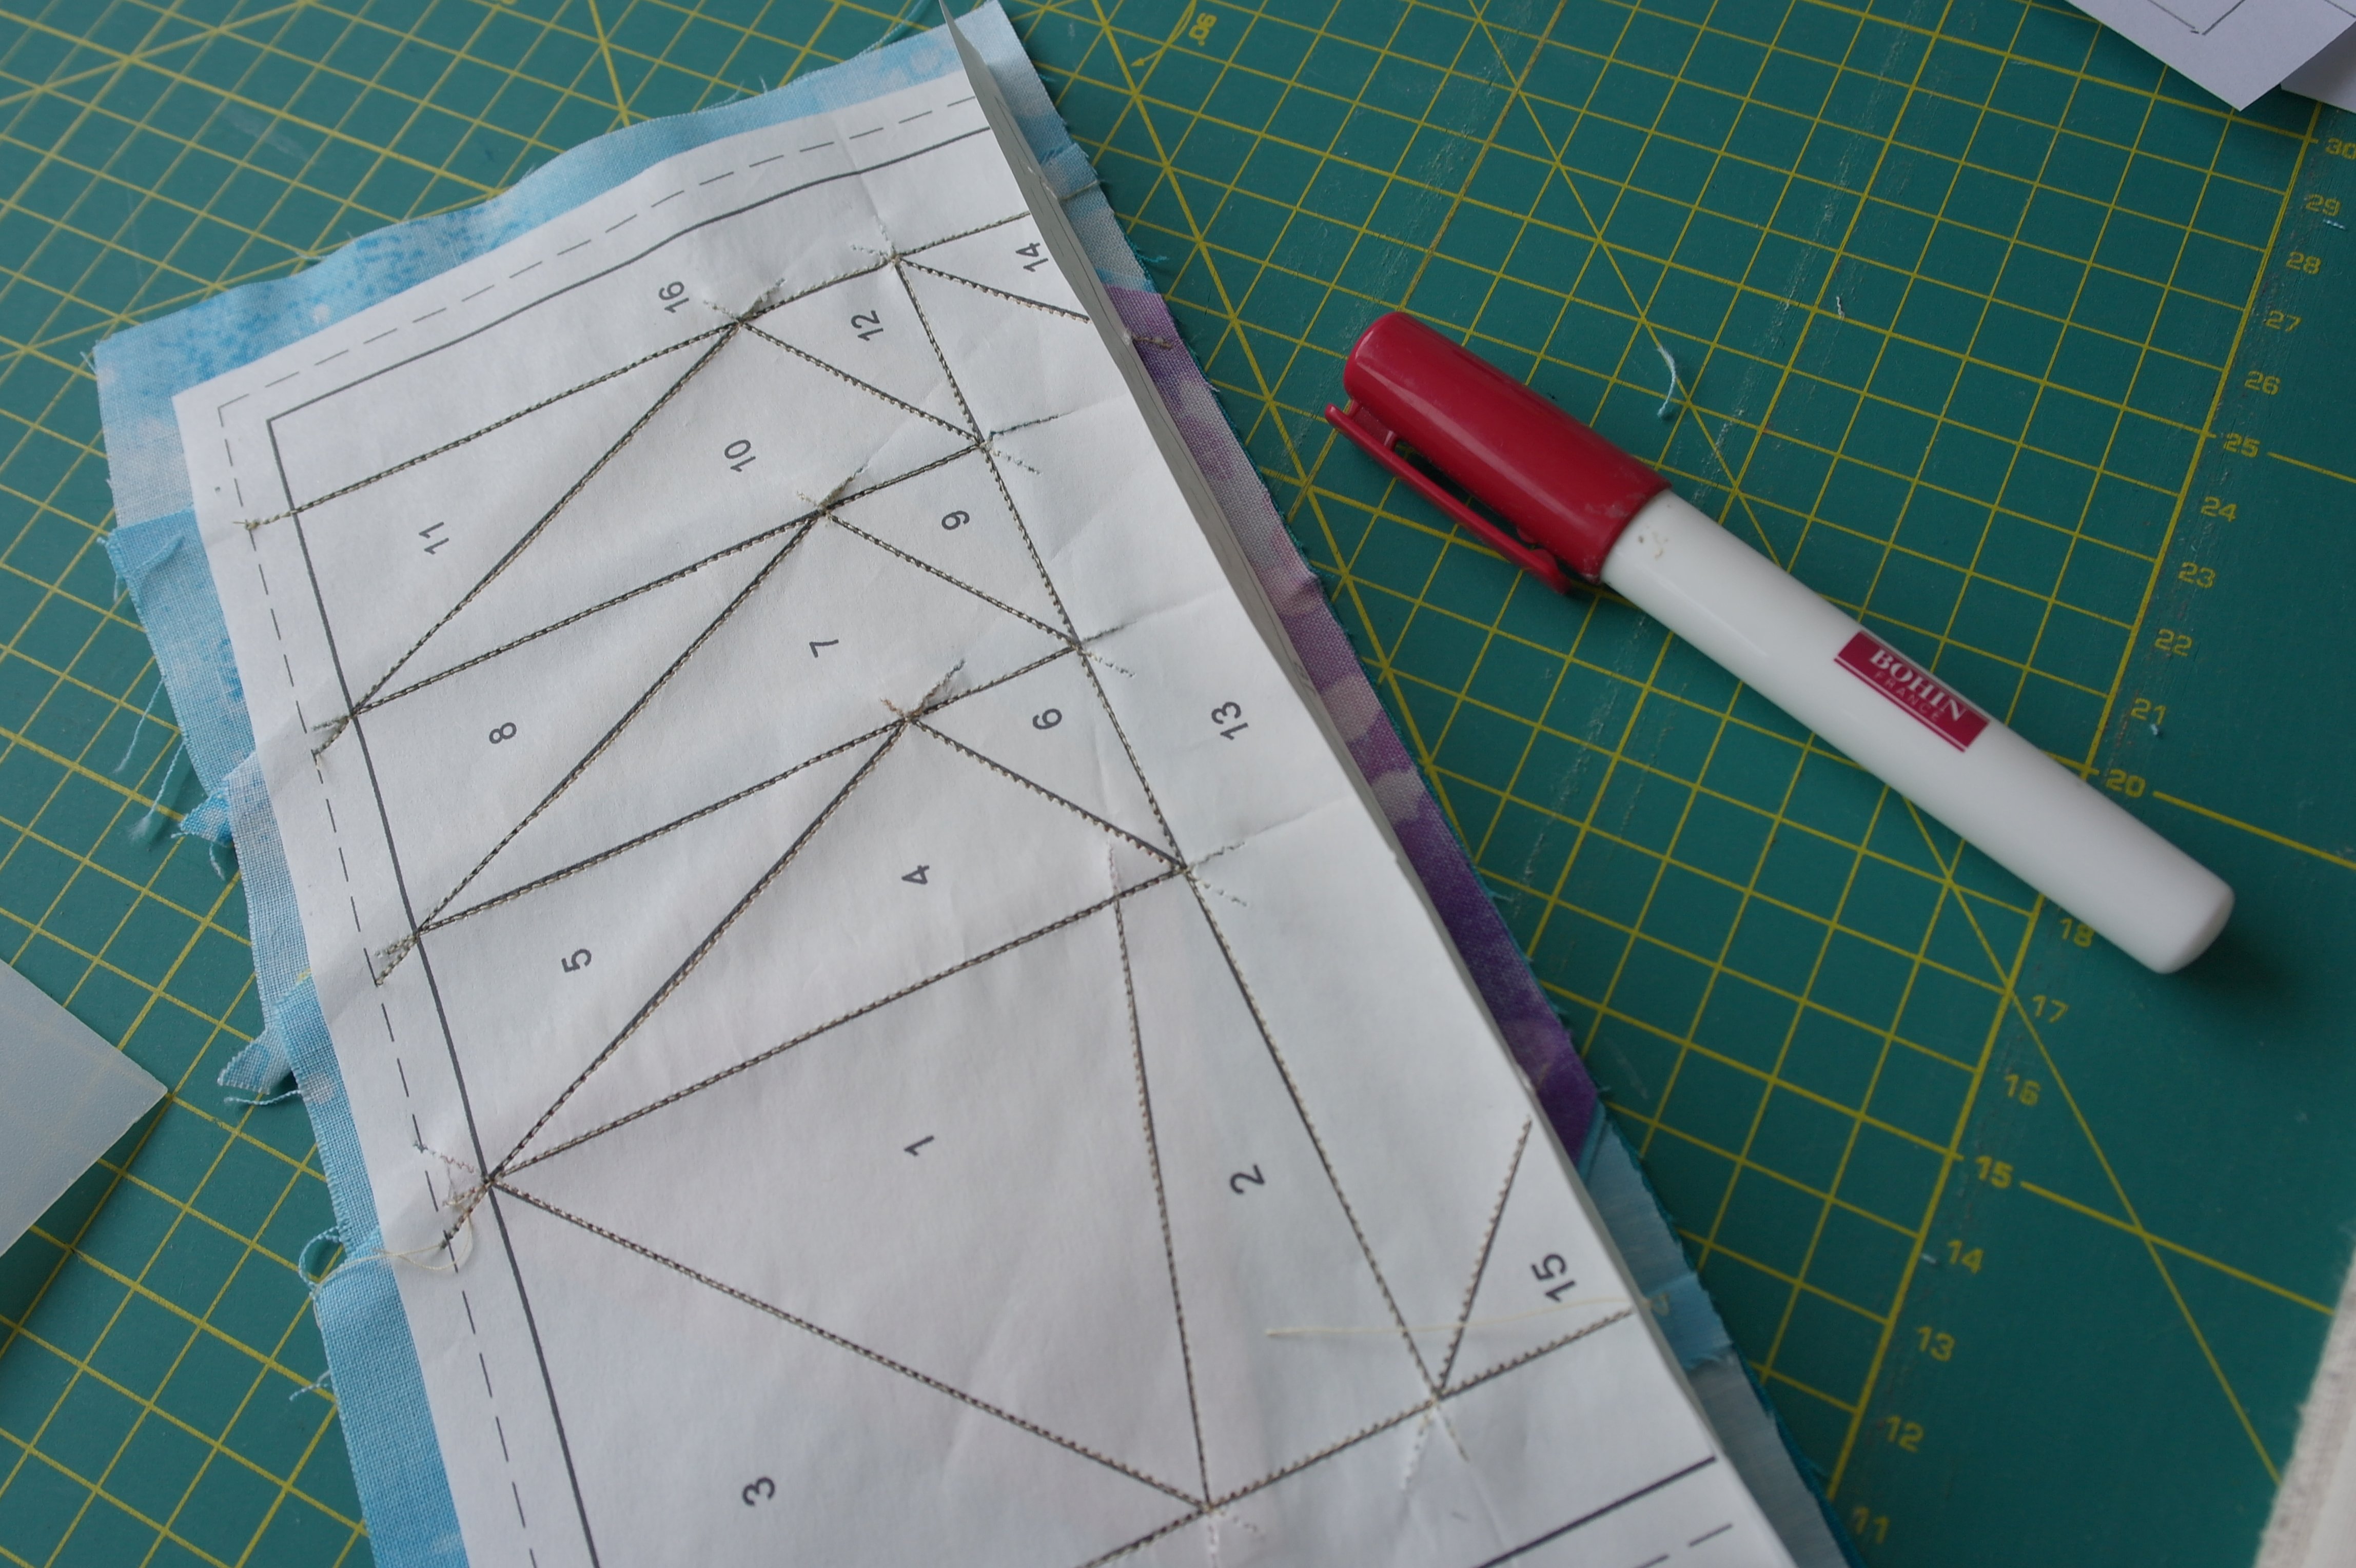
A finished block.

Is your paper piecing pattern covered? Your block is ready. Iron it on the right side (cover it with a cotton fabric).

This is the back: can you see how much my fabrics are protruding from the edges? It seems to be excessive, but better too much fabric to be cut away, then not enough and have to remove and redo it all.
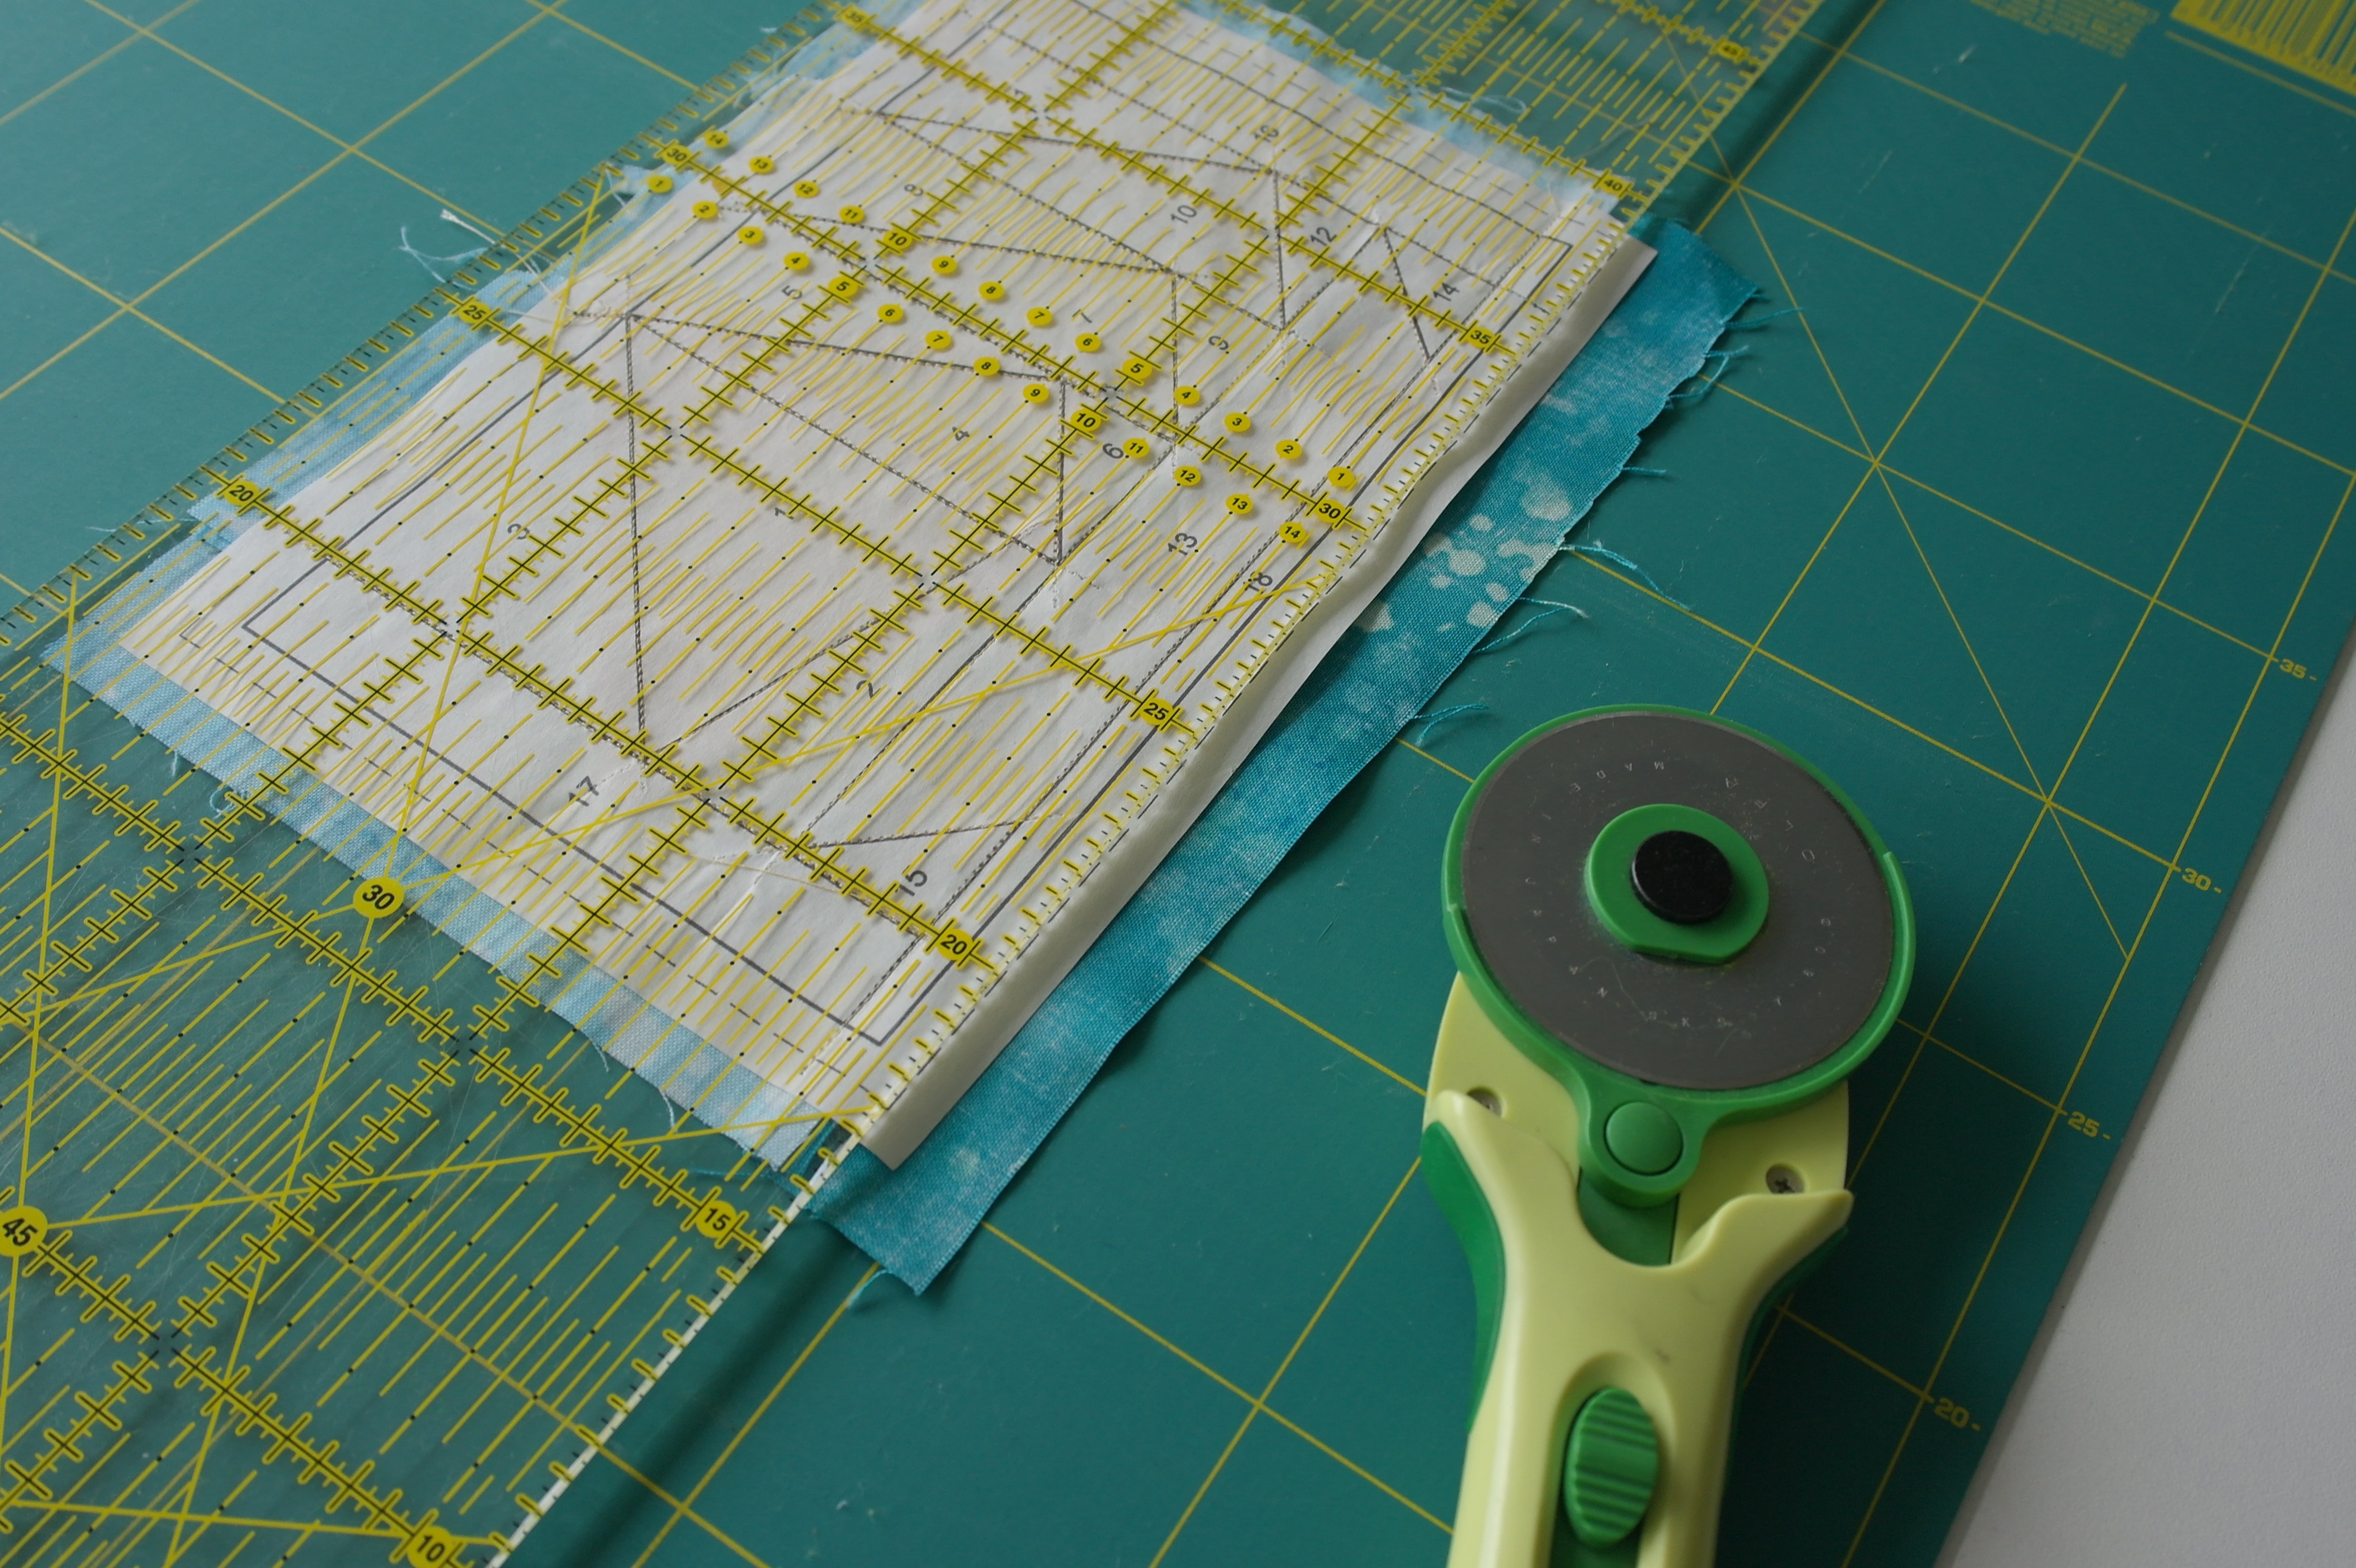
Now the block can be cut to the right size: place it upside down on your cutting mat and cut exactly on the dotted line with your rotary cutter, through paper and fabrics. Or cut this with your seperate scissors.
And there it is: a neatly cut block and cut offs.
At this point you could remove the paper from your block (if so, do this in reverse order to sewing), but you can also wait for the last Blogpost for boat 6, where everything will be revealed.
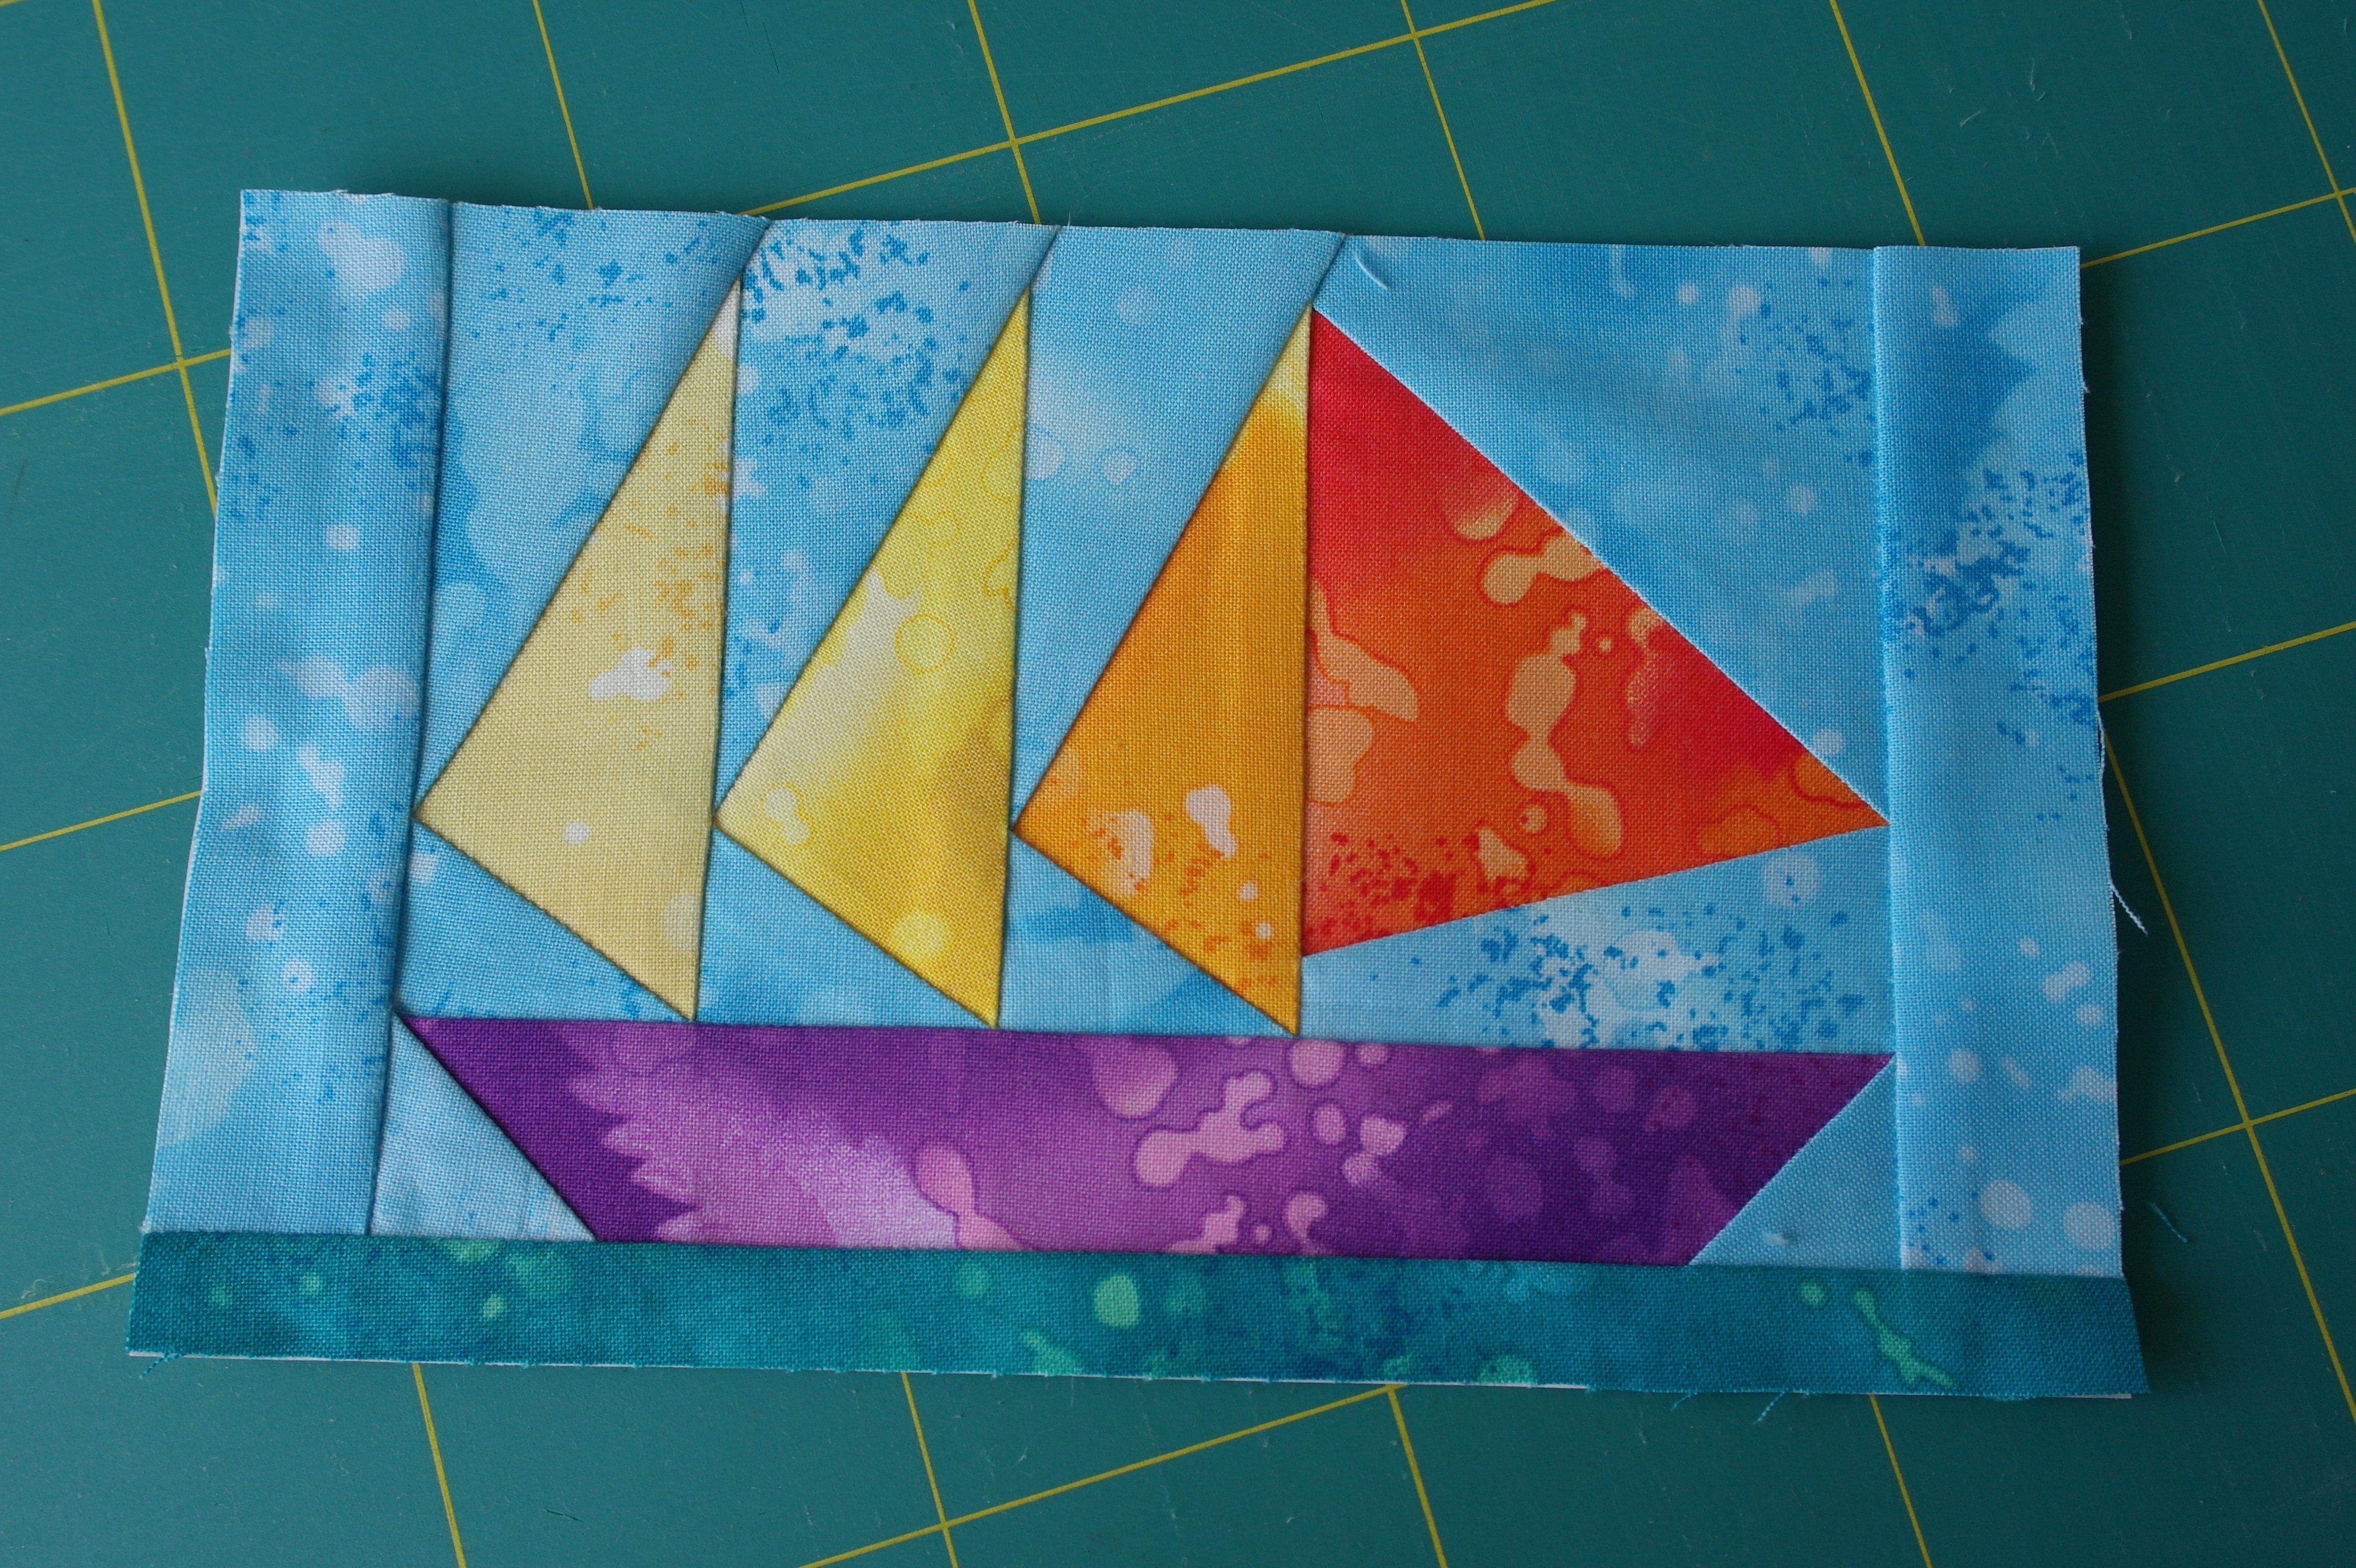
This is Boat 1: cut to the right size, seam allowances included. Put aside until the next blocks are made/ready. Or make more of these blocks, with different fabrics/colors for more color effect, if you want to. You can make as much blocks as you want, by printing more paper piecing patterns.

Place your paper templates in a bag, together with the block. You can use these paper templates again and again, if you want to make multiple Block 1.
Have fun, see you next time for Block 2!
Sylvia Kaptein
www.sylviasartquilts.nl

Is there a full sized pattern of this block that can be printed?Thanks,charlotte
Dear Charlotte, you can find the pattern just underneath the first picture. Click on “Here” to acces the pdf
Hi.
I can only find block 1 and block 3 for the boats. Are the other 4 blocks available?
thanks
seren
Hi Seren Belle,
You can fill out ‘Summer project’ with ‘Search’, to find the other boats and directions too.
Have fun
Sylvia Kaptein
I love paper piecing! It’s my guilty pleasure, my childhood jigsaw puzzle, the rhythm of my sewing soul! Looking forward to the next boat!
Glad you like it, enjoy
Sylvia