 BERNINA Corporate Blog -
The more you work with BERNINA Embroidery Software DesignerPlus 8, the more you discover. Not just how to use everything, but also how much more you have to learn. I think that’s positive, because that means you are aware of the enormous amount of possibilities to use in V8. Users ask me to explain things on a regular basis (you can email me with your question via [email protected], or place a COMMENT at the bottom of a V8 post). People are asking me also whether V8 is worth the investment, and I always answer with ‘YES’.
But it is important to use it to the fullest. I often hear about people purchasing the V8 software and are overwhelmed by it, leaving it in the closet for years. Now that’s a waste of money! I understand that it can make you ‘dizzy’ at first, but following these lessons (which are always available with the BERNINA Blog) will help you work your way through everything first, making it much easier to create wonderful designs in the future. I have worked intensively with this software V8 for over 3 years now, and have found/used most of the features (I think!) and am still amazed about the variety. Now I like working with computers, software and machines: I like to know what happens when I click on an icon or use a special function.
It’s like Dee Dee with ‘Dexter’s Laboratory’*, who always presses buttons, saying ‘What does this button do?!’ Dee Dee is very reckless, but also very courageous. She doesn’t get insecure because the function of a button is unclear. She just presses it to find out what will happen and doesn’t care about the consequences….That’s a bit like me (although I am not reckless, ha!), wanting to know how things work. And I am happy to share it with you.
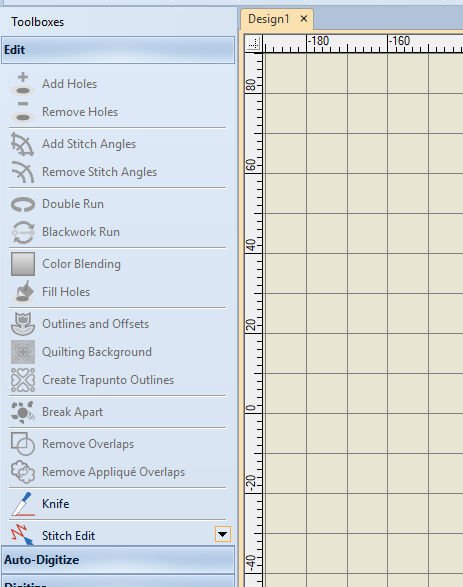
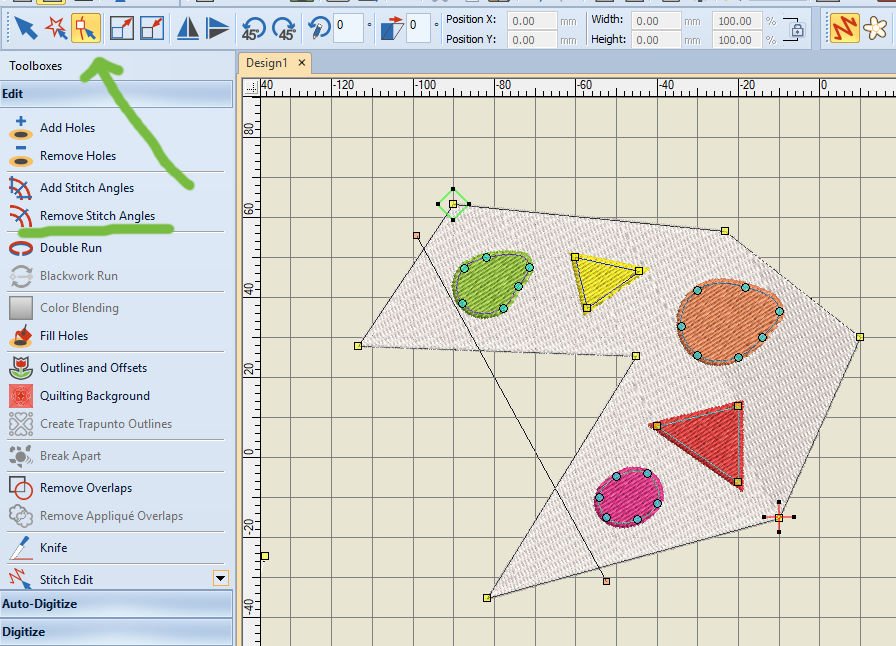
So… I will investigate and try all functions, using ‘Edit’ with ‘Toolboxes’ – left vertical tool bar.
Which functions are available?

1*Add Holes – cut holes in filled objects.
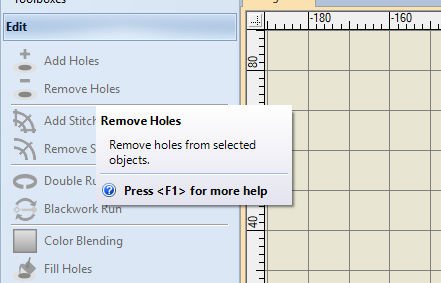
2*Remove Holes – Remove holes from selected objects.

3*Add Stitch Angles – Add stitch angles to closed objects with or without holes. Right-click for settings.
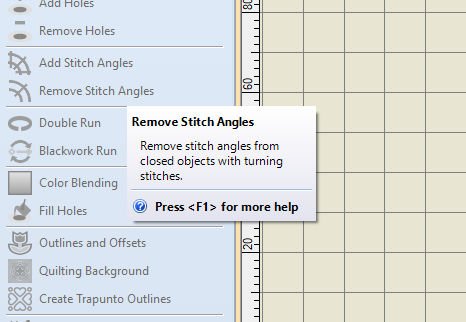
4*Remove Stitch Angles – Remove stitch angles from closed objects with turning stitches.
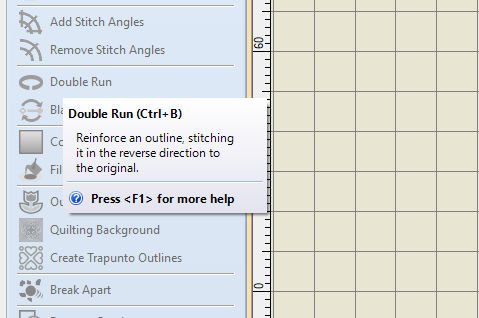
5*Double Run (Ctrl + B) – Reinforce an outline, stitching it in the reverse direction to the original.

6*Blackwork Run – Automatically sequence selected outlines for efficient stitchout.
7*Color Blending – Create blended stitching in selected objects.
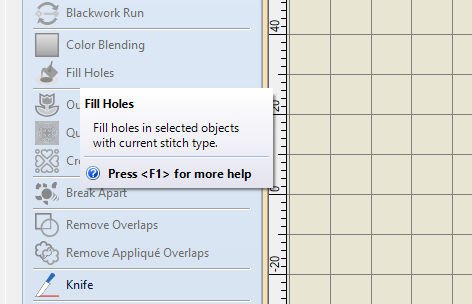
8*Fill Holes – Fill holes in selected objects with current stitch type.
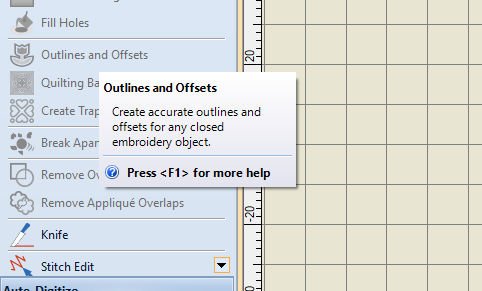
9*Outlines and Offsets – Create accurate outlines and offsets for any closed embroidery object.
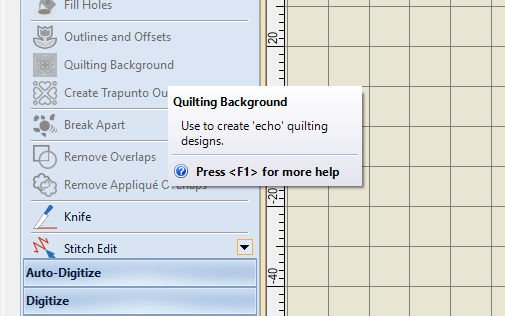
10*Quilting Background – Use to create ‘echo’ quilting designs.

11*Create Trapunto Outlines – Use in conjunction with Raised Satin to create stitching for a raised ‘quilted’ look.
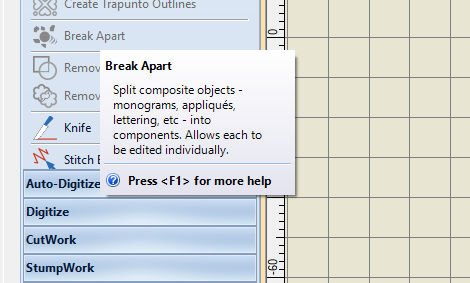
12*Break Apart – Split composite objects – monograms, appliqués, lettering, etc – into components. Allows each to be edited individually.

13*Remove Overlaps – Remove unwanted stitching from underlying objects or lettering.
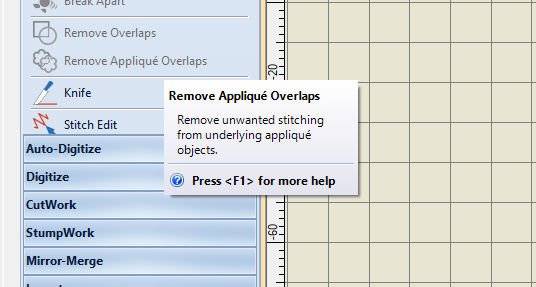
14*Remove Appliqué Overlaps – Remove unwanted stitching from underlying appliqué objects.
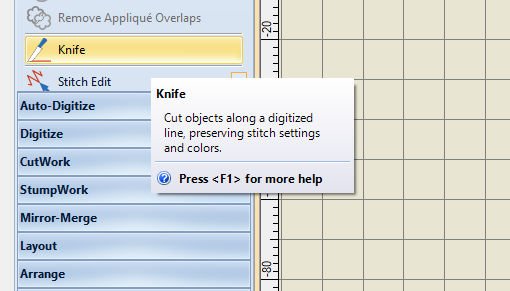
15*Knife – Cut objects along a digitized line, preserving stitch settings and colors.
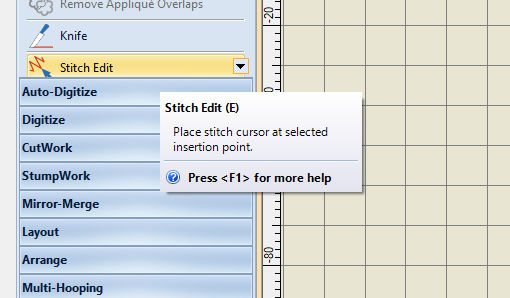
16*Stitch Edit (E) – Place stitch cursor at selected intersection point.
Let’s start creating a random object.
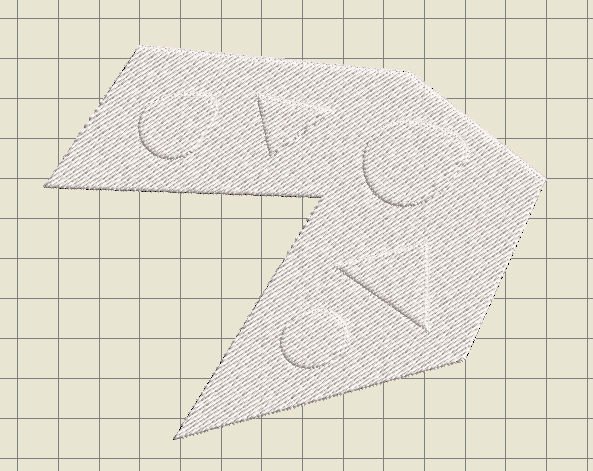
 I will use Add Holes and Remove Holes. Via ‘Digitize’ with ‘Toolboxes’, I’ve used ‘Closed Object’. I’ve drawn an irregular object by clicking on different places on the grid, closing/ending the figure with ‘Enter’, and ‘Enter’ again, which will fill the object wit Fill Stitches. I have made them white, for now.
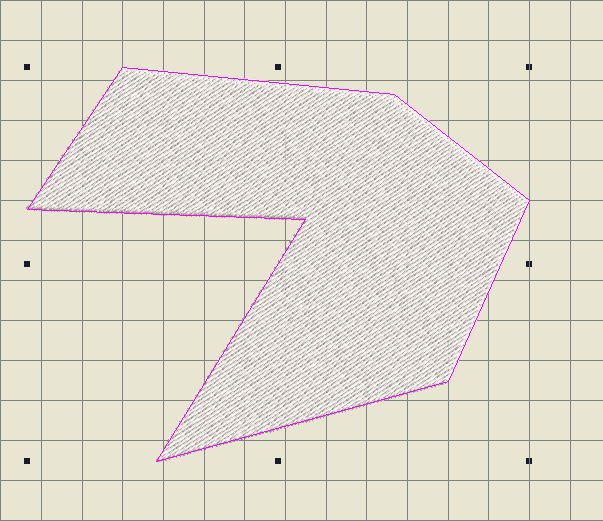
To be able to make HOLES, I’ve selected the object (a pink line surrounds the object, and black nodes are added). ‘Add Holes’ with ‘Edit’ on the Toolboxes toolbar is activated now.
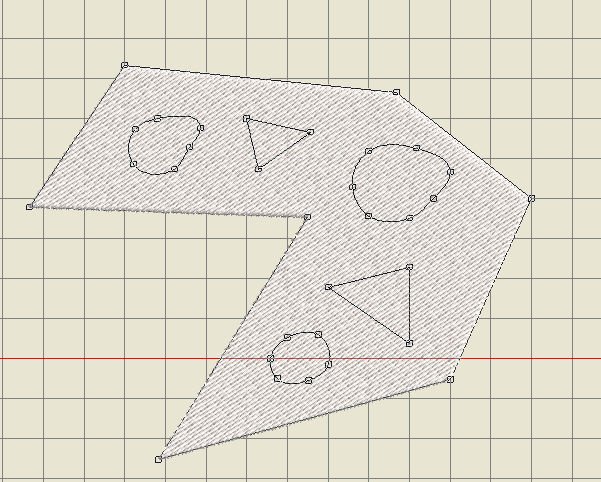
Next, I will make holes on random places, using ‘Add Holes’. As soon as I have clicked the icon, reference points display around the object outline: small transparent nodes, on each ‘corner’ of my object. With each click ON the object, where I want holes, a node is placed. I have made round figures (right click) and triangle shaped figures (left click). With each click I’ve changed direction, to draw the figure. After the second last click the figure can be closed with ‘Enter’.
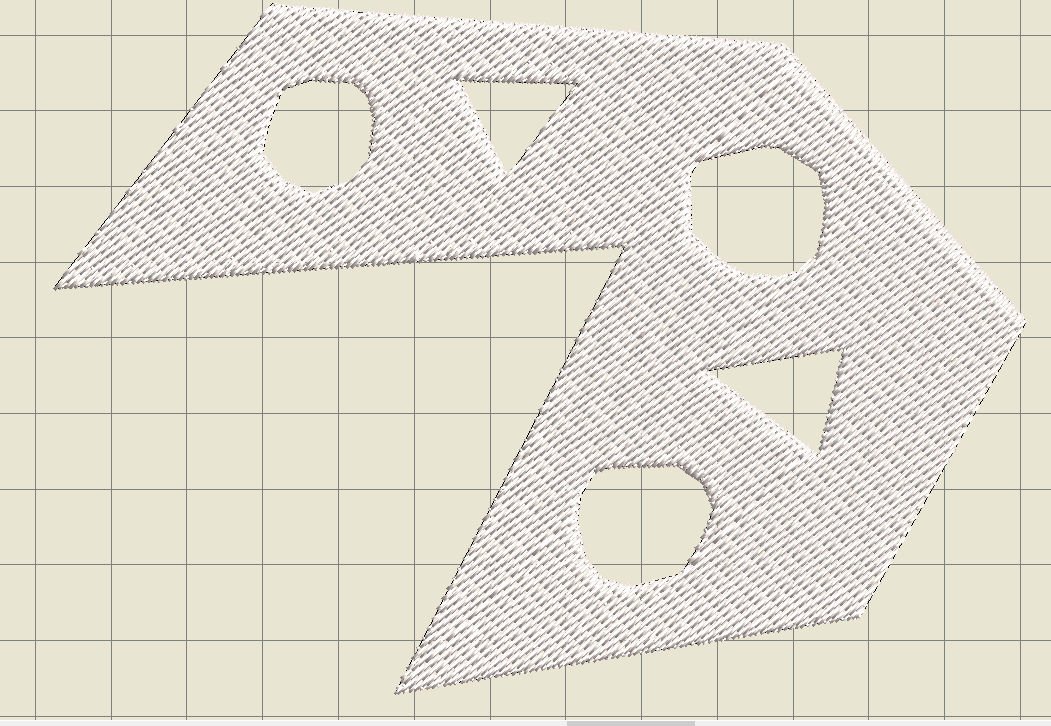
And then another ‘Enter’ to actually make the holes: there they are! If you’re not happy with these holes, use ‘Remove Holes’ and they are gone.
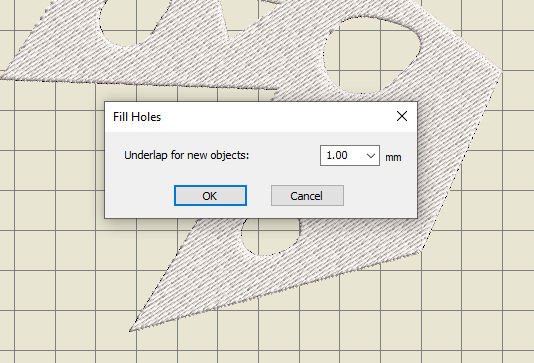
Now let’s see if they can be filled: I will use different colors, using the ‘Fill Holes’ function. As soon as you hit that button, a dialog box opens: by default 100mm is indicated for ‘Underlap for new objects’. It’s important to be sure how to fill the hole: to overlap or leave a gap.
- To cover holes exactly, use the value 0.00
- To overlap the filled holes and the original object, use a positive offset – e.g. 1.00. You can set this on 0.50mm or 1.50mm too.
- To leave a gap (underlap) between the filled holes and the original object, for decorative purposes, enter a negative offset – e.g -1.00. You can set this on -0.50mm or -1.50mm too.
I’ve noticed that you have to fill out a value, otherwise nothing happens. After doing so (mine was set on 1.00mm), use OK. The holes are filled with the current Fill Stitches/colors.
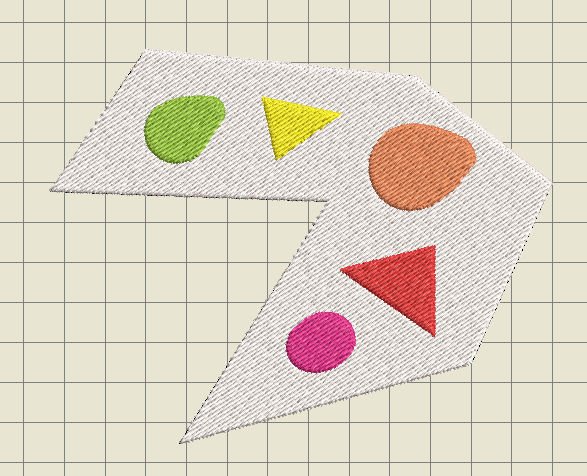
Afterwards I’ve changed each new object differently. Looks like an painters palette to me now!

All objects are different: meaning you can change them separately, using different fill stitches if you want to. But be aware of increasing number of stitches, with every special Fill stitch added.

Let’s try ‘Add Stitch Angles’ and ‘Remove Stitch Angles: black nodes surround the entire object(s), which activates ‘Add Stitch Angles’. (Remove Stitch Angles will be once stitch angles are added). With clicking on ‘Add Stitch Angles’, lines and transparent nodes are added to all objects.
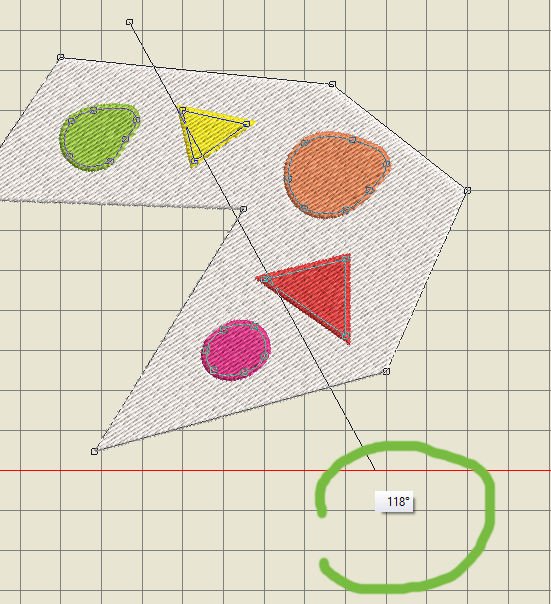
With ‘Add Stitch Angles’ still activated, click on a point outside the figure, then click on a point outside the figure on the opposite side = the angle you want to have: just before the second point is set, a line appears from the first click, and a notice about the actual angle shows, giving you the opportunity to shift before clicking, until you have reached the required angle.
Then click (the second time) and use OK: a large Stitch Angle with orange nodes at each end appears, and you are set in ‘Reshape’, with all other nodes (blue/round with curves lines, yellow/square with straight lines, the green square for start point and the red cross for end point. You are all set to change even more if you want to. Notice the ‘Remove Stitch Angles’ option is now activated.

You can use ‘Add Stitch Angles’ as much as you want. Just click on two sides, outside the object, and add them. This could be useful if you want to change stitch angles dramatically, which I have done. Remember to close the option with ‘Enter’.
Using Outlines and Offsets – Drawing a square (Digitize, Rectangle), with Fill Stitch.
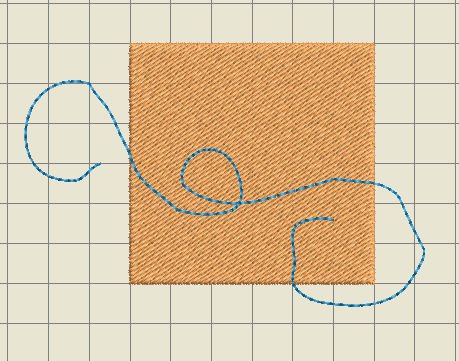
Drawn a swirl via ‘Open Freehand’, selected the square (Edit) and used ‘Outlines and Offsets. A dialog box appears.
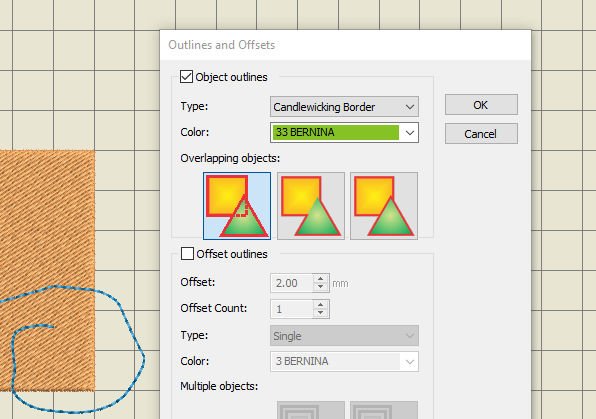
I have checked the box ‘Objects outlines’ and choose with ‘Type’ for ‘Candlewicking Border’ via the drop list. With ‘Color’ I have set this on 33BERNINA=green. As you can see with ‘Overlapping Objects’, you can choose three different options:
- first: Individual outlines: All generated outlines are full outlines
- second: Common: Intersecting outlines are combines into a single outline
- third: Trimmed: Overlapped portions are trimmed by overlapping objects.
Using just one object, I have set this on the second option, leave it like this, then used OK.
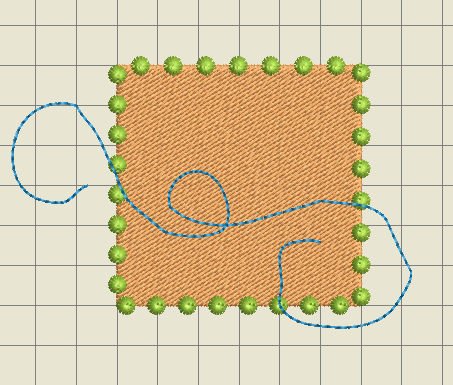
How about that: looking good. You can change colors at any time, change shapes, making fun outlines etc. …
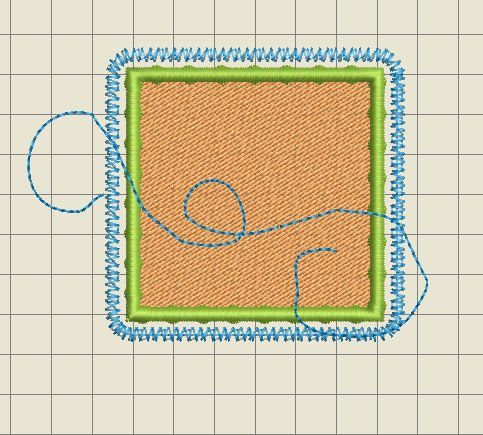
But there is more: I can change ‘Offset Outlines’ too, by checking the box, changing Offset (5.00mm), choosing different type of stitches and colors etc.
 You can choose options for handling multiple objects:
- first: Individual: All generated offsets are full outlines
- second: Common: Intersecting offsets are combined into a single outline. (I have used the second option)
 It’s also possible to change/adapt corners:
- first: Round: Sharp corners are always rounded (I have used this option)
- second: Sharp: Sharp corners are preserved
- third: Cut: Any acute angle greater than 89° is cut
You can play with these options. Afterwards, if you want to change a single outline, just click on it to select, and change the stich type via the Stitch Toolbar. Also the colors can be changed: so much fun.
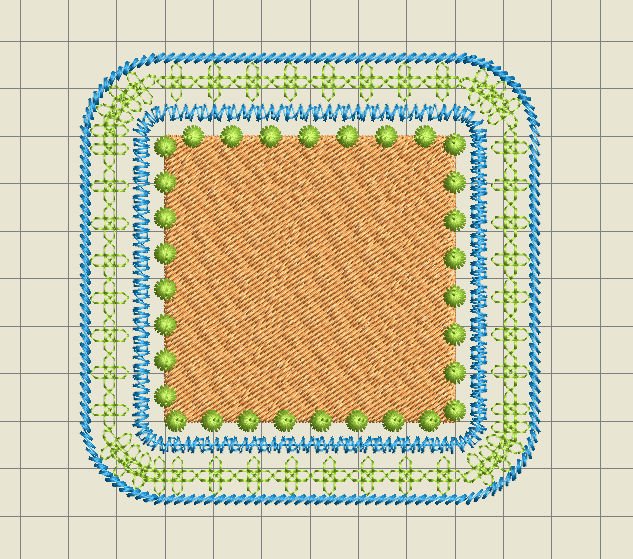
With Quilting Background – you can use this option if you want to make a quilt block.

Via the dialog box, you can set the width and height of the Block (size), edit the Design Size, choose a special quilting type (Stipple in my case) and much more.
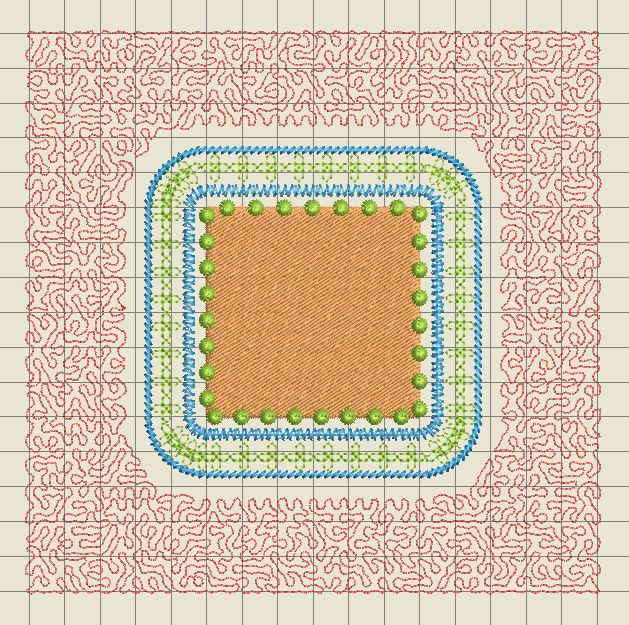
Once your settings are done, use OK, click on the center of your object(s), and click again. V8 makes this into a wonderful quilt block. Let’s see what’s next with Trapunto techniques:
Create Trapunto Outlines – used in conjunction with Raised Satin to create quilt stitching for a raised ‘quilted’ look.
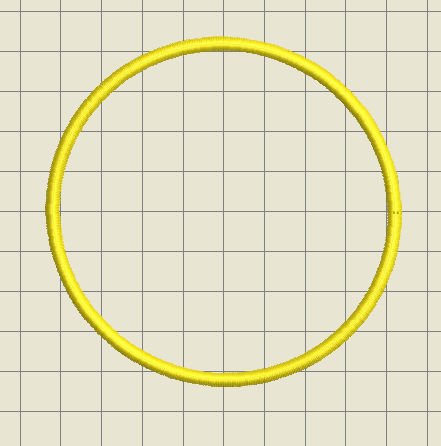
I have drawn a closed object (circle), and changed the stitches into a Raised Satin Outline. Selecting the circle, black nodes are added. With ‘Edit’ (left task bar) ‘Create Trapunto Outlines’ is activated: this only works with ‘Raised Satin Stitch’ for Outlines and Fills.
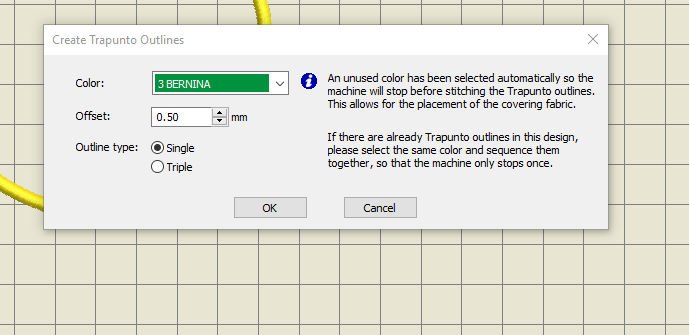
A dialog box appears with extra information: An unused color has been selected automatically so the machine will stop before stitching the Trapunto outlines. This allows for the placement of covering fabric. If there are already Trapunto outlines in this design, please select the same color and sequence them together, so that the machine only stops once.
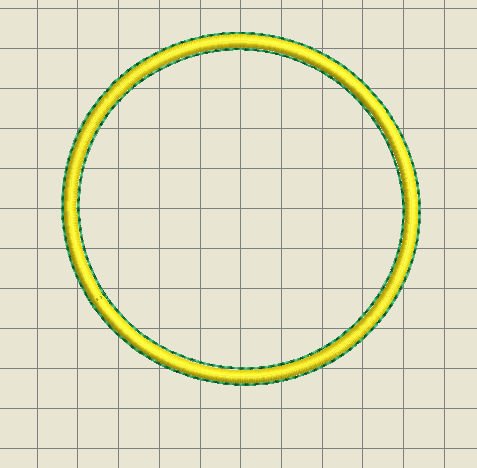
The Outline Type is set on ‘Single’ by default. I have changed that into ‘Triple’, so the stitches stand out more.
If you want to use a ready-made design, find this on in the BERNINA Embroidery Library: Trapunto_Quilt.ART80. You can actually embroider this, because it is a good test model. I will make a special lesson for the Trapunto features at a later date.
Remove Overlaps: this is used to remove underlying layers of stitching, to prevent a build-up of stitches where they are not needed: it reduces stitch count too.
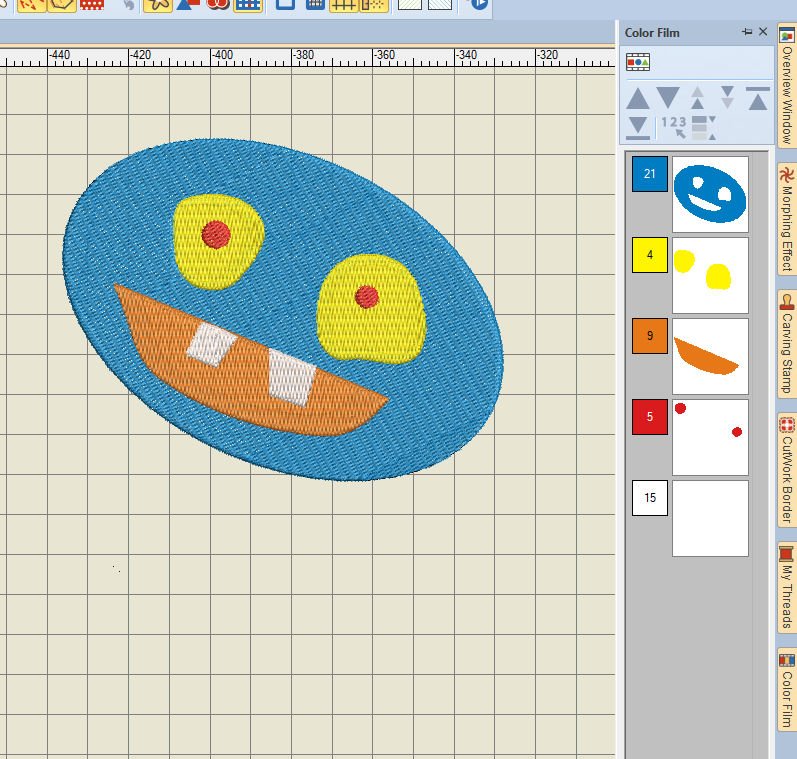
I have made a fact, with previous features, and added ‘light’ with the eyes, and teeth with the mouth. All colors (5) are for different objects. You can see this with the docker ‘Color Film’. Although I have used ‘Add Holes’ for the first (bigger) eyes, there is an overlap with each object. Stitch count 12.822. At some places, there will be too much build-up stitches, and I would like to reduce the stitch count.
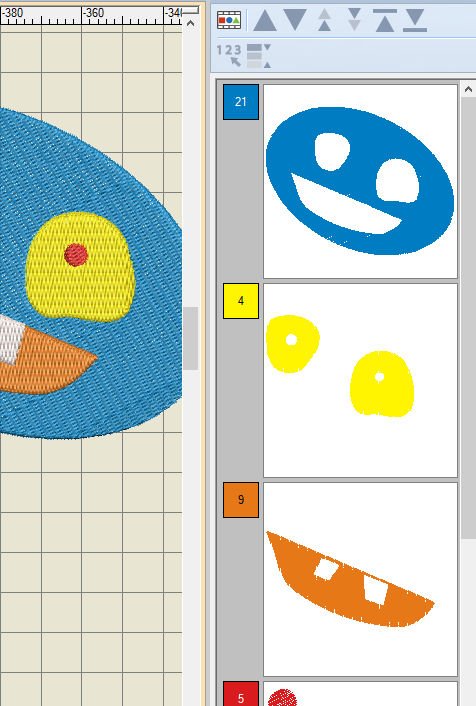
Ive done this by selecting every box (Color Film) separately, and used ‘Remove Overlaps’ per color. As you can see with the boxes in Color Film, holes appear with certain colors (there were holes with the first/face object, because I have used ‘Add Holes’ to make the first holes for eyes and mouth, but I have changed the size of these significantly, to get better results with remove overlaps). Stitch count is now 12.284 – not dramatical change, but enough to make it work.
Other functions, which are not mentioned separately in this lesson, will be explained in future lessons. Saving some features for another lesson. Next time something new … See you then!
Happy Stitching
Sylvia Kaptein
Sylvia’s Art Quilts Studio
www.sylviasartquilts.nl
[email protected]
*Dexter’s Laboratory is a cartoon series, 1996 – 1998/52 episodes and 2001/28 episodes – Cartoon Network.

Totally brilliant explanations. Love the project ideas. Clever you yet again. Looking forward to Trapunto….
Thank you, Ann,
It is fun to work with V8, don’t you think?
Sylvia
And I can take my laptop anywhere!
So you can practice wherever you ar! Clever girl