 BERNINA Corporate Blog -
Sometimes you have bought a beautiful quilt fabric, because you fell in love with the large print. If you want to use this to cut multiple strips for sashings, you will need to look for the repeat pattern. Finding it and cut it is not that difficult, but a precise job. It all begins with finding the repeat pattern, and see how much of the same pattern you can use for your project.
What is ‘Fussy Cutting’?
Fussy cutting is when you deliberately cut a piece of quilt fabric in order to showcase a picture or print within it, for more dramatic effect in your quilt. Often you need multiple pieces of the same measurements, for using to make a Star, a Kaleidoscope, a Hexagon quilt etc.
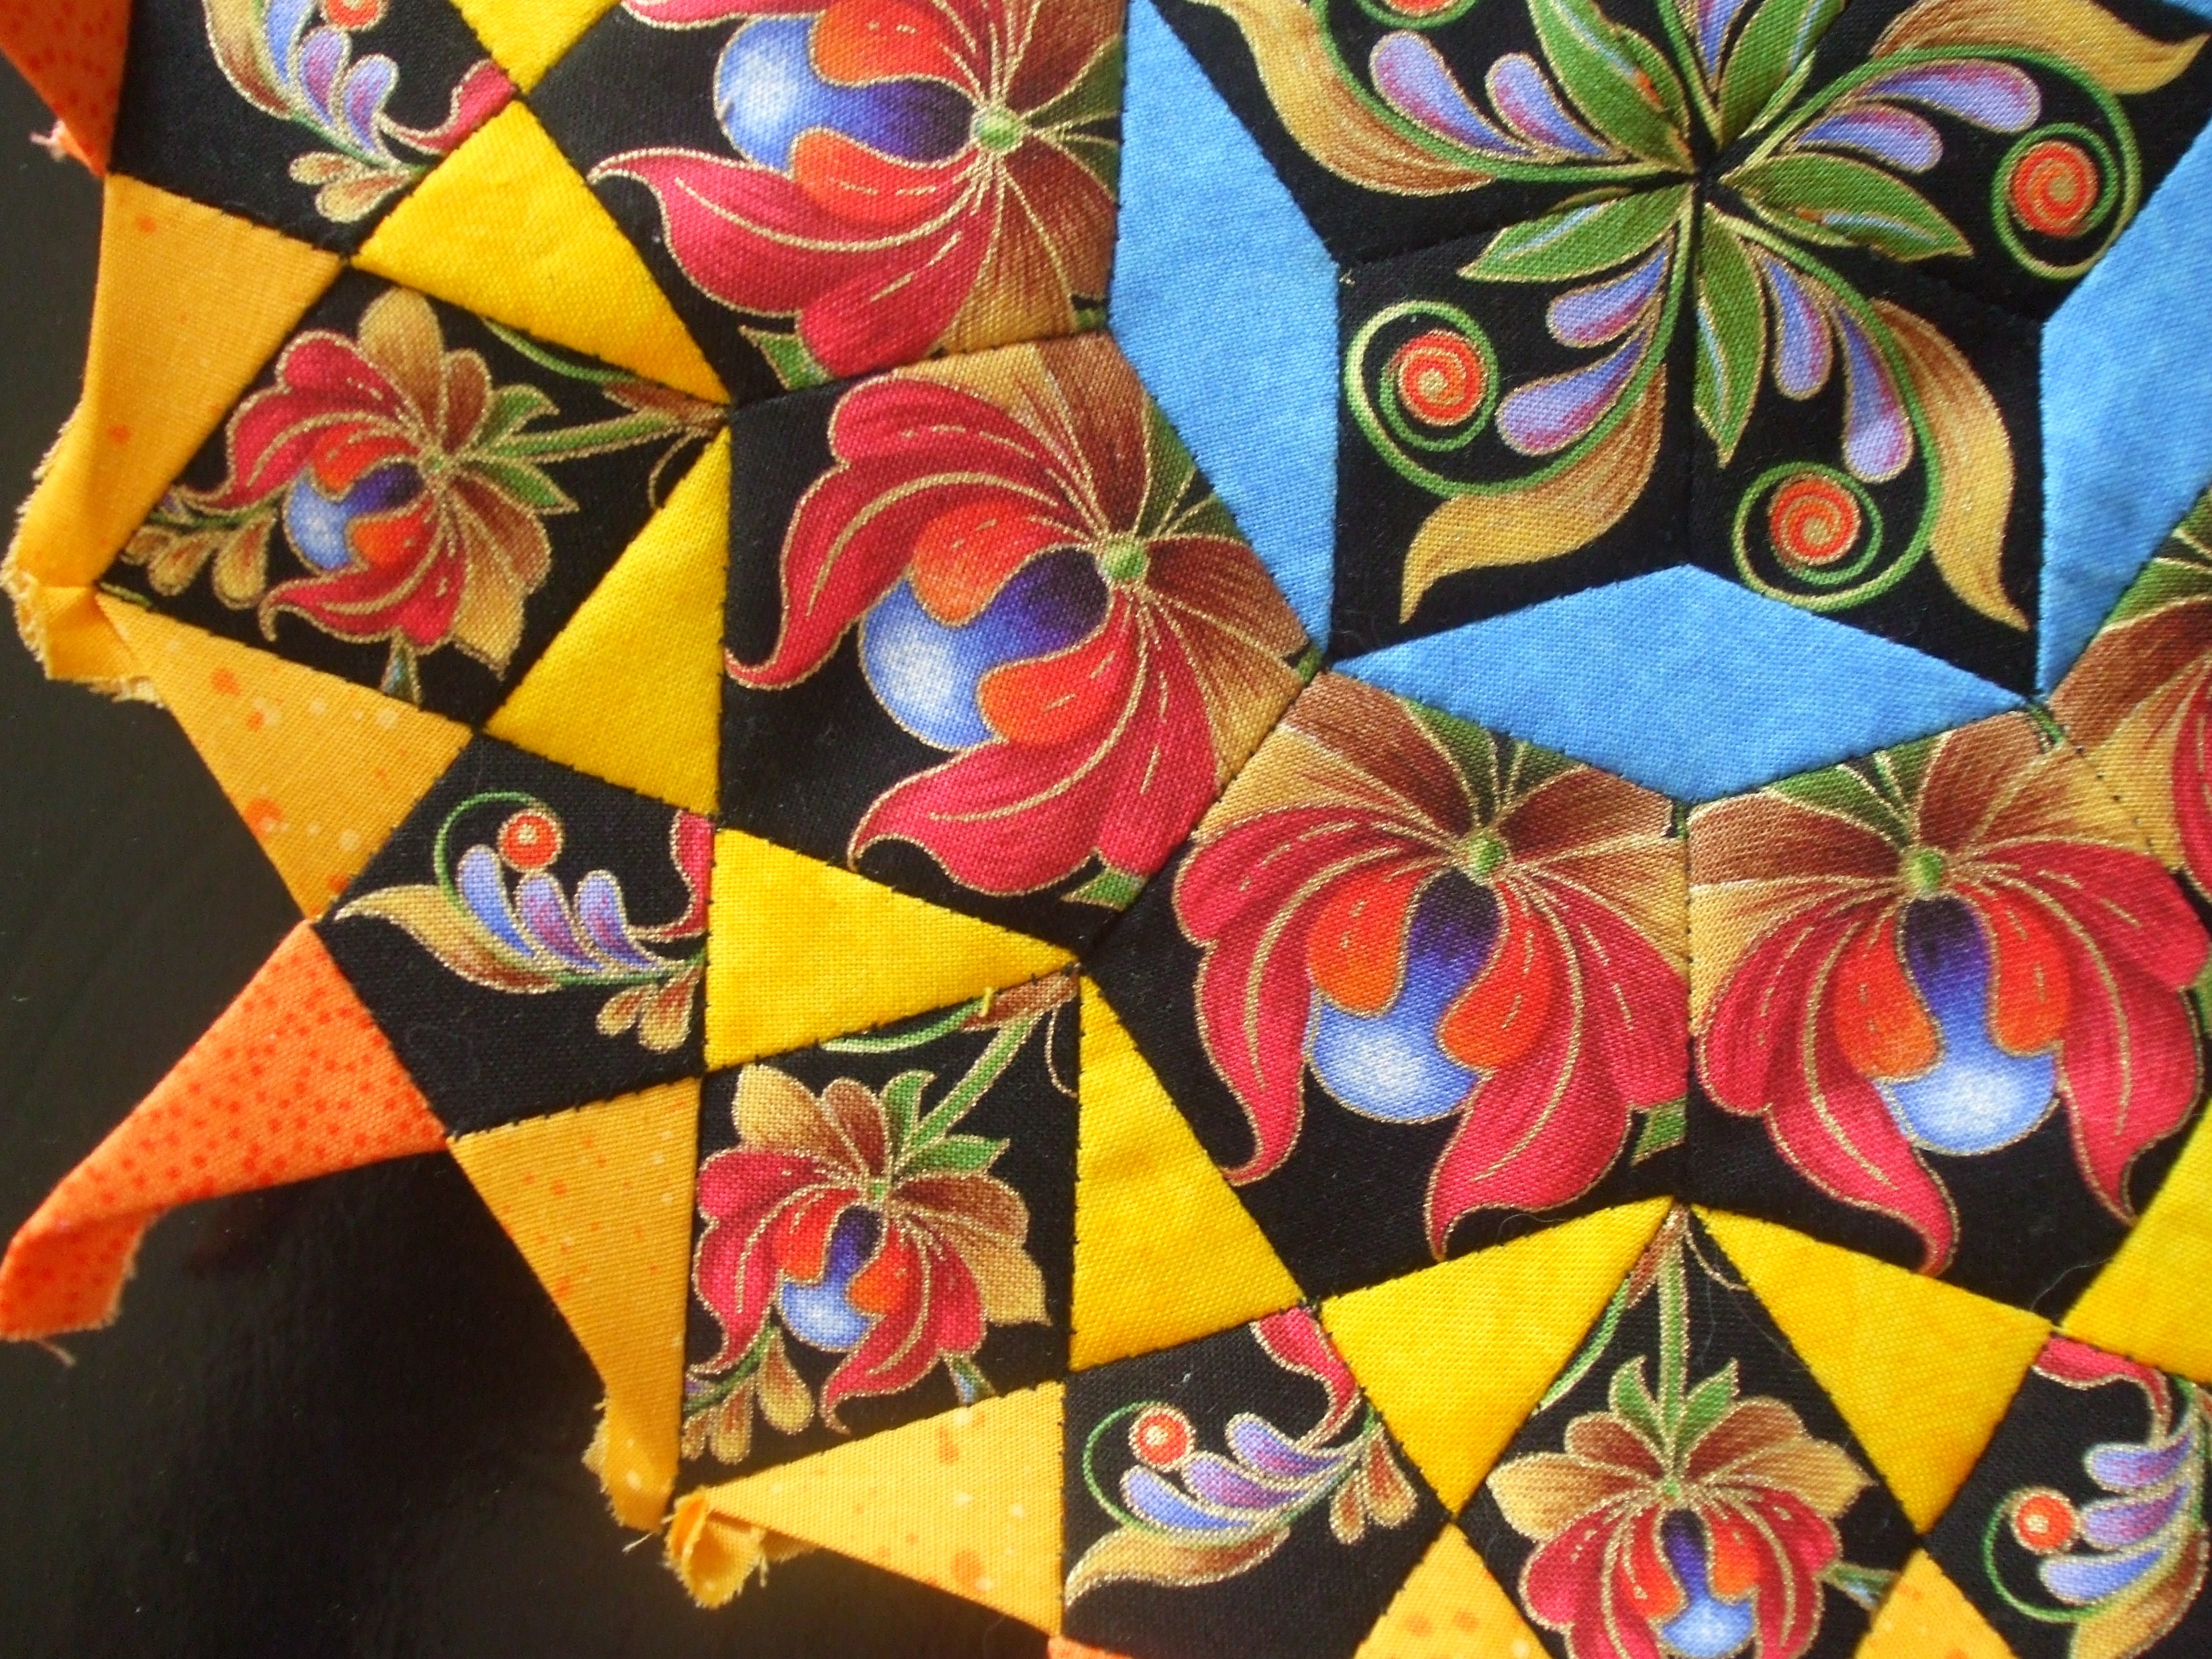
I have cut many hexagons for my Hexagon quilt, using the repeat of many bright colored fabrics, for maximum effect. A certain print will be cut x times, leaving a lot of holes in the fabric. That’s too bad, although – if you need small pieces – you sometimes can cut more different prints out of the remaining fabric. Can you see the Fussy Cut center of this block? And the ring beyond the blue diamonds? Also, in the outer ring two by two fussy cut prints are sewn. I am making this quilt all by hand.
It is important to purchase a LARGE piece of fabric, if you like the (large) repeating print(s). Because you don’t always know what to make of it right away, be sure to have enough to play with. Small prints often have a repeat of 30 cm (aprox 12 inch), but large patterns can have a repeat of 60cm or even more.
For cutting strips for sashings, you can use prints from the width or the length of the fabric. Half a metre is often not enough, so be sure to purchase enough. But it’s really worth it!

In this case, I want to cut strips, making the large flowers stand out. I have cut 4 strips out of a red fabric, of which the length was half a metre x1.10m. This gave me ample space for cutting these strips: I had to alternate the place for cutting for 2 of them. This gave me 2 strips out of the first, exact placement (1 and 2), but two strips from a different placement (3 and 4). But that’s ok: I can use two of them horizontal and two vertical, so it doesn’t show that these four are not the all same. Notice the way the flowers are curved: with 1 and 2 they are curved to the left, with 3 and 4 they are curved to the right.
Measurements and preparing your ruler.
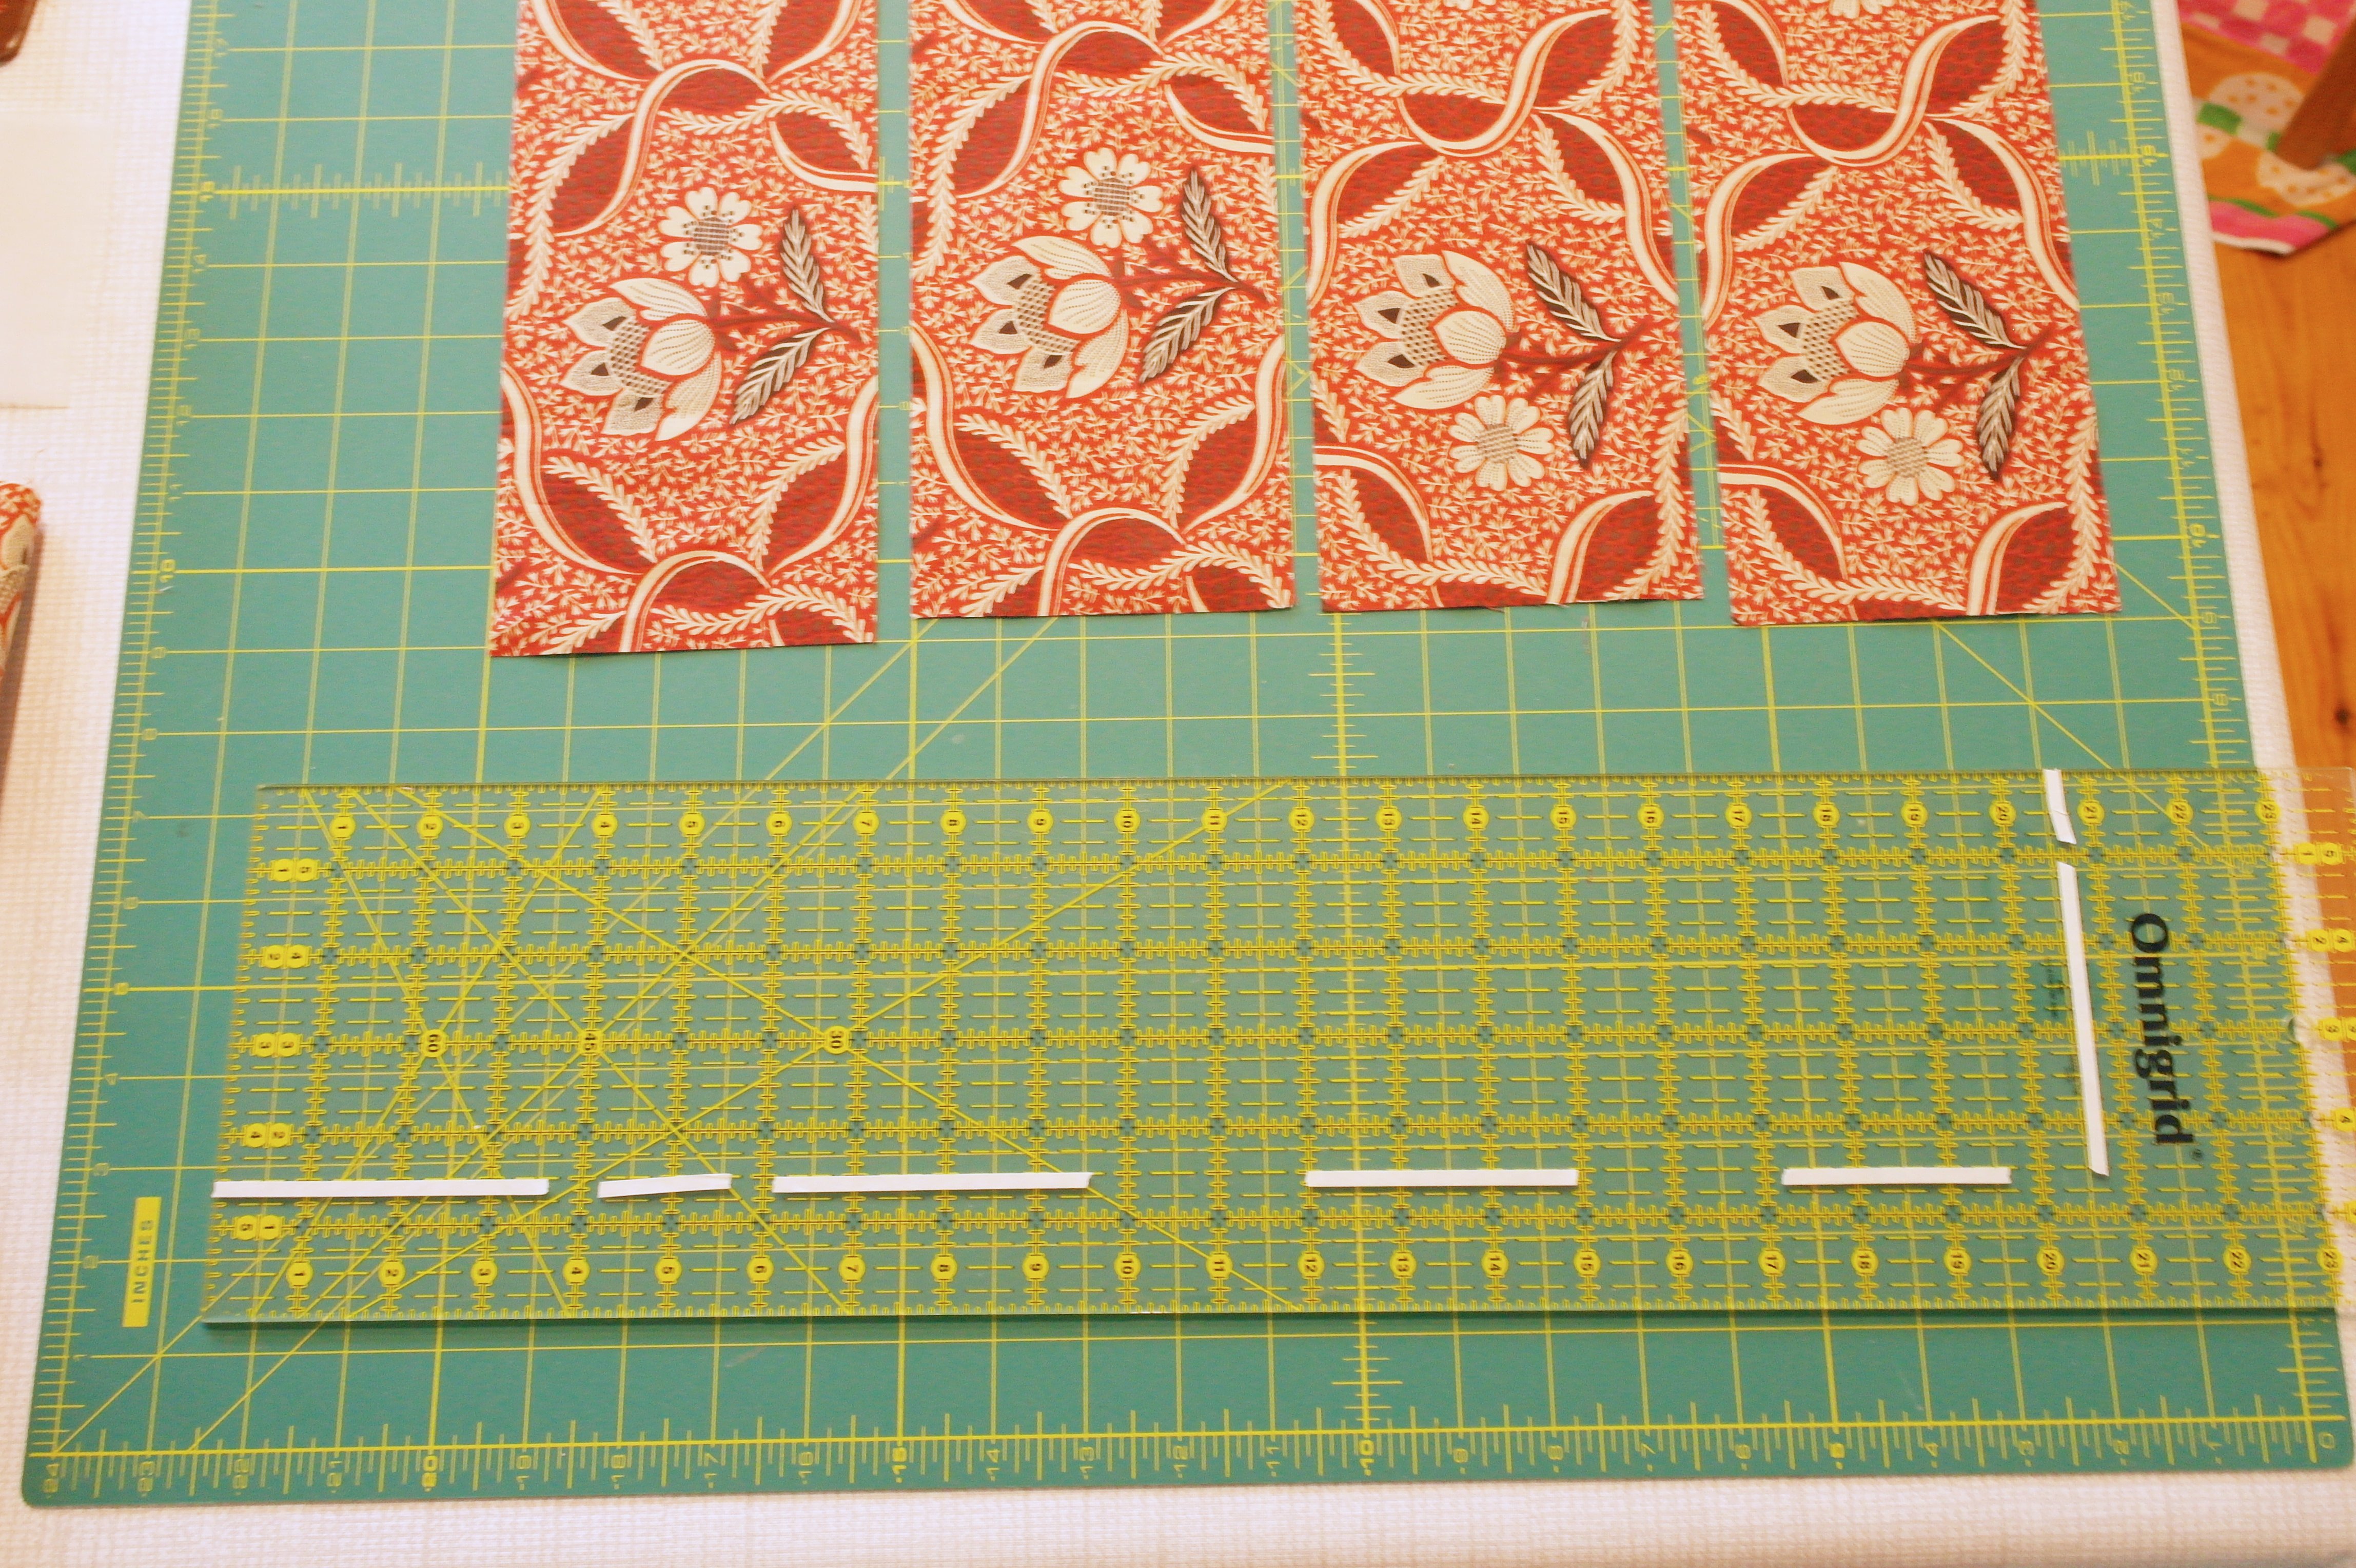
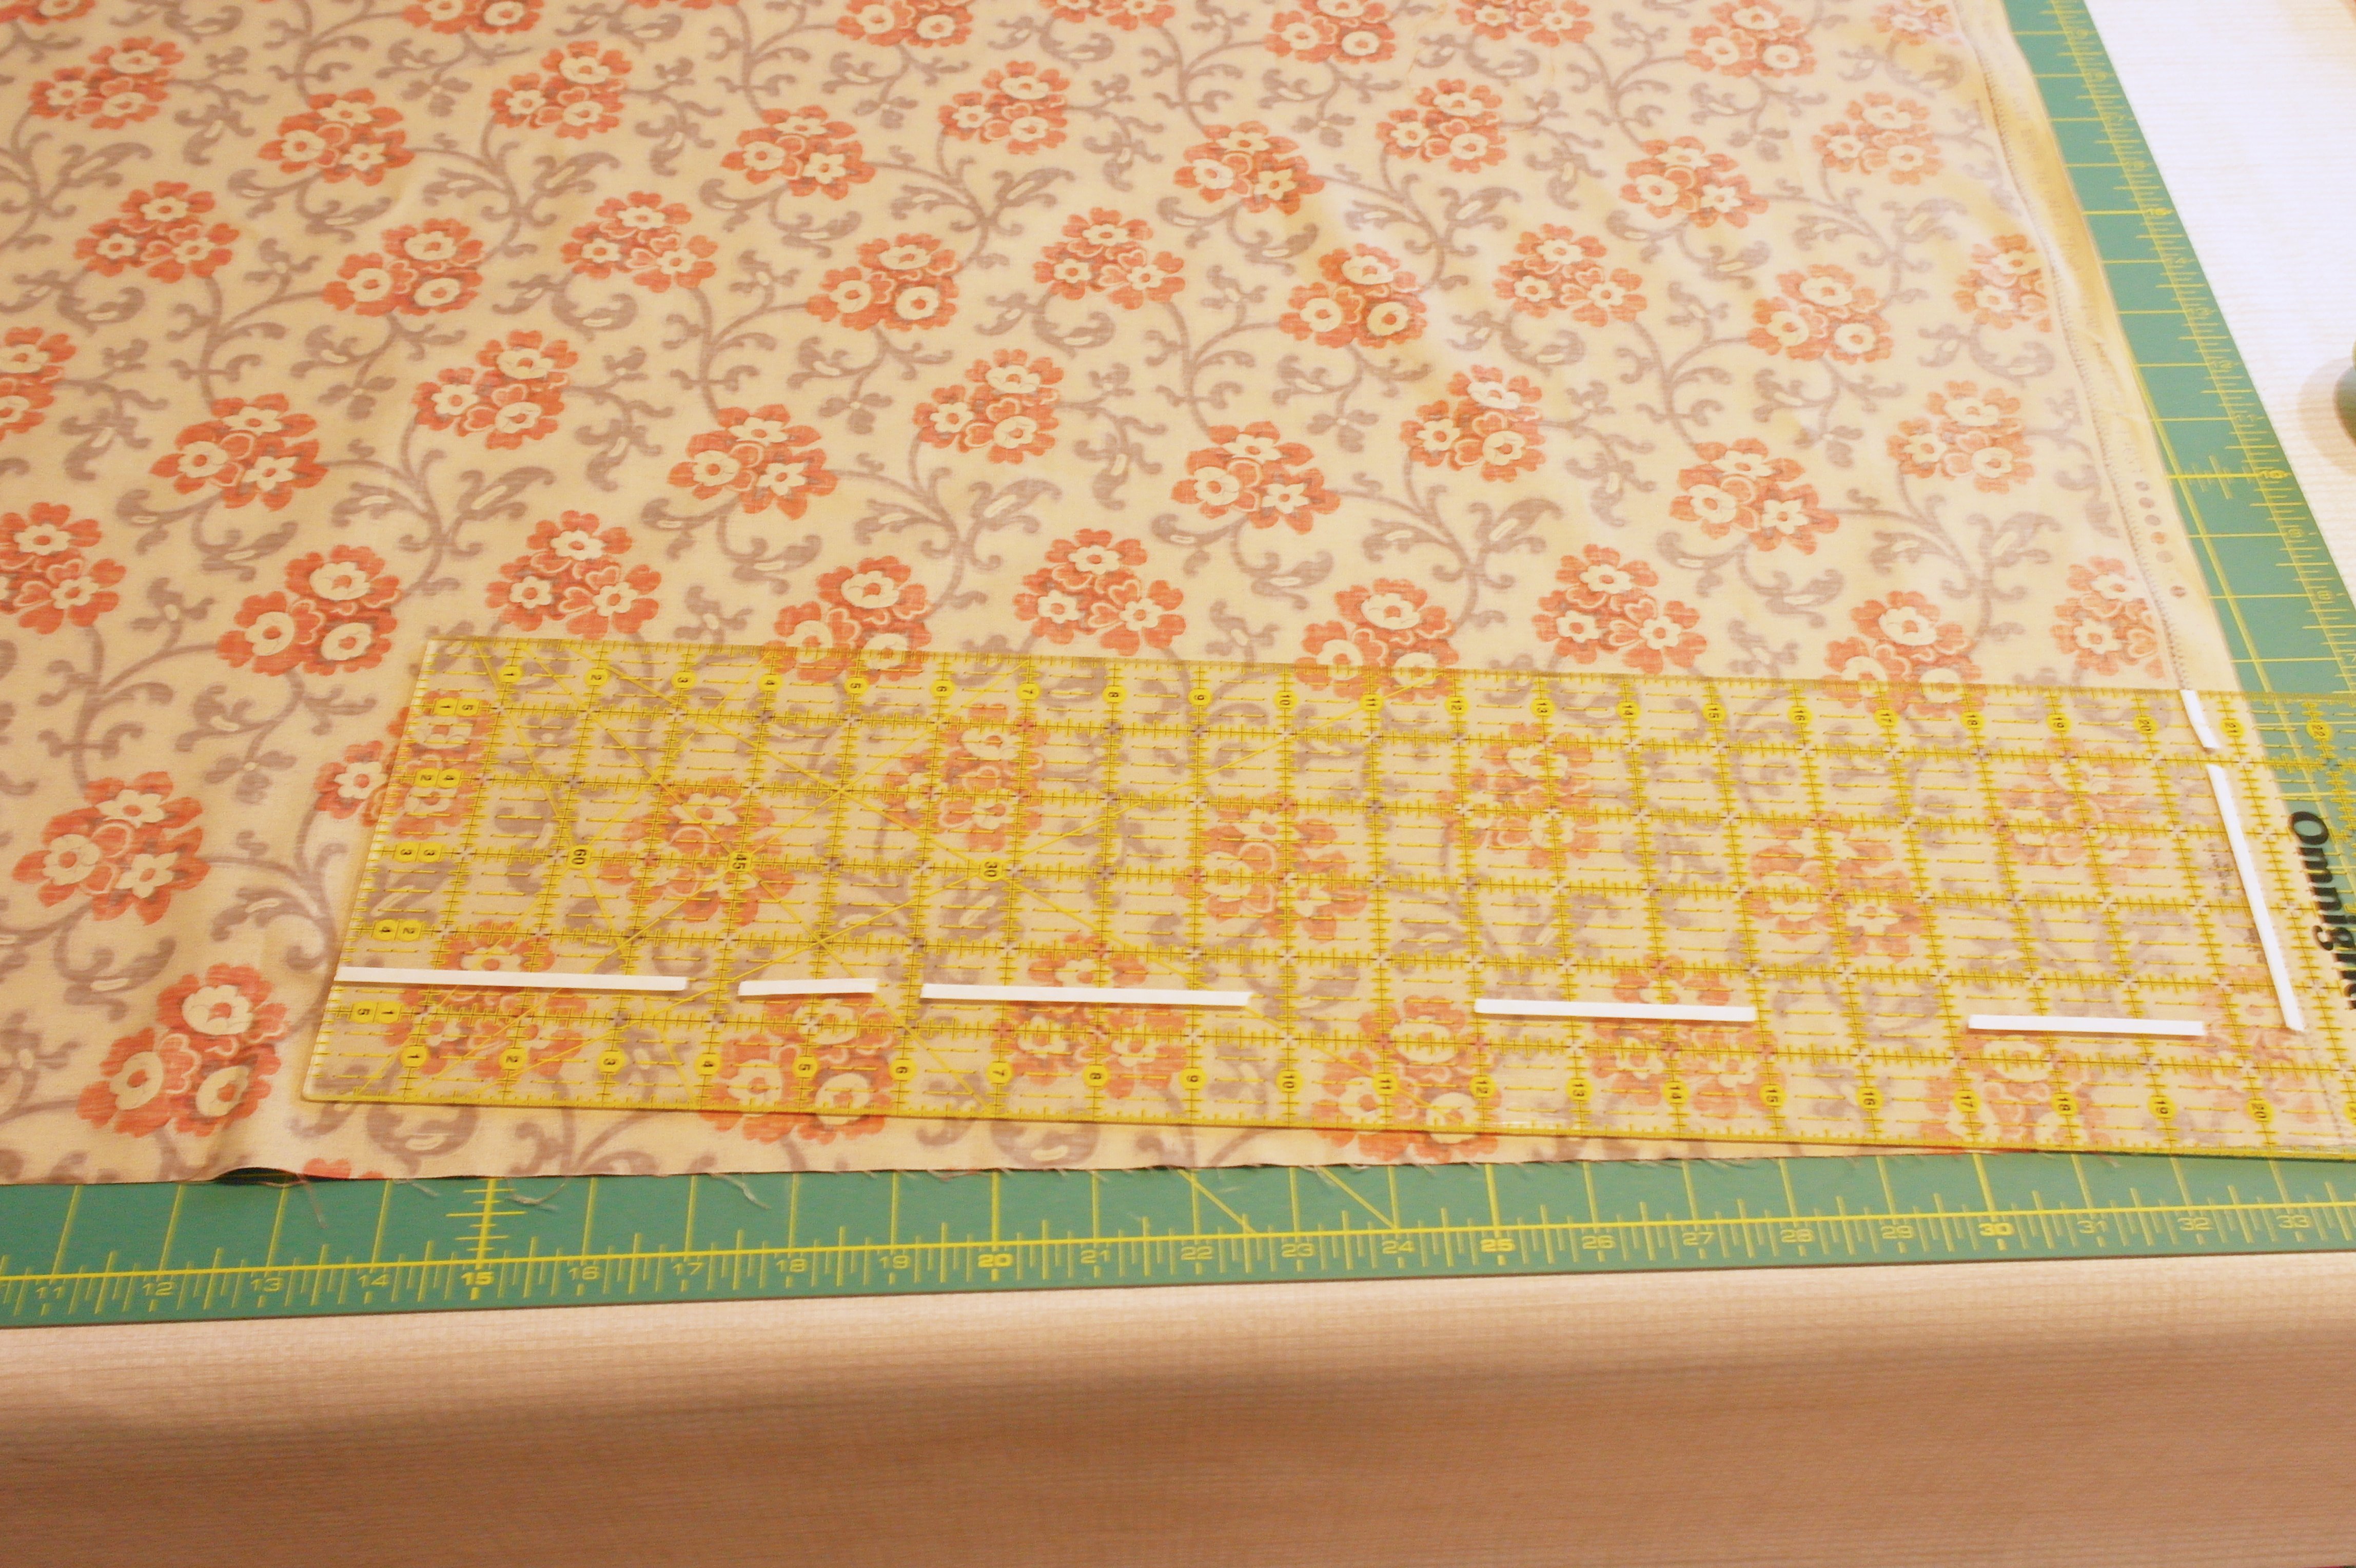
Before cutting strips, you need to demarcate the exact size of the finished measurements of the sashing + seam allowances. Since I am working with an American pattern, I have to use an inch ruler: white tape is placed on the outside of the exact measurements, so I know that INSIDE these markings, the size will be ok. There is special tape for rulers, marking them, but I didn’t have that, so I have used sticky tape. Had to remove the glue residue with turpentine, which is fine.
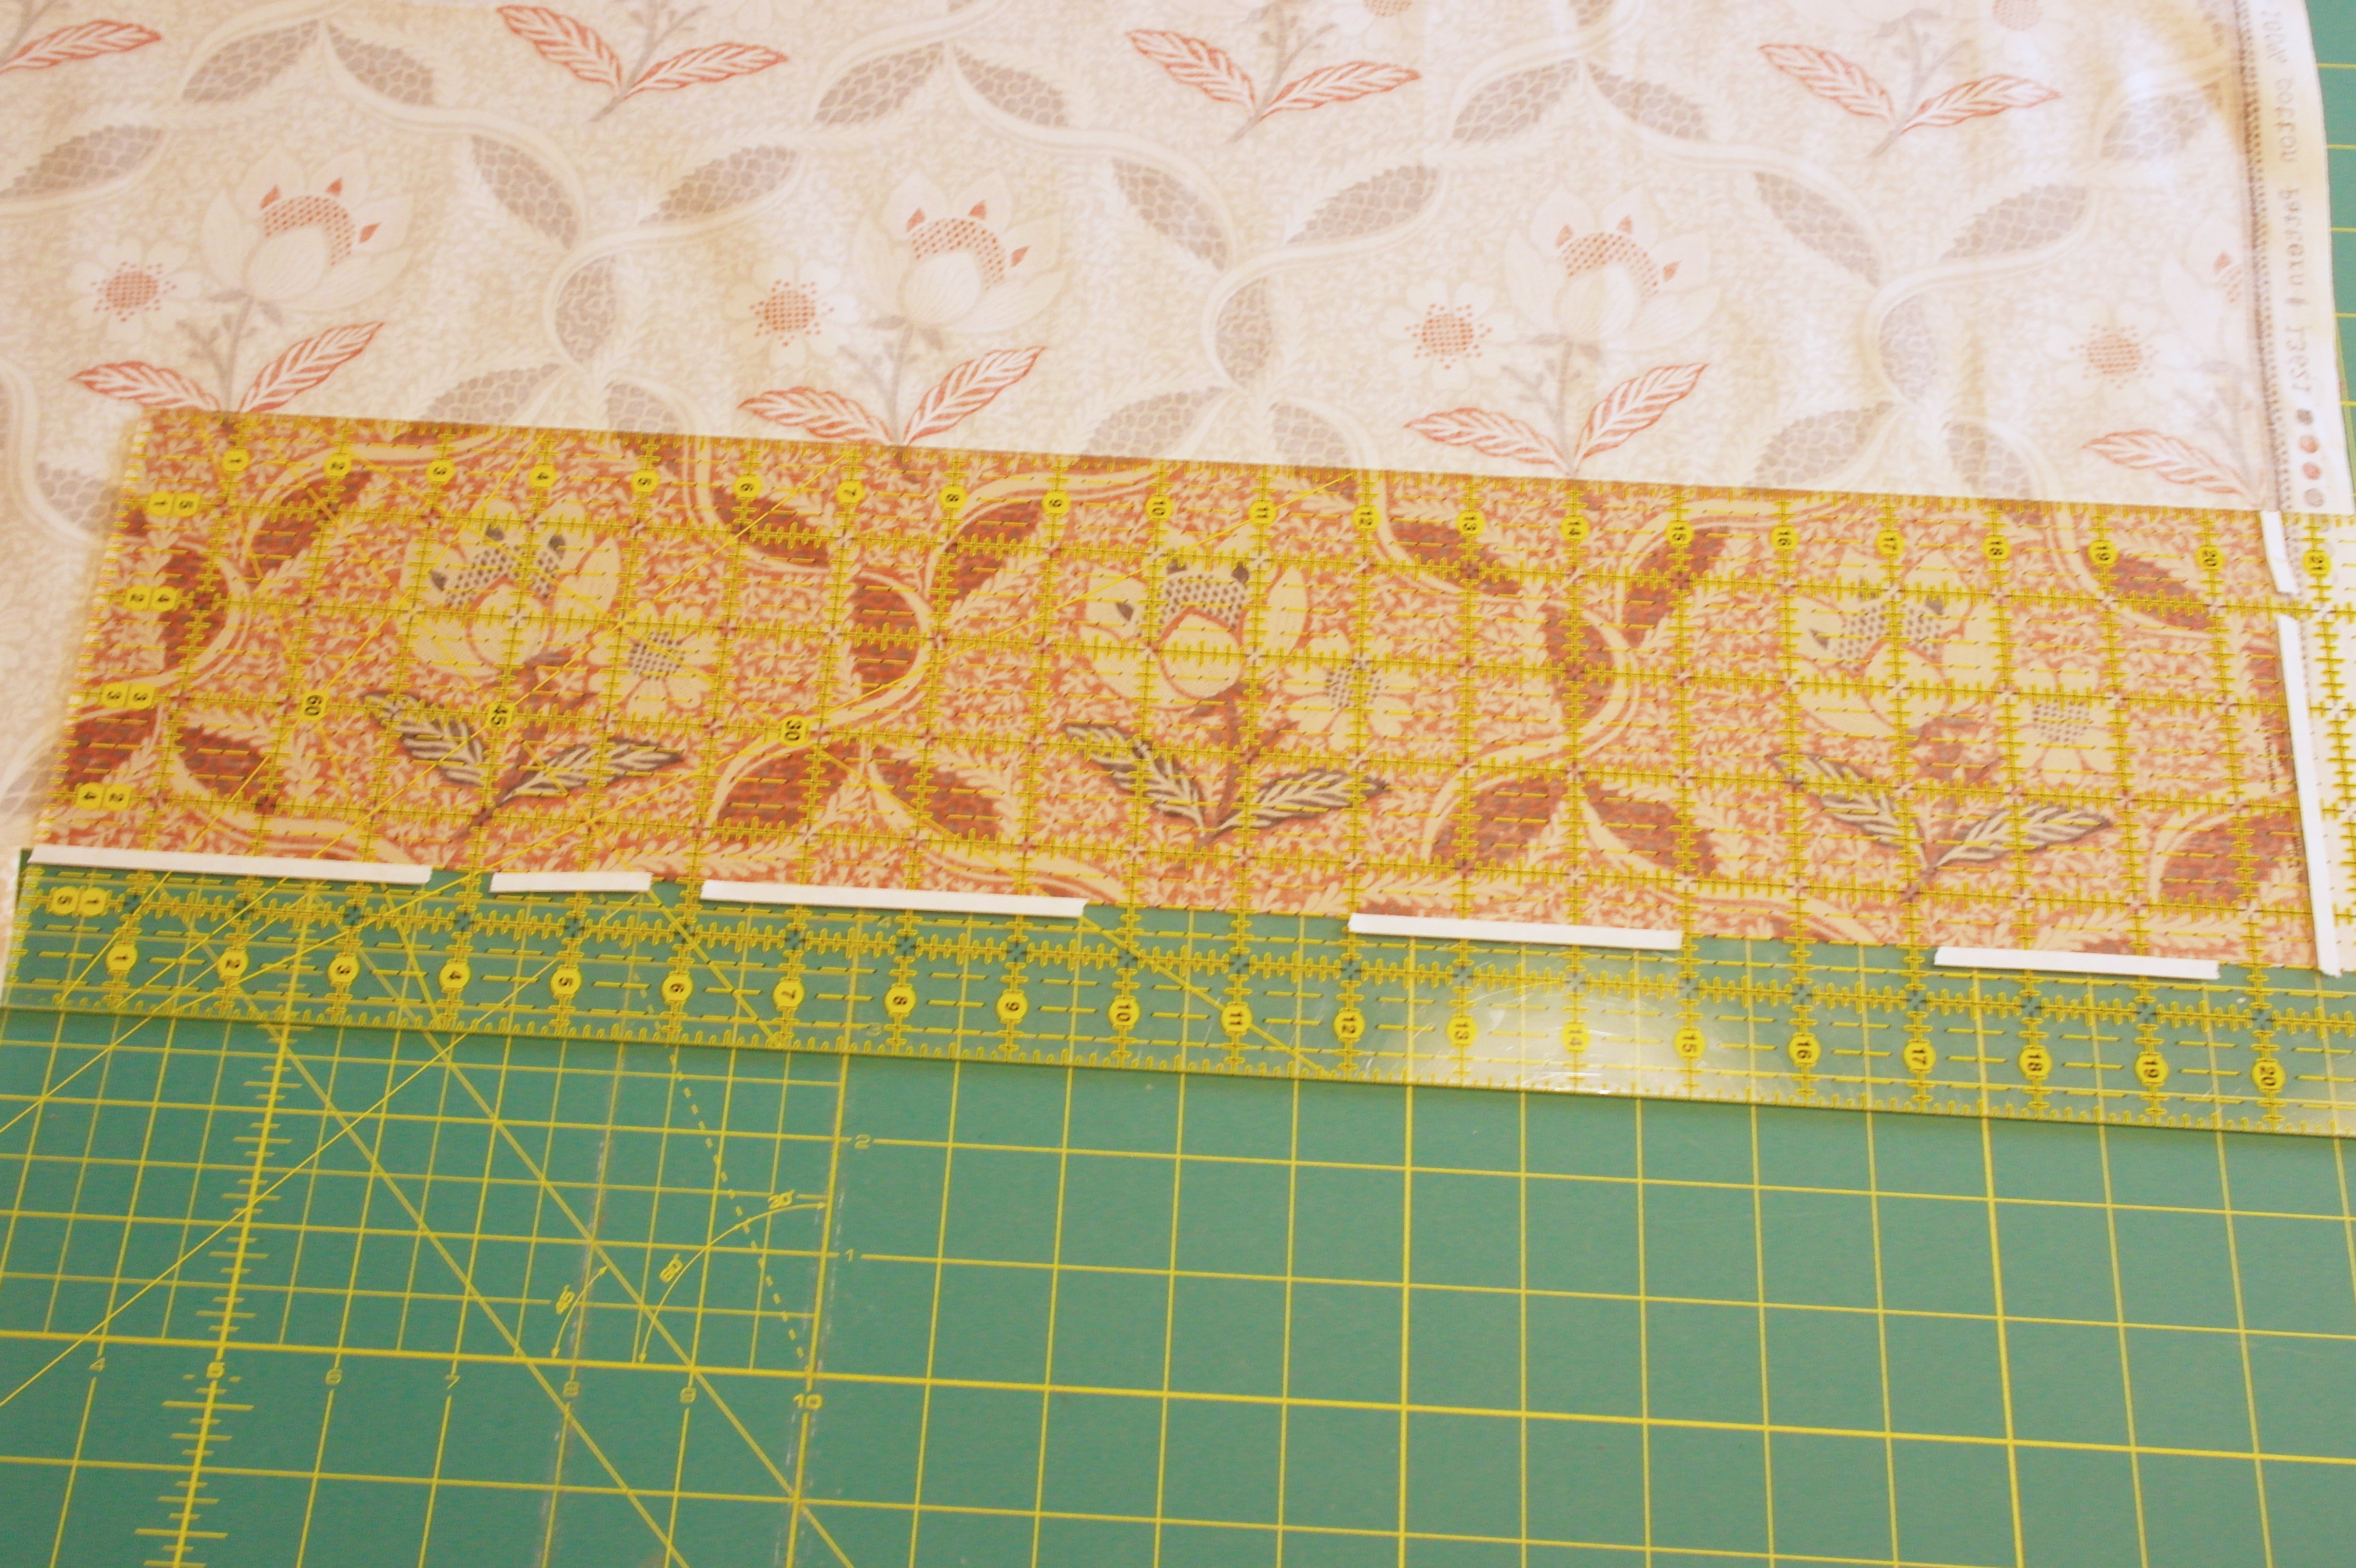
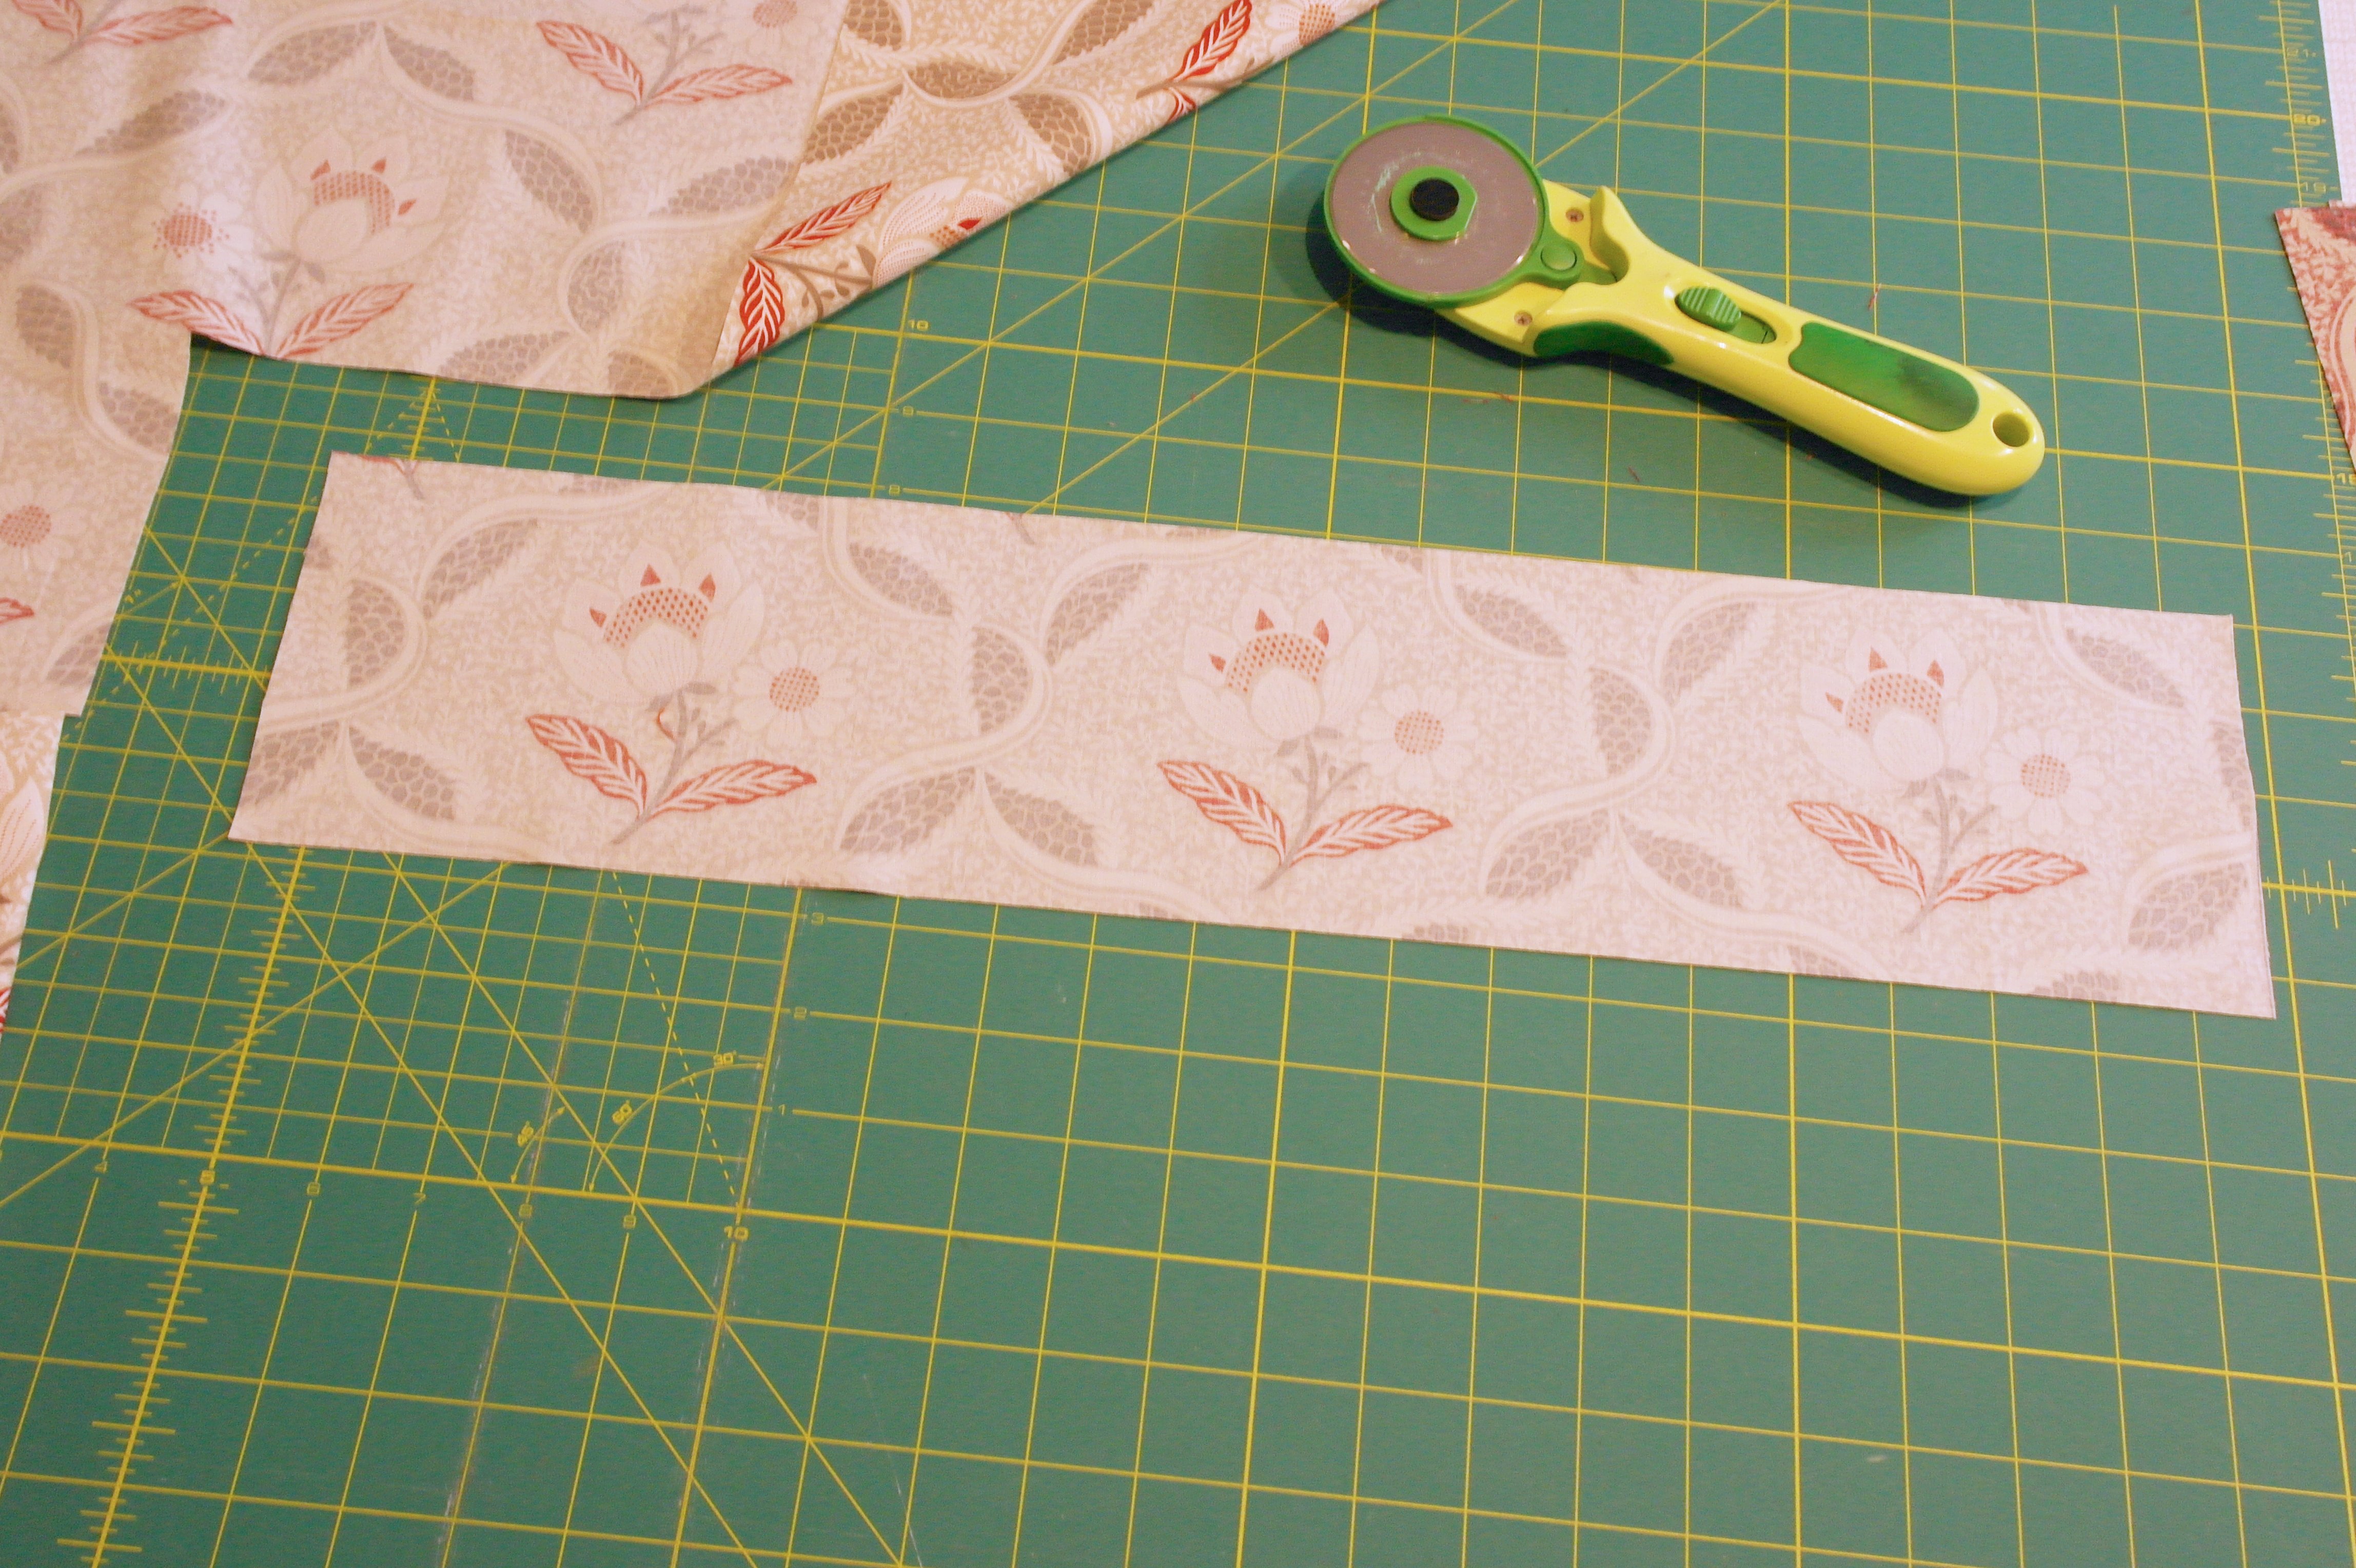
I want to cut strips from a lighter fabric with the same print, so I can use the previous cut strips to find the same print. That’s a fast way to check if your fabric is large enough, with all the repeating prints. I have place the ruler with marking tape on top of that,
and removed the strip of darker fabric underneath the ruler: still checking if the placement of the ruler is ok, cutting on top and one side of the ruler through the fabric. After the first cuts, I have turned the ruler, and cut from the other sides, to get a complete strip.
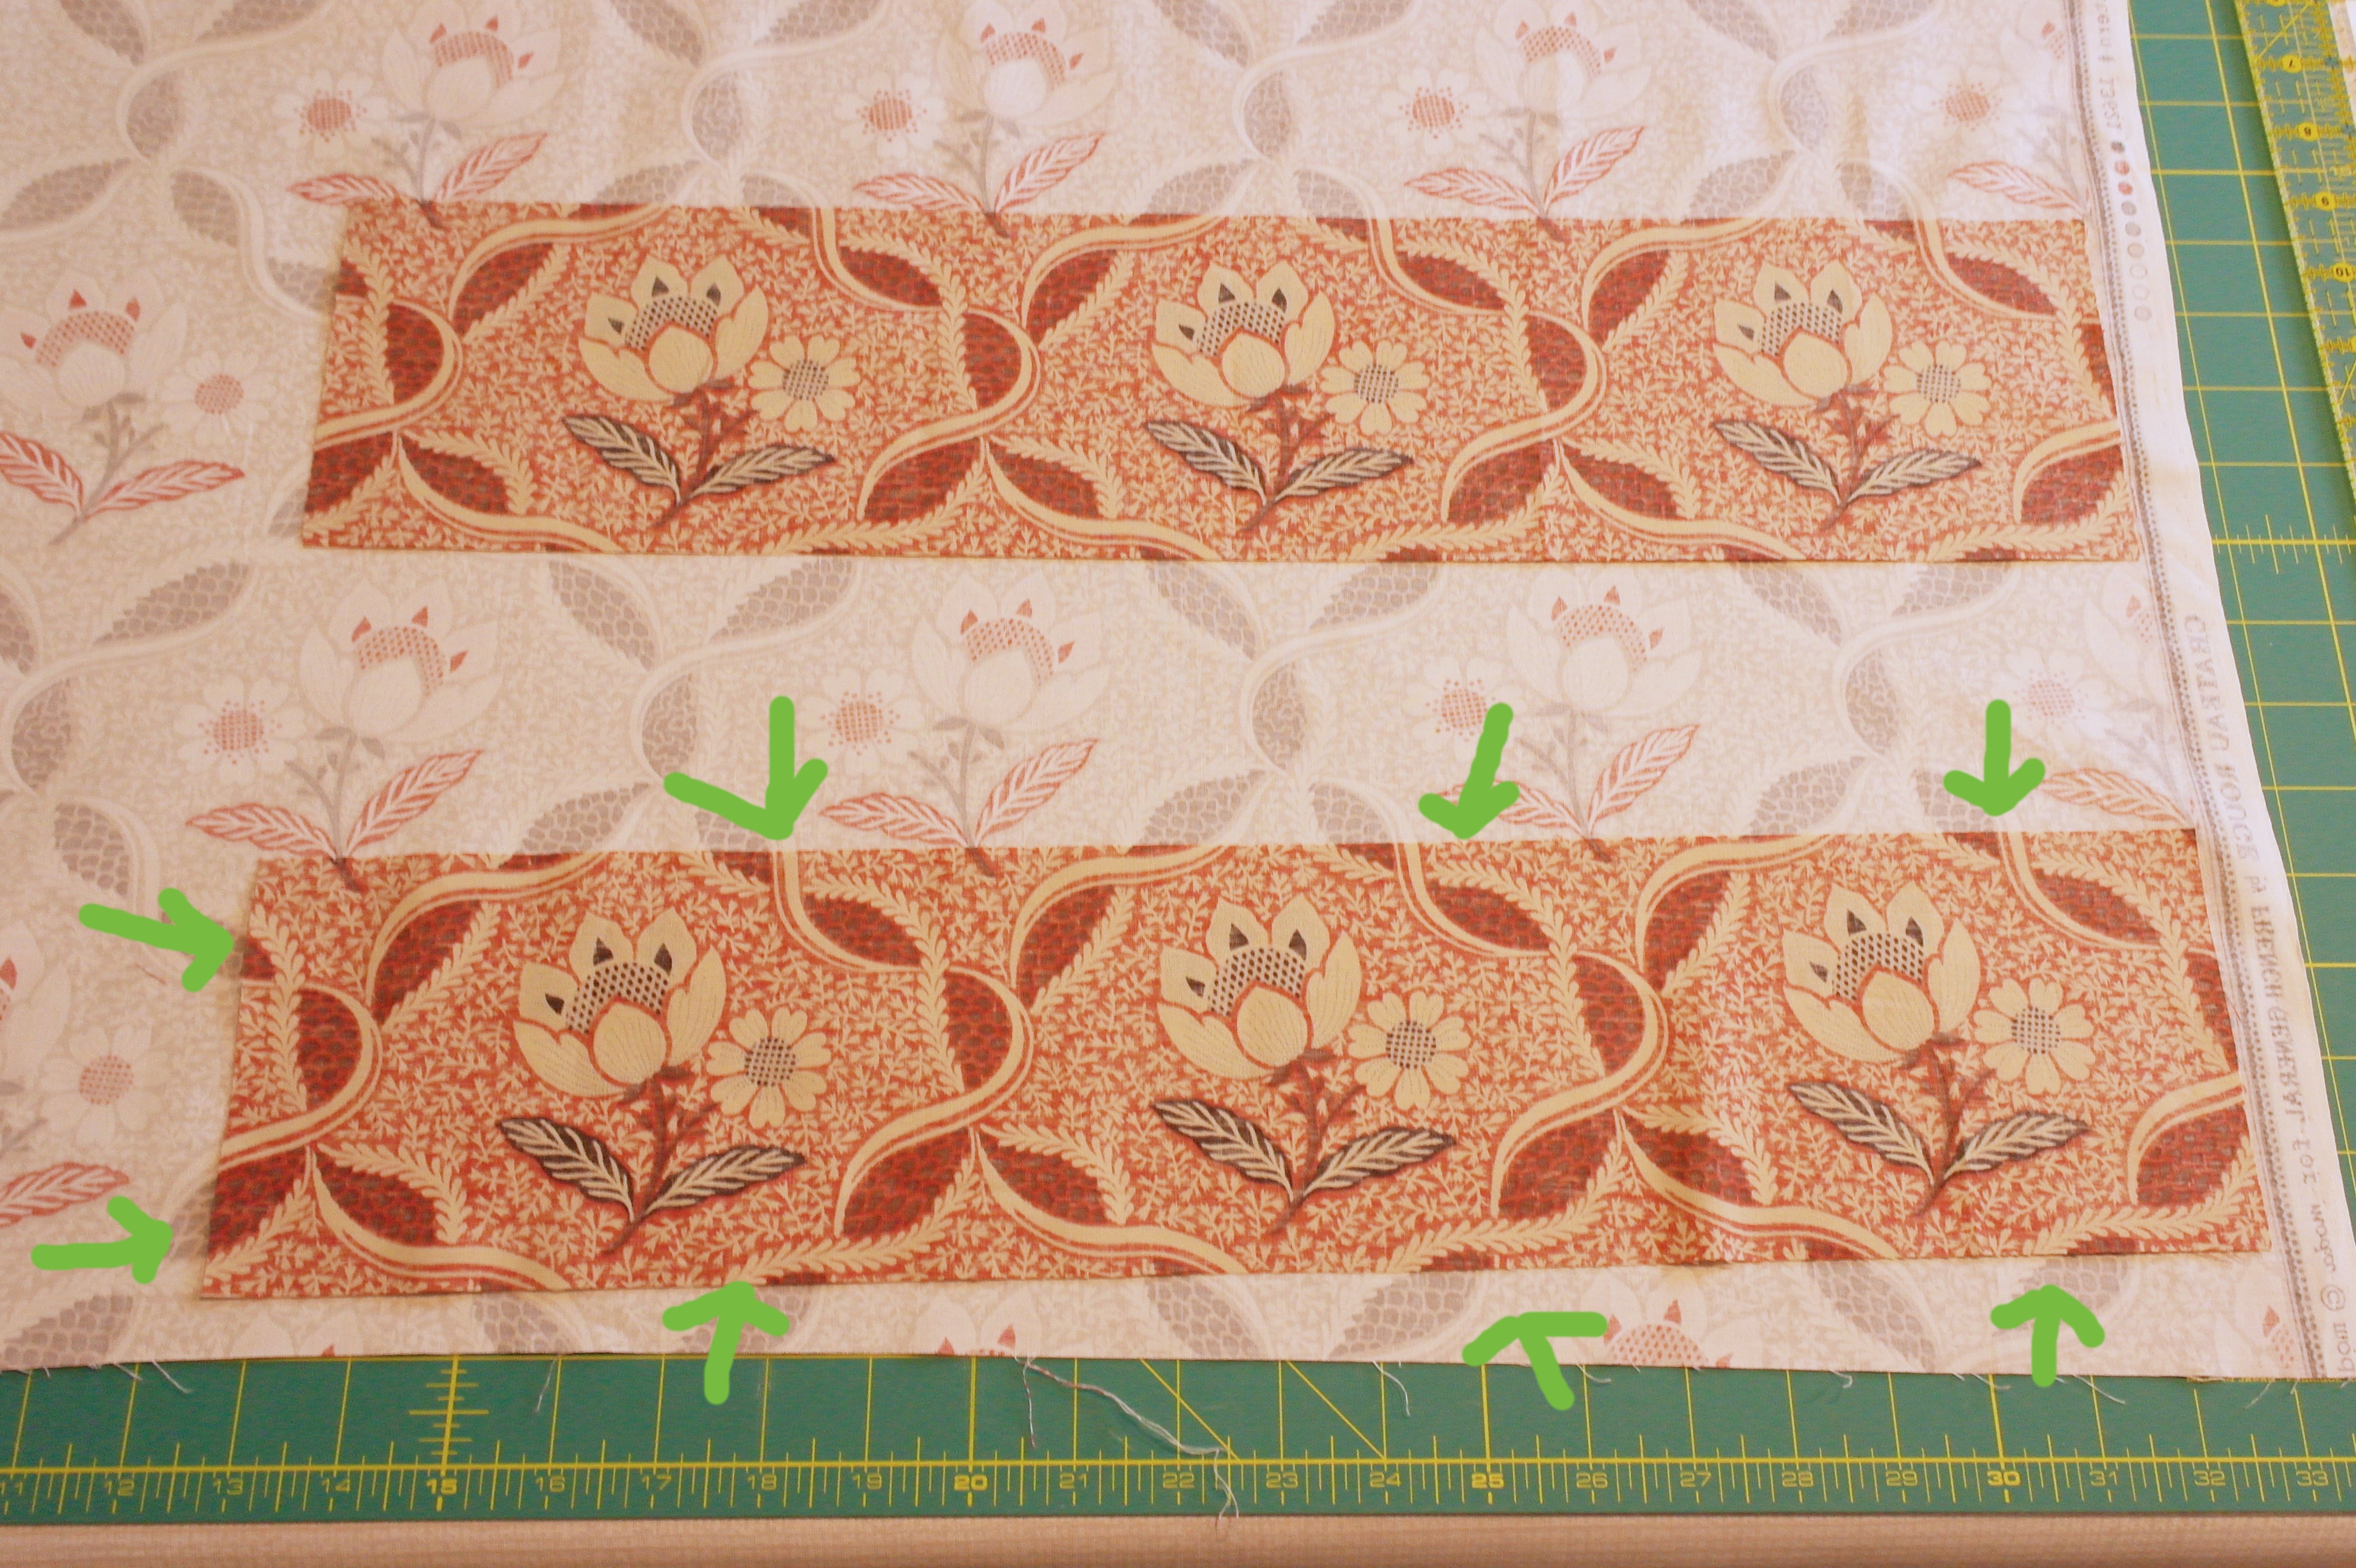
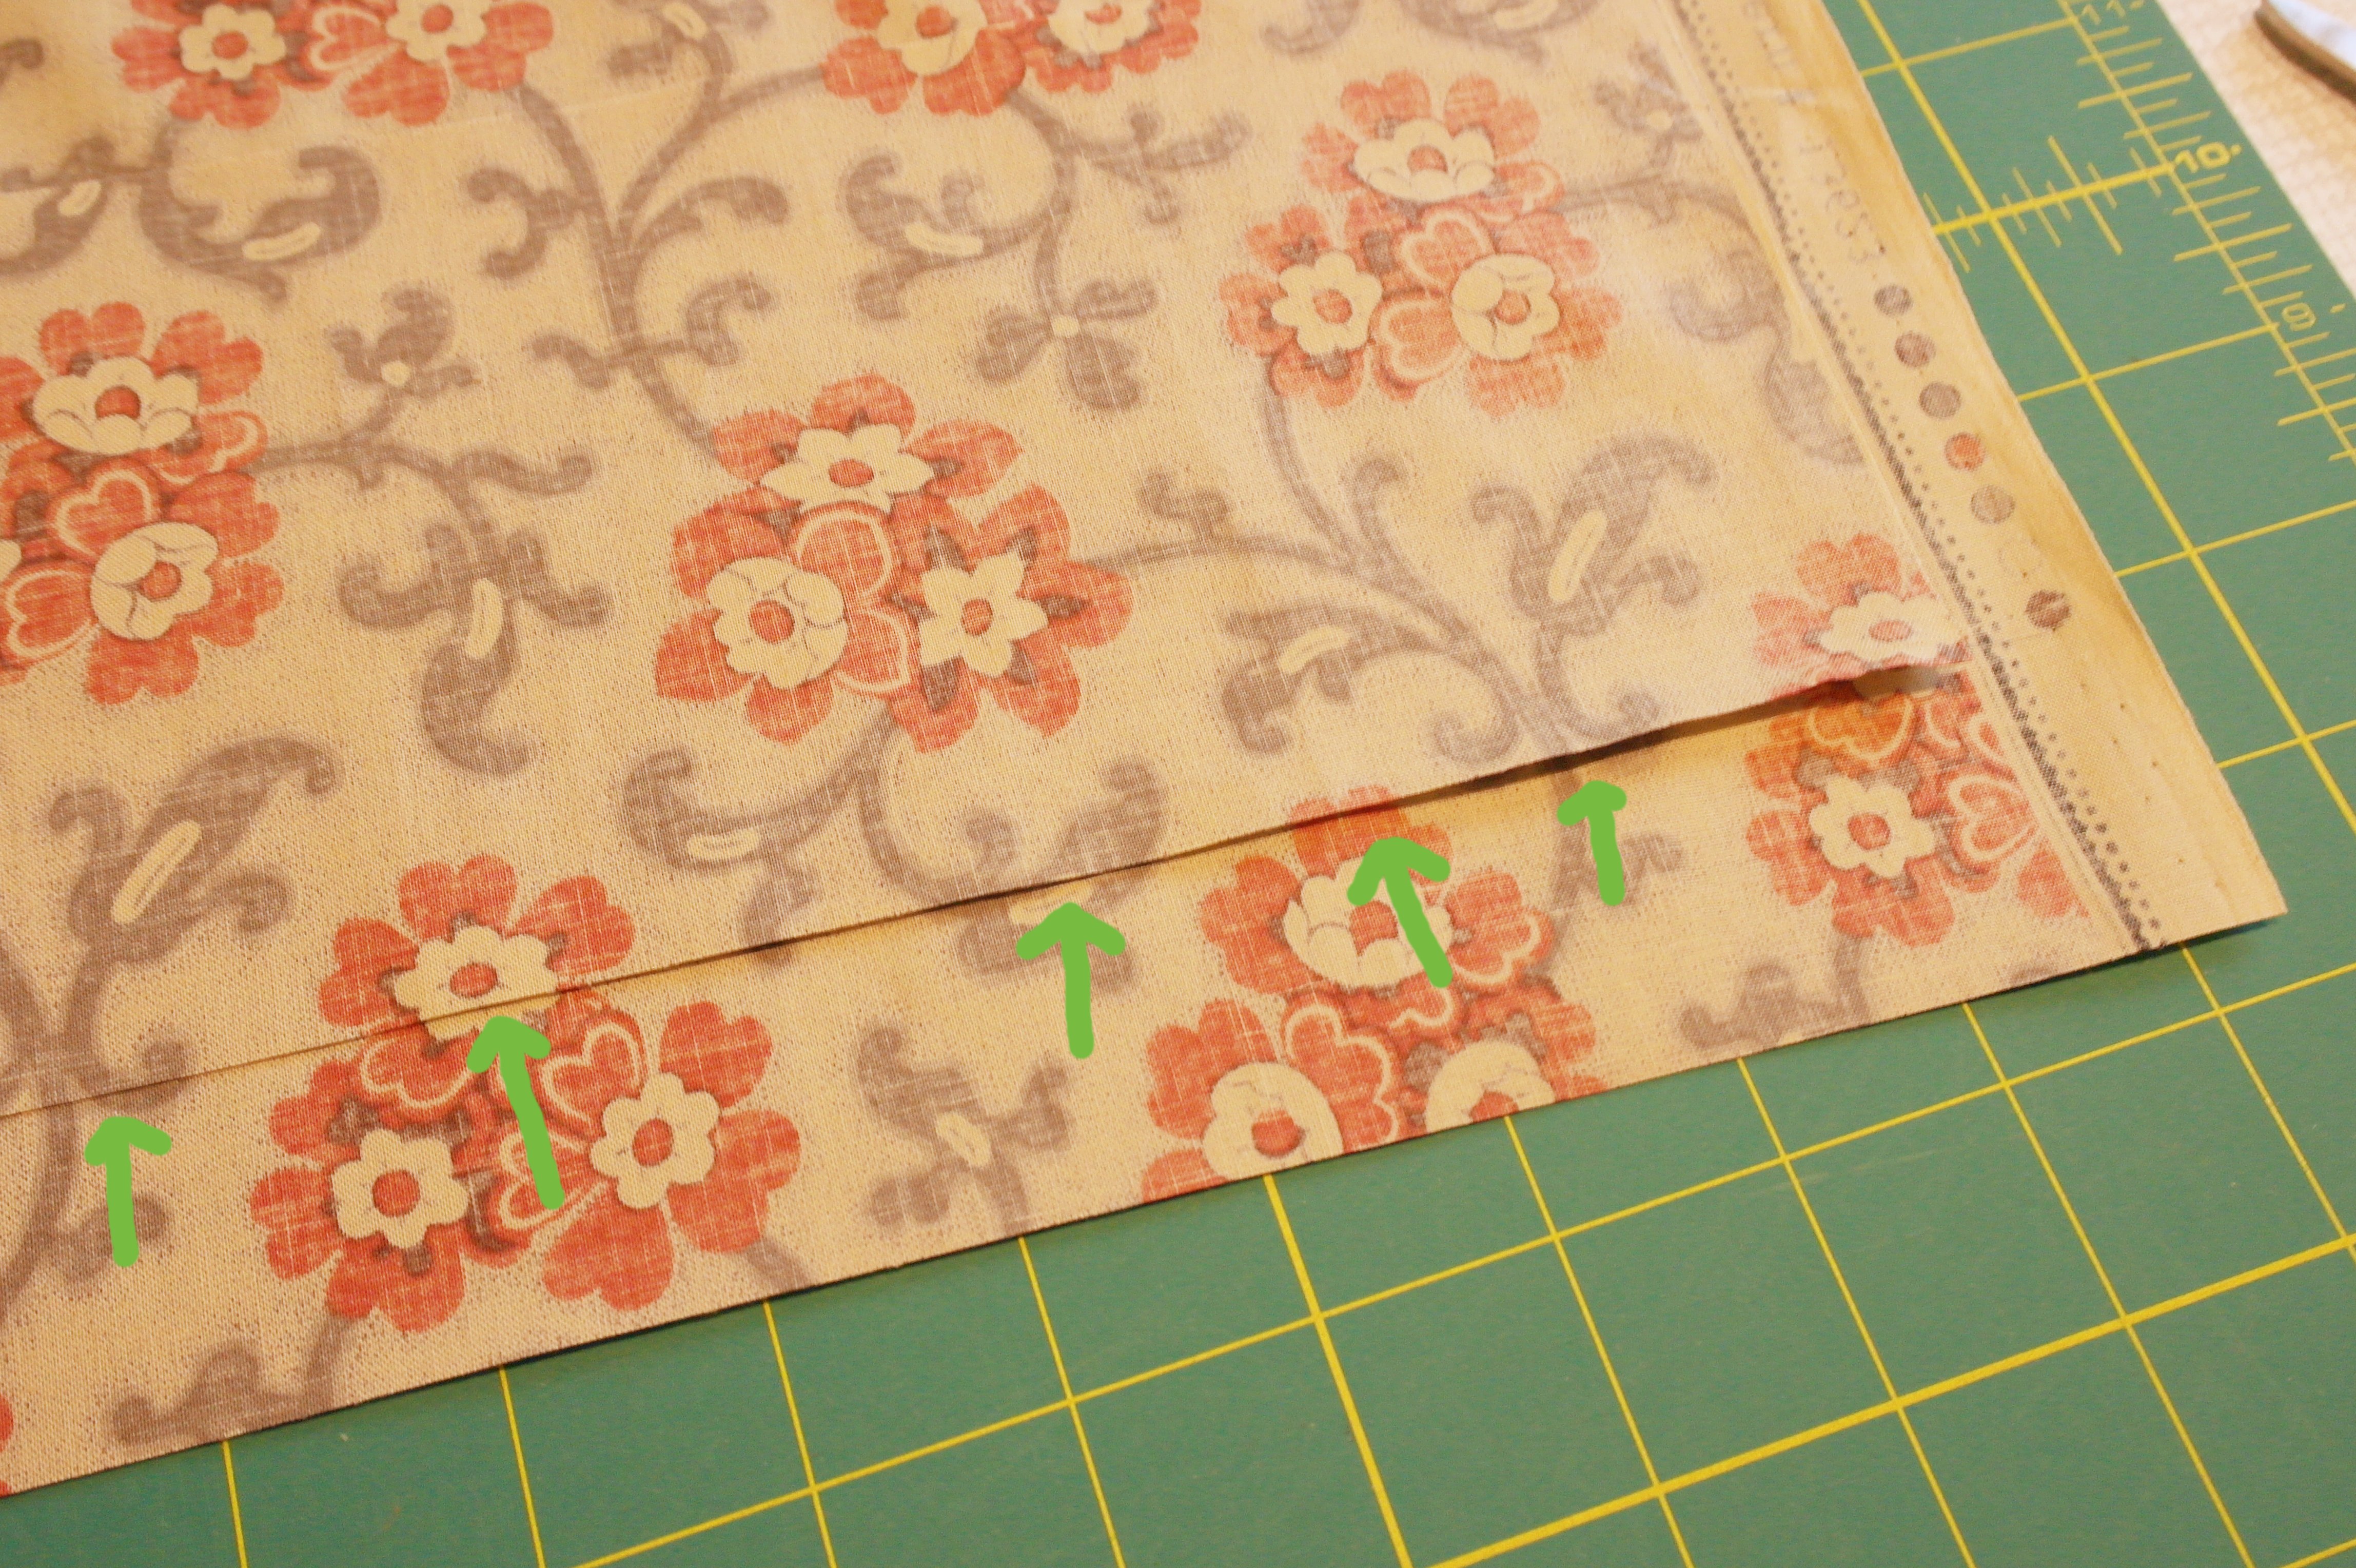
The picture above shows how I have placed the dark strips on the lighter fabric, and checked if the placement was ok: the arrows are showing prints that should align.
No matter how you cut a strip, be sure the size is what you need: finished size + seam allowances. Once cut that cannot be undone. And after cutting such a large strip from a small piece of fabric, there is not enough fabric left to cut again after making a mistake (again: purchase more fabric then you think you will need, for fussy cutting!).

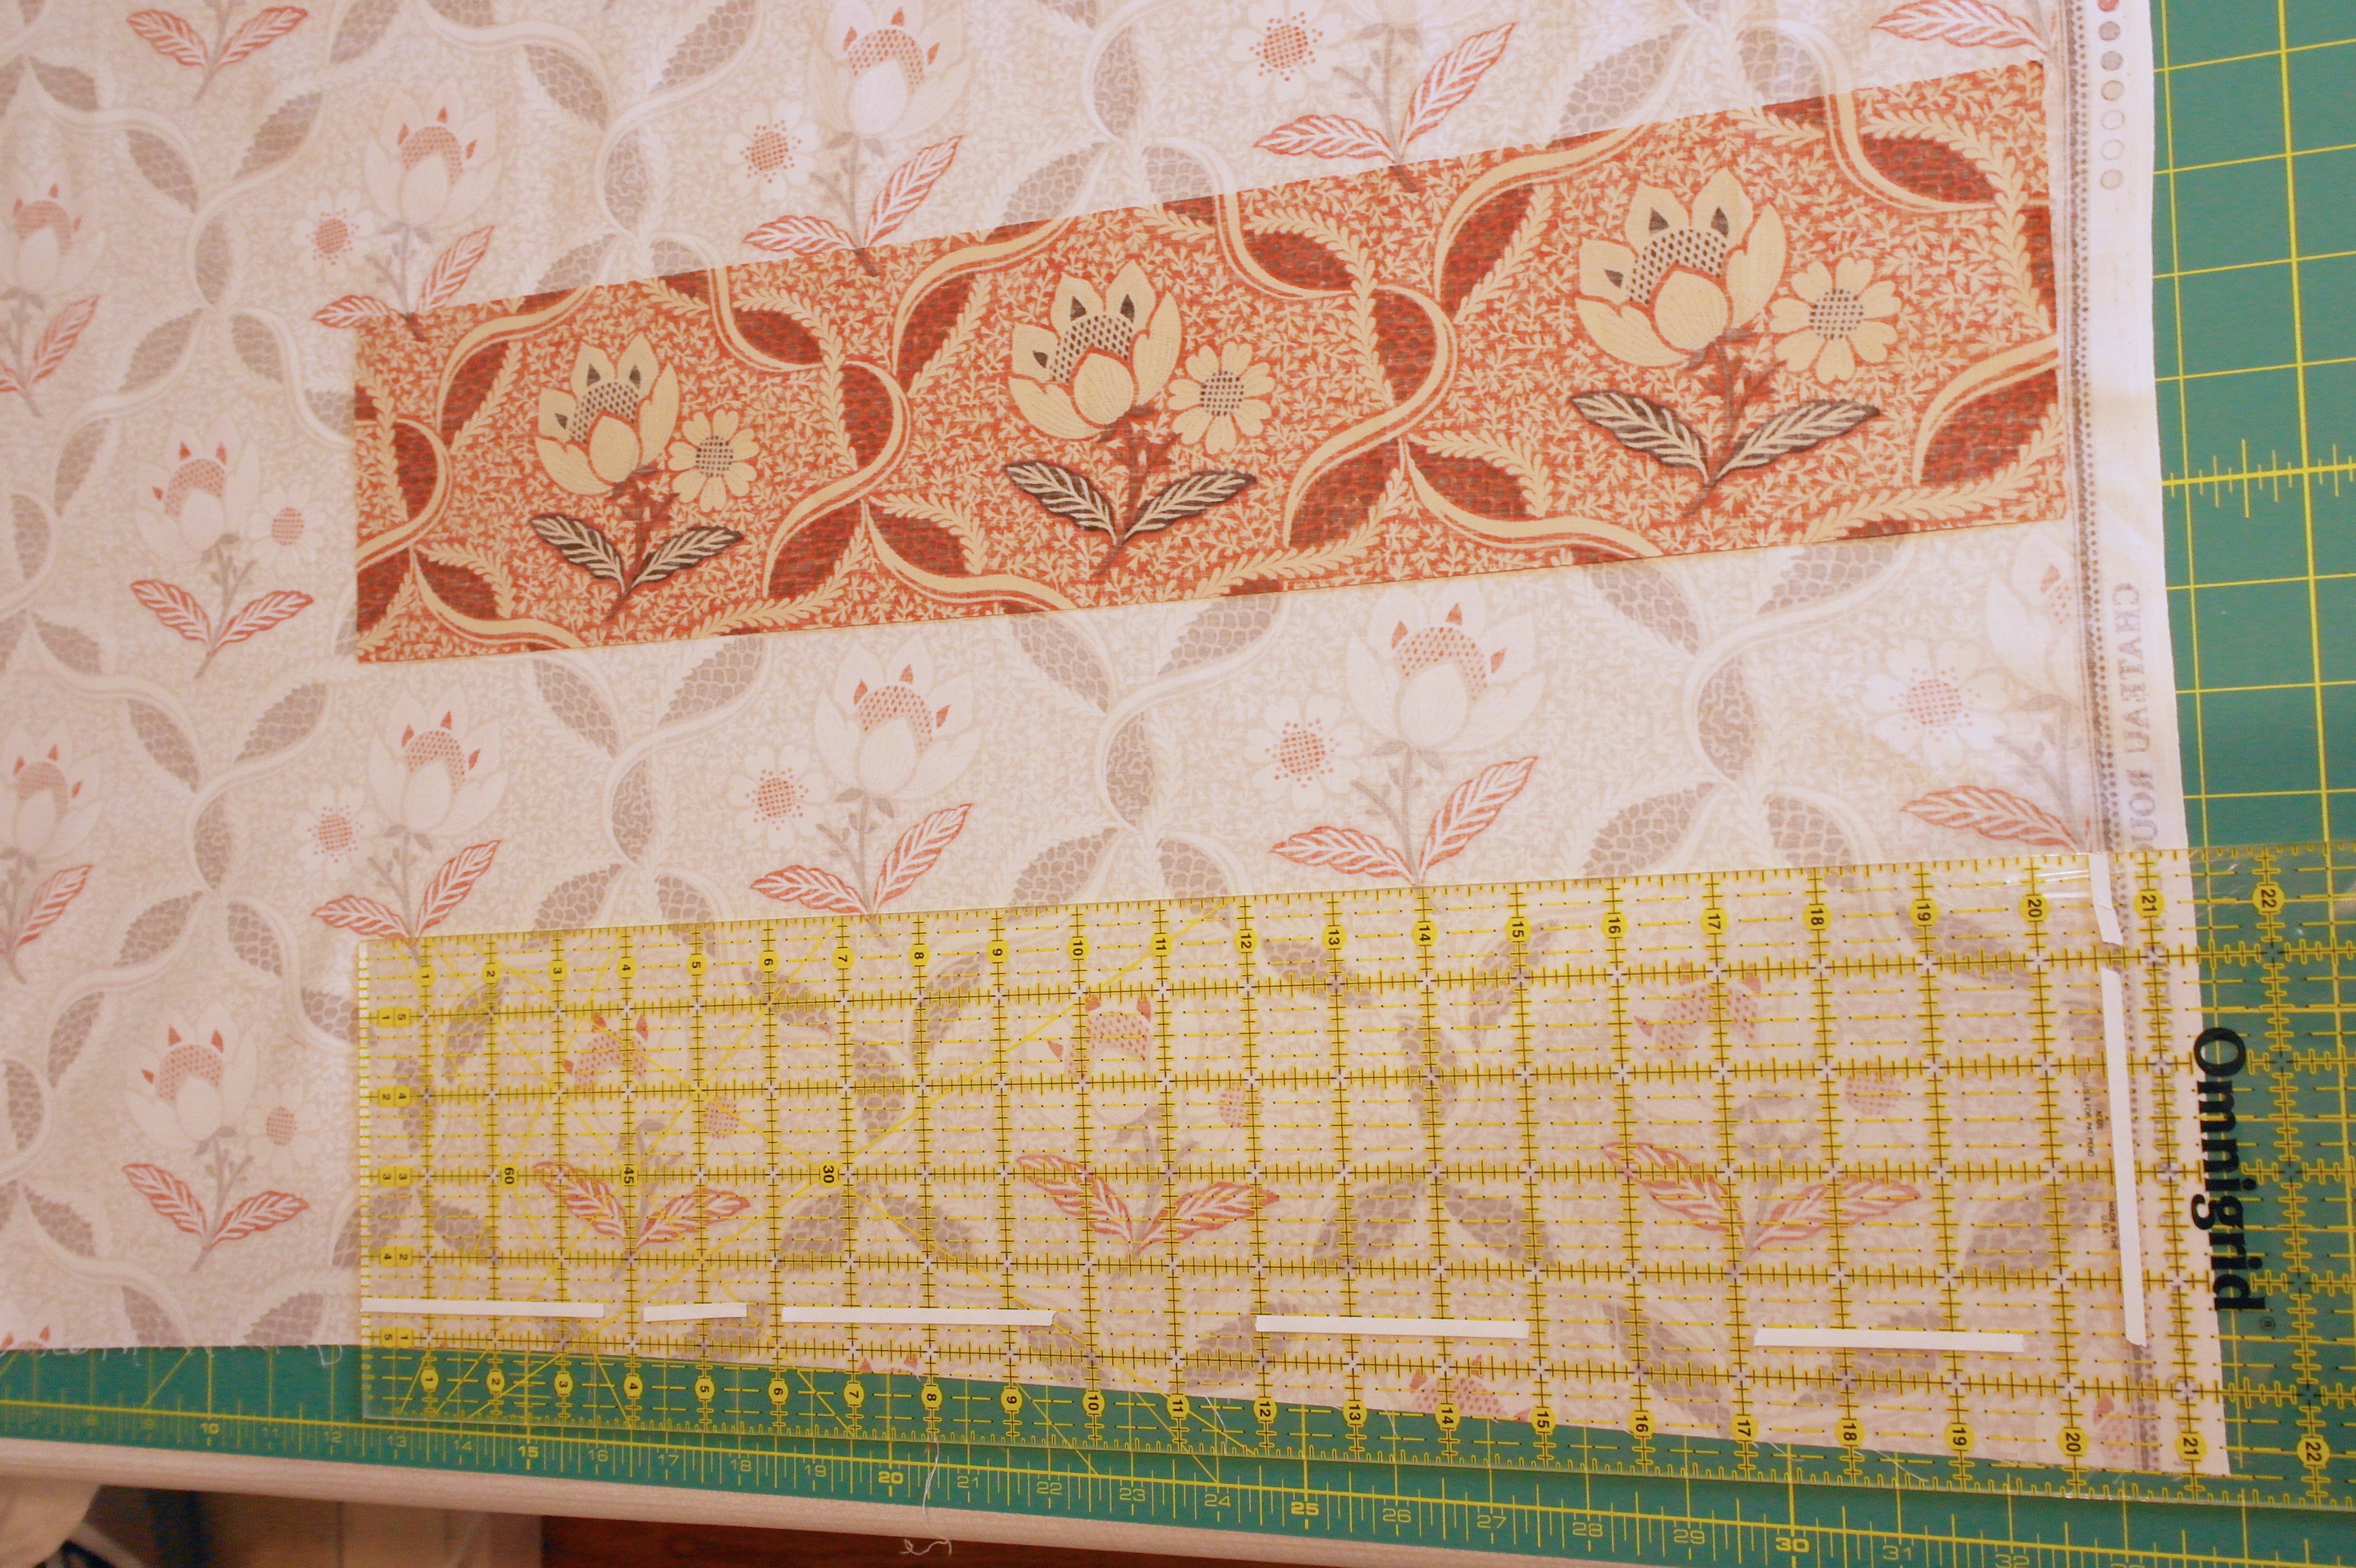
I will need two of the same fussy cut strips, so I have placed the first out of light fabric on top of the piece of fabric with the same repeat: the arrows are indicating placed where the prints should align.
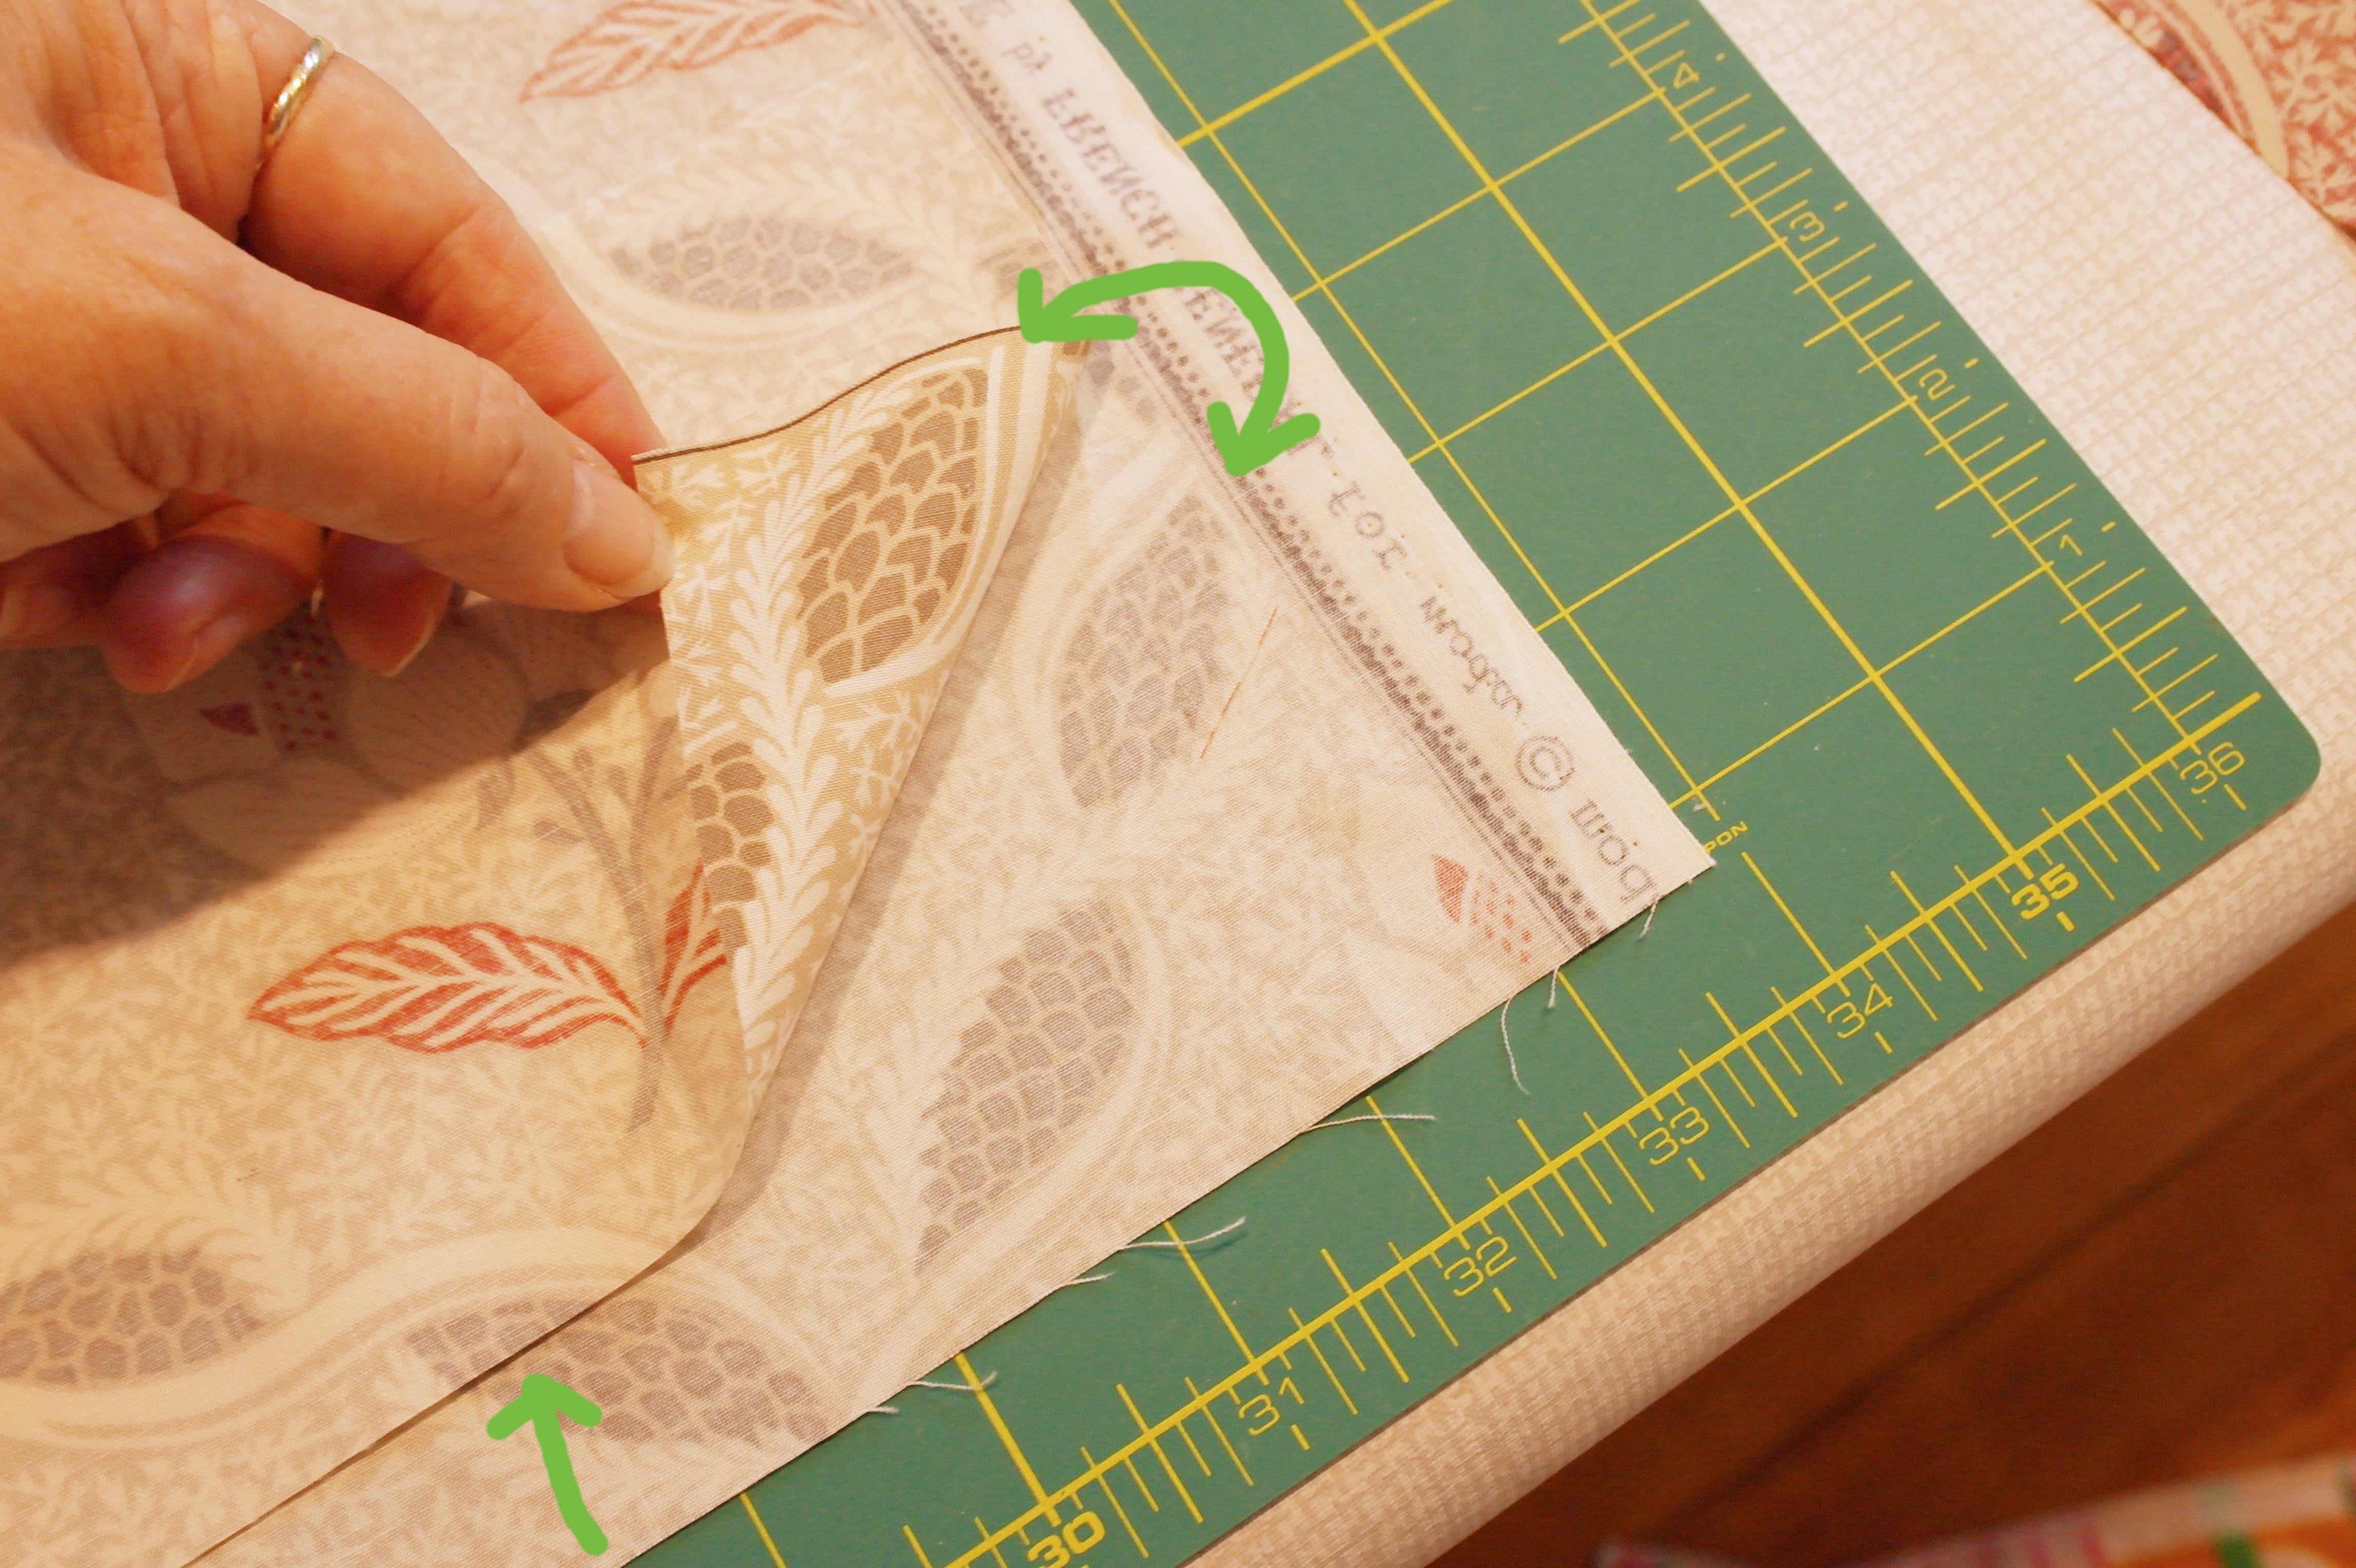
Sometimes I will lift the fabric, to check if the prints are the same. This looks fine.
Cutting the second one, gives me 2 strips of exactly the same placement. Now cutting two more strips from a different placement (as with the darker strips) and I will have 4 strips for 4 sashings.
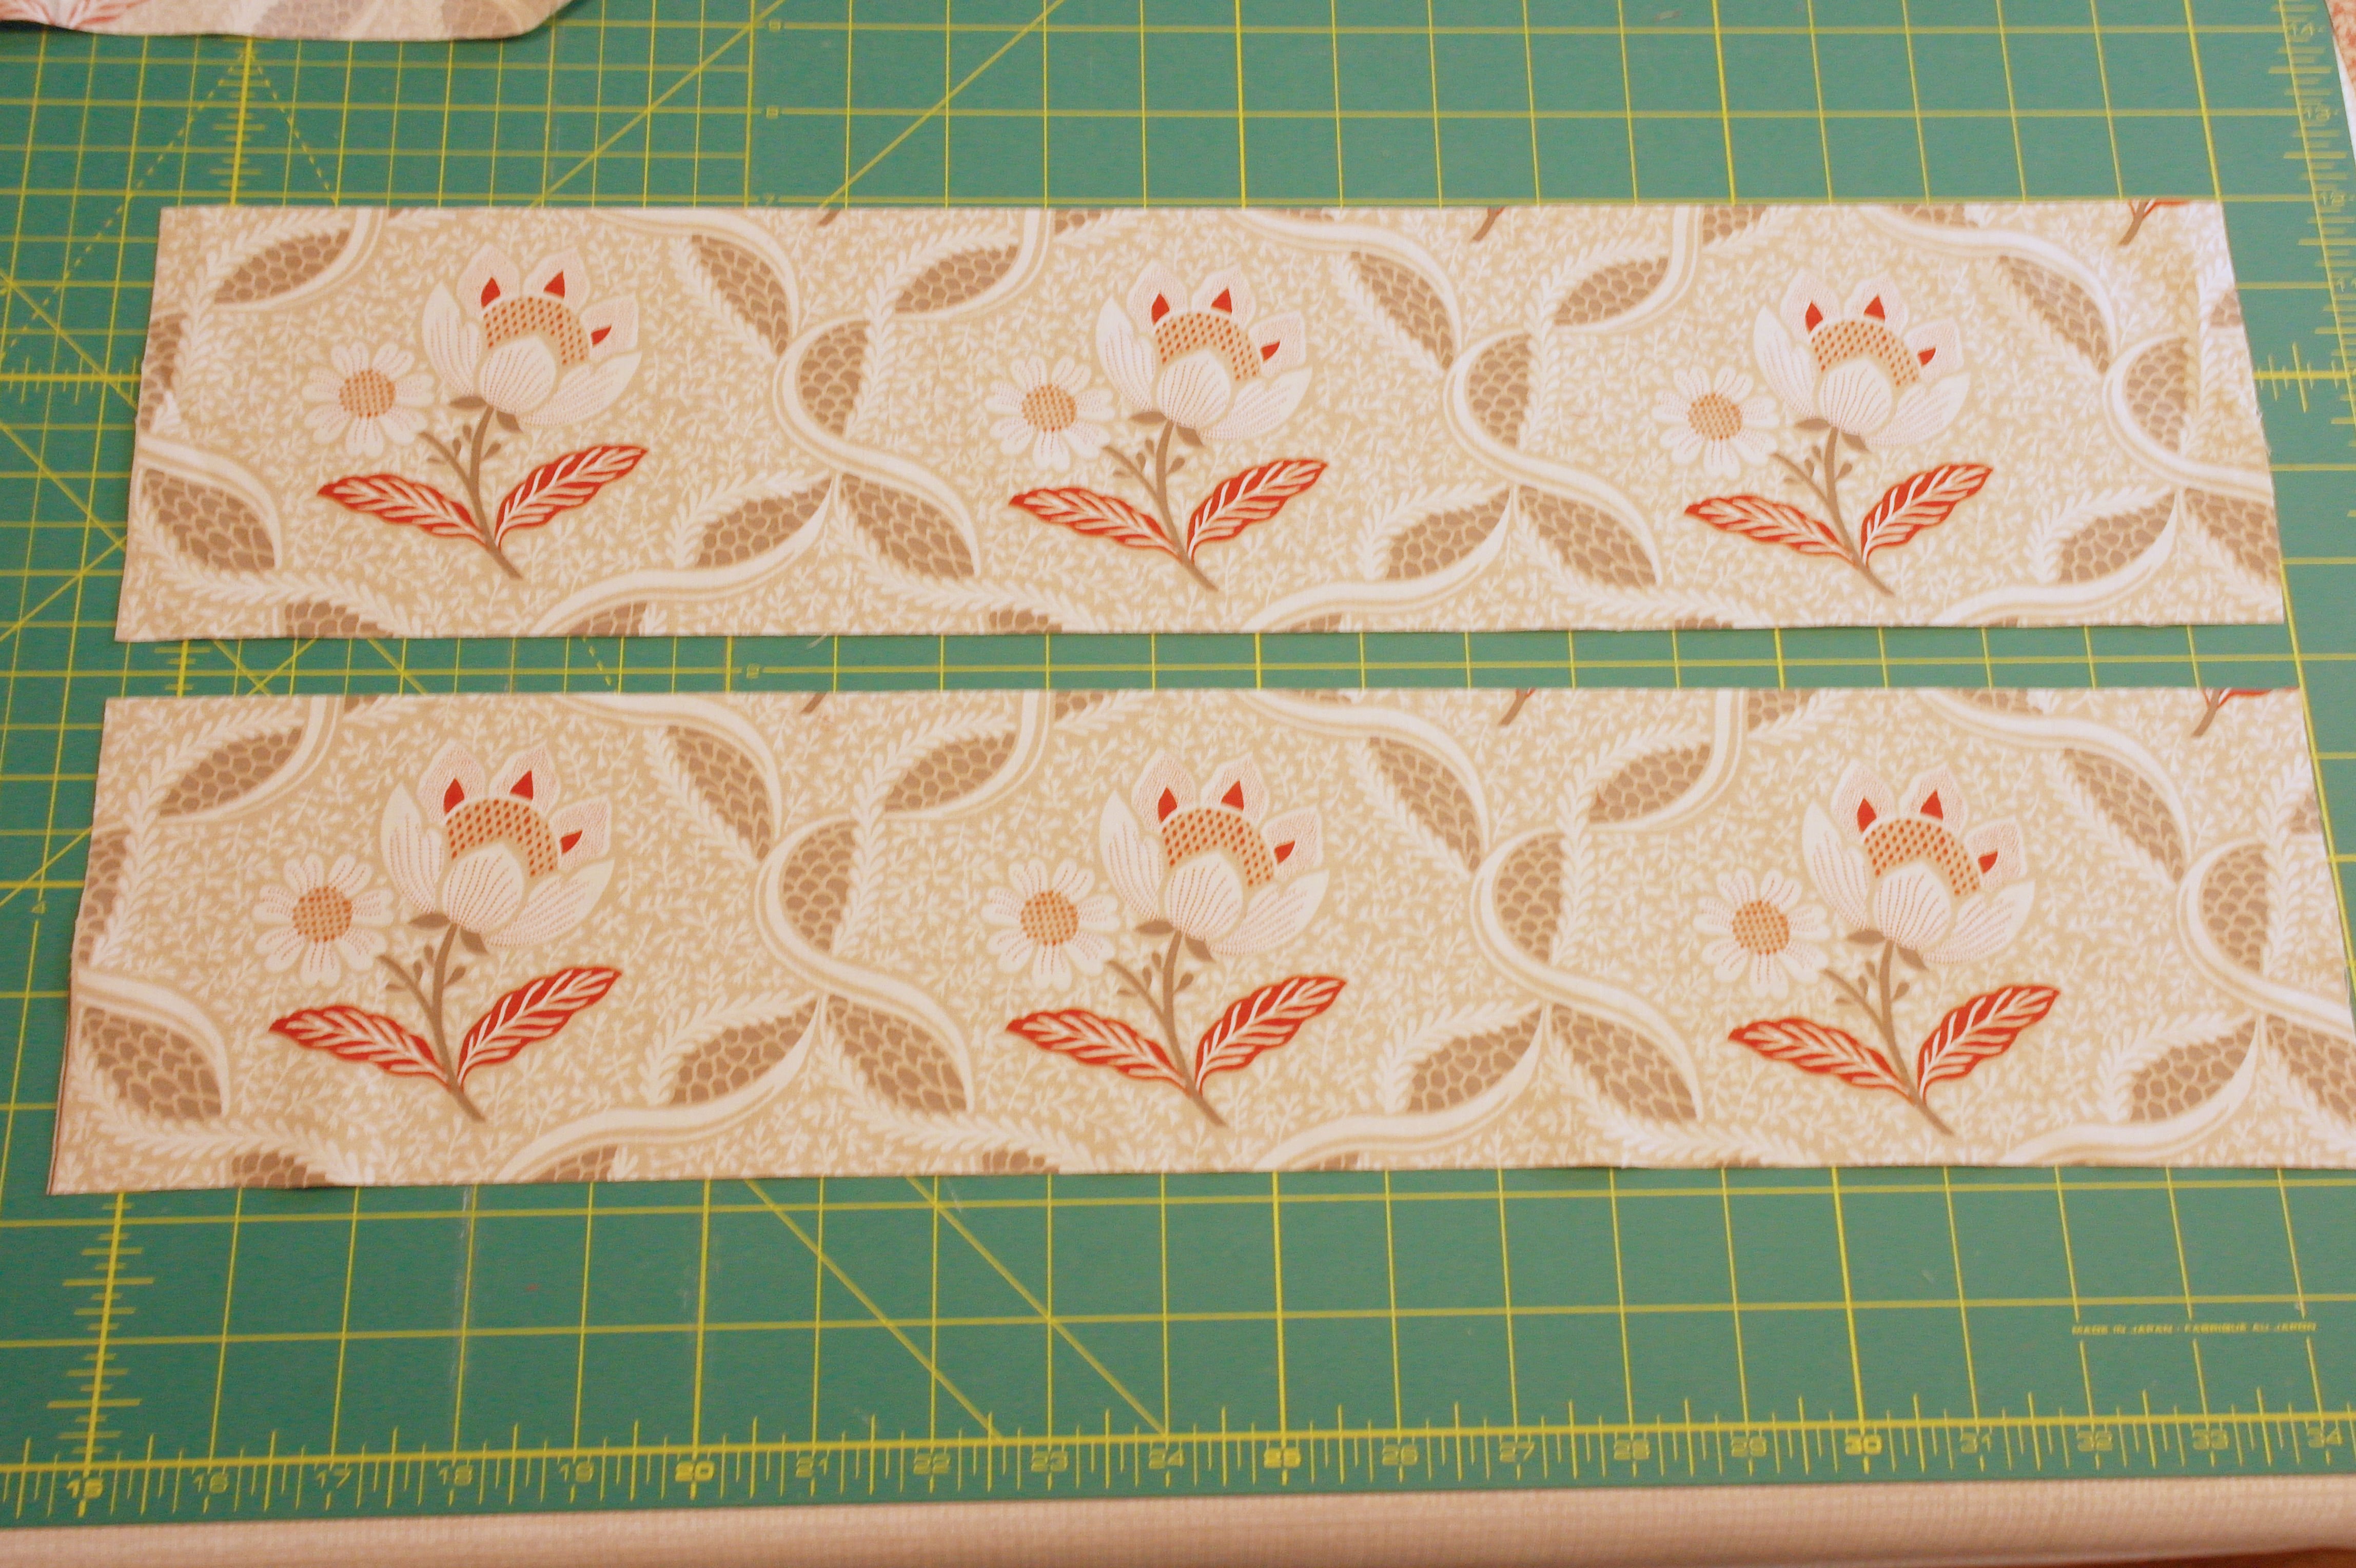
Four strips are cut.
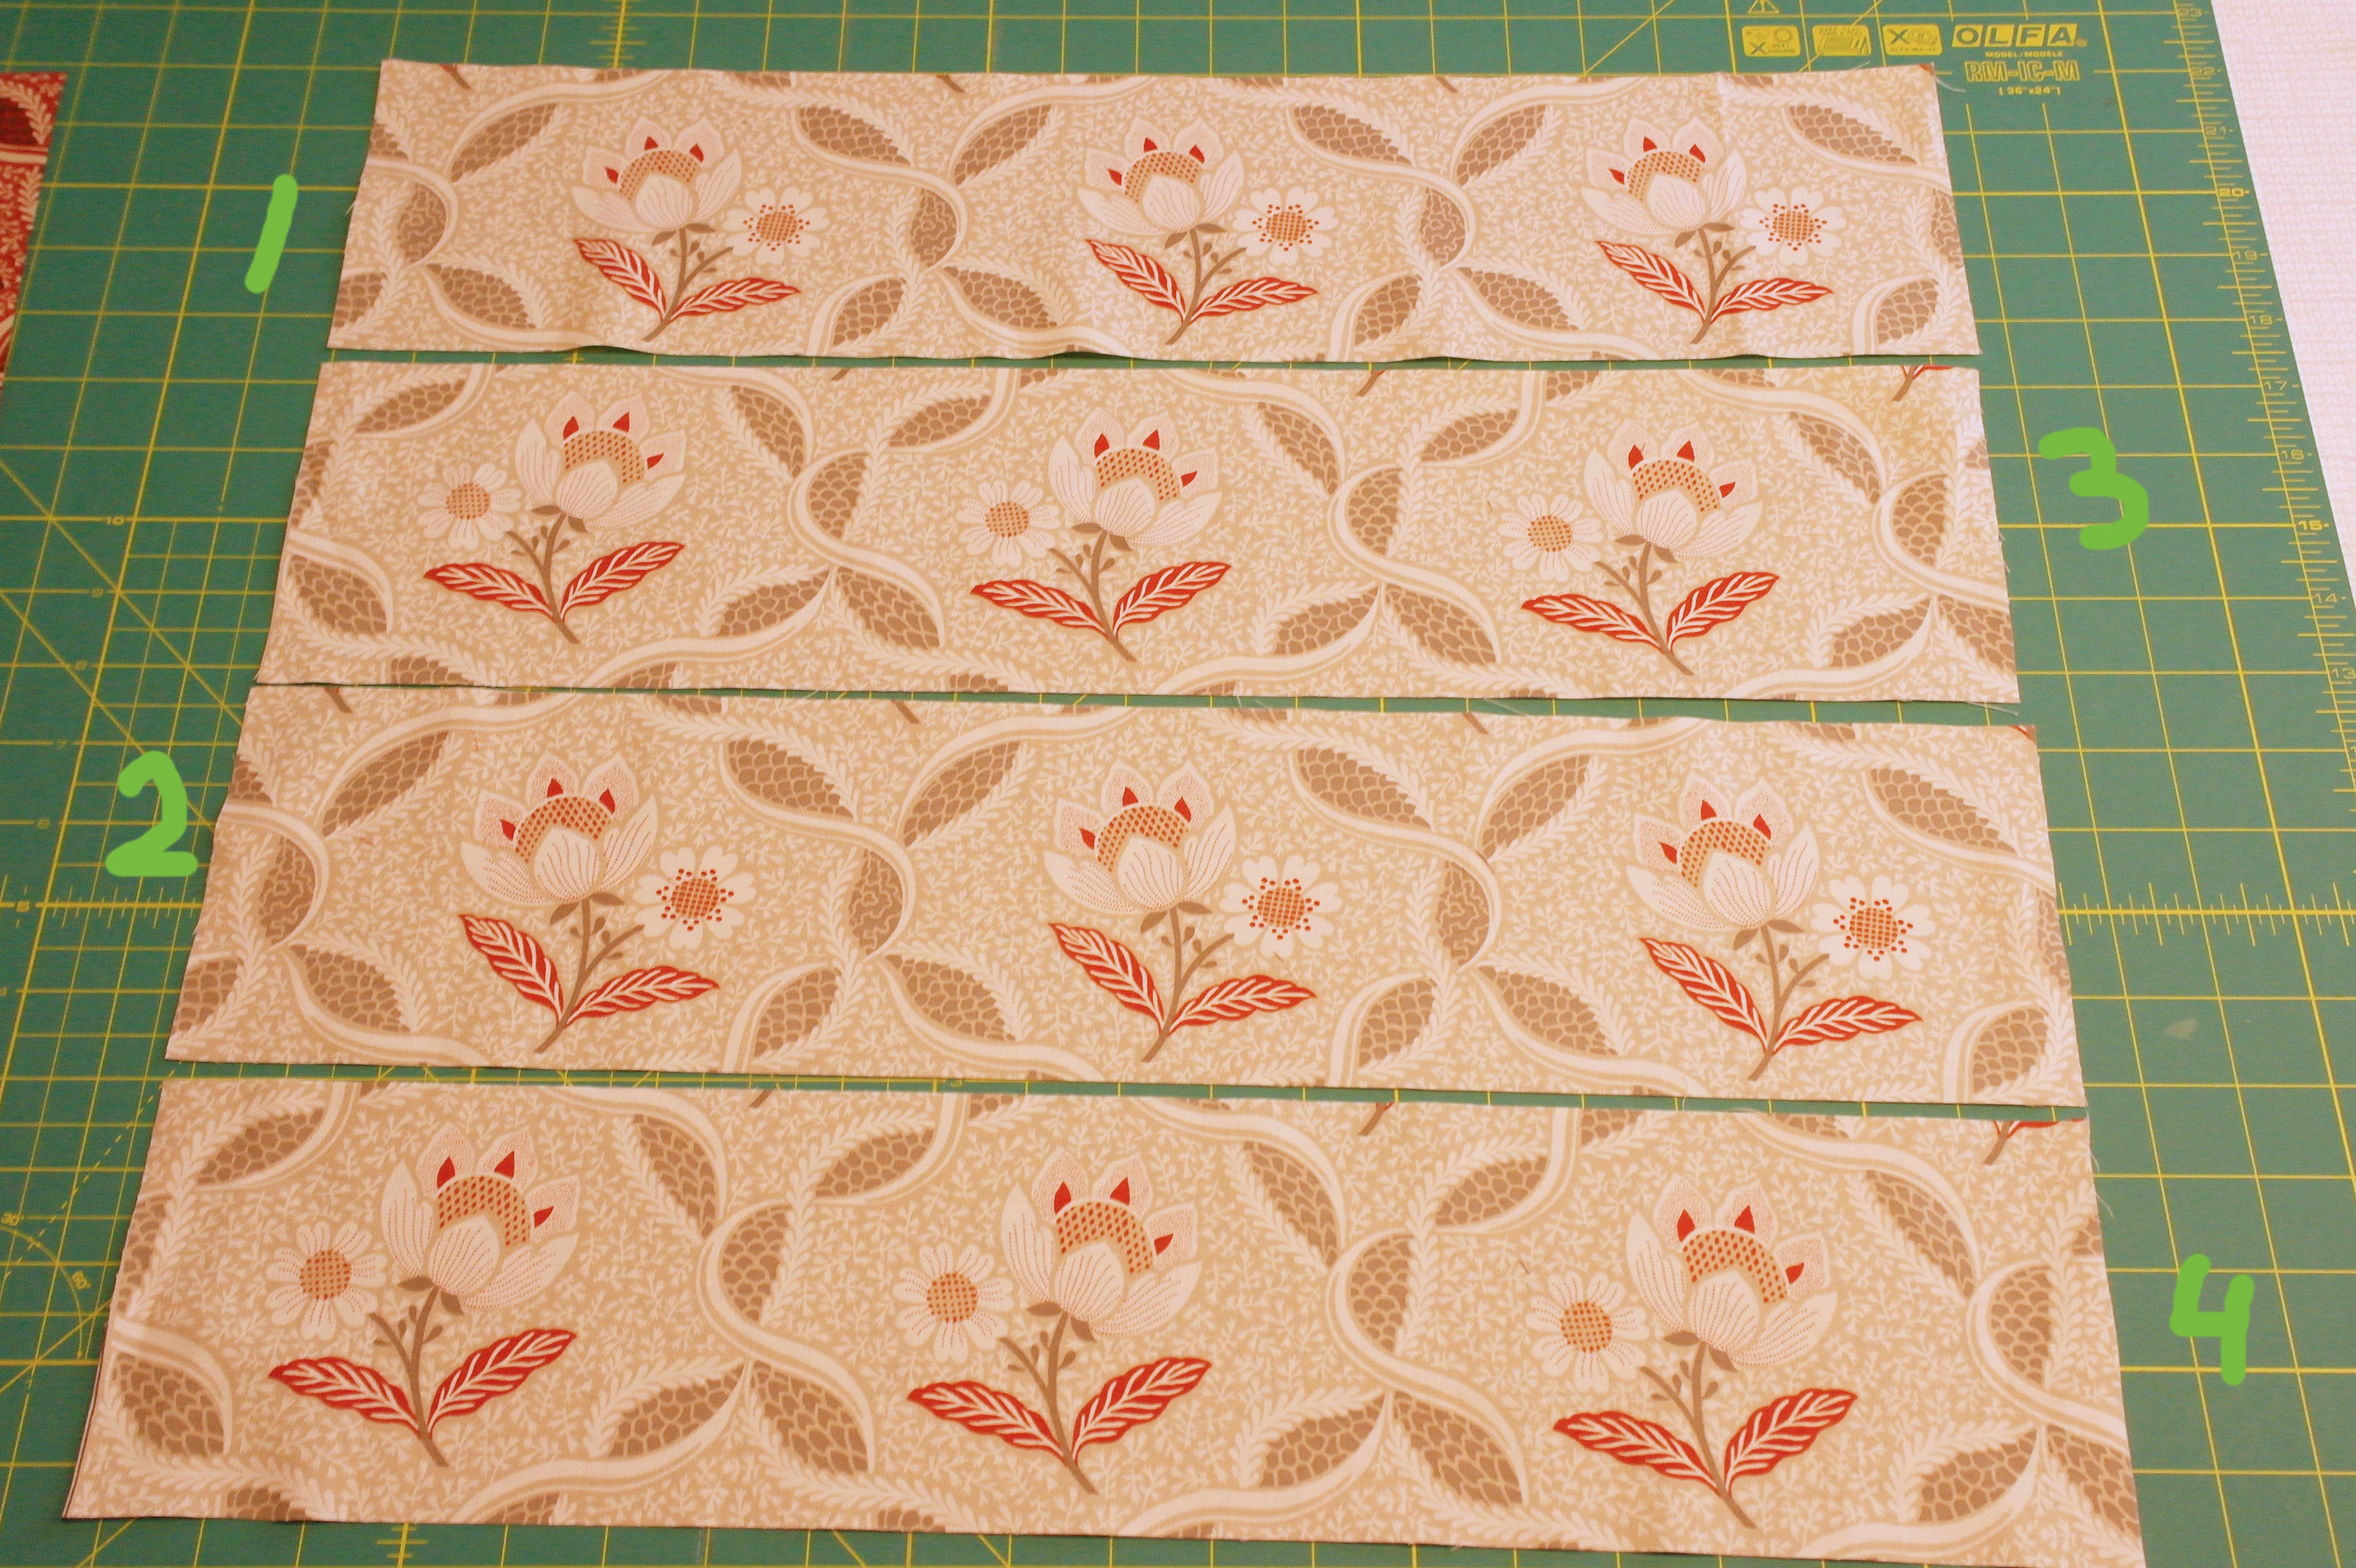
And there they are: strips 1 and 2 are the same, strips 3 and 4 are the same: I have alternated them – placement wise – t0 show you how the effect can differ. .
I still need 4 more strips, and have found another quilt fabric, with different flower print. Again I can cut 2 from the exact same placement, and 2 from different placements, to get 2 x 2 = 4 strips. I had to place the ruler a bit slanted, because the flowers were printed that way. That’s ok: I will have to be careful with sewing the strips to other fabrics, because I don’t have a straight of grain anymore. Extra pinning or using Bohin Glue Pin will do.
The first strip is cut; I have placed this on top of the fabric to find the prints for cutting the second strip: arrows are indicating where the prints should be aligned.

I have lifted the fabric up to see if the repeats/prints are aligned, and cut the strips. These wonderful sashings will make my quilt look beautiful. It is not something to do quickly, but it gives a nice result.
To look at quilt fabrics with small or large prints ina different way, shows you what you can do to make your quilt special.
Happy Stitching,
Sylvia Kaptein
Sylvia’s Art Quilts Studio
www.sylviasartquilts.nl
[email protected]


0 Responses