 BERNINA Corporate Blog -
Hello my sewing friends. It feels like a long time since last writing a blogpost. Today I am back with a summery make with some fabric I won during the Jasika Blazer Challenge hosted by the wonderful Heather Lou of ClosetCase Patterns. If you are ever in need of a well-made and very instructive video of how to put together a classic blazer you should definitely give some thought tot he online class that’s available on ClosetCase Patterns.
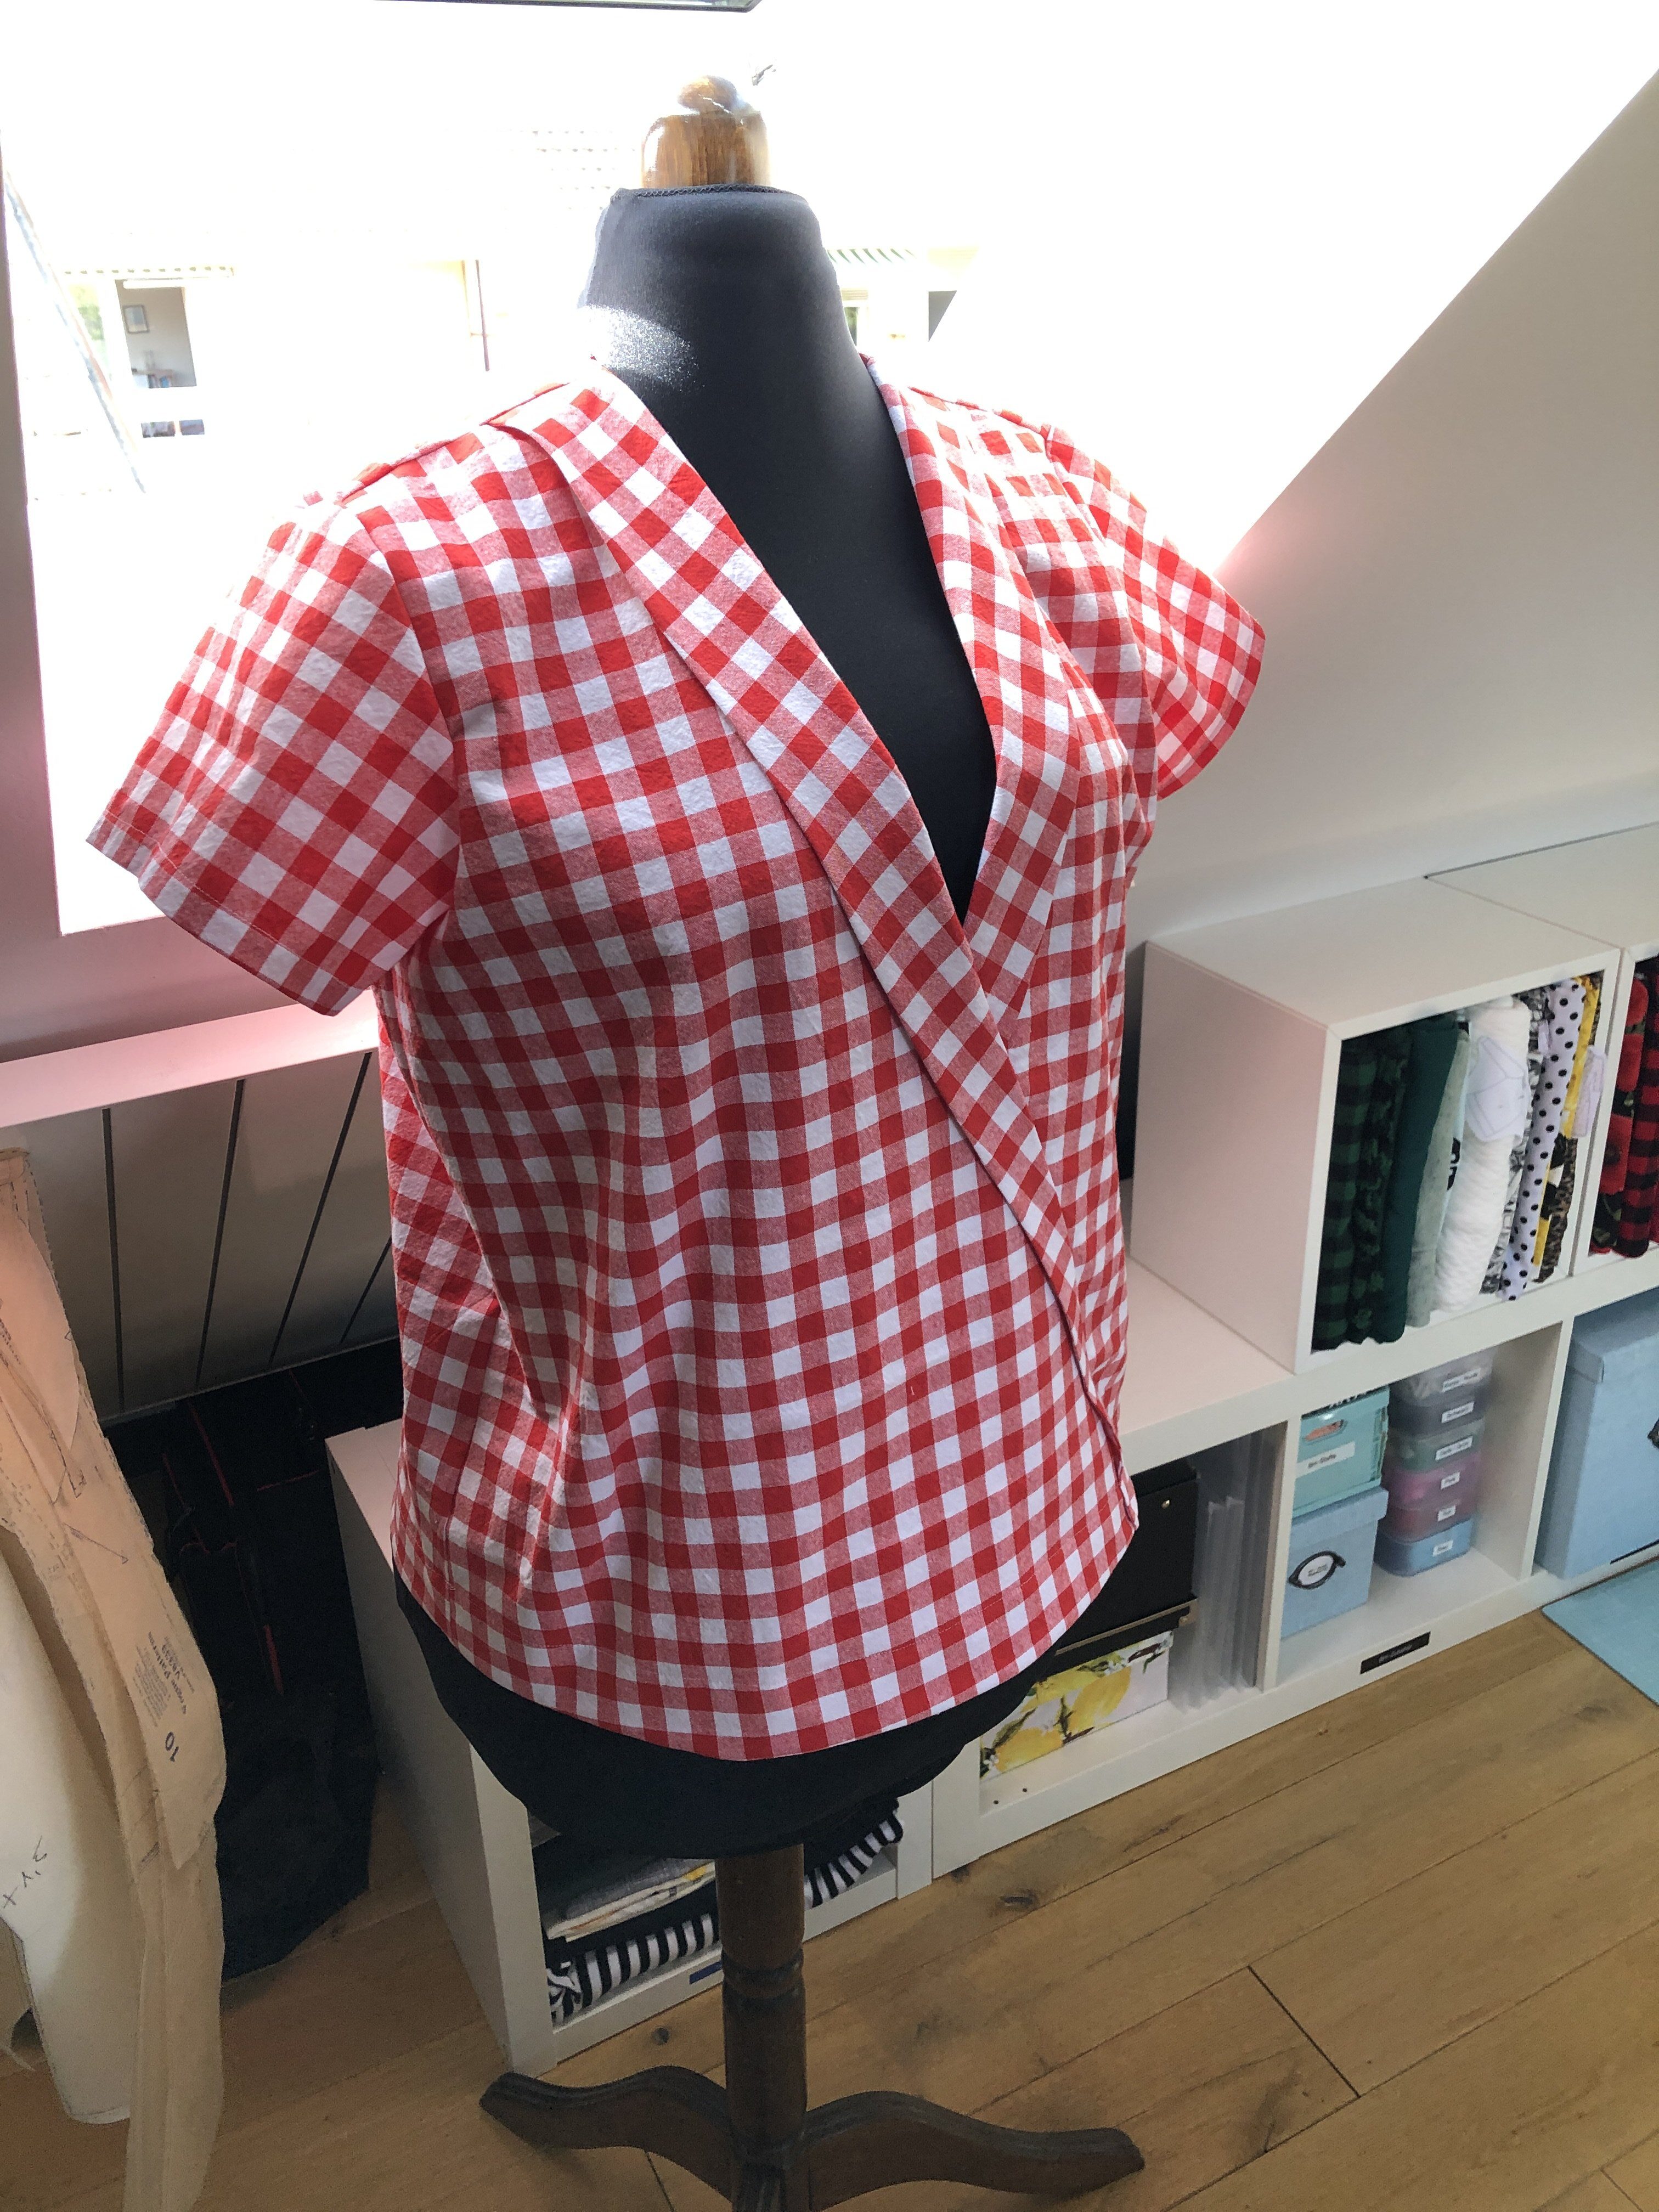
Anyway the fabric is from Topstitch Atlanta and was shipped to me all across the atlantic. This is why it feels extra special to sew it up. It’s a basic cotton with a simple gingham pattern in red and white.
The pattern I chose ist he Hoya blouse by Deer & Doe. Yes, I know, I am a little bit of a Deer & Doe fan. The french pattern designers design for a C/D cup which of course means that I don’t need to make a full bust adjustment everytime I use a pattern of theirs.
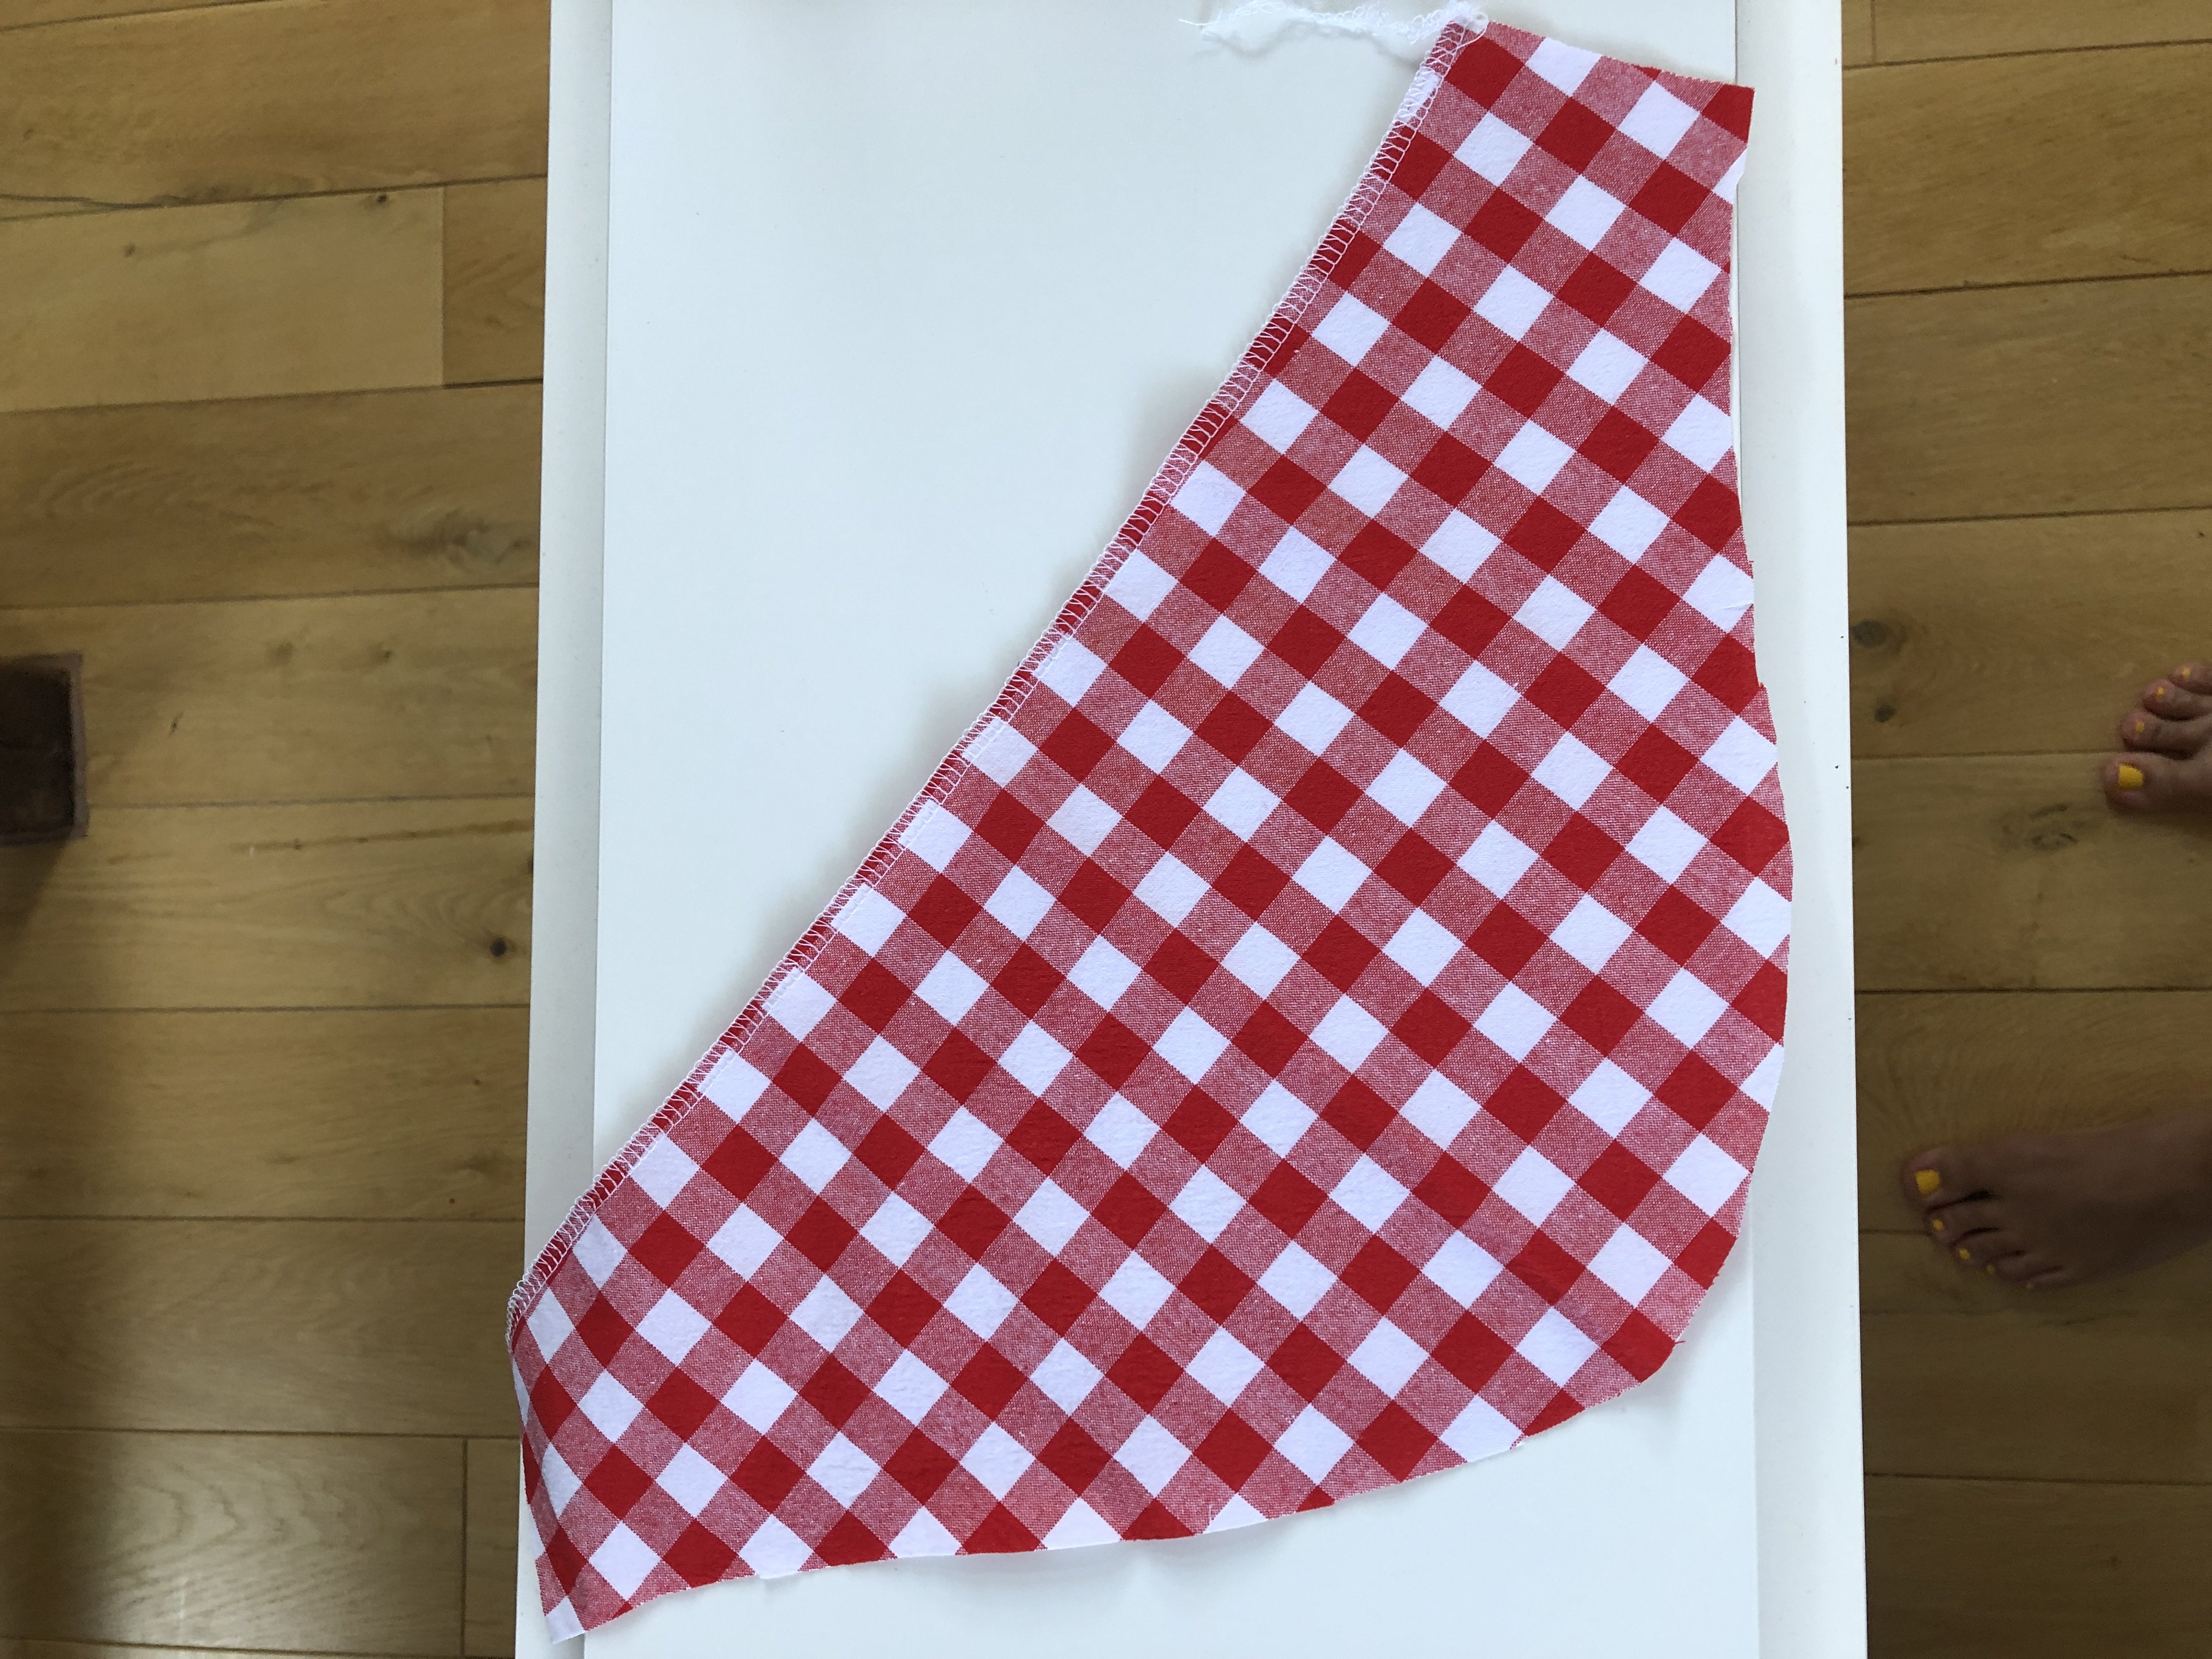
The Hoya blouse is a ‚mock-wrap blouse with lapels and a lined front‘ (so not bad for those light summery linens btw). I made the short sleeved version in a size 48 and only used 1.8m instead of 2.7m with some smart pattern tetris while still managing to line up the checks on the front. Very proud of myself. Remember to cut out four fronts. The seamallowance is 1.5cm or 5/8“, so let’s start.
Start by attaching the lining (I chose the same fabric for the lining as the main fabric) to the two front pieces right side to right side.
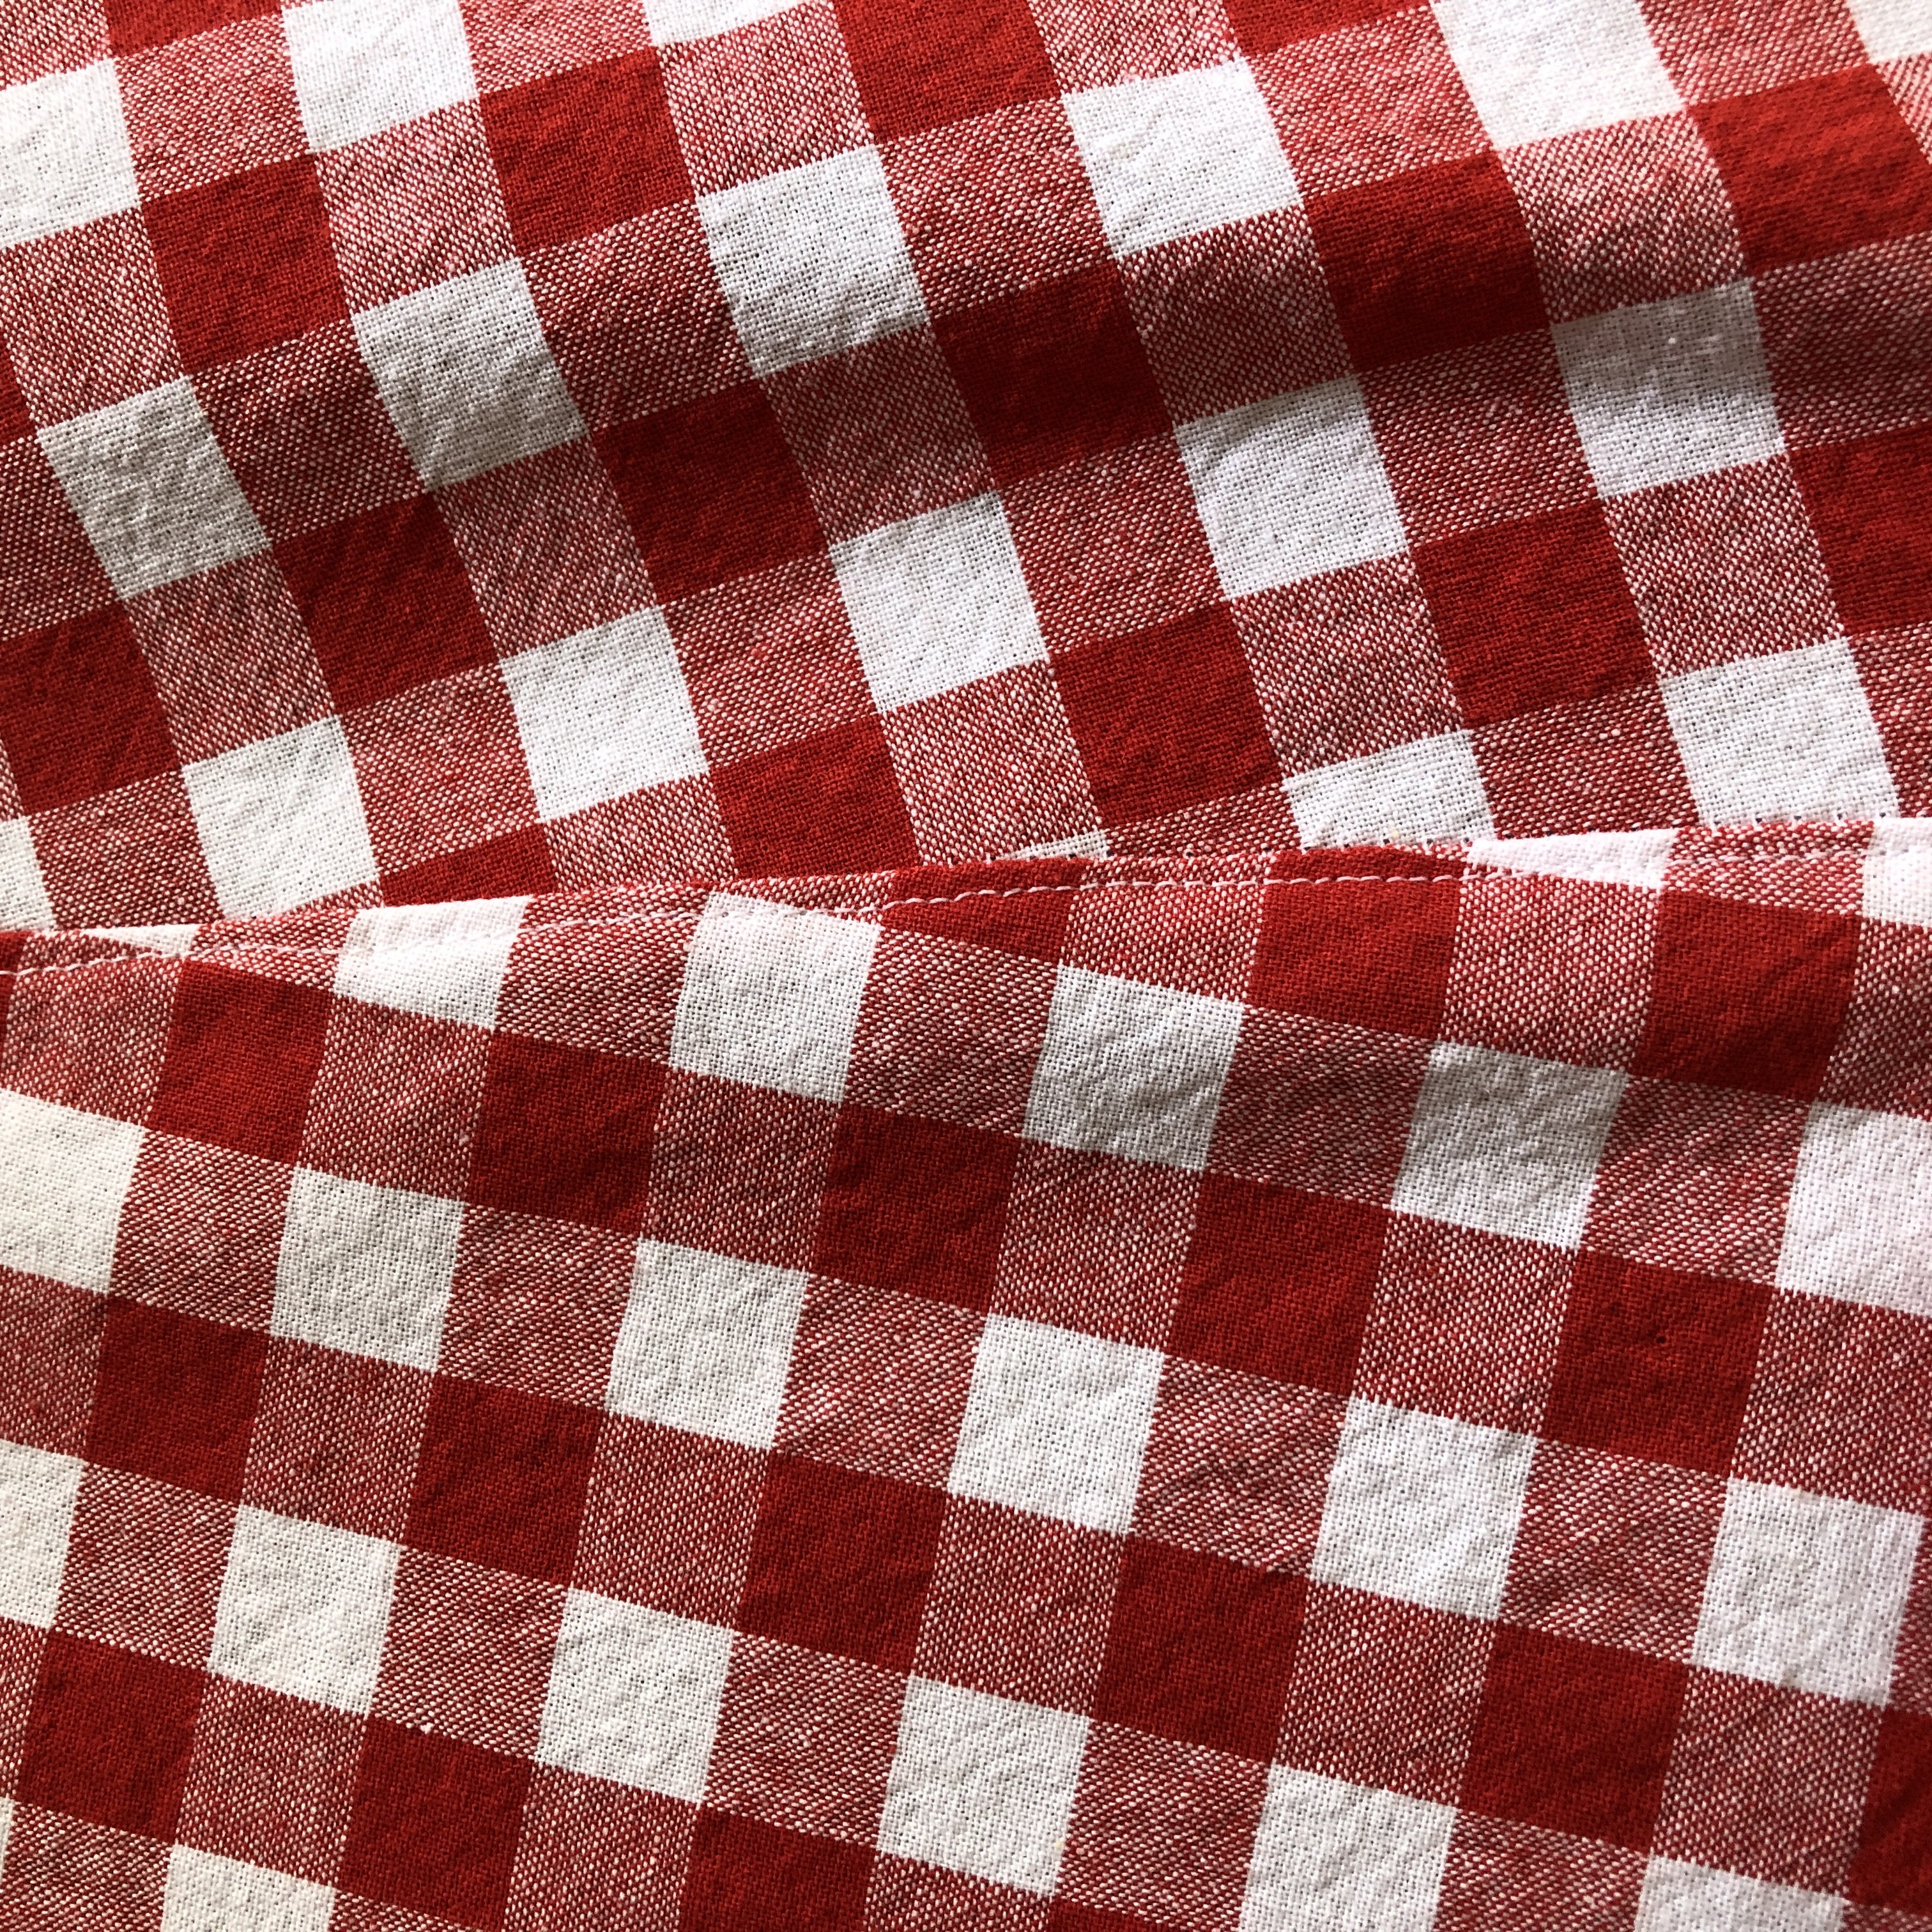
Press and understitch the seamallowance to the right side of the fabric. Yes, you read right. The lining will be showing because of the lapels so keep an eye on that.

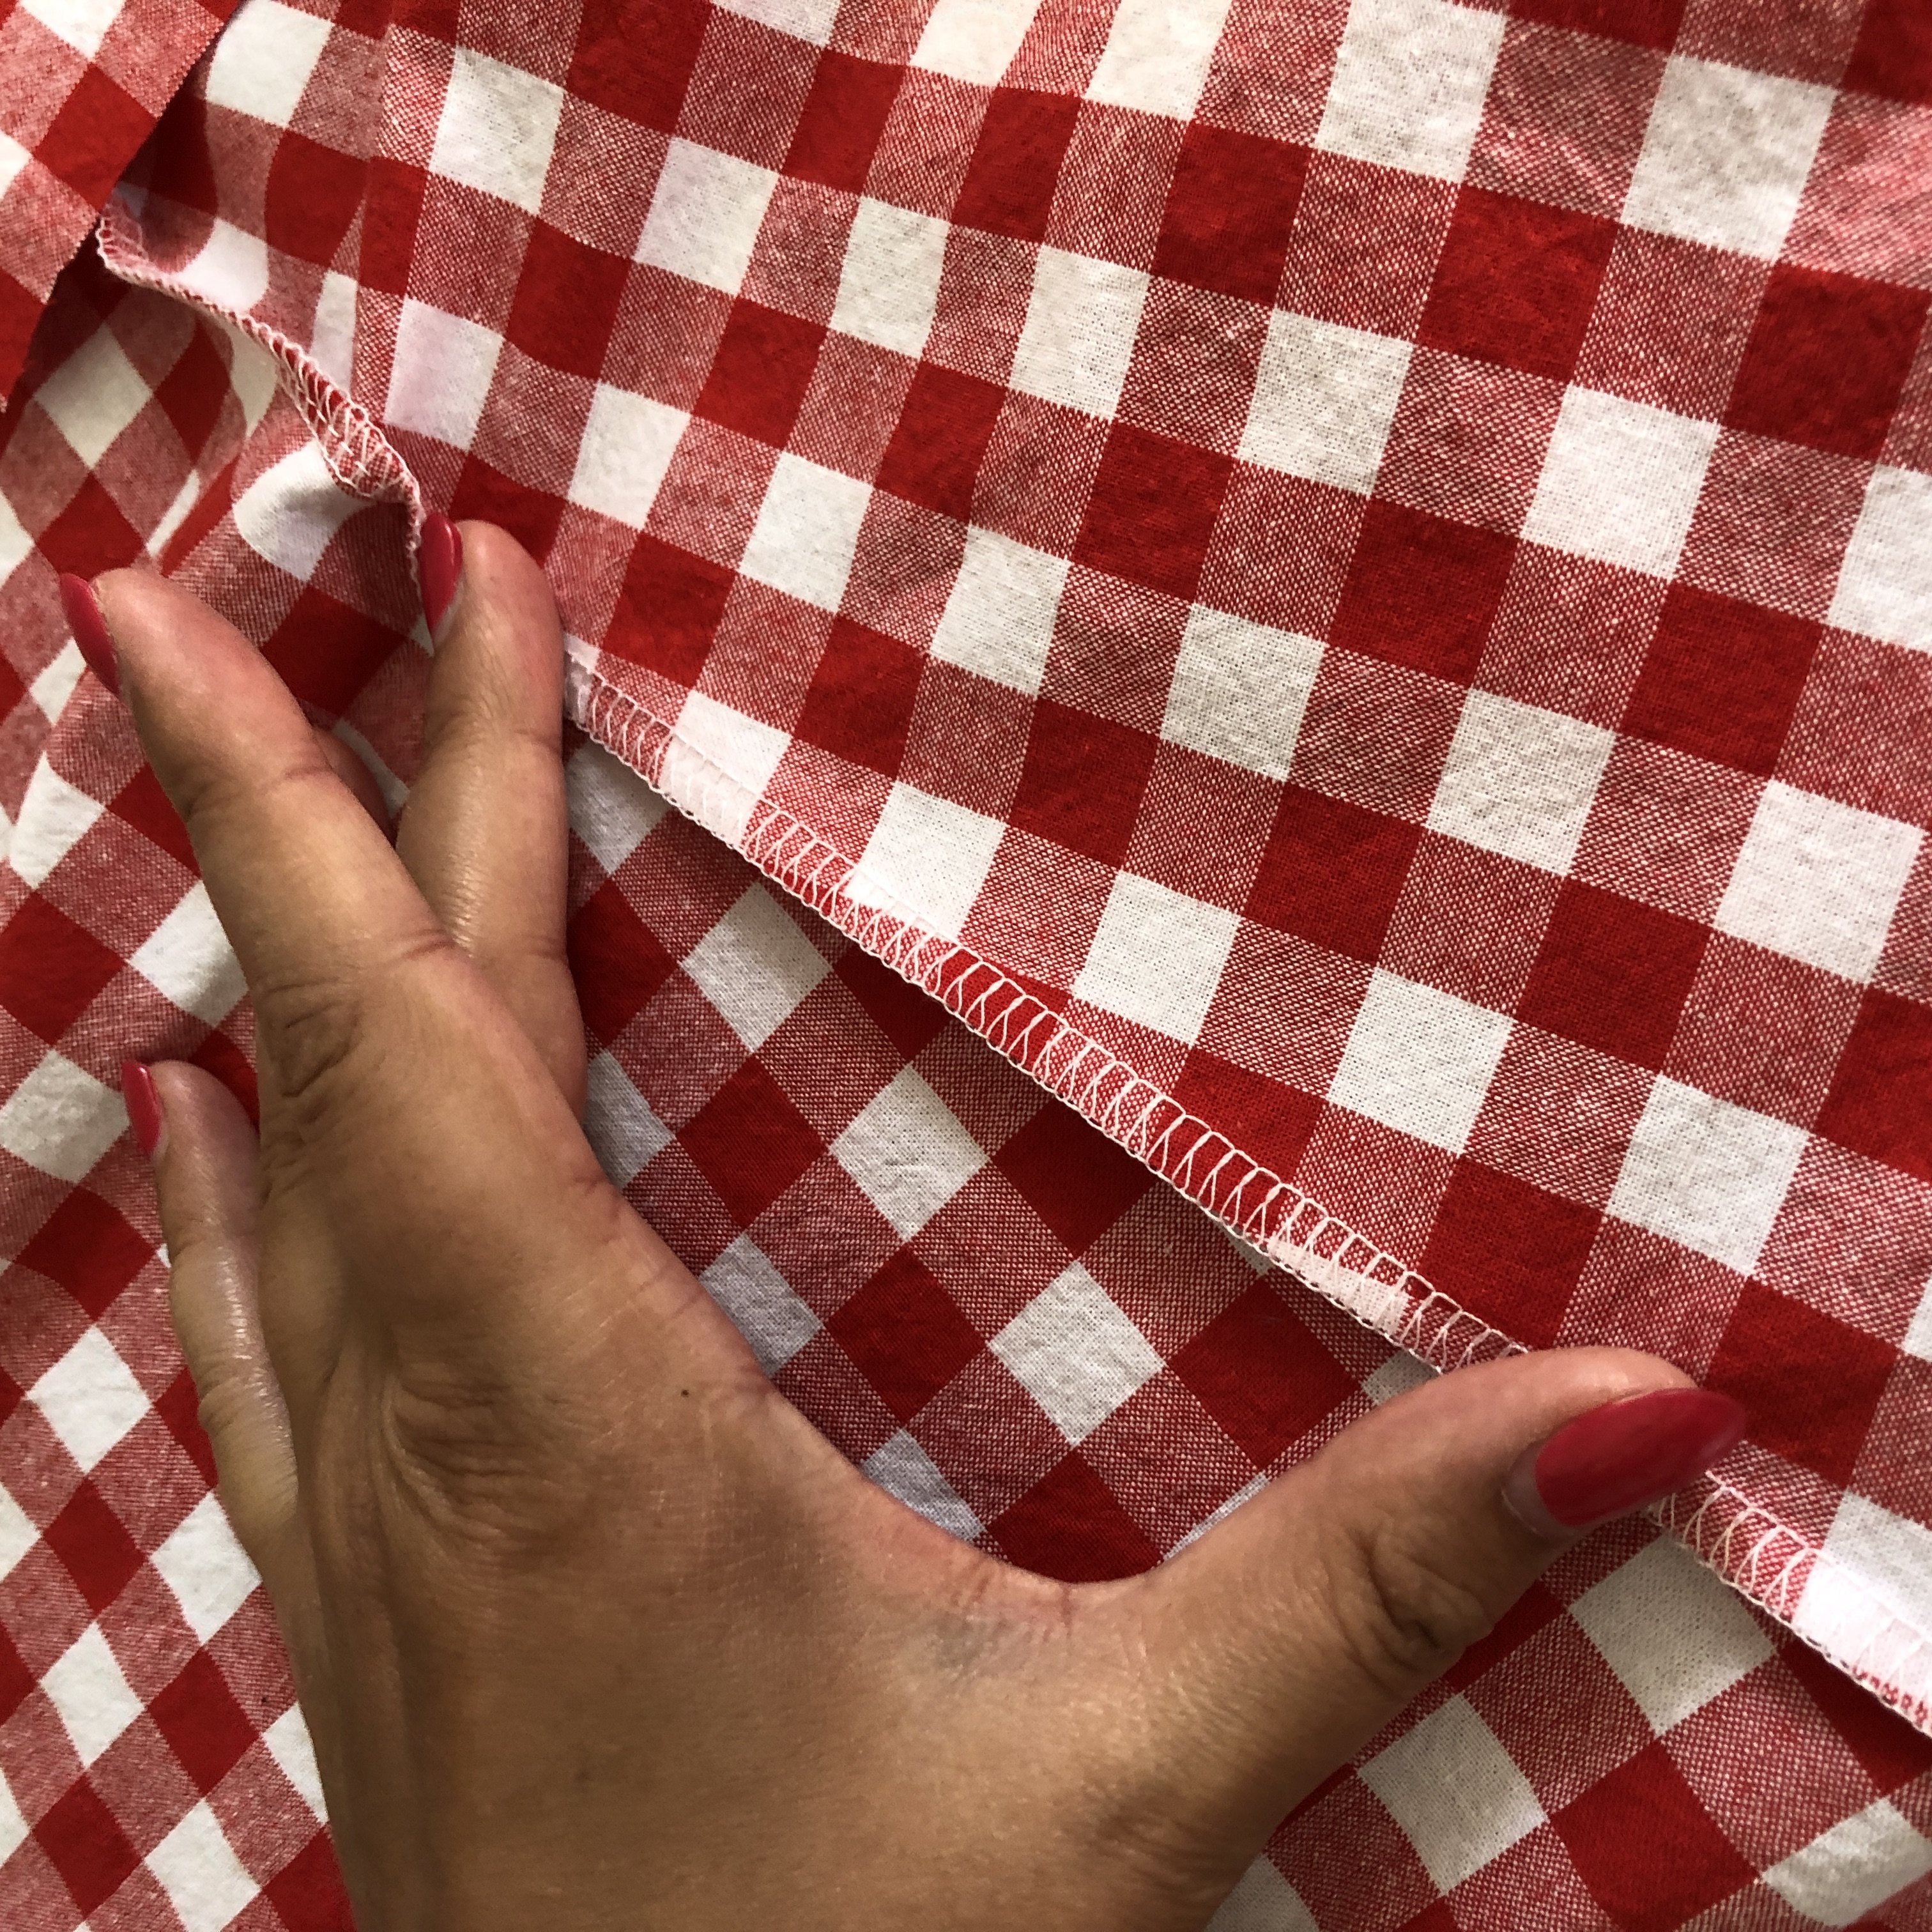
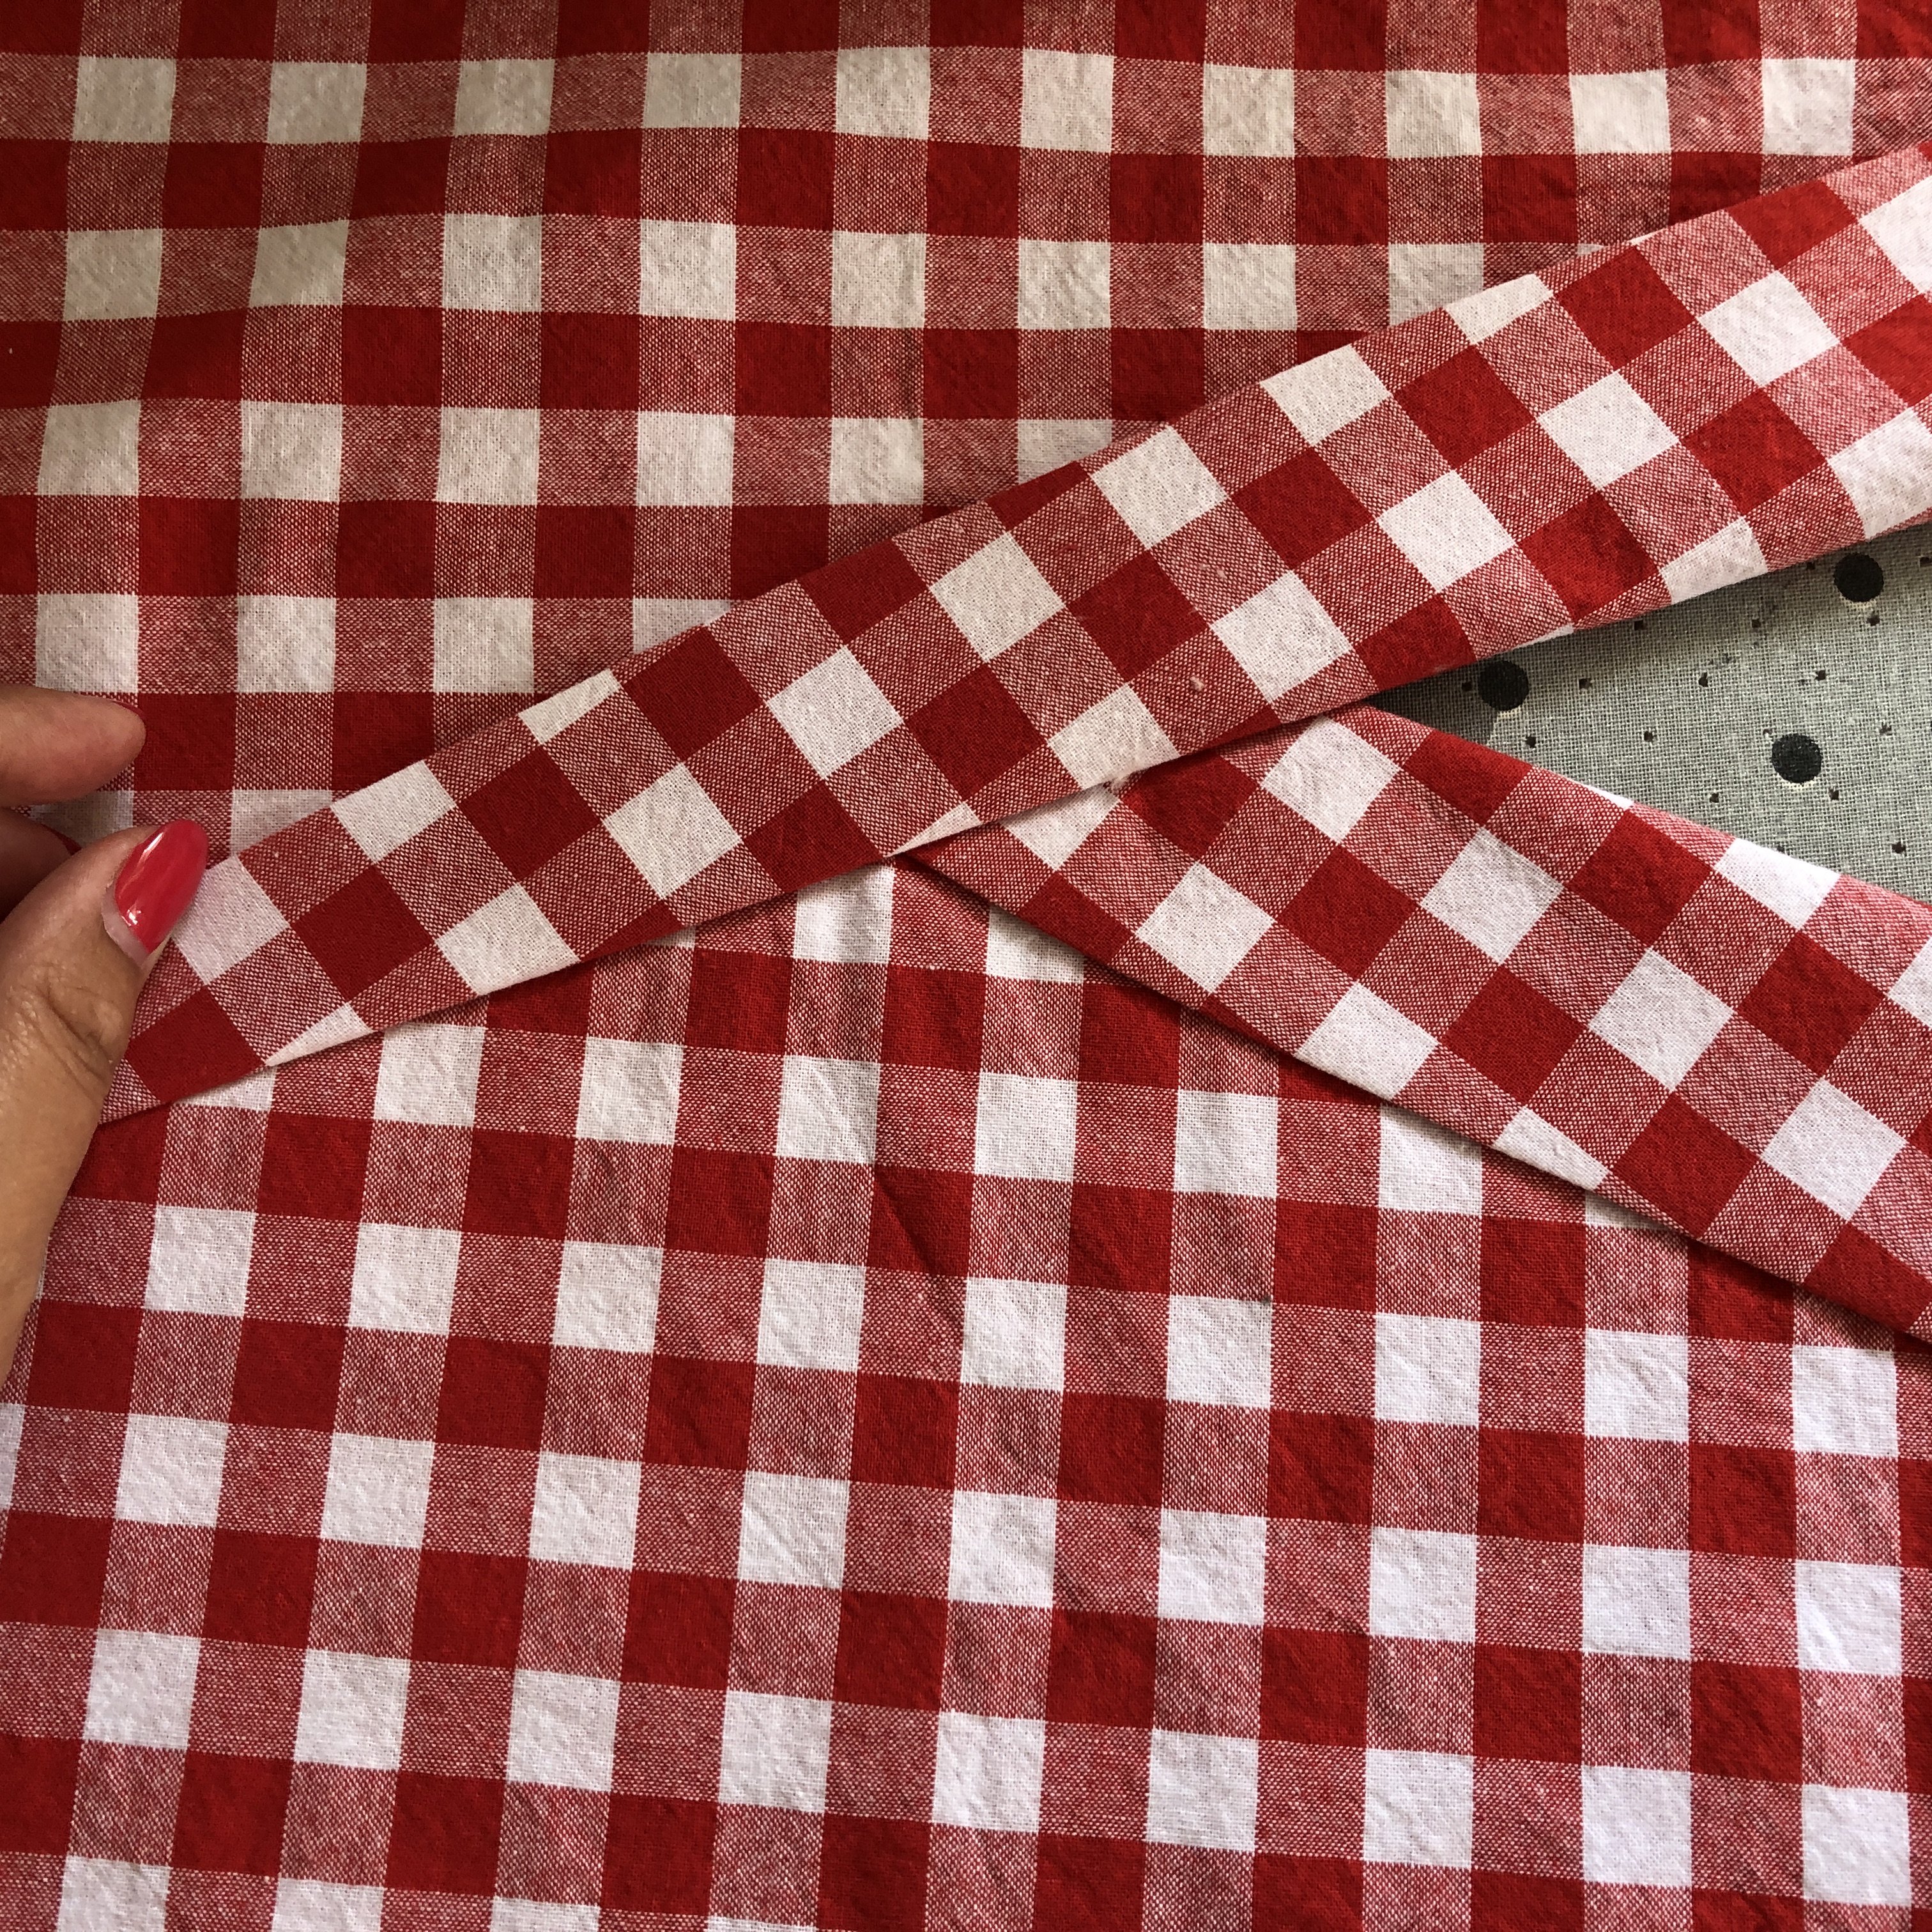
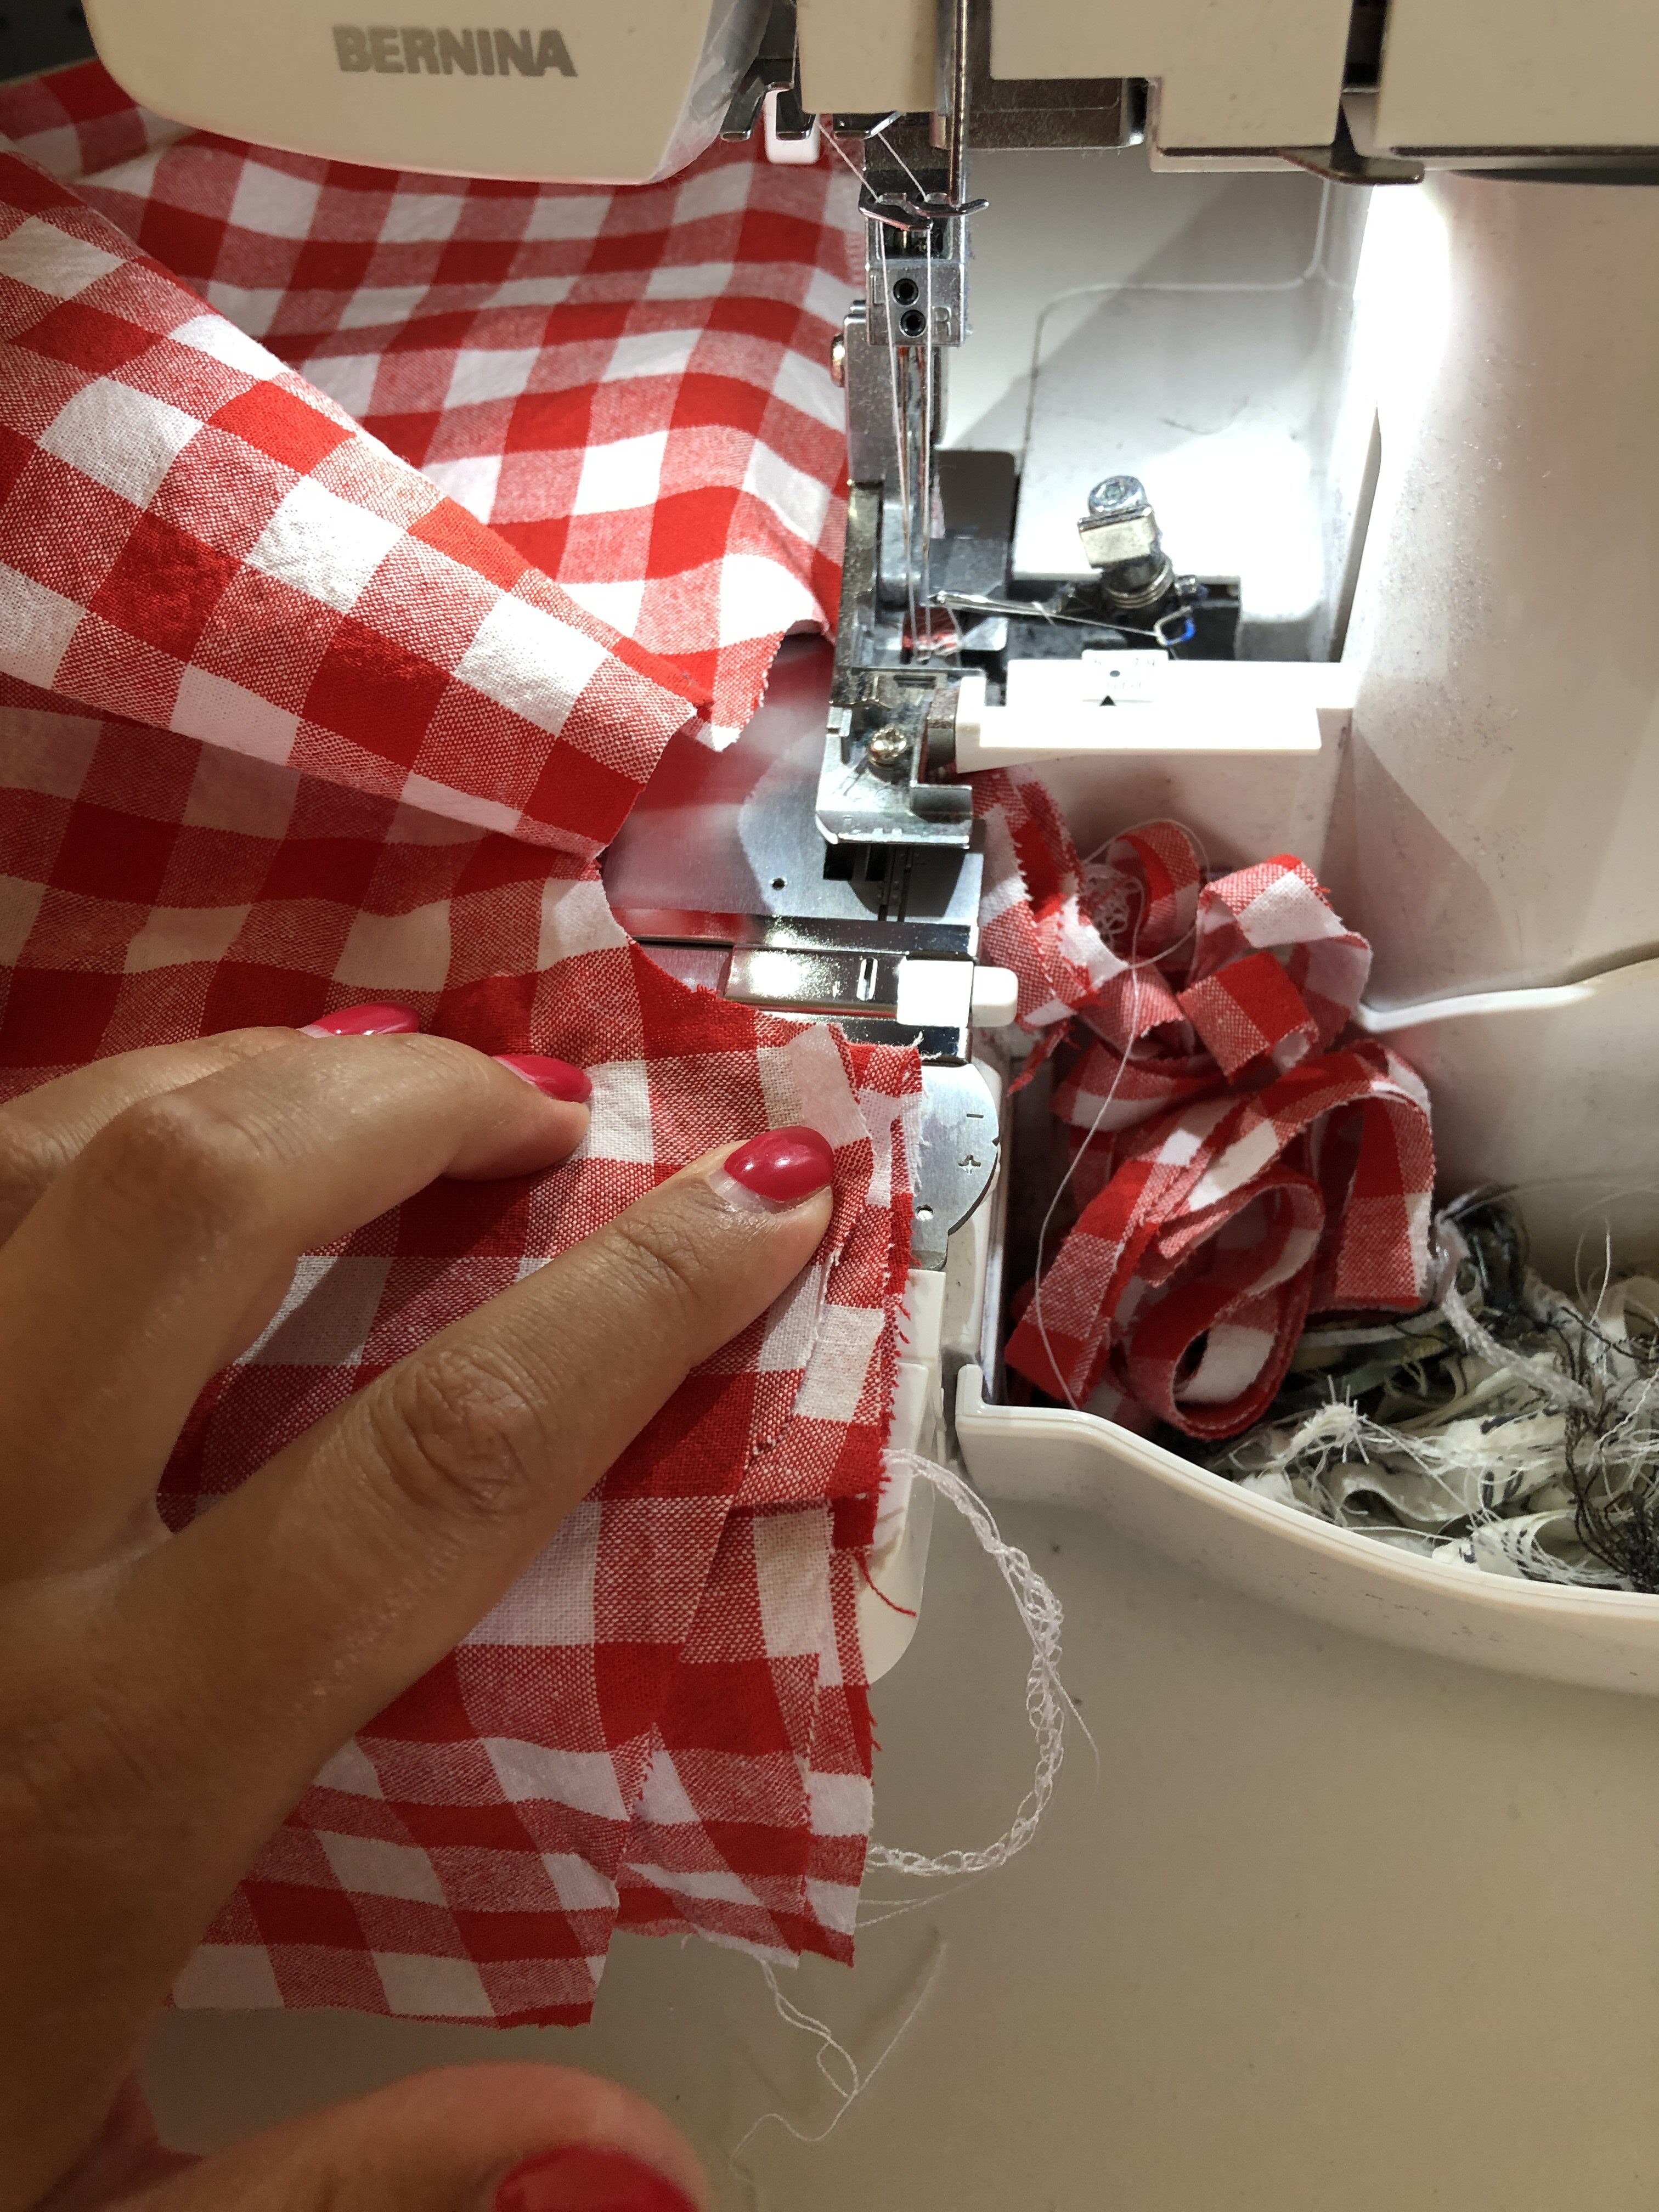
After you overlapped the two front pieces you have to stitch one front to the other front with the suggested overlap. You will need to stitch just where the lapel will fold over.
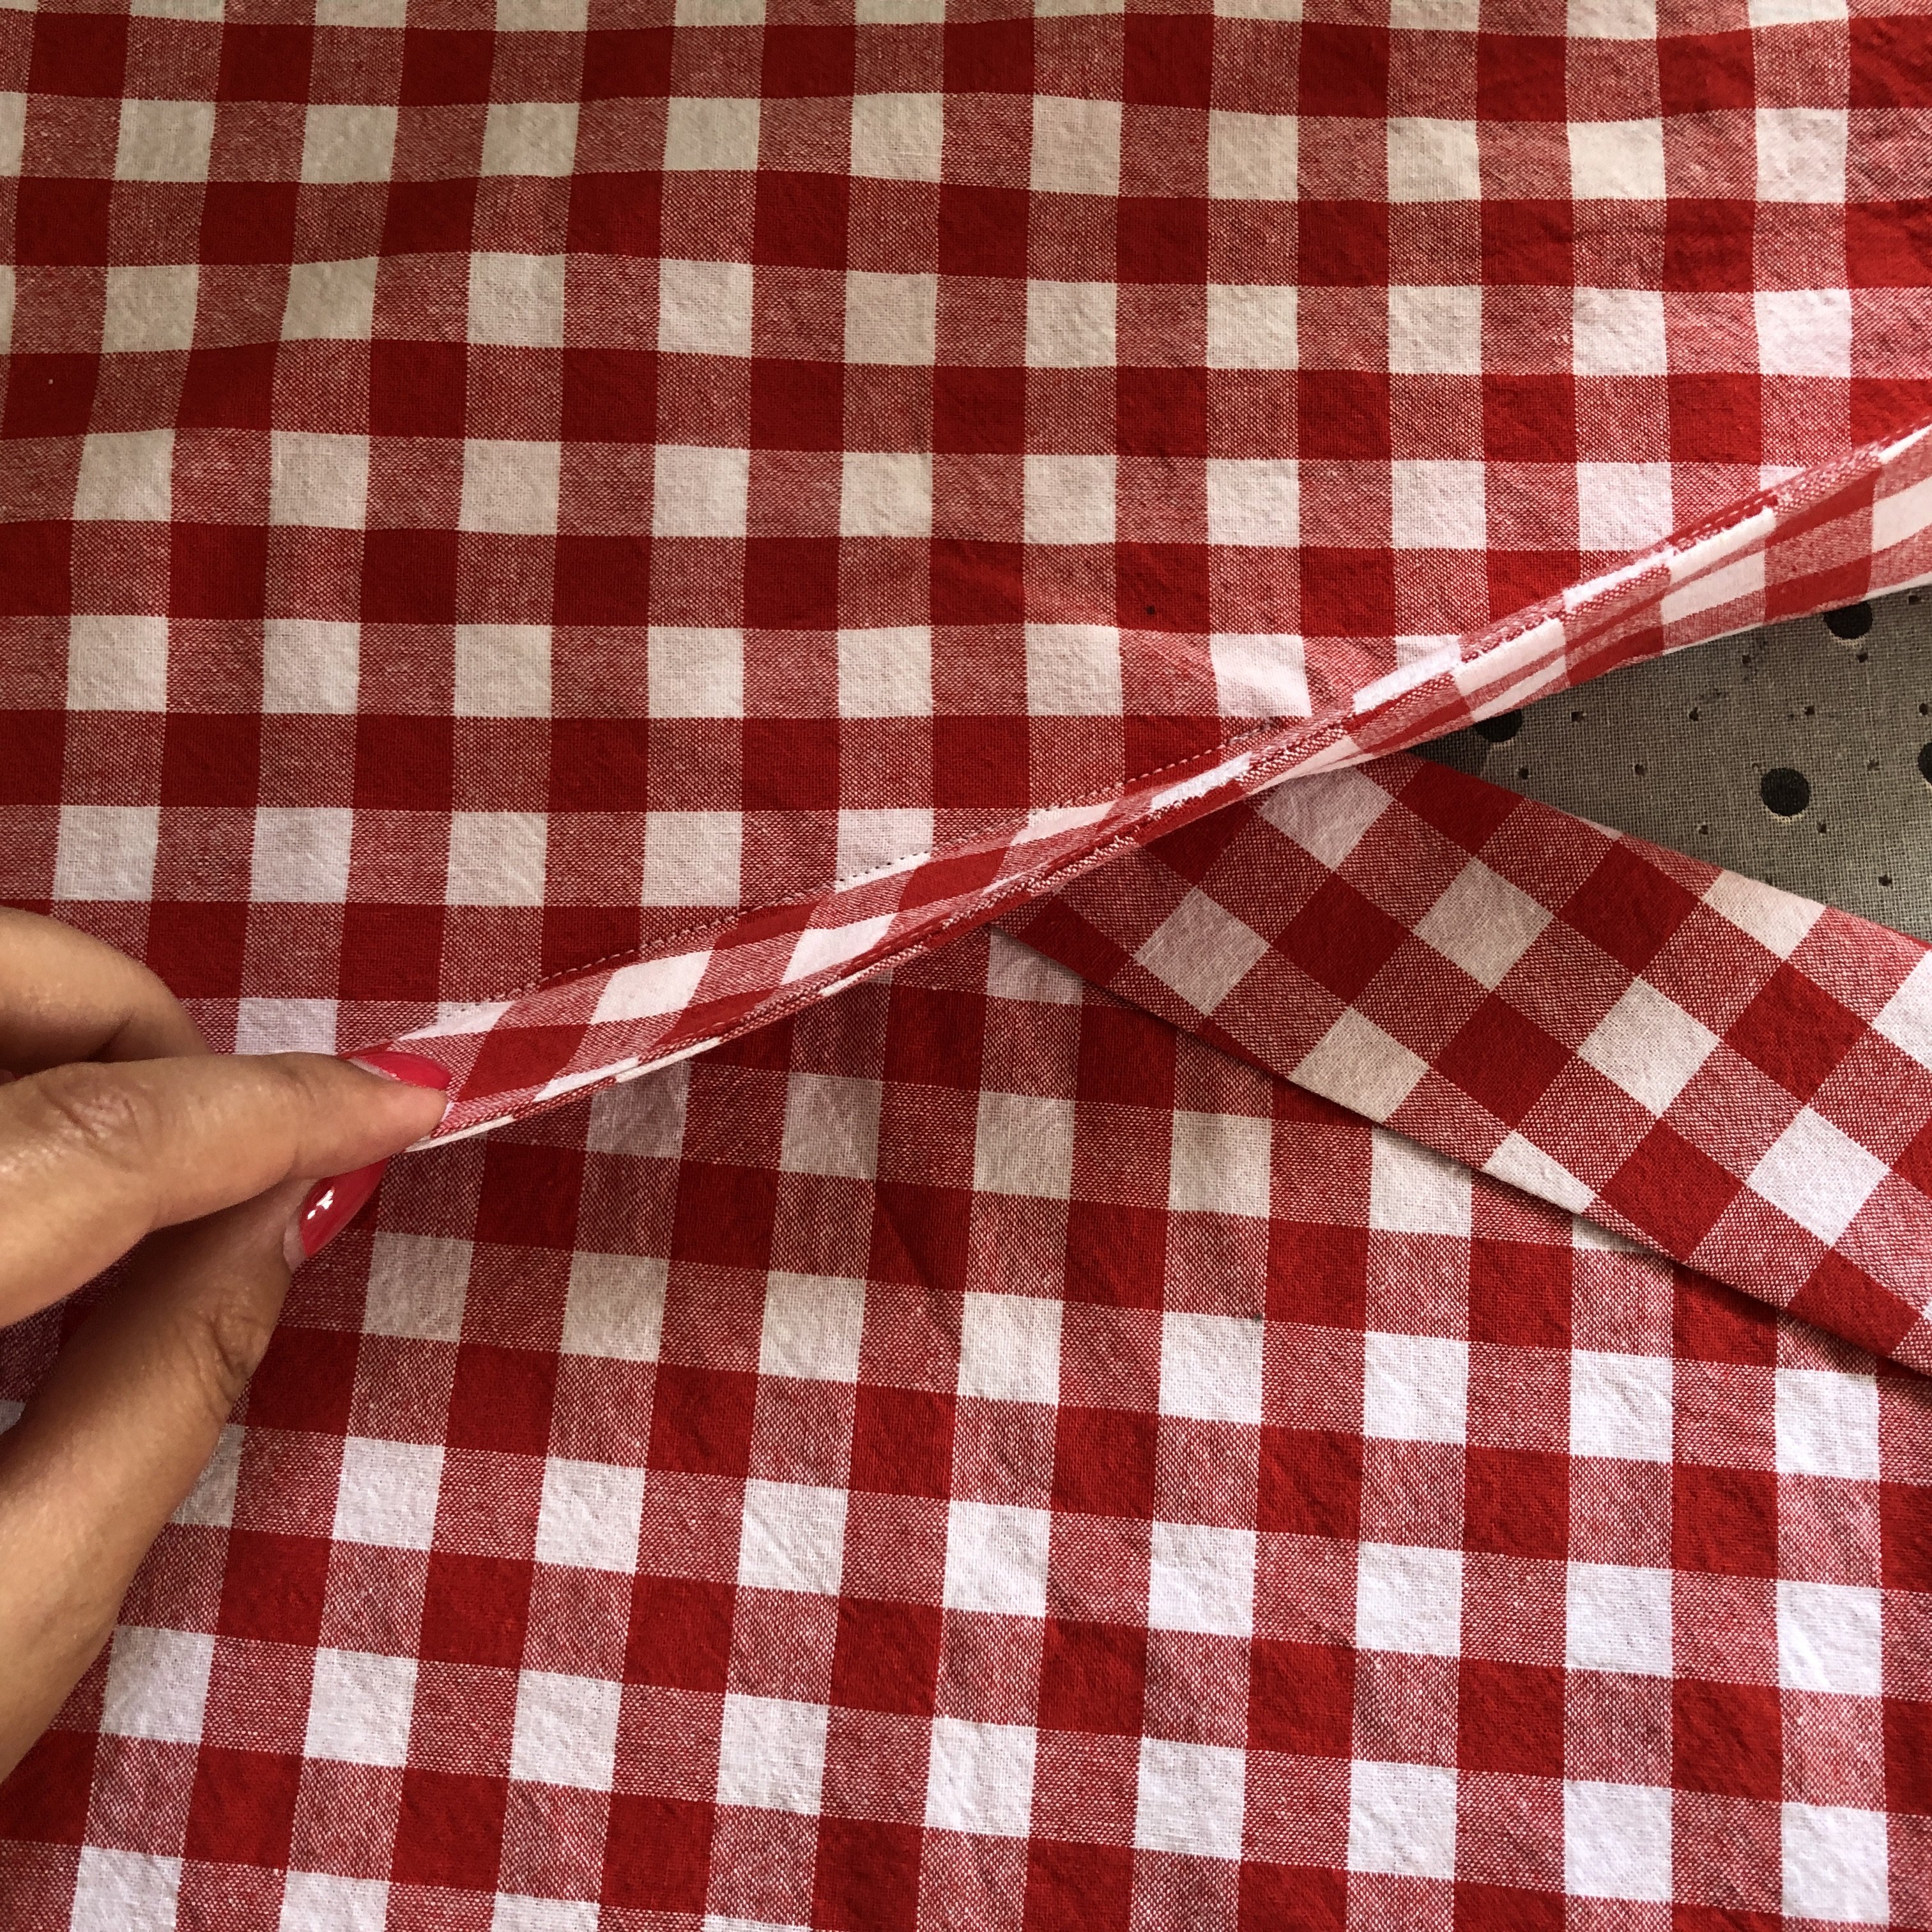
Now you want to press the lapels and you can see where each one will turn. This is your faux wrap.
Neat, right?
Attach the front to the back at the shoulders. I usually do both shoulder seams at the same time without cutting the serger threads. This saves time and thread.
I then finished the sleeves by serging the edges, turning it once under, and topstitching it.

The back neckline is finished with selfmade bias-tape (Deer &Doe is pretty big with its bias tape finishes but I actually like it a lot).

Attach the front to the back at the side seams and finish your hem. I serged the edges, turned it up, and the topstitched it.
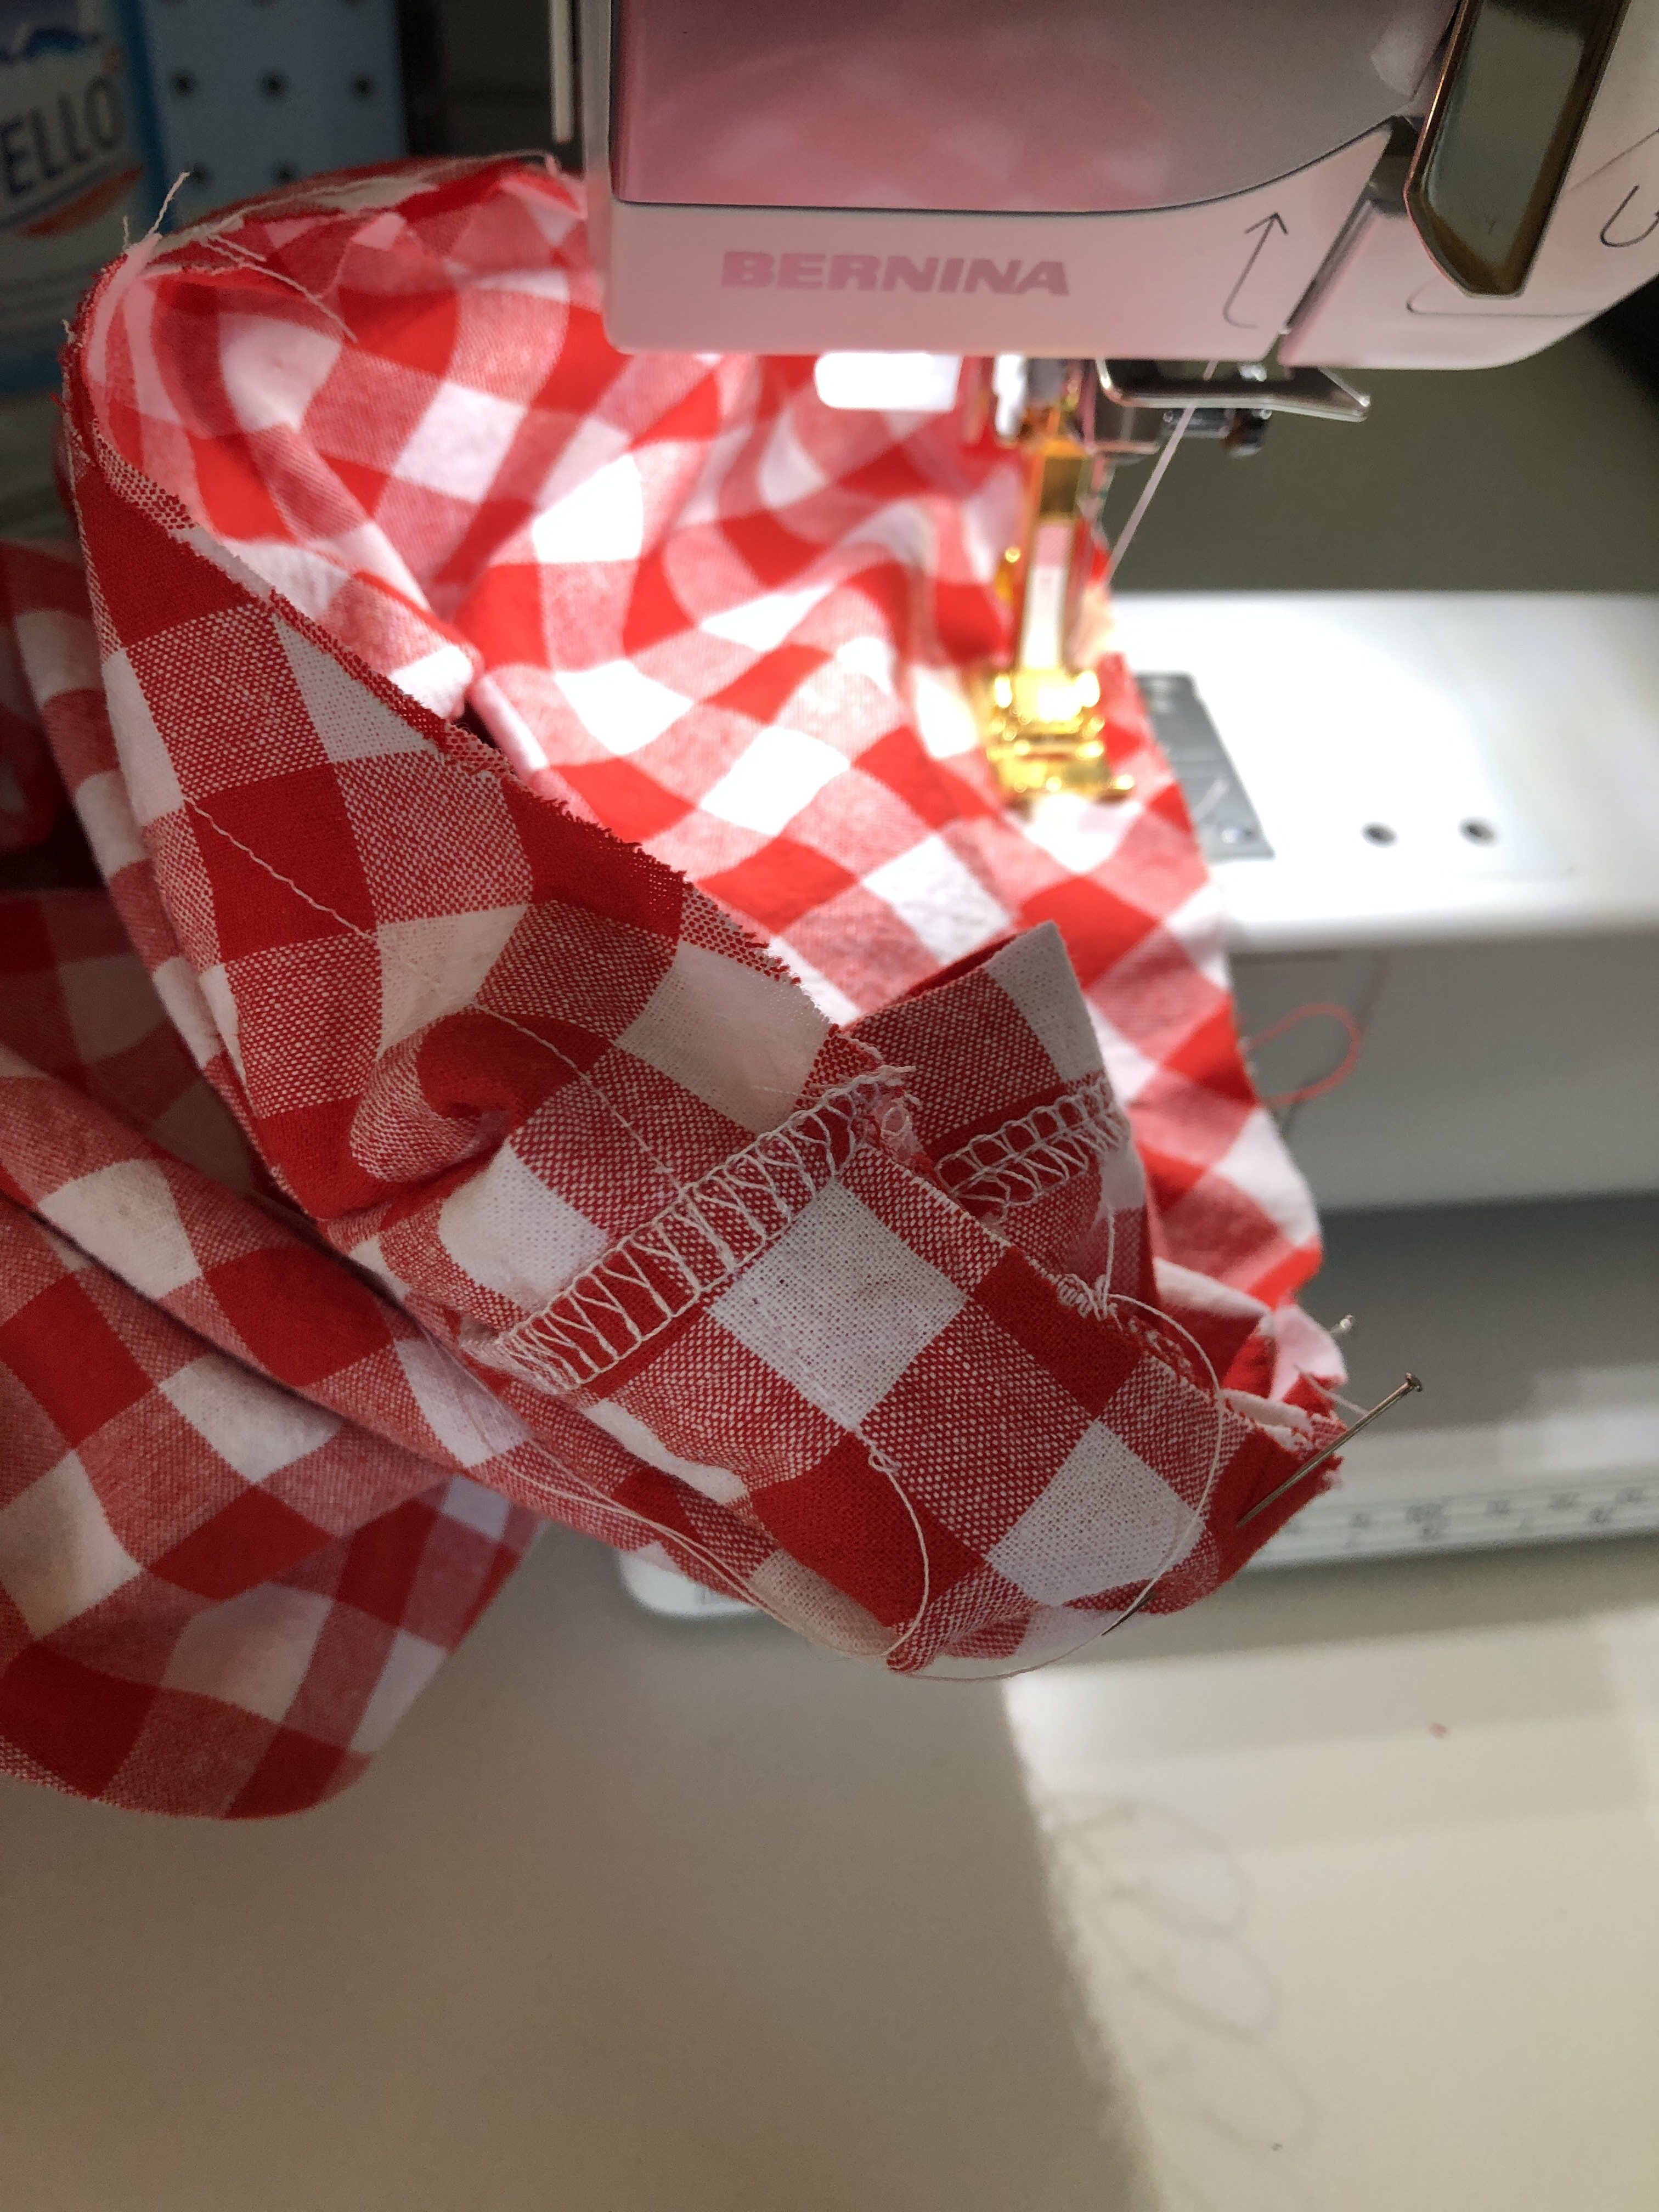
Finally I inserted the sleeves (I hate doing this soooo much because you have to gather the sleevehead beforehand, but this one turned out be surprisingly easy). For sanity reasons I did the first turn with my regular sewing machine and after I made sure there were no puckers I took it to the serger. You never know!
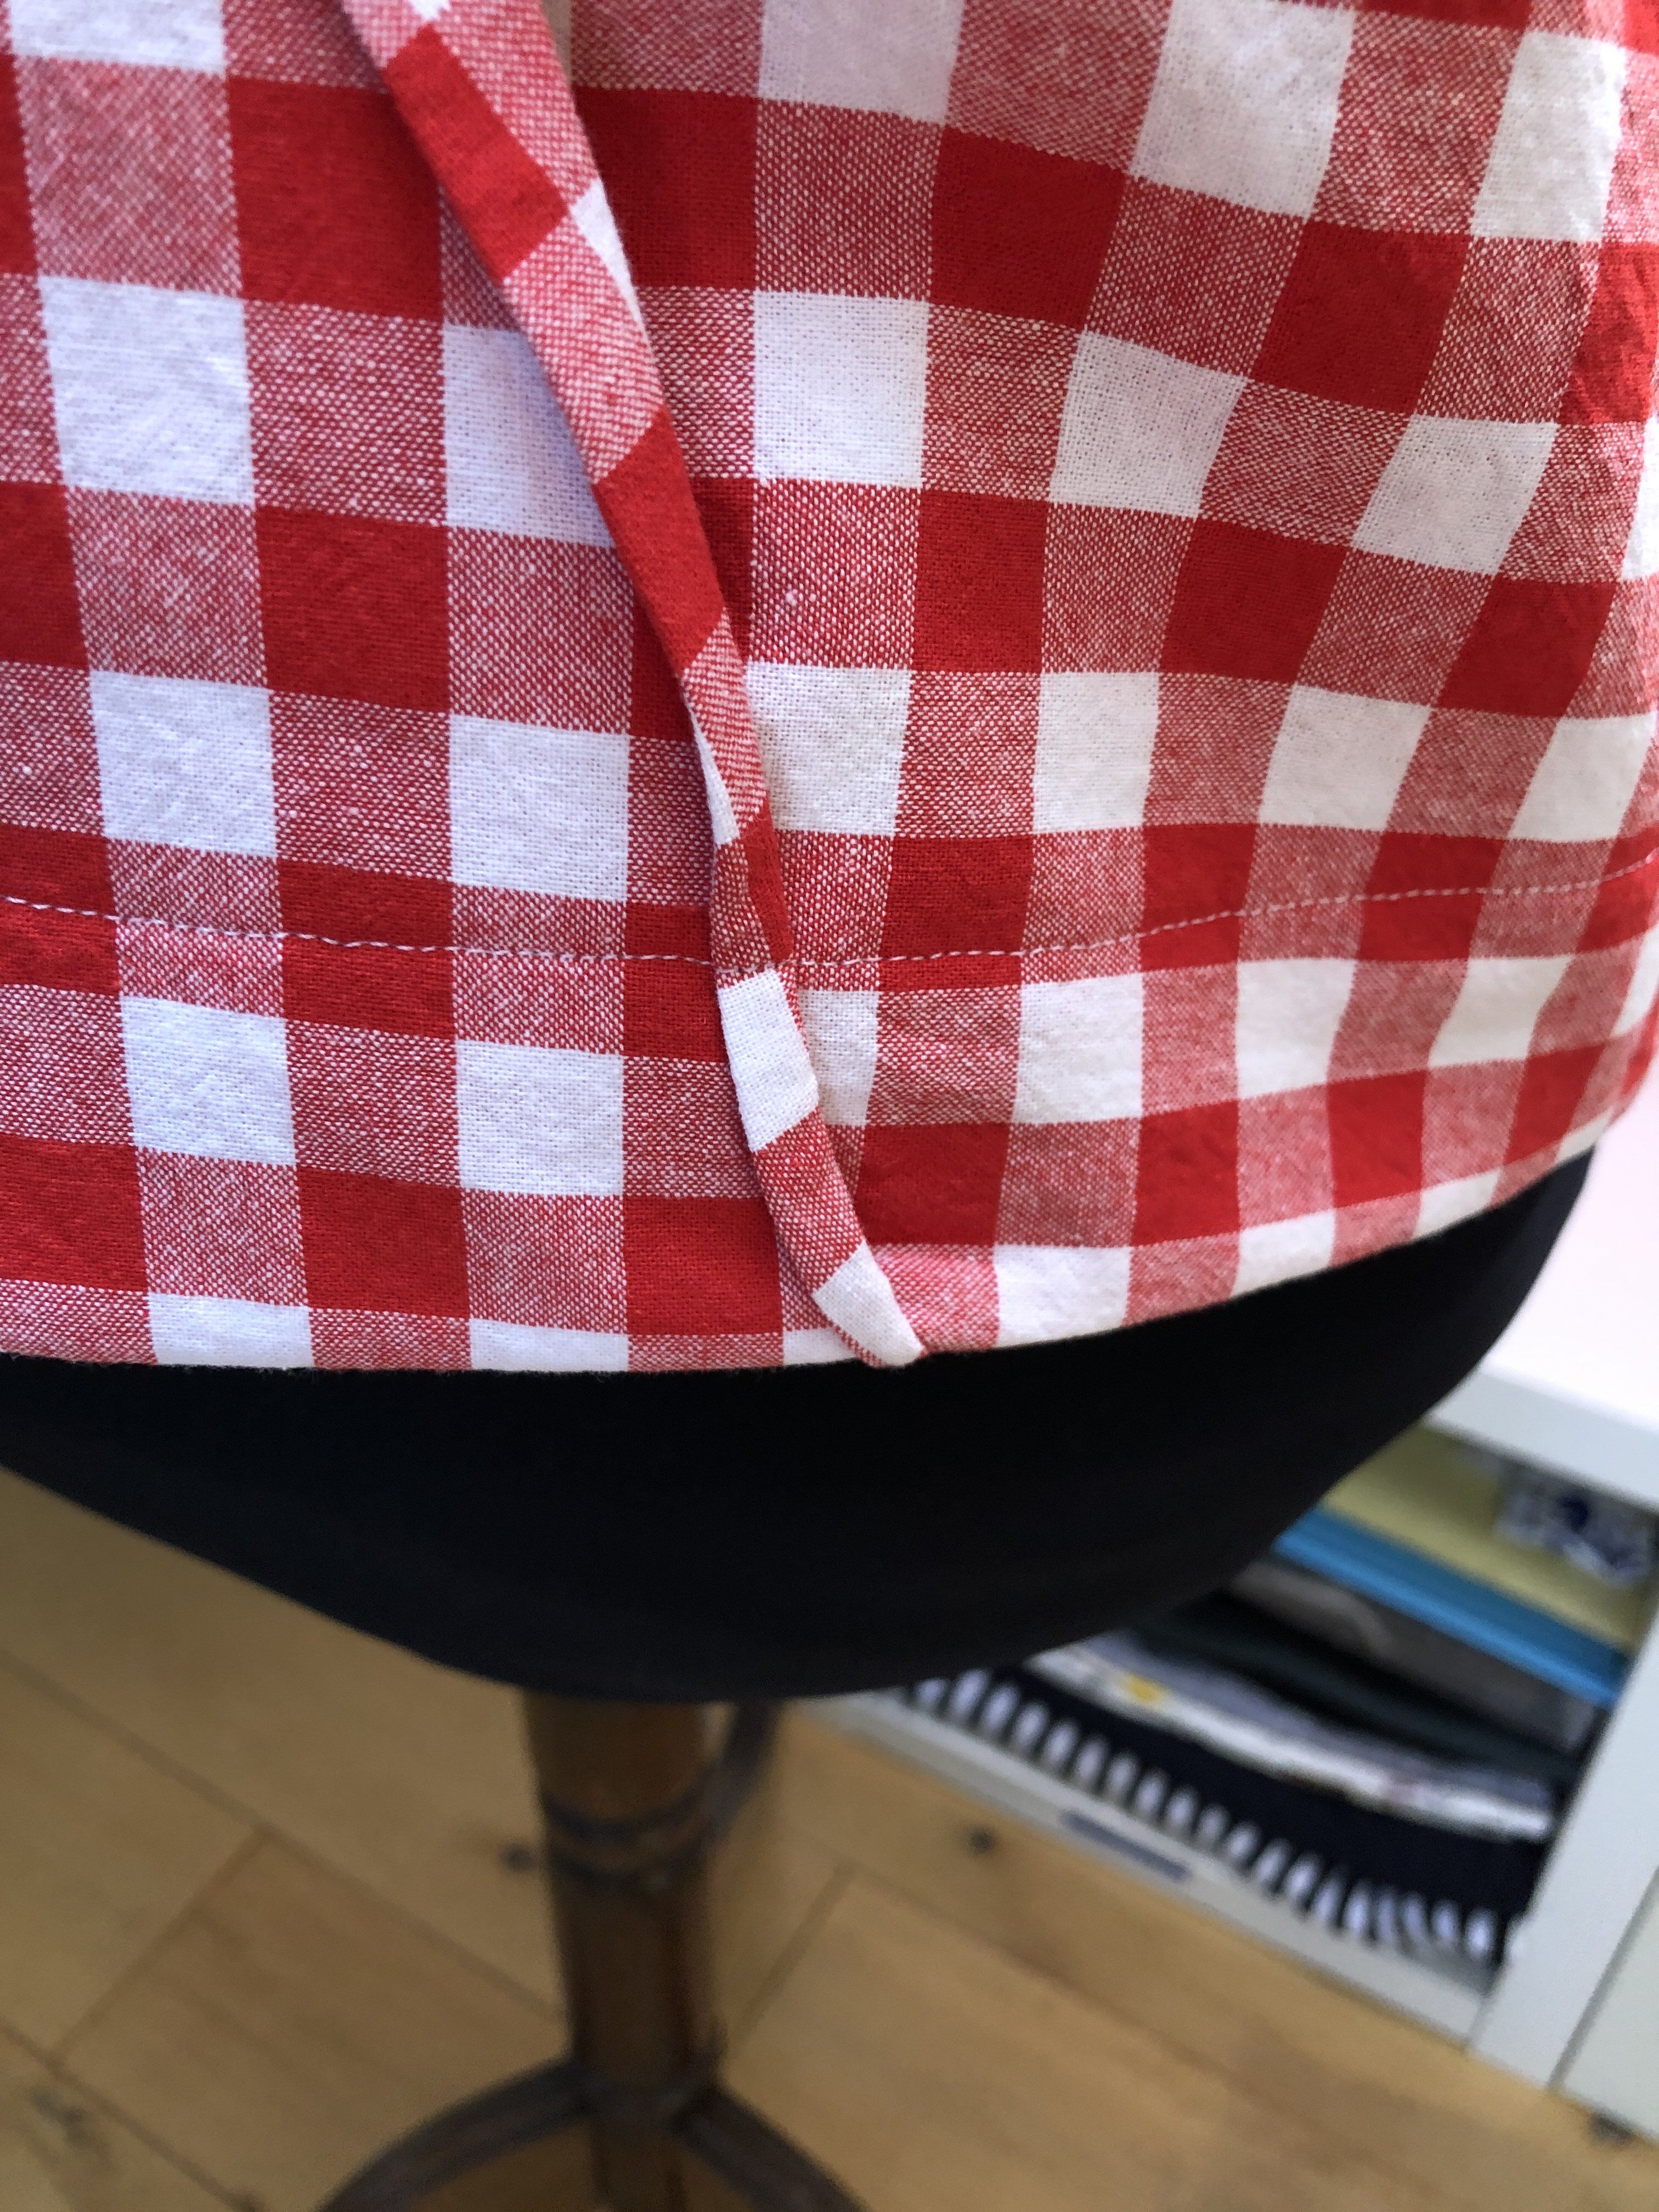
After I finished everything I noticed that the lapel in the front was turned to the wrong side. This must have happened during the hemming. So out with the seamripper and do it again!

Much better! (Always show your mistakes. Honesty is important)
And this is my final result. I have worn it to the office with a black pencil skirt and red shoes and it was a hit. Let me know how yours turns out. You can find me on my blog or on Instagram.
Until then, happy sewing!
Nadine


0 Responses