 BERNINA Corporate Blog -
Once in a while I am asked to make something on commission. This time it was a birthday present for my son (requested by my daughter-in-law). He is a real barbecue enthusiast, so making an apron seemed like a good idea. And of course I had to make one with a suitable embroidery design. I have purchased a design with the possibility to add a name, to make it a personal gift.
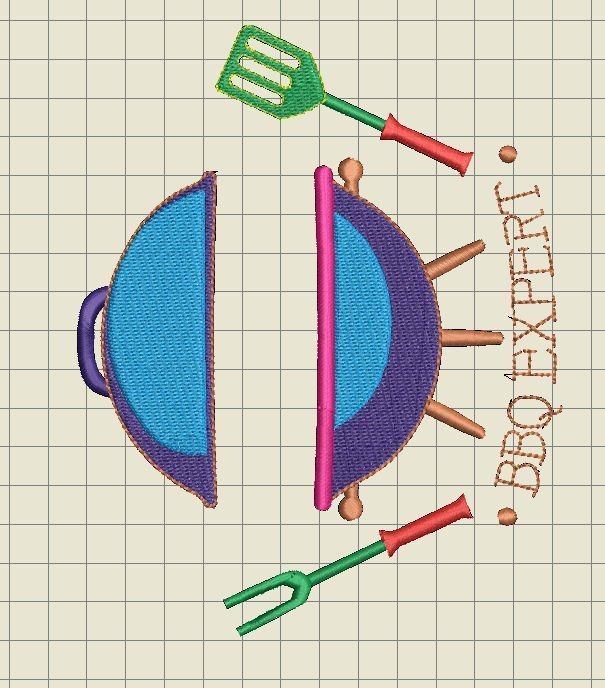
I have placed the embroidery design on the BERNINA Embroidery V8 – Embroidery Canvas. It’s on its size, to fit in a smaller embroidery hoop. Because I have to edit it, I will turn it to horizontal (2 x 45° to the right), to be able to place a name in the gap between lid and the BBQ.
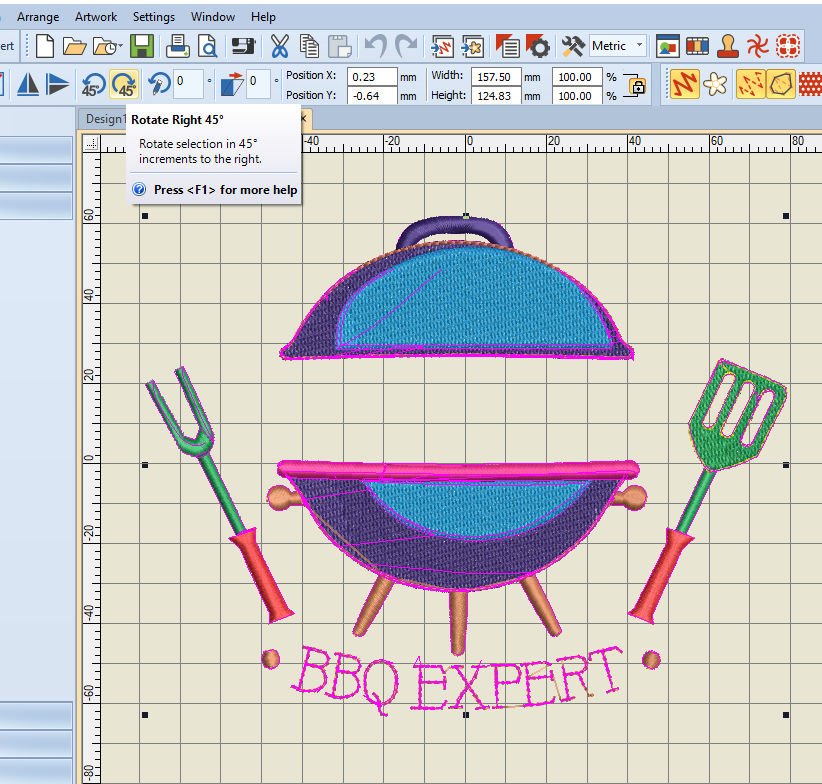
Rotating 45°, twice = 90°, which placed the embroidery design horizontal.
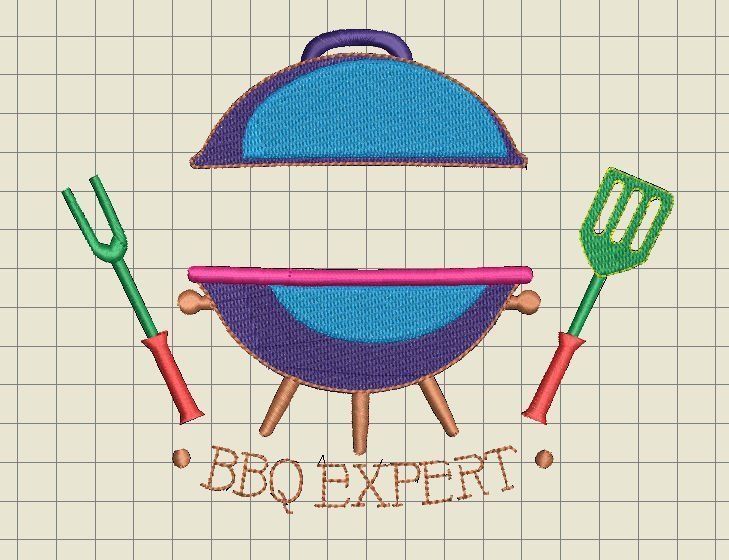
After I’m done editing, I will rotate the design back, 2 x 45° to the left again. But for now, this will do.
There are many option for Lettering with BERNINA Embroidery Software DesignerPlus 8. I’ve purchased this embroidery design, because it gives me the option to add a name, which was the whole idea of the designers: customizing it. Sometimes you can find prepared designs, for you to add your own text.

Via ‘Toolboxes’, and ‘Digitize’ I have searched for ‘Lettering’. By left-clicking, it will be activated, and a dialog box with ‘Object Properties’ appears.
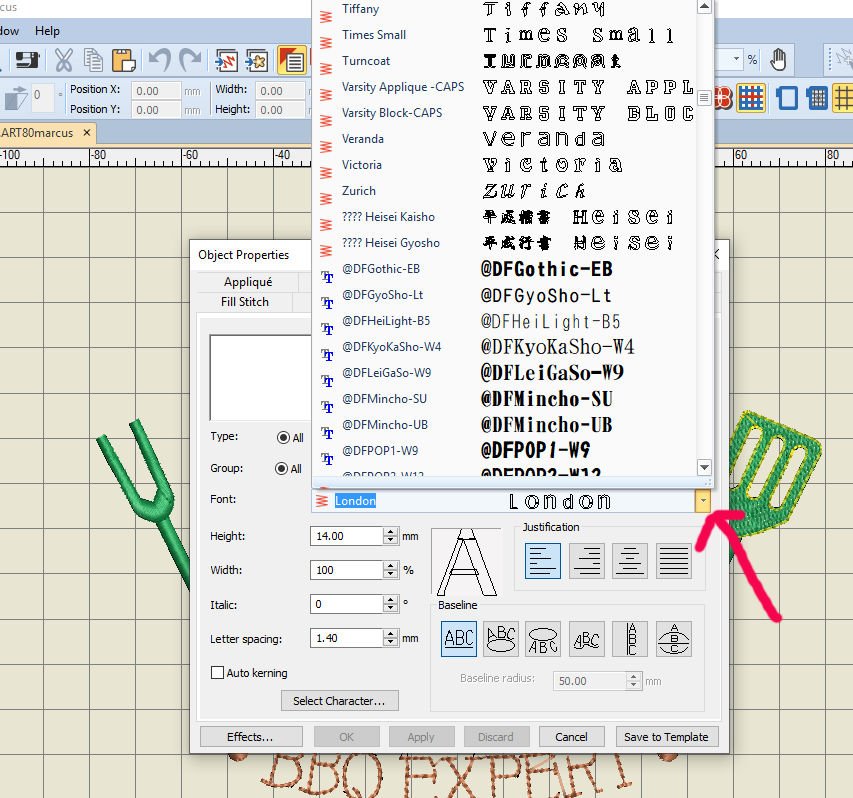
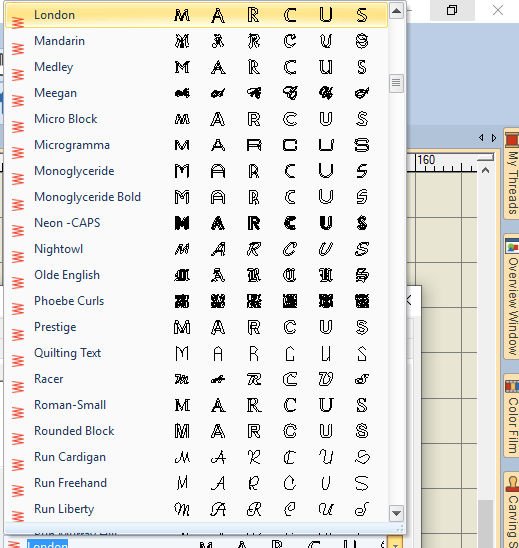
Now I am able to type a name in the empty box, using a already digitized BERNINA Font (red zigzag), or a Windows10 Font (blue double-T’s = TrueType Font or OpenType Font). You can find a list of examples of fonts already digitized by BERNINA with your Reference Manual, starting page 363. All the Blue double-T’s are fonts placed by default or added by yourself (you can always add new fonts, placing them on your hard drive. Once you’ve done that, close your computer and open it again, for the font to be recognized by the BERNINA Software). Not all fonts are suitable for embroidery but just try them! Endless possibilities!
Using a Red BERNINA font, you know the embroidery is ok: it is digitized by BERNINA : you can rely on the quality of embroidery.

By clicking on a spot between the lid and the BBQ, a dash appears: this is an indication where to start the text. Don’t worry if it’s not exactly where you want it to be: you can always move it later.
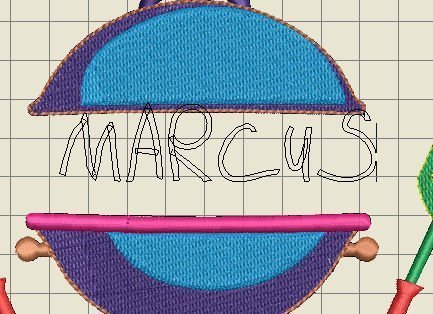
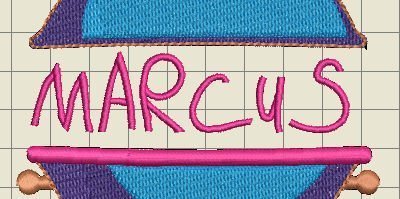
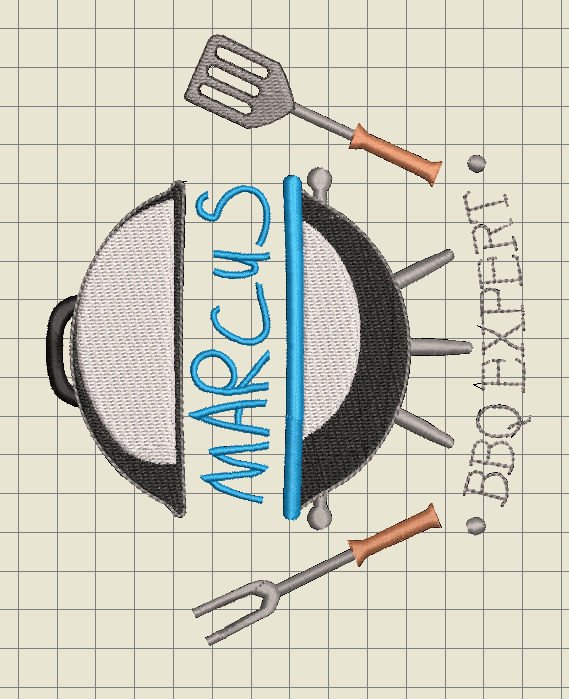
I have typed ‘MARCUS’ and it appears as a sketch: by using ‘Apply’ I can check if this is ok, before using ‘OK’ to set it all.
As soon as I have used ‘OK’, or ‘Enter’ the embroidery is fixed and is placed on the spot, the way it is digitized. Again, you can always change the type of stitches afterwards.
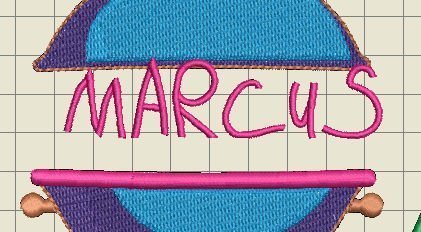
To move this name to the right spot, I’ve selected it, clicking and dragging it so it fills the space, releasing the mouse button to set. If you want more space between the letters, you can use ‘space’ between each letter while typing a name, or widen the text by pulling on a side node.
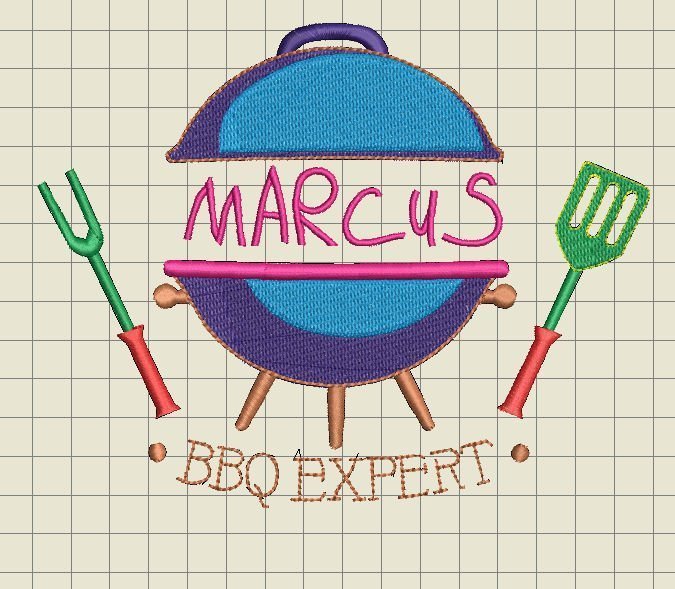
And there it is: a customized embroidery design. This is fun and easy to do!
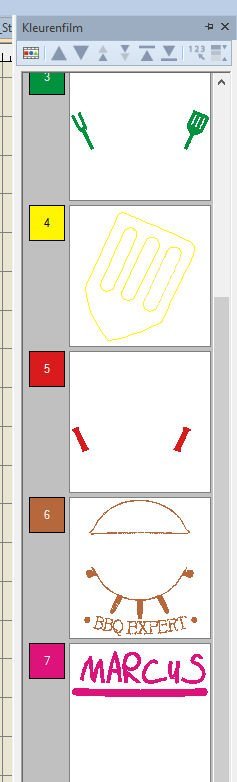
Checking to see if all went well, I am using the docker ‘Color Film’. The name/text is added last, so the box should be last too, which it is. I want it to be embroidered the last, but if you want to embroider it in another sequence, just click on the box and drag it to another place.
You can add many different characters: if you want a preview, just type the name/text before choosing another font: instead of the name of the font, you will see your own text with the font. This tells you how your embroidery will be with a certain font.
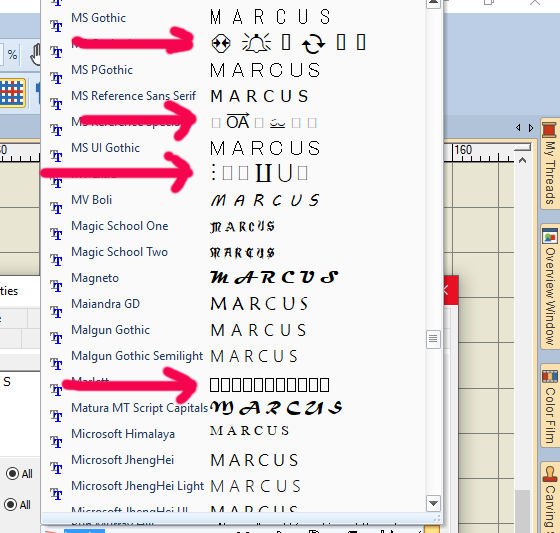
However, the BERNINA Embroidery software V8 will not recognize all TT fonts (TrueType fonts or OpenType Fonts) which are already on your hard drive: sometimes you can see just boxes, or strange characters: that tells you that such a font is not suitable for embroidery/digitizing. Just choose another – there are plenty. But that doesn’t mean that you will have to remove them – use them for documents, creating cards and for social media if you want to.
I have a lot of fonts on my hard drive: I love special fonts, and sometimes use them for embroidery. When uploading fonts, I am always checking if the Website I am downloading them from, is legitimate, and the fonts are both free for download and free of copyright (remember that!), so I can use them any way I like.
Another way to use ‘Lettering‘ is to left-click on ‘Lettering’, then on the spot you want to type: a dash appears for you to start typing. You can also use ‘a’ on your keyboard (lower case), after which the dialog box ‘Object Properties’ appears, so you can type the text in the empty box.
If you are looking for a specific font, knowing how it’s called, click on the current font/name to select it (blue), and type the first letter, or first and second letter of that font. It will appear immediately, so you don’t have to search through the entire list.
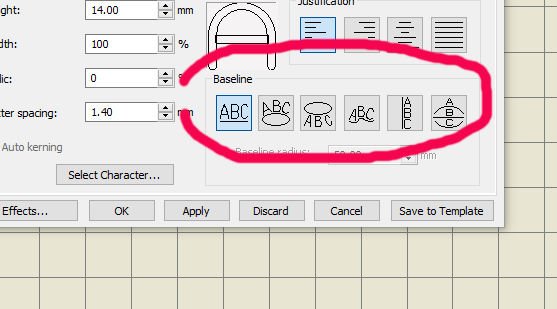
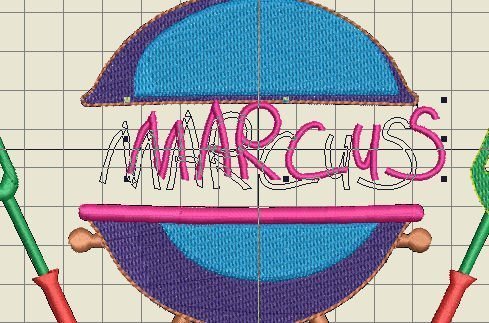
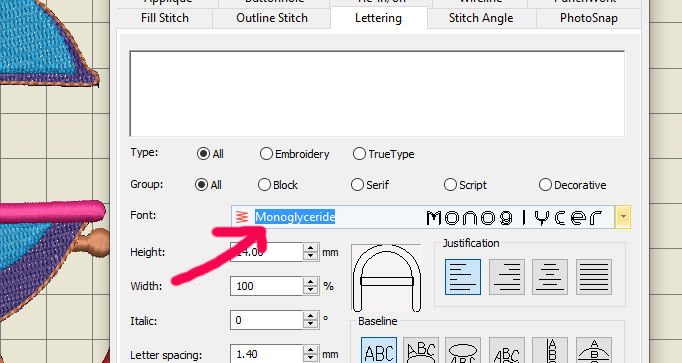
There are different options to change lettering: via menu: height, width, making it cursive, spacing, but also the placement of the text with ‘Baseline’ = Free Line (my text), Circle CW, Circle CCW, Any Shape, Free Line Vertical and Predefined. Just choose one and play!
After choosing the fourth option (Any Shape), the name is set in a more playful way.
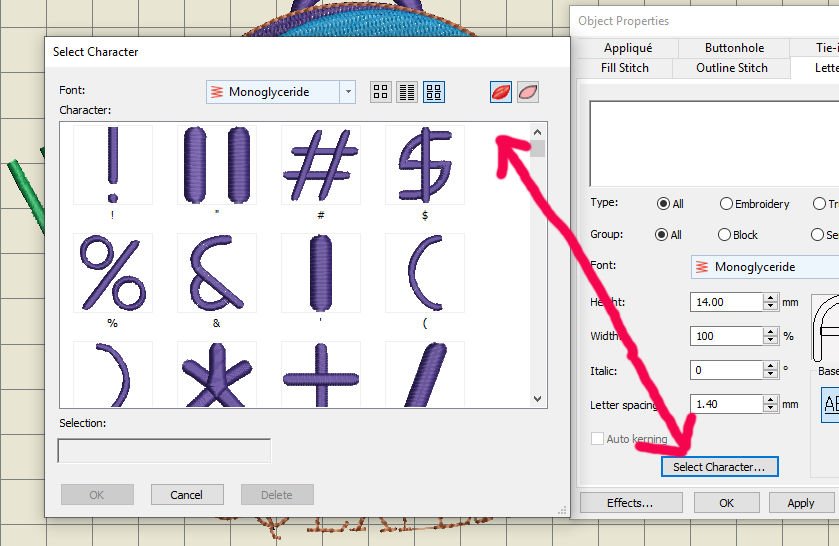
Need a special character? Click on ‘Select Character’ , left bottom of the dialog box, after which ‘Select Character’ box will appear. It is currently set on ‘Show on TrueView” , second icon from the top right, but you can also set it on ‘Show as Outlines’, the icon next to that. Just scroll to see more characters to use.
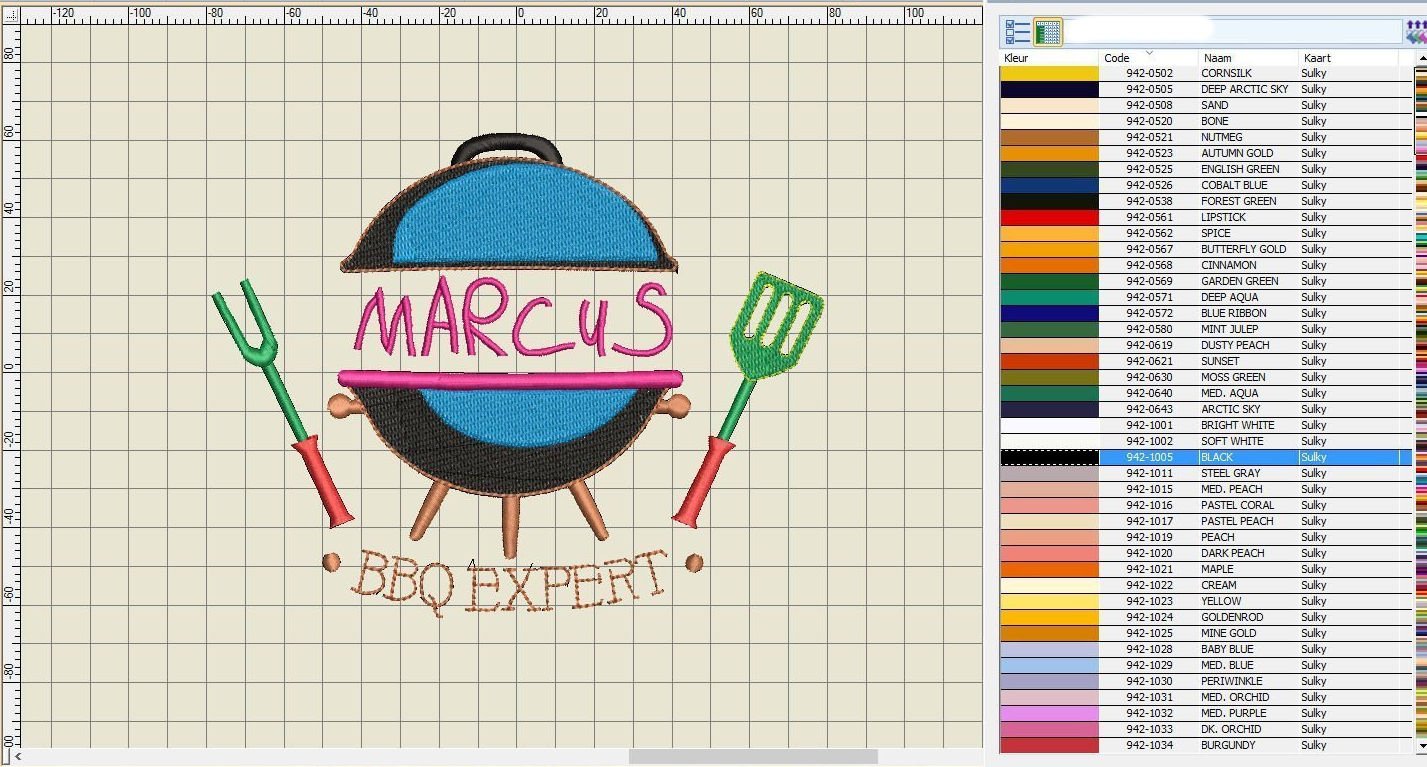
If you want to change the threads/colors you will use in your embroidery design, open de docker ‘My Threads’: use your own charts, or the brand/colors of your choice.

Use ‘Color Film’ to see each object/colors separate. Just click on a box – there can be multiple objects of one color in a box – and use ‘My Threads’, or click on a suitable color with the Color Palette Toolbar.

After changing it all, the non-used colors can be removed (4th icon from the right), to leave just the colors that are used.

I am always using the ‘Stitch Player’ to see if the embroidery is ok: to check the sequence and how it is made. This gives me more insight.
And after all is edited, I have to change the direction for fitting in my embroidery hoop: turning it 2 x 45° to the left.
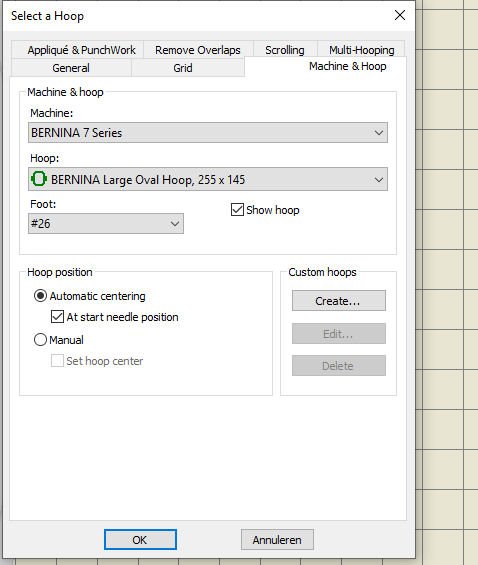
Choosing the right Embroidery Hoop is essential: be sure your embroidery design fits. Change the Foot too if it is not already set on Foot #26. And also, check the box ‘Automatic centering’ with ‘Hoop position’.
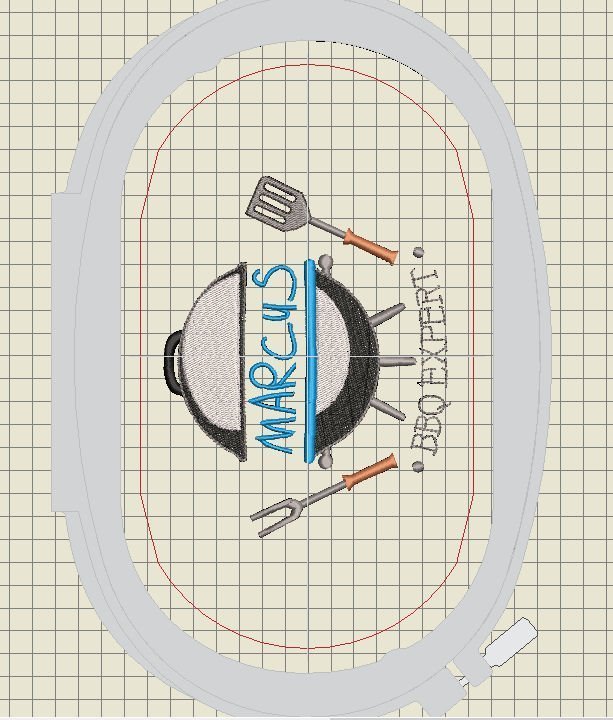
The red lines are safety lines: your embroidery design should be centered well between these lines, but remember: if you want to have a running stitch made around your design before the actual embroidery, there should be space for that too!
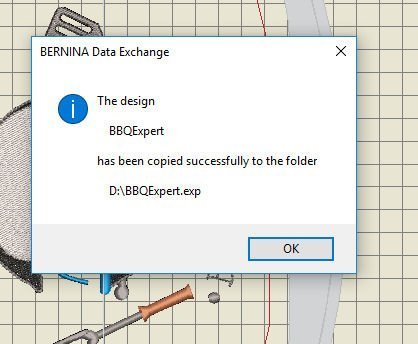
Transferring the design to my USBstick is the next thing to do.
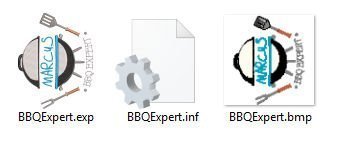
I need to check if all three files are added to the USBstick: the .EXP is the actual embroidery design, the .INF with information for your machine about the design and the .BMP is the picture: you need all three, so your machine knows what to do.
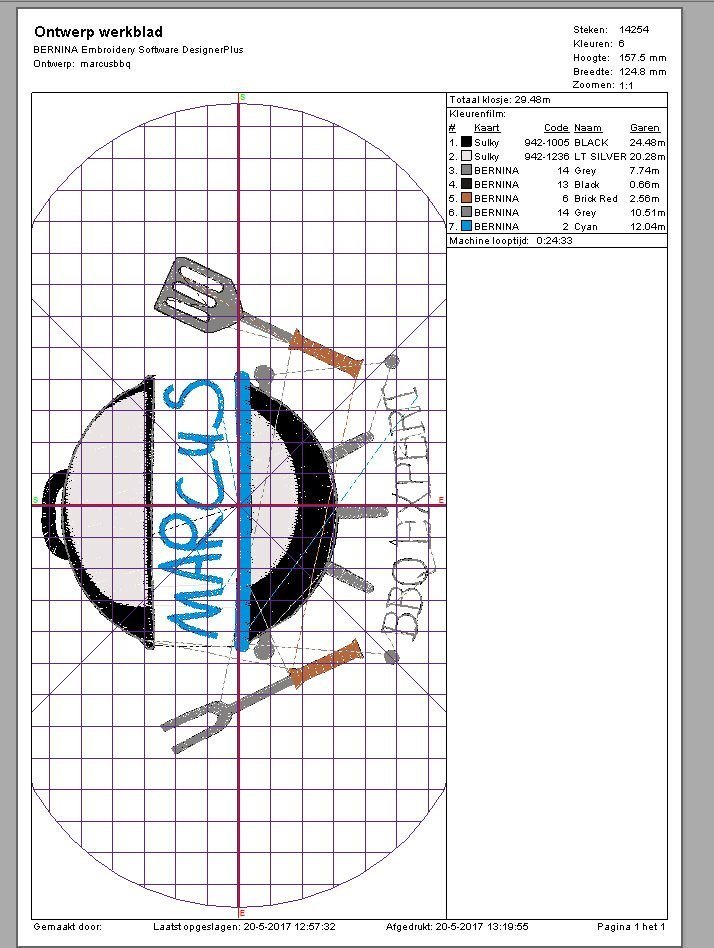
I have also made a Print Preview: keeping an archive of all designs I have made makes it possible to find them again, with all information about the design. Just in case I have to make another apron for another barbecue enthusiast.
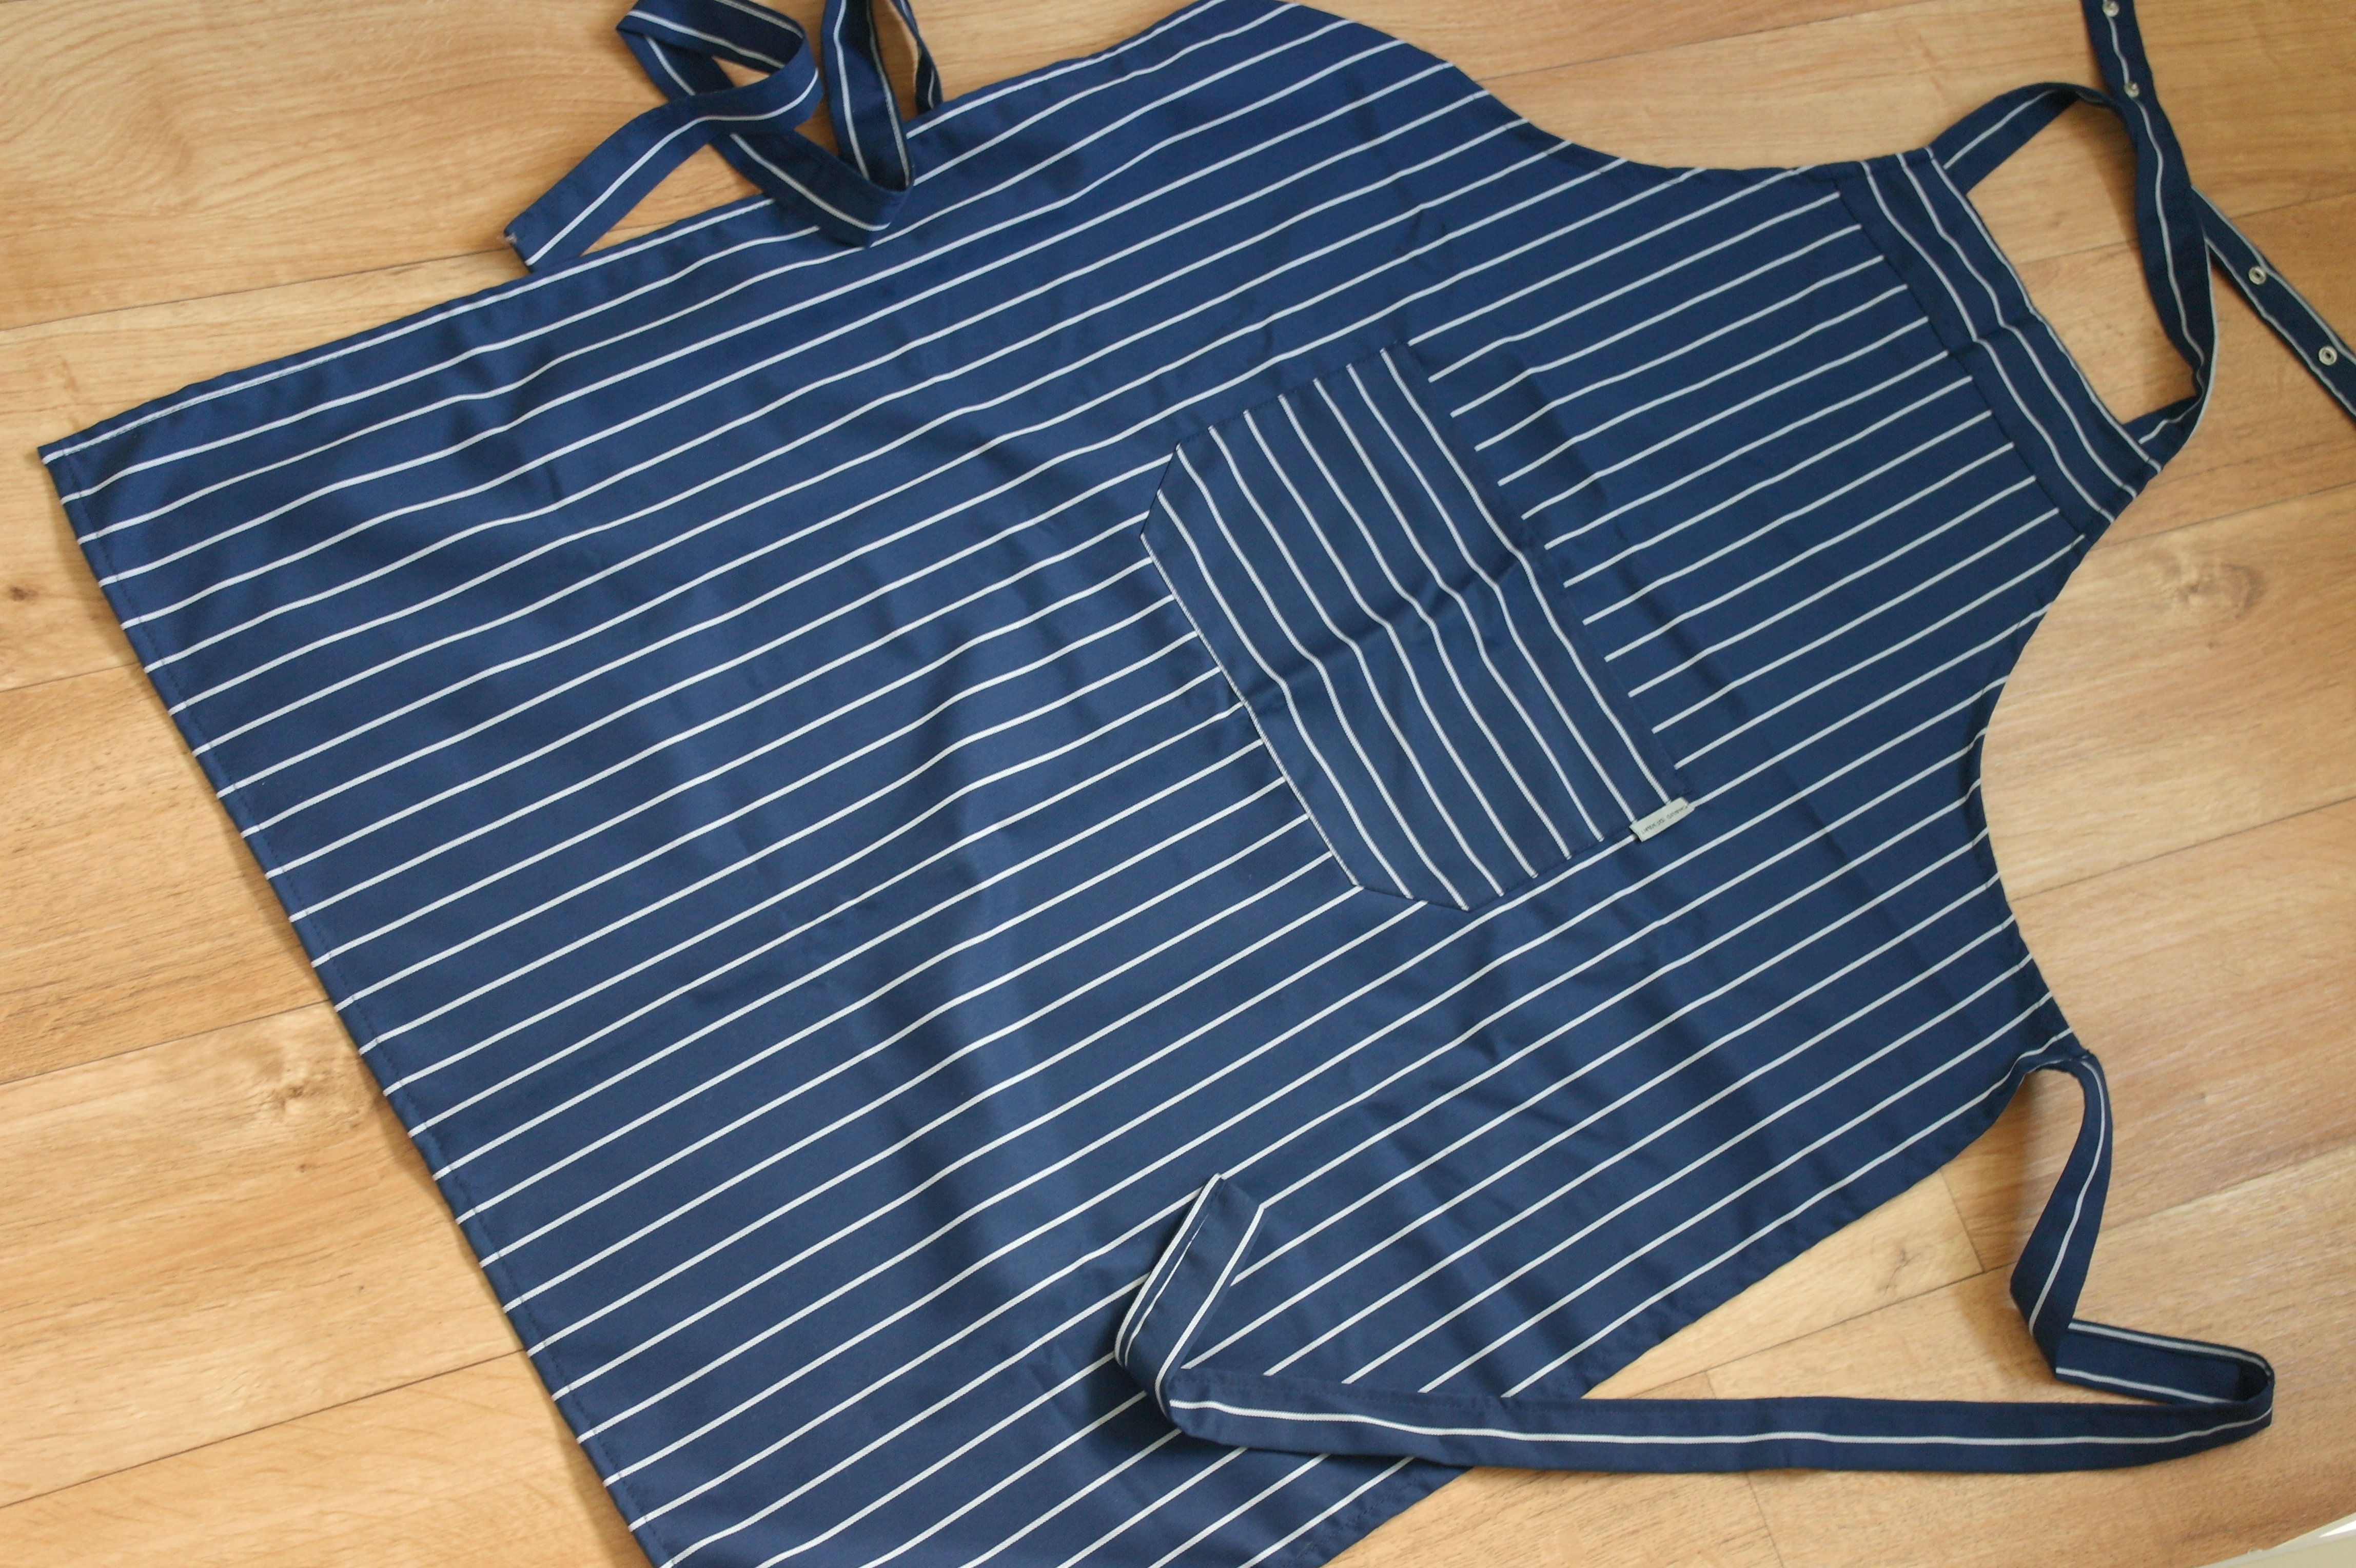
Now the embroidery has to be made on the pocket of the apron, which I’ve purchased read-made in a cooking shop.
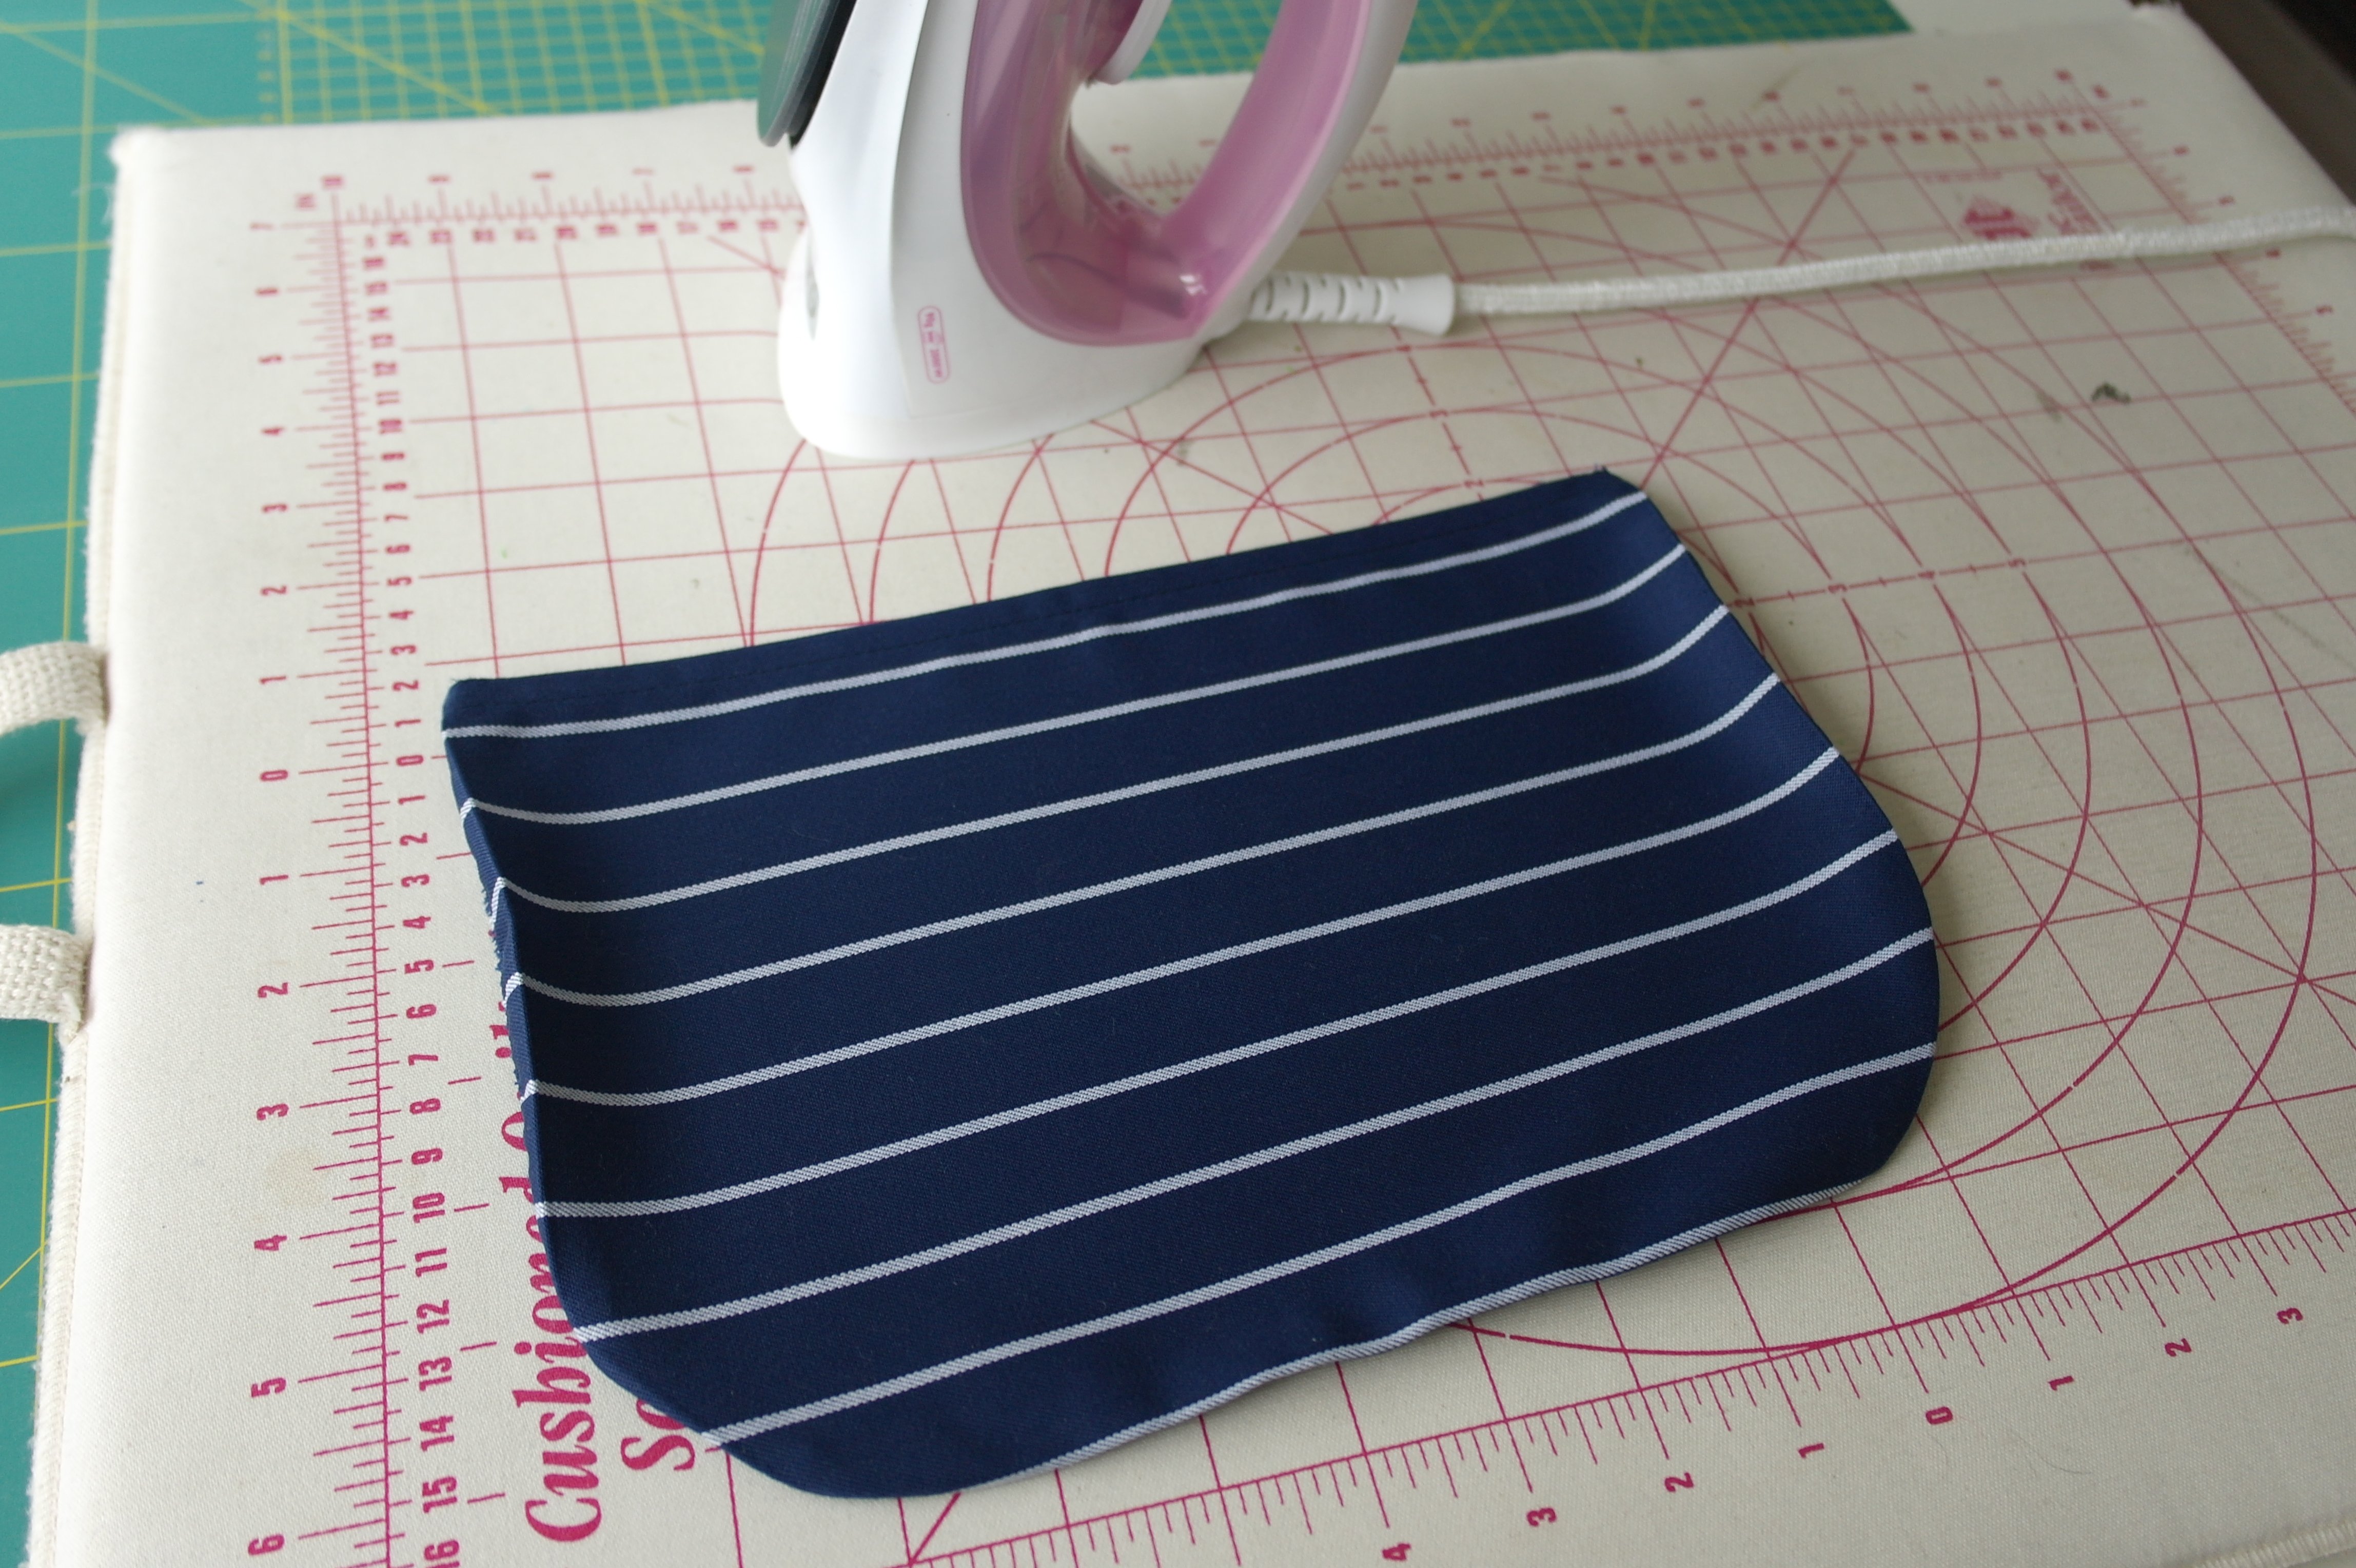
That meant removing the pocket. I’ve ironed it to flatten it – there must be no creases or wrinkles.
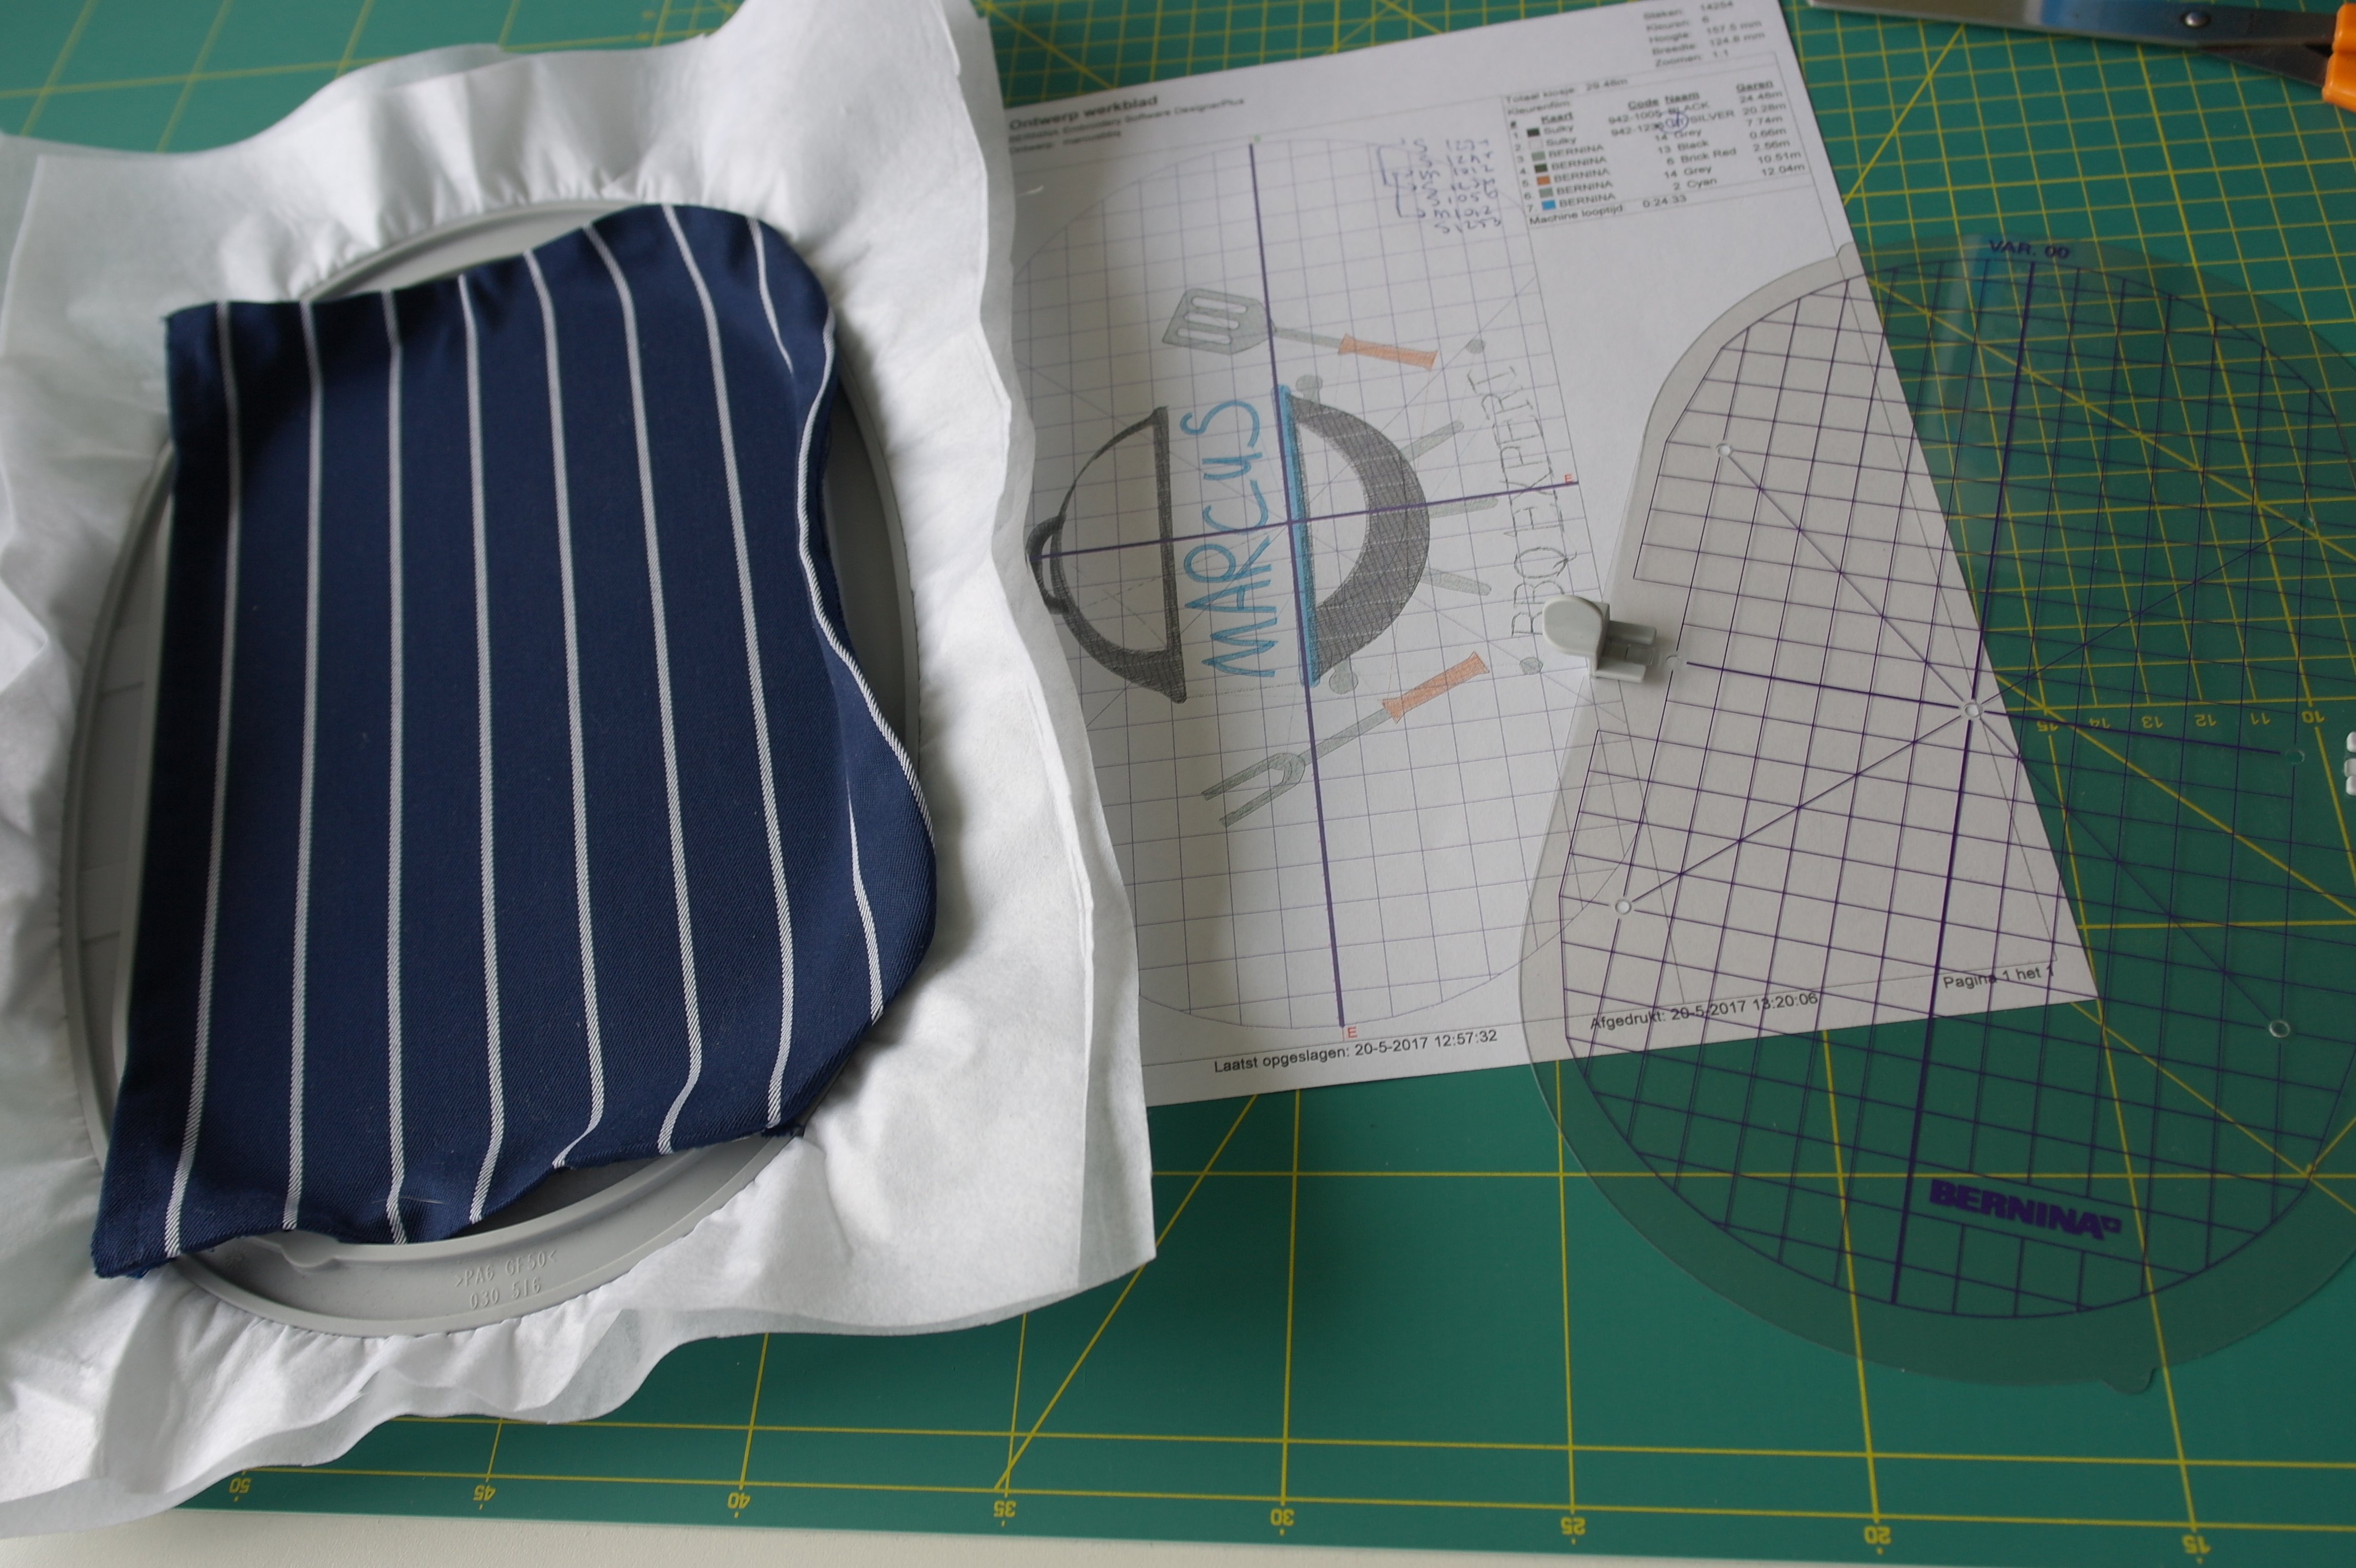
I’ve used 2 layers of Cut Away stabilizer: I want the embroidery to keep its shape, even after washing. One stabilizer was placed on top of the other, but the second layer was placed crosswise. Stabilizers are not woven, but pressed: even then they have a sort of grain. To prevent pulling, place the second in the opposite direction on top of the first. I’ve used a Spray Adhesive too, although I am not a great fan: I don’t like the fact that remnants of glue will be all over the place – so I have placed it in a cardboard box before spraying. On top of the stabilizers/glue, I have placed the pocket – sideward, like the embroidery design.
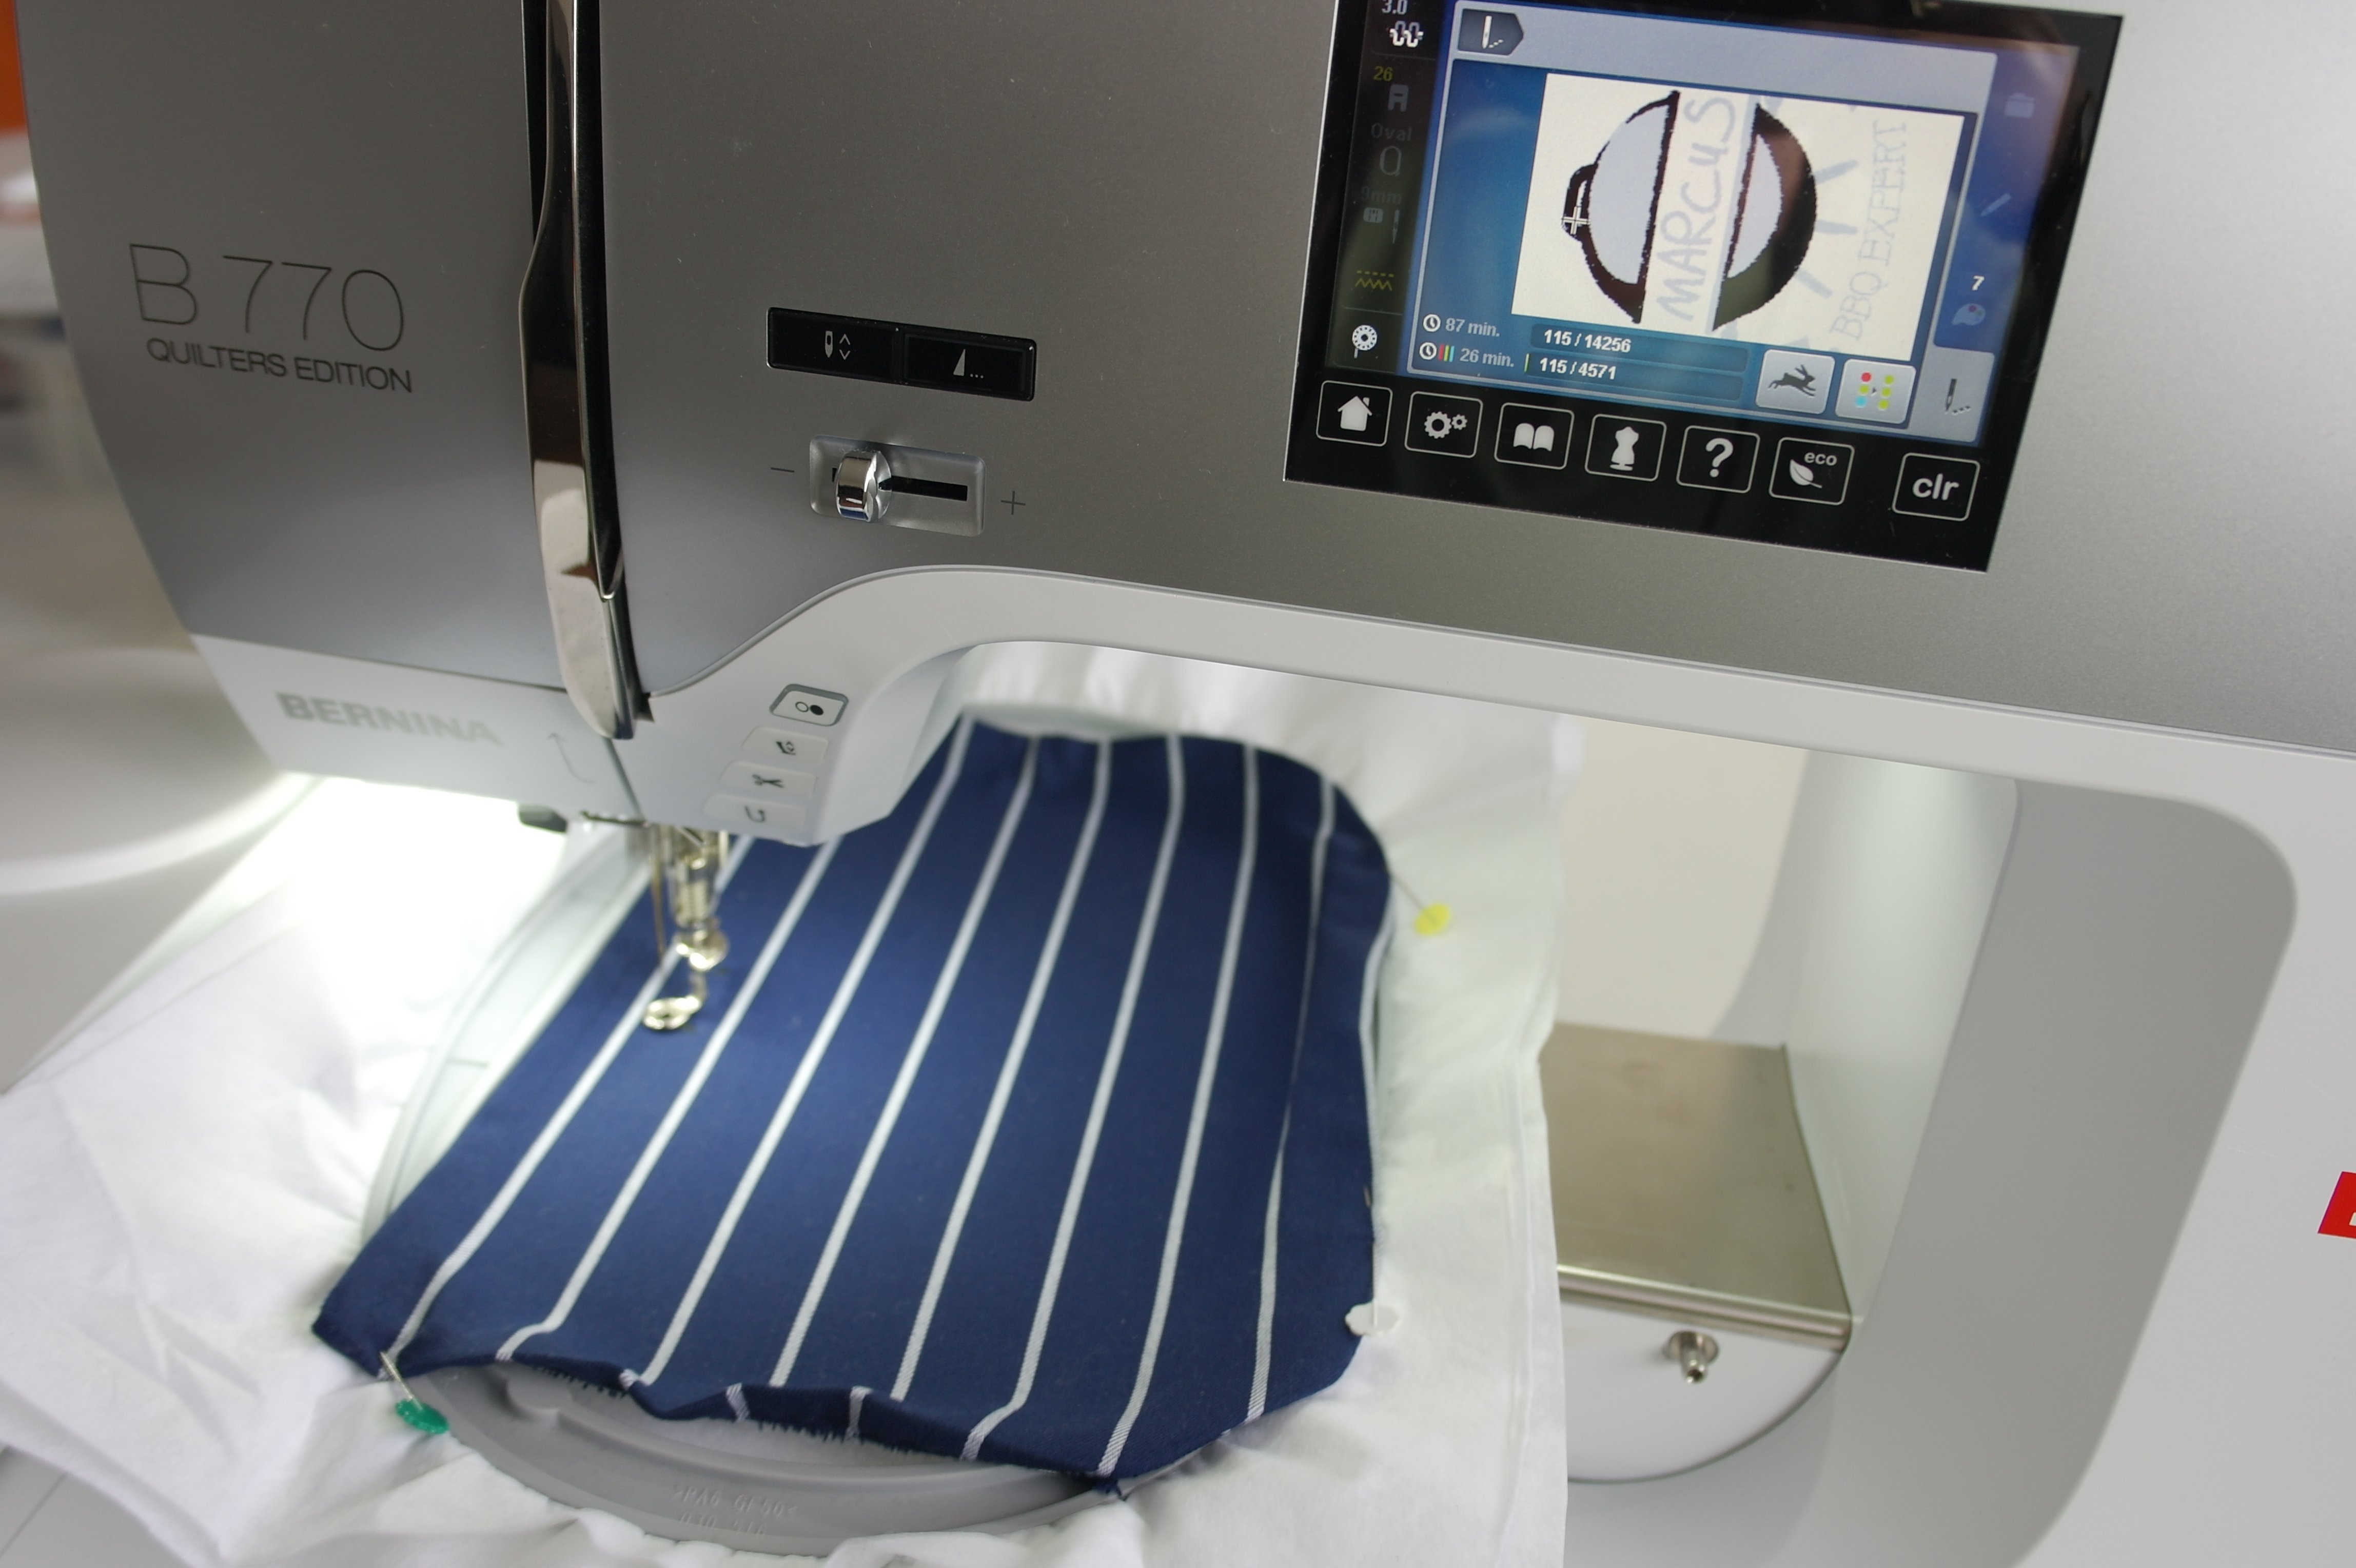
And now my BERNINA 770QE with the embroidery module will do its magic!
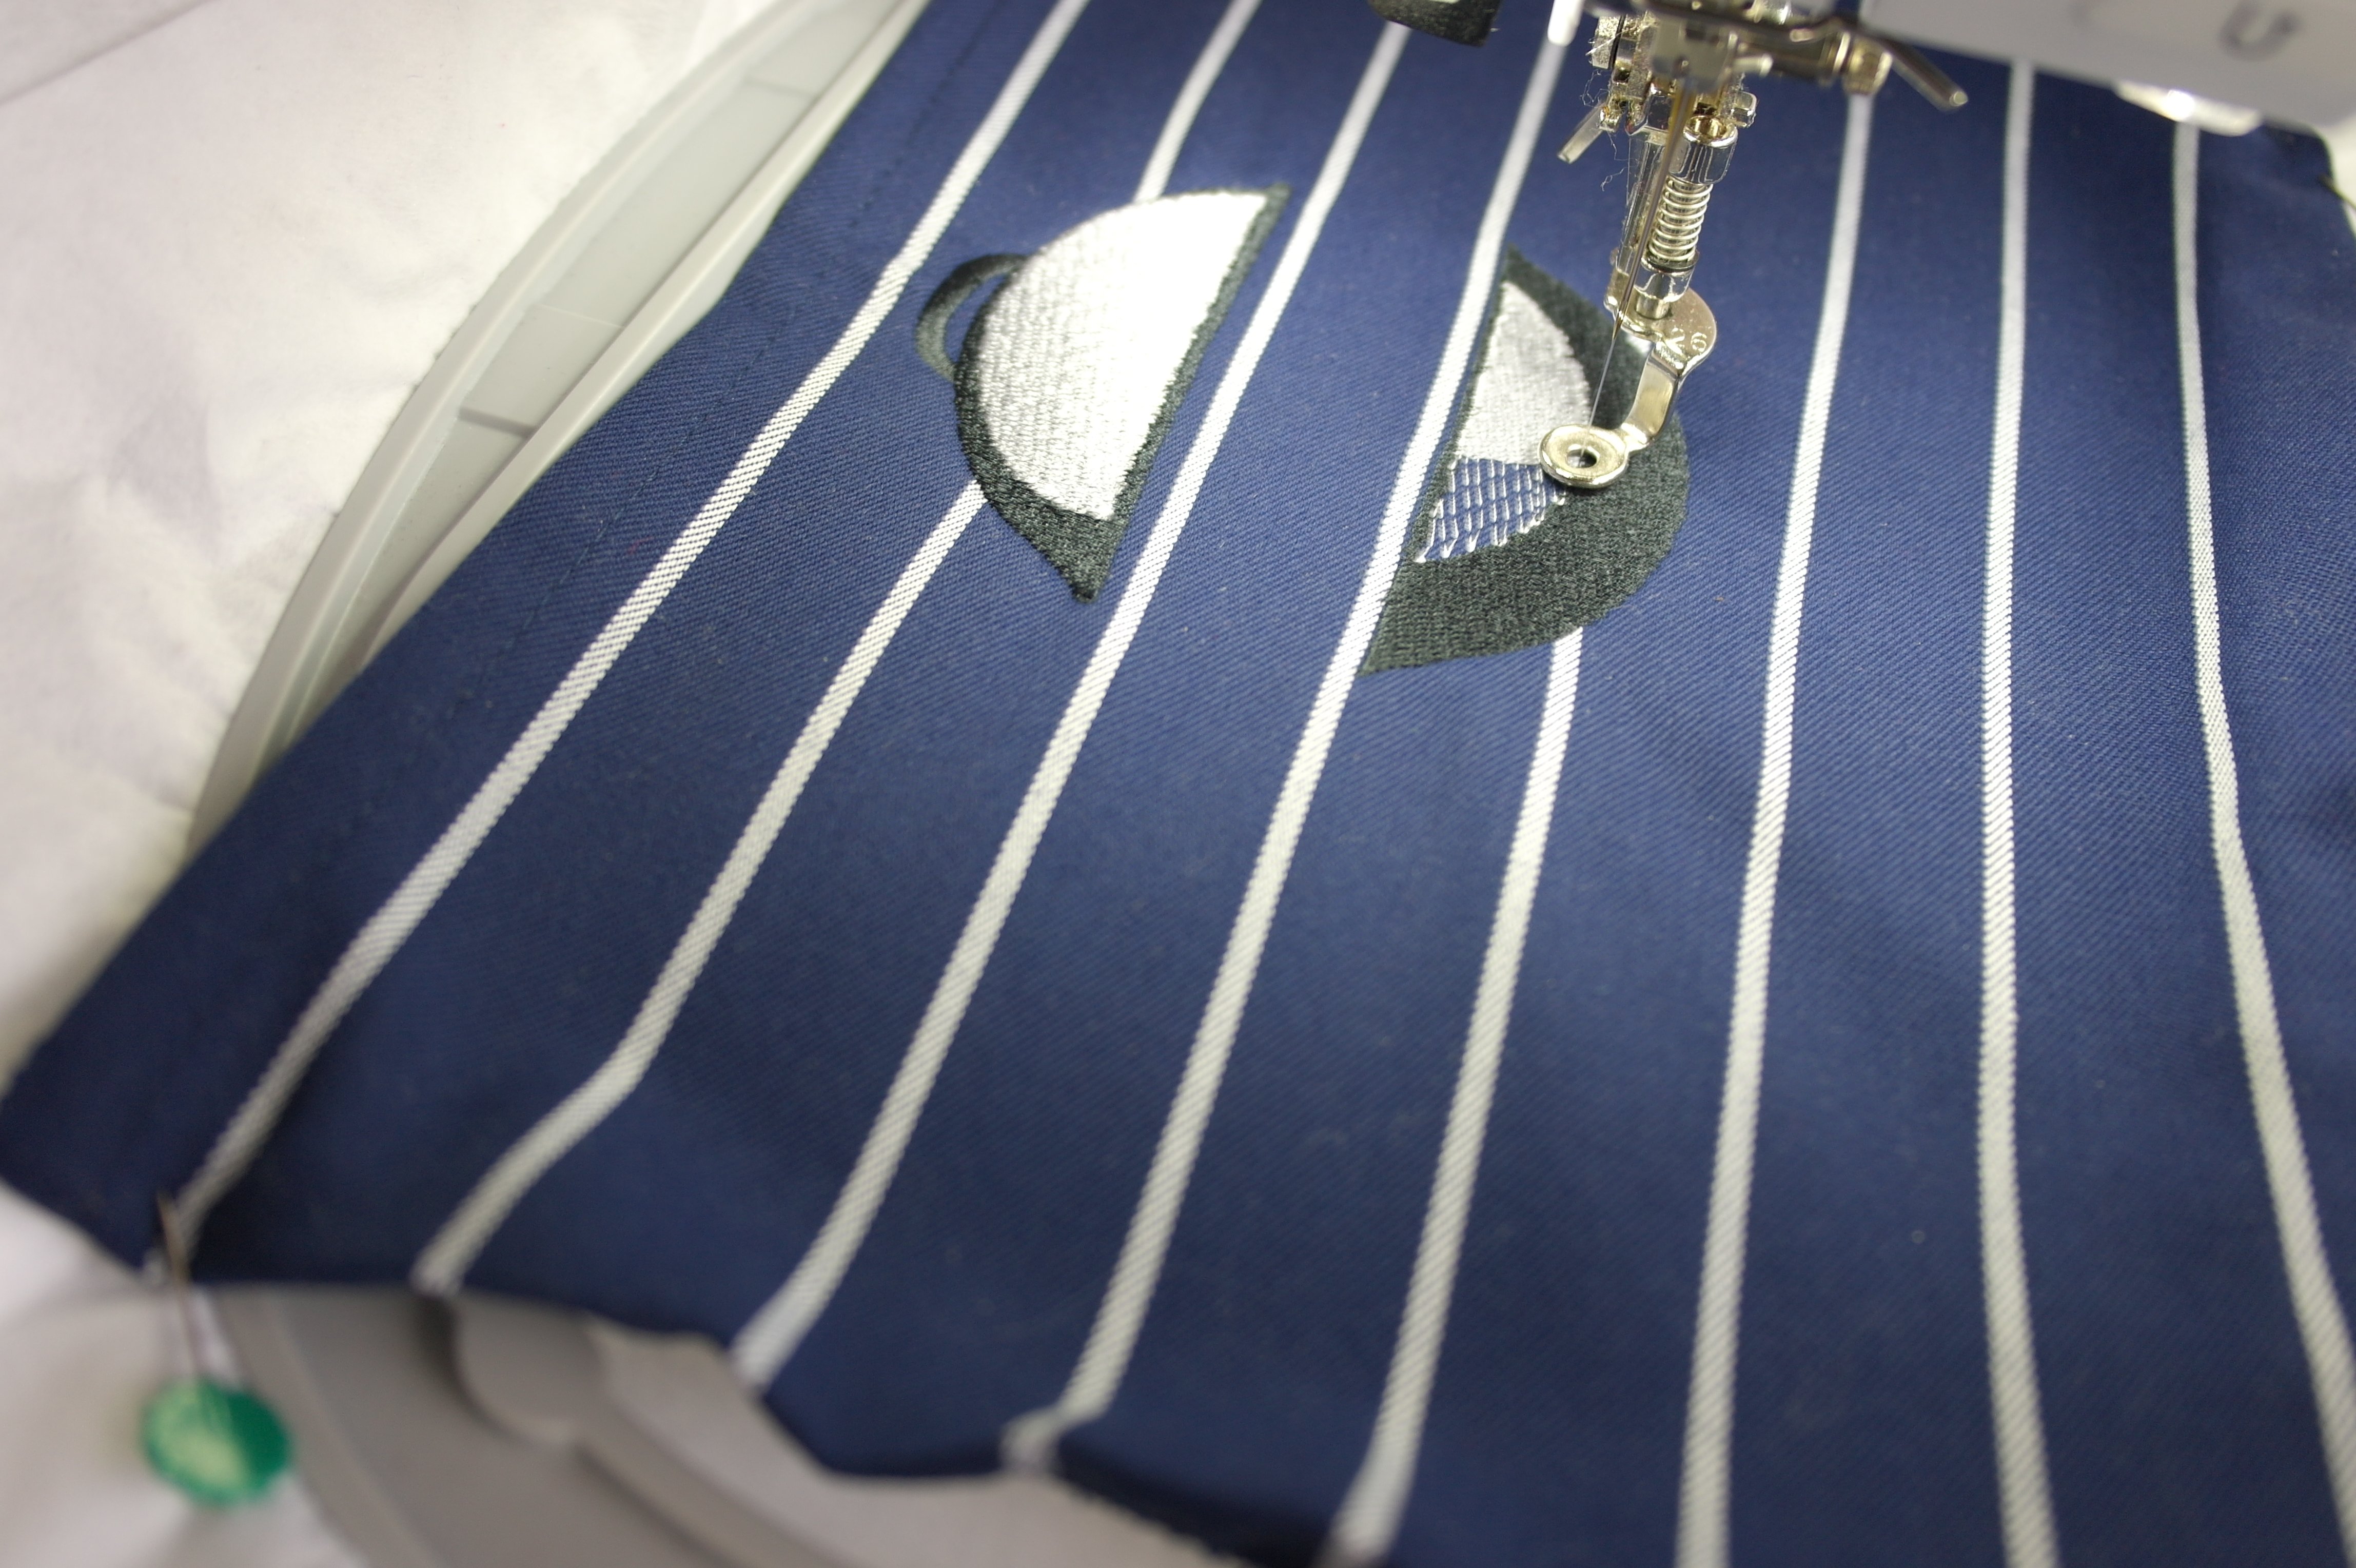
It’s always fun seeing the progress: but it is not just the B770QE that is working. I have to change threads, cut thread ends… and occasionally speak to the machine encouragingly, to pat it on the back now and then, to do its job for me!
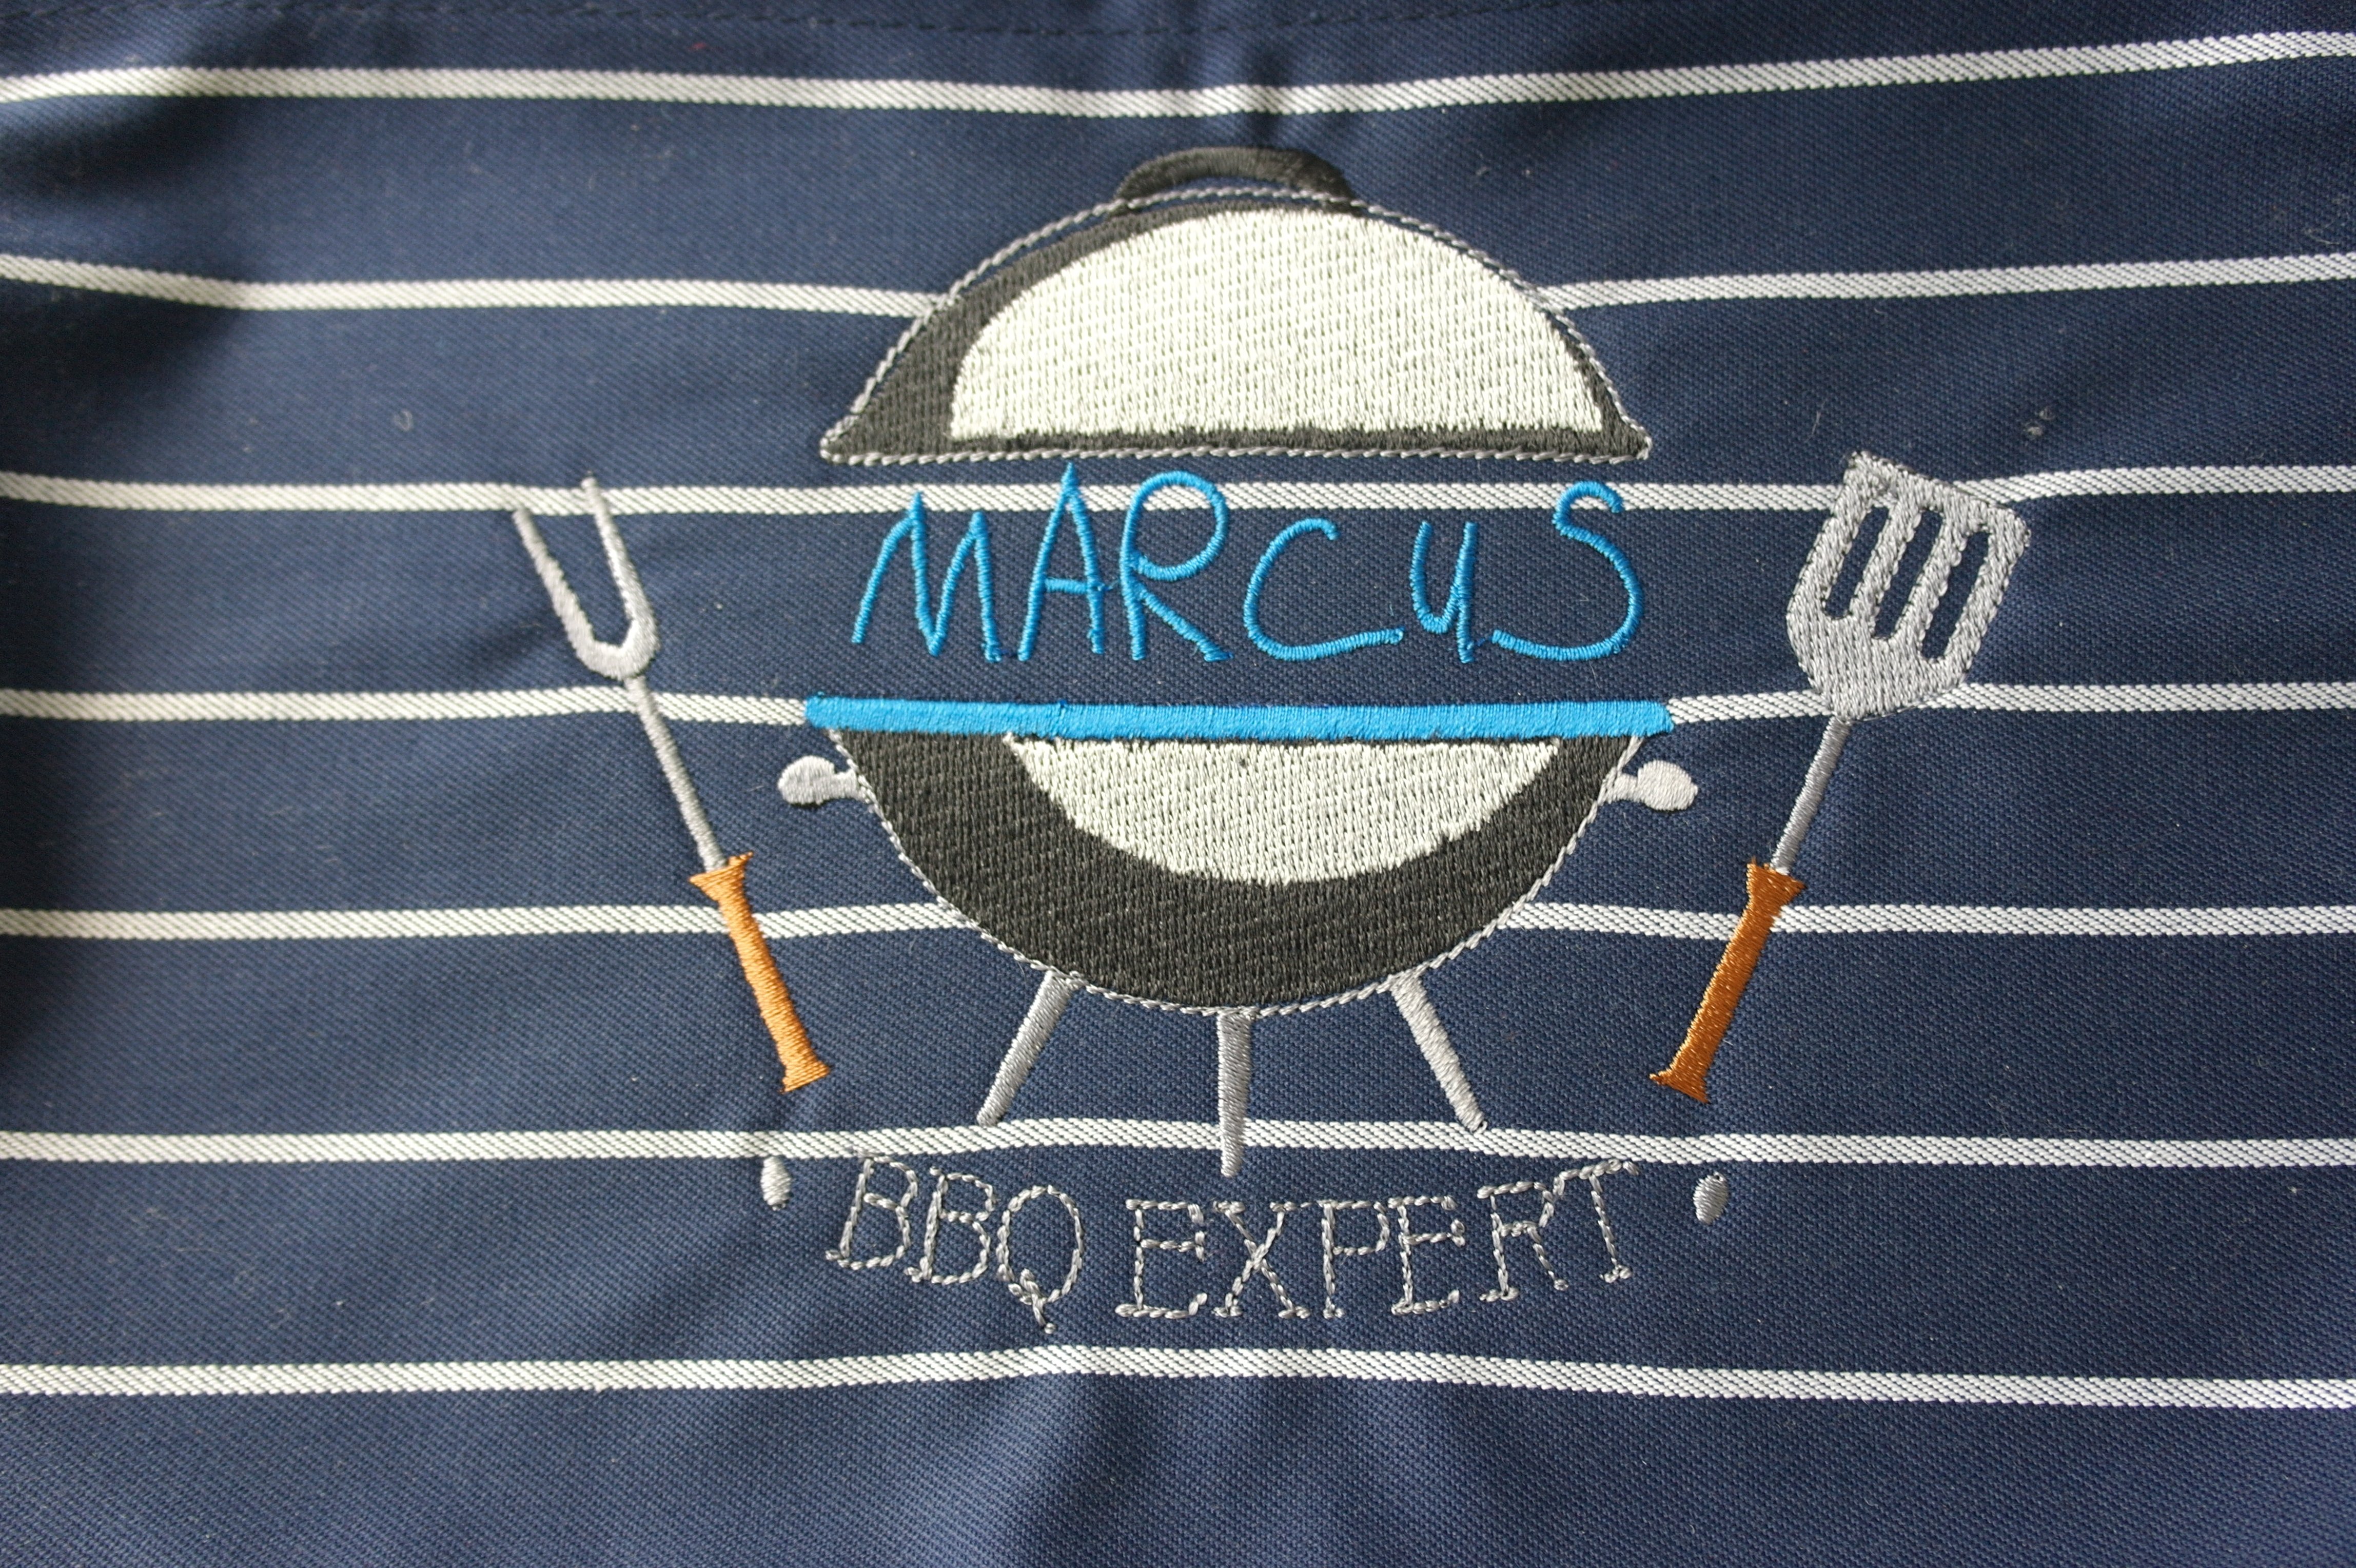
Here it is done: unbelievable how the blue line of stitches, below ‘Marcus’, actually made it right on top of a white fabric stripe!! You cannot plan that!
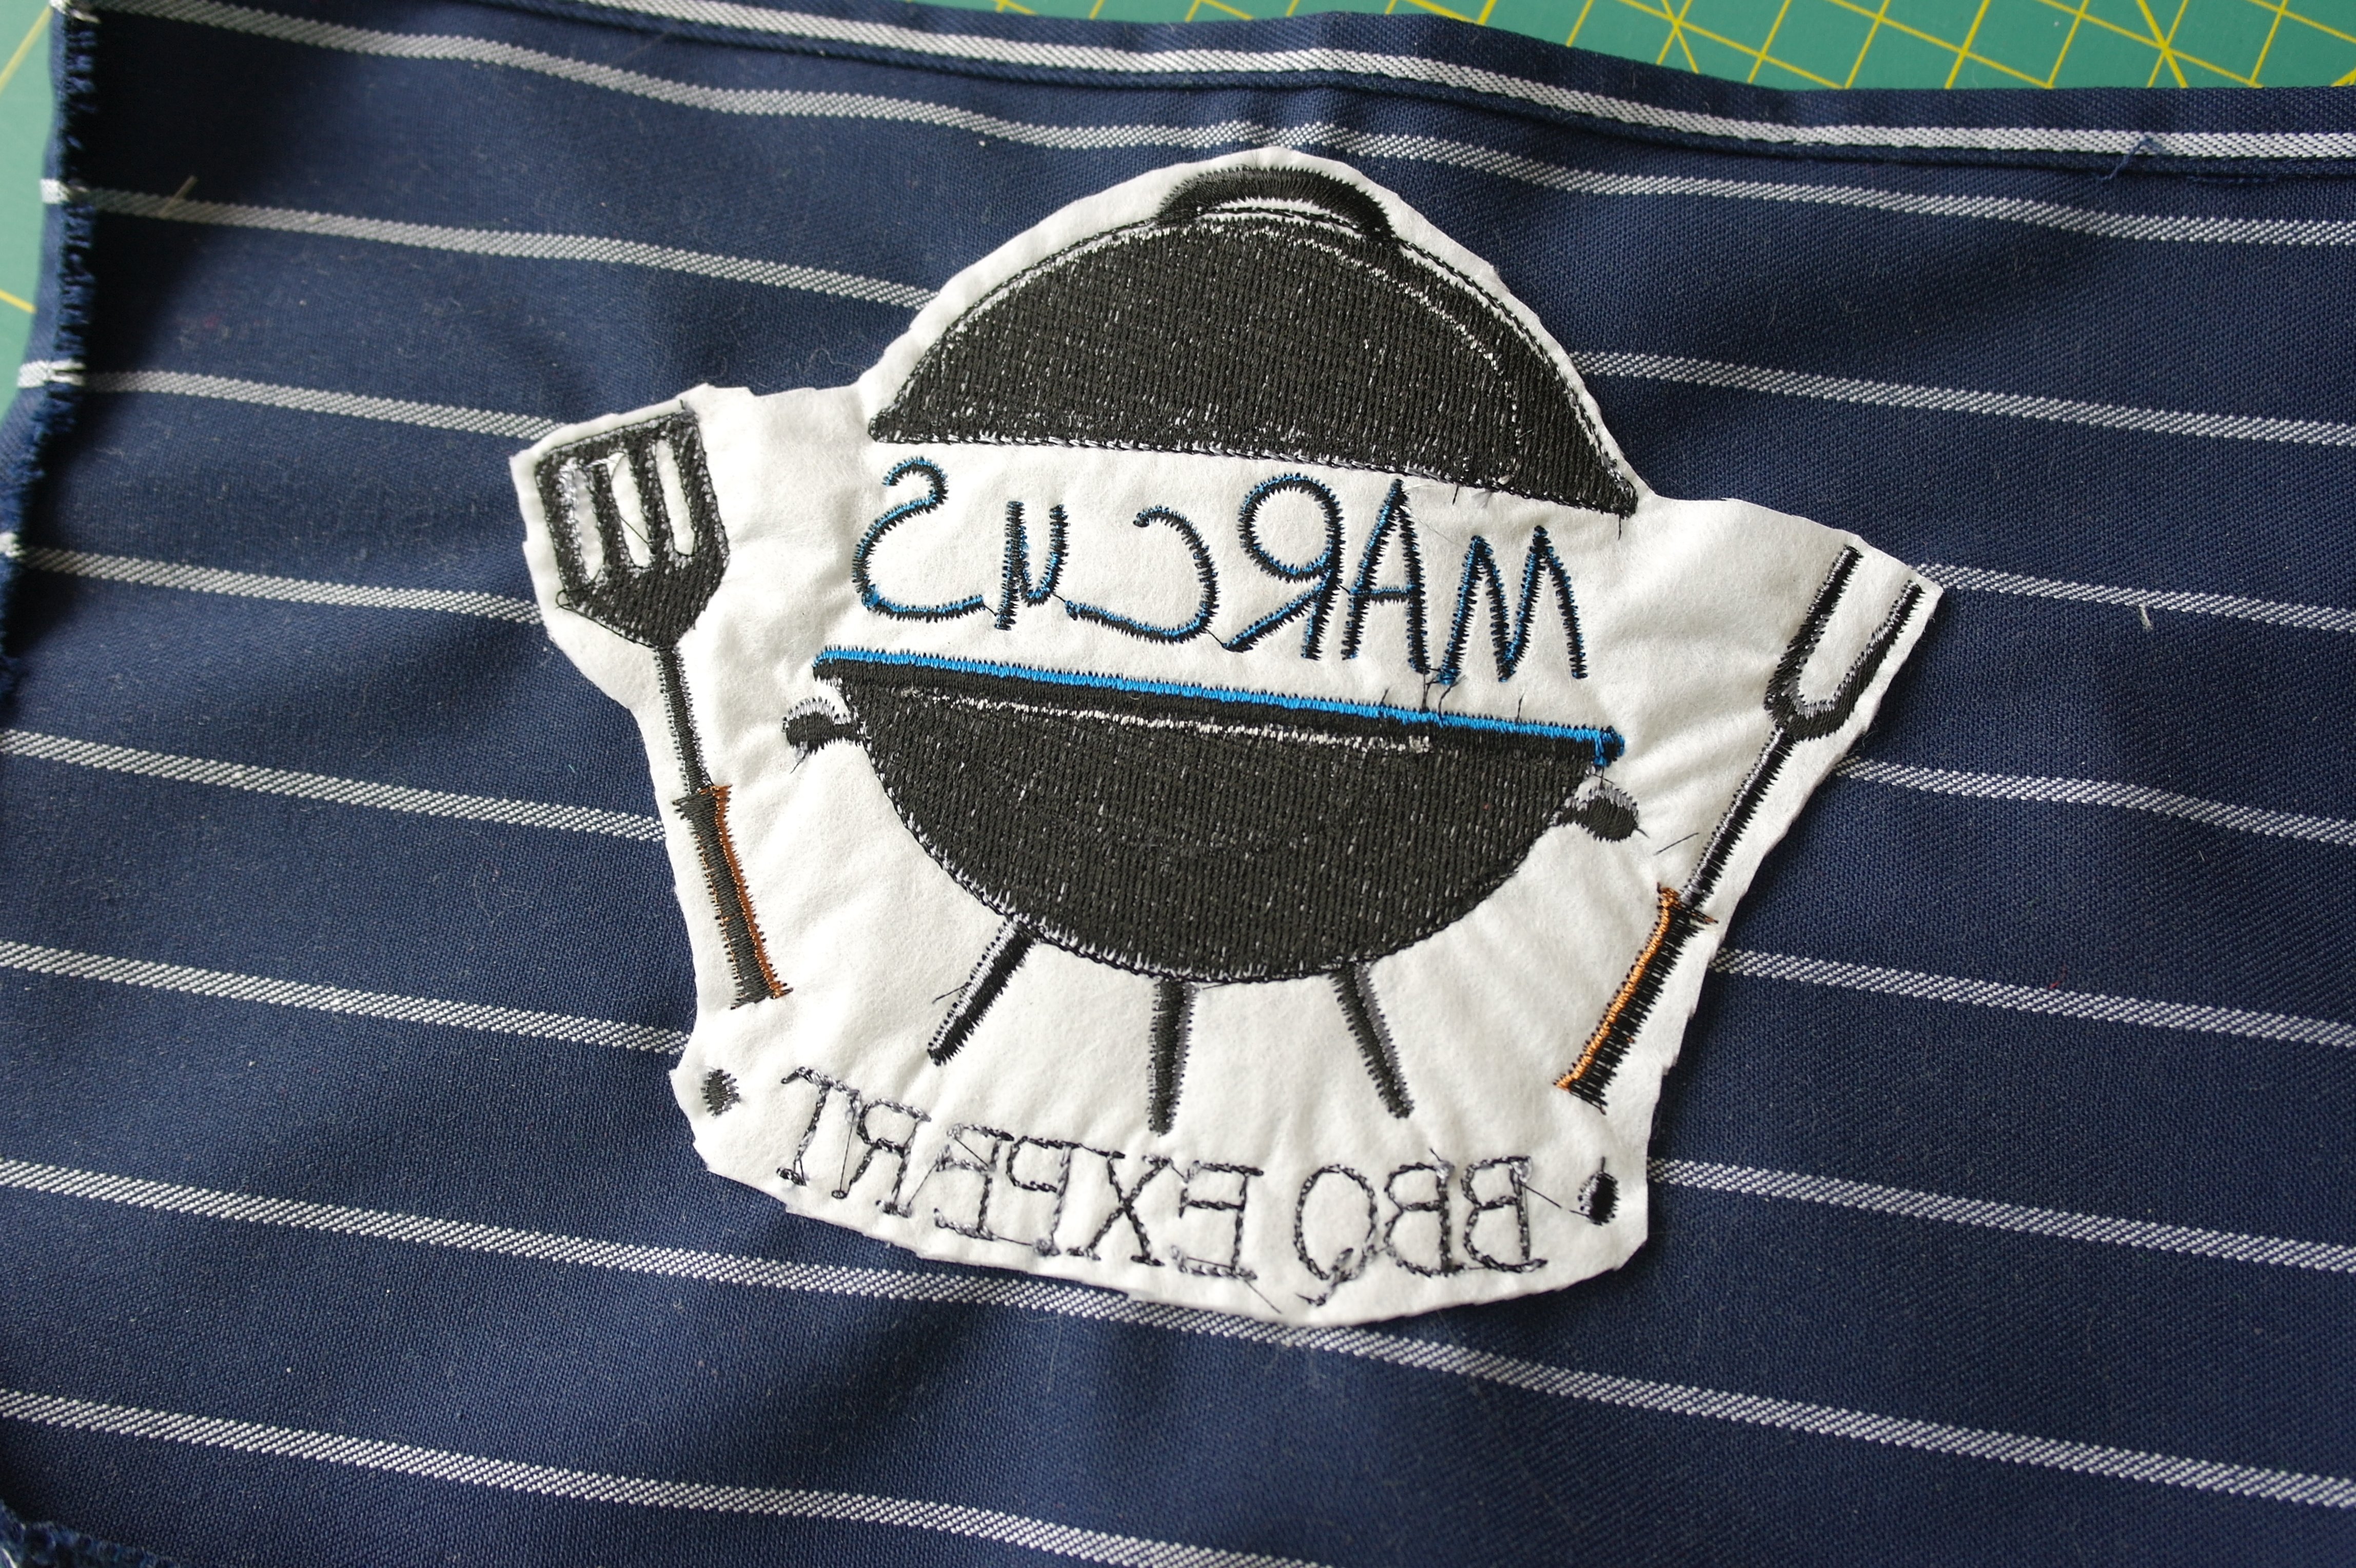
Cutting all thread ends at the back, and the remaining Cut Away, close to the embroidery design. Now all I have to do is iron it (placing a cotton cloth between the iron and the embroidery for safety).
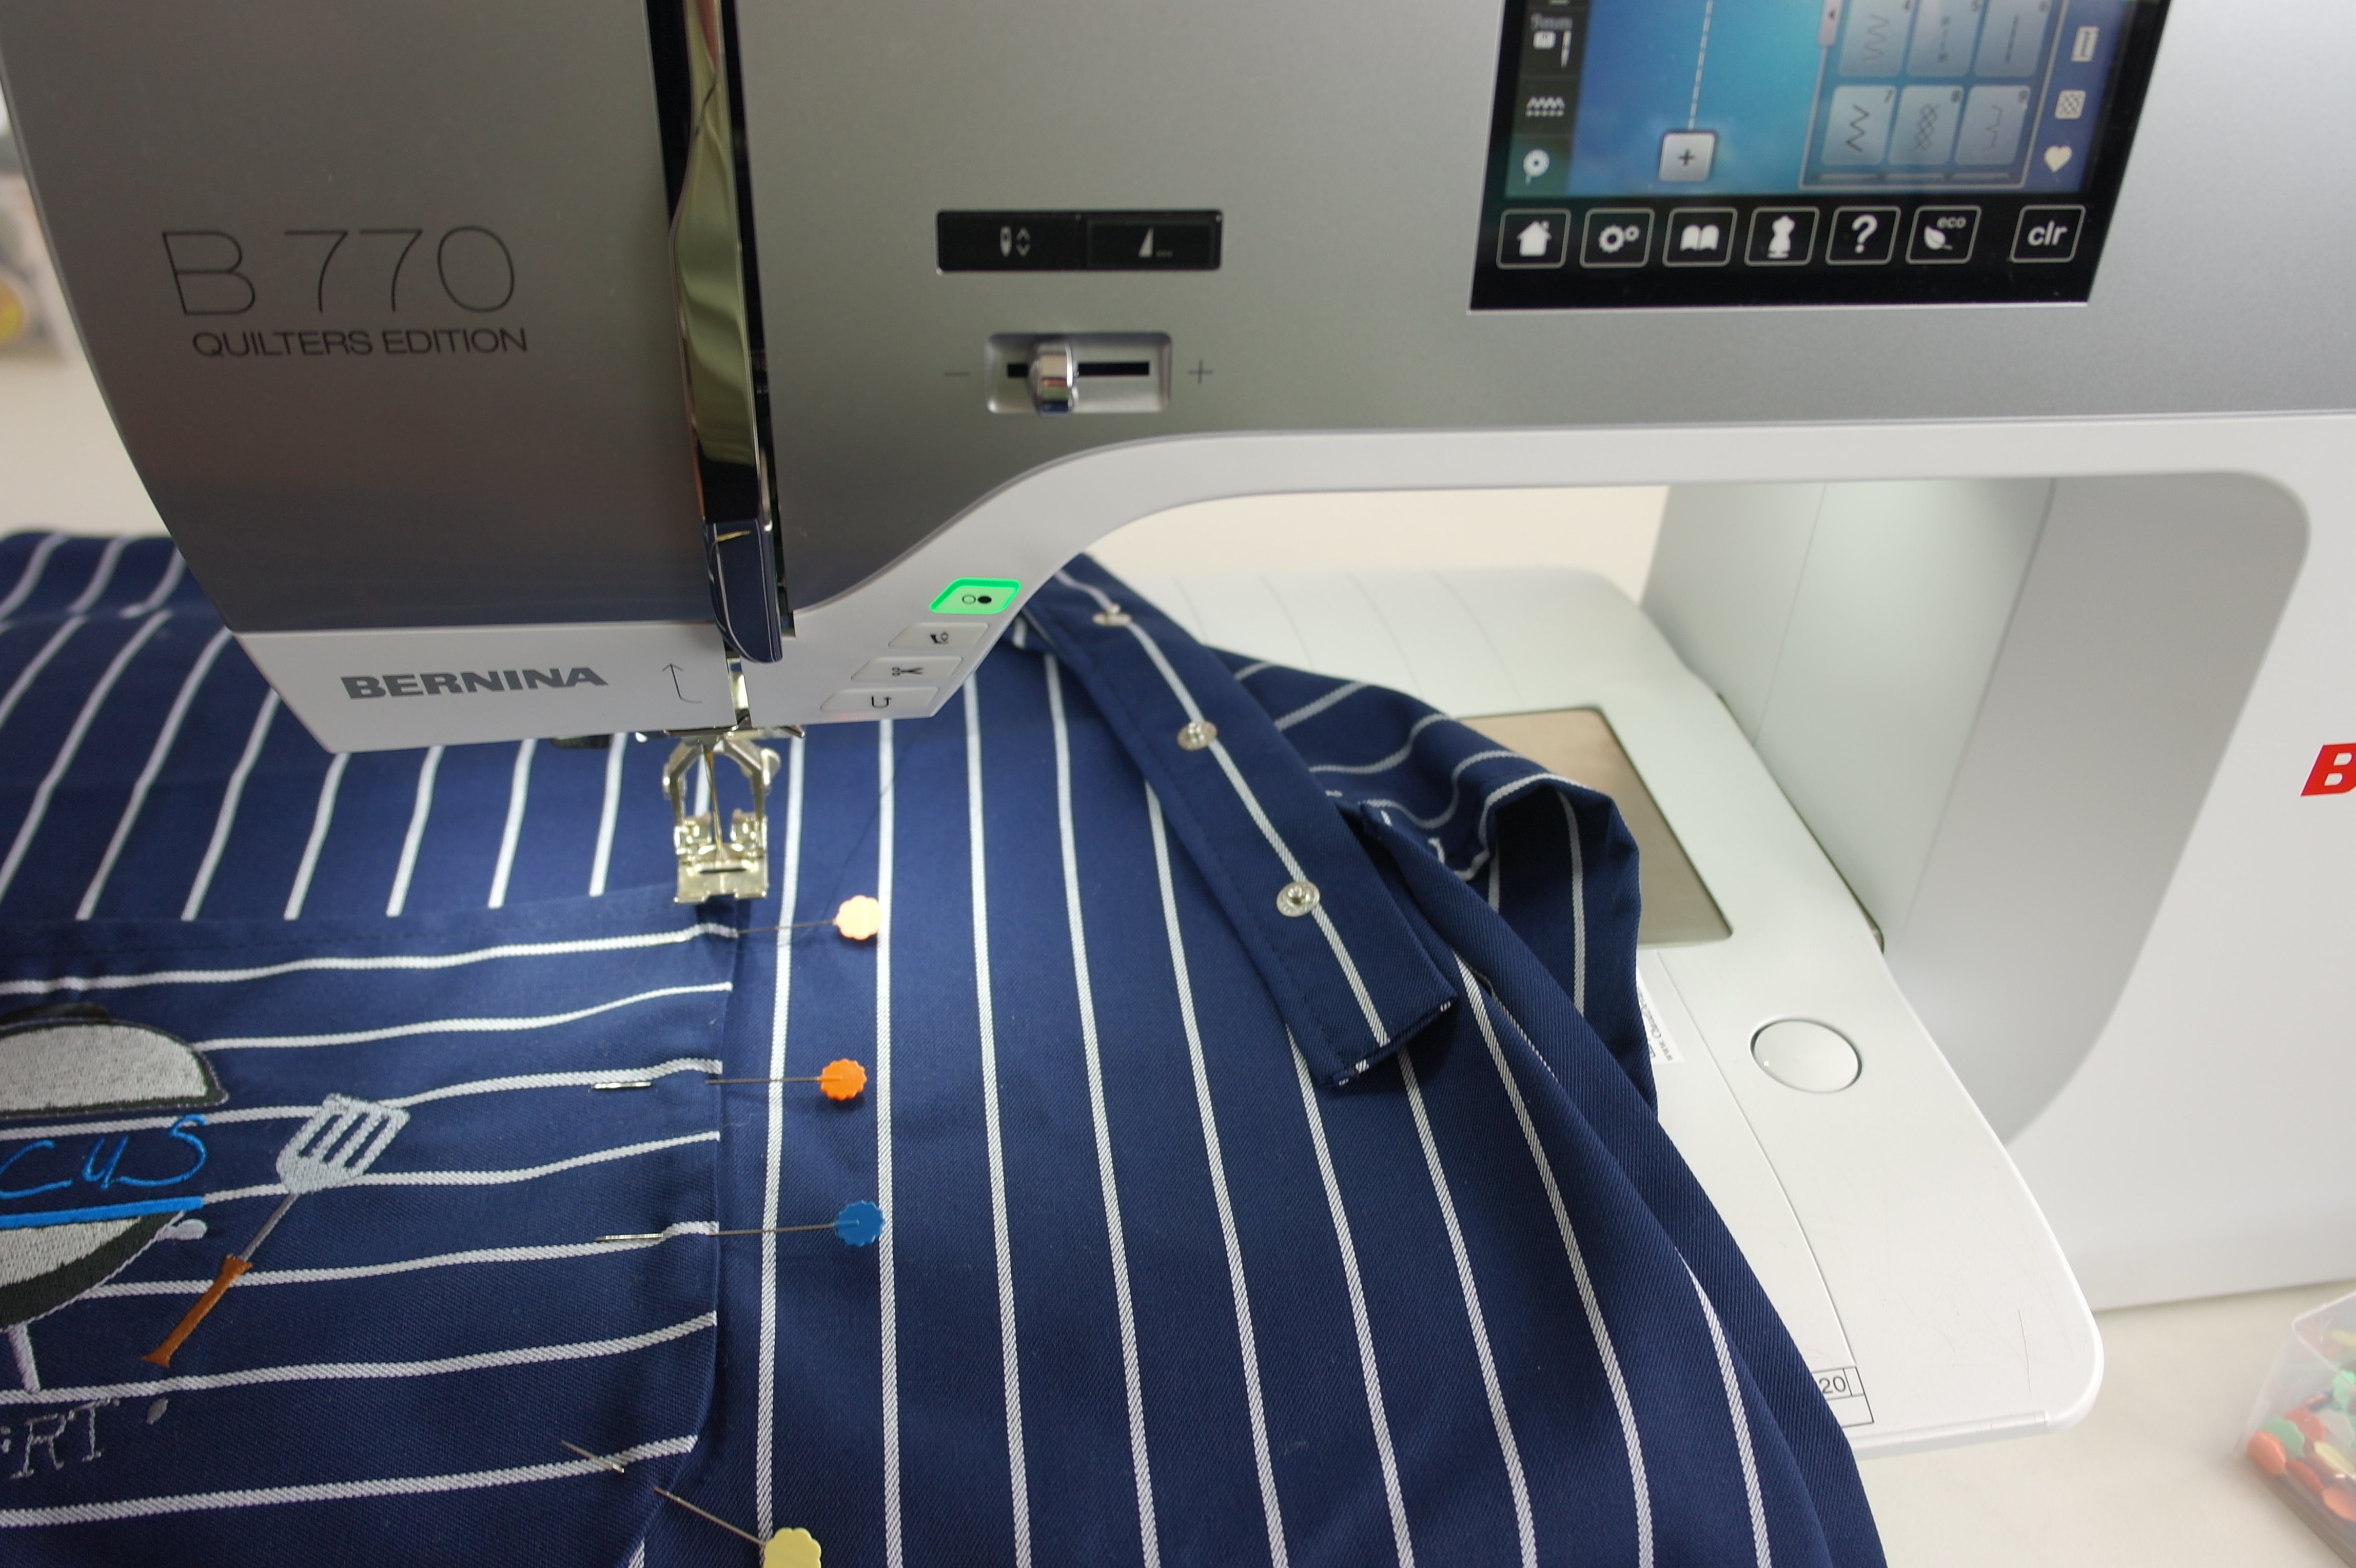
Sewing the pocket back onto the apron, after changing from embroidery module to regular sewing.

I love how it came out: this is a wonderful present for a ‘BBQ expert’… And I just know what he will say: ‘It’s Barbecue Time!!!’
Next time another subject: see you then!
Happy Stitching,
Sylvia Kaptein
Sylvia’s Art Quilts Studio
www.sylviasartquilts.nl
[email protected]


I have a BERNINA 790 and am struggling to do updates any help please available I am near Skipton North Yorkshire
Hy Rita,
Do you mean the Firmware Update for the machine? If so, first download the Firmware BERNINA 790 V39.09.03 – ZIP 165.5 MB
Next follow the Firmware installation instructions. There is a youtube tutorial showing the steps: https://youtu.be/c49umG99-1c?si=oz-MRYMycY6INJEk&t=117
If that is of no help, please let me know which step you are struggling with and/ or ask a BERNINA dealer near you for help.
Question:How do you import a purchased font onto the Bernina Software?
Dear Ellen,
What kind of font did you purchase? Did you buy a true type font you can also use for writing in Word or other programms, or did you purchase an embroidery font? If so, what type of file did you recieve and which software do you own?
Kind regards, Ramona from BERNINA International
can you direct me to a post that will help me change the words in an already existing file”
Which kind of file do you have? .exp or .art? And do you own any embroidery software?
Thank you Sylvia
You’re welcome Ann
Thank you, Sylvia xx