 BERNINA Corporate Blog -
Making a small present for a person that likes to read a lot; how wonderful to use the BERNINA770QE with embroidery module the Bernina Embroidery Software DesignerPlus 8 to make a bookmark? It seems the possibilities are endless, but I have found a wonderful item to make, and it wasn’t a simple one.

I’ve checked on the Internet for shapes and sizes. They vary from 25 x 148mm up to even 105 x 297 mm. Not much clarity there, because there were rectangles but also odd shapes.
Searching for a ready-made embroidery design was easier: the recipient asked for a bookmark with a swan, so I’ve searched for an embroidery design that would fit on a bookmark. Colors were of no importance: they can be adjusted. Size however was important: too much resizing will distort the design.
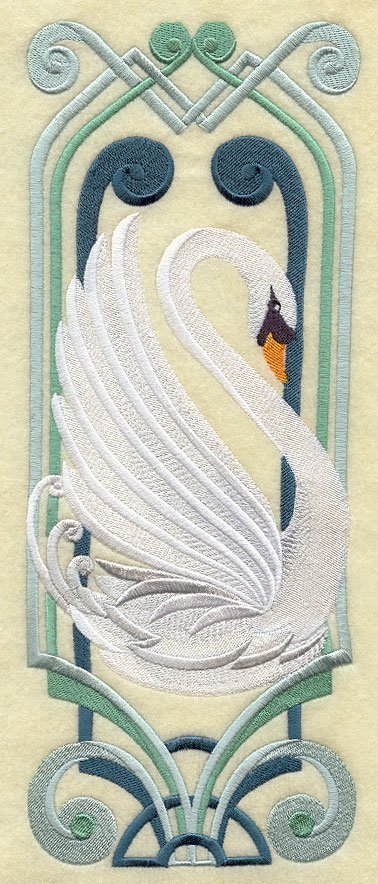
This is what I found: a beautiful swan, Jugendstill design: purchased and downloaded it. Size 94 x 239 mm. This will be a big bookmark, but knowing the recipient reads a lot and loves this design, makes it worth it. I have designed a text for the back, making it a reversible bookmark.

The format of the pattern is .EXP, by choice, because I will need that format, working with the B770QE. I have opened this design in V8, noticing that the colors are quite different from the original colors.
At first, you would think something went wrong, but that is not the case. Many digitizers are working with different software to design embroidery motifs, and saving it in different formats. Because a design is digitally rendered, which means that the computer image/design – based on raw data – is generated to an embroidery design which your machine understands. But you can adjust it all.
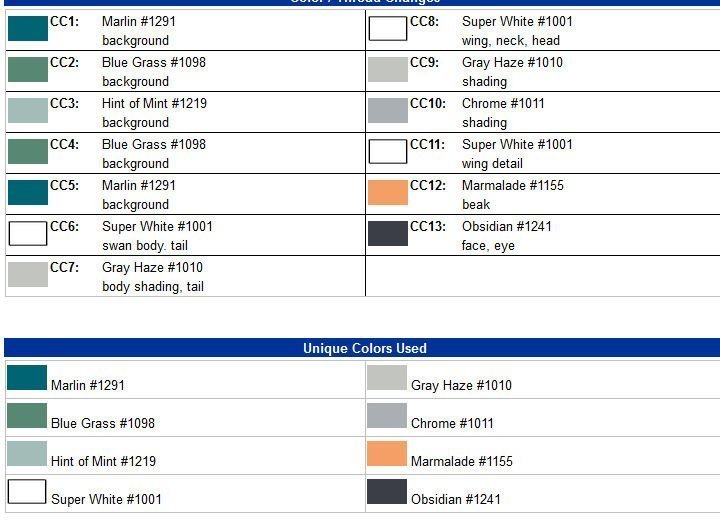
When purchasing your embroidery design with approved digitizers, you will always receive a color chart. Colors and numbers/names of colors are added, so you can find these colors, and even the brand of threads, in V8.
I often adjust a purchased design, because I sometimes want to change colors to match fabrics (with quilting) or appropriate to the recipient’s choice.
With this digitizer, they’ve handed me the colors for embroidery sequence, and the number of threads used. I can see I only have to use 8 different thread colors, but I could change that into 13, because of the number of color changes. Sometimes a color is used in multiple places = recurring color, which I can change into a different color. This way it can be personalized entirely.
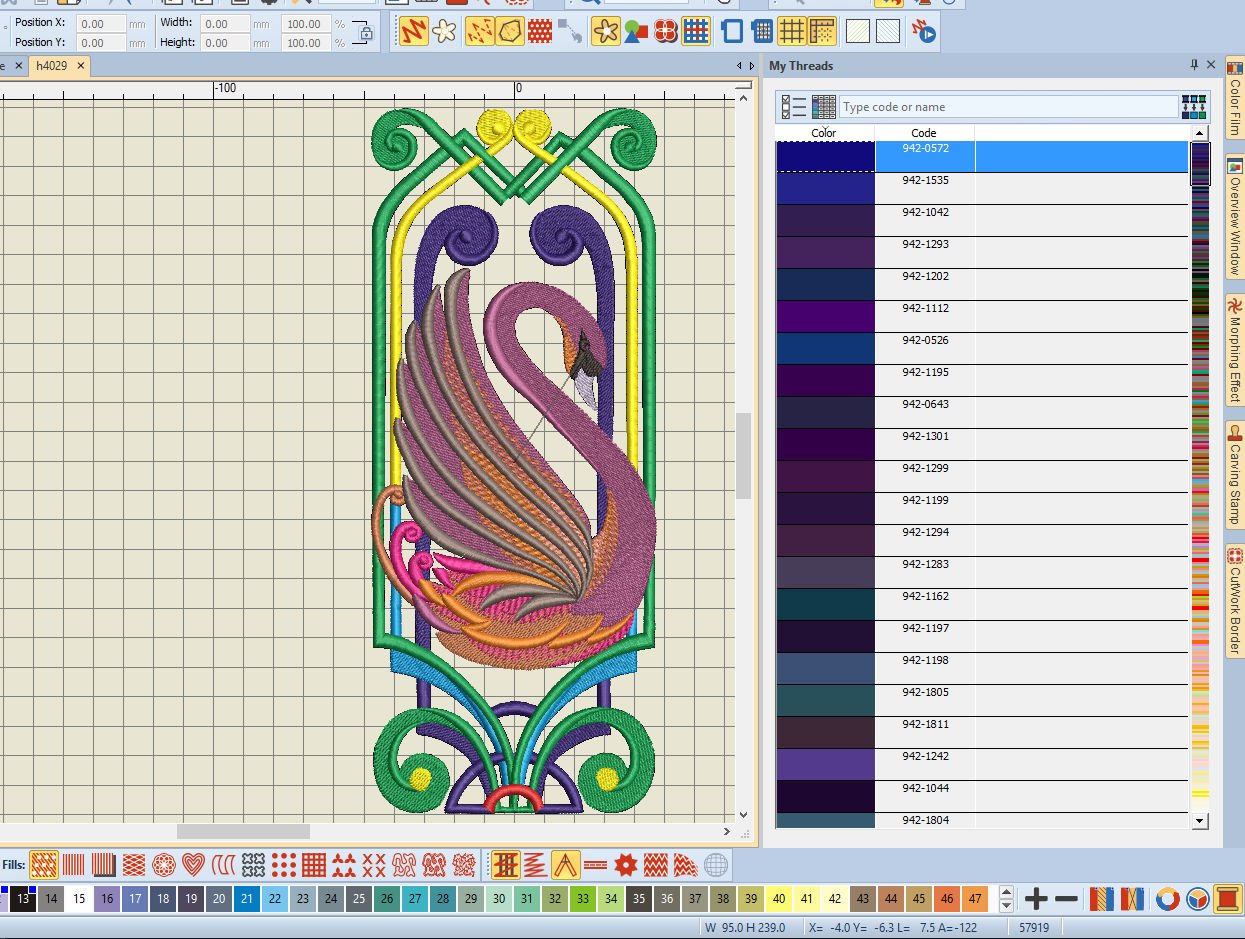
I will adjust the colors manually in V8. Clicking on the first color used (= second box Color Palette), selects that part of the design. I am searching for the right/different color thread via the docker ‘My Threads’, click on one and use enter (or double-click), to change thát color of the design. I will do so with all 13 used colors, to change it all, hiding the unused colors, to see just the remaining/used colors.
I have made the colors more vivid: the recipient likes bright colors: green, purple, blue and turquoise. The background will be a soft yellow, which I want to preview before the actual embroidery.

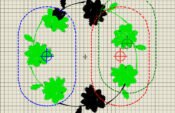
I have placed the Swan in the right size Embroidery Hoop: the design is too large for the Large Oval Hoop – it will protrudes over the red safety lines, so I will use the Jumbo Hoop. I’ve removed the grid to get a proper view.

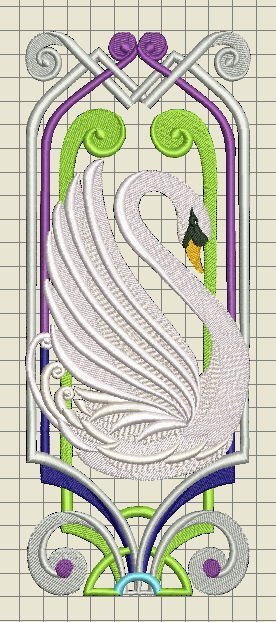
To do so, I’ve used ‘Design’, ‘Background’, which opened a dialog box ‘Background and Display Colors’.

To choose a soft yellow background (like the fabric I will use), a solid color will do fine: that box is already checked. I will change the current color by clicking on the down arrow next to ‘Edit’. You can also use ‘Color inside hoop’ and change that, if you just want to preview that part, which I did, then used ‘OK’.
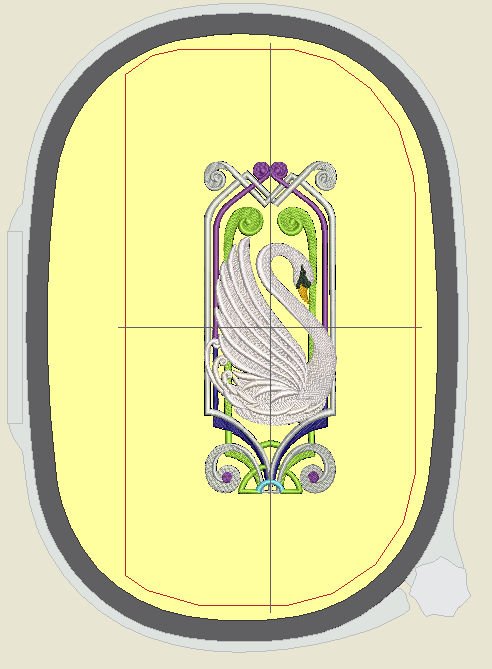
This gives me a better idea about the background fabric I will use. The bookmark will actually be smaller, but it’s just a preview.
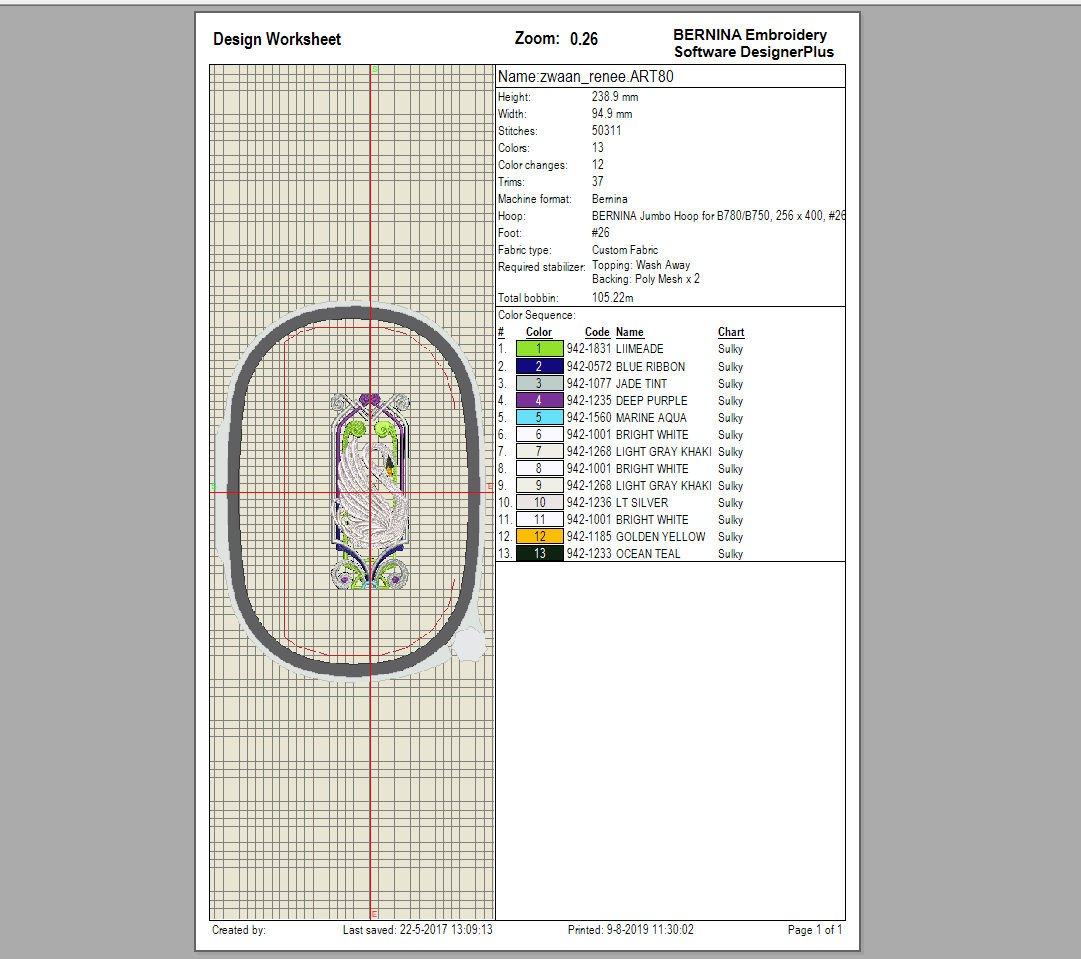
Again, I am using the ‘Print Preview’ to check if all is right. With ‘Options’, I’ve changed the zoom to ‘Zoom to fit’, so I can get it all on one page. If I want it on actual size, I will use ‘100%’ and get multiple pages.

Saved the design under a different name, so the original isn’t overwritten, and copied it to my USBstick, to be able to bring it to my B770QE.
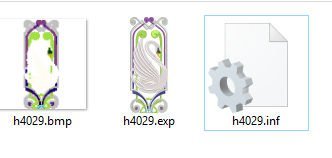
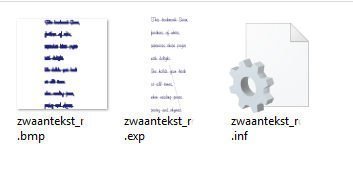
Checking if three files have been successfully transferred: there has to be a .BMP (picture), an .EXP (the actual embroidery design) and a .INF (info).
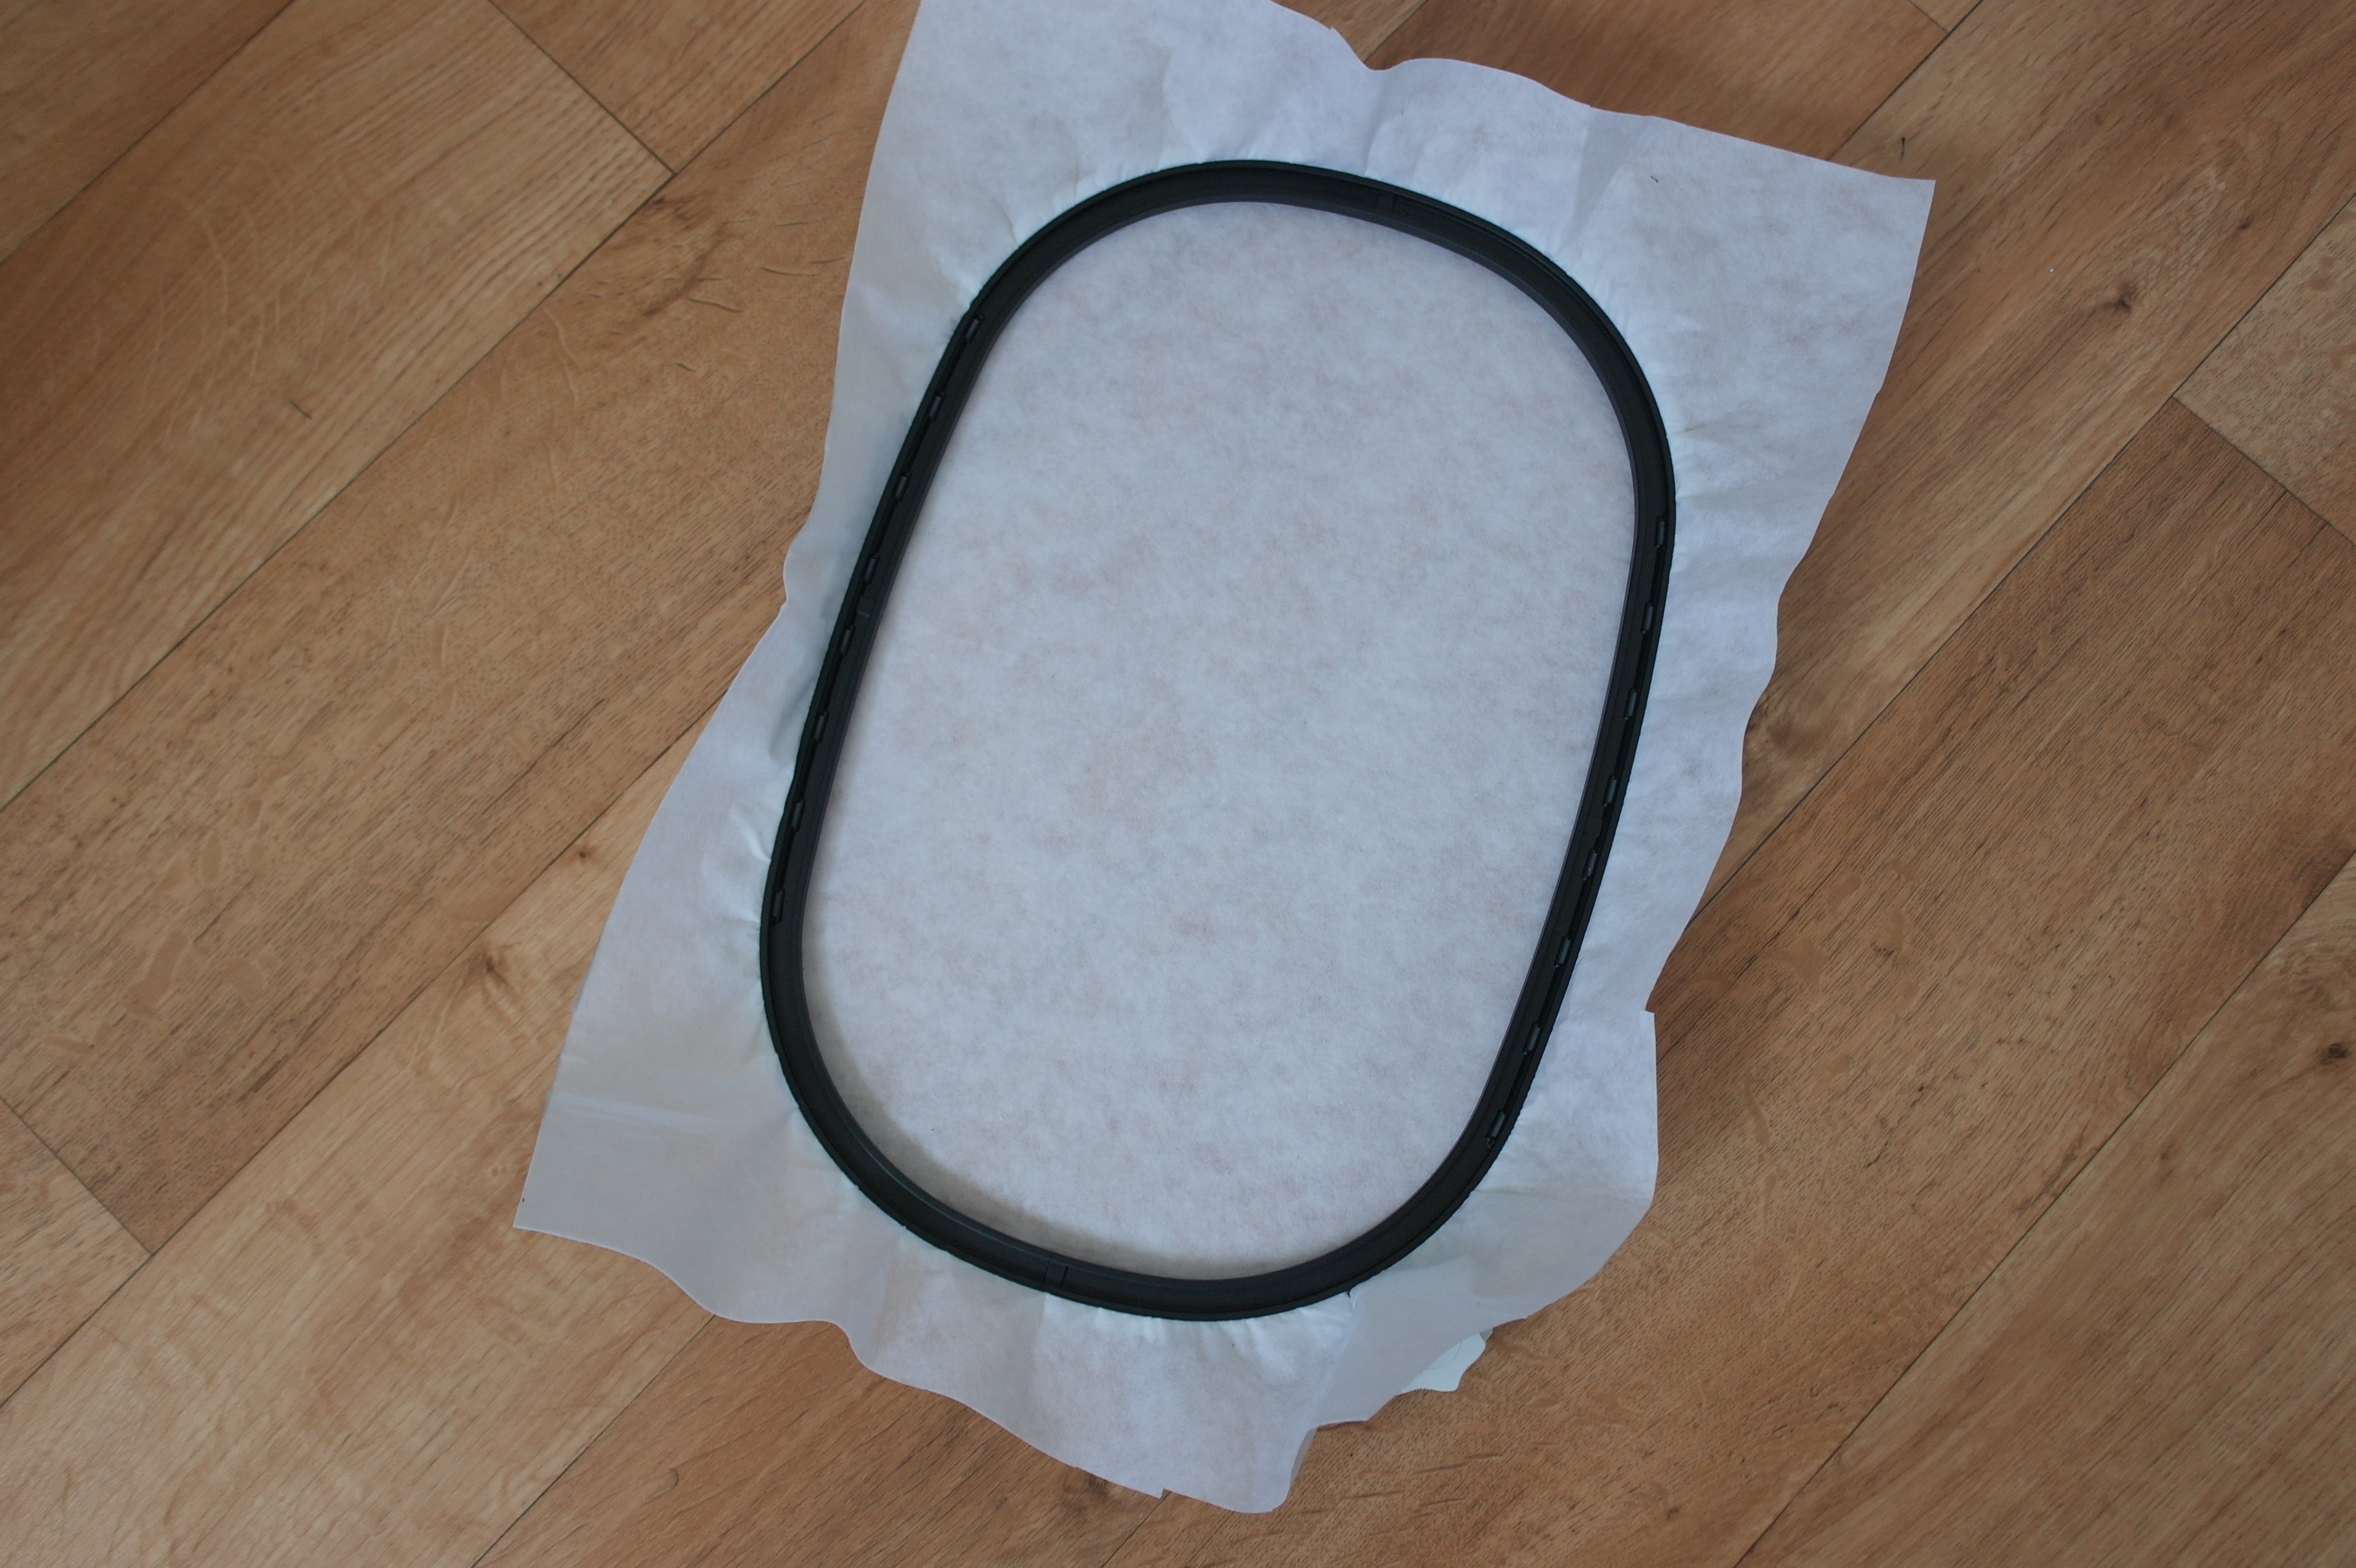
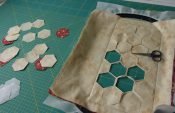
I’ve found a light greenish yellow batik, which will supplement the colors of my embroidery threads. I don’t want to use a large piece of fabric, just enough plus extra to place on top of the Jumbo Hoop: I will let it float, after hooping a stabilizer first.
The design has 50.311 stitches, which means a very dense embroidery. Because of that, and because I need a firm bookmark, I will also place a piece of bamboo batting underneath the fabric: both slightly oversized. .

Because I am using the Jumbo Hoop on my B770QE, I cannot use 5 cm to the left, due to the space between needle and right of the machine. That was showing on the preview too. So the center of my design is offset, to the right. That means I have to place the batting and fabric to the right too. I can adjust the center point via the B770QE, but I have to be careful not to protrude over the red safety lines. Checking first in all four directions if the design will fit,

also because I always let the machine make a base square to secure all layers.
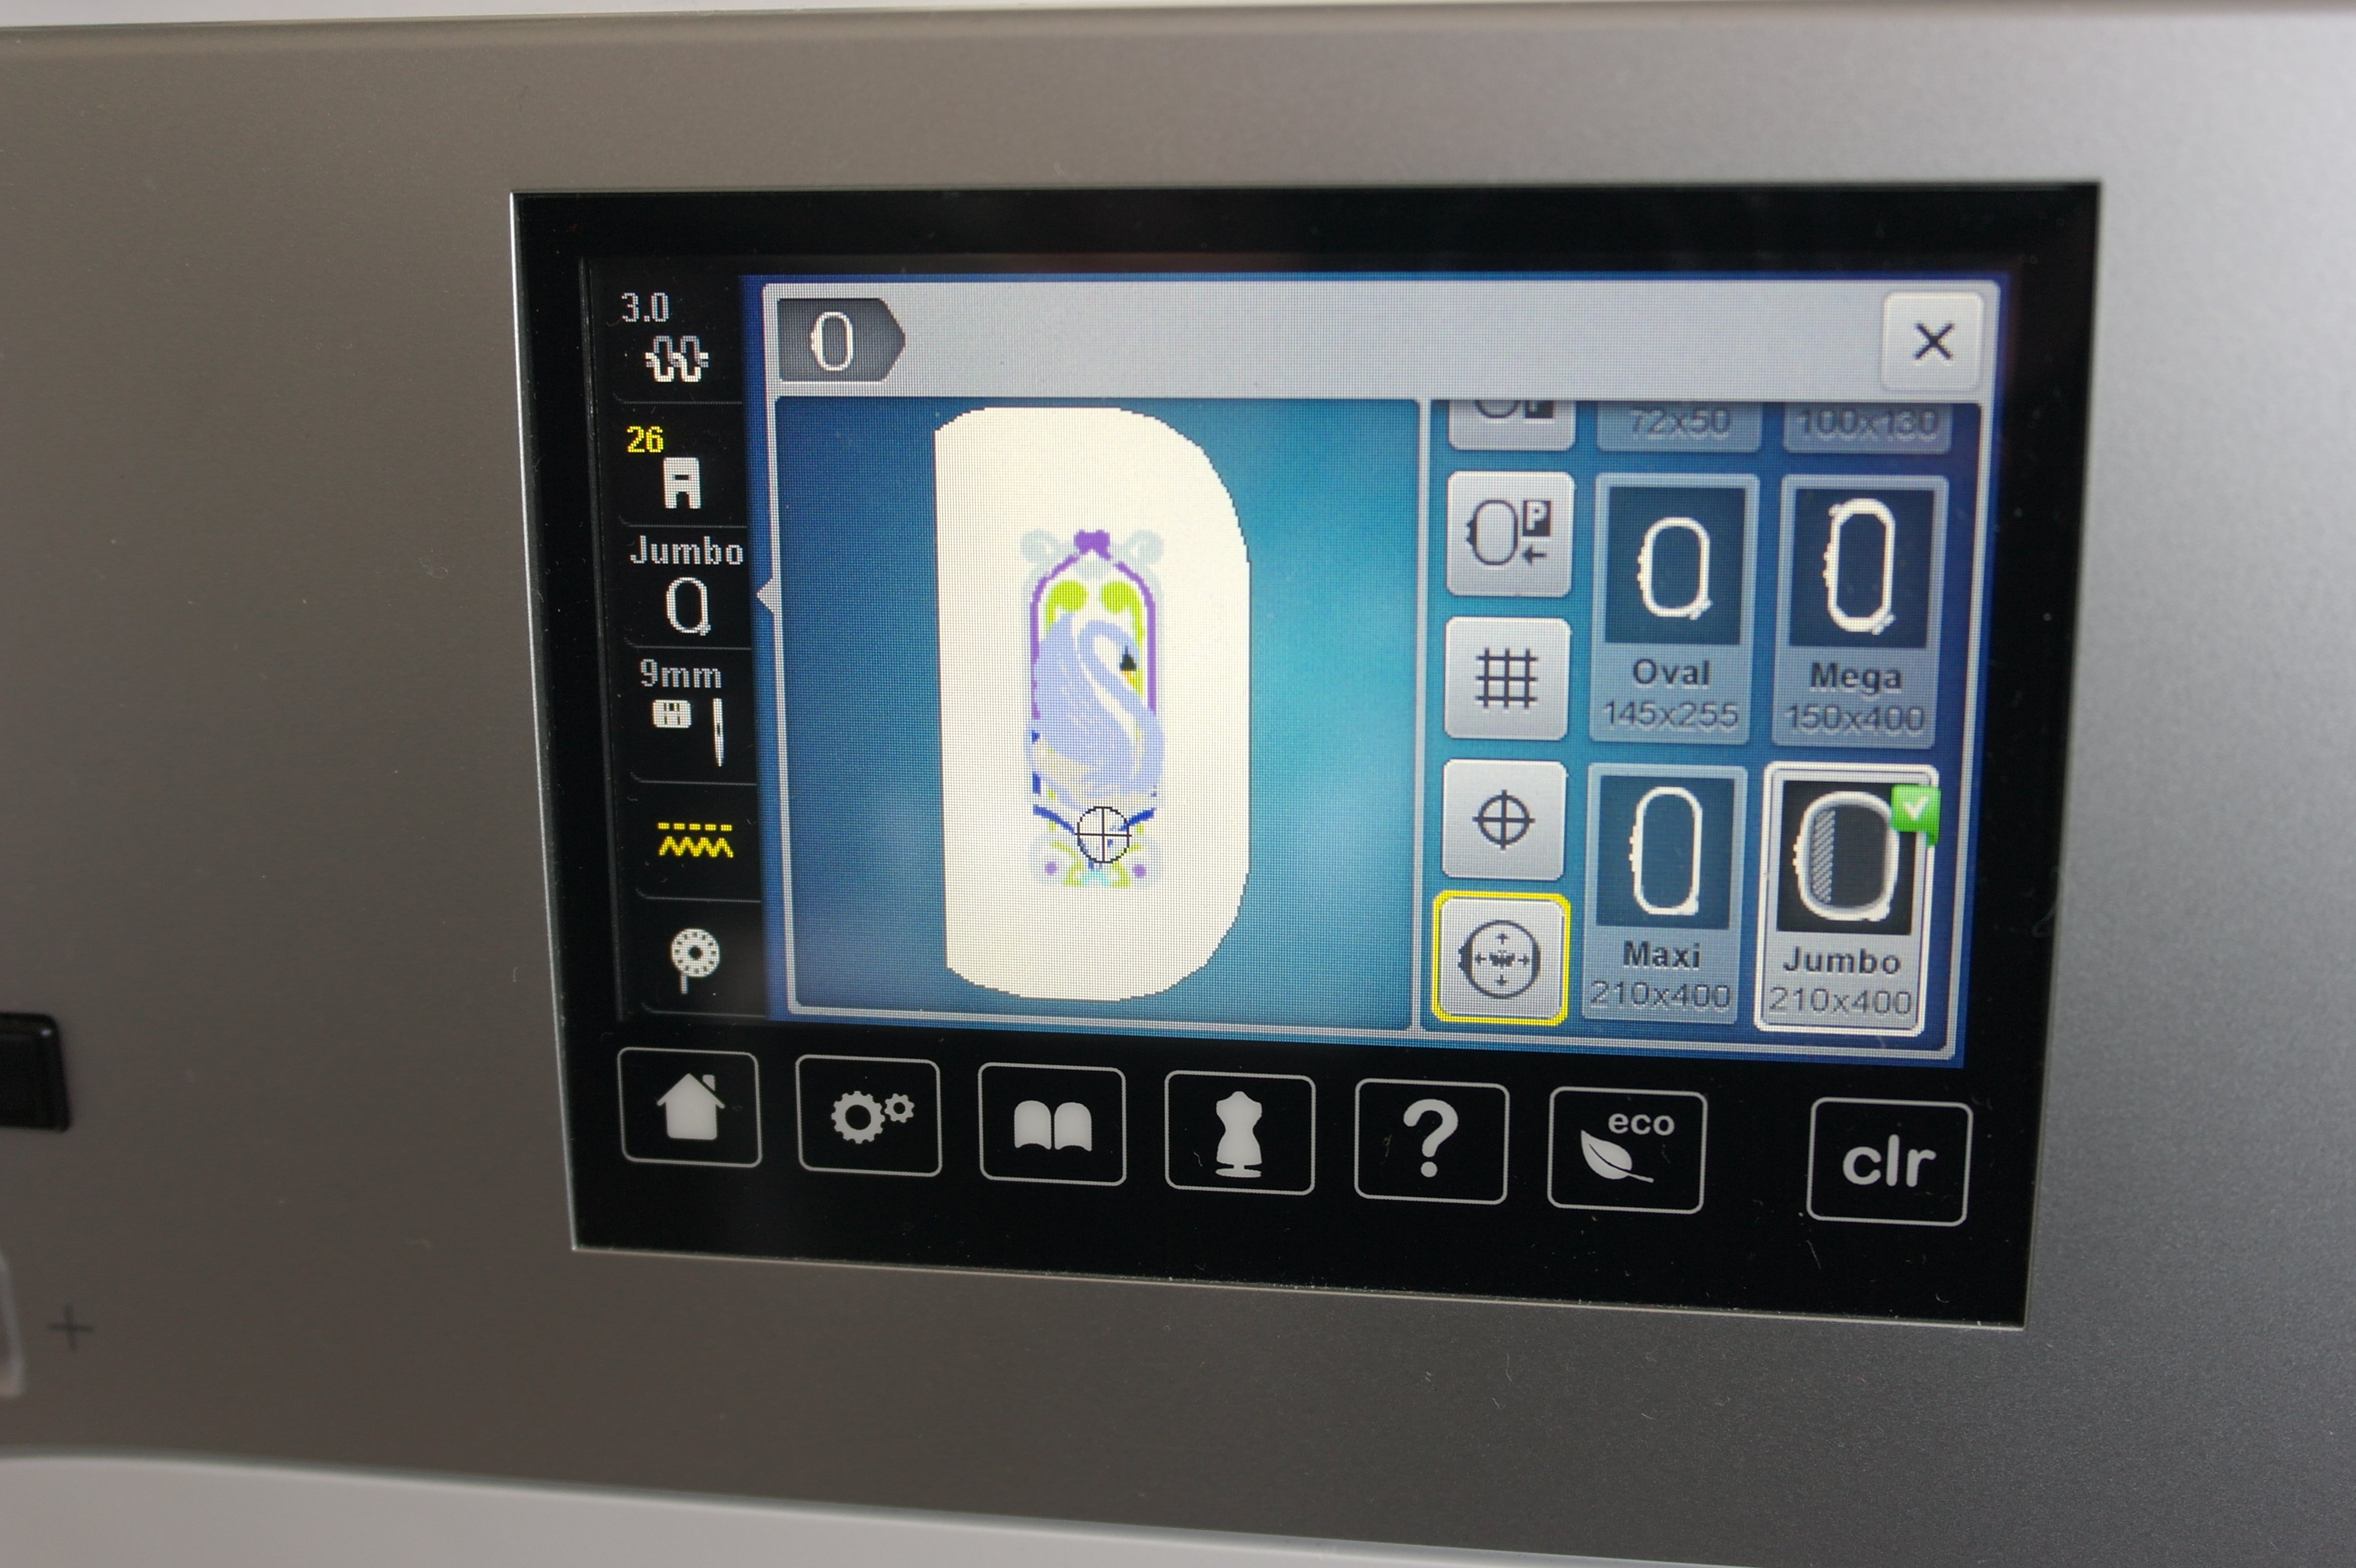
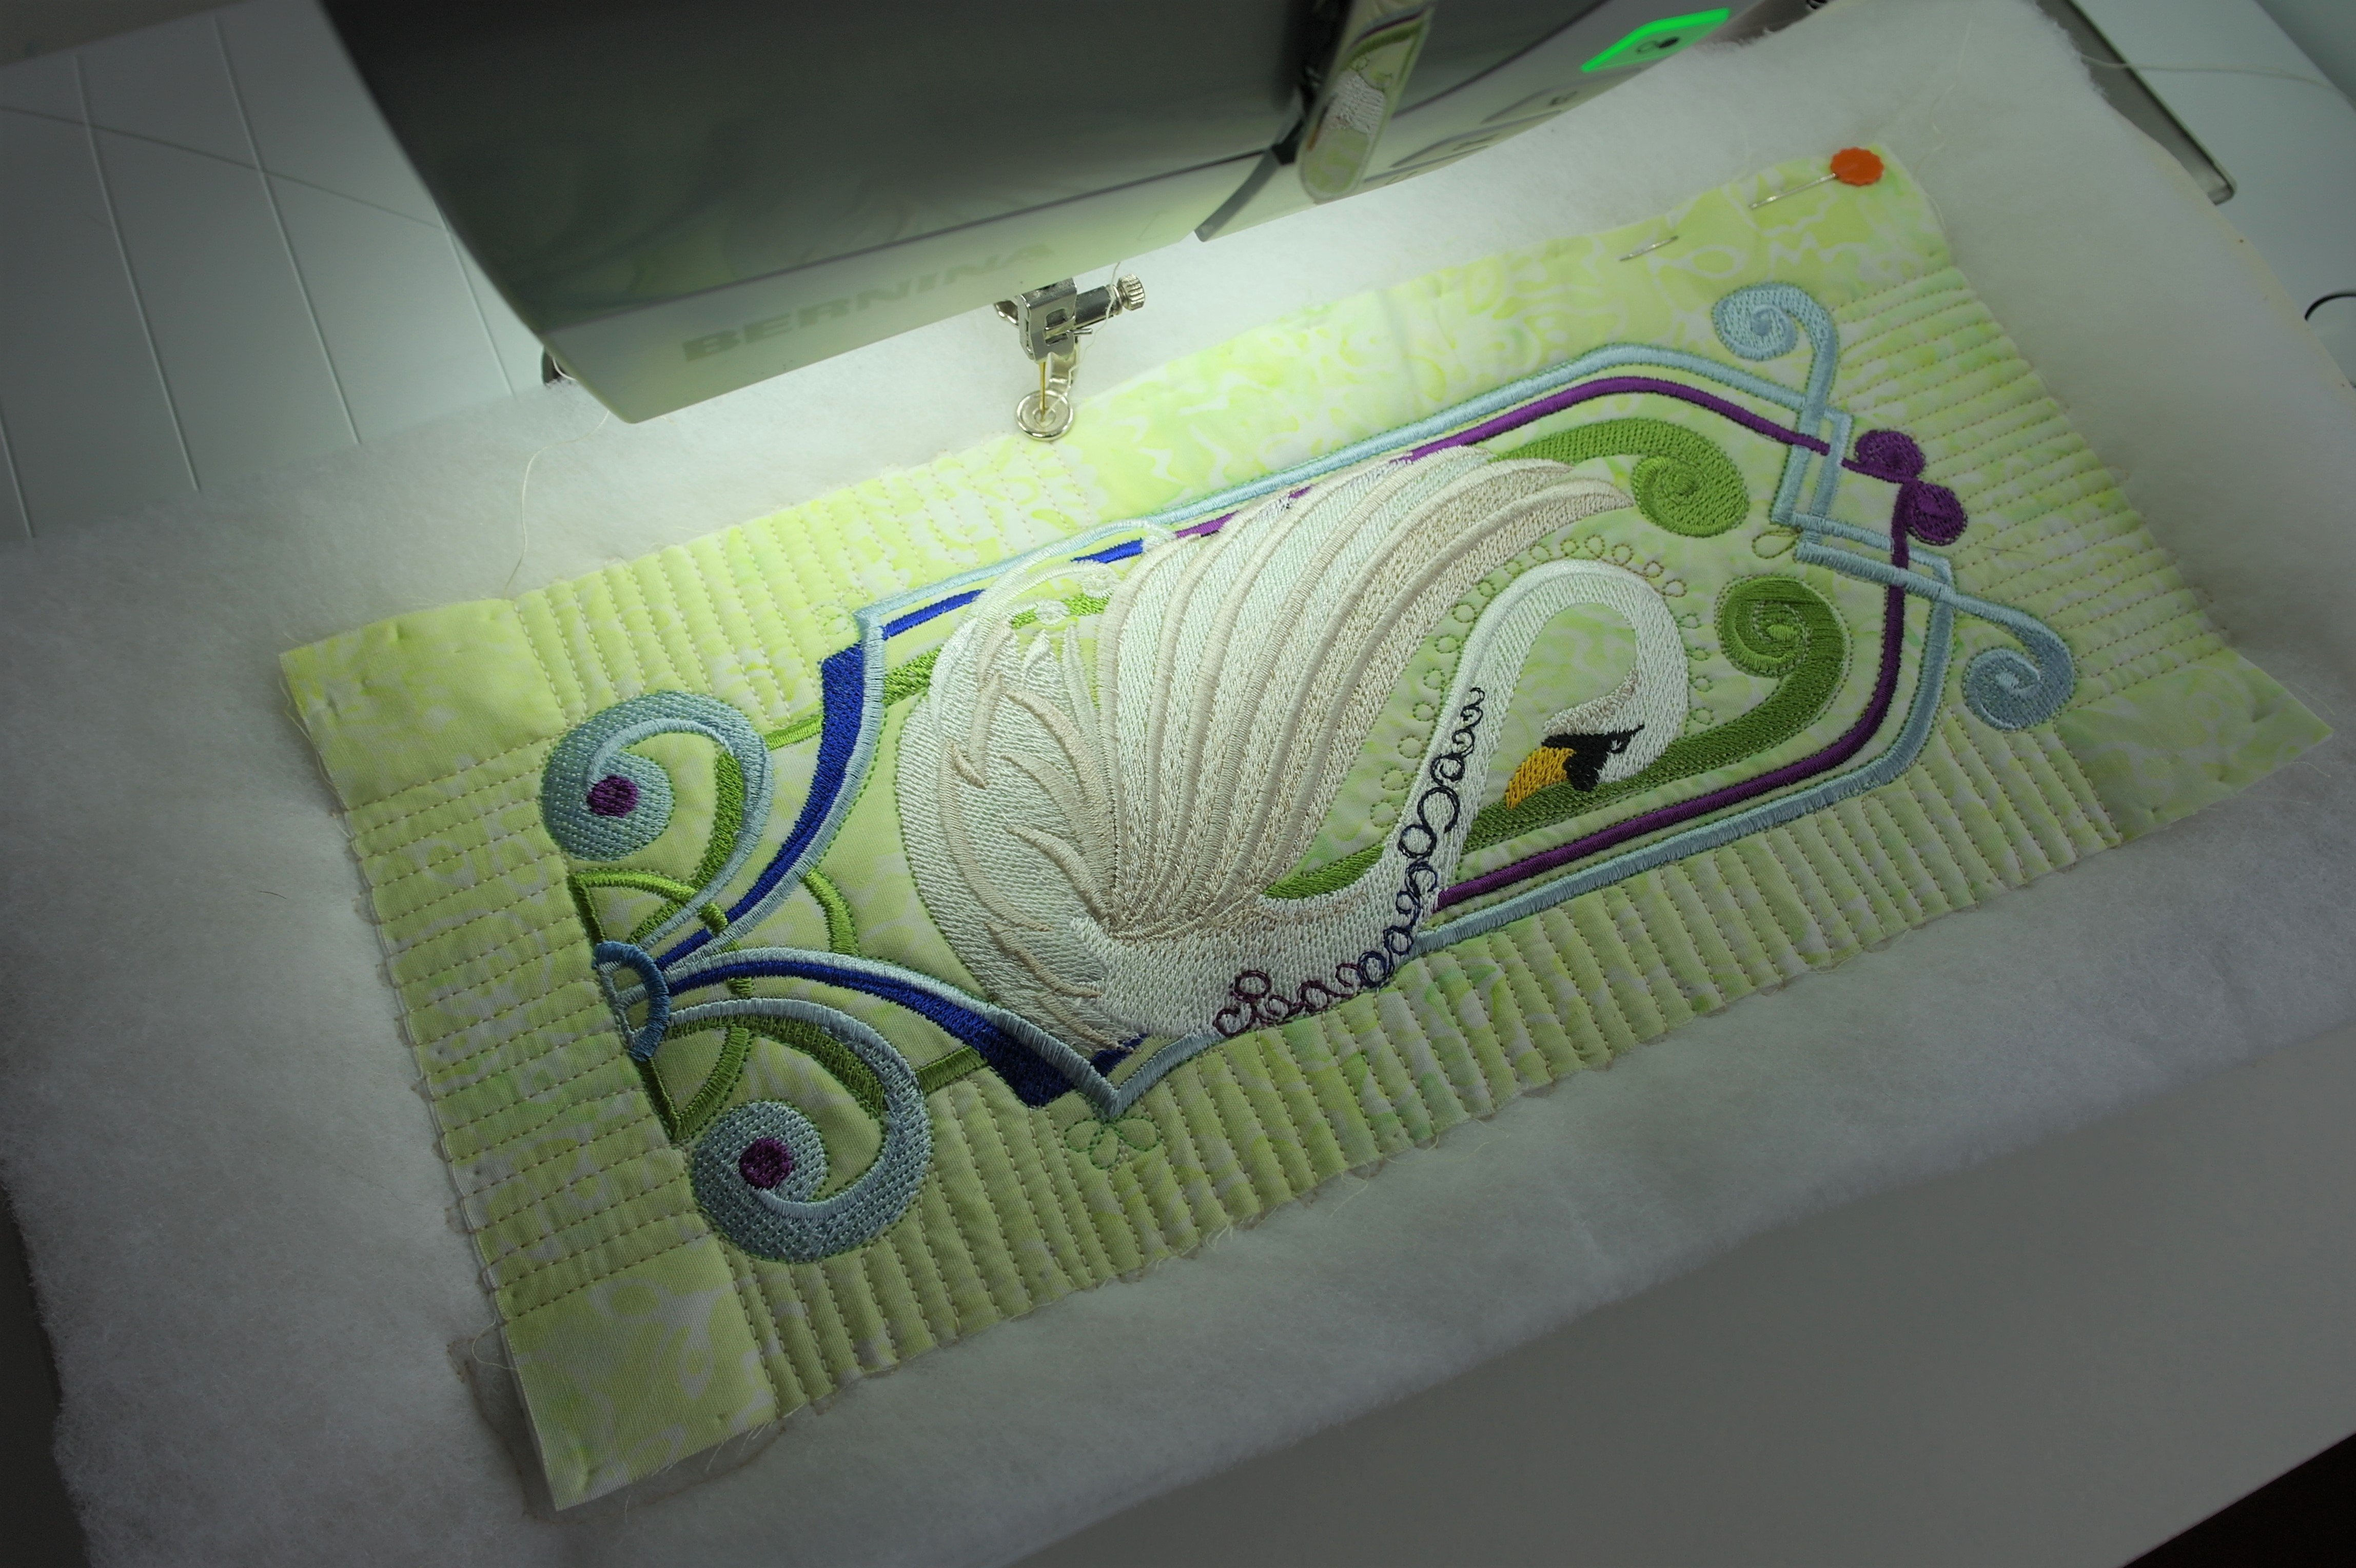
The feed dogs are lowered, design all set up, Embroidery Foot #26 on my machine (selected), Jumbo Hoop selected, and also changed the Stitch Plate into the Straight Stitch Plate (which still needs to be selected on my screen; as you can see on the picture above, the 9mm plate is still selected. You can embroider this way, but better is to select the right plate, so the machine recognizes it). Placed Sulky Rayon 40 thread on top, matching color in the bobbin and let the machine do its work, while changing threads when asked for.
For the back of the bookmark, I have written a poem, and want to embroider that too. There are different ways to place a text on your workspace: I have made it by using ‘Digitize’, left toolbar, then ‘Lettering’ with a right click, placing my text in the empty box after choosing a font (Run Murray Hill). Looks like it’s hand written…
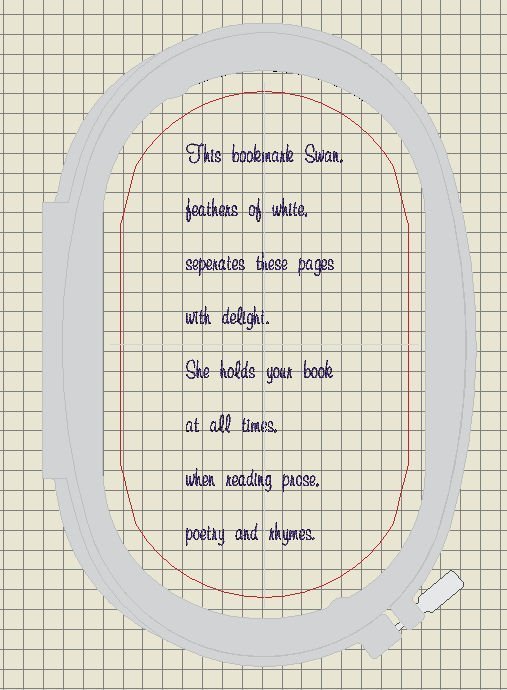
It will fit in the Large Oval Hoop, so that’s what I will use.
 Saved it all again, transferring it to my USBstick and made the embroidery.
I have moistened both embroideries, and let it dry on a flat surface. I did not iron it at all.
Quilted the front with the swan free hand, to give it more relief, using a very thin backing. Added some details to the sides.
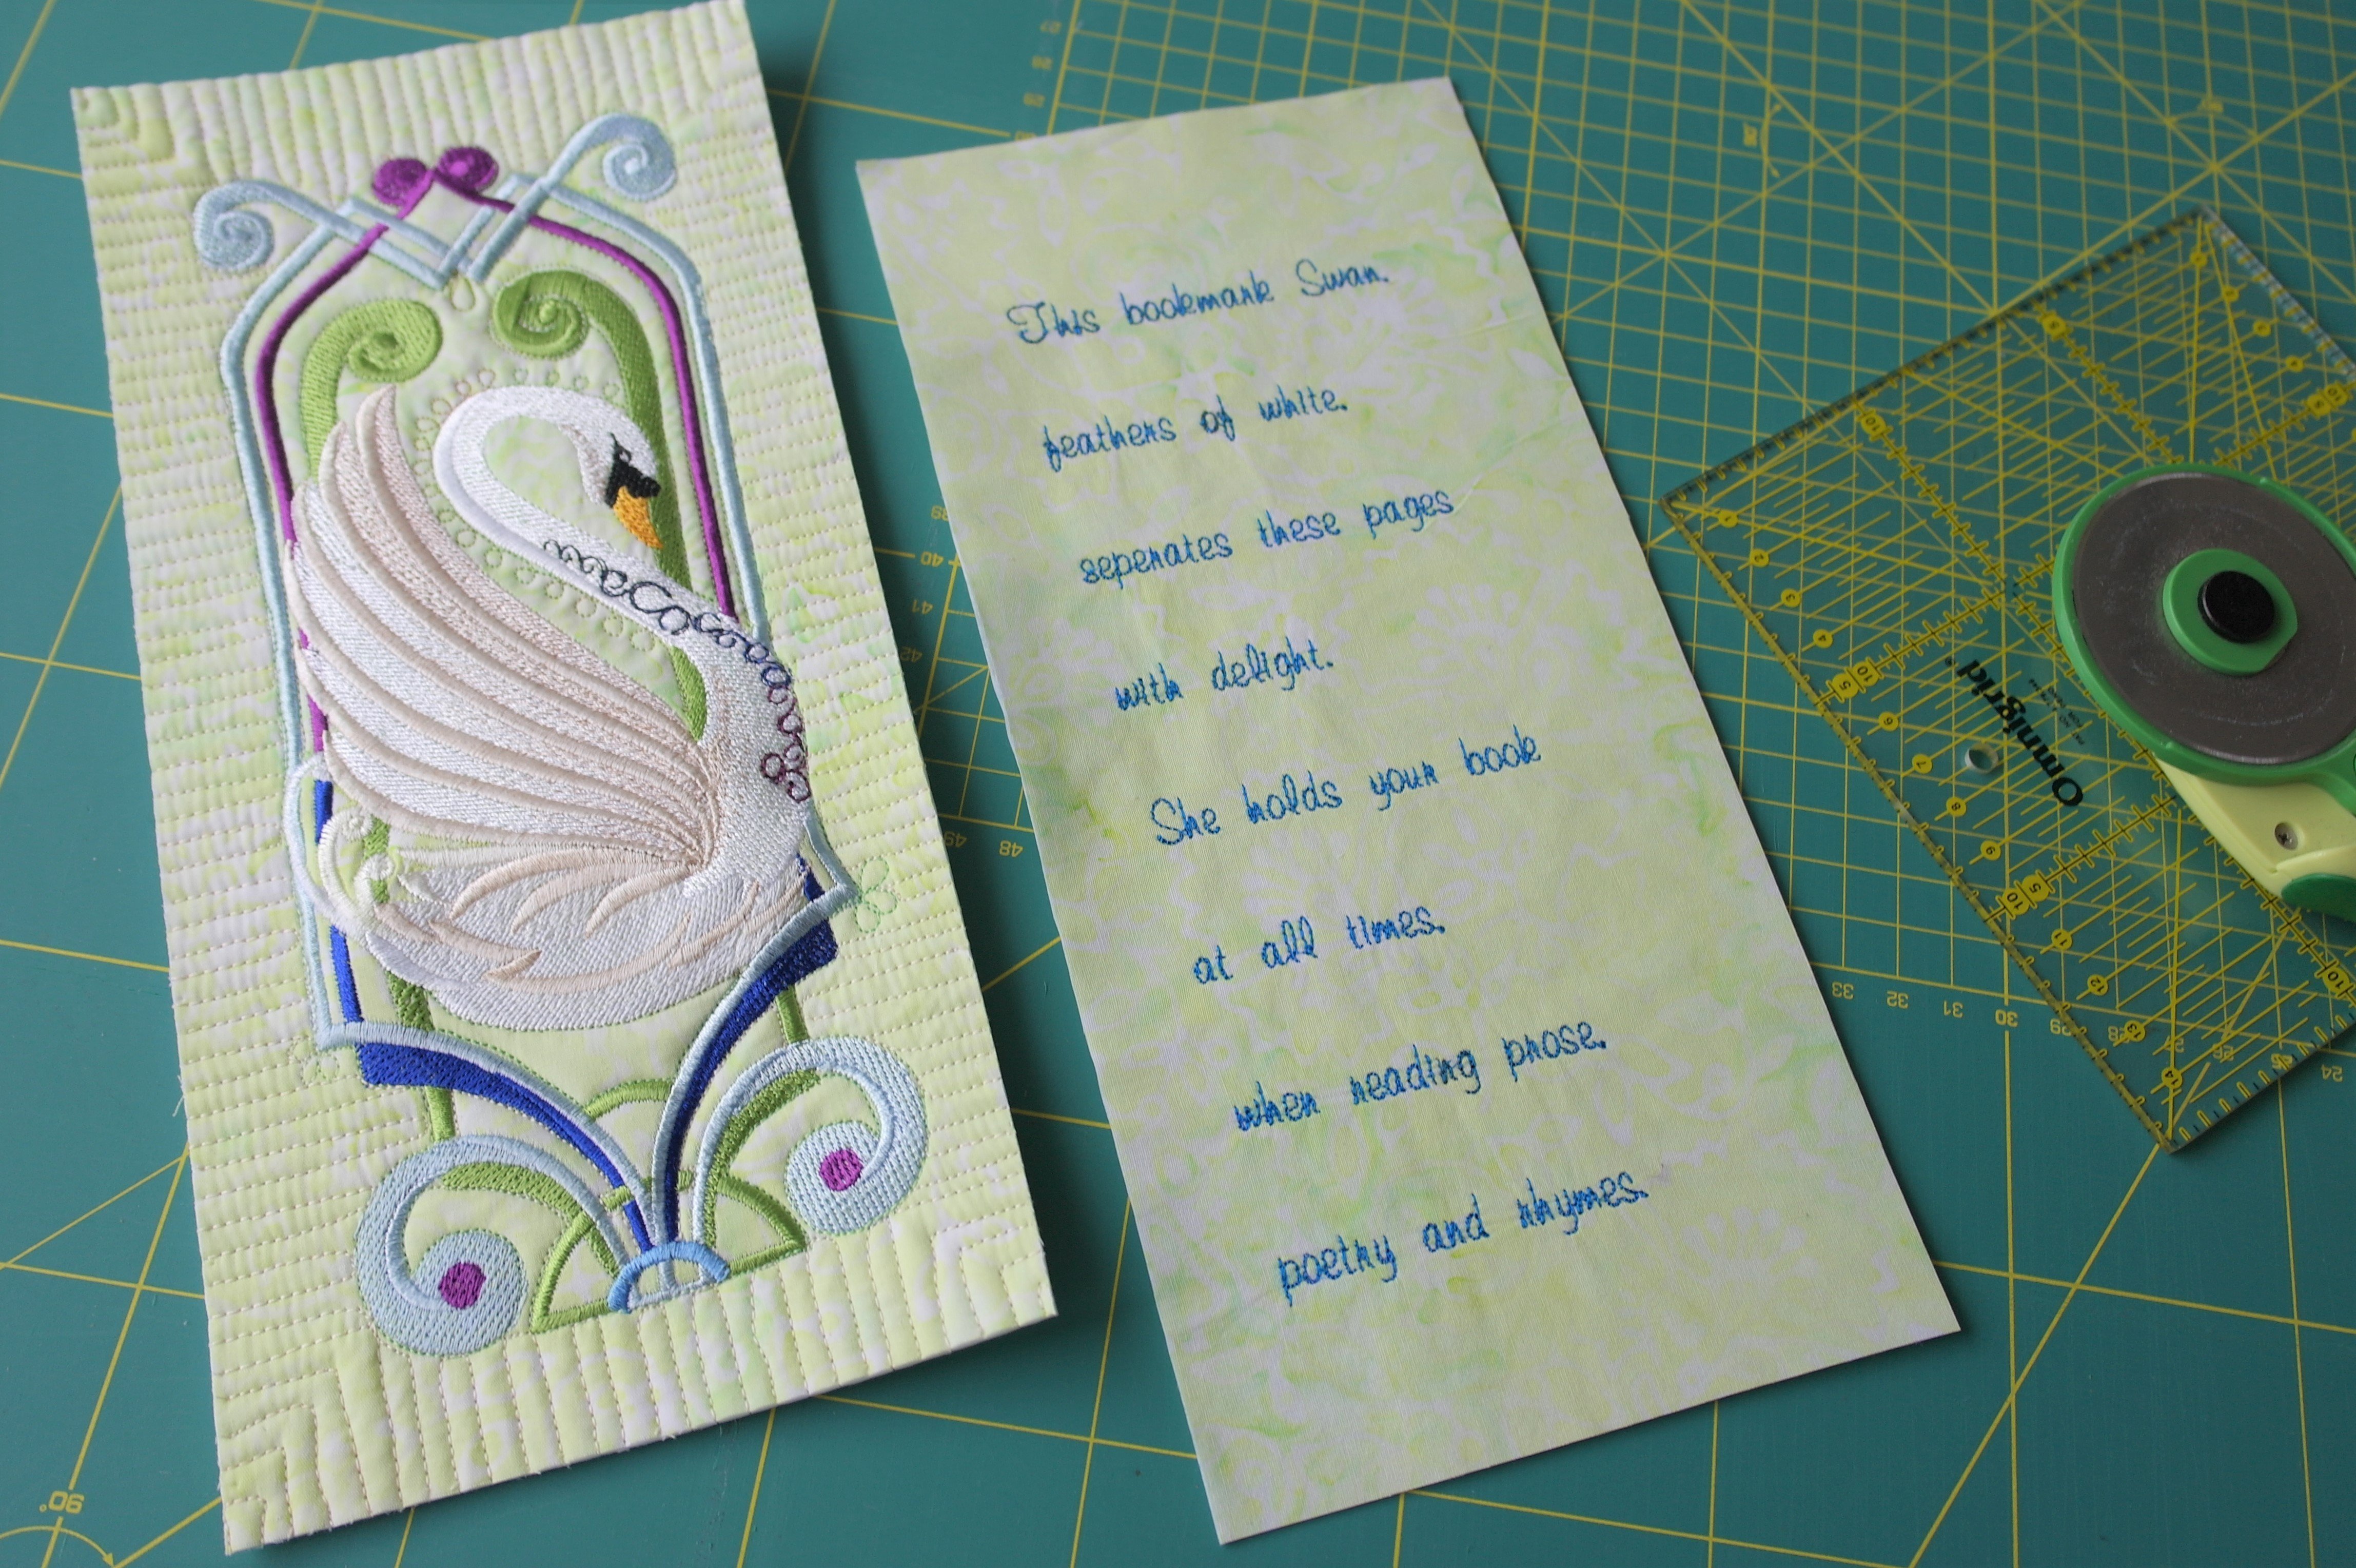
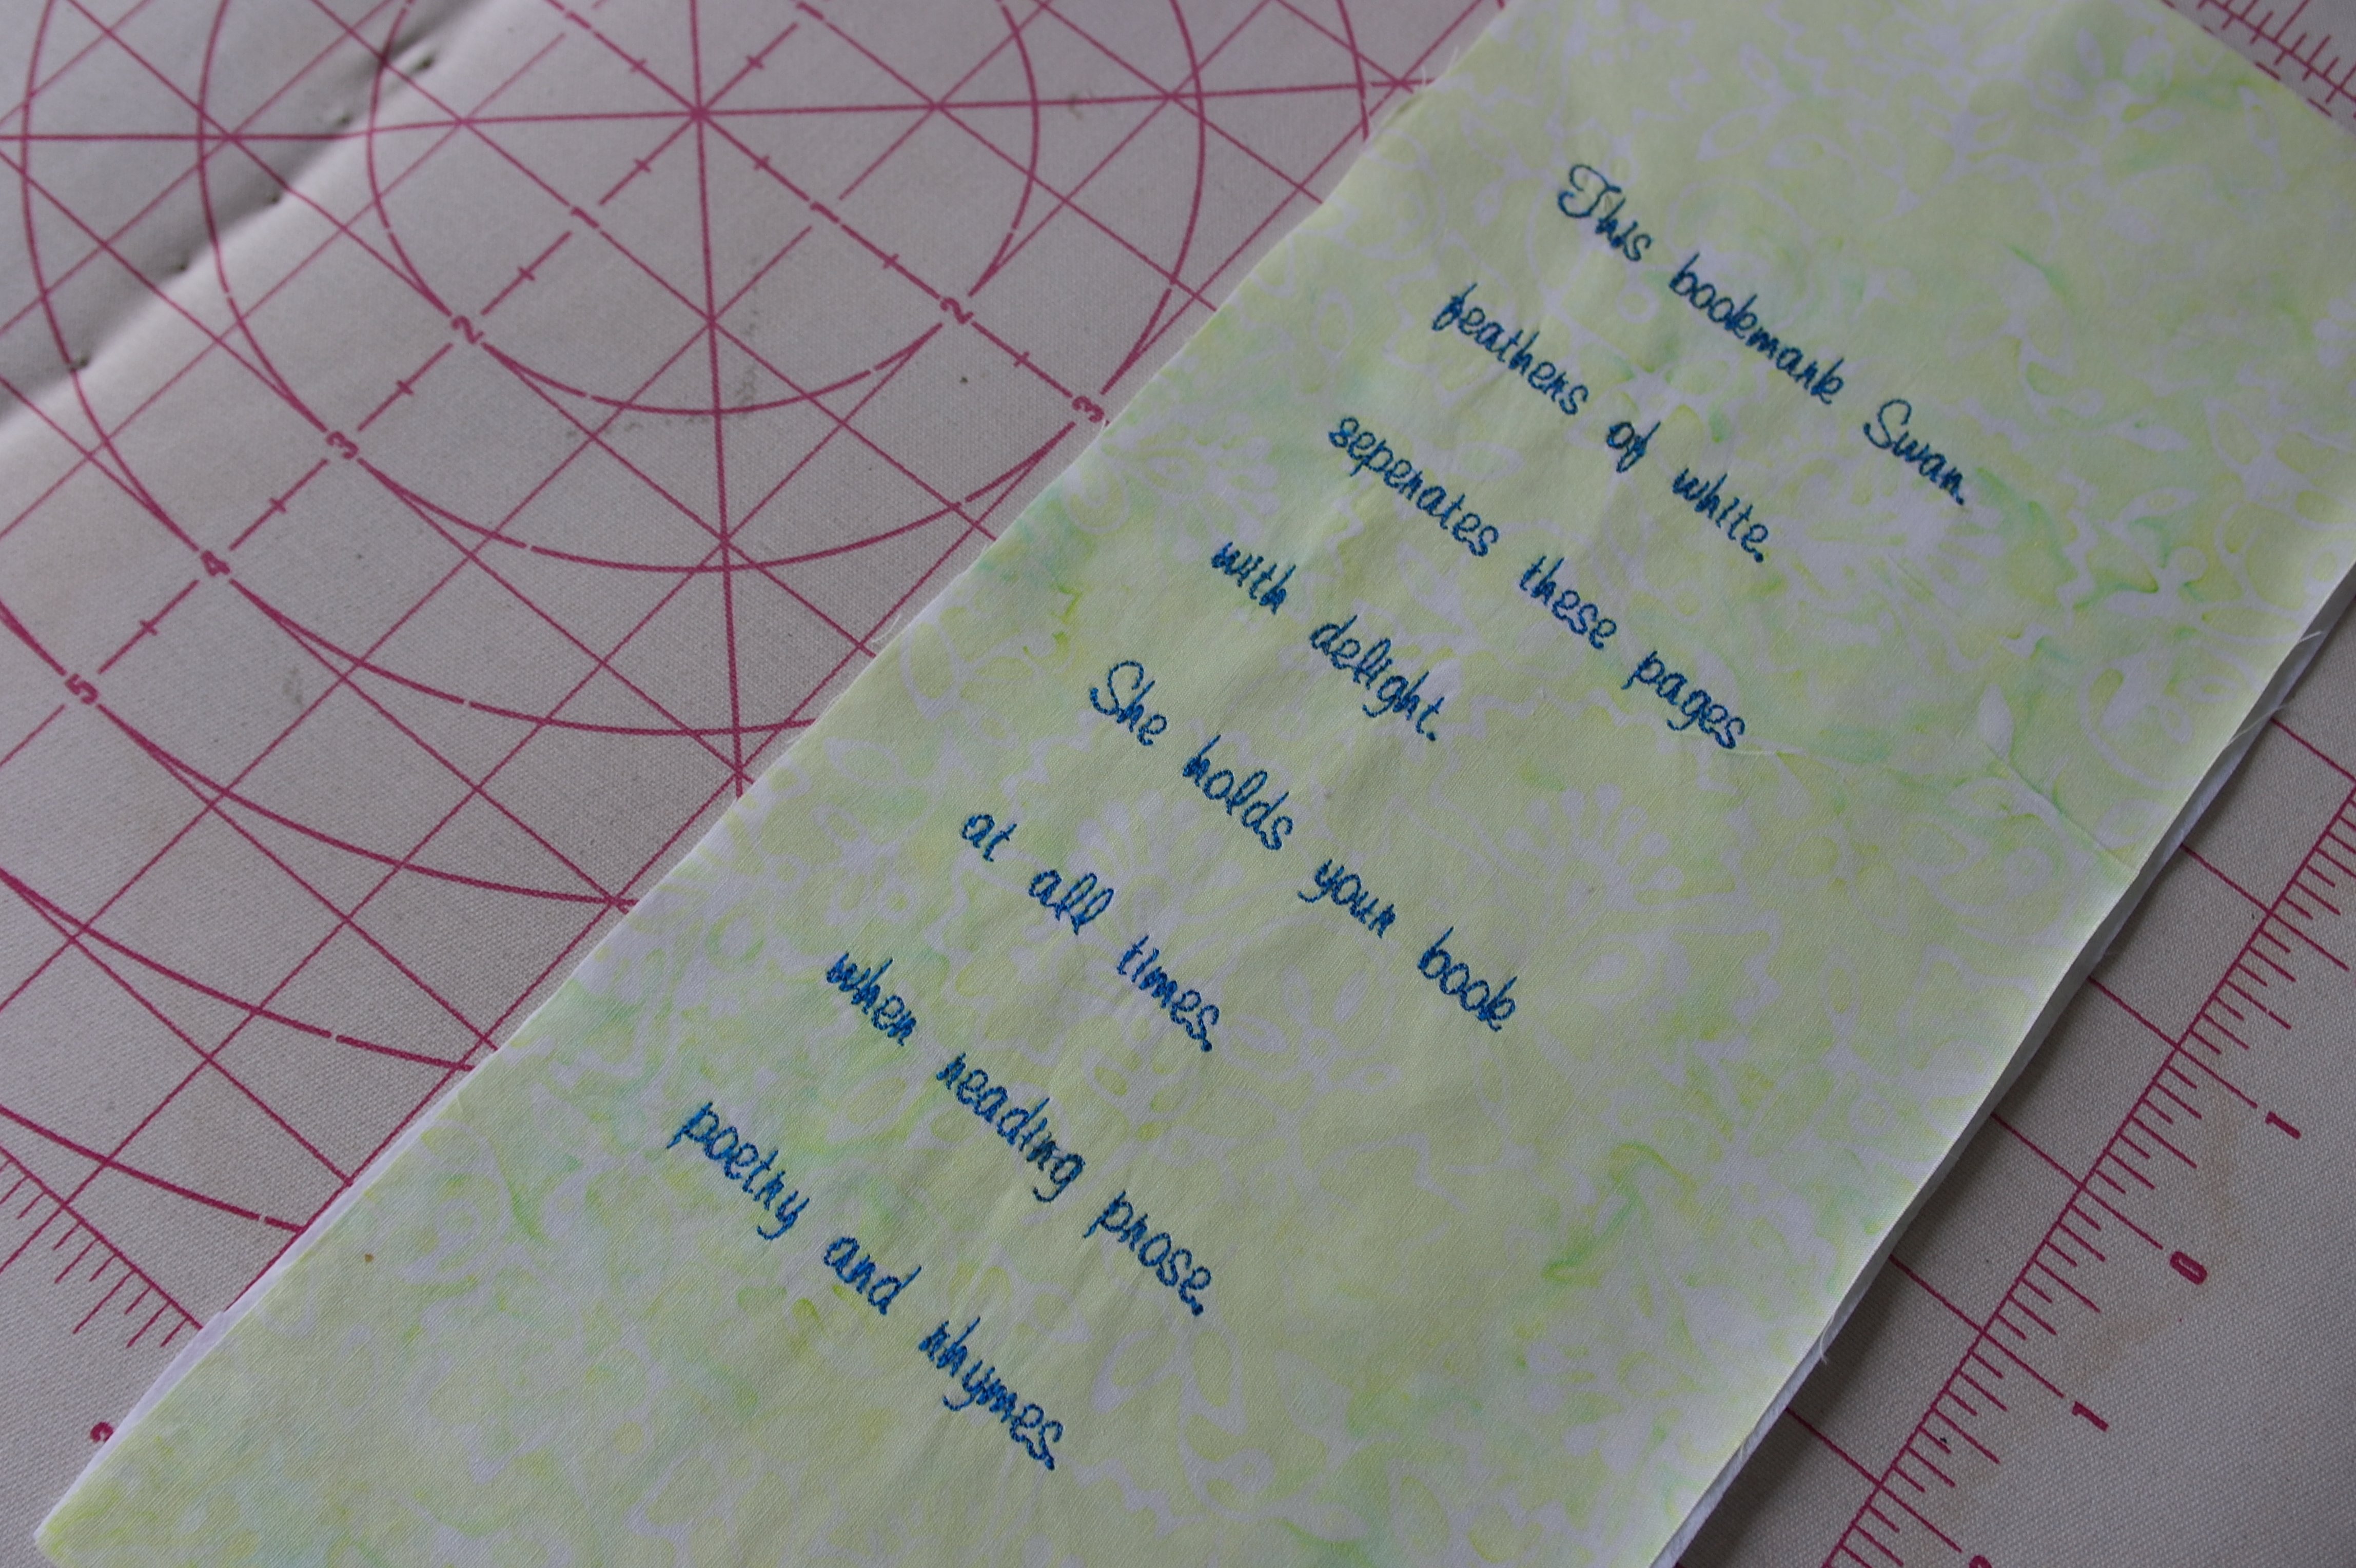
Cut the front and back to the required size = 12,5 x 27 cm. This is my poem:
This bookmark swan,
feathers of white,
separates these pages
with delight.
She holds your book
at all times,
when reading prose,
poetry and rhymes.
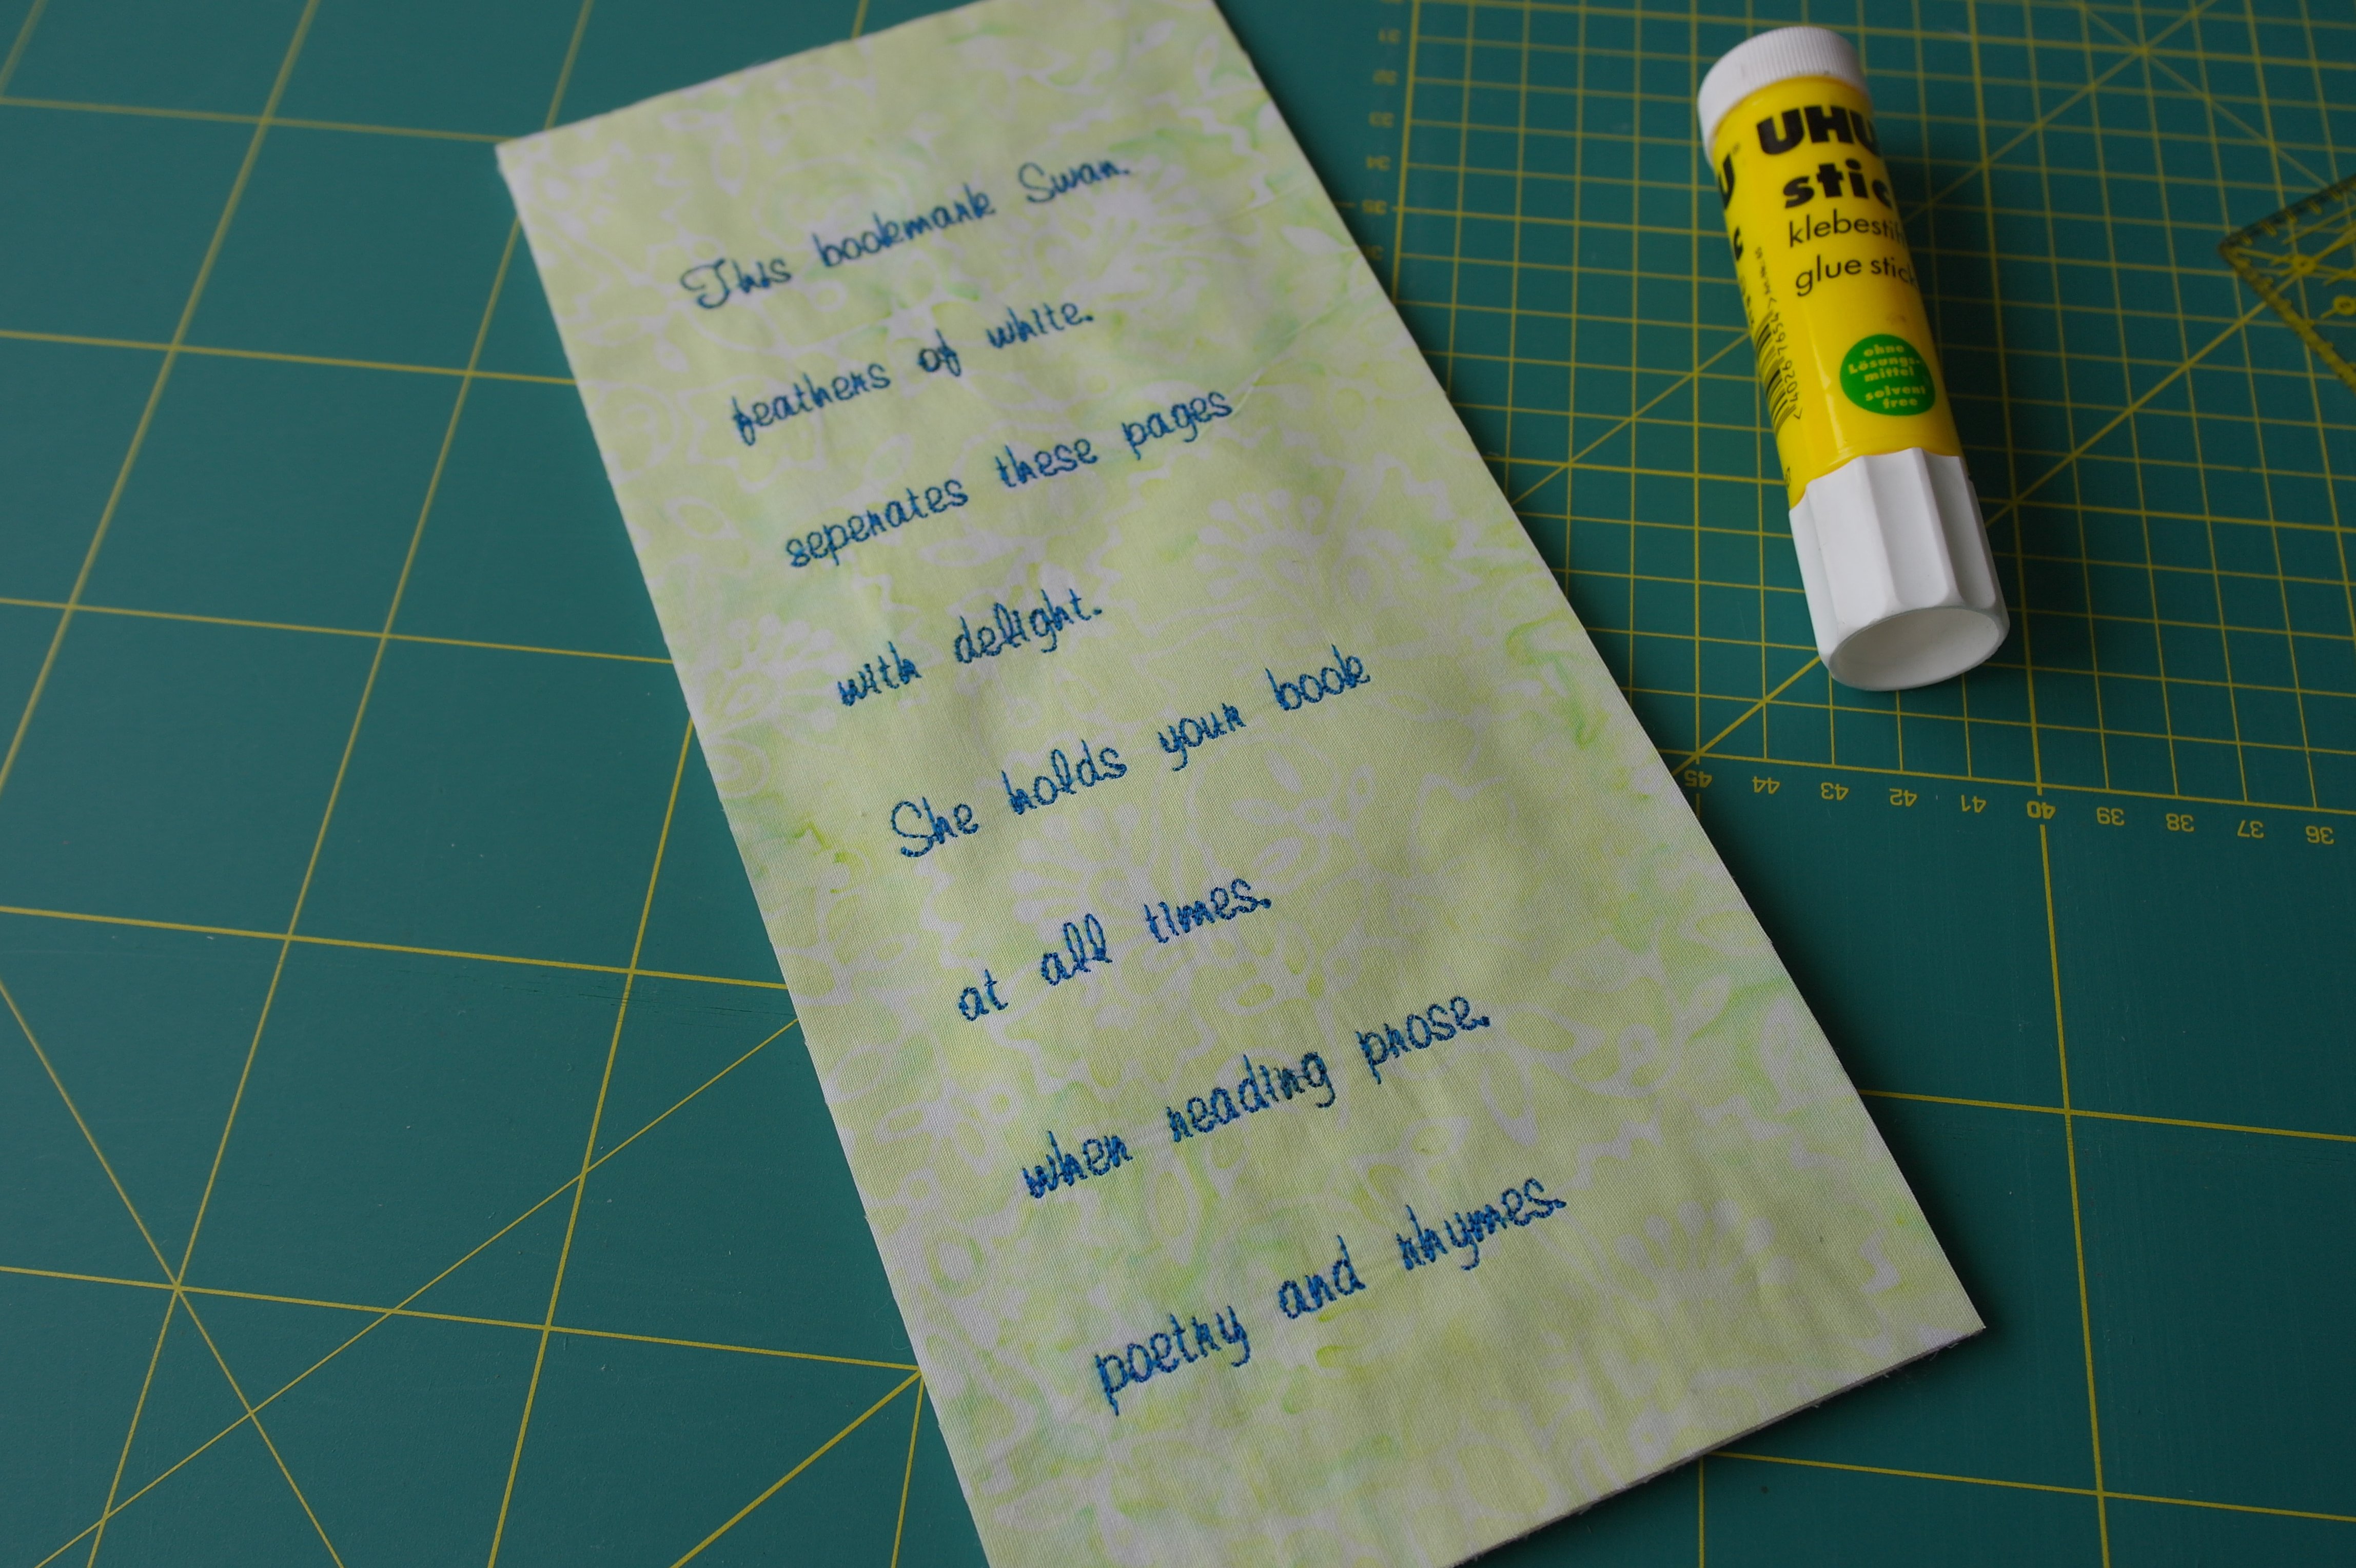
Using a UHU glue (water soluble), I have placed front and back on top of each other, checking if the sides matched.
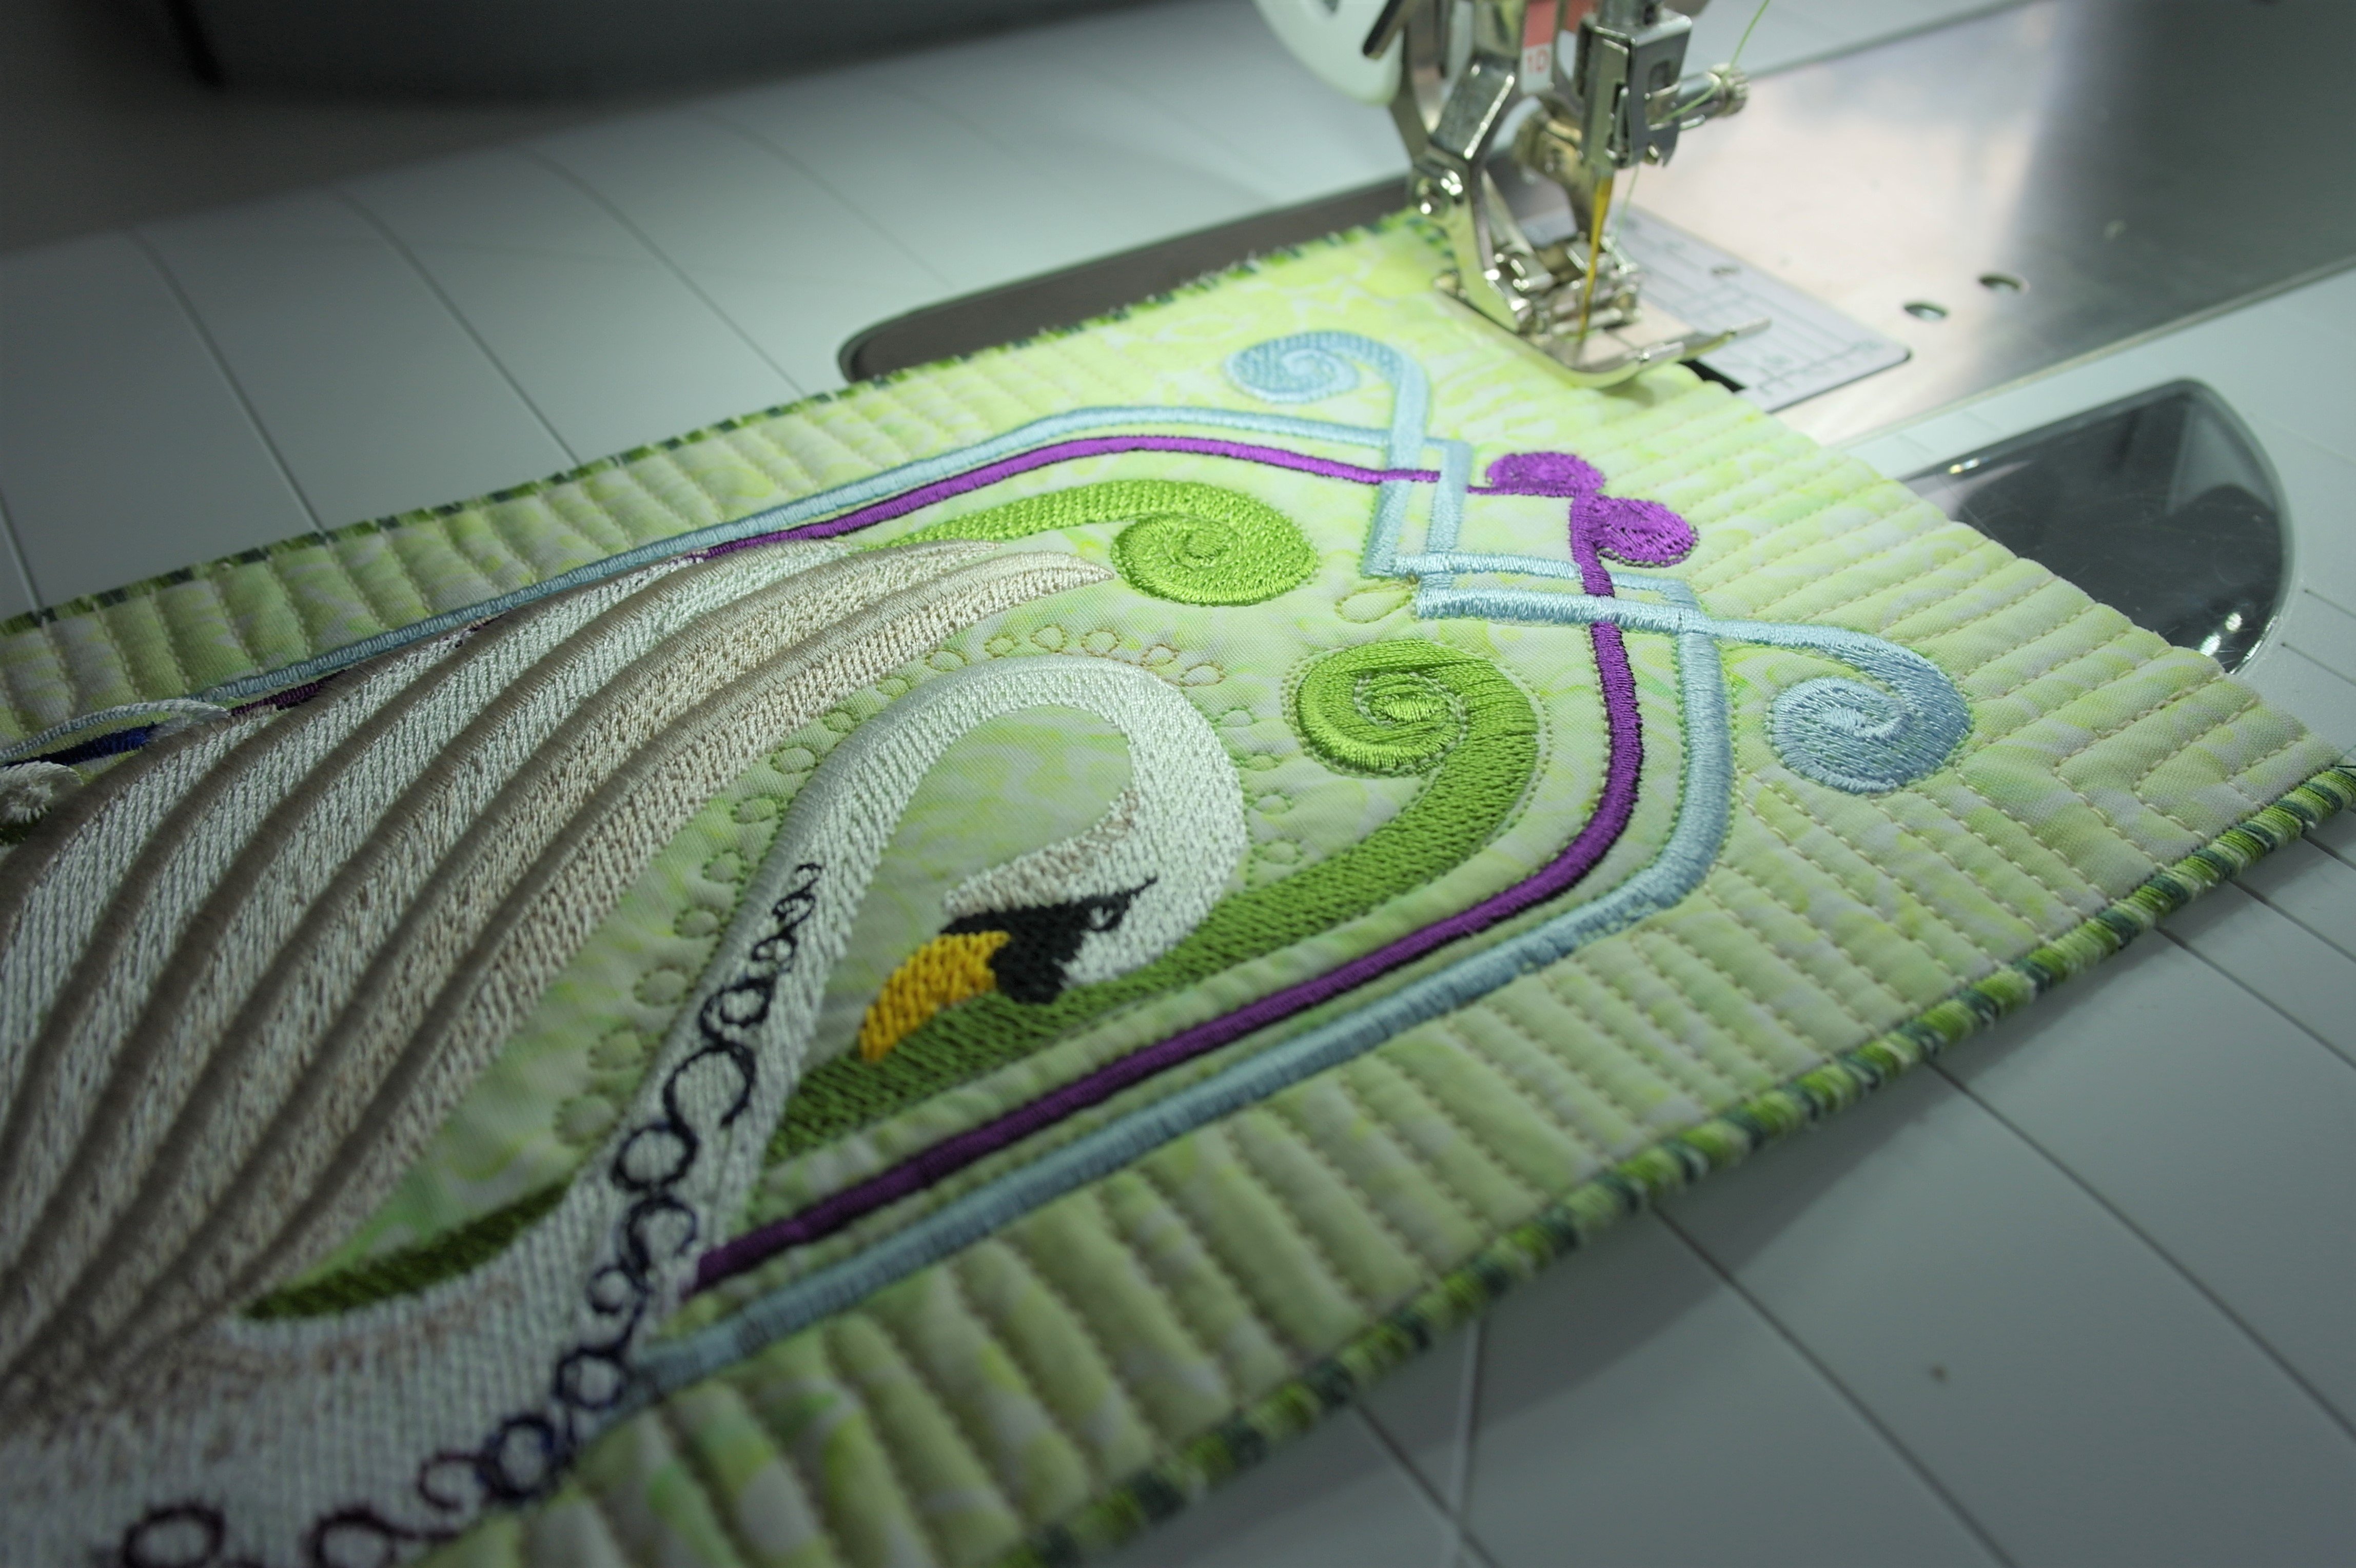
Using Presser Foot #97D and the Dual transport, I’ve used a very dense Satin Stitch and a variegated thread to close all sides at once. Run over it twice to be sure there was no empty space between the stitches. I’ve slowed the pace, to be sure it was all covered and the stitches were made in the width of my choice. Made a couple of quilting stitches on certain places, to secure both front and back in the center too.

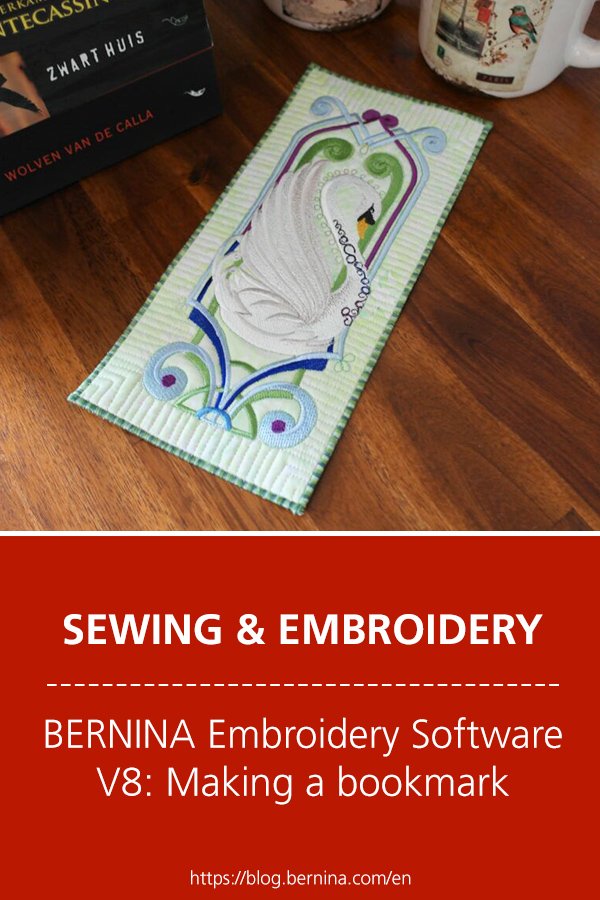
This is how the finished bookmark: don’t you love it? It is a big one, but the recipient like to read magazines too, and then you can use a large bookmark.
I love it when you can use certain elements in V8, and make a embroidery design your own way, for a wonderful present.
Next time another technique, see you then!
Happy Stitching,
Sylvia Kaptein
Sylvia’s Art Quilts Studio
www.sylviasartquilts.nl
[email protected]


You spelled “separate” correctly in you written text but you embroidered the incorrect spelling “seperate “. Otherwise, a careful tutorial.