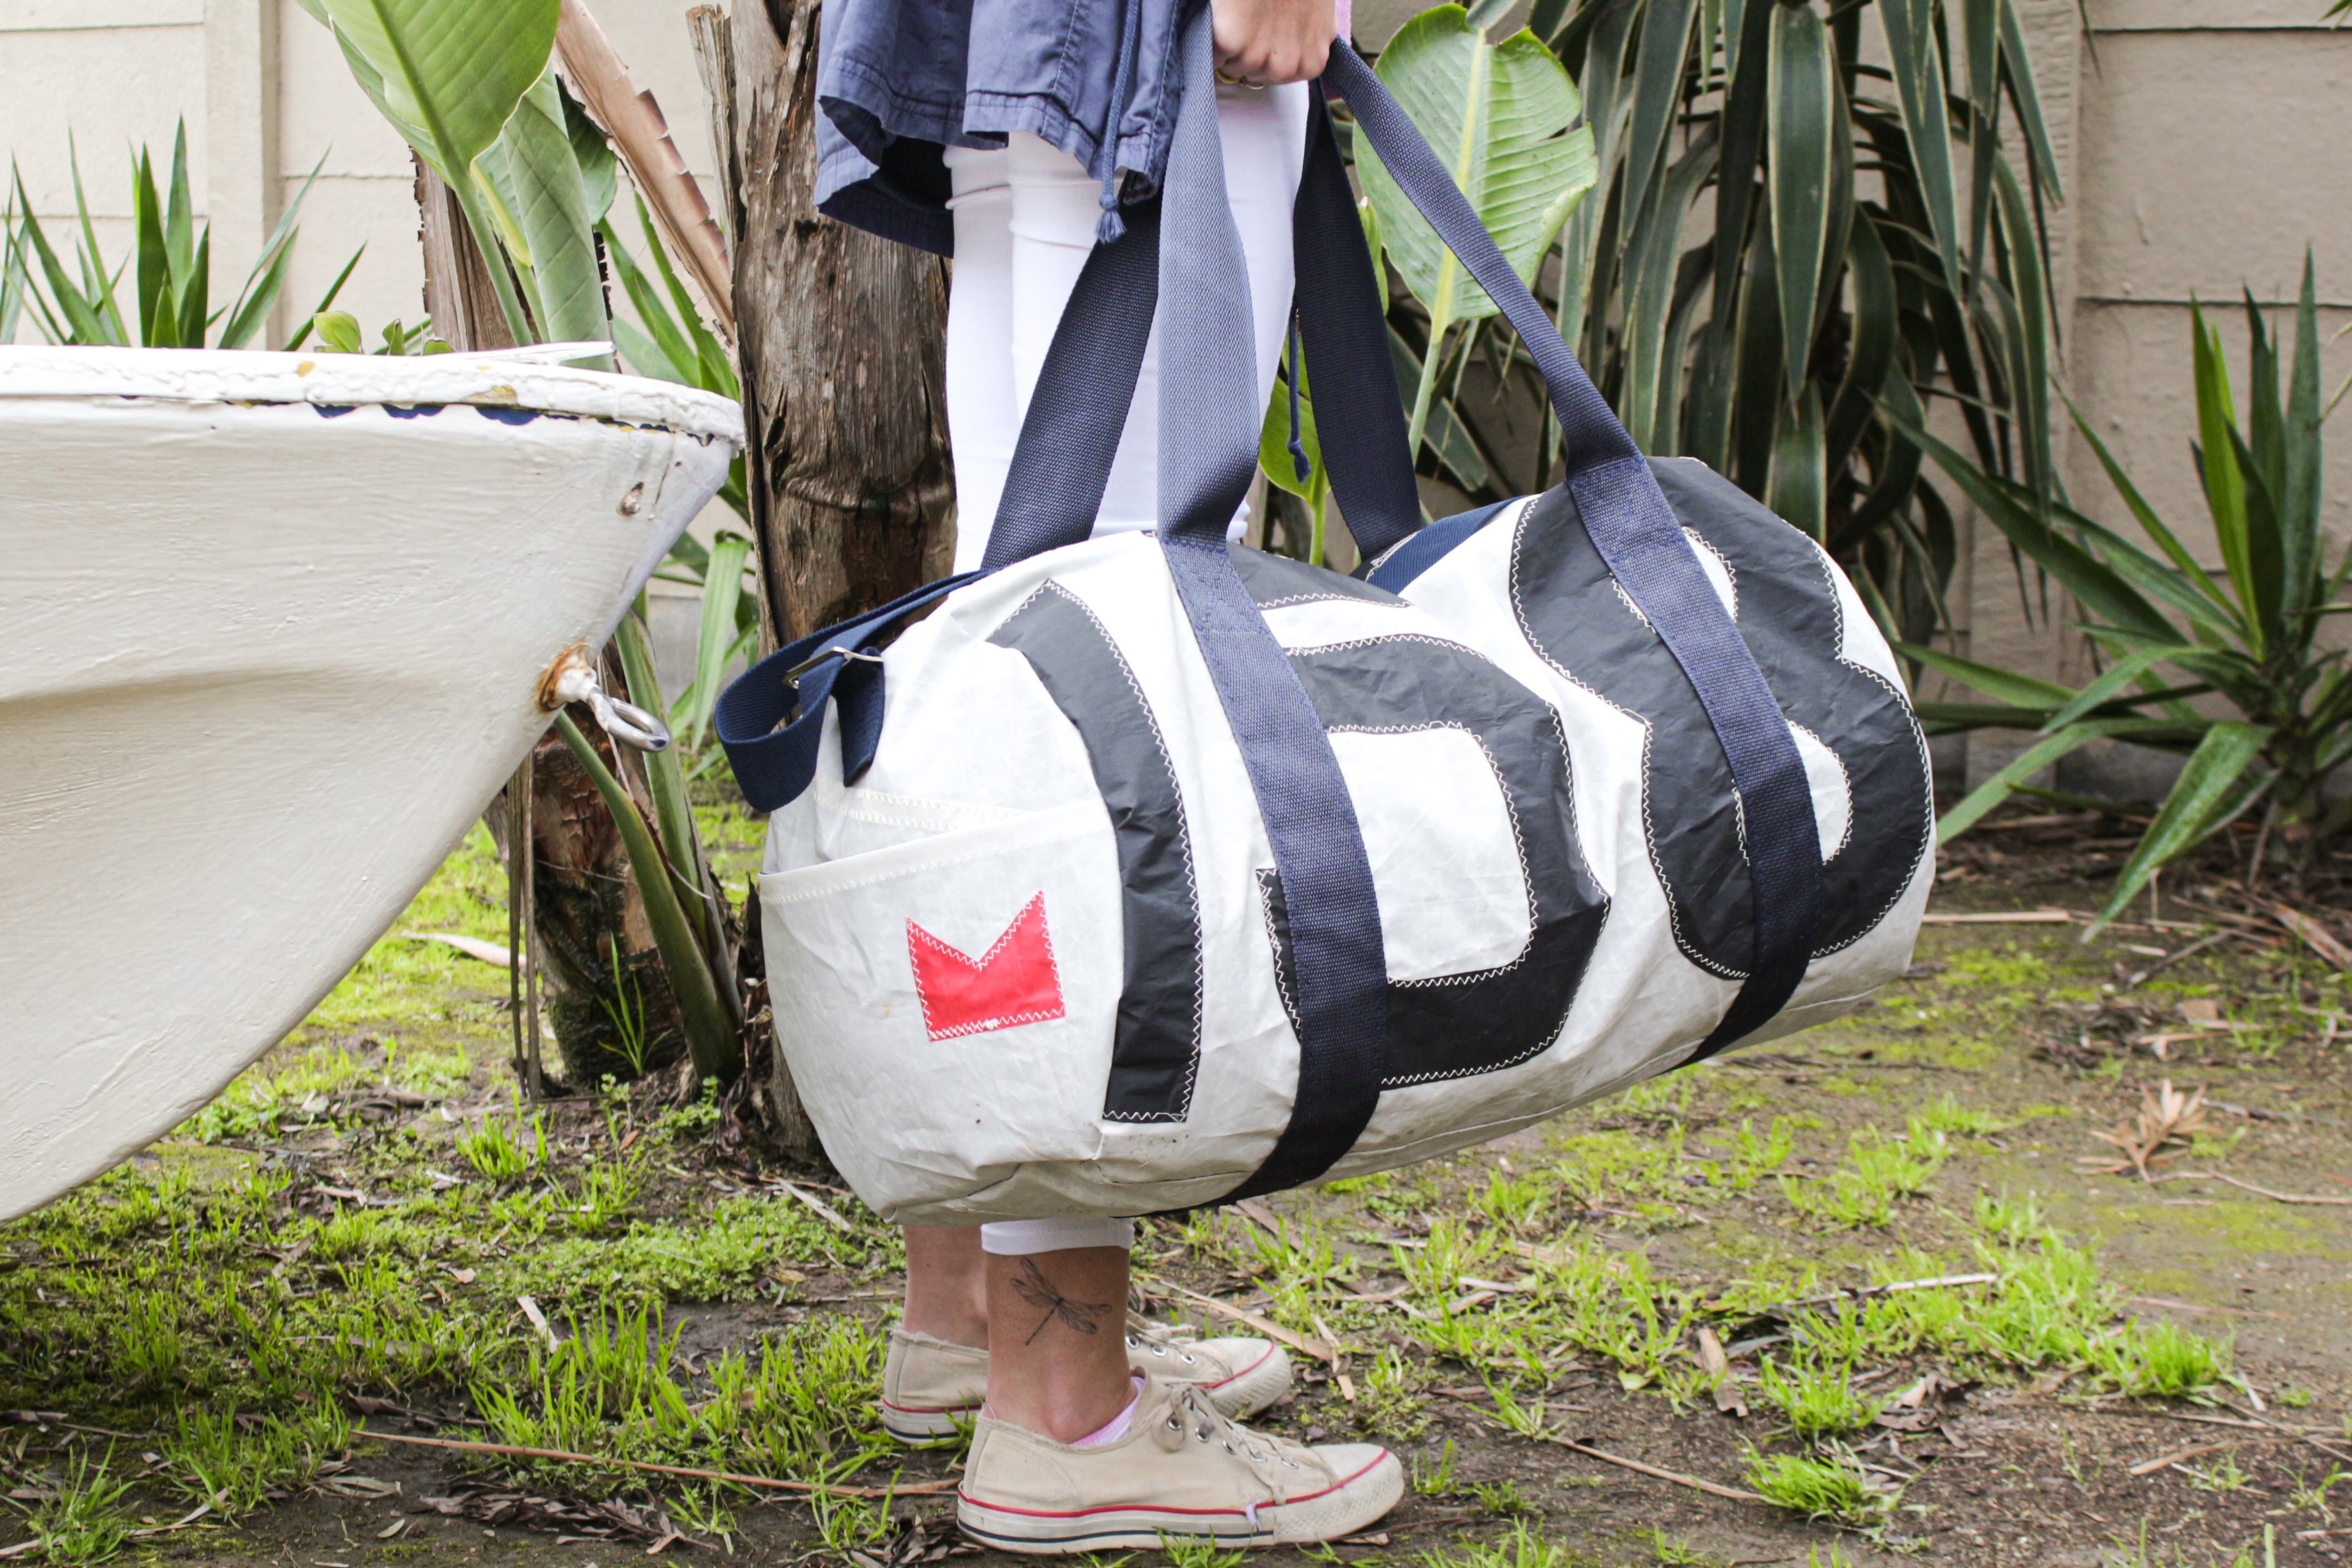
My dad and brother are sailors and enjoy fixing up boats. We often have a boat in the garden waiting to be repaired, renovated or sold. Sometimes with these boats there are sails that can’t be repaired or sold.
I decided to make my dad a “Carryall” (in South Africa we call it a Tog Bag) out of one of these sails. He often goes for a sail at the dam and needs a bag with a change of warm, dry clothes.
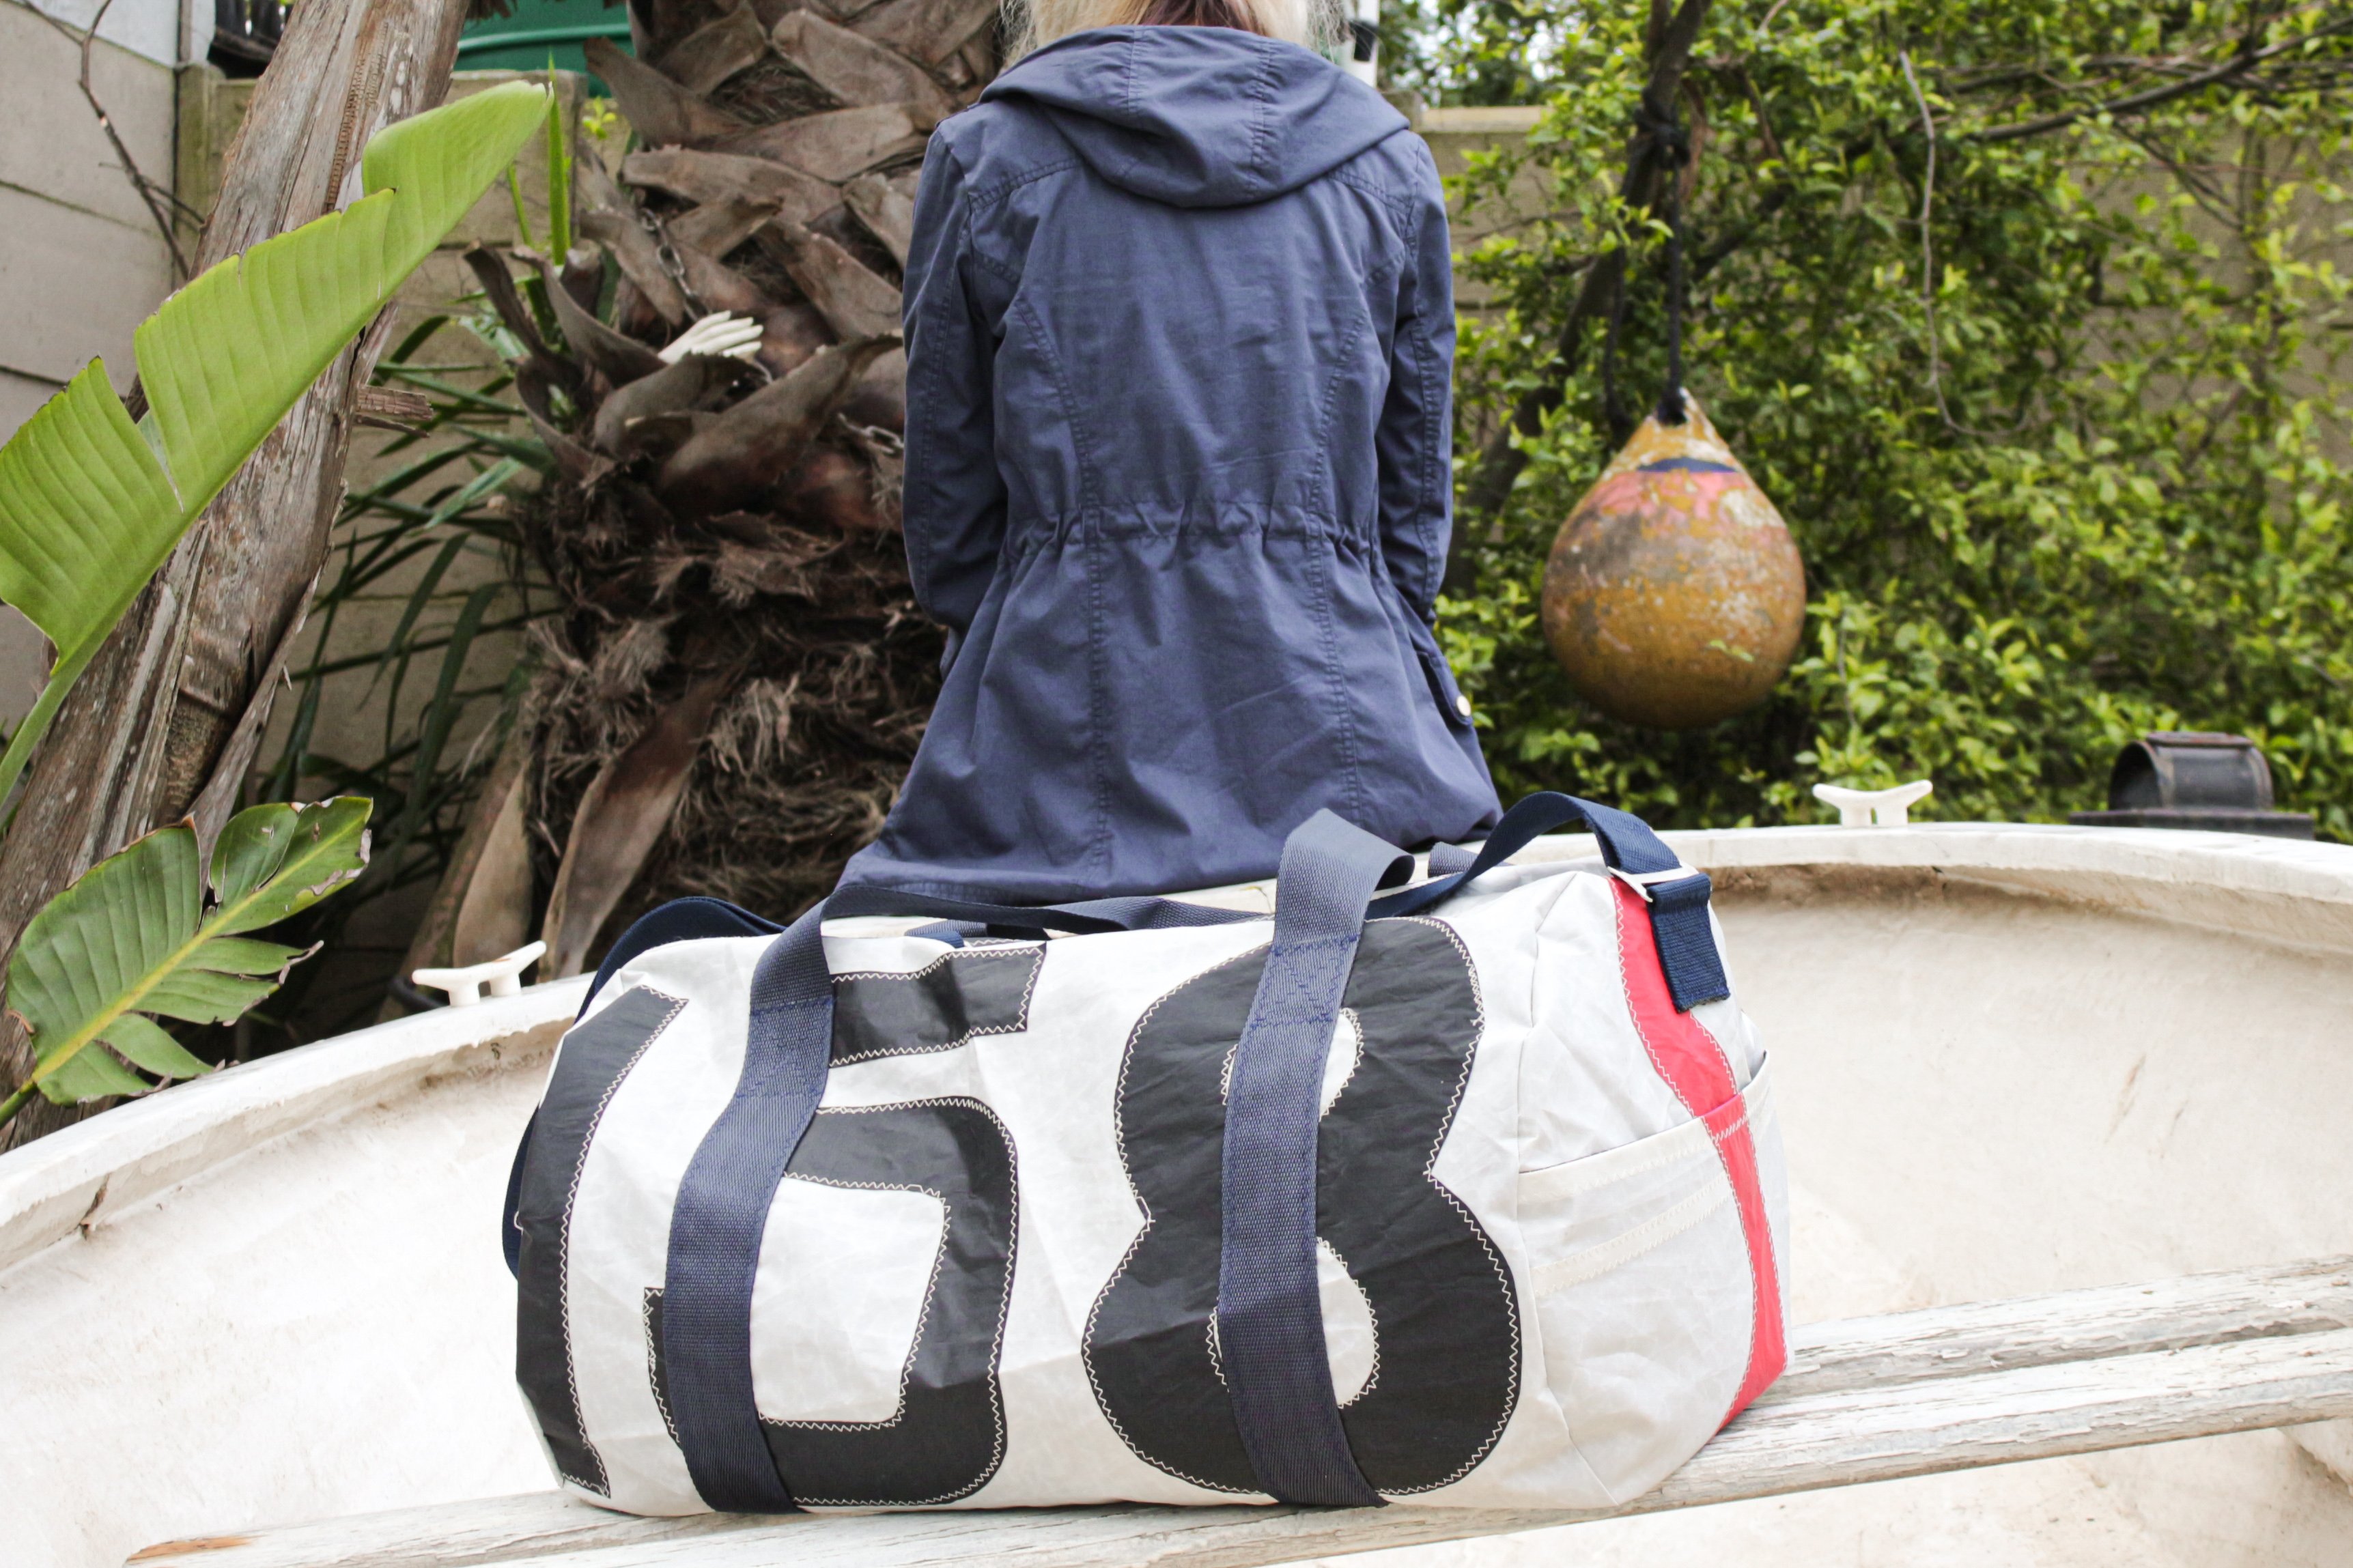
I wanted to use the markings traditionally found on a sail. The numbers are the sail’s unique race number, the letter determines the type of boat the sail belonged to (S for a Sonnet) and the crown is the manufacture’s logo.
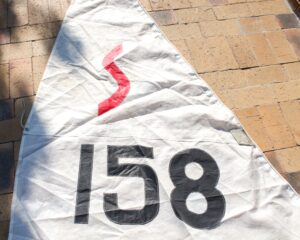
The sail I used was made from Dacron which is a lightweight but medium-firm Polyester textile.
I was amazed by how well my B535 was able to sew through the challenging stiff material. Surprisingly I didn’t even break a needle! It was also a challenge needing to be precise in my stitching as pins and needles leave holes in this type of fabric, much like leather.
What will be needed:
- Tog Bag Pattern: Tog Bag Pattern Part 1 Tog Bag Pattern Part 2
- Handle Placement Reference
- Sewing machine
- Zipper foot #4
- 1m Lining (I recommend a lightweight cotton)
- 1m Outer Fabric (I recommend a medium-heavy weight fabric like canvas, twill or denim)
- 4.5m Webbing (5cm wide)
- 55cm chunky or metal zip
- 1 Slider (5cm wide)
- 2 D rings (5cm wide)
- Medium Thickness Universal needle (maybe 80/12 or 90/14)
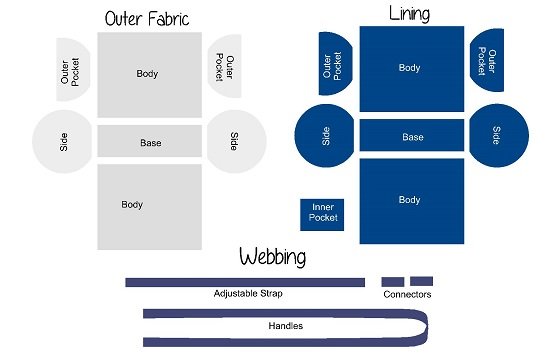
Pattern
Download the 2 part pattern and assemble the pieces.
Follow the instructions and you should end up with Fabric and Webbing Pieces as above.
Steps
I double lined my bag as even though the sail fabric is stiff, I felt that it wouldn’t be firm enough to hold itself up. So that is why the back of my sail pieces are also navy like the lining.
The reason my inner pocket is so big is because I wanted to use the little window piece from the sail. I don’t recommend doing such a large pocket as it will gape immensely. By adding a button in the center of the pocket opening, I was able to remedy this.
I used the zigzag stitch as it distributes the tension better on the sail material. If I used a straight stitch, the stitches are more likely to pull tight and create tears in the sail material.
But you are welcome to use your usual straight stitch where I use zigzag in this project, unless I suggest to use the zigzag stitch.
Getting Started
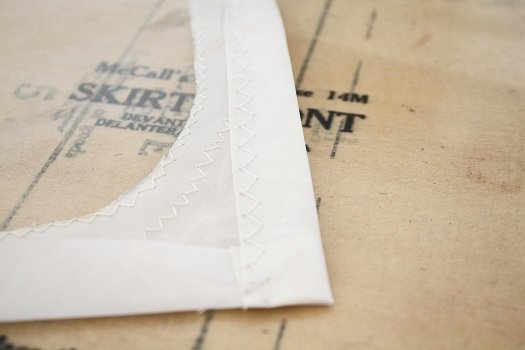
- Finish the raw edges of the Inner Pocket.
Fold the top edge of the pocket over by 1.5cm and sew in place.

- Place the pocket in the centre of one of the Lining Body pieces.
Fold the edges under by 1cm and sew 0.5cm in along the 3 edges.
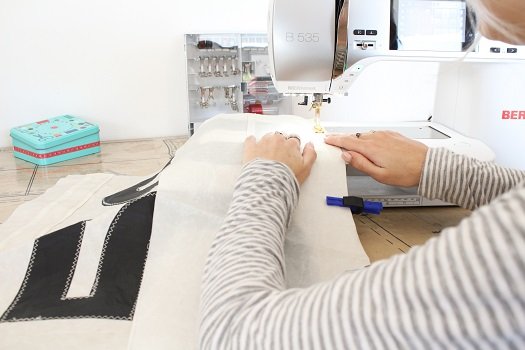
- Join the Body Pieces to the Base with a 1.5cm seam allowance.
Repeat for the Lining.

- Reinforce the seams. Fold the seams towards the Base and top stitch 1cm in from the join.
Repeat for the Lining.

- Join the Pocket piece to its Lining piece.
With right sides together, join the top edges with a 1.5cm seam allowance.
Then fold the Lining back and topstitch along the top edge of the Pocket.
Handles

- Cut 3m of Webbing. Seal the edges of the webbing with Fray Stop or by burning it.
Join the Webbing to make one continuous piece by overlapping the ends by 5cm.
Using the zigzag stitch sew a reinforcing square to secure the overlapped ends.
I used a small to medium zigzag (3.5 x 3.5)
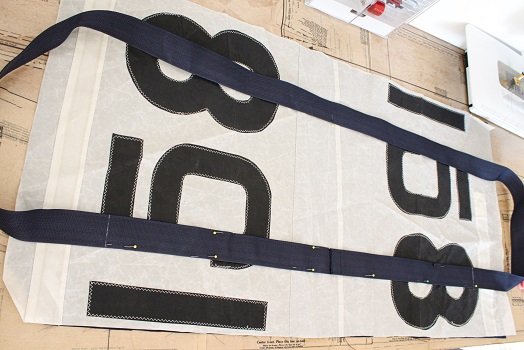
- Lay out the Outer Body piece (put the Lining Body piece aside).
Place the continuous piece of Webbing evenly on the Bag.
Pin in place and mark where to Start/Stop securing the Strap.
Refer to this: Handle Placement Reference

- Zigzag stitch along the edges of the Webbing to secure it in place.
Reinforce the handle by sewing a reinforcing square at the top of the stitching.

- Find the Centre point of the curved handle and mark 5cm to either side.
Fold the handle in half lengthwise and pin.
Zigzag stitch along the edges to secure the fold.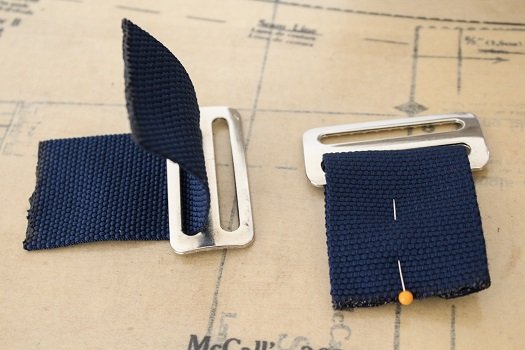
- I wasn’t able to get big enough D-rings so I just got 2 more sliders and treated them as D-rings.
Cut 2 x 12cm pieces of Webbing and seal the edges.
Feed them on to the D-rings and fold in half.
Pin it so that the Webbing stays folded on the D-ring.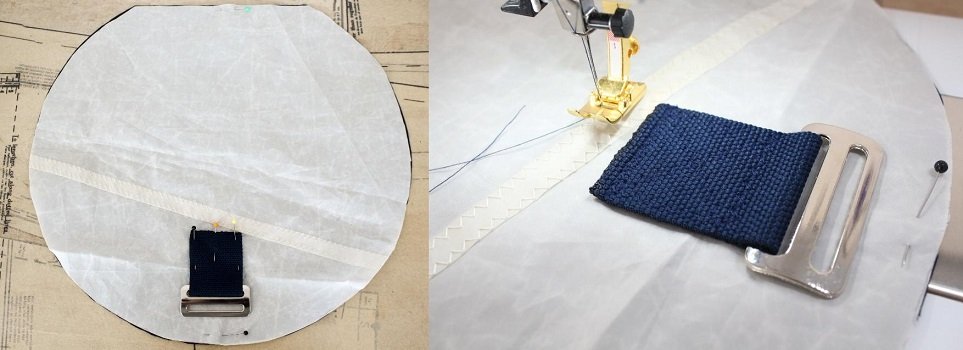
- Place the Webbing on the Outer Side Piece (keep the respective Lining piece aside) and pin in place.
Using the zigzag stitch sew a reinforcing square to secure the Webbing to the Outer Side Piece.
Repeat for the other Outer Side Piece.
Assemble the bag
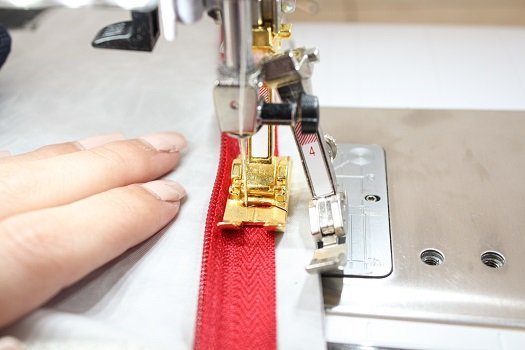
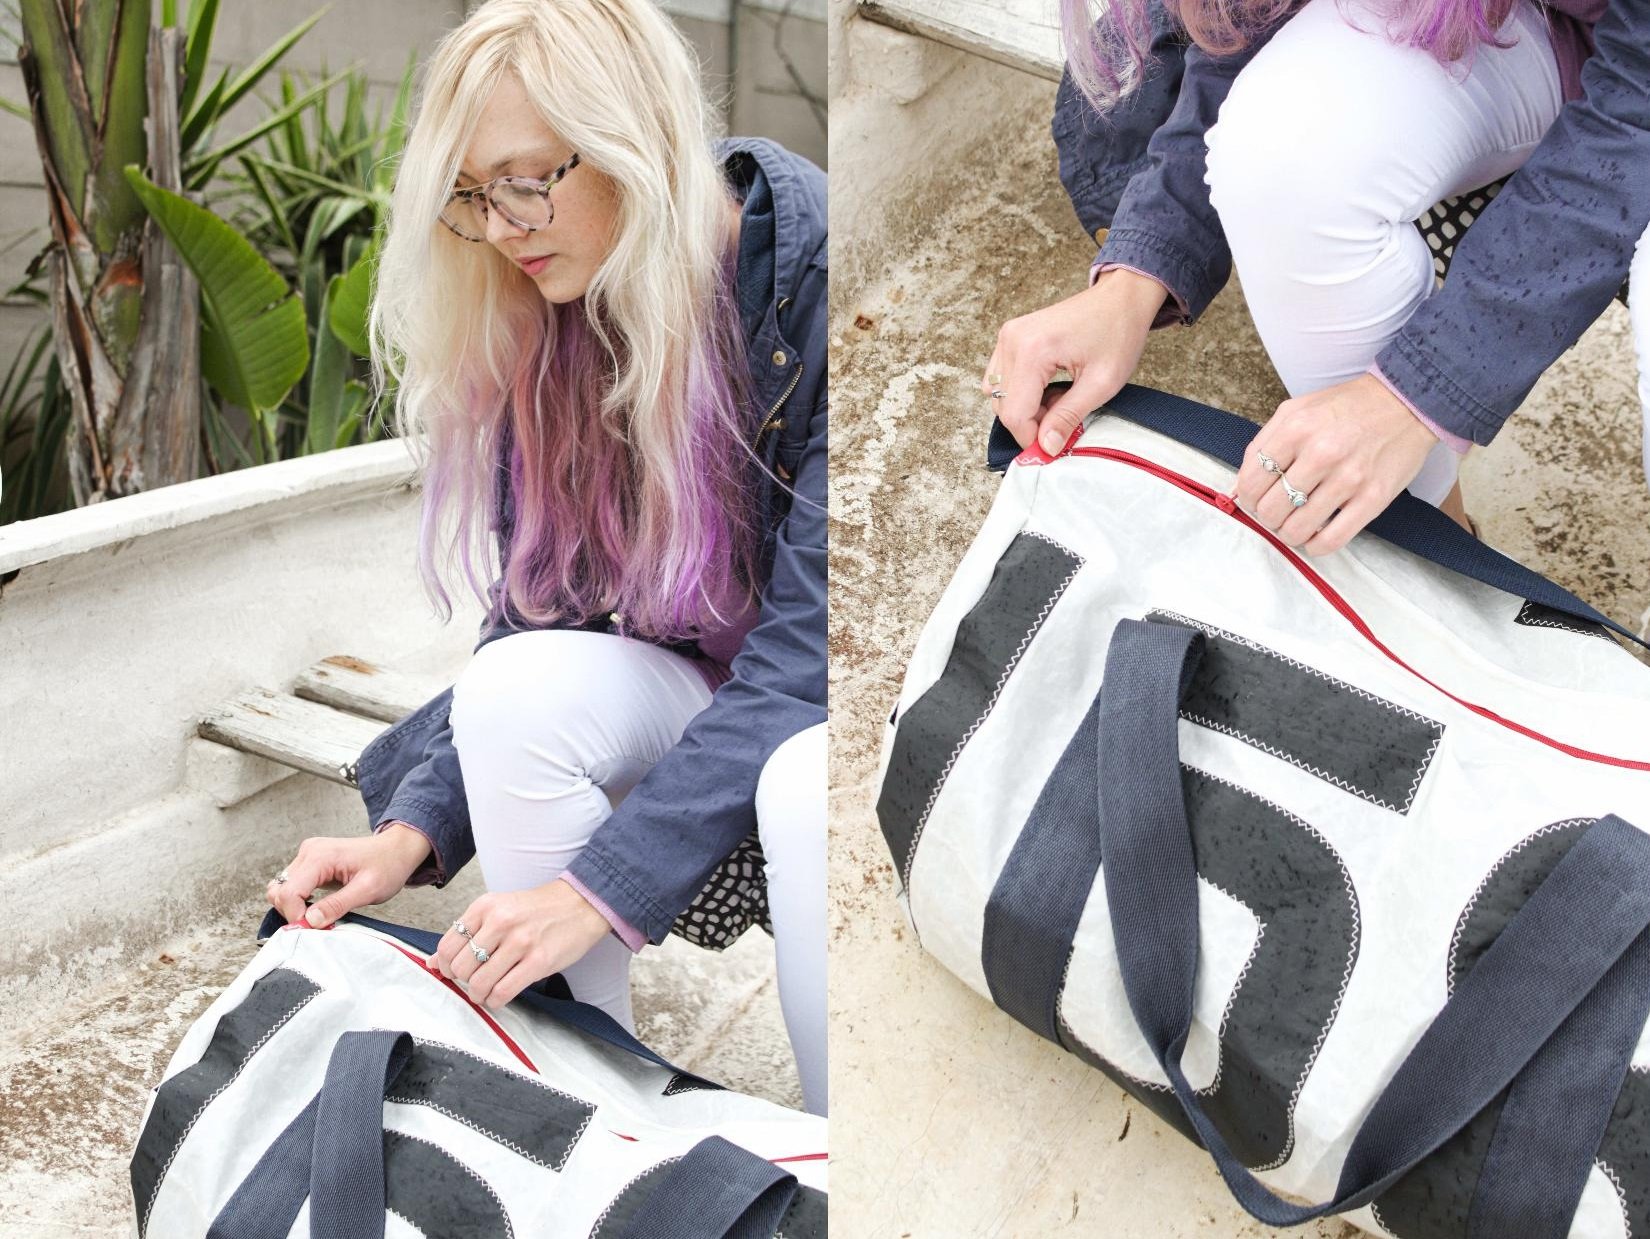
- Prepare your machine for sewing a zip.
As I need to sew with the zig zag stitch, I am unable to use my zipper foot. But I encourage you to use your usual zipper foot and straight stitch while sewing this zip.
To achieve an exposed zip, place your zip 0.5cm in from the top edge of the bag and pin in place.
(Keep the respective Lining piece aside)
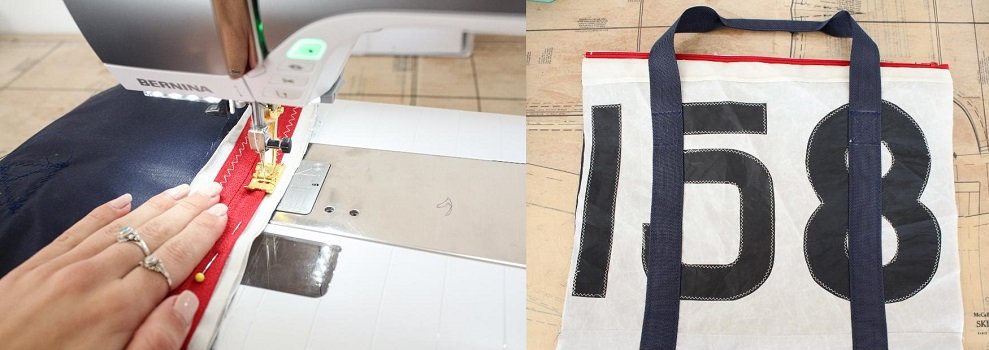
- Sew the zip in place. Repeat for the other half of the zip.
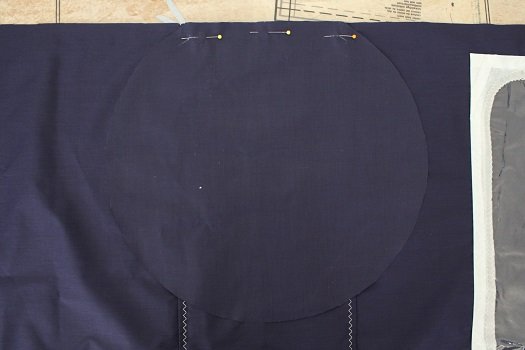
- Join the Lining Side Piece and Lining Body.
Start by joining the bases with a 1.5cm seam allowance. Start/Stop 1.5cm from the ends.
Remember to match up the centre point of the bases.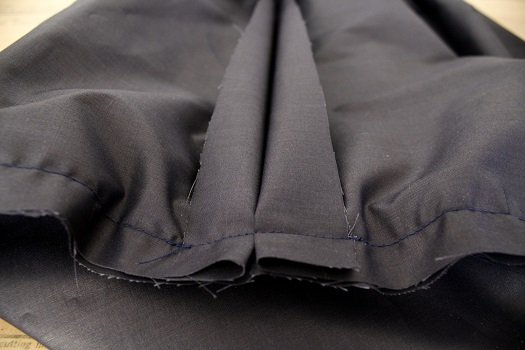
- Join the Body around the Side Piece with a 1.5cm seam allowance.
When you get to the top centre point, fold back the excess fabric from the Body.
Put the Lining aside.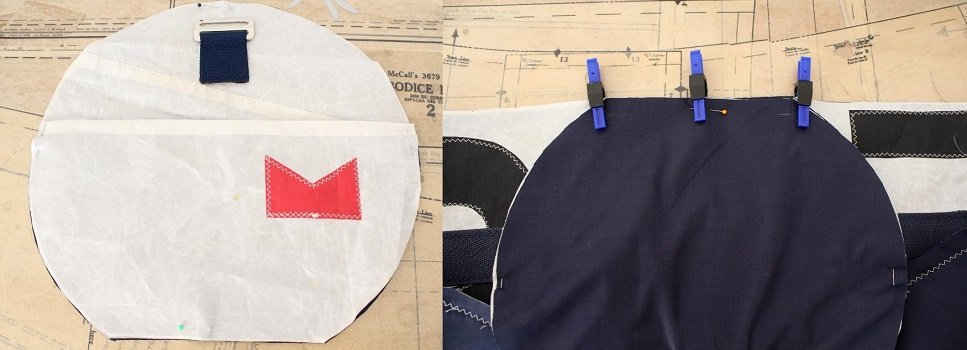
- Place the Outer Pockets on the Outer Side Pieces.
Secure them together with a row of stay-stitching.
Join the Side Pieces to the Body.
Join the bases with a 1.5cm seam allowance. Start/Stop 1.5cm from the ends.
Remember to match up the centre point of the bases.
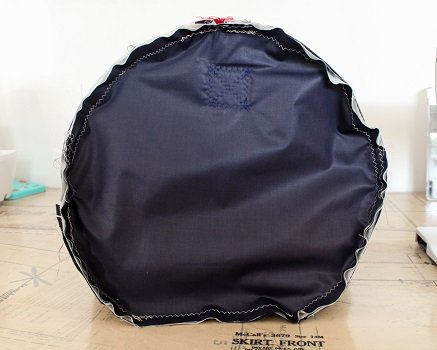
- Match the zip to the top centre point of the Side Piece.
Join the Body around the Side Piece with a 1.5cm seam allowance.
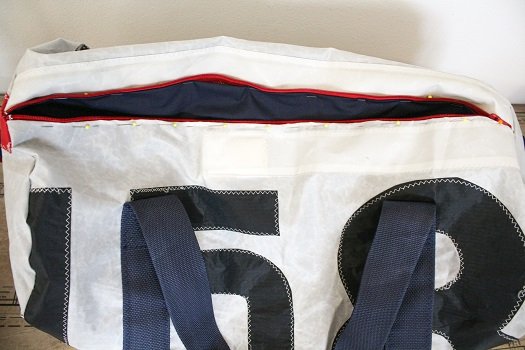
- Place the Lining inside the Bag.
Pin the opening of the Lining to the zip.
Pin it so that it won’t interfere with the zip opening and closing.
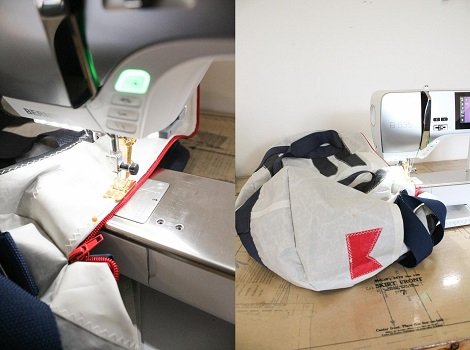
- You don’t need a zipper foot for this step.
Line up the edge of the foot with the teeth of the zip.
Topstitch next to the zip, securing the lining at the same time.
This step is a bit challenging due to the bulk of the bag but I think if I managed with such tricky fabric, you should be able to do it more easily. Just take your time.
Adjustable Strap
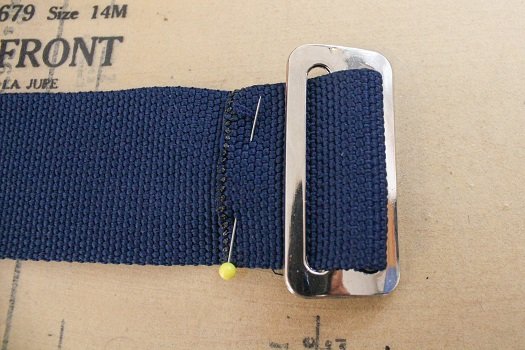
- Feed an end of the left over piece of Webbing through the Slider. Fold it over the middle bar by 6cm.
Using the zigzag stitch sew a reinforcing square to secure it.
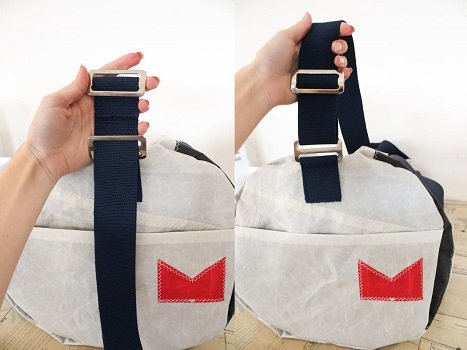
- Feed the other end of the Webbing through the D-ring on one of the Sides of the Bag.
Feed the end back through the Slider.
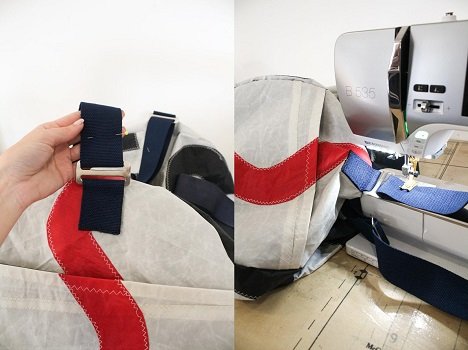
- Attach the end of the Webbing to the D-ring on the other Side.
Feed the end through the D-ring and fold it over by 6cm.
Using the zigzag stitch sew a reinforcing square to secure it.
Again, this is a bit challenging with the bulk of the bag but take your time while finishing the last step.

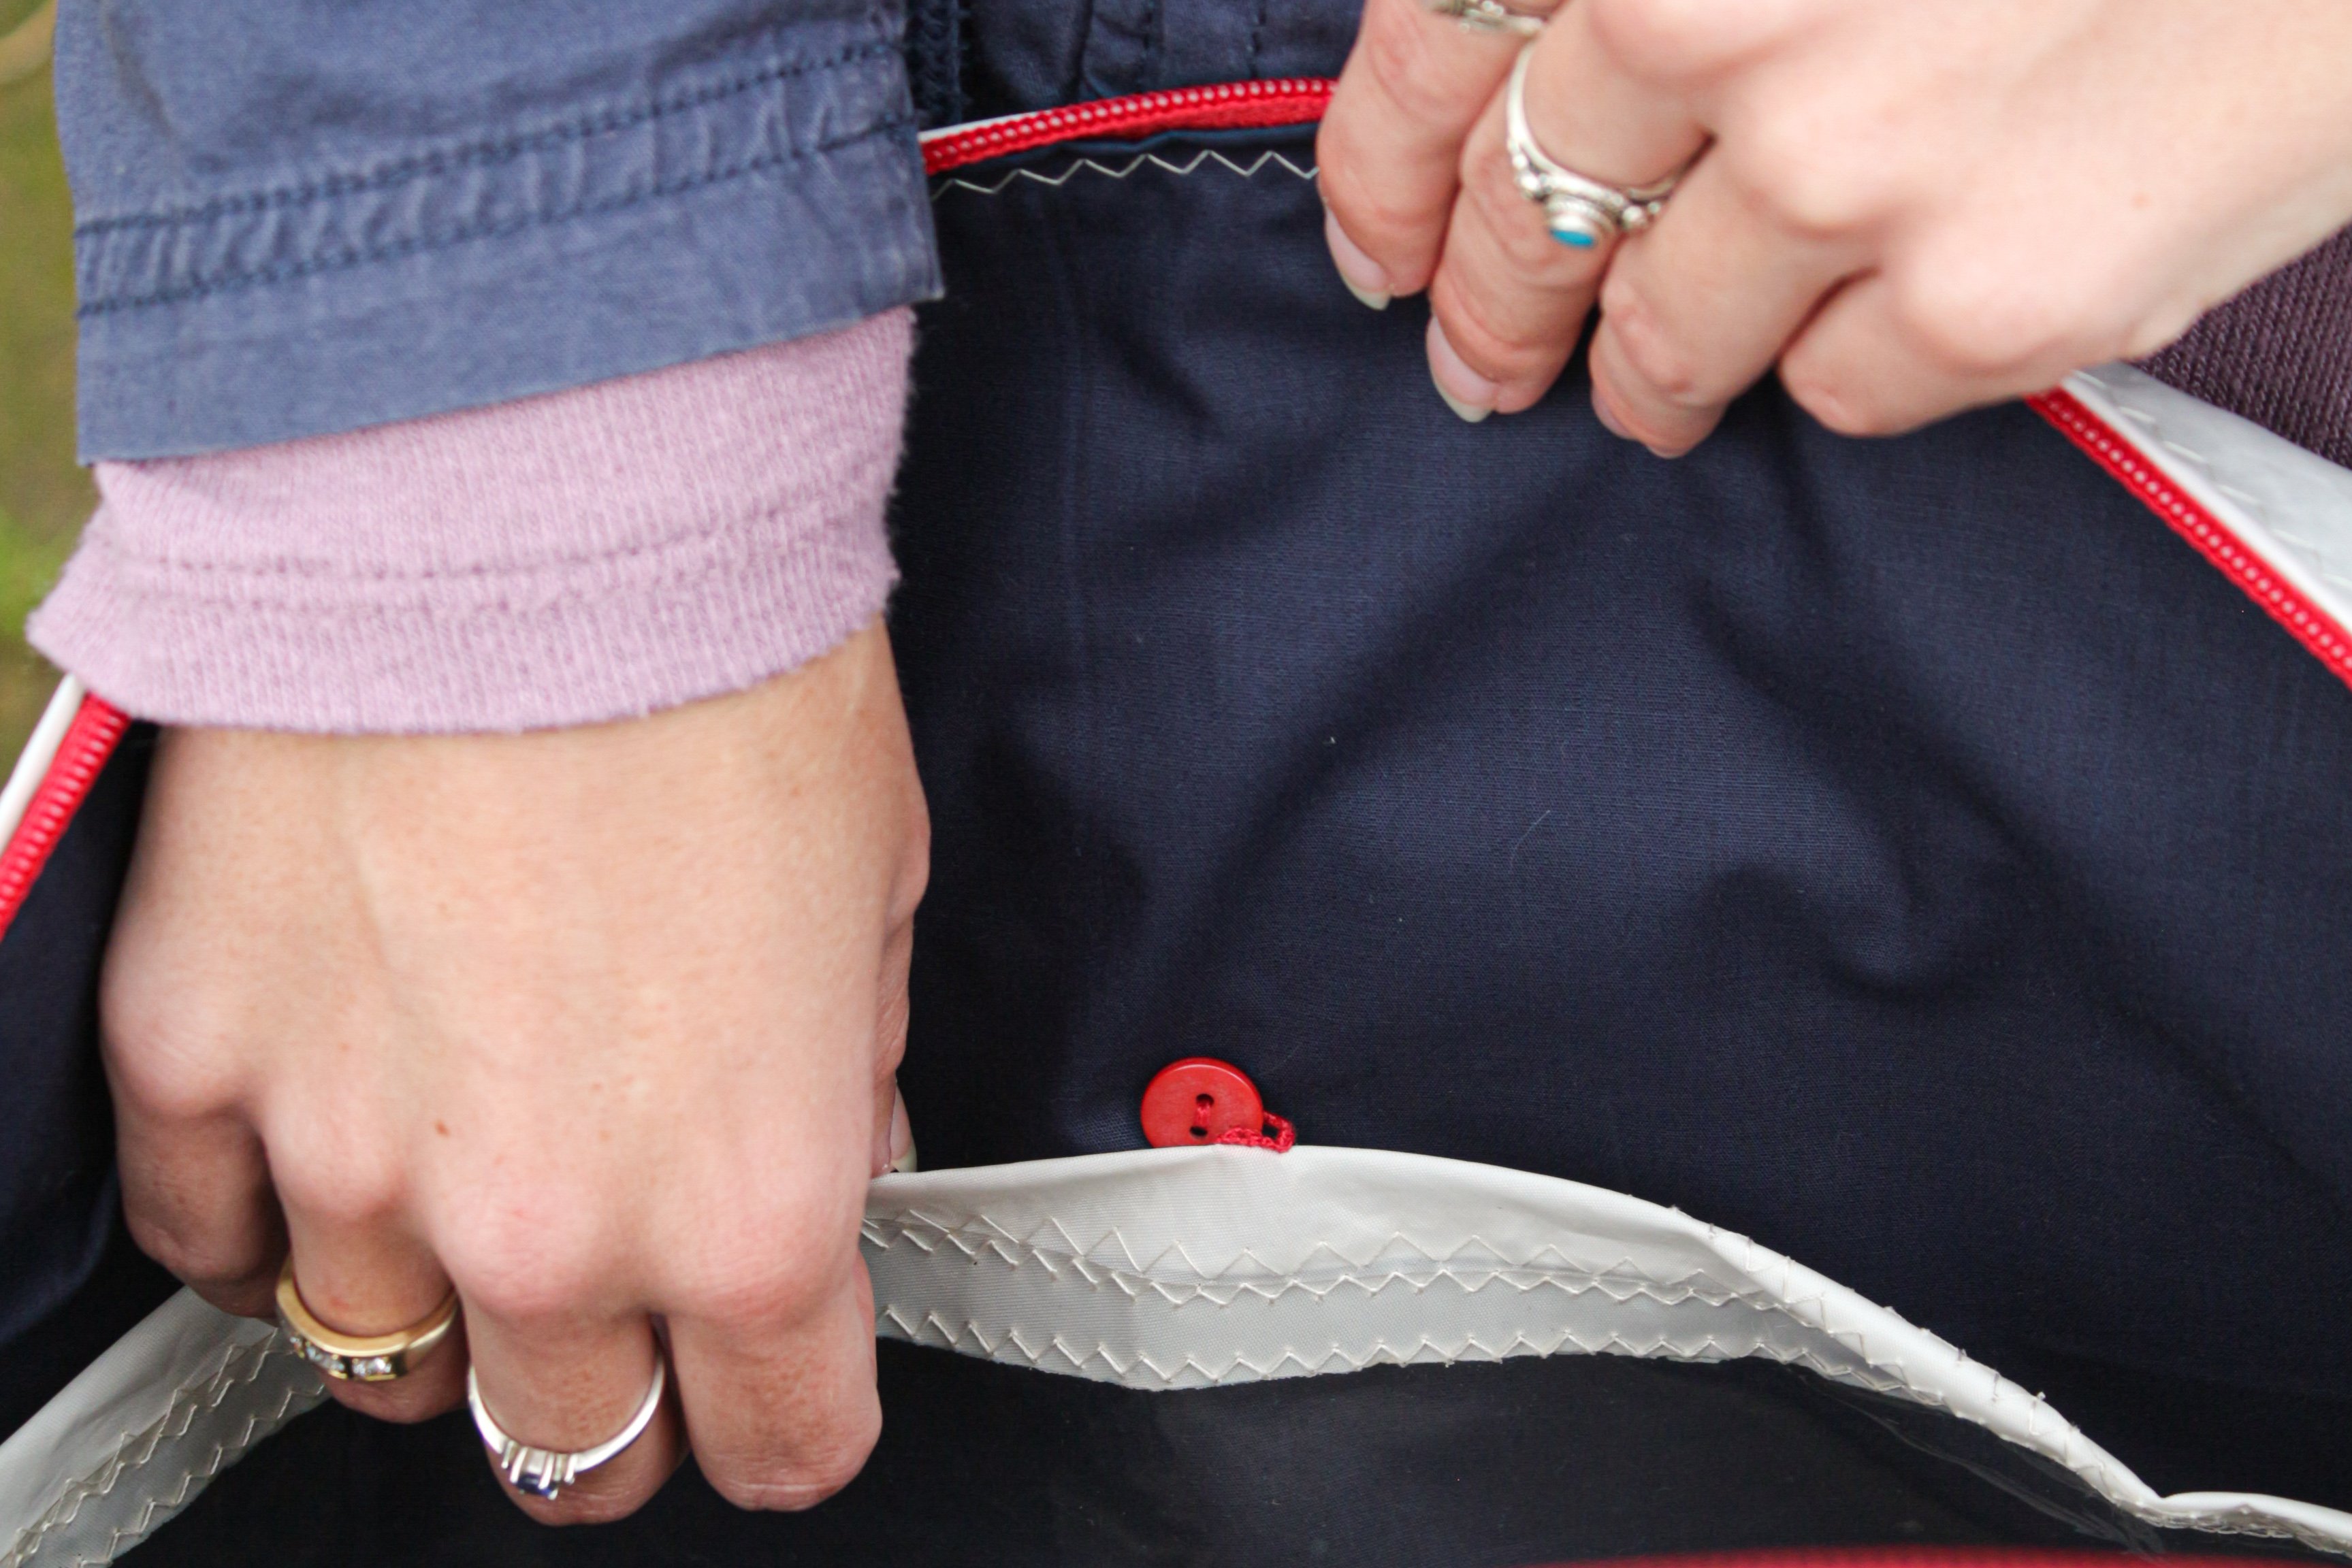
I used a button and hand-stitched loop to prevent the large pocket from gaping.
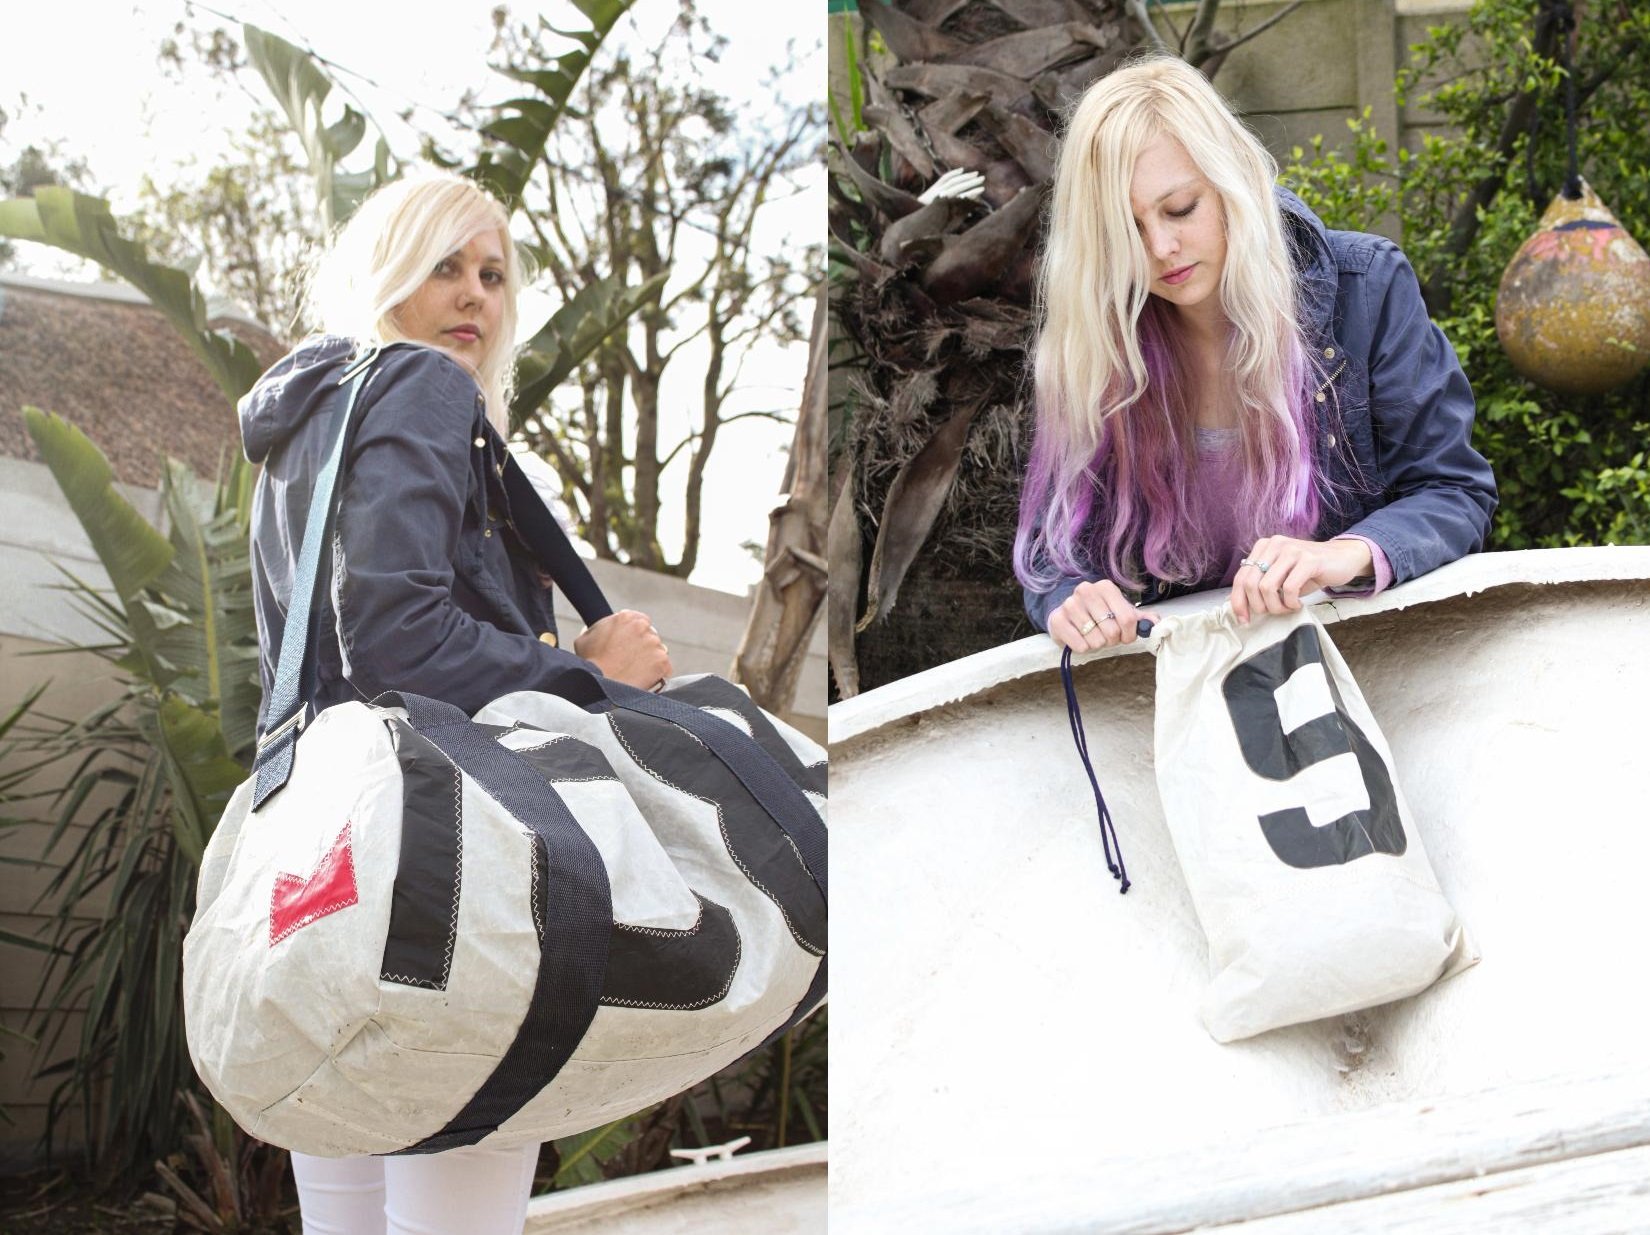
With some left over sail, I made a simple drawstring bag for damp clothes/dirty shoes.
Tips
- Choose a patterned Lining for a fun surprise.
- Colour block by making the Sides in a contrasting fabric to the Body and have the Lining made in the opposite.
My brother loved my Dad’s bag so much that he asked I make him one too. Good thing we have a Dingy sail going begging!
I would love to see the tog bag you make, please feel free to share with me!
Instagram
Facebook
-Hannah-Rose
All patterns designed by me are for personal use only.
 BERNINA Corporate Blog -


Thanks for the pattern it came in handy as I had to fix my existing bag. I wish there was a machine/robot for the little fixes. If it’s not the pocket its the ham or button, not once but over &over. Thanks bernina you’re helpful
It’s great to carry a tog bag. Thank you for the steps and tips to make this bag.
Blogger at https://radiobox.net/
Hi Varun
Thank you for your comment 🙂