 BERNINA Corporate Blog -
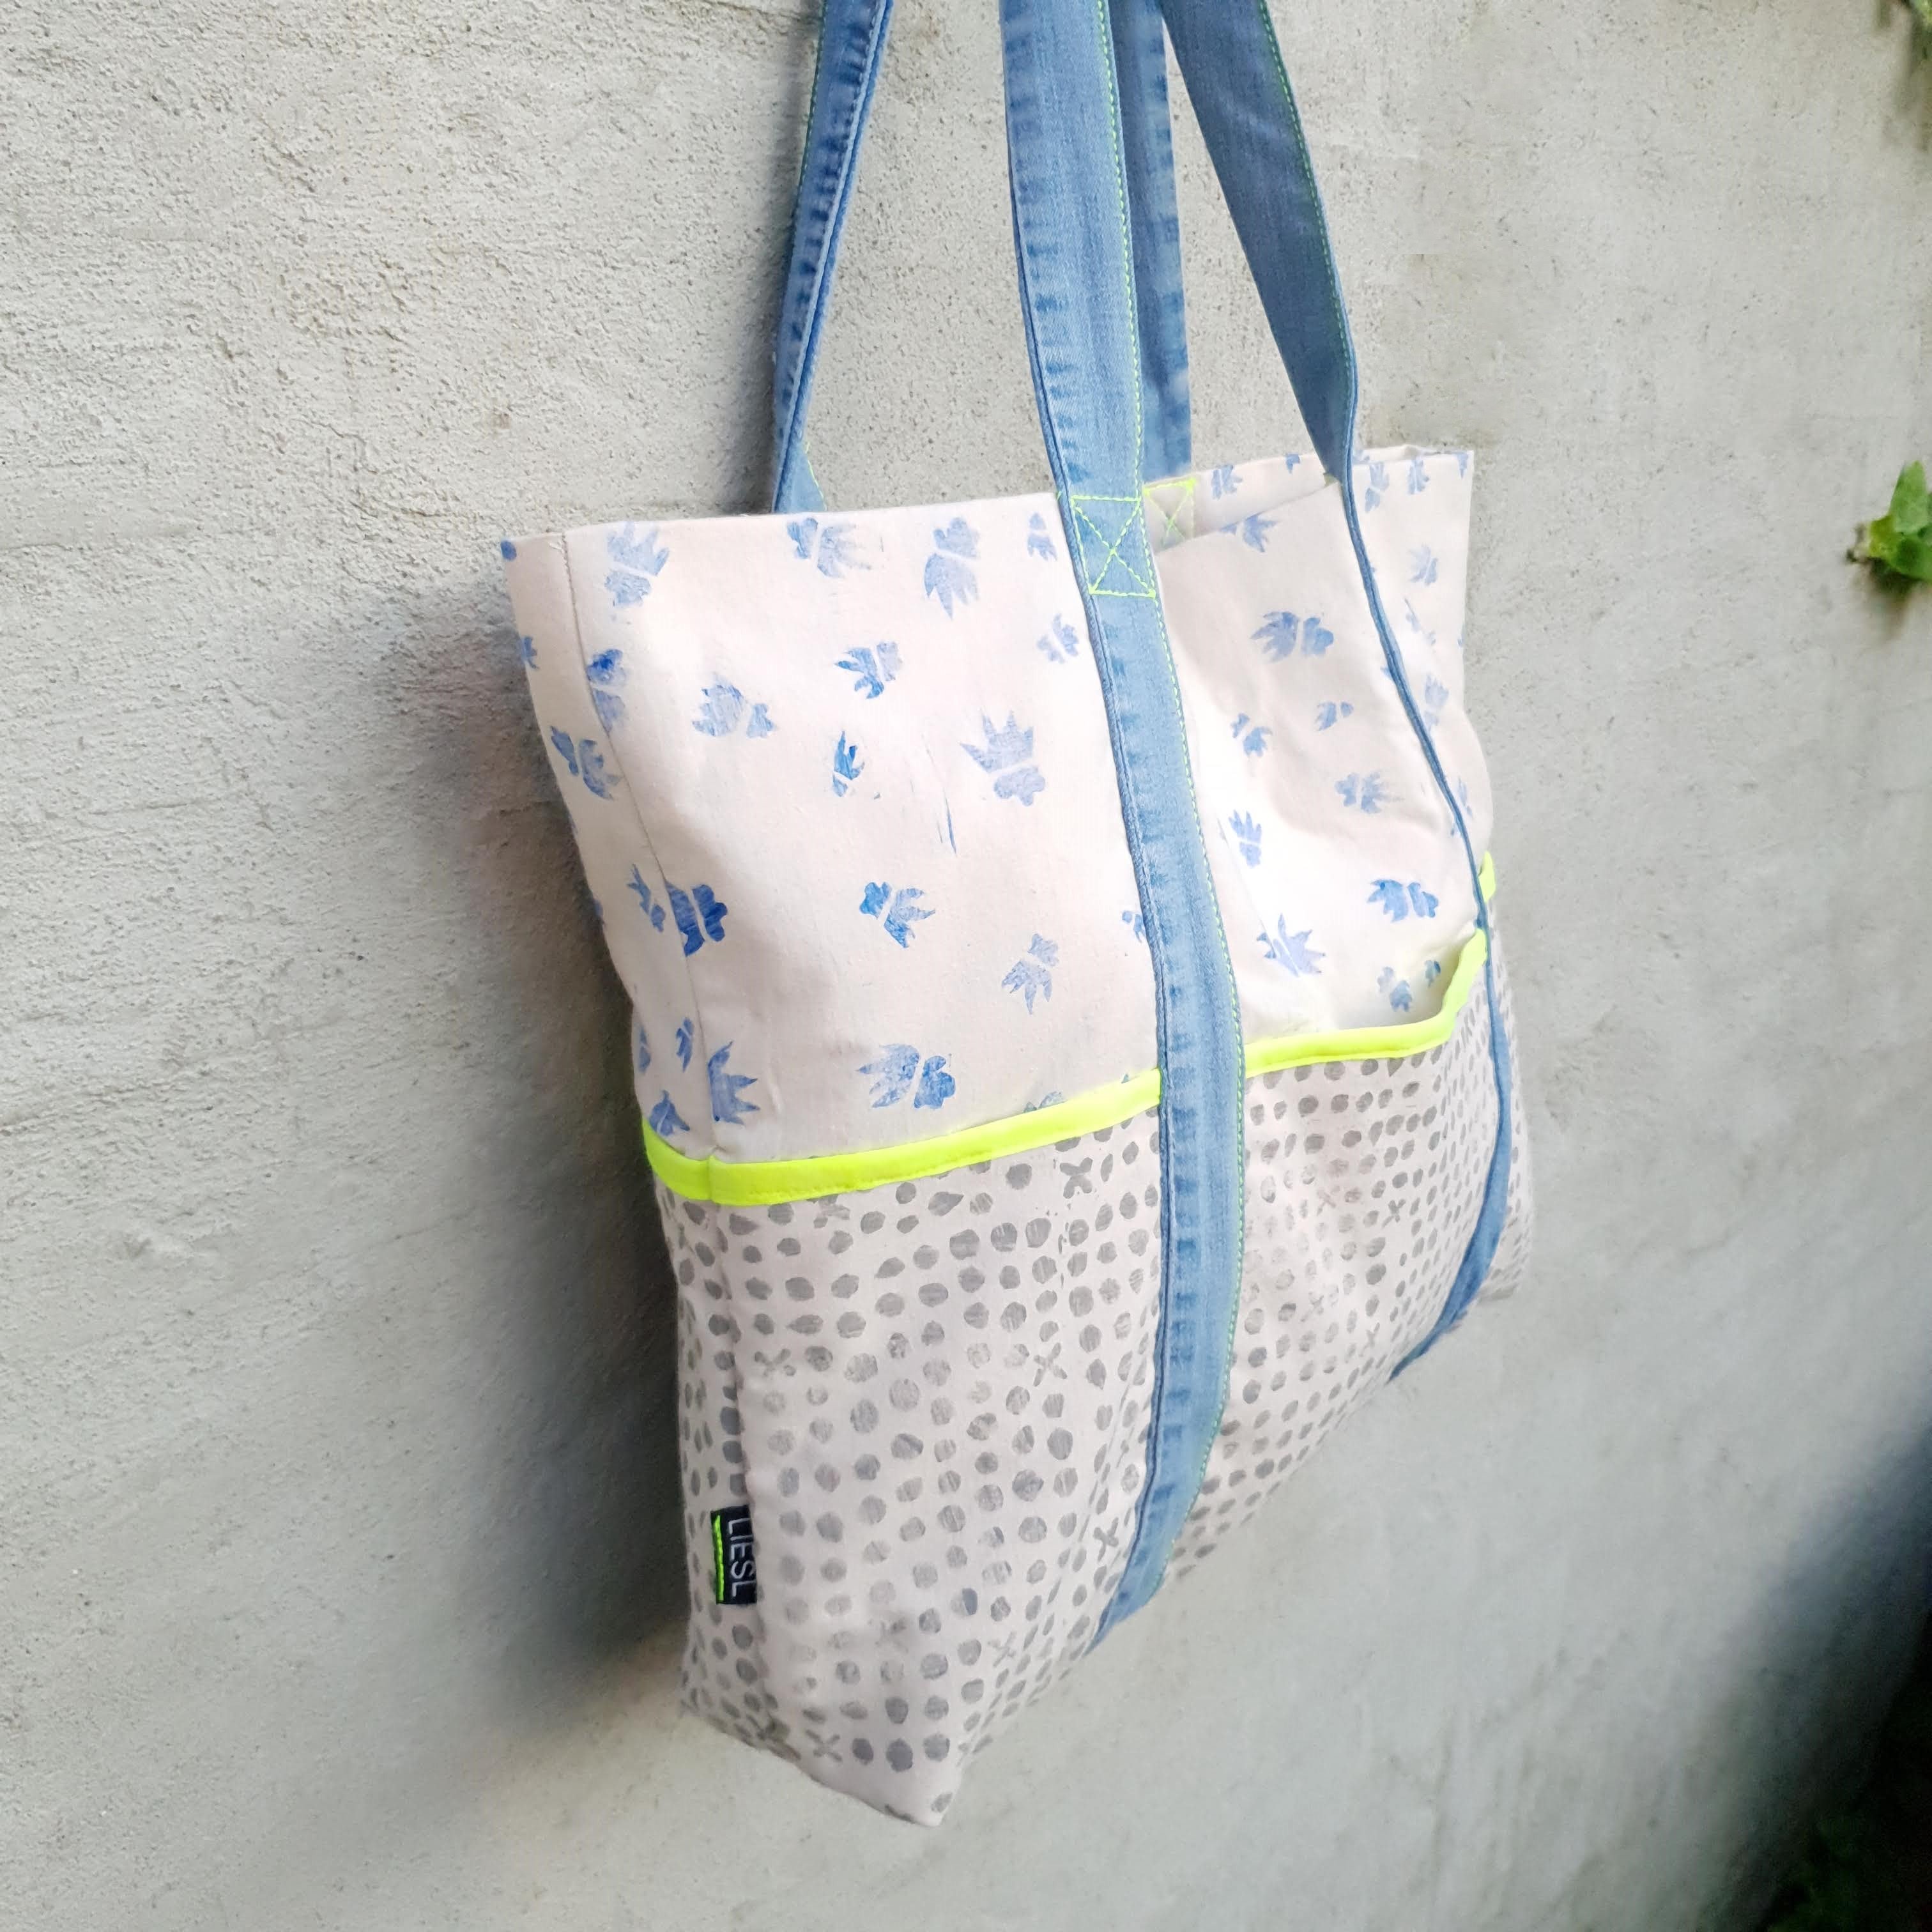
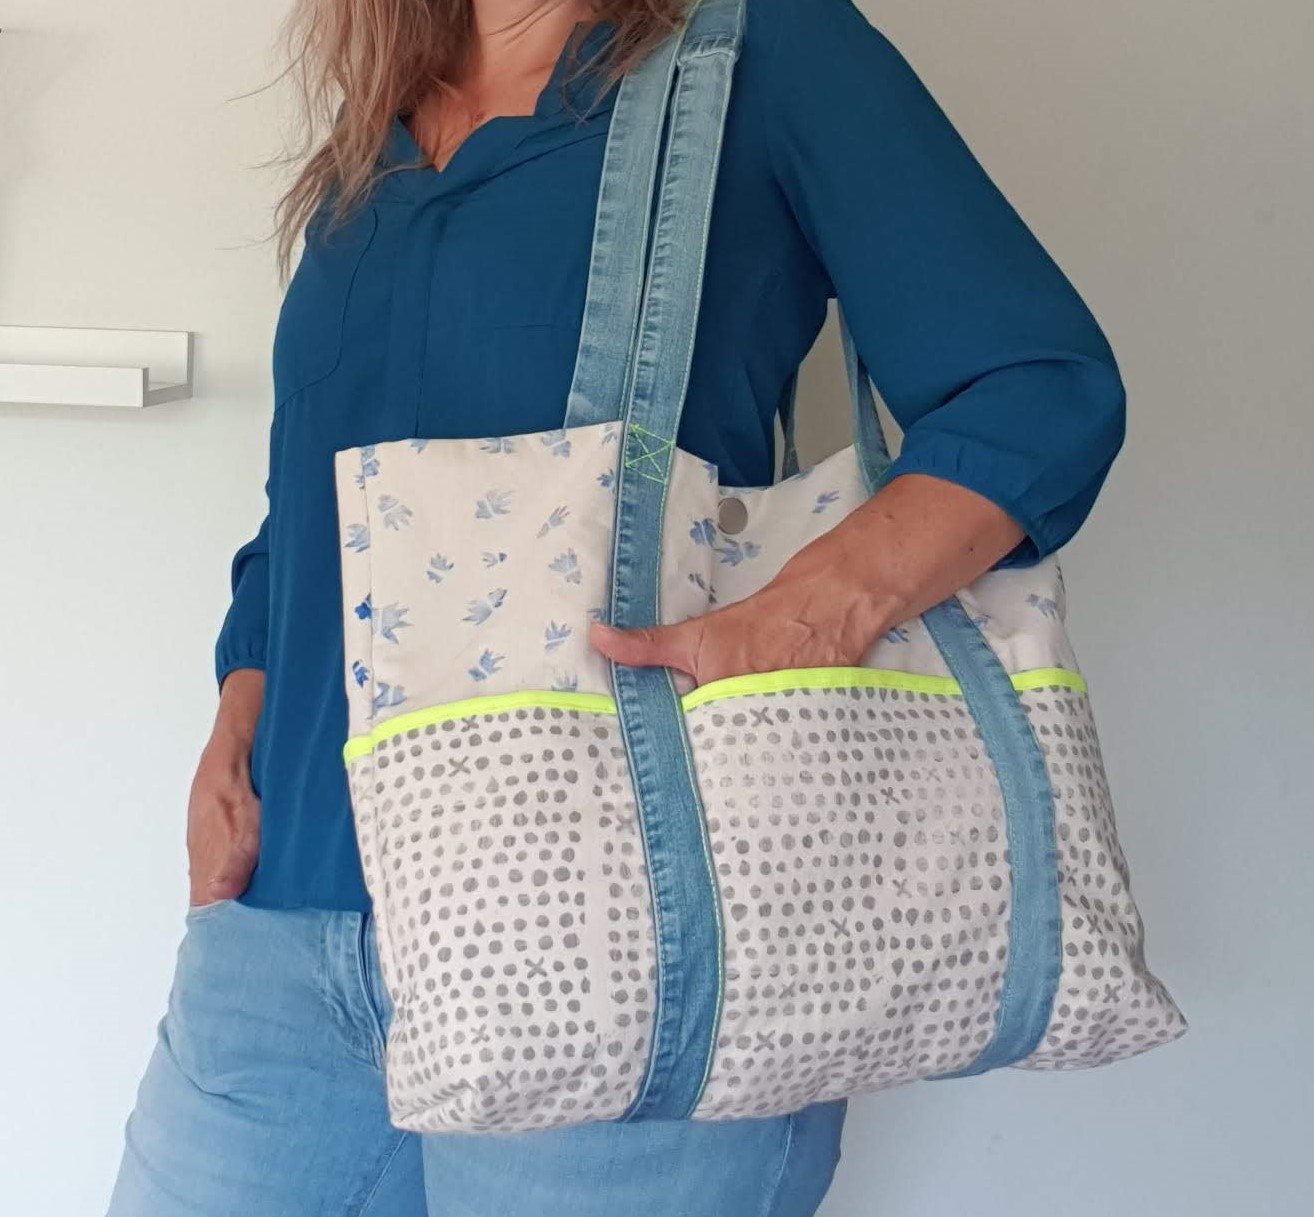
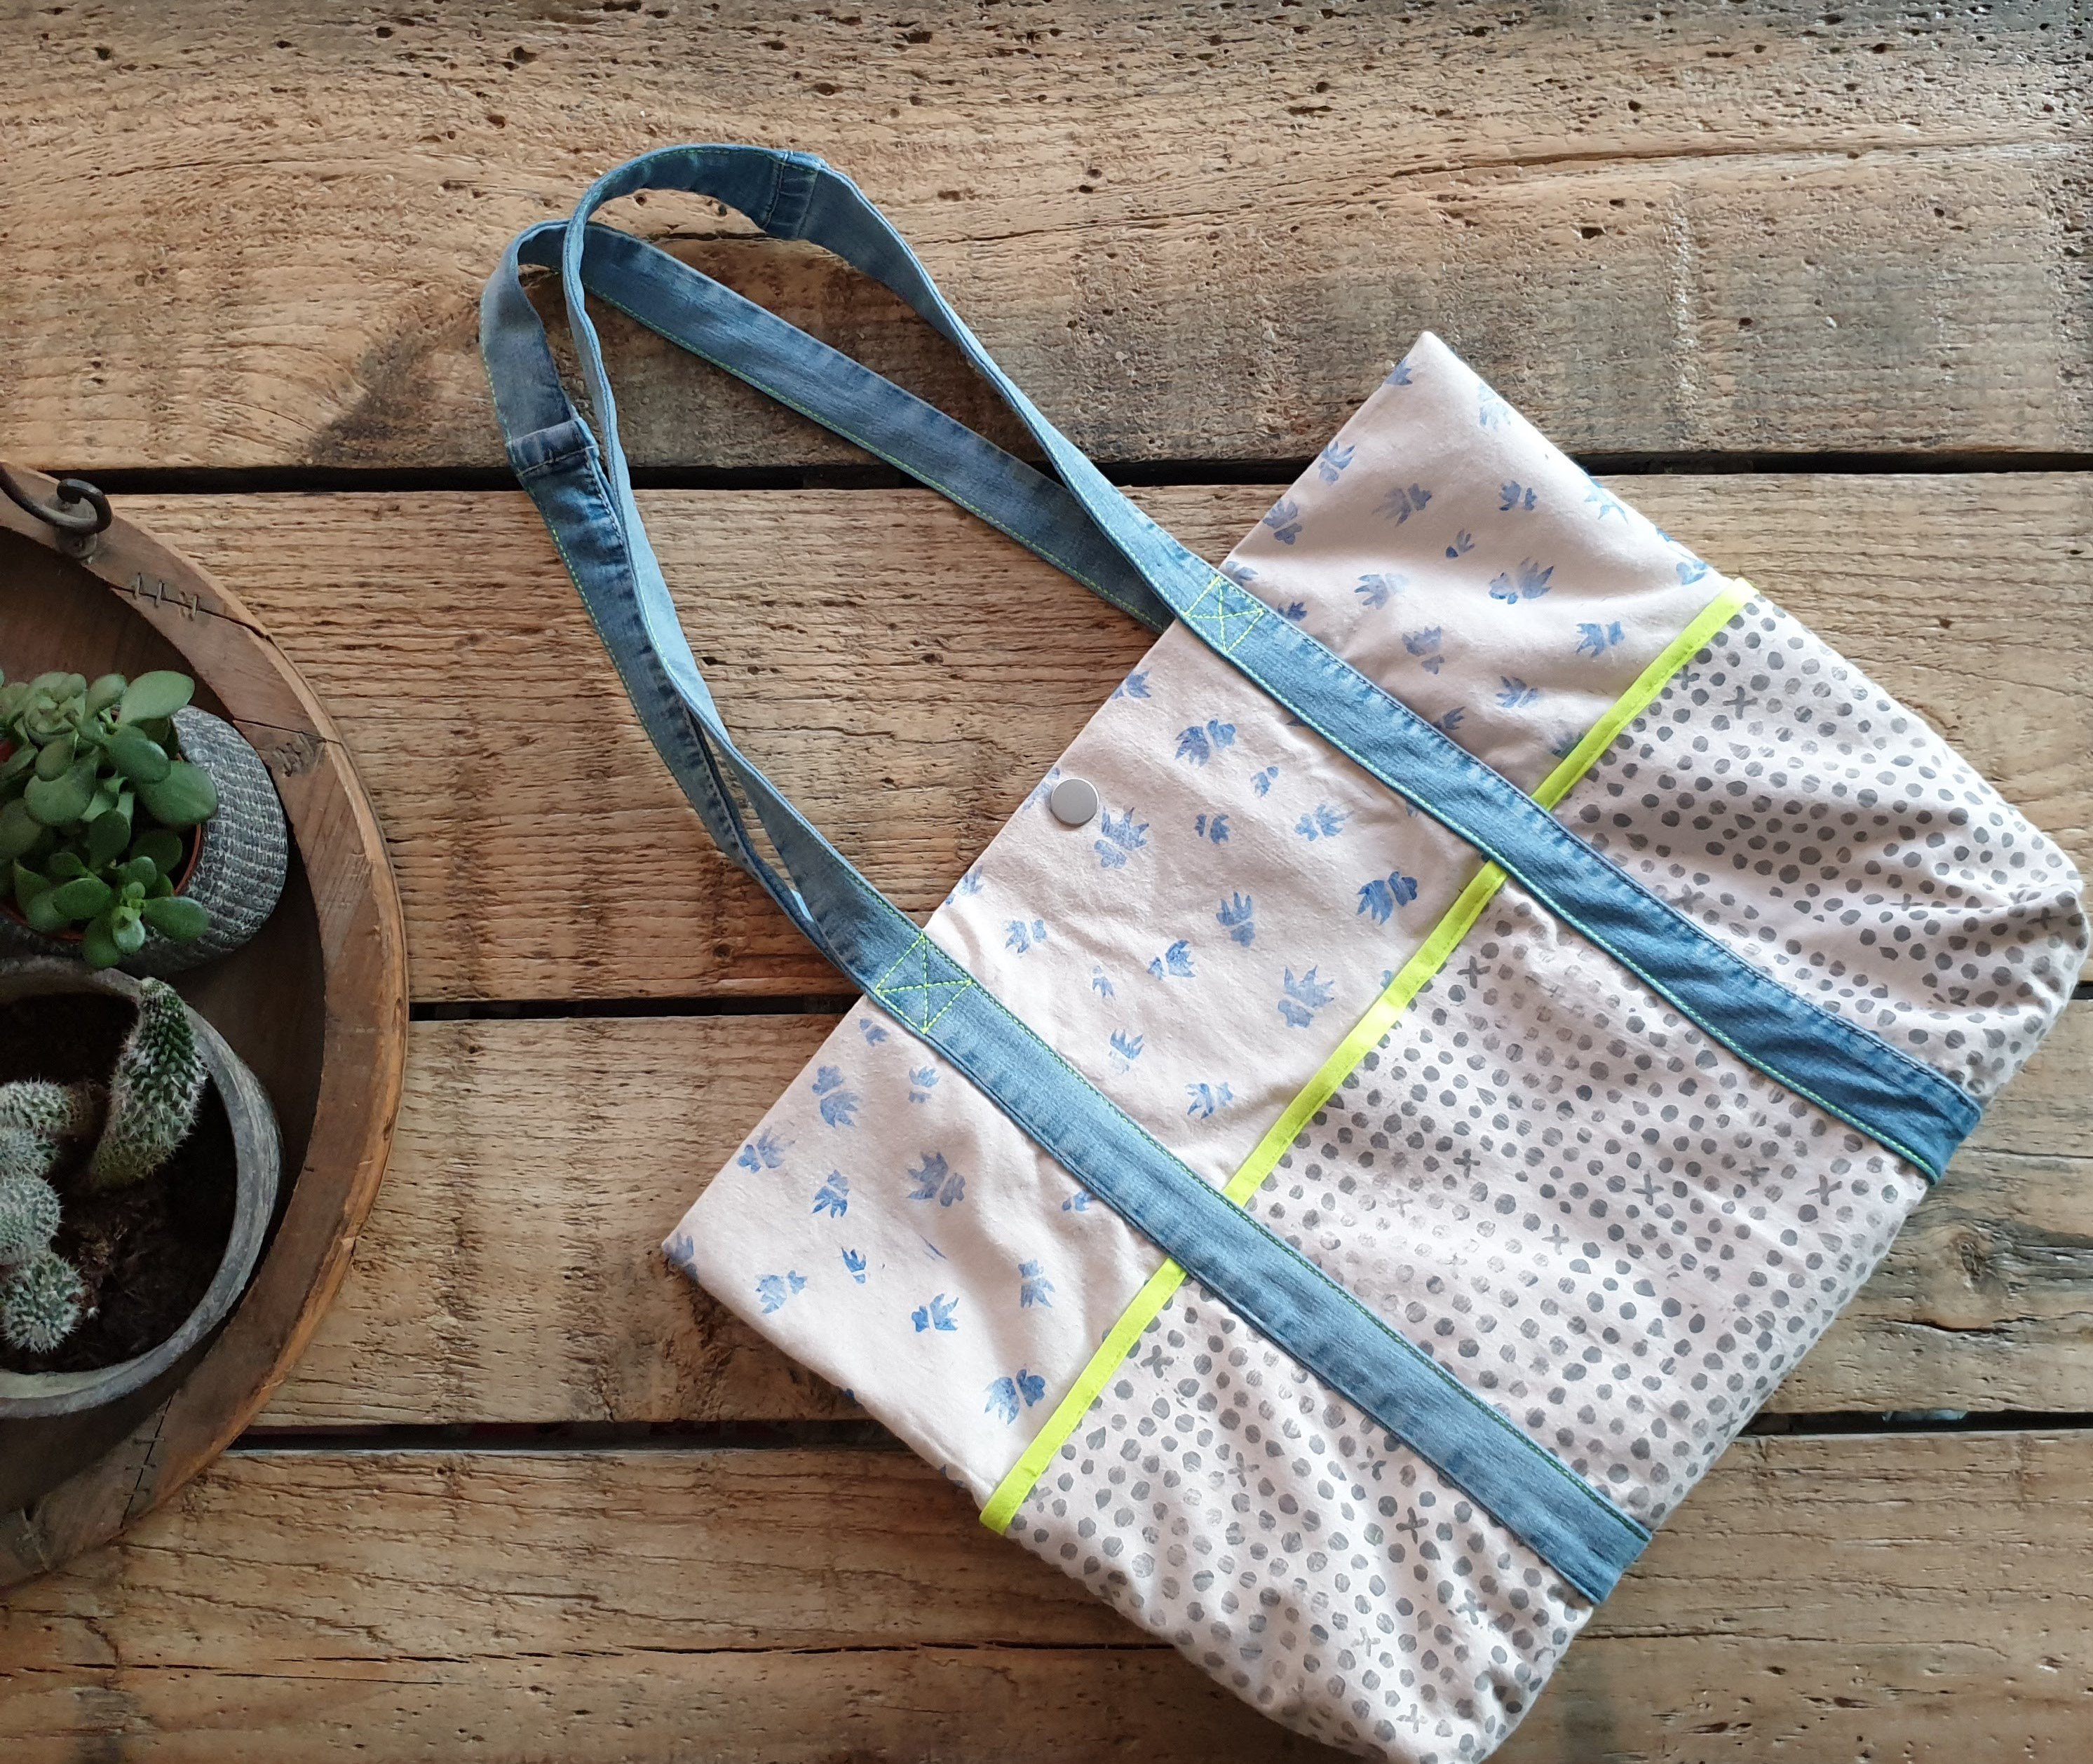
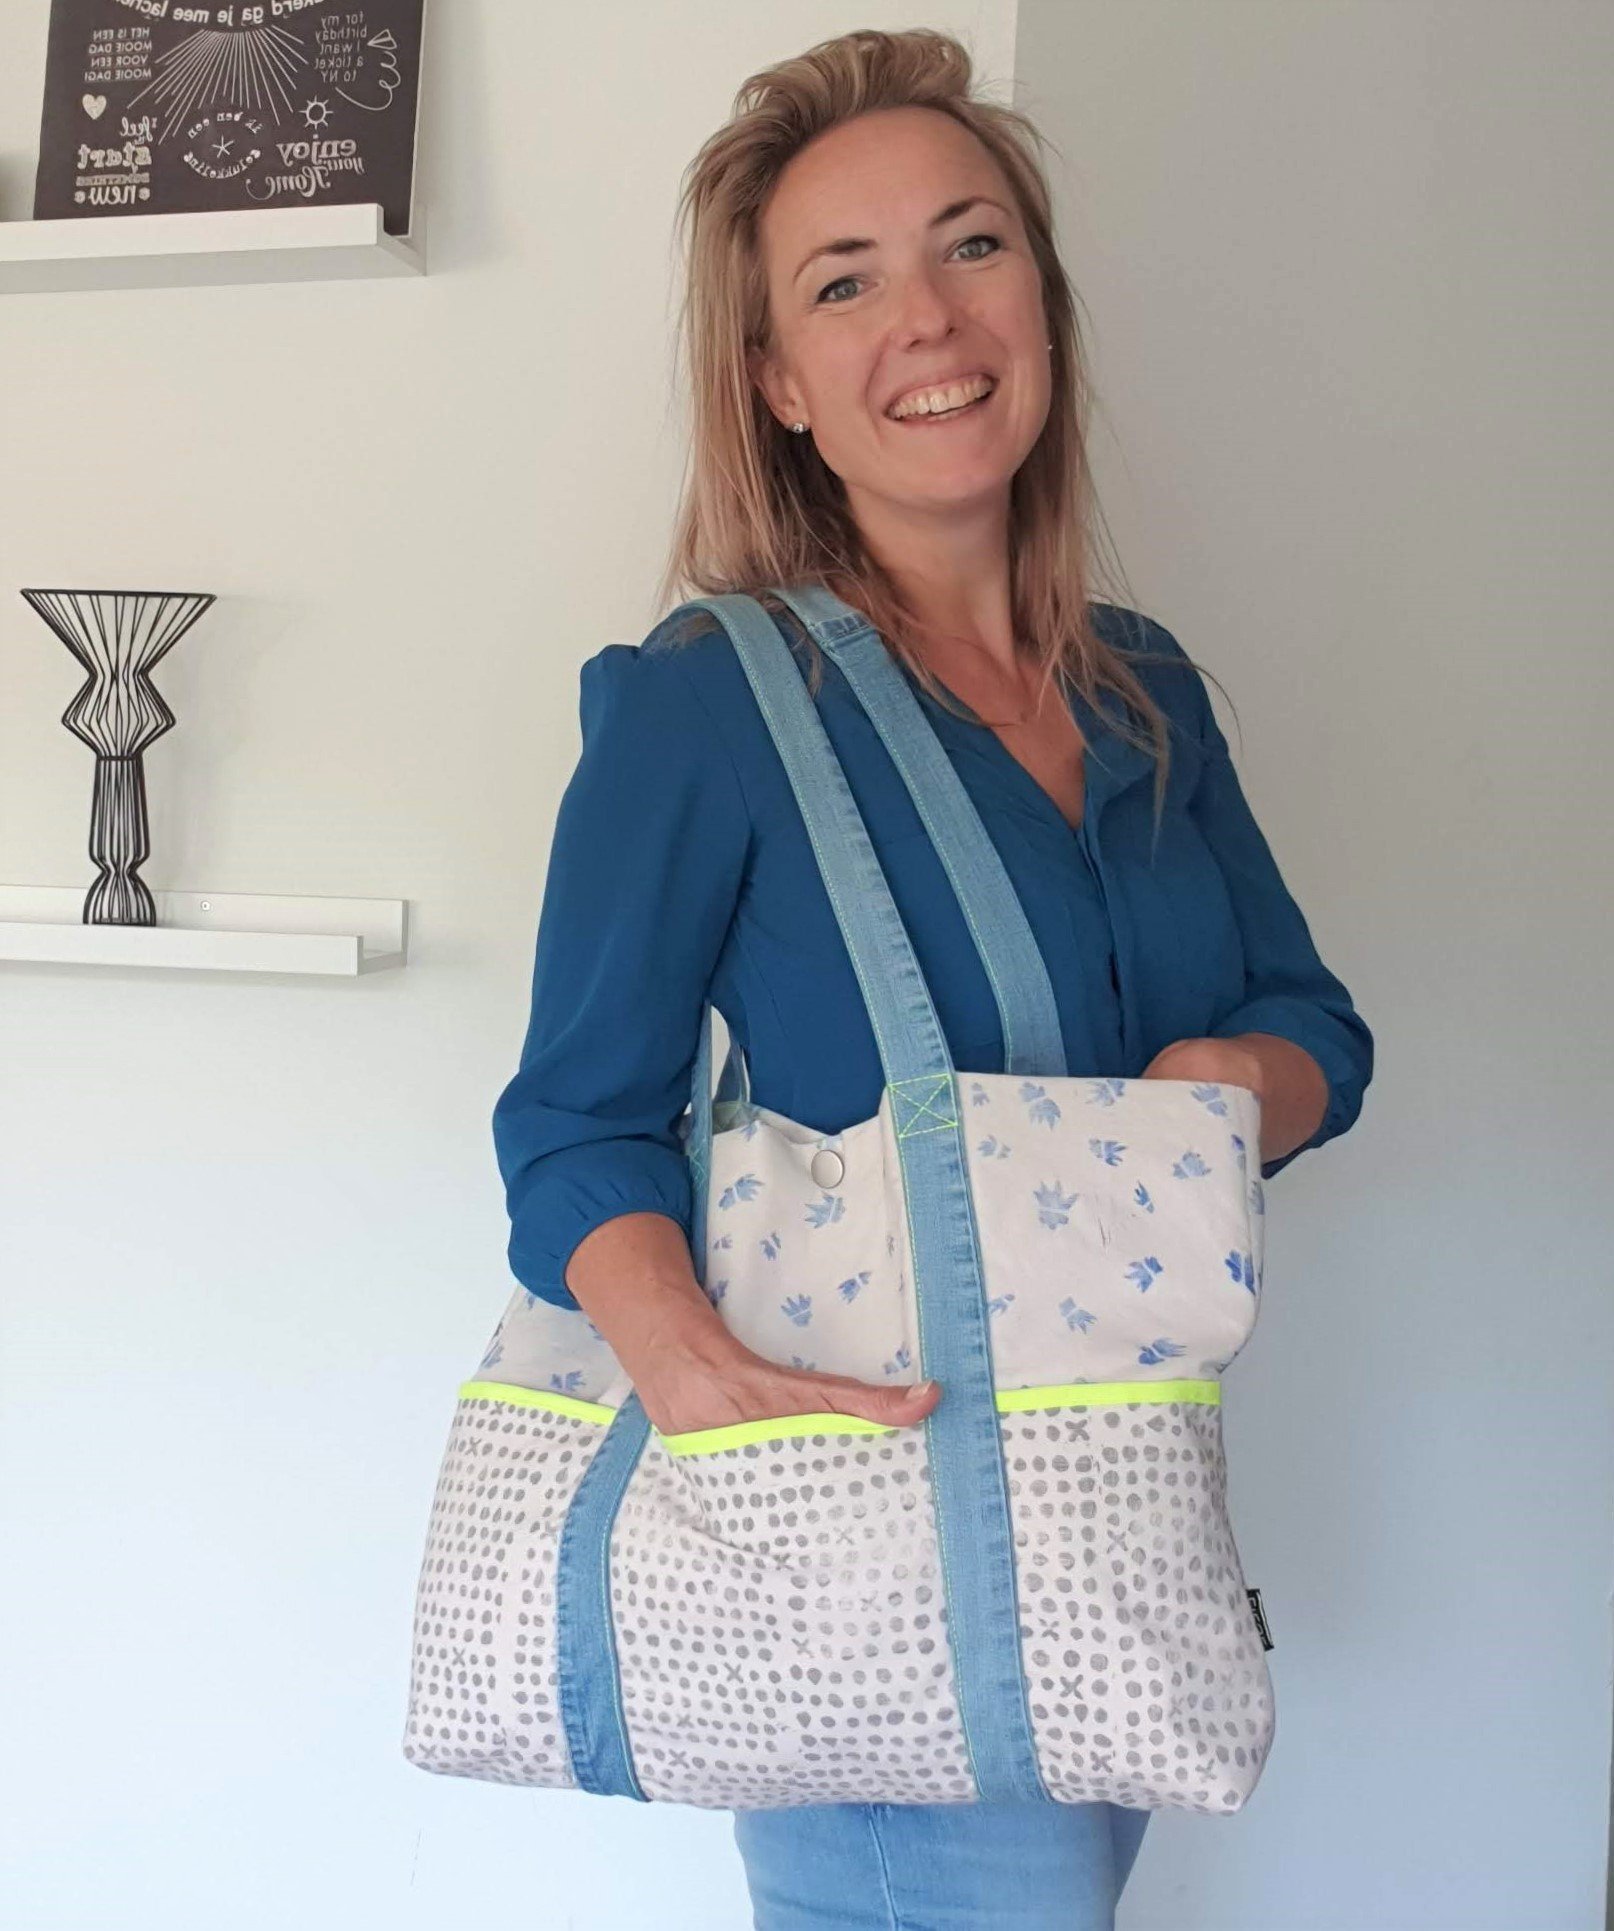
I made a fabrics shopping bag……. or project bag or beach bag or……simply a multiple purpose totebag. And I love it!
Hopping on one of this Septembers sewingchallenges #sewyourselfsustainable I tried to make this totebag pretty sustainable.
Supplies
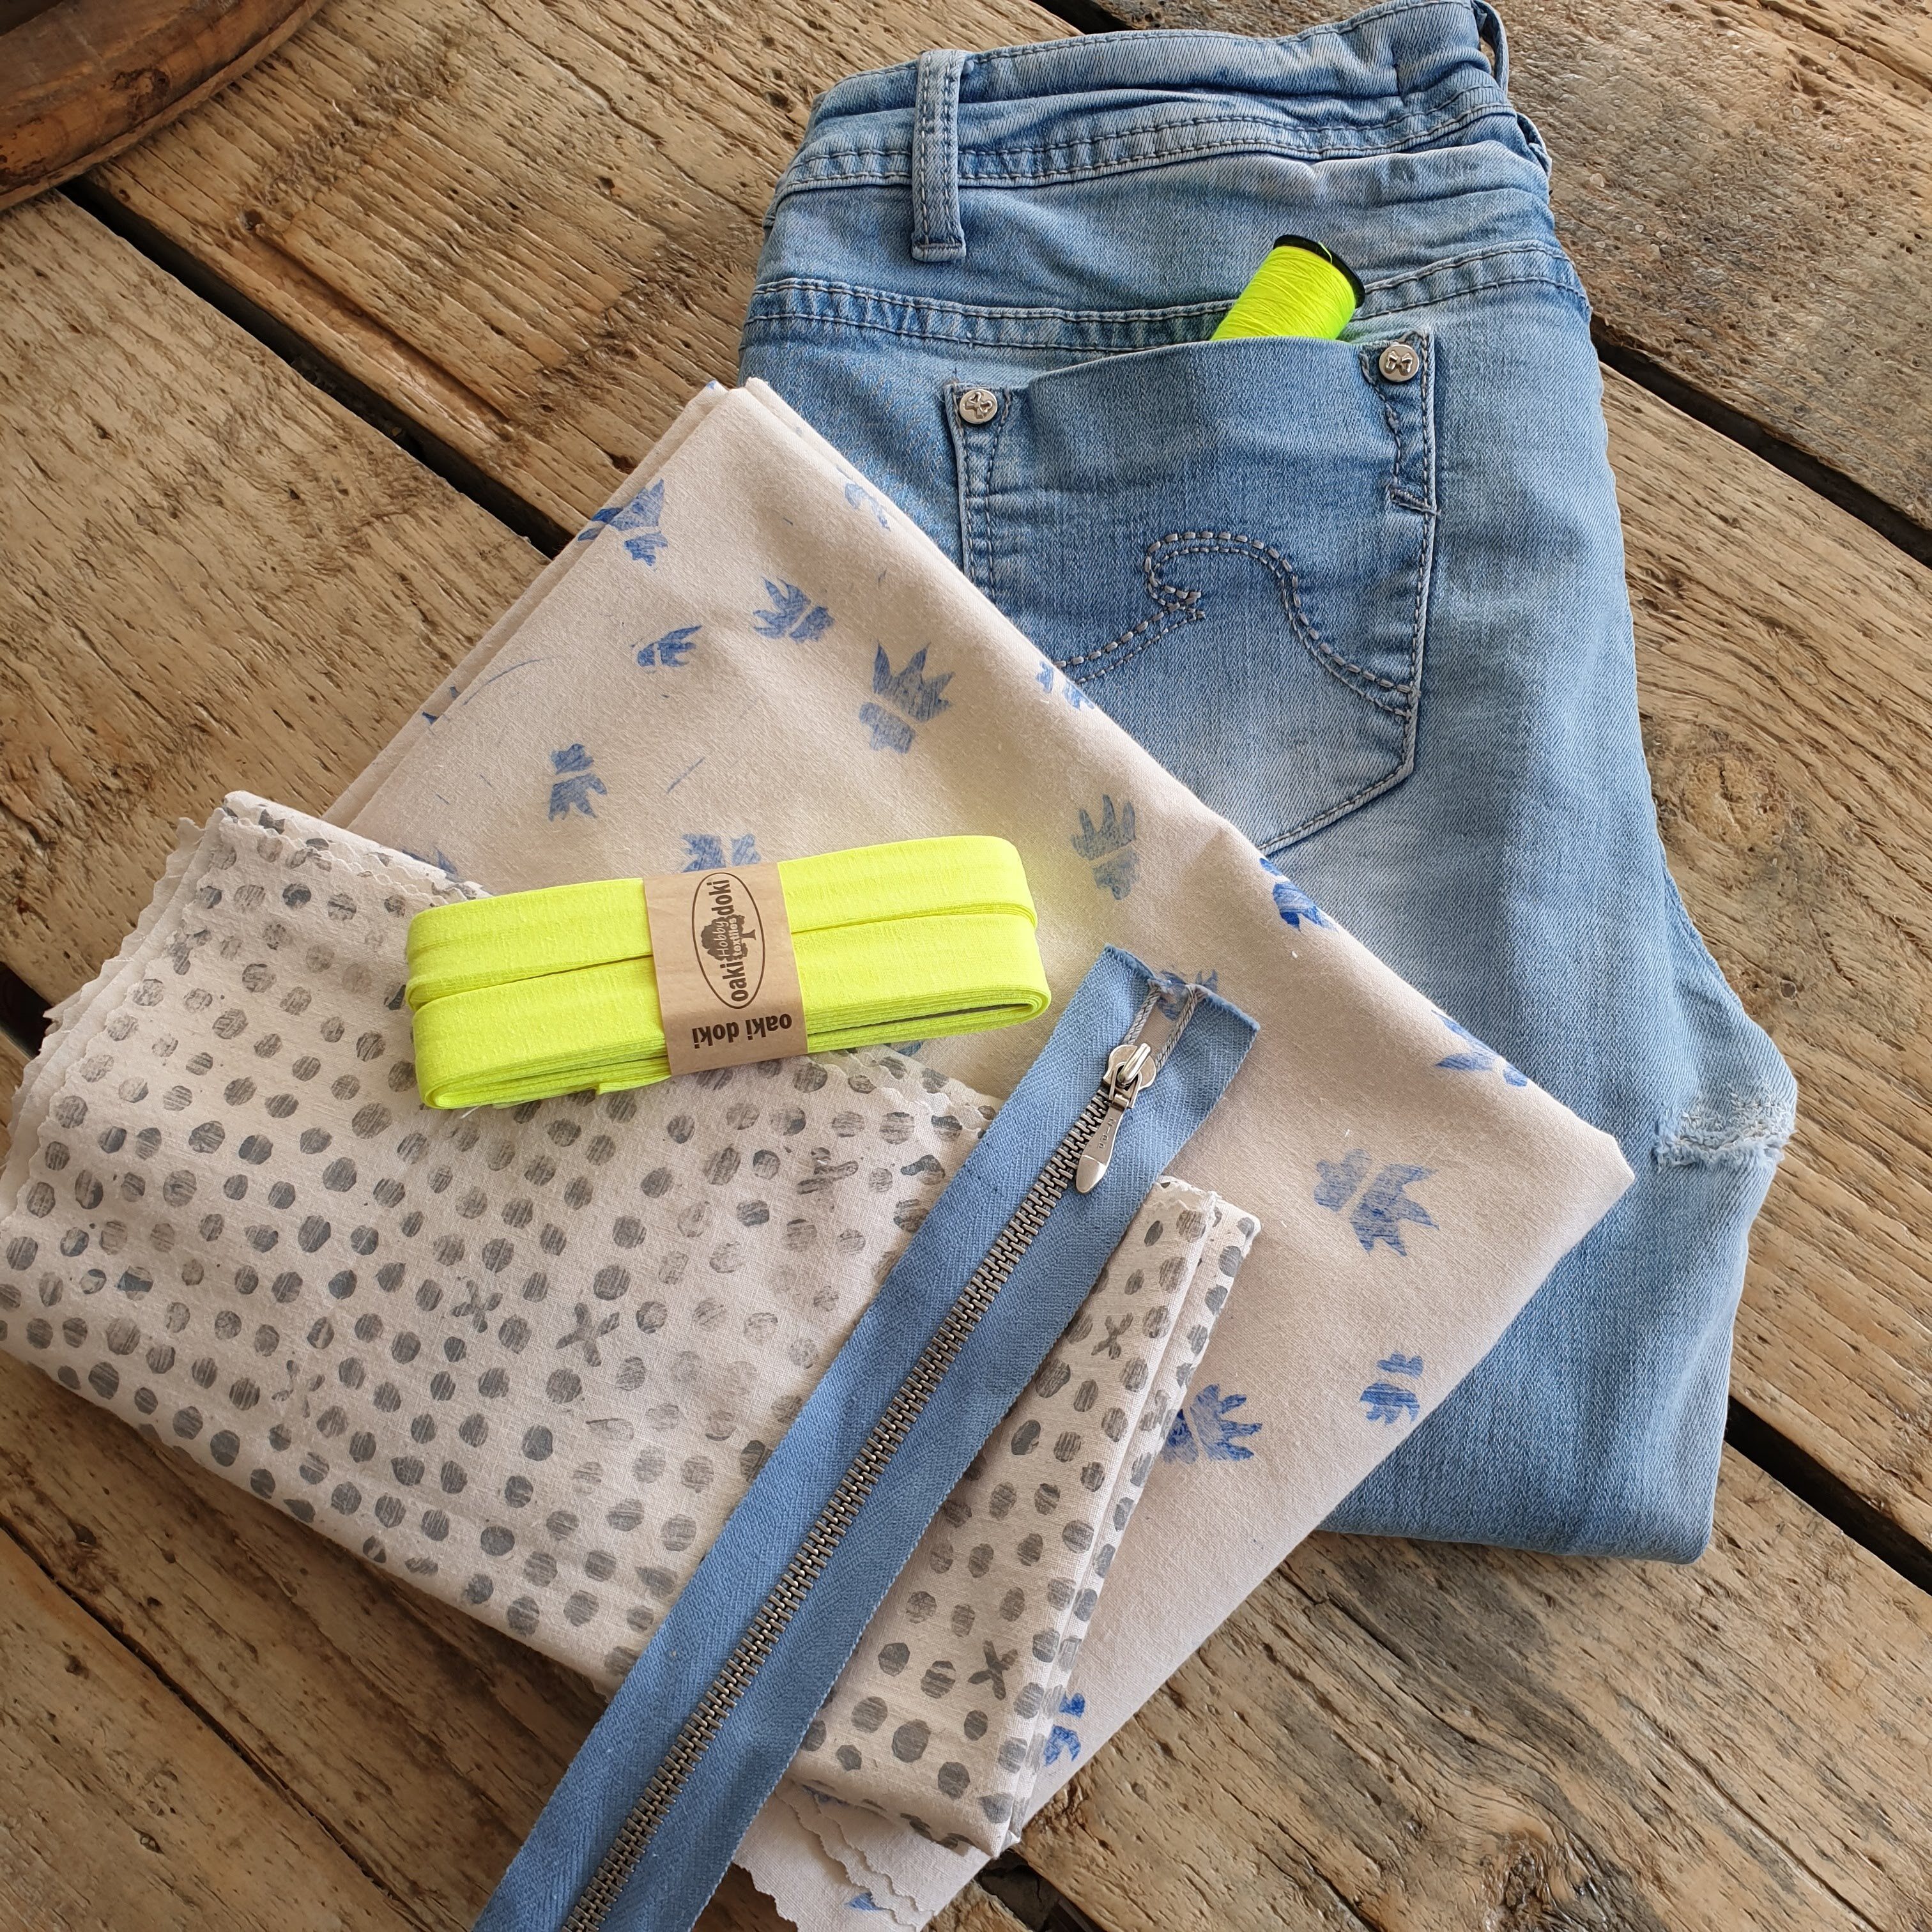
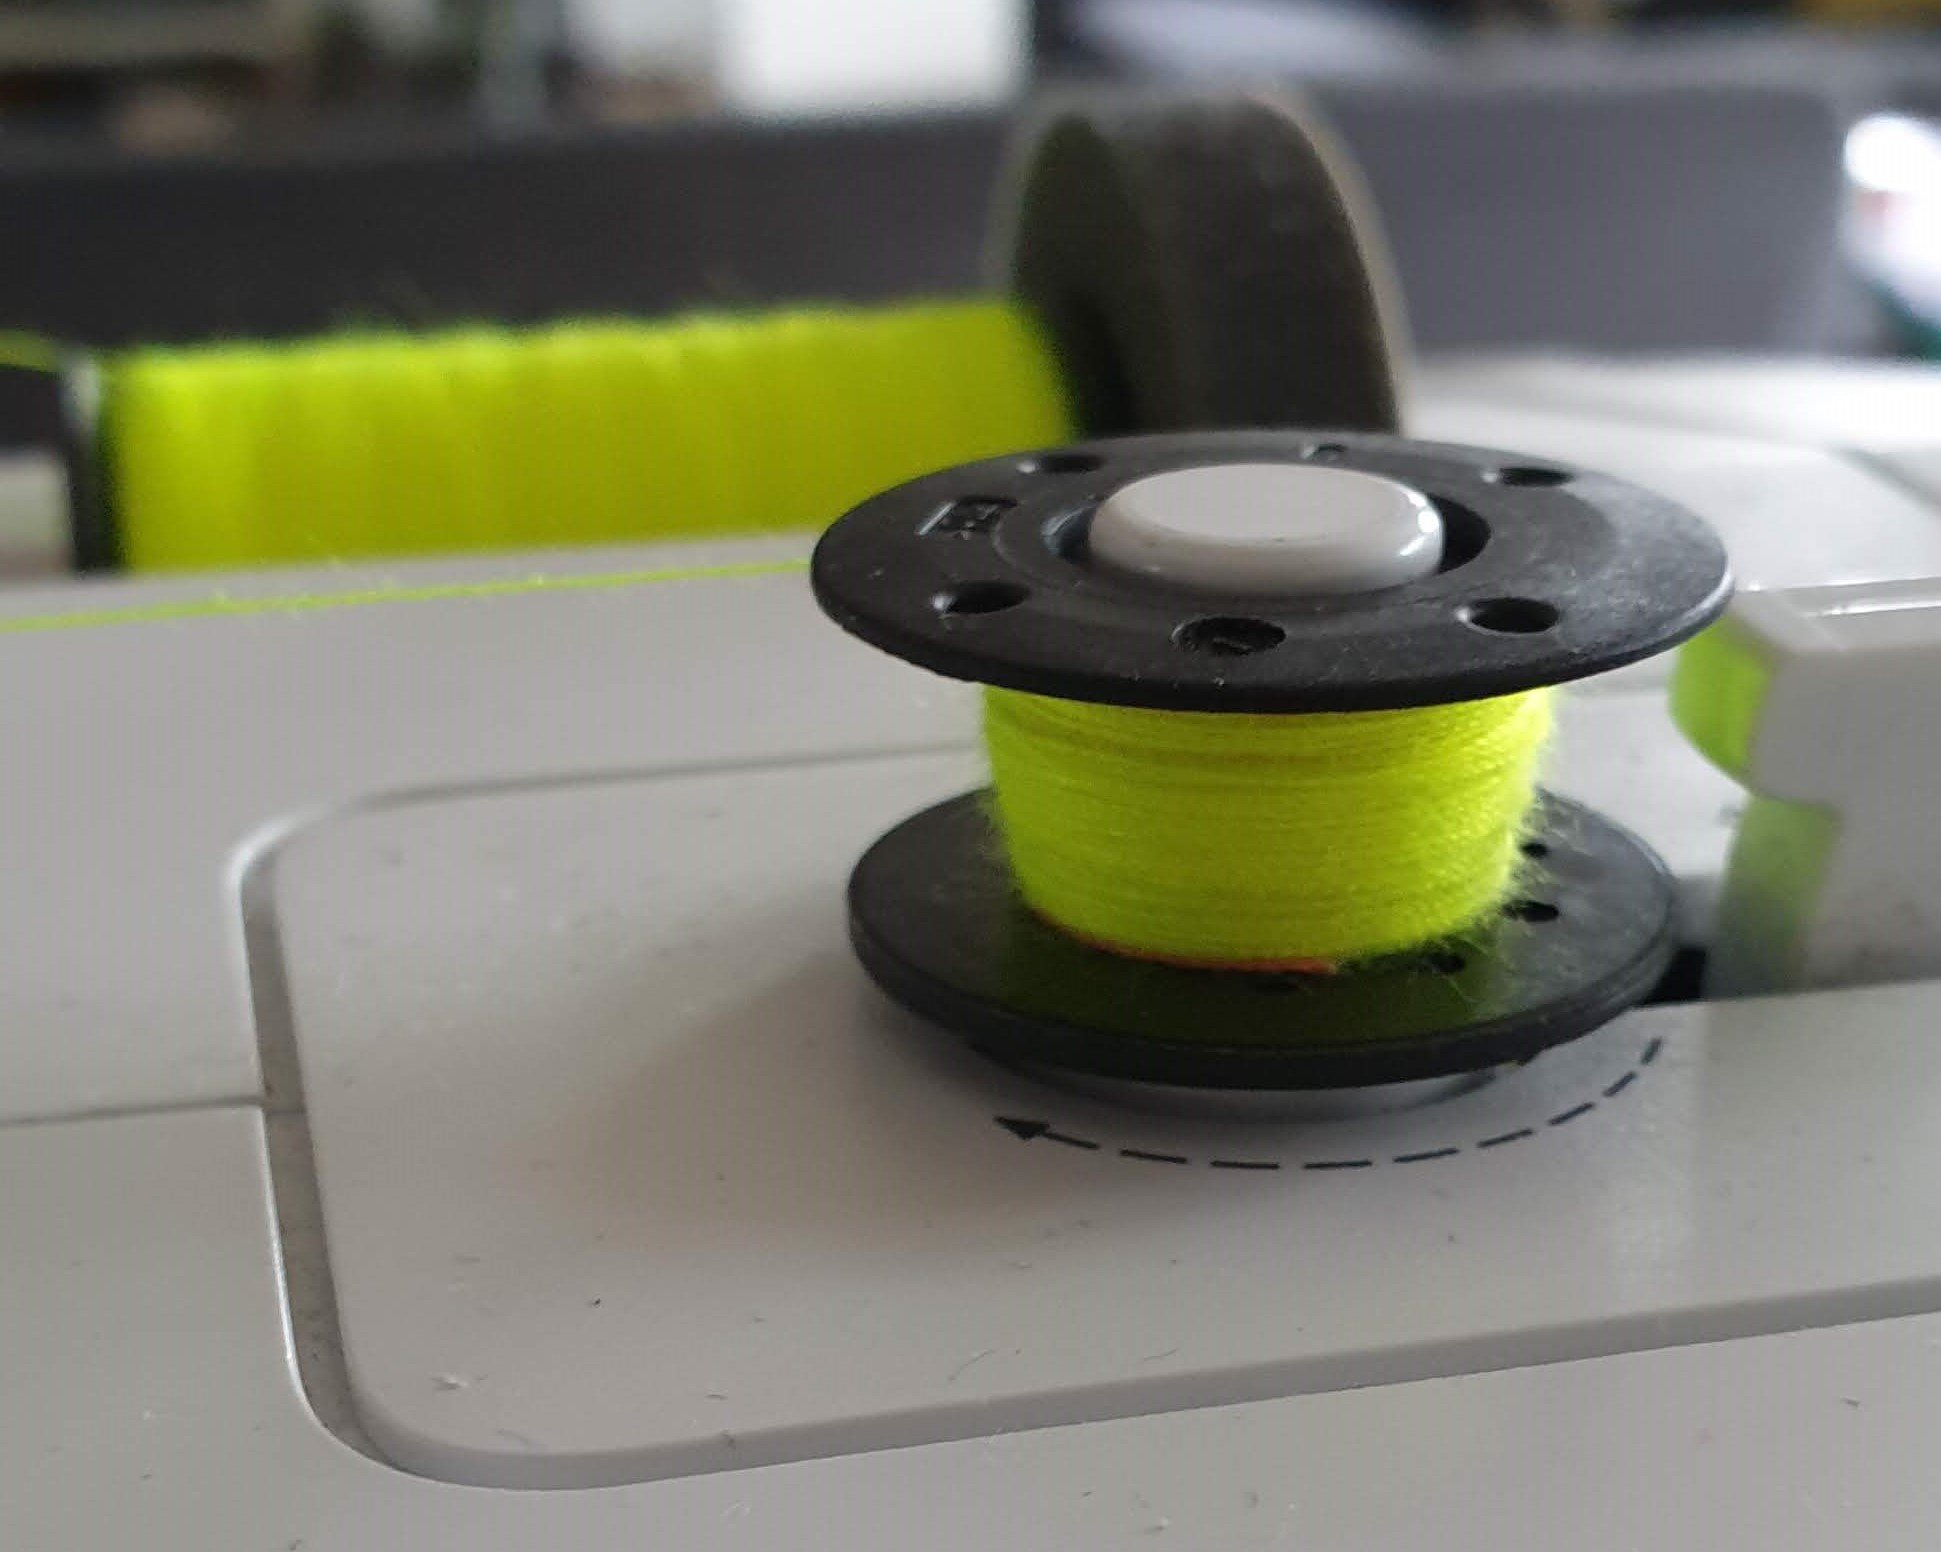
For this bag I used hand printed, upcycled natural cotton fabric that was given to me by Reprinted + Repurpose. Furthermore I used a pair of worn down jeans and some leftover batting. I also planned to use a recycled zipper, but in the end I decided not to and go for a push button. The zipper has to wait for another project. As a nice color detail I added neon yellow bias band and sewing thread.
Pattern
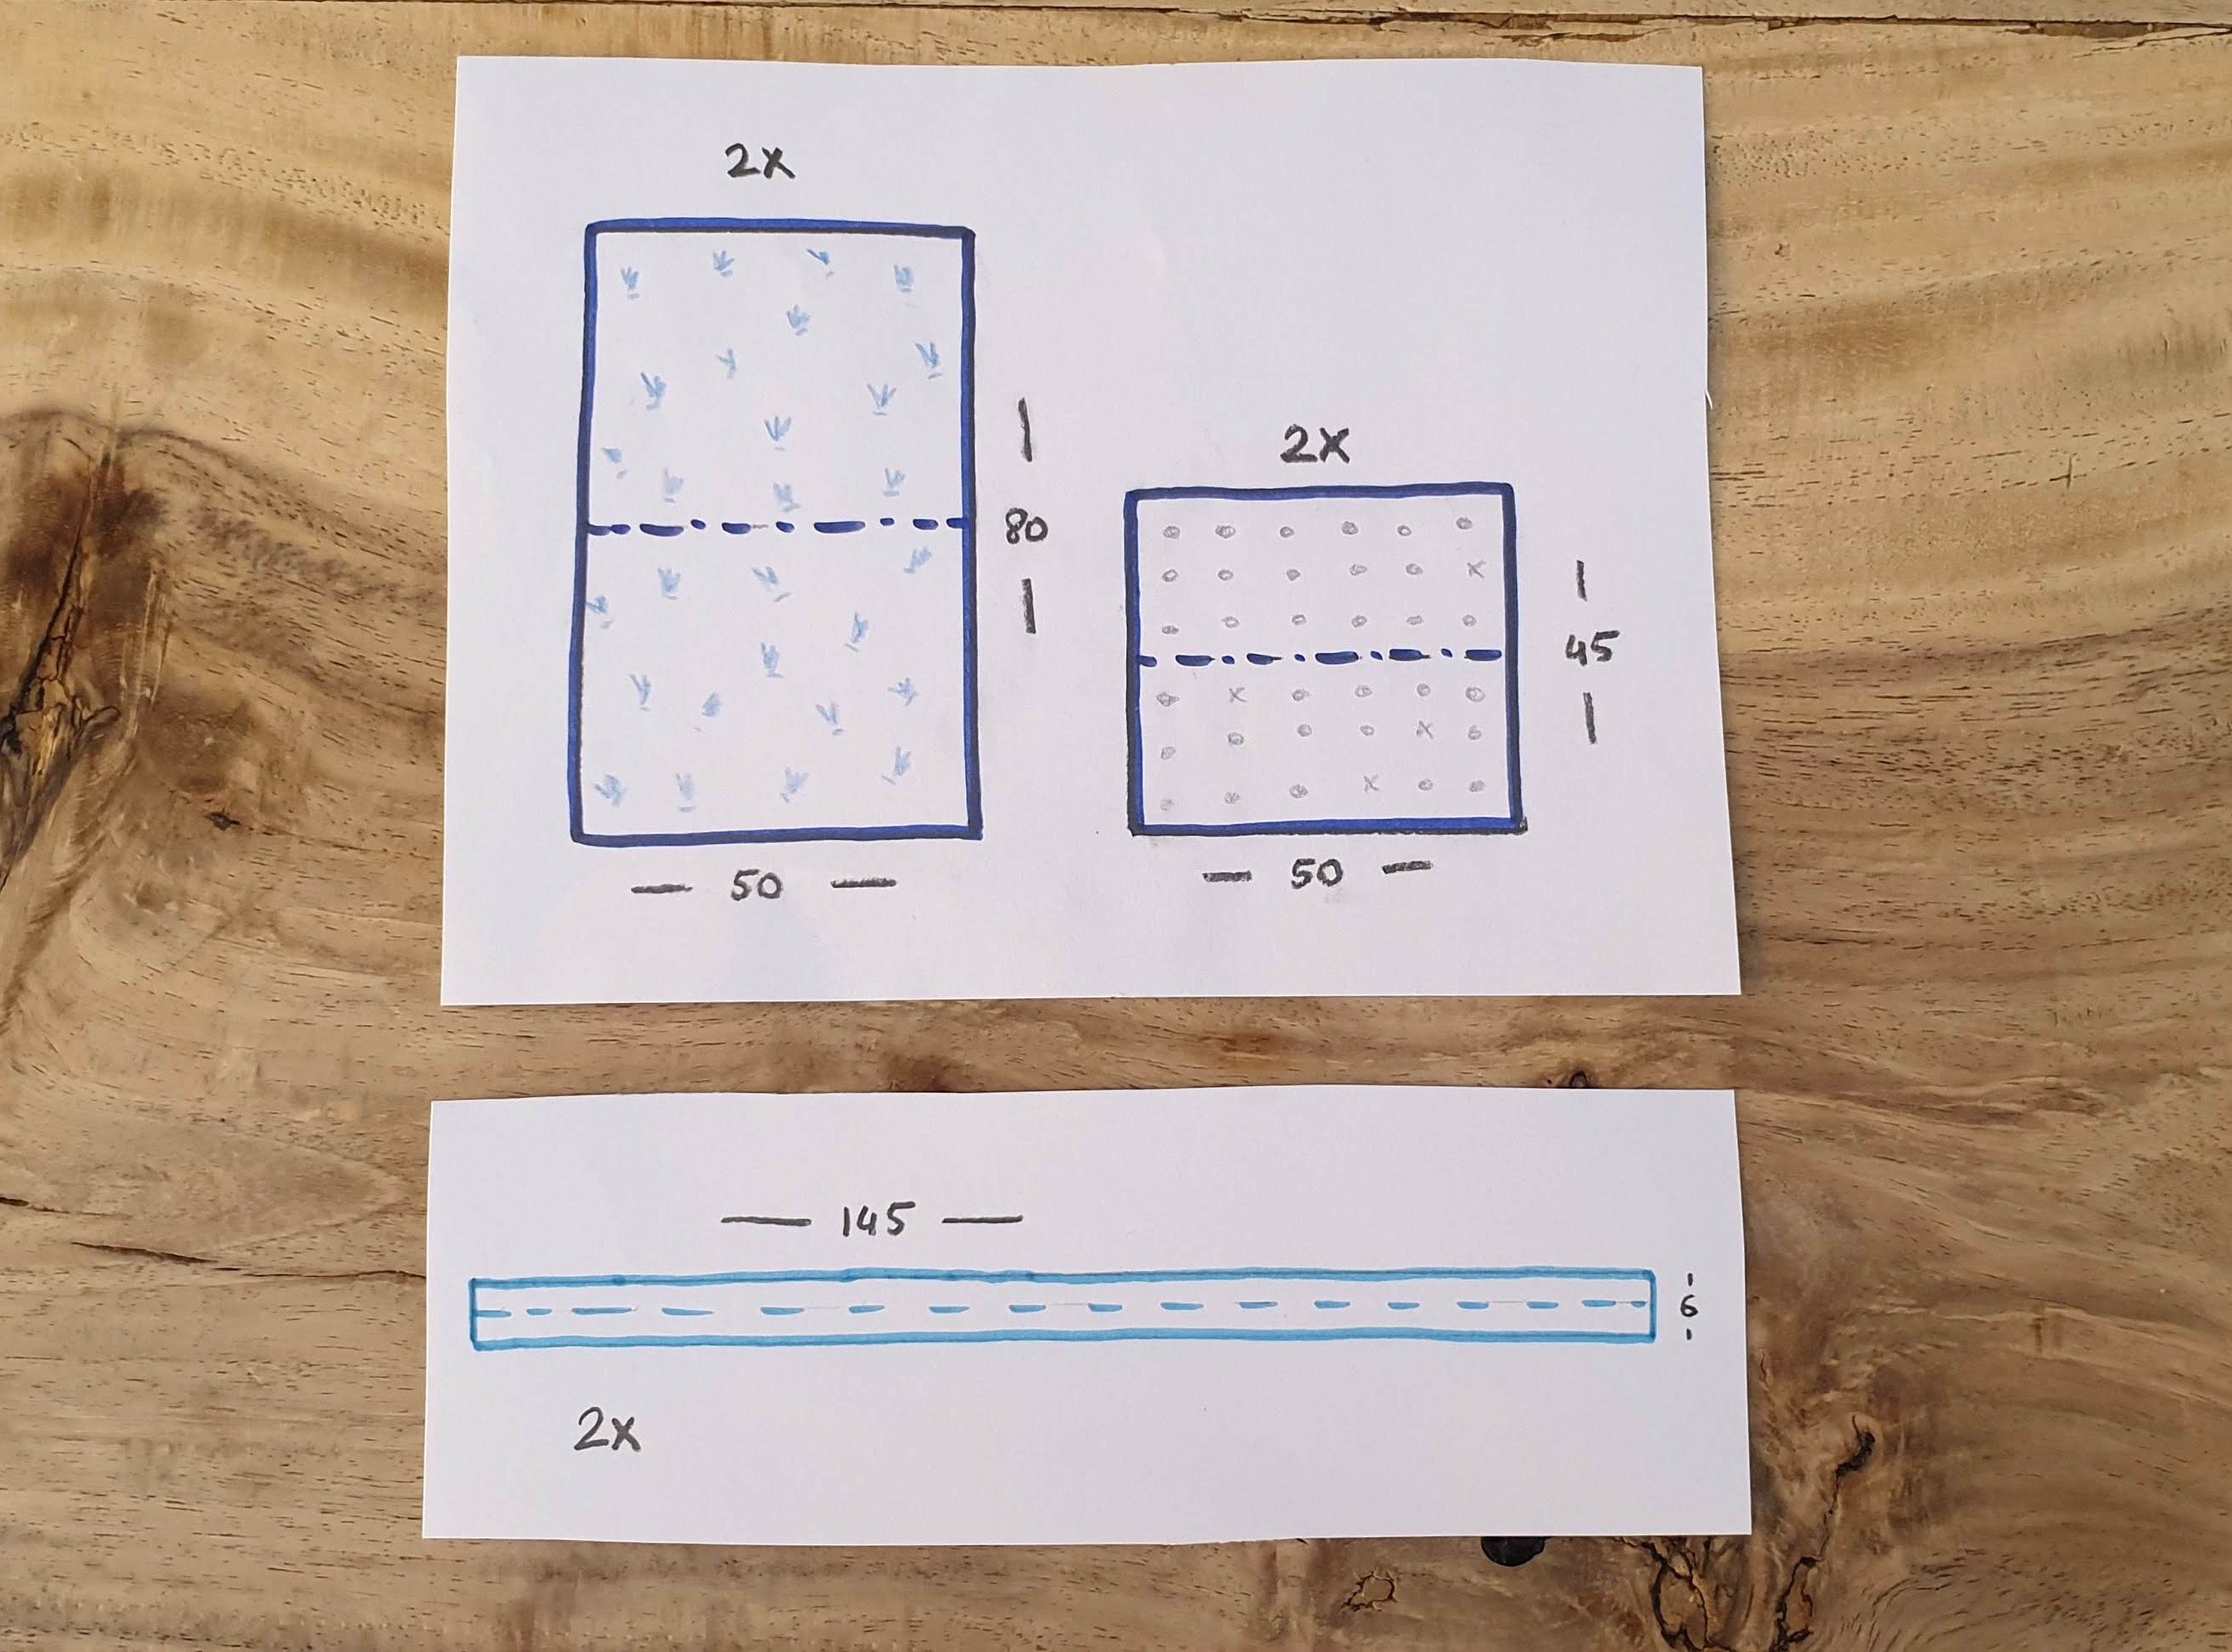
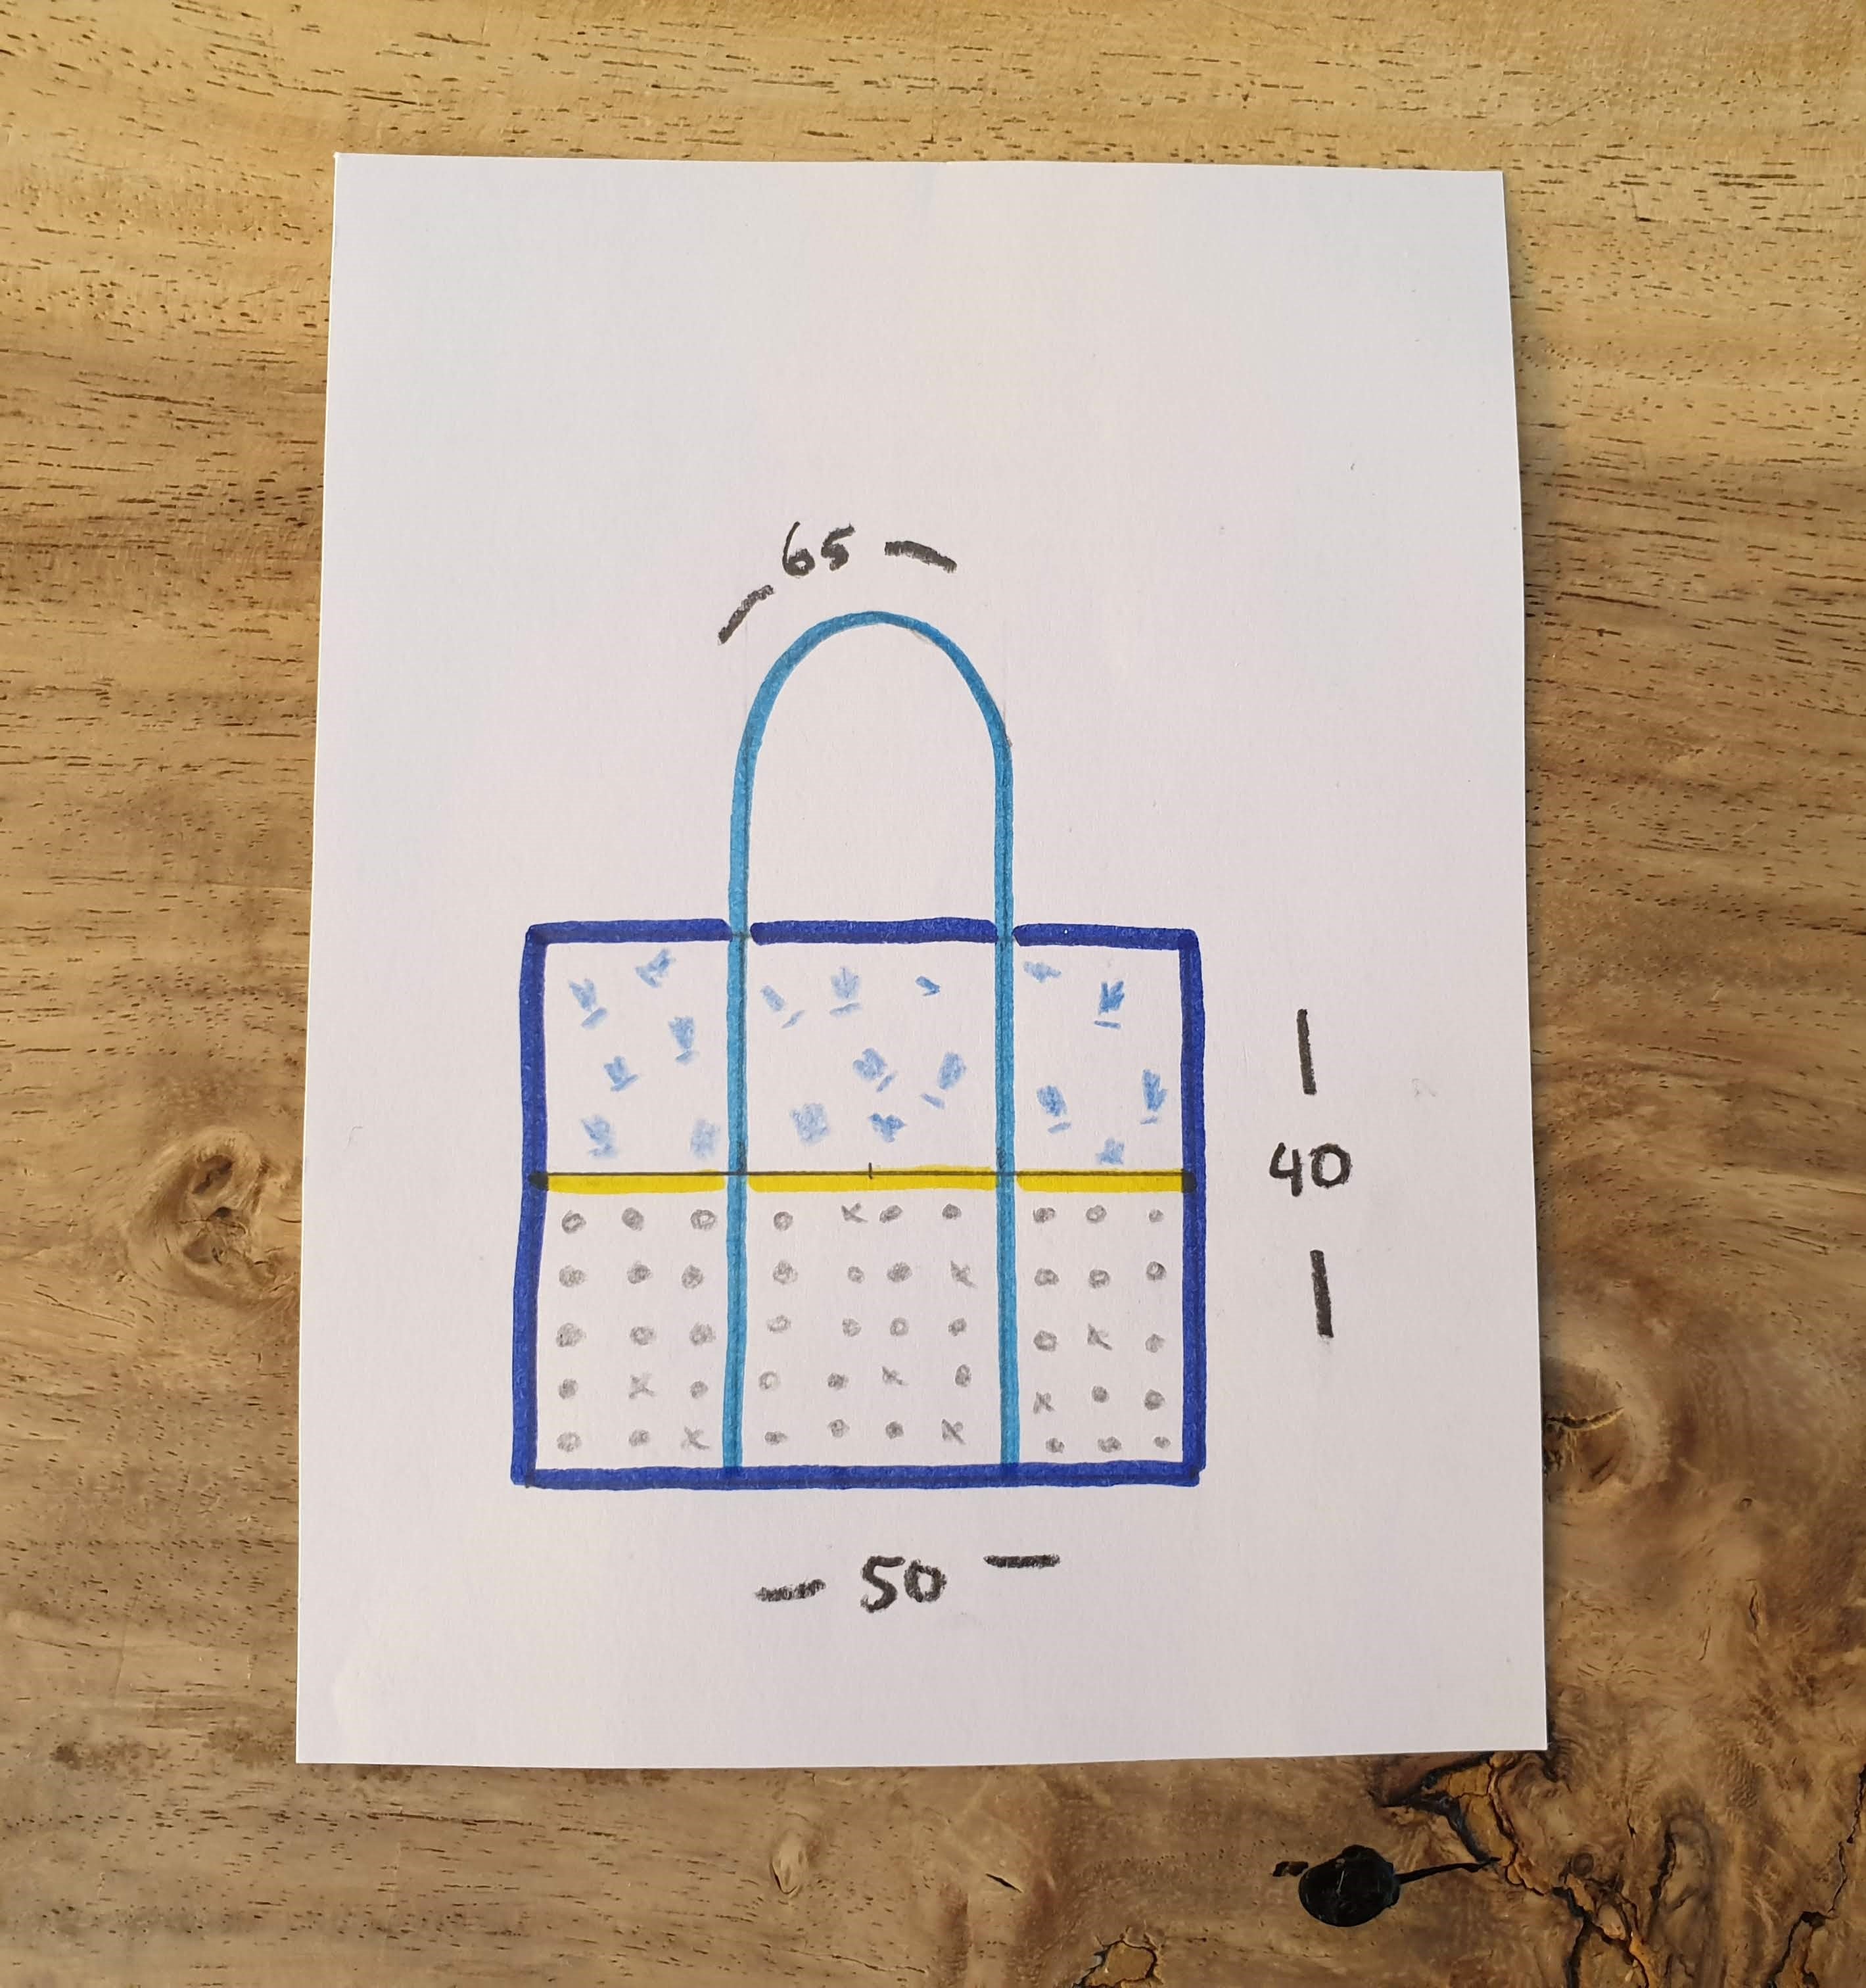
I searched for totebag inspiration on Pinterest and came up with my own version. The pieces of fabric that I’ve received were pre-cut in different size rectangles. I let the size of the pieces decide how big the bag was going to be, so I used almost all of that fabric. The measurement of the pieces for the totebag are as follows:
- 80 x 50 cm (2x) (fabric)
- 45 x 50 cm (2x) (fabric)
- 145 x 6 cm (2x) (jeans)
- 40 x 50 cm (1x) (batting)
- 50 cm (2x) (bias band)
The measurements are without 1 cm seam allowance
Pieces
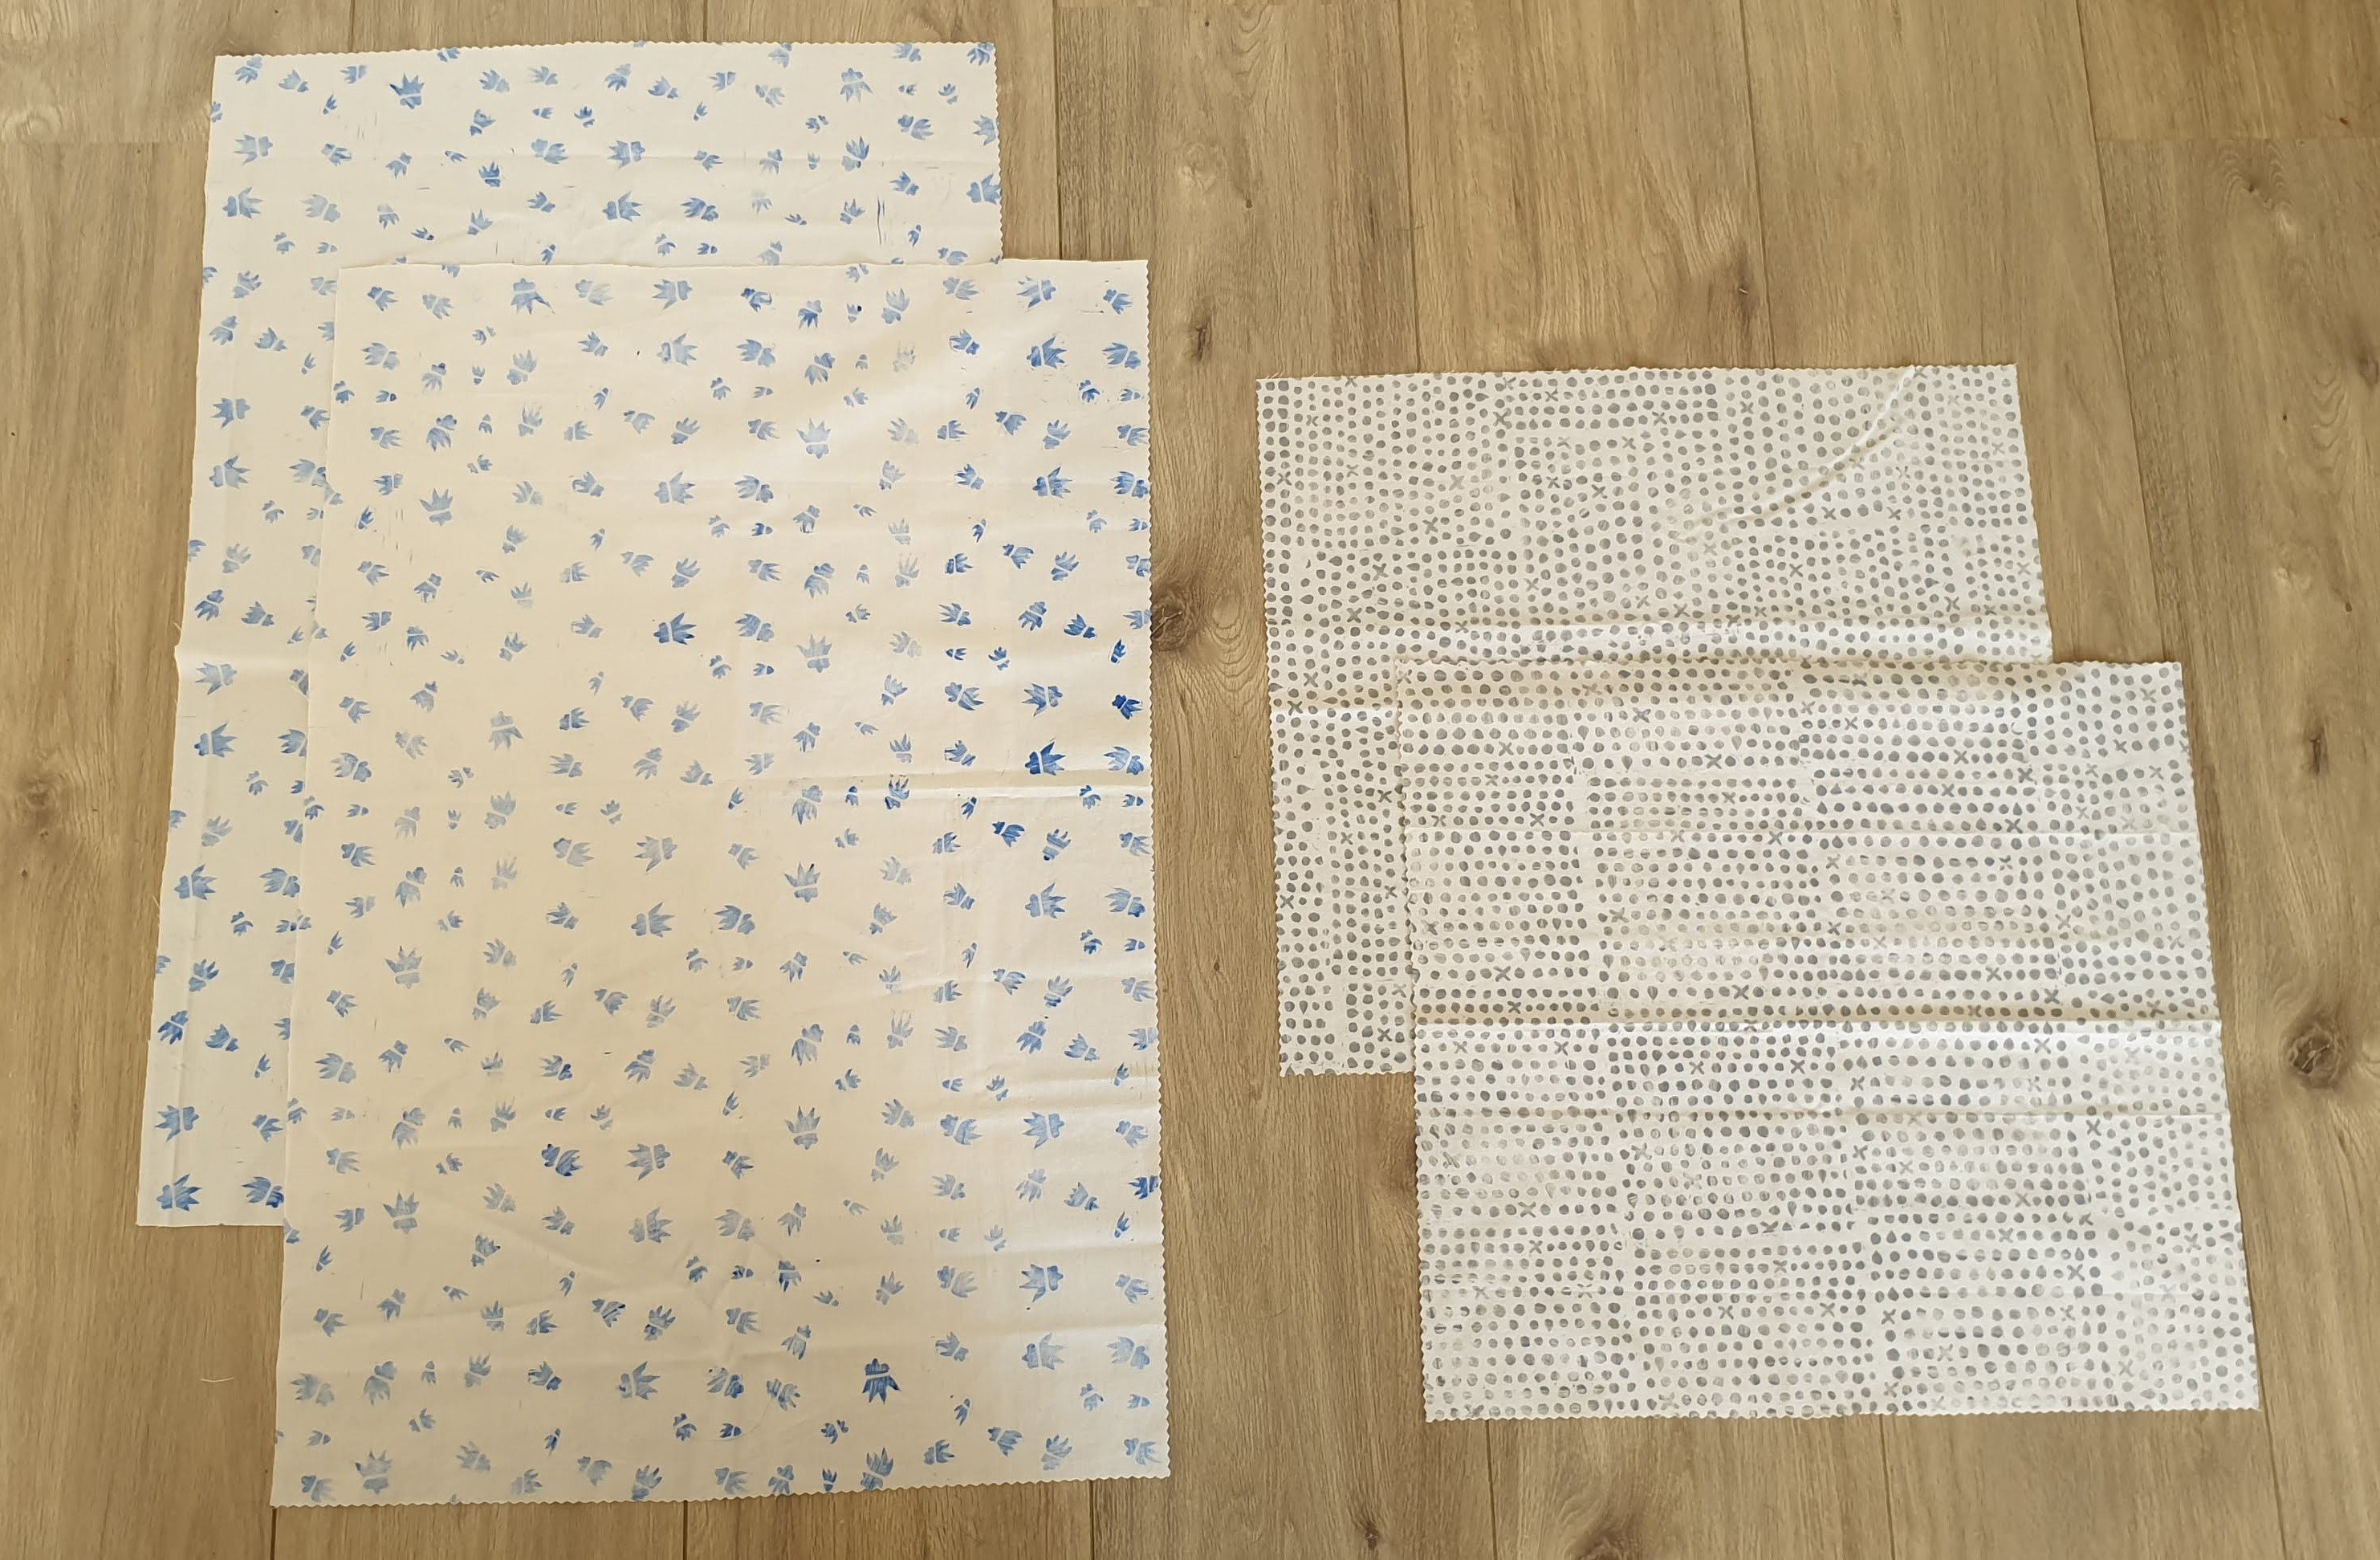
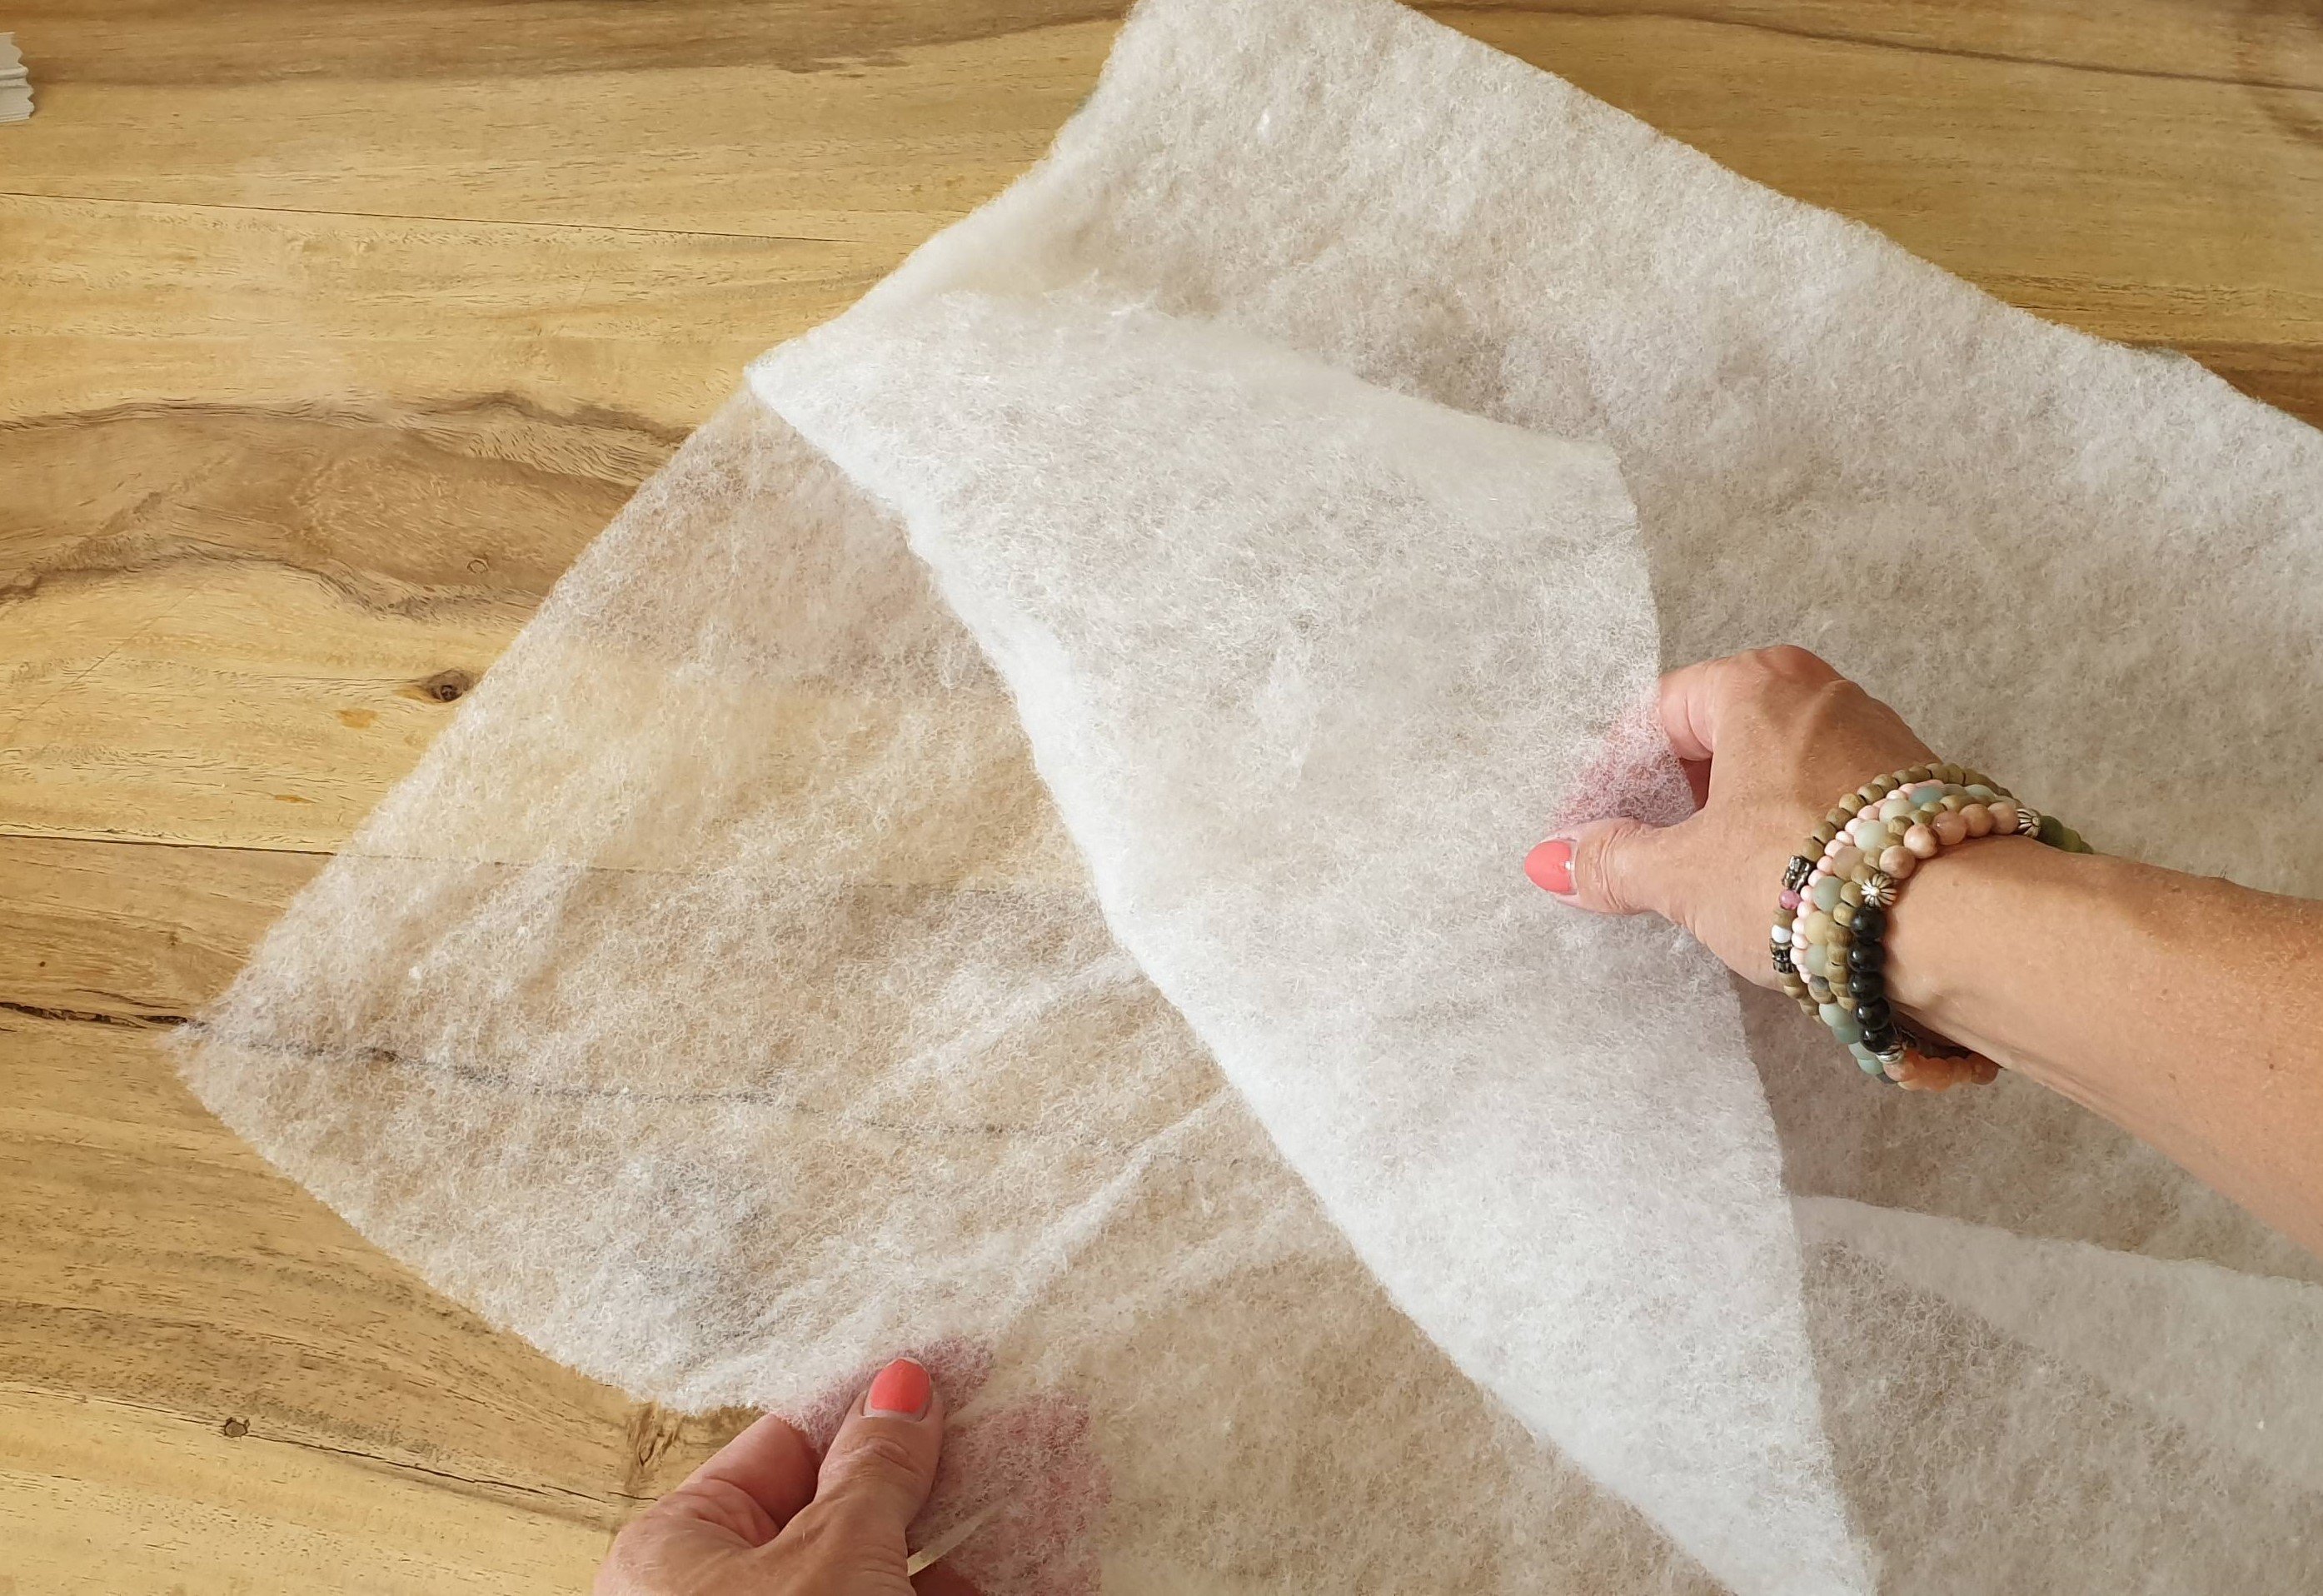
First I cut the fabric rectangle into halves and then I cut out the jeans shoulder straps. For the straps I cut along the side seams of my worn down jeans, so the typical seam finishes are encorporated. I also cut out one of the back pockets of the jeans to reuse. To reinforce the tote bag I used batting. The finished bag is 40 x 50 cm, so that is also the size my batting should be. I cut one piece and split it in two. This goes really well, if you do it slowly. Note to self!

Assembling
Straps
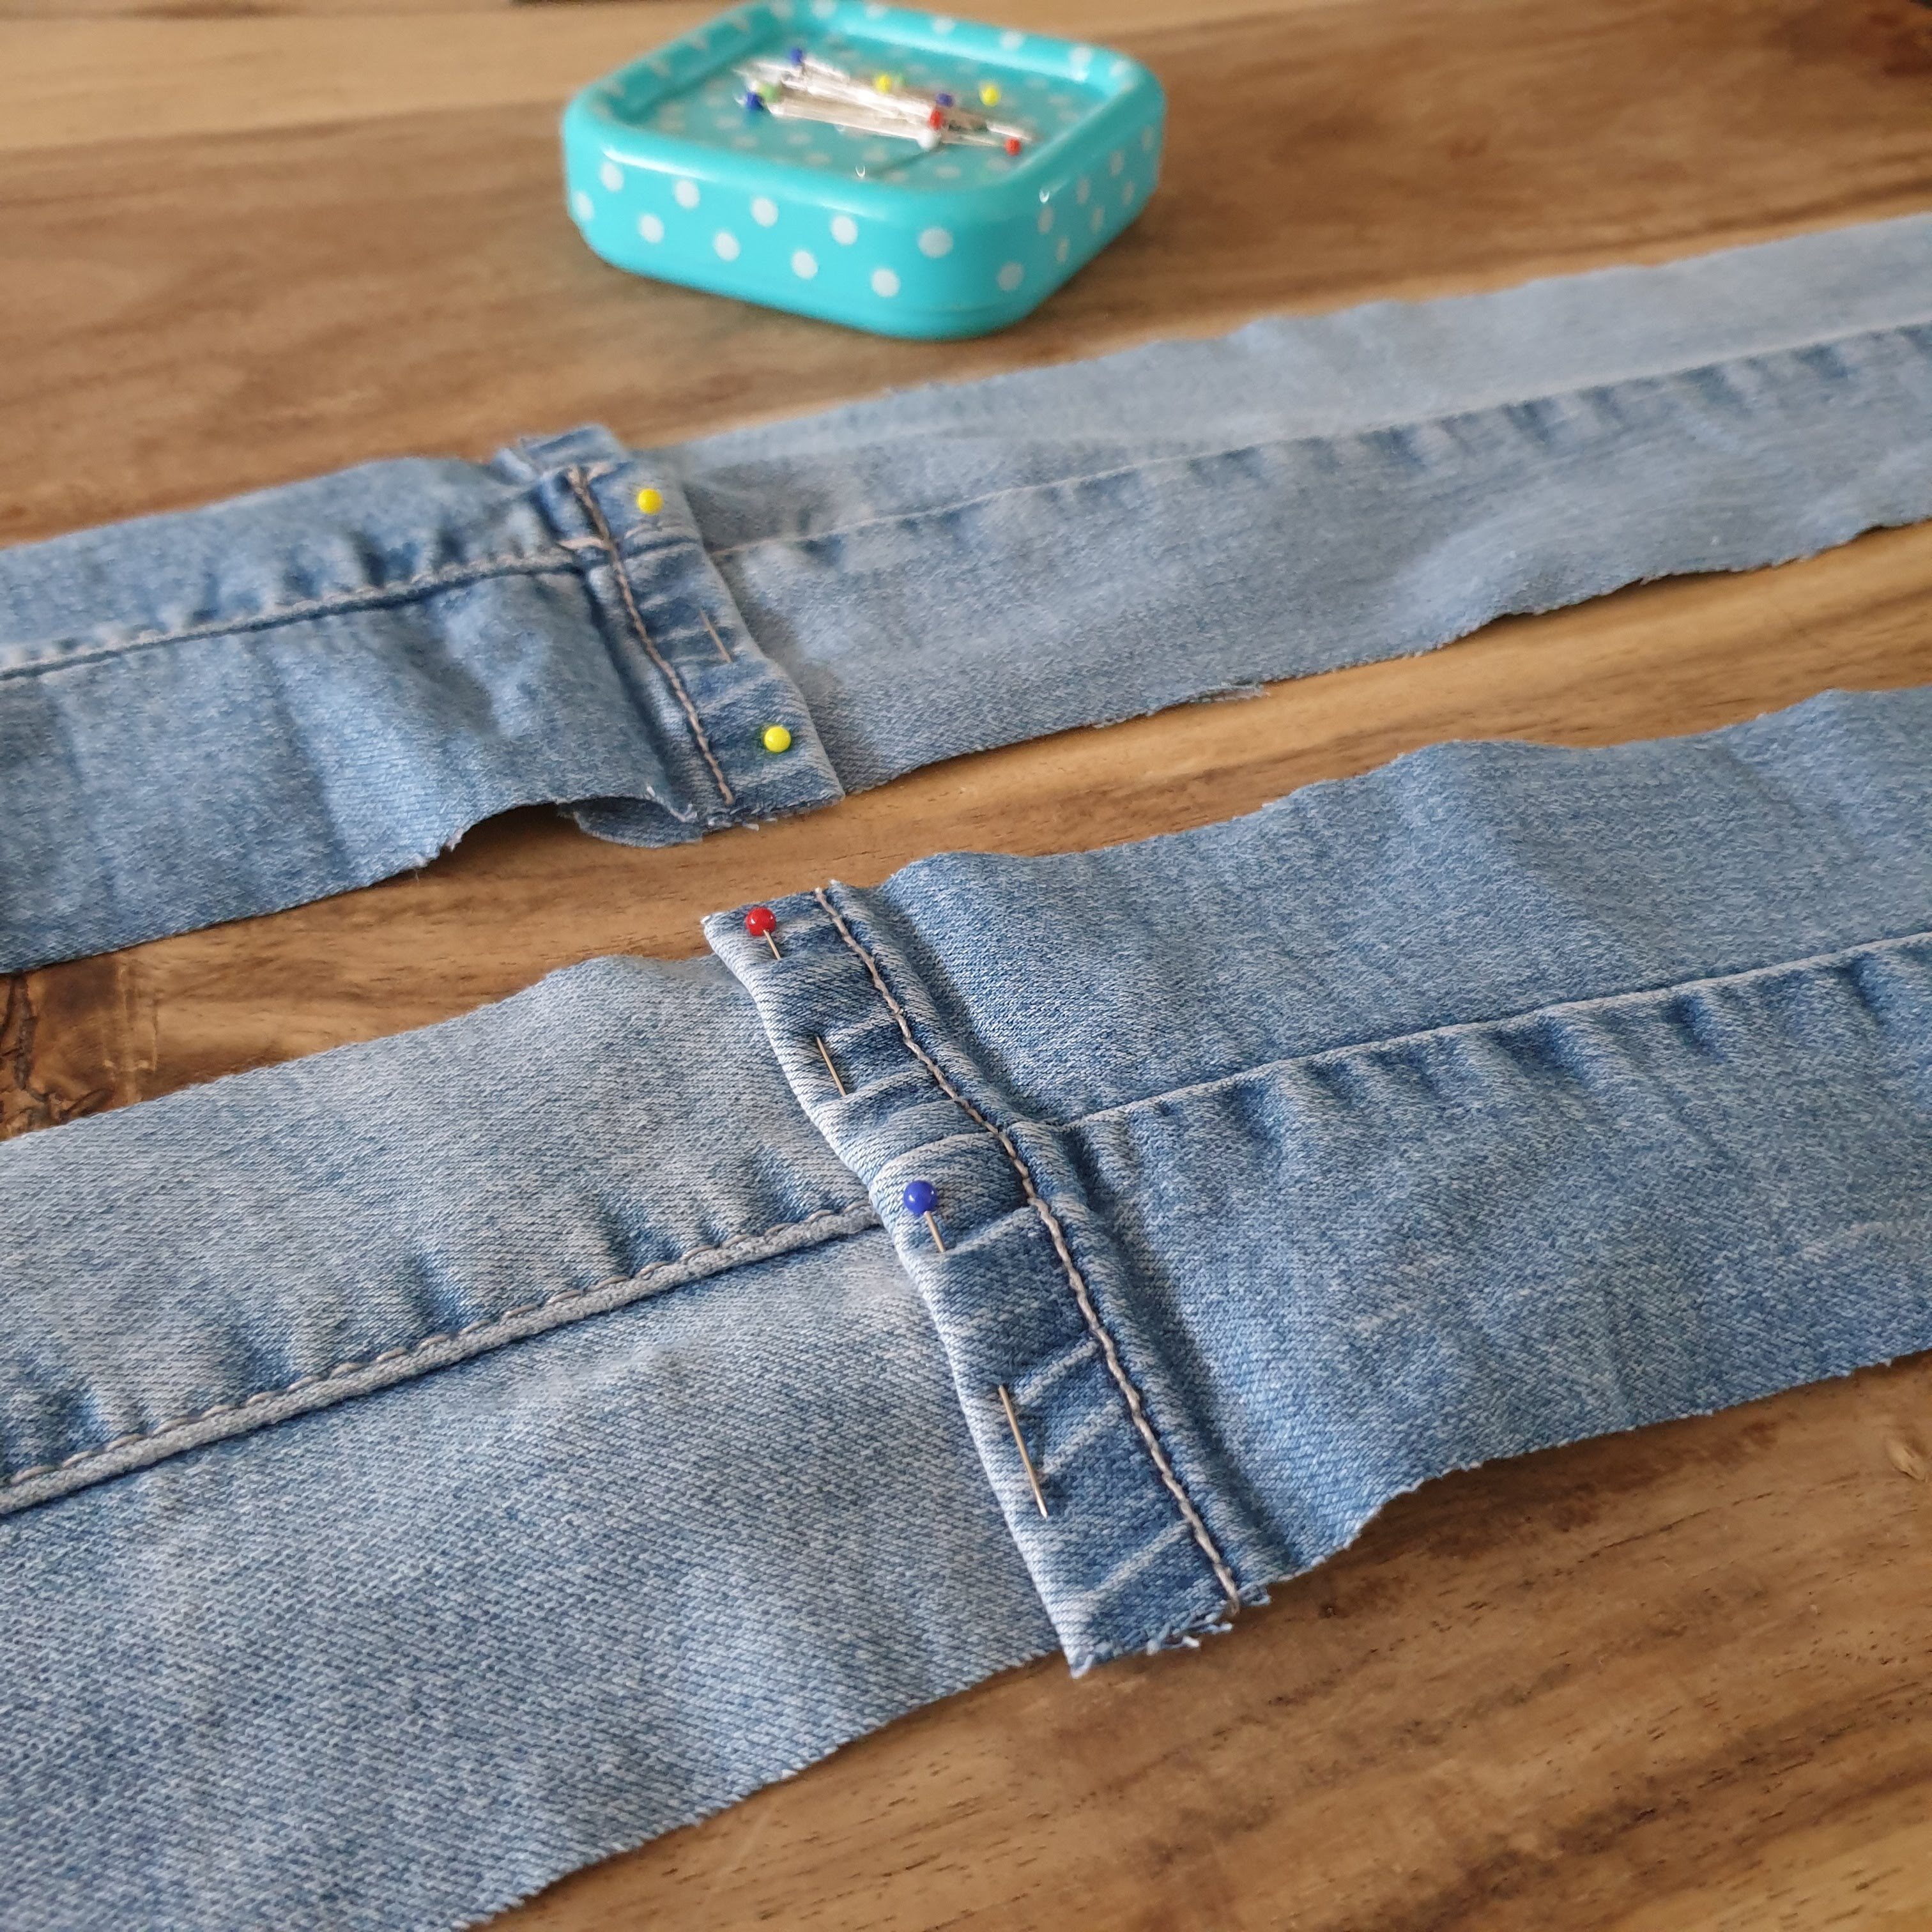
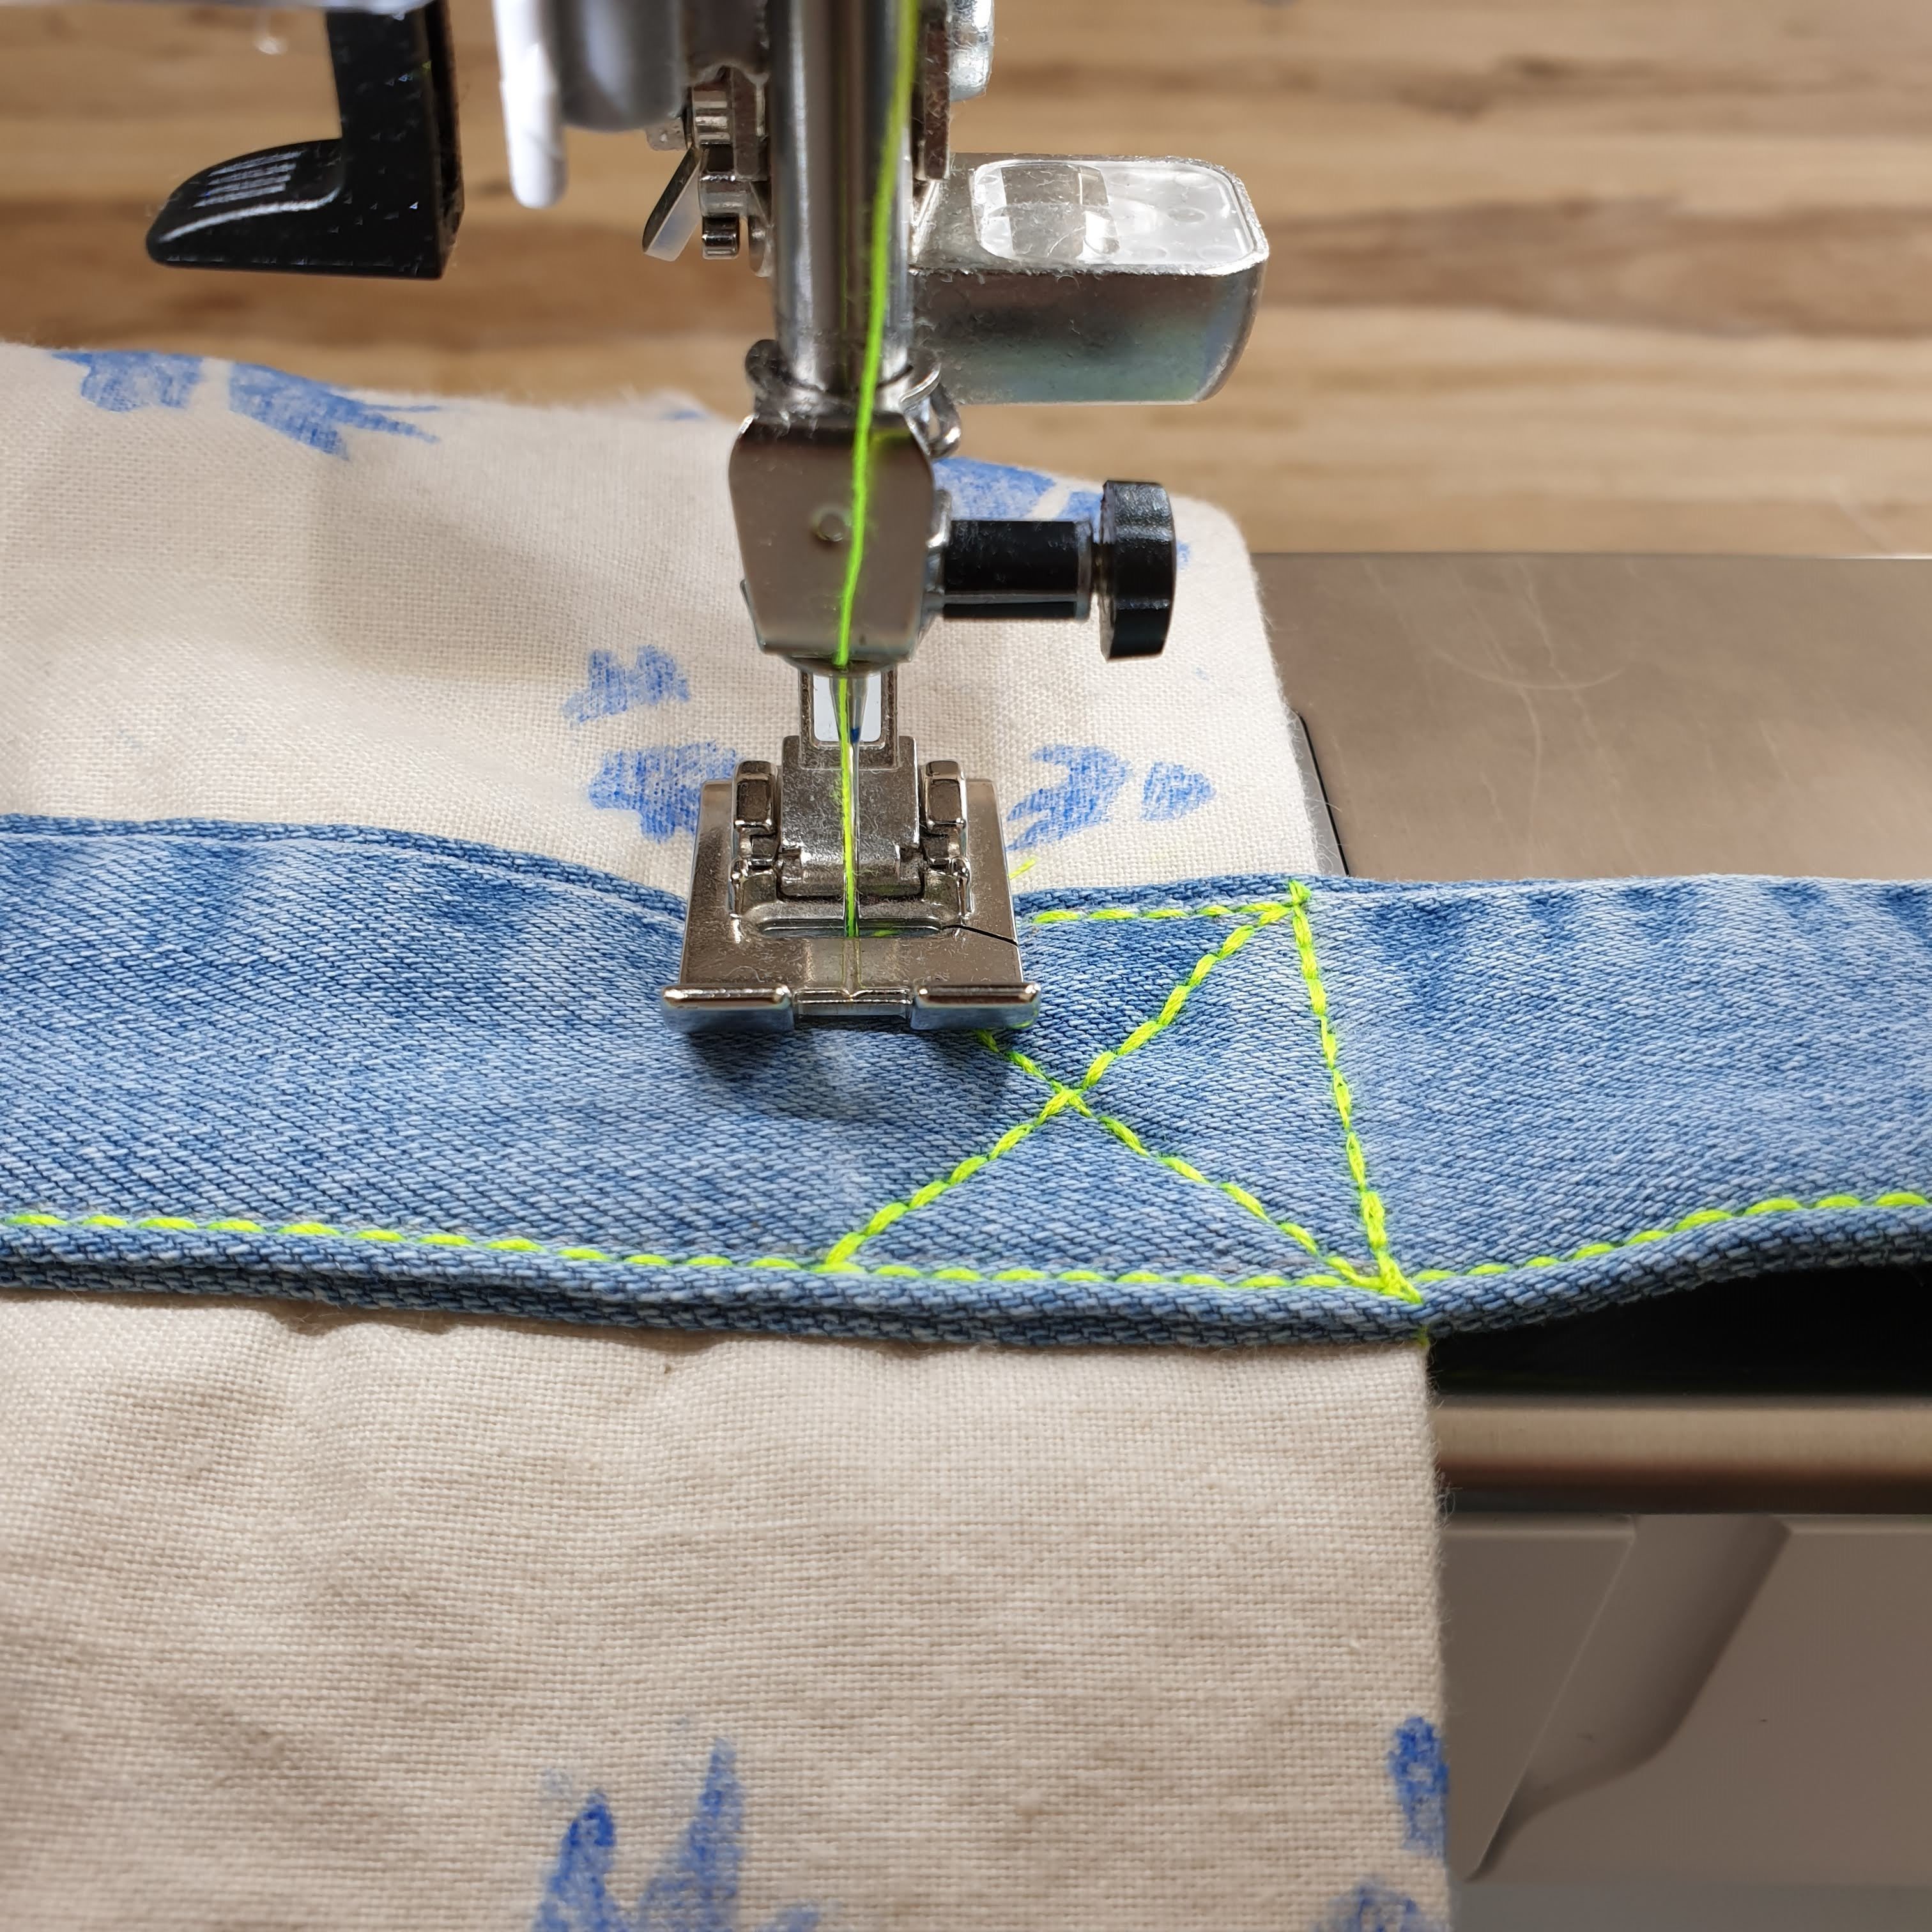
To get the right length schoulder straps I put two parts of jeans strips together and fastened them with two rows of topstitching. I used grey thread for it. The first row I stitched over the excisting stitch and the second row near the edge of the strip ending.
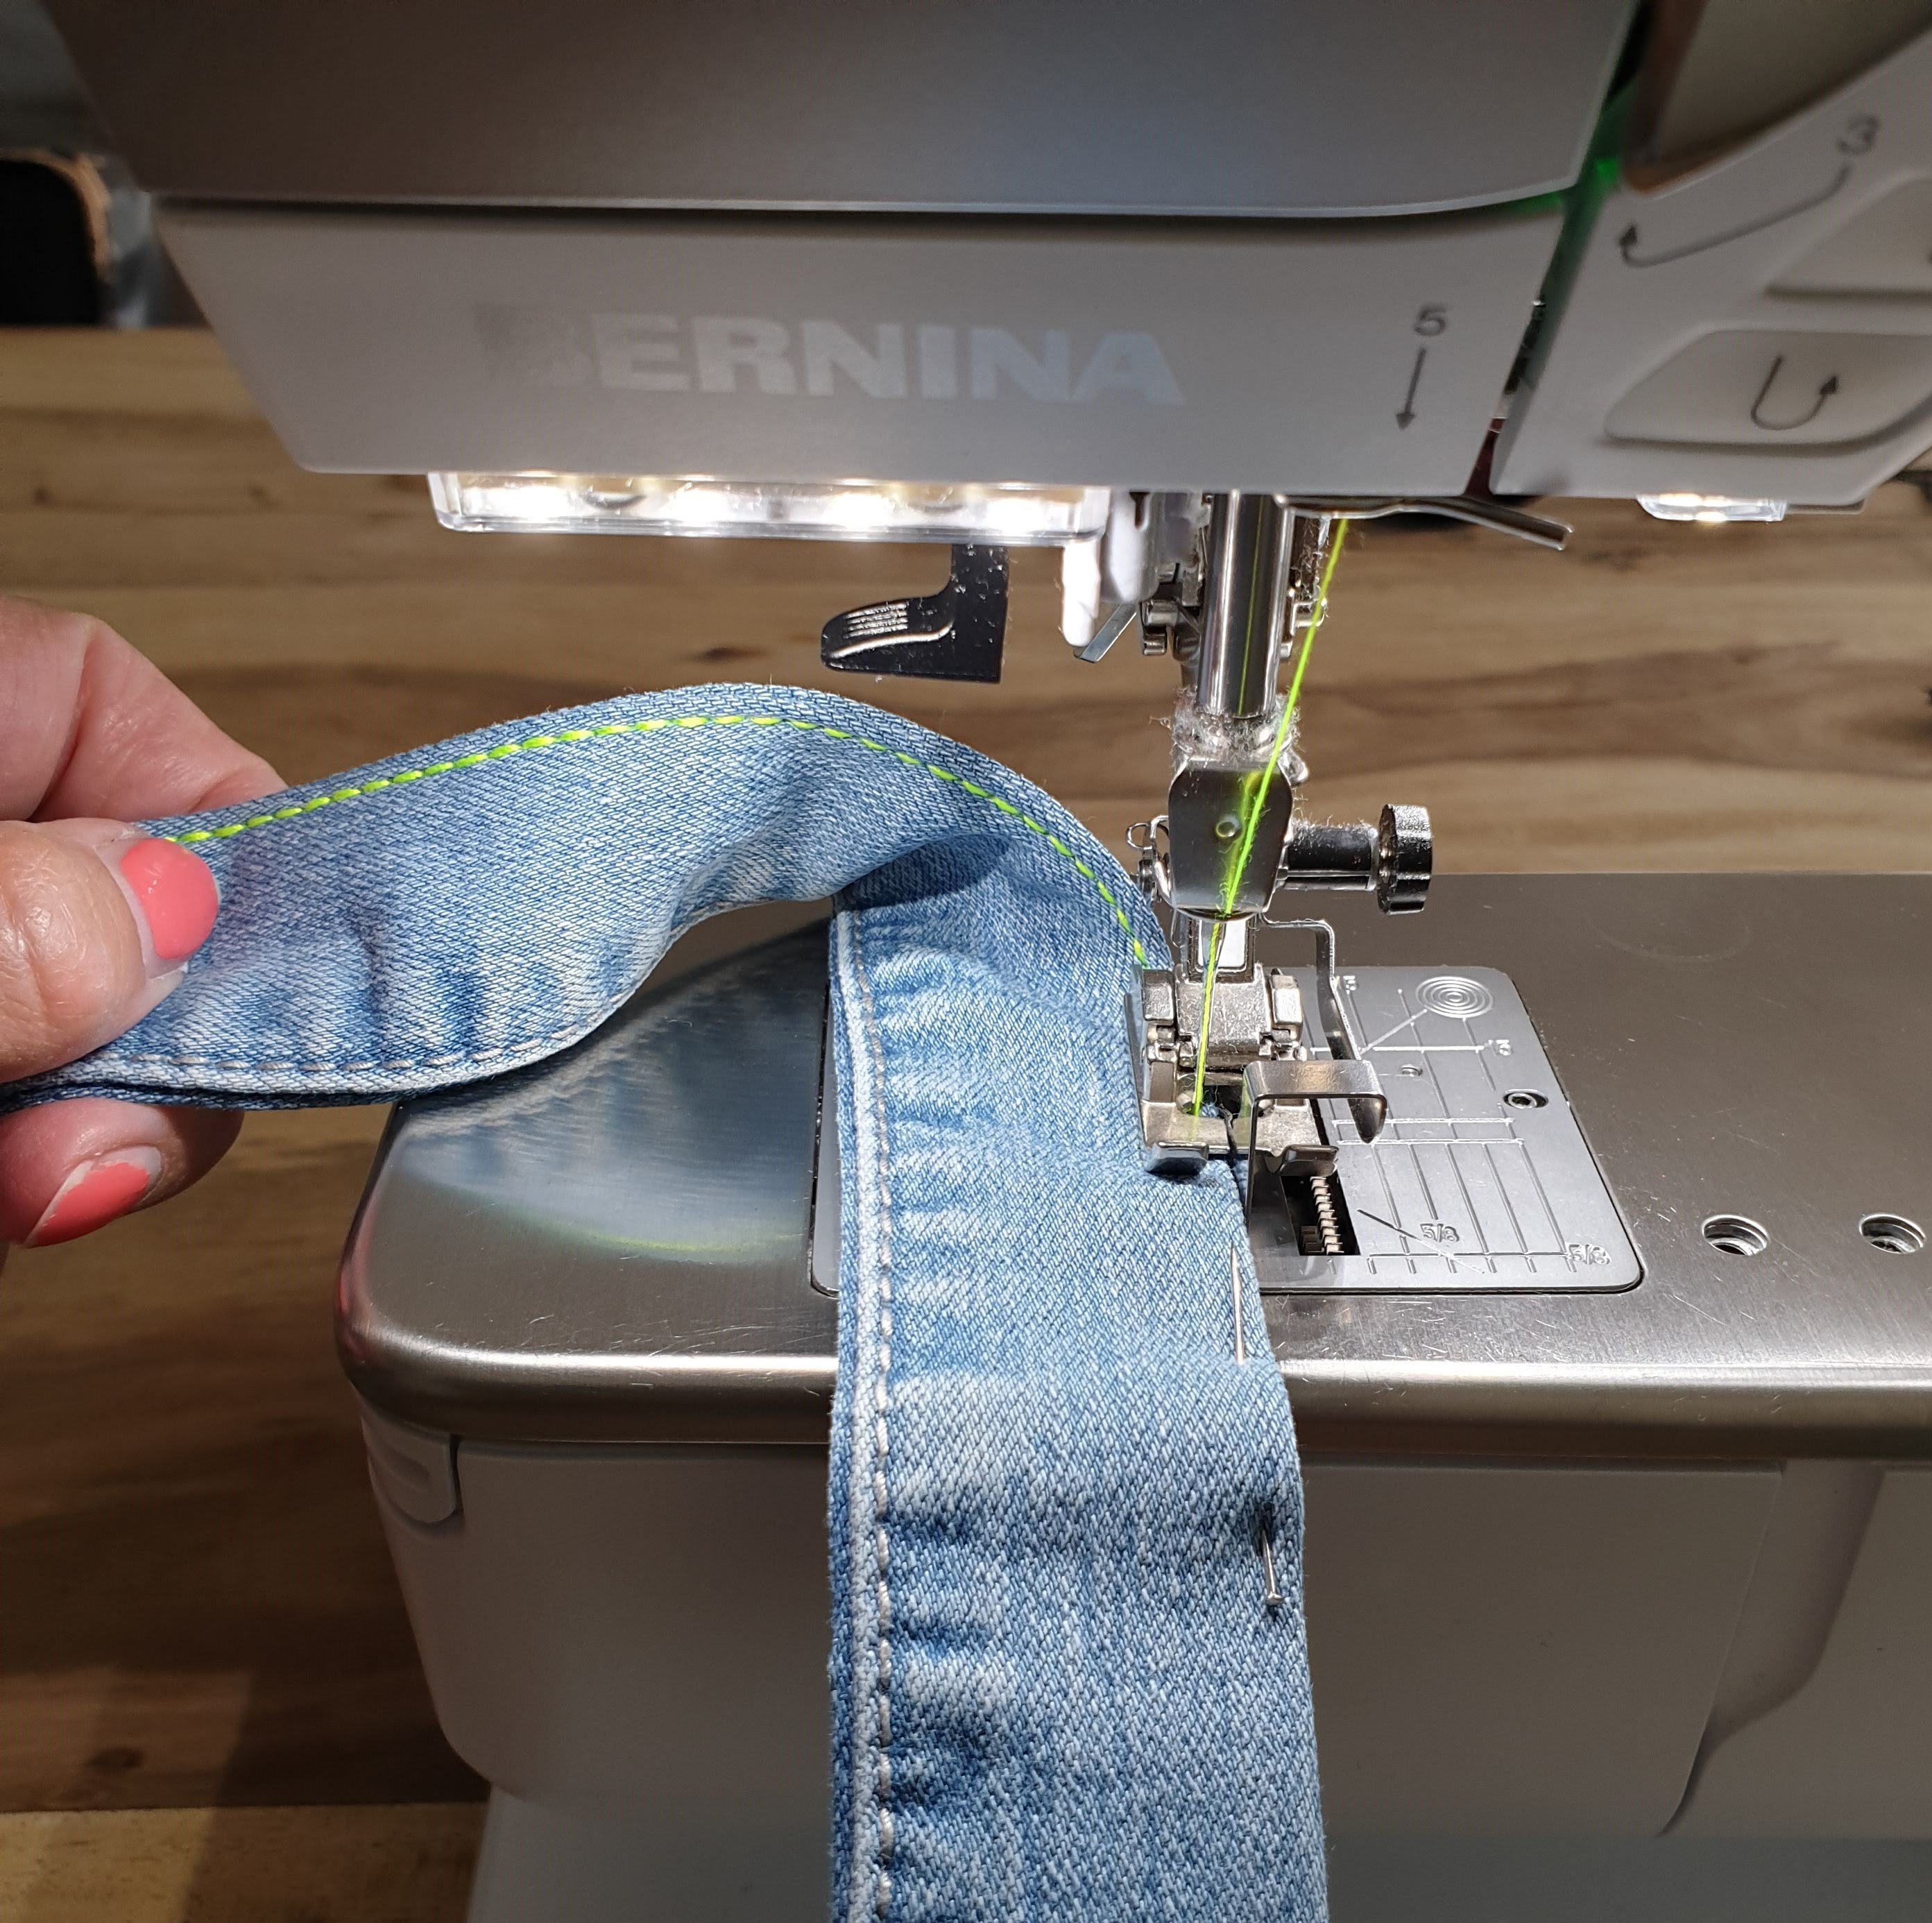
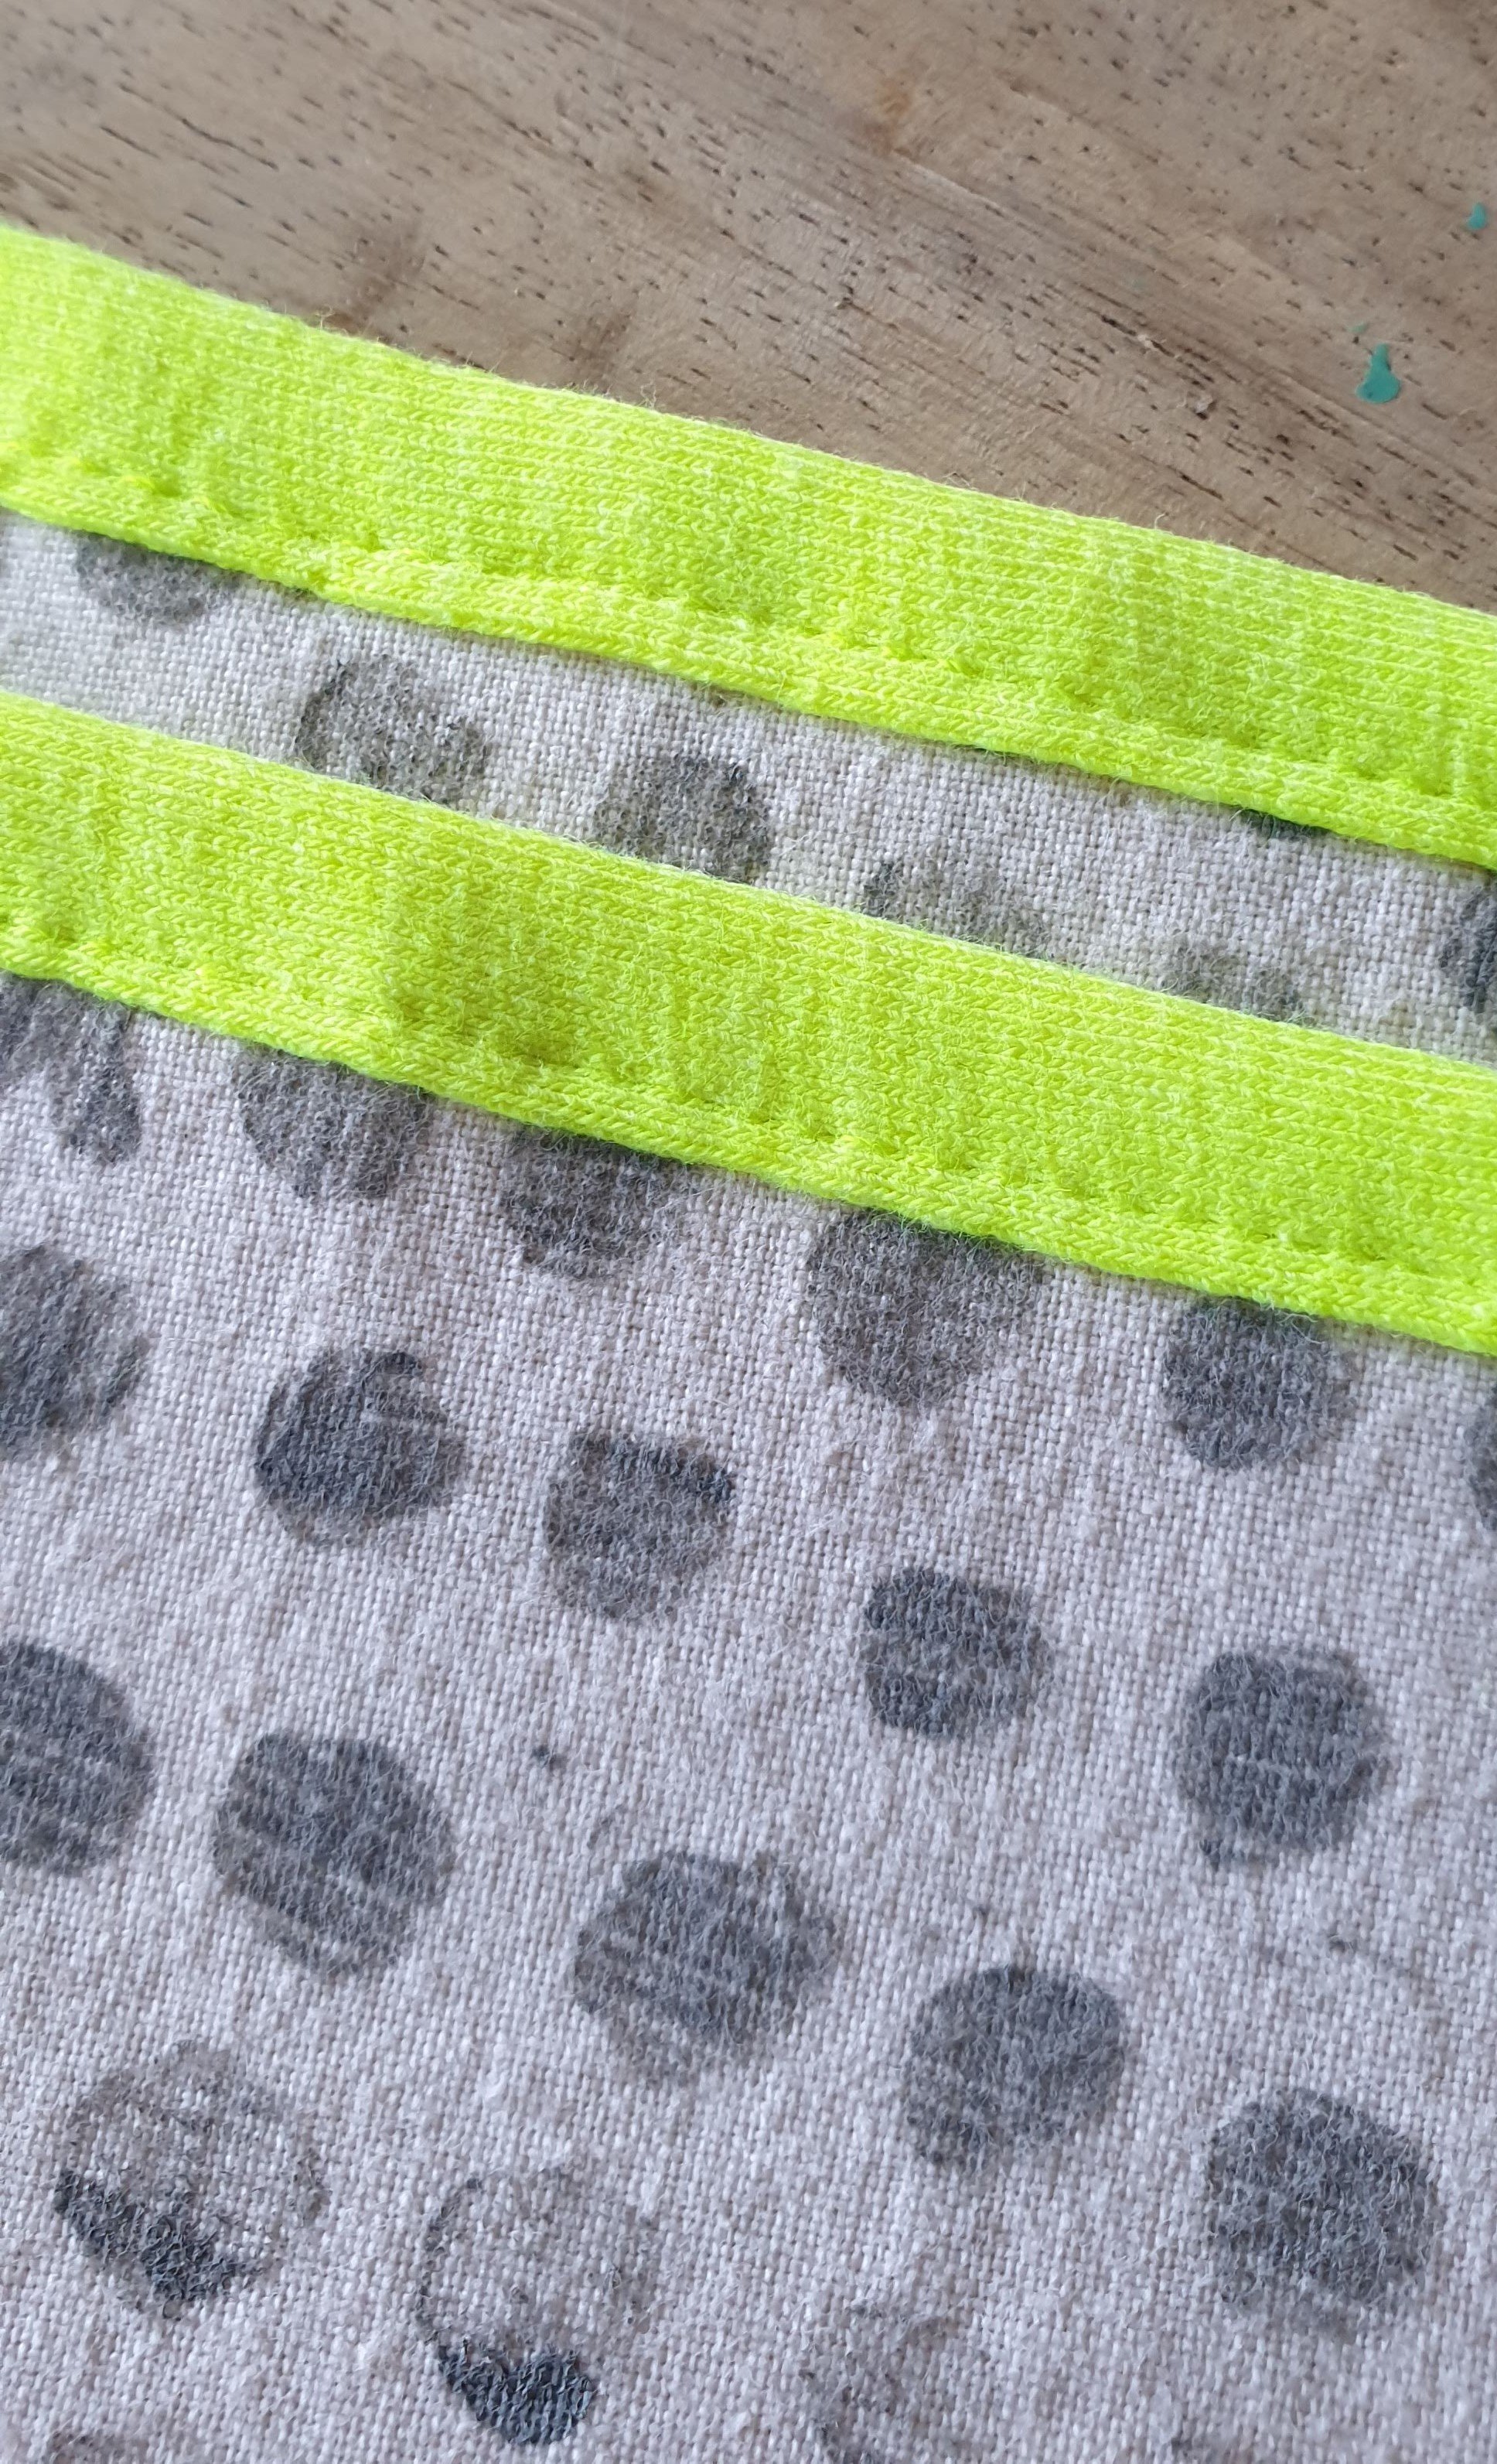
First I folded and ironed the seam allowance on one side and then the other side. After ironing I stitched it with the neon yellow thread using blind seam foot 5. I used the triple straight stitch (nr 6) and length 4.0 so it’s even more visible. Love it!
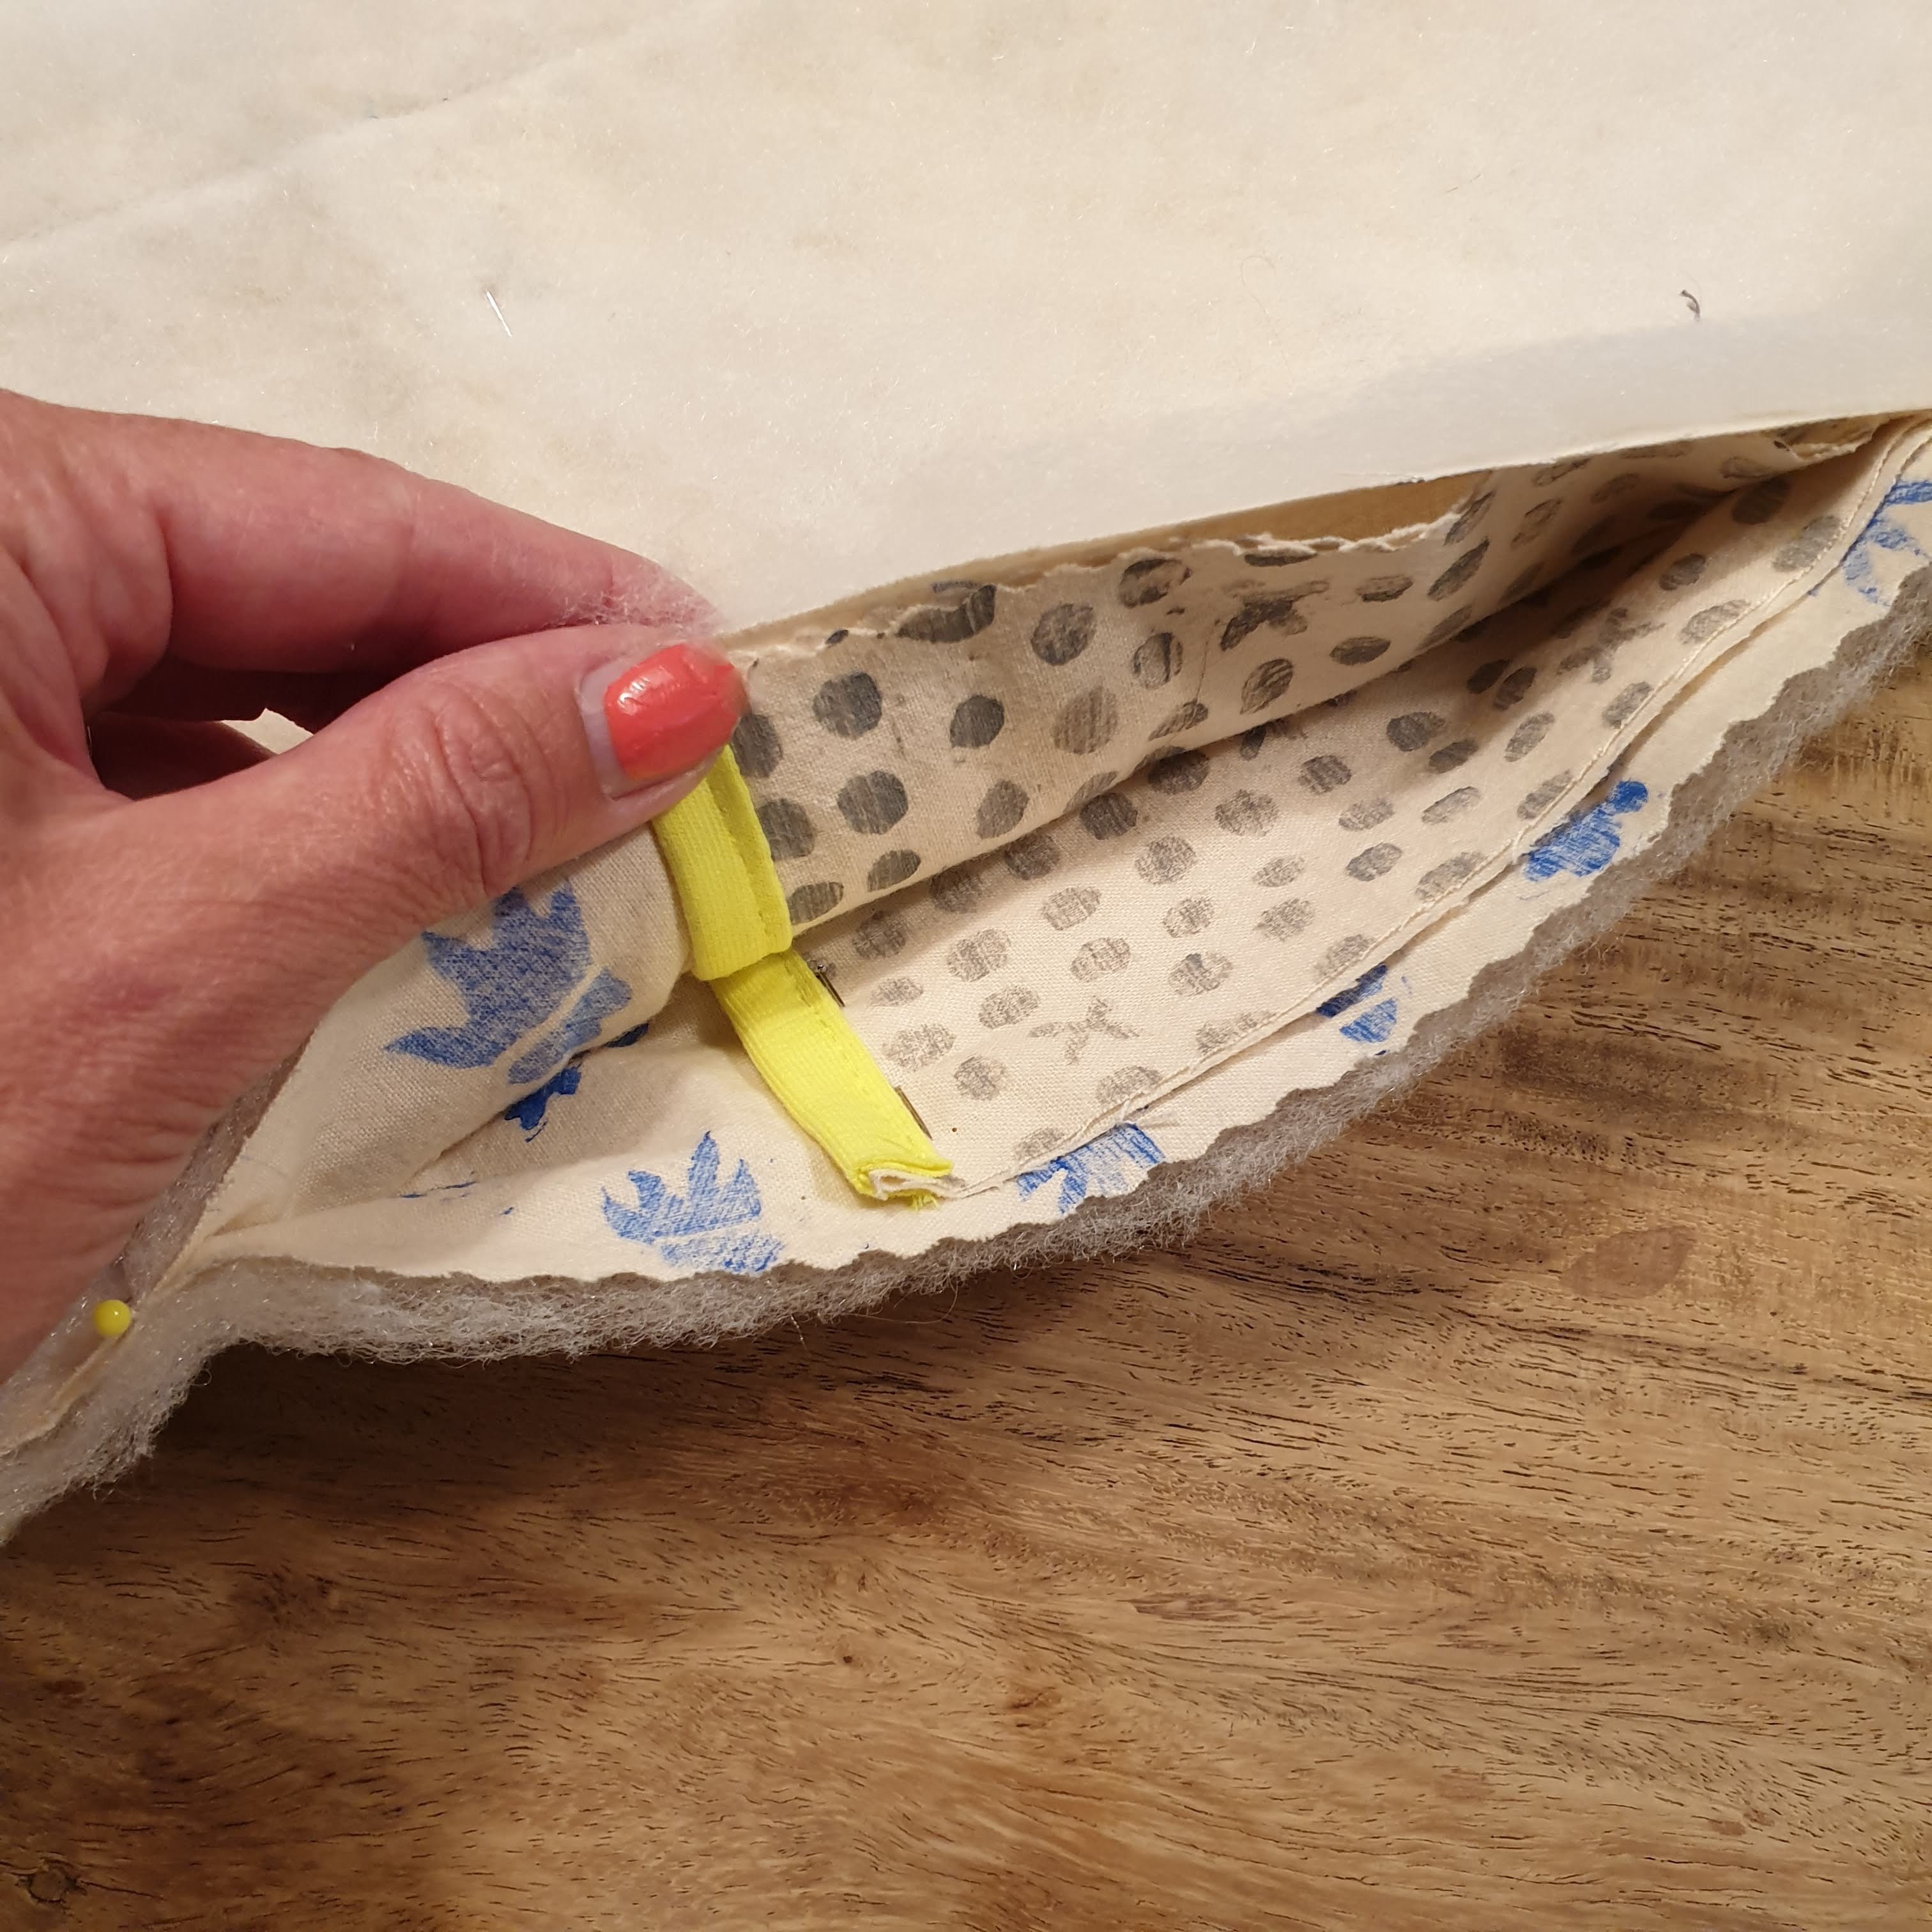
Layers
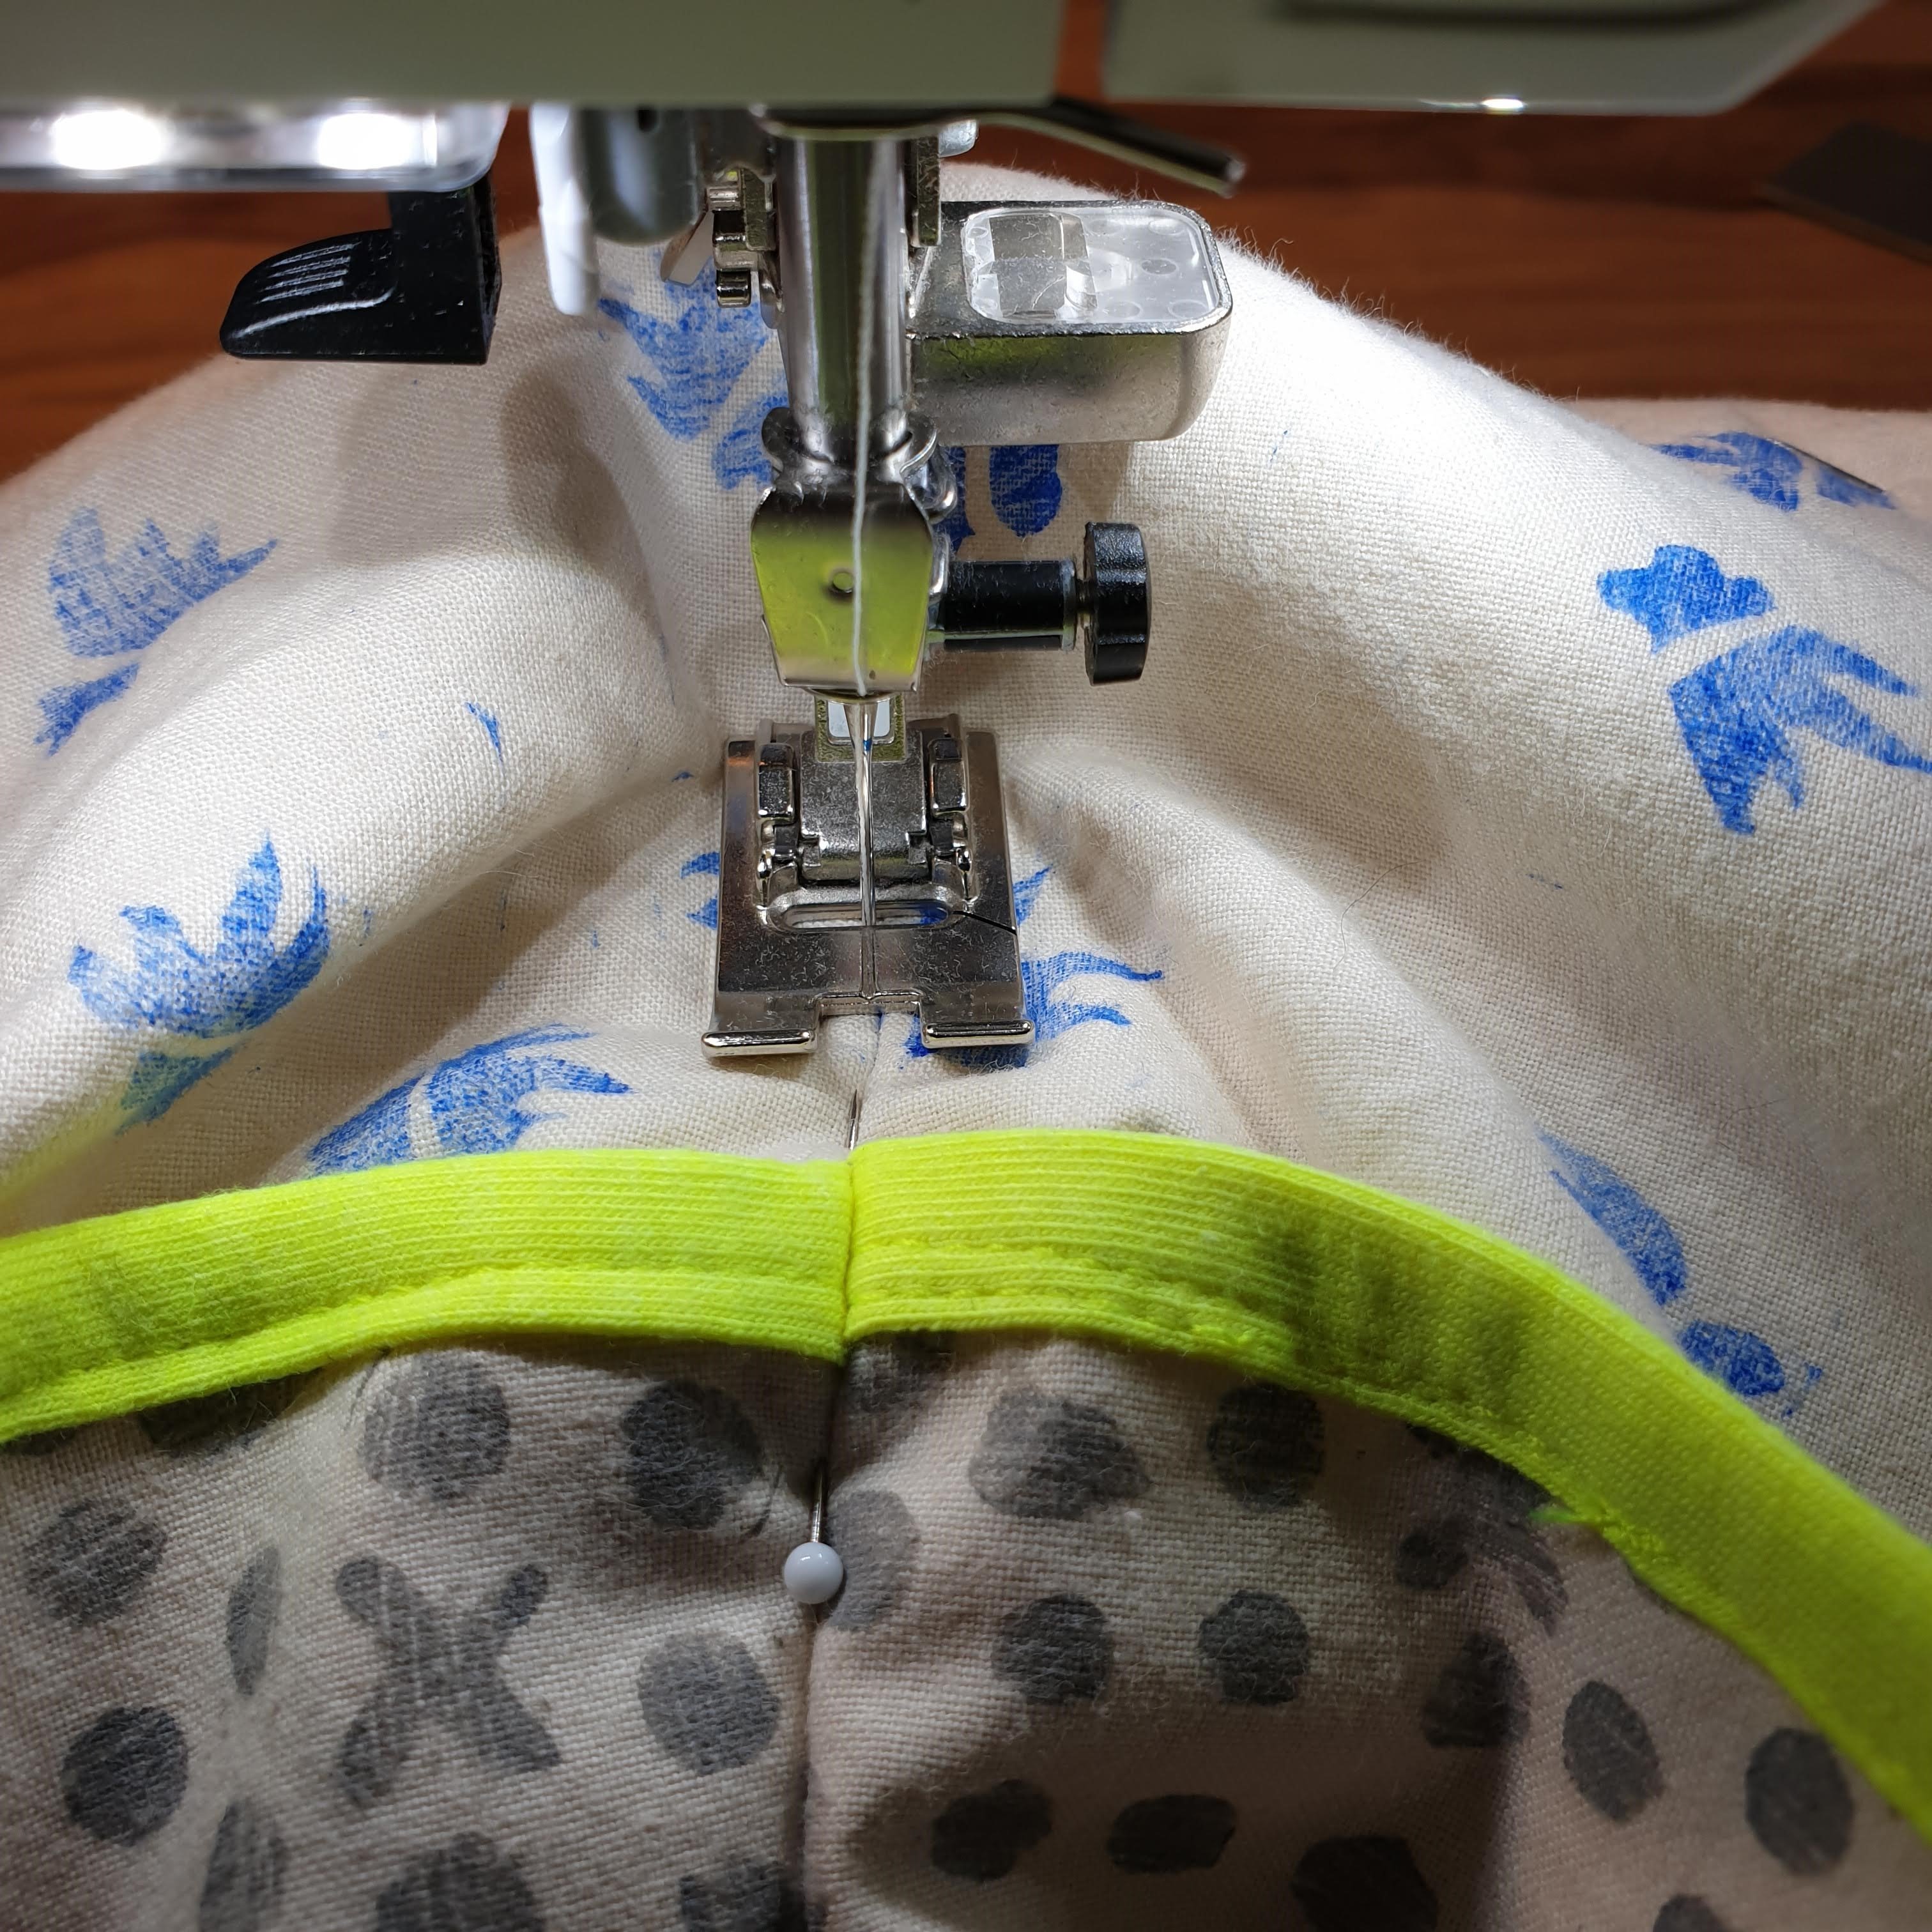
I folded the smaller fabric pieces in half and added the neon bias band on the right side of the folding line. This was a bit tricky, because I could only find stretch bias band and the fabric is in no way stretchy. I quickly baste the bias band by hand and while stitching I used the seamripper as a guide so the bias band wouldn’t stretch. That worked!

The next step was to put the layers together. The folded piece was placed onto of the bigger rectangle, at the bottom. These layers were placed on the baste as shown in picture below. Just to be clear the reinforcement only covers half the large rectangle. The other half will be the lining of the bag and doesn’t need reinforcement.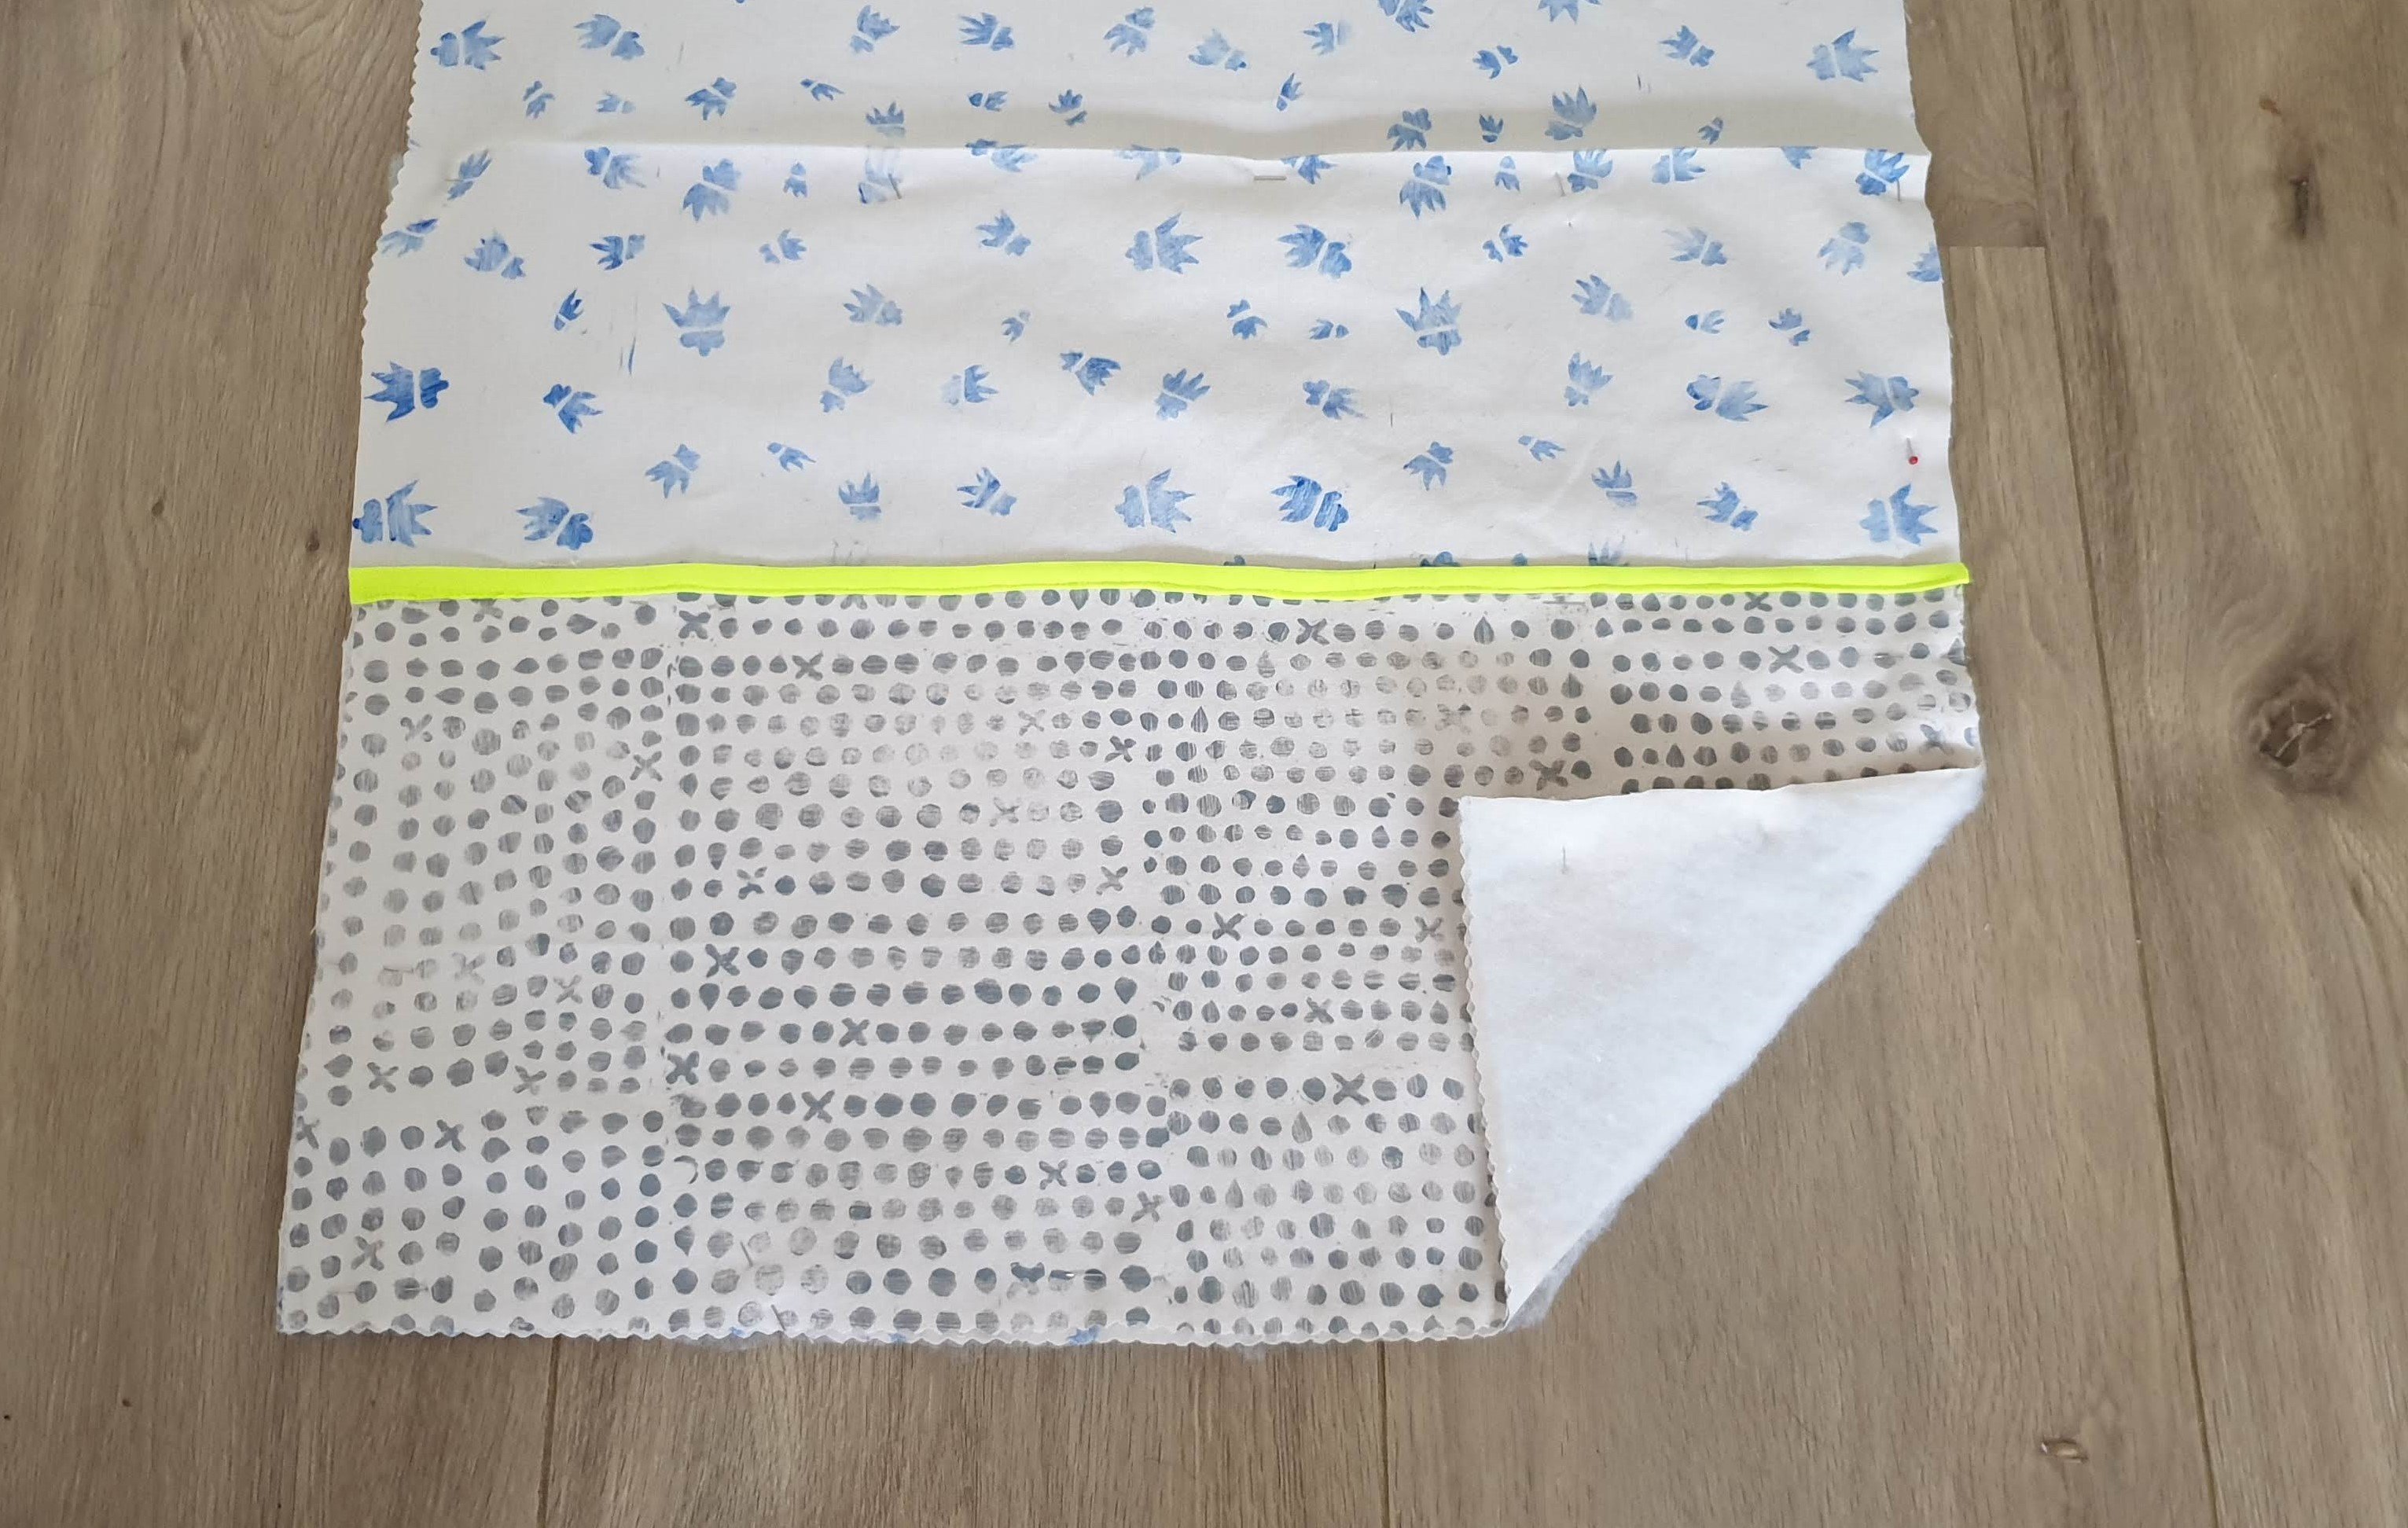
Outer pockets
The layers were pinned and attached by putting on the shoulder straps. I marked the middle of the bag and pinned the schoulder strap at the same distance from the center. On the straps I marked with a baste thread to where I had to attach the straps to the bag.

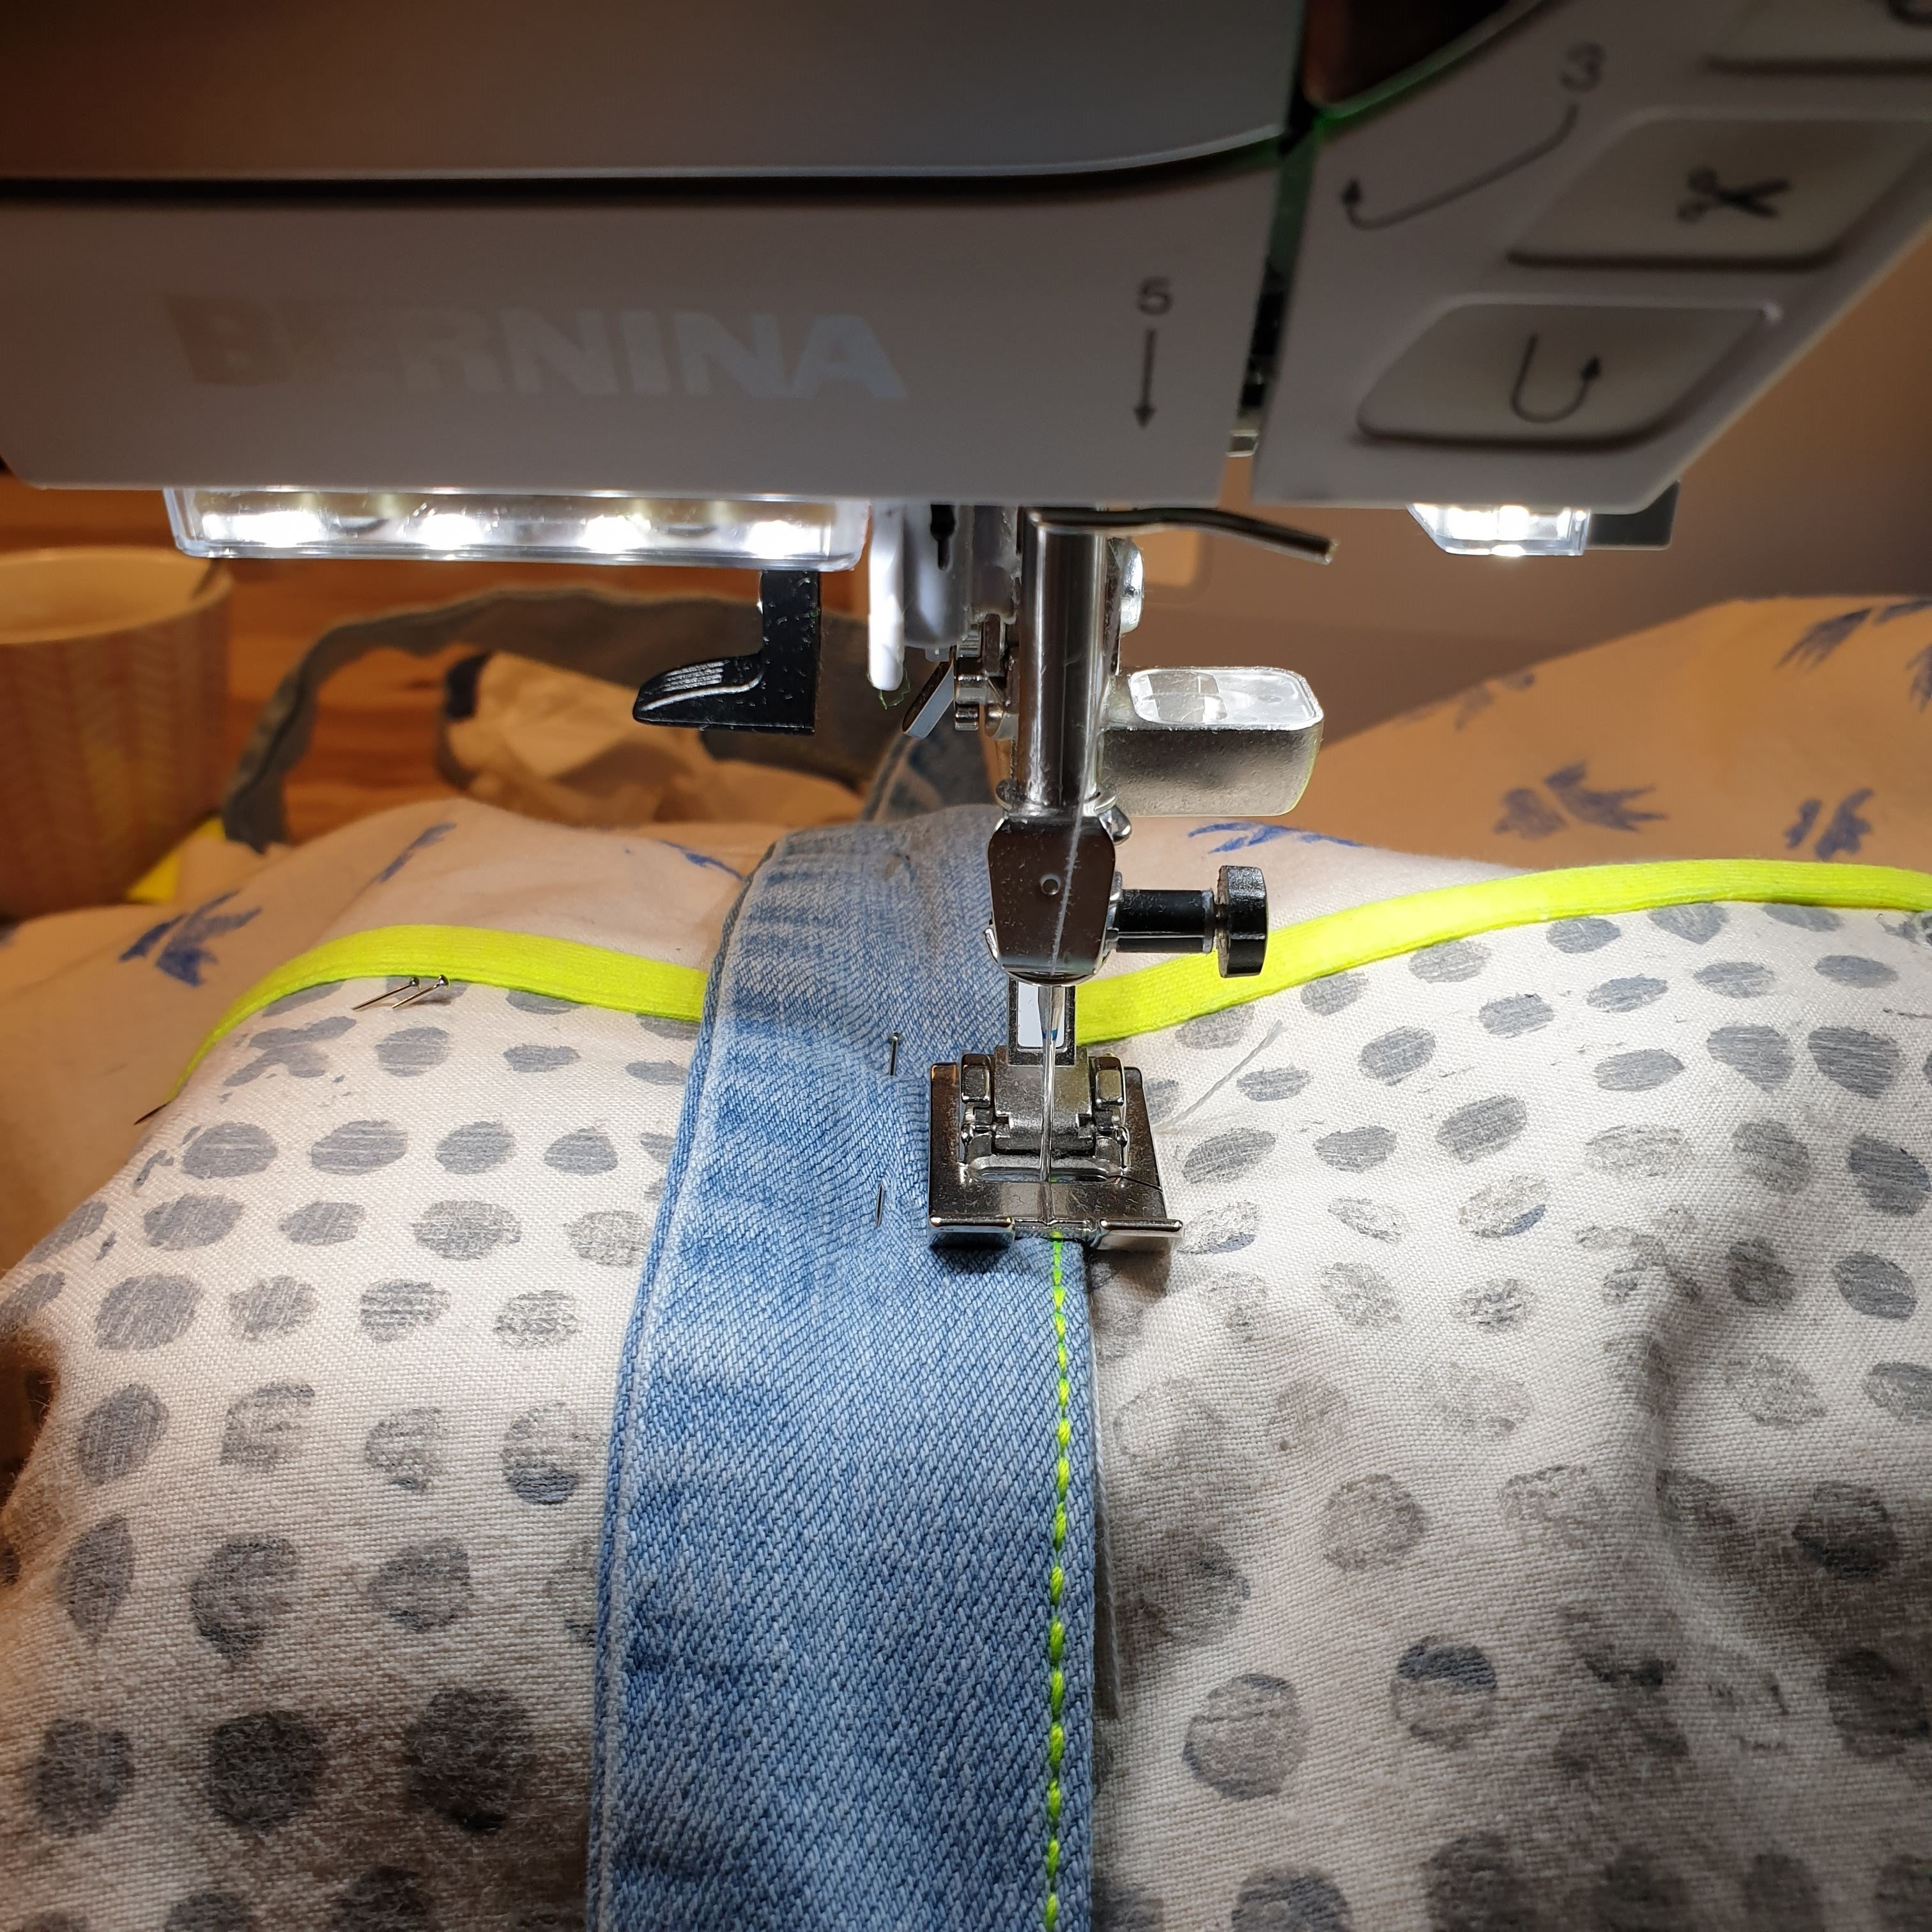
I again used grey thread to stitch. The grey thread is quite invisible. You might wonder why I didn’t use the yellow and the triple stitch for attaching the straps. Well, I tried that, but with the batting as the bottom layer the stitches some how where a bit wobbly, so I choose this method. By fastening the straps on each side of the totebag three outer pockets were created.
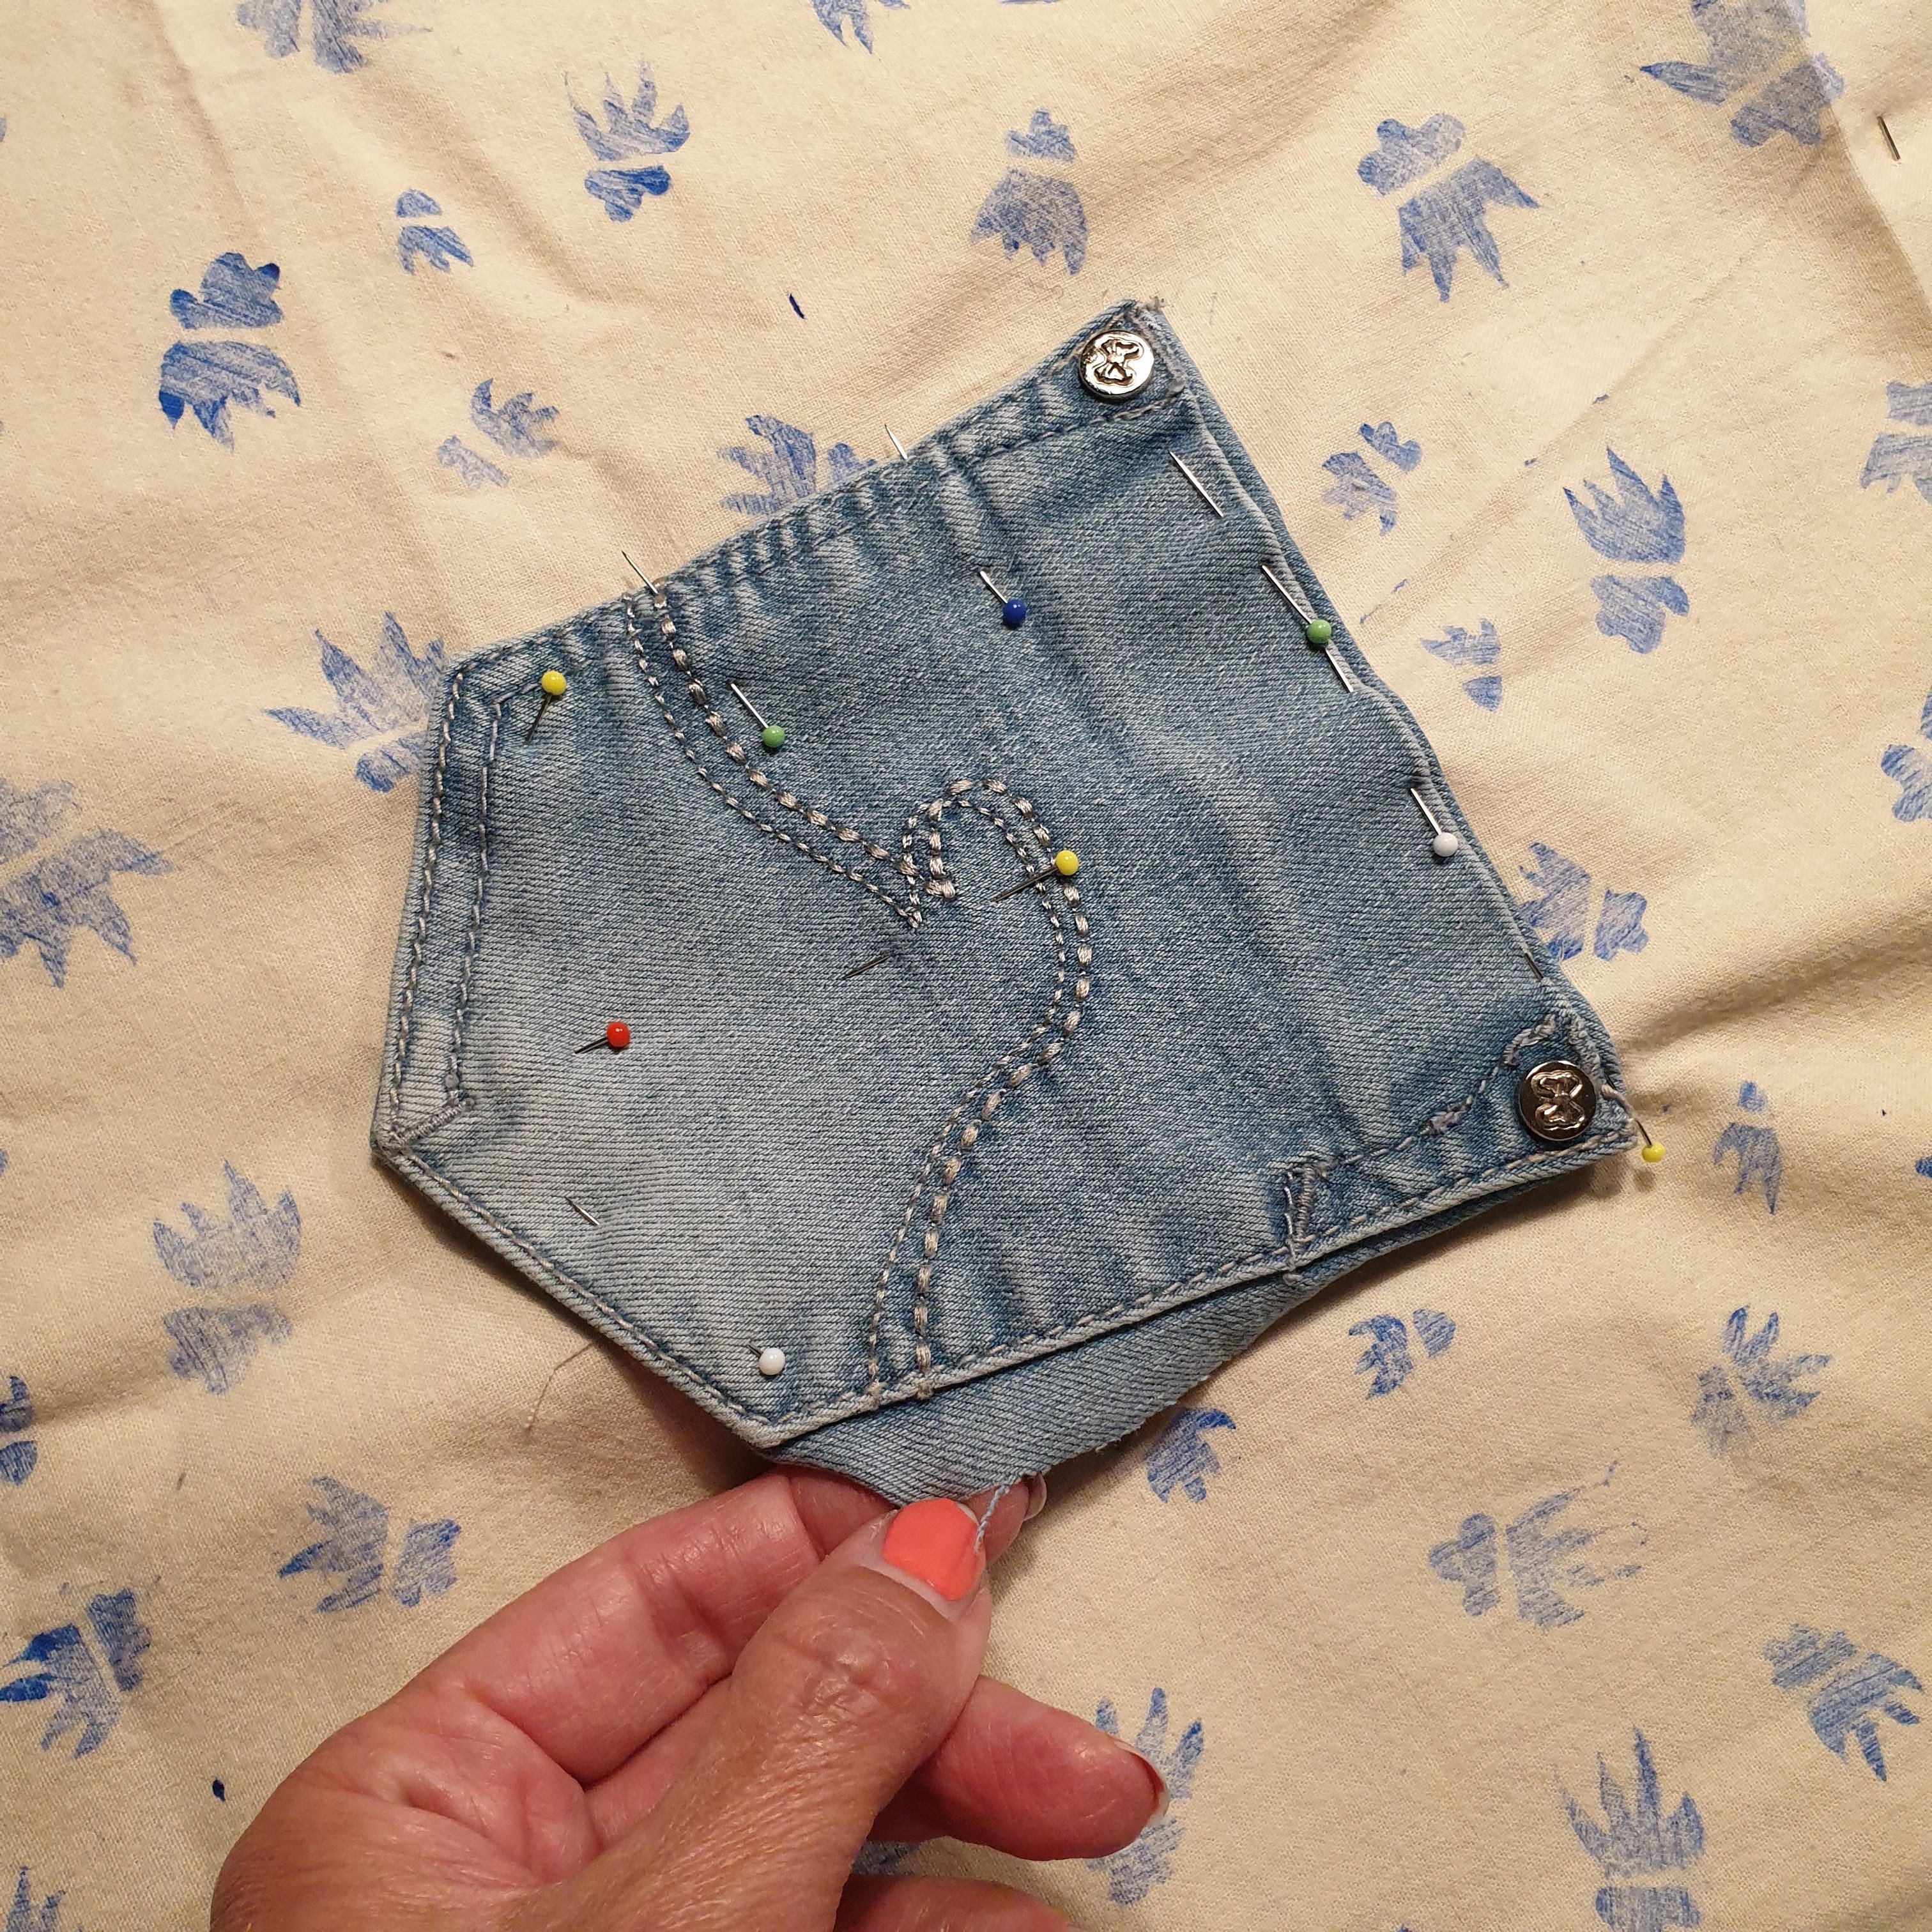
Inner pocket
As an inner pocket I reused one of the back pockets of the jeans. I cut out the pocket with one centimeter seam allowance so the decorative stitching stayed in place. Before attaching the pocket on the lining part of the totebag I ironend in the seam allowance, then I stitched over the outer stitches of the jeans pocket and at the top over the folded seam allowance. Make sure you don’t sew over the opening of the pocket and that the opening is facing upwards (in the direction of the outer pockets).
Sewing the bag
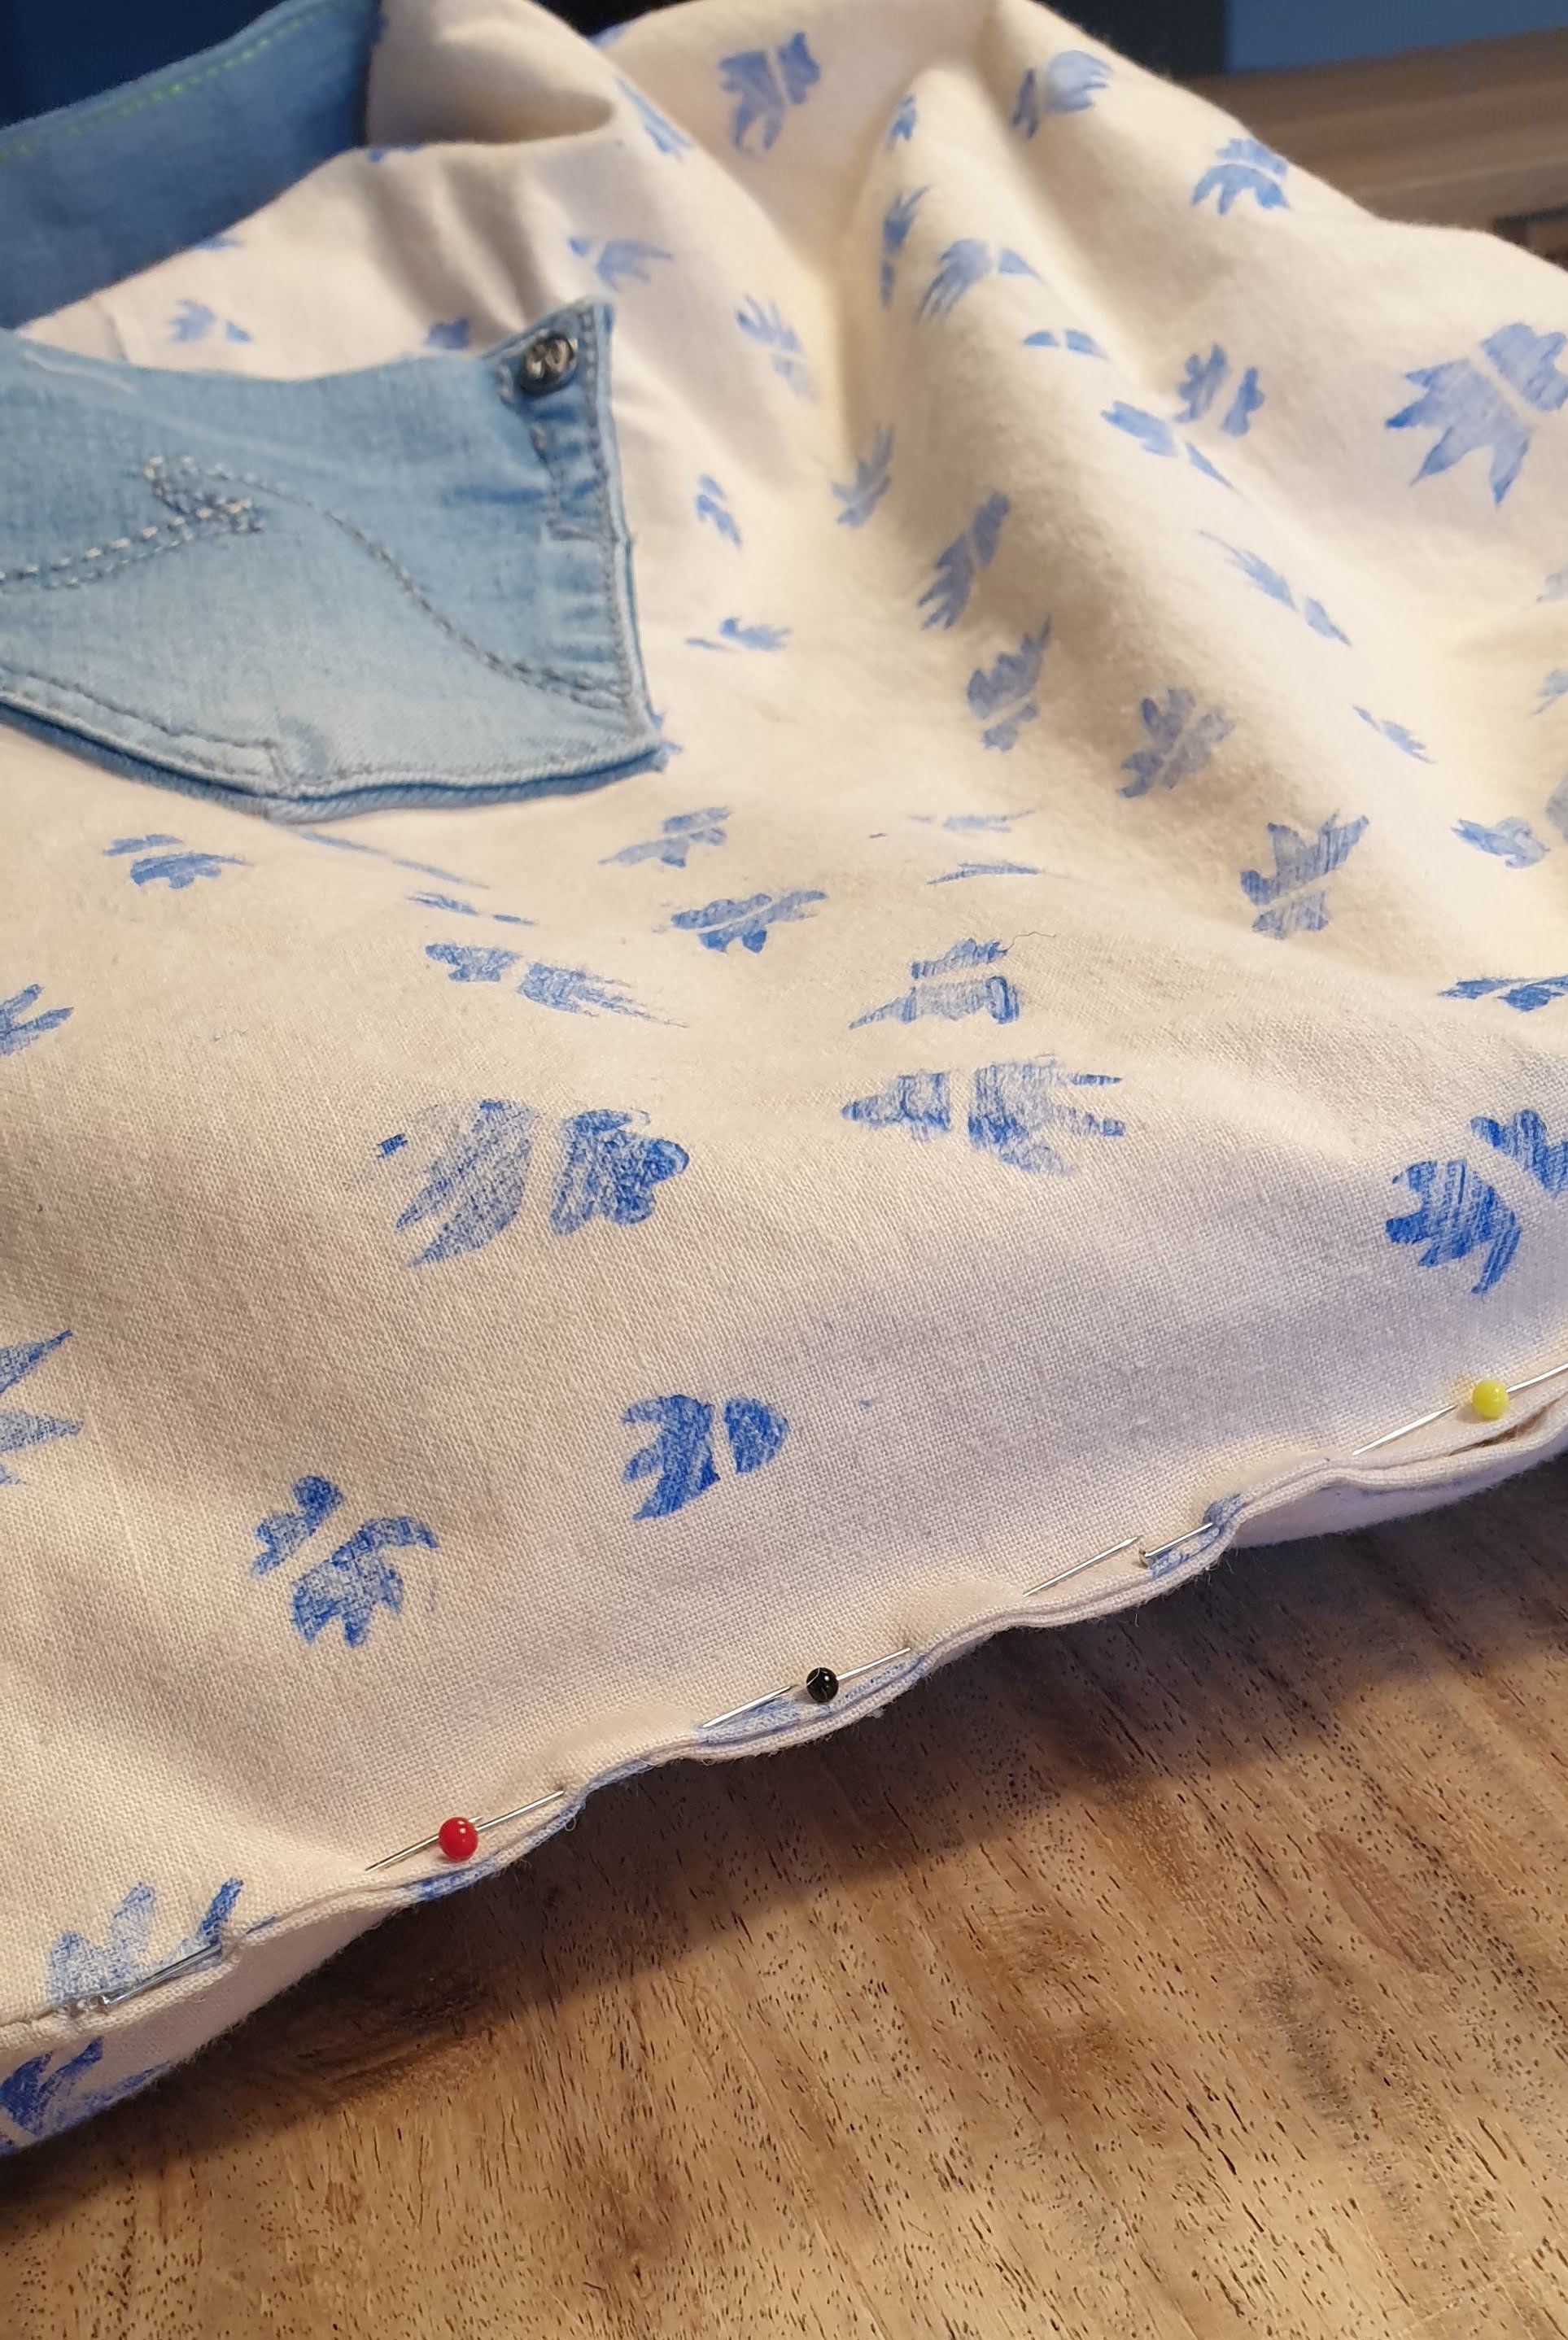
With the layers, the straps and inner pocket in place it was time to assemble the two sides of the totebag. The two sides were put right side together, then pinned and stitched. Leaving an opening on the lining side. See red dots below.
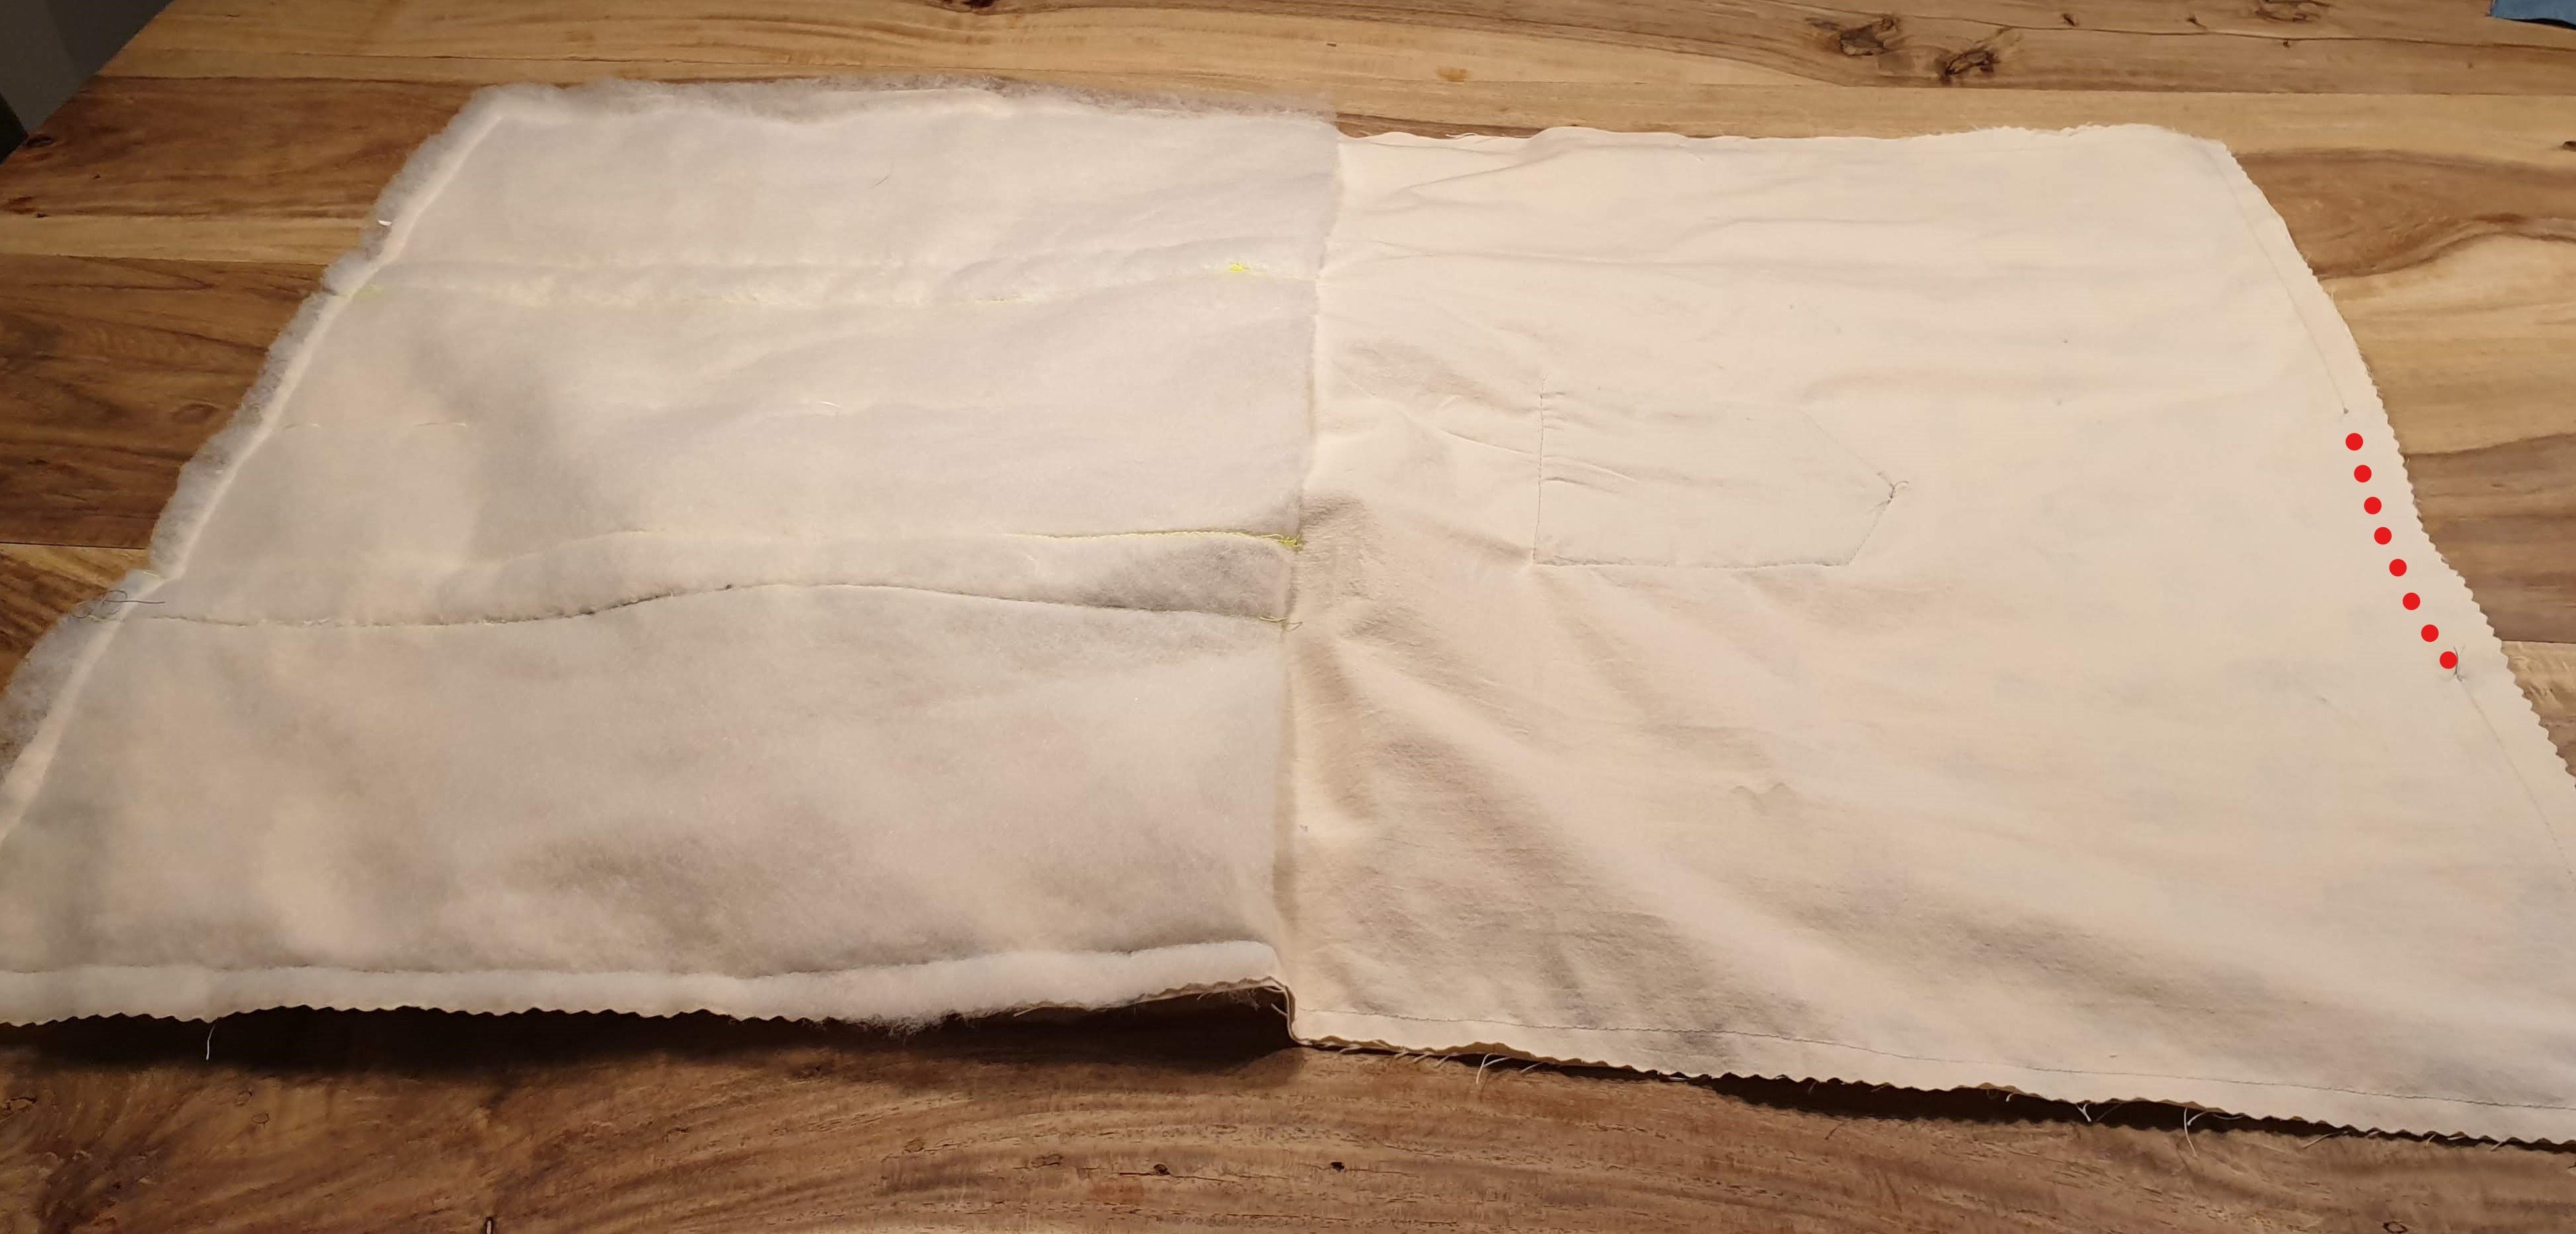
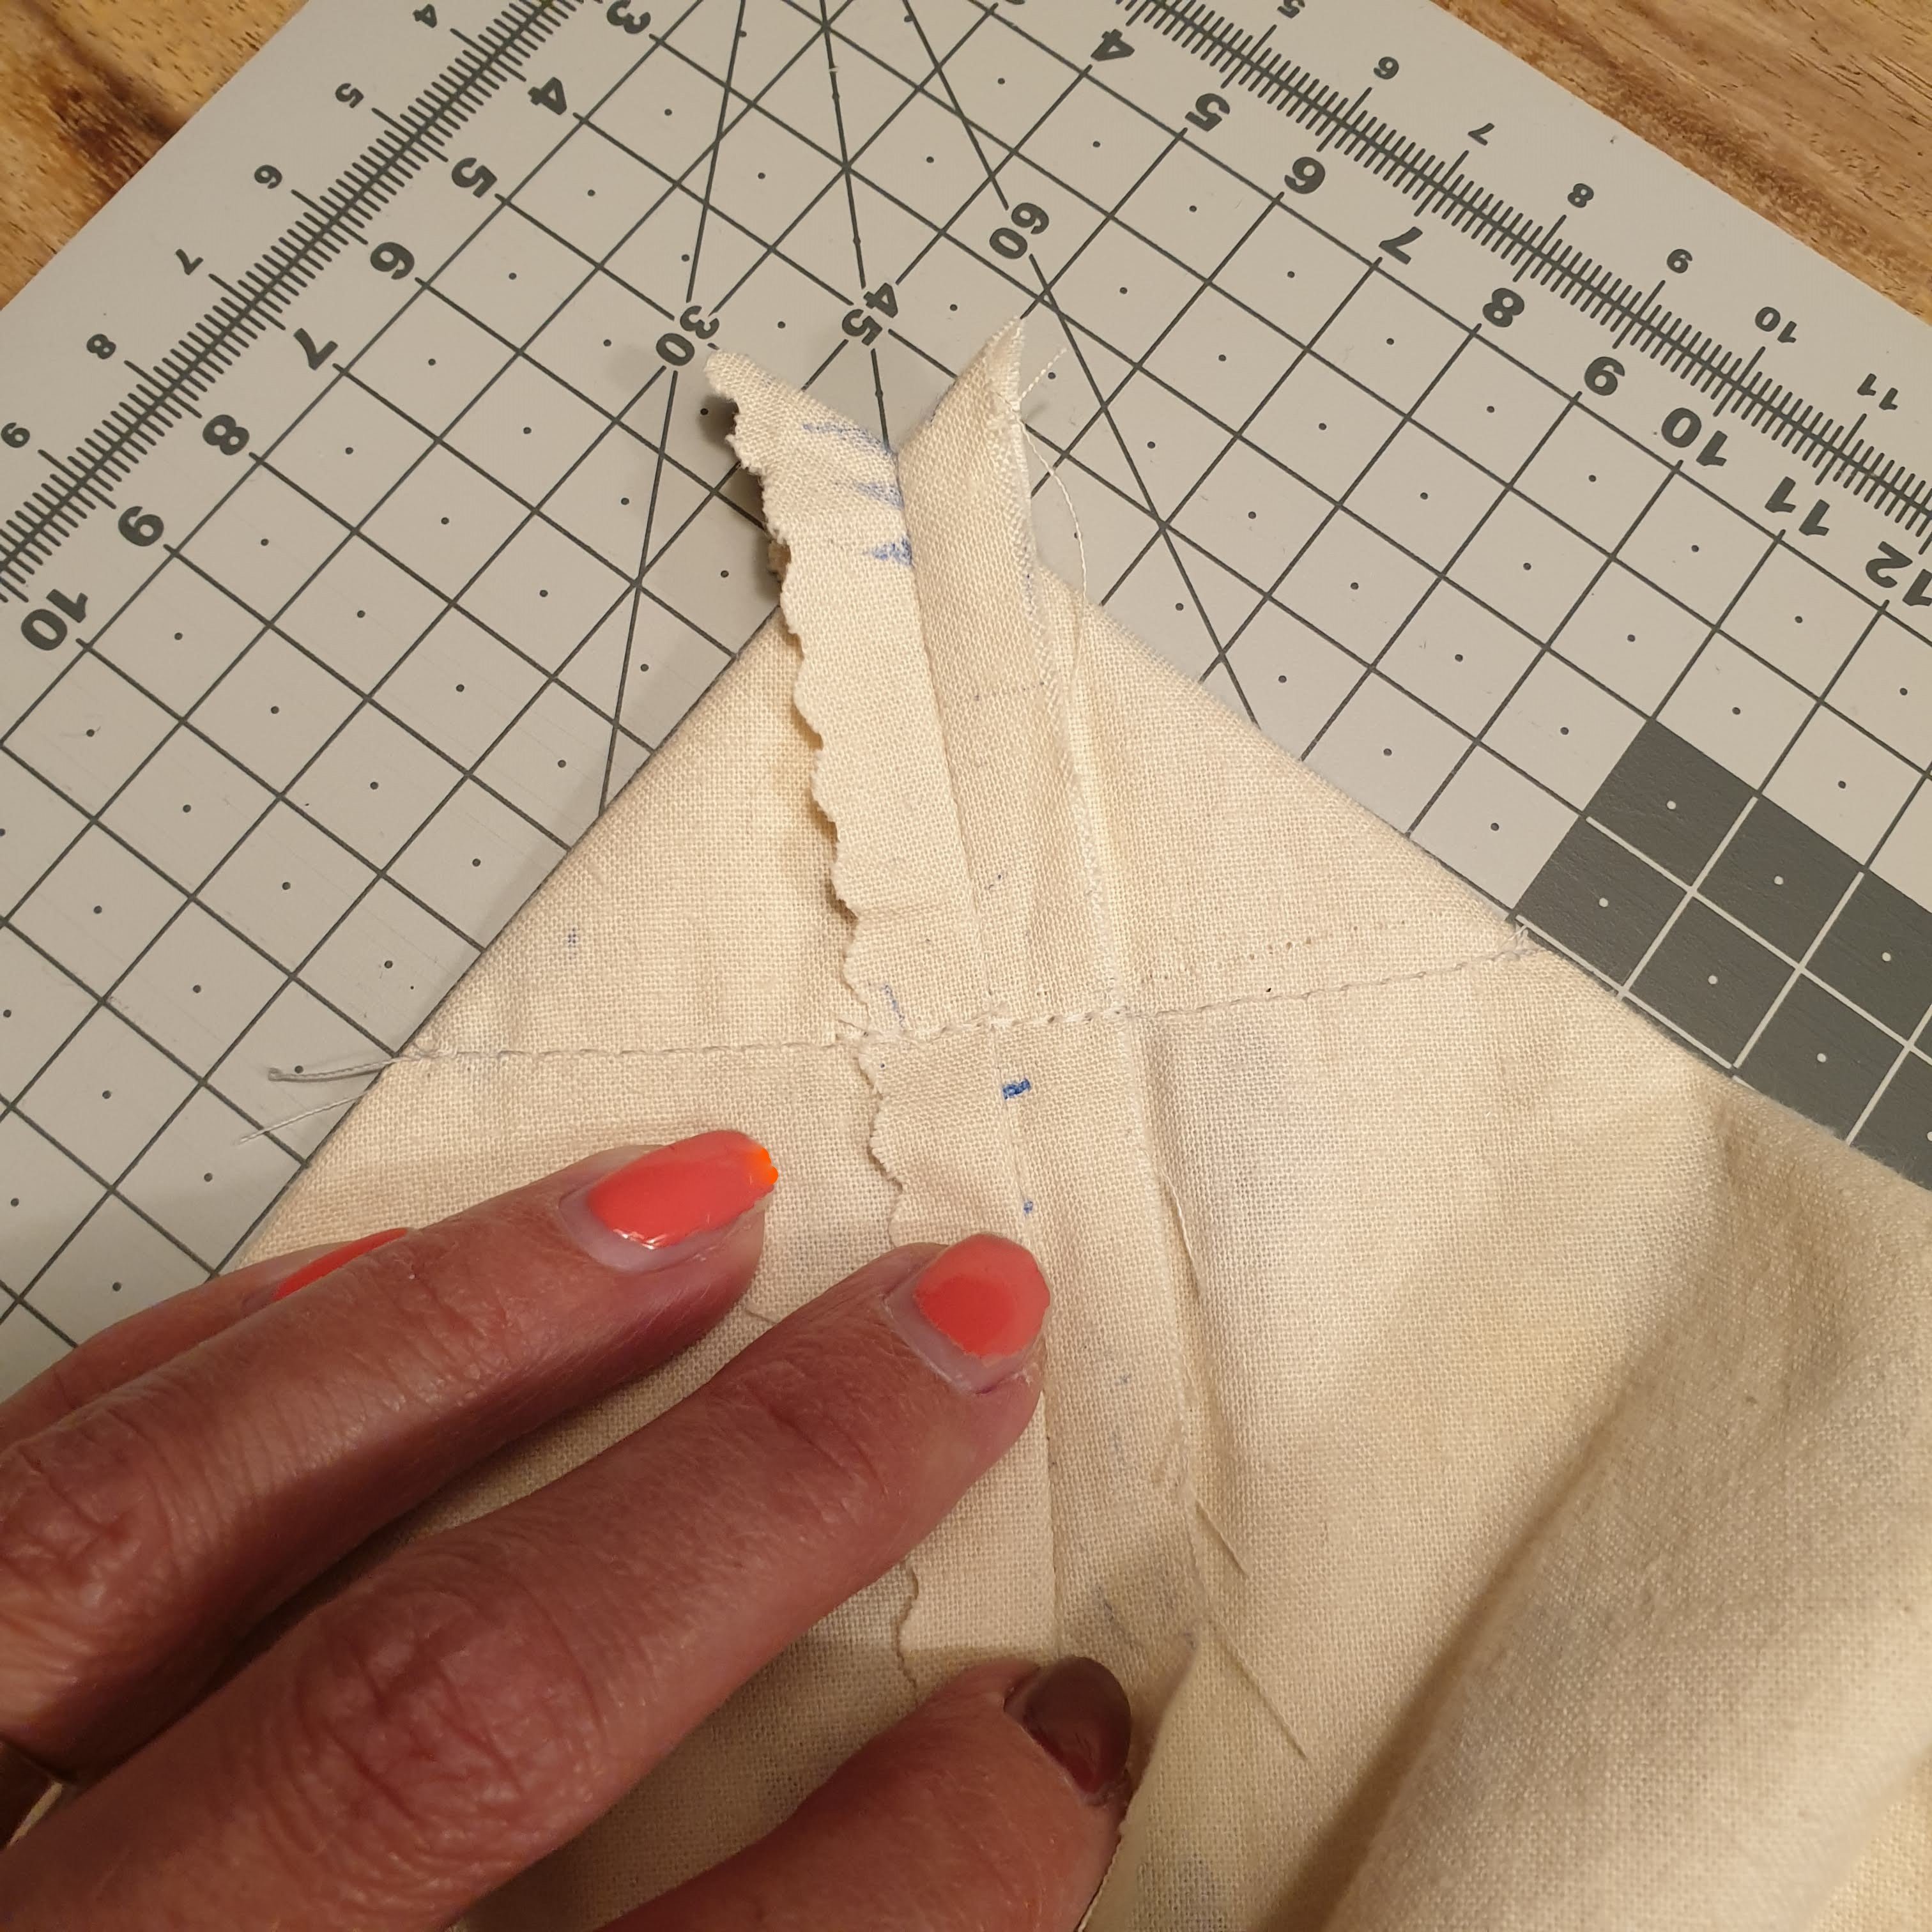
To create a real bottom of the bag all the corners were sewn: I’ve put the bottem stitching line onto the side stitching line and sewn perpendicular to these stitching lines. I hope the picture will help to clarify. Then I cut off the corners.
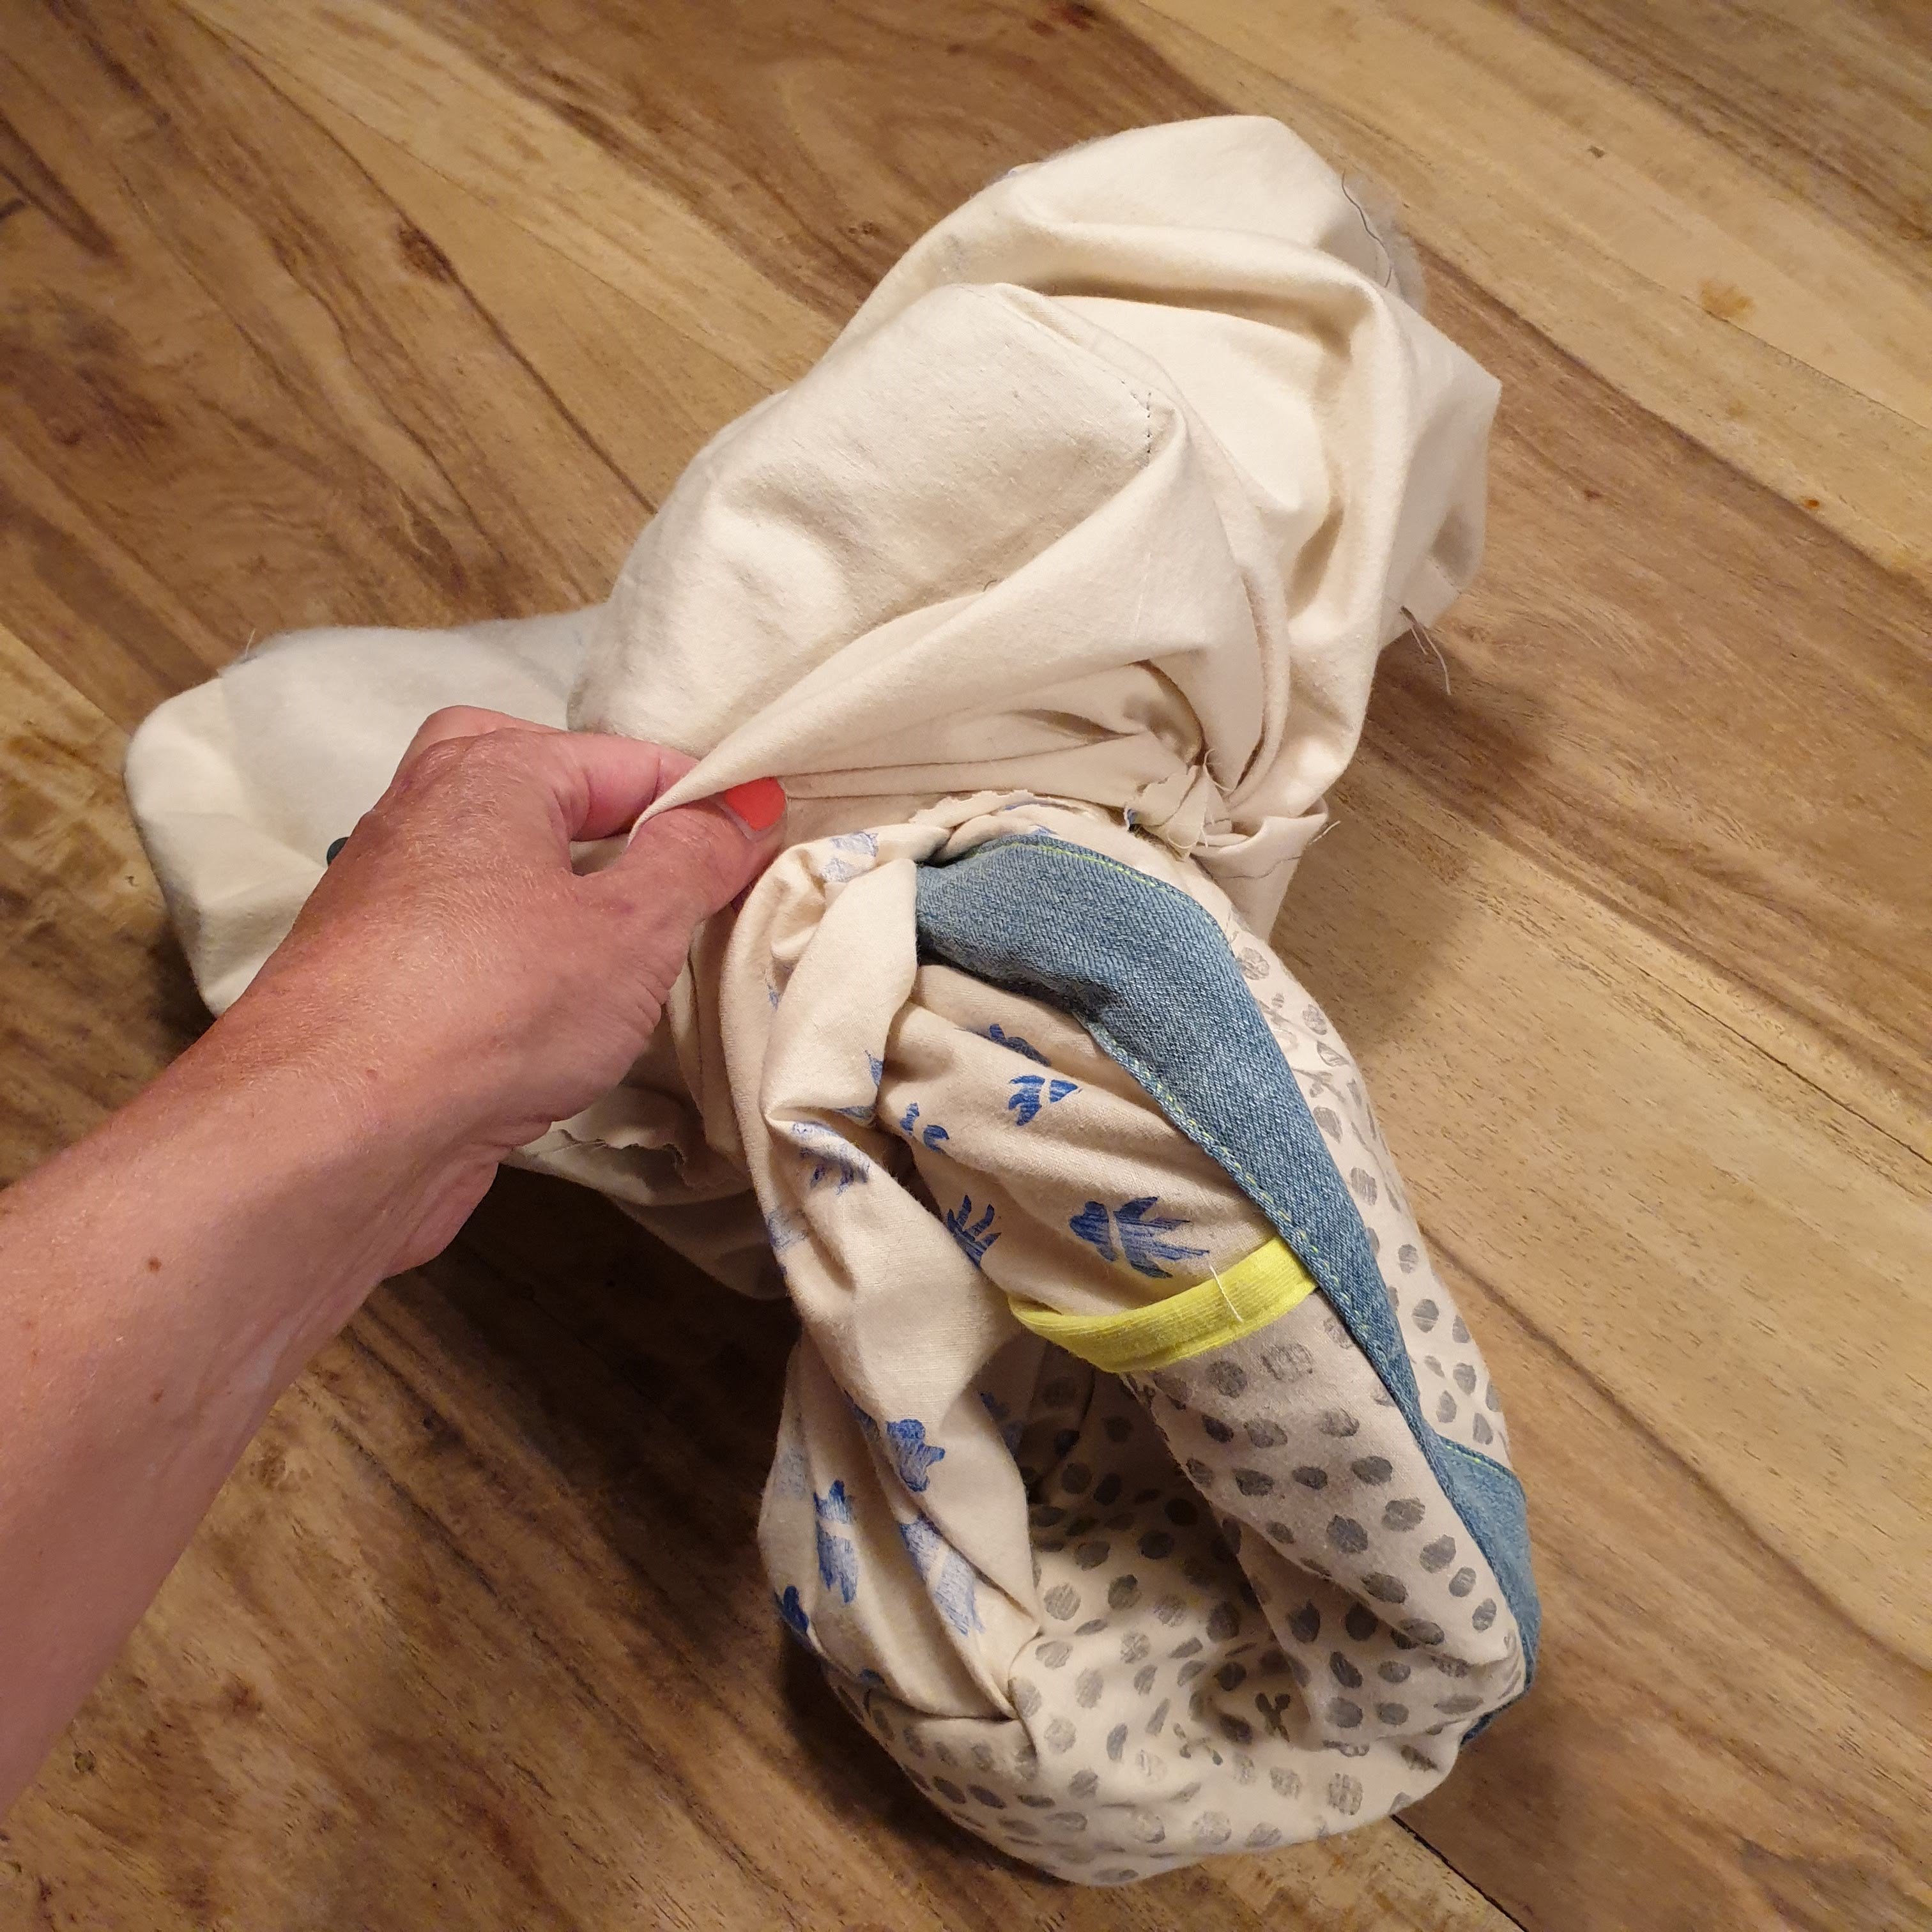
Inside out
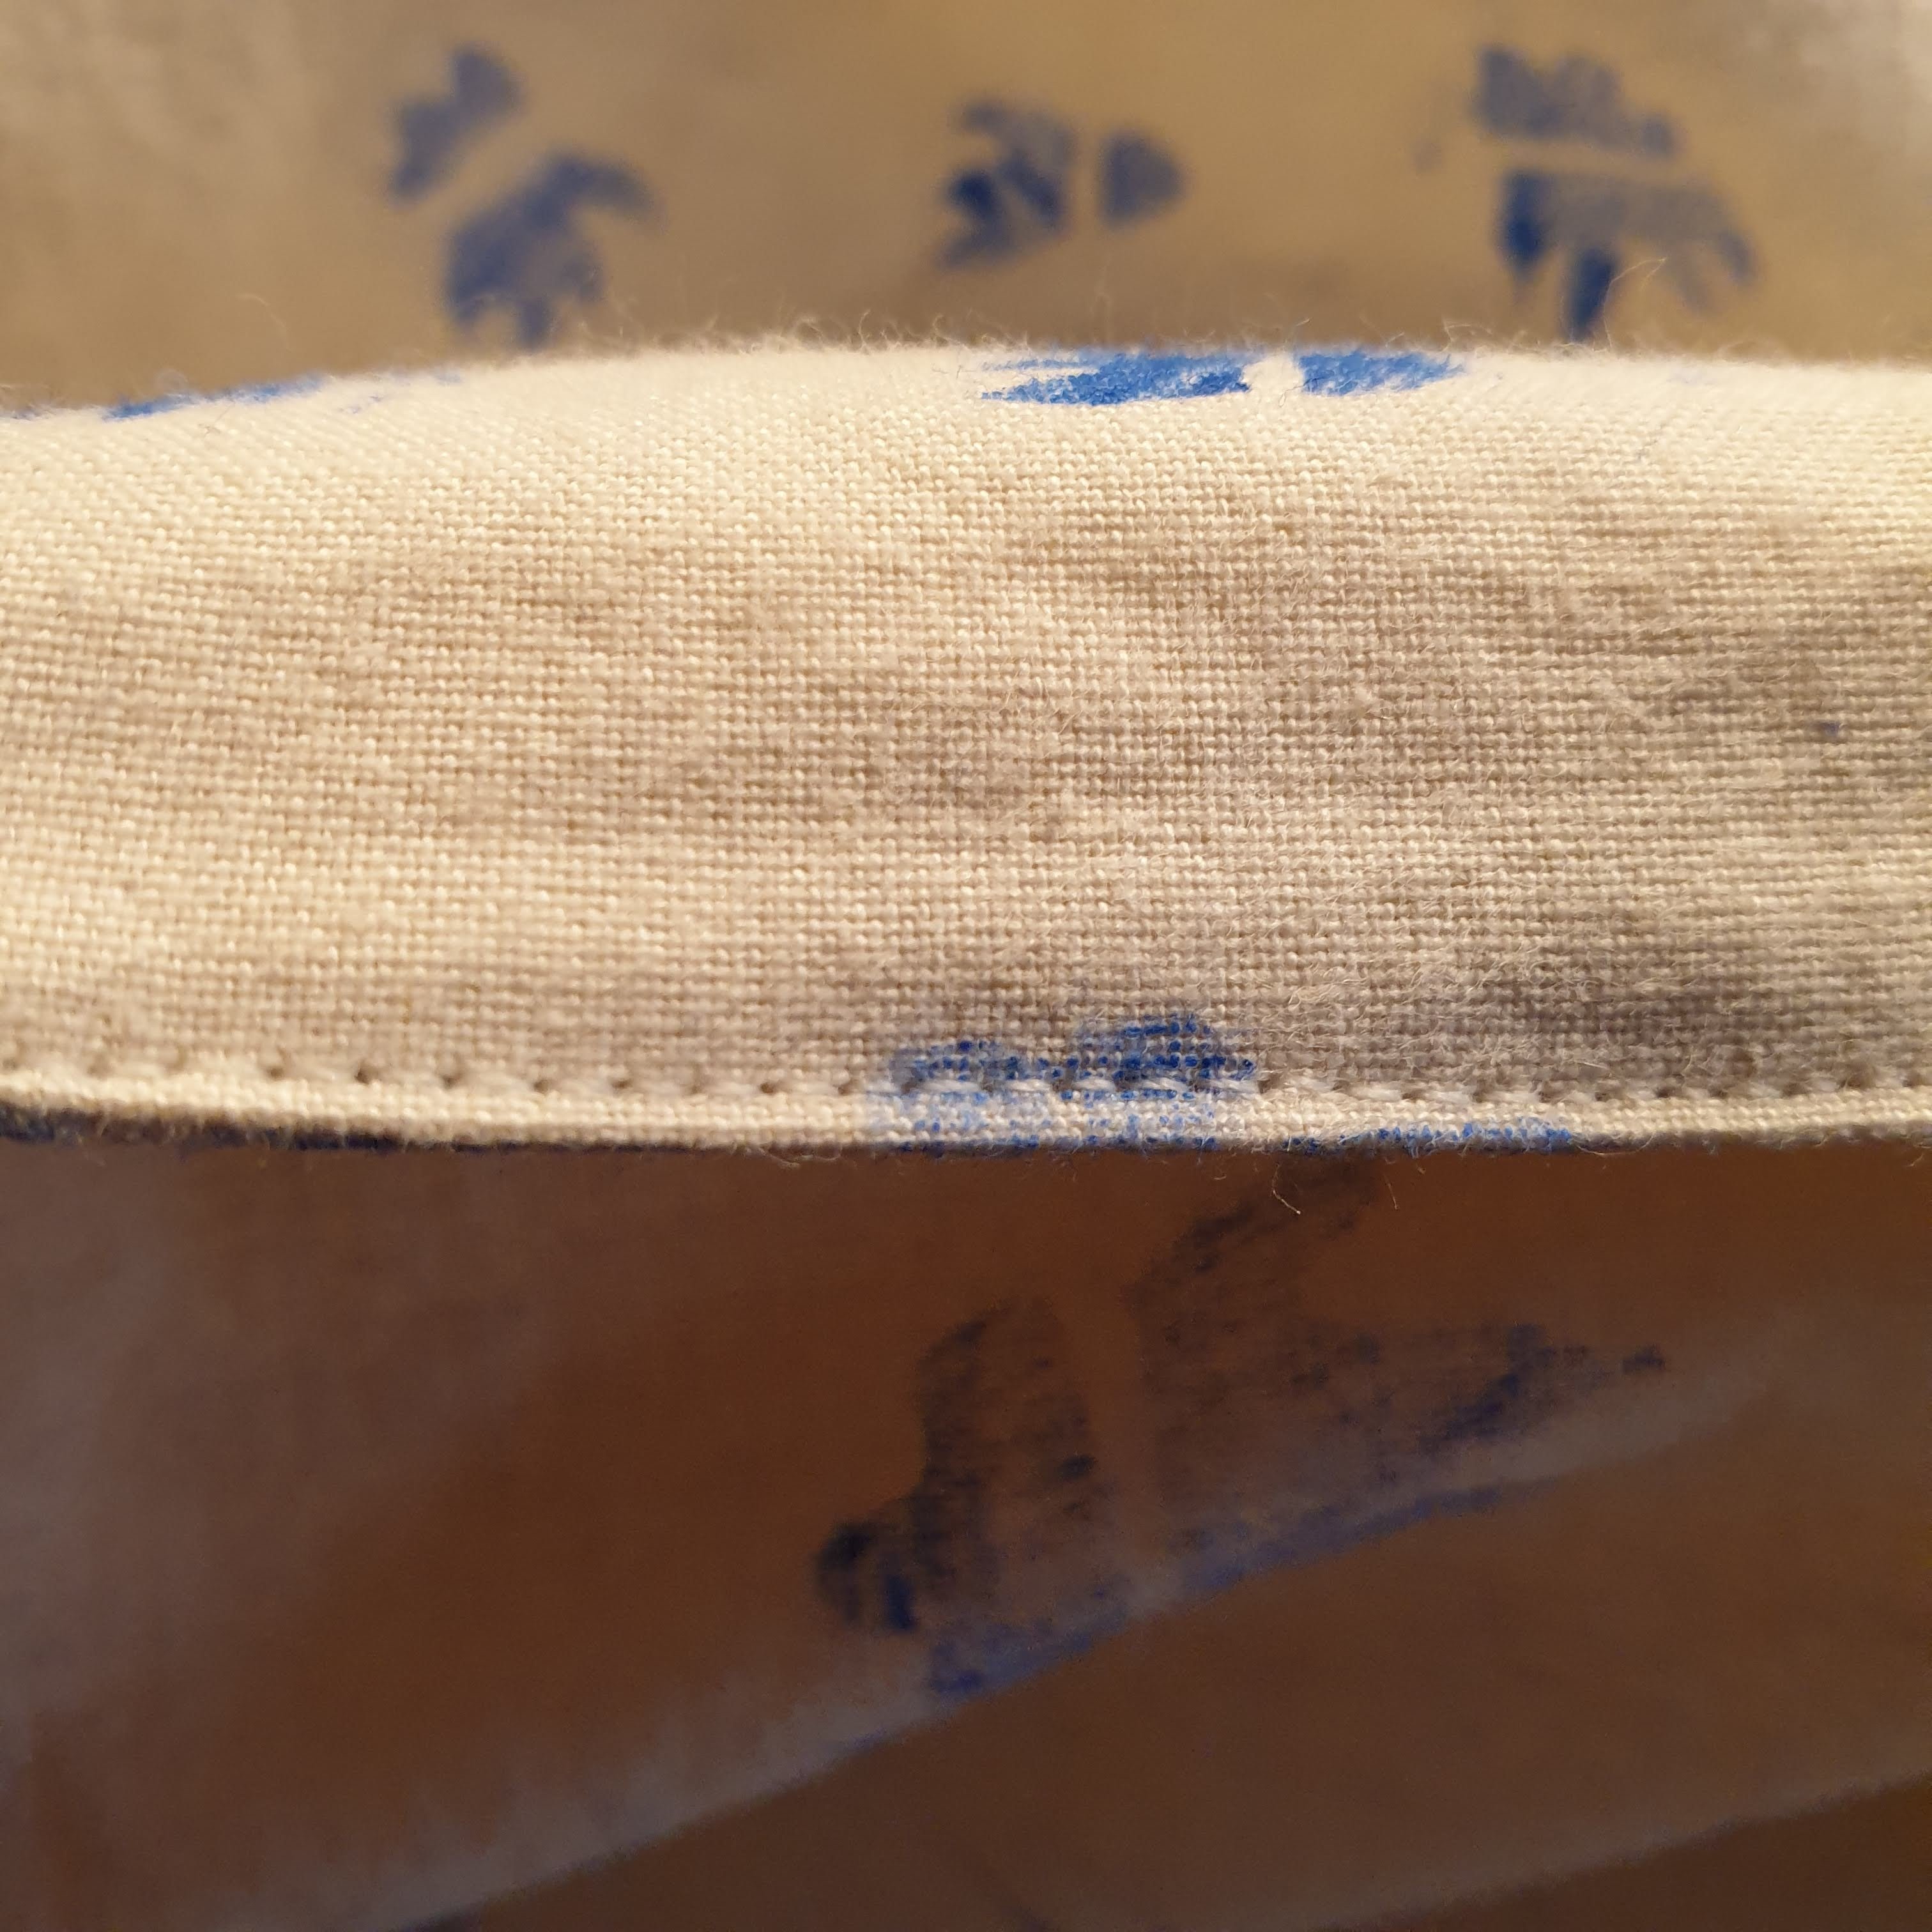
I turned the bag inside out through the opening and stitched the opening shut.

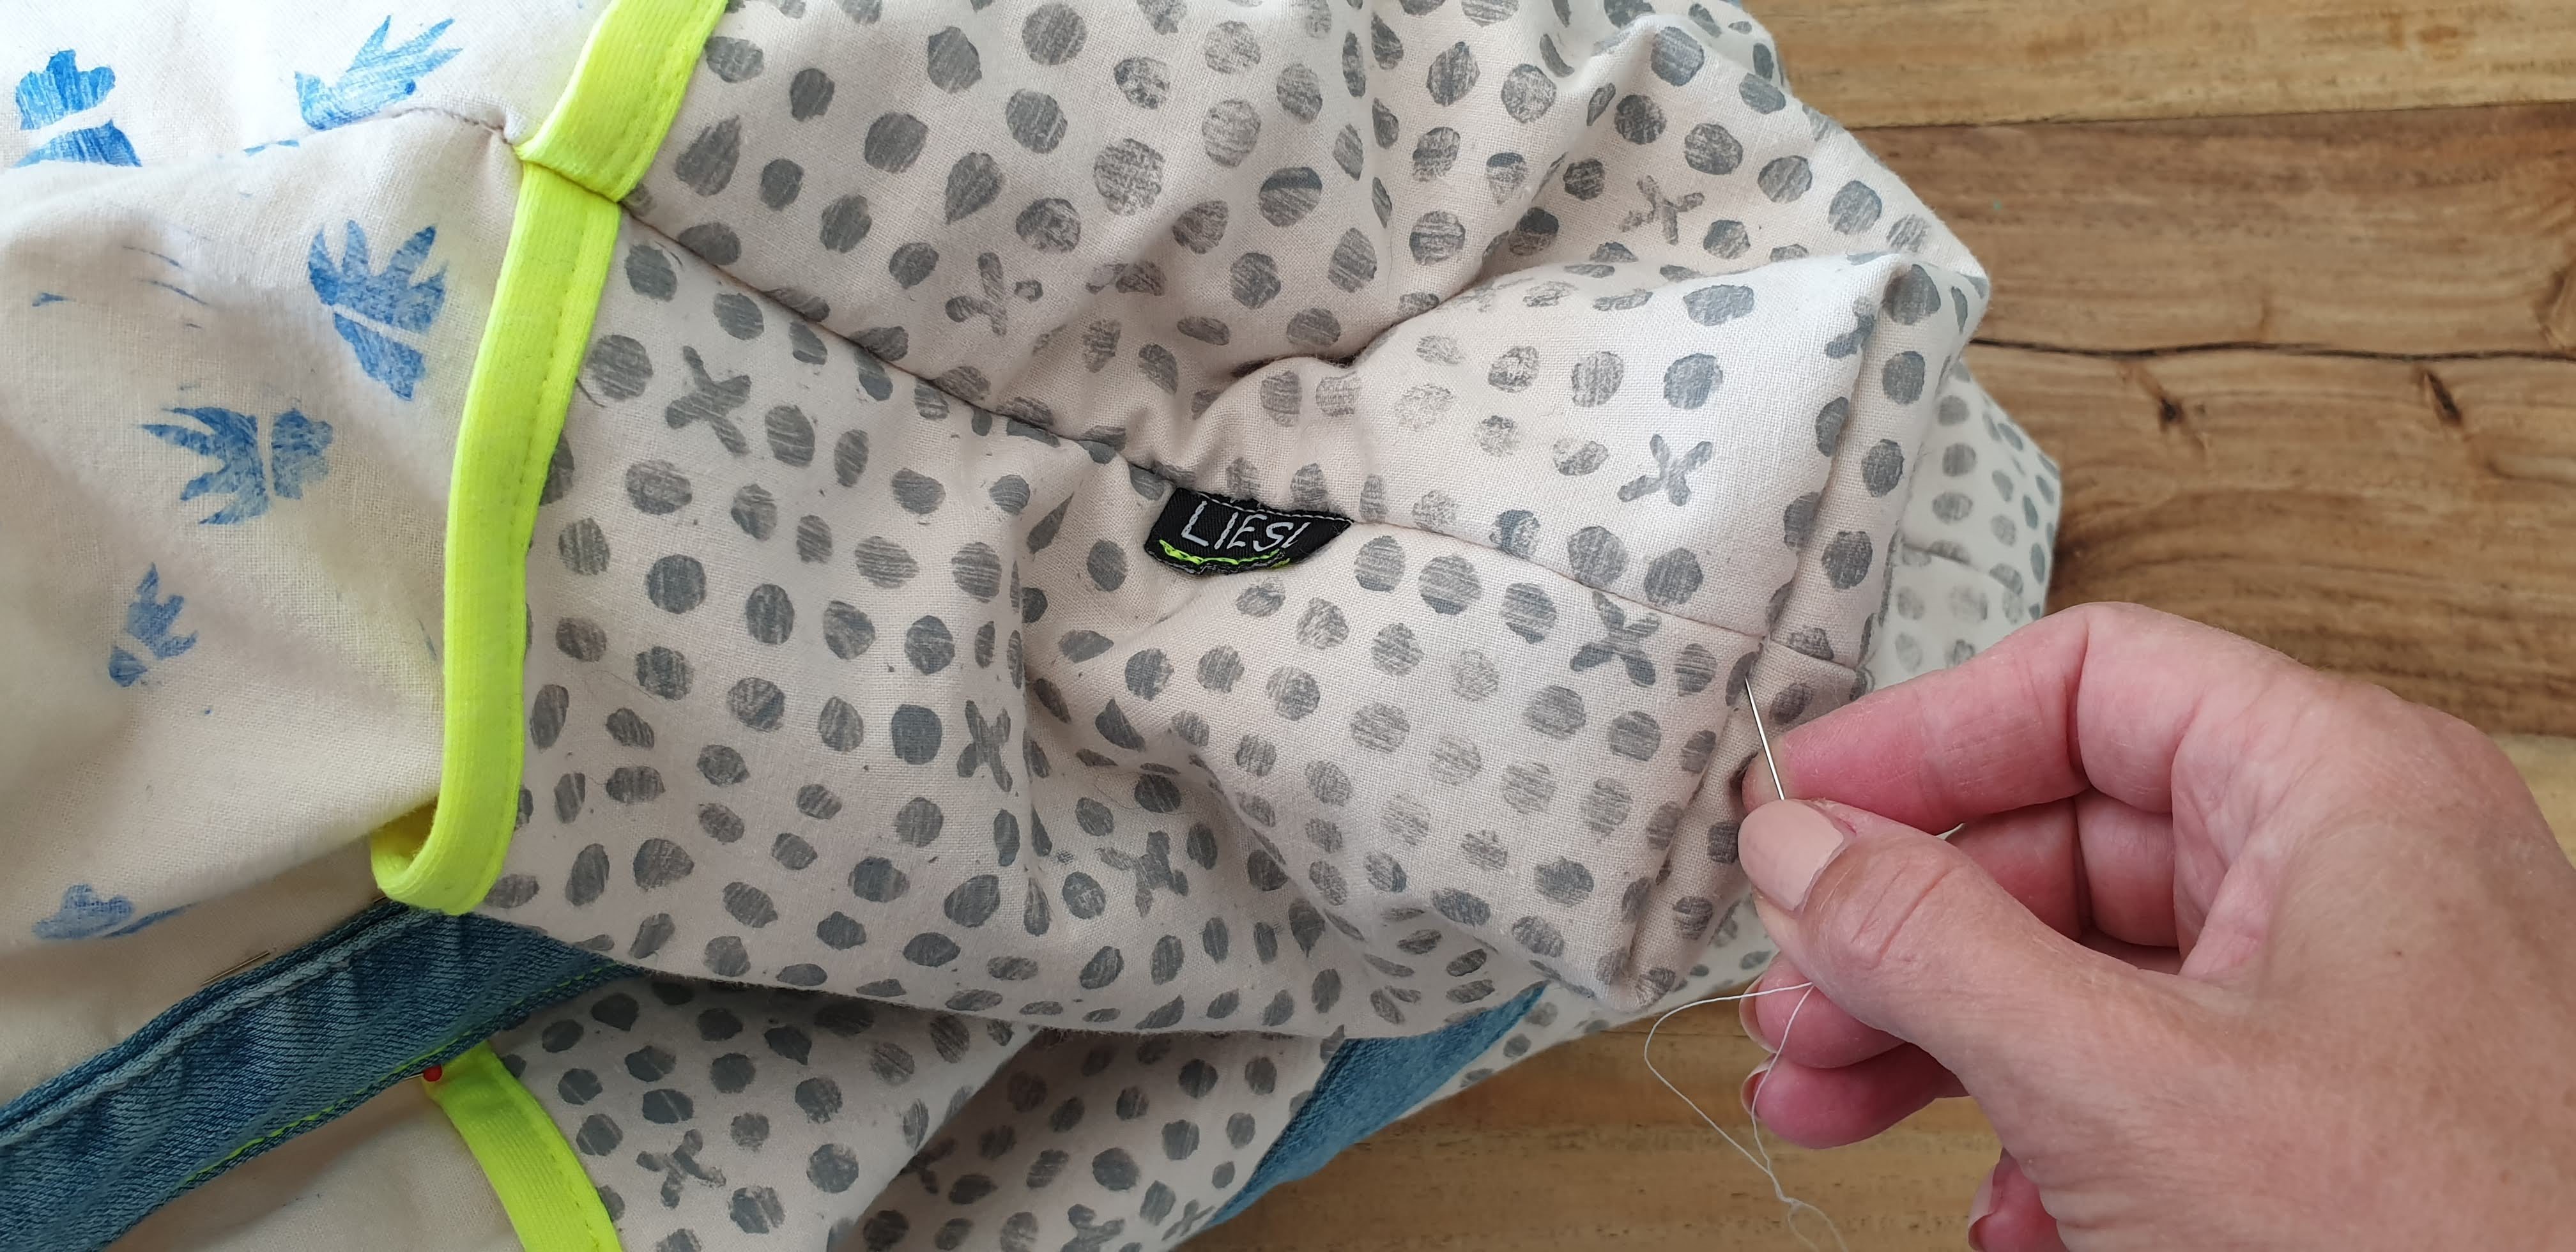
Then I put the lining inside the bag and stitched on several places the lining onto the bag. With the sewing machine and by hand.
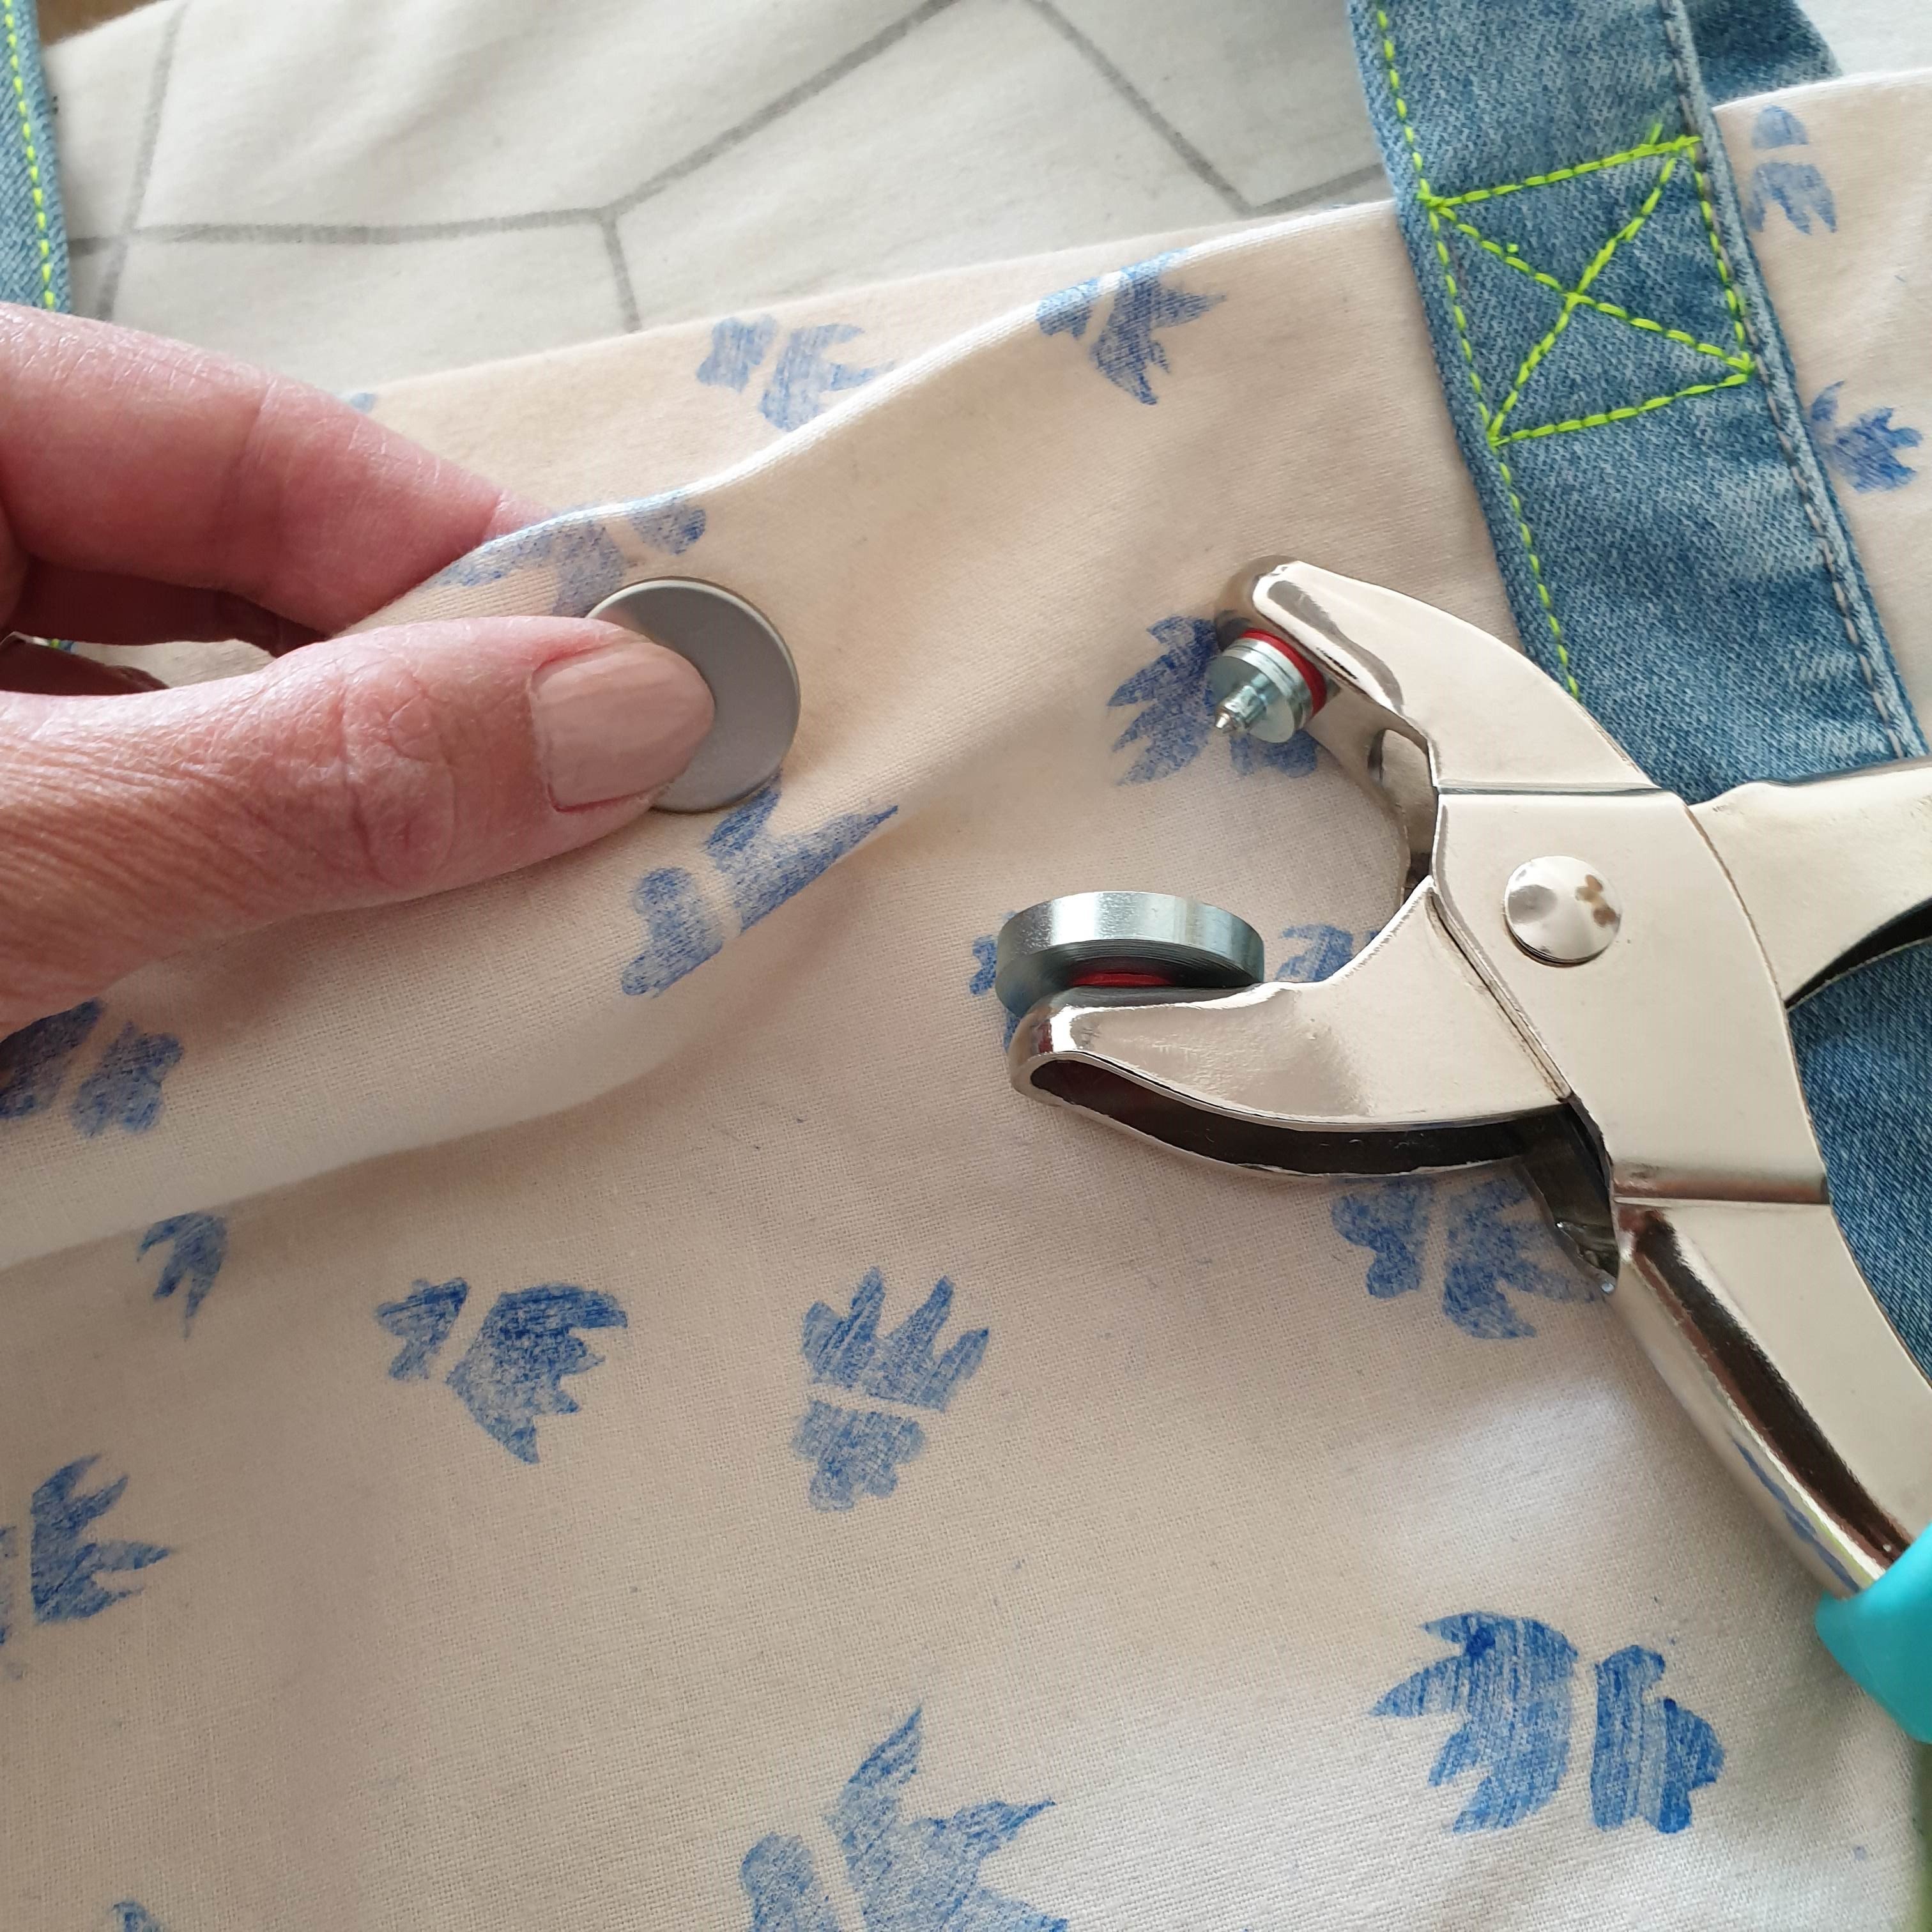
Design features
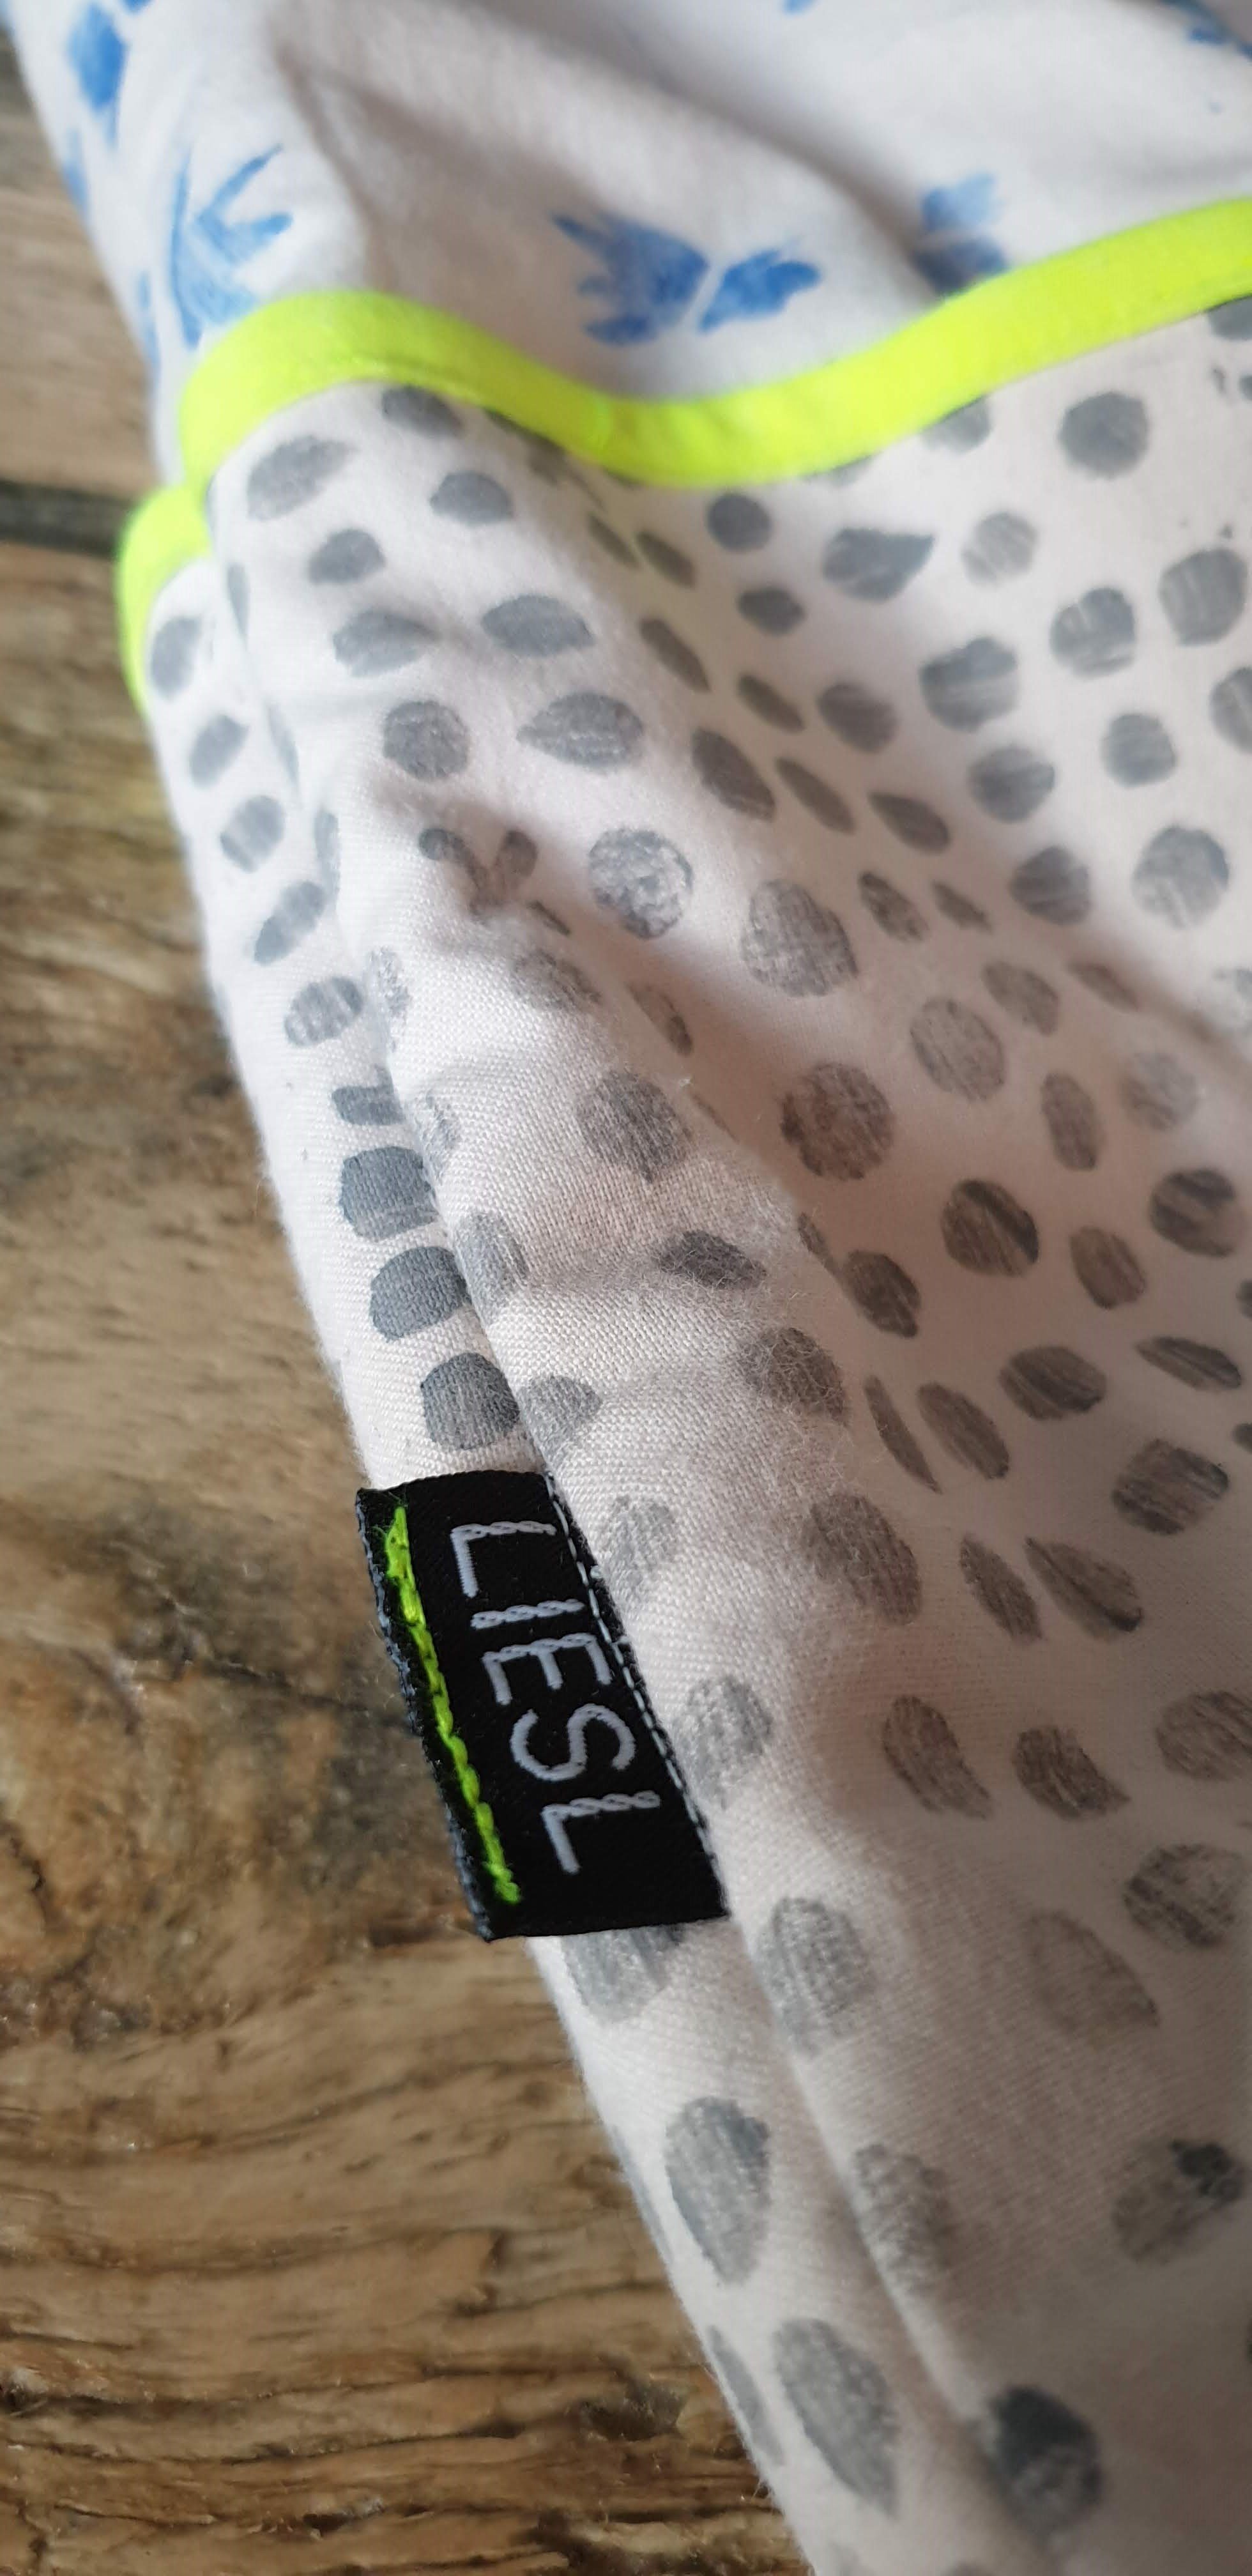
Besides neon yellow biasband I also incorporated my own label as a design feature. A LIESL totebag it is! And some decorative stitching to secure the straps. To close the totebag I used a single push button.
So there is my sustainable totebag. I simply adore it and even more if it is filled with fabrics, or a project, or ….. well you get my drift!
See you next time!
And if you can’t wait….hop on over to my Instagram or check my other blogs for even more of my makes.

Love,
Marlies


So Amazing bag make. Weast is best used made to bag. I like .Good job work
The link to the design doesn’t work. Thank you for the tote.
Hello Brenda,
To which link are you referring?
Kind regards,
Marlies
jwvbtrsqrjyjeopkrmaferducrbjwc