 BERNINA Corporate Blog -
When using as lot of options in the Bernina DesignerPlus Software V8, it is sometimes more convenient to use shortcuts, if they are available. Not just with V8, but also generally with computers.
What is a shortcut? In computing, a keyboard shortcut is a sequence or combination of keystrokes on a computer keyboard which invokes commands in software. The advantage of these keyboard shortcuts is being able to work faster, without having to search for the right icon or option bar. Remembering them is essential,
How does it work?
‘Most keyboard shortcuts require the user to press a single key or a sequence of keys one after the other. Other keyboard shortcuts require pressing and holding several keys simultaneously (indicated with this sign: +). Keyboard shortcuts may depend on the keyboard layout.’*
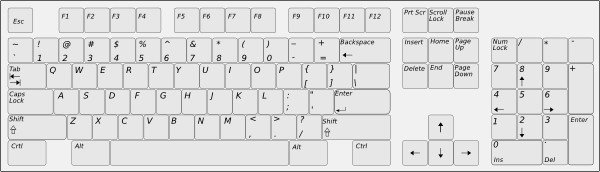
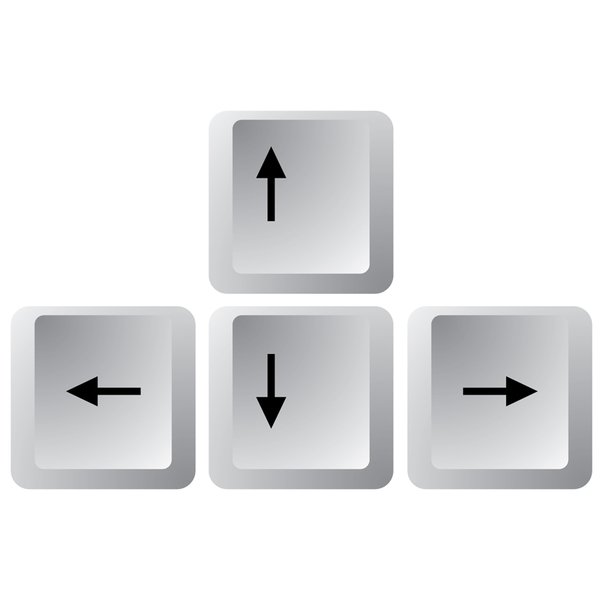
There are different types of keyboards, not just depending on working with a PC with MS Windows® or a Mac (Apple), but also if you are working with a Personal Computer or a Laptop. The picture above shows a random, regular keyboard, for teaching purposes.
Combinations of keys can differ, comparing a PC with MS Windows® or a Mac (Apple), but most of them are the same. The ‘Control (Ctrl) key is used with a PC with MS Windows®, for many commandos; with a Mac that is mostly the ‘Command’ key, but sometimes also the Control (Ctrl) key. The Alt key with a PC with Windows has as a counterpart the Option key with a Mac. These are the largest differences. You can try the commands from the list below: if it doesn’t work, try the manual of your Mac or the Internet to see what does work.
When using numbers for a shortcut, use them from the keyboard itself, nor from the keypad = Num Lock. With some shortcuts, sometimes both possibilities of use are indicated = press combinations on your keyboard or use keypad. Just use what works for you.
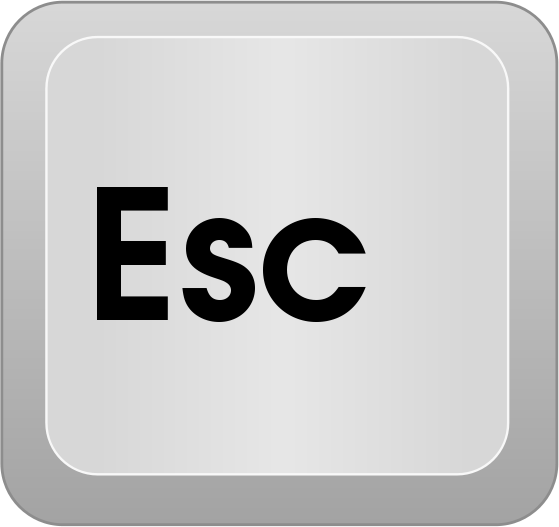
First the general functions: often the letter or multiple letters in key combinations are telling you something about the function – Esc = Escape, Esc is an abbreviation of the function. Mostly there is just one capital letter.
BUT BE AWARE:
working in the BERNINA Embroidery Software V8 with shortcuts, use lower case letters with the specified combinations, despite the fact that they are shown as capital letters. That is just for clarity. It wouldn’t be logic to have to press a ALT or CTRL key, and use both a Shift and Letter key: you will need three fingers for such an act. Using the ALT or CTRL and a lower case letter makes more sense.
Cancel command= ESC (Escape). Use this to literally ‘escape’ from something you’ve been working on, but want to quit. When digitizing a line for example, use Esc to stop, being able to use other icons/functions or keys.
Exit the program = ALT + F4 (top of keyboard). Be sure to save your designs before exiting.
Open existing design = CTRL + O (O of Open). With a Mac, this should be Command+O.
The Embroidery Library opens with a dialog box ‘Open Design’, mostly with the last file you’ve used. You can double-click on a file to open it or travel through different folders to find the embroidery design you need.
What is the difference between folders and files: A file is something where data is stored, f.i. your embroidery design: this means there are Mb’s inside. A folder is something that stores (multiple) files, like a cabinet with drawers: files are the drawers and a folder is the cabinet. Folders almost don’t use data while files can use Mb’s (Megabytes) or even Gb’s (Gigabytes): it’s just a place to store files, to organize them.
Print design = CTRL + P (P of Print). With a Mac, this should be Command+P.
Mostly you will use ‘Print Preview’, via File (Menu Toolbar) and ‘Print Preview’: this however is a fast way to do the same, but you don’t have the opportunity to check if all settings are ok. It will print with your last settings. Be sure this gives you the information you want.
Save design = CTRL + S (S of Save). With a Mac, this should be Command+S.
Usually I will use ‘Save As…’, for the first time I am saving a design: I can fill out the right name for that file. But after that, when making changes, and wanting to save in between, I will use this shortcut, instead of ‘File (Menu Toolbar), and ‘Save’.
Start new design = CTRL + N (N of New). With a Mac, this should be Command+N
Instead of using File (Menu Toolbar)’, then ‘New’, this is faster. Always starting with Design1 when opening V8, every time you are using CTRL+N, you will get the next number, Design2, Design3 etc.
For viewing designs: use a single lower case letter or a combination of letters and function keys.
Center current stitch = C (C of Center) – or F6 (top of keyboard)
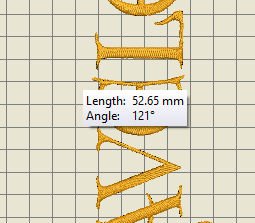
Measure = M (M of Measure). The cursor of your mouse changes into a small ruler. With that a box containing coordinates/measures for length and angle appear. Press Esc to quilt.
Refresh screen = R ( R of Refresh) or F4 (top of keyboard). With a Mac, this should be Command+R. Reloading or updating your design.
Show needlepoints = . (dot) – disable ‘Show Artistic View’ to be able to see the needlepoints. The white dots are all the needlepoints your machine will make.
Show previous view = V (V of View) or F5 (top of keyboard). Sometimes you want to take one step back: to see what you’ve edited before. Use this option once, for it will repeat itself.
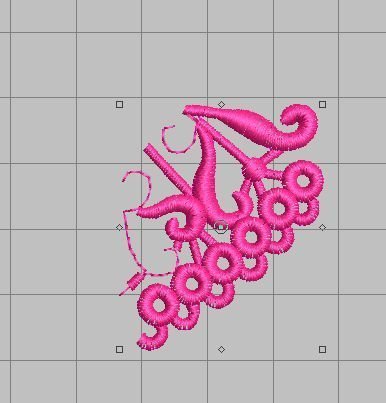
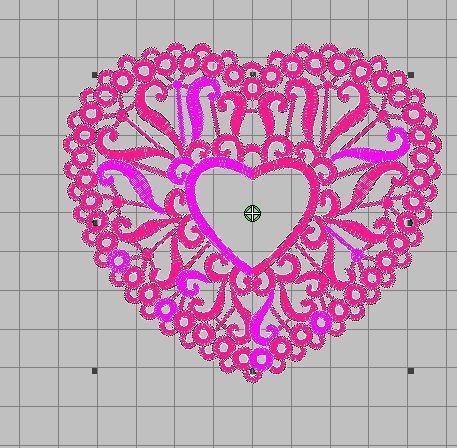
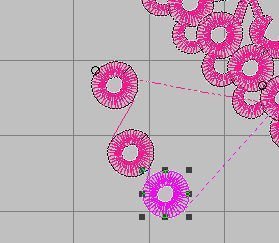
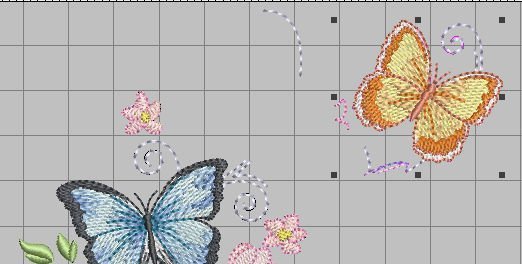
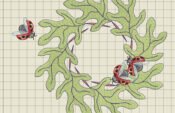
Show selected objects only = SHIFT + S (S of Show). First select that part of an object you want to view, then use Shift + S to see this separate from the others, as you can see with the picture above. Use Shift + S again, to see the entire design.
Zoom to fit = 0 (zero) or F2 (top of keyboard). I am using this a lot, because of working with detailed objects, and need to take ‘a step back’, for an overview. It’s faster than using the Zoom function on the Zoom Toolbar.
Show/Hide connectors = SHIFT + C (C of Connectors) – disable ‘Show Artistic View’ to be able to see the connecters in the first place. Use SHIFT + C again, to go back.
Show/hide picture = D. This only works if you have a picture or artwork included in the design.
Show/hide vectors = SHIFT + D. This only works if you have vectors included in the design.
Pan= P (P of Pan), the cursor of your mouse changes into a ‘hand’ – you can shift the ‘screen’, until you see what you want to view/change. Stop panning by using the P again: the ‘hand’ disappears.
TRIVIA: what does Pan stands for? It is actually referring to the movement of what you see, to be able to ‘increase’ the vision to objects or your entire design, while looking for objects into an enlarged image, to be able to move to another piece of the object: coming from ‘Panorama‘, like with a camera, trying to make a wider picture to ‘catch it all’. With a camera, you will move it on a horizontal or vertical axis – with V8, you can click and drag the ‘hand’ on any part of the screen, to move into any direction to go to the spot you want to edit.
Turn on/off Artistic View = T (T of Turn). Use the T again to undo.
Zoom (box) = B, then left-click mouse (B of Box) 0r F8 (top of keyboard) – the cursor of your mouse turns into a magnifying glass. Use this option multiple times: with each B/left click, it will be zooming one more step.
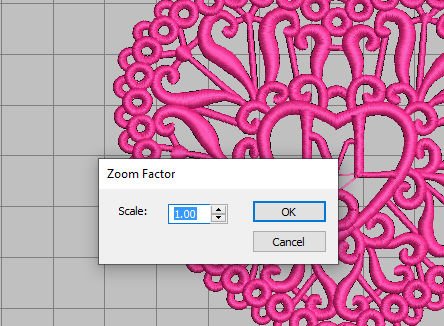
Zoom (factor) = F (F of Factor) or F3 (top of keyboard) – a dialog box pops up with the possibility to adjust the Scale. When changing, use OK to set.
 Zoom in 2 x = Z (Z of Zoom) or use the wheel of your mouse. Moving this wheel away from you, enlarges the object, getting closer and closer.
Zoom out 2 x = SHIFT + Z (Z of Zoom) or F10 (top of keyboard). With every click you will see your object(s) move away from you, in the distance = getting smaller. You can use the wheel of your mouse too, moving it towards you makes the object smaller.
Zoom to 1:1 scale (= 100%, actual size) = 1 (one). Sometimes after zooming in and out, you don’t remember which is the actual size. Use this function and your design is shown on the actual size. Using the grid, you can check this. I have set mine ‘metric’, which means each box of the grid is 1 x 1 cm. And although the size can be seen with the Transform Toolbar or at the bottom of your screen, seeing the actual size is a fast way to know if your design needs to be enlarged or reduced.
Vertical scroll = ALT + wheel of your mouse. The object moves up or down, depending to move the wheel of your mouse away from you or towards you.
Horizontal scroll = CTRL + wheel of your mouse. The object moves left or right, depending to move the wheel of your mouse towards you or away from you.
For selecting objects, use the following shortcuts:
Activate Select Object Tool = O (O of Object). Instead of going the this icon, whatever you are working with, via this shortcut you will immediately select the object.
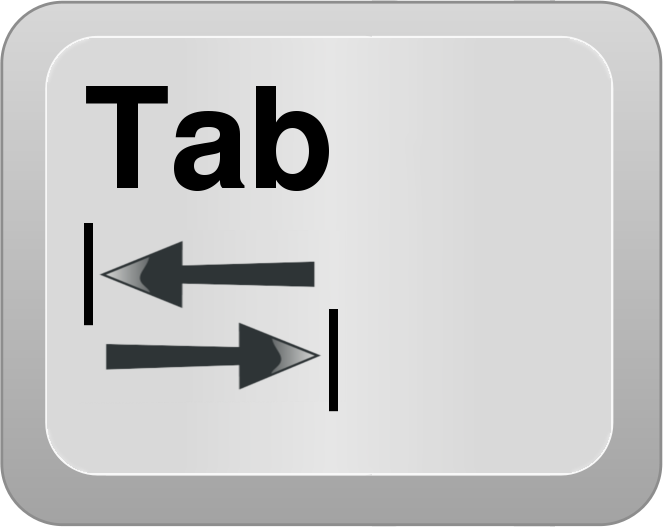
Add next object to selection = CTRL + TAB (the Tab key can be like the picture above, with or without arrows). The more you are using the Tab key, while keeping the Ctrl key down, the more objects are selected, in order of designing/embroidery sequence.
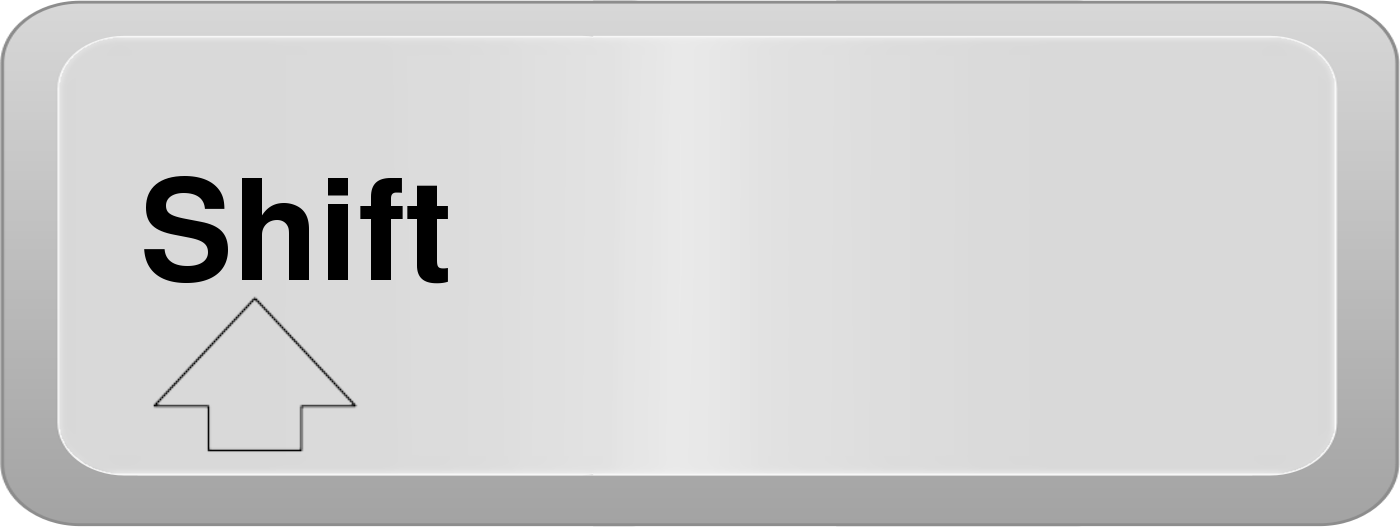
Add previous object to selection = CTRL + SHIFT + TAB (yes, sometimes you will need those three fingers to use a shortcut: but the Ctrl and Shift key are close together, so you can press them with your fingers of one hand. Press the Tab key with a finger of your other hand, or try to use all three with three fingers of one hand, depending on how large your hands are. Hurray for large hands (mine are quite small)…
Deselect all objects = ESC or X.
Select a range of objects = SHIFT and left-click mouse. Press the SHIFT key while clicking on random objects with your mouse.
Select all objects = CTRL + A (A of All) – now that’s a fast way to select it all, instead of dragging a marquee around your design, often making the design jump when it is too large to show in its entirety on your screen.
Select multiple objects = CTRL and left-click mouse. Keep the Ctrl key pressed down while clicking on objects to select.
Select next object = TAB. By using the Tab key, you will select the next object in a design sequence.
Select object underneath = 2 + left-click mouse.
Select previous object = SHIFT + TAB.
For editing designs, use the following shortcuts:
Delete the last input point = BACKSPACE. Actually no shortcut, but an important key on your keyboard. Use it to go one step back.
Finish digitizing an object = ENTER of SPACEBAR. Both also no shortcuts, but keys on your keyboard.
Turn underlay on/off = U (U of Underlay)
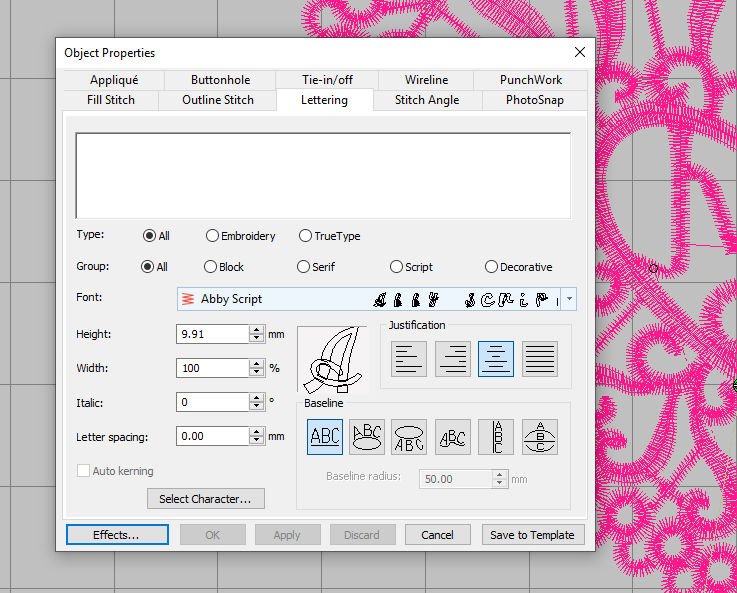
Display the lettering dialog = A (A of Alphabet)
Redo command= CTRL + Y
Undo command = CTRL + Z
Cut selection = CTRL + X – the X symbolizes a ‘cross’, placing on top of something you want to remove. But also, you can see the X as a kind of scissors.
Copy selection = CTRL + C ( C of Copy)
Paste selection = CTRL + V
Using Ctrl+C and Ctrl+V quickly after another, you don’t see anything happening. That’s because the pasted object is placed on top of the original one. Click and drag to move.

Duplicate selection = CTRL + D (D of Duplicate) – making a copy of the selection, it is also placed on top of the previous one. Click and drag to move it.
Clone selection = Right-click mouse and drag. After releasing the mouse button, a clone appears while the original remains.
So, what’s the difference between ‘duplicate’ and ‘cloning’? With ‘duplicate’ the 2nd object is placed on top of the 1st; you will have to drag it to another position. With ‘clone’ you will drag the 2nd object directly to another position, while holding the right-mouse button down. Both options can be used as much as you want, but with the cloning shortcut it works faster. .
Reinforce outline (Double Run) = CTRL + B. With some designs, this will be a very good option: think about FSL (Free Standing Lace), to be sure the outline will be firm enough, after rinsing the water soluble stabiliser from your embroidery design.

Delete selection = DELETE. Actually no shortcut, but the use of a very important key, which makes a selection disappear. But don’t worry: ‘Udo Move’ will bring it back again, if you don’t save in between.
These shortcuts are available for viewing stitching sequence:
1 Segment backward = CTRL + Arrow to the left (often these arrows can be find close together, grouped on you keyboard.)
1 Segment forward = CTRL + Arrow to the right
1 Stitch backward = Arrow to the left with keyboard. With keypad use 4 – you will find a left-arrow printed on this key, with most keypads/NumLock.The User Manual shows on page 354, that the Select Object Tool should be OFF. The select tool is generally activated by default: to turn it OFF, use Esc.
1 Stitch forward = Arrow to the right with keyboard. With keypad use 6 – you will find a right-arrow printed on this key, with most keypads/NumLock. The User Manual shows on page 354, that the Select Object Tool should be OFF. The select tool is generally activated by default: to turn it OFF, use Esc.
10 Stitches backward = Up-arrow with keyboard. With keypad use 8 – you will find a dup-arrow printed on this key, with most keypads/NumLock.The User Manual shows on page 354, that the Select Object Tool should be OFF. The select tool is generally activated by default: to turn it OFF, use Esc.
10 Stitches forward = Down-arrow with keyboard. With keypad use 2 – you will find a down-arrow printed on this key, with most keypads/NumLock. The User Manual shows on page 354, that the Select Object Tool should be OFF. The select tool is generally activated by default: to turn it OFF, use Esc.
100 Stitches backward = with keypad only, use – (minus)
100 Stitches forward = with keypad only, use + (plus)
Activate Stitch Player= SHIFT + R (R of Replay)

To next color = PAGEDOWN with keyboard, with keypad use 9 – you will find ‘PgDn’ printed on this key, with most keypads/NumLock
To next object = CTRL + T
To next selected object = TAB
To previous color = PAGEUP with keyboard, with keypad use 3 – you will find ‘PgUp’ printed on this key, with most keypads/NumLock
To previous object = SHIFT + T
To previous selected object = SHIFT + TAB
To the end of a design = END with keyboard, with keypad use 1 – you will find ‘End’ printed on this key, with most keypads/NumLock
To the start of a design = HOME with keyboard, with keypad use 7 – you will find ‘Home’ printed on this key, with most keypads/NumLock
The next shortcuts are used for digitizing and lettering: these commands already passed with former shortcuts, but since they are mentioned separately in the reference manual, pg. 354, I will name them here too.

Activate Double Run = CTRL + B (B for Bold). Also used with ‘Edit designs’, ‘Reinforce outline (Double Run)
Delete the last input point = BACKSPACE – used with ‘Edit designs’
Finish digitizing an object = ENTER or SPACEBAR – used with ‘Edit designs’
Turn underlay on/off = U (U of Underlay) – used with ‘Edit designs’
Display the lettering dialog= A (A of Alphabet) – used with ‘Edit designs’, to type text in the empty box.
To manipulate objects and stitches, use the following shortcuts:
Nudge (push) selected designs = Arrows up, down, left or right: use them per click: or hold an arrow key down until your design or object is where you want it to be.

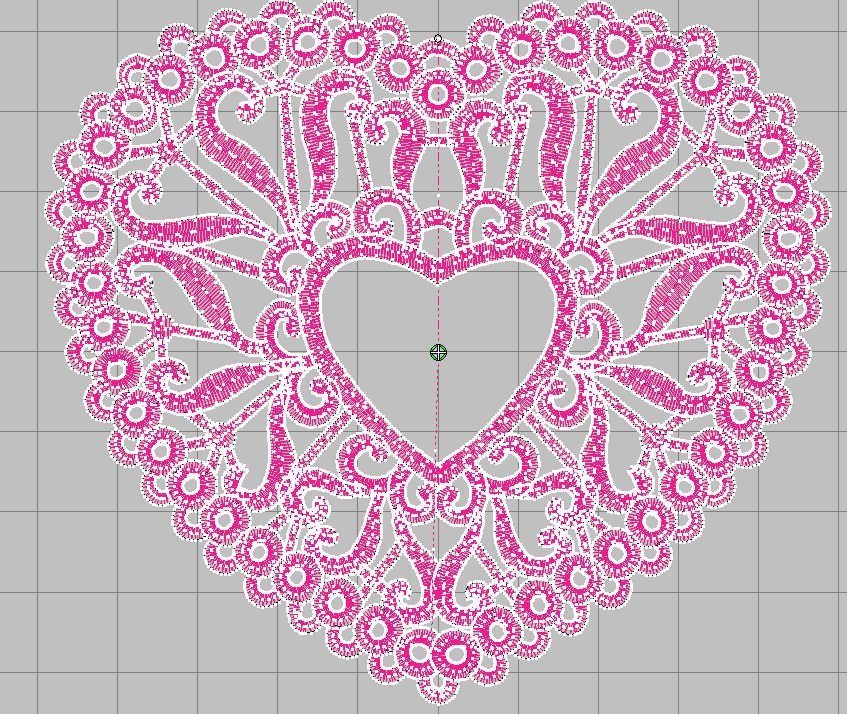
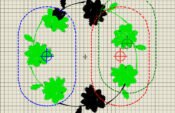
With this butterfly design, I have selected the upper butterfly and by holding the right-arrow key down, it moves slowly to the right. As you can see, the selected original is still at its place, but the ‘ghost image’ of the new place can be seen as drawing lines. That is because I haven’t released the mouse button yet.
Only when releasing the mouse button, the butterfly has found its net place.
Move an object horizontally or vertically = Mouse + CTRL. Drag the object with your mouse, while holding the CTRL key down.
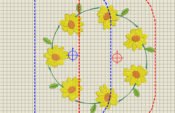
Maintain an object’s proportions while resizing = SHIFT + Drag corner handles with mouse. When using this shortcut in BERNINA Quilter, use Alt+Drag. With resizing an object, it is sometimes important to keep the ratio between X and Y measurements. If a butterfly is 2 by 3 cm (height and width) = ratio 2:3, and you want it to have the same ratio after scaling, use this shortcut. You can enlarge it to 4 by 6 cm = still 2:3 ratio.
Change reshape node type = Mouse + SPACE. Select the ‘reshape node’ and press the spacebar.
Group selected objects = CTRL + G
Ungroup selected objects = CTRL + U
Regroup Ungrouped objects = **CTRL + R
Lock selected objects = K
Unlock selected objects + SHIFT + K
Bring object to front = **Shift + PageUp
Bring object forward = **PageUp
Send object to back = **Shift + PageDown
Send object backward = **PageDown
Activate Stitch Edit= E (E of Edit)
Quite a list, and also available with your Reference Manual, page 353 and 354 too, but because of user questions, I’ve tried to give a better view on how to use these shortcuts. The more you use them the better you will remember them and the faster you are able to work. Not necessary, but convenient.
Next time another technique or subject to explore: see you then!
Happy Stitching!
Sylvia Kaptein
Sylvia’s Art Quilts Studi0
*Wikipedia Commons
** Use with BERNINA Quilter only = separate software within V8, for making patchwork, appliqué and quilts

0 Responses