 BERNINA Corporate Blog -
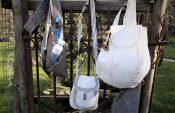
To use reusable grocery bags to save environment from waste is a great idea, I think. So Sew a reusable grocery bag
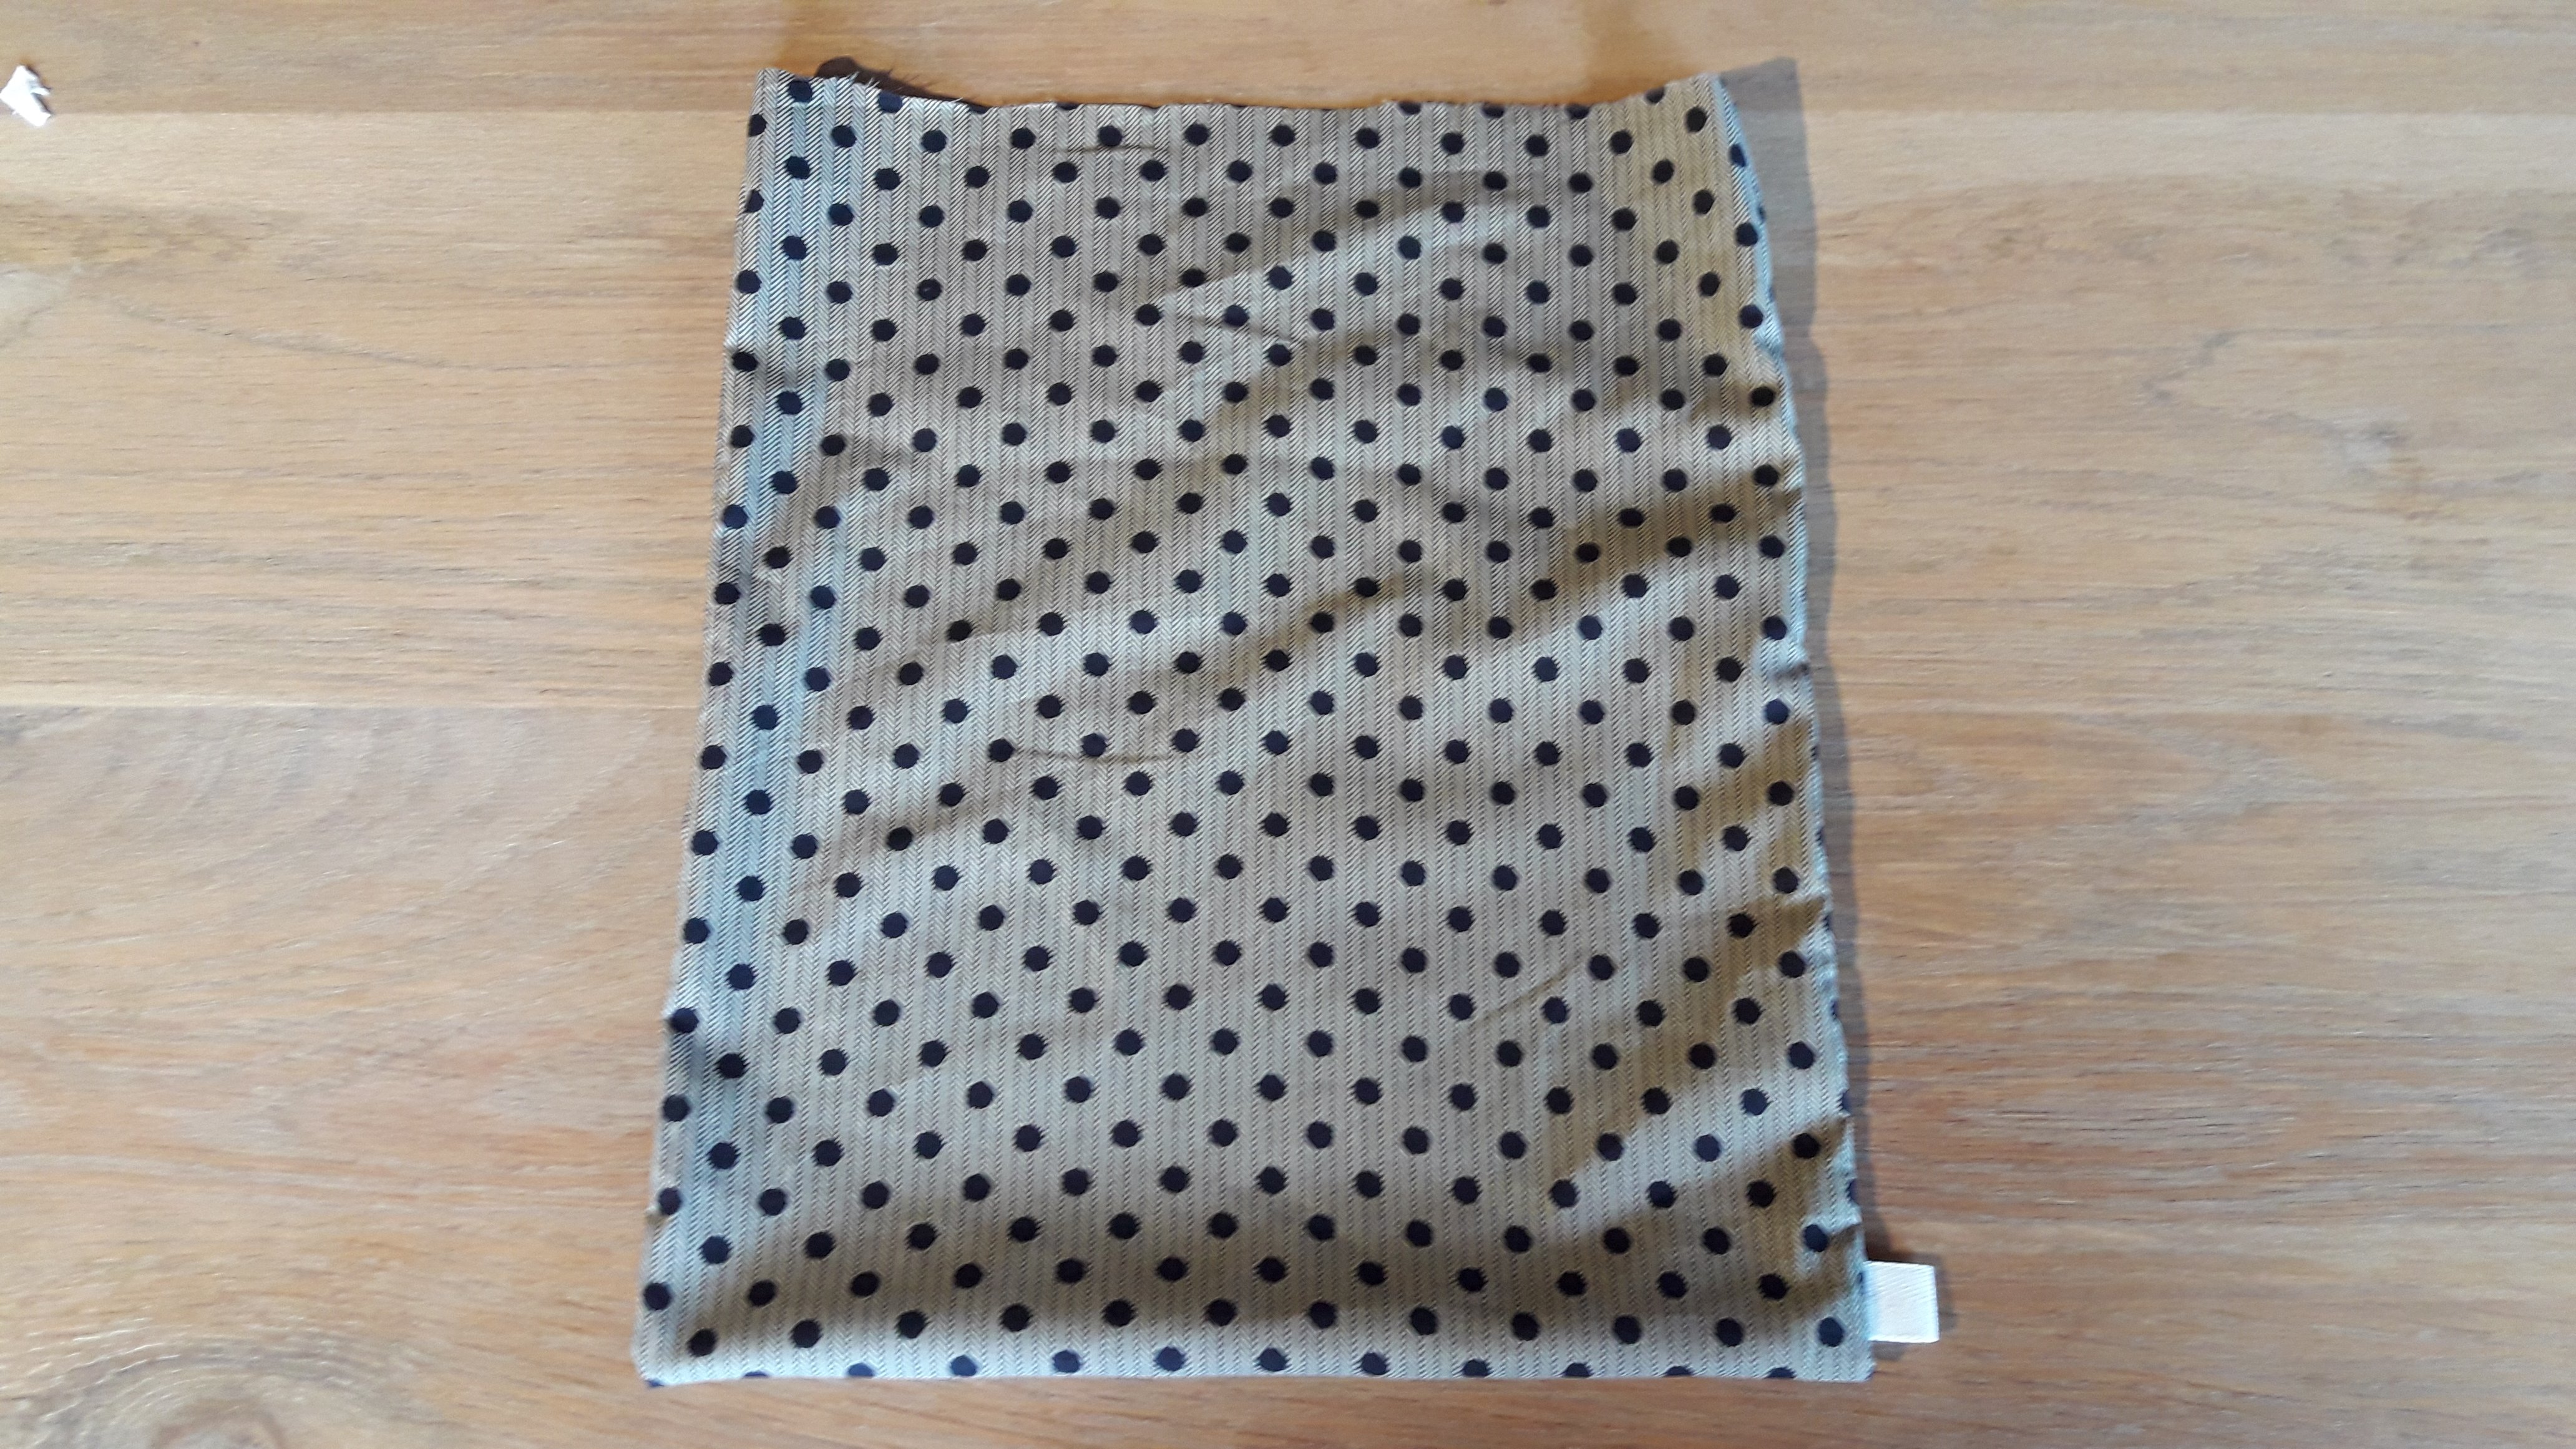
This one has a label to note the weight. It is very useful, when you go shopping in a place where you can substract the weight in tare on the scale. So you don’t have to pay your own bag at the price of your food. Did you take a light coloured fabric? Then just write it down on the fabric of the bag.
You will find a detailed description of how to sew your own grocery bag(s).

What do you need for a grocery bag?
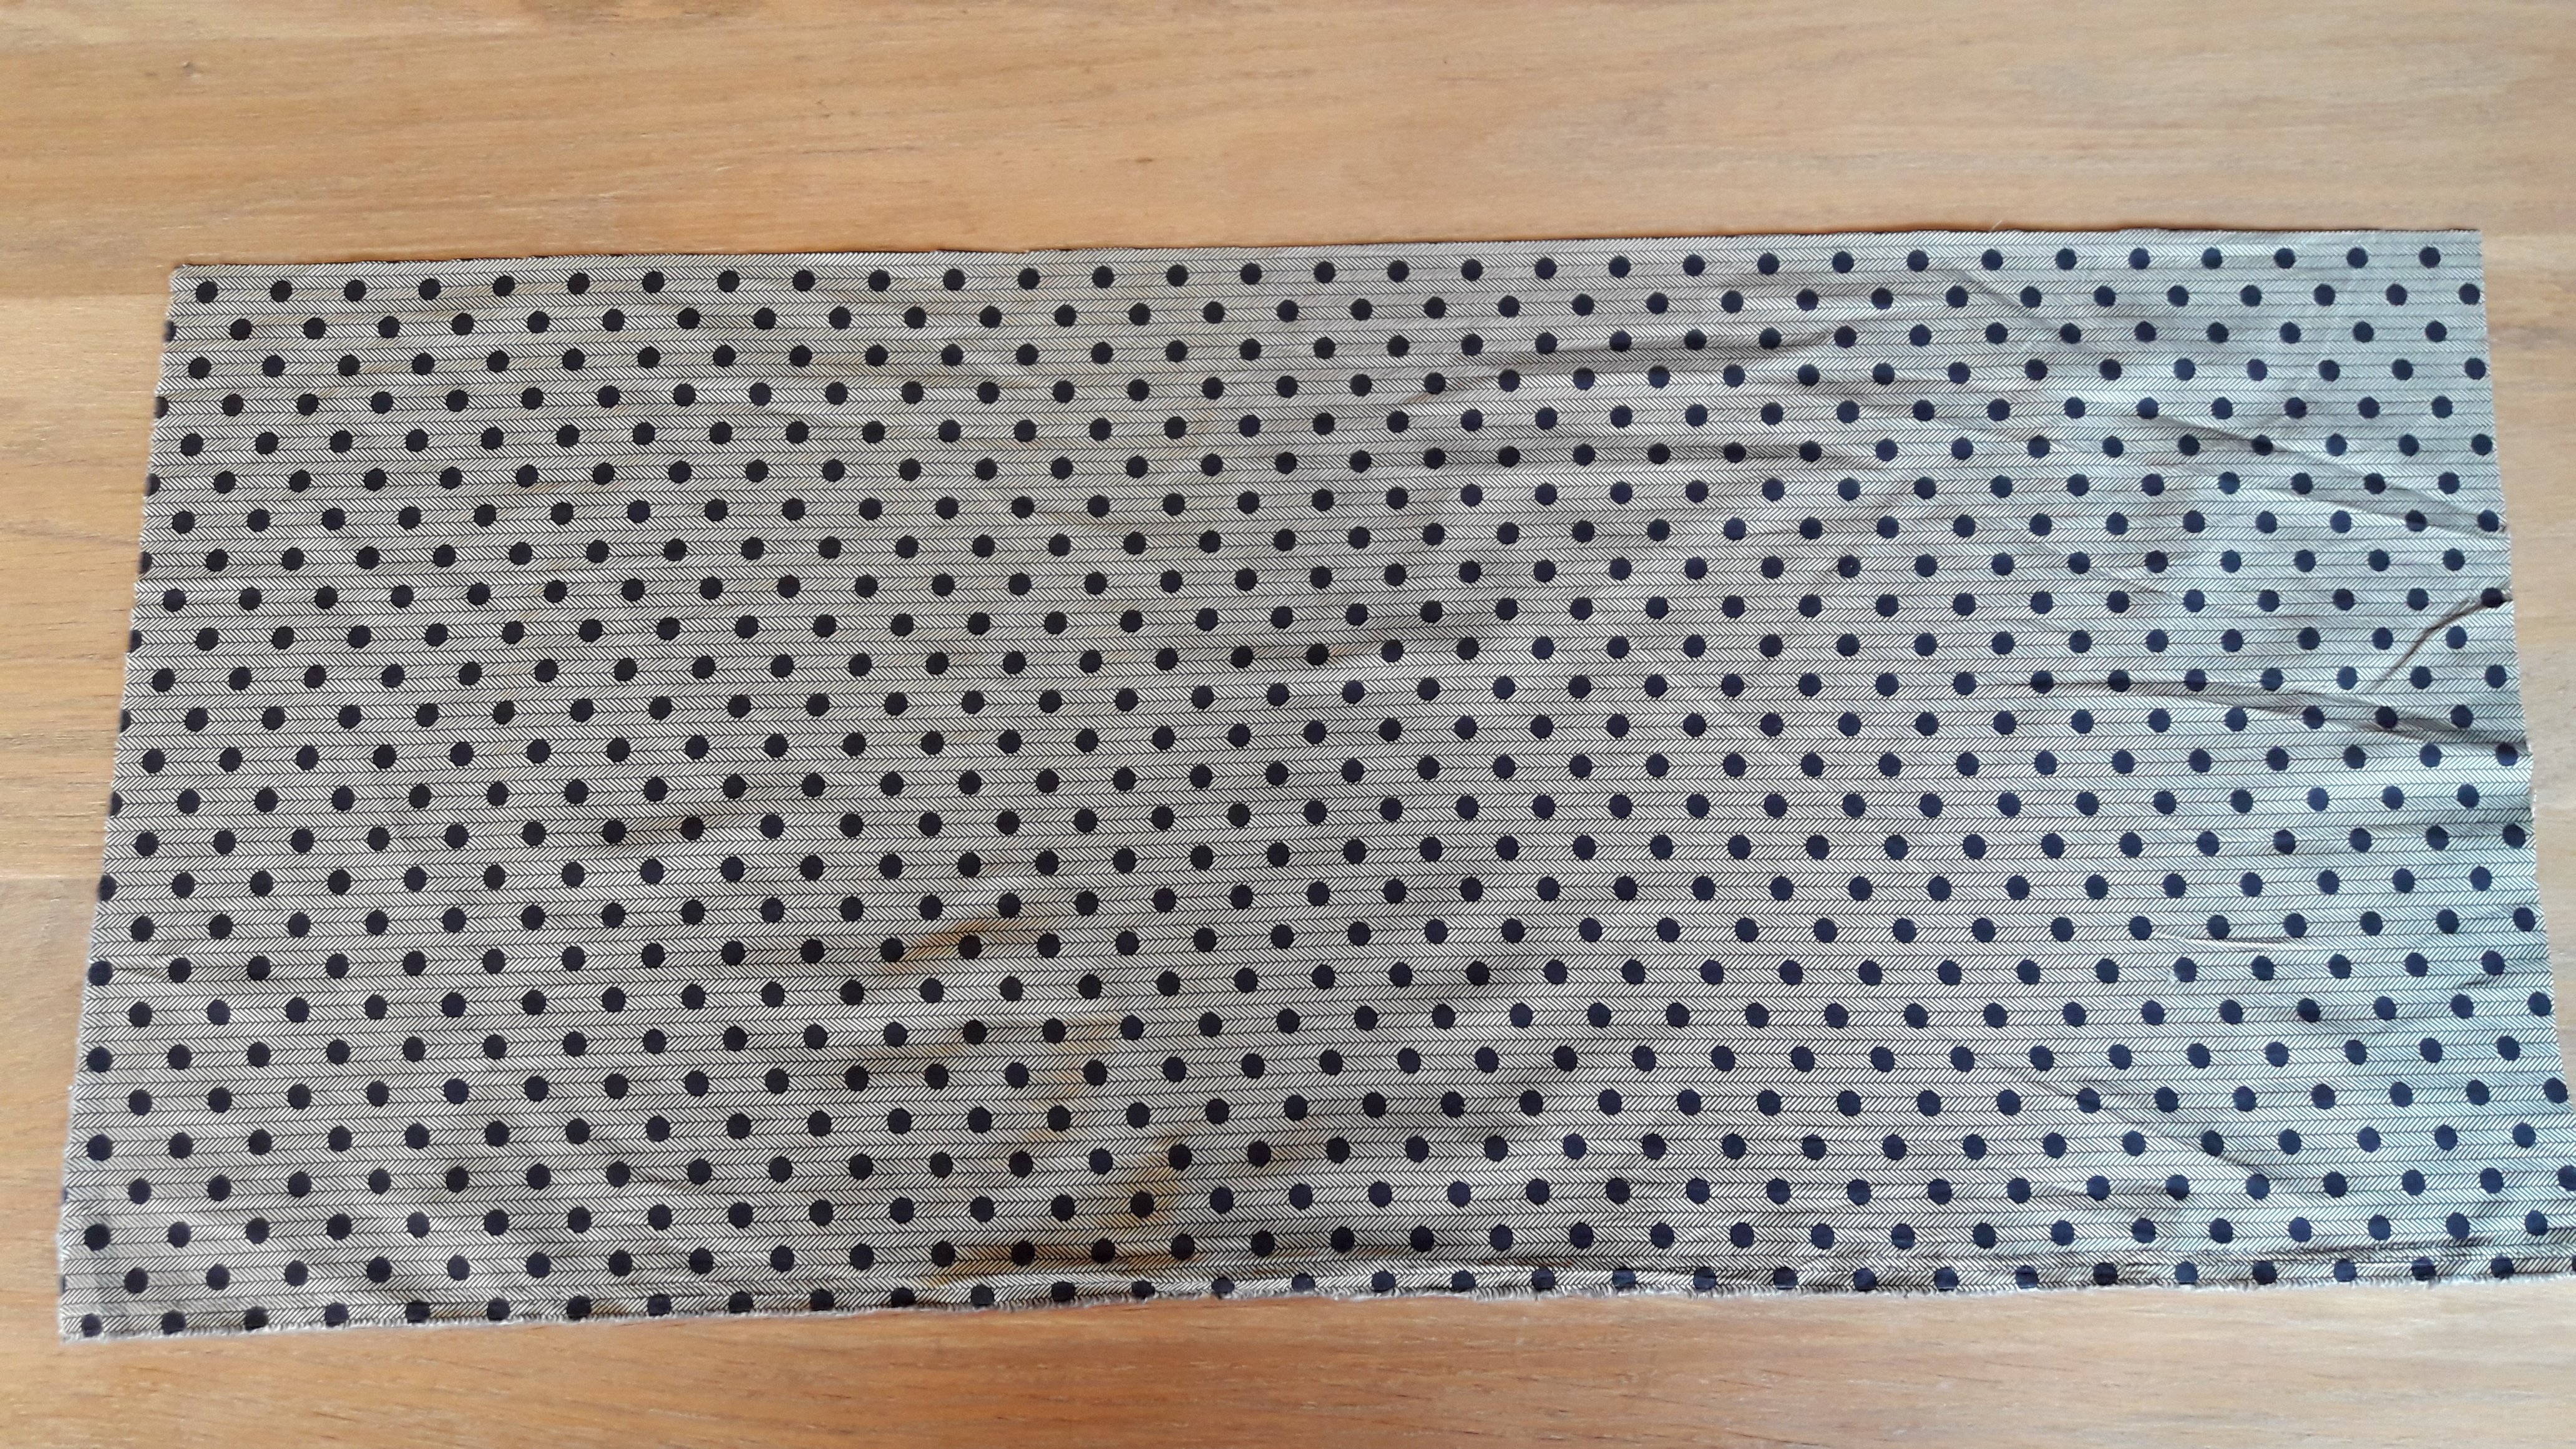
- A cotton fabric with minimum dimensions 78 x 35 cm (seams are included).
- 2 light weight cords of 80 cm.
- If desirable, take tape for the label.
- Standard sewing supplies (scissors, pins, safetypin) and a fabric marker.
- BERNINA sewing (mine is the BERNINA 710) machine and overlocker (I have the BERNINA L 460) and matching (or contrasting) thread.
This is how we make the reusable grocery bag:
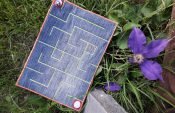
Draw the pattern on the fabric. Because I want to make several, I cut the pattern out of cardboard. If your fabric is 140 cm (4′ 7.1181″ ft), you cut exactly 4 next to one another out of one fabric width.
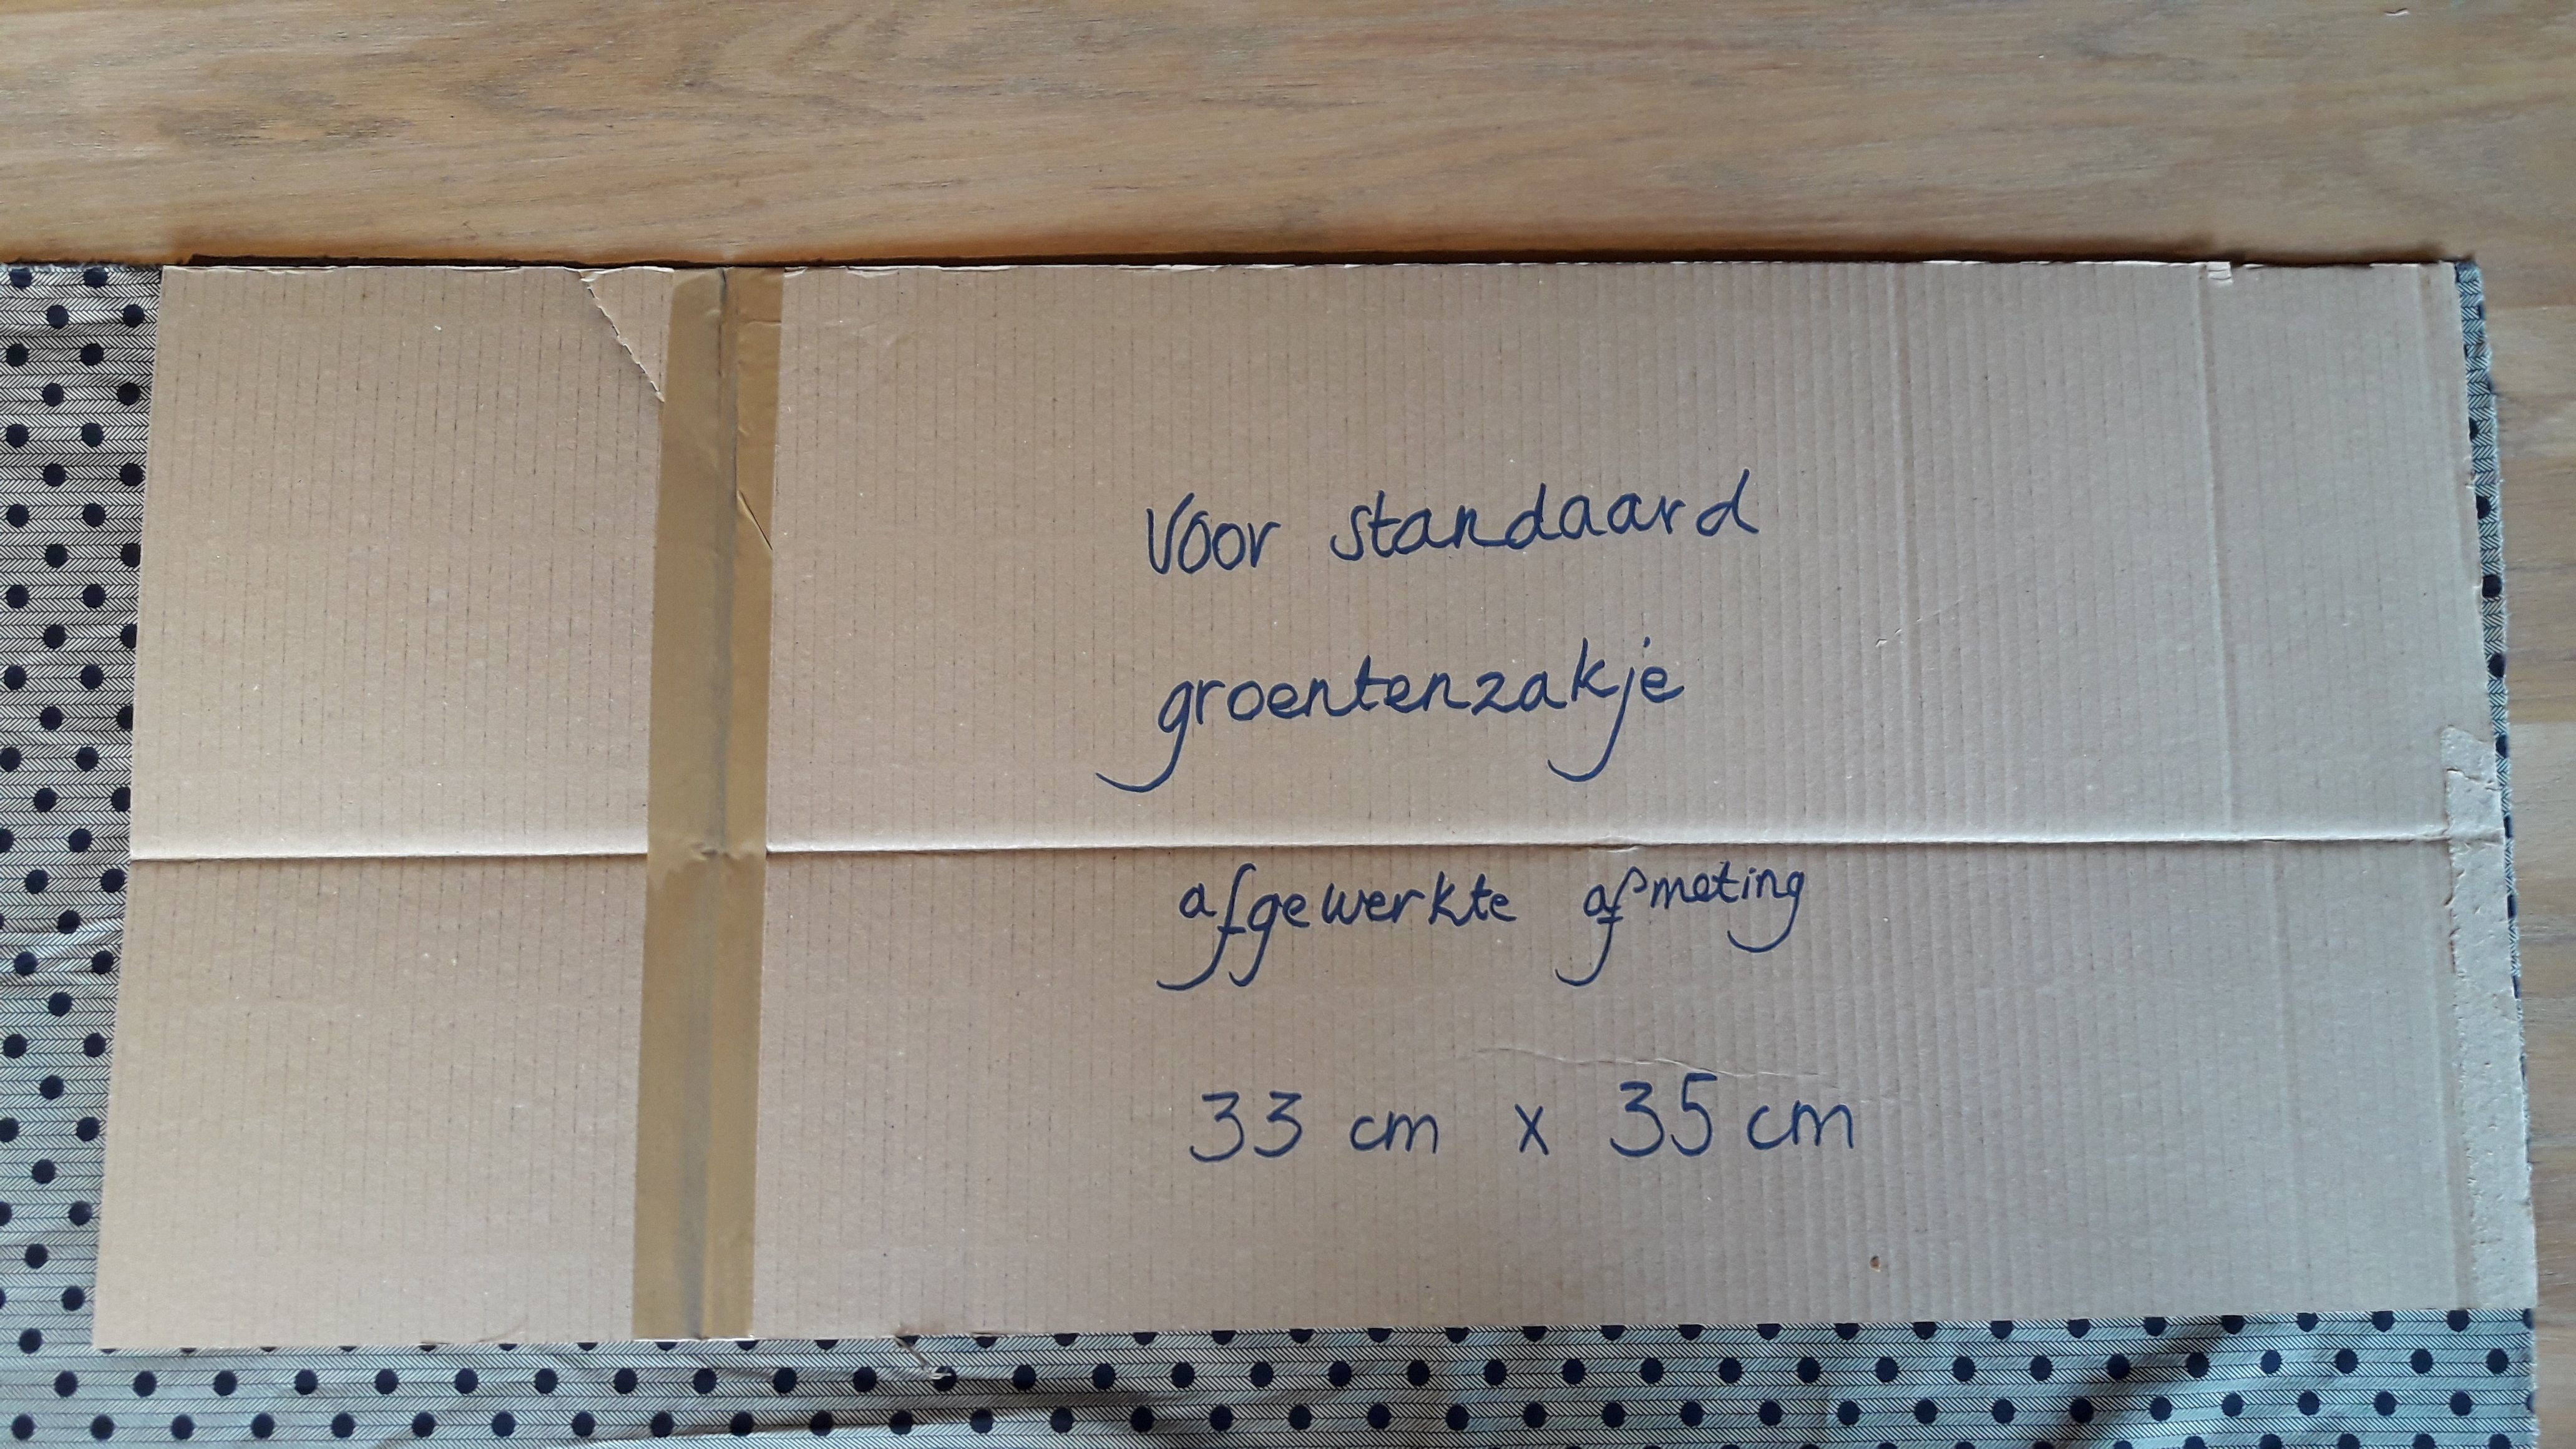
Cut it out.
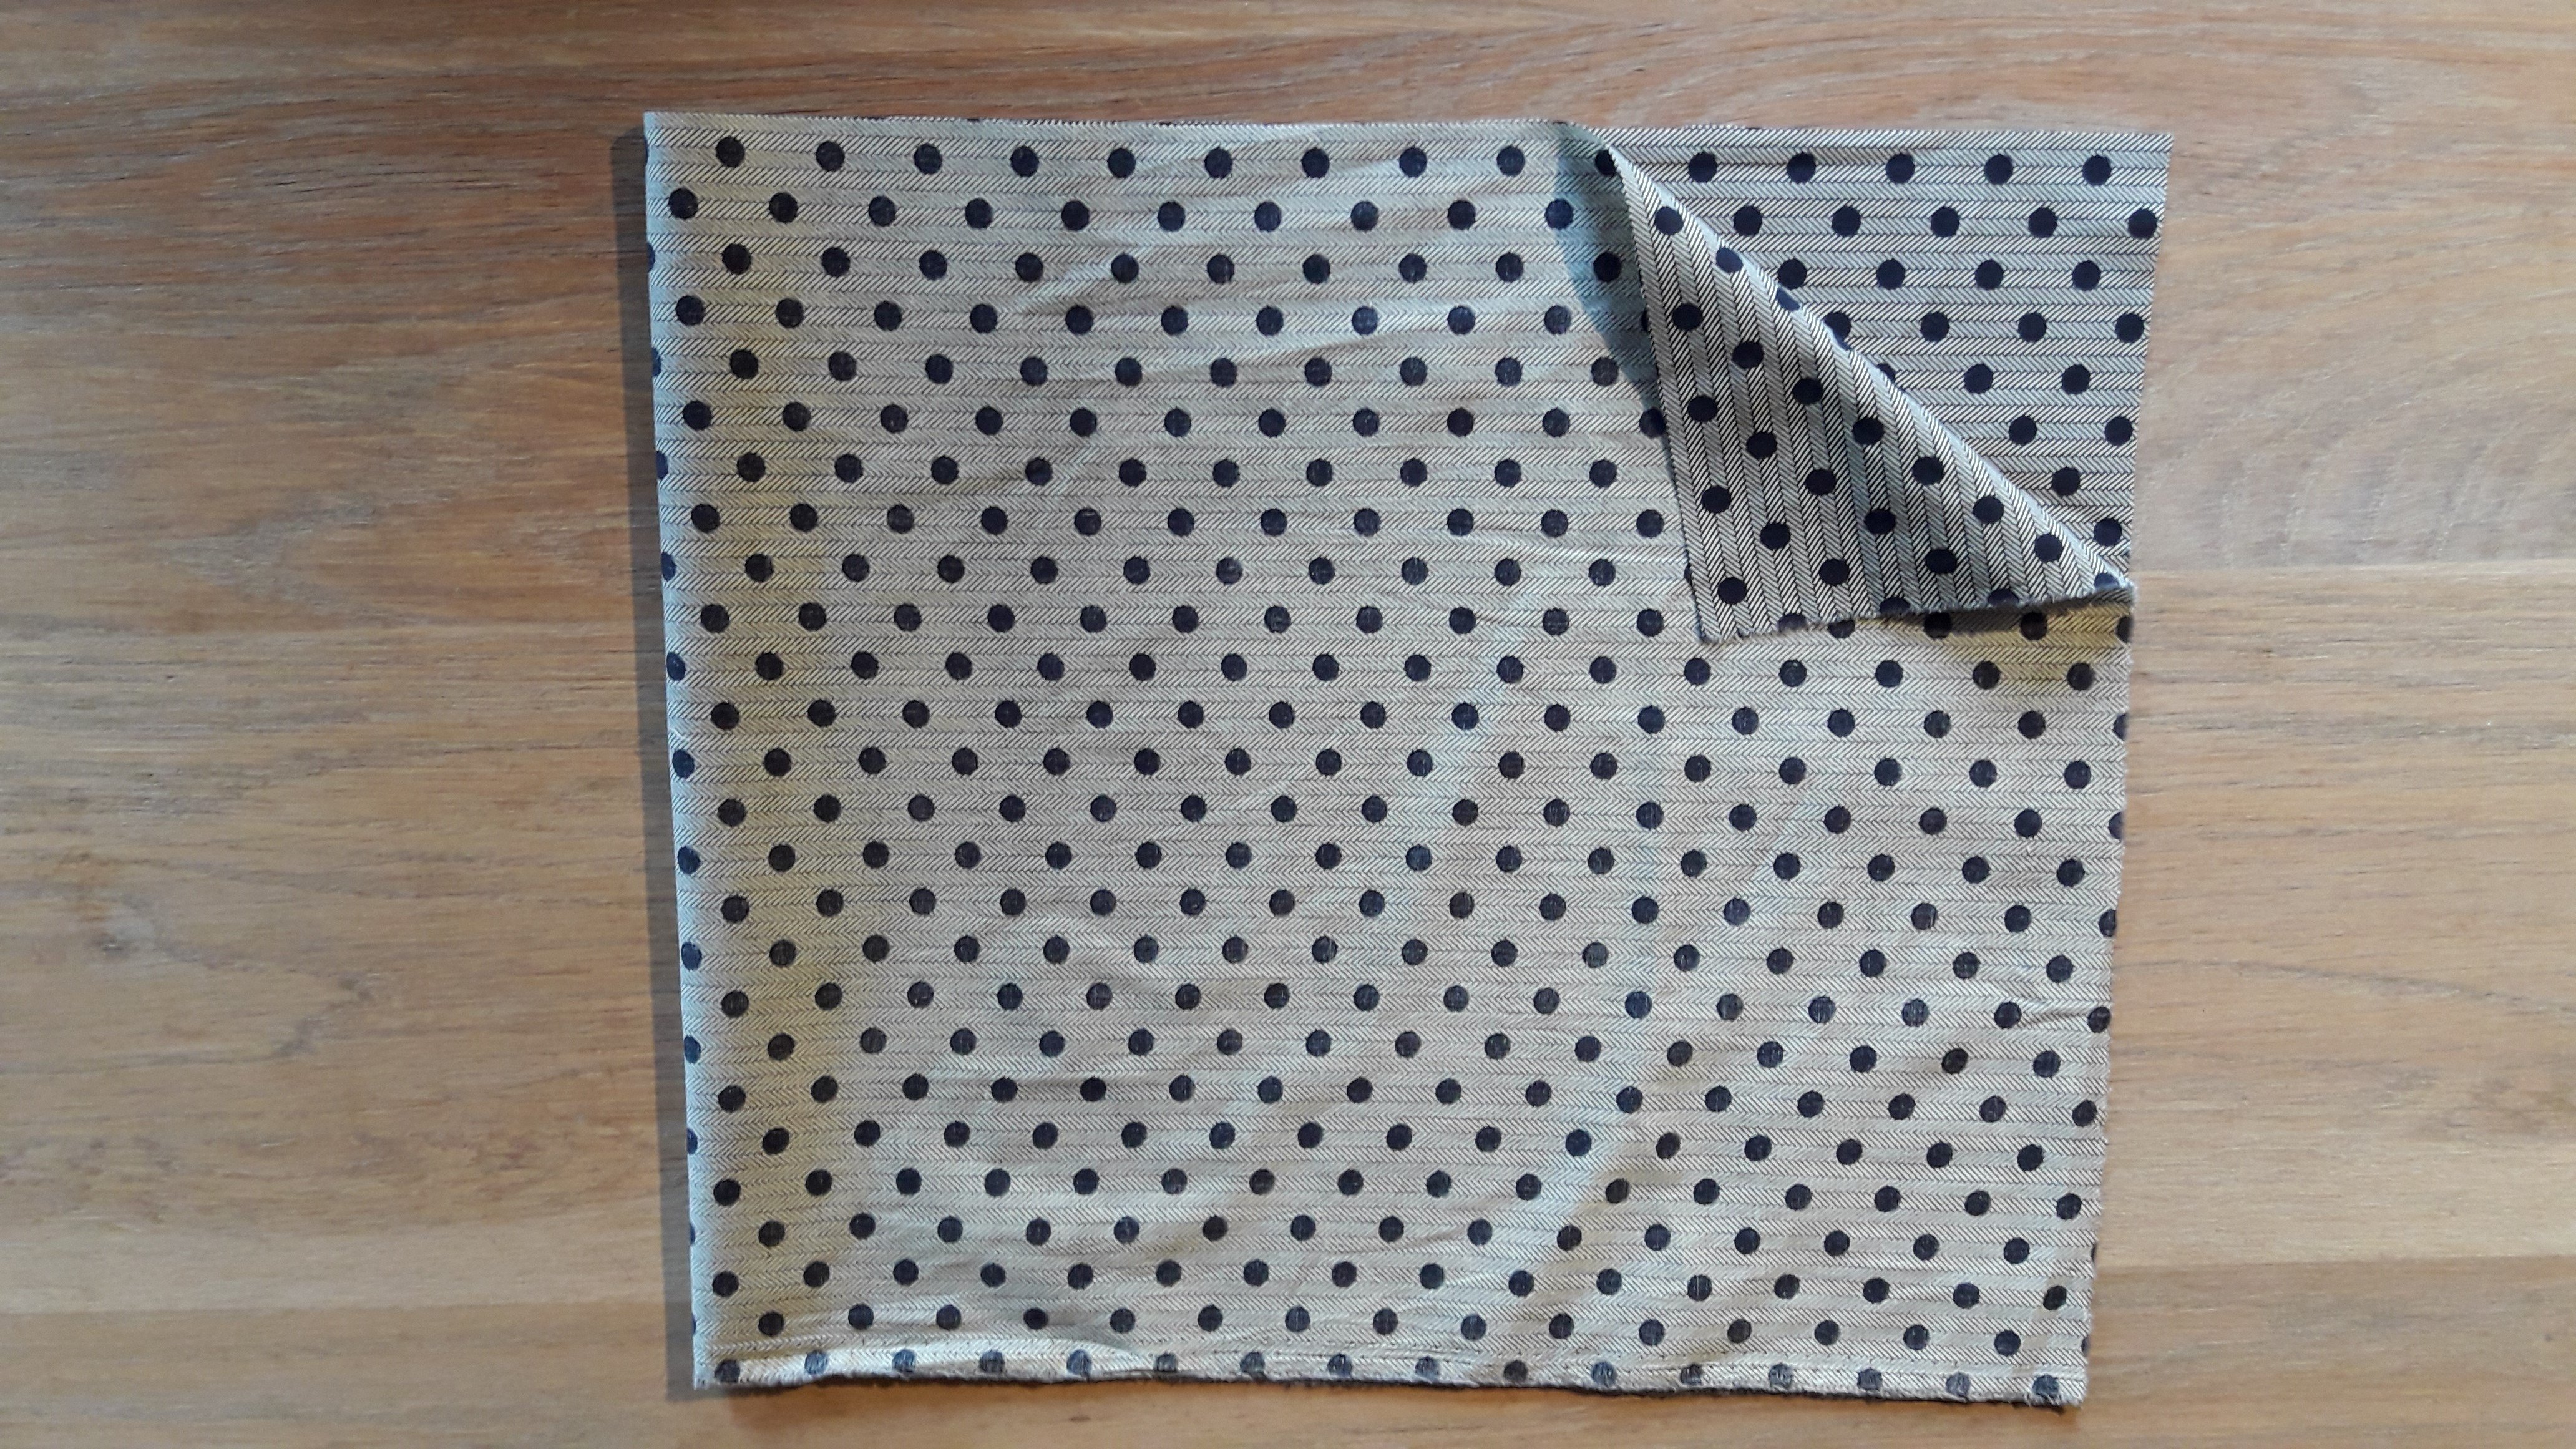
Fold the fabric in two. The right side should be in the fold.
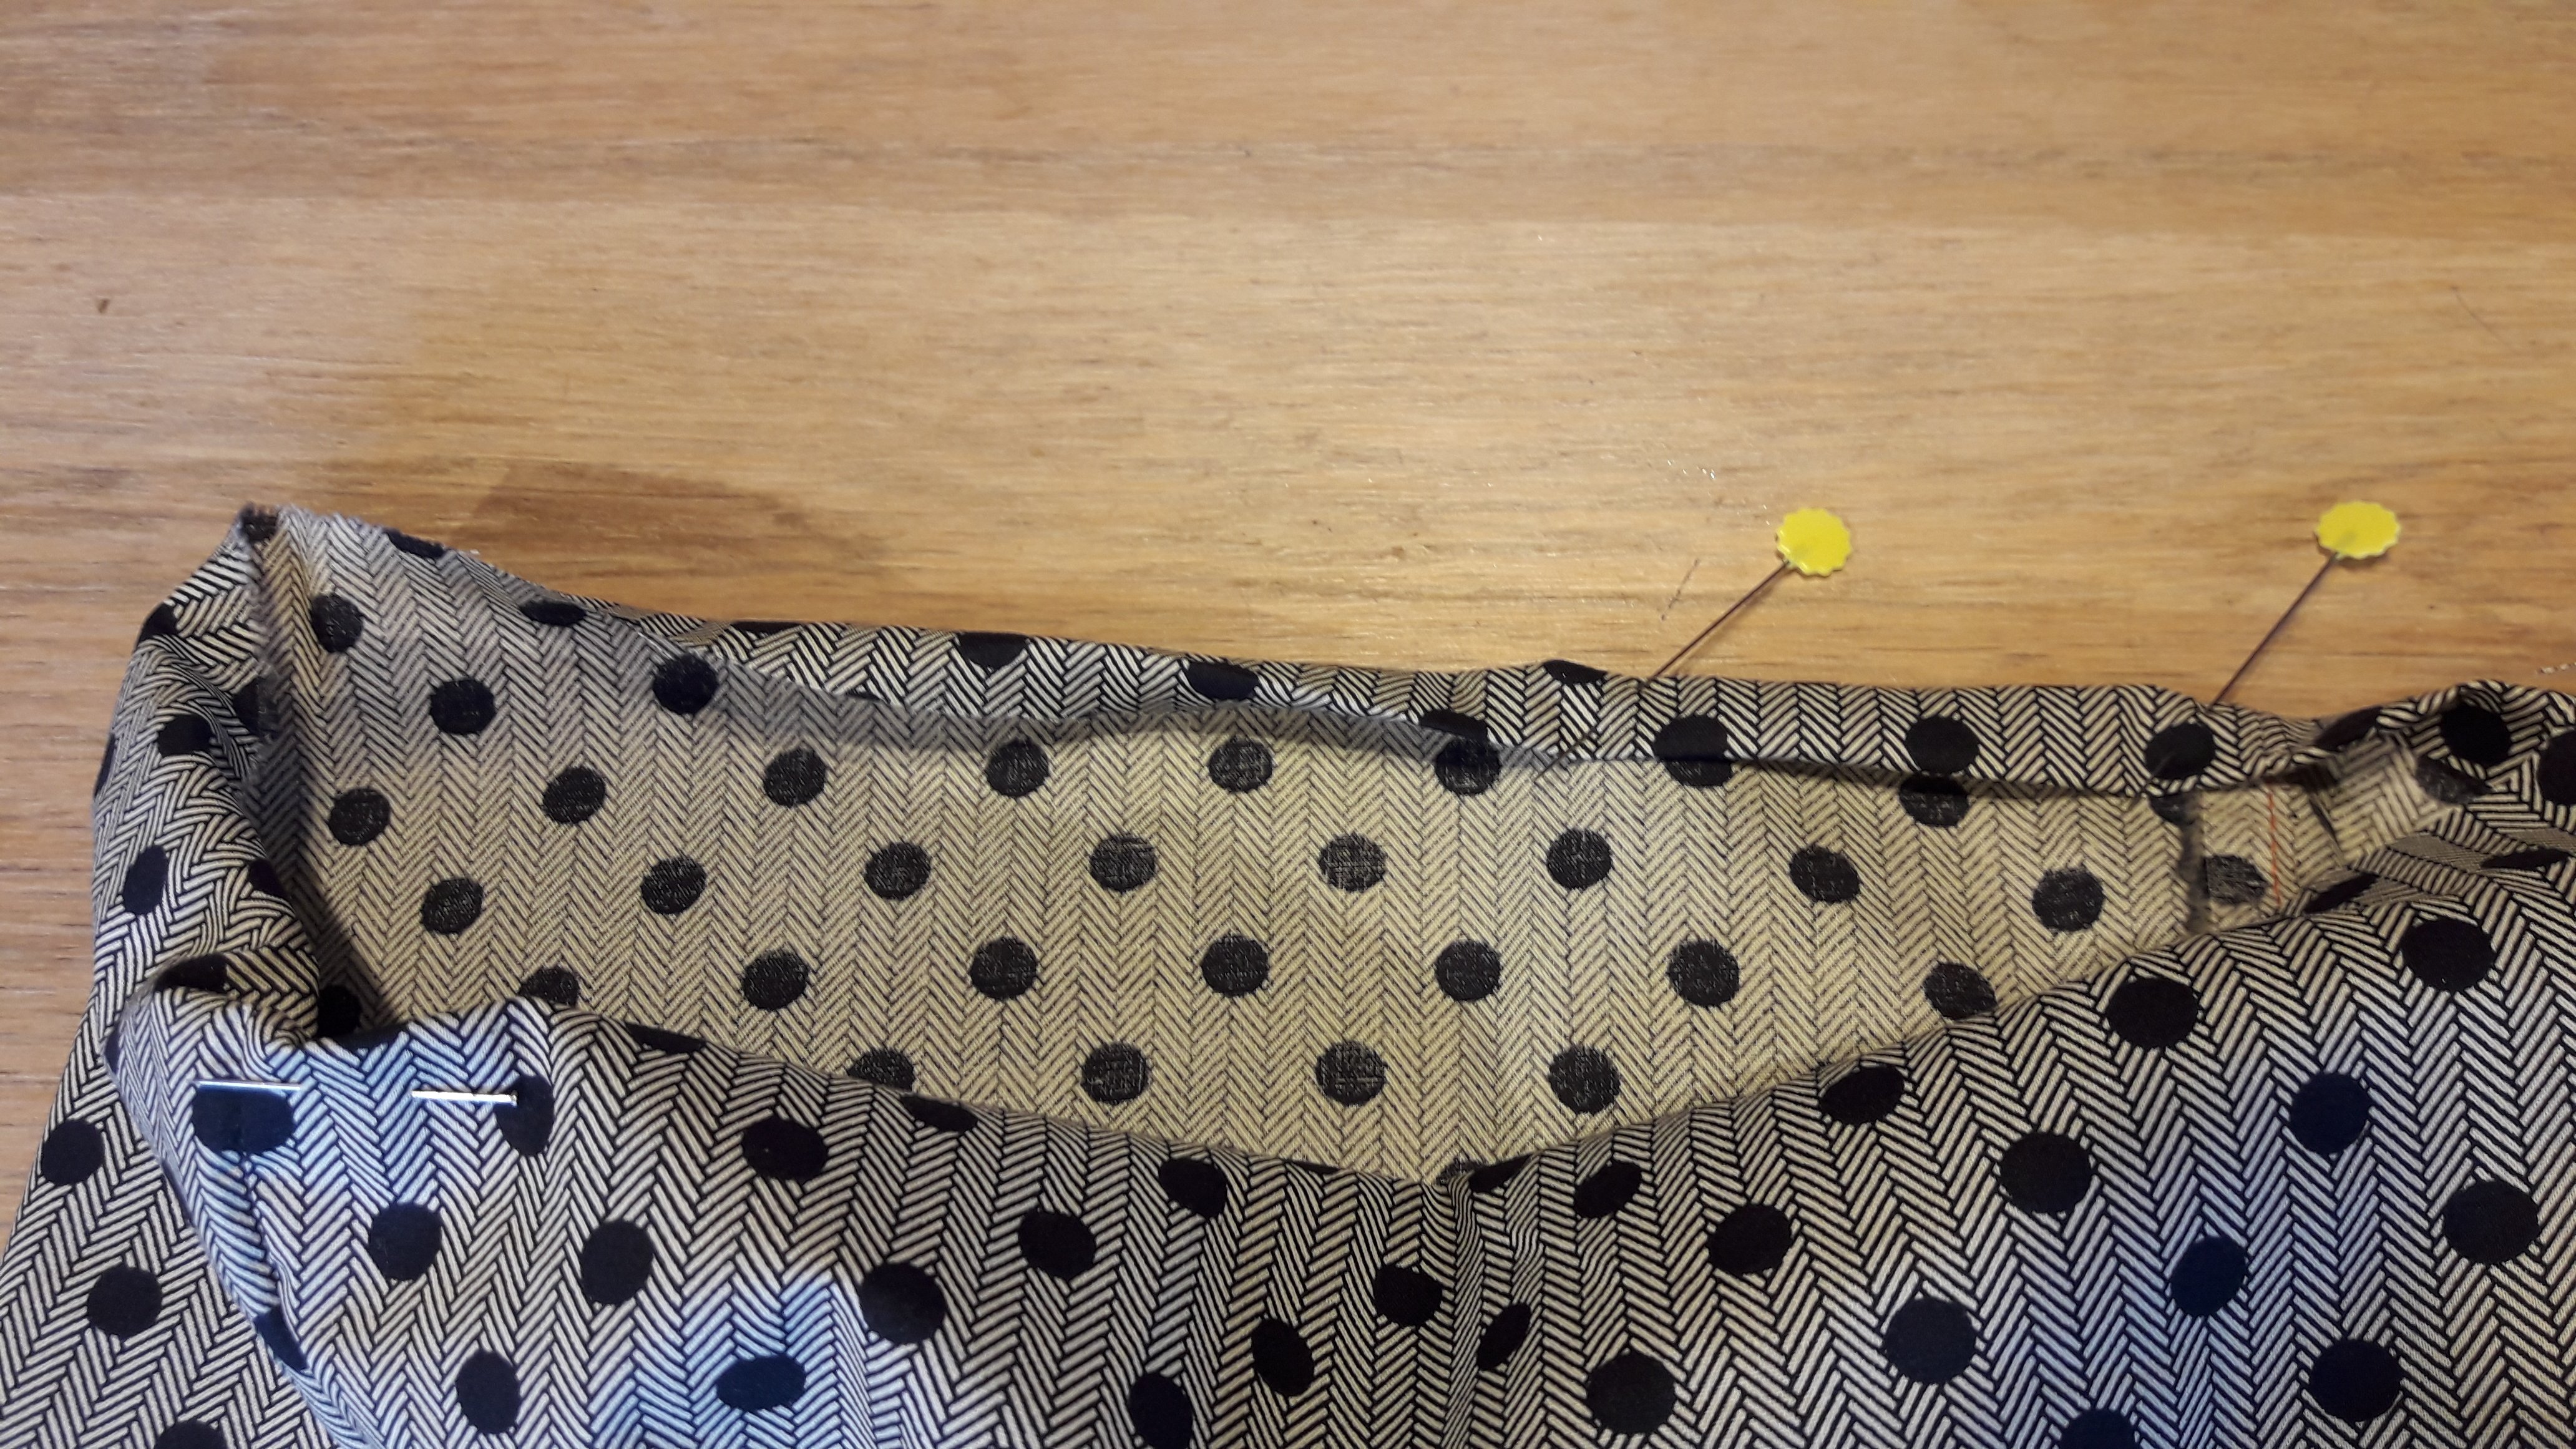
Pin both side seams. Put your pins crosswise among the seam.

Position the double folded tape for the weightlabel (only if you wish to have one ). It is easy to pin it double first.
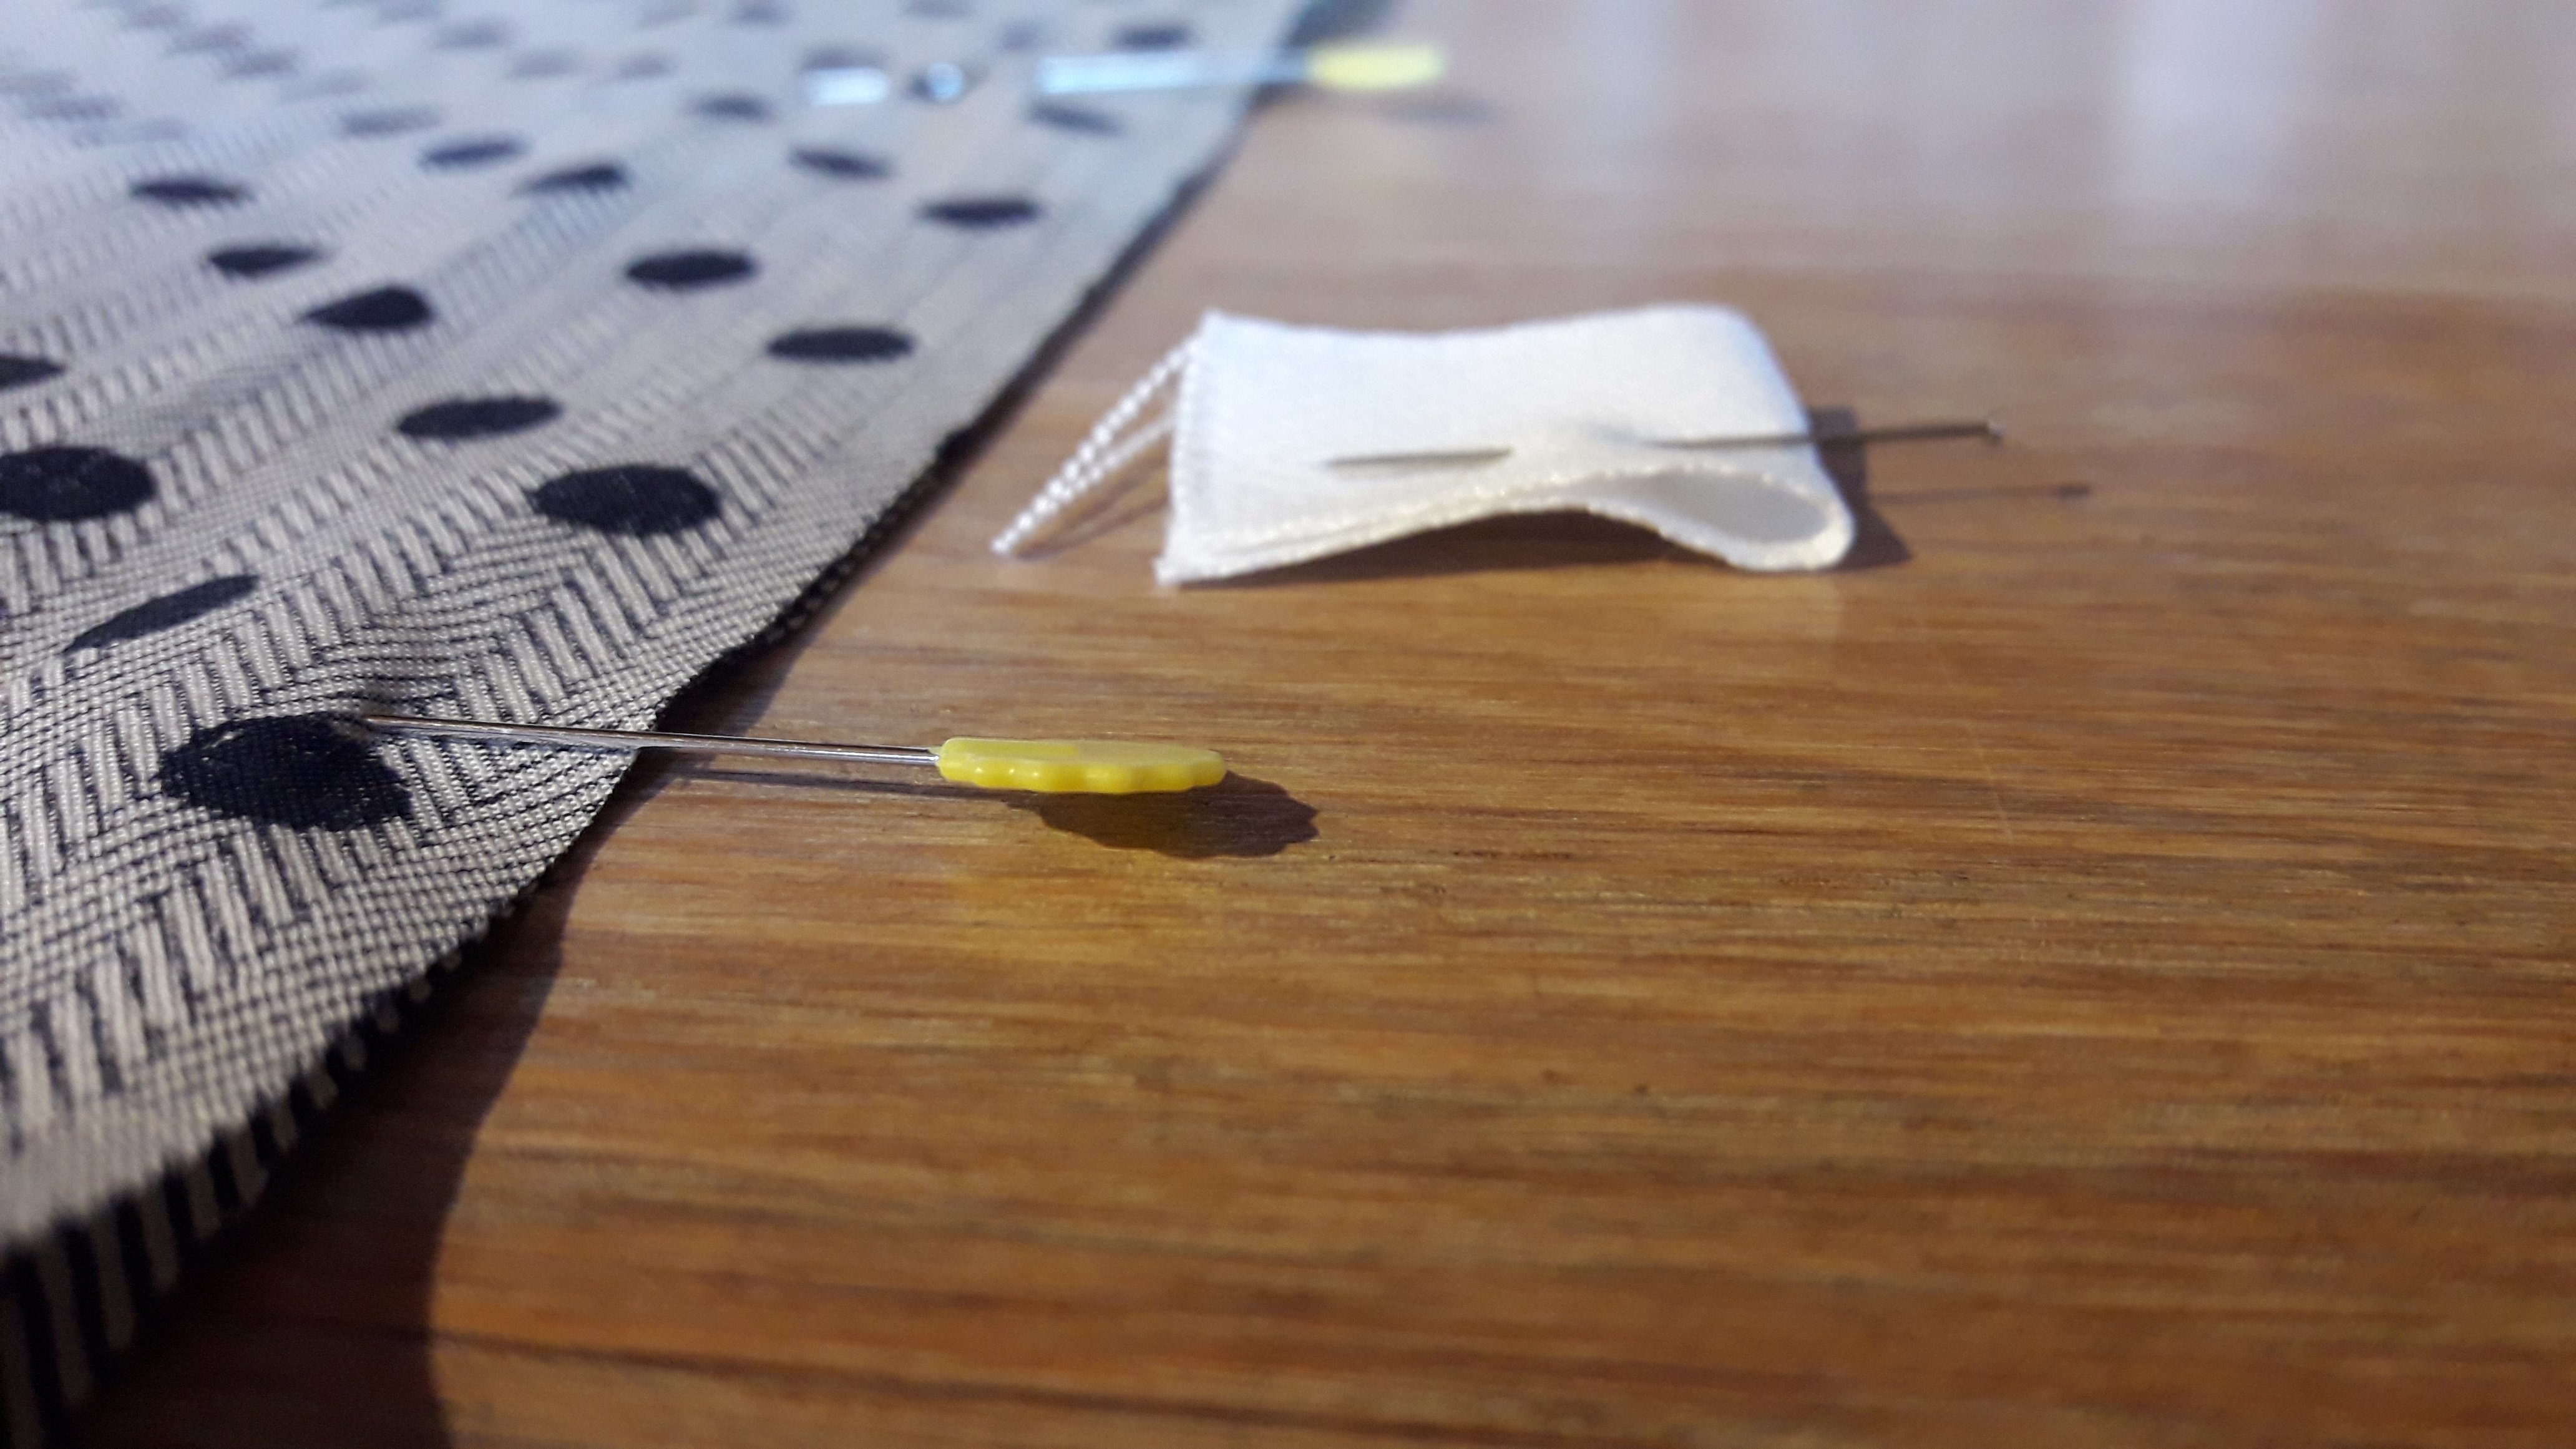
Pin it between the double folded fabric. The fold of the label is on the inside of the fabric.
Close and finish the reusable grocery bag:
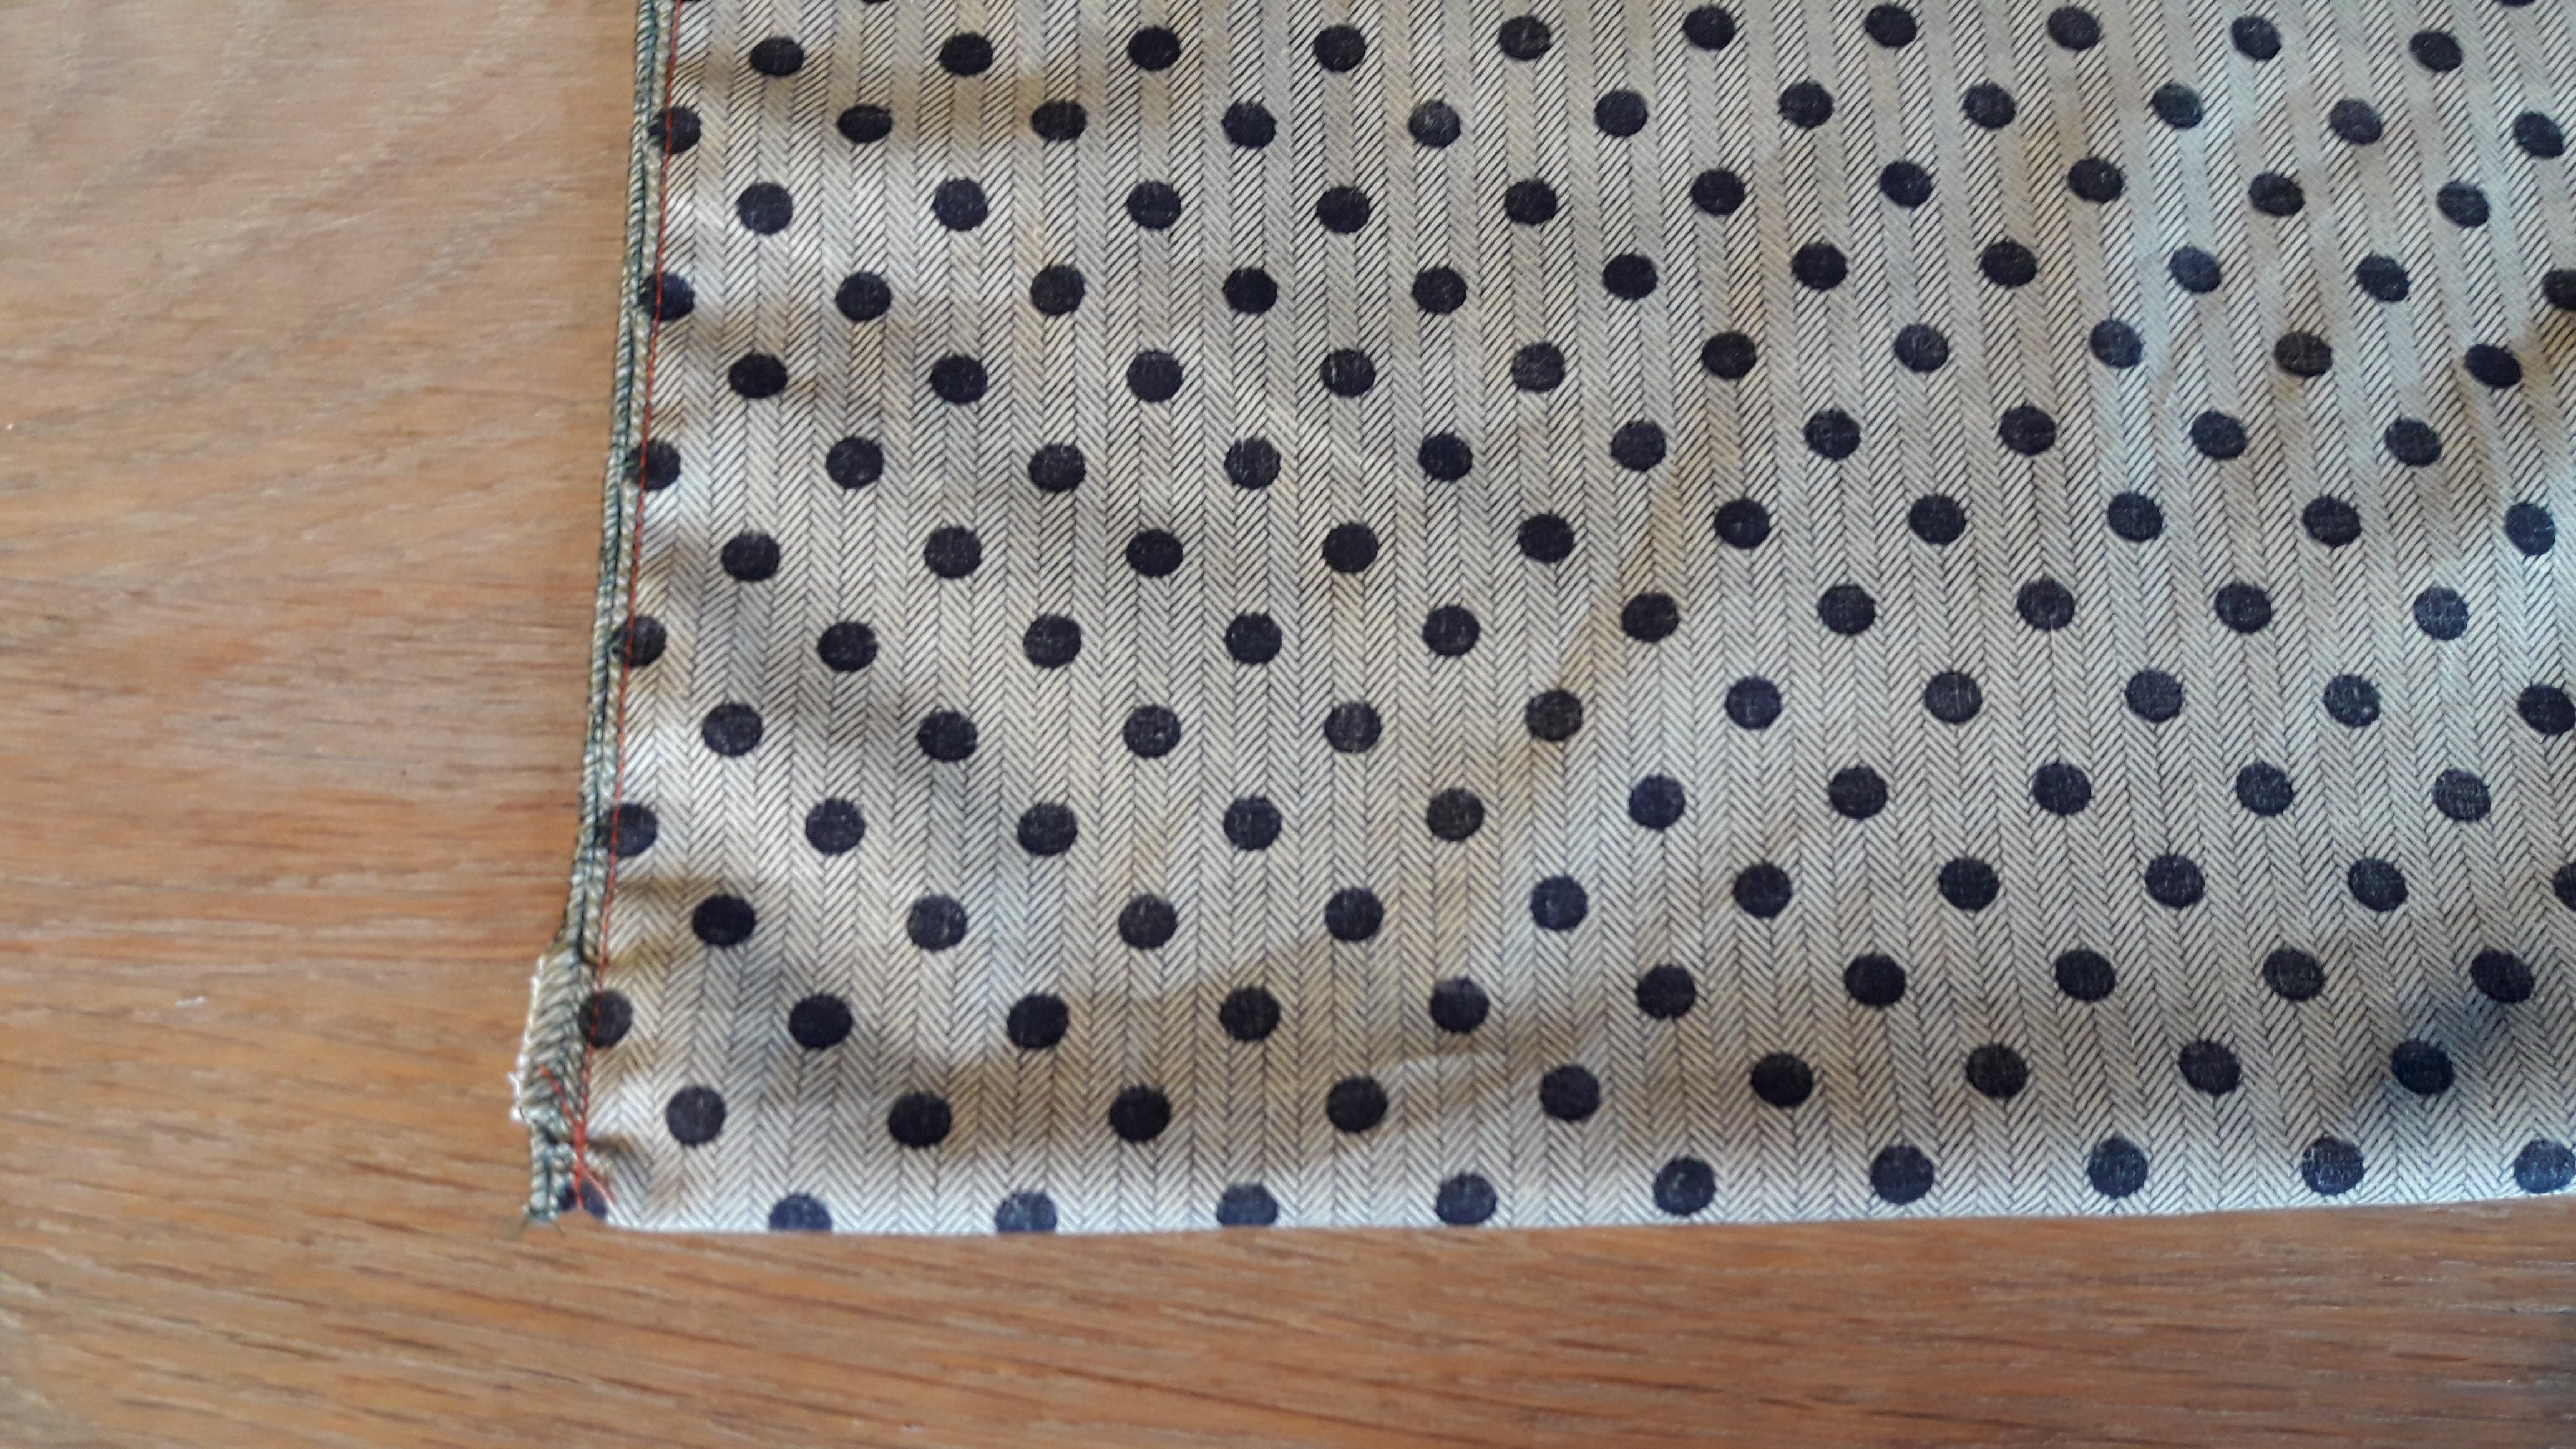
Sew both sideseams. Don’t forget to secure stitches on both sides of the seam.
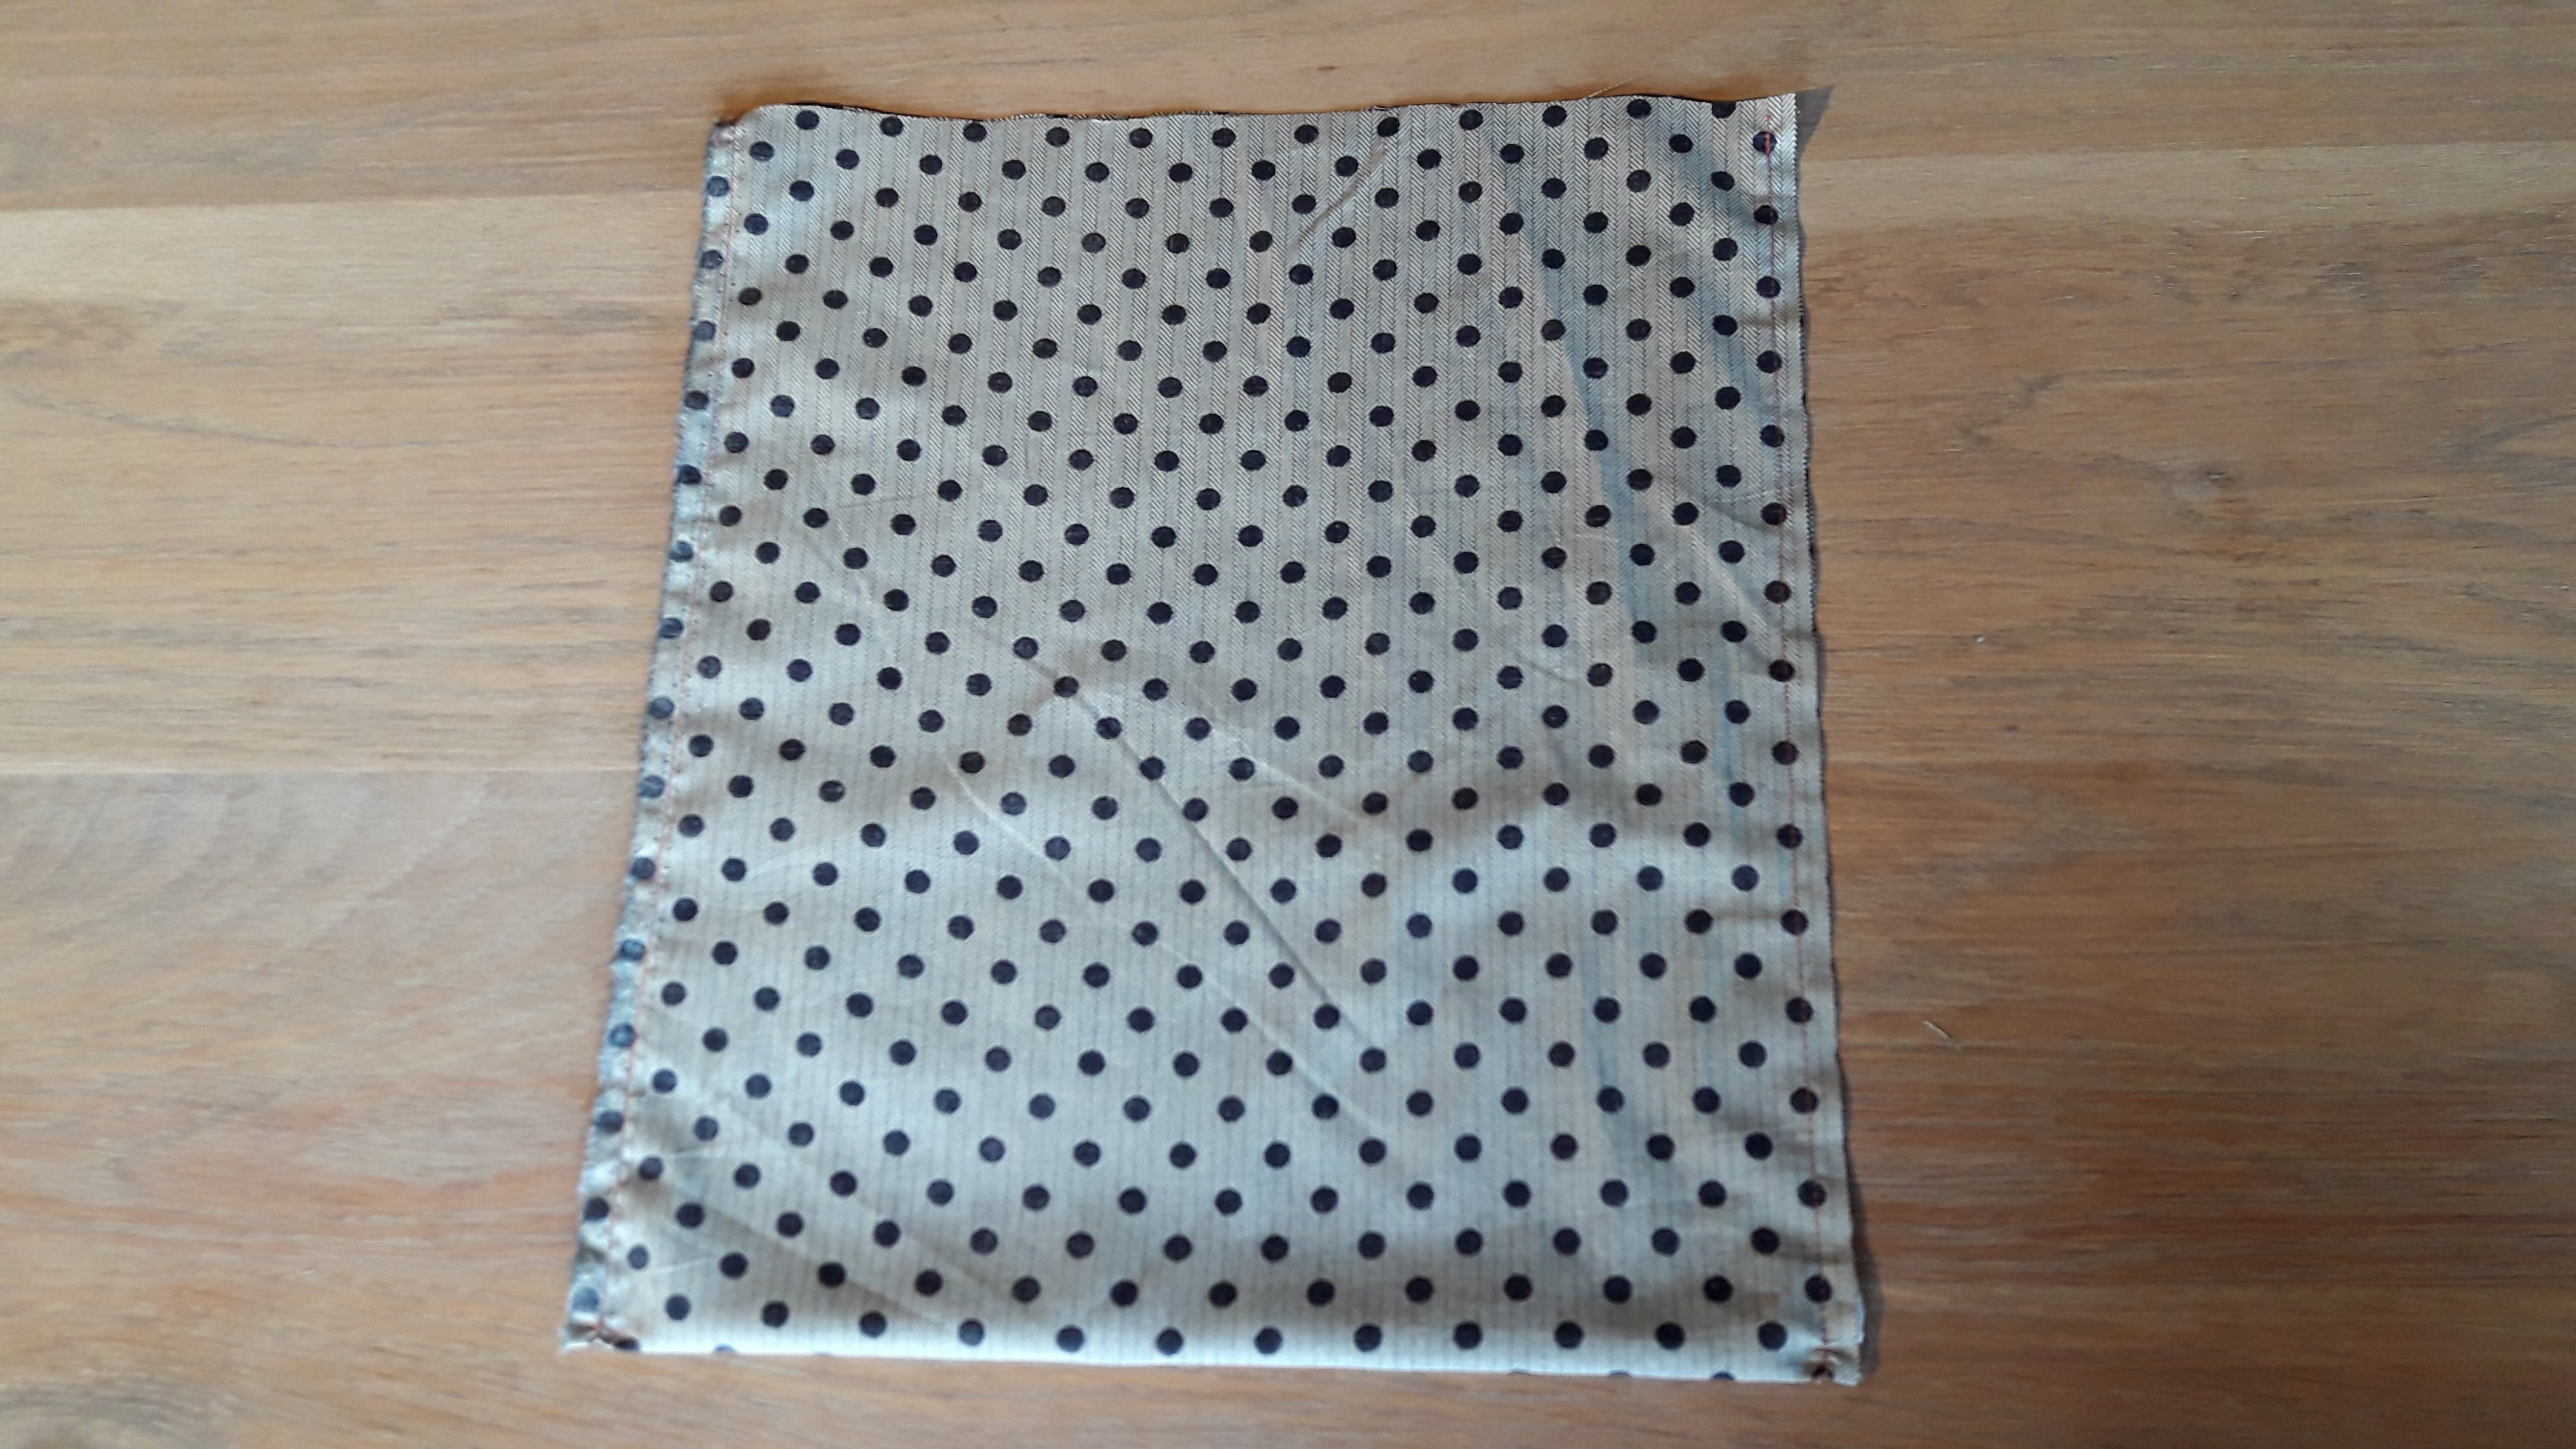
Overlock the seams, or choose for a zigzag stitch. Only overlock the cut edges, to prevent from fraying.
Turn the bag inside out. The right side is out now.
 Fold the open side over for about 1,25 cm and repeat this for another fold. This means that about 2,5 cm is folded. Pin it.
Iron this folded upper side (don’t sew yet).
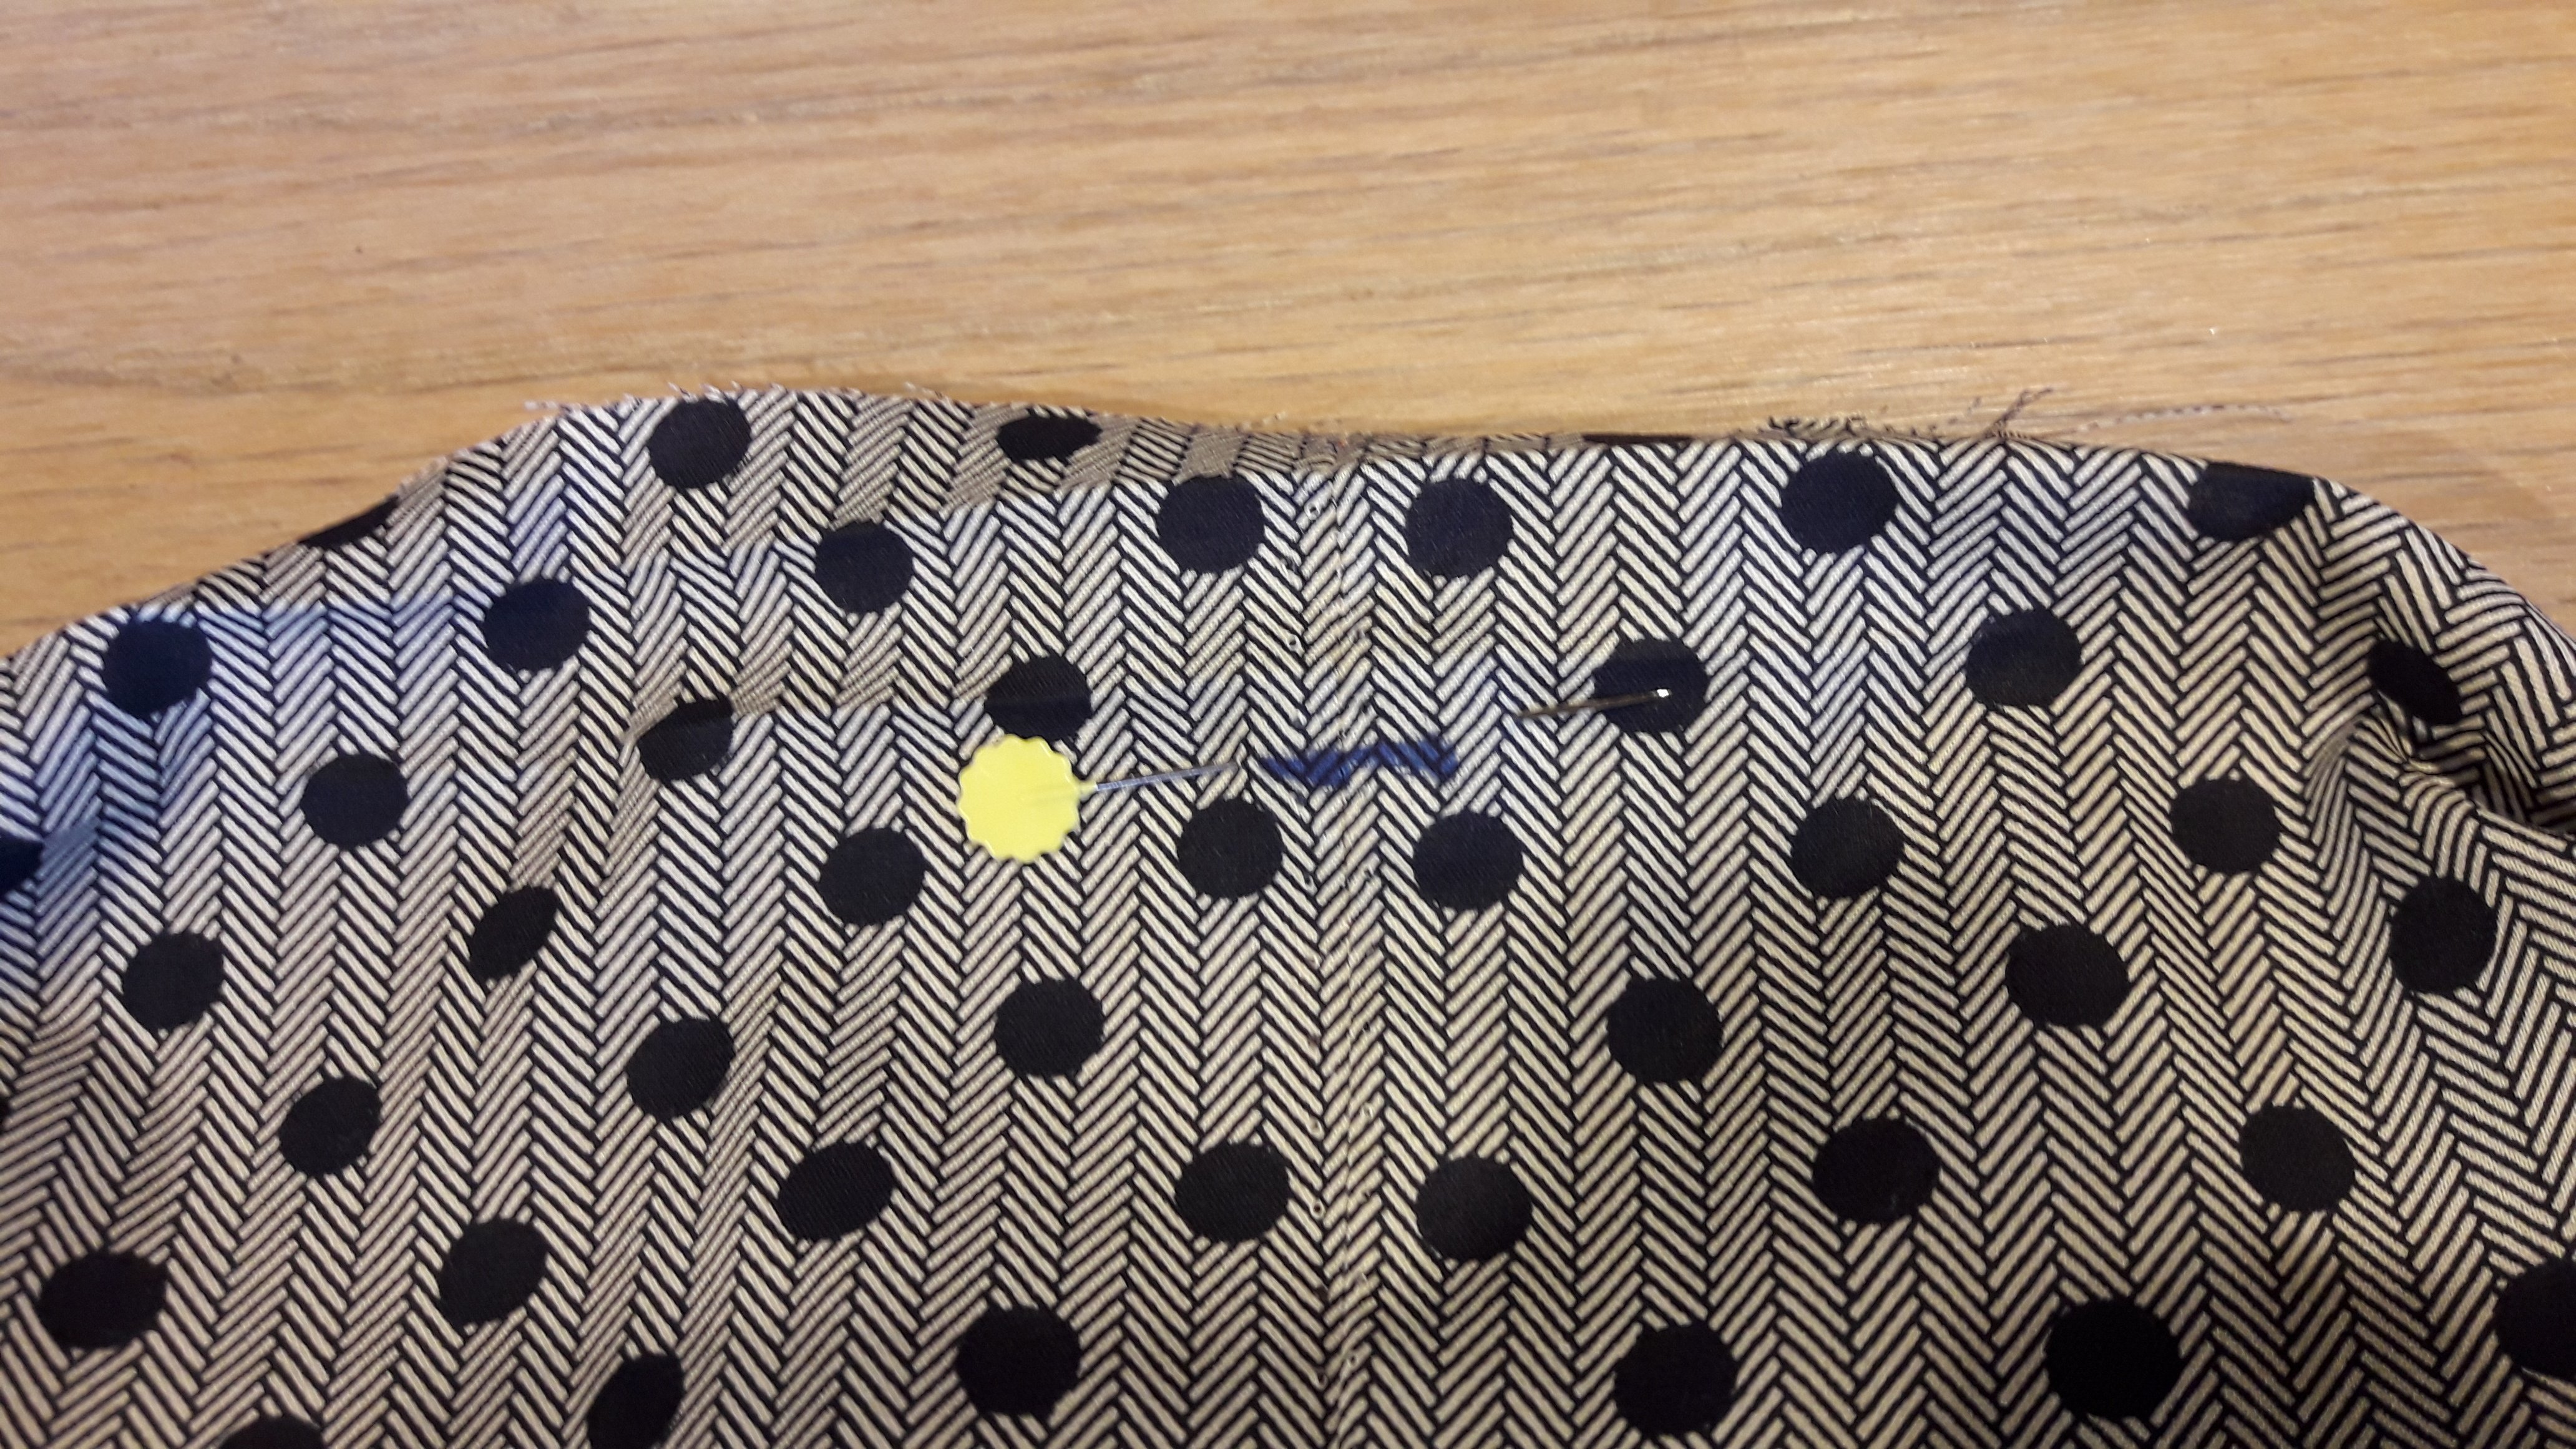
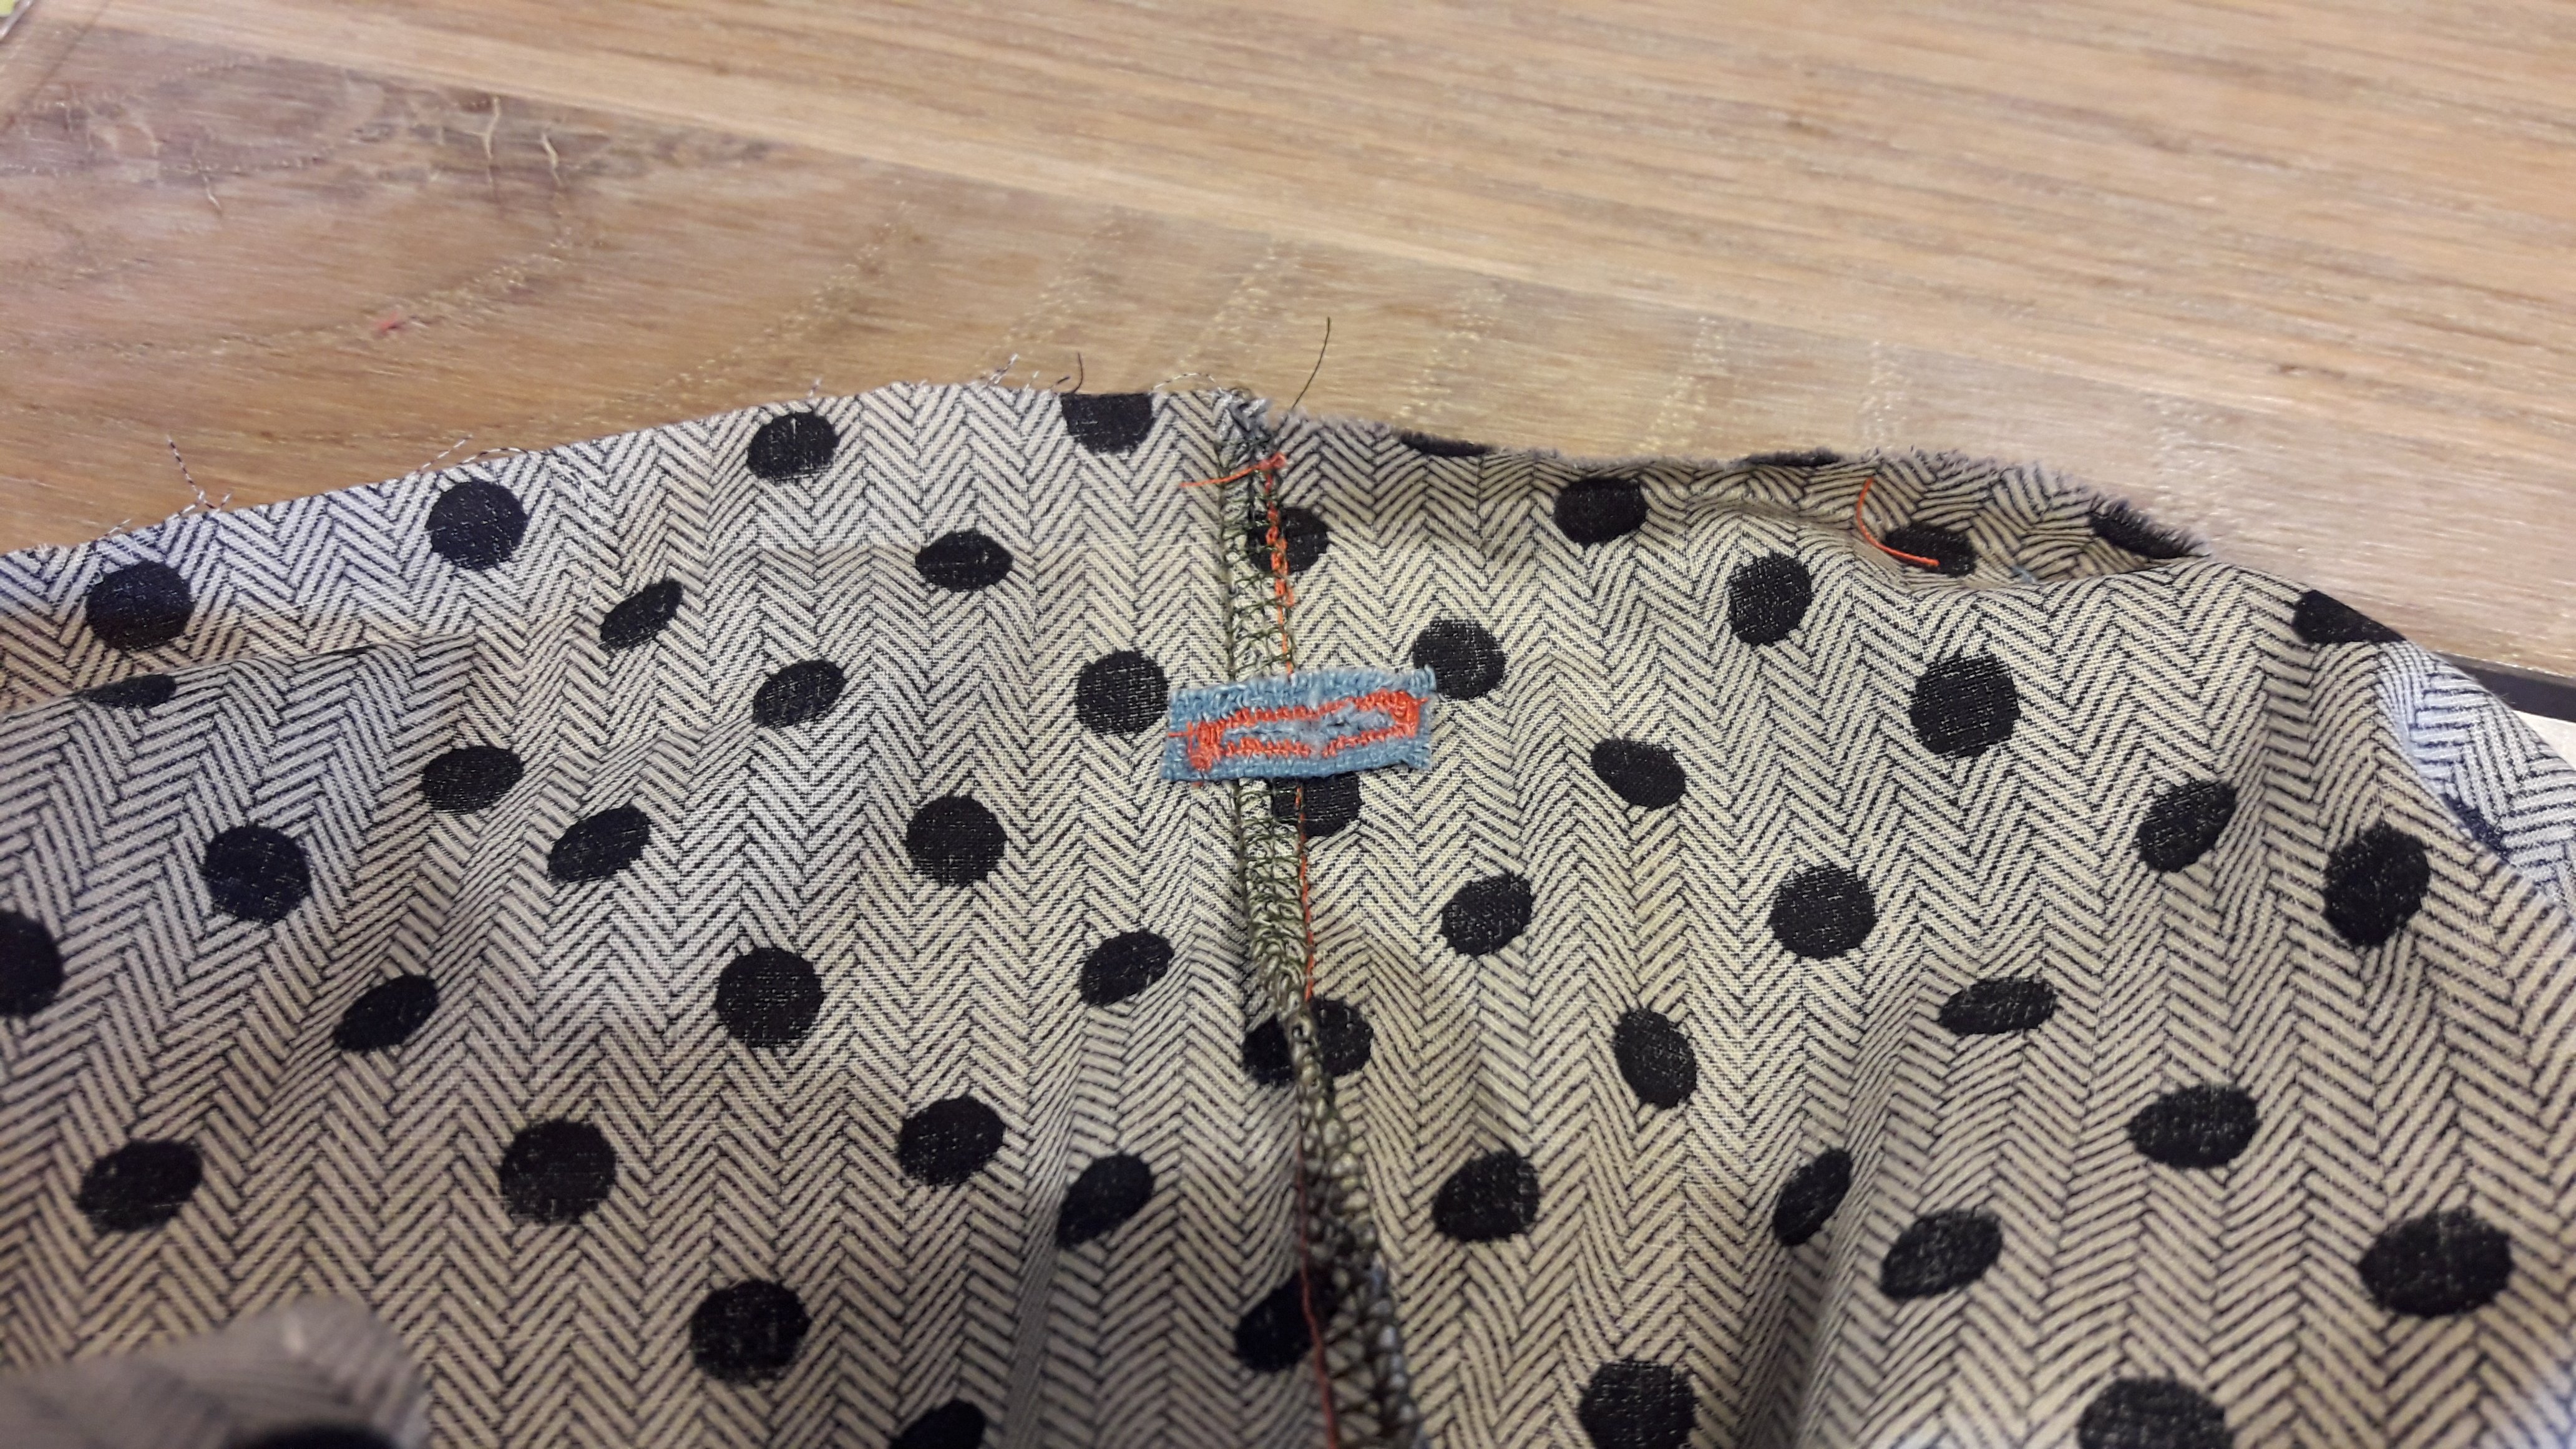
The right place for the buttonhole is about 1/2 cm under the second ironed line. I showed you with a marker line, but you should not draw a line…

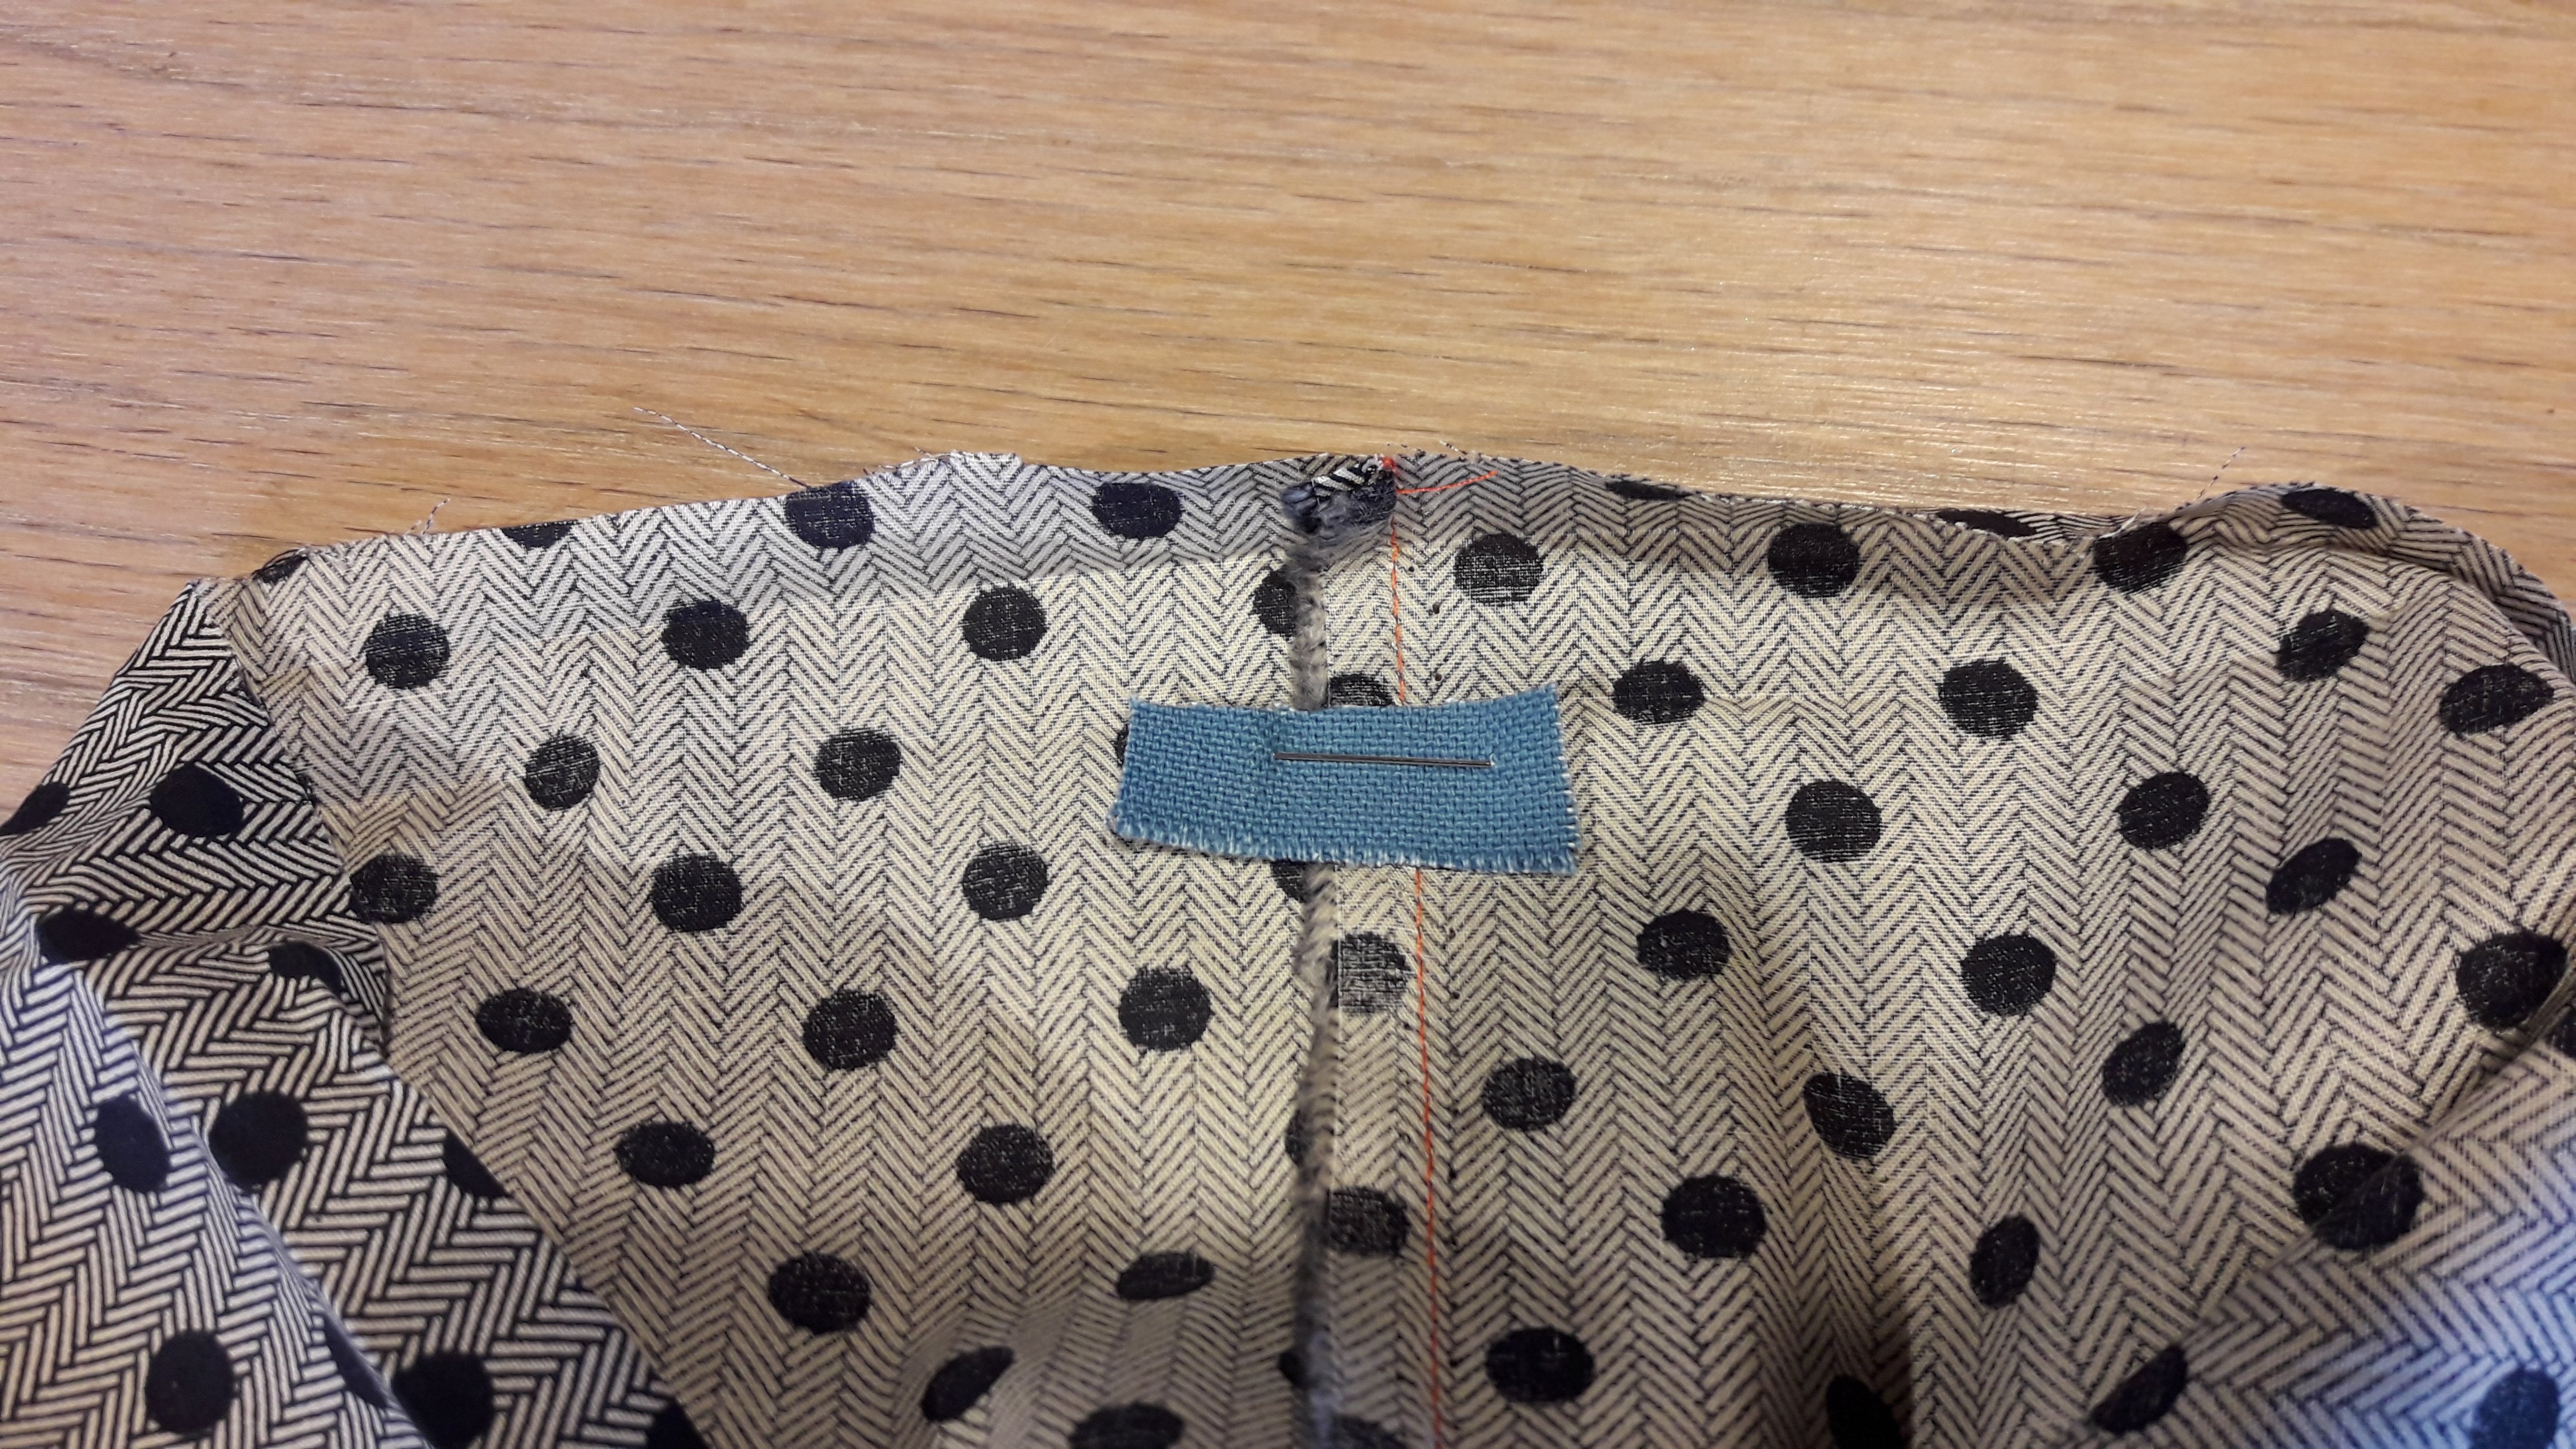
Pin an extra piece of fabric on the inside of the fabric, to make a nice buttonhole.
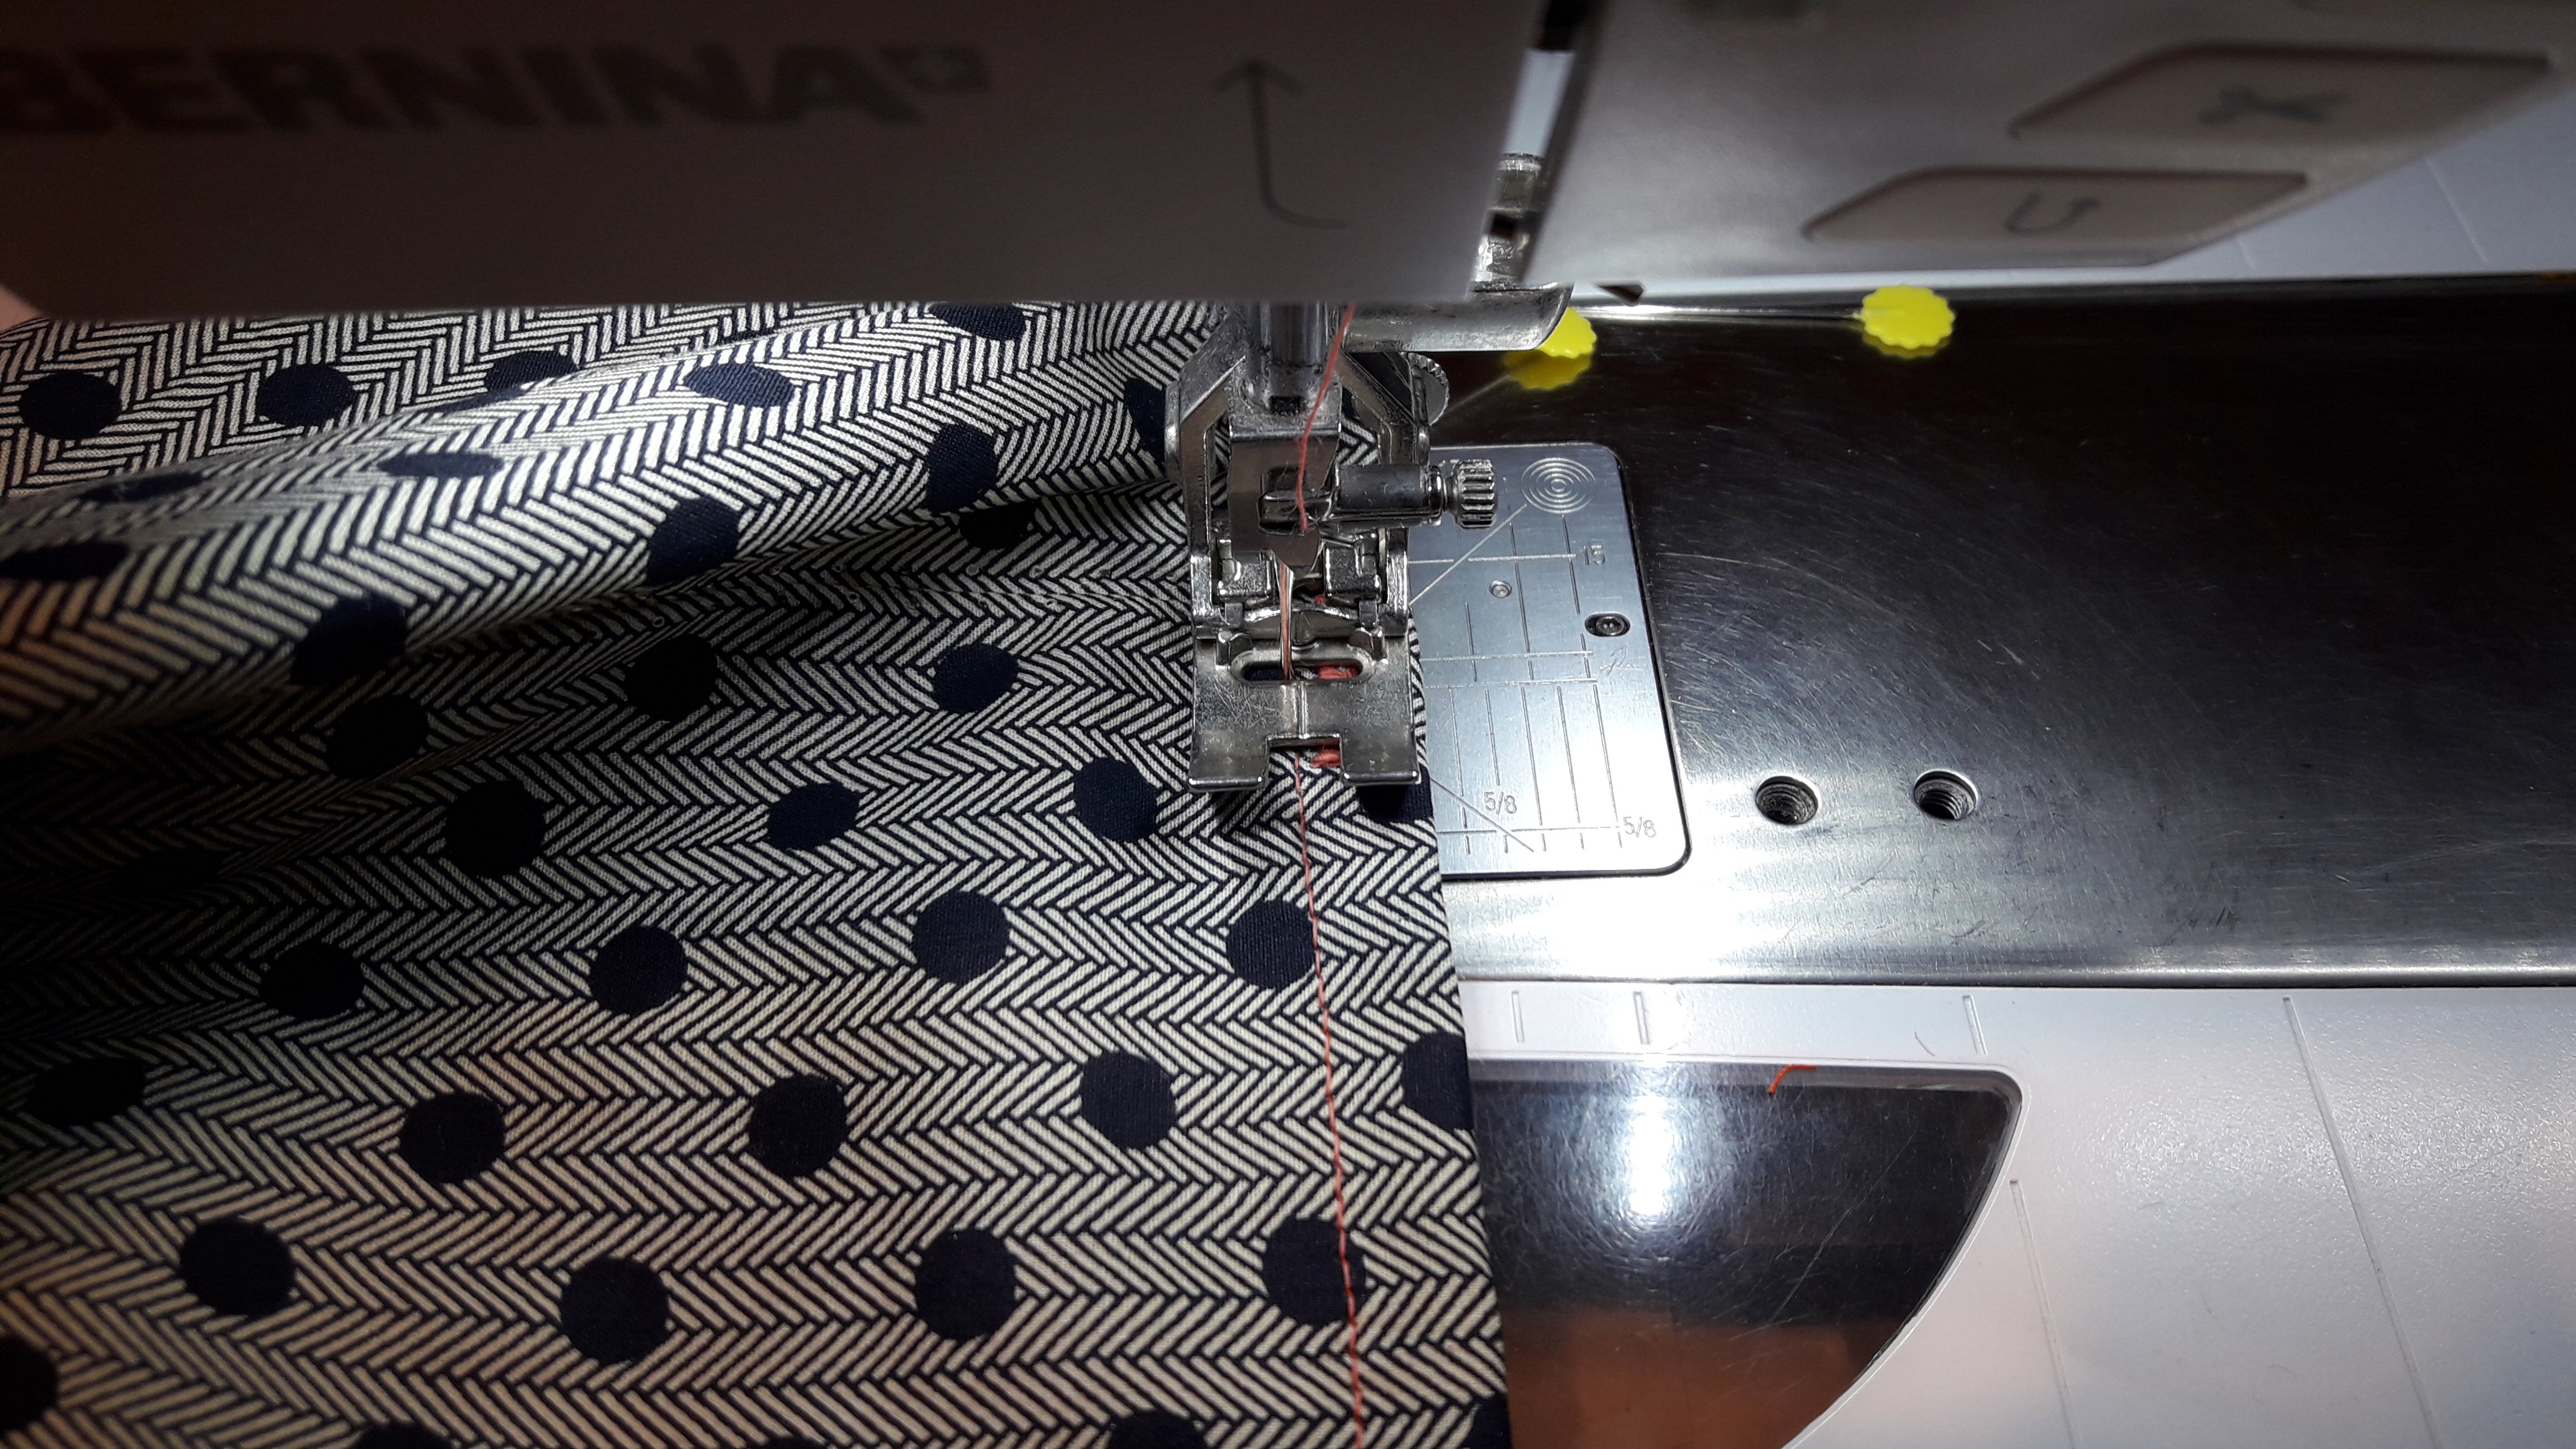
Make both buttonholes, one on each sideseam.
All ins and outs about the buttonhole foot are found here:
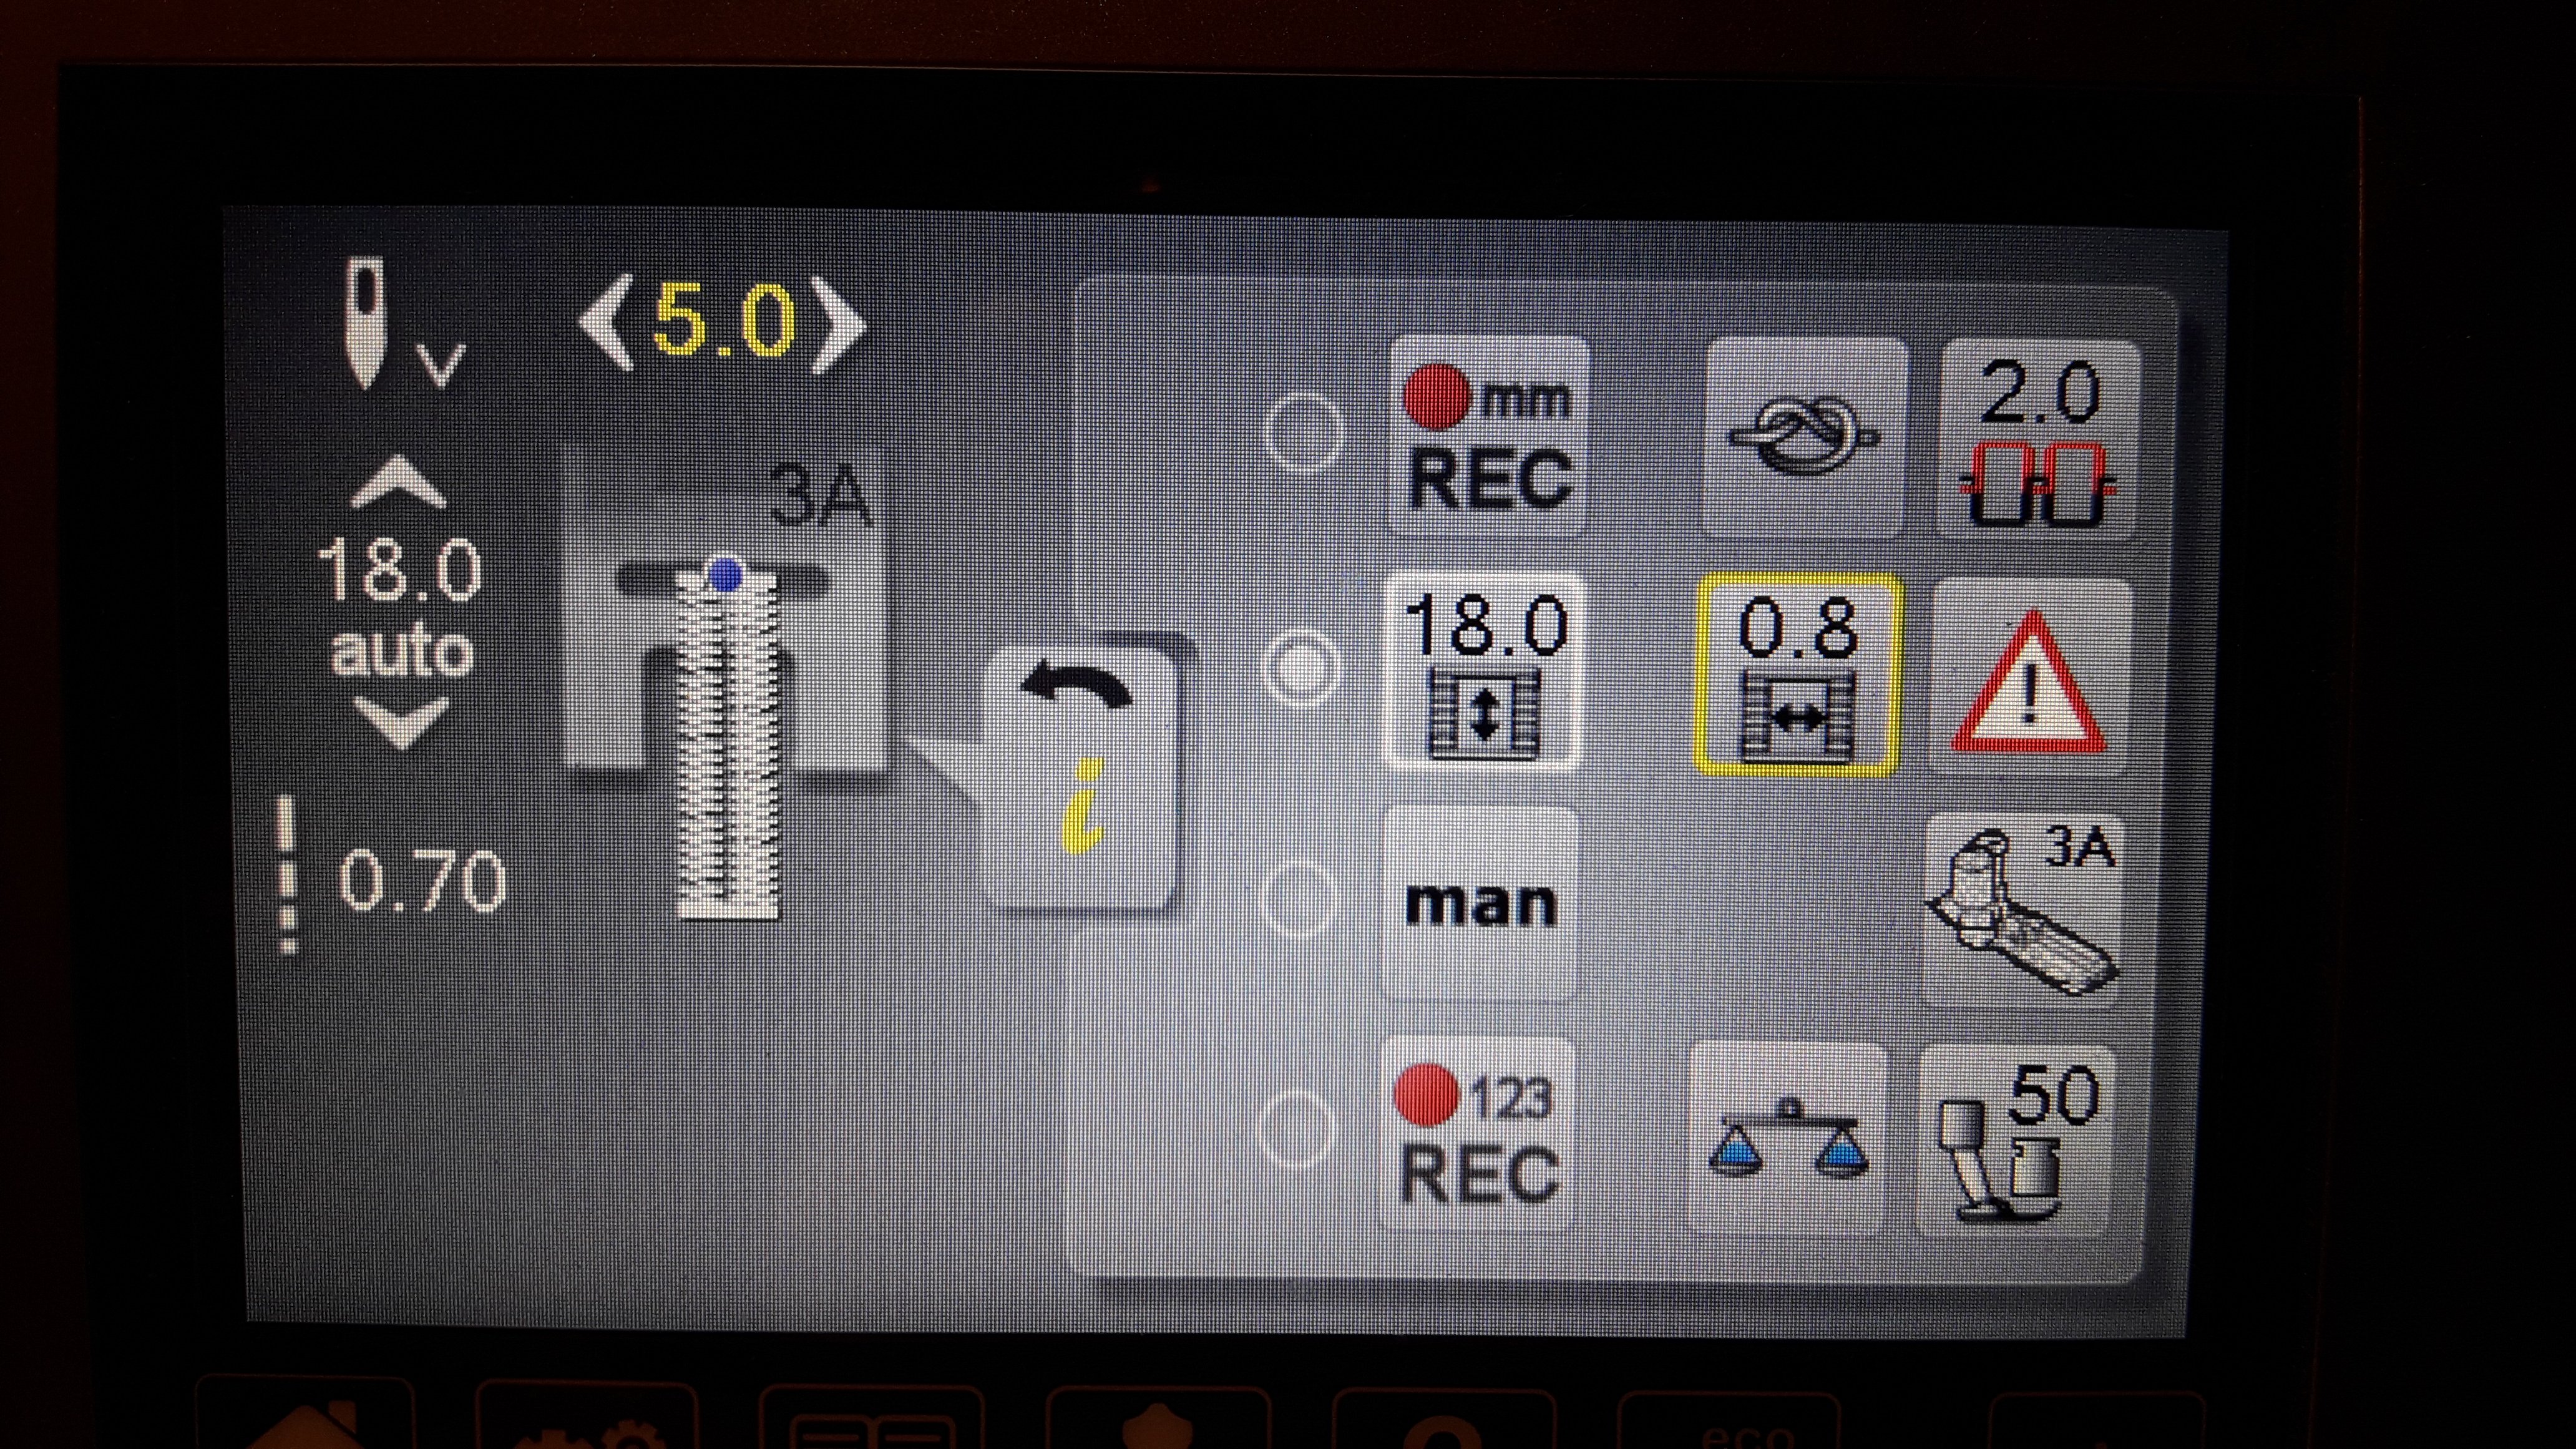
I used these settings for the buttonholes: 18 mm long, width opening 0,8 mm, 5 mm wide.
Cut the buttonhole open afterwards.

Cut away the excess of the stabilizing fabric on the inside:
Fold the upper edge over again, as you ironed it before. Sew it at about 1 cm from the upper edge of the grocery bag.
Finish the grocery bag:
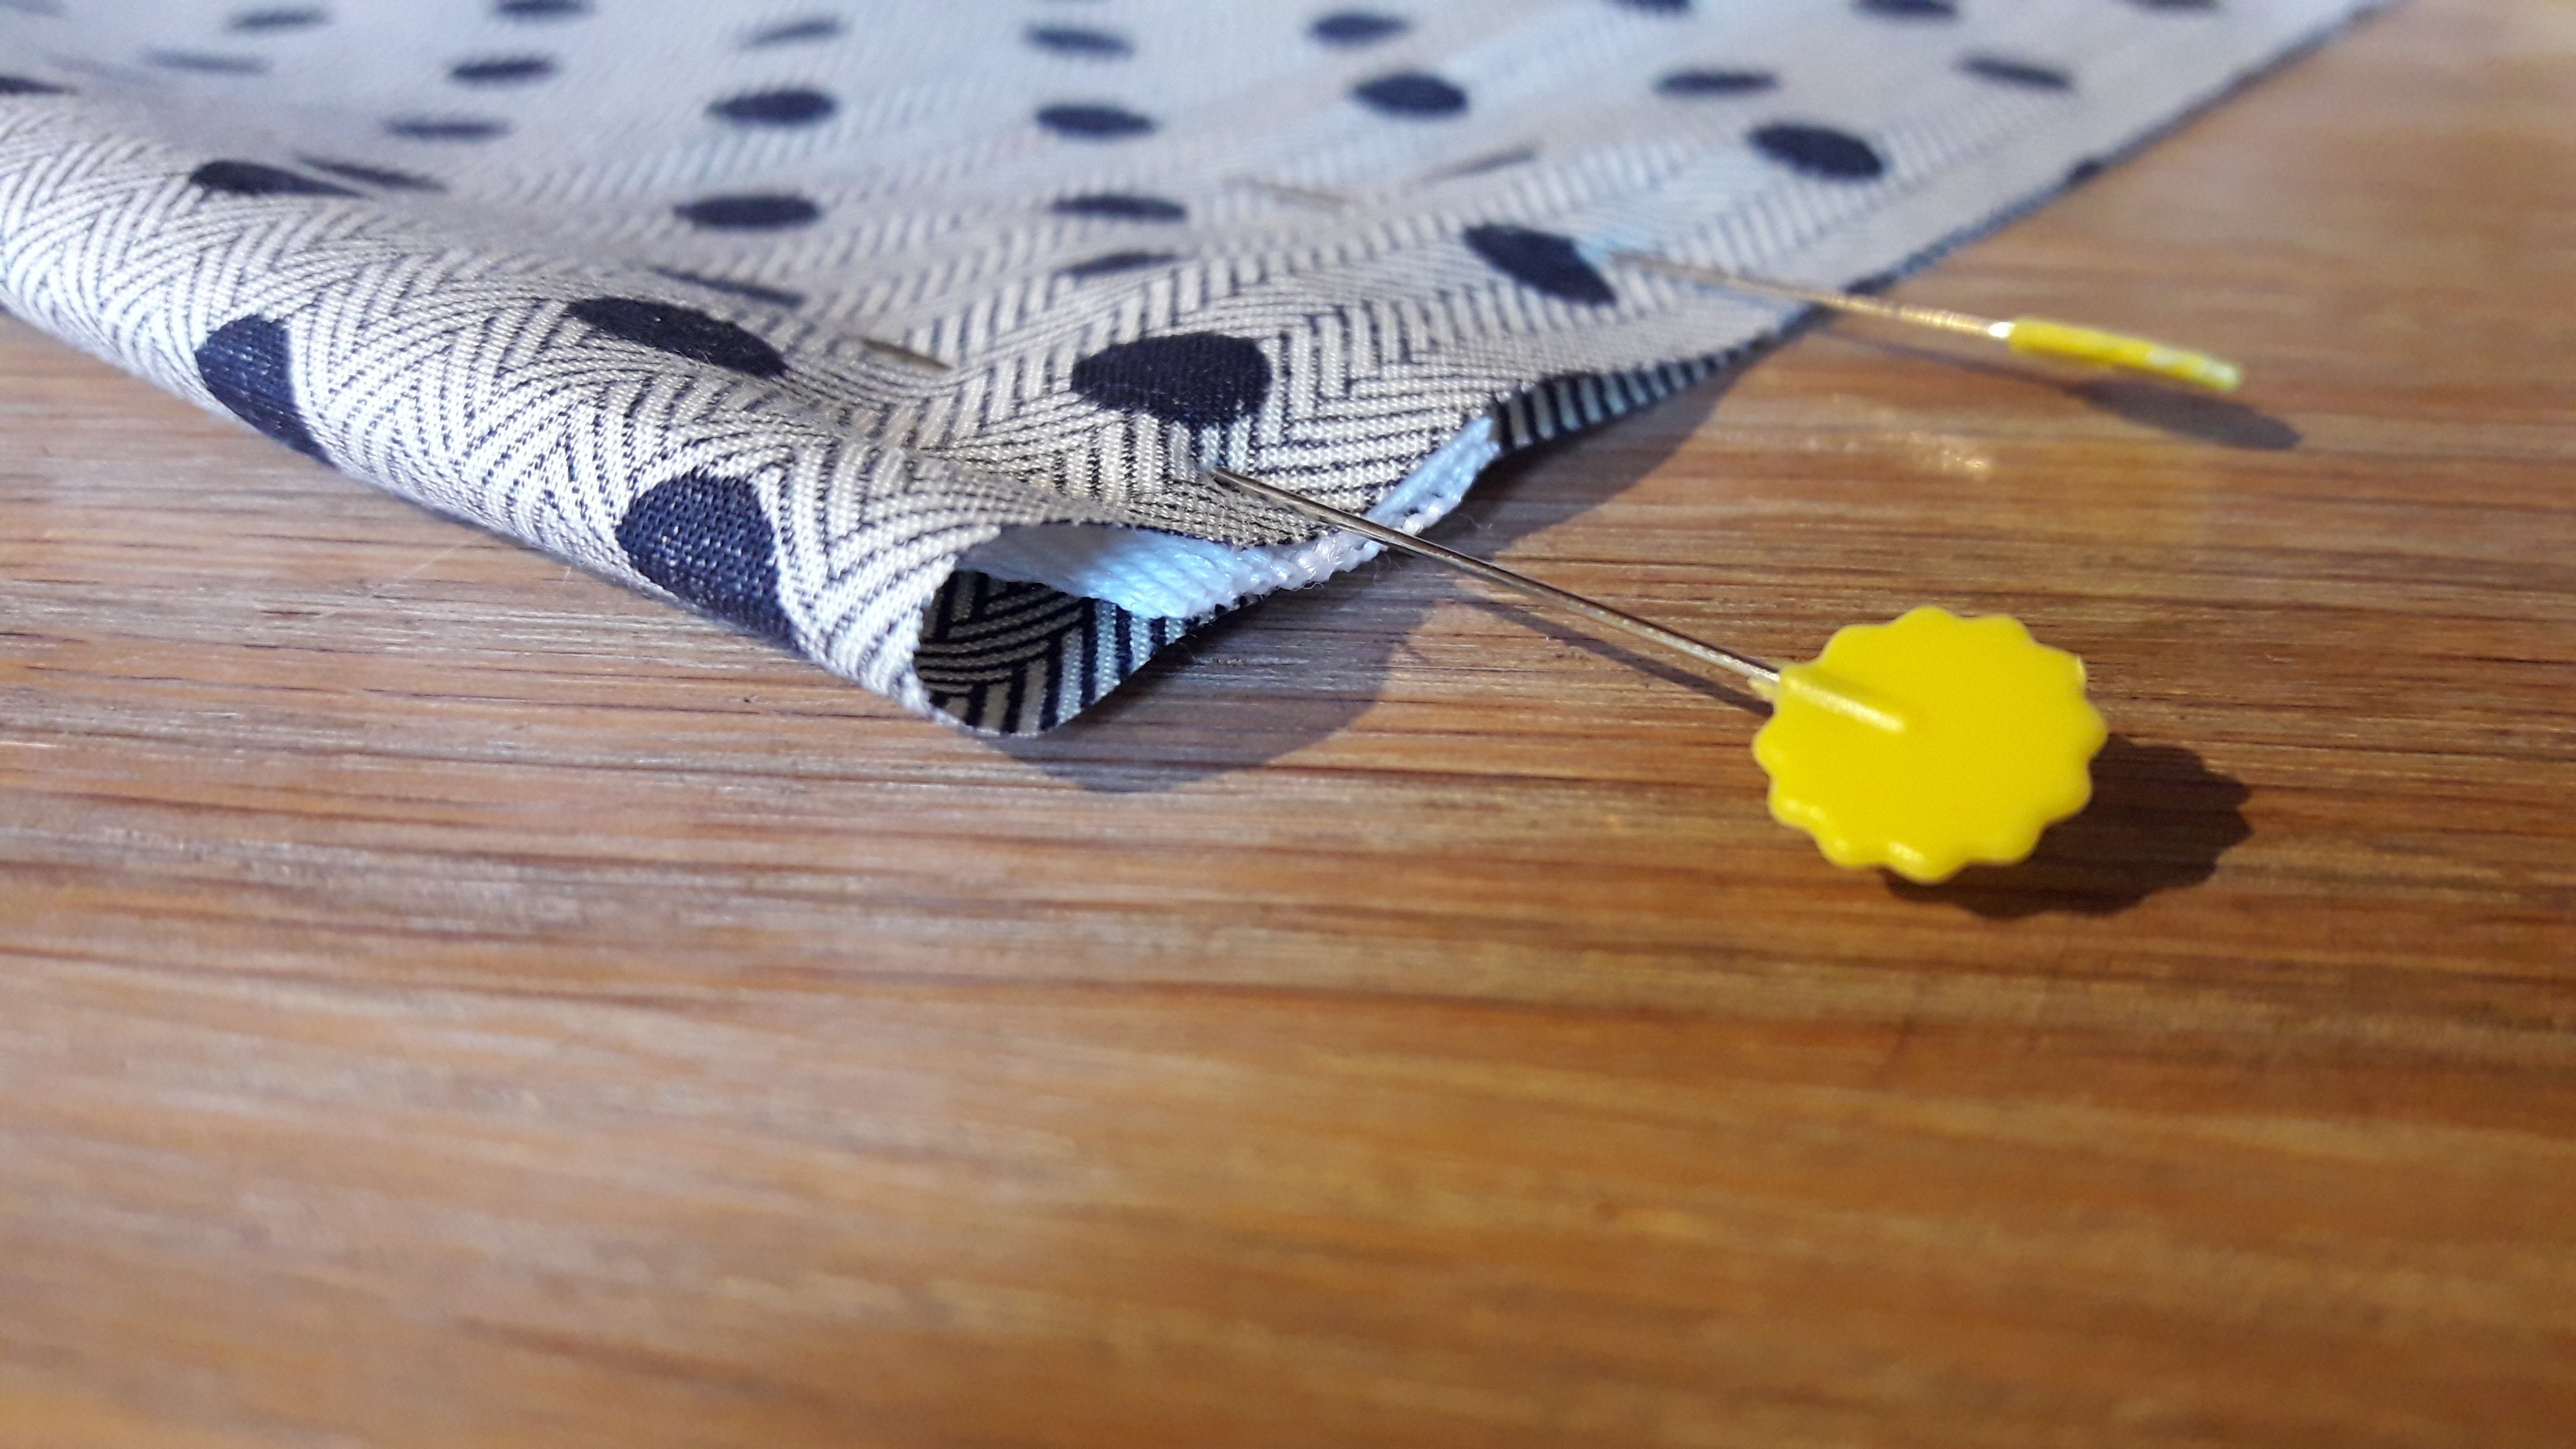
Now put the safety pin through the cord of ribbon and go all along the tunnel.
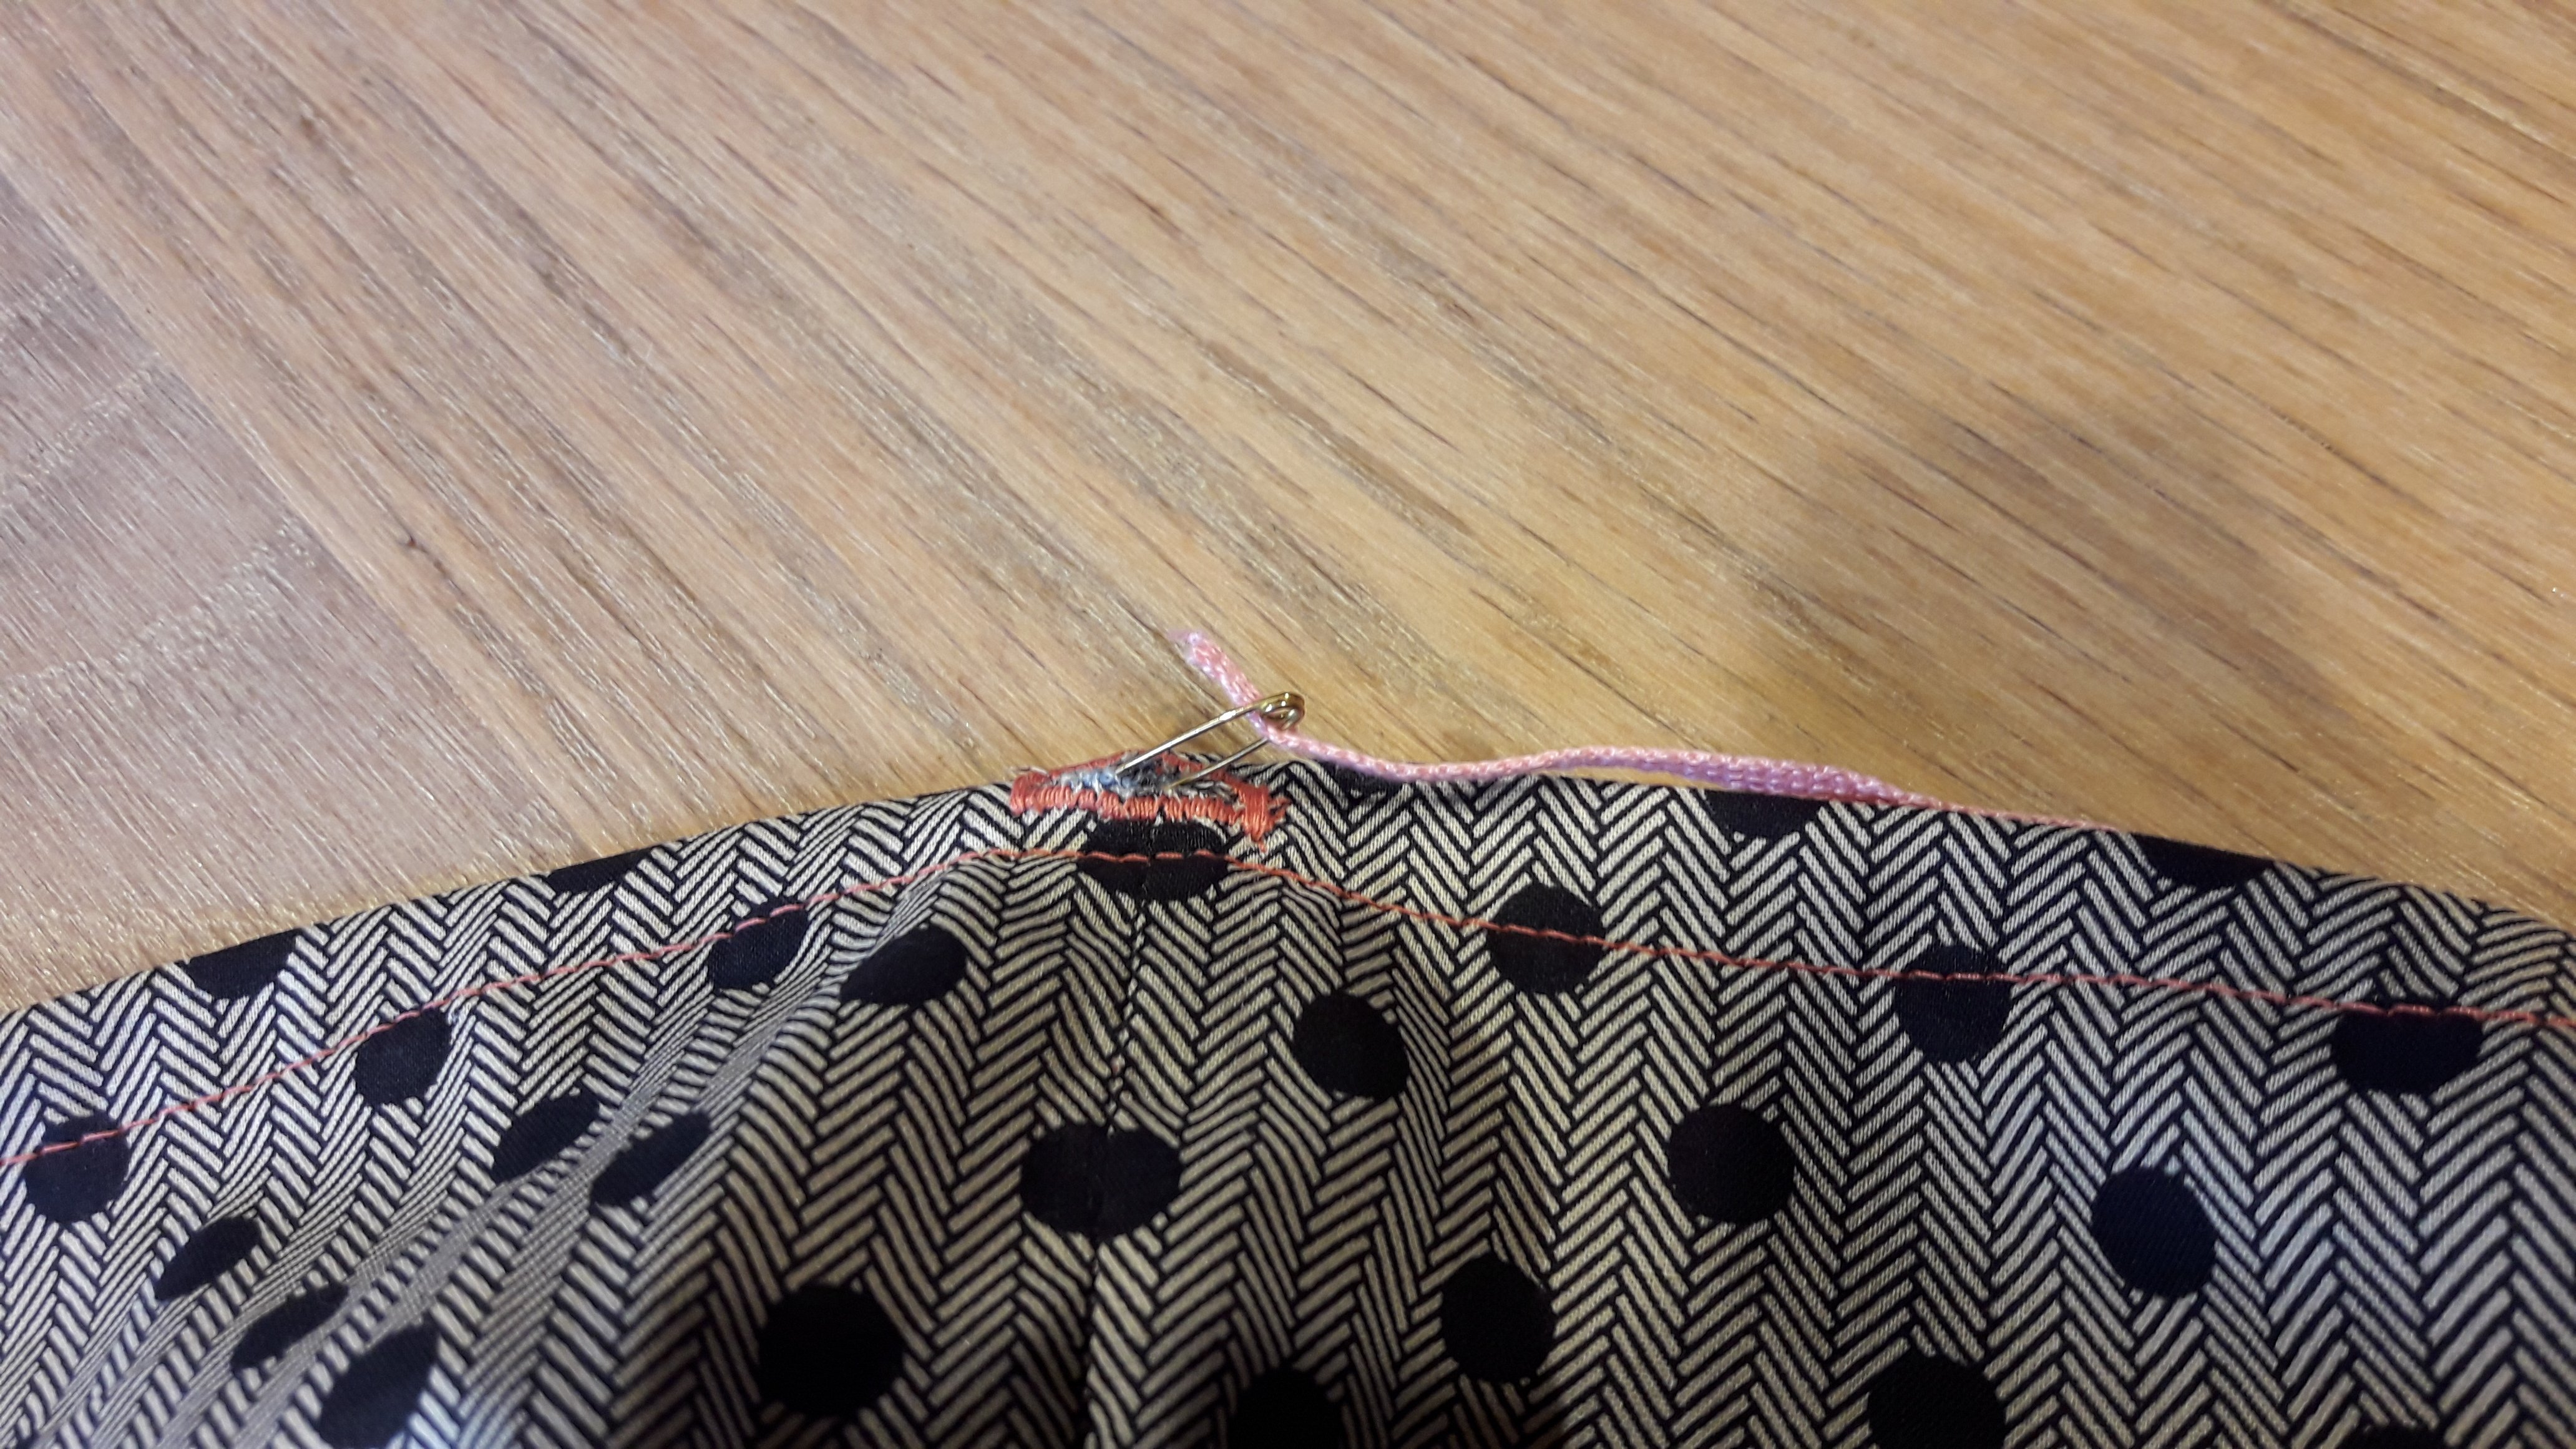 That means that you insert a cord left and the other one on the right side, and you end in the opening where you started.

Write the weight on the label.

Time to iron the finished bag.
It’s ready, make some more and hurry to your shop to start using them. Be an environmentalfriendly model and proud of using it!
Did you find this to be a nice and easy project? To sew a reusable grocery bag?


This is a wonderful idea. My only sujestion would be to make them out of fabric you can see threw so the cashier know what’s in them. Price very on produce.