 BERNINA Corporate Blog -
Hello my sewing friends!
I have been busy with work and life but took the time to sew up the most beautiful Fulton Sweaterblazer ever! You can sew up this pattern with any knit fabric you like but bear in mind, that the more drape your fabric has the more structure you loose. The collar and the facing are interfaced (I used the Vliesline G785 – my favourite).
As for my fabric choice: Spoonflower very kindly sponsored this fabric – but I chose the print of course. You can find the fabric I used here. If you can try the Interlock jersey that one is the BOMB!
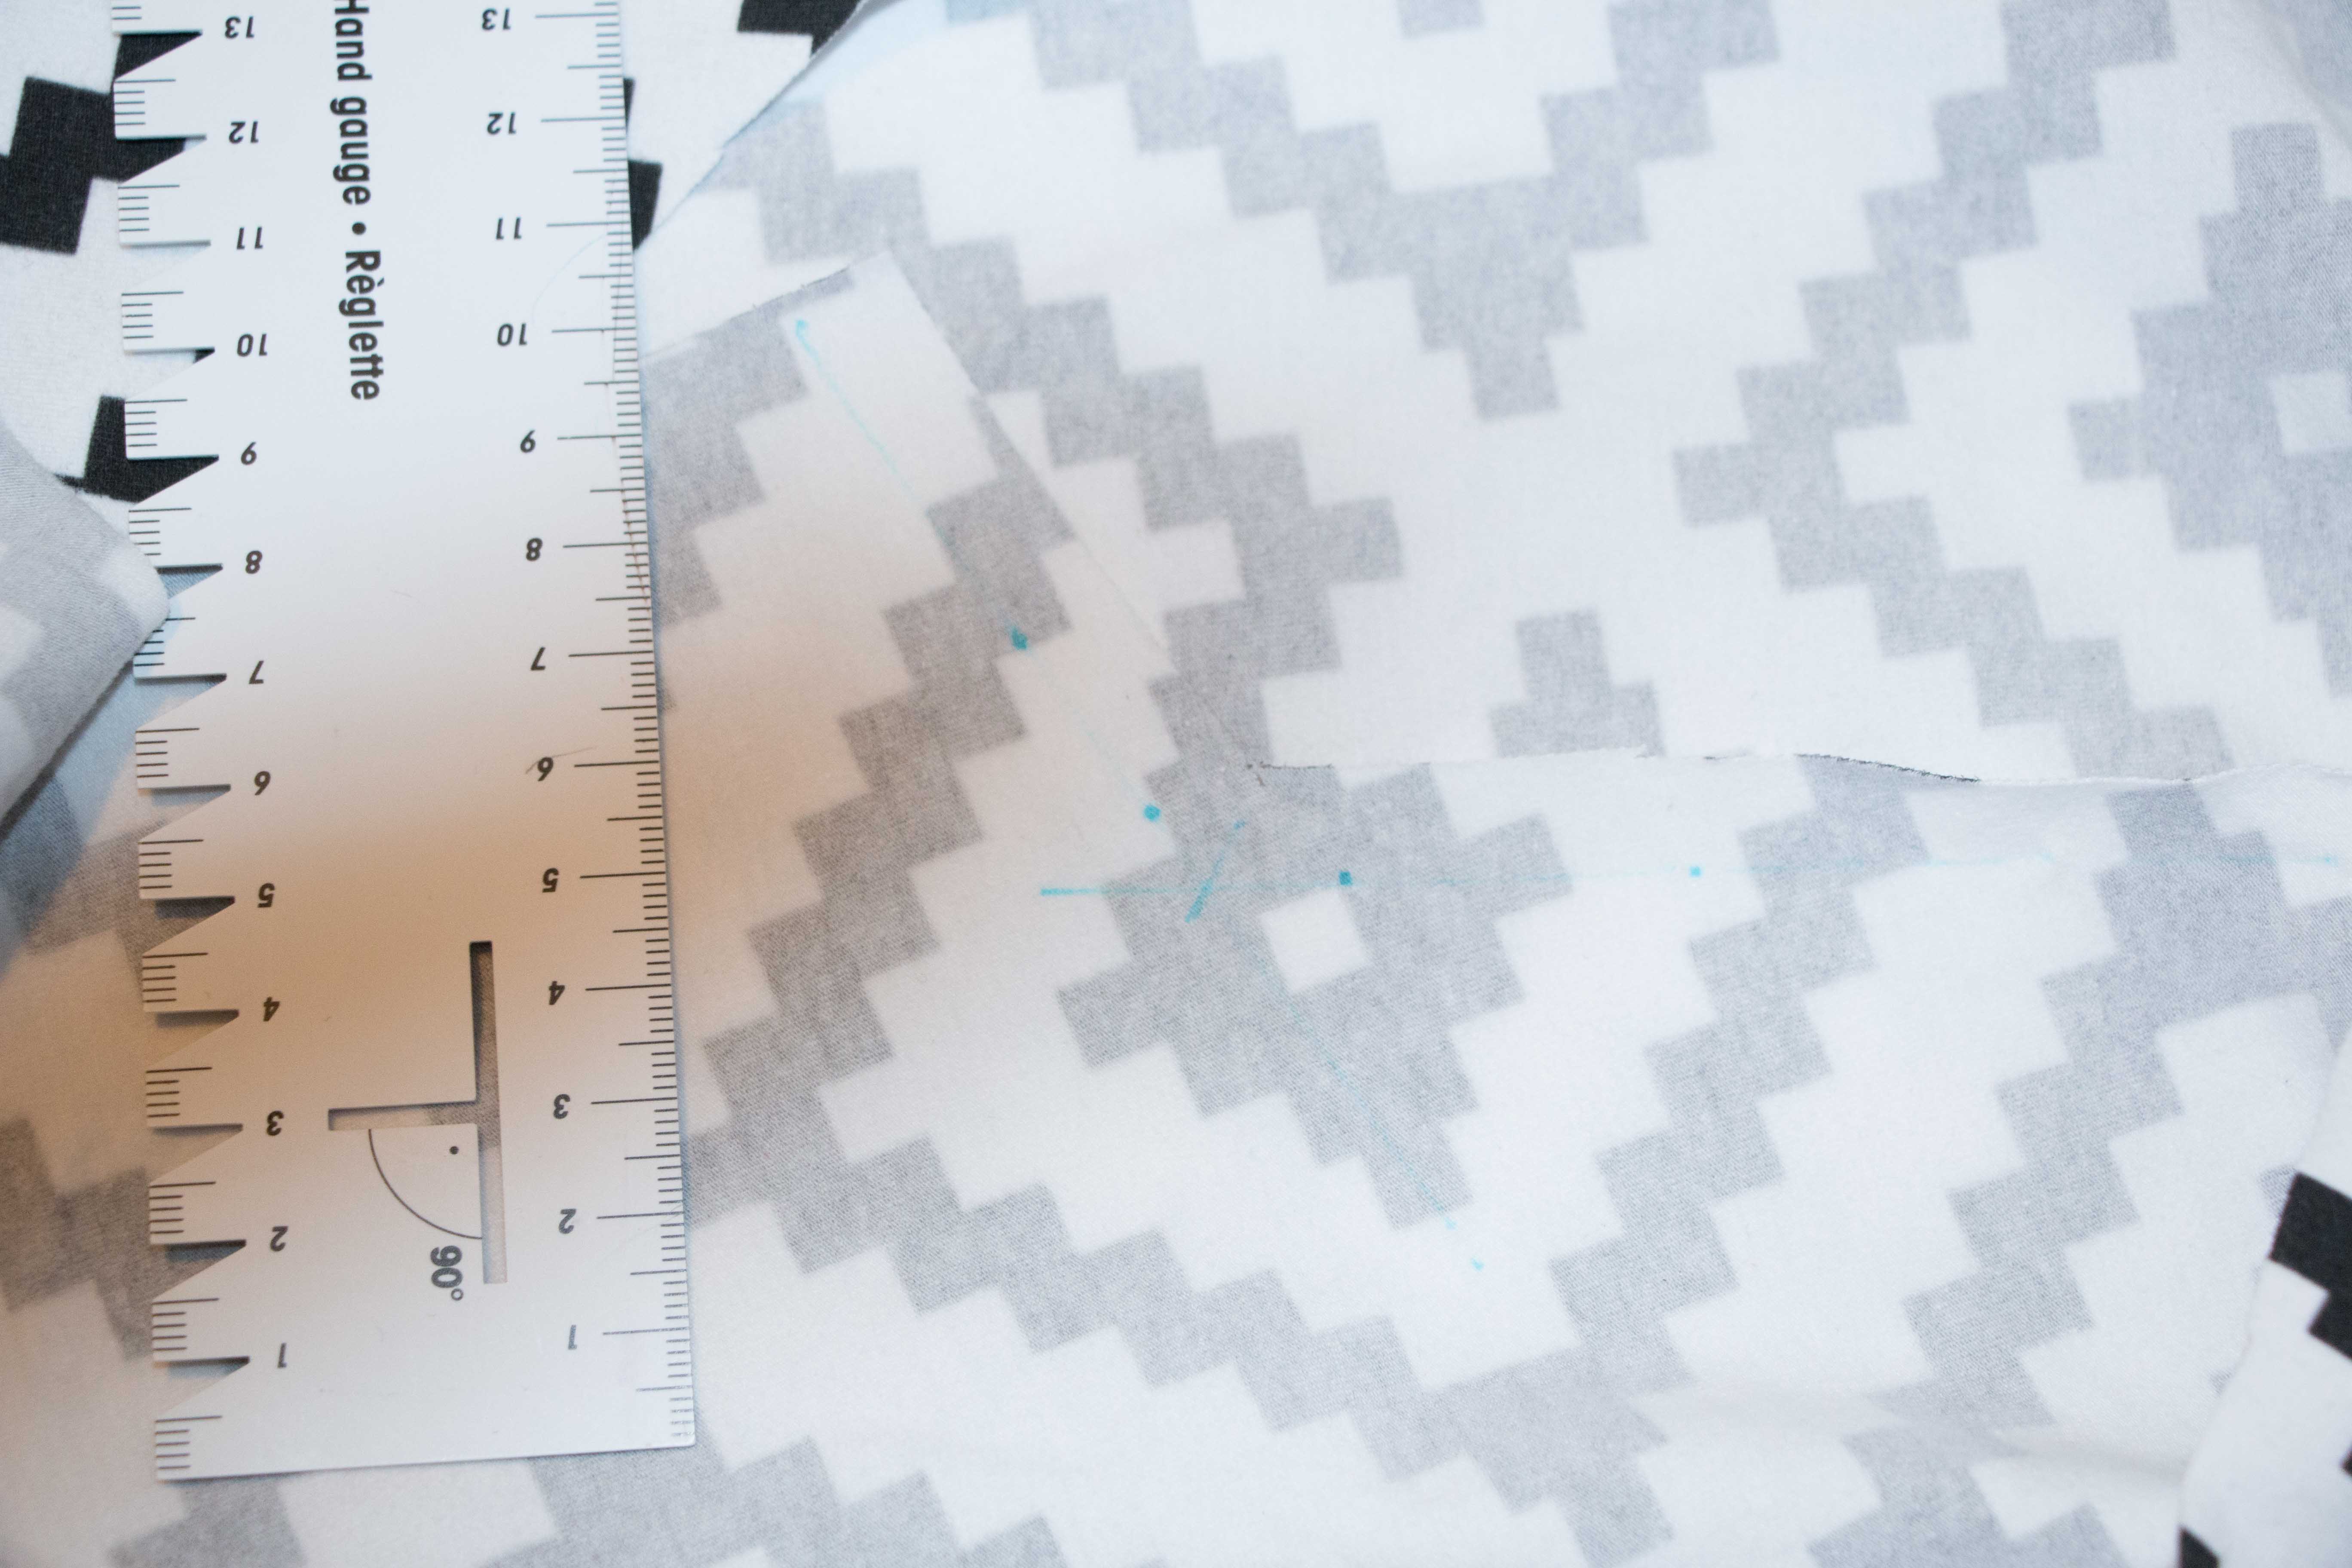
Patternmatching
Anyway with this kind of print you really need to take your time with patternmatching. For that reason I omitted the center back seam – I wanted a continuous pattern around the back of my Fulton Sweaterblazer. I started with the back piece and made sure that I had a nice ‘square’ down the center. Then I took the cut piece and aligned it with the fabric to cut out one of the front pieces. All that’s important here is that the square are on the same height. Use the notches to guide you. Then you take the front piece you just cut and place it on your fabric right side to right side and match the pattern to a T! This way you’ll get an exact mirrored copy of your first piece!
For the collar just make sure, that both points are placed on the same pattern so that they’ll mirror each other. If you can, try to mach the back of the collar with your center back (you’ll see later that I did not manage to do that).
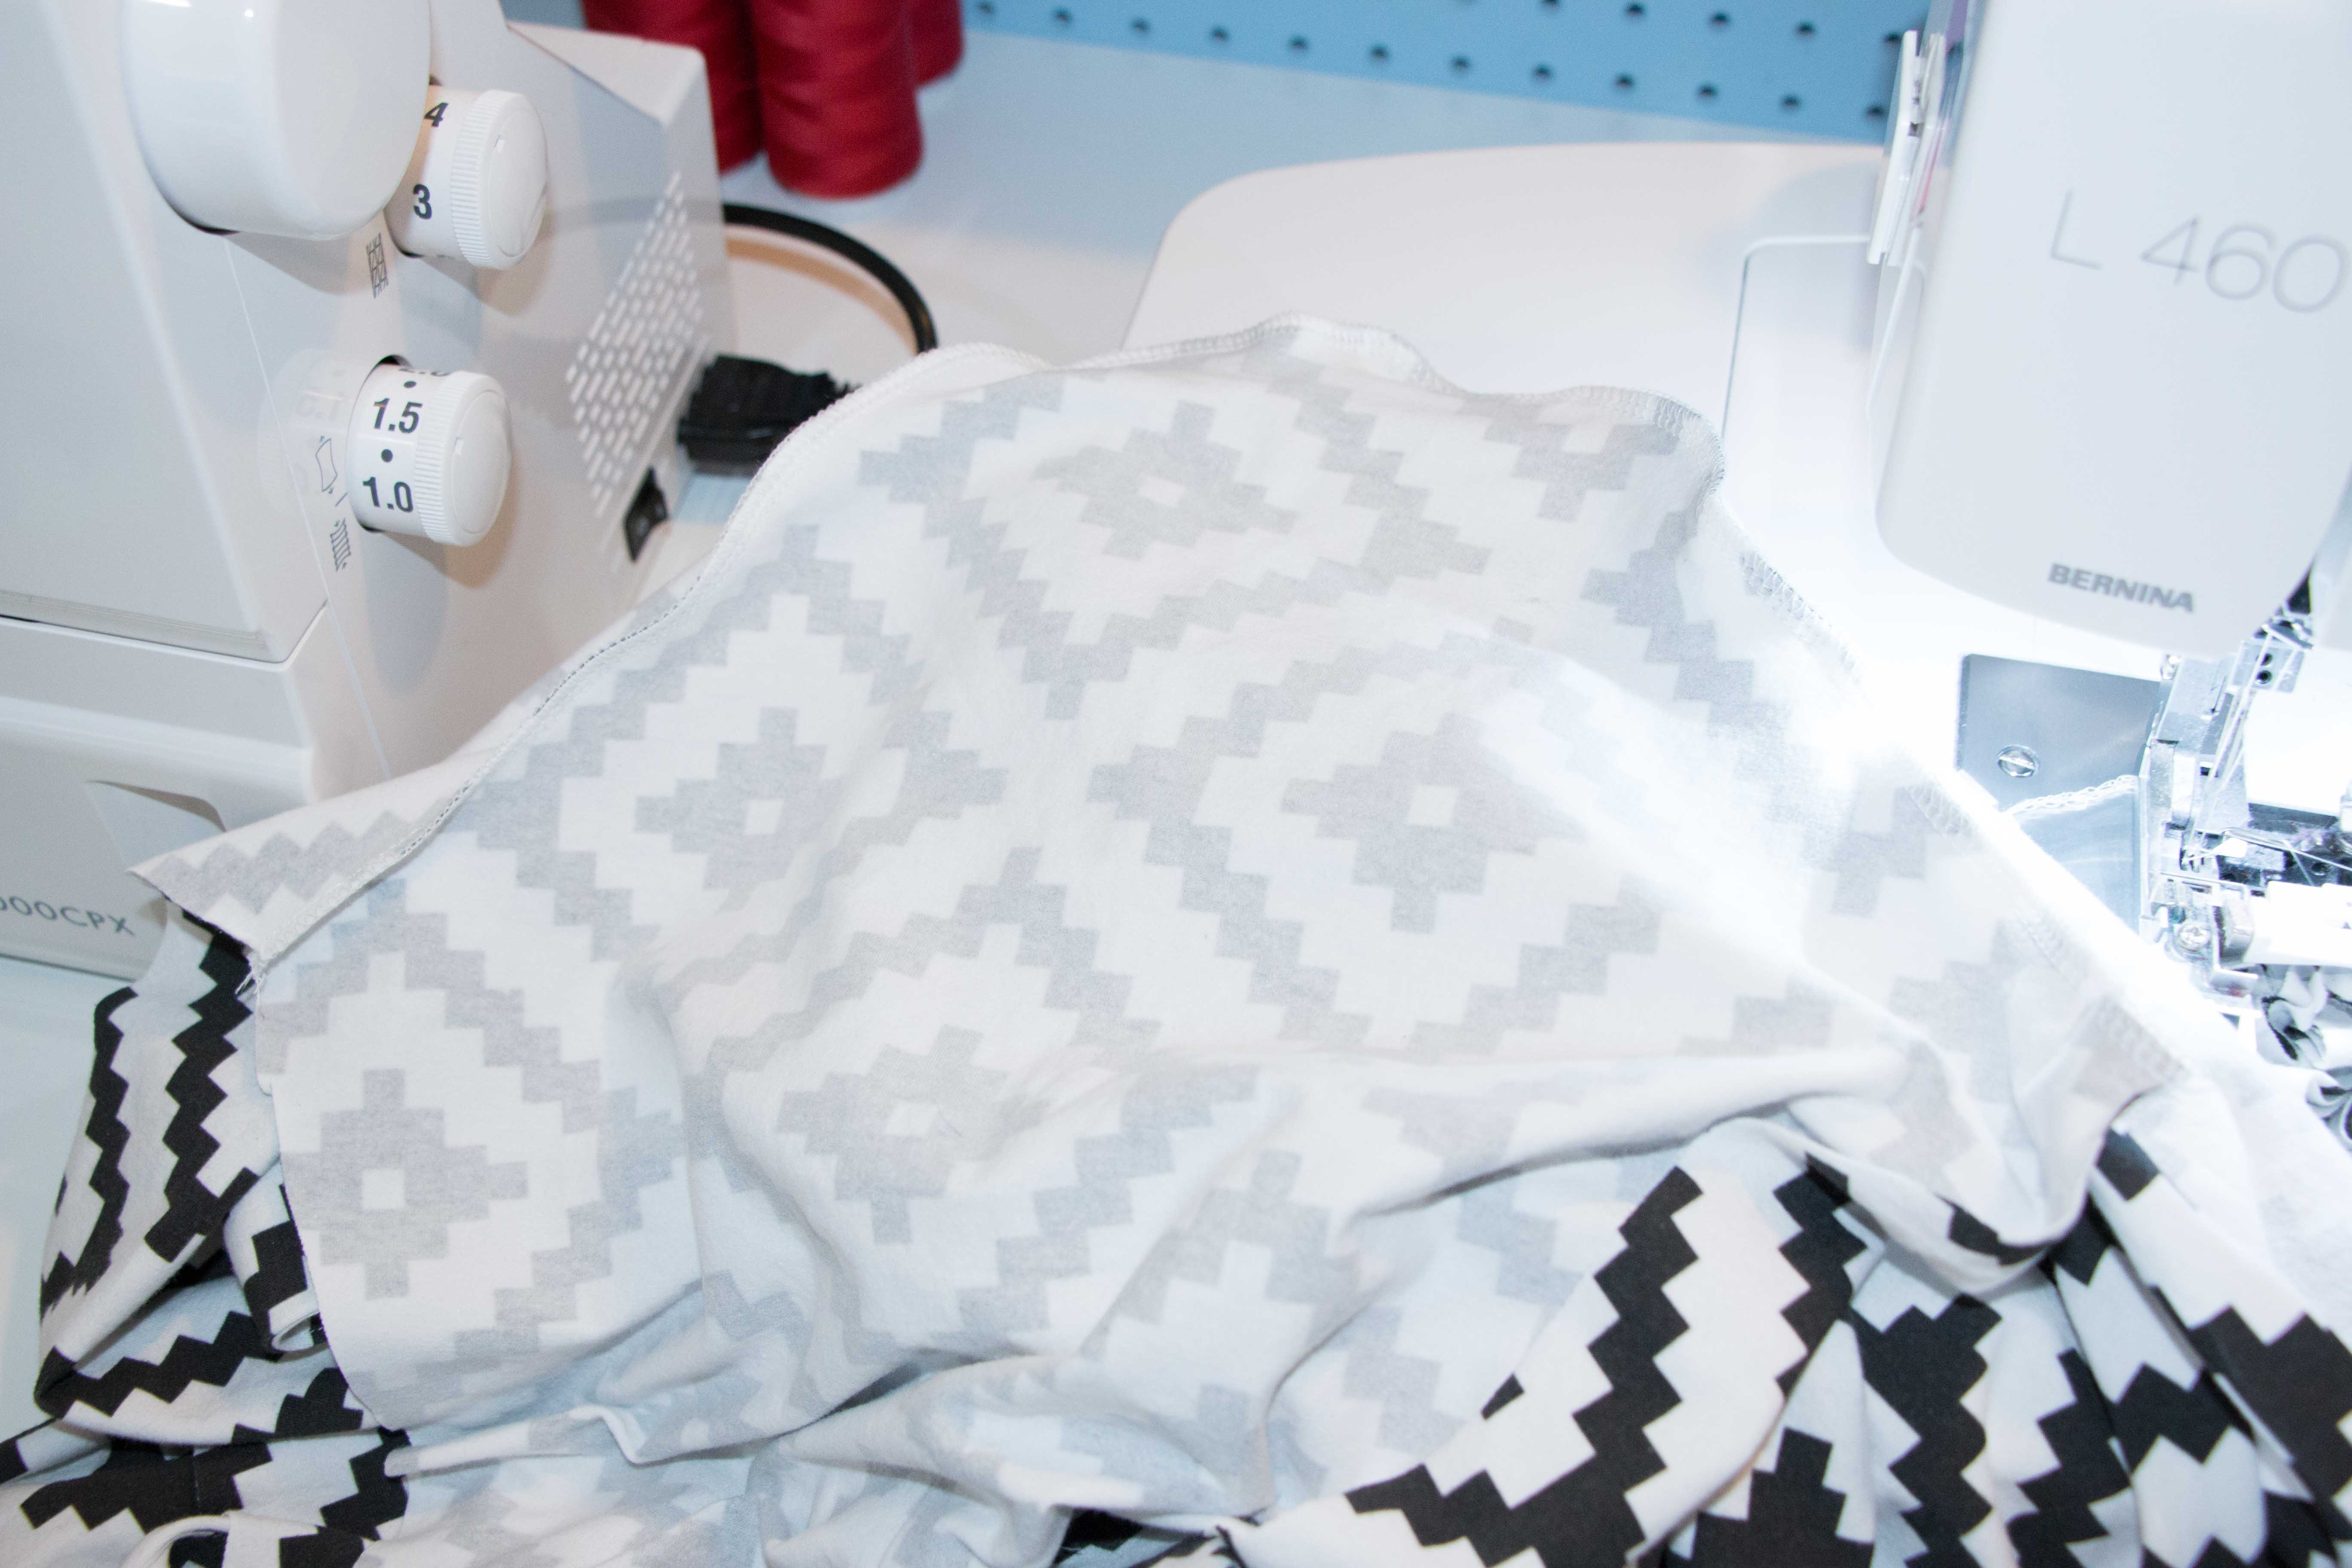
Sewing your Sweaterblazer
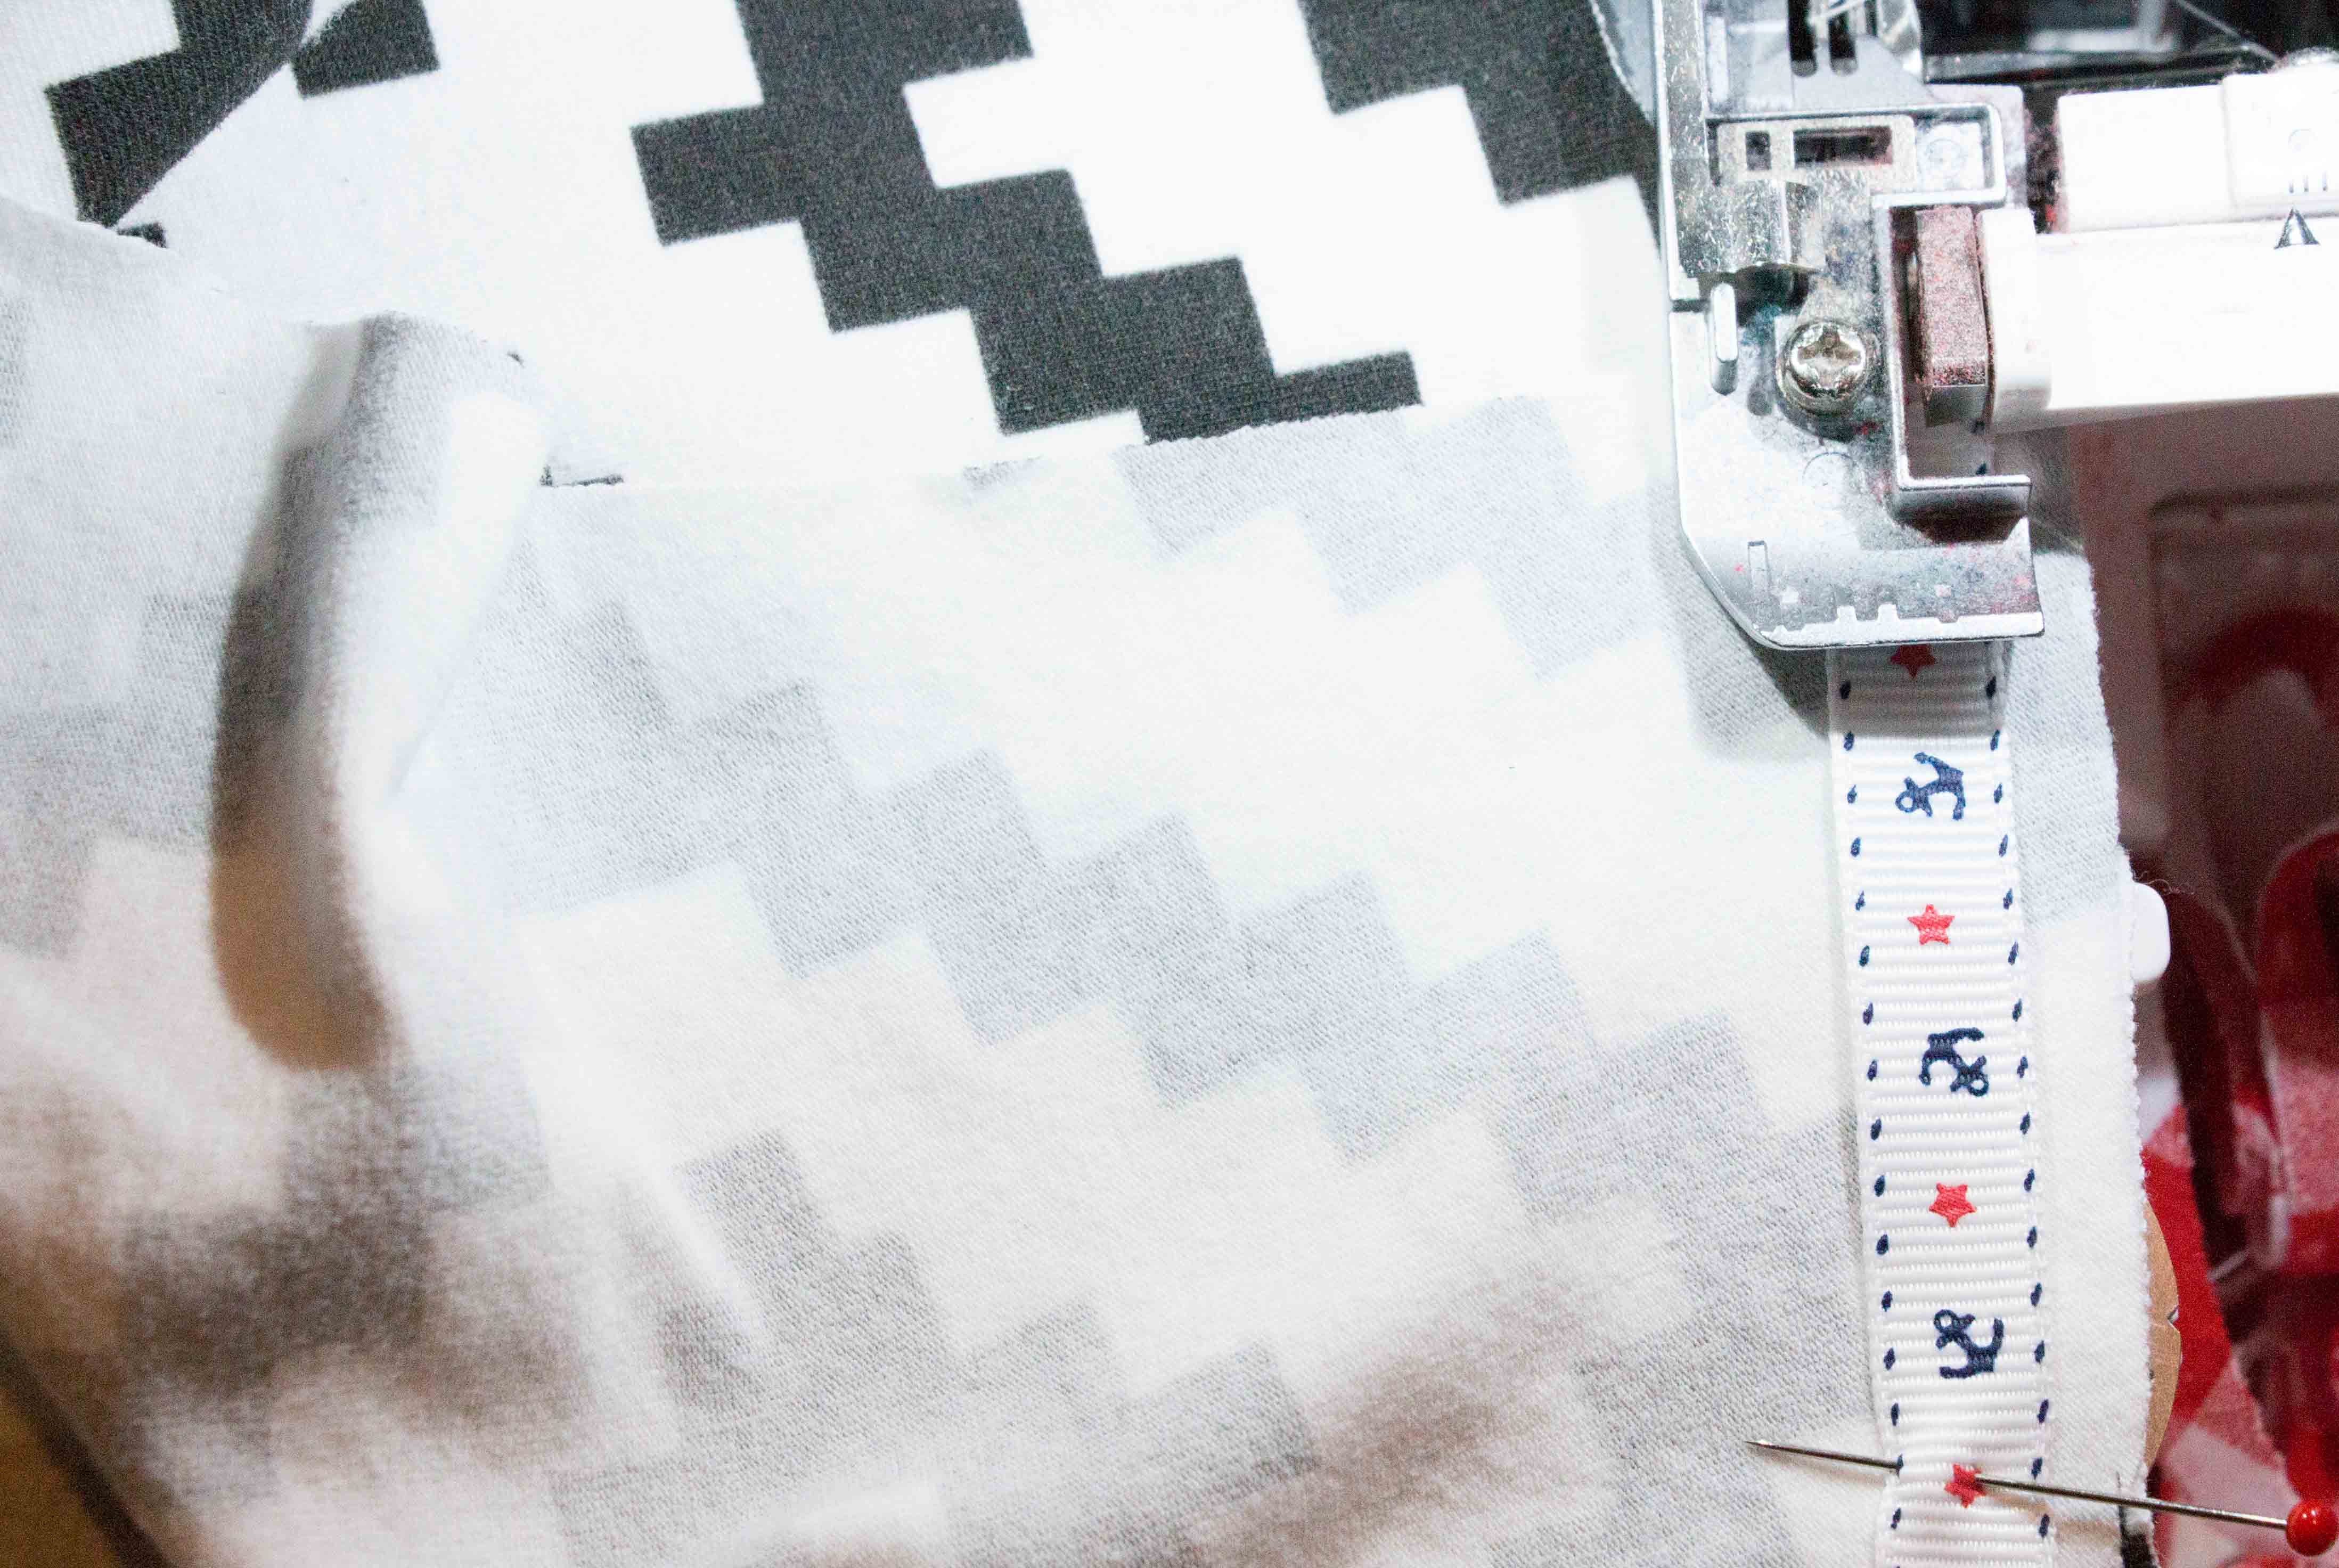
Although the instructions don’t tell you to do so, stabilize your shoulder seams with a ribbon. This way the seams will not stretch out.
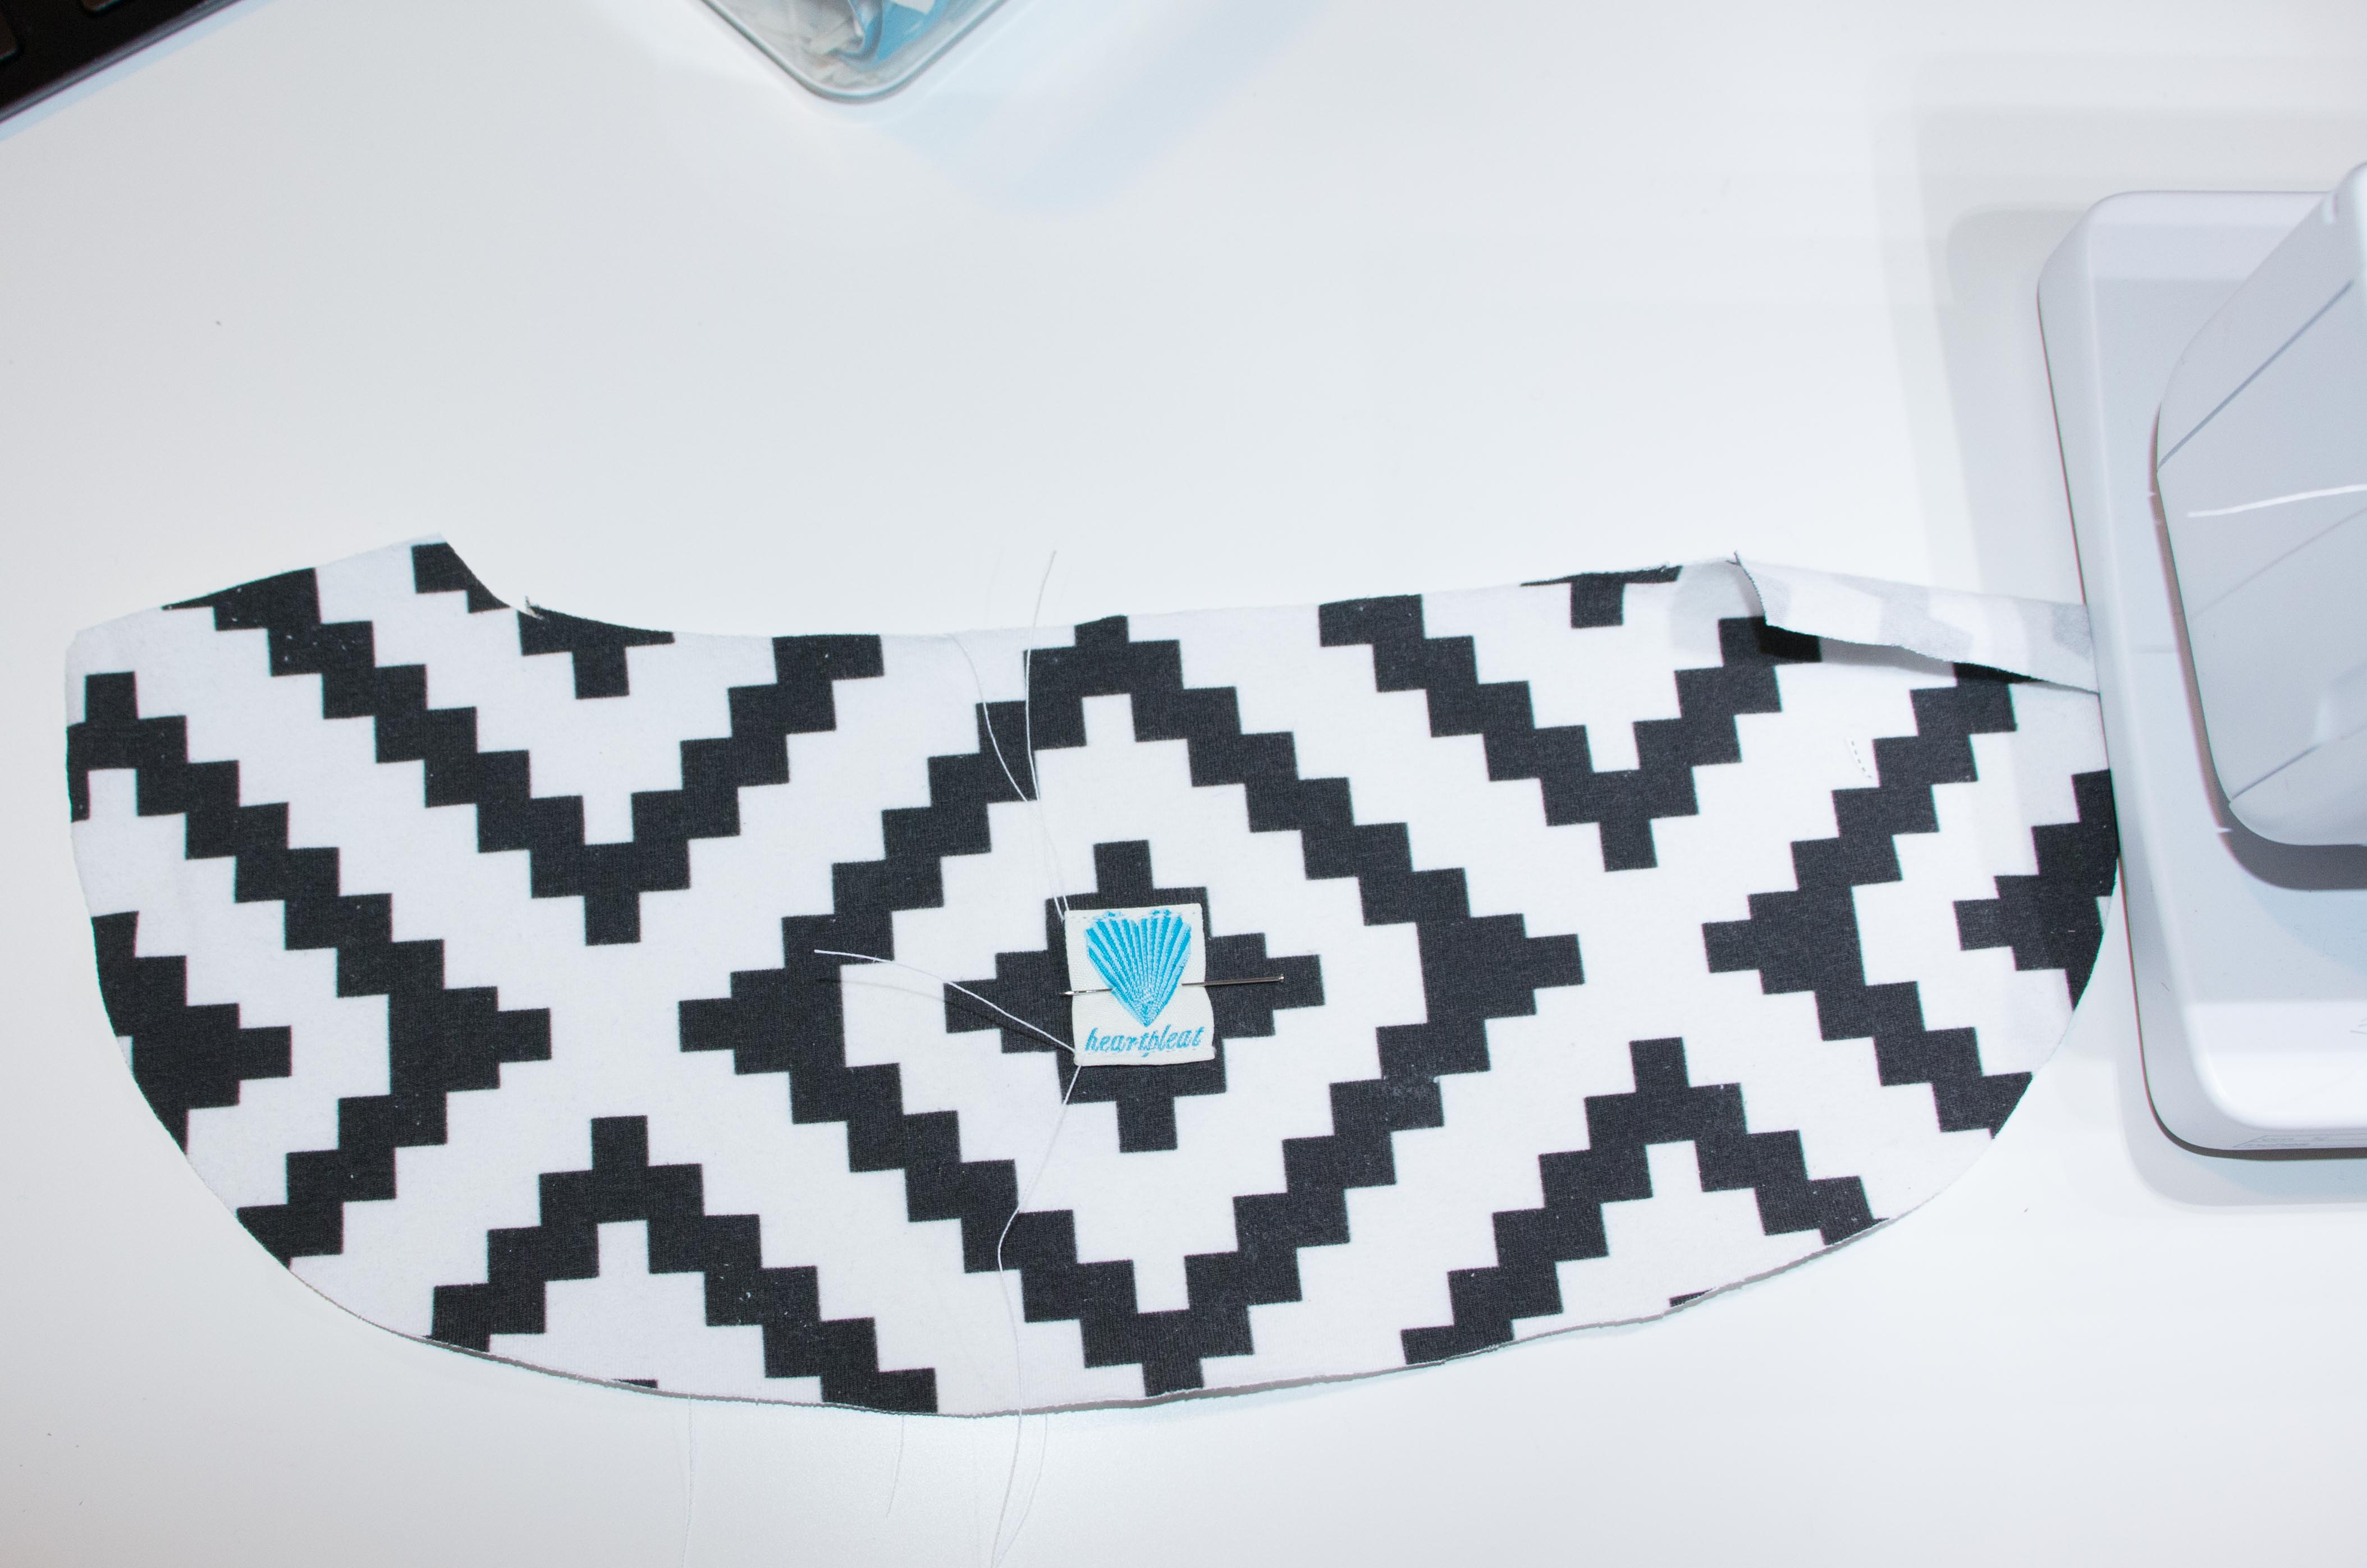
If you want to add your label now
After you’ve sewn the shoulder seams on both the main fabric and the facing your Fulton Sweaterblazer should look something like this.
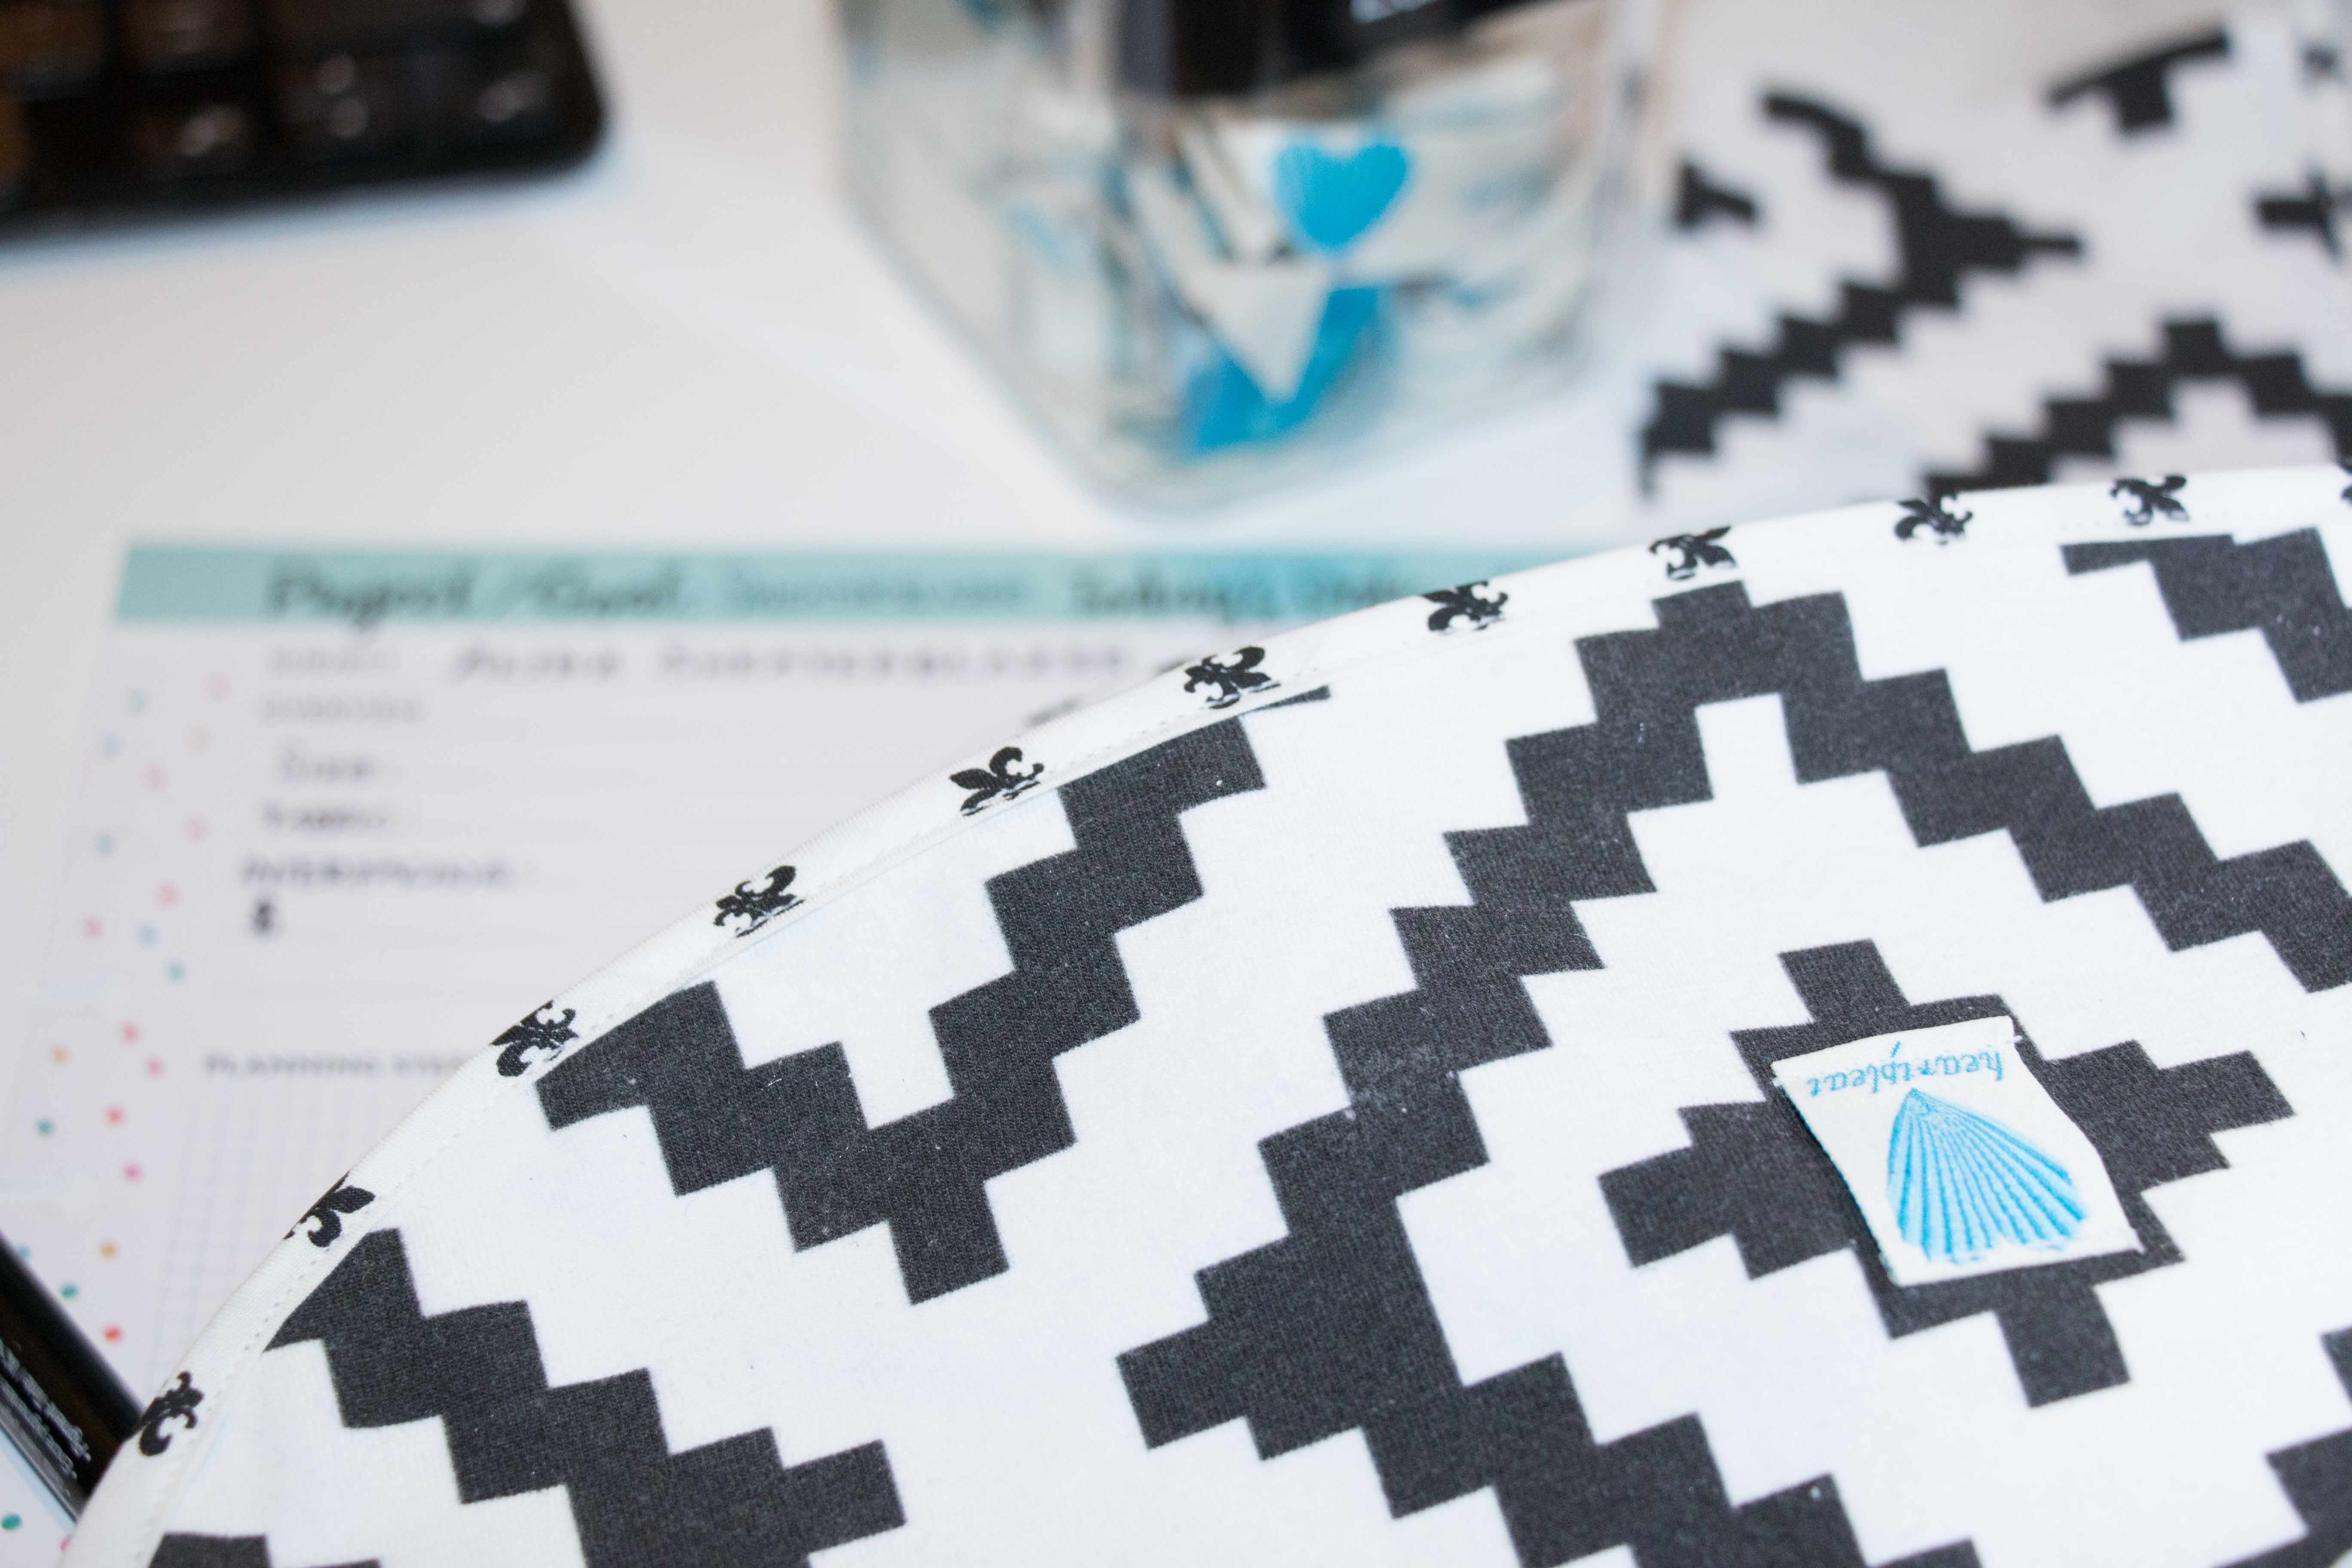
I finished the raw edges of the facing with some selfmade biastape. You might recognize the pattern from my Gertie blouse I made back in 2018. You don’t need to finish your edges as this is a knit fabric – it won’t fray.

Sew your two colalr pieces together at one side, turn it inside out, and press it.
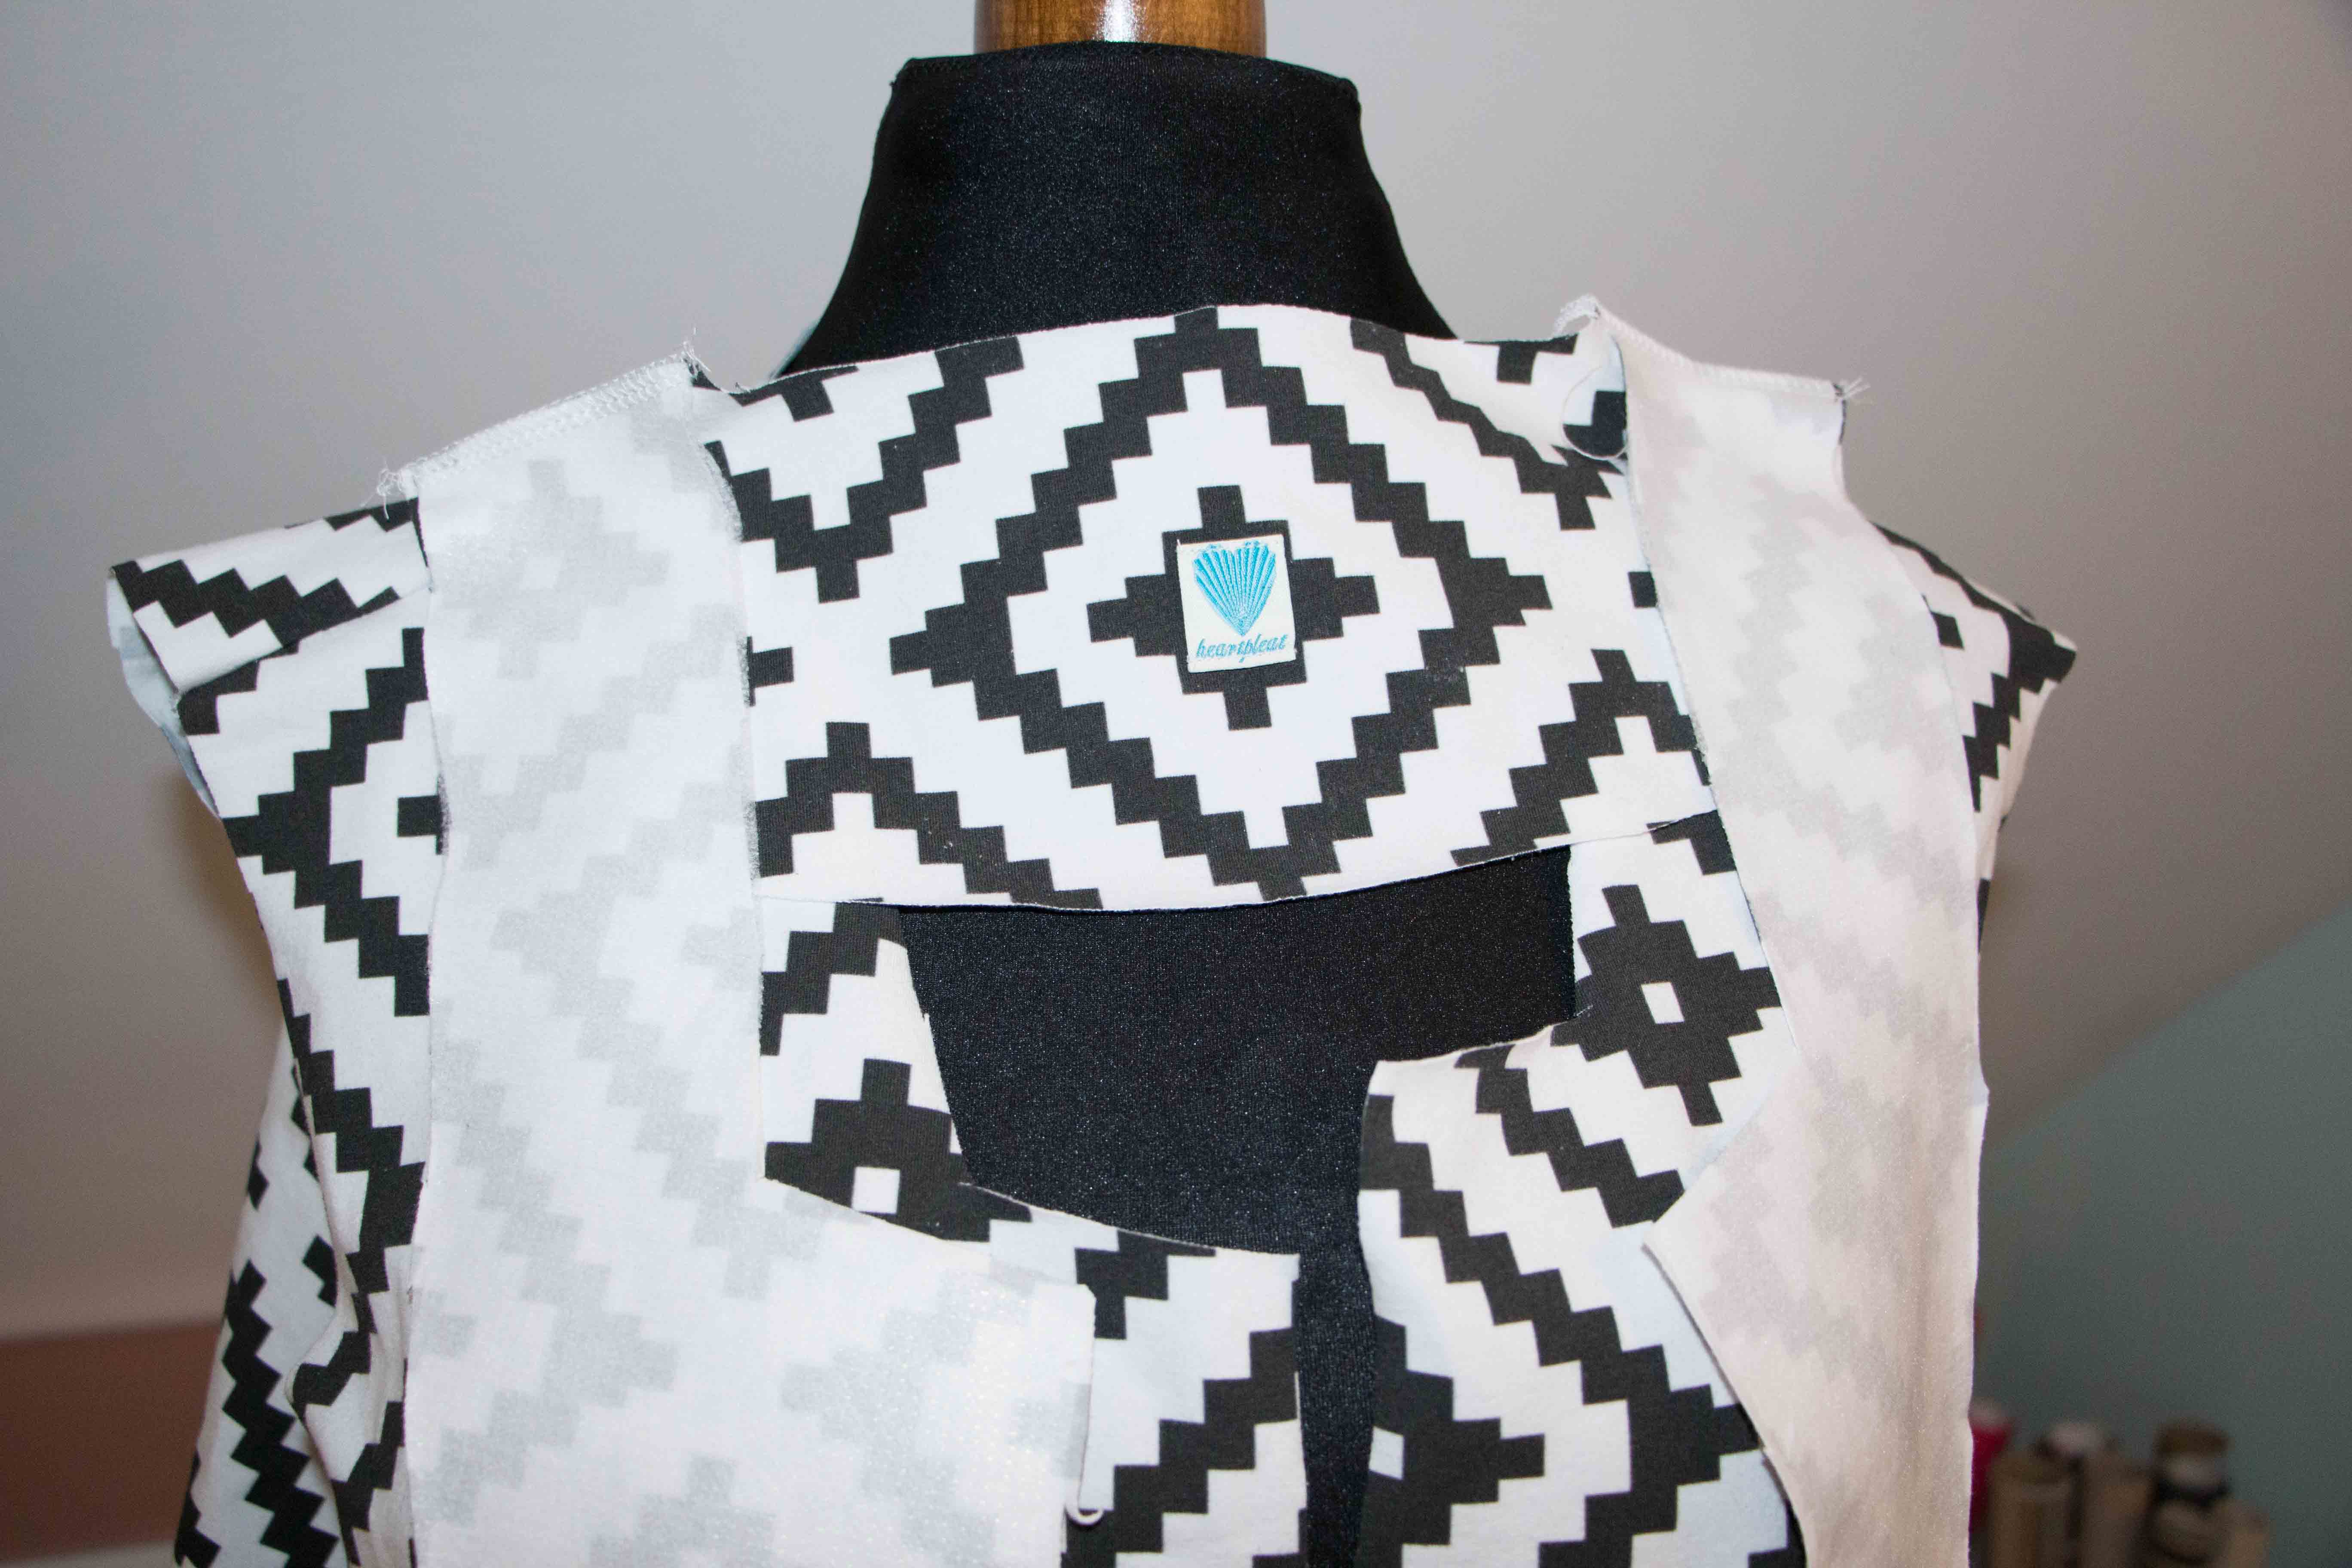
Mark your collar, your facing and your main fabric my drawing in the stitching line. This will help you inserting your collar.
Then baste your collar in with a long stitch (5 on my machine).
After you’ve inserted your collar successfully (YAYYY) the hard part is over and we move on to attaching the sleeves and closing the side seams.
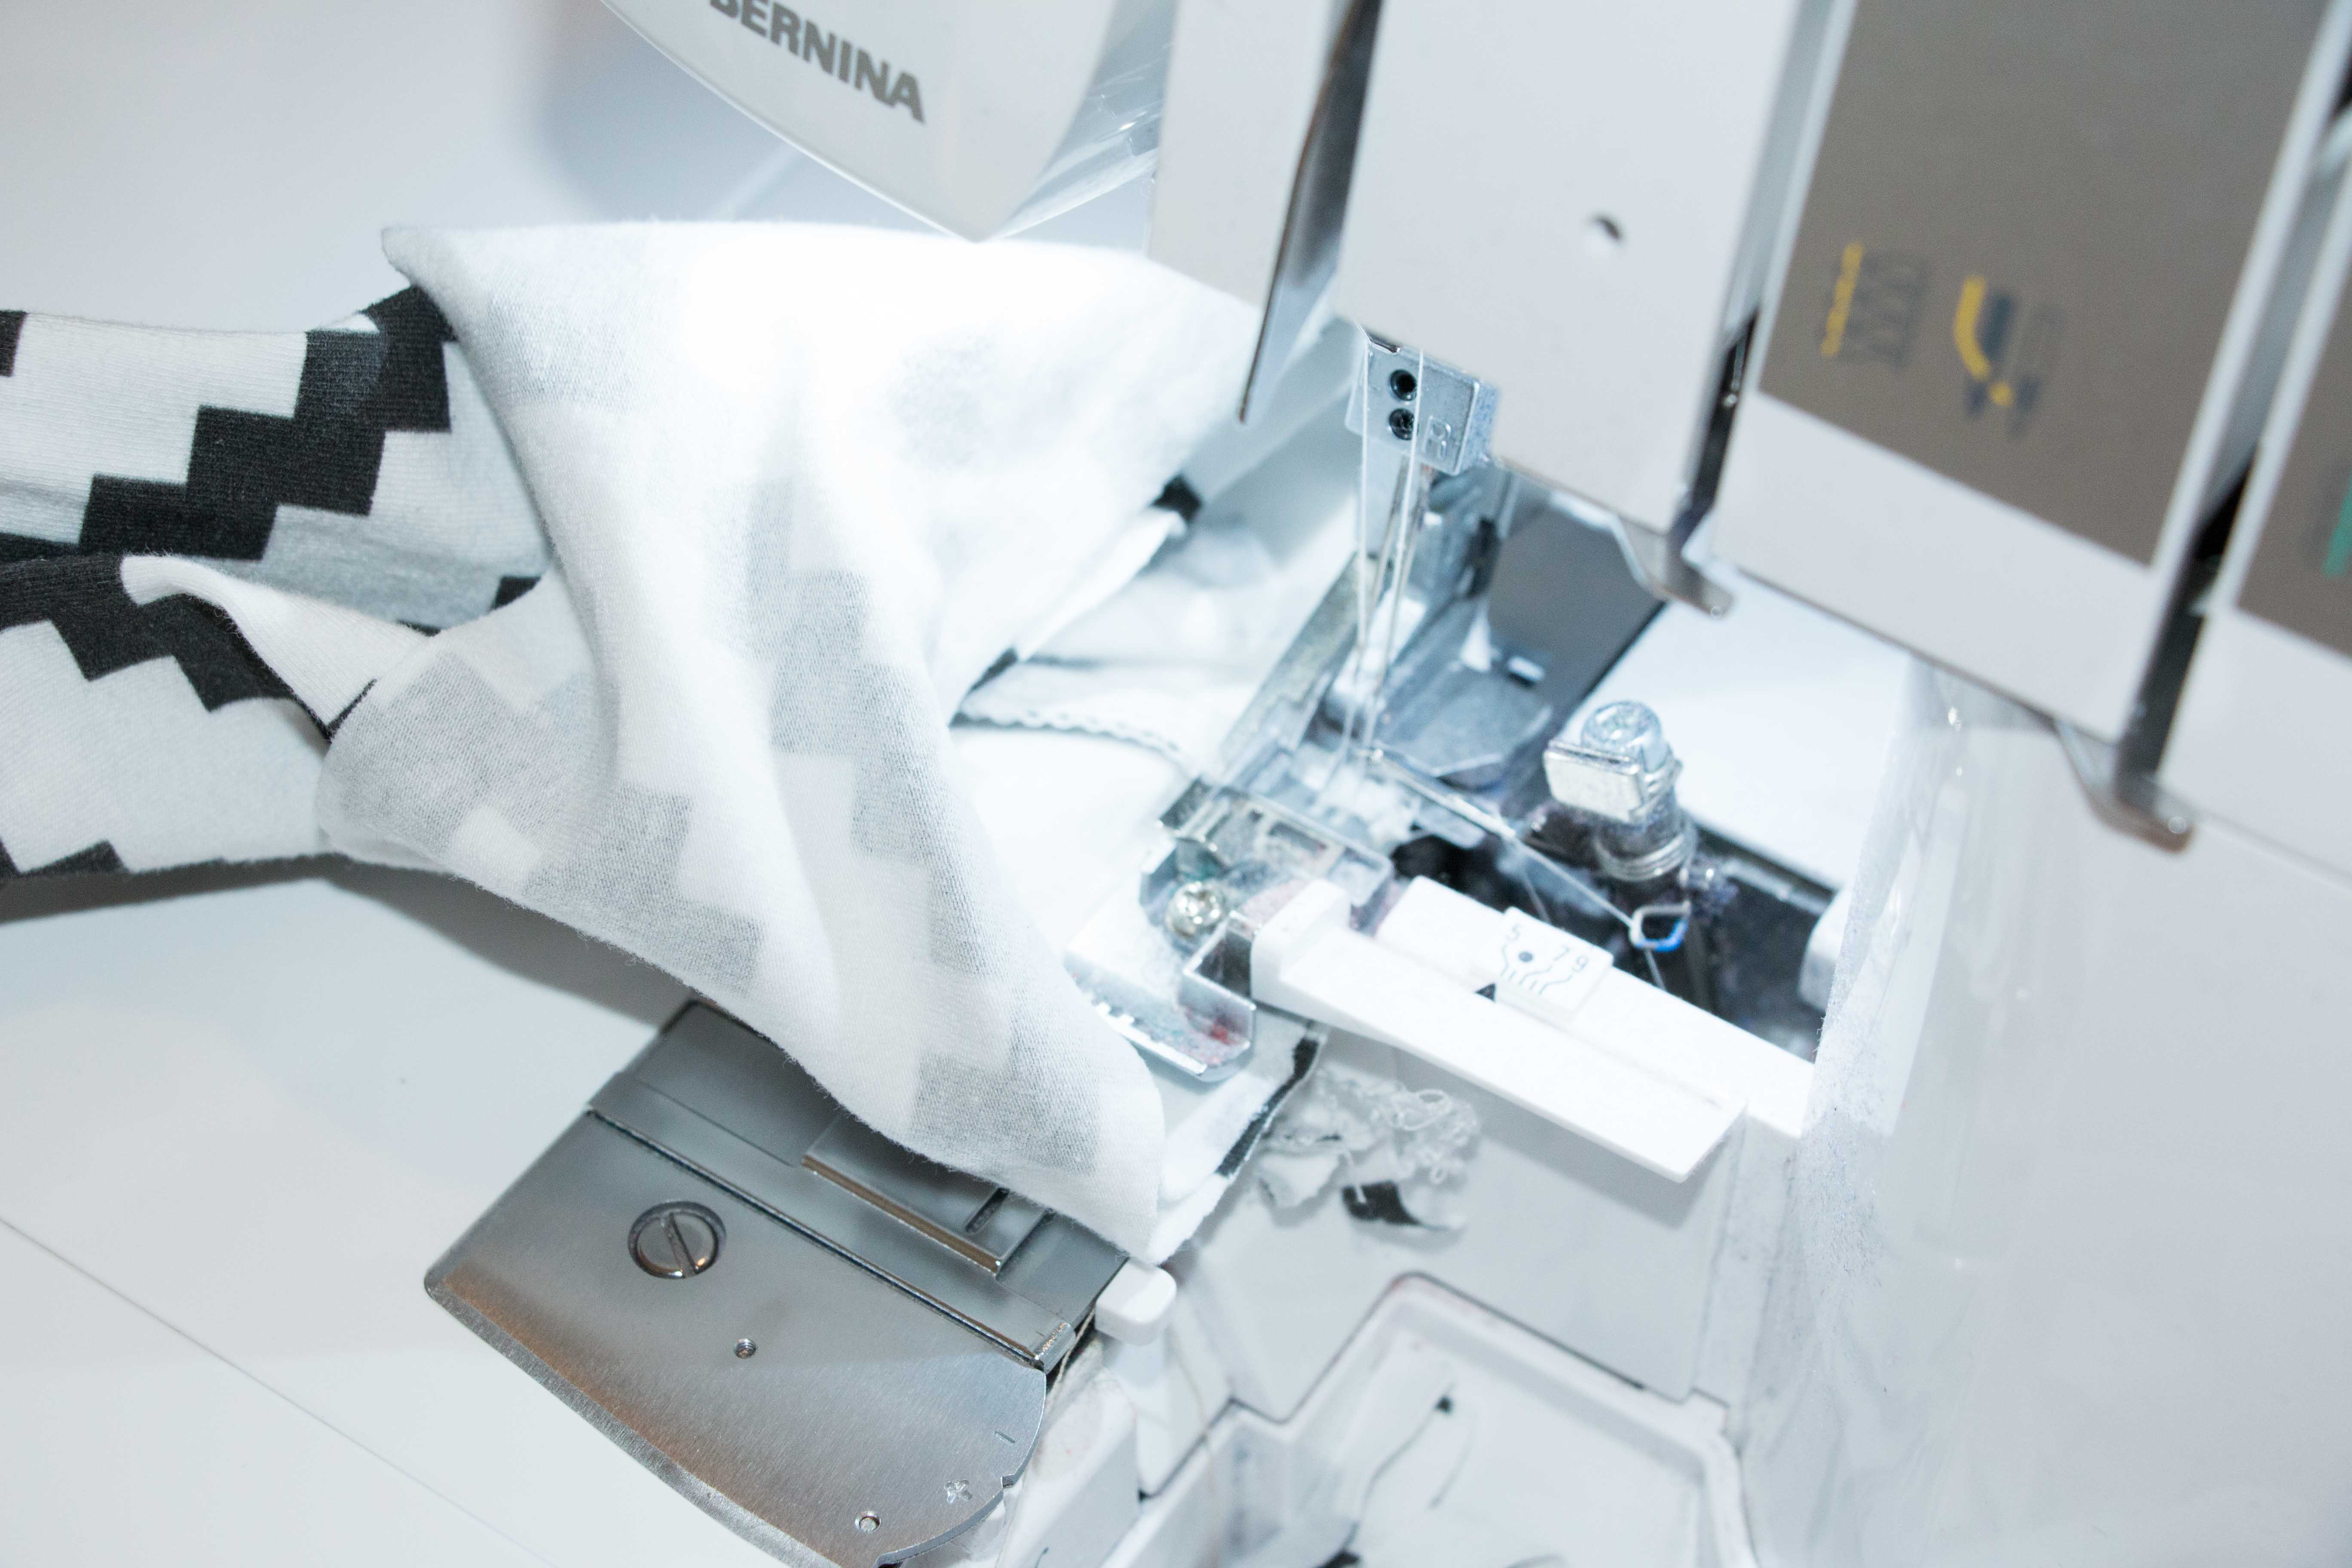
Attach your sleevefacings, turn them inside out and stitch them down with your regular machine. I managed to the last step on my regular machine with my regular sewing foot in. If you have trouble with this, use your walking foot. This little thing is a life saver!
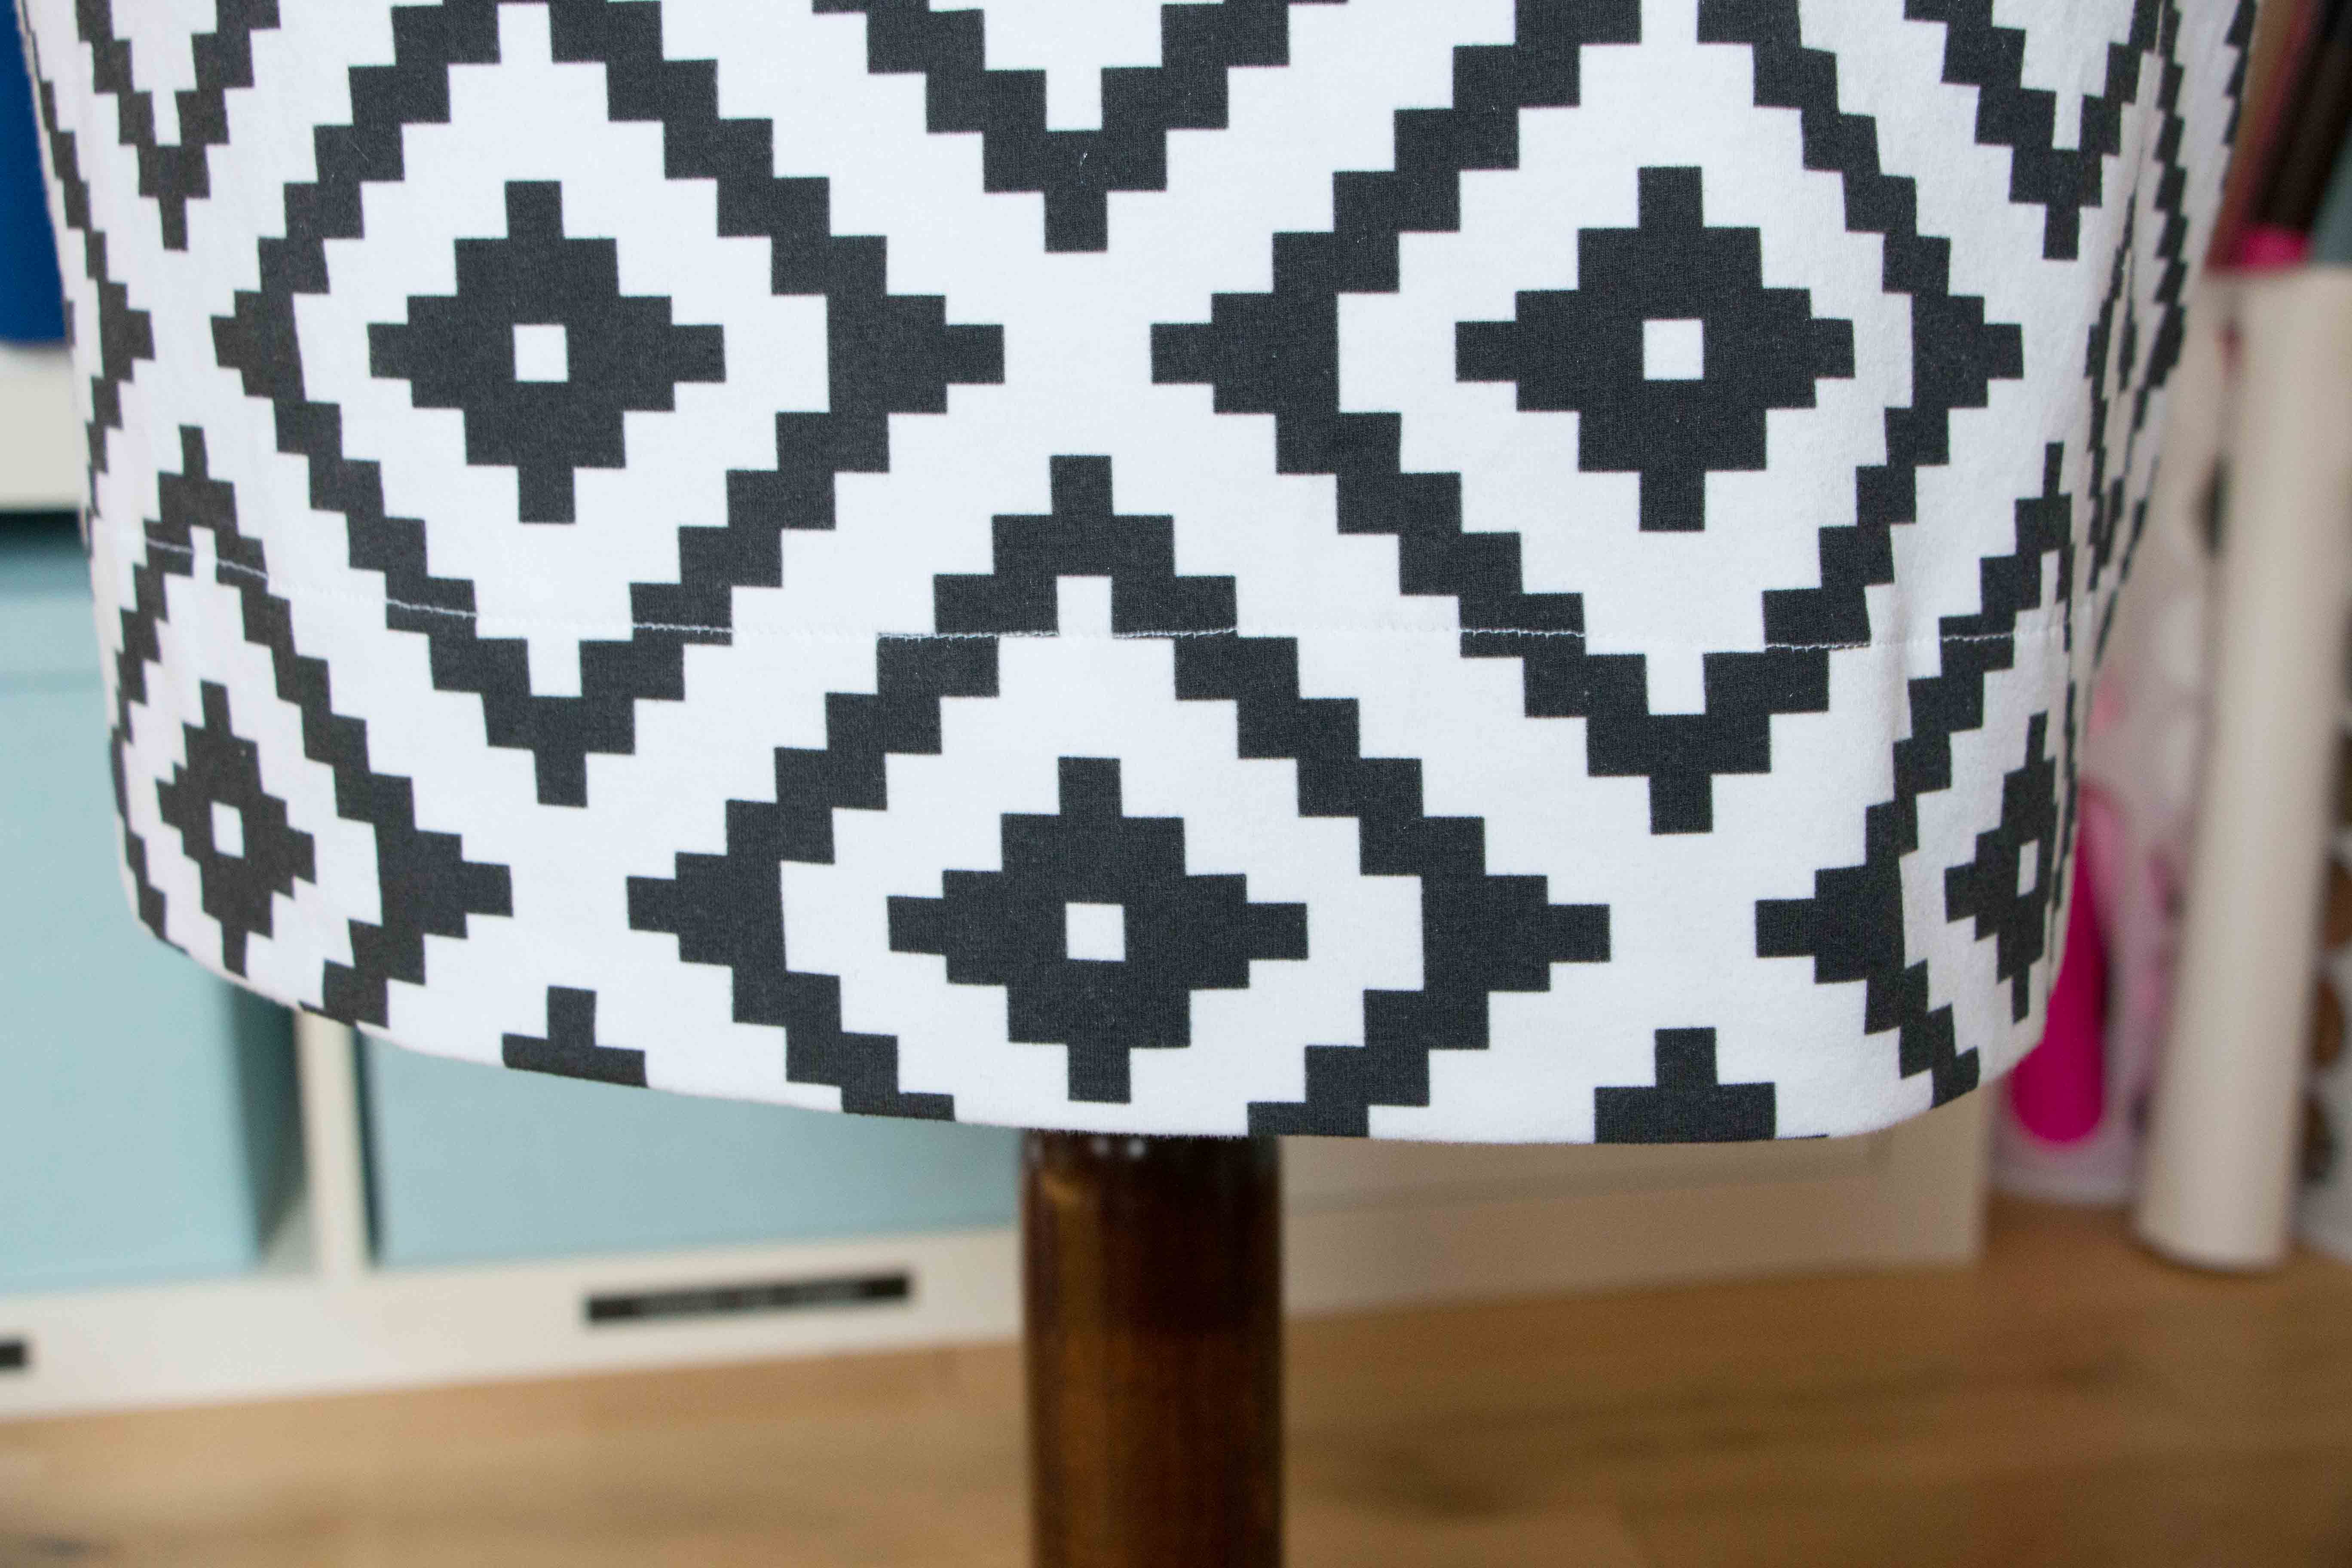
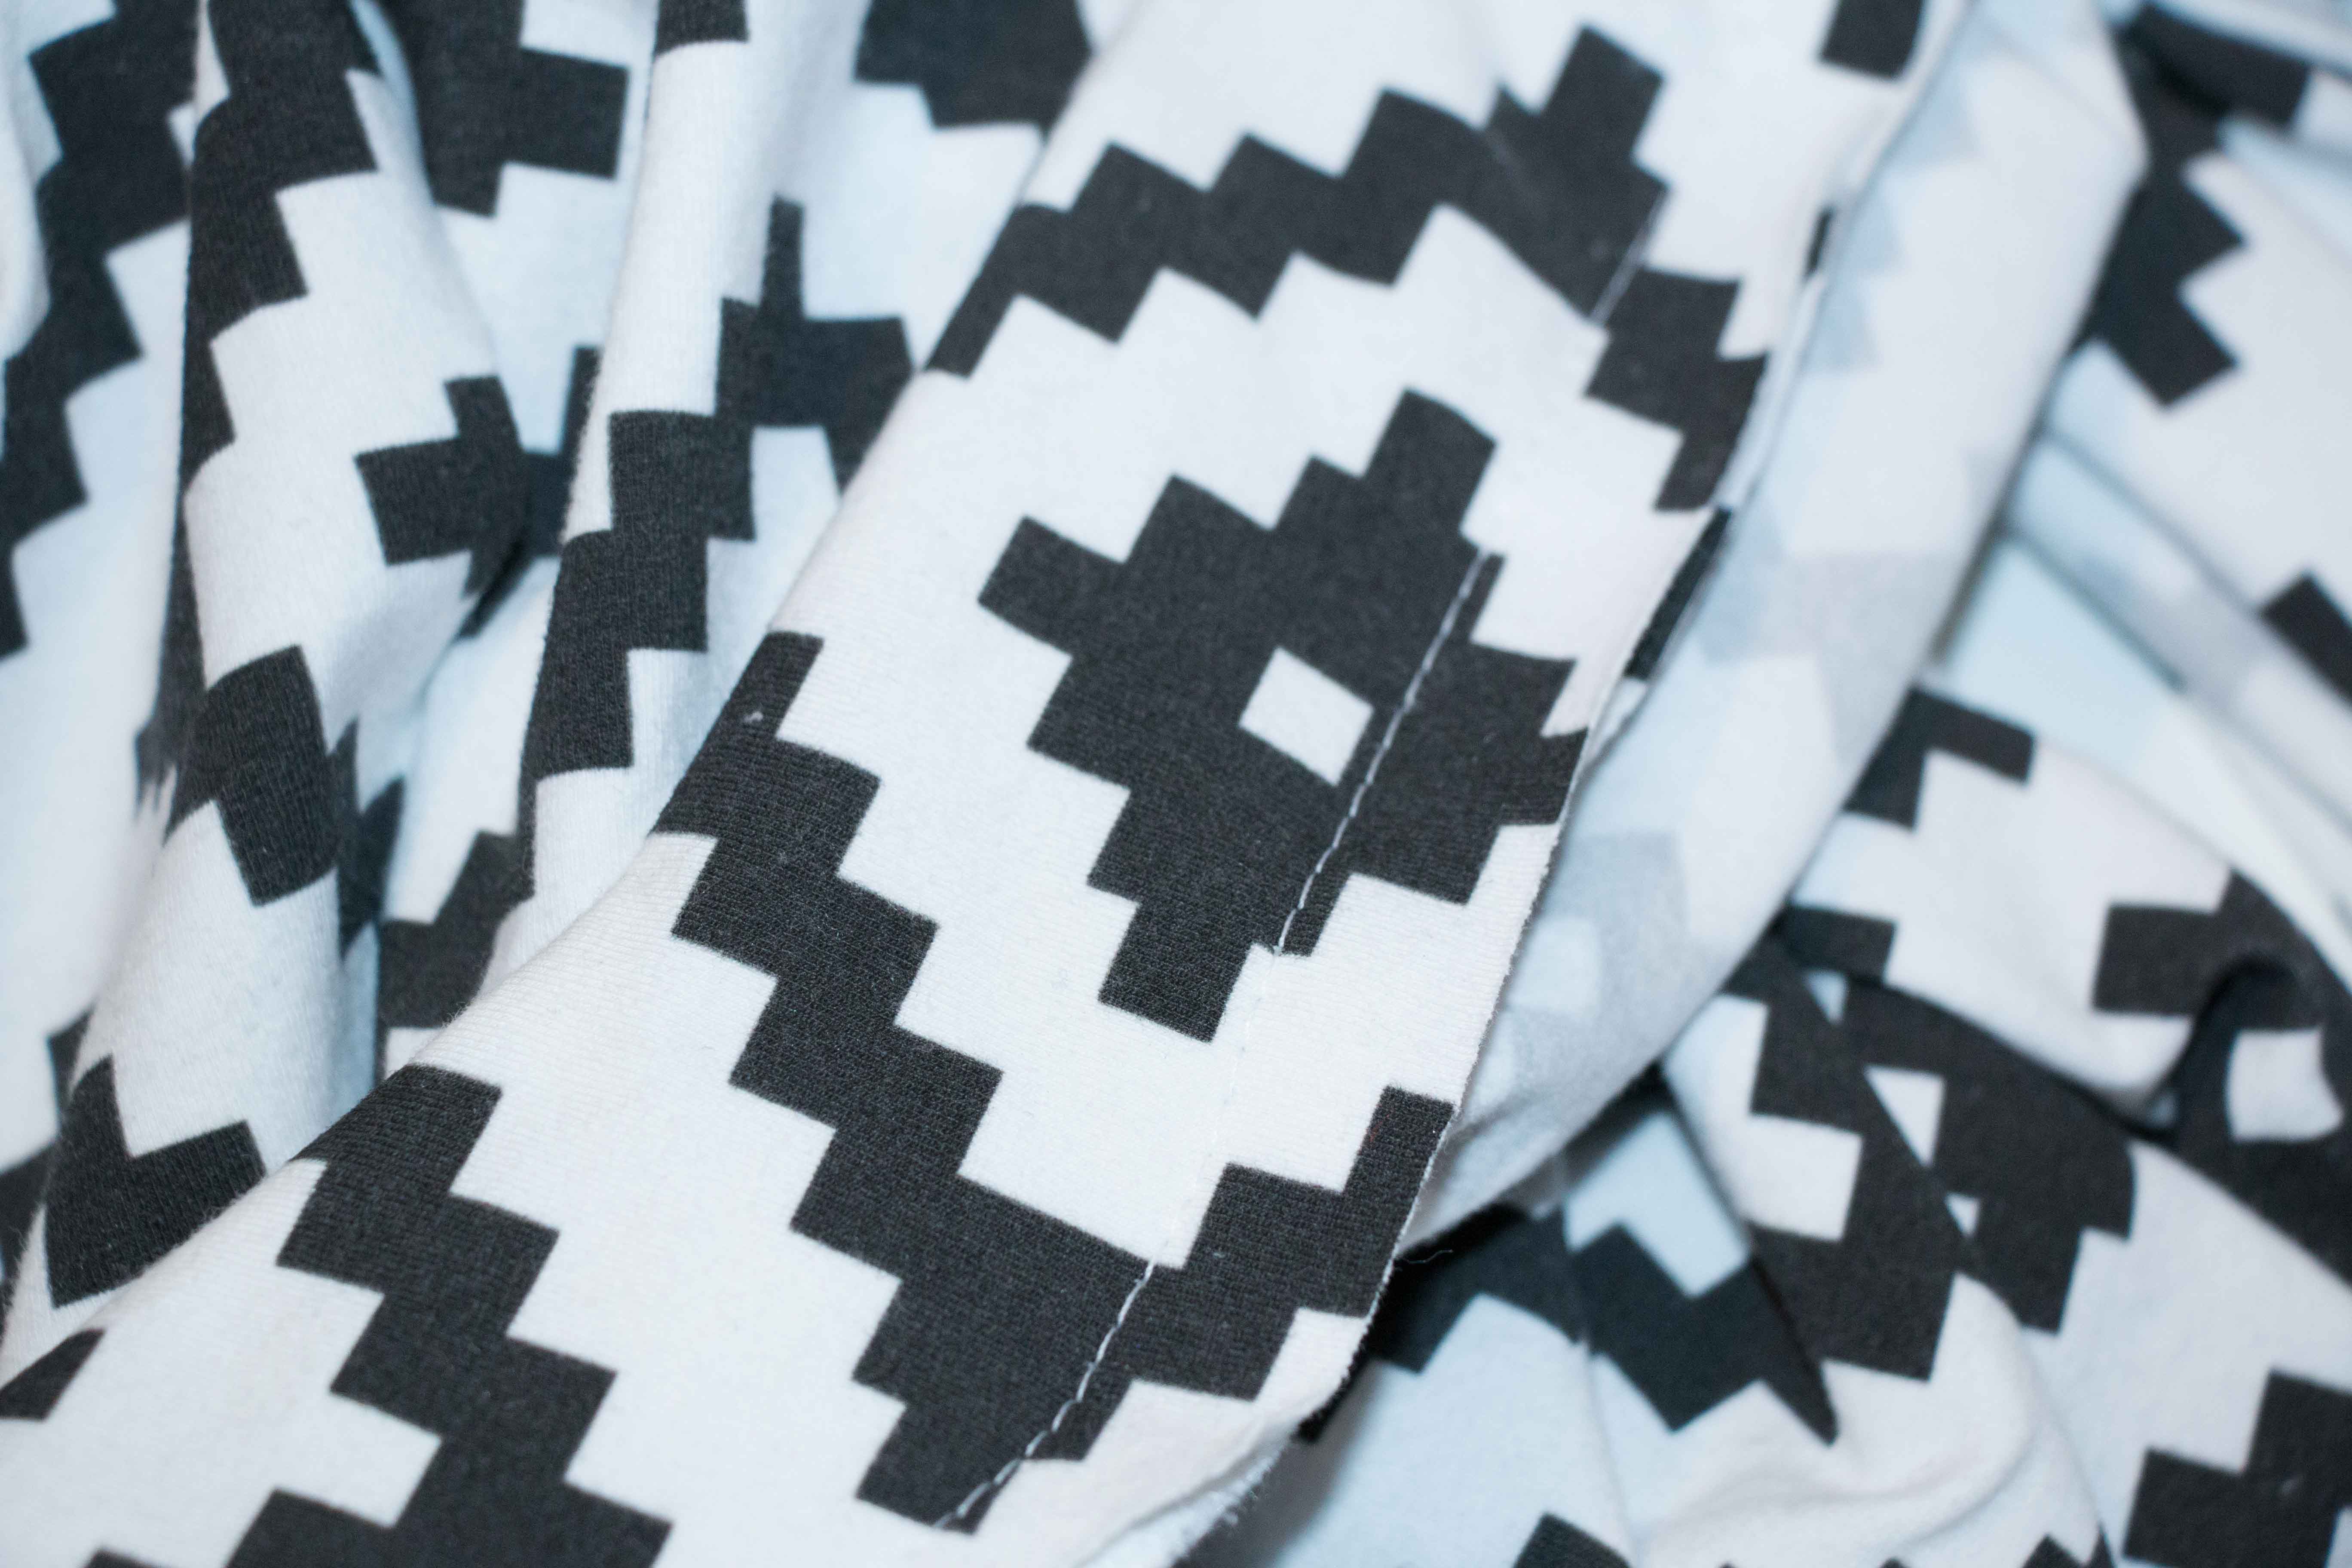
The hemming, again, is easy. Fold your hem up, press and topstitch.
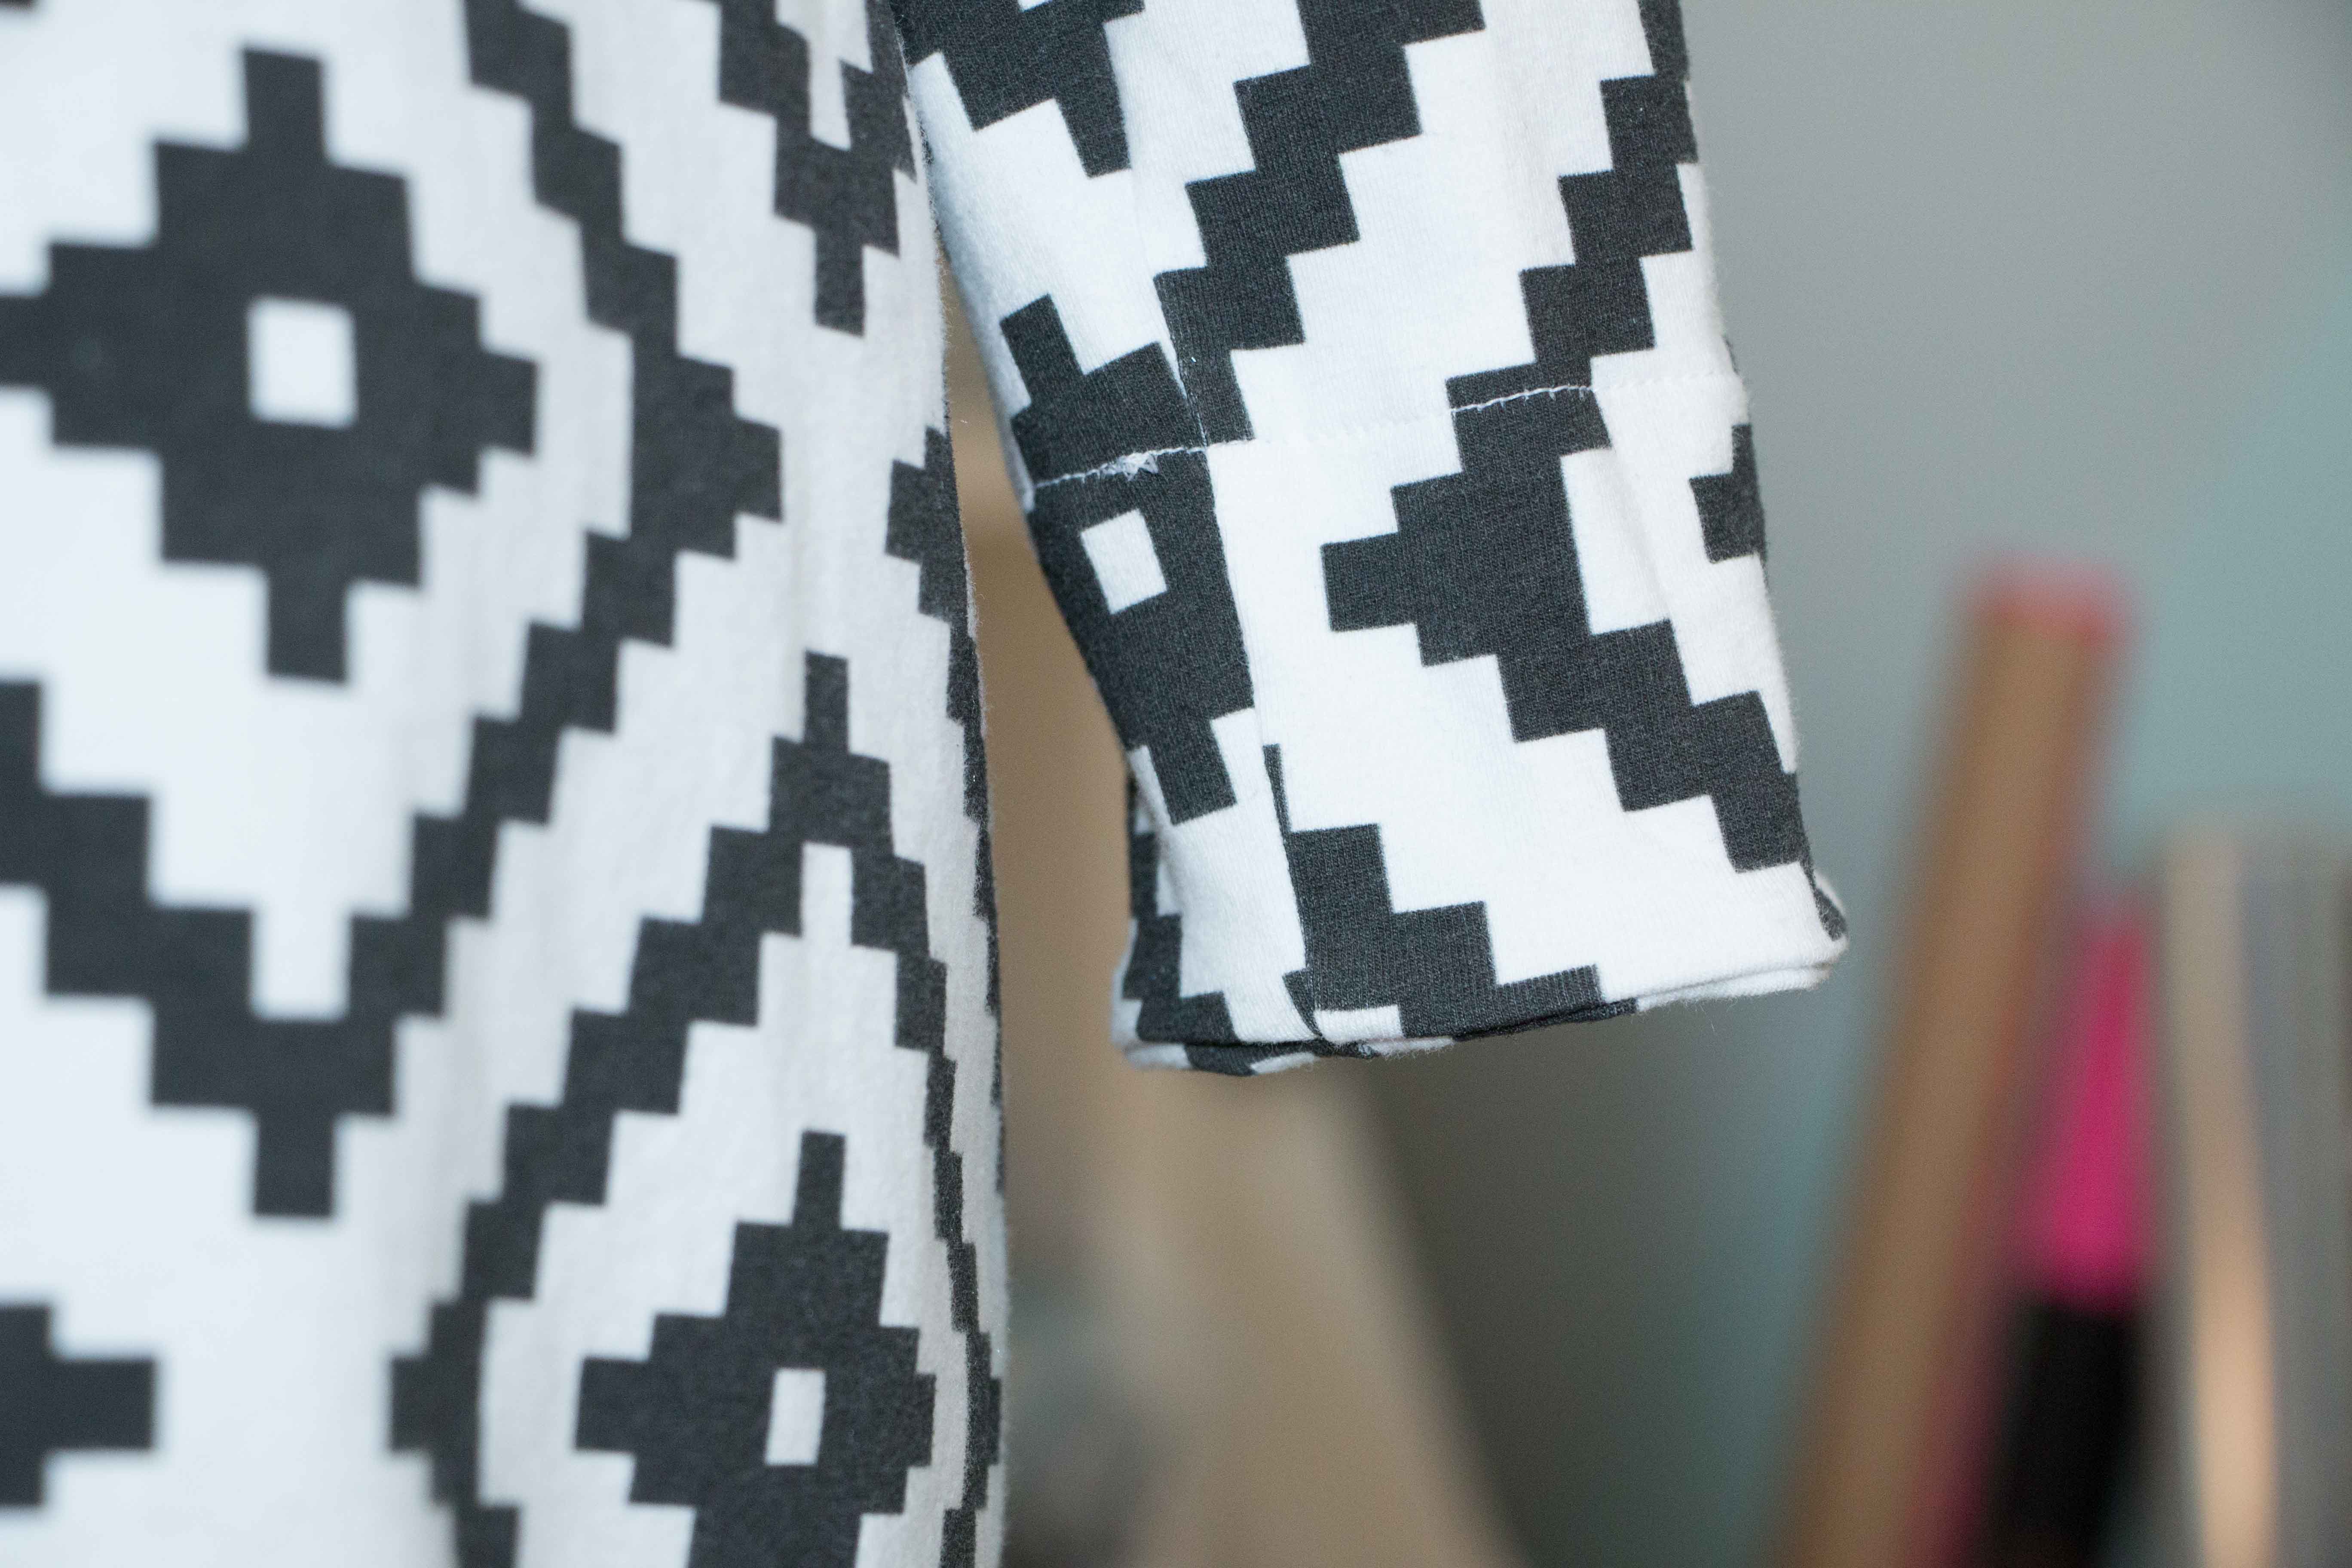
This is how the topstitching should look on your sleeve. (Could’ve done a better job with pressing though, ugh)
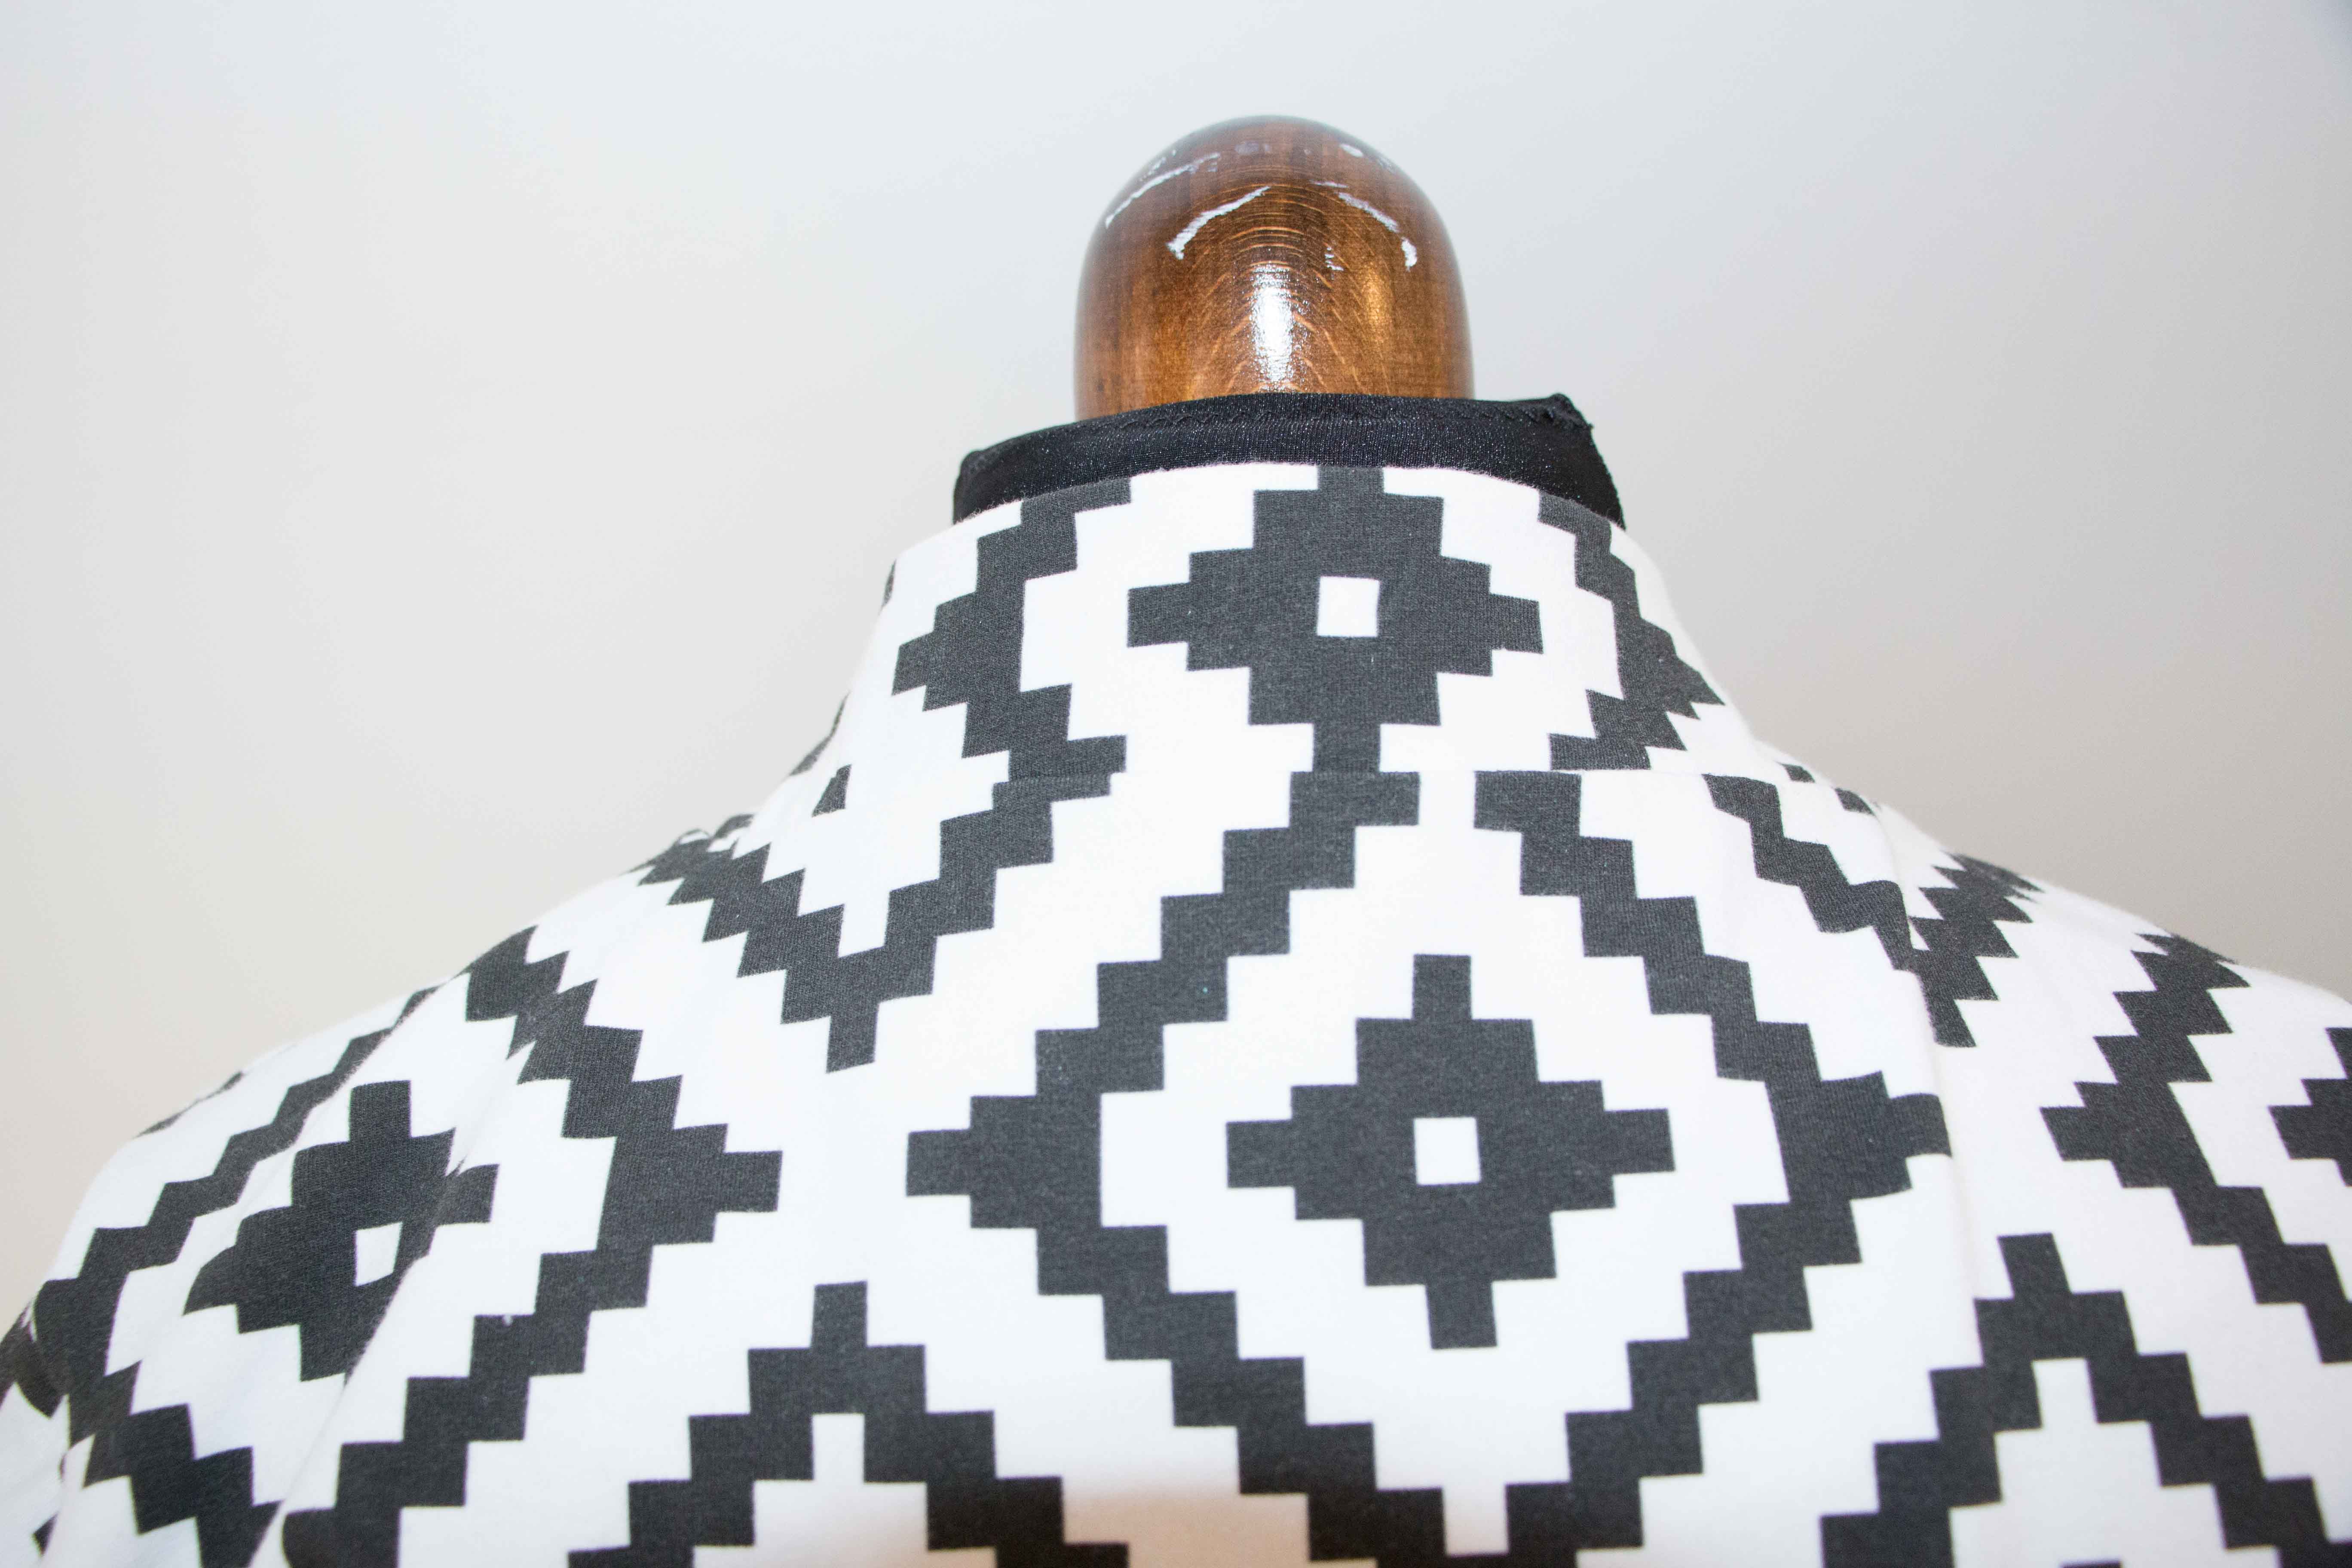
See? This is where I failed. I would have liked to match that collar piece exactly to the center back. But alas, no! You won’t be able to see it though, because my hair will cover it, hehe.
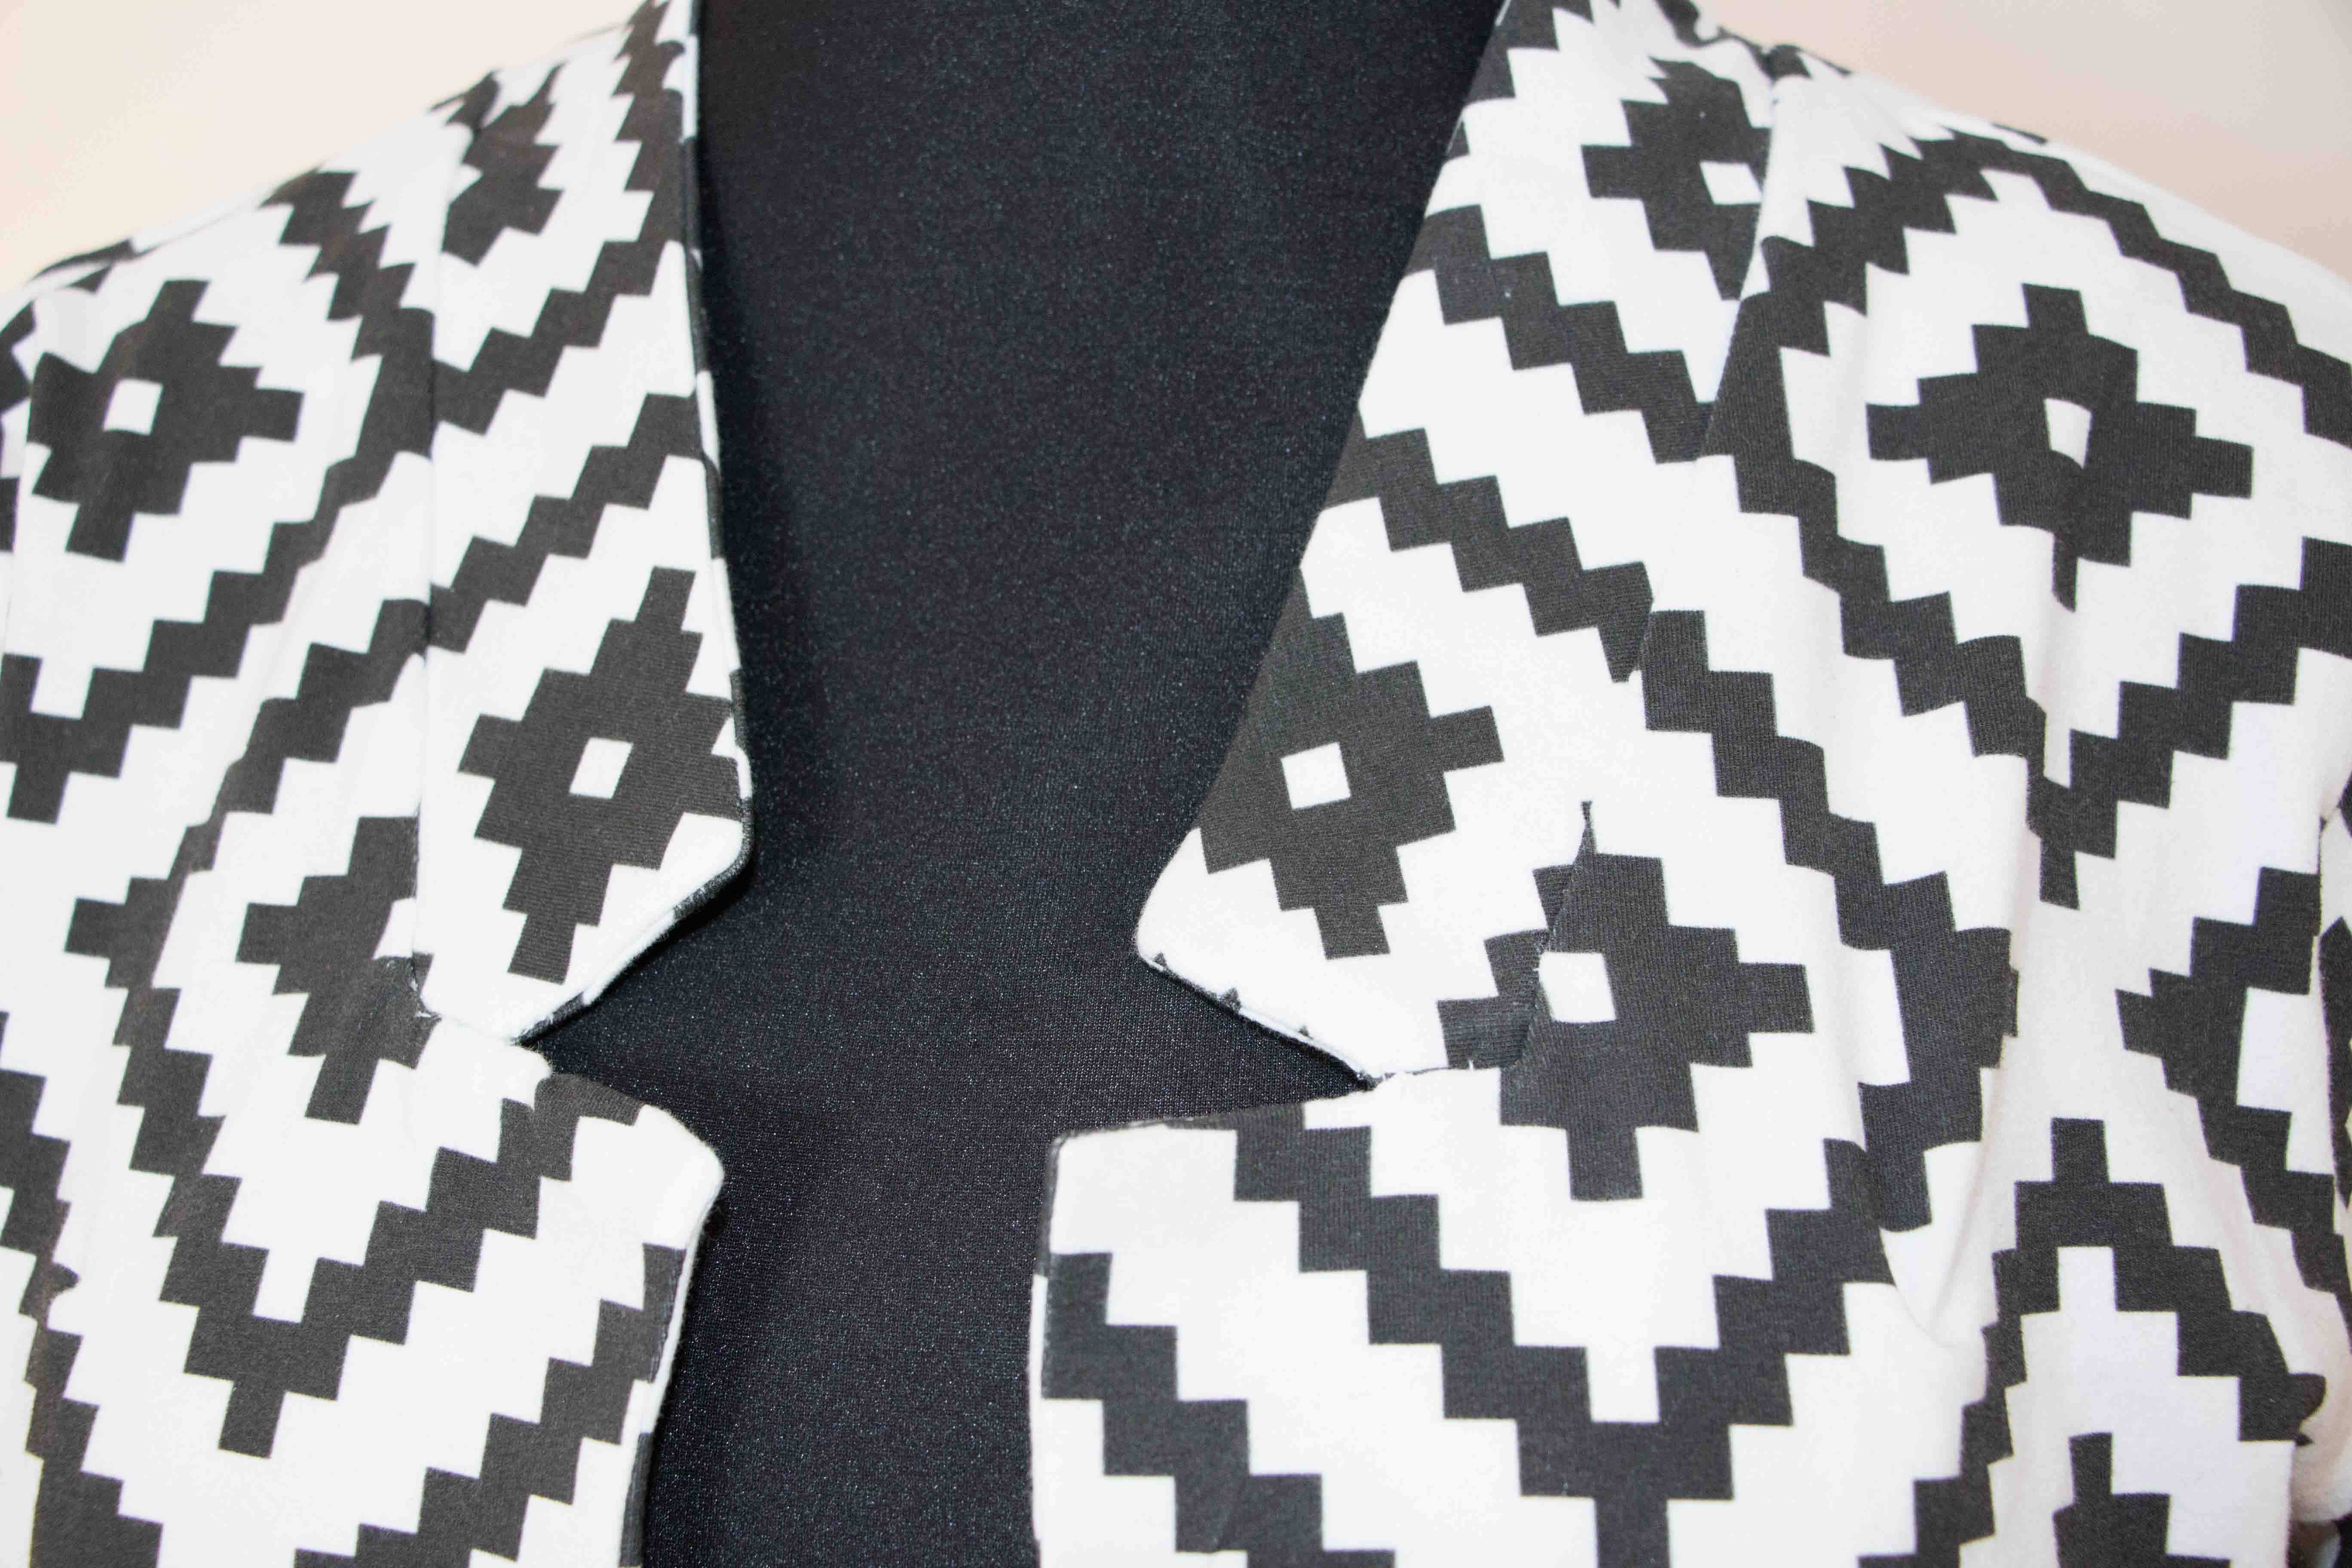
My finished collar…. from the right…
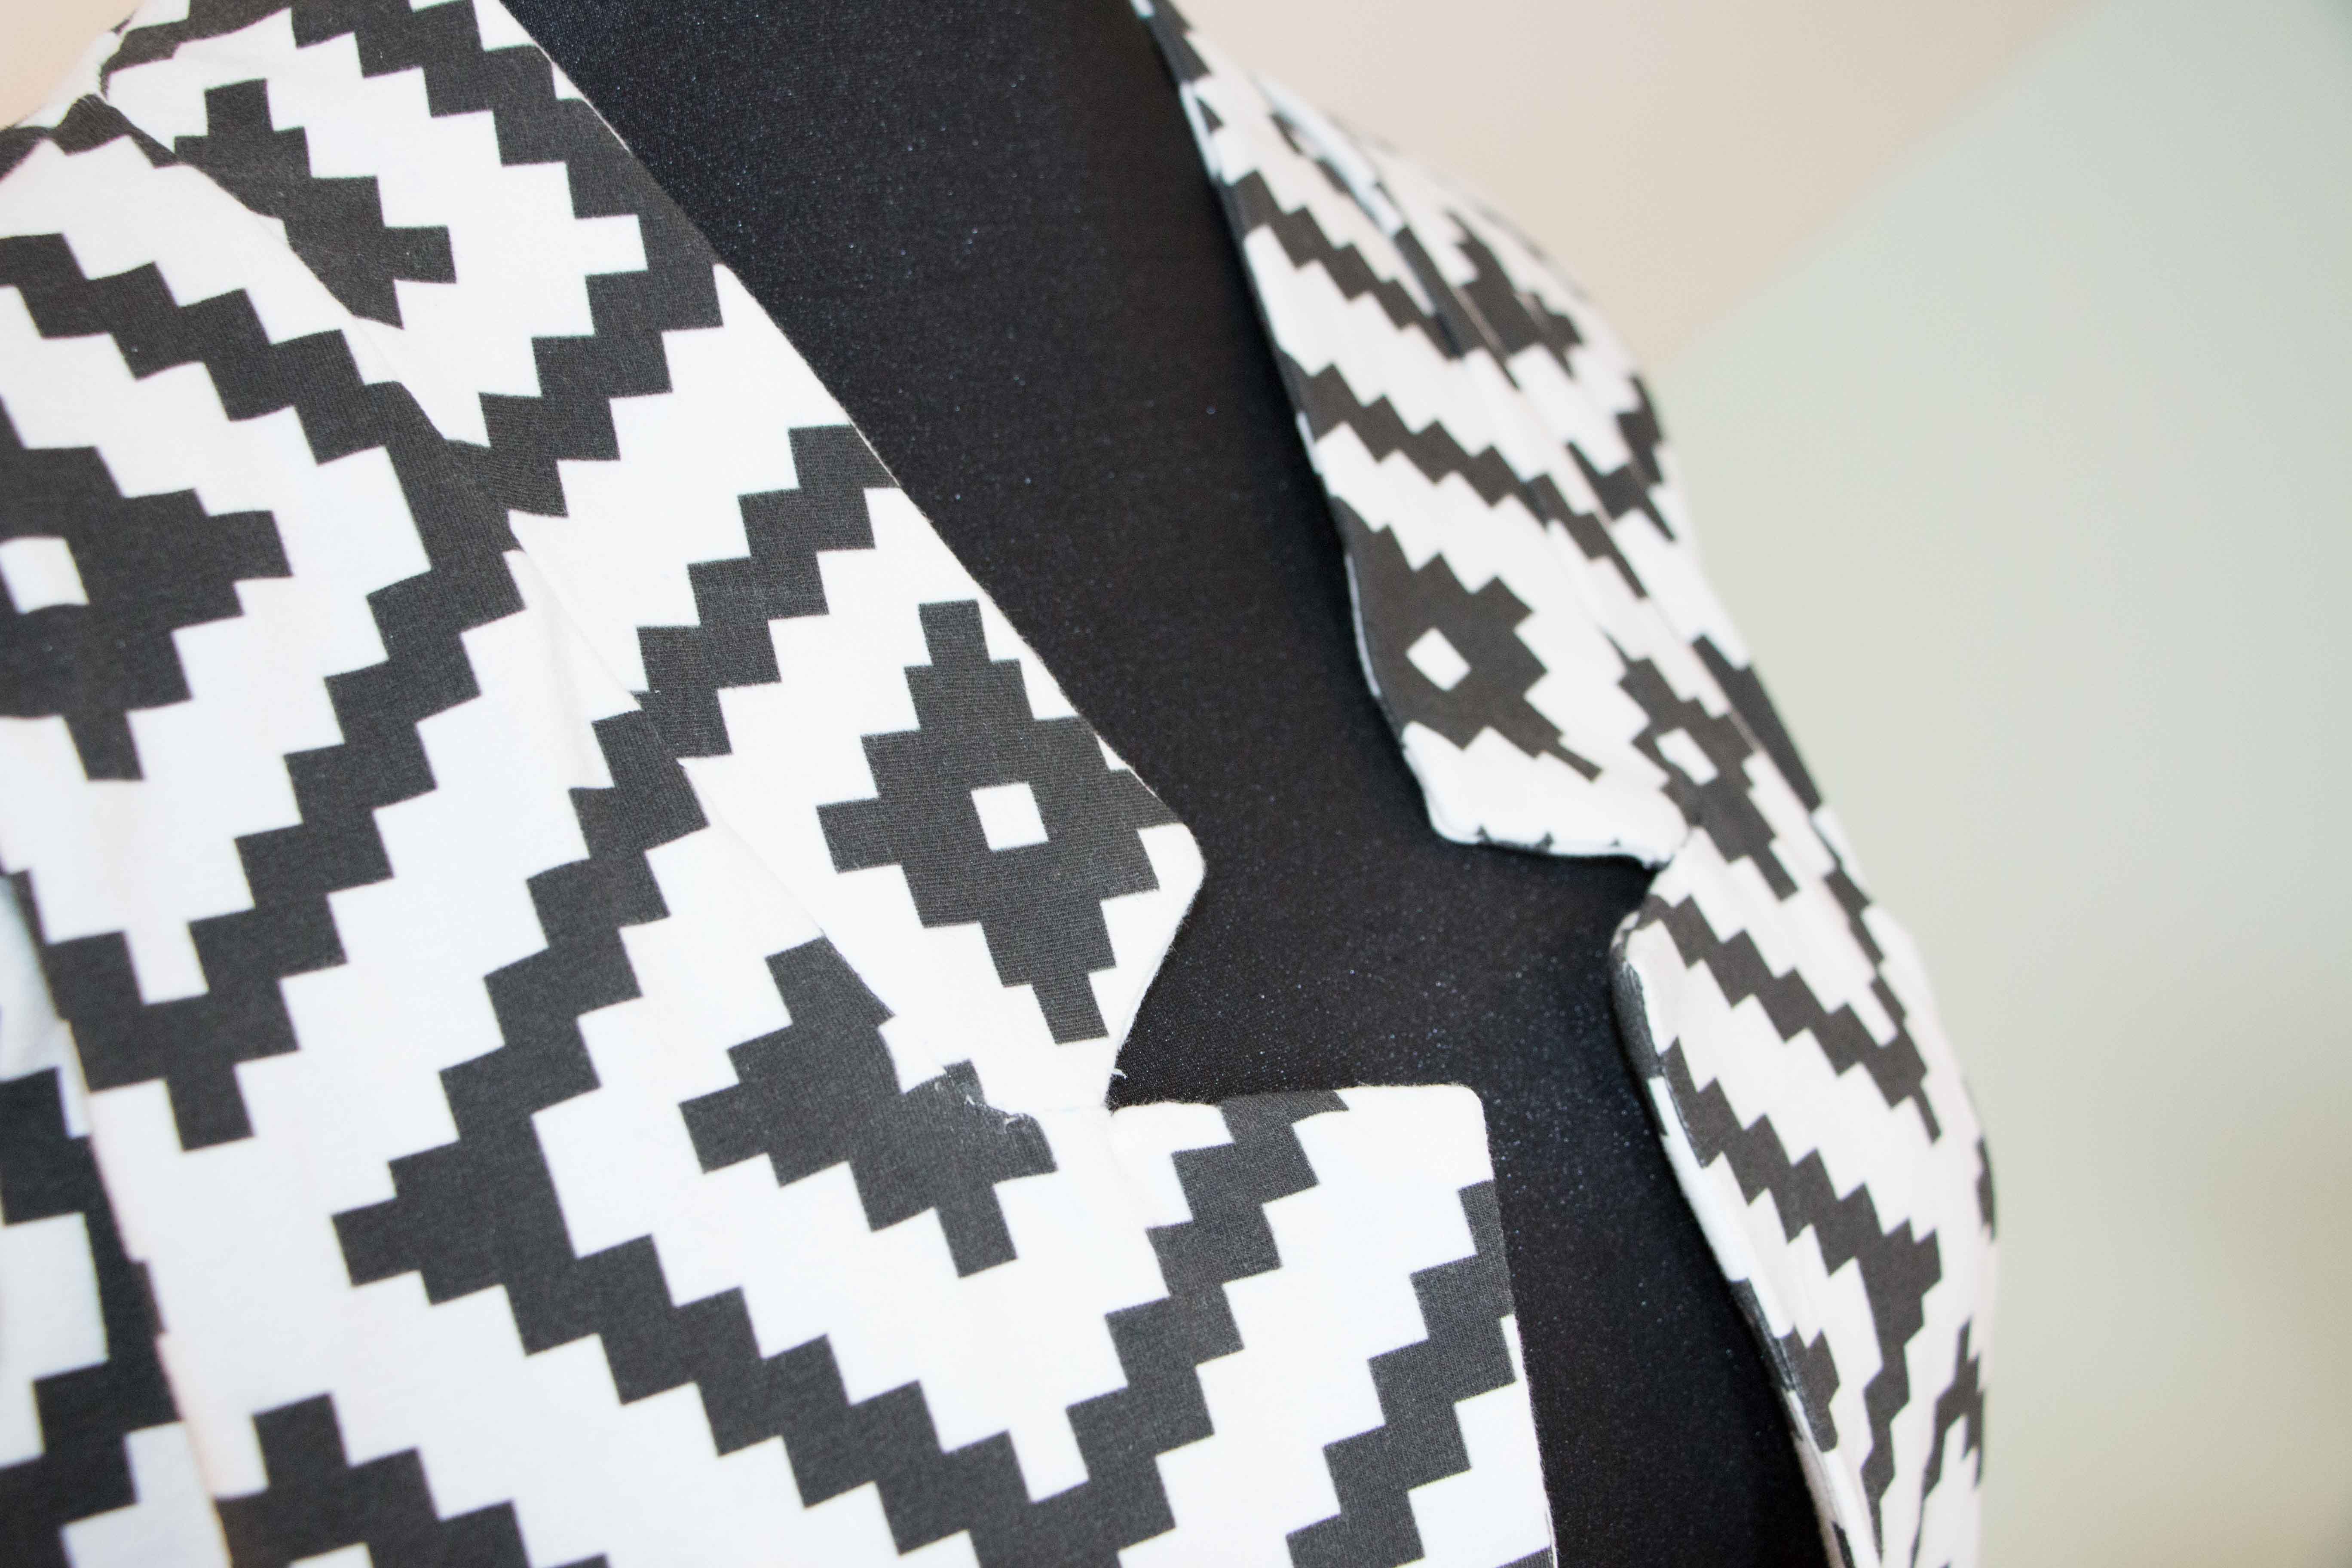
… and from the left.
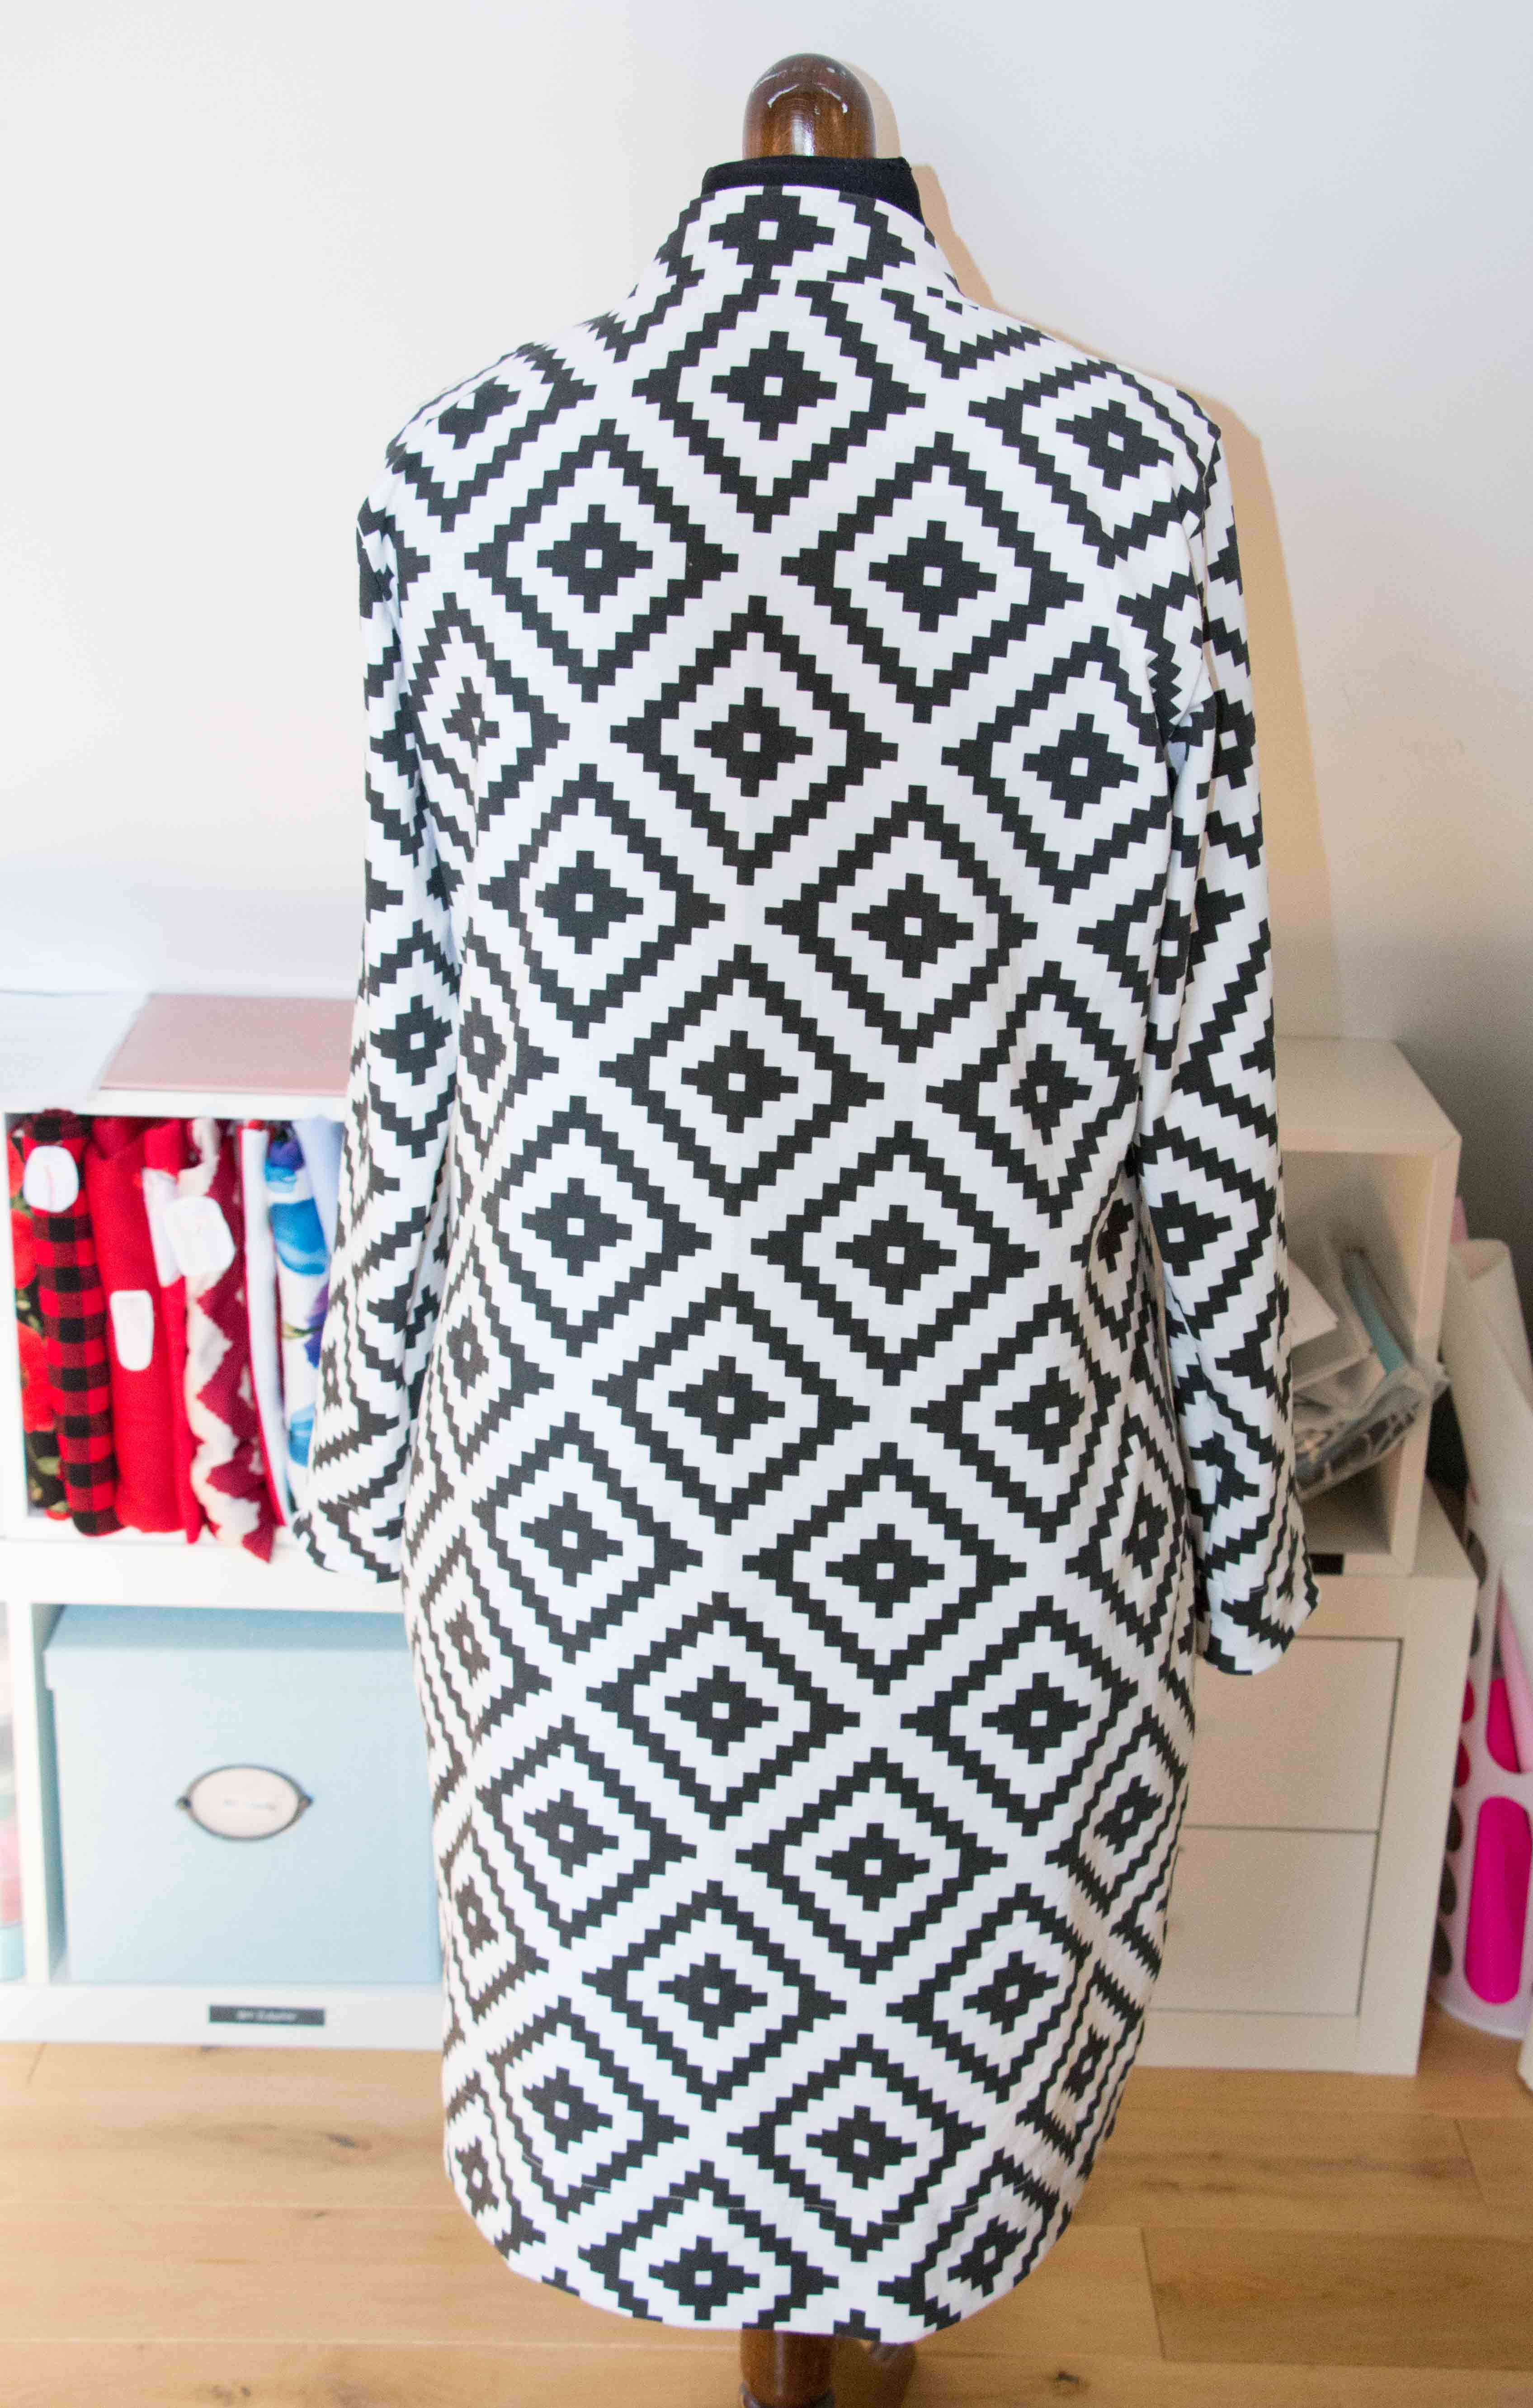
My Fulton Sweaterblazer from the back. See how a seamline would have unnecessarily disturbed this beautiful pattern?
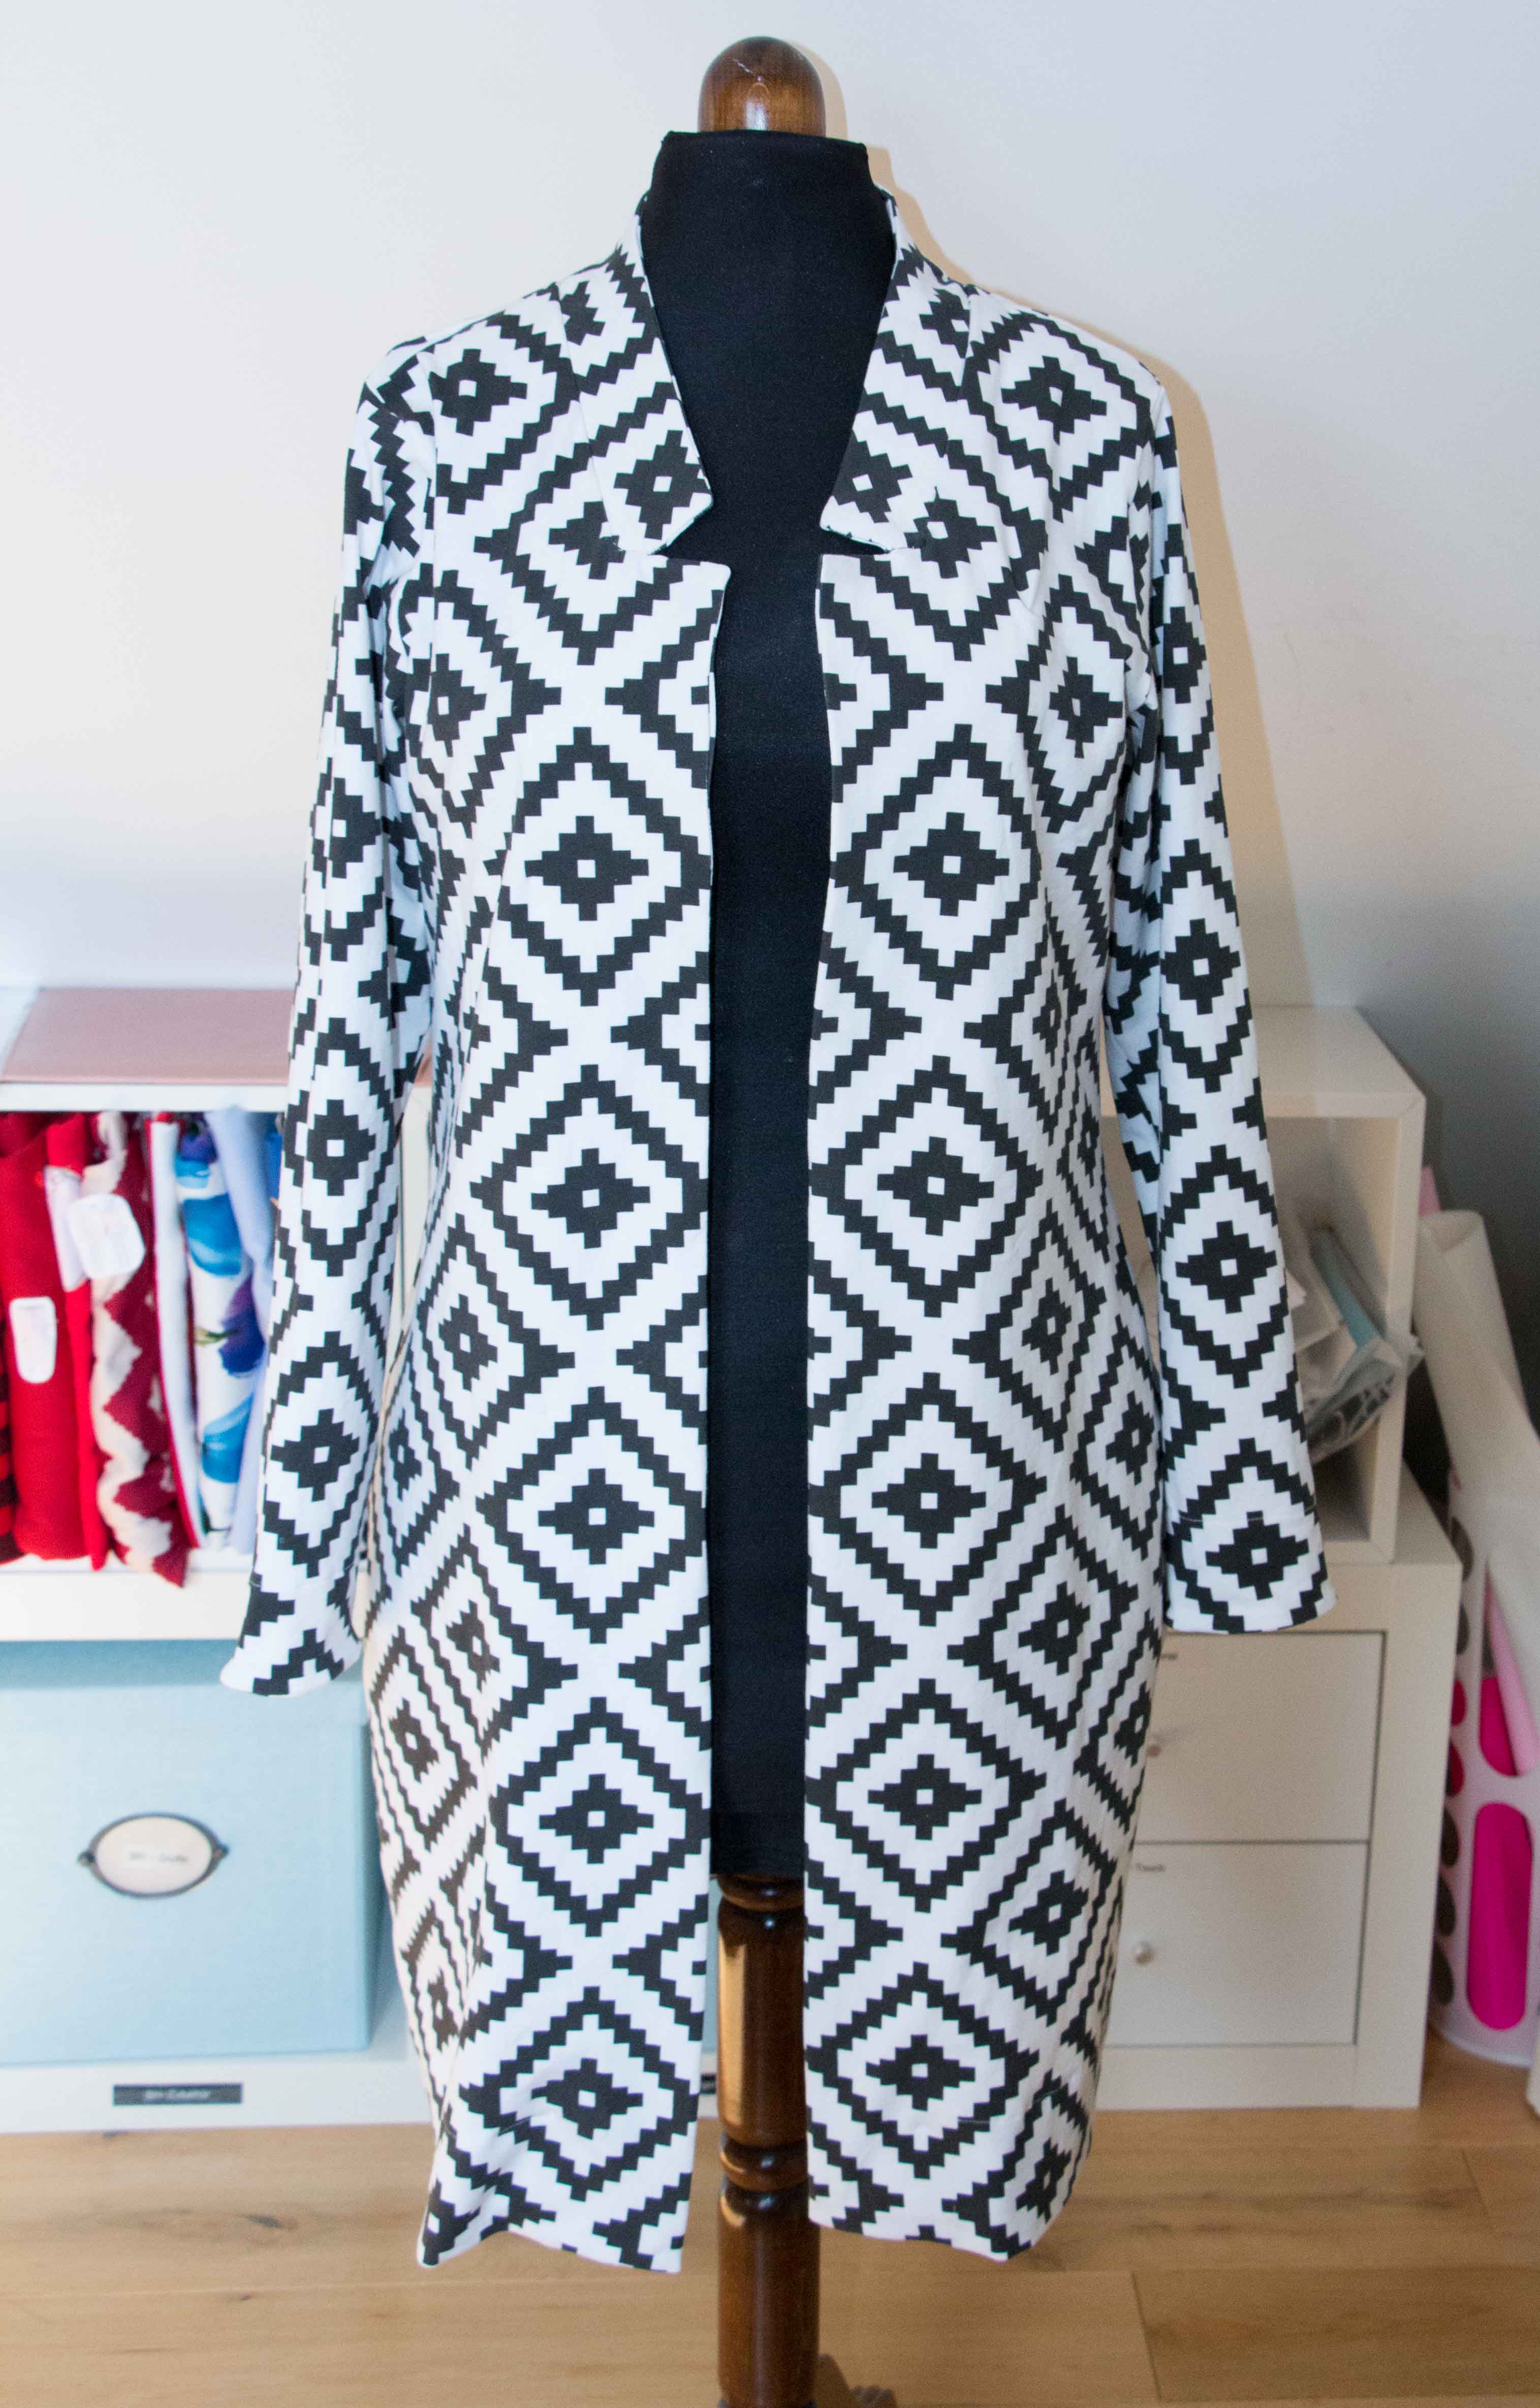
And finally from the front!!!
I am very pleased with the result. This will make a great addition to my wardrobe. It’s comfy yet formal enough for the office. You know, when your boss might show up unannounced and you don’t want him/her to see that you’re wearing a shirt to work 😀
If you want to see more sewing related stuff from me, head over to my Instagram and give me a follow.
Happy Sewing!
Nadine


0 Responses