 BERNINA Corporate Blog -
Zebra meets Teddy
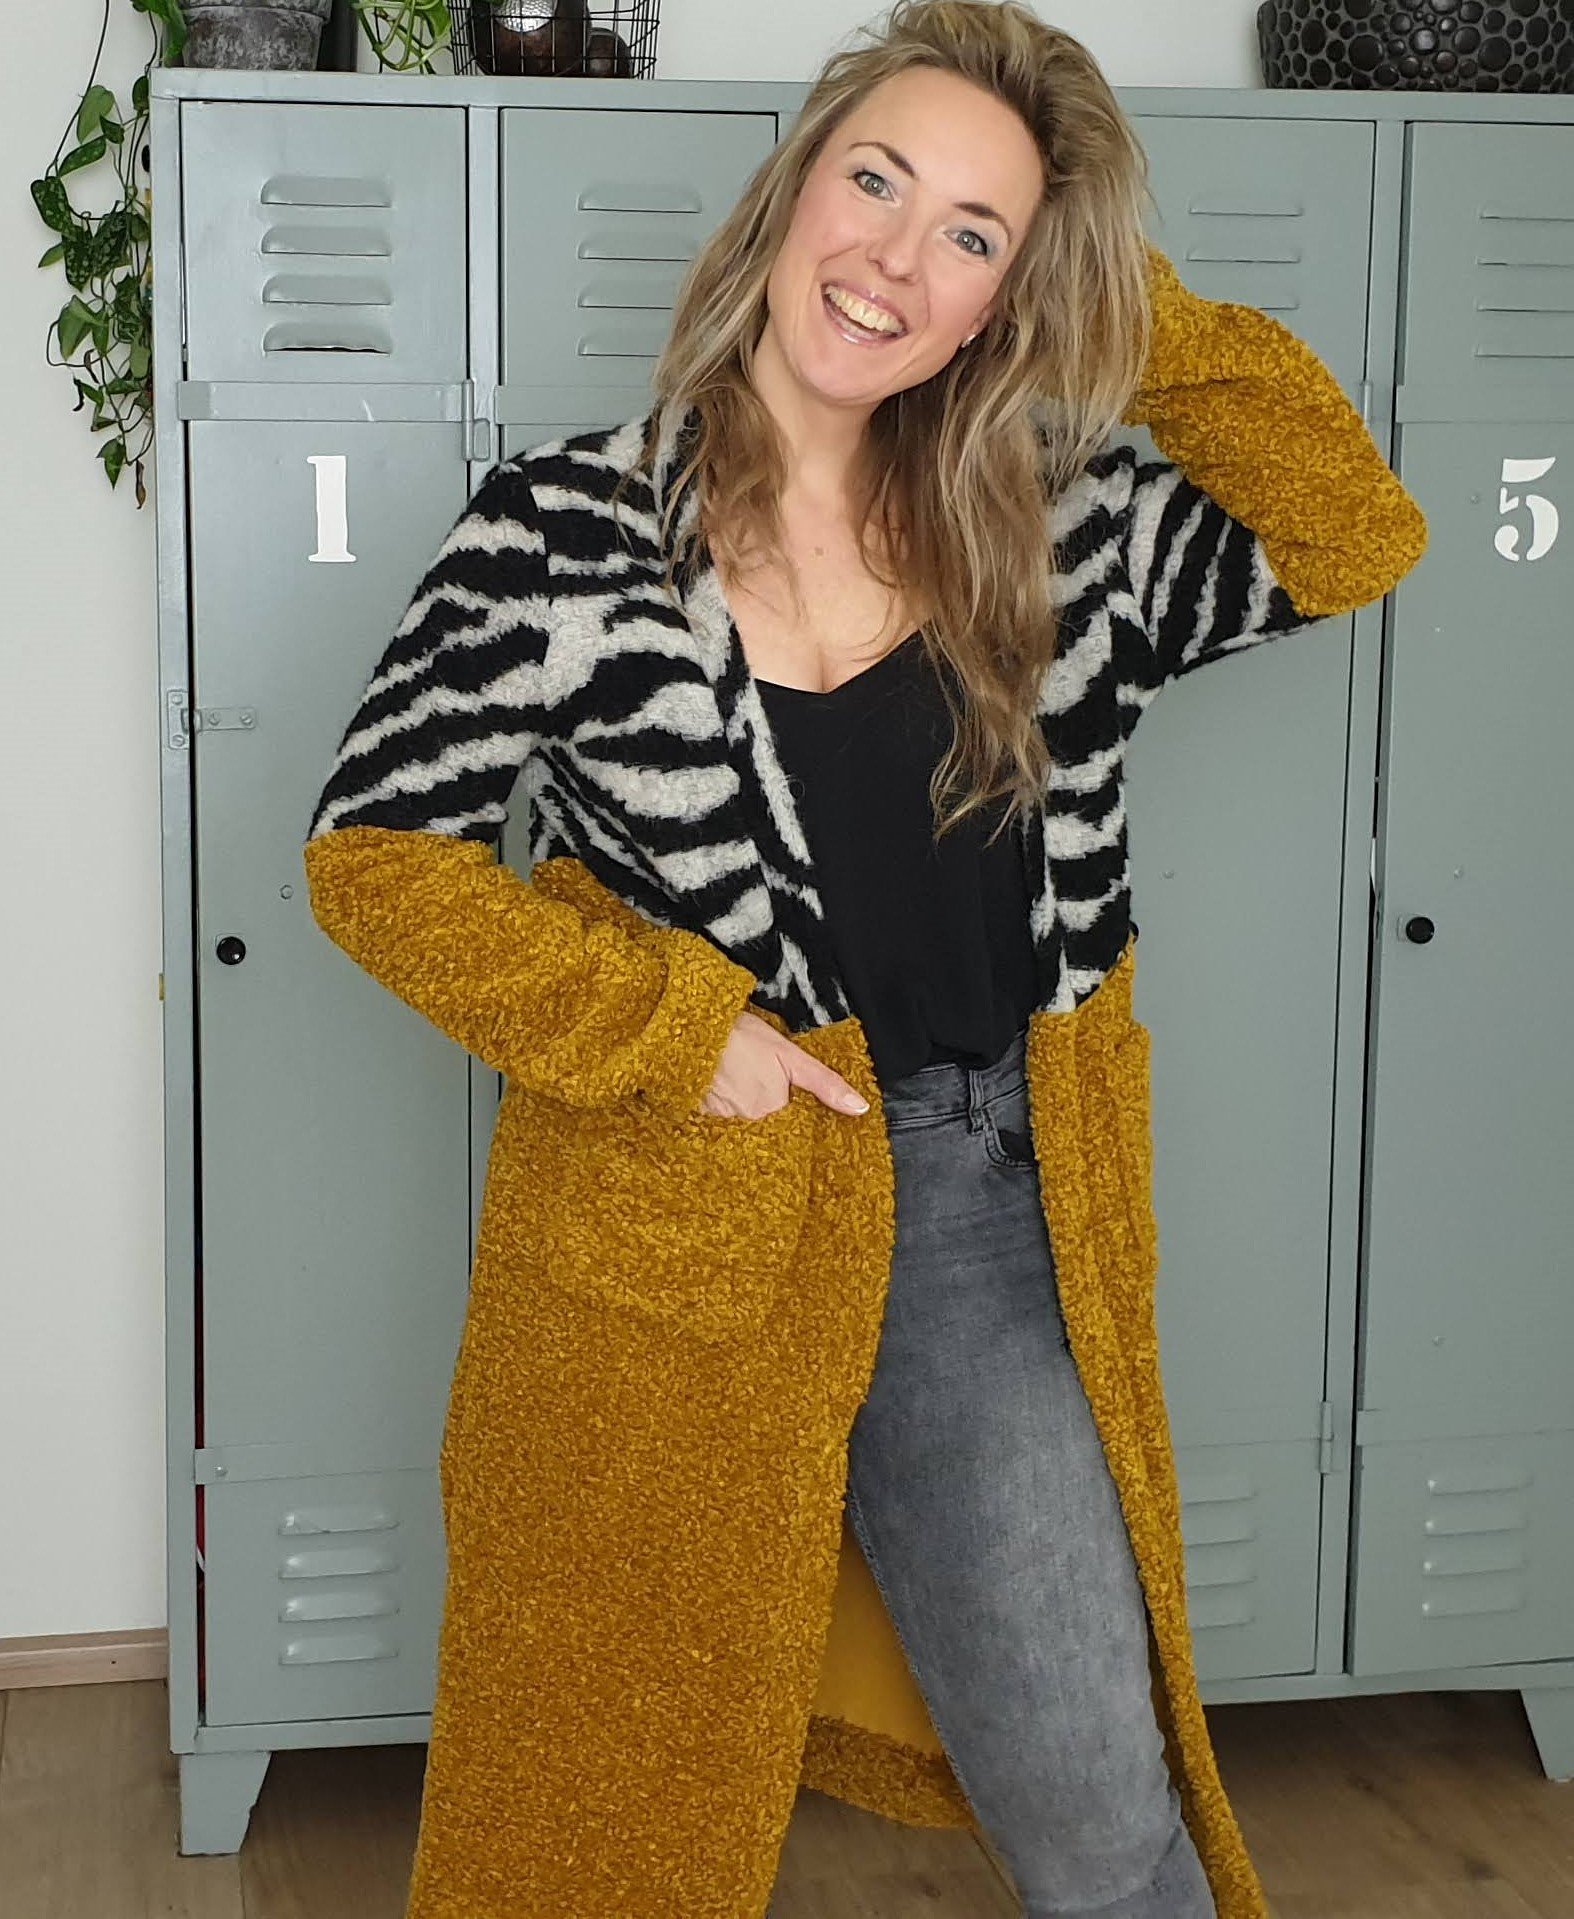
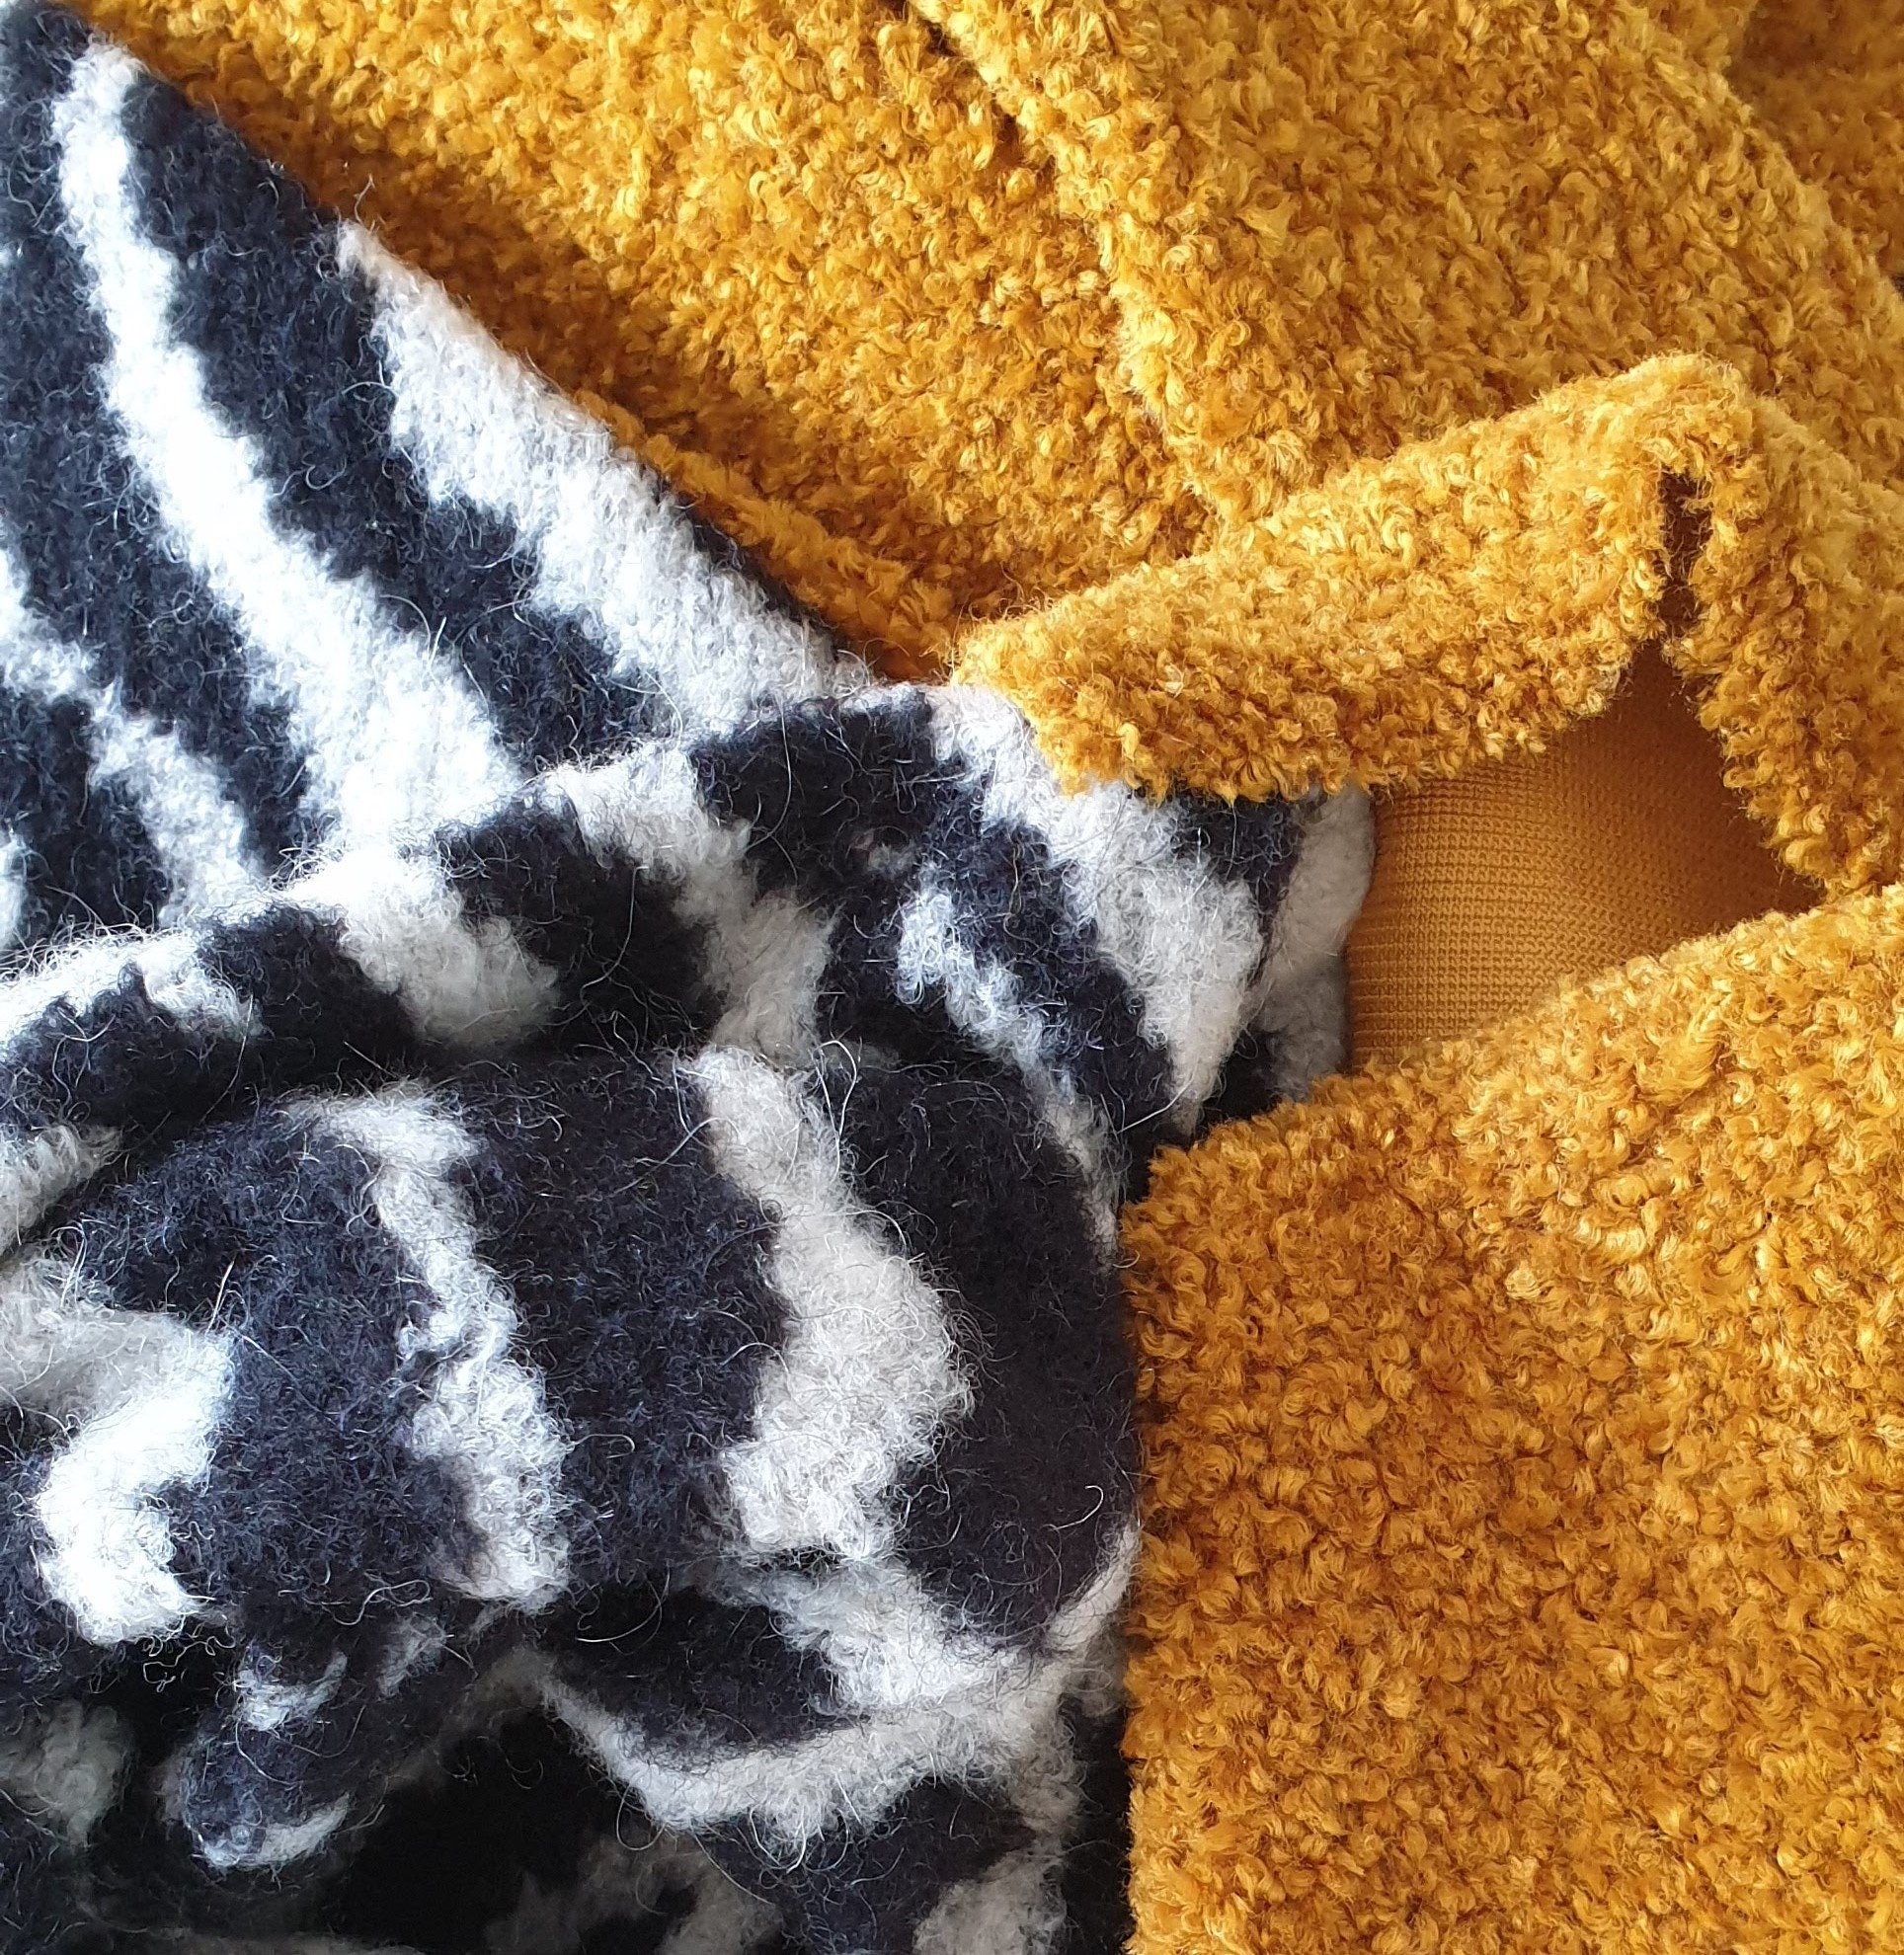
I was given the opportunity to select a fabric from a webshop. Often that is were my creative journey of a garment begins. Scrolling down this particular webshop I made a shortlist of fabrics and eventually I narrowed it down to two: a zebra and a teddy fabric. Going back and forth between these fabrics soon the idea emerged of combining the two’s. For those who know me a little, I love to combine different fabrics and prints.
Tips for selecting fabrics online
I checked the type of fabric and for which the fabric was suitable, so that, in addition to texture and print, I could estimate whether the fabrics would match in one garment. The zebra is a polyester/wool fabric and suitable for coats and the teddy is 100% polyester and suitable for cardigans. The weight of the fabric wasn’t stated, that also can help in chosing fabrics online. I took the plunge anyway and ordered the fabrics.
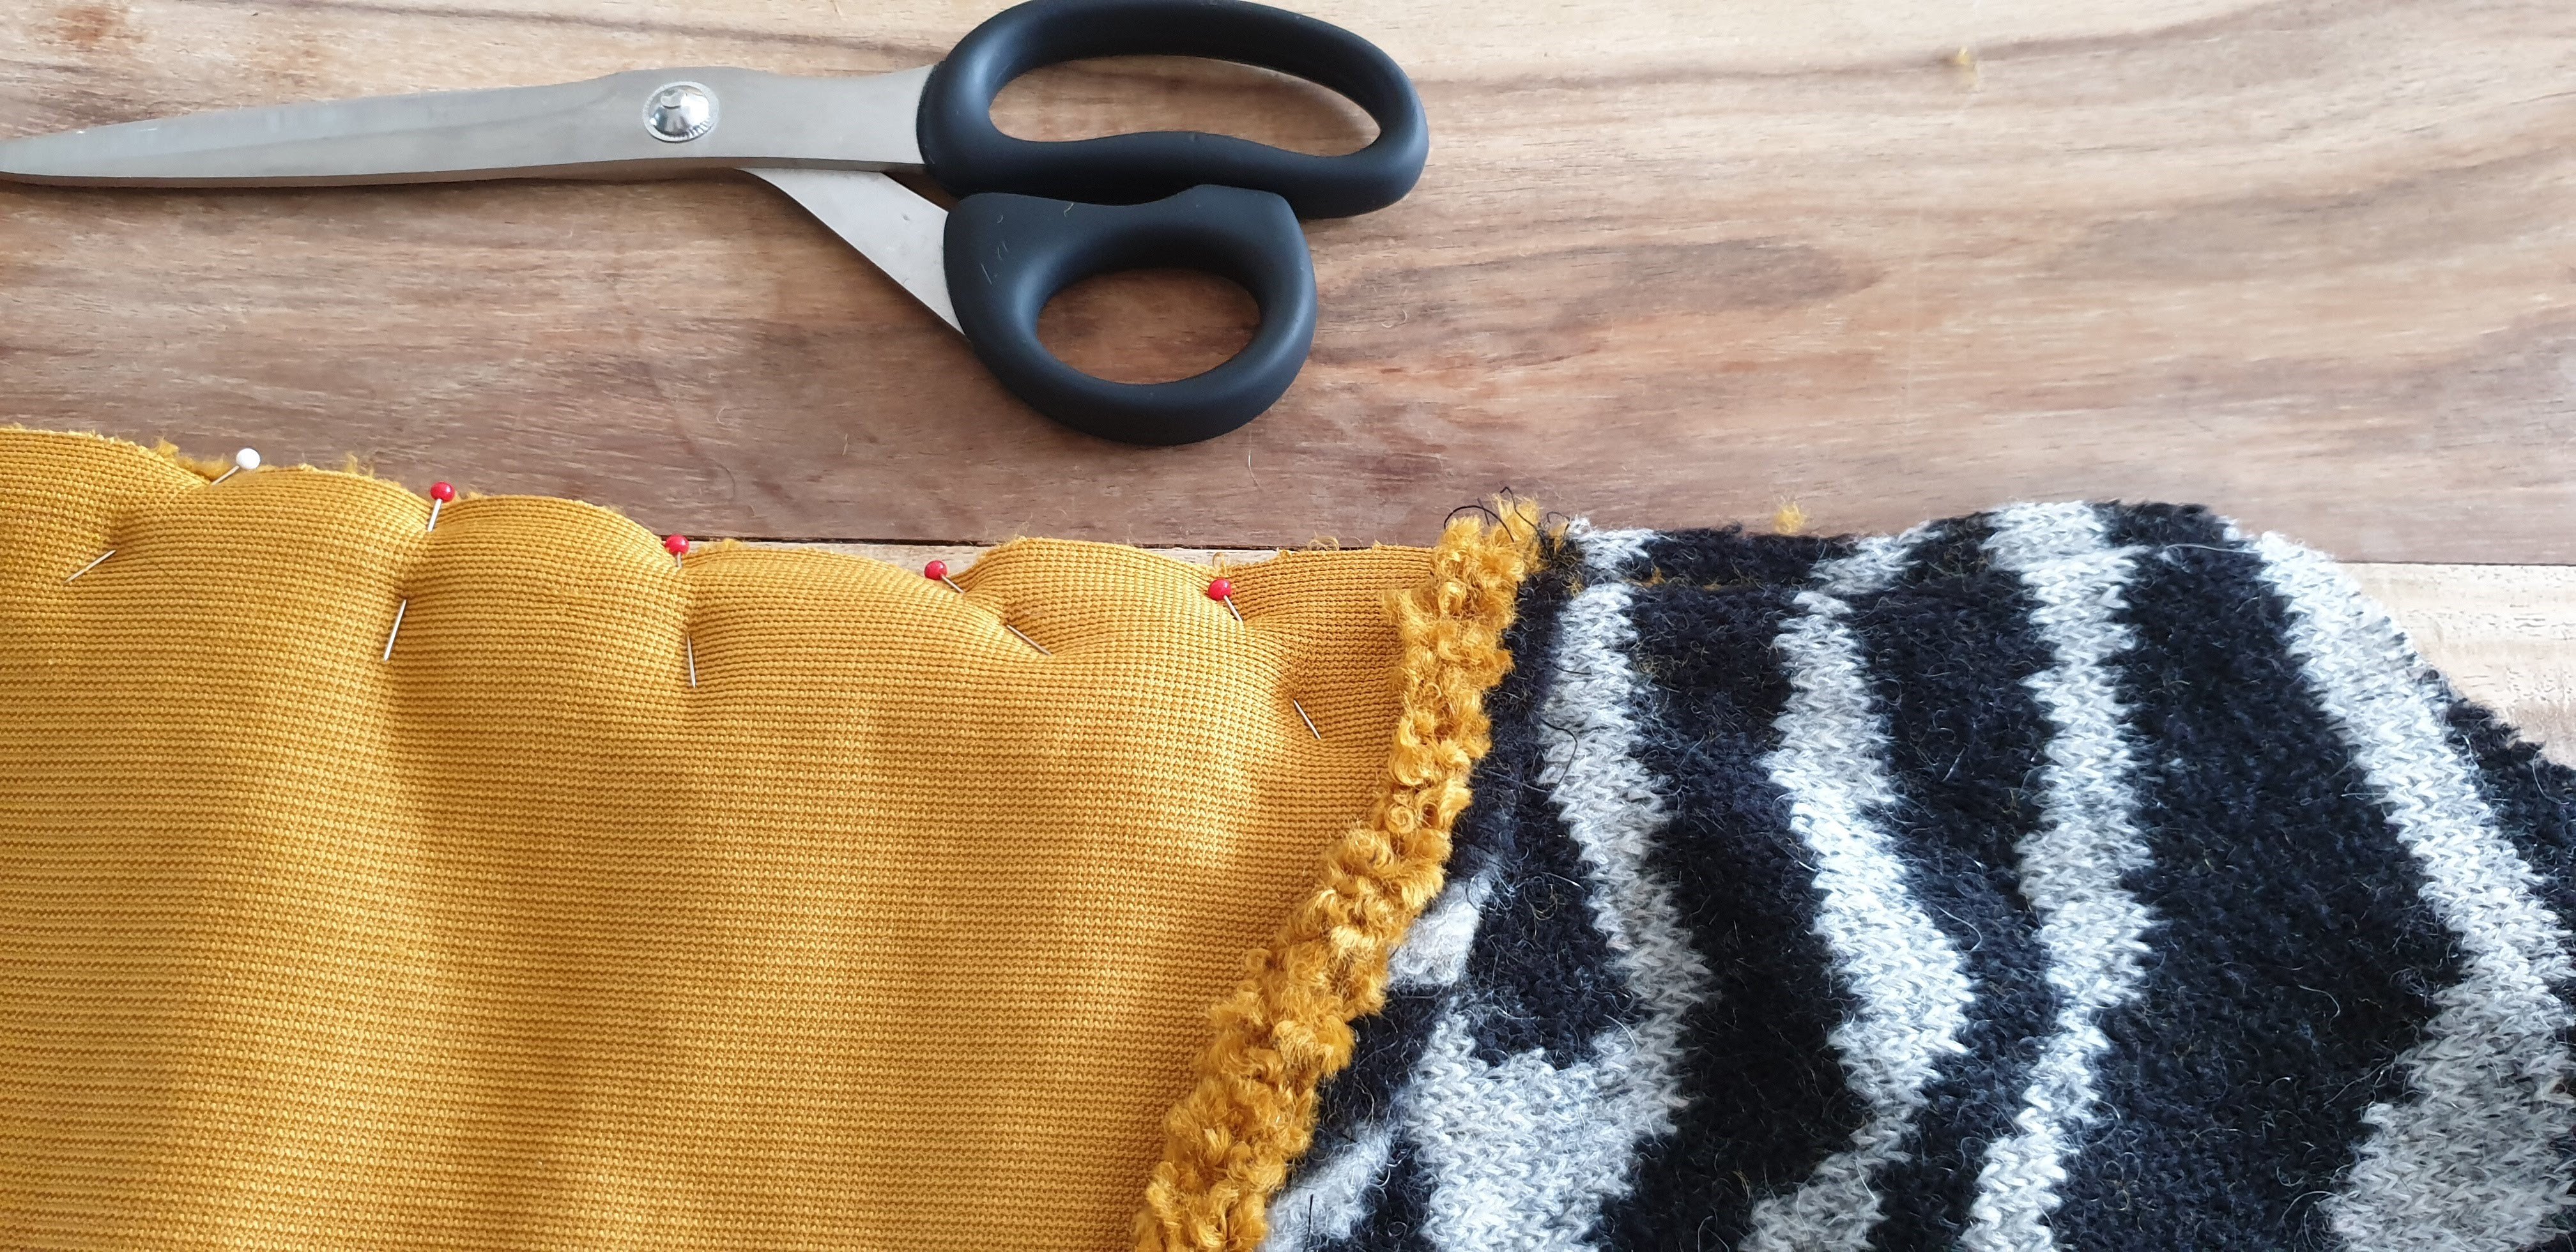
The pattern that I used is selfdrafted. Just a simple cardigan, slightly tailored, with pockets. My plan was to make big colourblocks out of the two fabrics. Thus I cut the paper pattern and marked them with ‘zebra’ and ‘teddy’ so I wouldn’t mix them up.

When the fabric arrived I soon realized that the weight of the fabrics are slightly different. The teddy fabric was heavier than the zebra fabric. Furthermore the zebra was quite stretchy and the teddy was not. This was something to take into account.
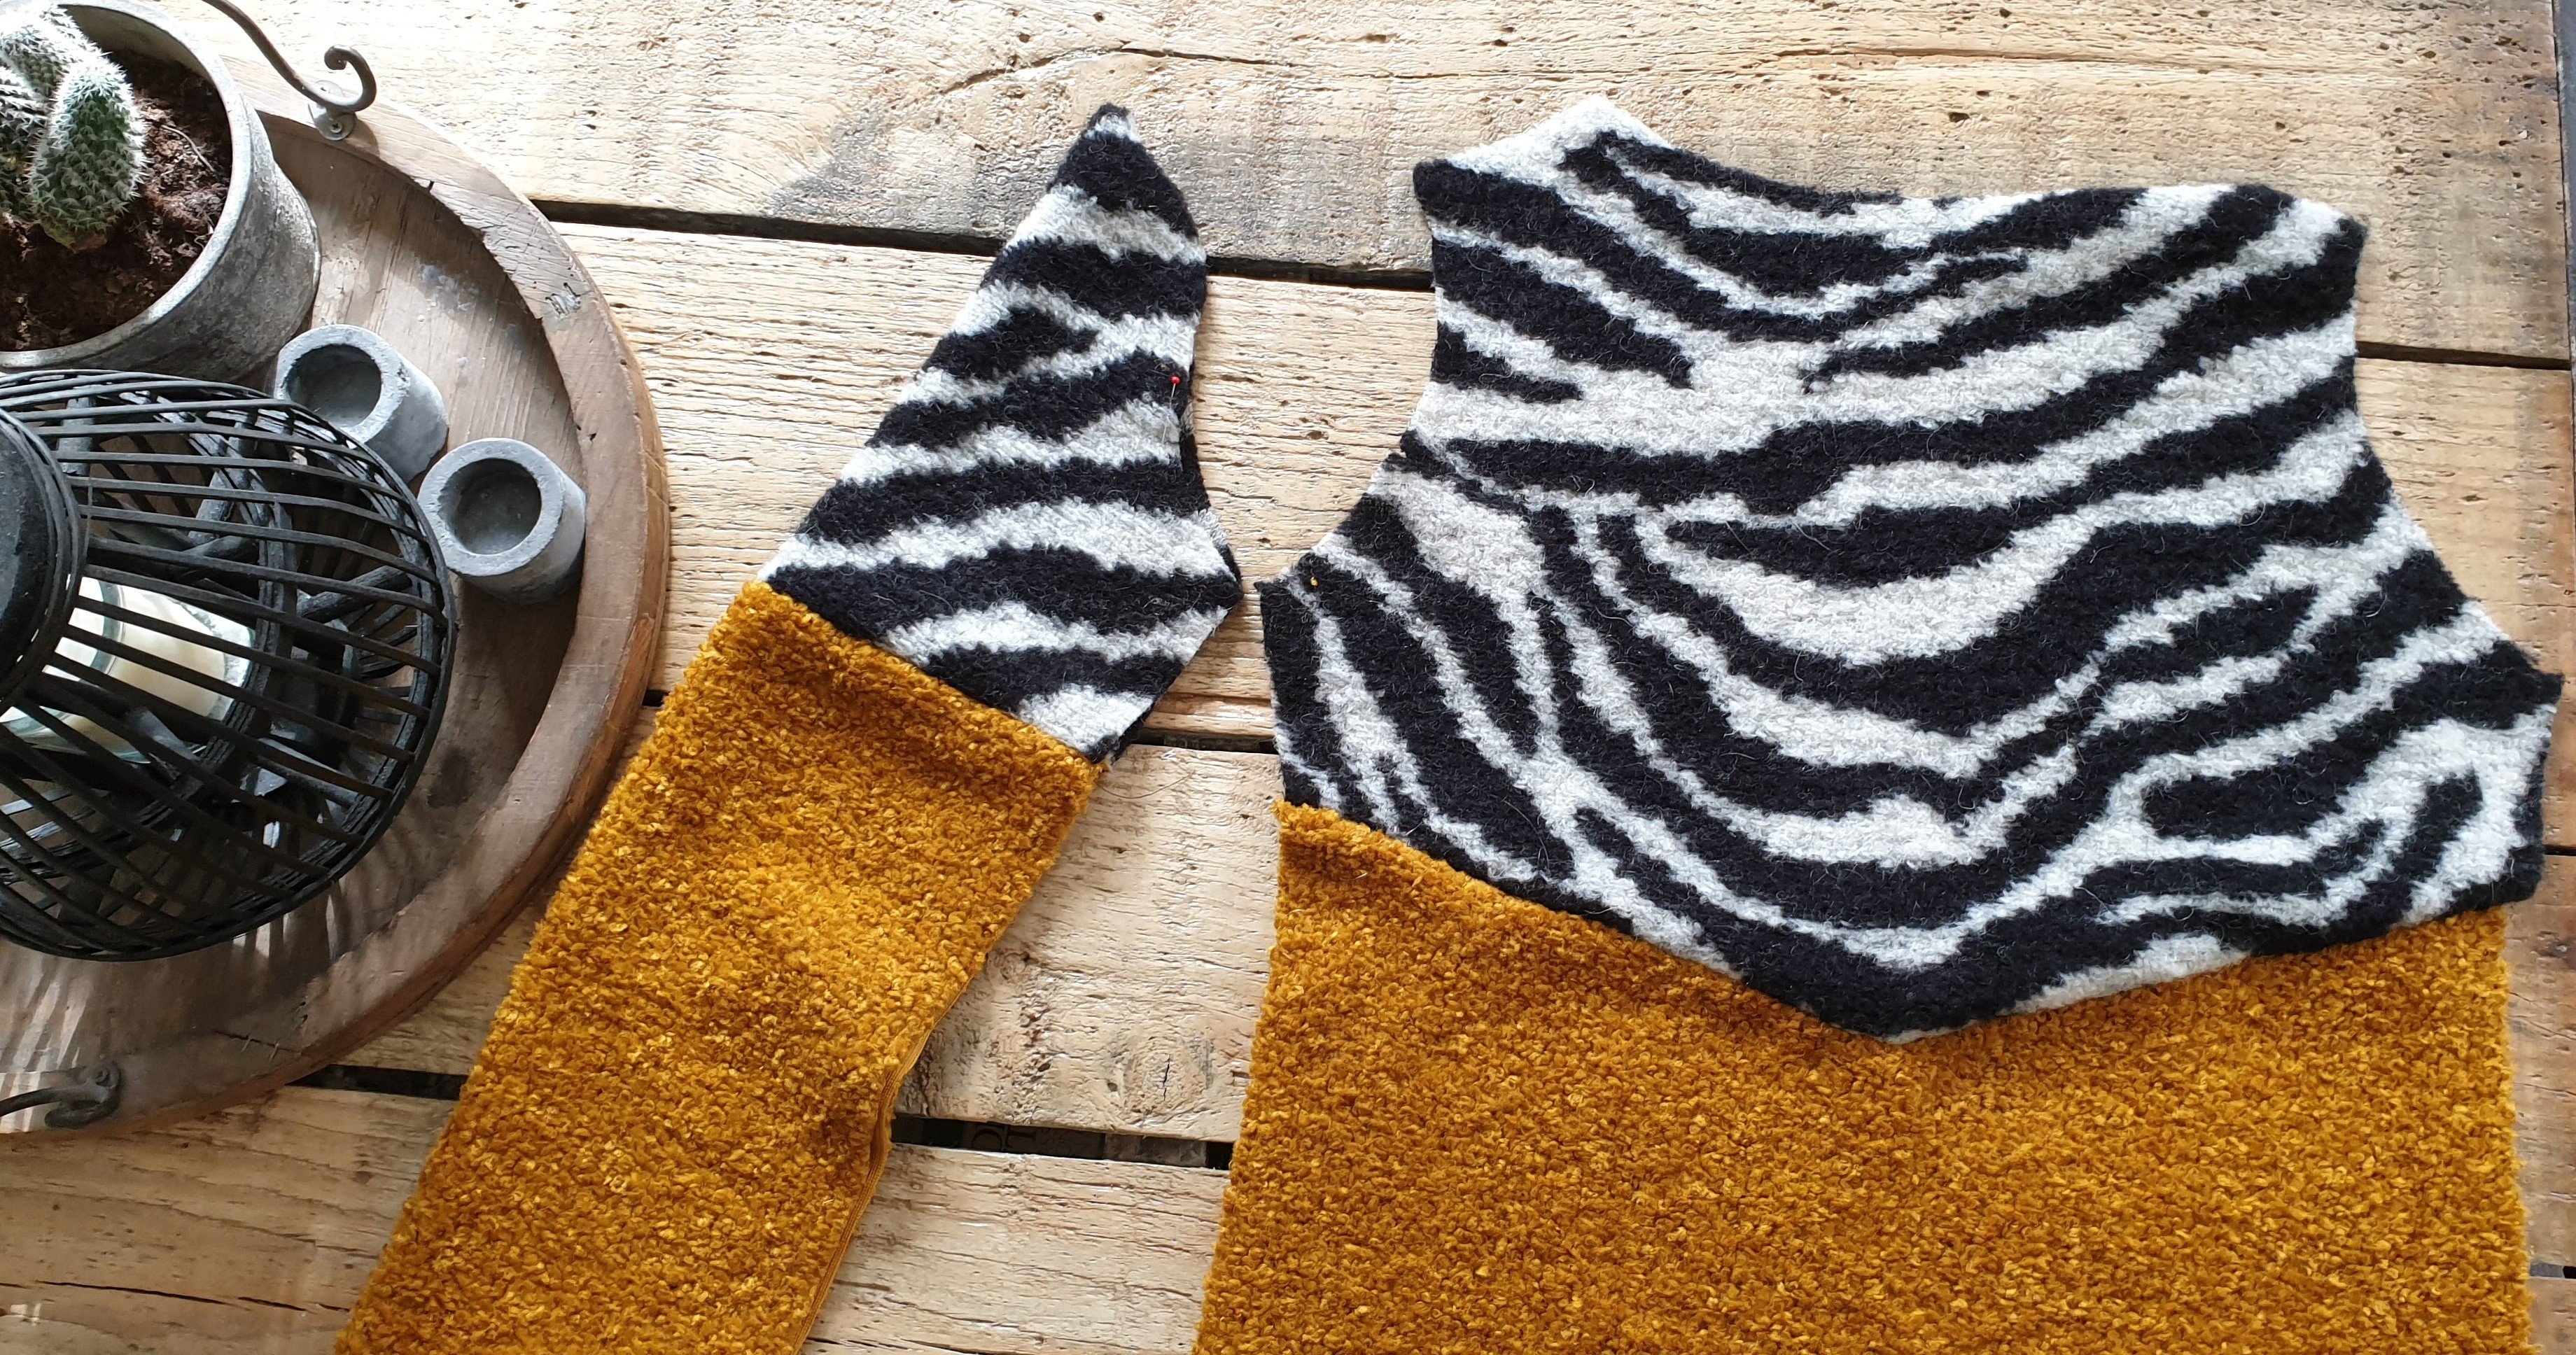
(Re-)assembling
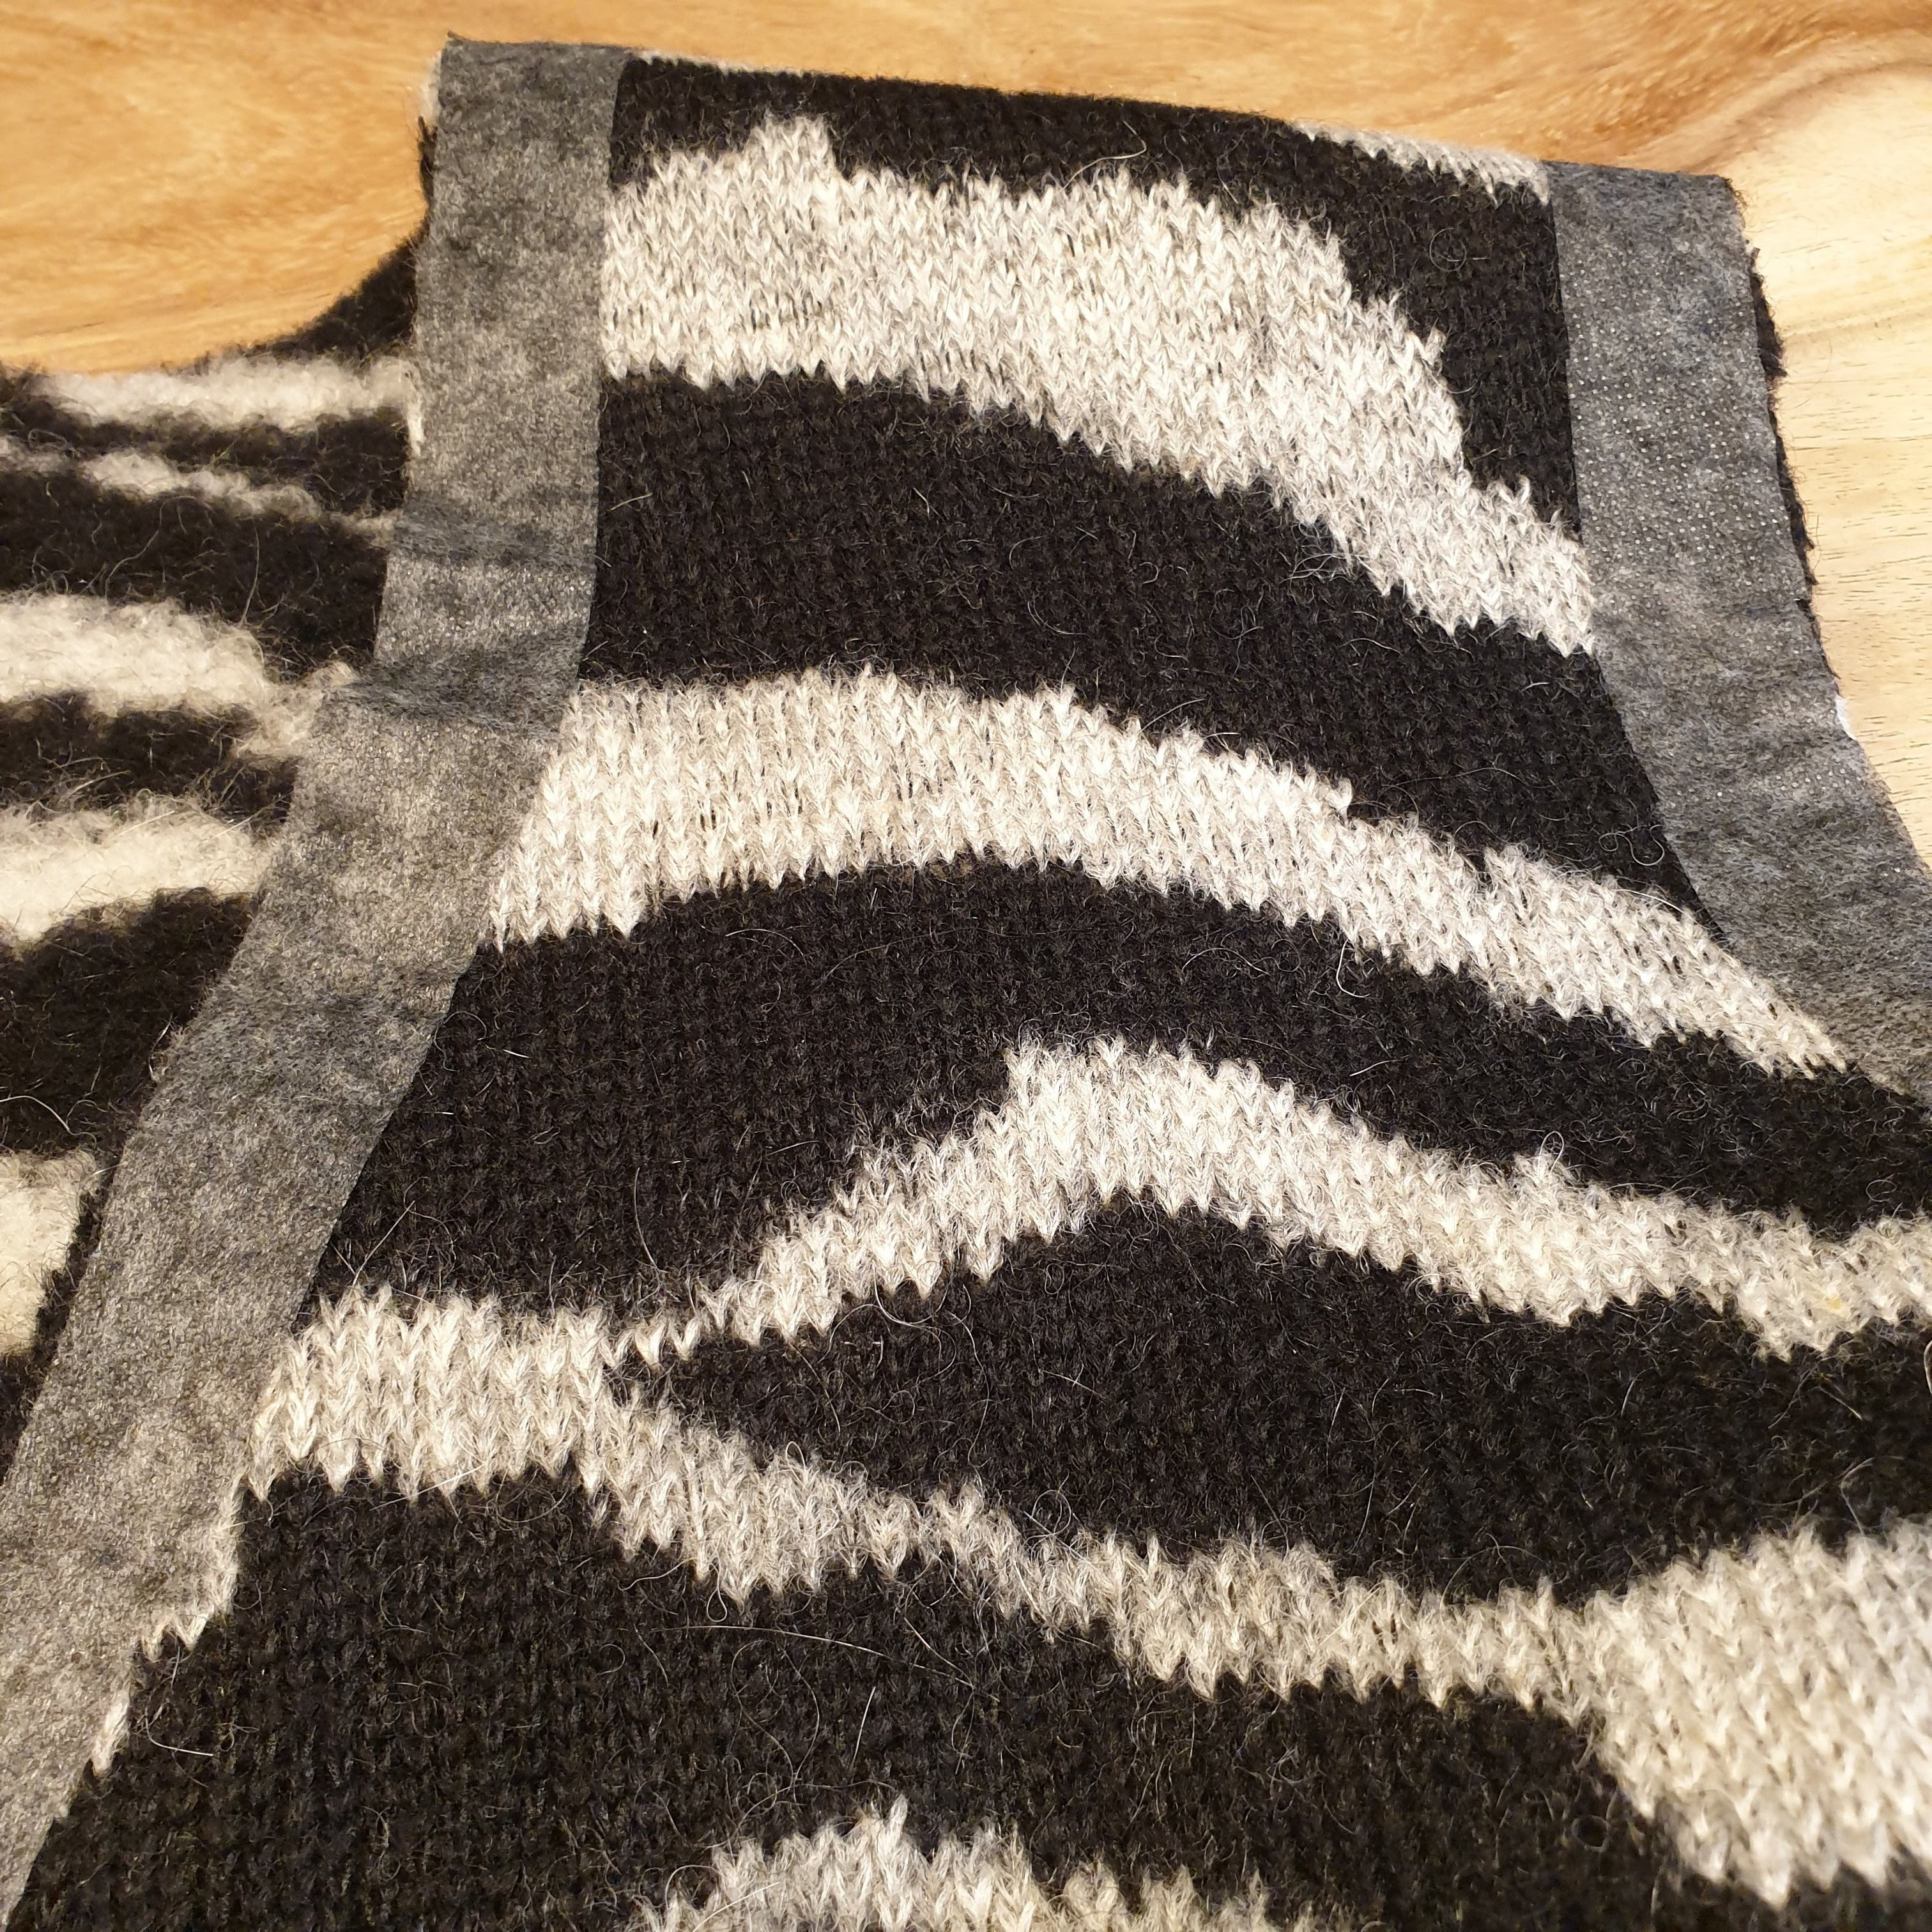
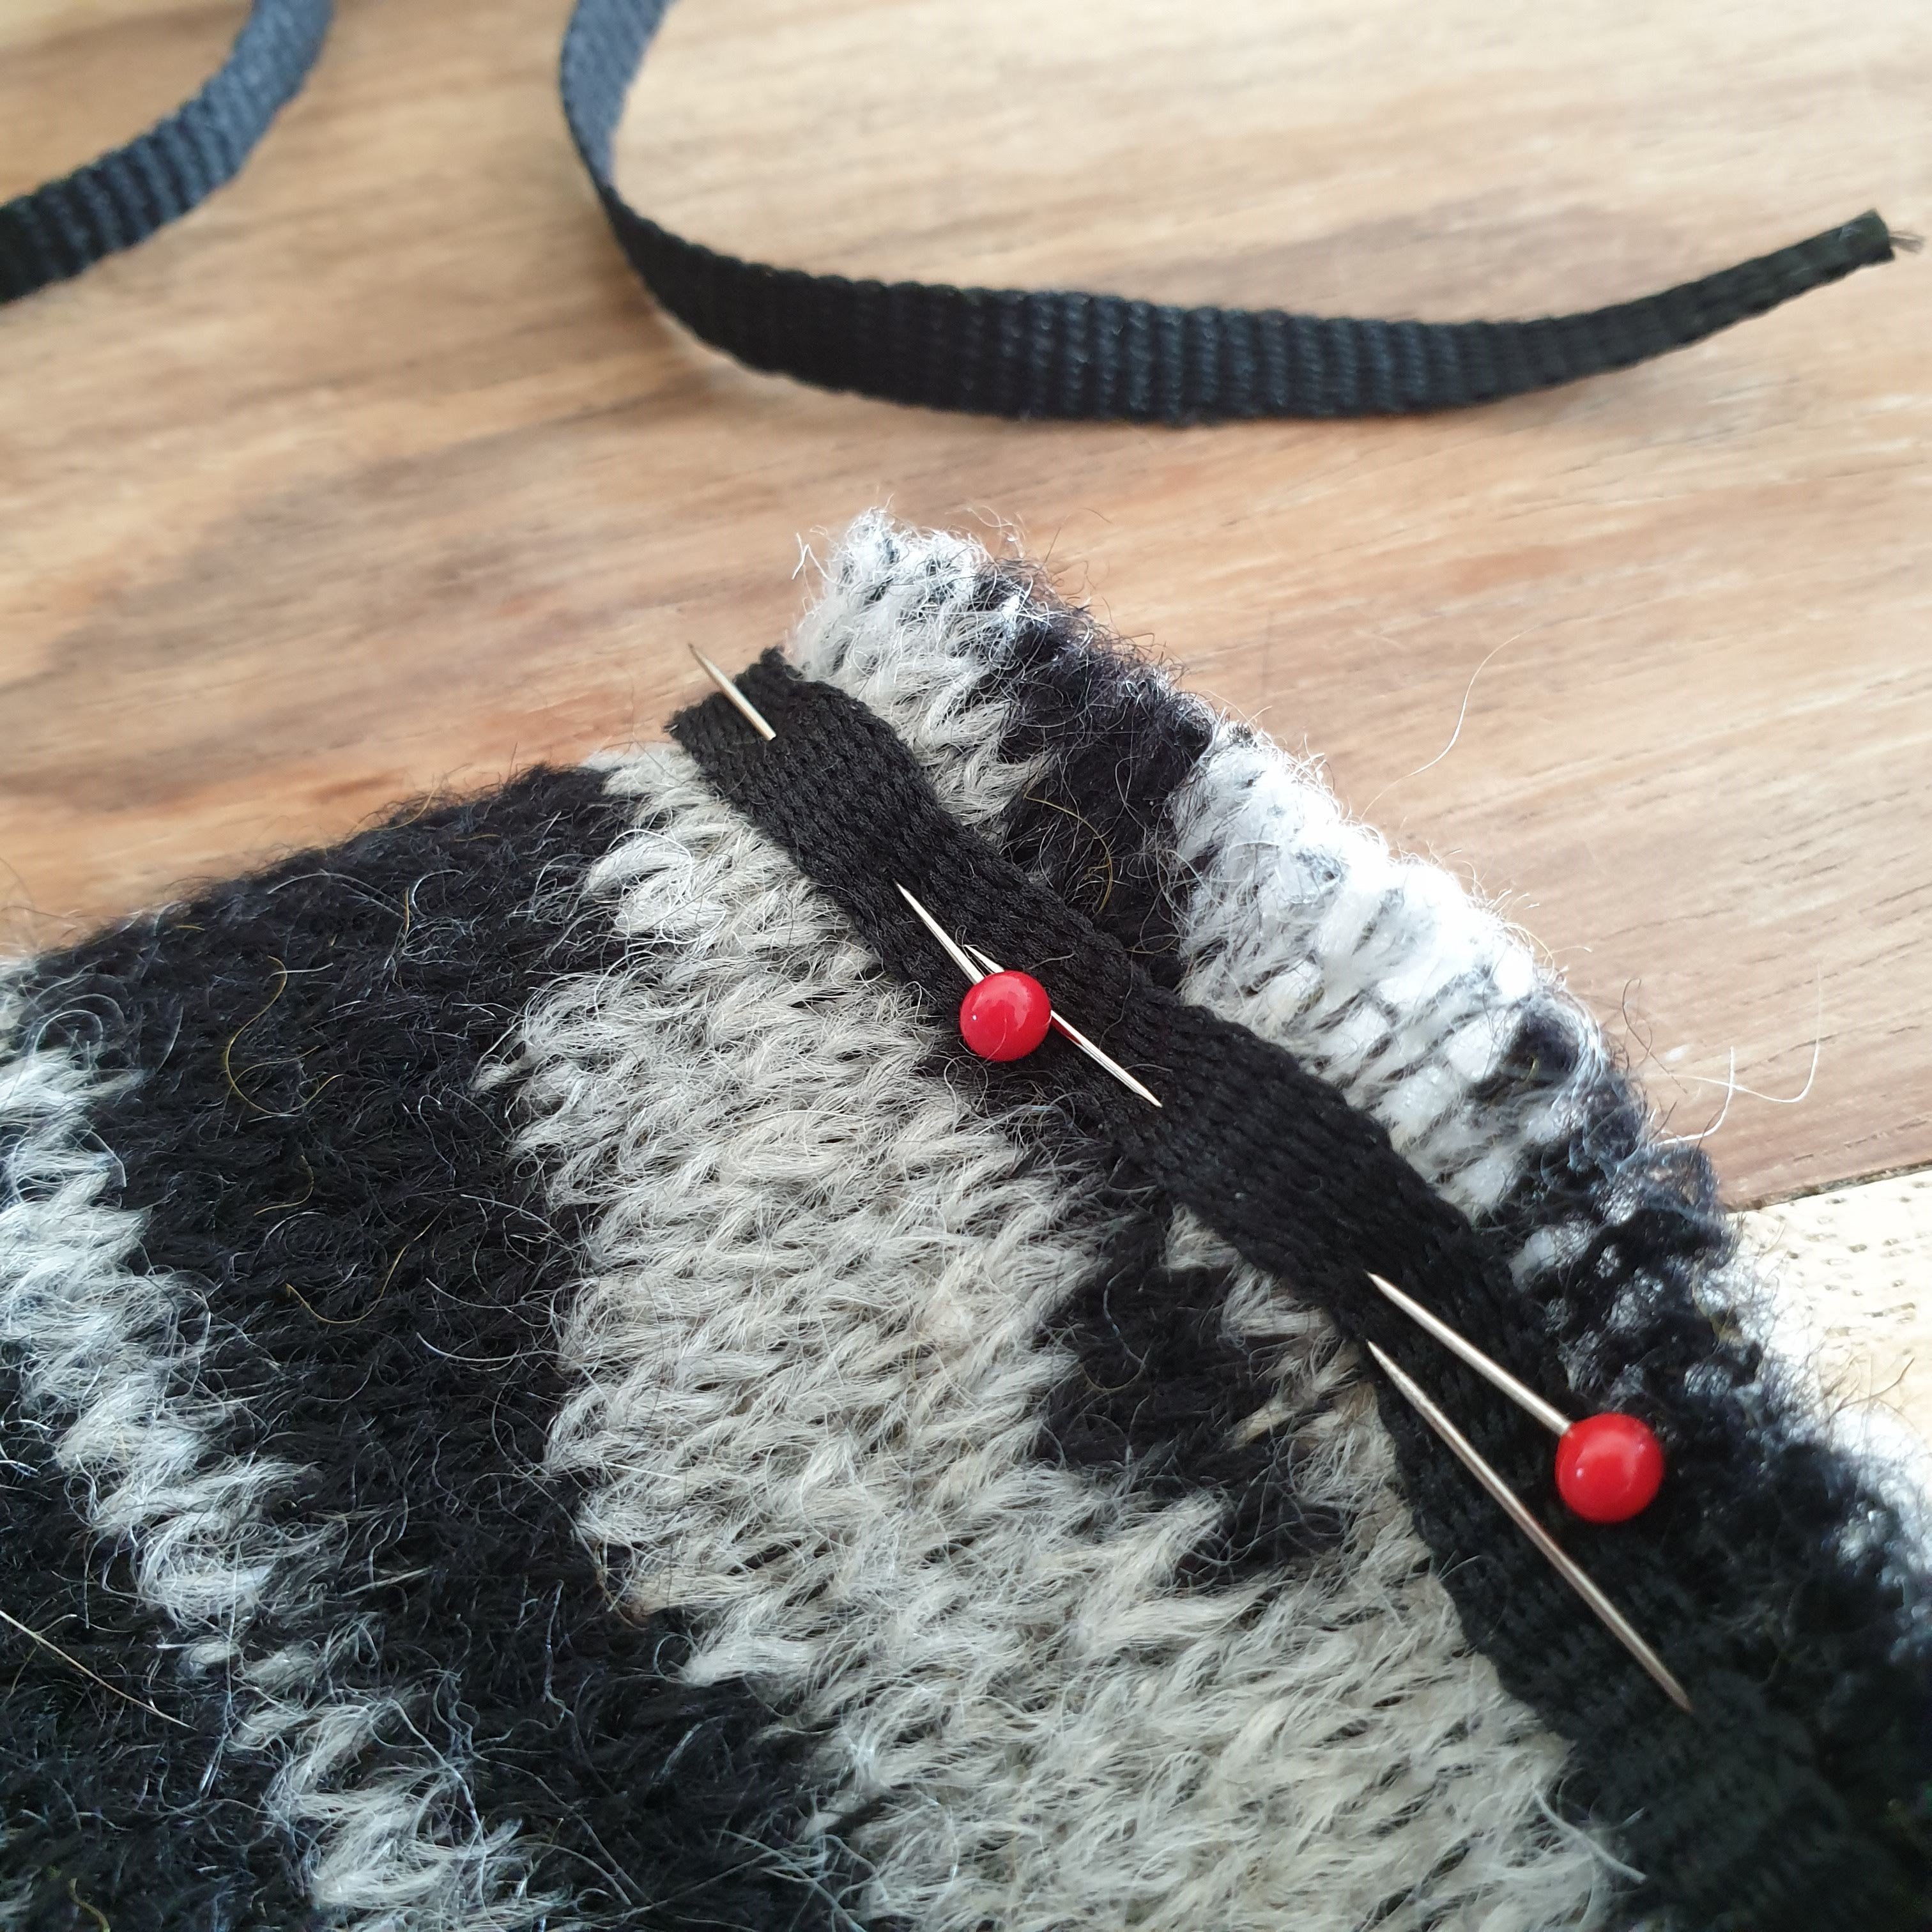
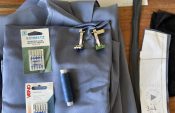
After cutting the two fabrics I first re-assembled the pieces. Then I reinforced the seams of the zebra with fusible interfacing on the neckline and along the armholes. For the shoulder seams I used soft cotton tape for extra hold.
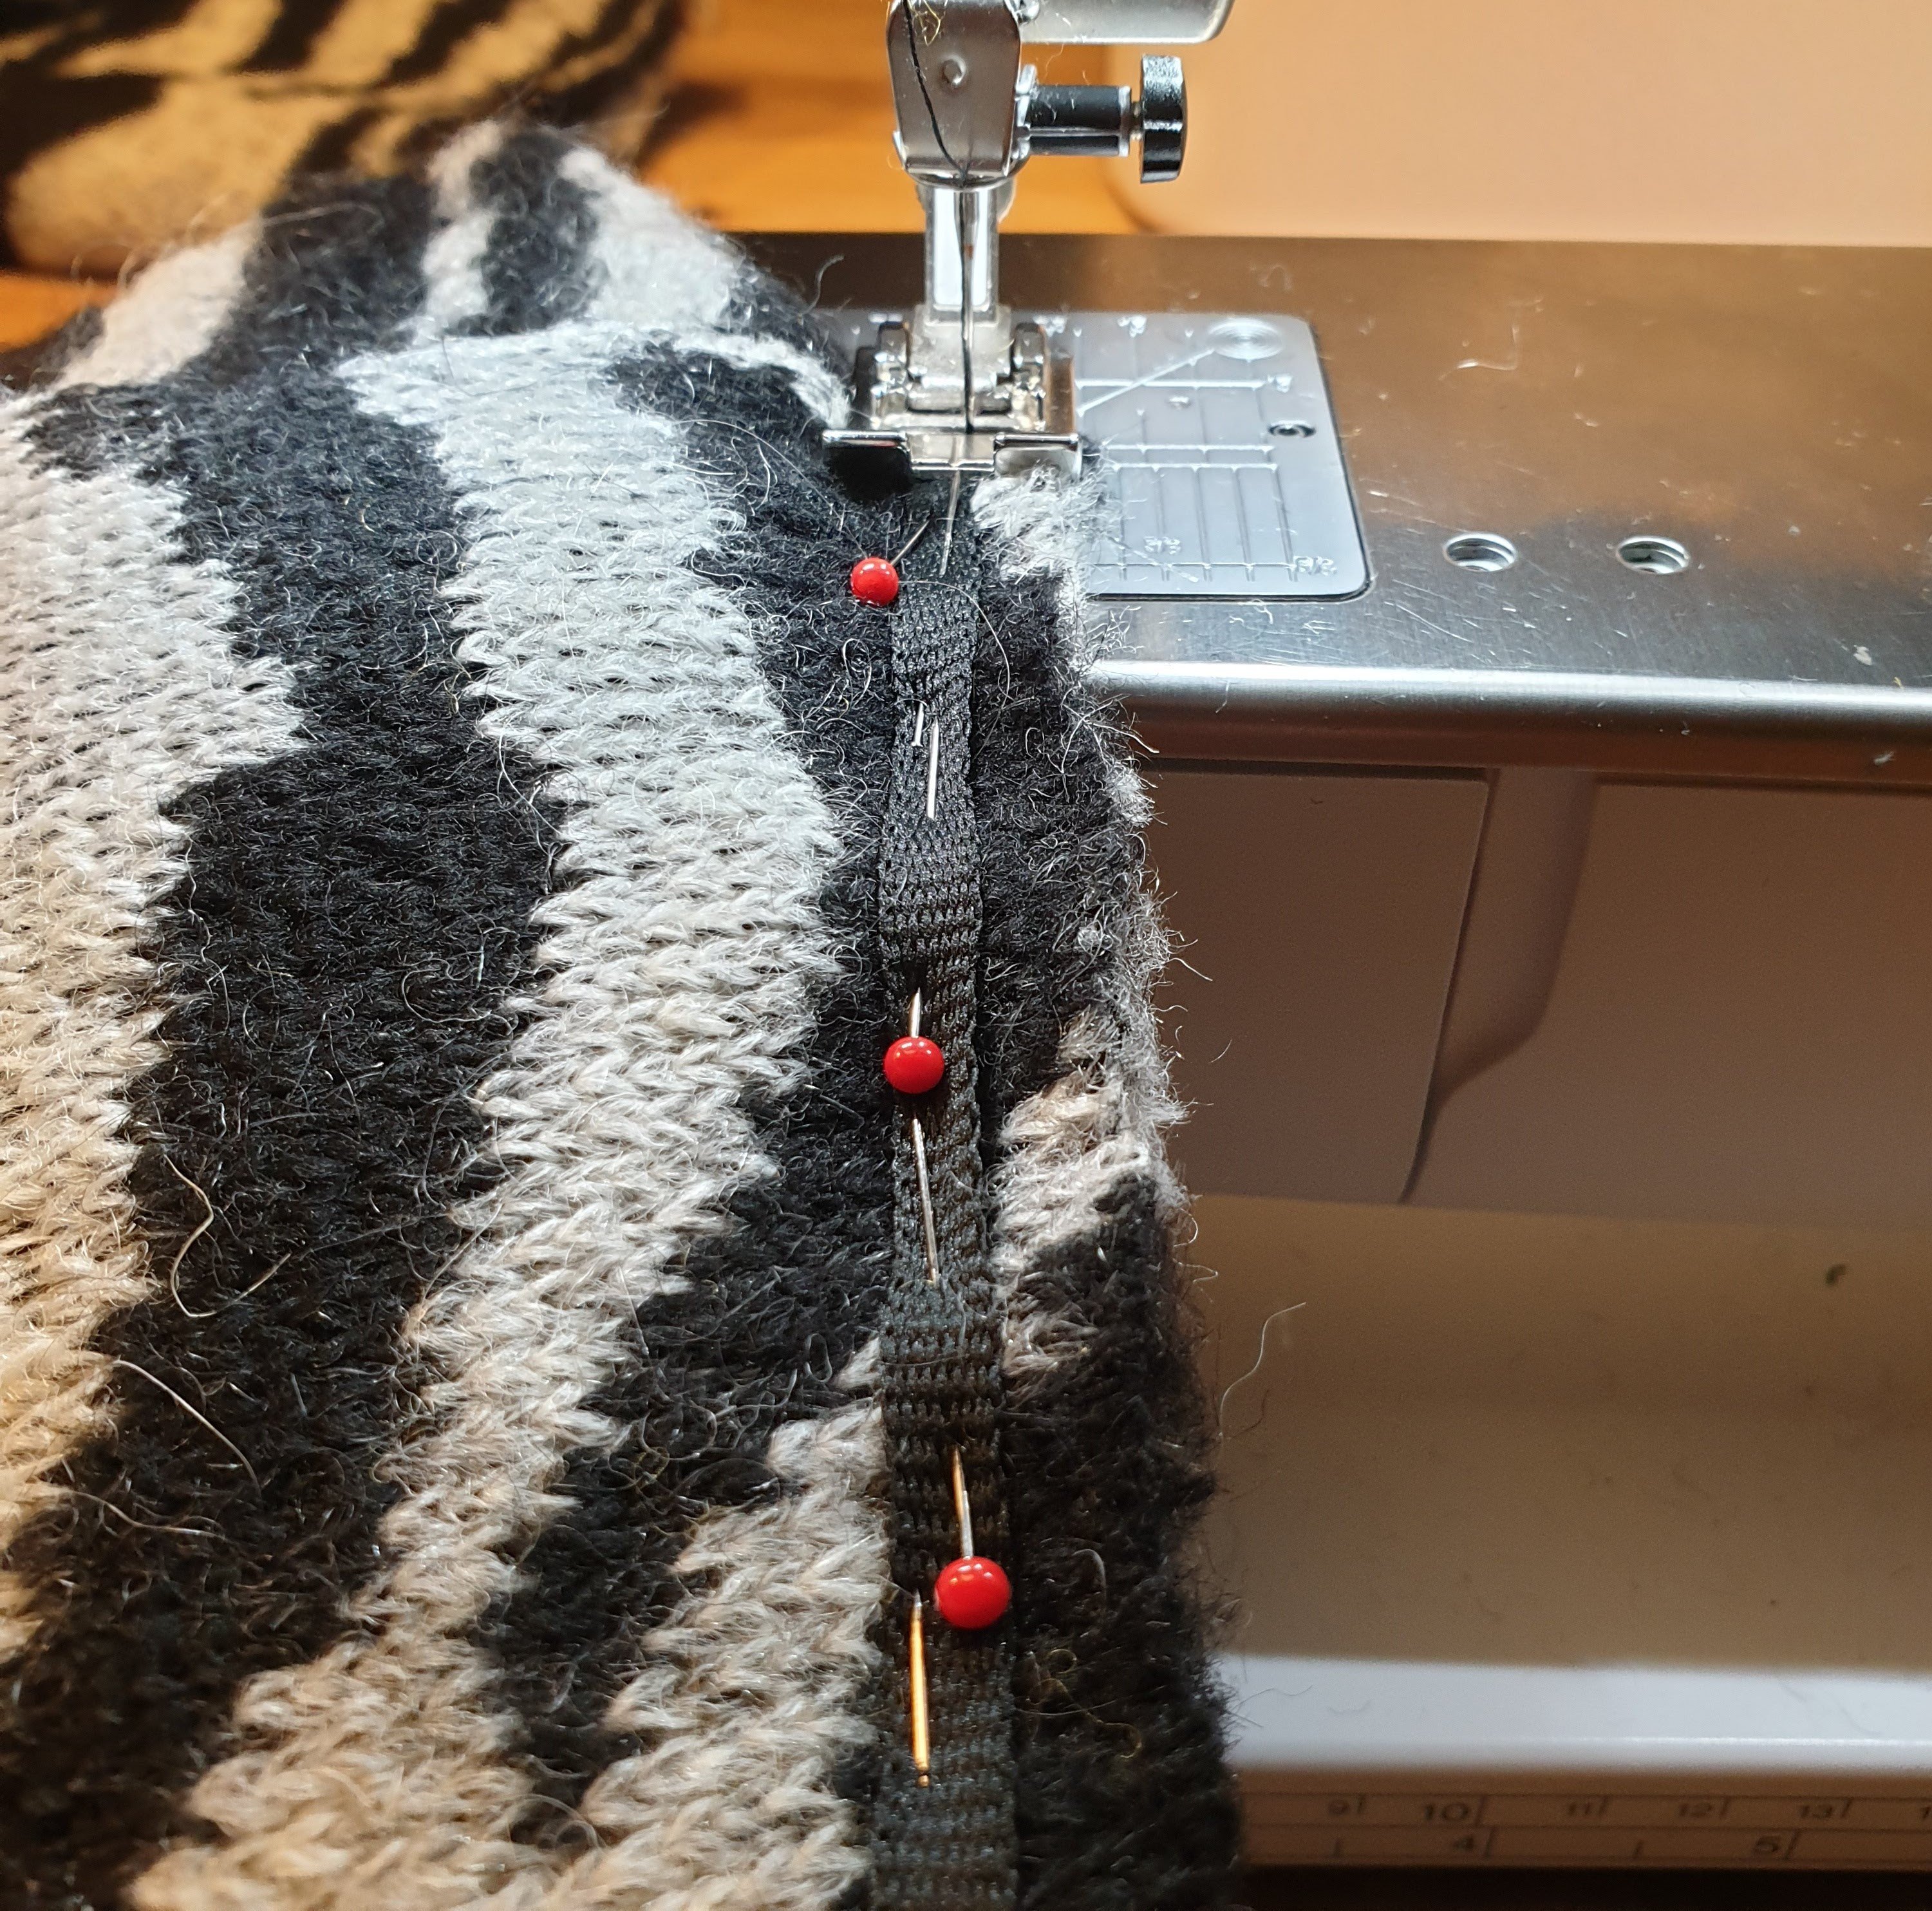
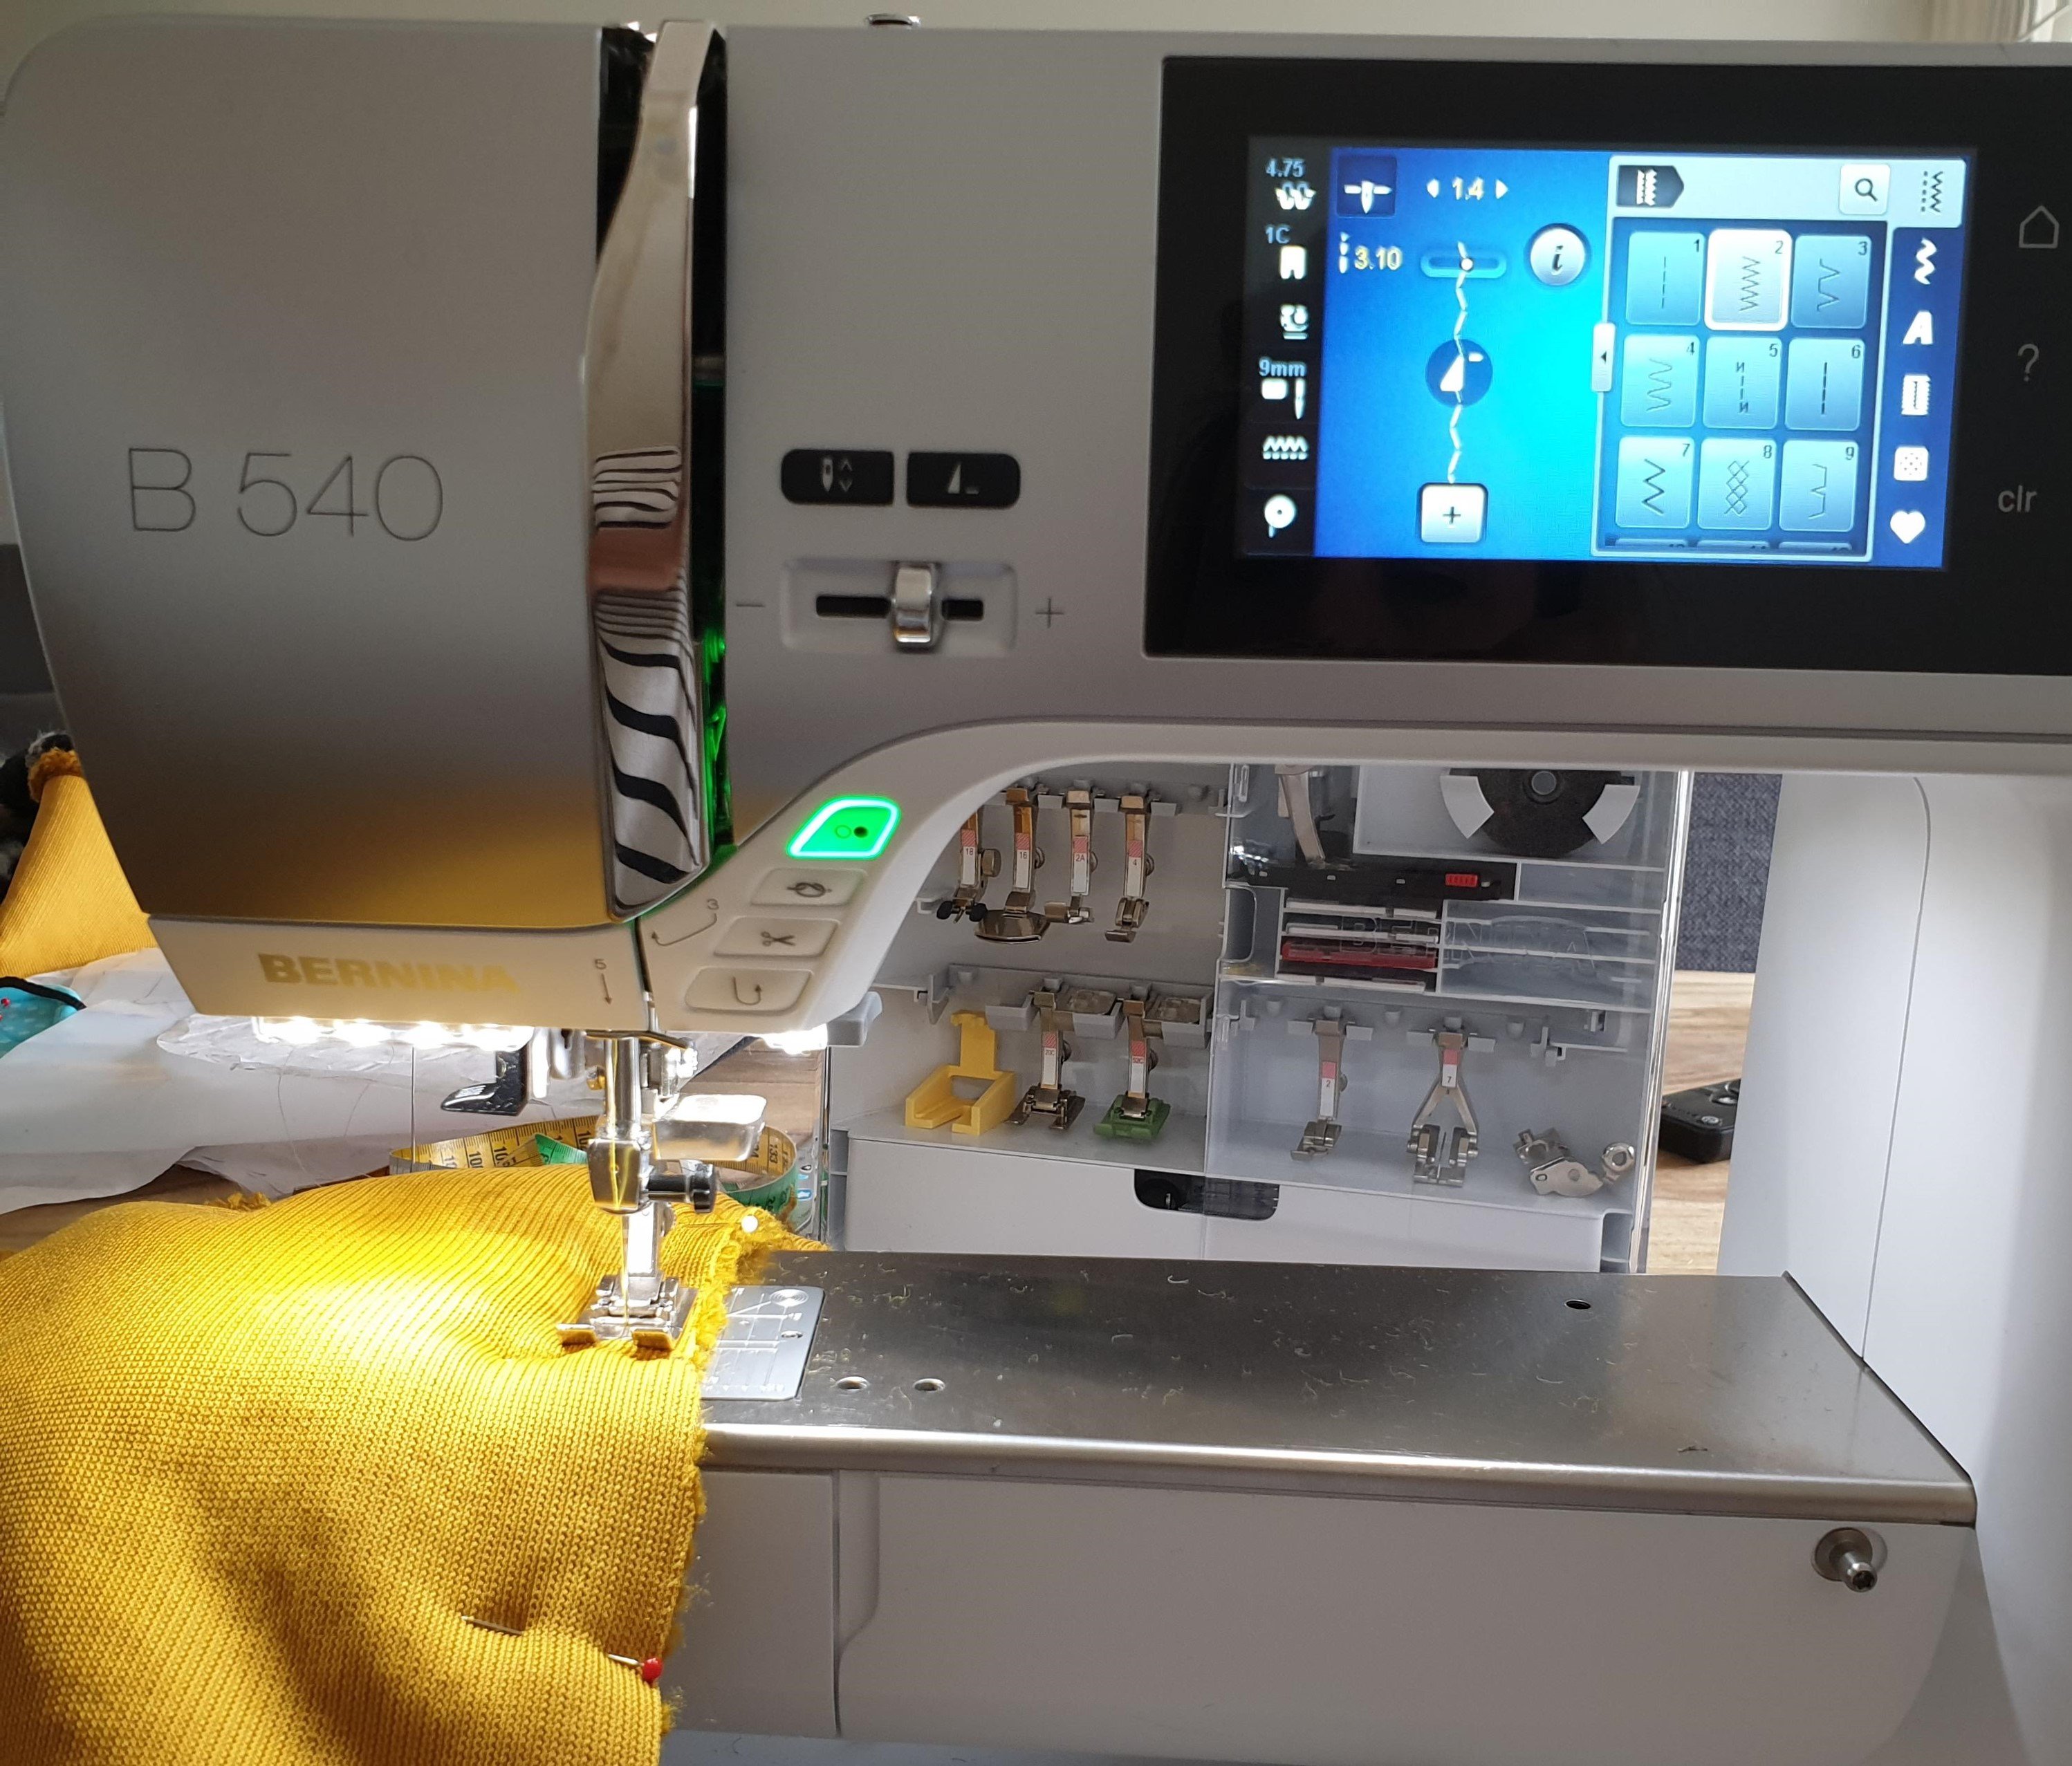
Putting the cardigan together was a pretty straight forward task. Stitching the long seams using presser foot 1c and a slight zigzag stitch.
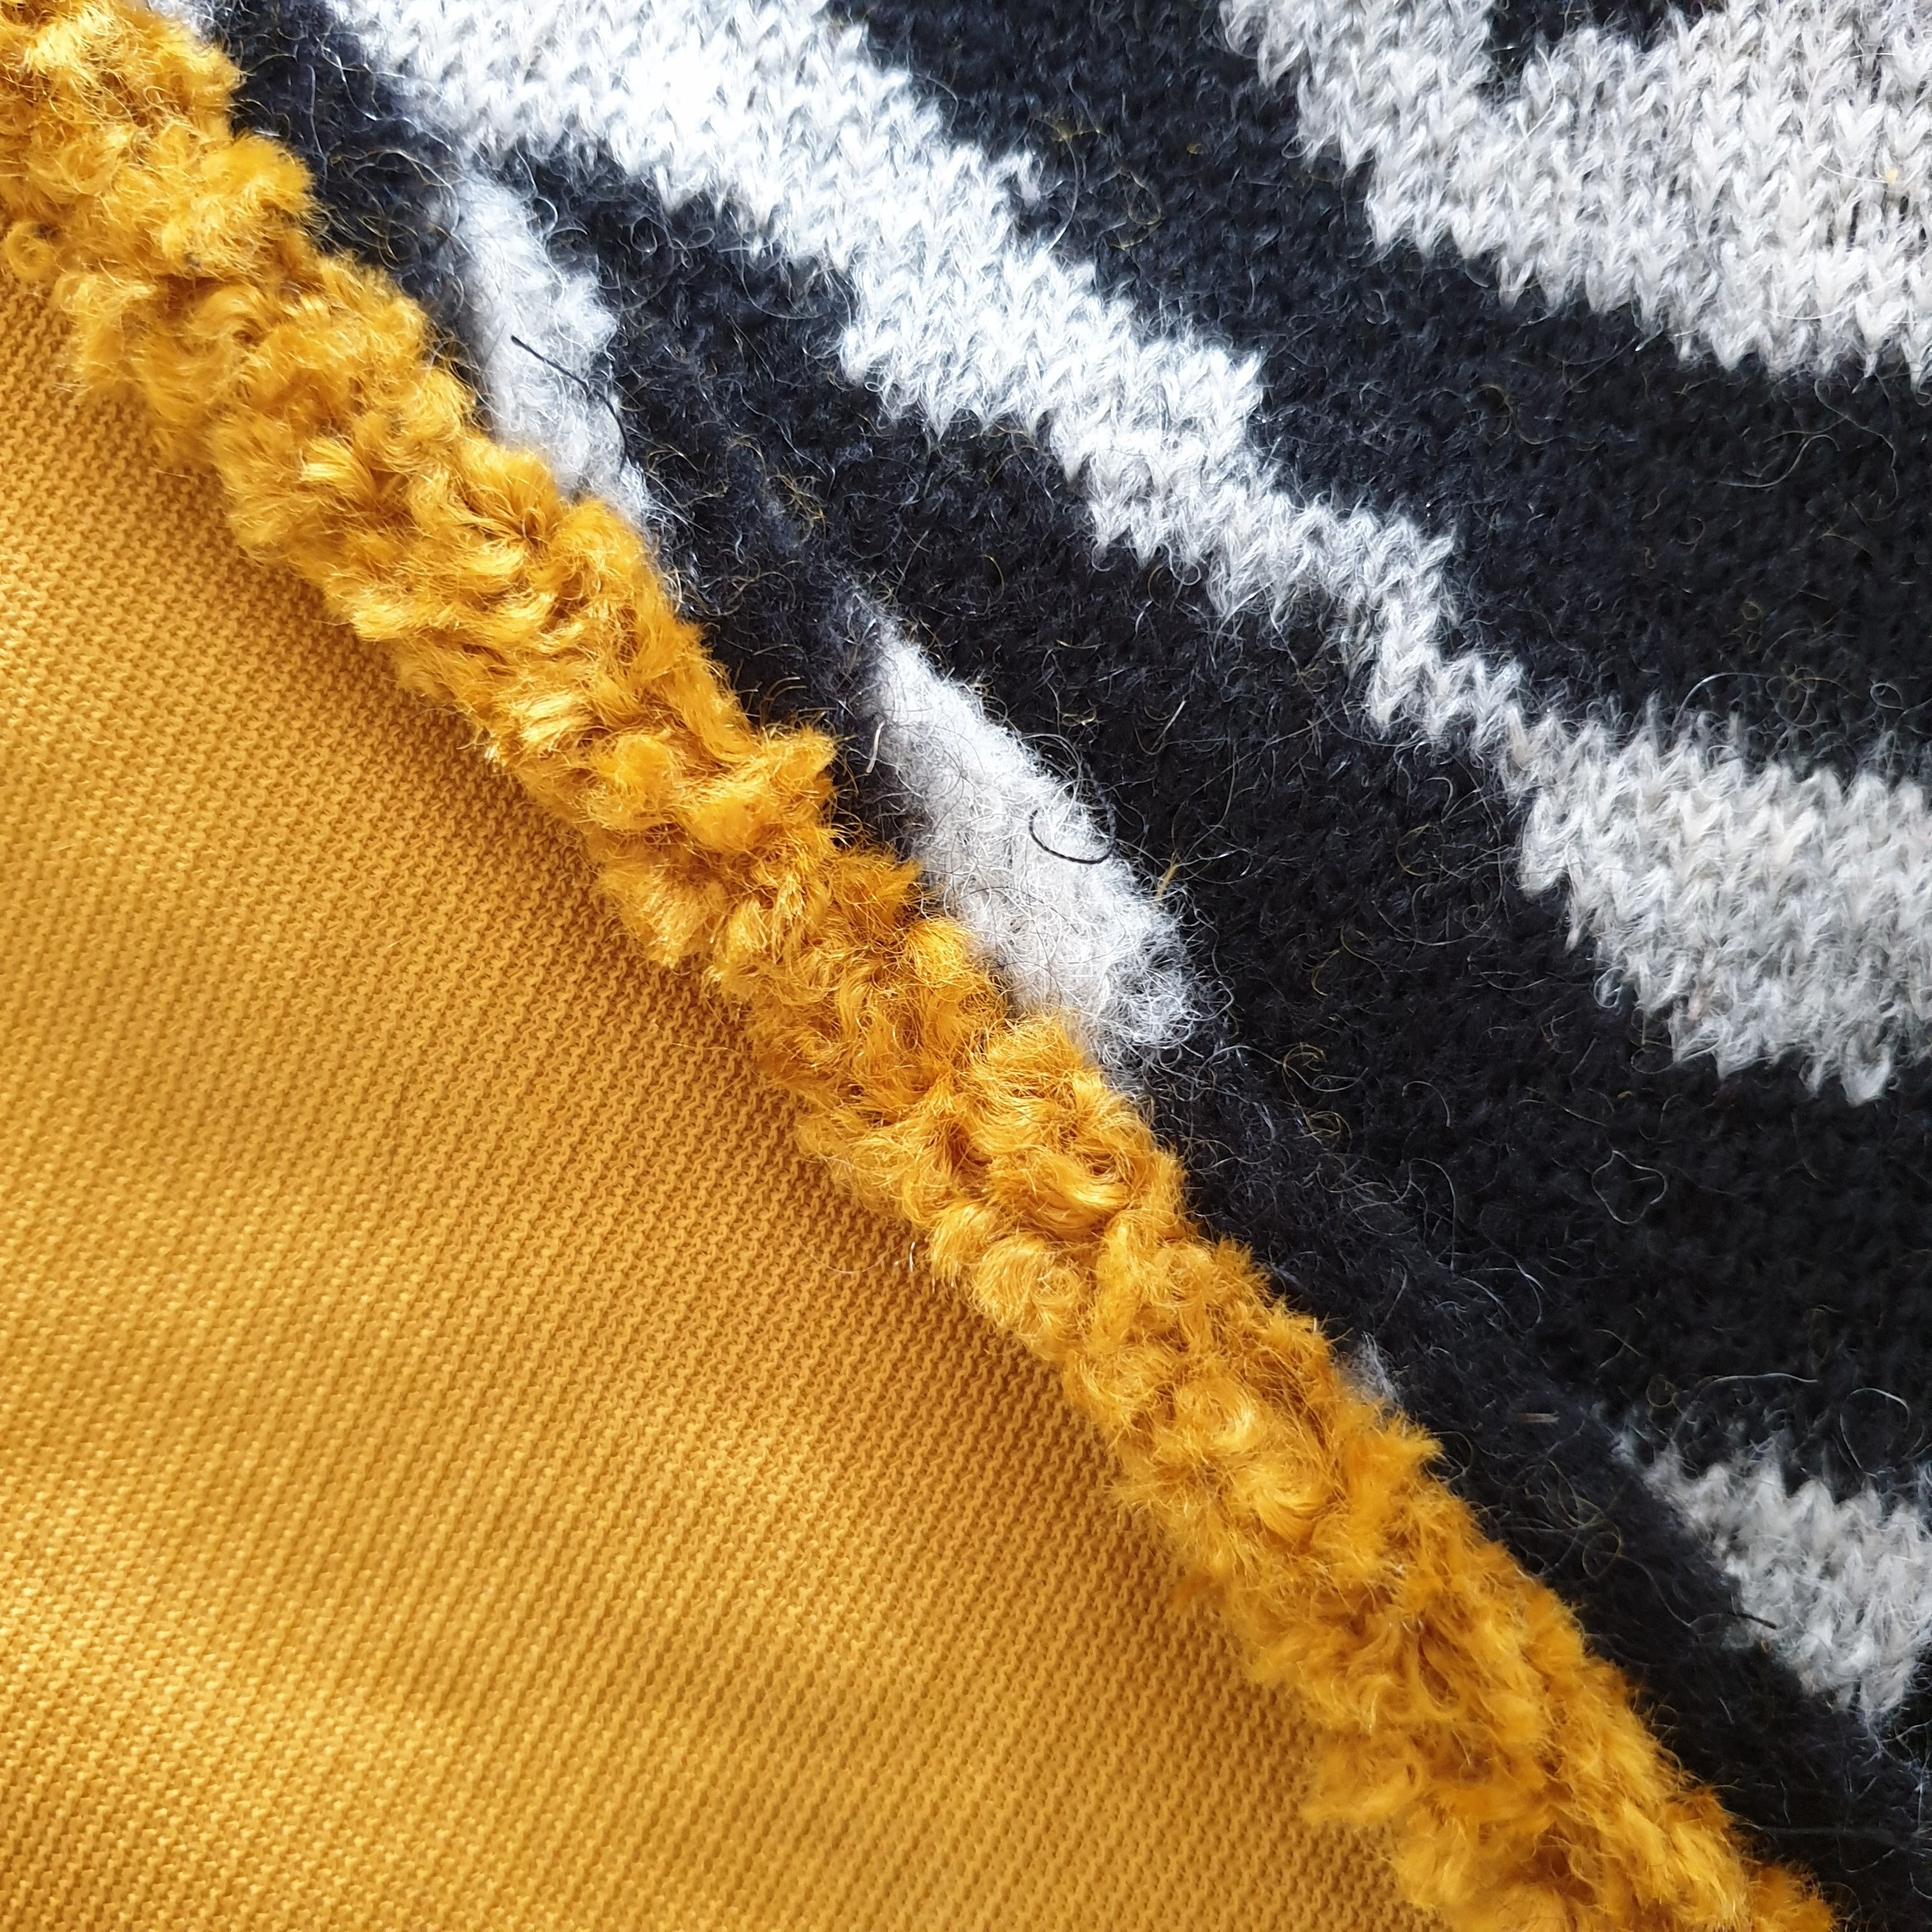
Finishing
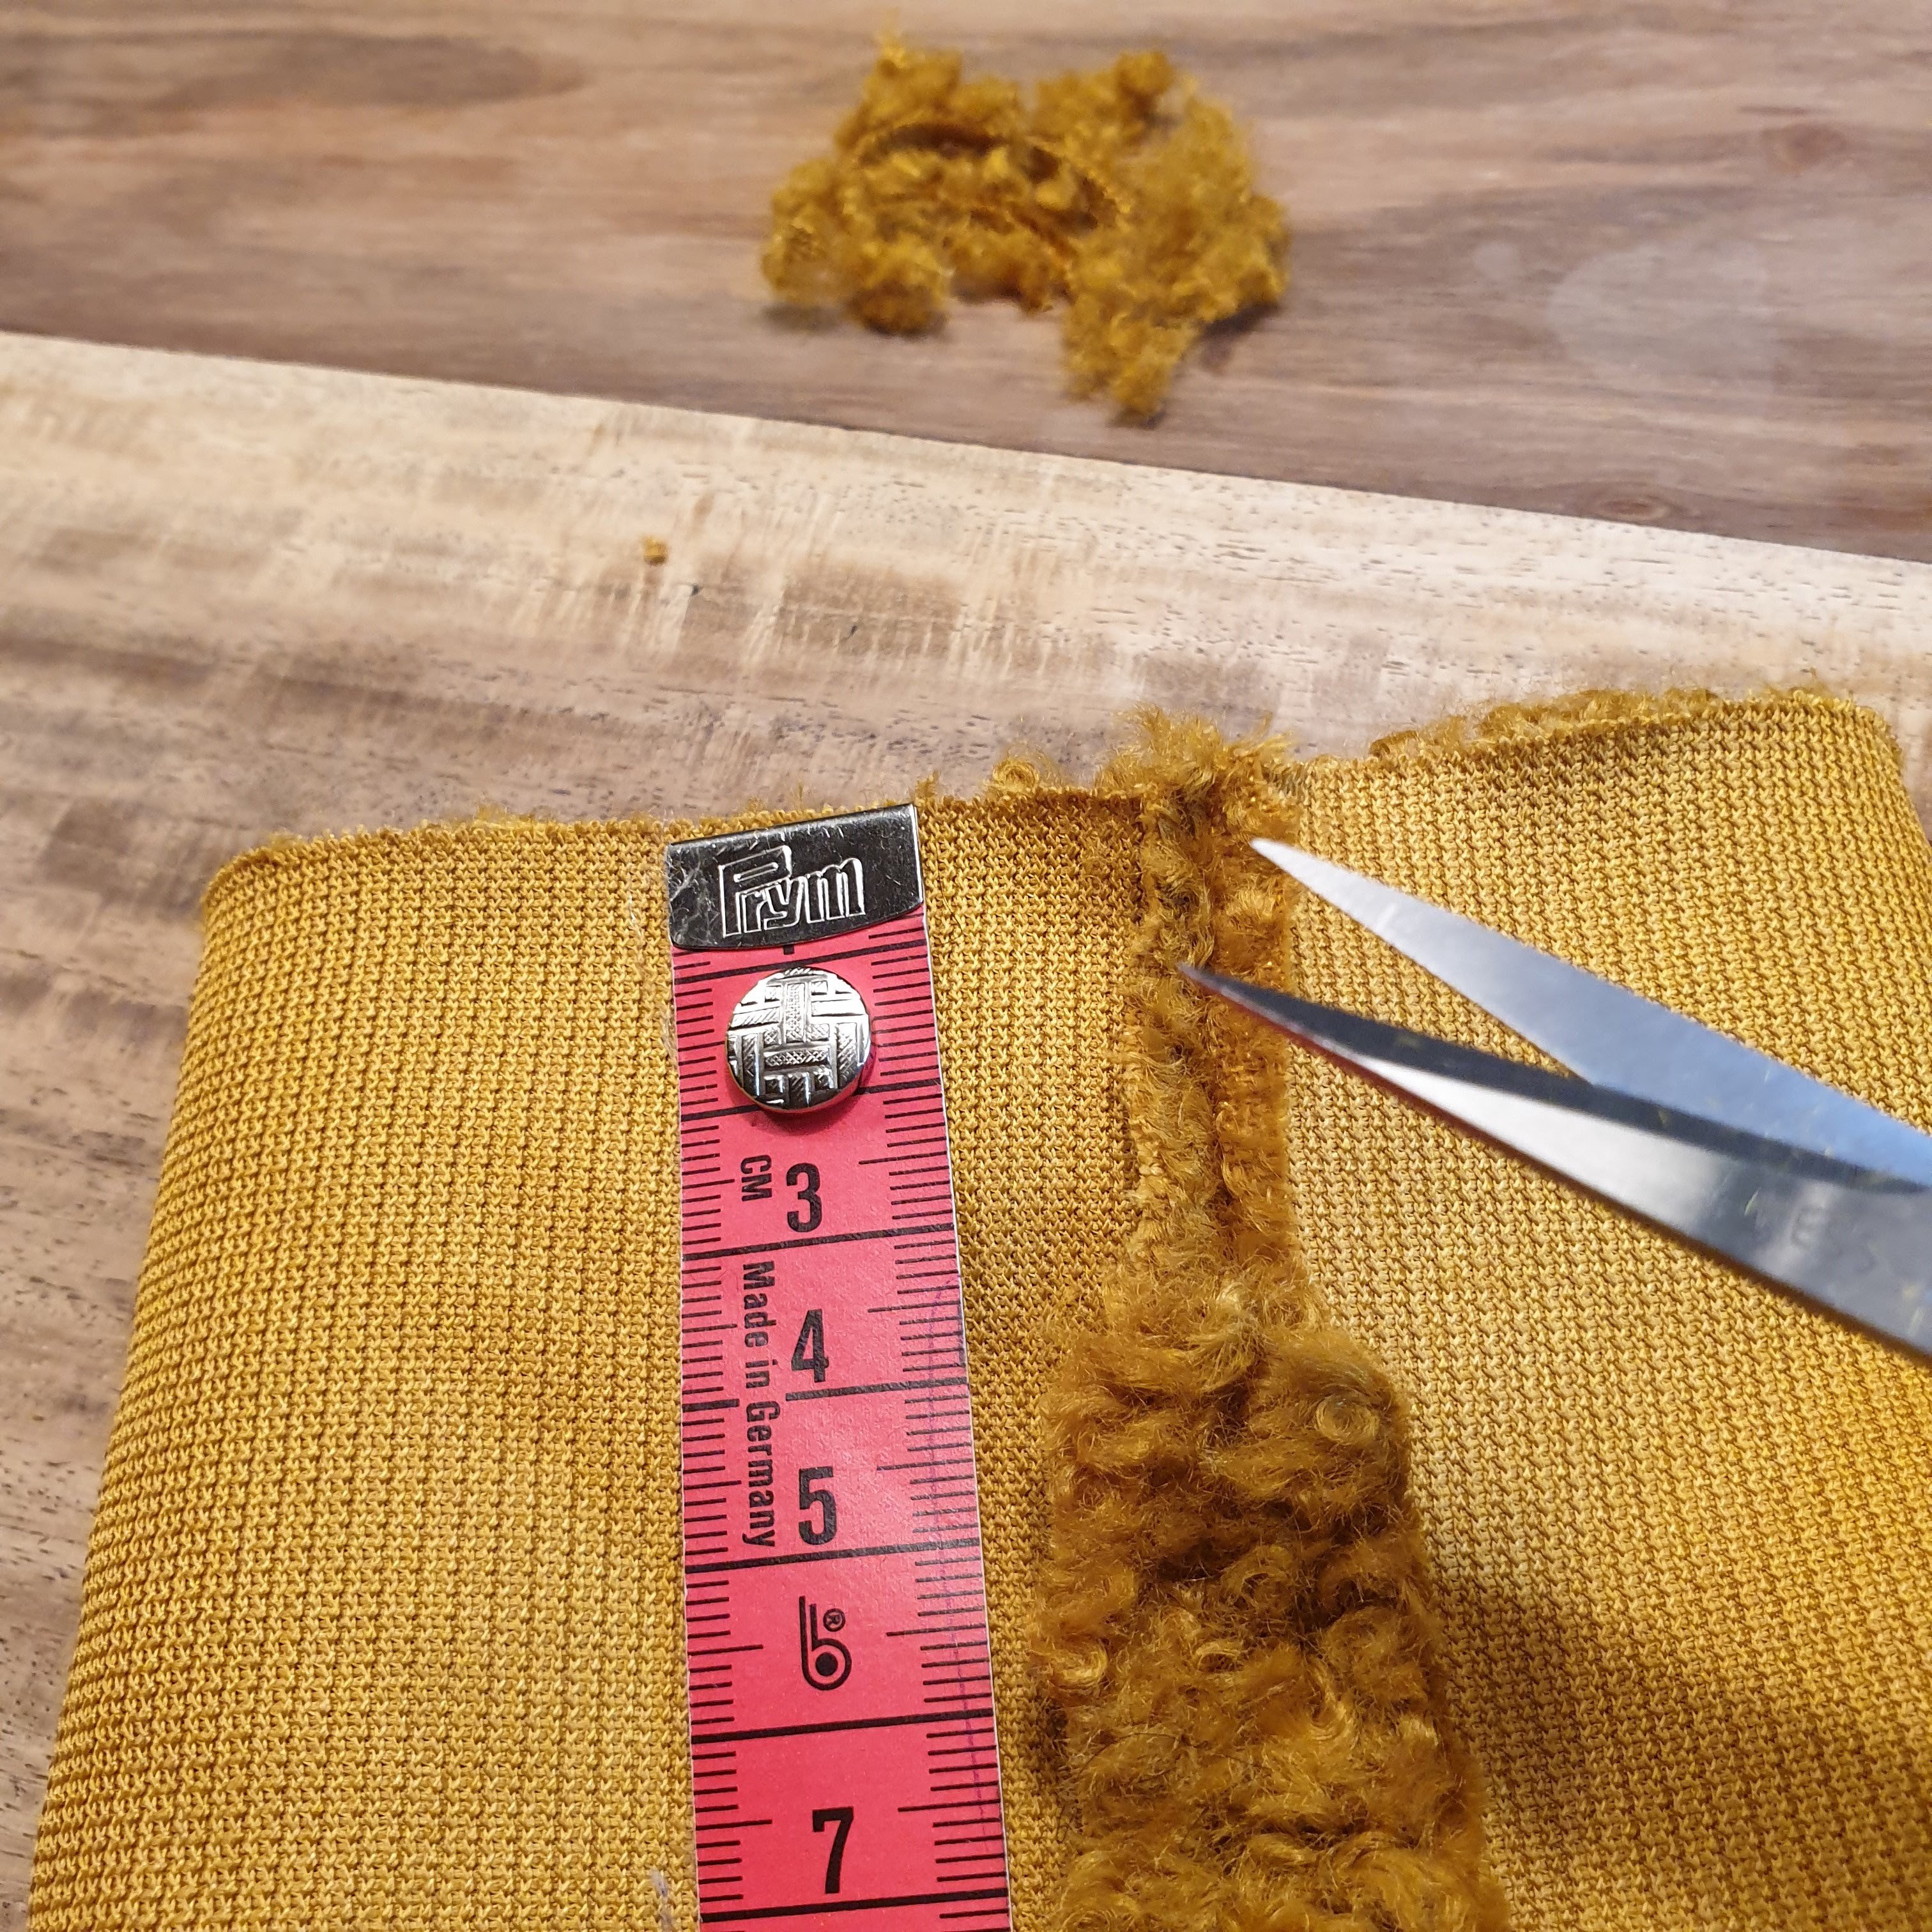
For a neatly finished neckline I put on a long collar which was a folded strip off the two fabrics, making a 4 cm wide collar. I made sure the seams aligned in the front. Before stiching the hemlines I thinned out the seams so they would be less bulky.

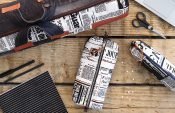
By adding my label, this time as a design feature, the cosy cardigan is done.


I simply adore the outcome! Can’t wait to wear it!
If you want to find out were I got these gorgeous fabrics, hop on over to my Instagram and find out.
See you there!
Love,
Marlies


I absolutely love this !!! Well done … FIESTA 🙂
Thank you Monica!
It was such a fun project to work on!