 BERNINA Corporate Blog -
With the previous two lessons about this topic – 25 and 26 – all preparations for making a large embroidery design via Multi-Hooping are explained. With this lesson the actual embroidery will be done, via my B770QE.
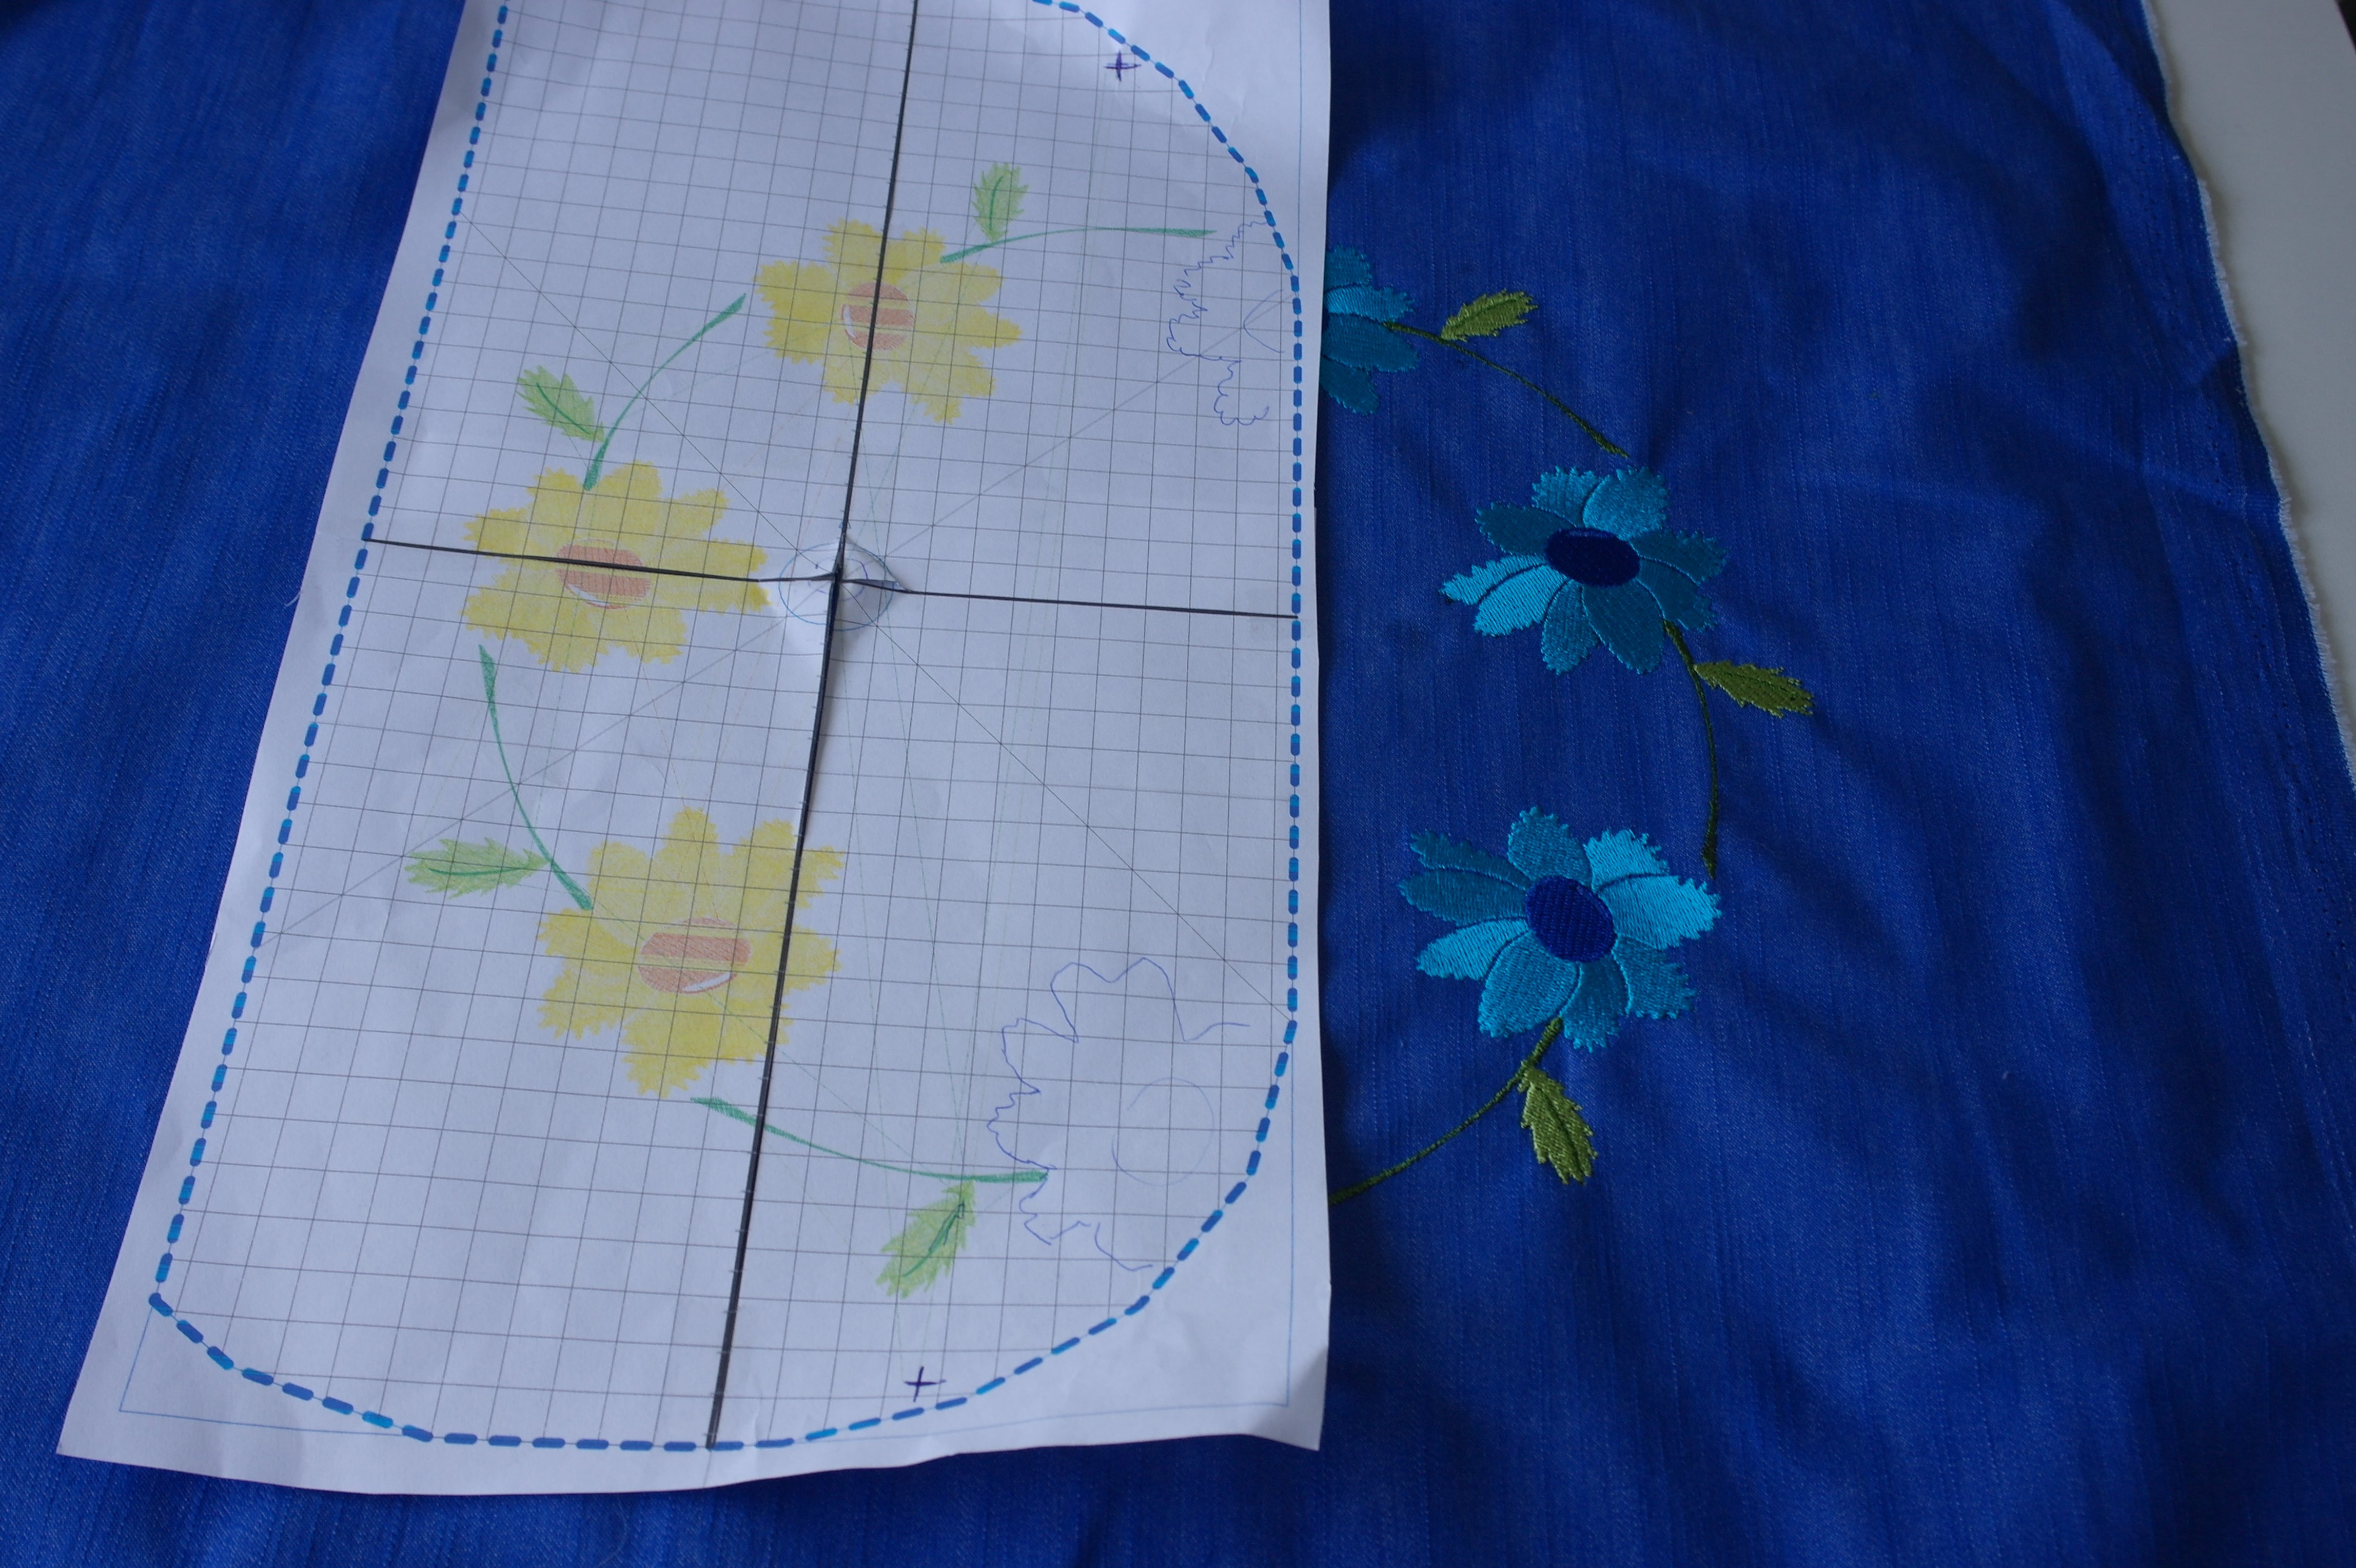
Paper pattern printouts.
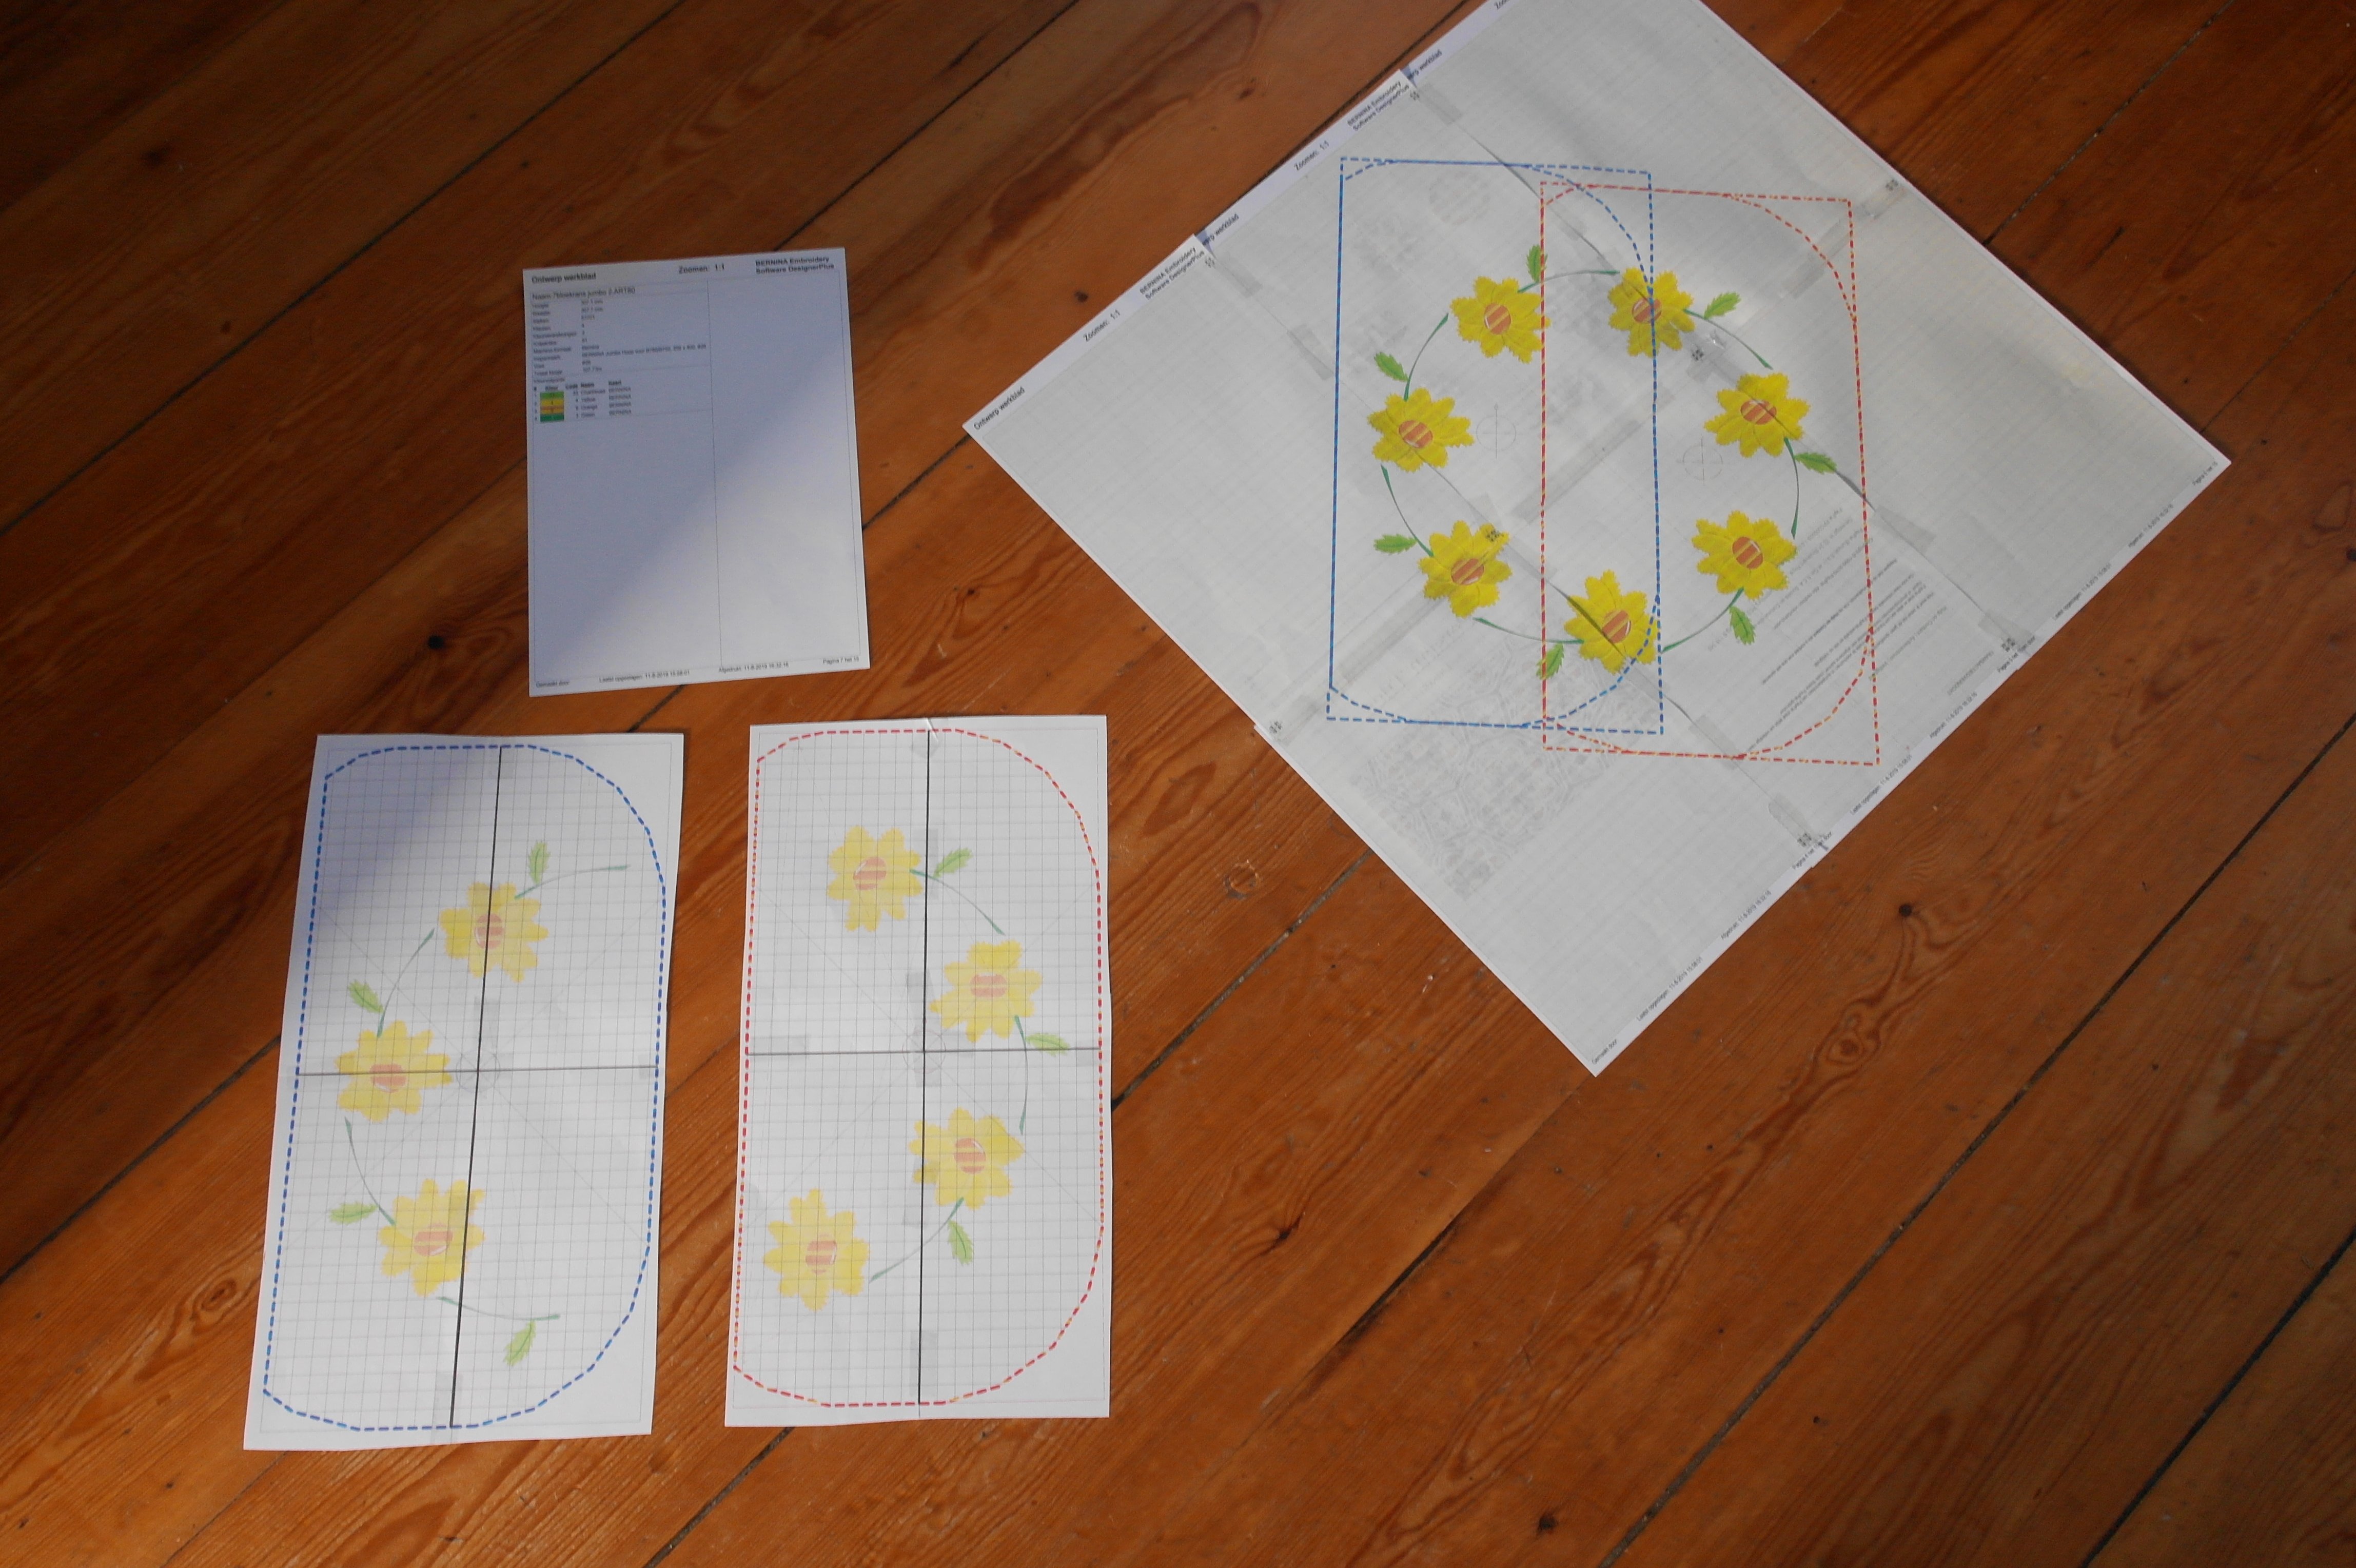
With the last lesson, I have transferred the flower wreath to my USB stick, in two hoopings. Printed the preview at 100% (actual size), which will need to be taped together to get a full pattern.

As well as the large example, where both Jumbo Hoops are placed together, will need to be taped: all six printouts, which will give you a good overview.
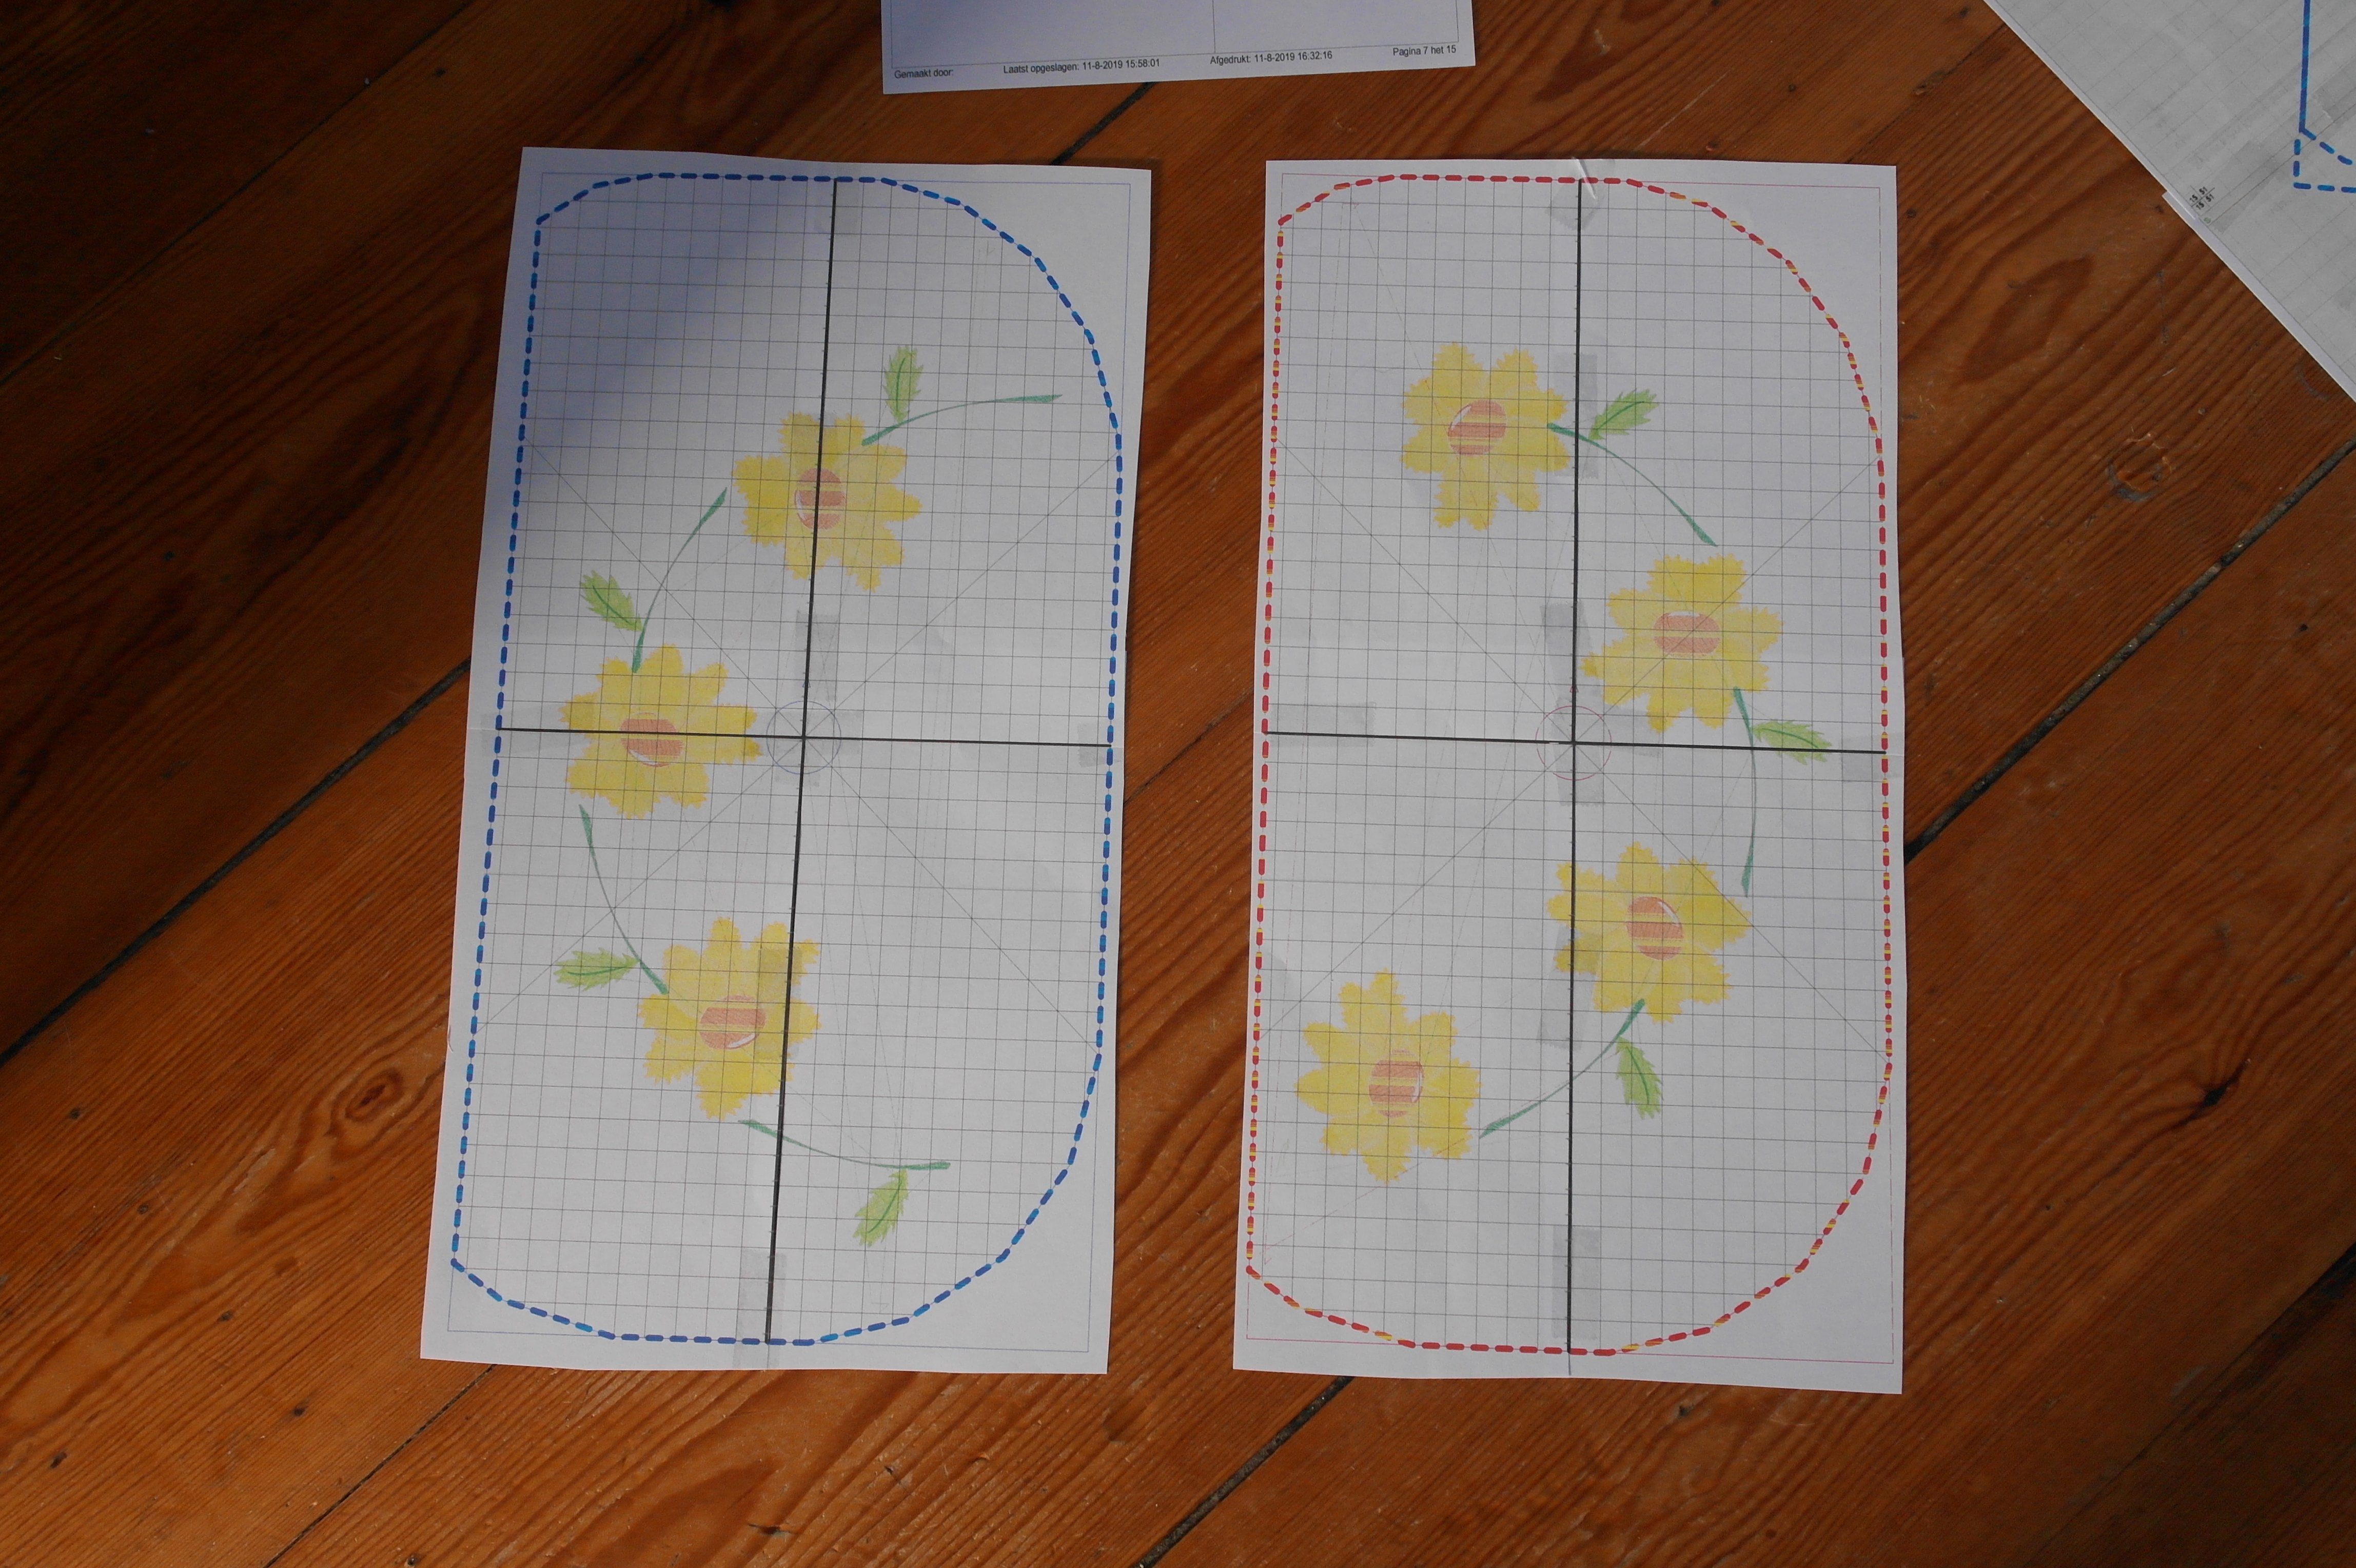
I have also printed the two separate rings: the first red = right and the second blue = left.

To be sure the overlaps are placed correct, I have placed both printouts on top of each other, where the markings need to meet. This will be ok.

Markings on fabric.
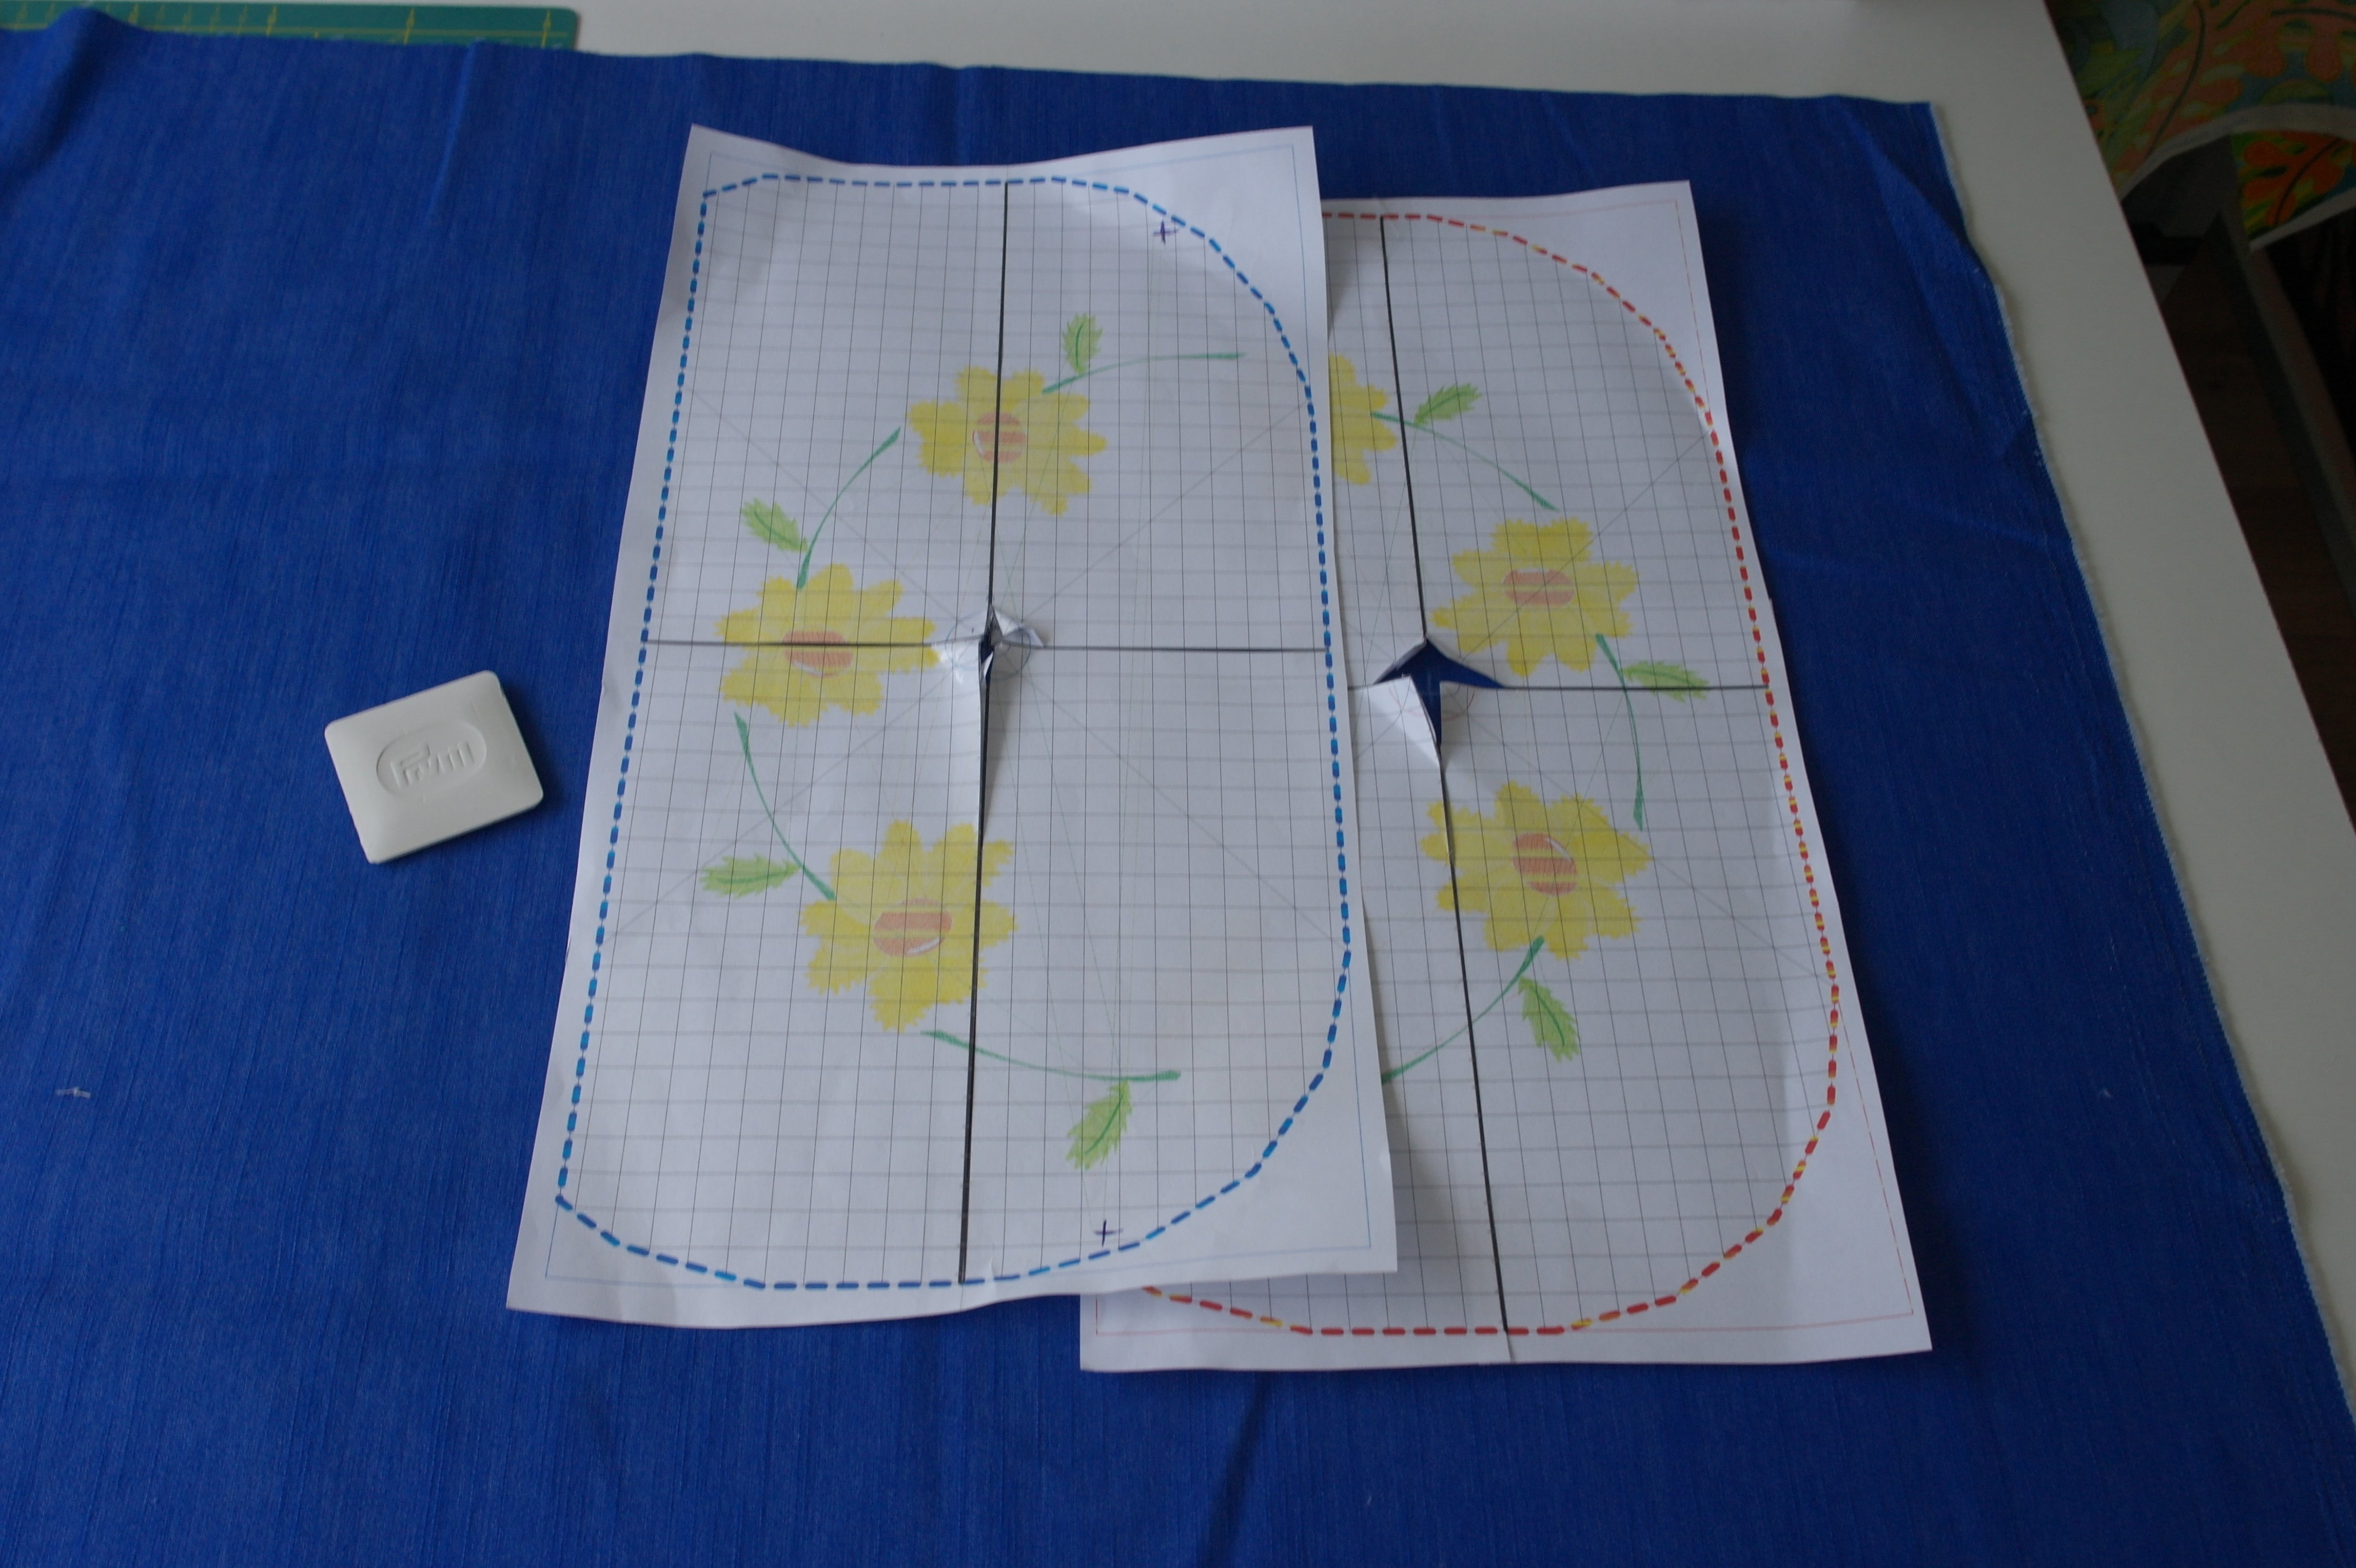
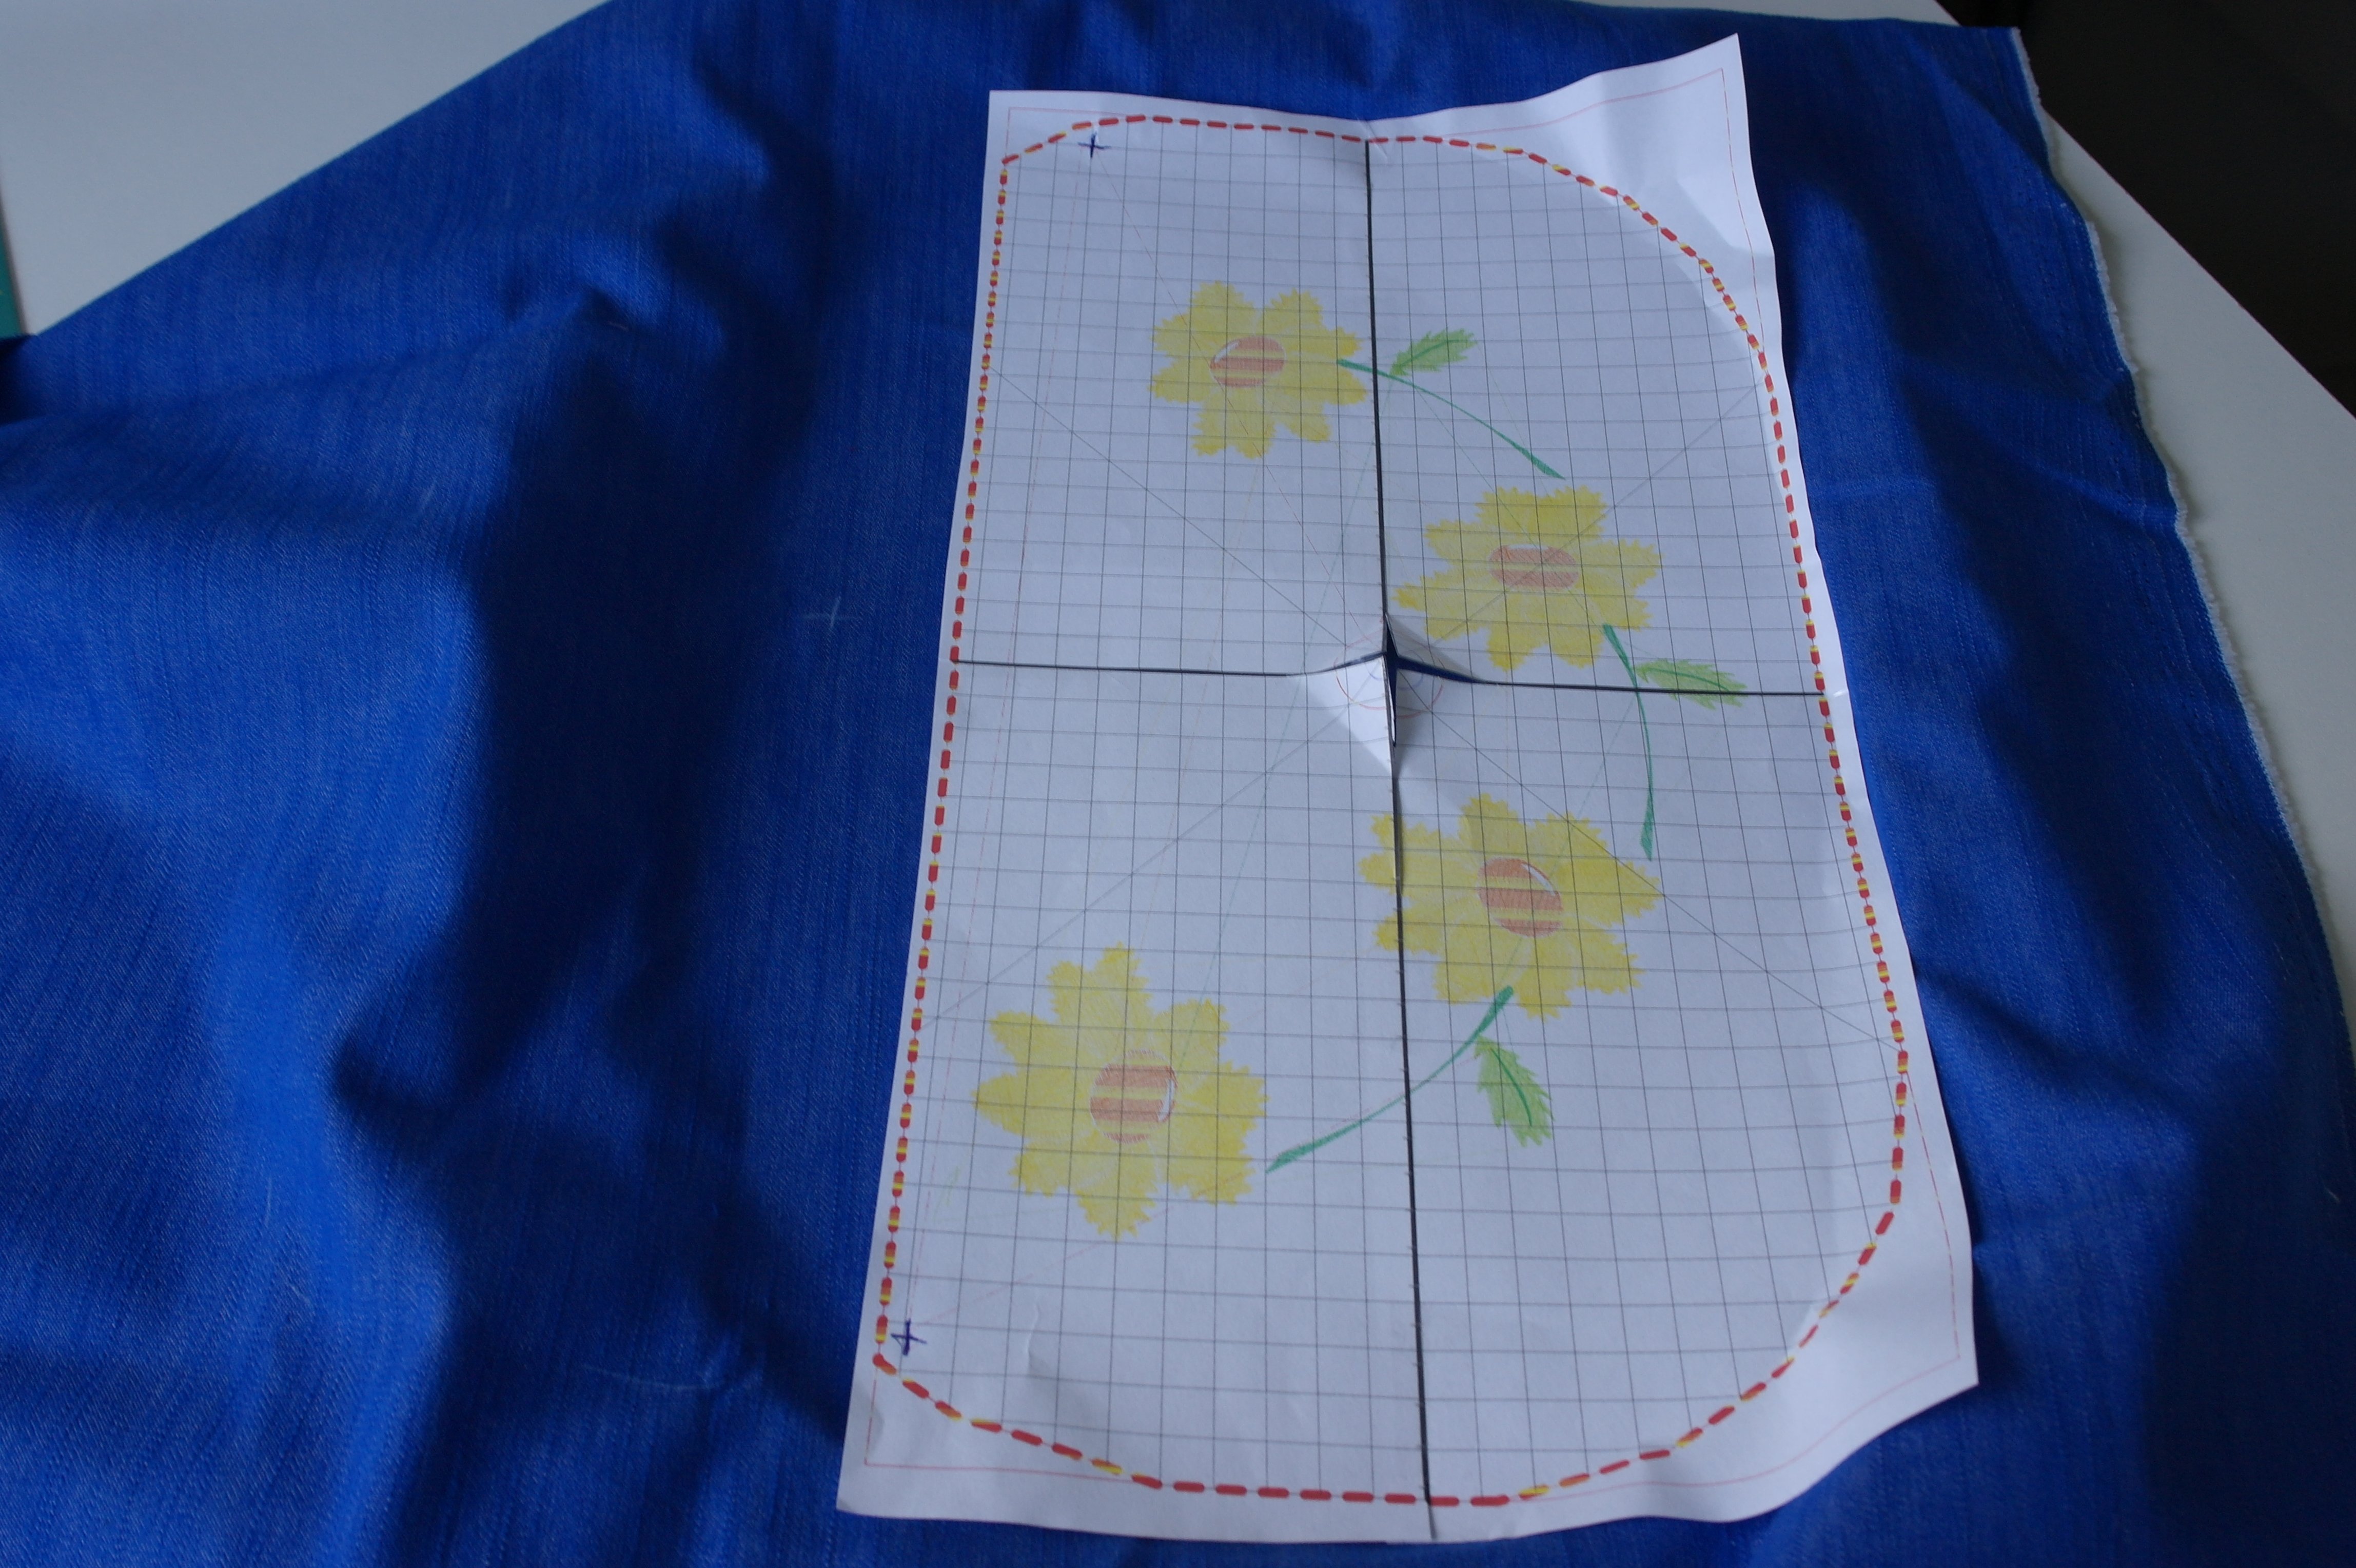
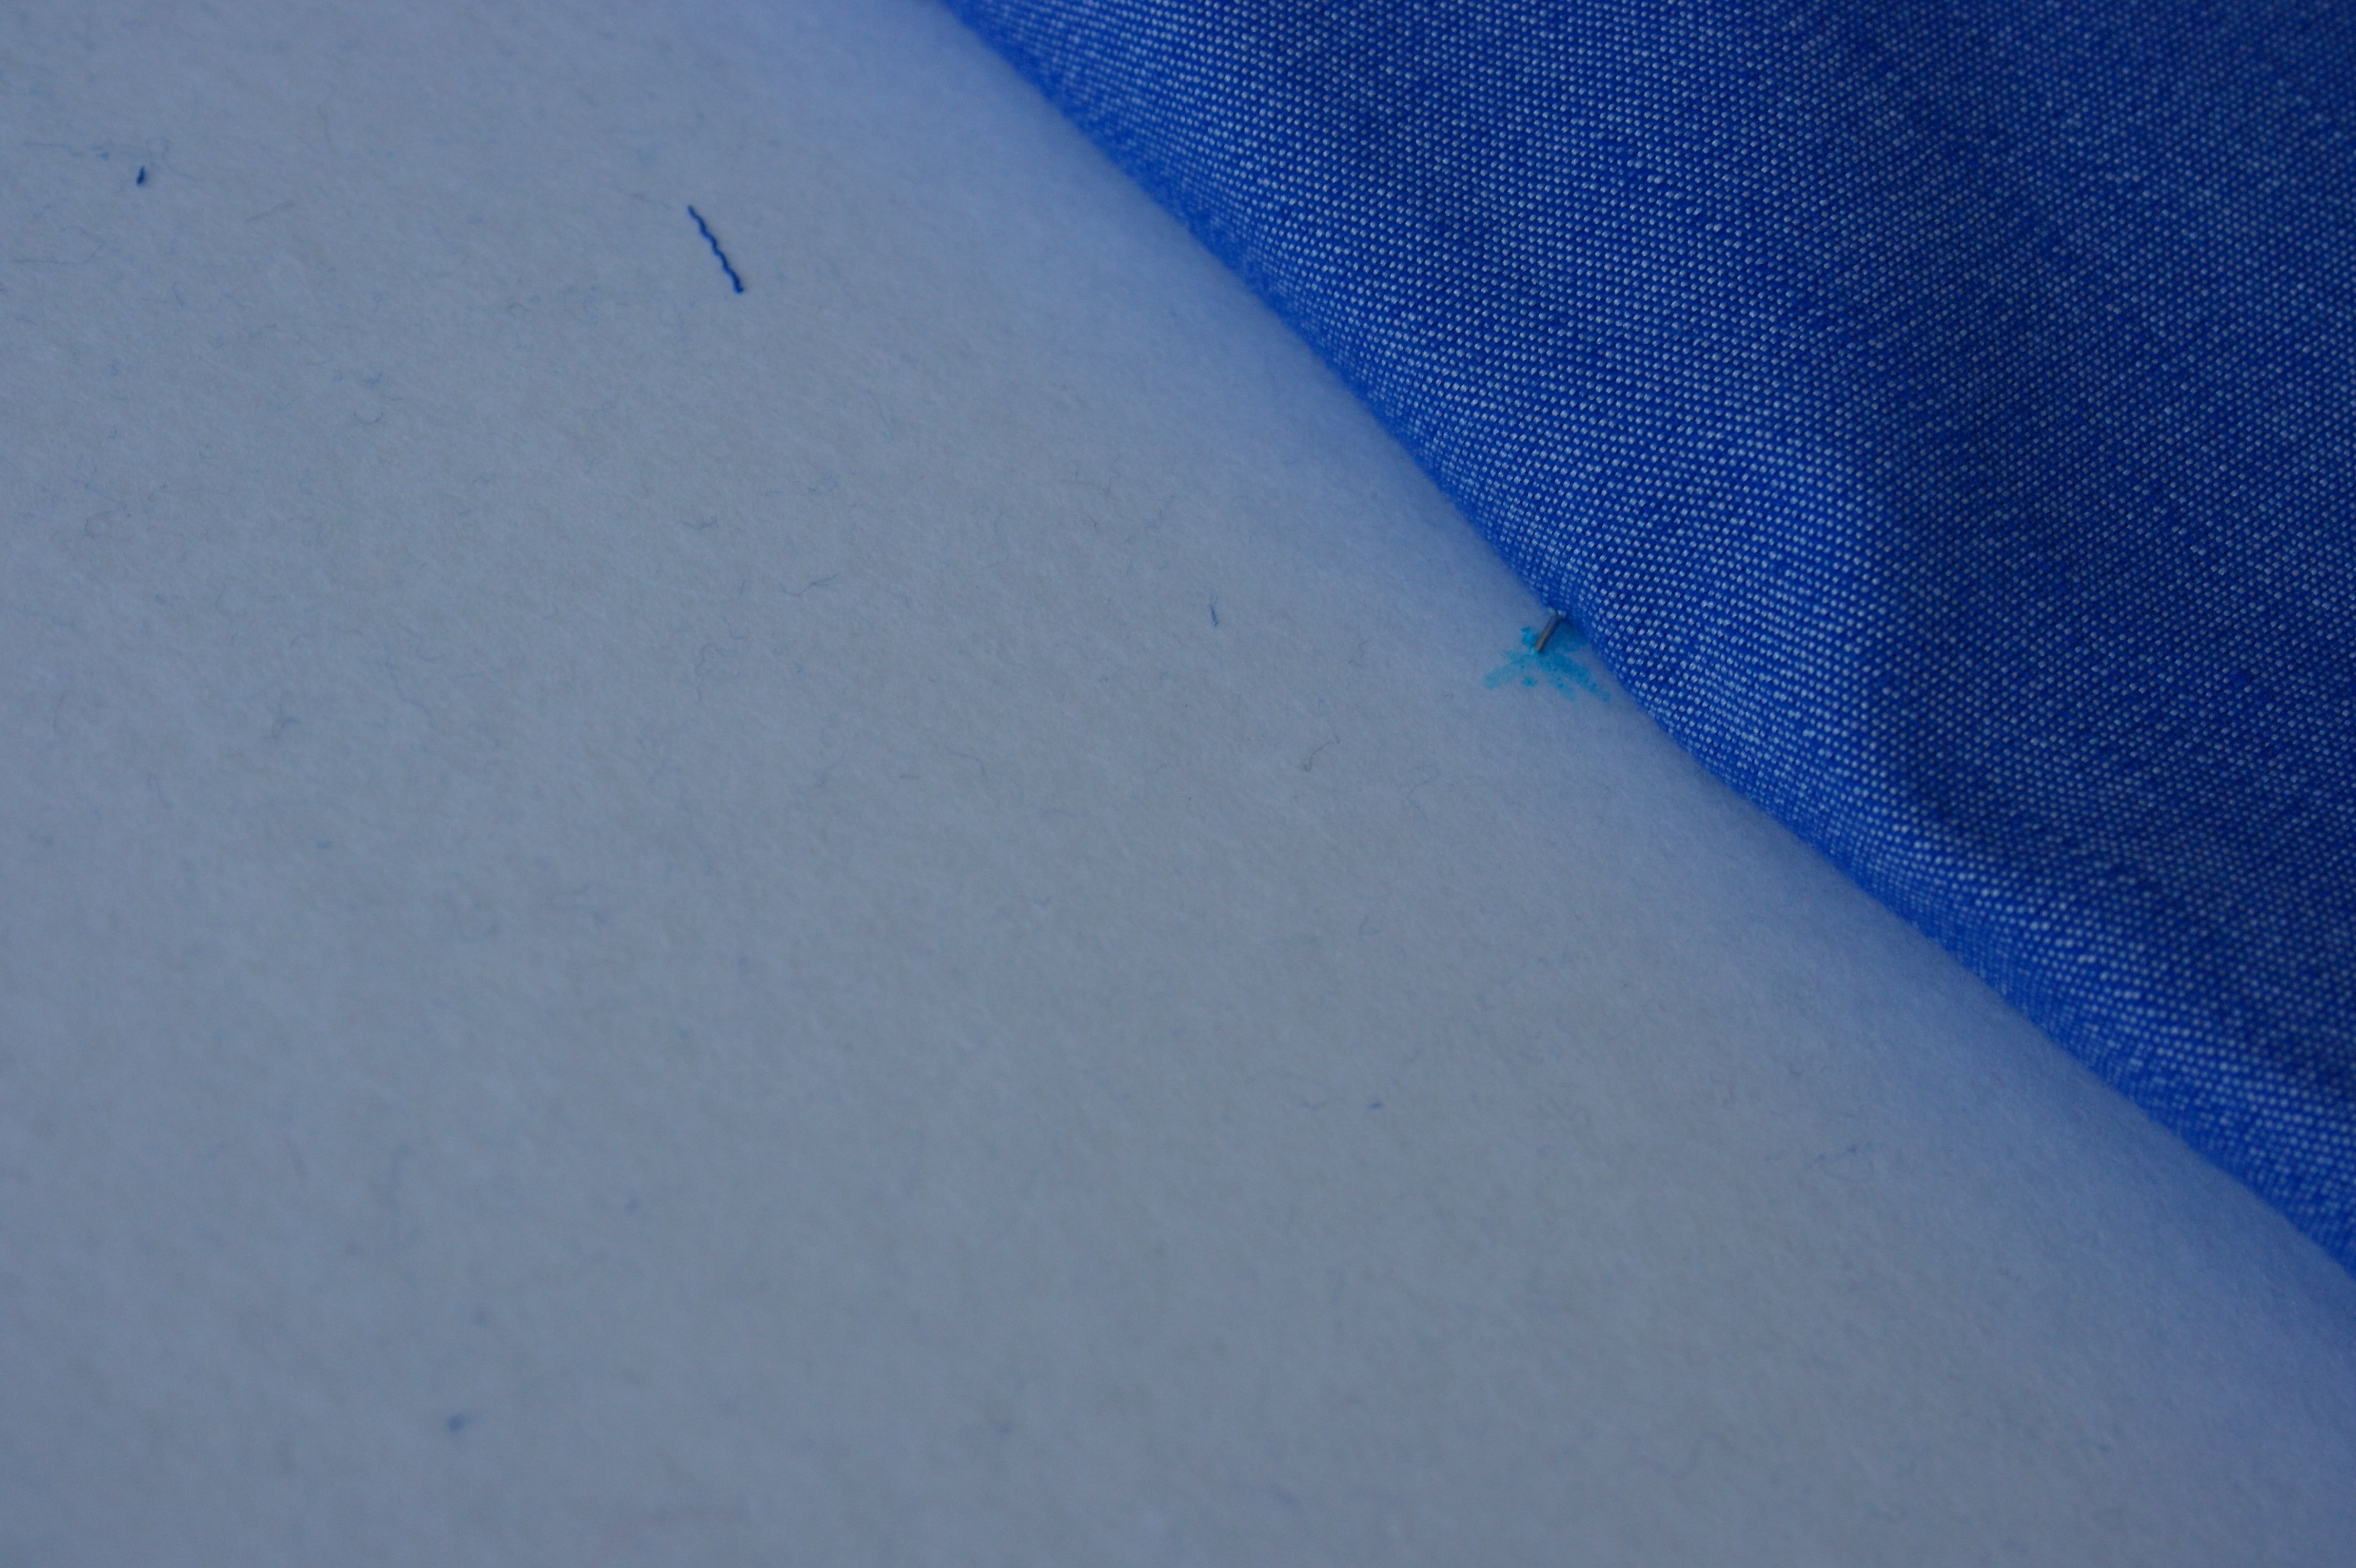
I have chosen a bright blue denim, ironed it and placed it with the right side up. Markings will be added, using white tailor’s cloth. This color will show on the blue denim. If you are using a different color fabric, perhaps you will need yellow tailor’s chalk.
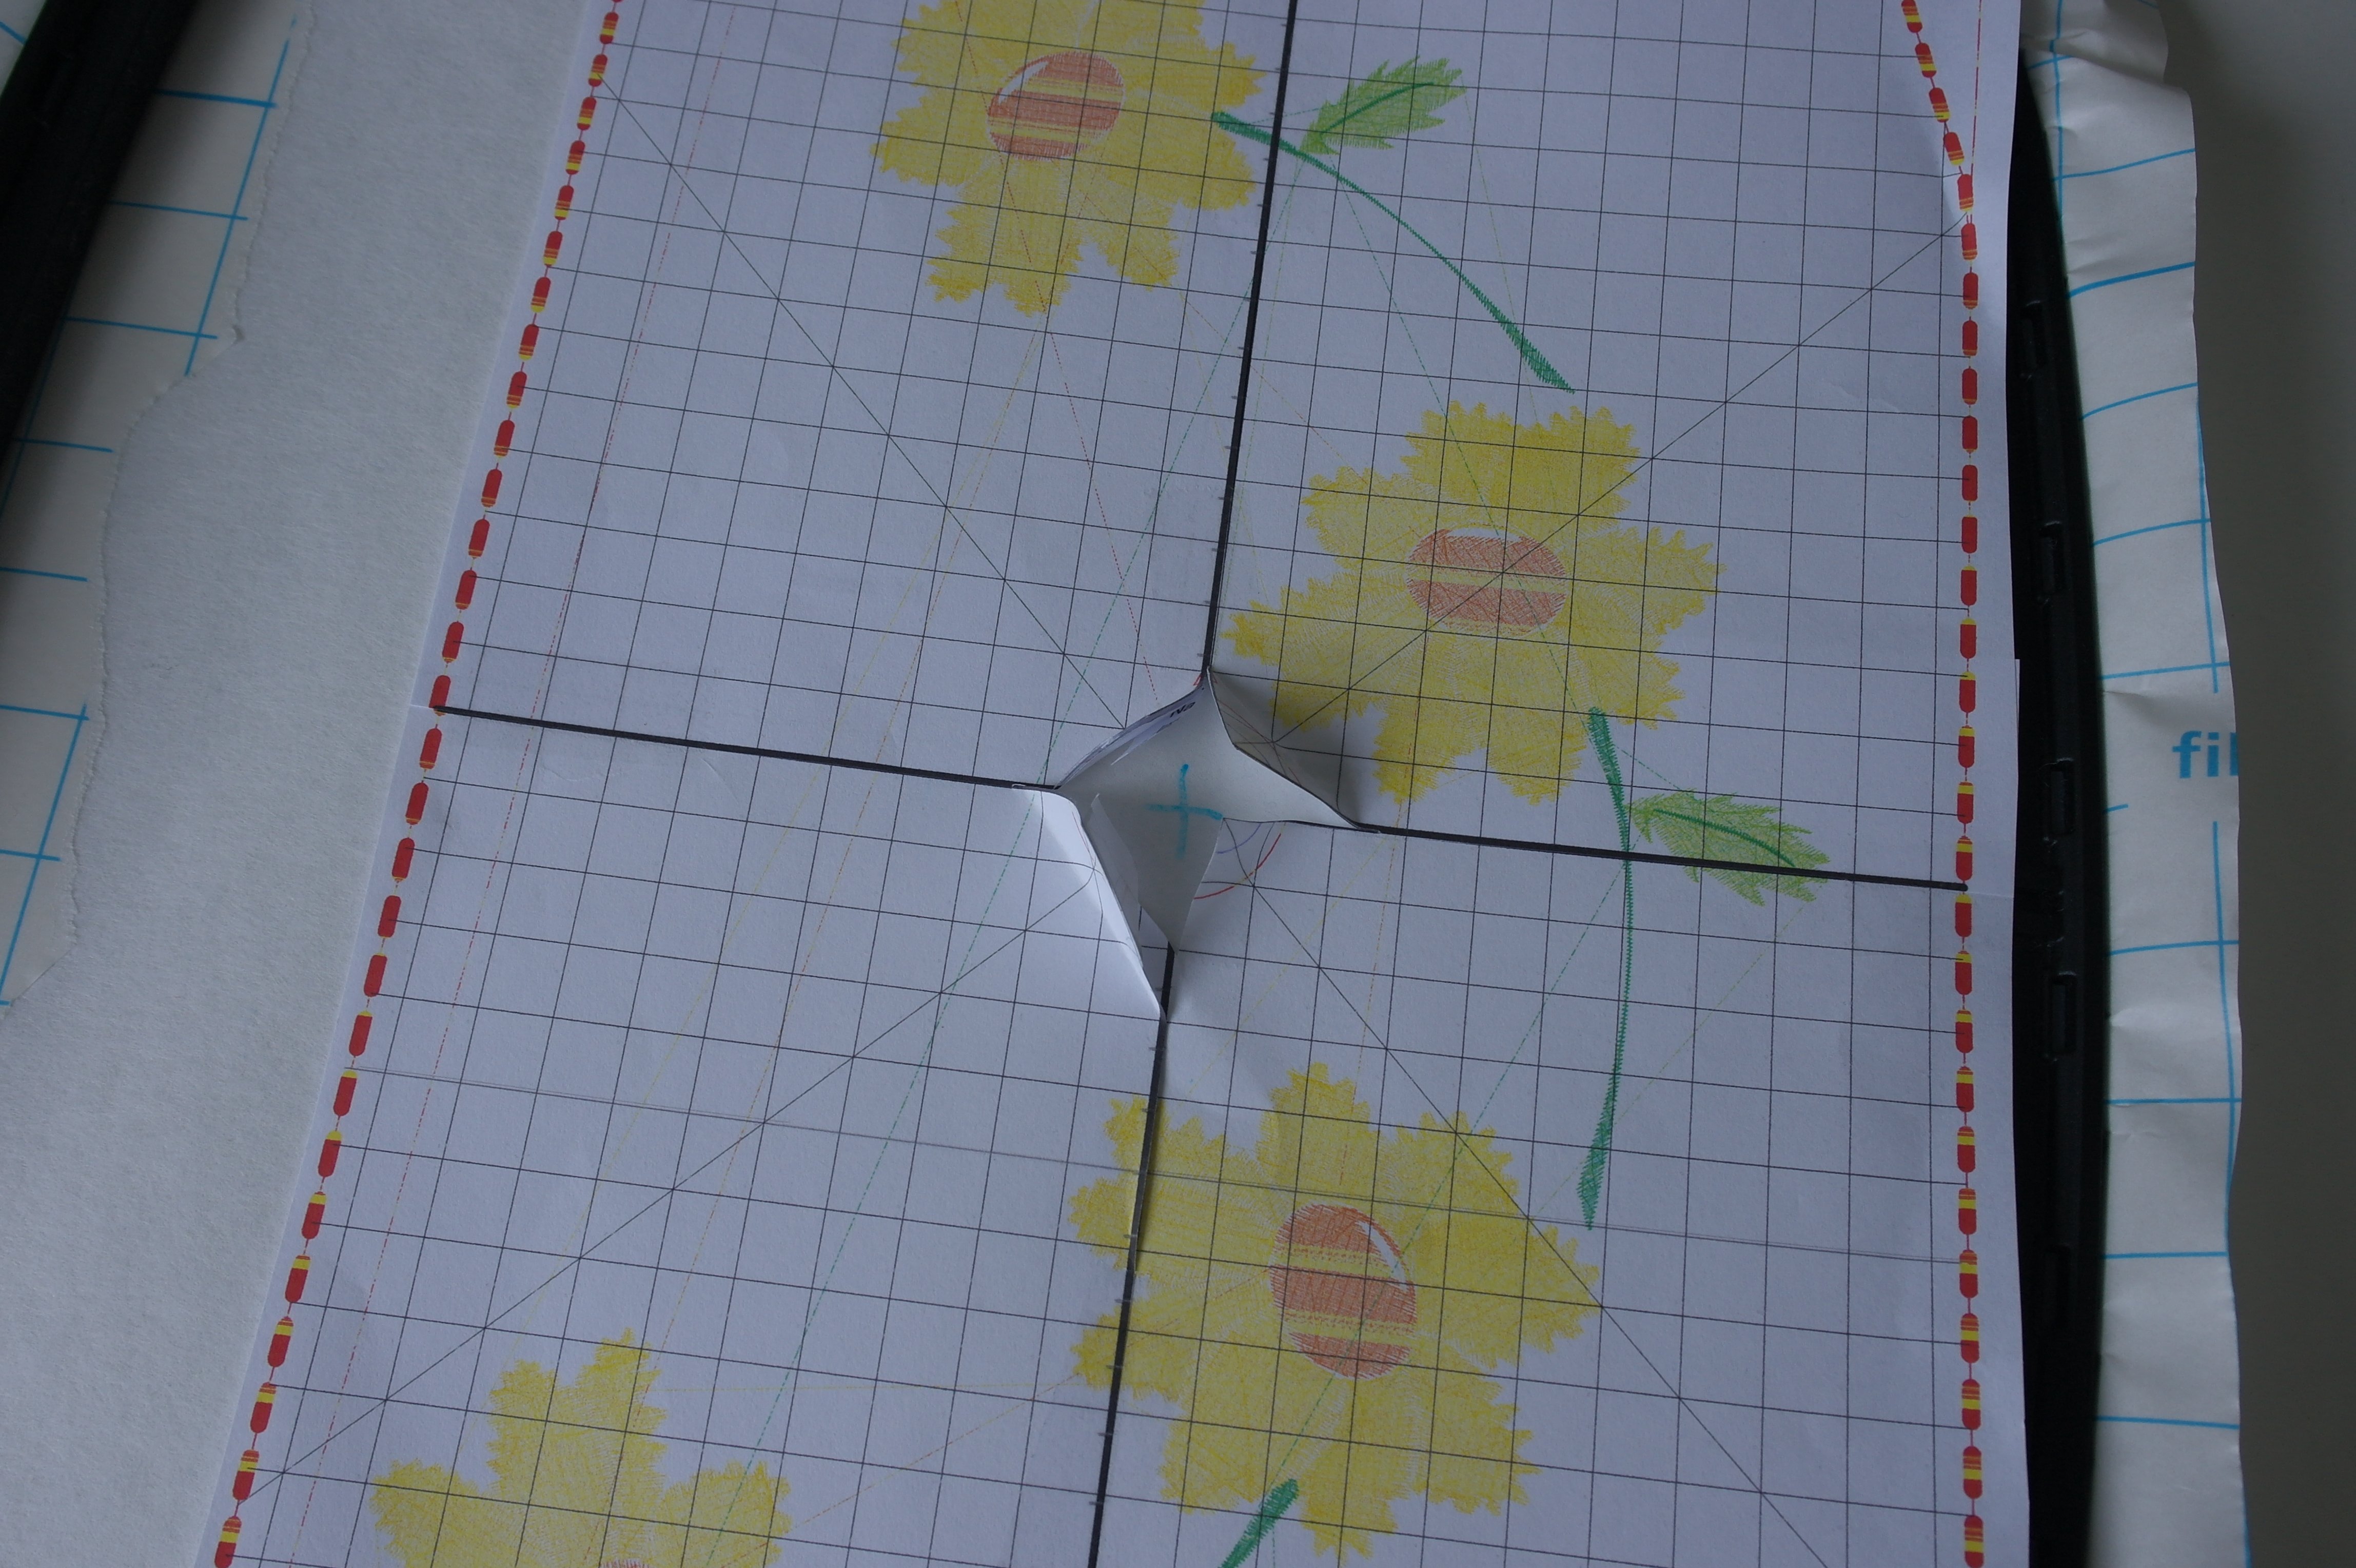
TIP: I have tried the chalk on the edge of the fabric, to see if it can be brushed away: it worked just fine. I have cut the printouts open in the middle (cross hair) because I want to make a marking there too.
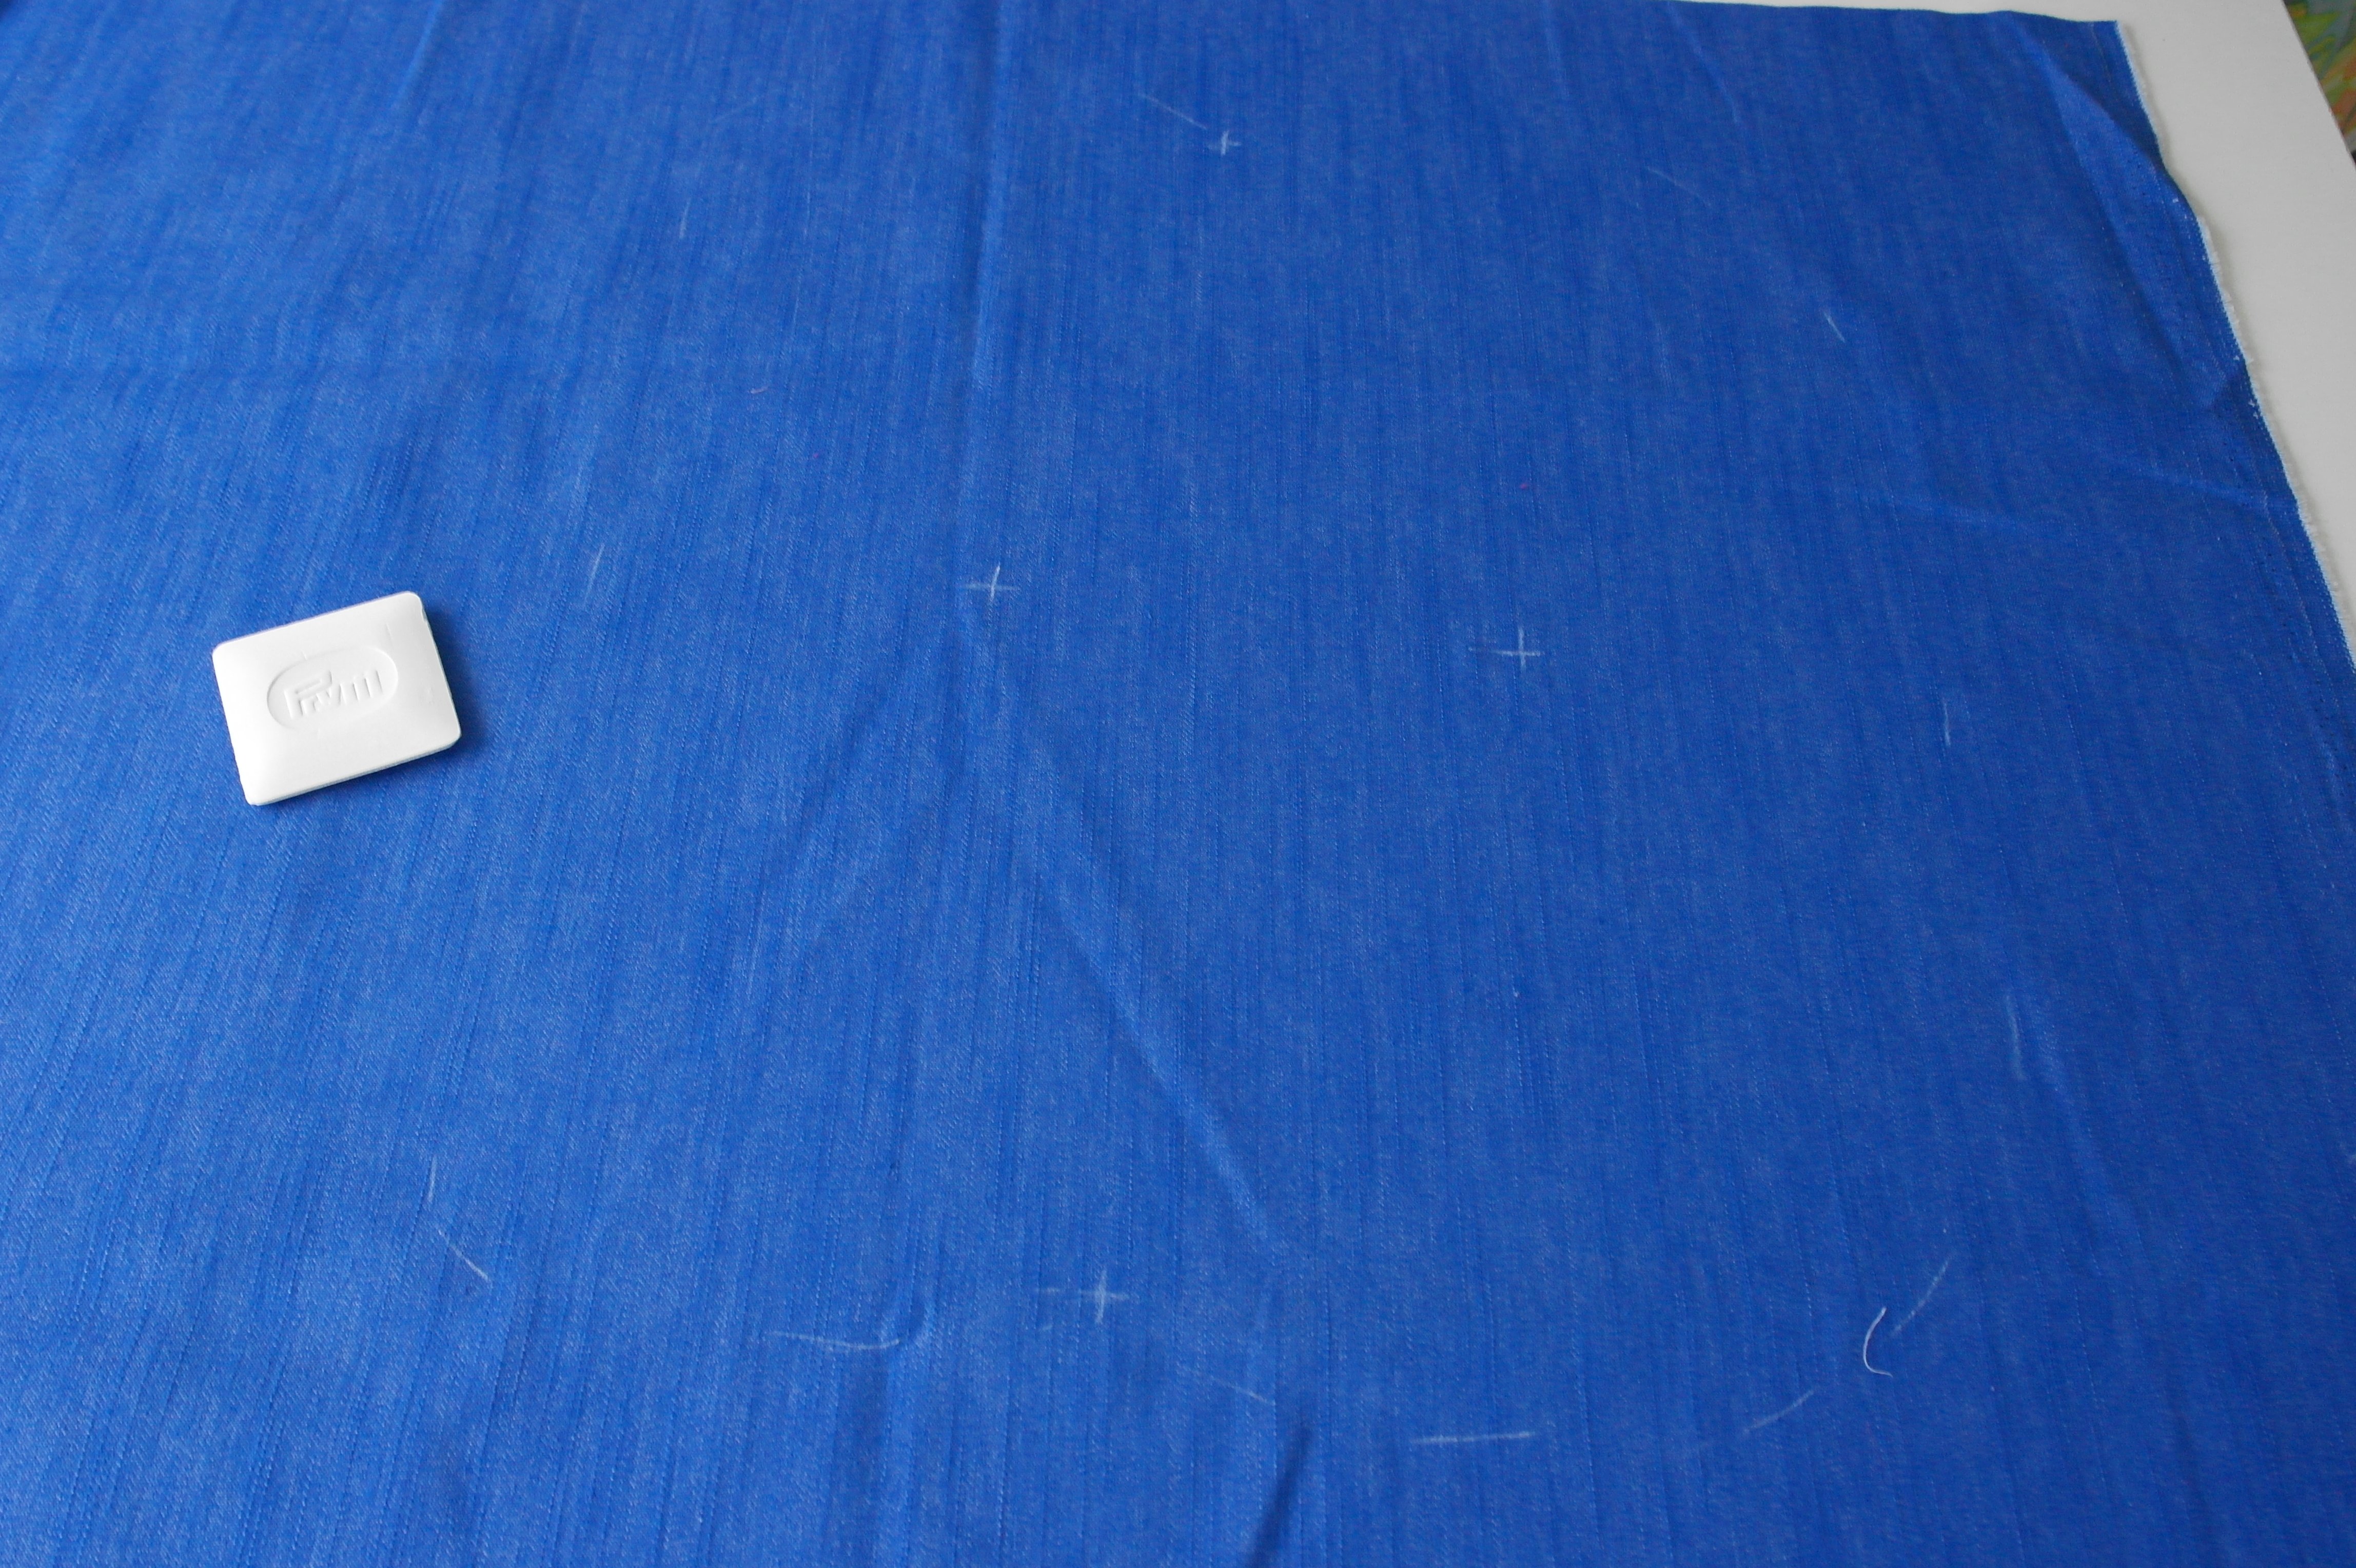
These are the markings I have placed: now I can use them as reference points for placements with my Jumbo Hoop.
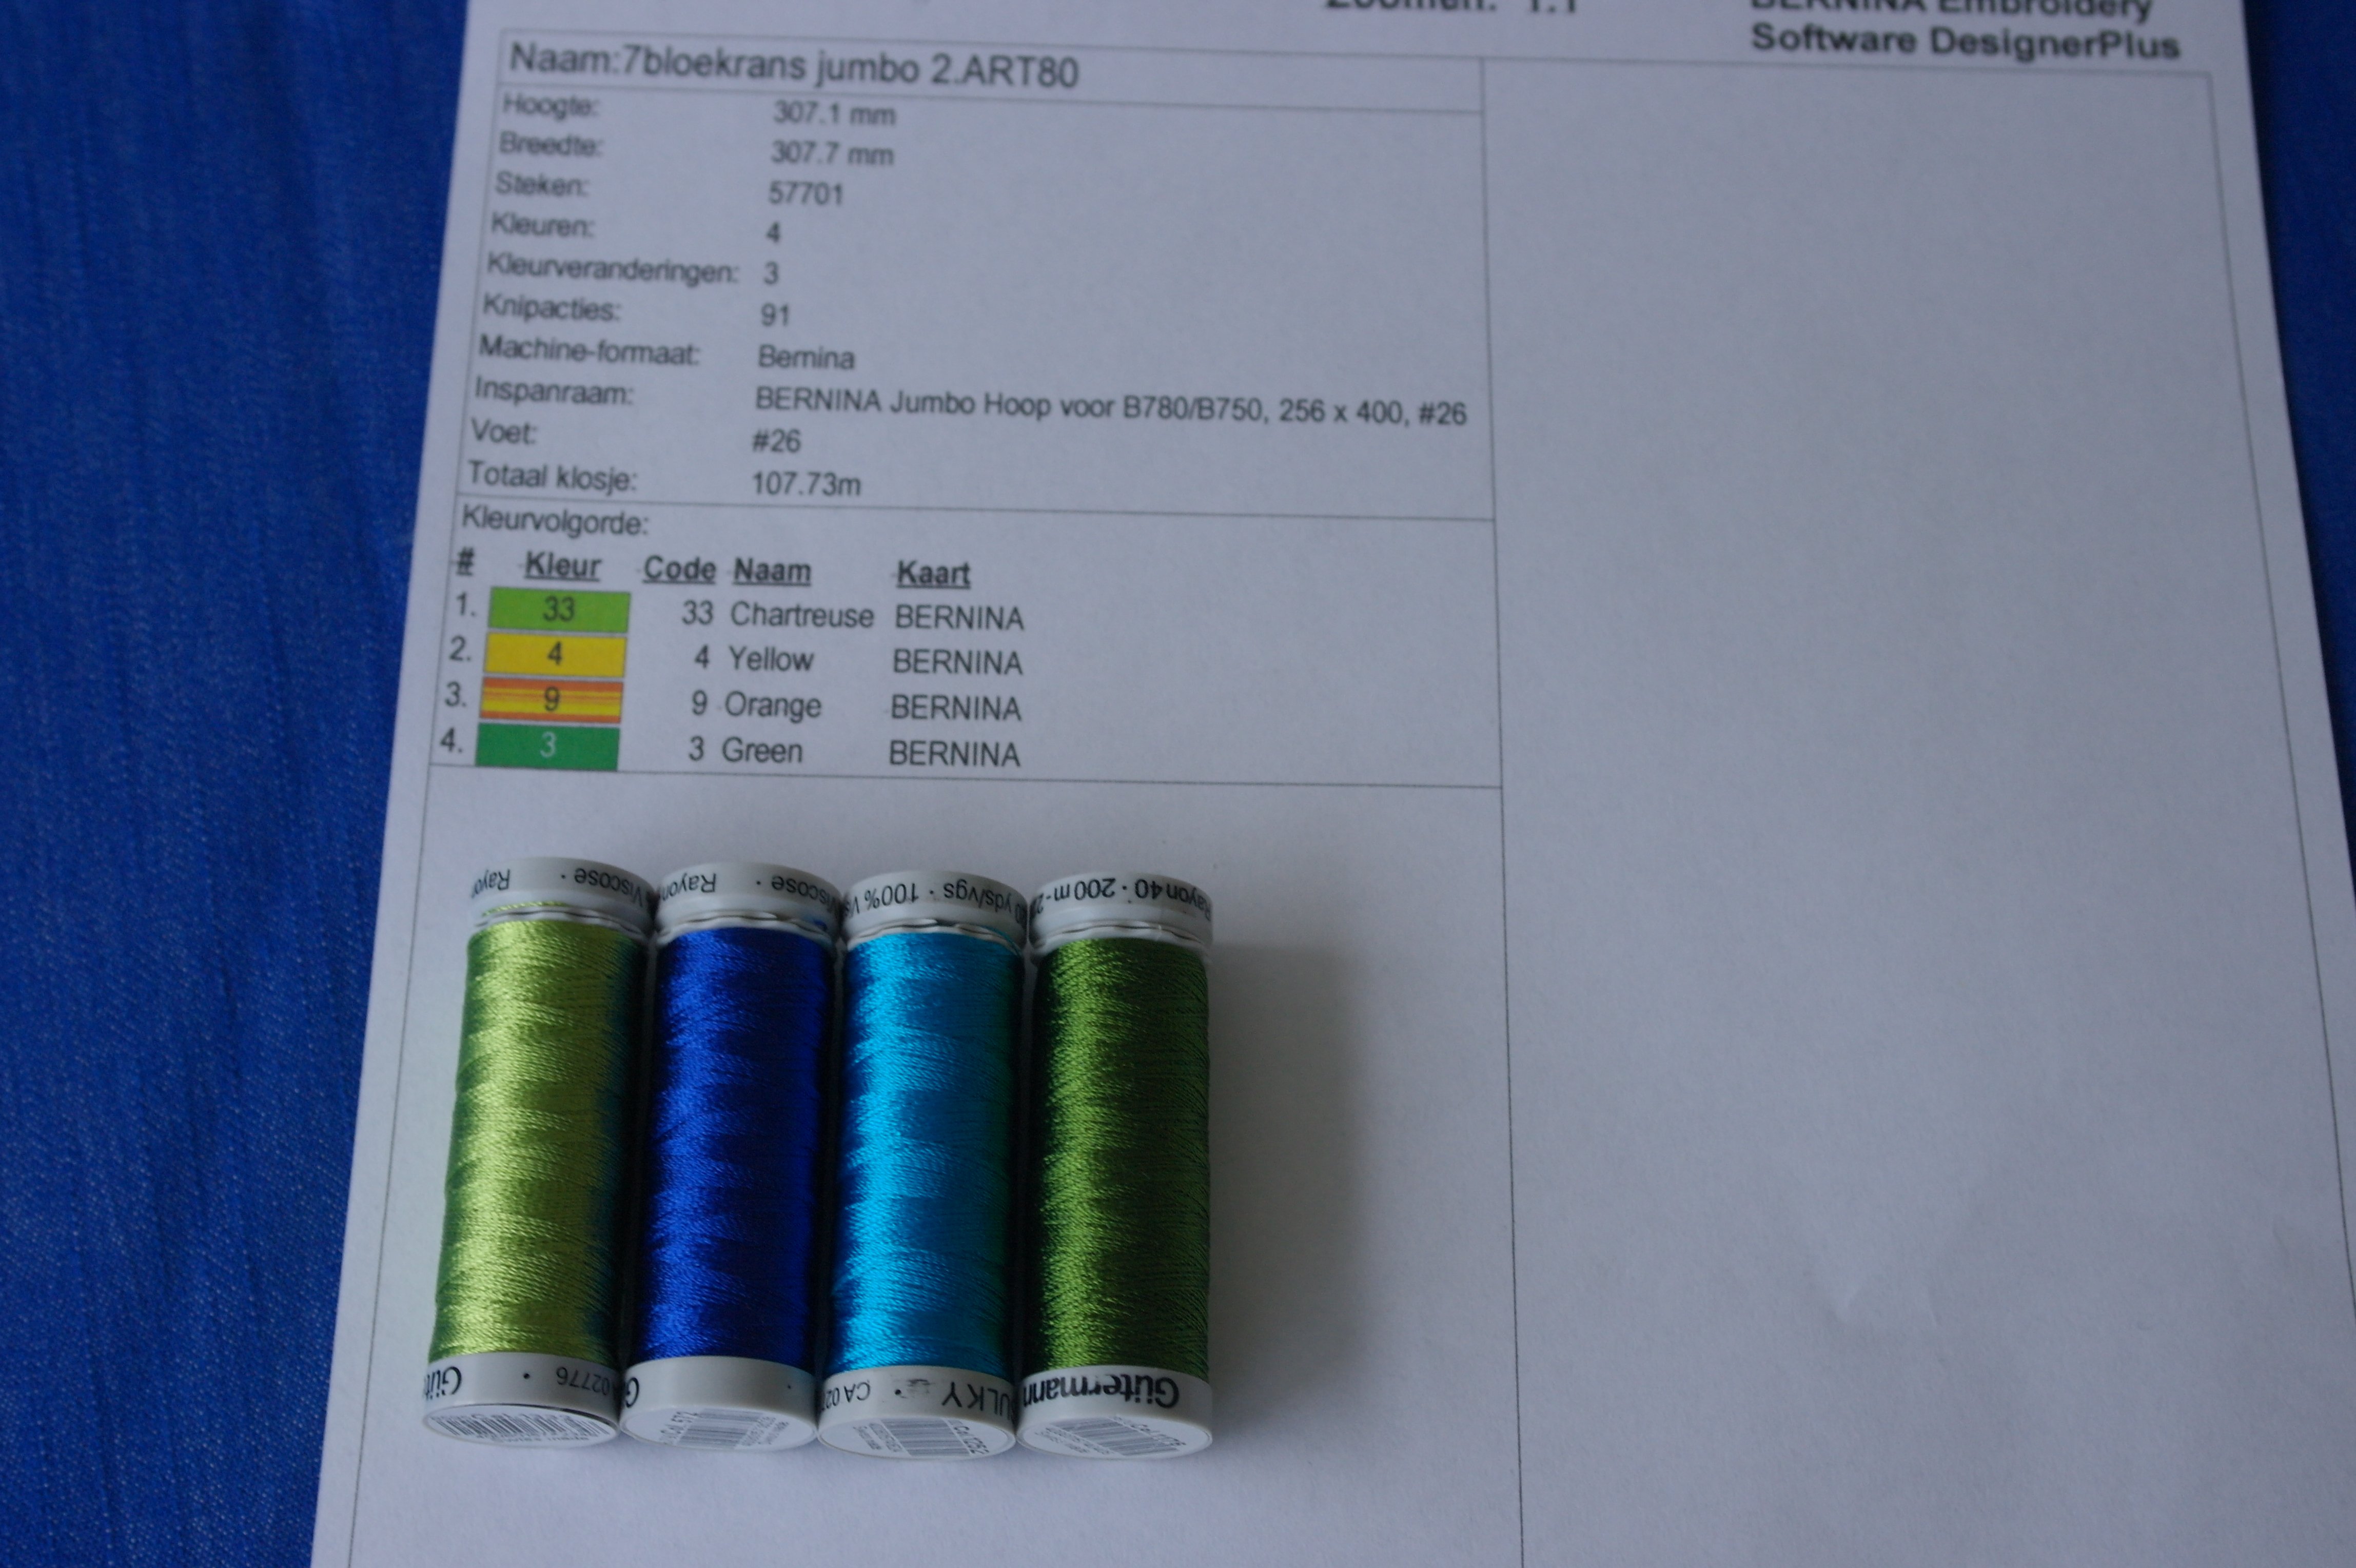
I am using different colors than the original ones: I didn’t change that with my design in V8, but will do this by choosing different spools of Sulky Rayon 40, by placing them in the embroidery sequence. This is the fastest way to change at the last minute, or use just one printout for different projects.
The importance of the right stabilizer.
I will use Filmoplast in my Jumbo Hoop: the only one I will actually hoop. By removing the top paper layer, a sticky underside will appear. The fabric will ‘float’ on top of that. This will prevent hoop burning, and I can remove and replace the fabric as much as I want before embroidery. The paper top layer of Filmoplast has a grid, which can help you with exact placement in the hoop.
I am using the printout for the right side (red, first hoop) to see where the middle marking should be: I am using a blue water soluble pen to transfer the marking onto the sticky part of the Filmoplast.

The fabric is placed on top of the sticky Filmoplast in the Jumbo Hoop: markings matching.
Checking if all went well with hooping: placing the printout back in the hoop. So far so good.
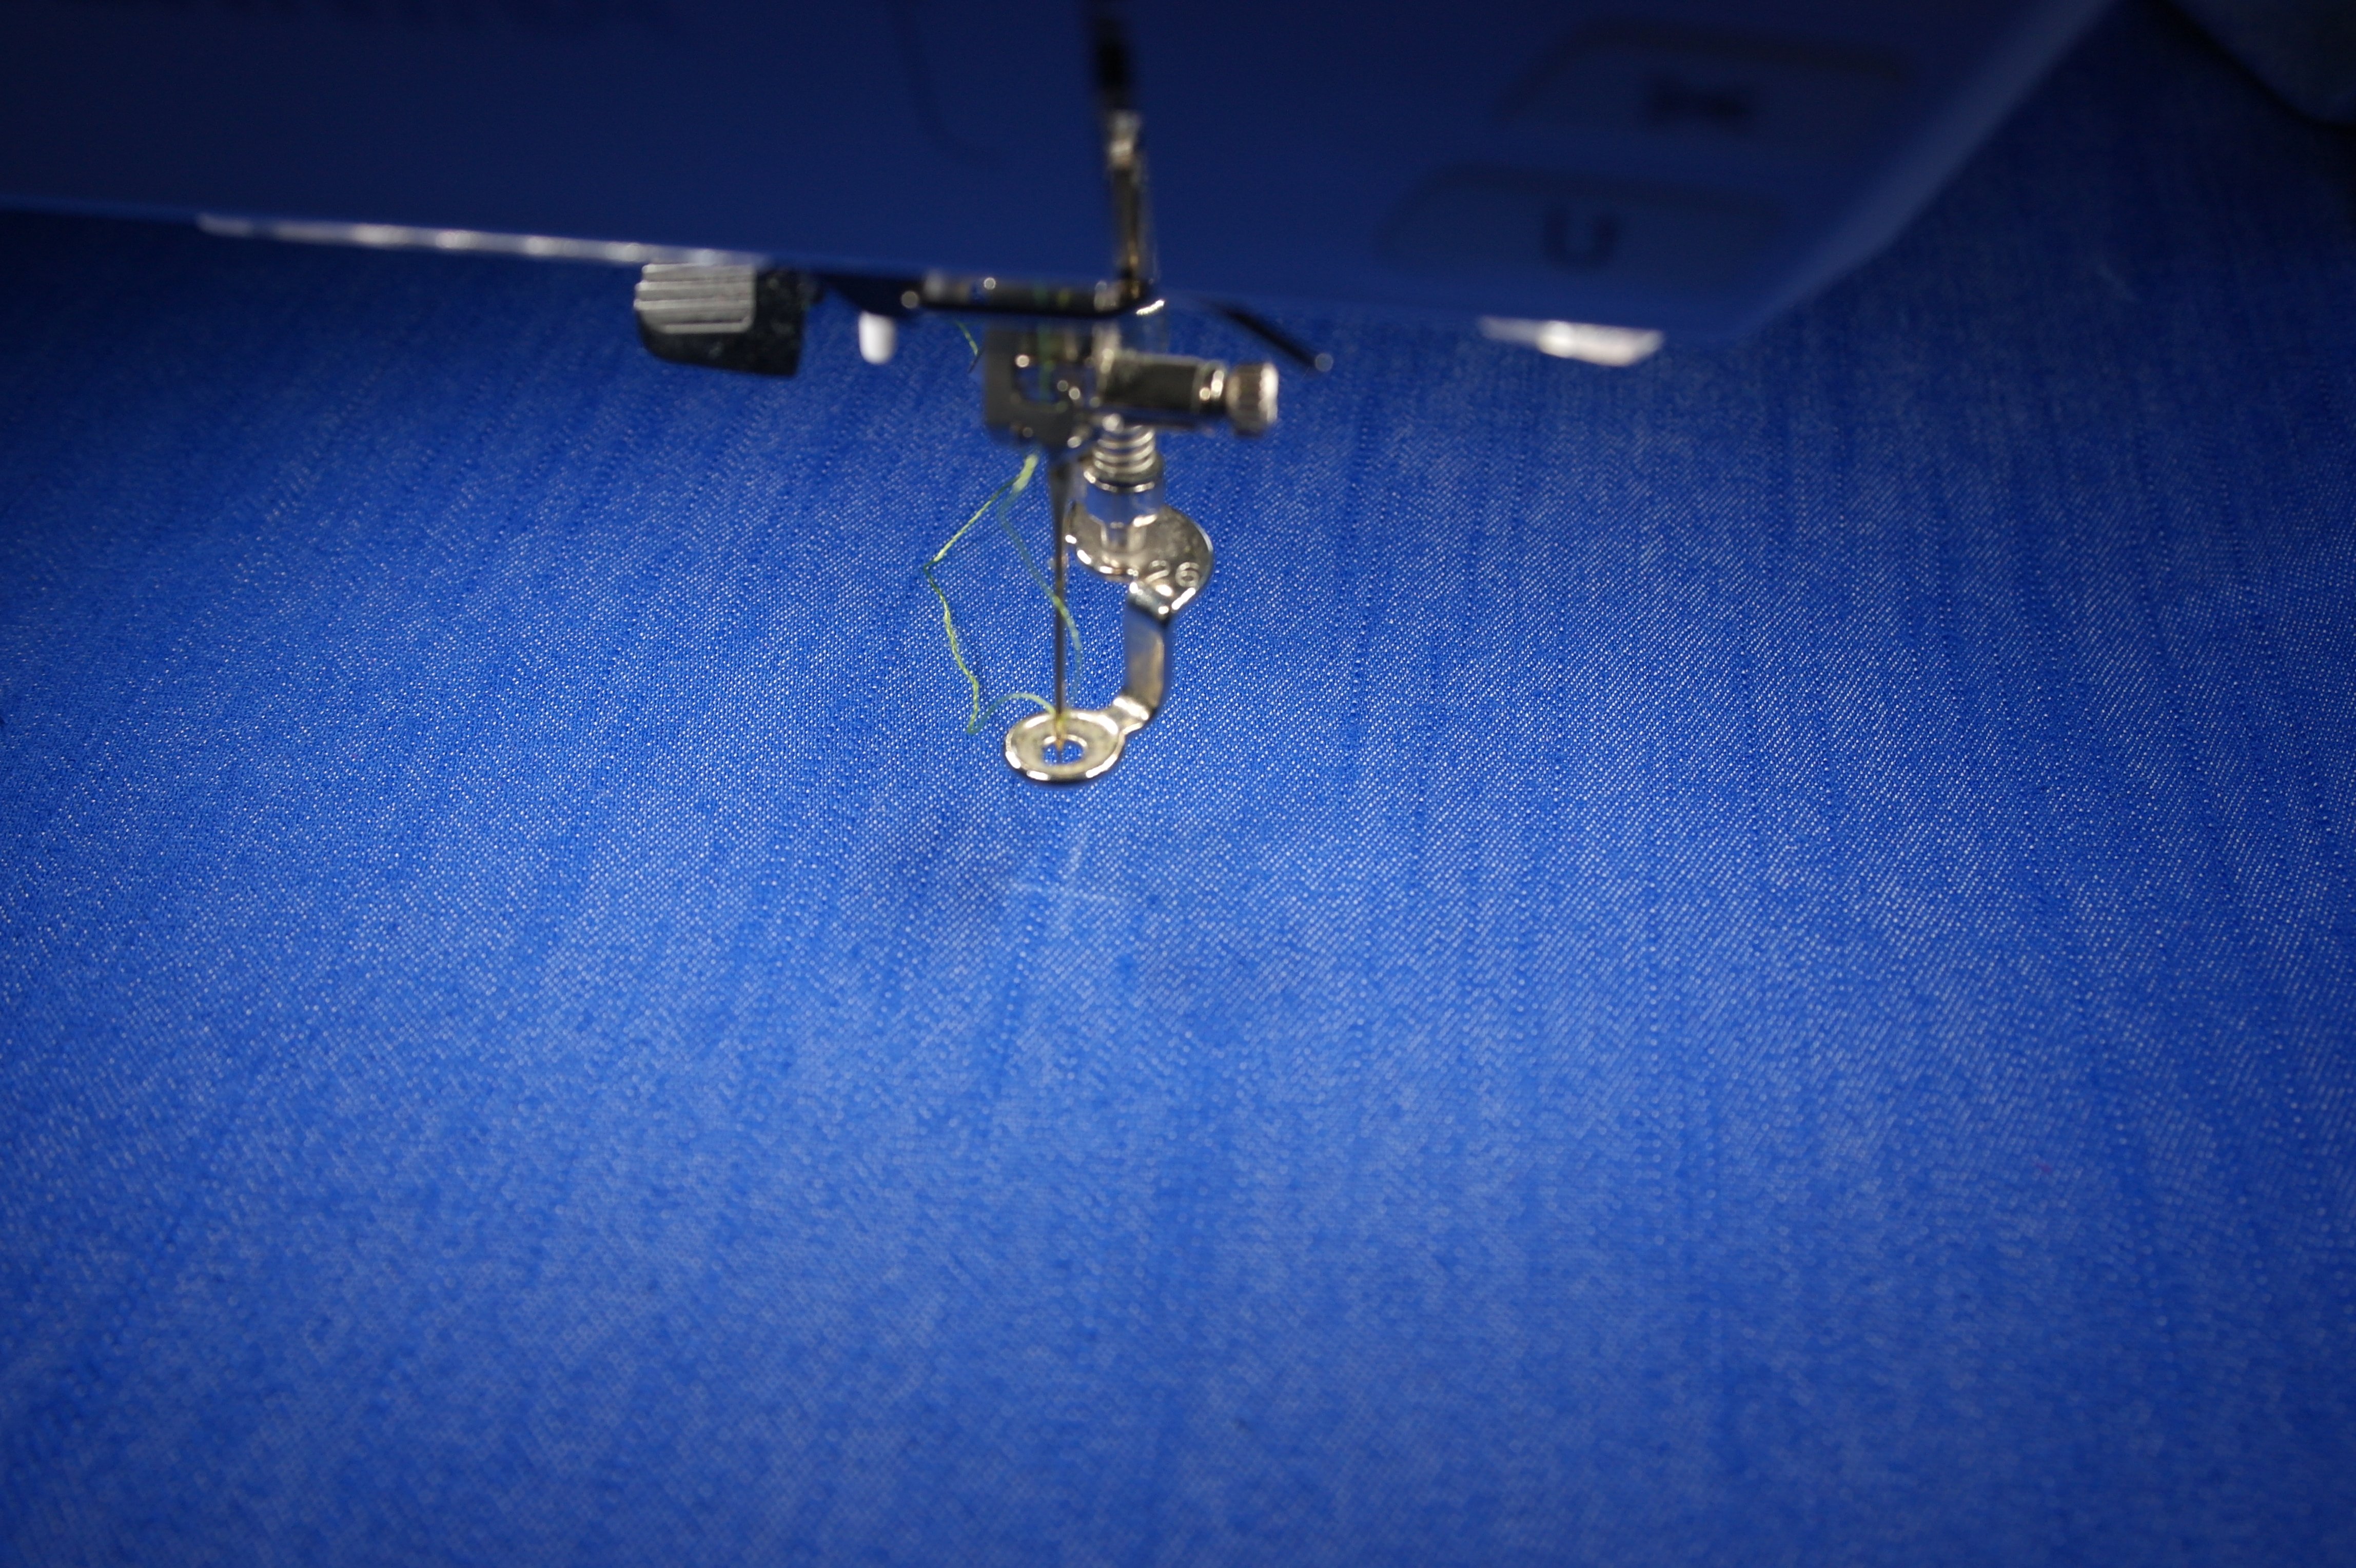
Now comes the actual check: the Jumbo Hoop is placed on the embroidery module of my B770QE, and the Embroidery Foot #26 should be right in the (embroidery) center of the fabric/hoop, after I have prompted my machine to do so. A slight correction was needed, but – as you can see – it was placed almost exactly right.
It is important to check this, because my Jumbo Hoop doesn’t use the entire space (I am missing 5 cm to the left/total length of the Jumbo Hoop, because of the space between needle and machine. With higher types of BERNINA machines (like the 8-series), you can use the entire space of the Jumbo Hoop). Don’t think it will be ok, always check. If you need to adjust just a couple of millimeters, use the knobs on the right of your machine to ‘find’ the center point and match it with your embroidery foot.
The first hooping.
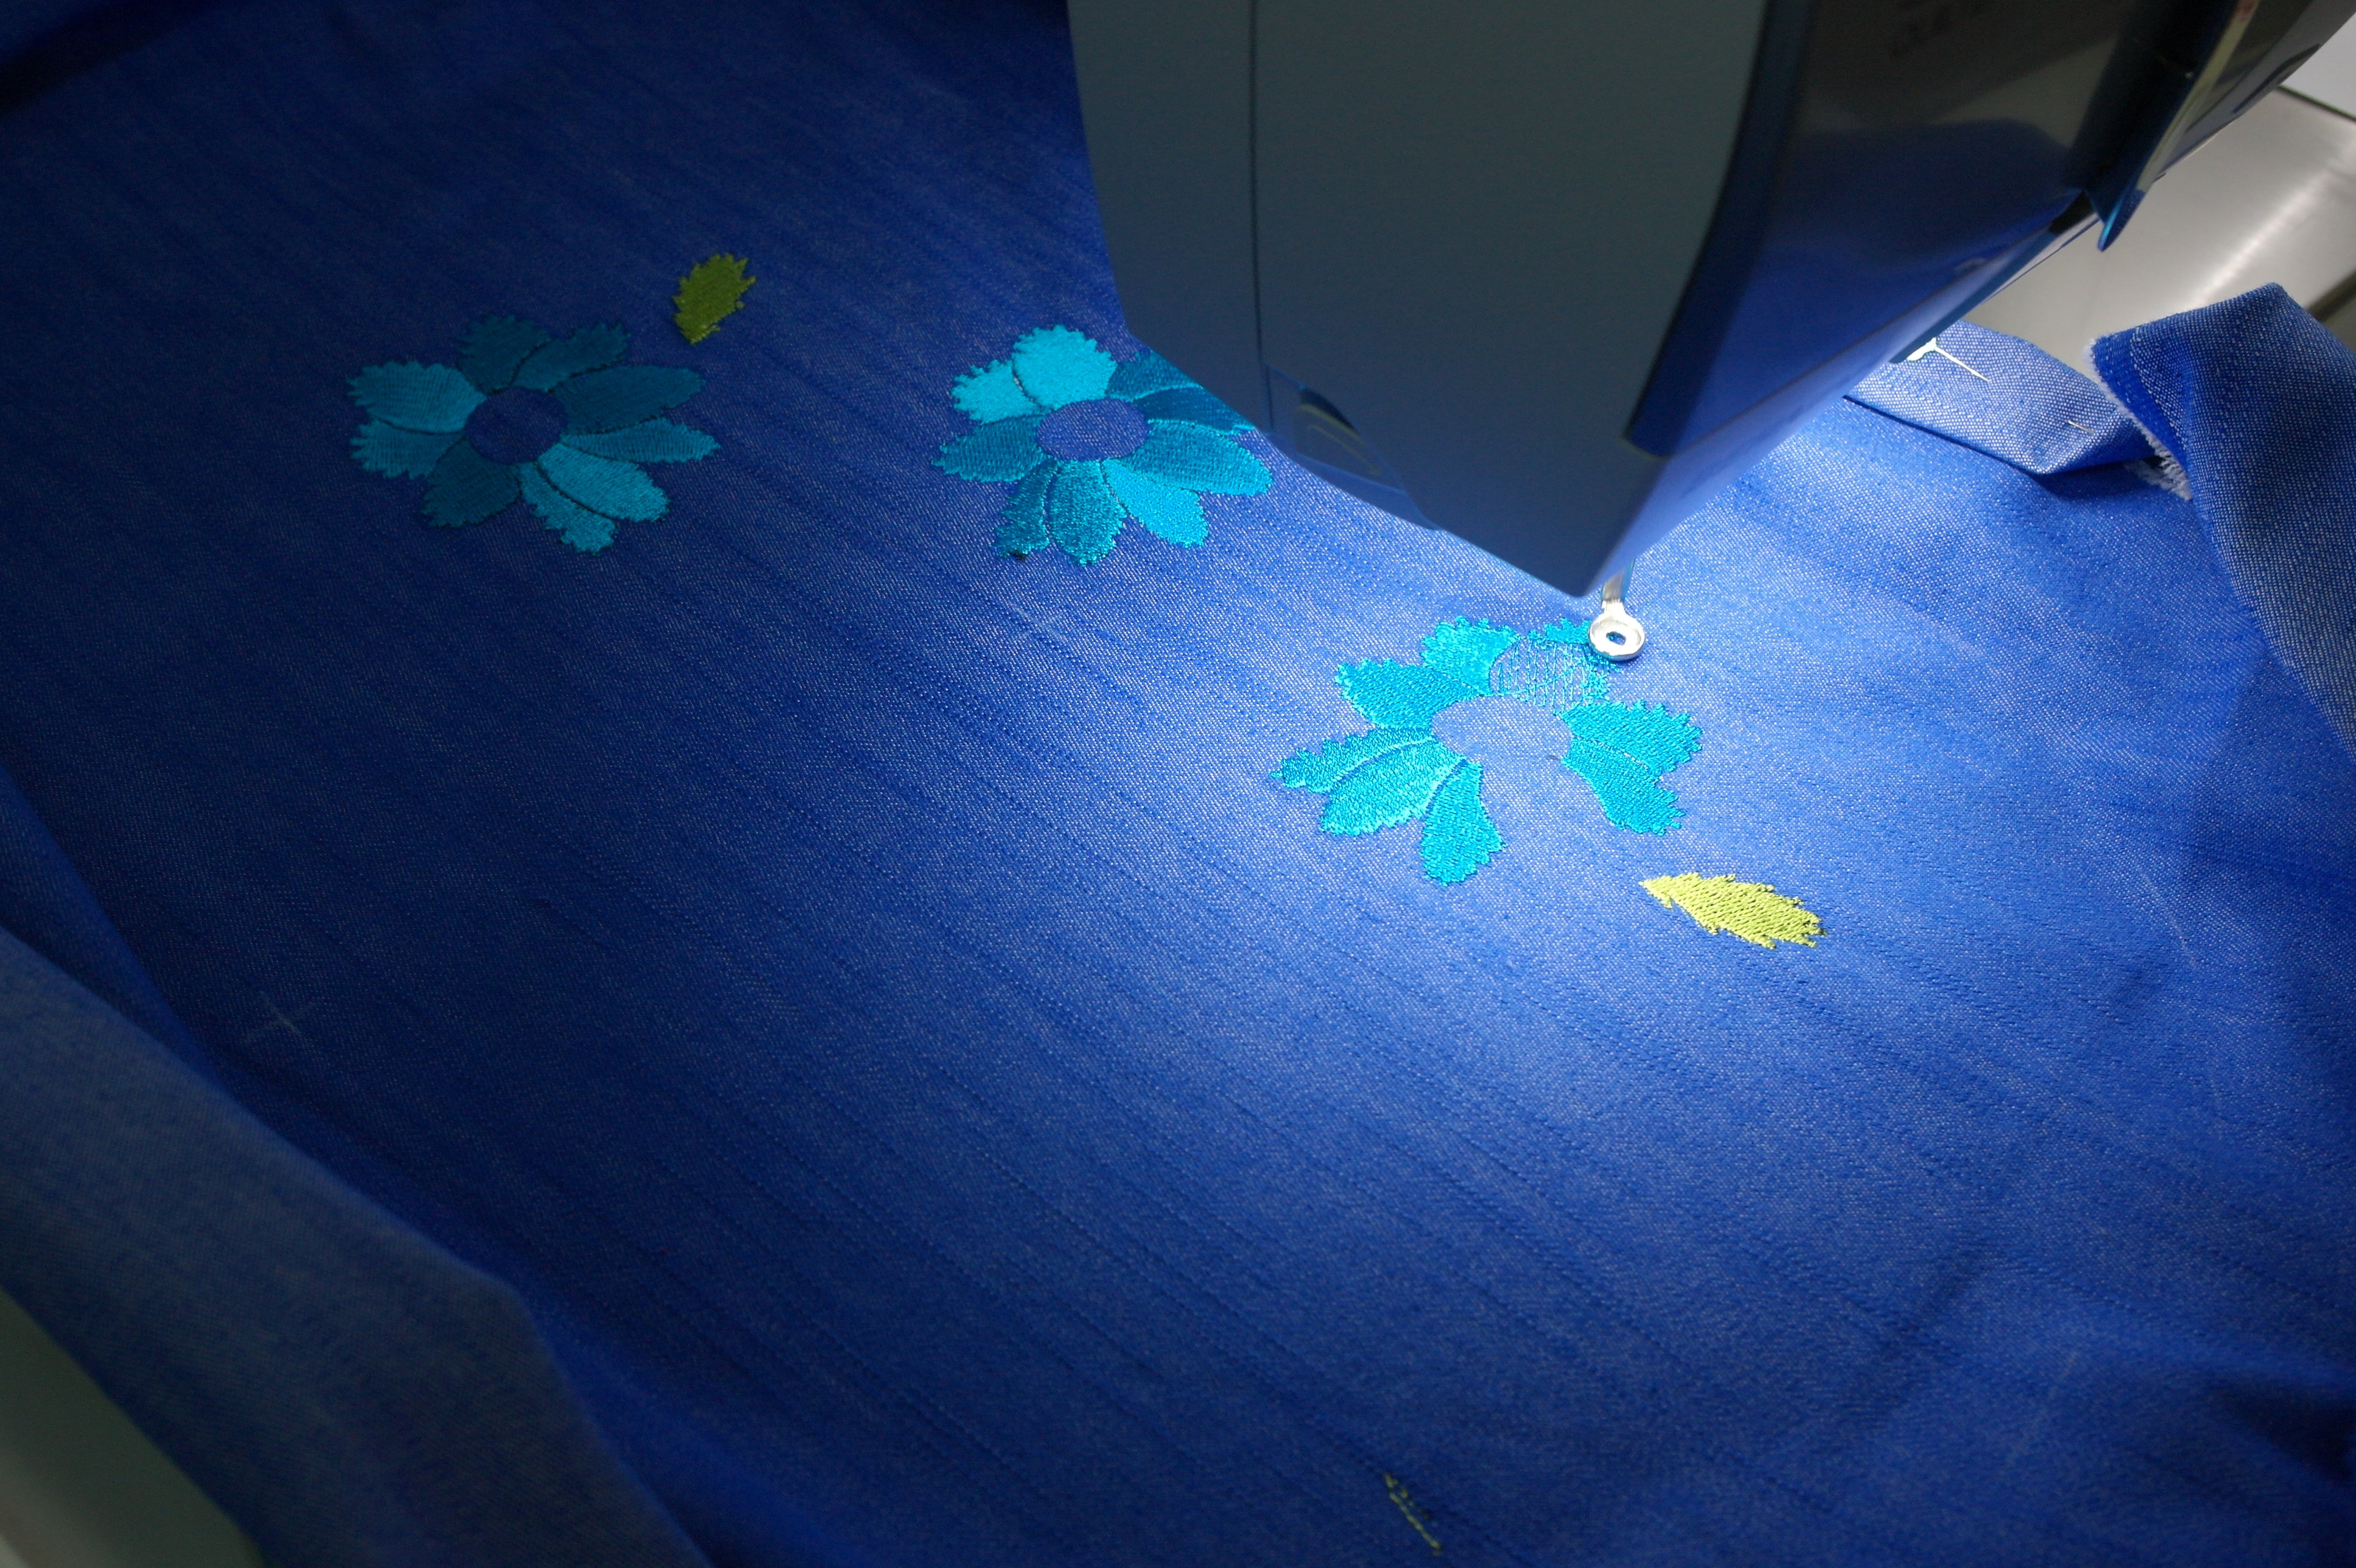
My machine was set to work: it all went very well. The sticky layer of the Filmoplast made sure the fabric wasn’t shifting during embroidery. Normally I would have the machine make basting stitches around a design, but with Multi-Hooping, I don’t want extra lines/holes etc. but a clear view of the markings, which will be made after the actual embroidery is done.
You can always choose to use a glue spray, but I am not a fan: it will stick to your needle if you spray too much, while the denim is thick enough to be set firmly onto the stabilizer. But that’s up to you. If you do want to use a glue spray, just spray a very thin layer. But again, with Filmoplast, you won’t need that.
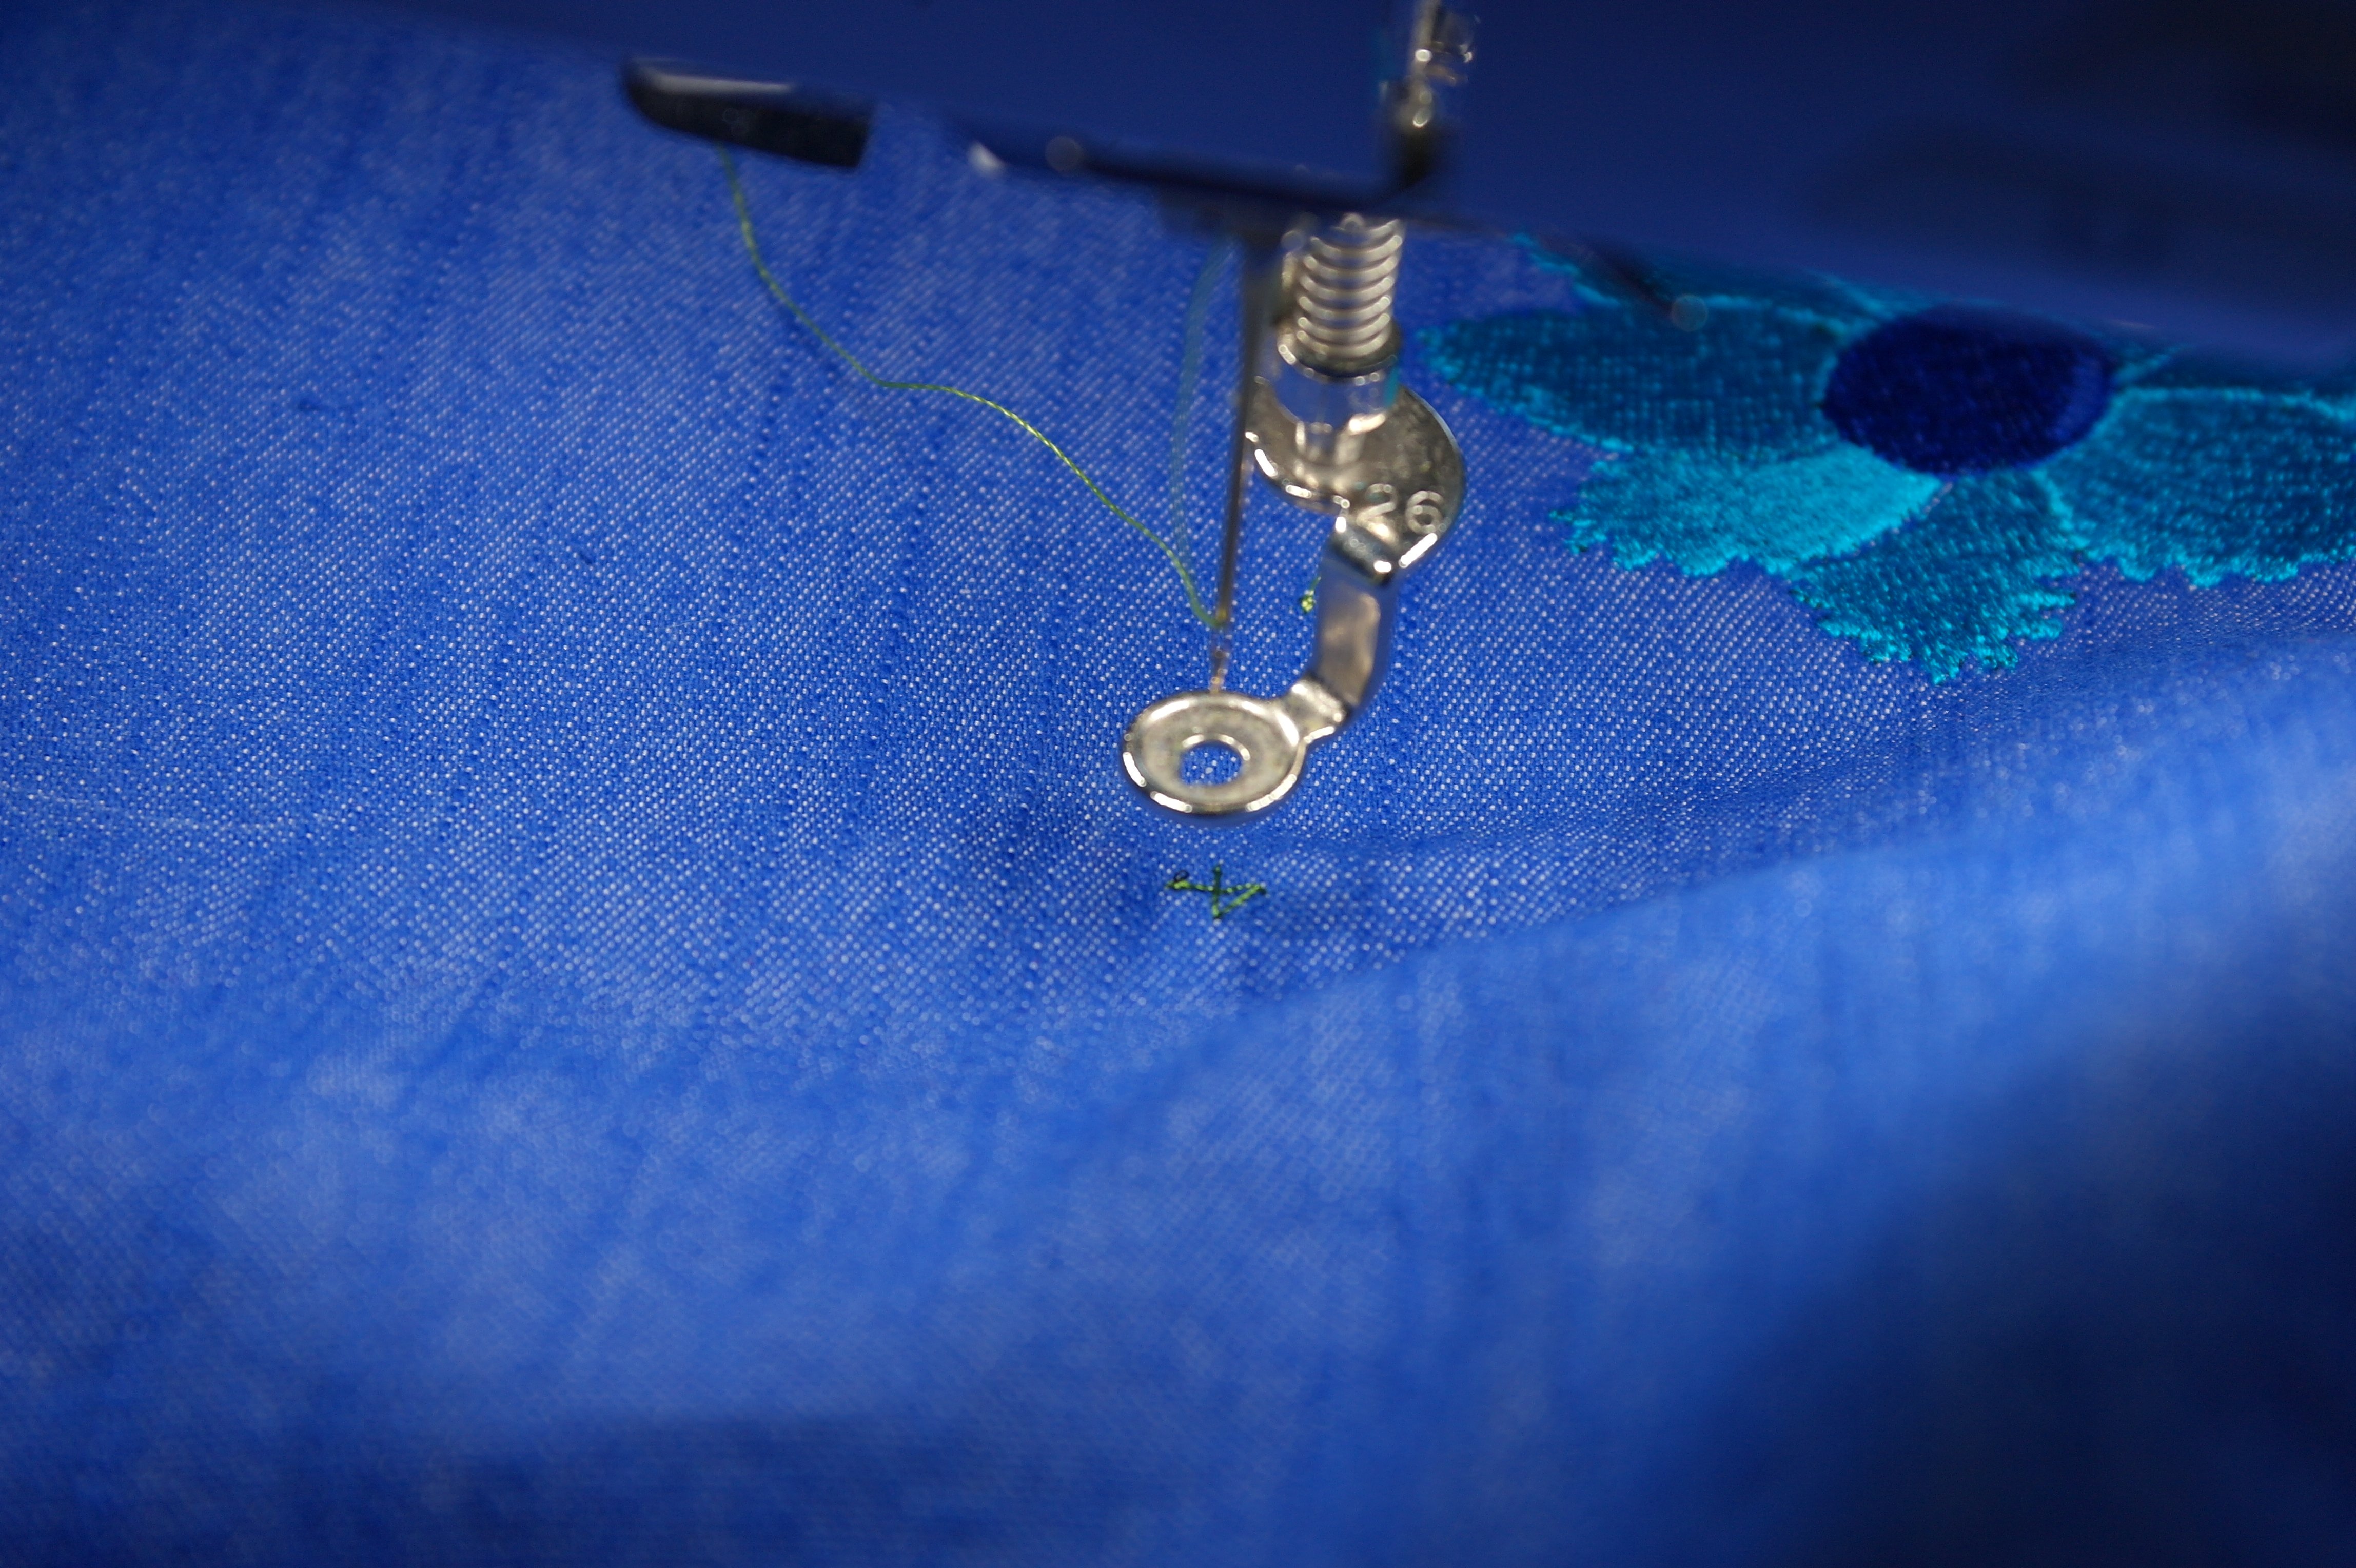
After all objects with the first hooping are done, the machine will stop and tells you to use a contrasting color to make the markings: this was the 5th color with my design. I have used the same color as the last one, but it doesn’t show very well on the denim. So my advise to you: use a bright color thread to be able to see the small cross stitch that will be made, so the placement will be ok for the second hooping.
Positioning for the 2nd hooping.
I have used the second printout for the 2nd hooping. Again, using Filmoplast, removing the top paper layer and making a center mark with the blue water soluble pen, Placing the fabric on top, matching the markings from the embroidery (5th color) and the paper printout – and fingers crossed, because how well you will do this depends on a bit of luck too. Just two makings – one on top and one at the bottom – are perhaps not much, so if you want to be sure the markings will match, add more markings to be able to check placement better.
The center was marked on the Filmoplast in the hoop: now I have used a large pin through the fabric, and through the Filmoplast, to be sure centers are matching. The fabric can be fully placed on top of the Filmoplast, if this is done the right way.
With the hoop already on the embroidery module, the fabric is smoothed on the Filmoplast, until I am happy with placement. Again, finding the center of the embroidery by placing the foot over that center via the screen of my machine, should match it all. Be sure to check if the second markings are ok too – they will by made before the actual embroidery with this 2nd hooping.
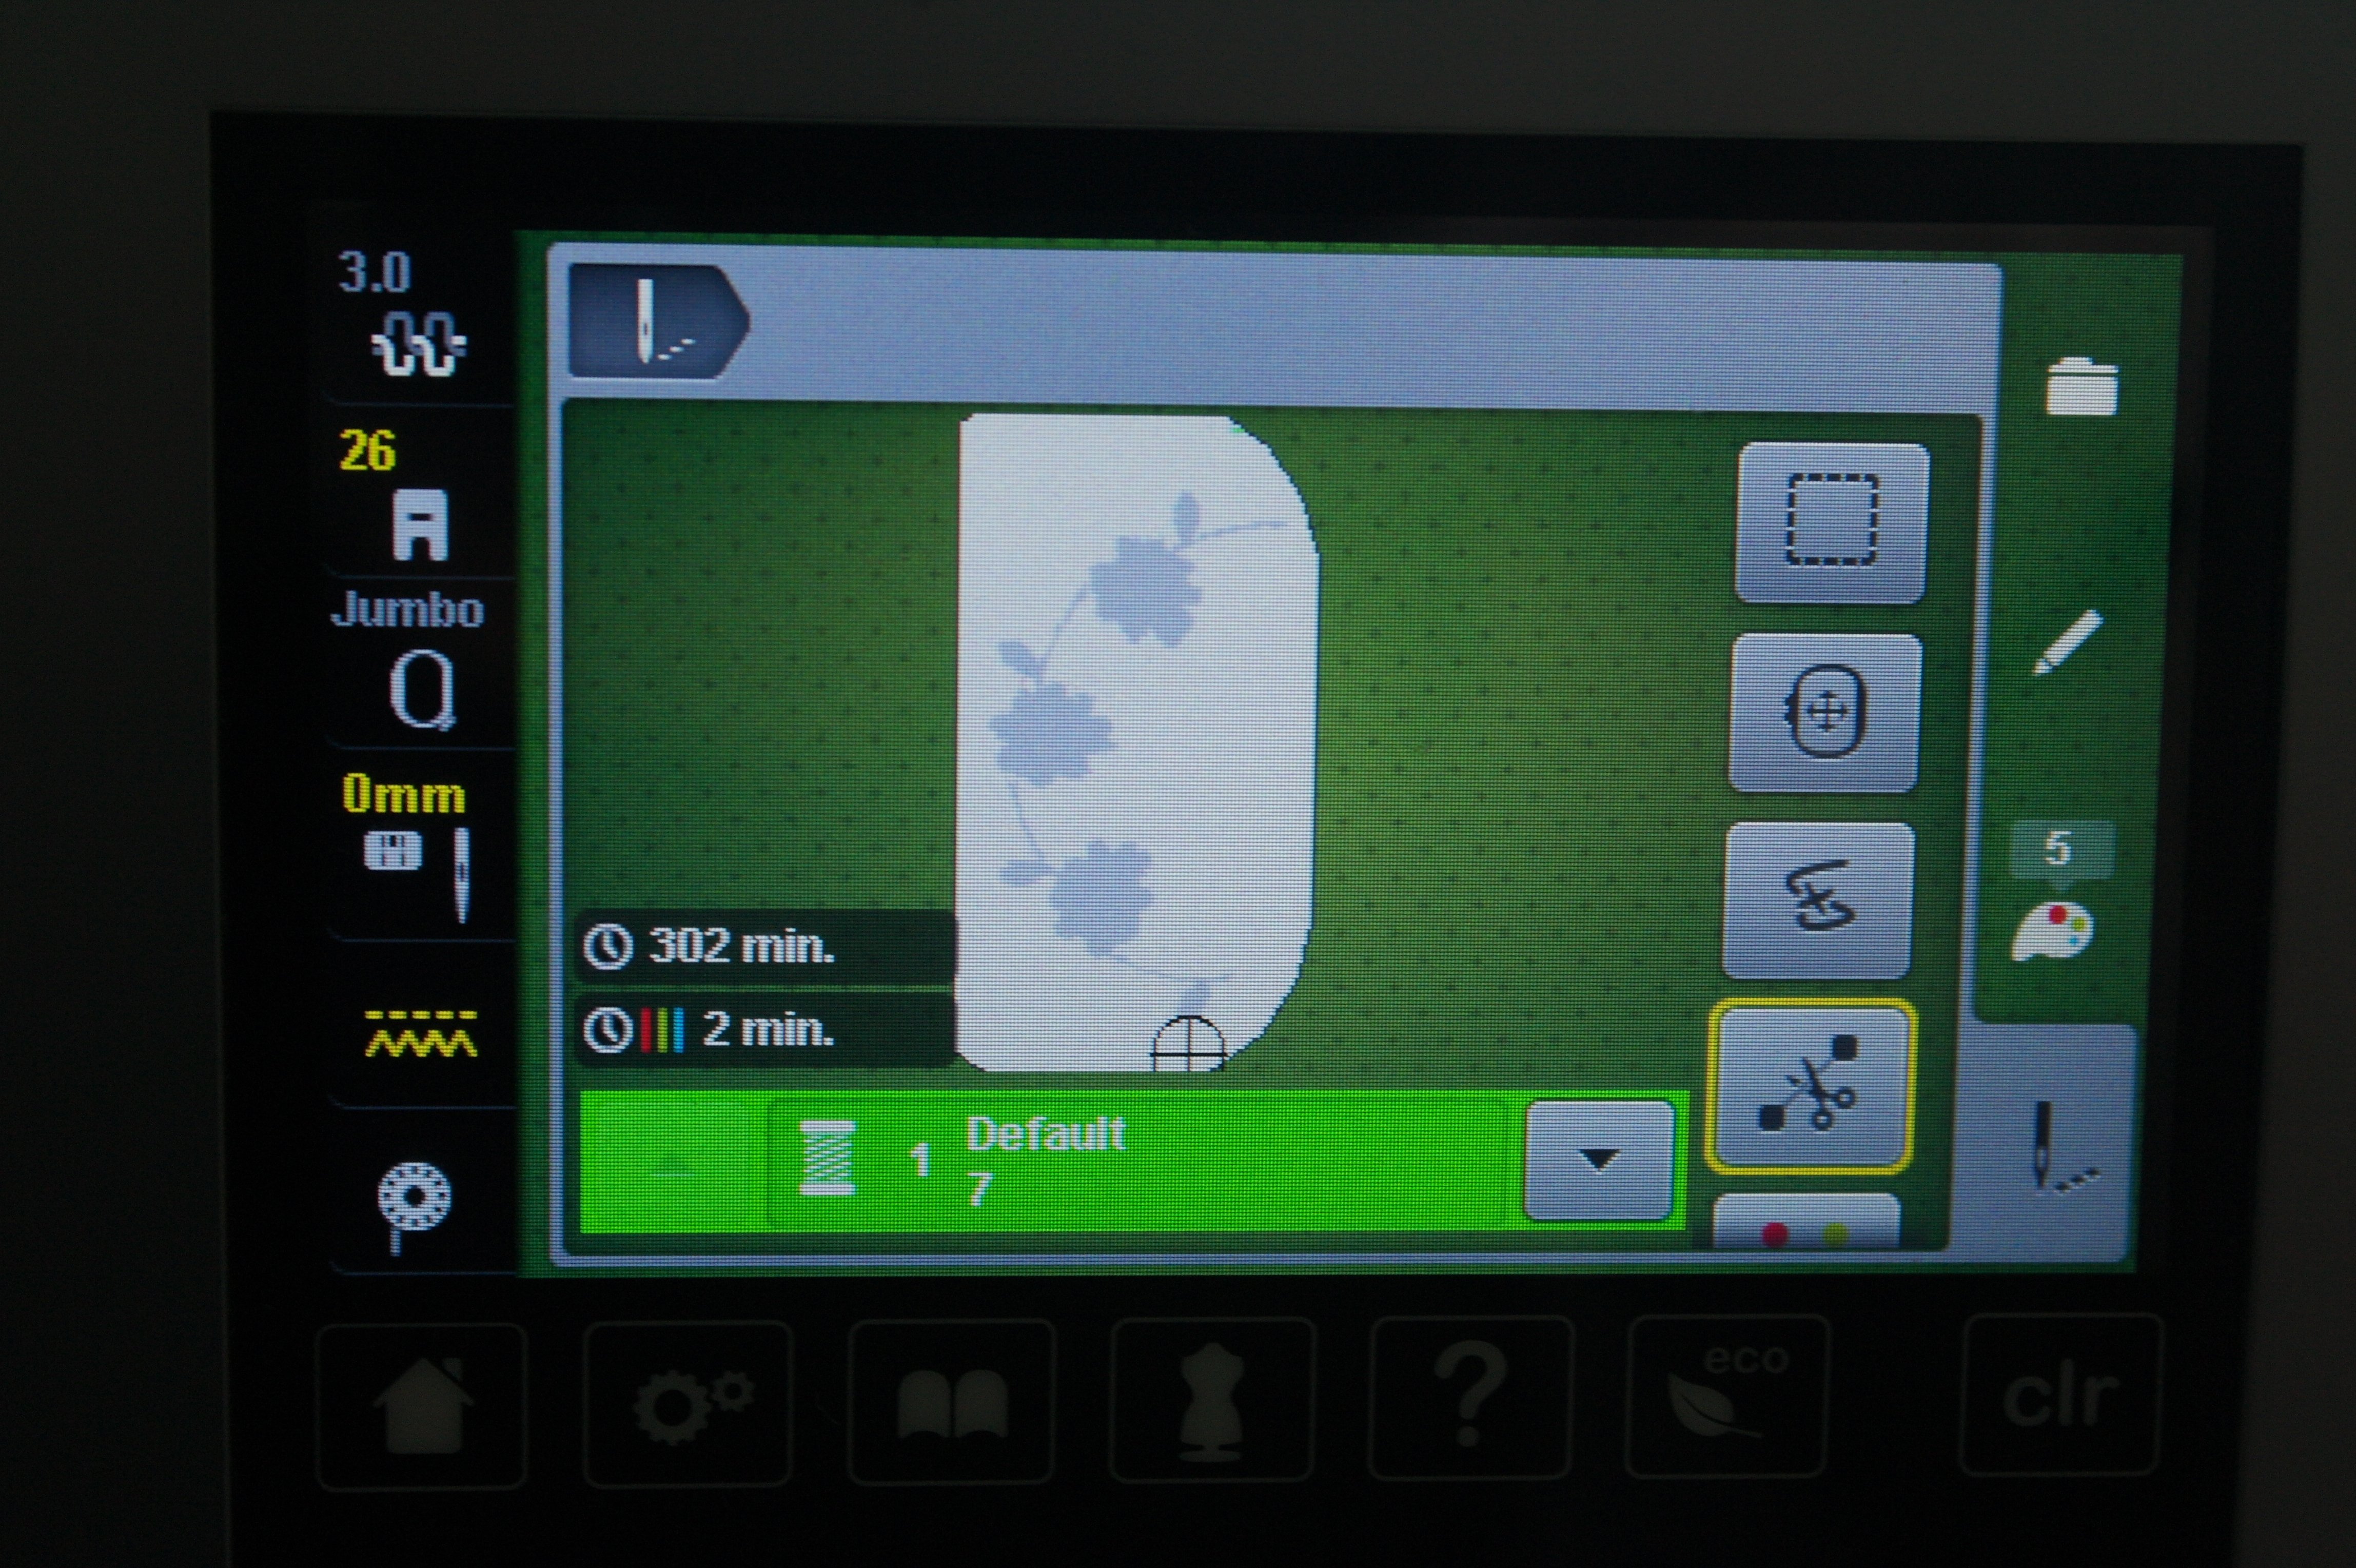
The picture above shows that my machine will make 7 stitches with color 1 = the contrasting color for making markings, not the actual embroidery colors! With each hooping you need markings to match: in V8, you can add markings to your convenience. With the first hooping, your machine will make markings at the end of the embroidery, with each following hooping there will be made markings before the actual embroidery, and after the actual embroidery, until you have hooped the last time, which will give you markings at the beginning, and no markings at the end anymore. Does this makes sense?
My B770qe made the first marking, which will cover the marking that was made with the first hooping. But when I wanted to make the second marking, I saw it was 1 cm off. I have stopped the machine, replaced the fabric carefully (which is very easy because of the Filmoplast), and made the second marking. To do so, I have removed the Jumbo Hoop from my machine, adjusted the fabric with care, and replaced the hoop on my machine. The second marking was made, and after that the rest of the embroidery.
A precise job: not only checking the paper markings, but also the actual markings on you fabric will do the trick. Again, adding markings will make placements easier.
The second part of the wreath.
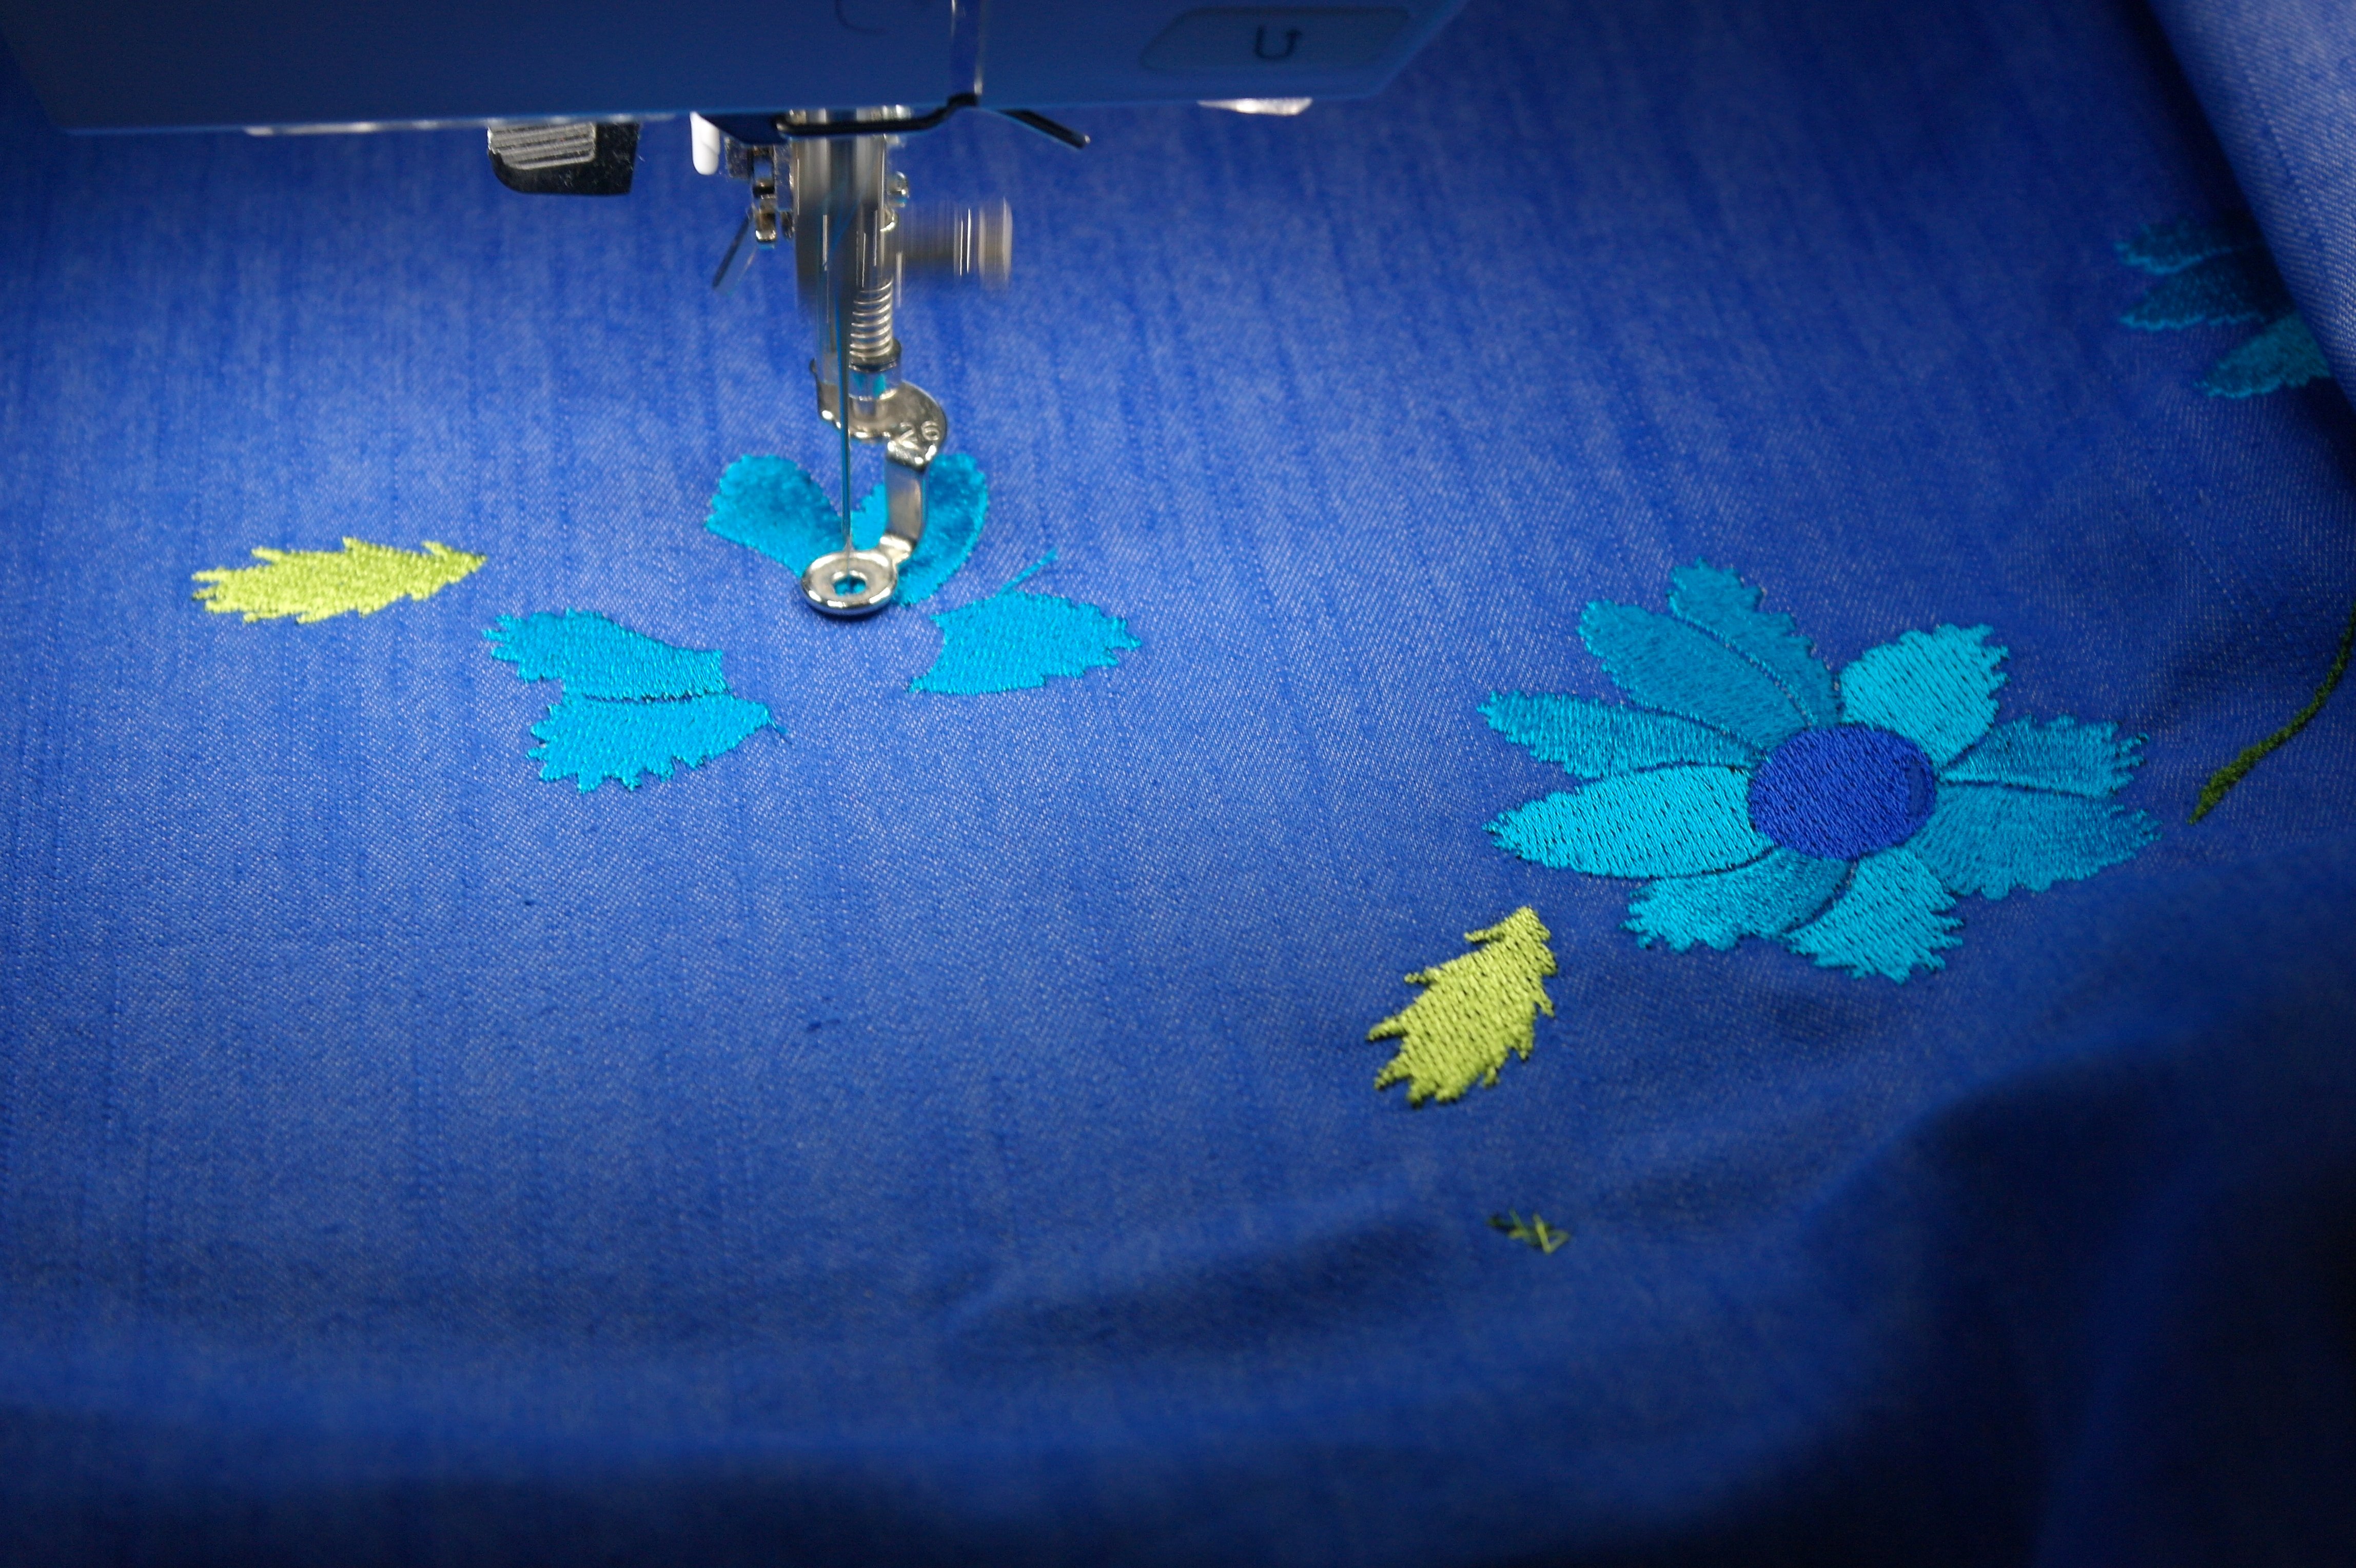
All went well: I love the embroidery. It took some time, because I don’t let the machine work fast. Better to work slow and good, then fast and mistakes are made. But that’s me. You can set your machine to fast if you want to. The exciting part will be if the markings will match.
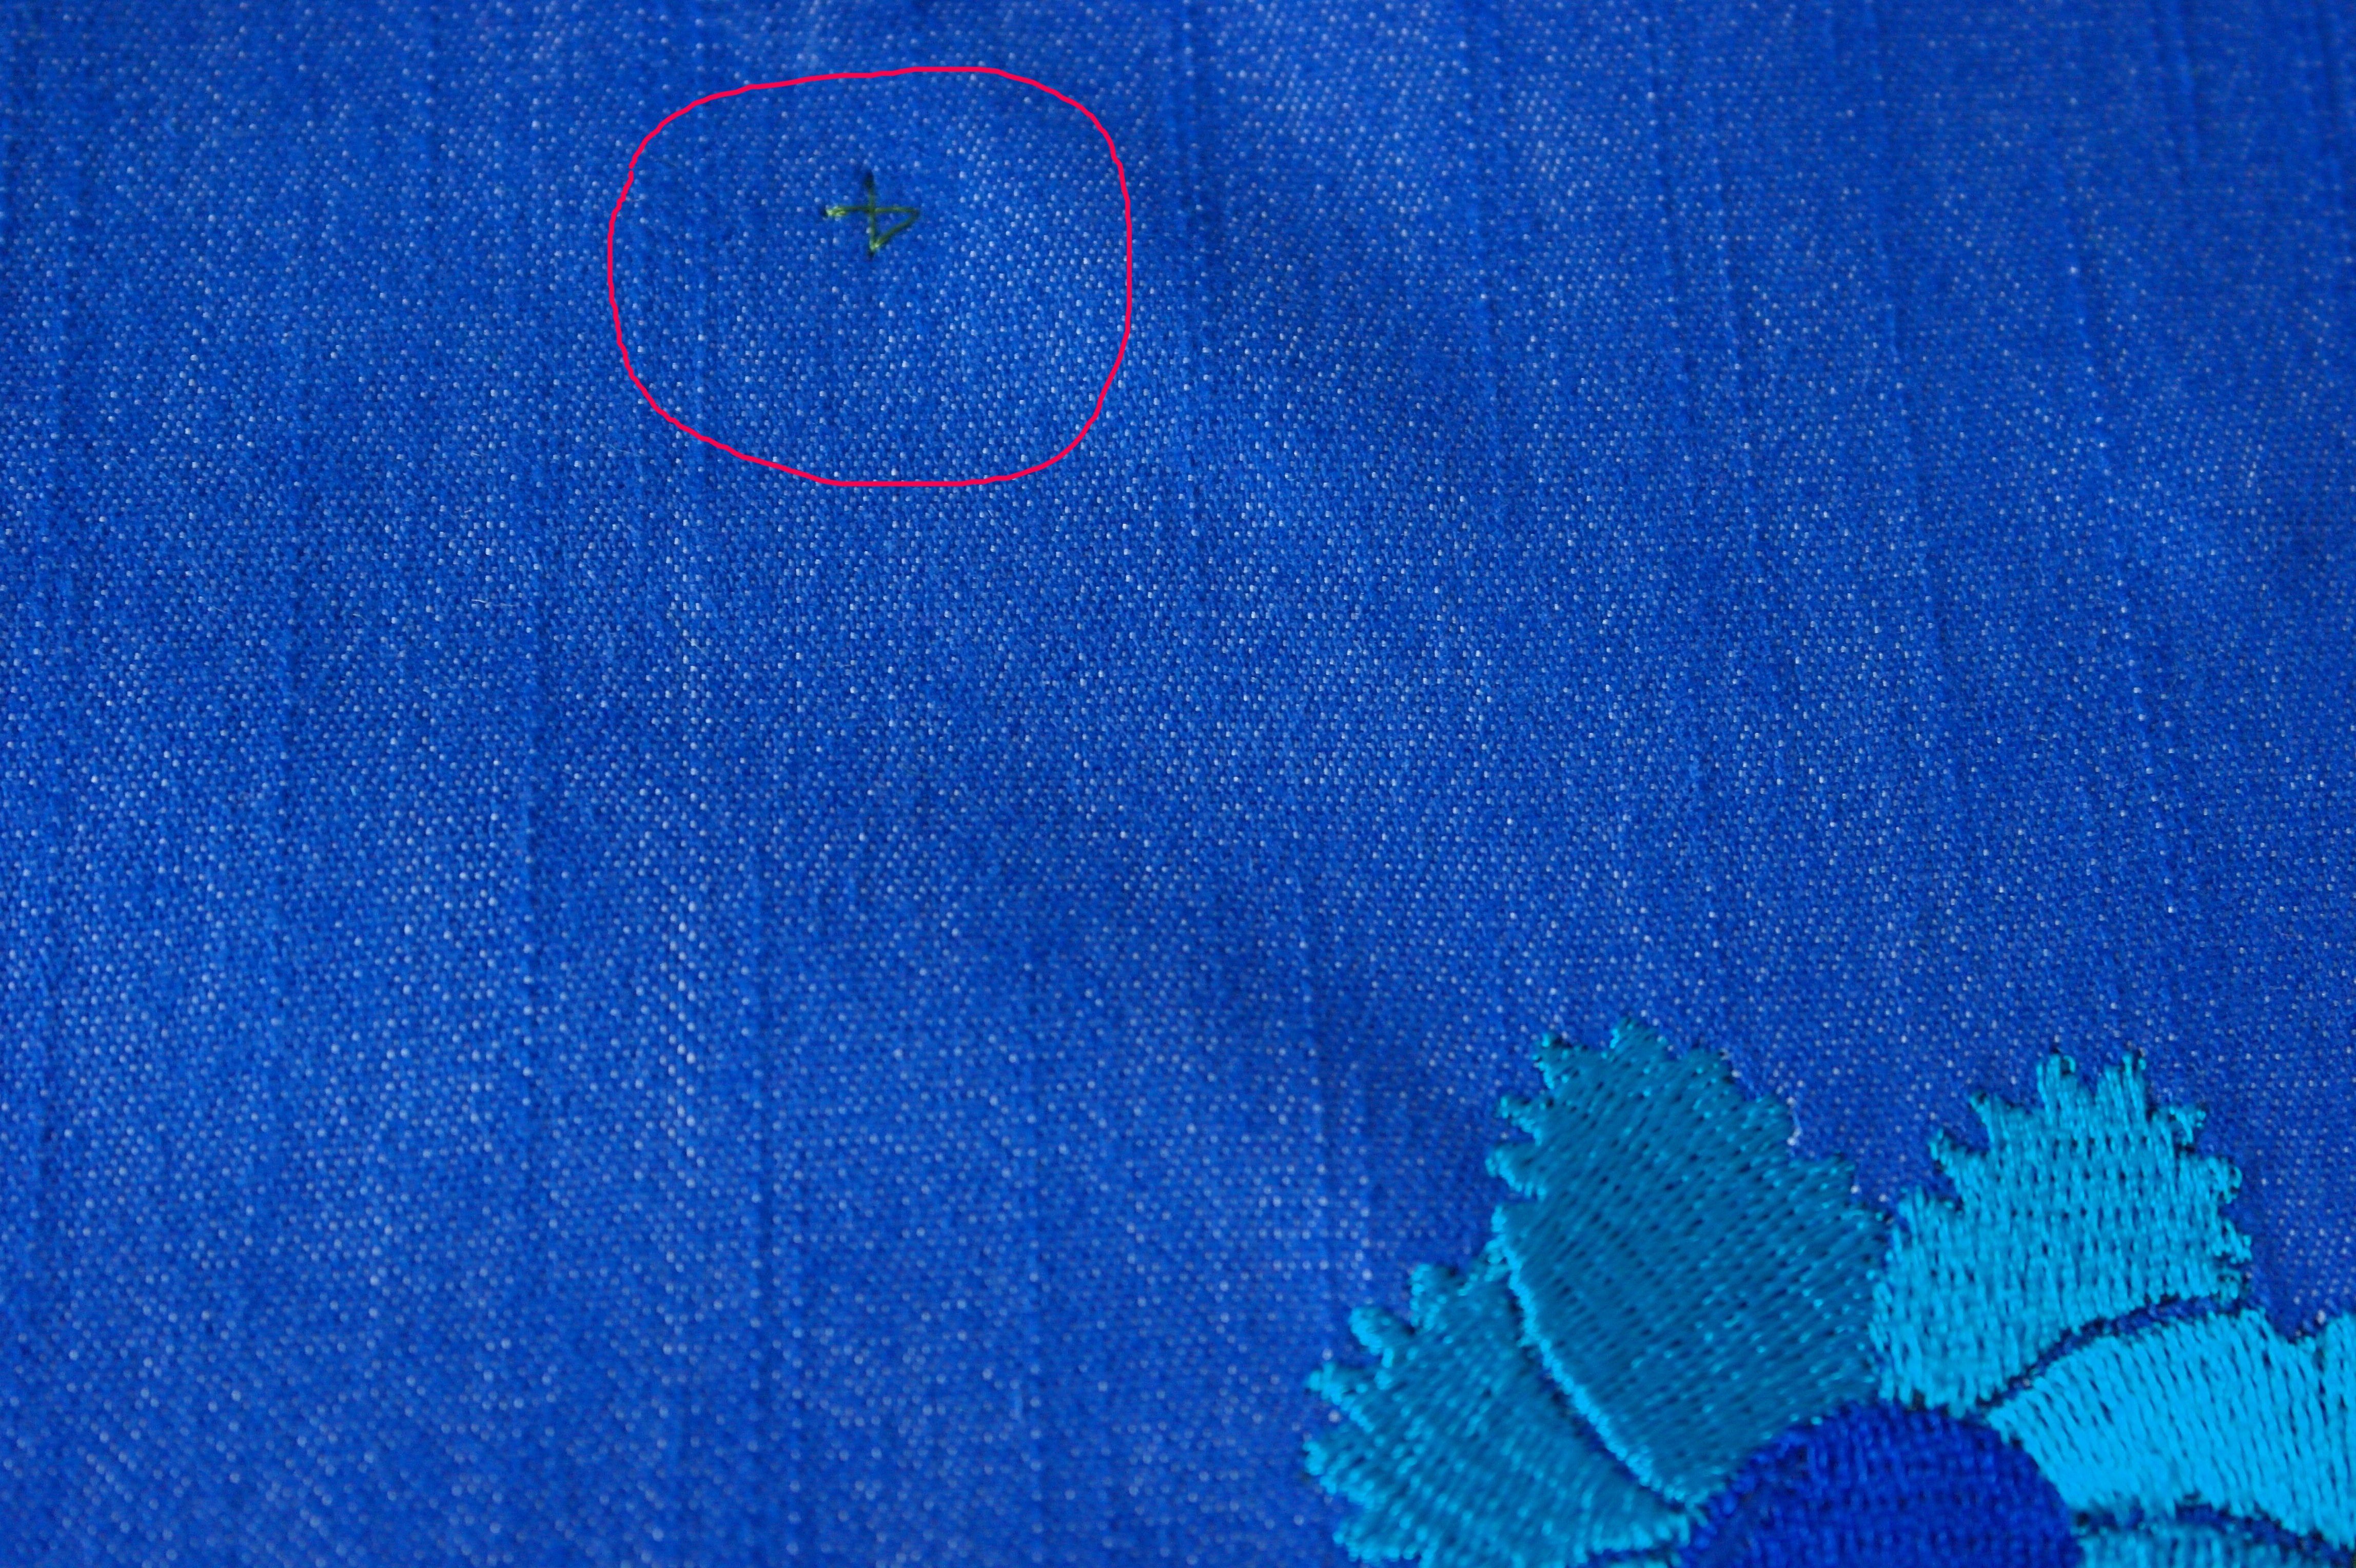
The result.
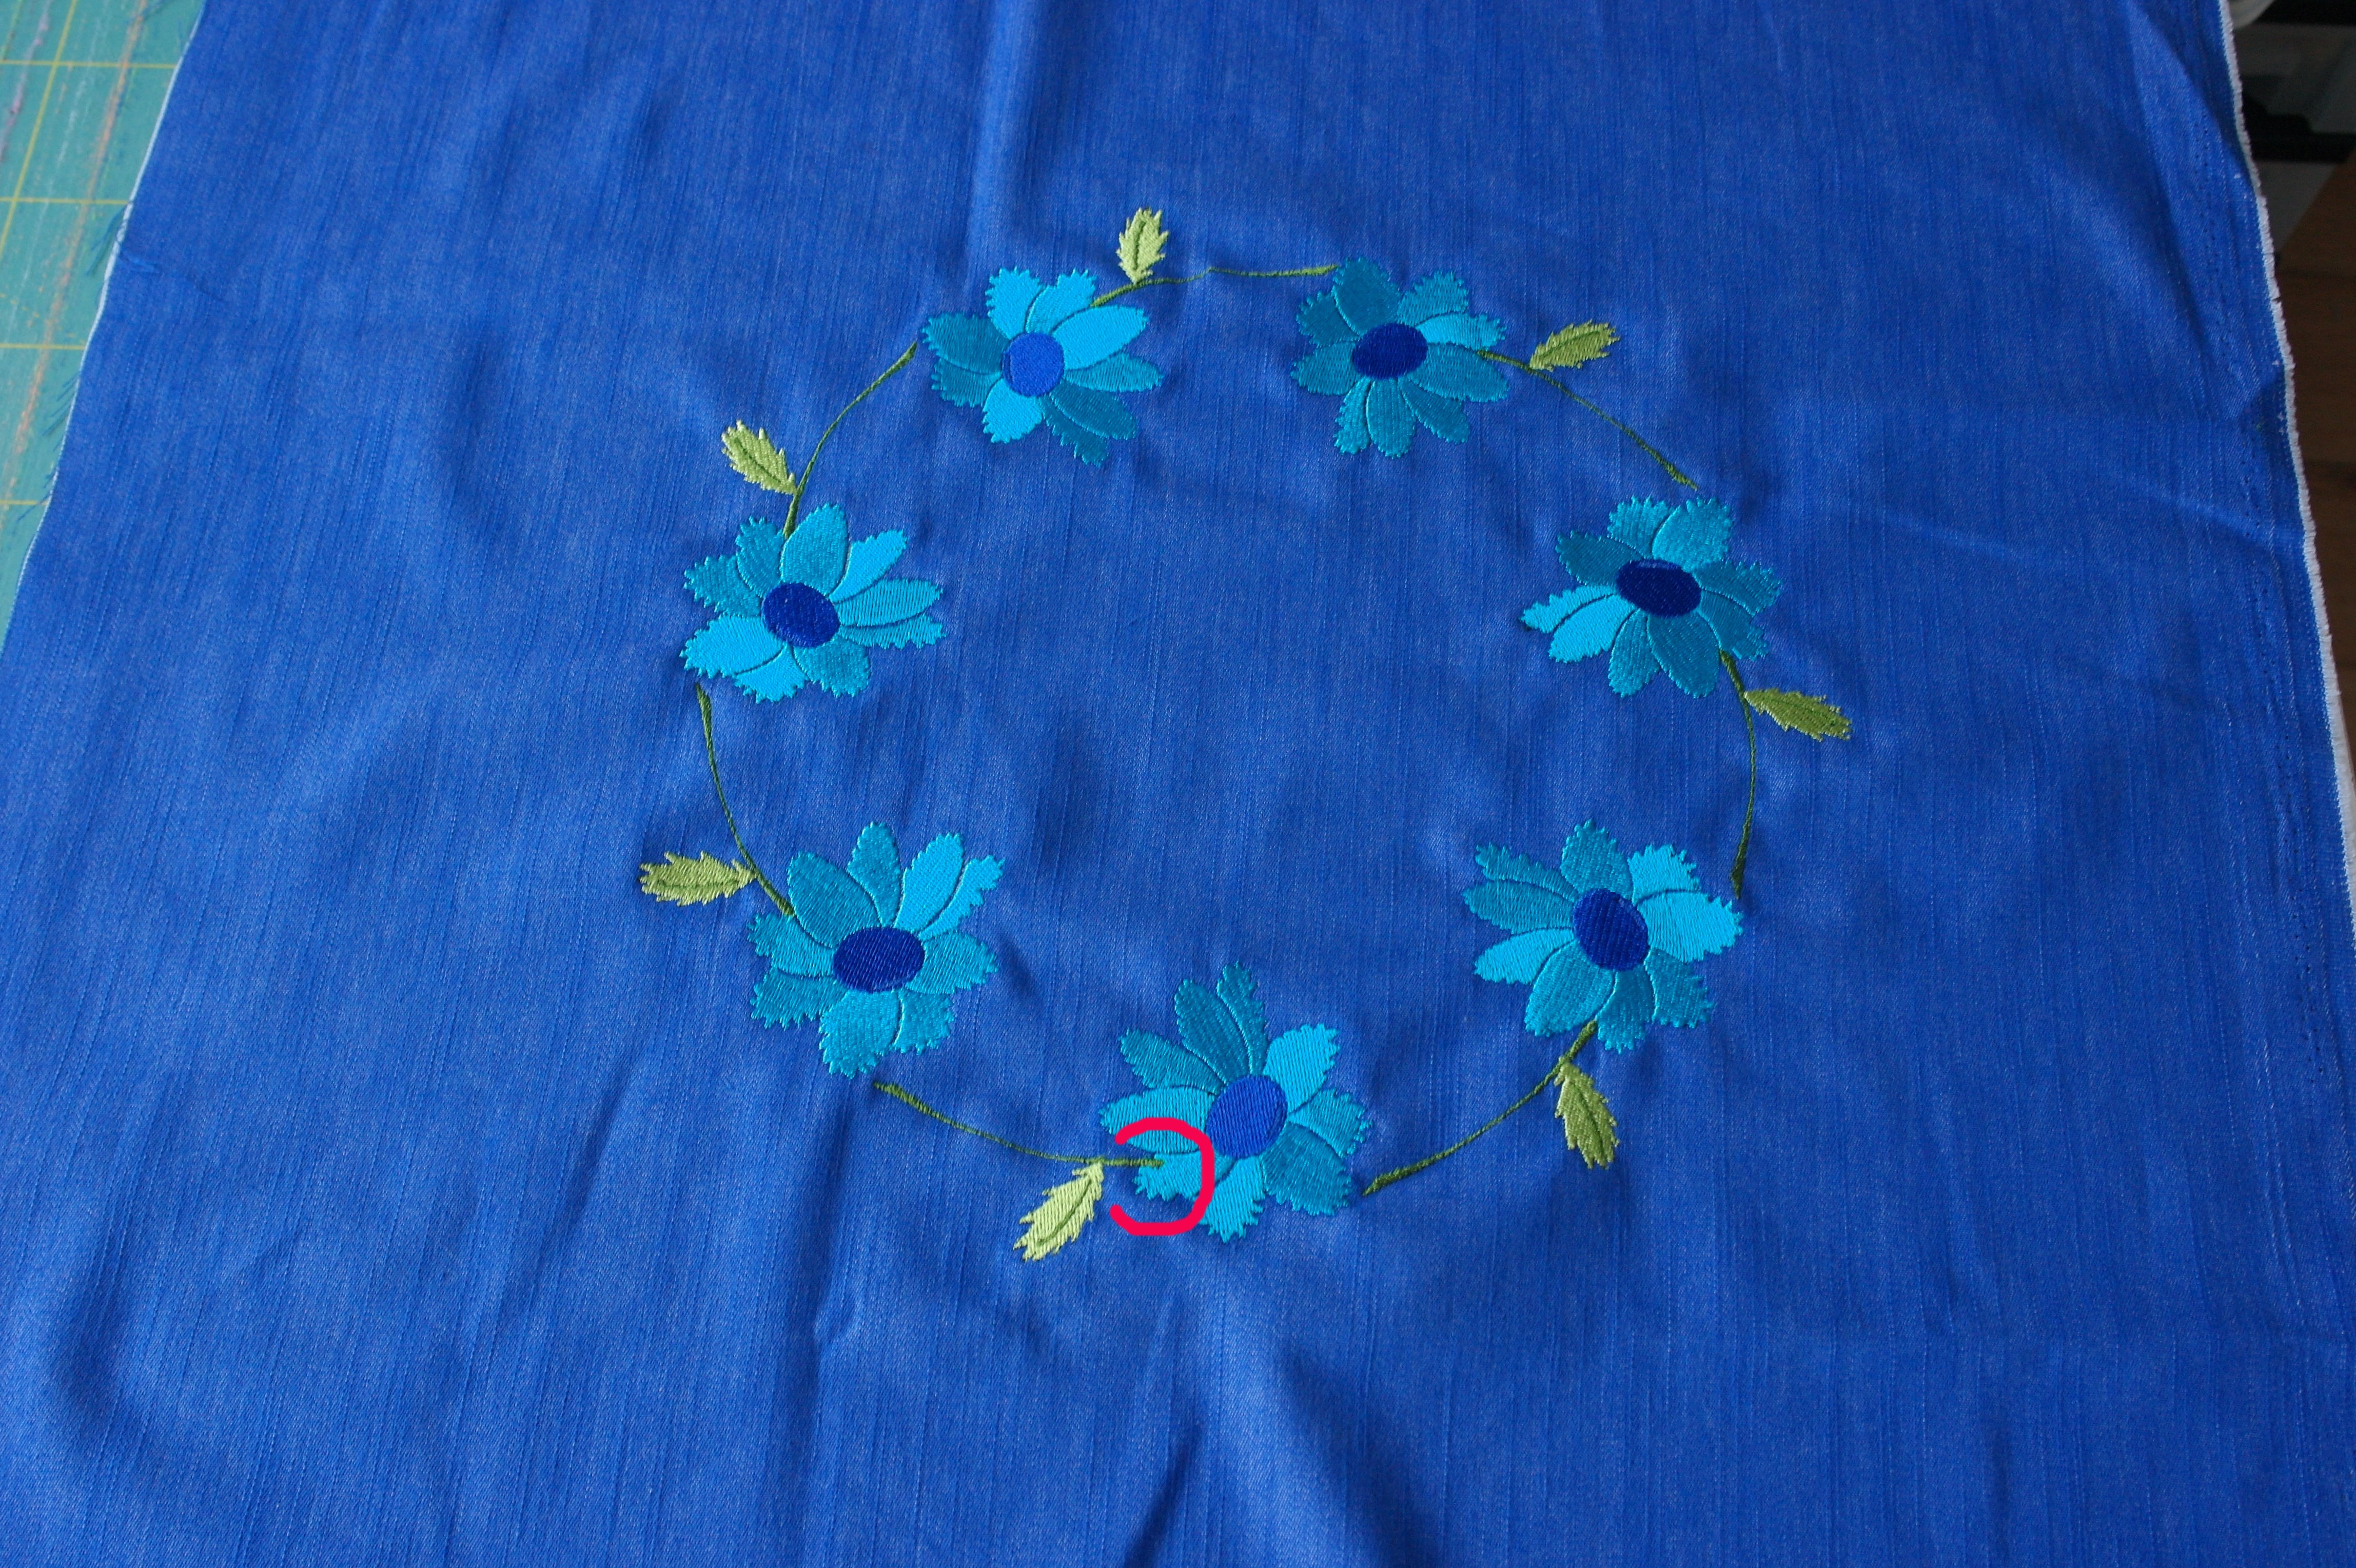
It went well and is almost perfect: I will quilt this to make a pillow cover. I have drawn a red circle on the picture (not on the actual embroidery) on the spot where the stem did not met the petals of the flower exactly, but it was just fine. With quilting, I can add more details, to cover such a small unevenness. It is always good to remember that you can add more details with your embroidery: either by hand or by freehand/machine, to emphasize effects or to cover small mistakes.
My choice of design – which I made via V8 – was not too difficult with Multi-Hooping. If you are working with a more detailed embroidery, which is too large for one hooping, try to split it or simplify it. And build up your skills: your first Multi-Hooping will be more difficult than the second, third or fourth. The more you use this option for making large designs, the better you will get at it.
Splitting up your design will still need as less hoopings as possible. You won’t like it when a relative small design needs 4 hoopings, but if that gives you a better chance of matching markings, why not? But remember: it is better to change settings, objects or even add something in the V8 software than having to change things while embroidery it.
Next time I will have another subject on request: see you then!
Sylvia Kaptein
Sylvia’s Art Quilts Studio


0 Responses