 BERNINA Corporate Blog -
Due to high demand: a lesson about shade effect inV8. Sometimes you want extra effect with text and designs by placing a shadow behind or under the original objects. A number of V8 users were asking me to devote as lesson to this subject, and of course I respond to that request.
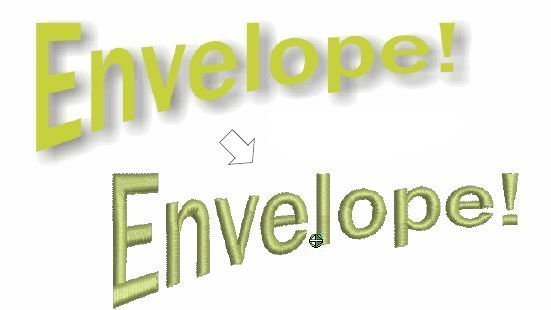
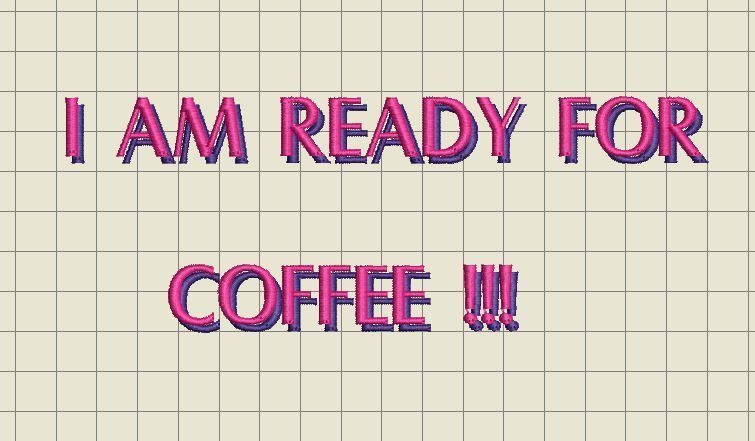
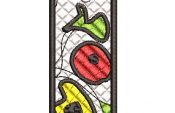
If you want to convert text and drawings from Artwork Canvas to Embroidery Canvas, V8 will digitize it all automatically, but cannot convert shadows. They are not recognized by the software, as you can see with the example above. So how can you add shade to your designs? There are a couple of options, which I will show here.
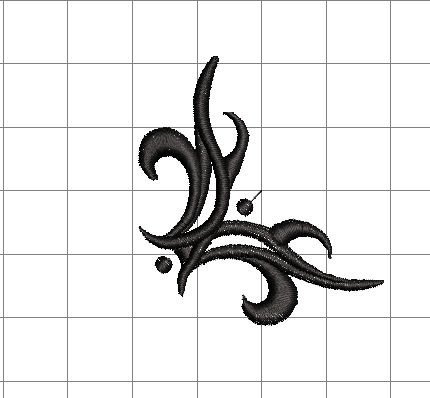
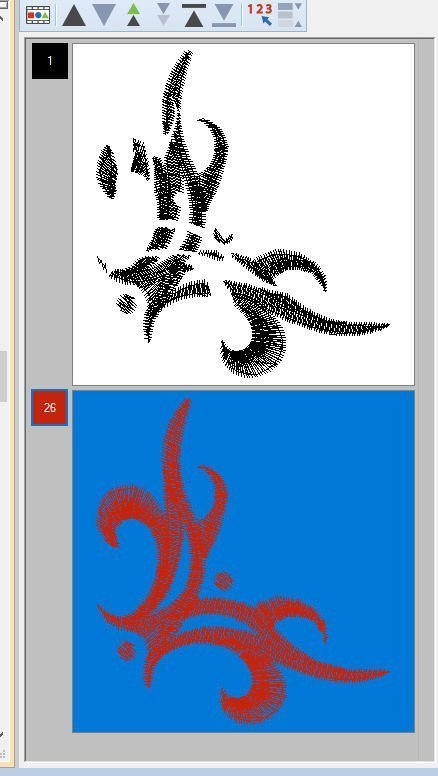
Design an embroider object, or place a ready-made (simple) object on the workspace of Embroidery Canvas. I have opened the Embroidery Library and choose ‘Tribal2’, which can be found with ‘Decorative Accents’.

I have selected and copied this design, and placed them next to each other: click and drag the second one – which is placed on top of the first – to a new position. Now there are two on my workspace.
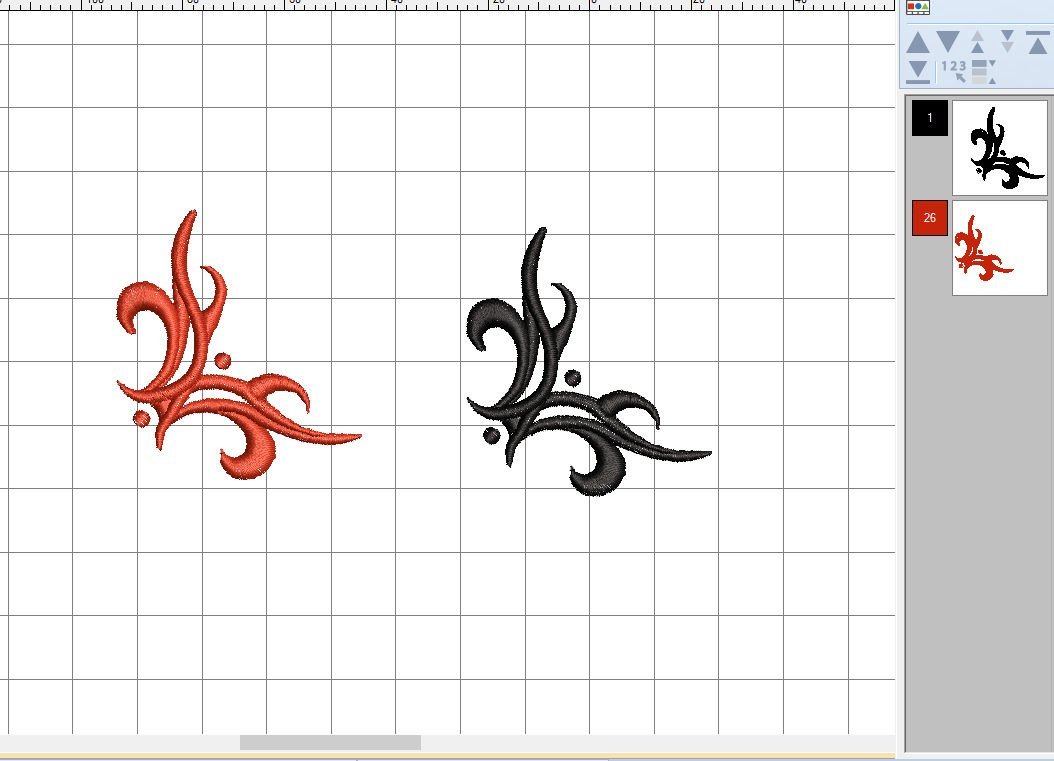
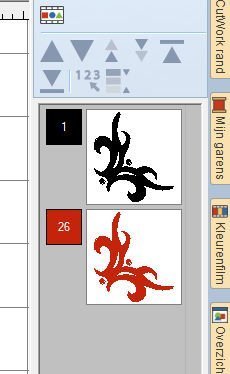
I have changed the color of the second one, while still selecting. Opened the docker ‘Color Film’ and two boxes are shown: the 1st = black, the 2nd – red.

After this, I have selected the red design, clicked and dragged it over the black design, still having both designs visible. It is a matter of choice, how to place them ‘on top of each other’. Now – doesn’t this looks like the red design has its own shadow now?
This is how I want to embroidery them, but I don’t want to have my B770QE make all stitches. The ones on the bottom = black design, contain too much stitches, because they will be covered with the red design, and that will give too much bulk if I will have them embroidered as they are.

So I will use ‘Remove Overlaps’, by selecting the red design, and using the mentioned option with the left toolbar ‘Toolboxes’, ‘Edit’. You can draw a marquee around the red design, but you will most certainly get parts of the black design too. Best way is to click the box in ‘Color Film’, to select just that design.
After ‘Remove Overlaps’ you can see that the black design has gaps, which means V8 had removed those parts, because you don’t need them. This will change the amount of stitches and cuts. But don’t think that this will SAVE stitches: sometimes – as it was in this case – it will add stitches. That’s because the edges of the separate parts of the black design contain more stitches to neatly finish the edges. But it will certainly improve your stitching.
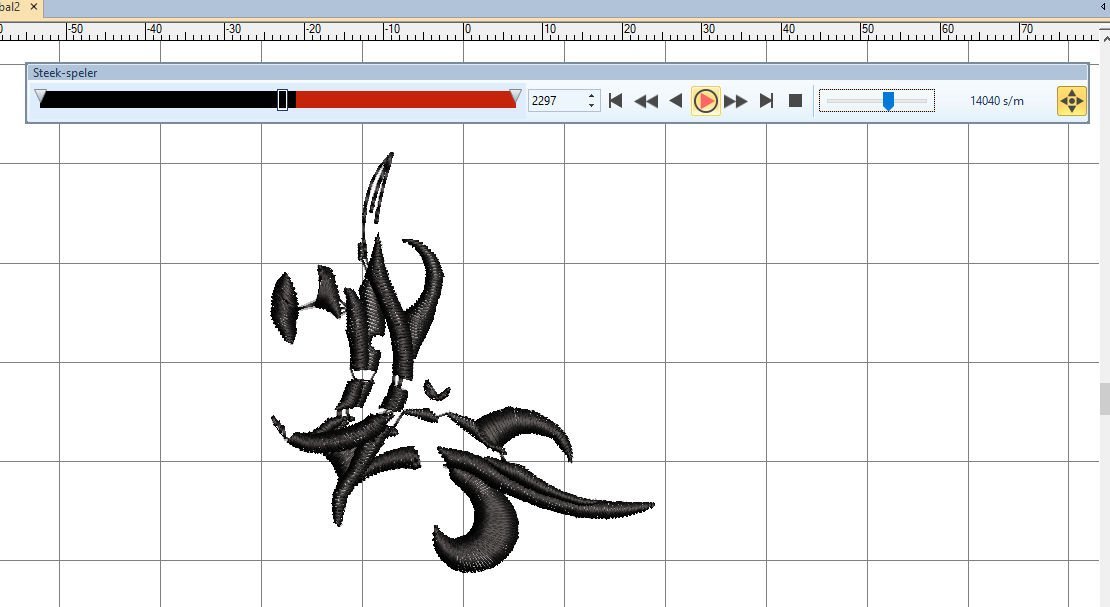
Via ‘Stitch Player’ you can check if all is done well. Use this option always: to be sure you don’t have to change something before embroidery.
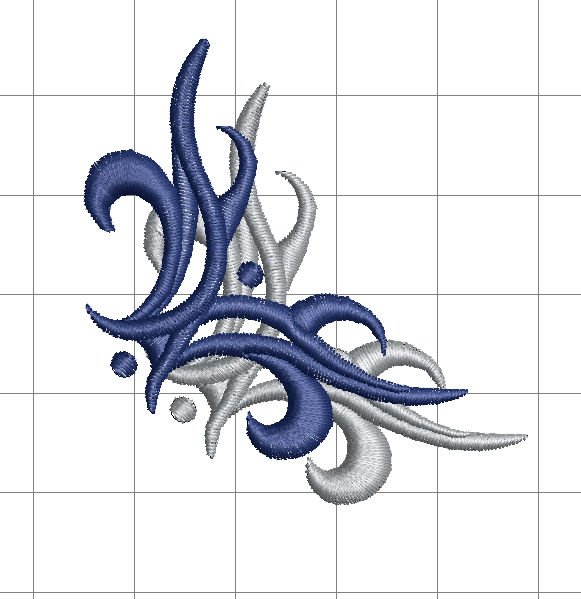
If you want to change dark and light, change colors to see the effect in advance. With the picture above, I have made the ‘shadow’ lighter, which looks great to me too.
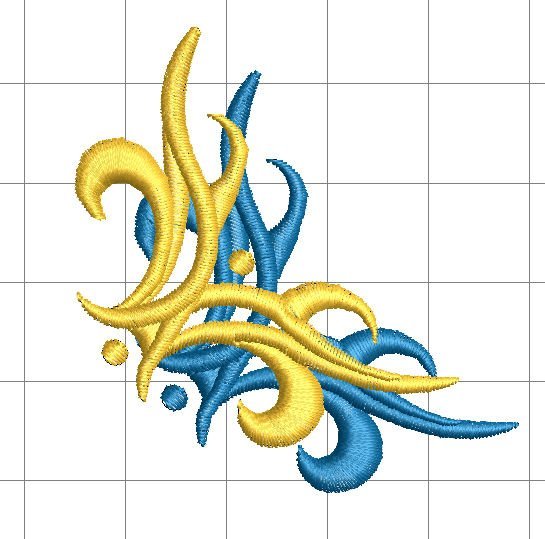
Or, increase the contrast: yellow on top, blue below… possibilities are endless.
But what about words/letters?
Actually the same, up to a certain point. Make a word or sentence, copy and paste it. Drag the copy to the side, so you can see the sentence twice. Change colors with the copy, and check ‘Color Film’ if there are two boxes. Click and drag the sentence you want on top over the sentence which will be the shadow. But remember: if you leave it this way, you will have it made twice, probably with a lot of bulk. How to remove overlaps? The usual way doesn’t work with Lettering.

To remove overlaps, user MARIAN Z. gave me this example: “with words you can remove overlaps too. Change the stitches of words and letters, or sentences from Step Fill/Stitches into Satin Fill/Stitches. Split (Bread Apart = Toolboxes, Edit) both layers, meaning you will have to be able to change per letter/character. Repeat this until all is split and can be edited seperately. Now you can use the option ‘Remove Overlaps’
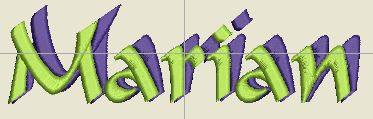
After editing, you can change the stitches back to the original Satin Stitches’. Thanks Marian Z. Now we can edit some more.
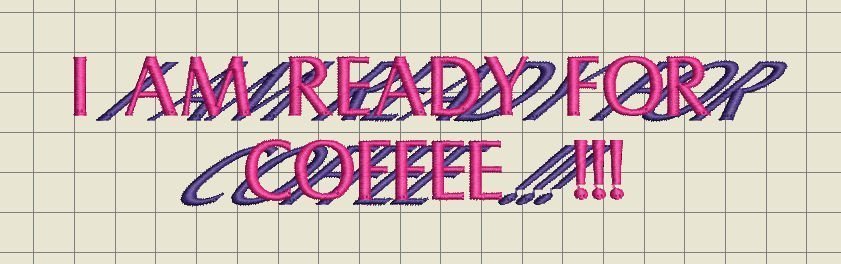
How about skewing the shadow? Click the box with the dark = first sentence to select is, then use the icon ‘Skew’ and fill out a number (50), then use ‘Enter’. The dark words are looking like a real shadow now.
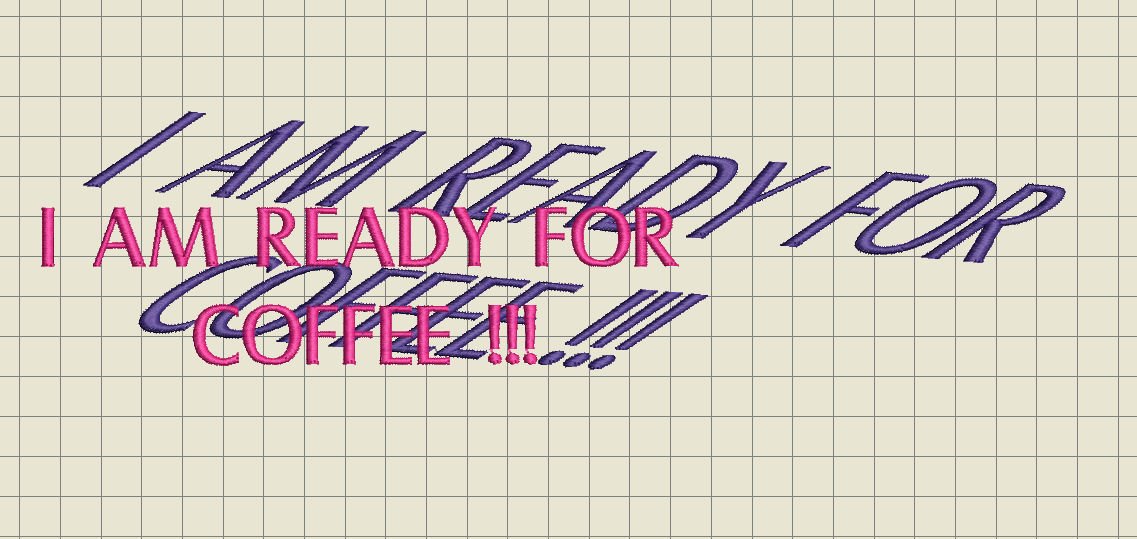
You can select the shadow of the entire sentence (click the box in Color Film), or separate letters/characters and change the position via ‘Reshape’, or enlarge the shadow and skew it even more, like the words are lying flat on a surface. This gives your embroidery a dramatic effect. It is really fun to play with all possibilities.
Next time something else: again, a request form users. See you then!
Happy Stitching
Sylvia Kaptein
www.sylviasartquilts.nl

Hi Nisha and Ann,
Happy you like it: it amazes me too there is still so much new and intersting to discover in V8. And because of questions and requests of users, this BERNINA blog will be filled with more topics
Have Fun
Sylvia
Love it