 BERNINA Corporate Blog -
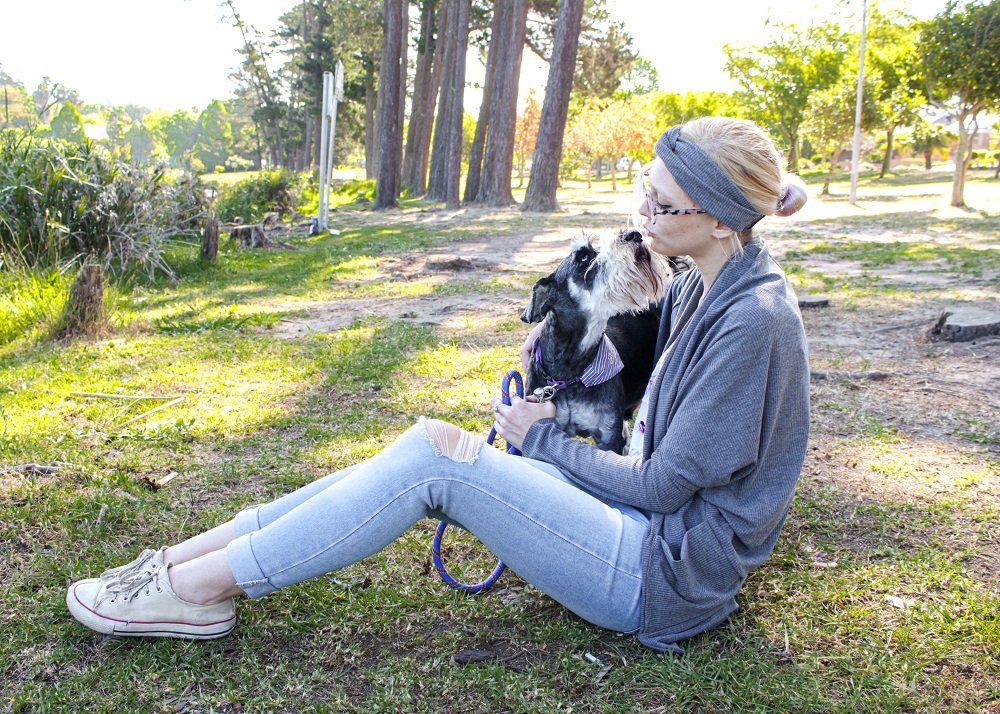
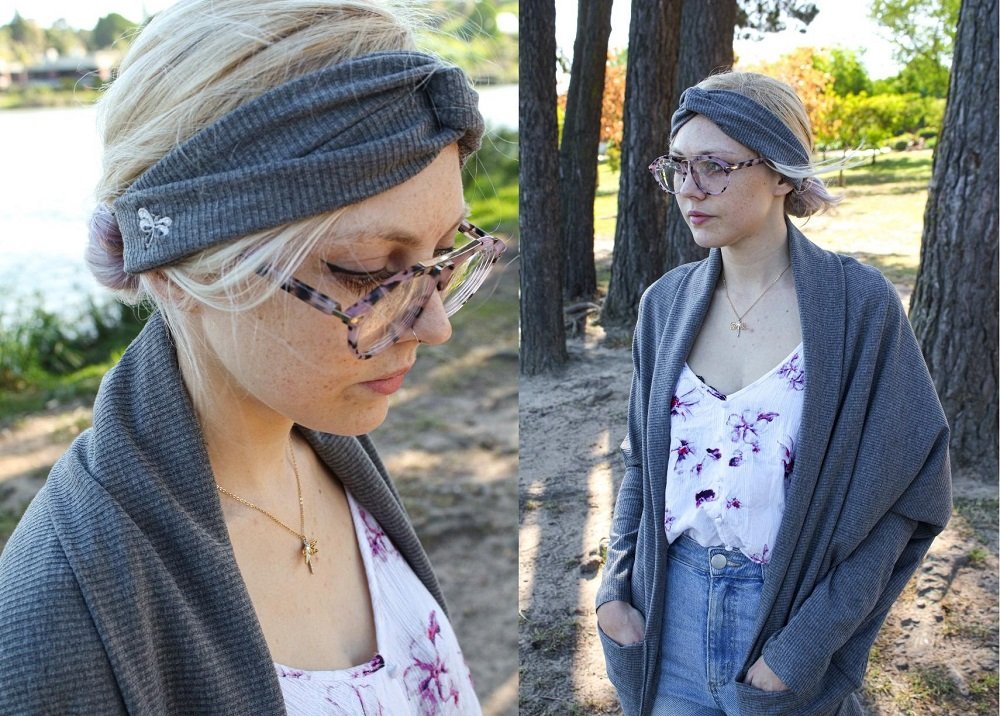
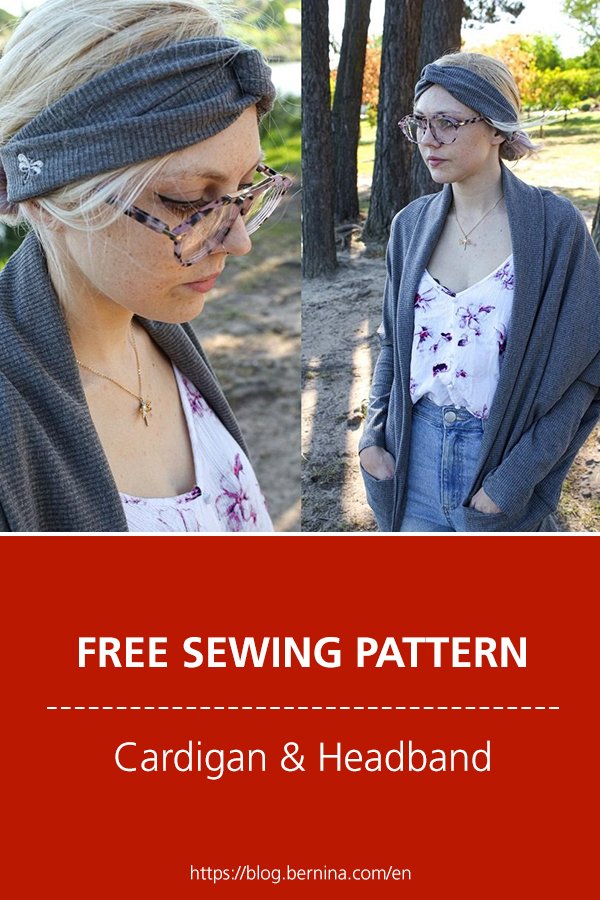
I recently came across a beautiful crochet cardigan pattern and was inspired to design a zero waste sewing pattern.
Crochet and knitting can be a great sustainable way of creating garments as they produce minimal wastage and can also use up bits of wool, further reducing fashion’s impact on the environment.
However, when making clothes out of fabric we can also be sustainable if we are thoughtful in how we cut out the fabric. There are ways to create minimal fabric waste simply by the way we lay out our pattern pieces. Even better, we can create no waste by using zero waste patterns! This means that there are no off cuts!
What will be needed:
- Sewing machine
- Overlocker
- Embroidery Module (Optional)
- Pattern Guide: Zero Waste Cocoon and Headband Pattern
- 1.5m knit fabric
- 25cm elastic (5cm wide)
Pattern
You can download my free Pattern guide as reference: Zero Waste Cocoon and Headband Pattern
I have supplied two options depending on your fabric width.
Fabric that is 150cm is preferable, however due to the technique to create the rib, my fabric was 140cm wide.
Therefore, I have also provided the adapted pattern I used in the downloadable guide.
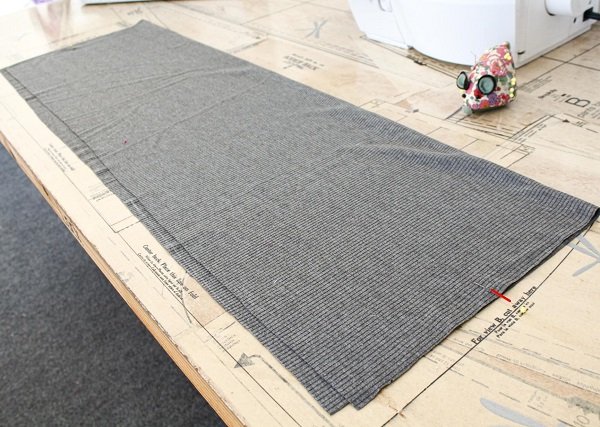
Here is an idea of how my pattern looked laid out on my fabric.

Steps
Making the Body and attaching the sleeves
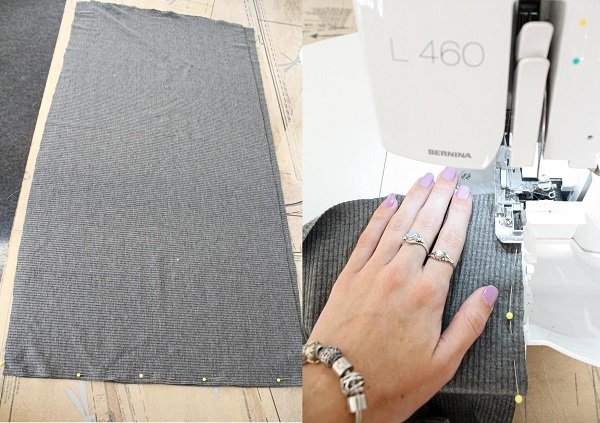
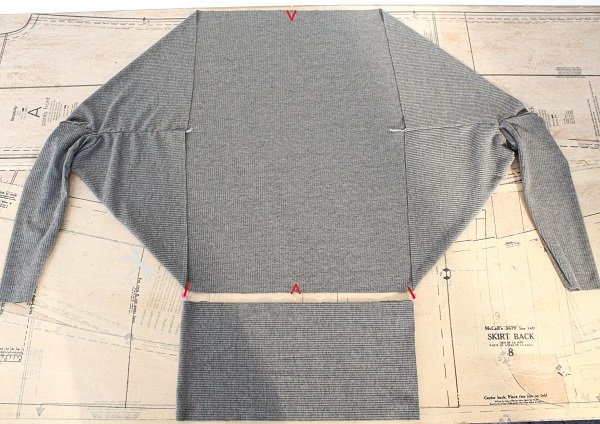
- Fold the Body piece in half lengthwise with right sides together.
Mark 20cm down from the fold.
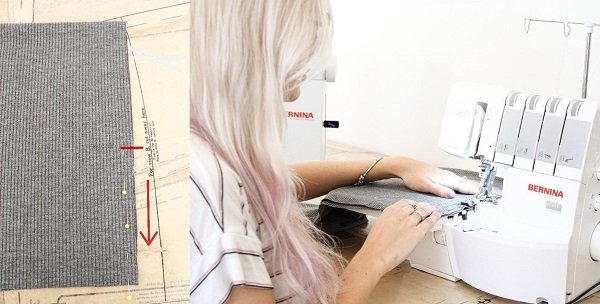
- Overlock from the marks down the seam.
Repeat for the other armhole.
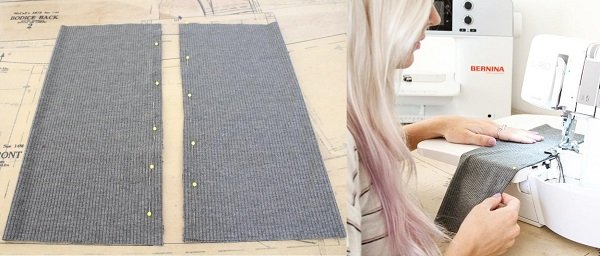
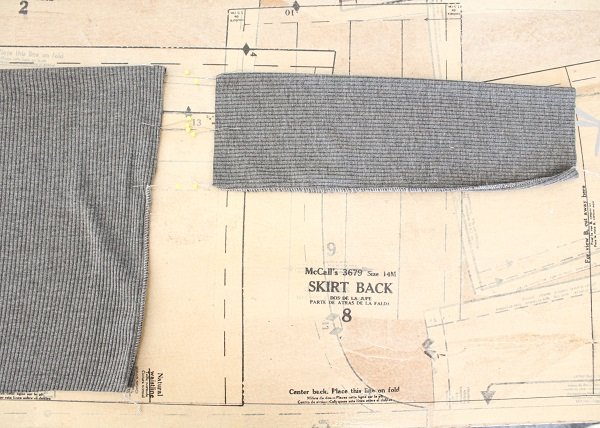
- Fold the Sleeve pieces in half lengthwise with right sides together.
Overlock along the seam.

- Try on the Body of the cardigan and put a sleeve on your arm.
Assess the sleeve length based on the width of the cardigan Body.
You have 2 options for the sleeve length.
I went with option A.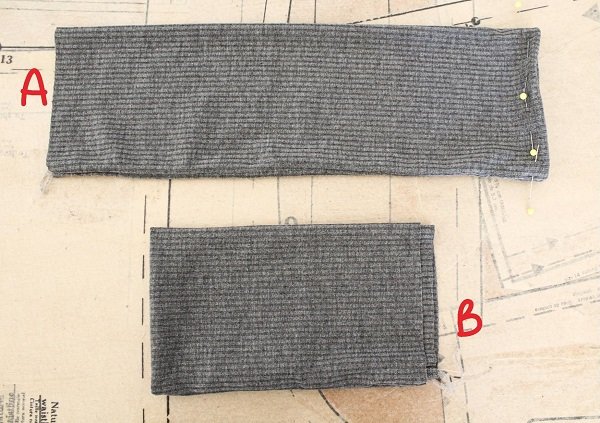
- Option A: Depending on the type of fabric you chose, you can either leave the edge of the sleeve raw or fold the edge up 1.5cm and secure in place with a row of zig zag stitches.
Option B: Fold the sleeve in half, hiding the overlocked seam inside the tube.
- Divide the raw opening of the Sleeves into 4.
Divide the armhole openings in the Body into 4.
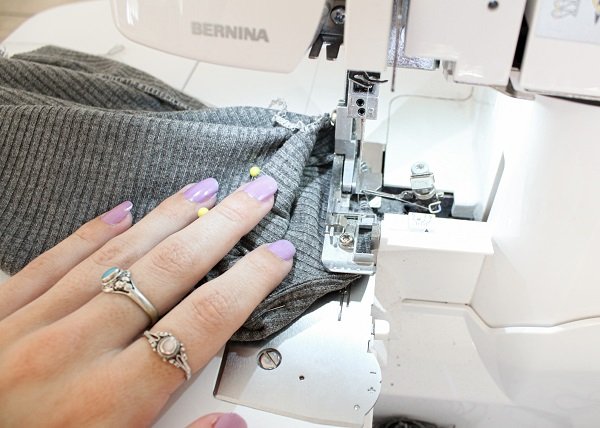
- Match up the marks on the Sleeves and Body and overlock together (right sides together).
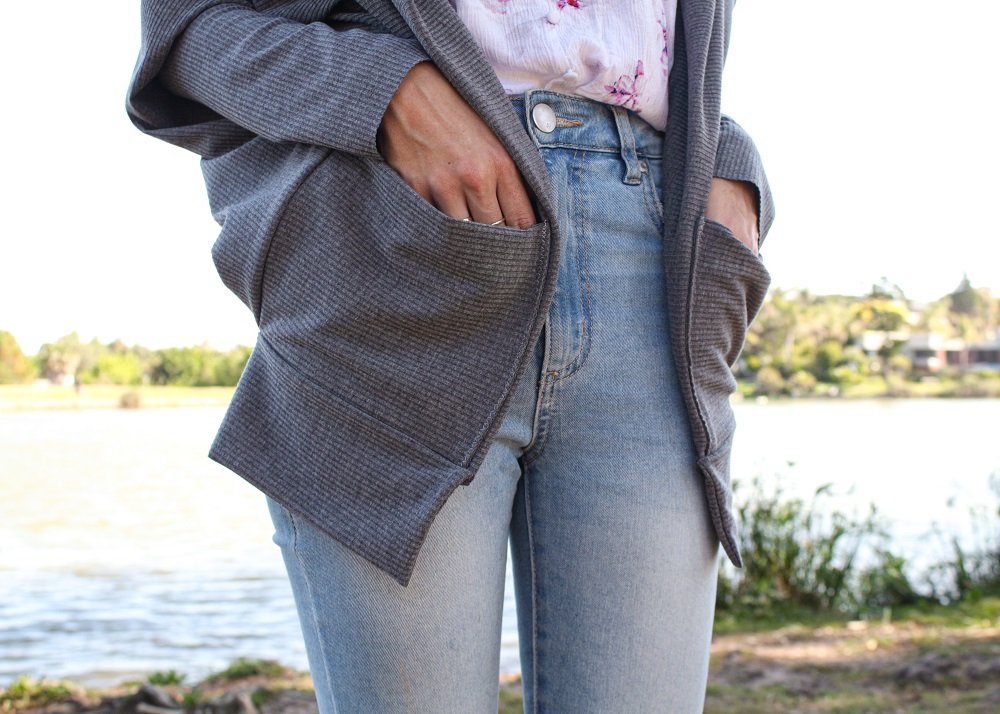
Attaching the neckband and pockets
- Join the Neckband pieces at one side.

- Fold the Pocket pieces in half crosswise with right sides together.
Overlock one side of each Pocket.
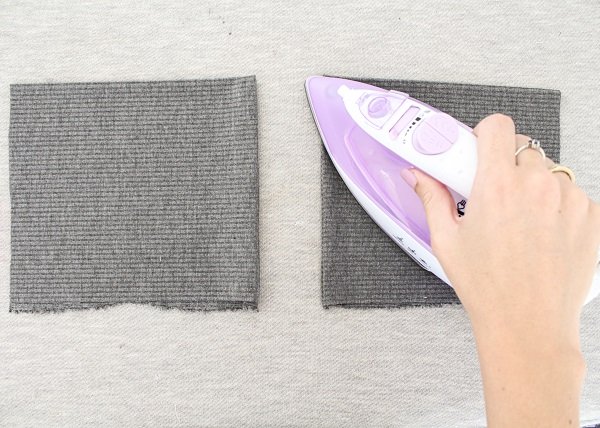
- Turn the Pockets right side out and give them a press.
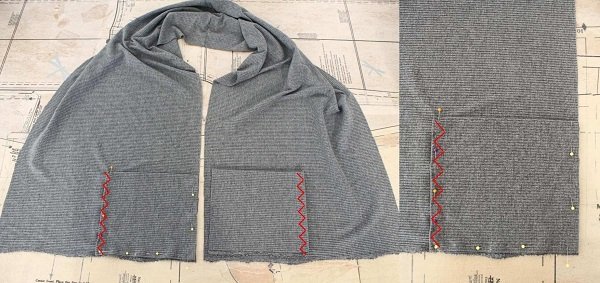
- Place a Pocket at the base of each Neckband piece as per the image.
Match the raw side and base of the Pockets to the raw edges of the Neckband piece.
(zig-zag lines for reference in the next step)
- Secure the side of the pocket (that you joined in step 9) in place with a row of zig zag stitches.
- Fold the Neckband pieces in half lengthwise with wrong sides together.
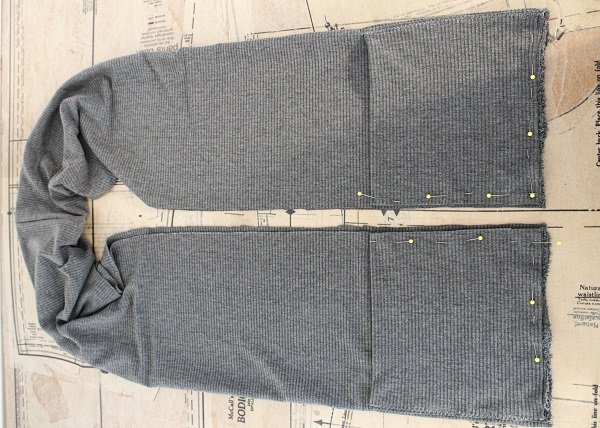
- Find the mid-points of the cardigan body at the top and bottom edge.
Make a mark where the fabric creates a 90’ angle at either side of the bottom edge.
The distance between these two marks should equal half the Hem piece.
(Hem piece folded in half for reference)
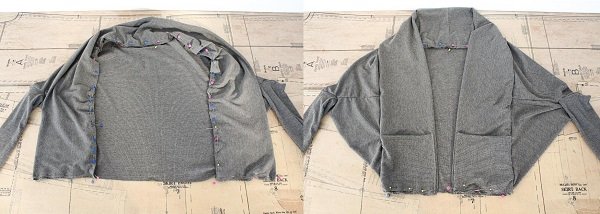
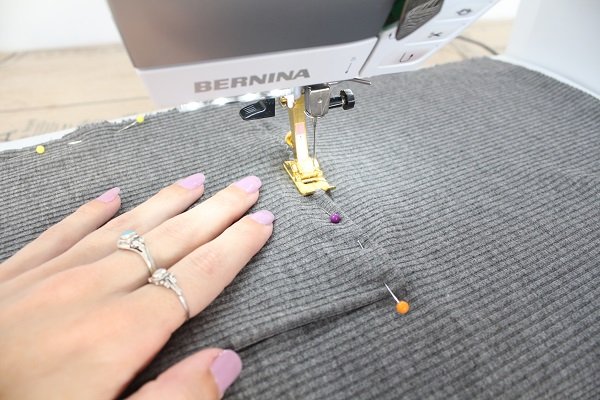
- Pin the Neckband to the Body.
Take note of how I pinned them together.
Match the mid-point of the Neckband to the top mid-point of the Body.
The base of the Neckband should match with the marks made in step 15.

- Overlock them together.
- Fold the Hem piece lengthwise with right sides together.
Overlock the two short sides.
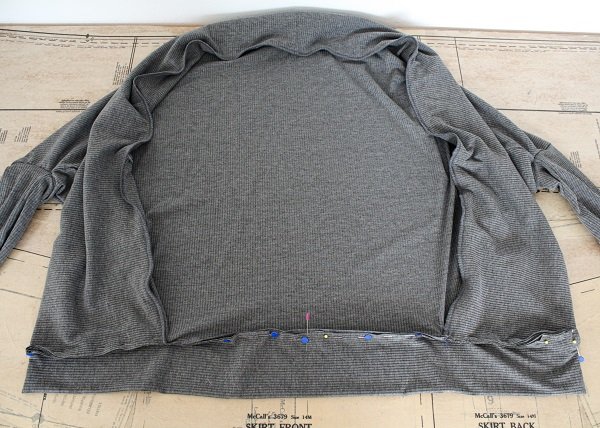
- Turn the Hem piece right side out and join to the base of the cardigan.
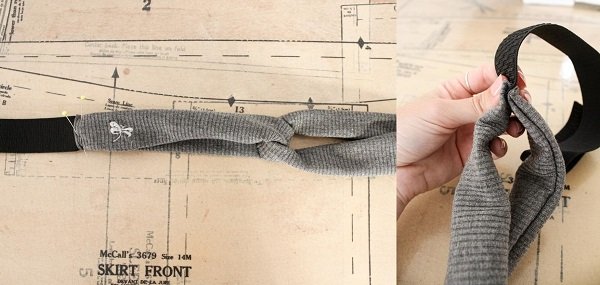
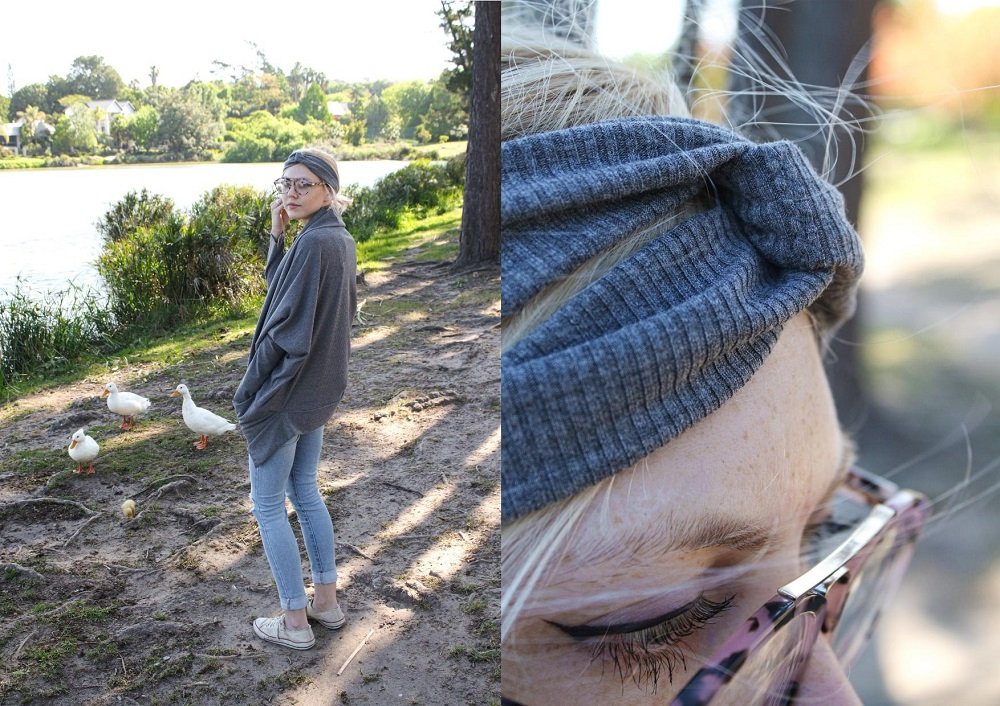
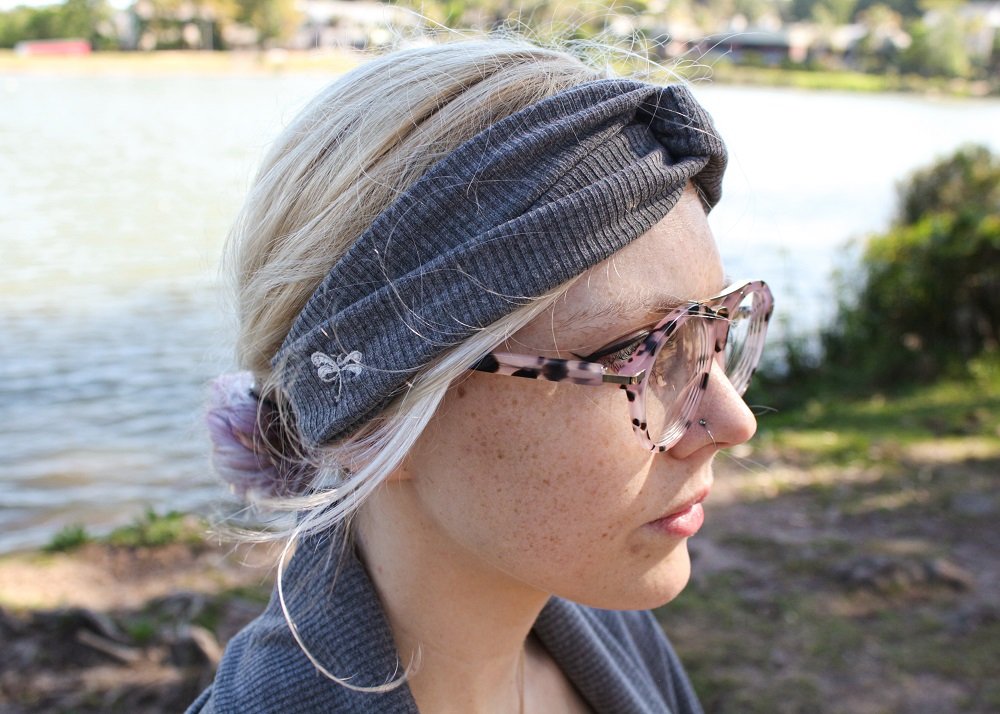
Head band
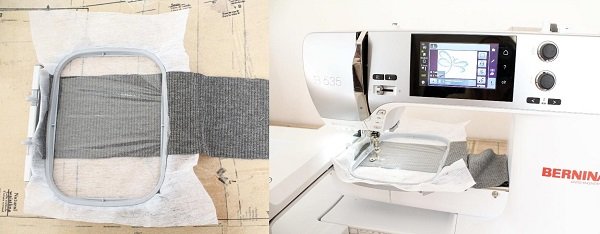
- (Optional) Embroider a design at the bottom left hand corner of one of headband pieces.
Sandwich the fabric between 2 layers of Stabilizers, this will prevent the fabric from moving.
I used tear away stabilizers.
[Blue Dragonfly design digitized by Igor Denisov]
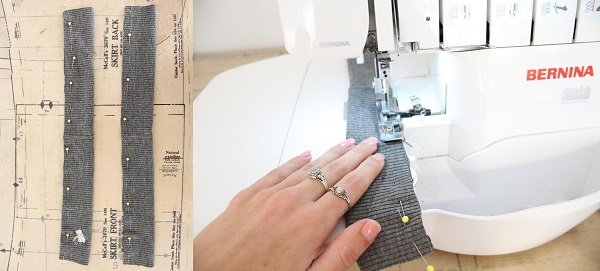
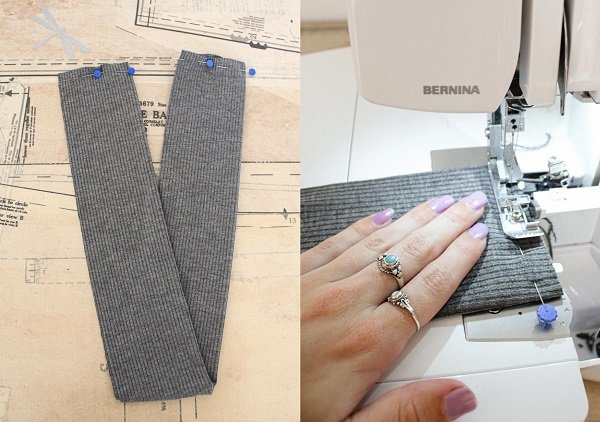
- Fold both pieces lengthwise with right sides together.
Overlock along the long edge.
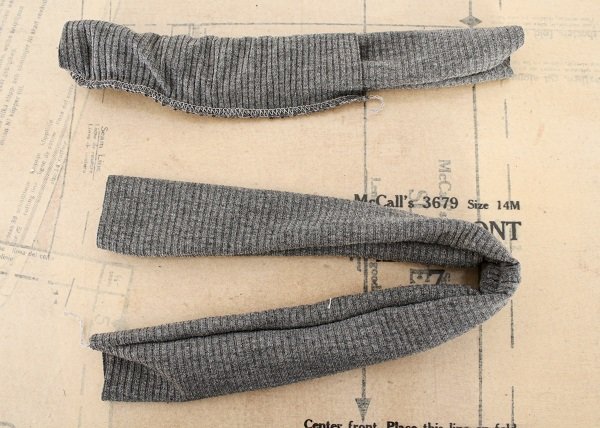
- Turn the tubes right-side out.
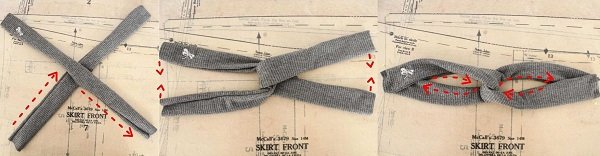
- Lay the tubes on top of each in the shape of an X. Take note of the seam placement.
Bring the respective ends of each tube together.
Temporarily pin the respective ends of each tube together. Take note of the seam placement.
- Place an end of the elastic between the ends of the tubes.
Just do one side of the headband for now.

- Secure the elastic in place with a row of zig-zag stitches.

- Put the headband on to see how long the elastic needs to be, cut to size and repeat steps 23 & 24.
Tips
- Use jersey or ballpoint needles (depending on your fabric)
- This pattern will work well with any lightweight stretch/knit fabric.
I would love to see what you make, please feel free to share with me!
Instagram
Facebook
-Hannah-Rose
All patterns designed by me are for personal use only.


0 Responses