 BERNINA Corporate Blog -
This second part of ‘Blending’ gives you even more insight, to try different effects with this feature in the BERNINA Embroidery Software V8.
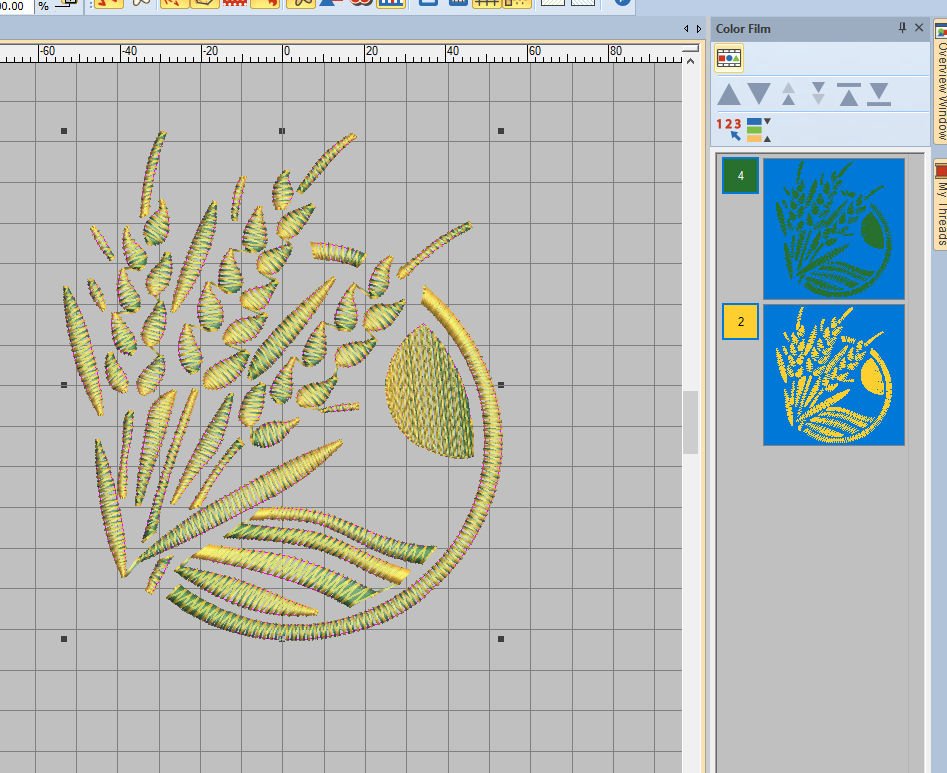
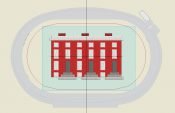
To edit the objects of a a design with ‘Color Blending’, after combining colors via ‘Arrange’, ‘Sequence’, ‘By Color’, check the docker ‘Color Film’. This shows you two boxes, each with their own color. Click on one color, and both boxes are blue. That means they are grouped.
Use ‘Arrange’ – either with the Top menu bar, or in the left toolbar ‘Toolboxes’, to ungroup the objects. Select the design, use ‘Ungroup’ and all objects can be edited separately.
Just click on an object, to see that just that object is selected – not the entire design.
Now you can change each object, colorwise or edit the Profile per object. Add colors to the Color Palette, like the purple I’ve selected, click on the top box with ‘Color Film’, and the entire Bottom layer will be changed into this color – because these objects were changed all together, by clicking at the ‘large’ box.
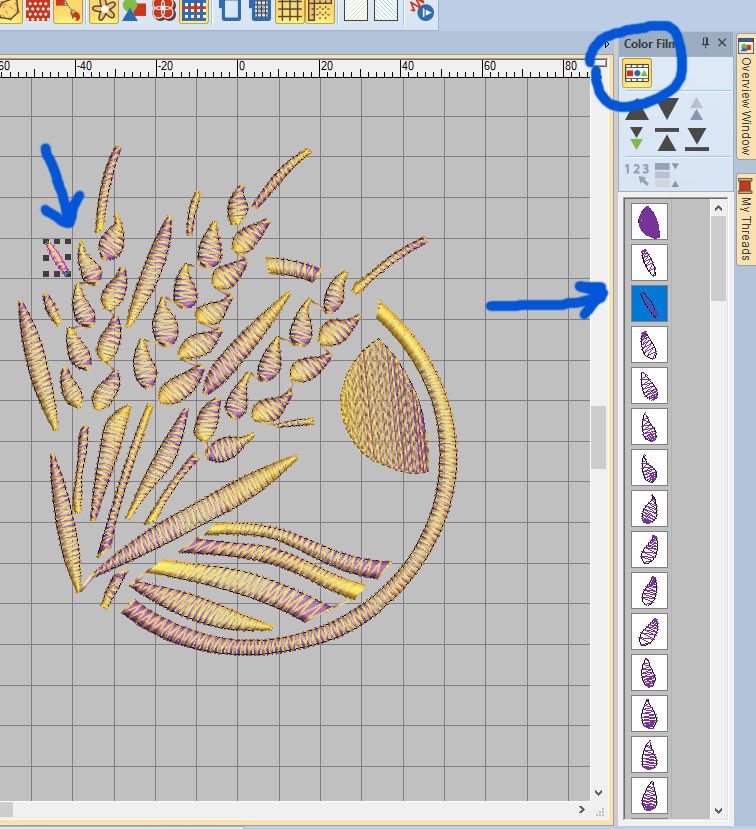
If you want to change colors per object, use the ‘Show Object’ icon, top left with docker ‘Color Film’, minimize the width of the column by pushing to the right to see as much separate objects as you can. Click on one object, or on a box with ‘Color Film’ to select just that one.
It gives you more insight to ‘walk’ through a design, object by object. Not just to see where they are, but also to understand the sequence. If there are more objects than ‘Color Film’ shows at once, scroll down.
Change settings in ‘Color Film’ back to ‘normal’ by just clicking on ‘Show Objects’ to deactivate, and the regular boxes are back. You can enlarge these boxes by pulling to the left of the docker, as far as you want to.

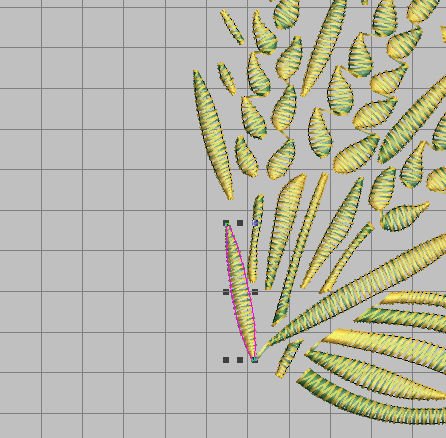
If you want to change the spacing with just one object – with the Top layer – select that object, right mouse click, then use ‘Object Properties’. Click on ‘Effects’, bottom left, for special options.

With the Tab ‘Underlay’ you can choose to have Underlay 1 or Underlay 2, or both.
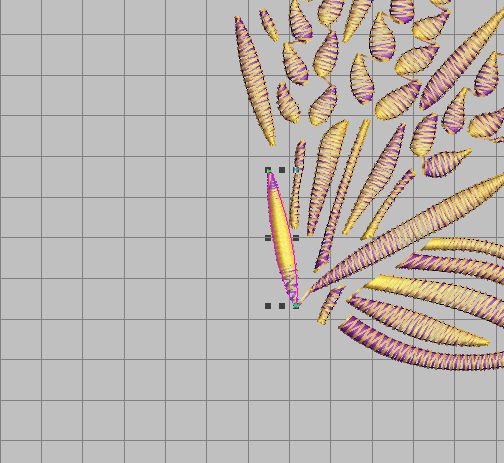
Changing settings, either with ‘Object Properties’, or even with ‘Effects’, an object can be quite different. The selected object on the picture above had a color changing from the center pointing outwards: it is more dense in the middle, and more translucent to the edges.
If you want to change multiple objects at once, hold the Ctrl key down while selecting.
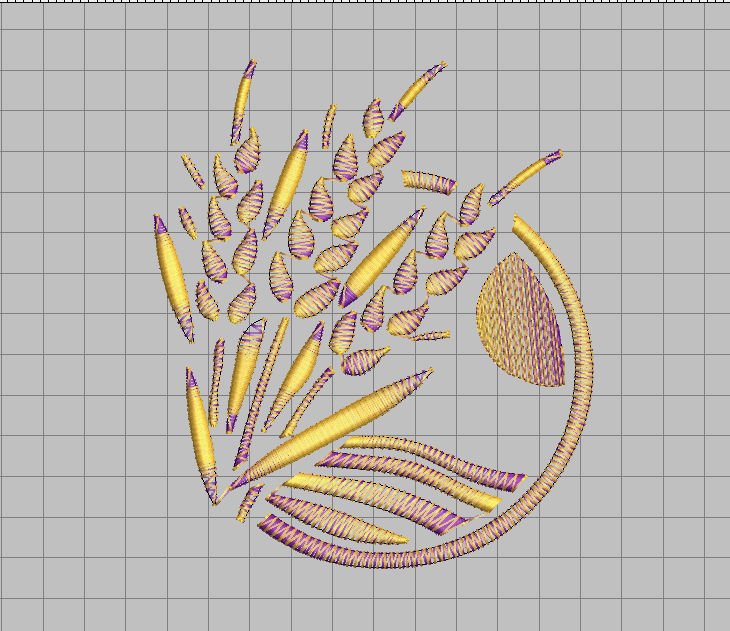
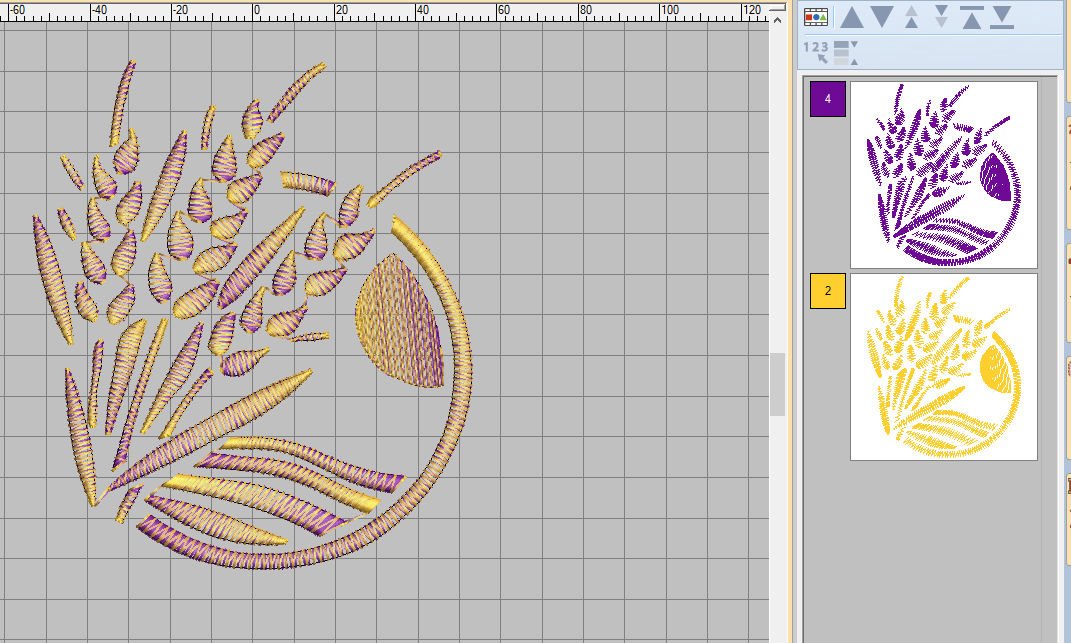
I have changed some objects, but not all: this gives a totally different look. You don’t have to change all, but doing so with a couple of objects, gives you a more personal appearance of your design.
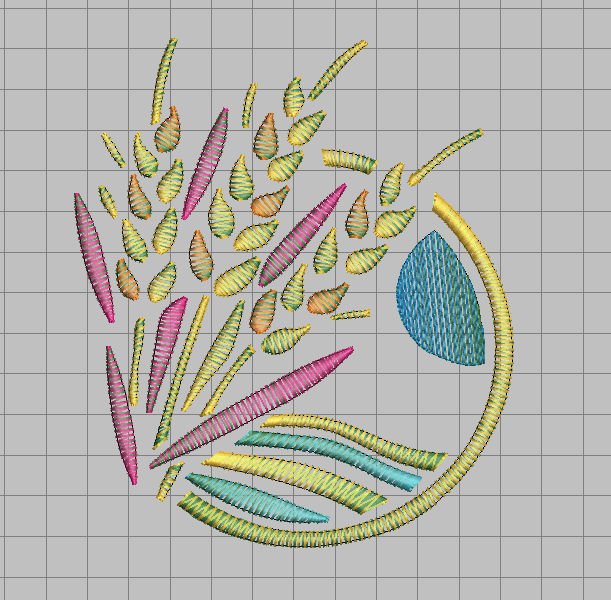
And changing again, giving objects different colors, changing spacing etc. makes it even more special. Just play with colors, spacing and even add or delete objects to make such a design your own. Save it under a different name: the original can still be found in the BERNINA Embroidery Library.
Next time a different topic: see you then!
Happy Stitching
Sylvia Kaptein
Sylvia’s Art Quilts Studio
www.sylviasartquilts.nl
[email protected]


Do hope we can resume these tutorials in 2020 ?
They will continue in 2020, Ann, of course