 BERNINA Corporate Blog -
Sometimes there is an object, which inspires you to make a quilt. I love Snowmen, these funny ‘carrot noses’ are cute, they give you a smile, every time you see them. I was drawing one of these figurines, and made some more sketches to make a winter quilt.
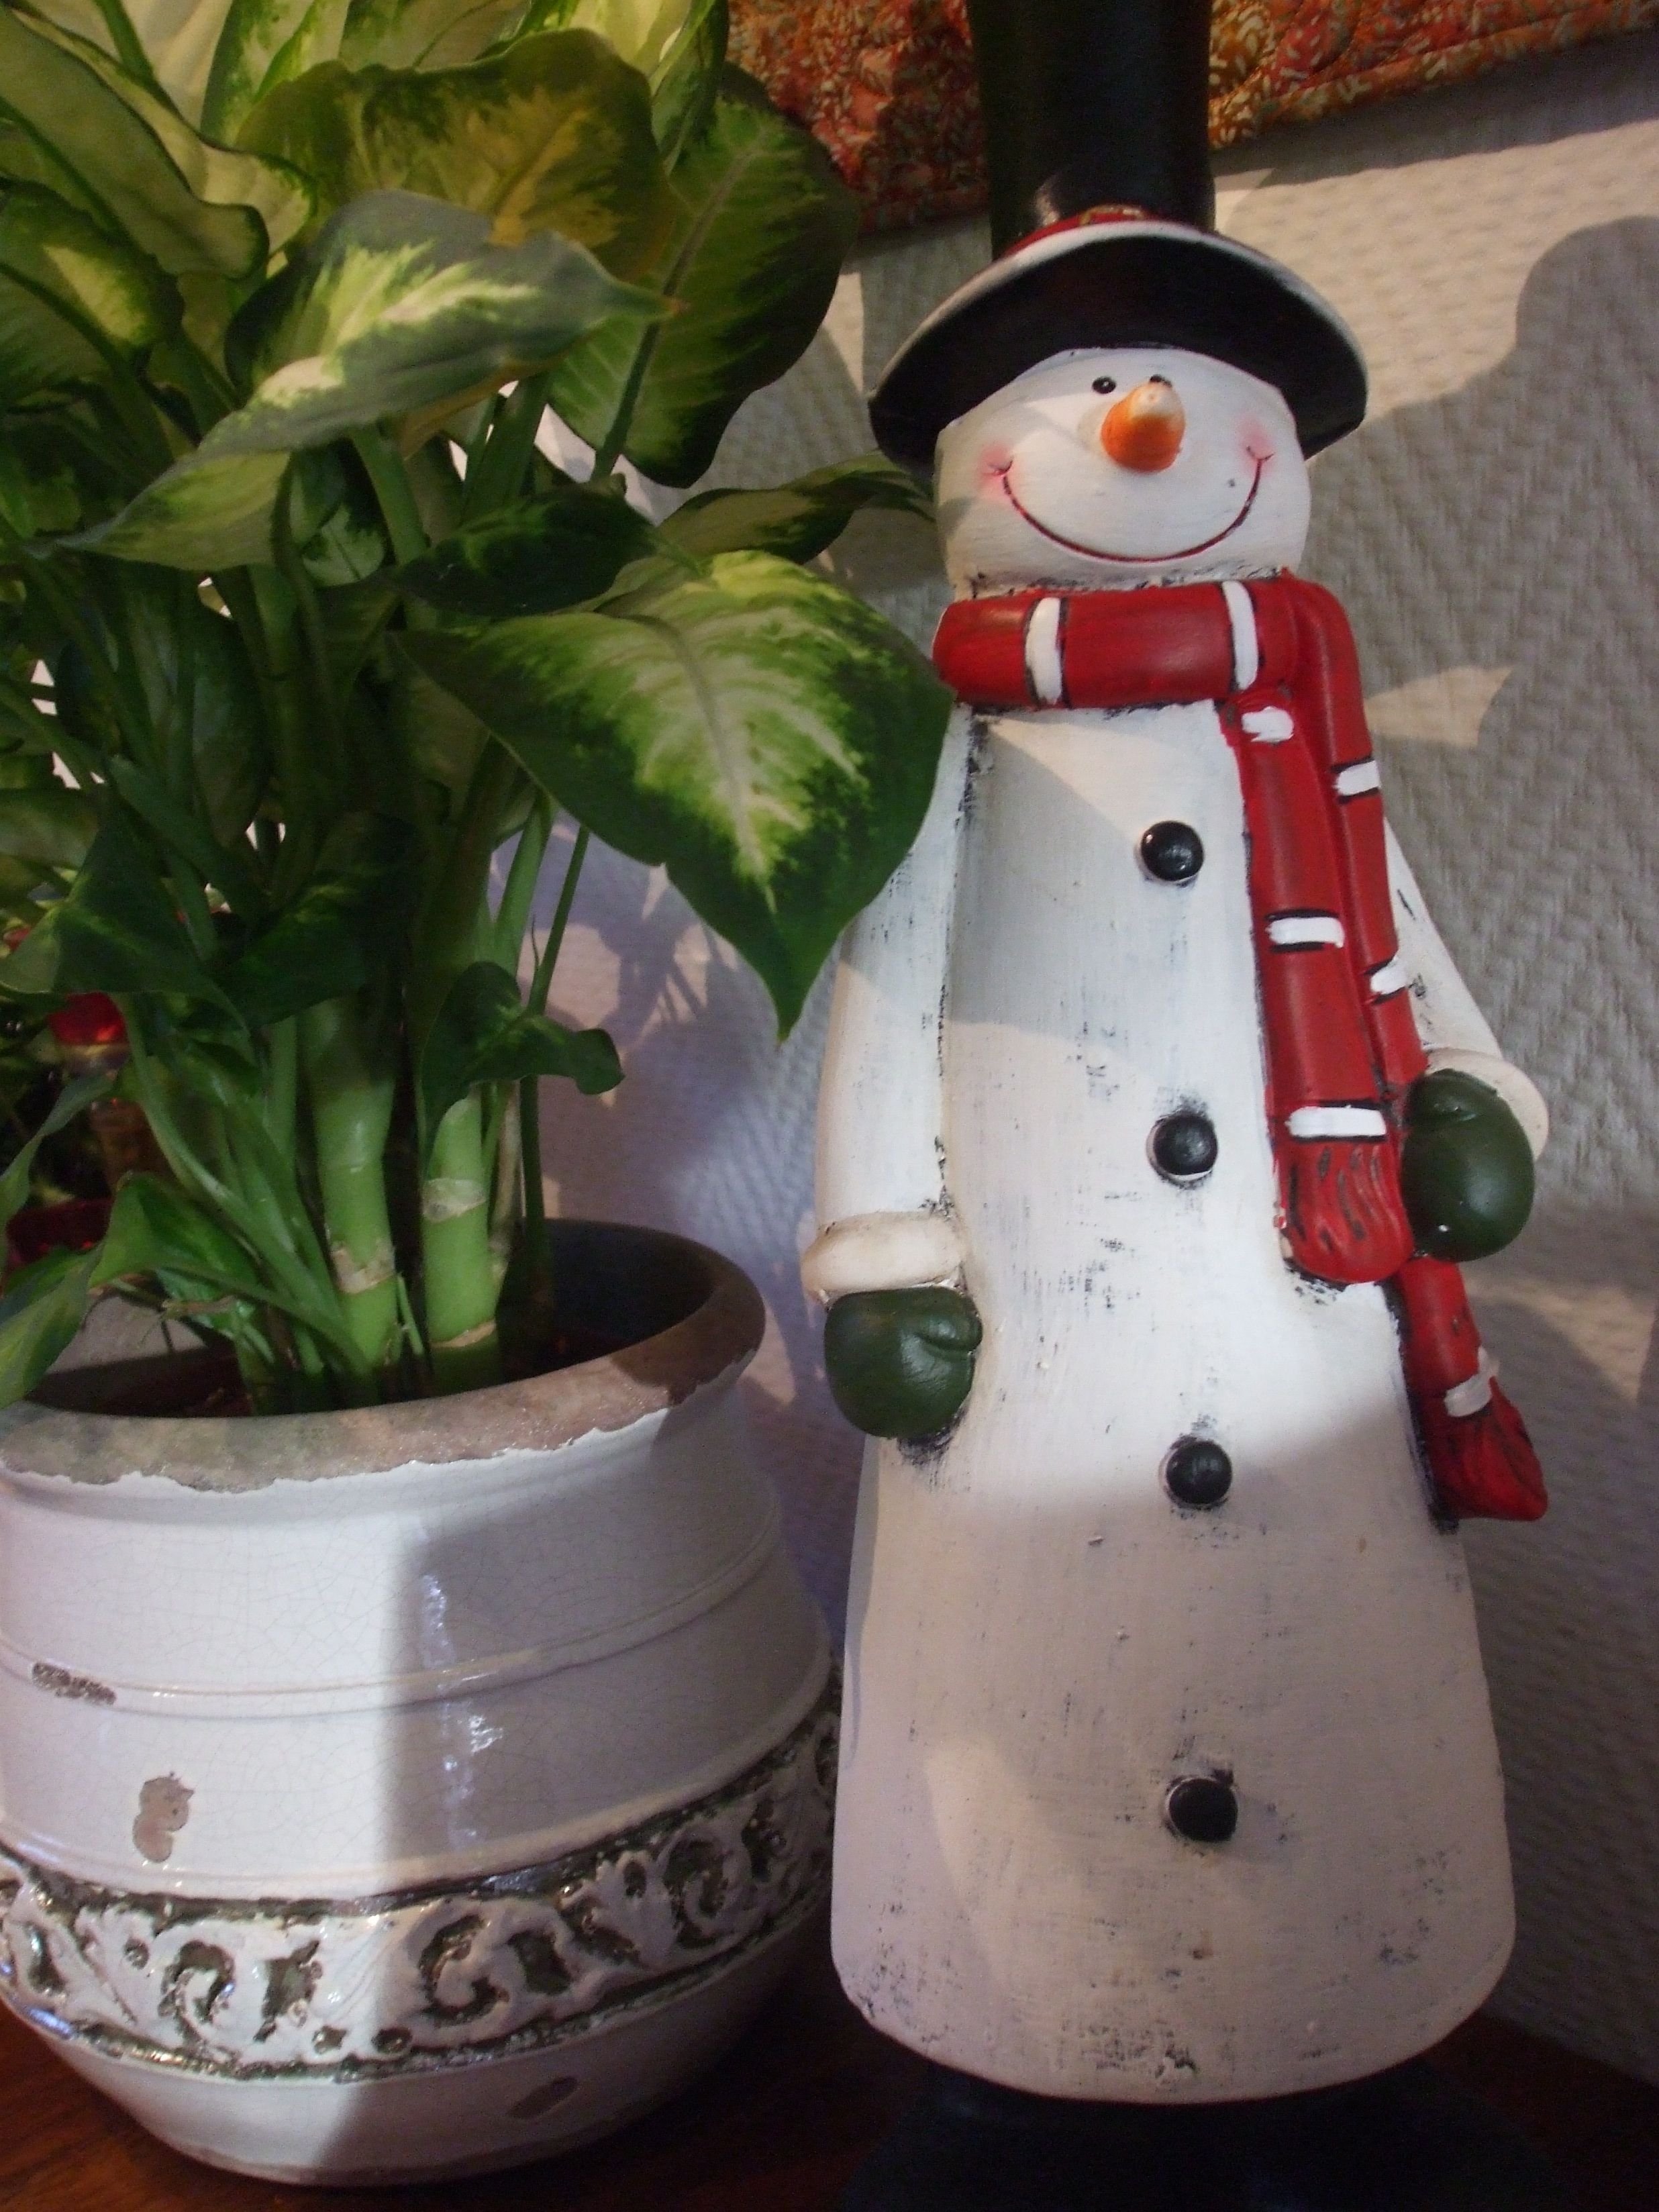
I have used this figurine as an example – bought it years ago, it’s my favourite – and looked at the characteristics to draw different snowmen.
Drawing the pattern.
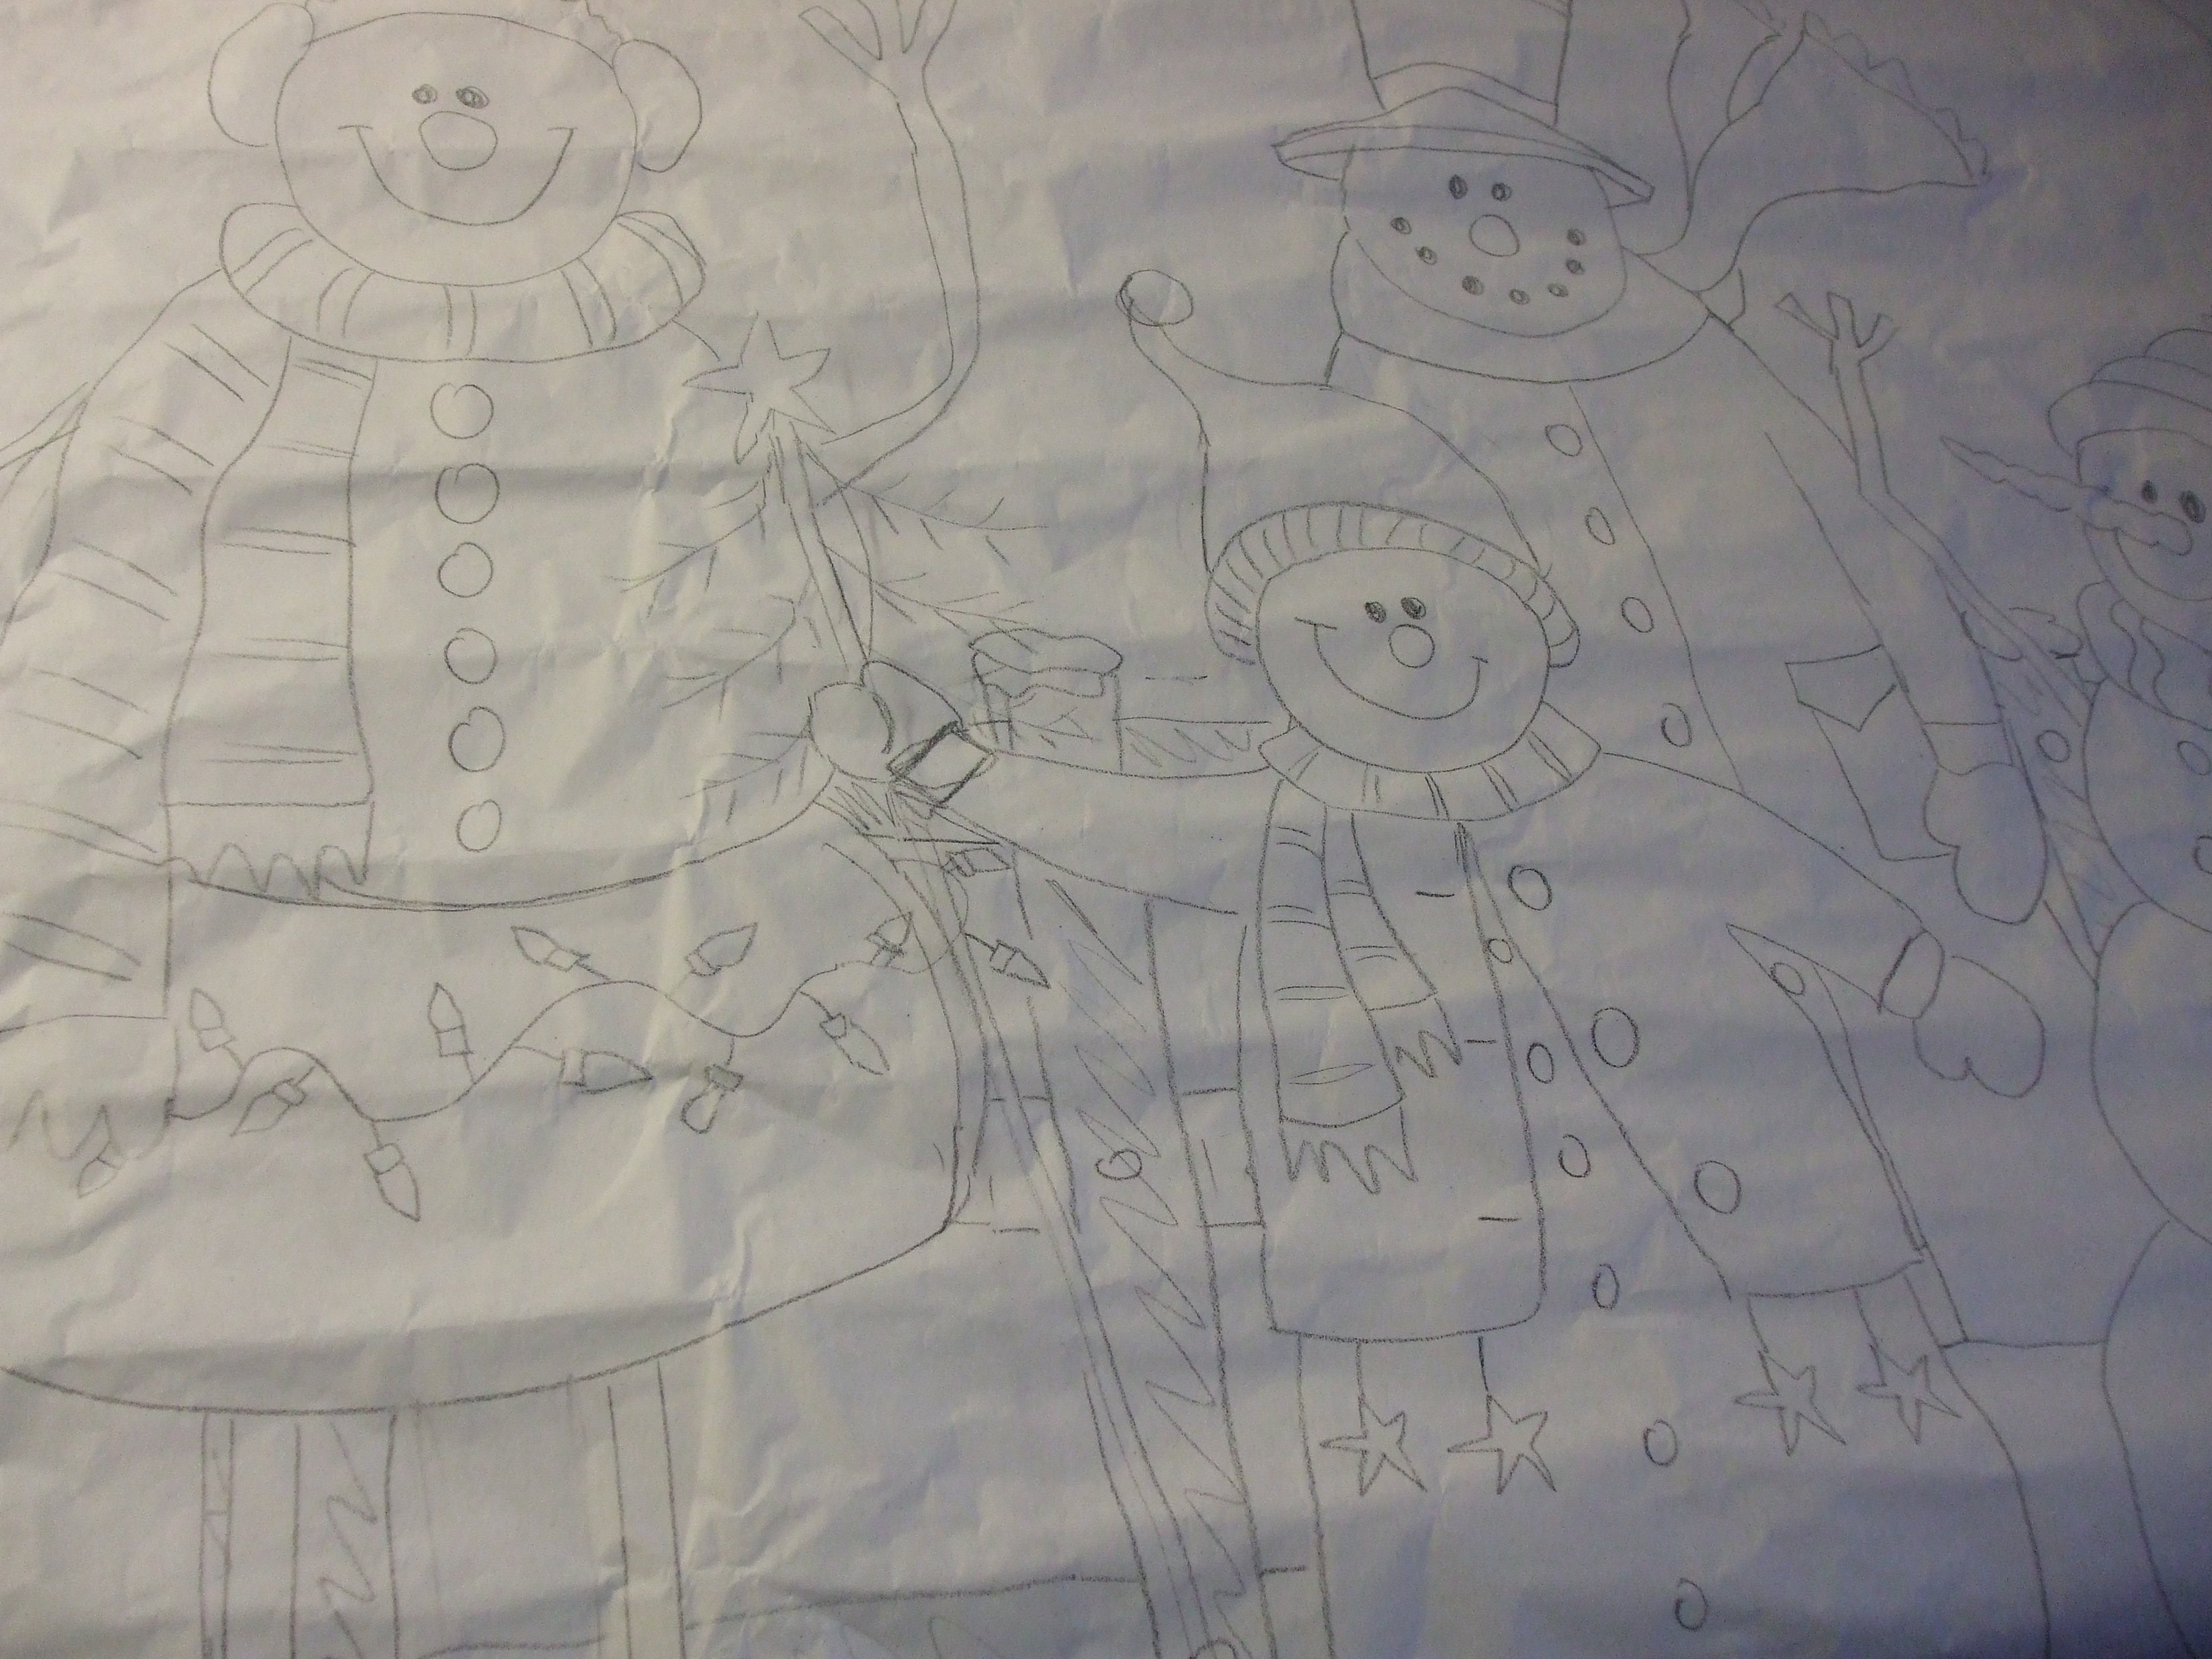
I used patter paper to draw them all, because – when turning the paper to the other side – the lines and markings shine through, so I can make a mirrored copy, which I have drawn again with a thick marker to make the lines stand out more.
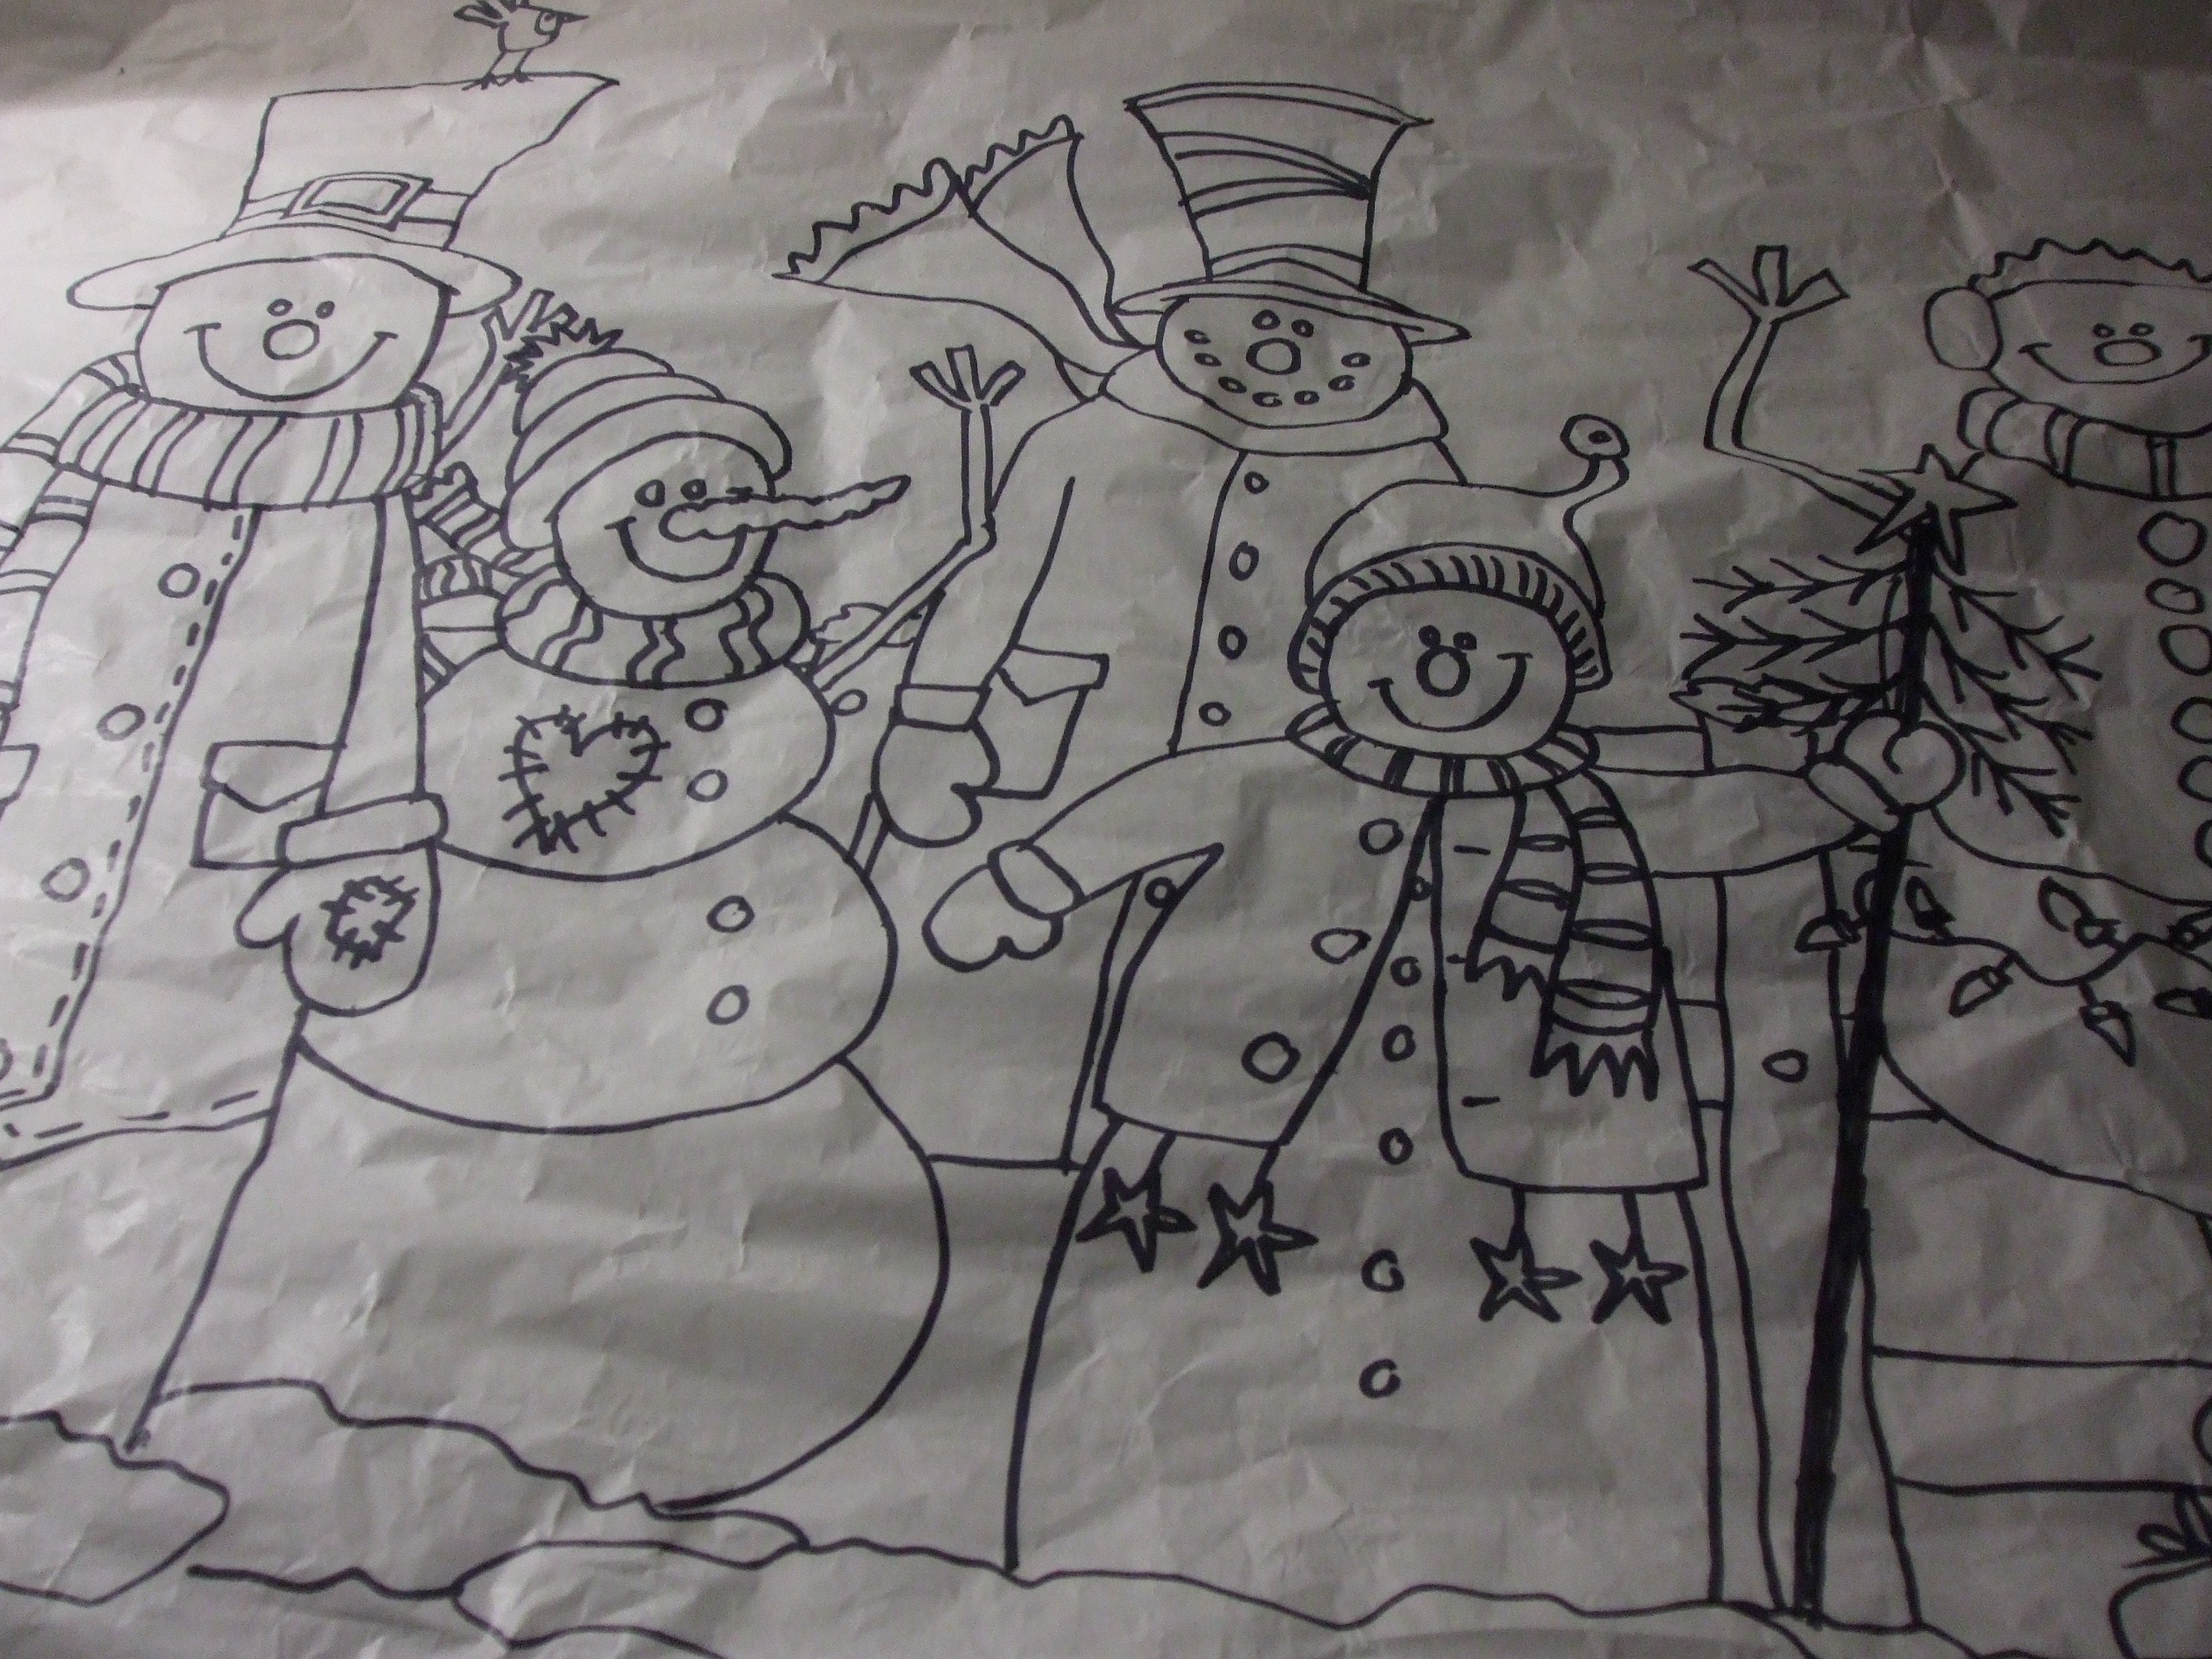
I have to do that, in order to be able to use pattern pieces for machine appliqué. Normally there are pattern pieces made, turned upside down and drawn onto the back of a fabric, but I will use Heat’n Bond Lite, so every part has to be upside down at first. The snowman on the left was my original inspiration.
Fabrics from my stash.

I’ve collected a lot of quilt fabrics over the years, different prints and colors. Plaids, stripes, prints etc. Even the smallest remnants can be used, for buttons, eyes, and accents wherever they are needed.
I had to iron them, preparing for using them, because they weren’t stored all flat. Sometimes I have ironed them just before using the Heat’n Bond Lite, because in many cases I needed to see what color to use at the last minute. There is no point in ironing each and every piece of fabric, if you are not using them all.
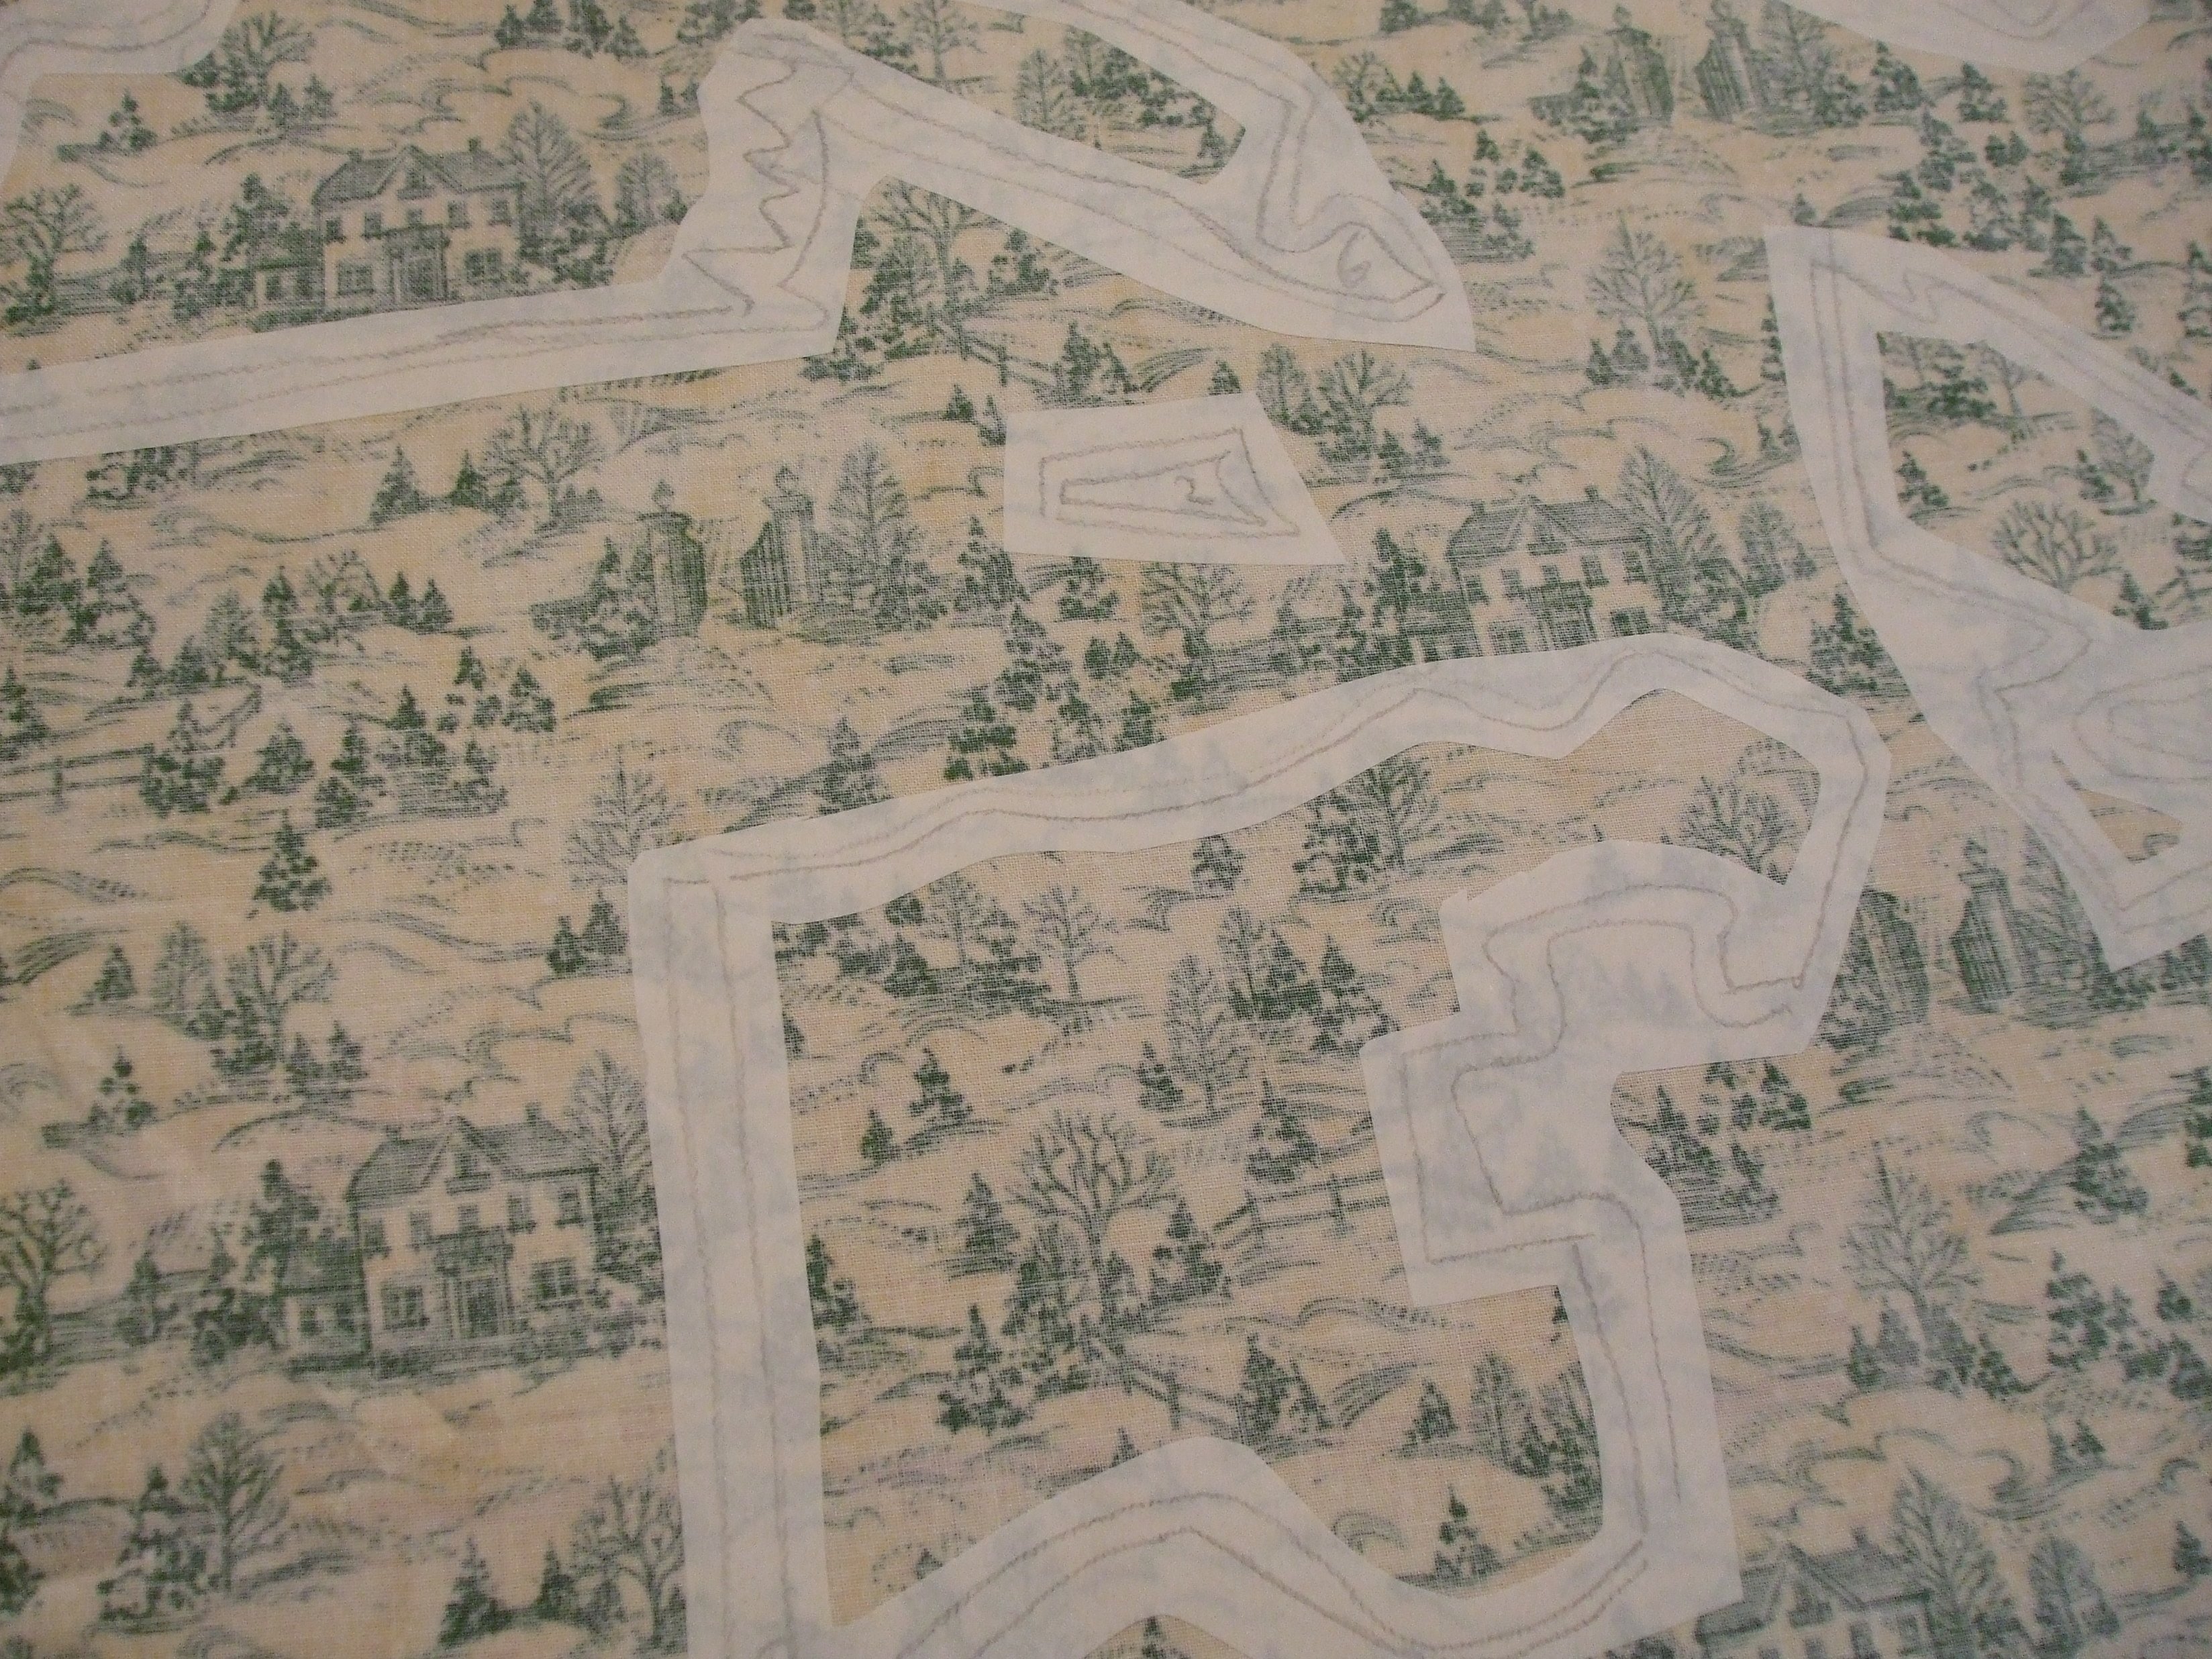
Also a wonderful fabric for the background: houses, trees, fences, etc, to make it look like they are on the mountains I will create. I’ve cut pieces of Heat’n Bond Lite: sometimes large pieces with cut-outs on the inside, leaving only a seam allowance and extra. I don’t want Heat’n Bond Lite behind it all, because that makes the piece of fabric stiff, and I will have to place layer on layer to build up my winter scene. Quilting will be difficult then, so where other parts will be placed on top, Heat’n Bond Lite is cut away to have only the fabric underneath. The only thing important with this fabric was to be sure houses and trees stand upright, and not upside down.
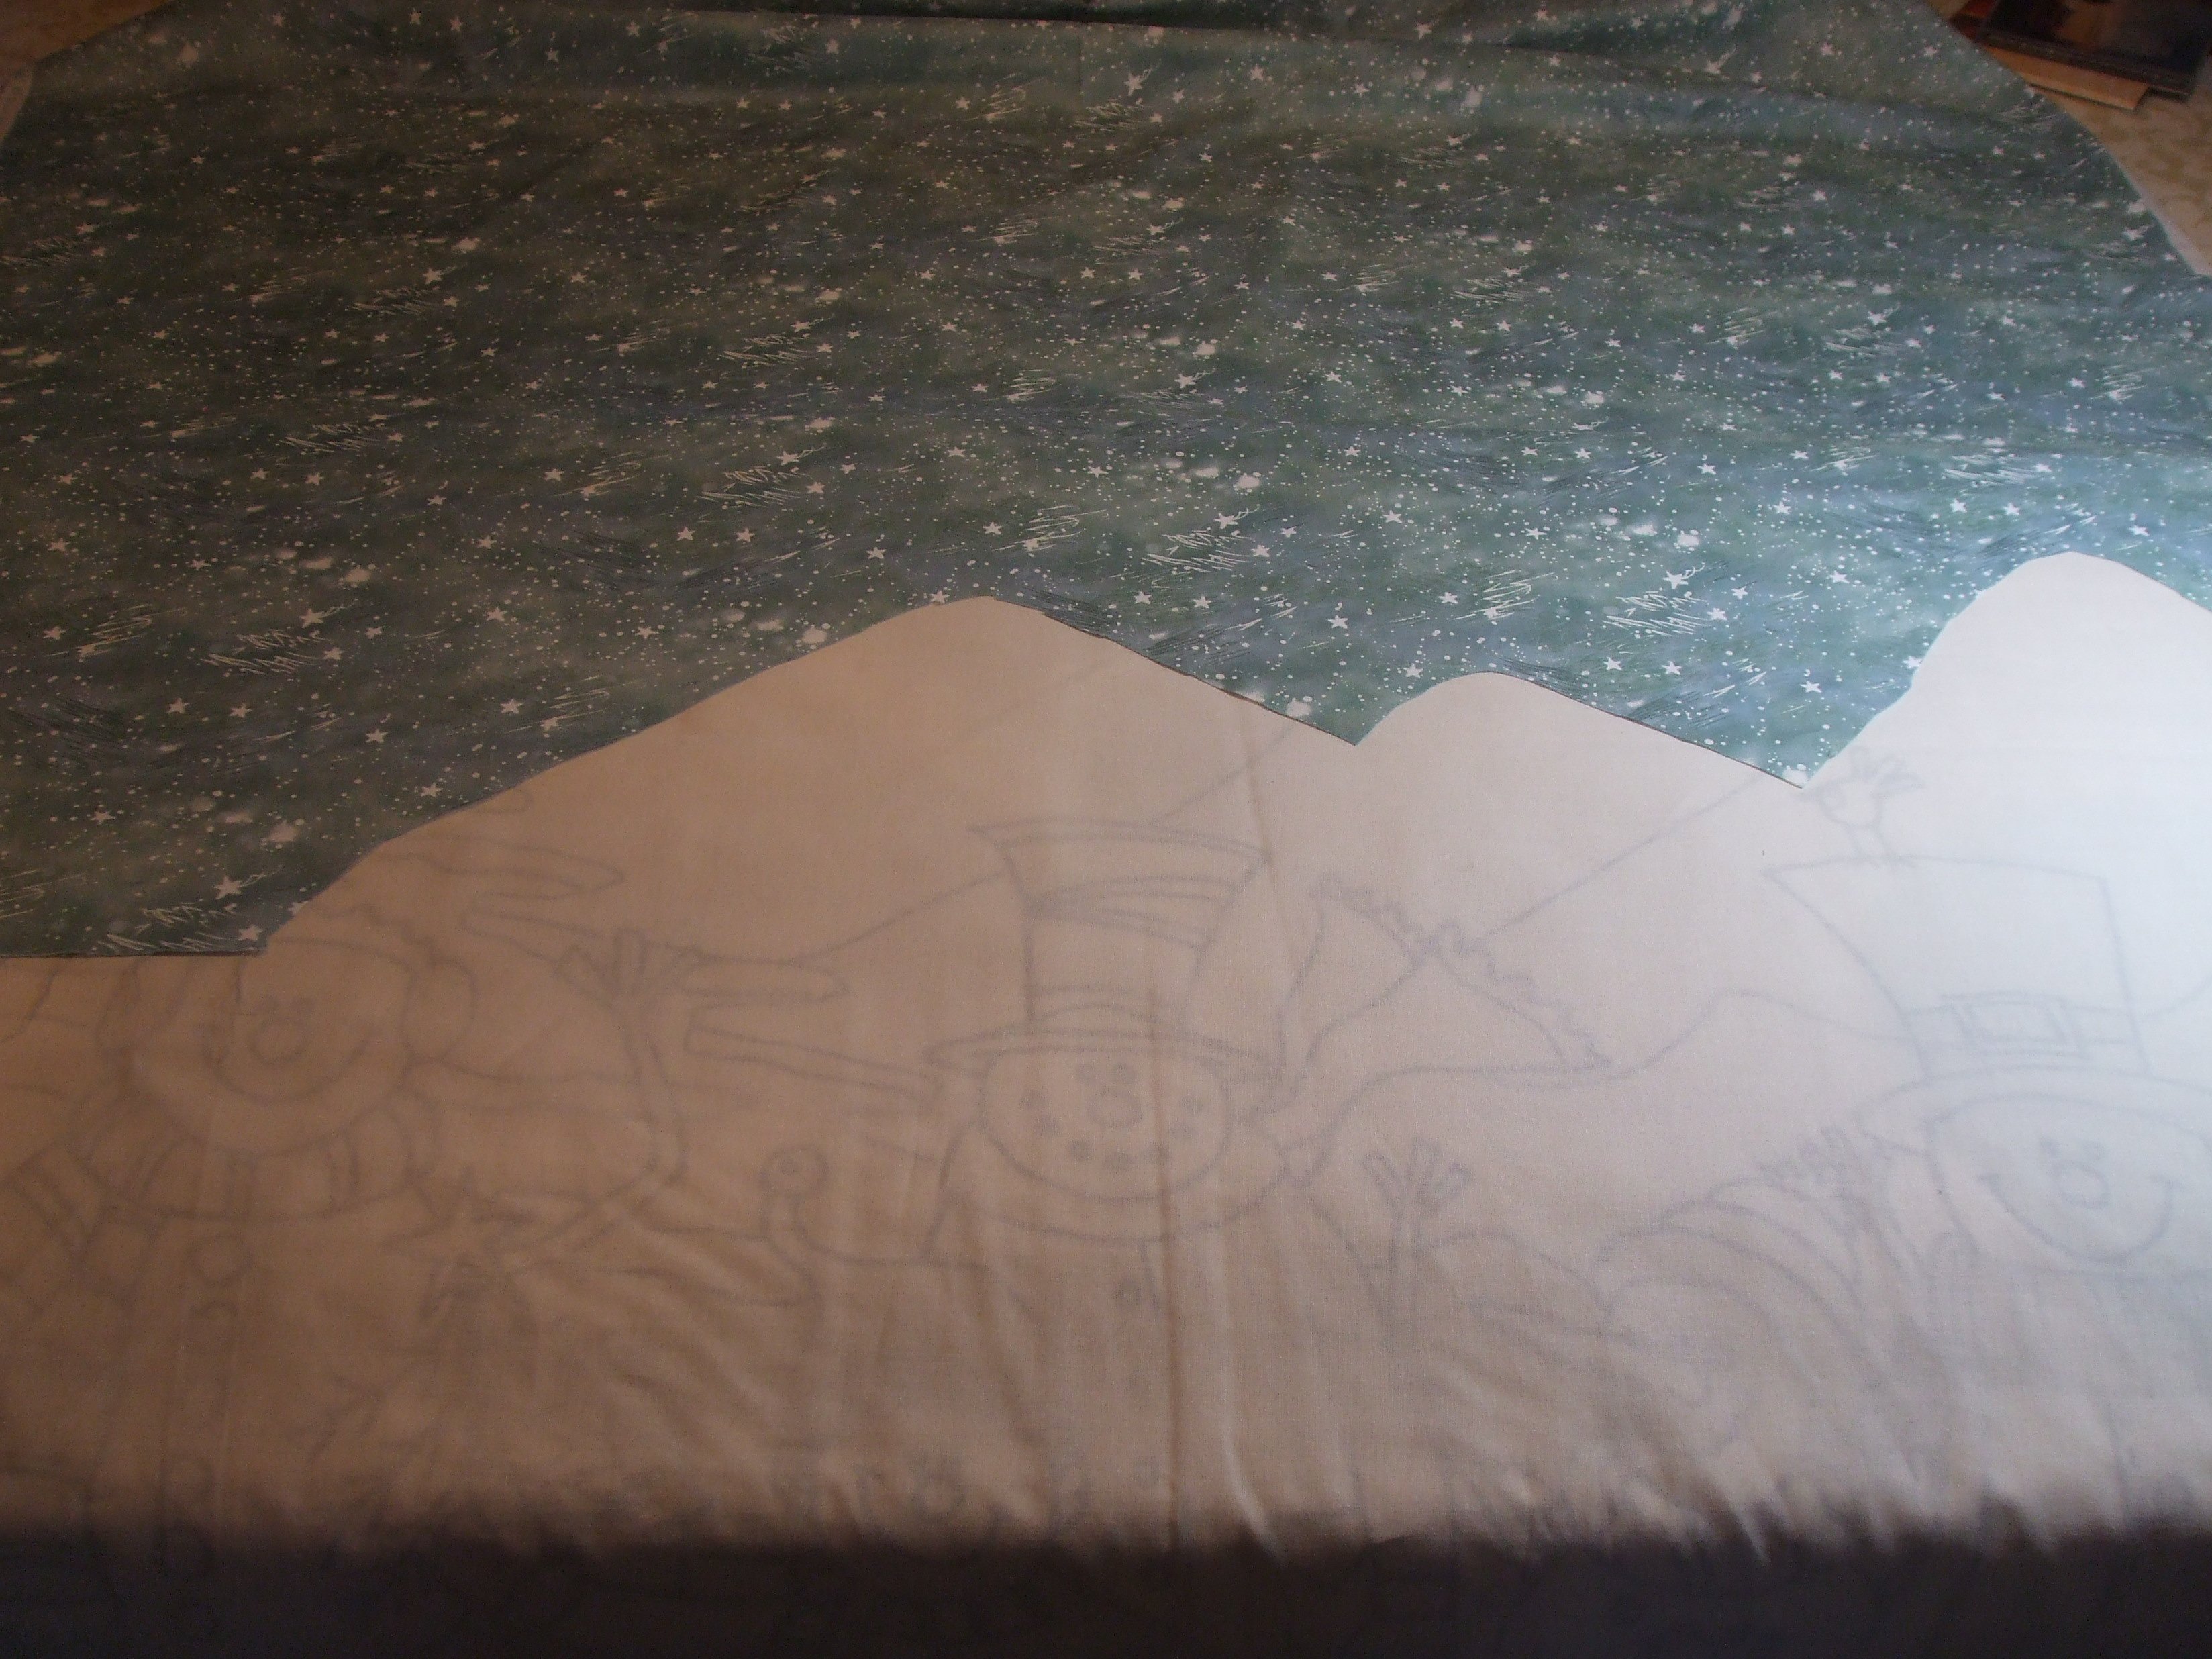
The basic fabric as underlay, is a thin ecru fabric: with the pattern underneath, the lines of the drawing are shining through, which makes it much easier to transfer the lines for appliqué placement. The fabric for sky is already ironed/glued on top, the lines of the mountains are clearly visible.
Mountains and snow.
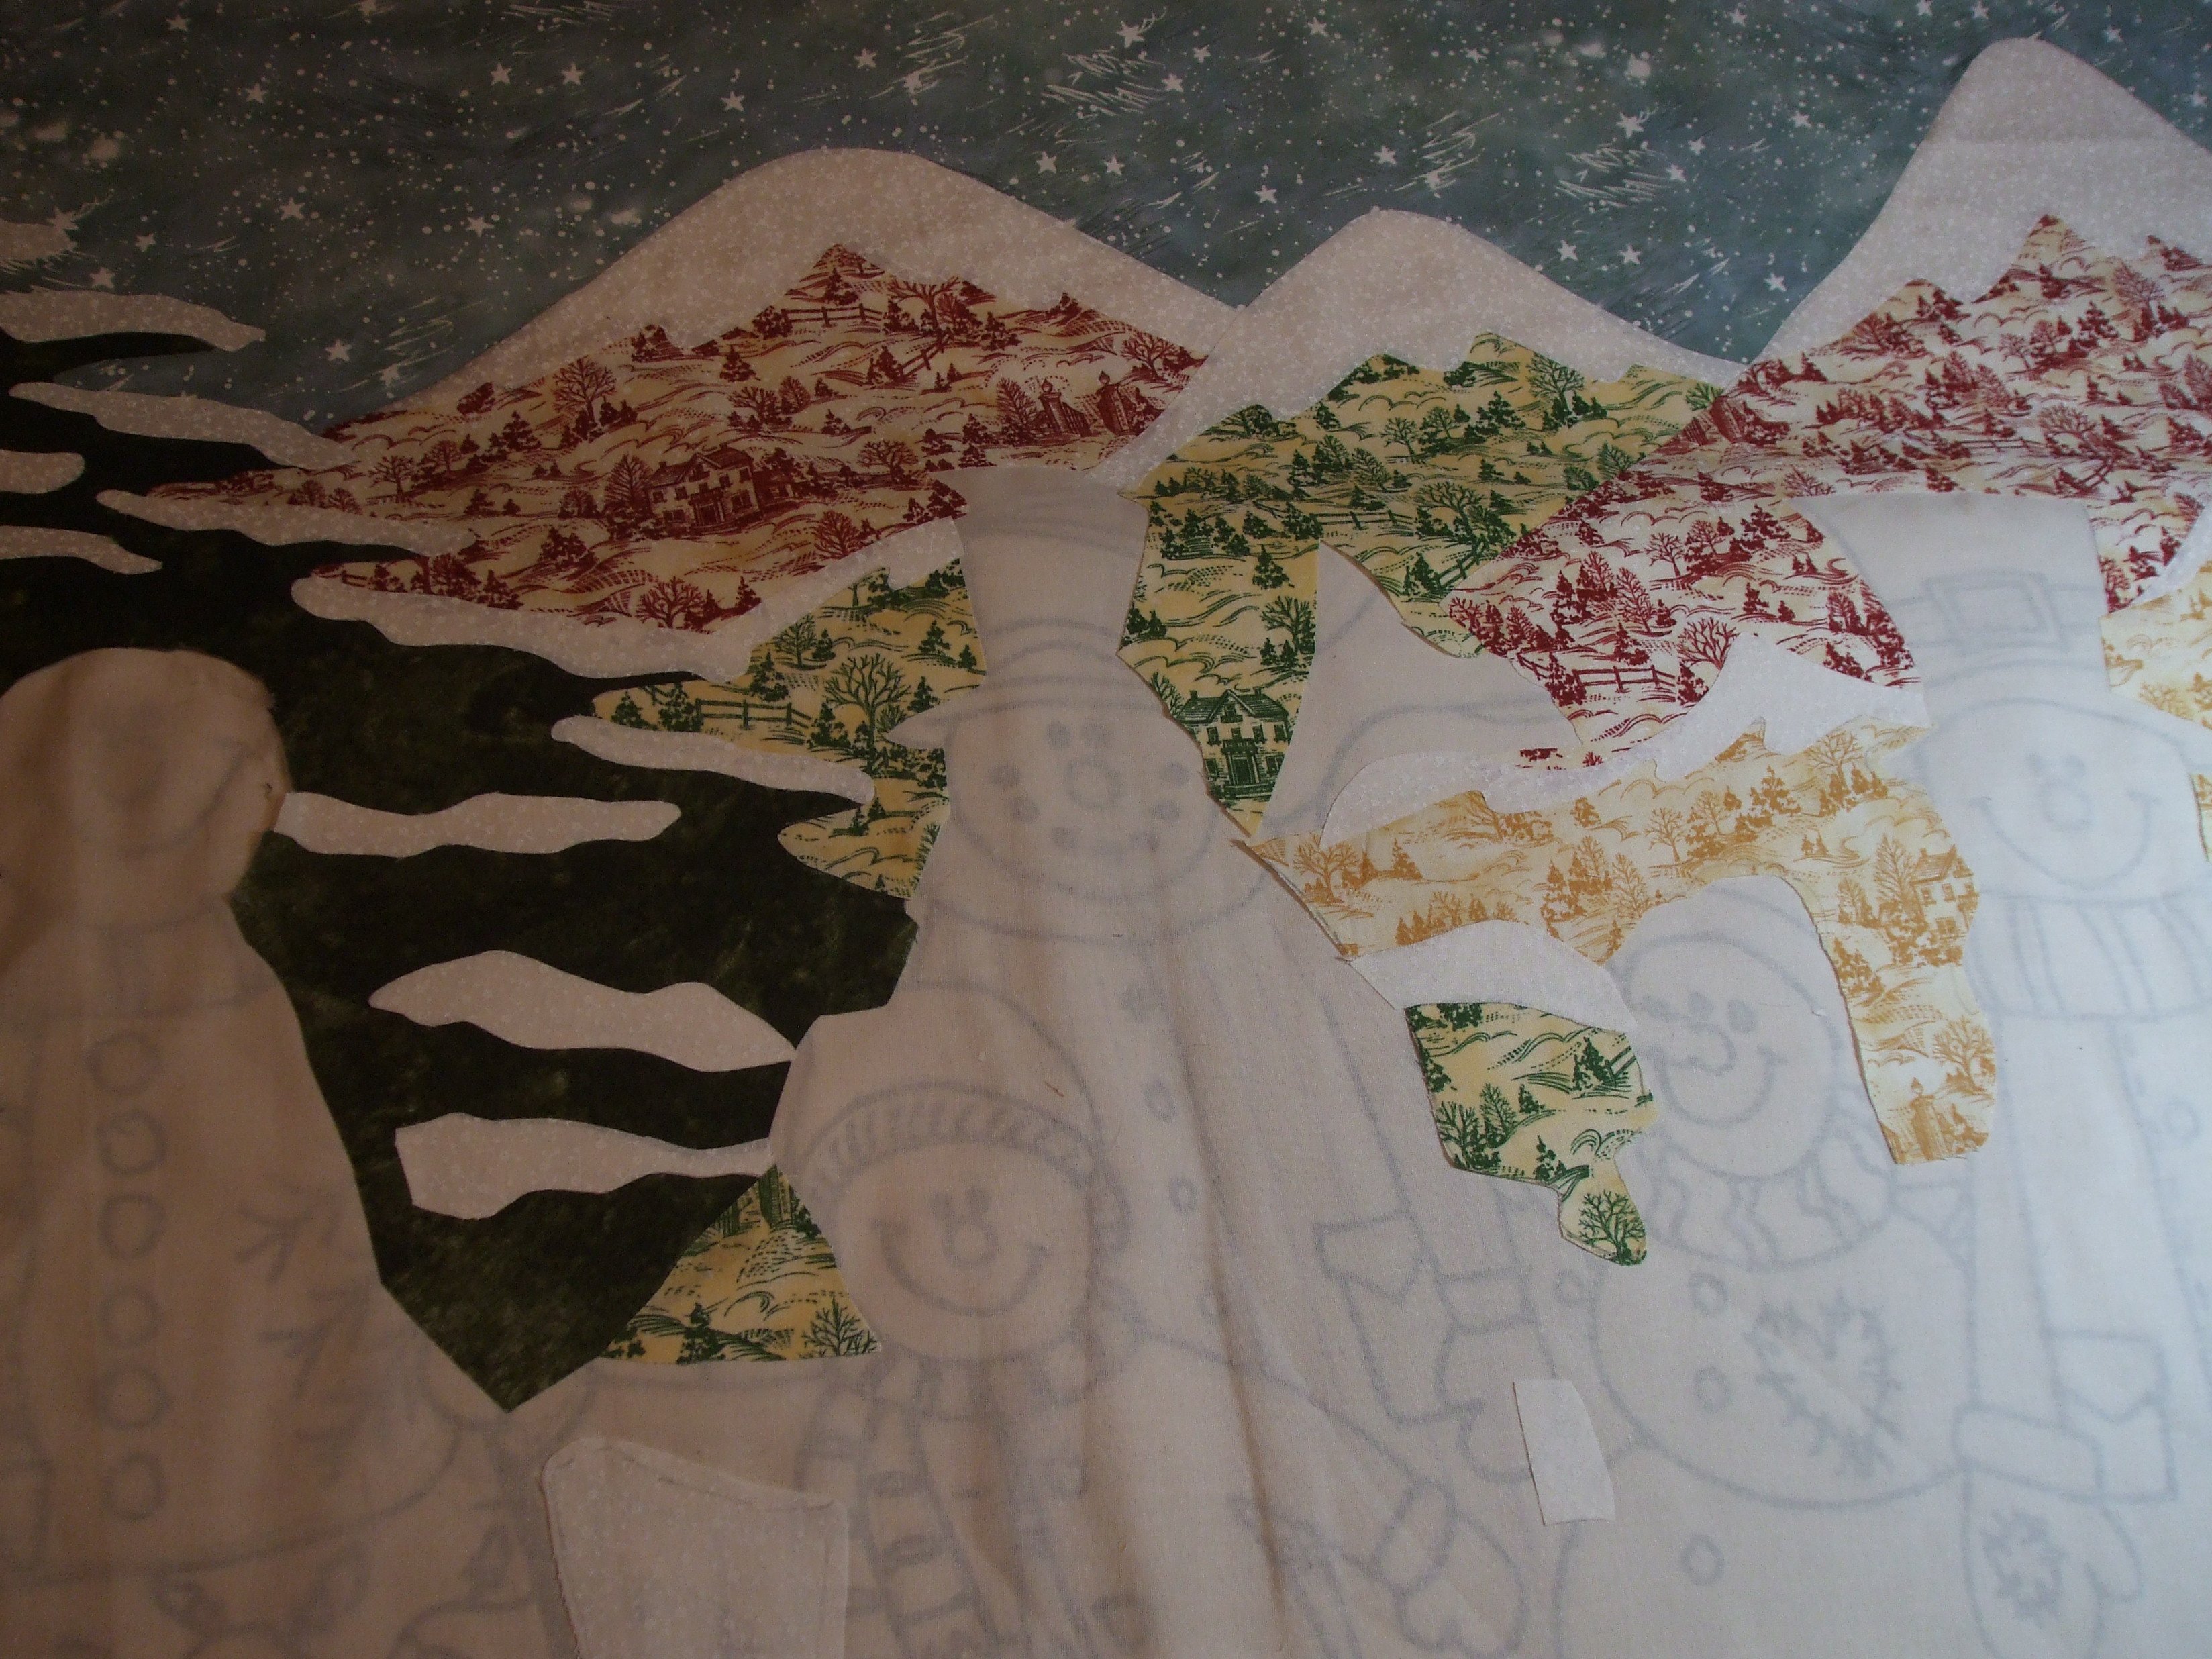
Building up the appliqué, layer by layer, from back to front.
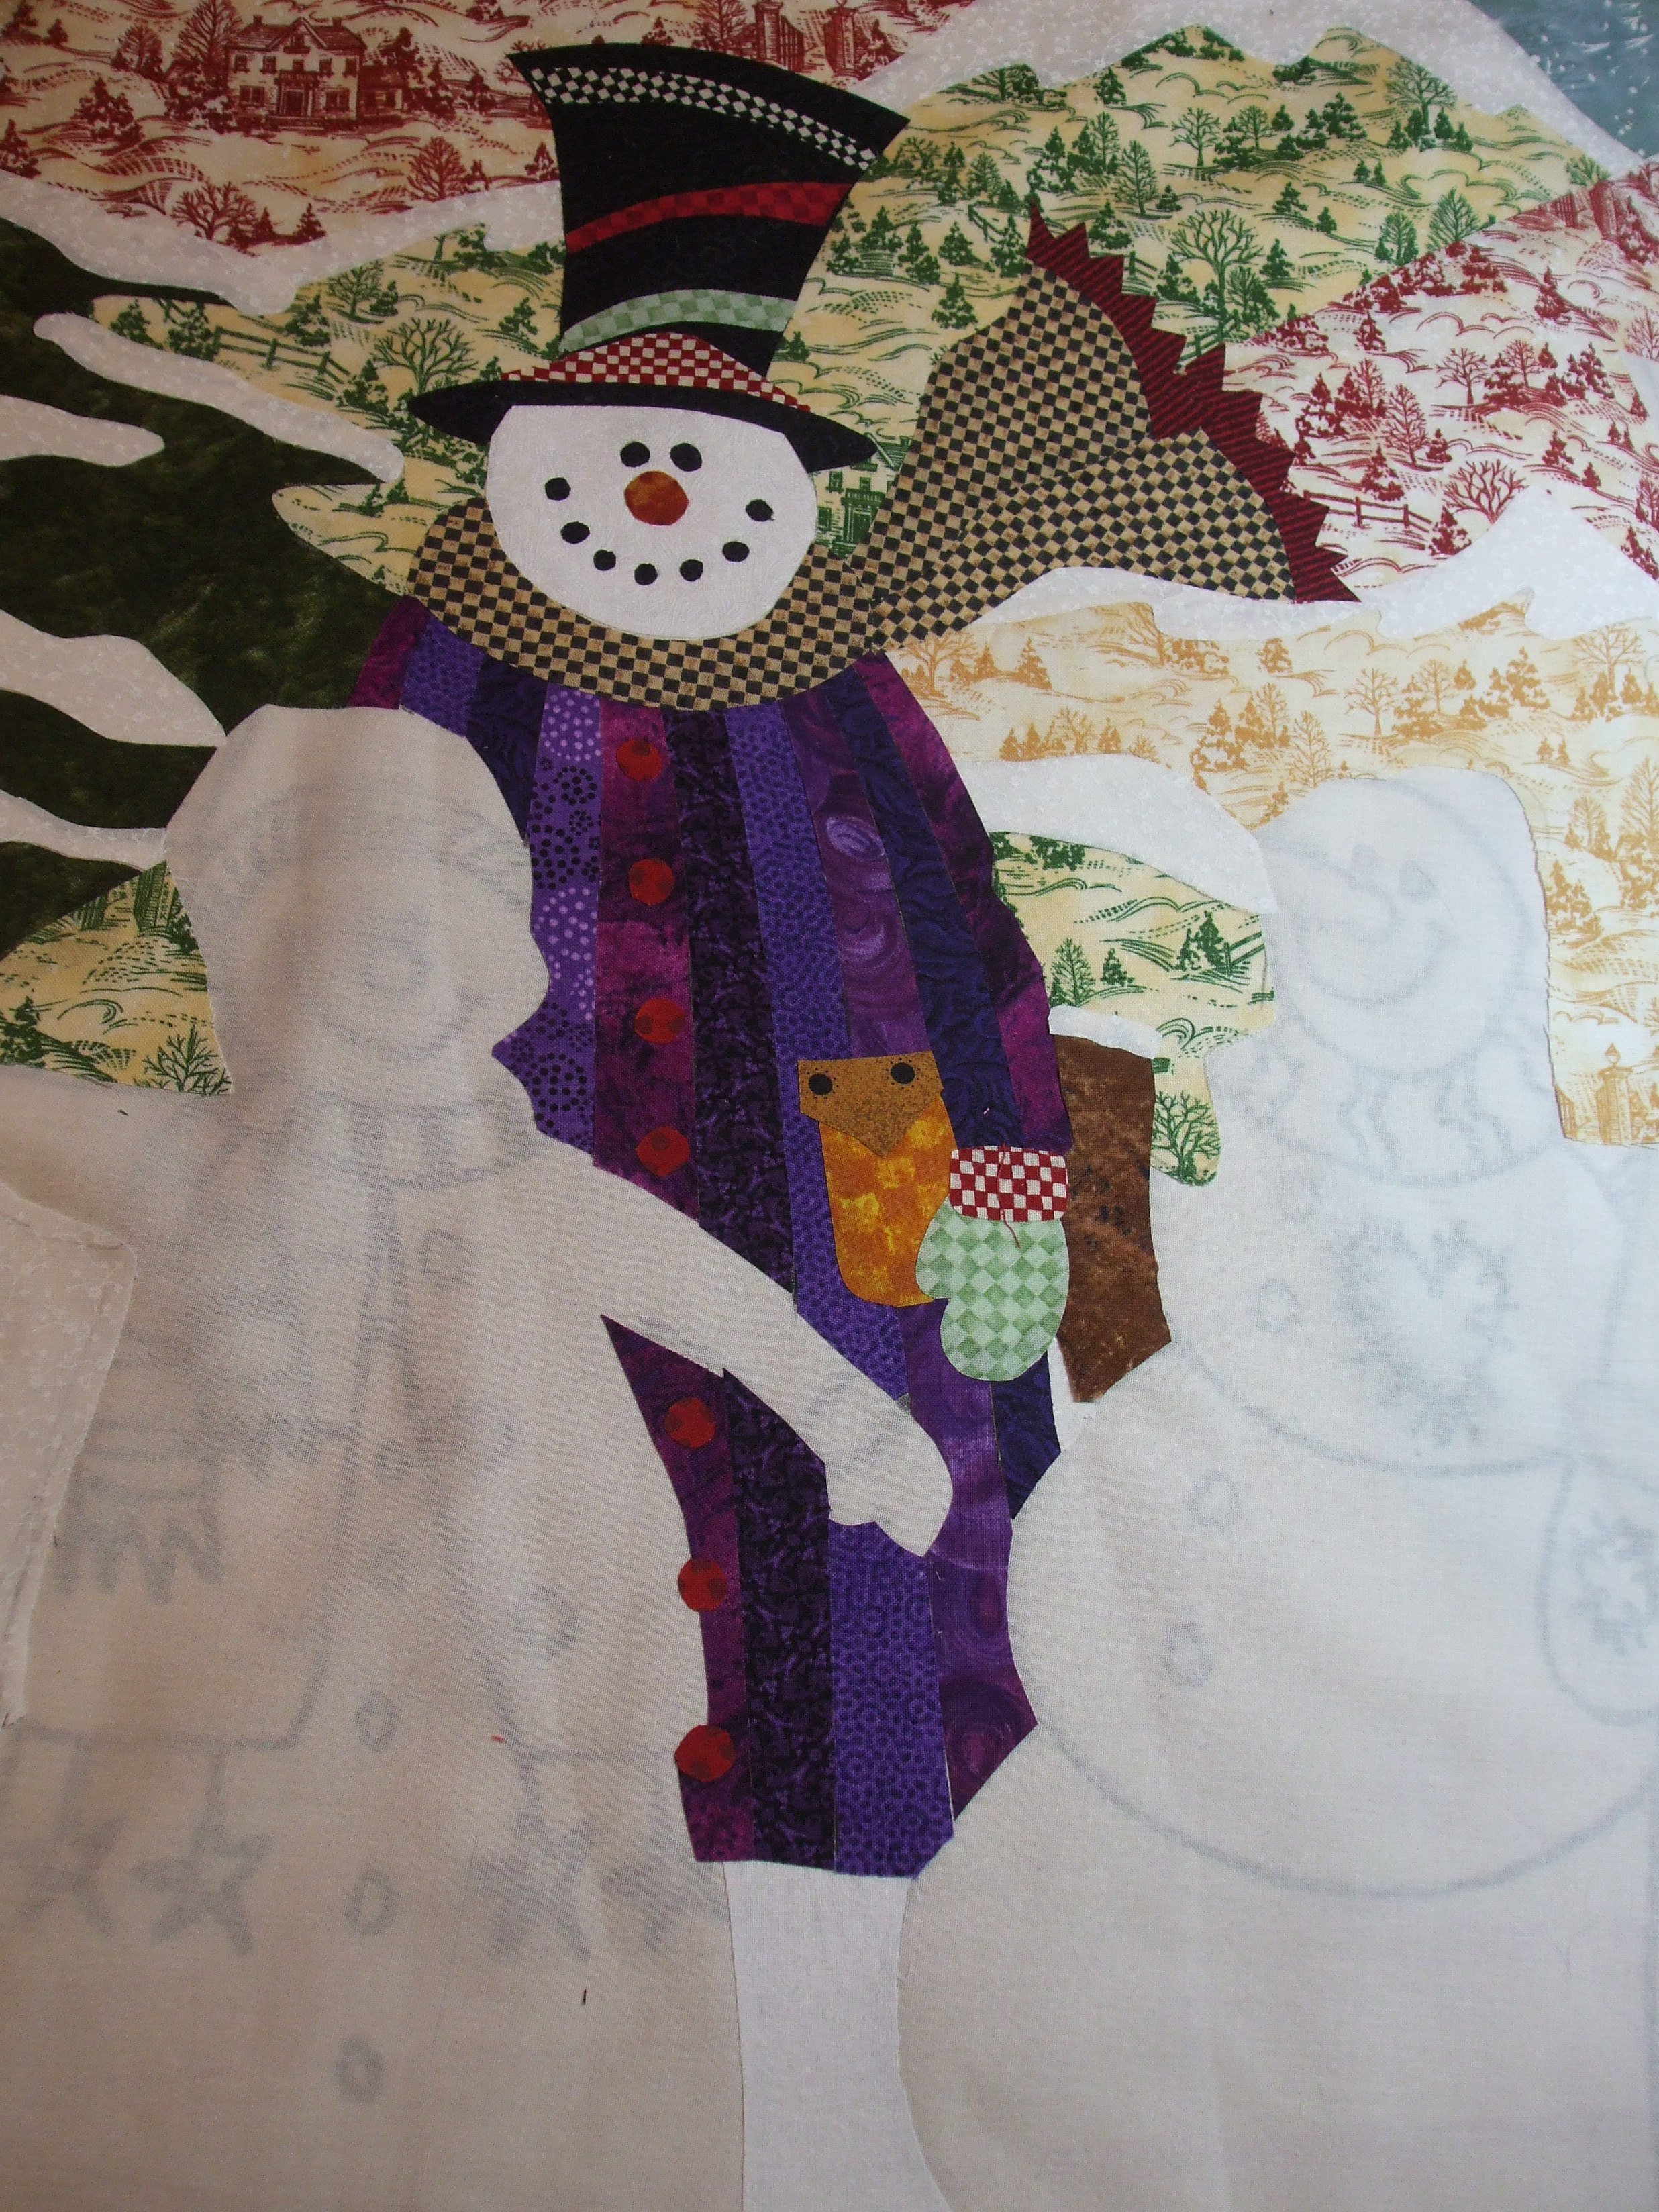
The snowmen are also build up from back to front. It is fun to work with different prints and colors, they really come to life this way.
Putting up a fence.
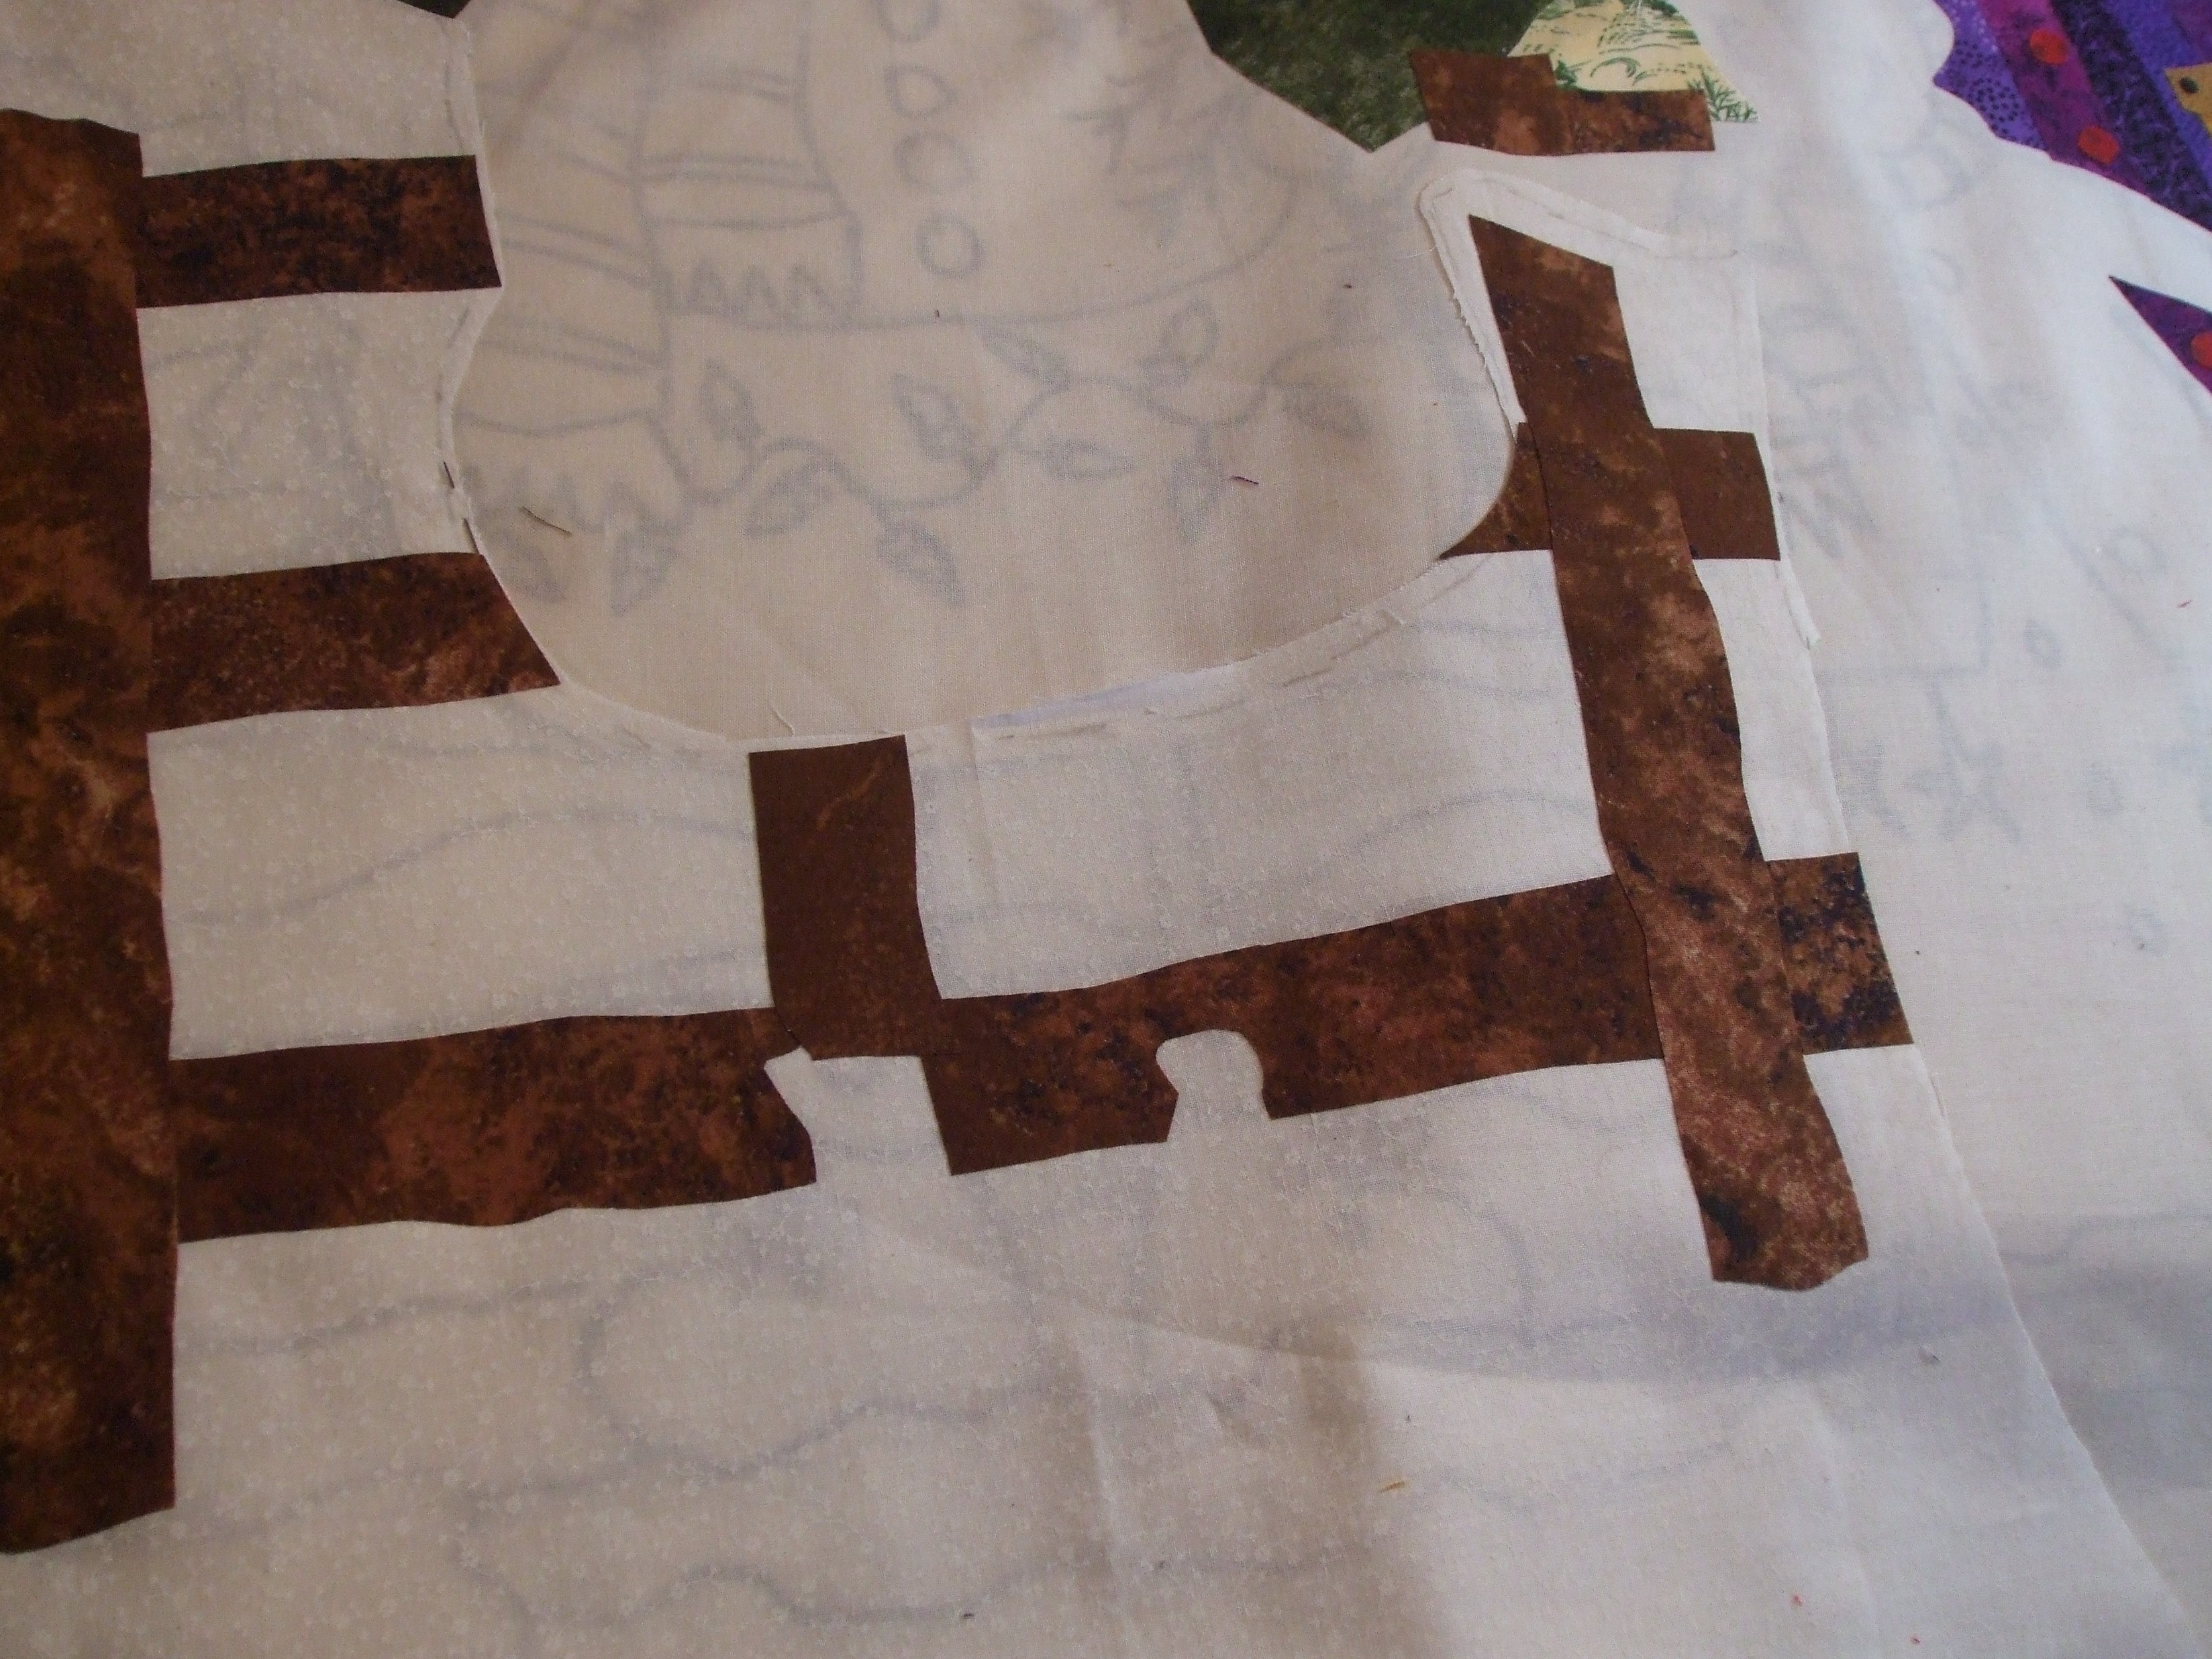
A fence is made from brown fabrics: the horizontal boards are placed first, the posts last. At first I just place them, and move until I am happy with their position, then I iron them to set.

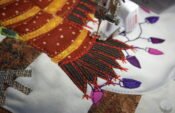
Another snowman with very thin arms and legs: ear warmers and scarf to keep him warm, and Christmas lights around his belly. The drawn lines of these Christmas lights are for quilting later: they are very thin and cannot be covered with fabric.
Adding details.
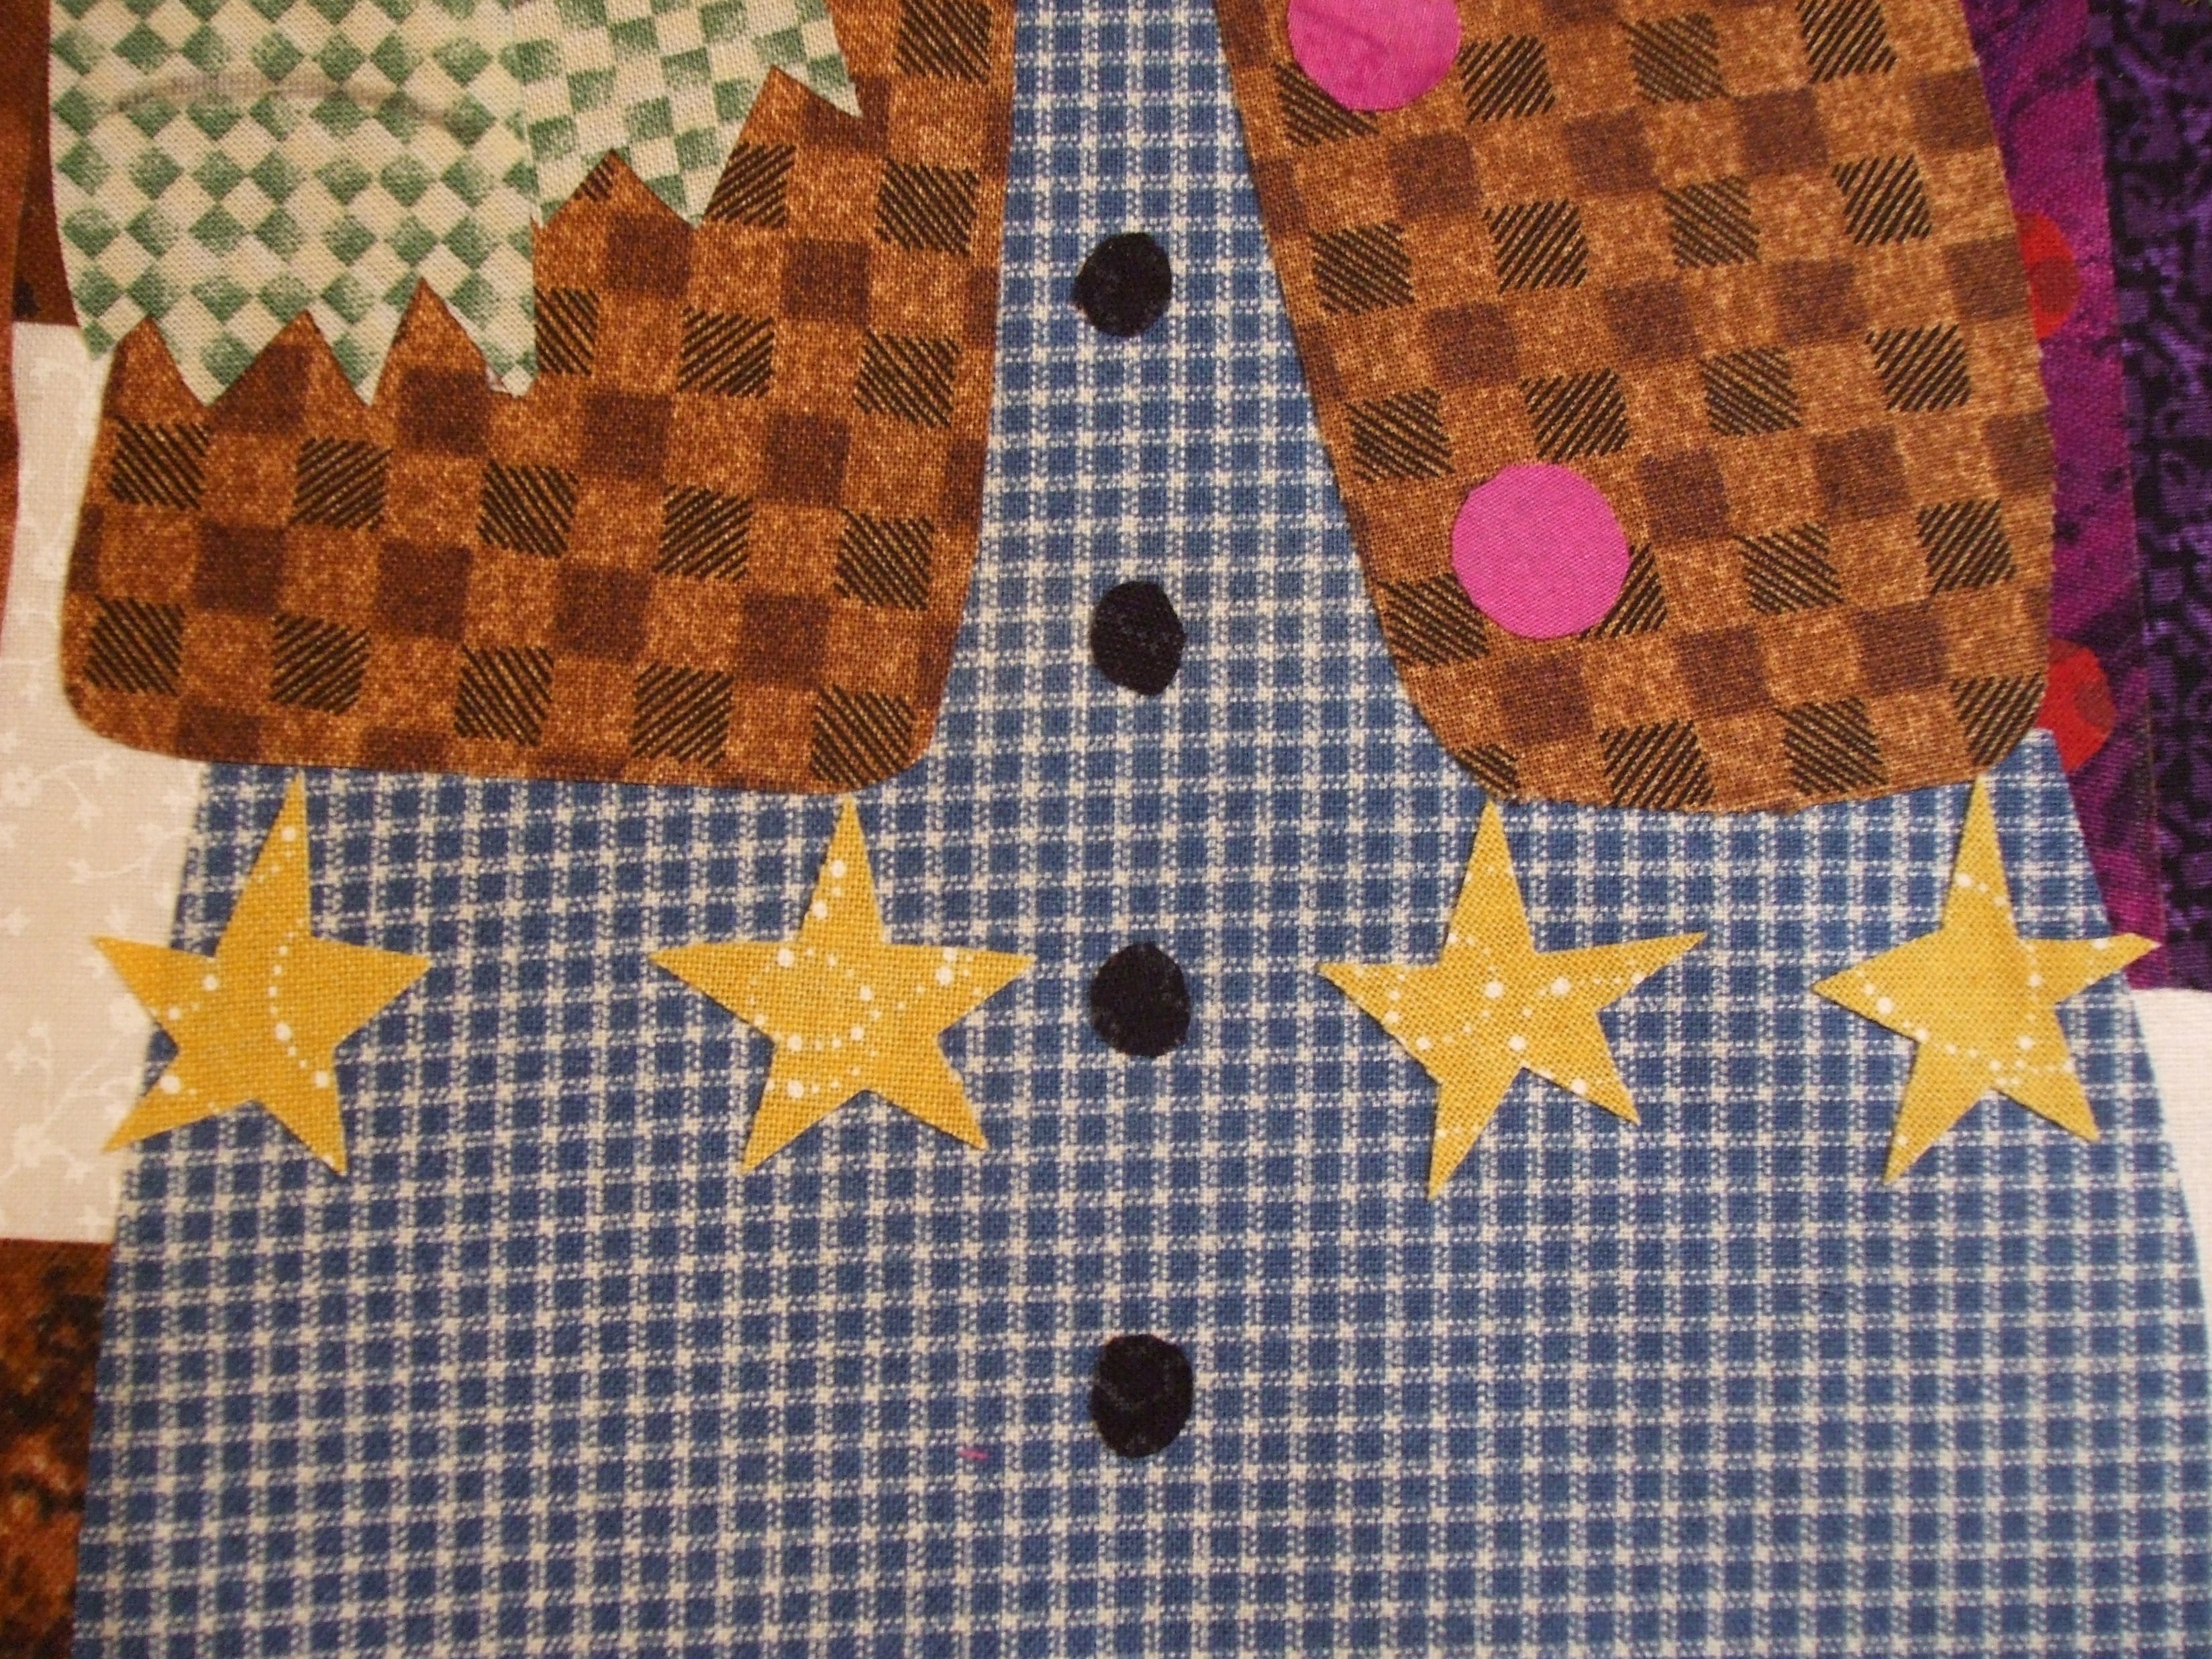
Details from another snowman: I have used a lot of plaids: sometimes I’ve placed them diagonally, for different effect. I like these plaids: they give the quilt a country style look, which I wanted. And with the use of Heat’n Bond Lite, it doesn’t matter to cut fabrics diagonally; they won’t stretch because of the glue.
All snowmen are placed, with lots of details like stars, buttons etc. Quilting is next, which I will show in Part 2: see you then!
Happy quilting!
Sylvia Kaptein
www.sylviasartquilts.nl
(* Copyright Sylvia’s Art Quilts Studio)
Hi! Where is this figure from. I broke mine and cannot find a manufacturer on the figures. Any info would be such a help!
Thank you, be inspired
Sylvia
Love it!
Looks great