Today is the day! We are kicking off the Sugaridoo Bernina quilt along with the row ‘Hashtags’. I’m so super excited about this that I don’t even know where to start. So many quilters signed up for this quilt along. Thank you all so much for you enthusiasm. It’s going to be such a fun year to make this quilt with all of you.
An extra warm welcome for all the new quilters who are joining the quilt along and want to learn how to quilt. So happy that you’re here! I’m going to show you every step of the making of this quilt. Just take it slow, allow yourself to practice and make mistakes. Starting with a quilt may seem intimidating, but that you’re here is already a great beginning. Feel free to ask questions in the comments below and in the Sugaridoo Bernina QAL Facebook group.
In this blog post you’ll find a list of materials and required fabrics, some preparation steps and finally instructions on how to make our very first row of the quilt along.
First things first
Let’s begin with a little recap before we hop behind our sewing machine. If you’re new here, welcome! In short, we are starting today with a row along quilt along. Every four weeks a new pattern will be released. After 12 rows you will have a quilt of 70 x 90″. And you’re not alone, over 4500 quilters from all over the world are already joining the quilt along!
Please hop over to this blog post to read all the general information about this quilt project. And also read this one to learn more about the materials we use and the fabric requirements.
Row #5 ‘Hashtags’
Wait, what? Row 5? Yes 🙂 Don’t panic! It’s the first part of the quilt along, you haven’t missed anything. But we are kicking off the quilt along with row 5. I’ve picked out a row that’s easy to start with. So many beginner quilters are joining that I wanted to start off nice and easy. (And because we will not make the rows in order from top to bottom it will be a surprise until the end of the quilt along what the finished quilt will look like.)
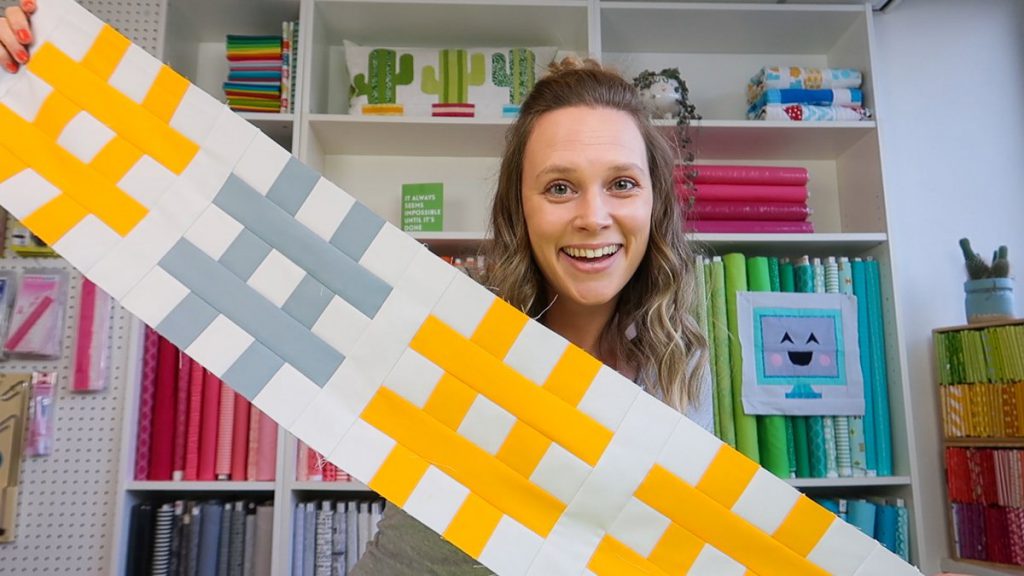
This is the row that we will be making today:
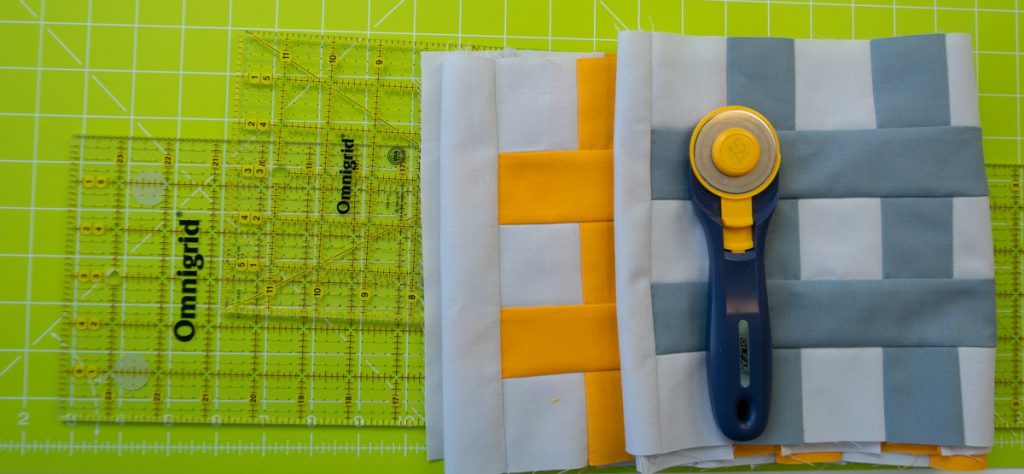
These blocks are made with a super fun slice and insert technique where you can practice sewing straight lines with a quarter inch seam allowance.
Fabric + Material
Did you order a kit for the quilt along? Than you will need to get the light orange fabric Papaya out for this row if you are making a rainbow quilt. Or the dark grey Titanium if you’re making a blue quilt. We will make one of the hashtags in accent color, so also get your accent fabric out. And of course your need your background fabric.
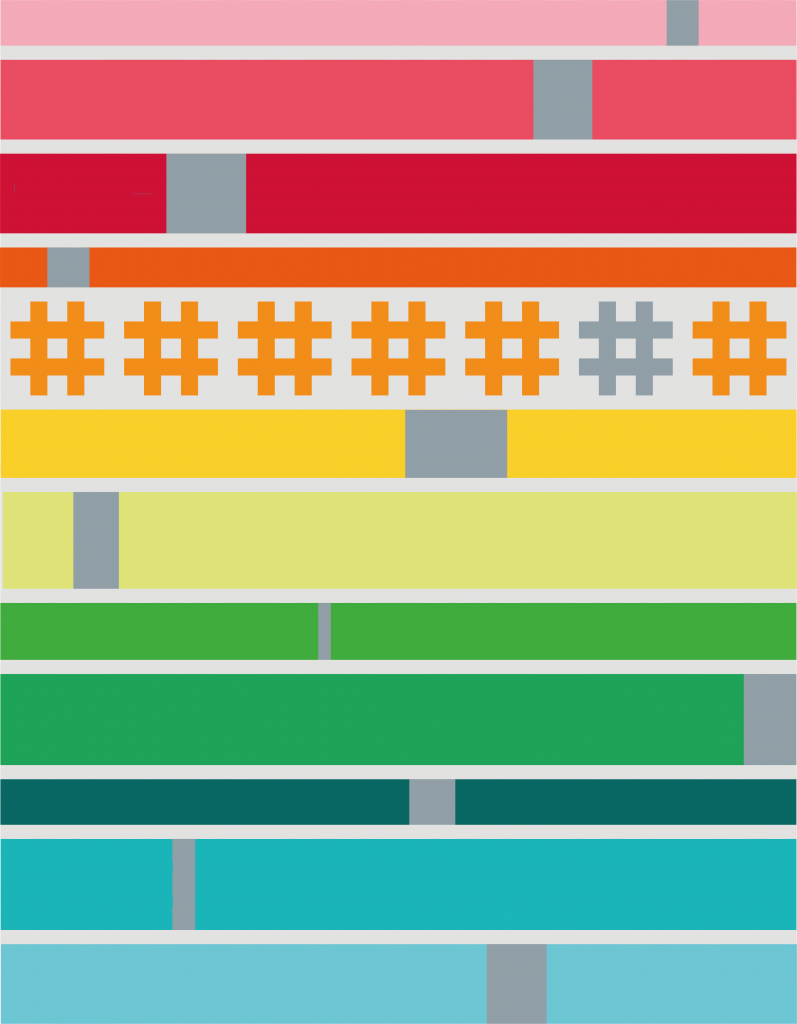
For those of you who want to play with the location of the accent color in each row, or add extra accent colors or just want to get a little more insight in the layout of the quilt. Here is a schematic of the rows and the placement of the accent colors.
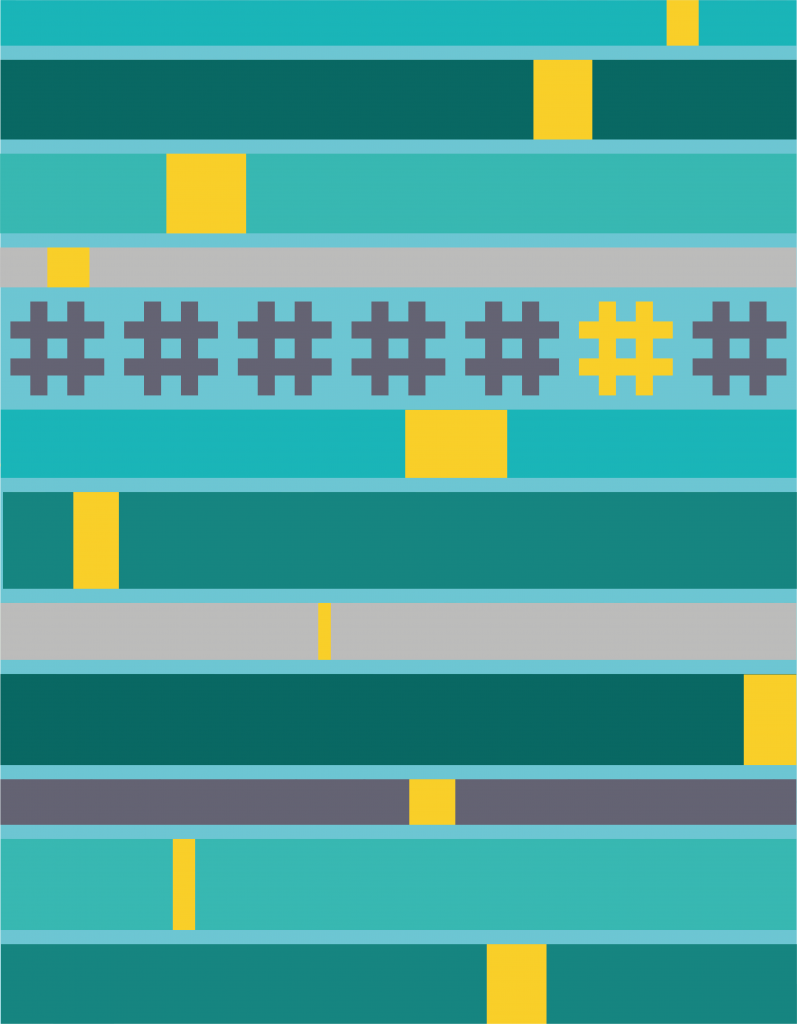
And this is what the schematic of the quilt looks like for the blue fabric kit.
You will need the following to make this row.
- Main fabric: 12 inch
- Accent fabric: 2 inch
- Background fabric: 14 inch
- Inch ruler (12 x 6 of 24 x 6 will be fine)
- Rotary cutter
- Cutting mat
- Iron + ironing board
- Sewing machine with a 1/4″ foot, I’m using the #97 patchwork foot
- Thread (I use thread in the color of my background fabric)
Cutting
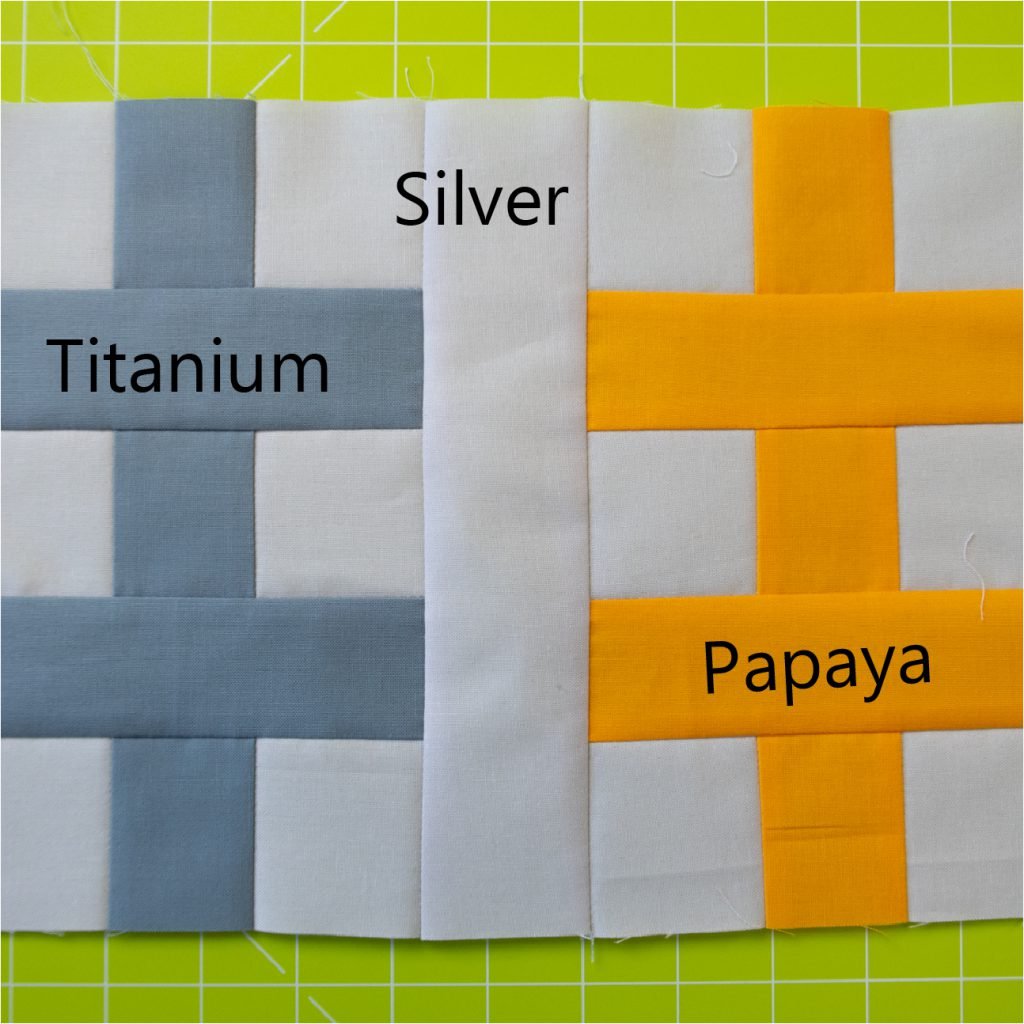
We are going to cut strips and work with a slice and insert technique to make seven of these blocks. We will make six in the main color and one in one in the accent color. I’m making the rainbow quilt on a Silver background, so my main color will be Papaya and the accent color is Titanium.
In this Youtube video I’m showing you how I position my fabric and ruler to cut strips. If this is your first time cutting with a ruler and rotary cutter, make sure to watch the video.
Cutting scheme
Cut the following strips. Where it says WOF it means that you will cut a strip over the whole Width Of Fabric.
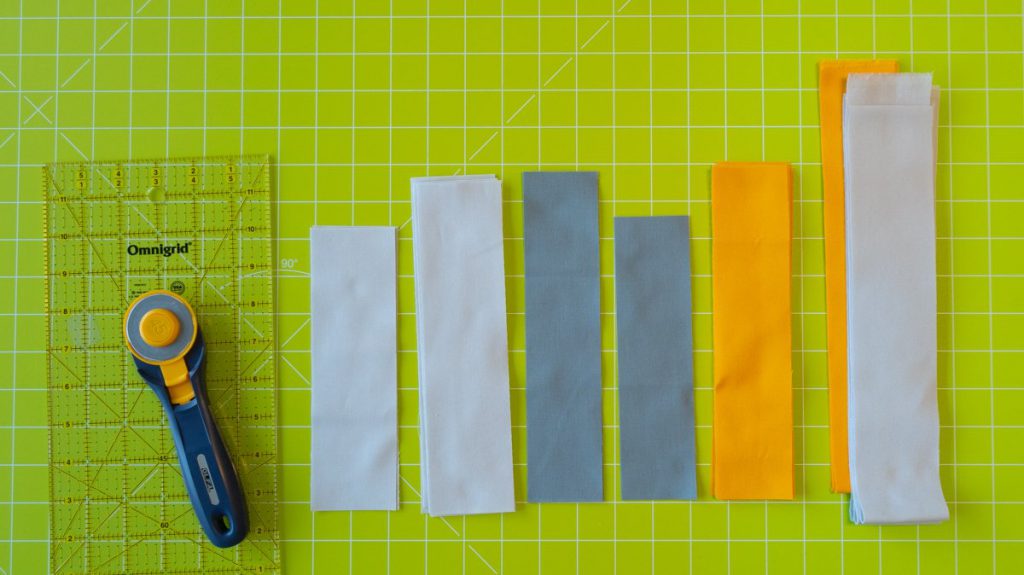
- Main fabric (Papaya): 5 x a strip of 2″ WOF
- Use 3 of these strips to cut 12 x a strip of 2″ by 8 3/4″
- Background fabric (Silver): 6 x a strip of 2 1/4″ WOF
- Use 1 of these strips to cut 3 x a strip of 2 1/4″ x 7 1/2″
- Use 2 of these strips to cut 8 x a strip of 2 1/4″ x 8 3/4″
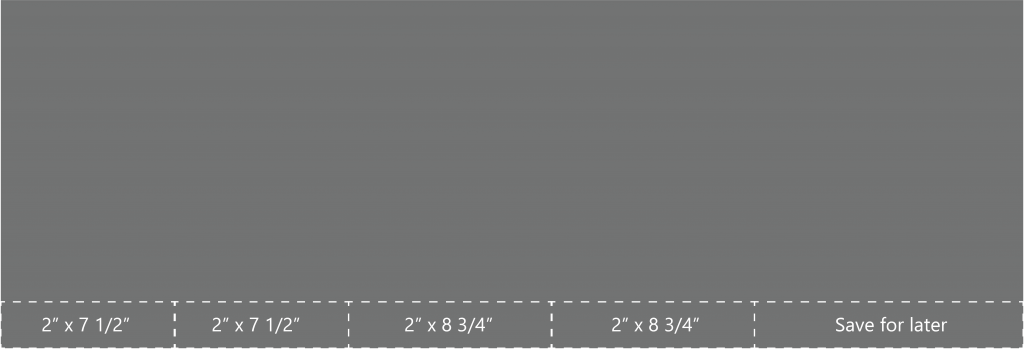
- Accent fabric (Titanium): 1 x a strip of 2″ WOF
- Use this strip to cut 2 x a strip of 2″ x 7 1/2″
- Use what is left to cut: 2 x a strip of 2″ x 8 3/4″
- Save the strip that is left for a different part in the QAL.
These cutting schemes can also be downloaded as a PDF: Cutting schemes for QAL part 1 – Row #5 [Rainbow]
Here you can download the cutting scheme for the Blue fabric kit: Cutting Schemes for QAL part 1 – Row #5 [Blues]
1/4″ seam allowance
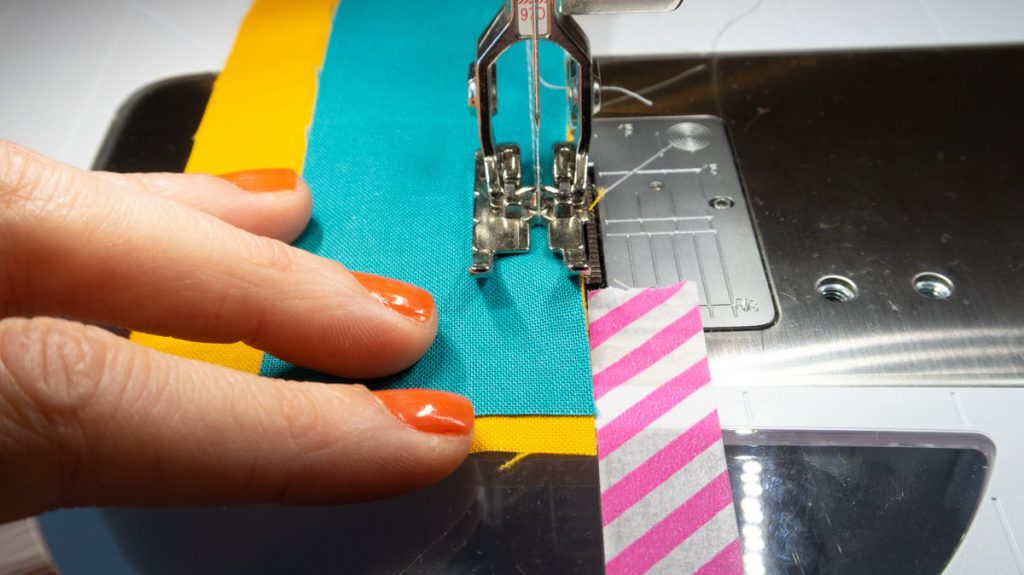
A quarter inch seam is important for the accuracy of your finished quilt block. All strips that you’ve just cut include quarter inch seams. You make a quarter inch seam by following the width of the foot on your sewing machine if that is a quarter inch foot. Go ahead and take a scrap piece of fabric and let the edge of the fabric follow the edge of your foot.
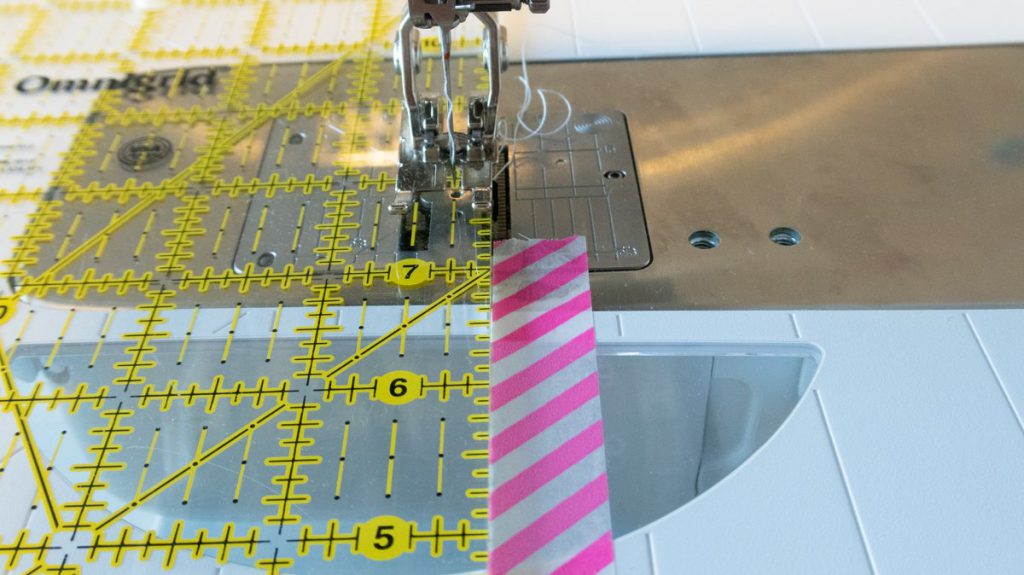
You can now measure what the width of your seam is. If it’s not a quarter inch and you don’t have an alternative foot, just go ahead and take some masking tape to make a 1/4″ guideline on your machine.
Turn off your machine and place your ruler with the 1/4″ mark under your needle. Than tape along your ruler. Now you know where to place your fabric to get that 1/4″ seam.
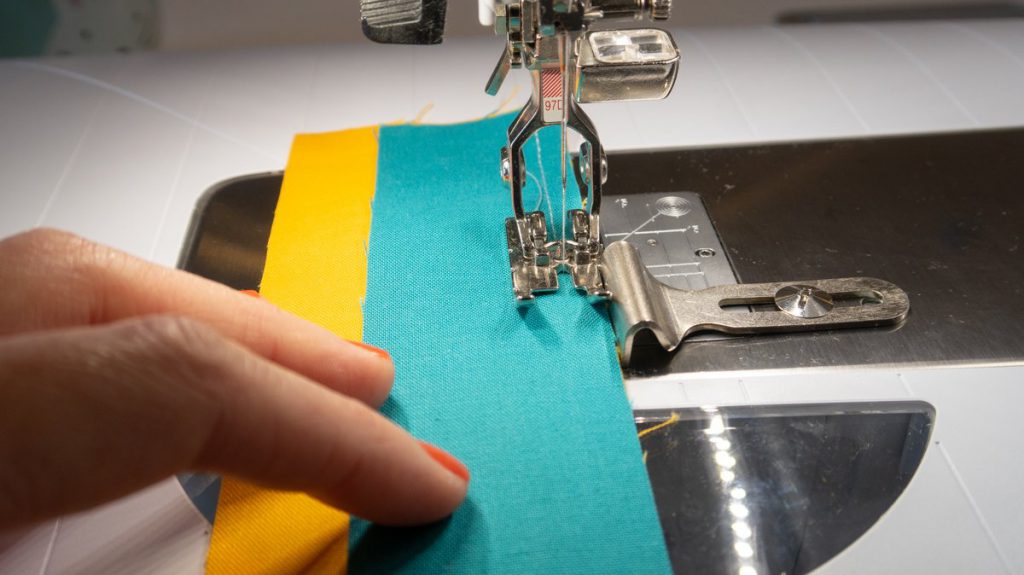
This is why the BERNINA patchwork foot #97D is so perfect. The foot is a 1/4″ wide and there is an adjustable guide to guide your fabrics.
Make six blocks in the main fabric
Now it’s time to start sewing. Are you ready?
- Sew together a Papaya and a Silver strip. Sew with a quarter inch seam allowance.
- Press. I like to press the seams to the side of the darkest fabric, in this case I’m pressing away from the silver. But if you prefer to press your seams open, that’s also fine.
- Add a Silver strip to the Papaya strip and press. I pressed both seams towards the Papaya fabric.
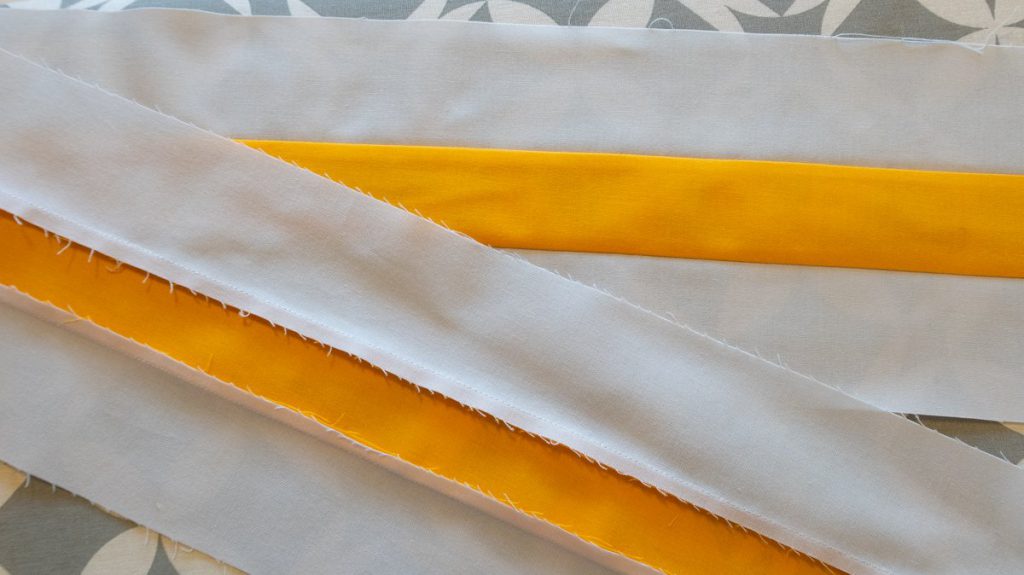
- Add another Papaya strip and a Silver strip and press. Now you will have an alternating strip with Silver-Papaya-Silver-Papaya-Silver.
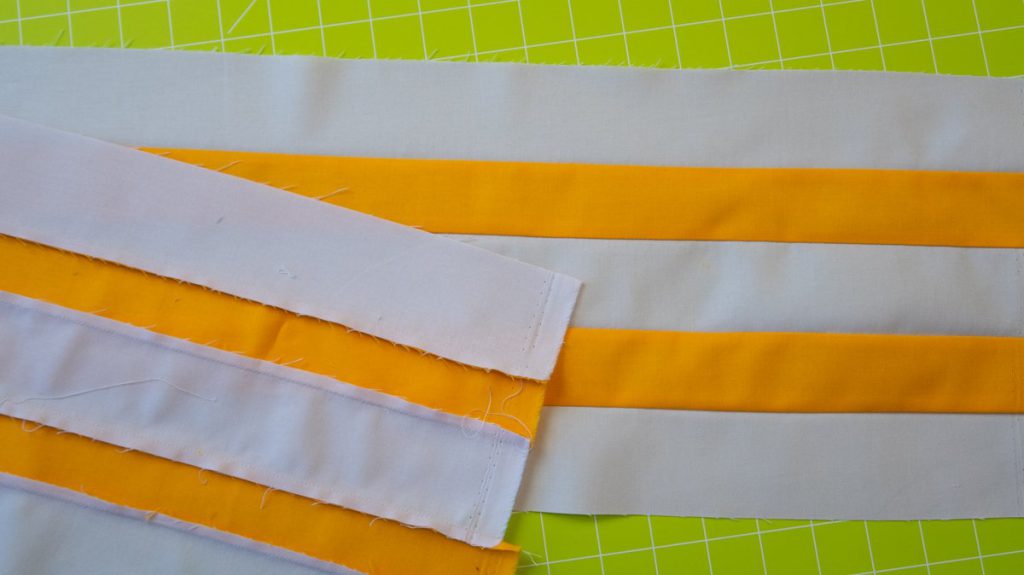
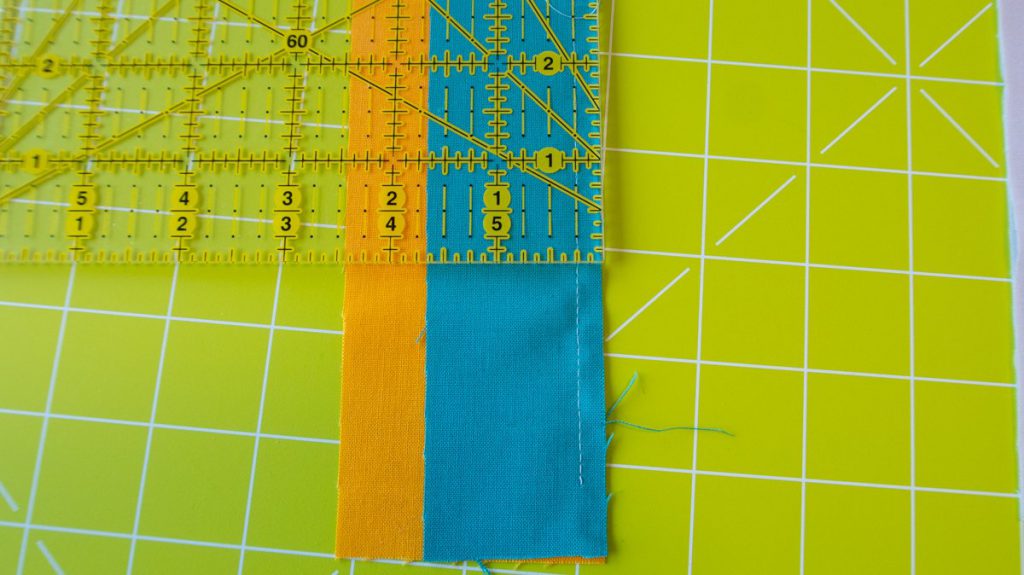
- Slice up this Silver+Papaya strip. First make the edge straight like you see me do in the video. And the cut 18 pieces of 2 1/4″ wide.
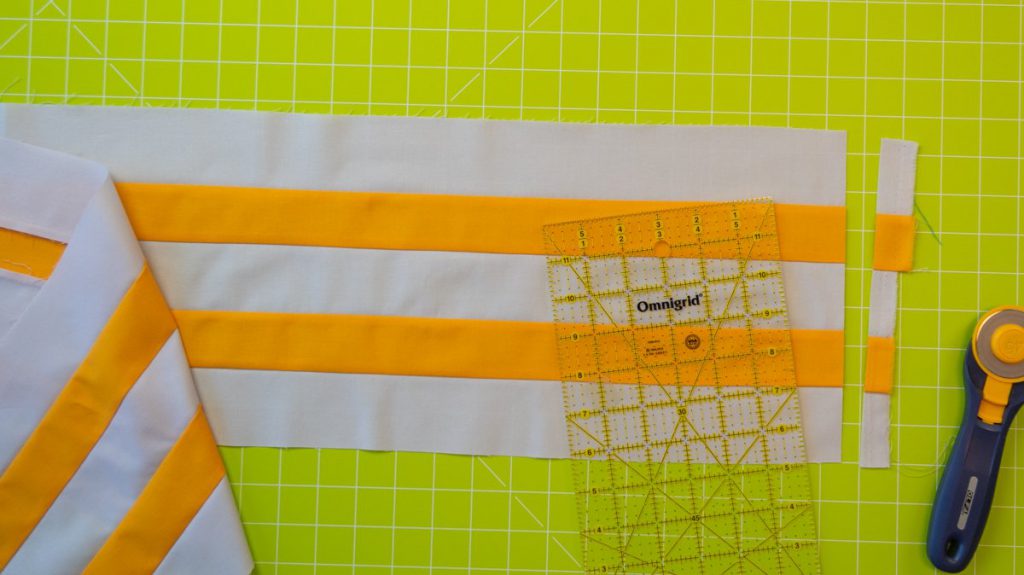
- Time to assemble the blocks. Take three Silver+Papaya pieces and place two 8 3/4″ Papaya strips in between. Sew this together. There is your very first block of the quilt along finished!
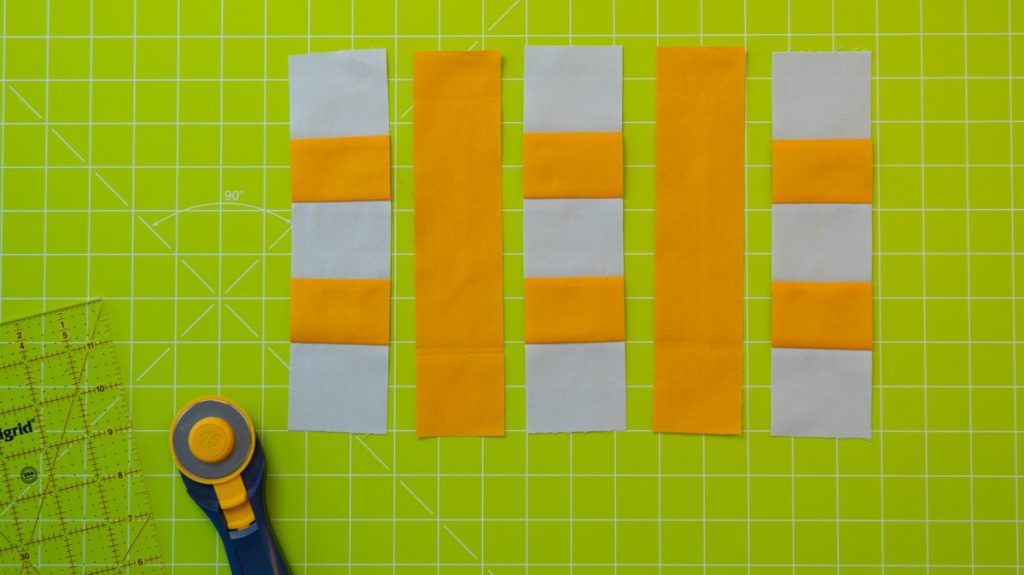
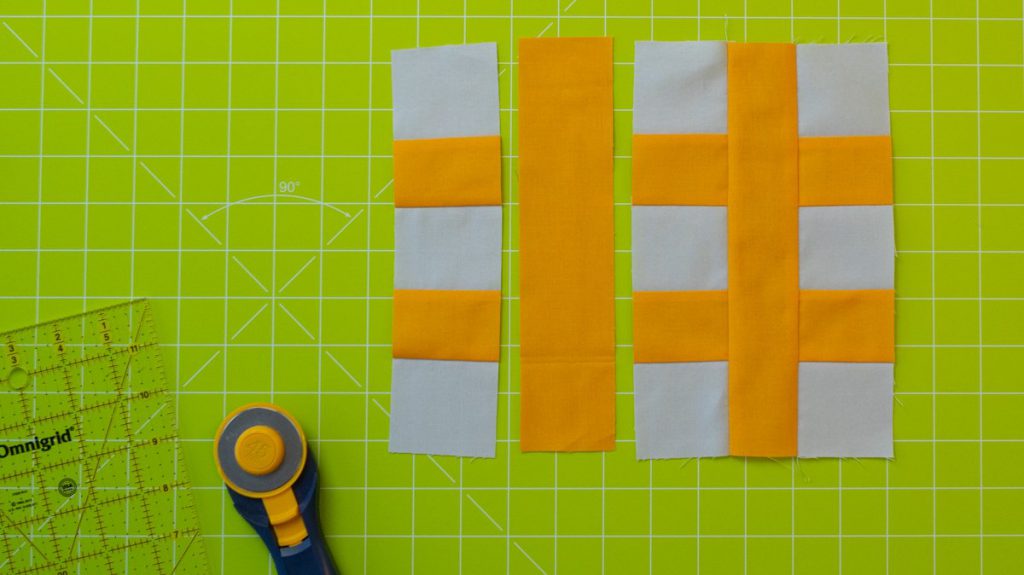
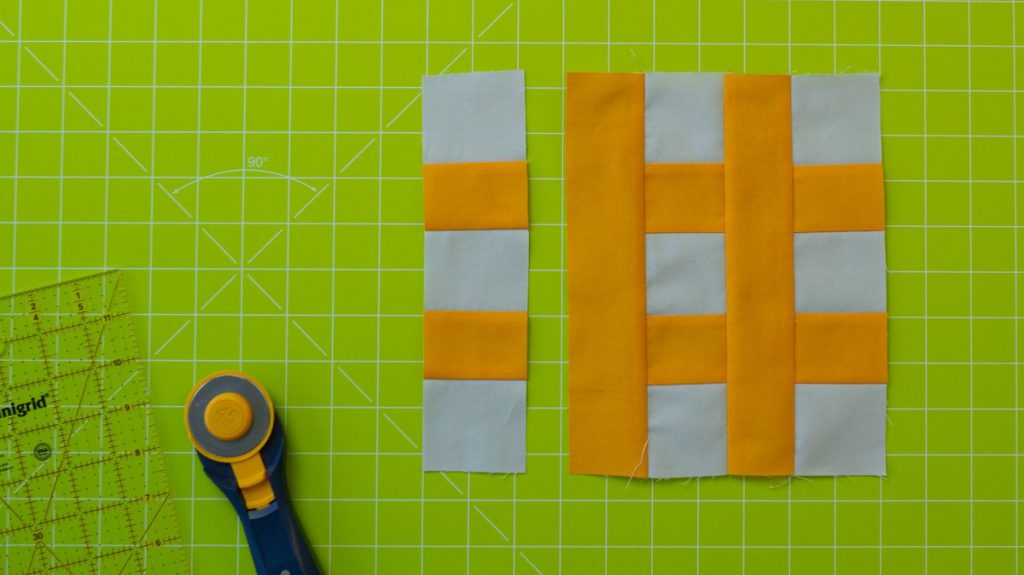
- Repeat step 6 for the remaining five blocks in Papaya.
Make one block in accent fabric
Now we make one block in the accent fabric Titanium
- Take three 7 1/2″ Silver strips and two 7 1/2″ Titanium strips. Combine them into an alternating strip like you did in steps 1-4 in the description above.
- Slice this up in three pieces of 2 1/4″wide.
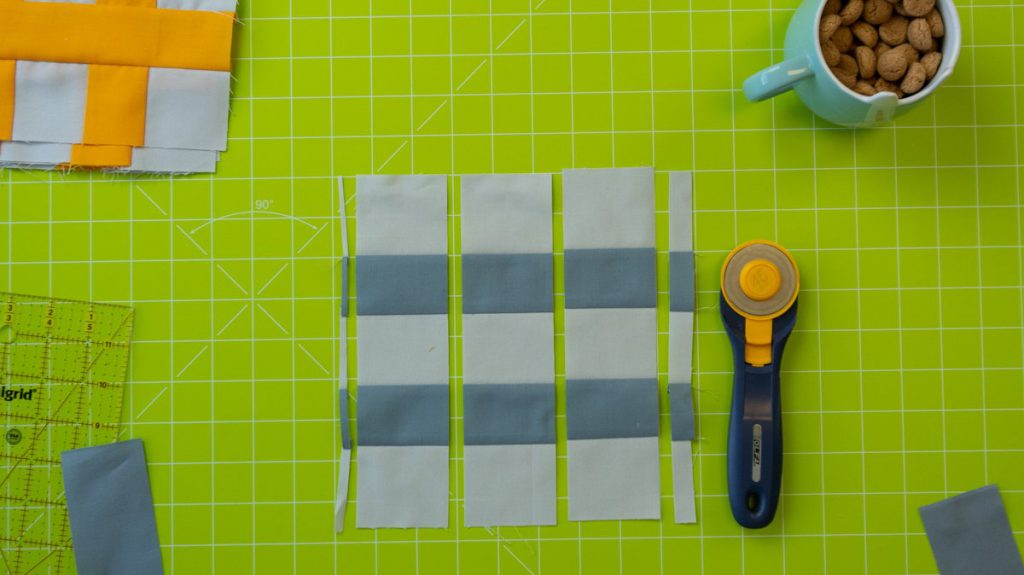
- Take the two remaining 8 3/4″ Titanium strips and sew those in between. That will finish your accent block.
Putting the row together
Now to sew the whole row together you will need eight 2 1/4 x 8 3/4″ inch strips in Silver. Sew these strips between the blocks. The accent block will be the one before last on the right side. Also sew a strip on both ends of the row.
The finished quilt that we are making will measure 70 1/2″ wide, including seam allowance. This row is now a little over 70 1/2 inch wide. You have two options here. One: you can fold you row in half, measure 35 1/4 inch and cut you row exactly to 70 1/2″ wide. Or you can leave it like this and trim off the edges later, when you put your quilt together.
Aaaand it’s done!
There it is!! Your very first row in this quilt along. I’m so proud of you! I just can’t wait to see your row in our Facebook group or on Instagram with #SugaridooBerninaQAL. I had so much fun, finally diving in to my fresh pile of rainbow fabrics. I hope you liked this first row as well. The next one will be up in four weeks from now on the 26th of December.
If you have any questions about this row, feel free to ask them in the comments below this post. Or hop over to the Facebook group. Next week I’ll be hosting a live Q&A about this row on Facebook to help you get started.
Thank you so much for joining the quilt along. I hope you will have lots of fun making this first row.
See you soon!
Irene
 BERNINA Corporate Blog -





Can I still buyt the kit for this quilt
Dear Jeanne,
I just checked Sugaridoo’s Webshop and there doesnt seem to be any more kits for it. You might want to contact her via the website to ask if she may has some left?
Kind regards, Ramona from BERNINA International
Maine Coast USA
Row 5 – Hashtags in December 2019.
I was wondering if the pattern for the different rows like the hartas & others were downloadable?? Would make things so much easier!
Nothing like a late start!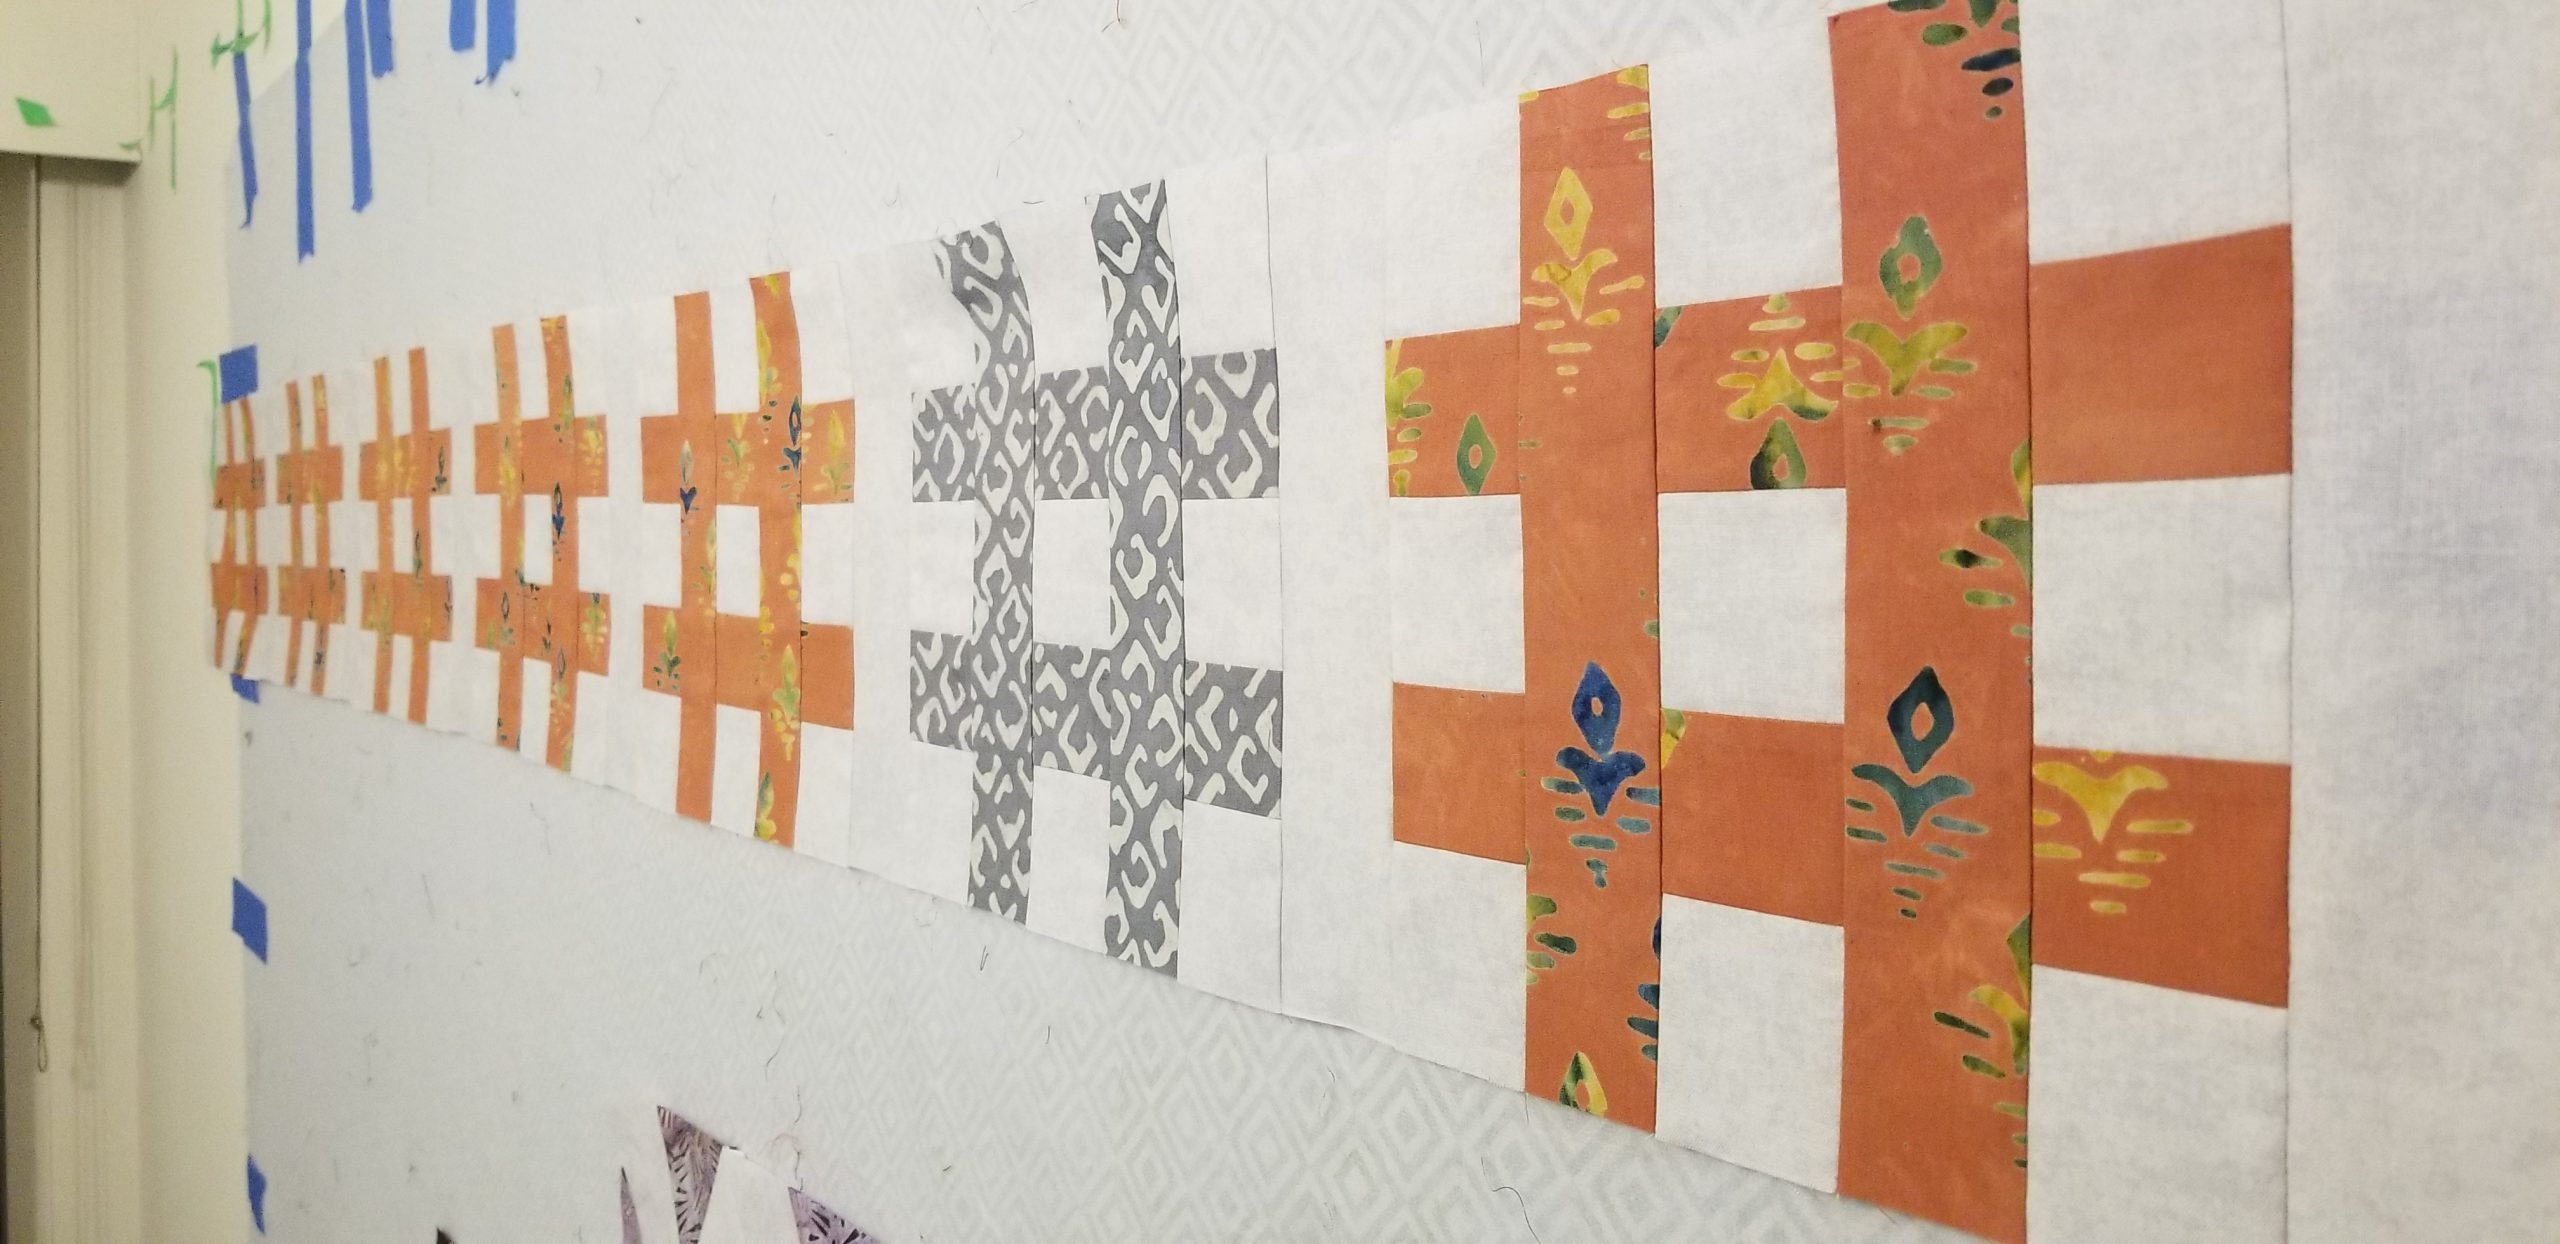
I just finished my first row. Thanks for all the tips. Hope I am posting in the right place.
How wide is the sashing between the rows?
I’m late joining this project. Just done my first row and better hurry up with the rest.

Had a great time making this row!
Can’t wait for my fabric to arrive!!
Where can I get a list of the Kona rainbow colors used?
Thank you.
Julie
First row of first quilt ever! Really enjoying this process. Thank you.
Part 1 row #5
I love it!
I can’t find pattern. H…e…l…p…
#sugaridooberninaqal #SugaridooBerninaQAL #MettlerThread
My first time at FPP! Thank you for taking me to new places!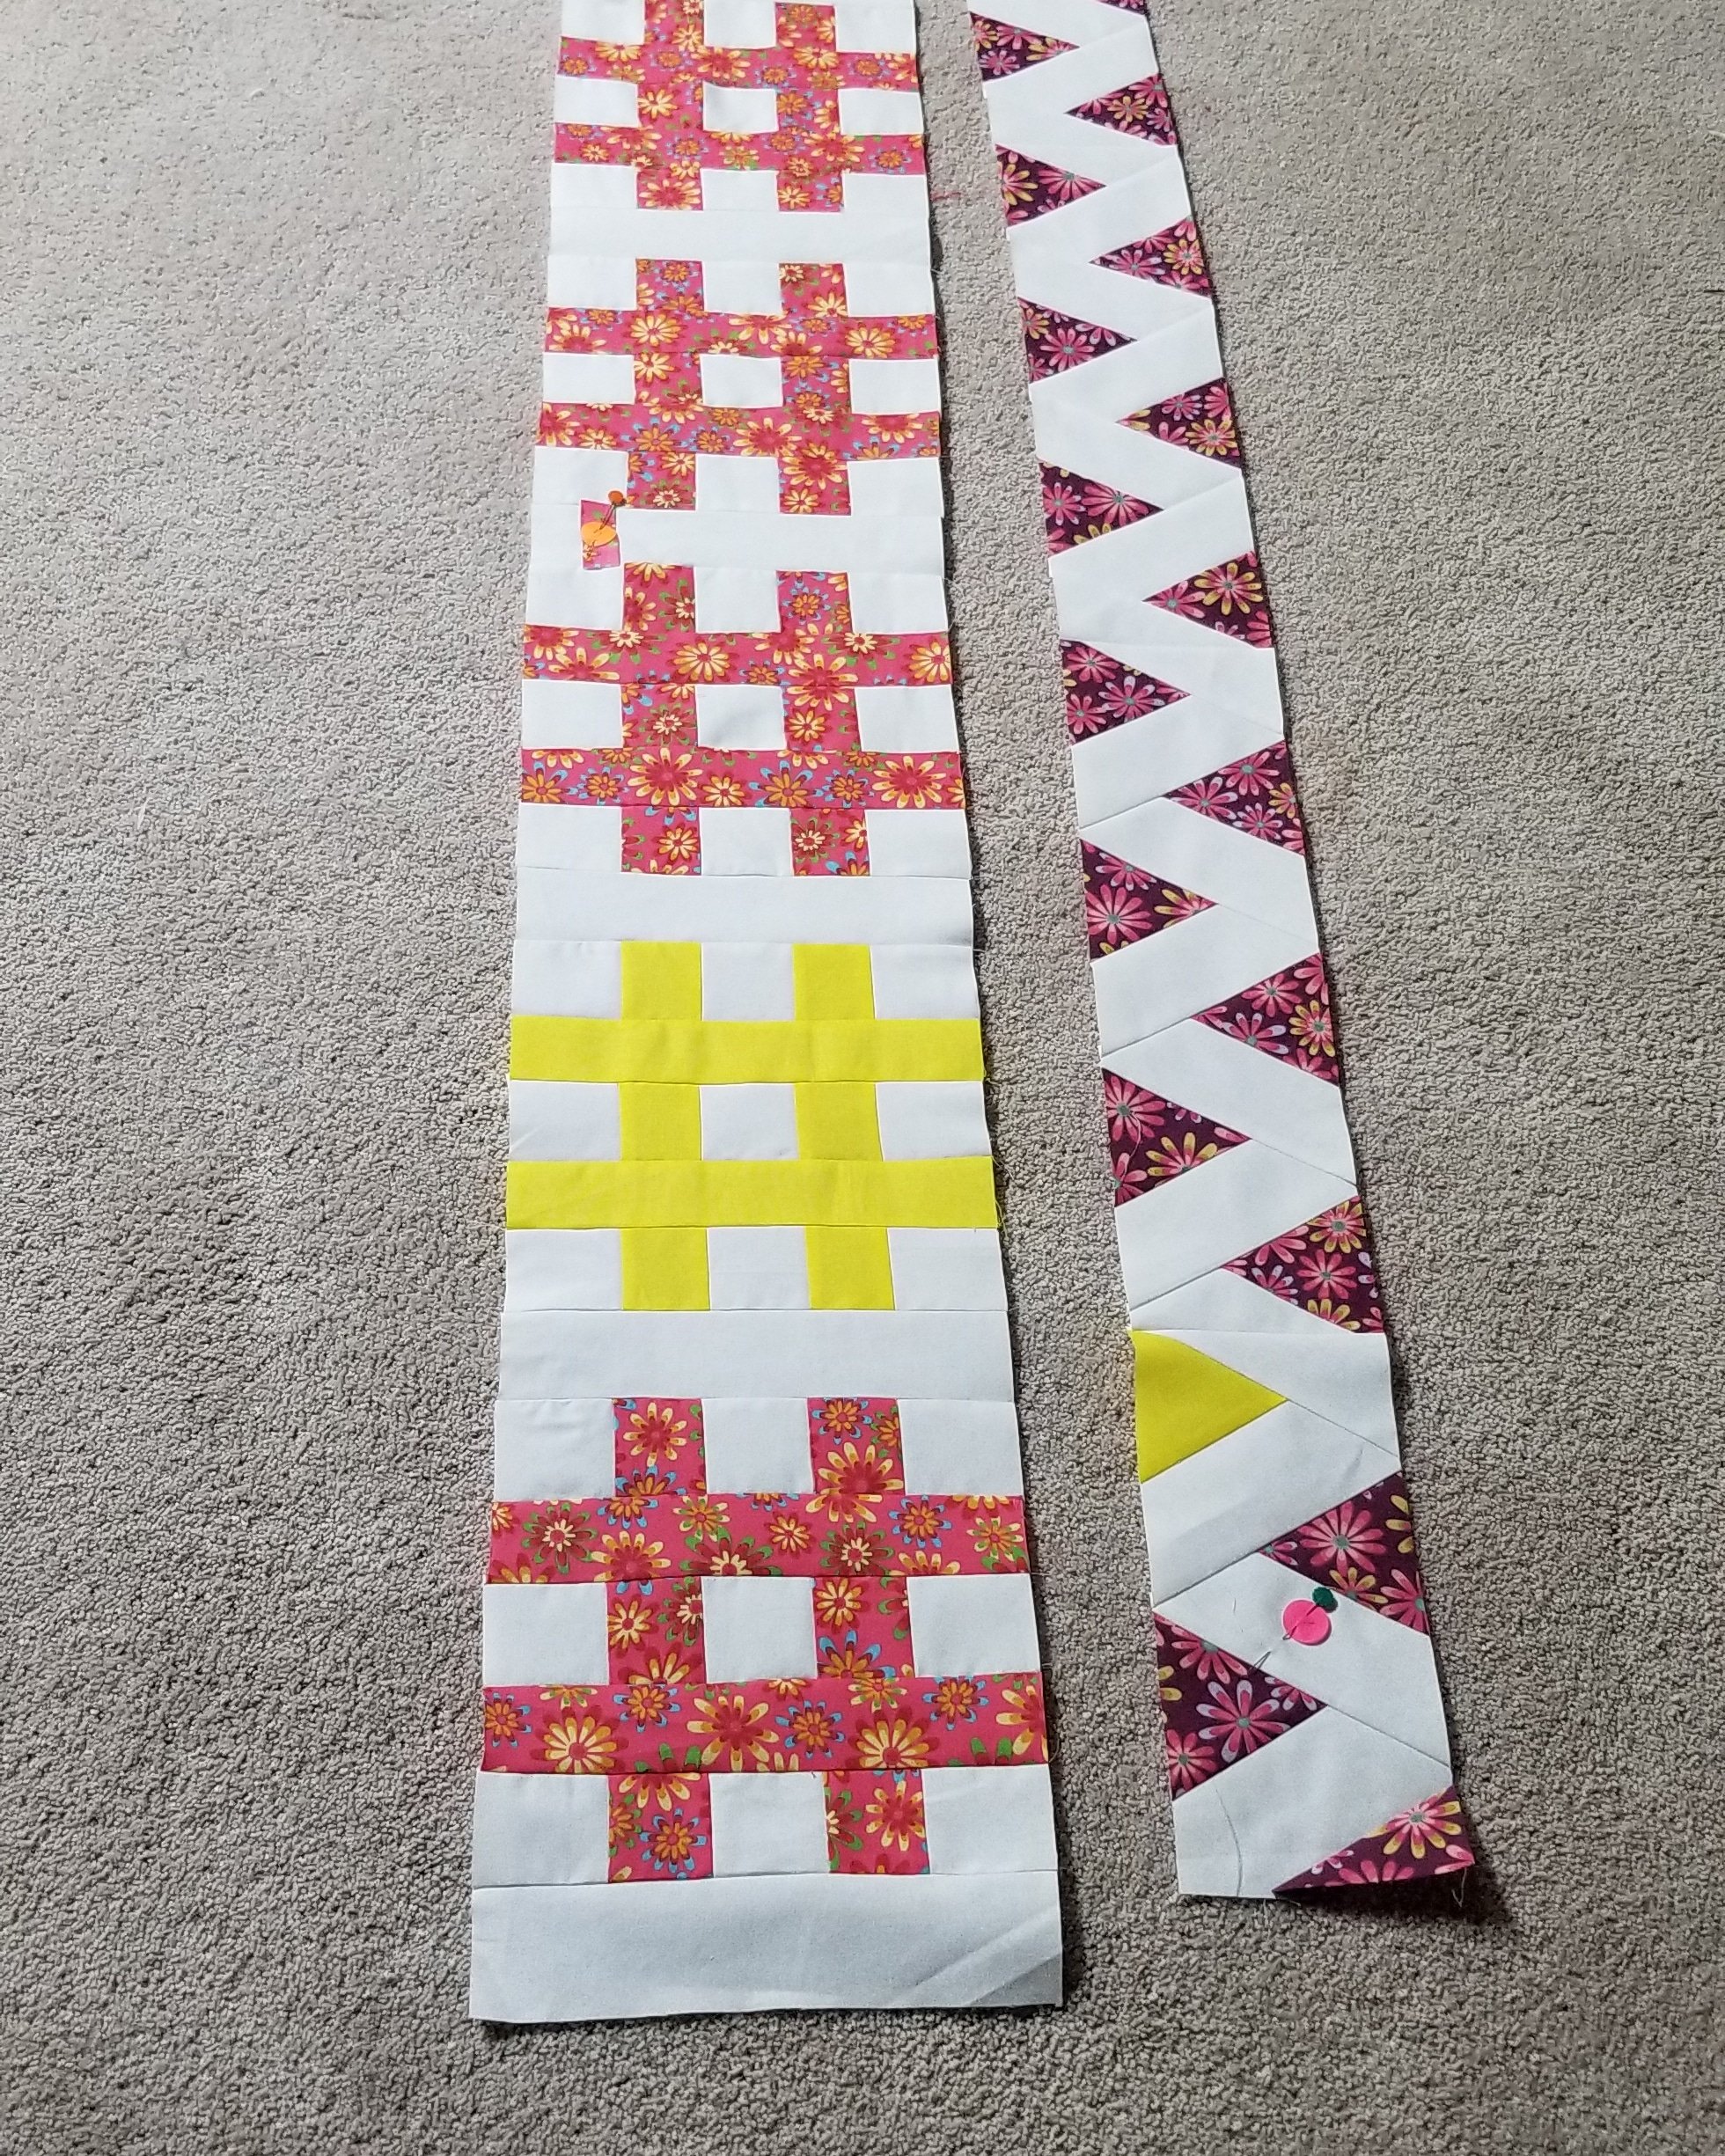
My first time at FPP! Thank you for taking me to new places!
Finally, finished Row 5. It wasn’t perfect going together but I’m happy that it’s done.
Here is Row 5 completed. Fun to make!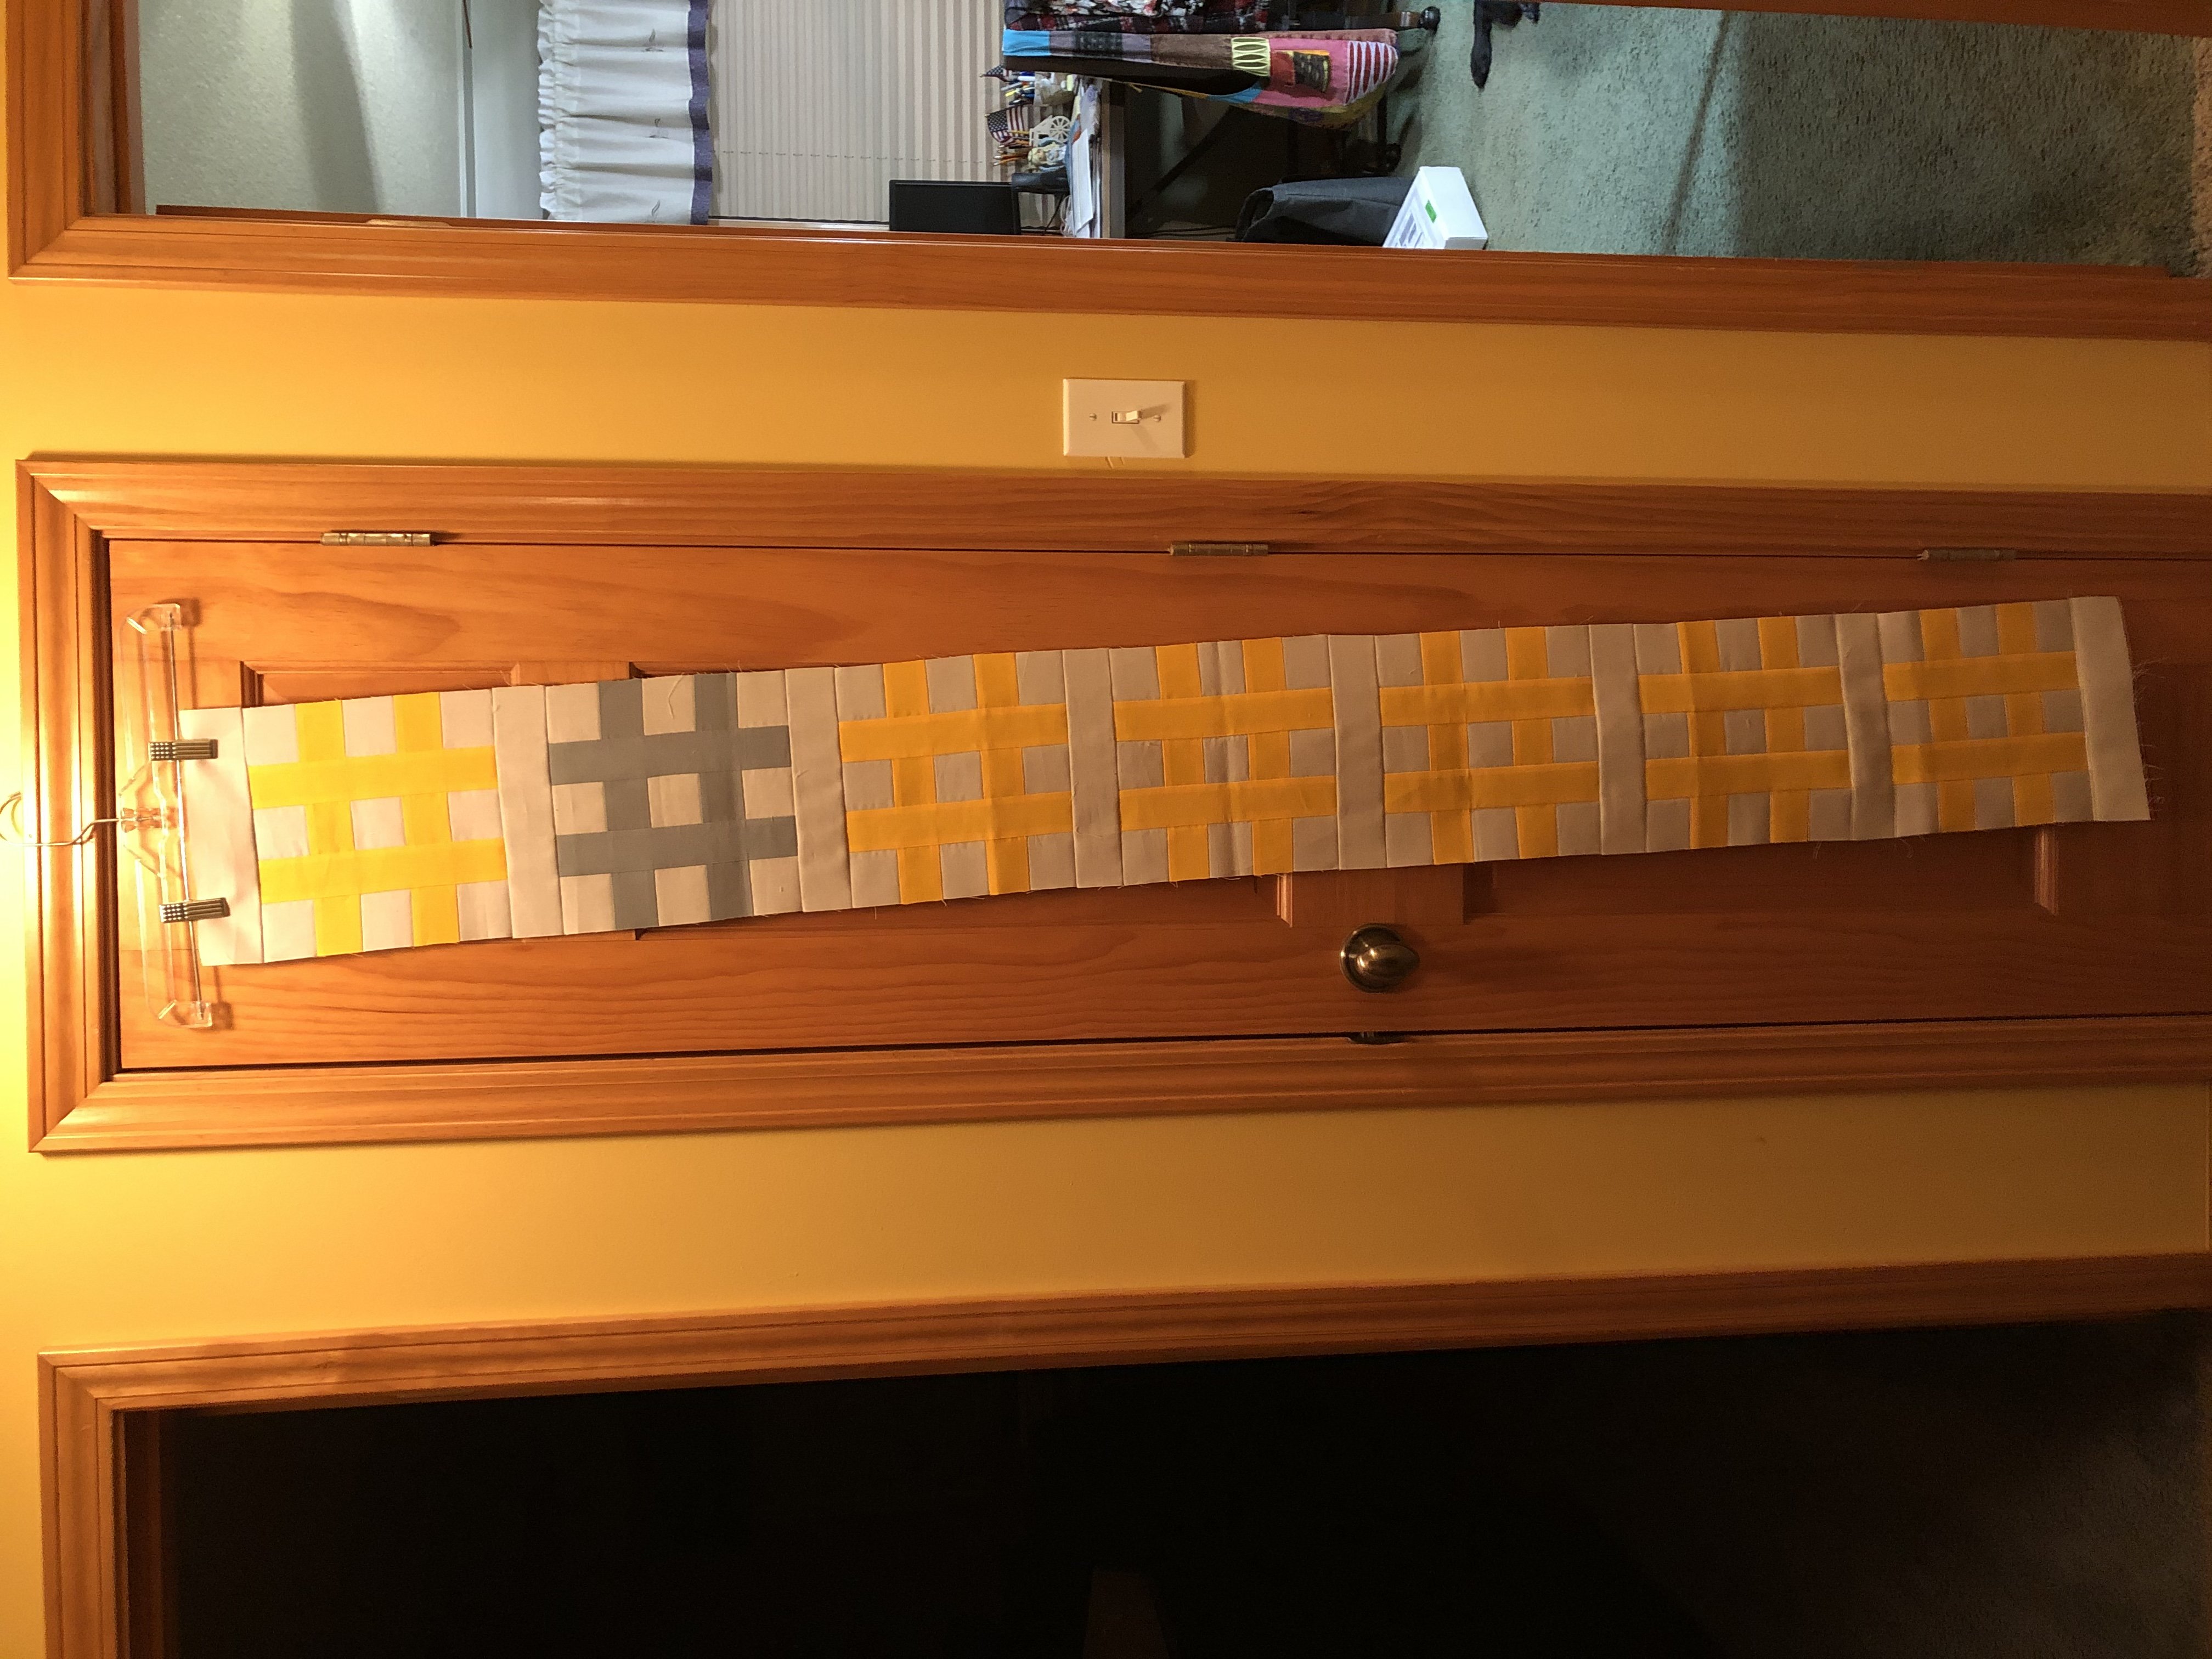
It is so fun to see the row in different colors and prints. I may have to make two of these!
Hello
This is my first row, easy and fun to make ! Ready for next month ?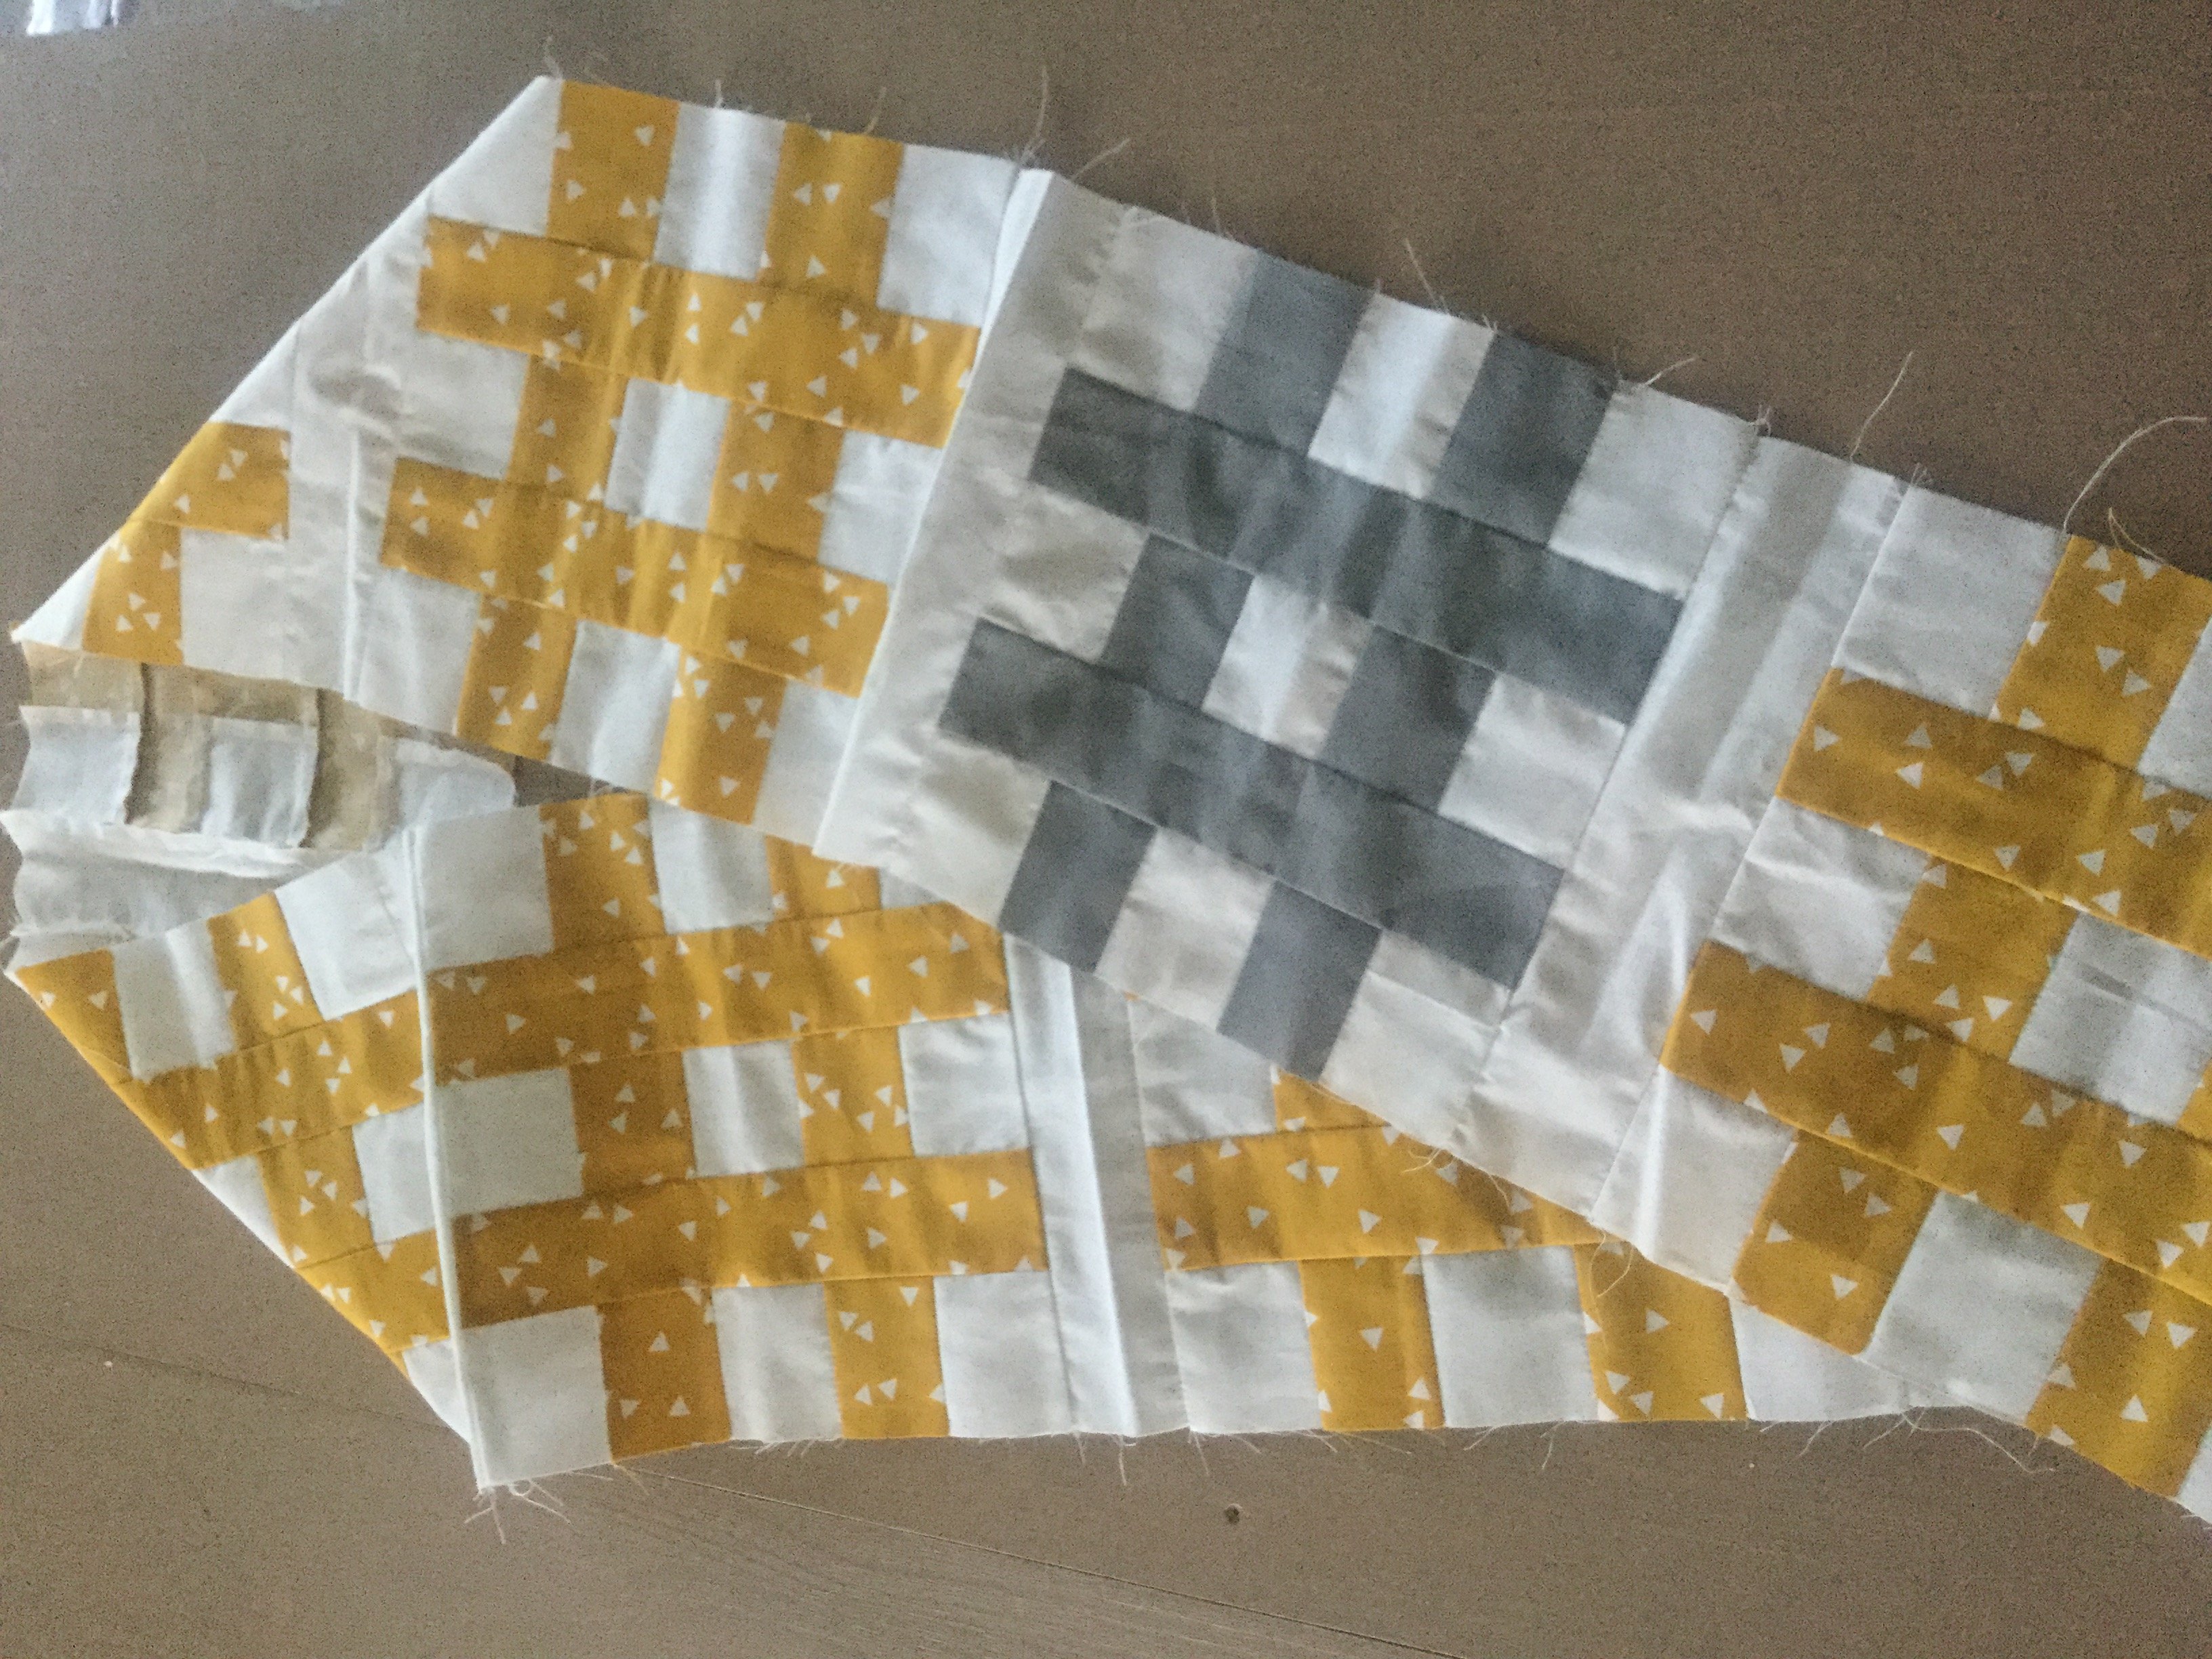
Was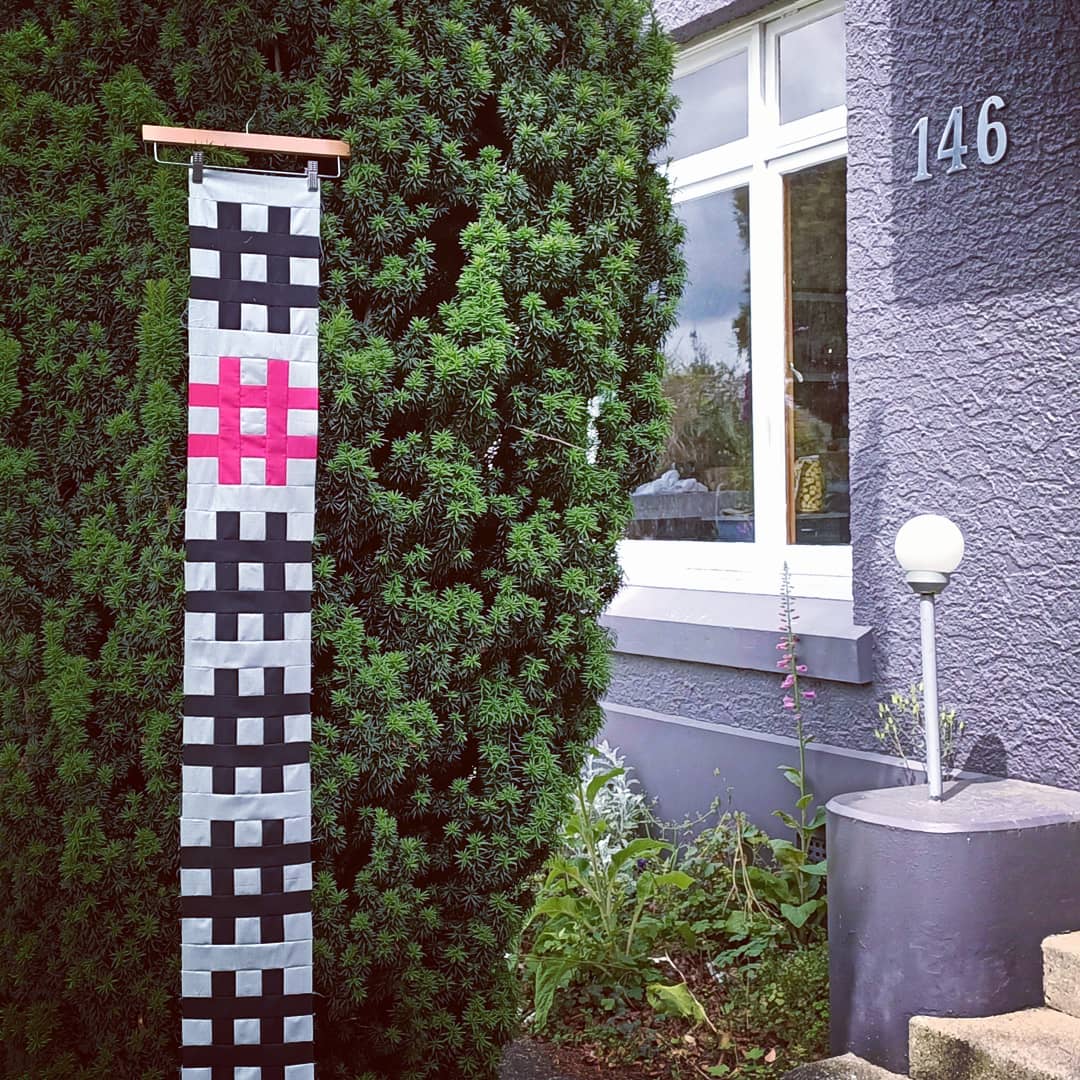 fun.
fun.
I’m not sure if this has been asked or answered yet, but did you announce the order that the rows are being put out? I don’t need to know what they look like yet, I know that’s a secret, but I’m wanting to do a scrappy look, and was wanting to prep my solid colored fabric ahead of time, so that I have it ready to cut up when it is released.
Sorry about putting my picture in three times. I haven’t made three identical rows I just seem to be finding it hard to work this site 🙁
Row 5 done 🙂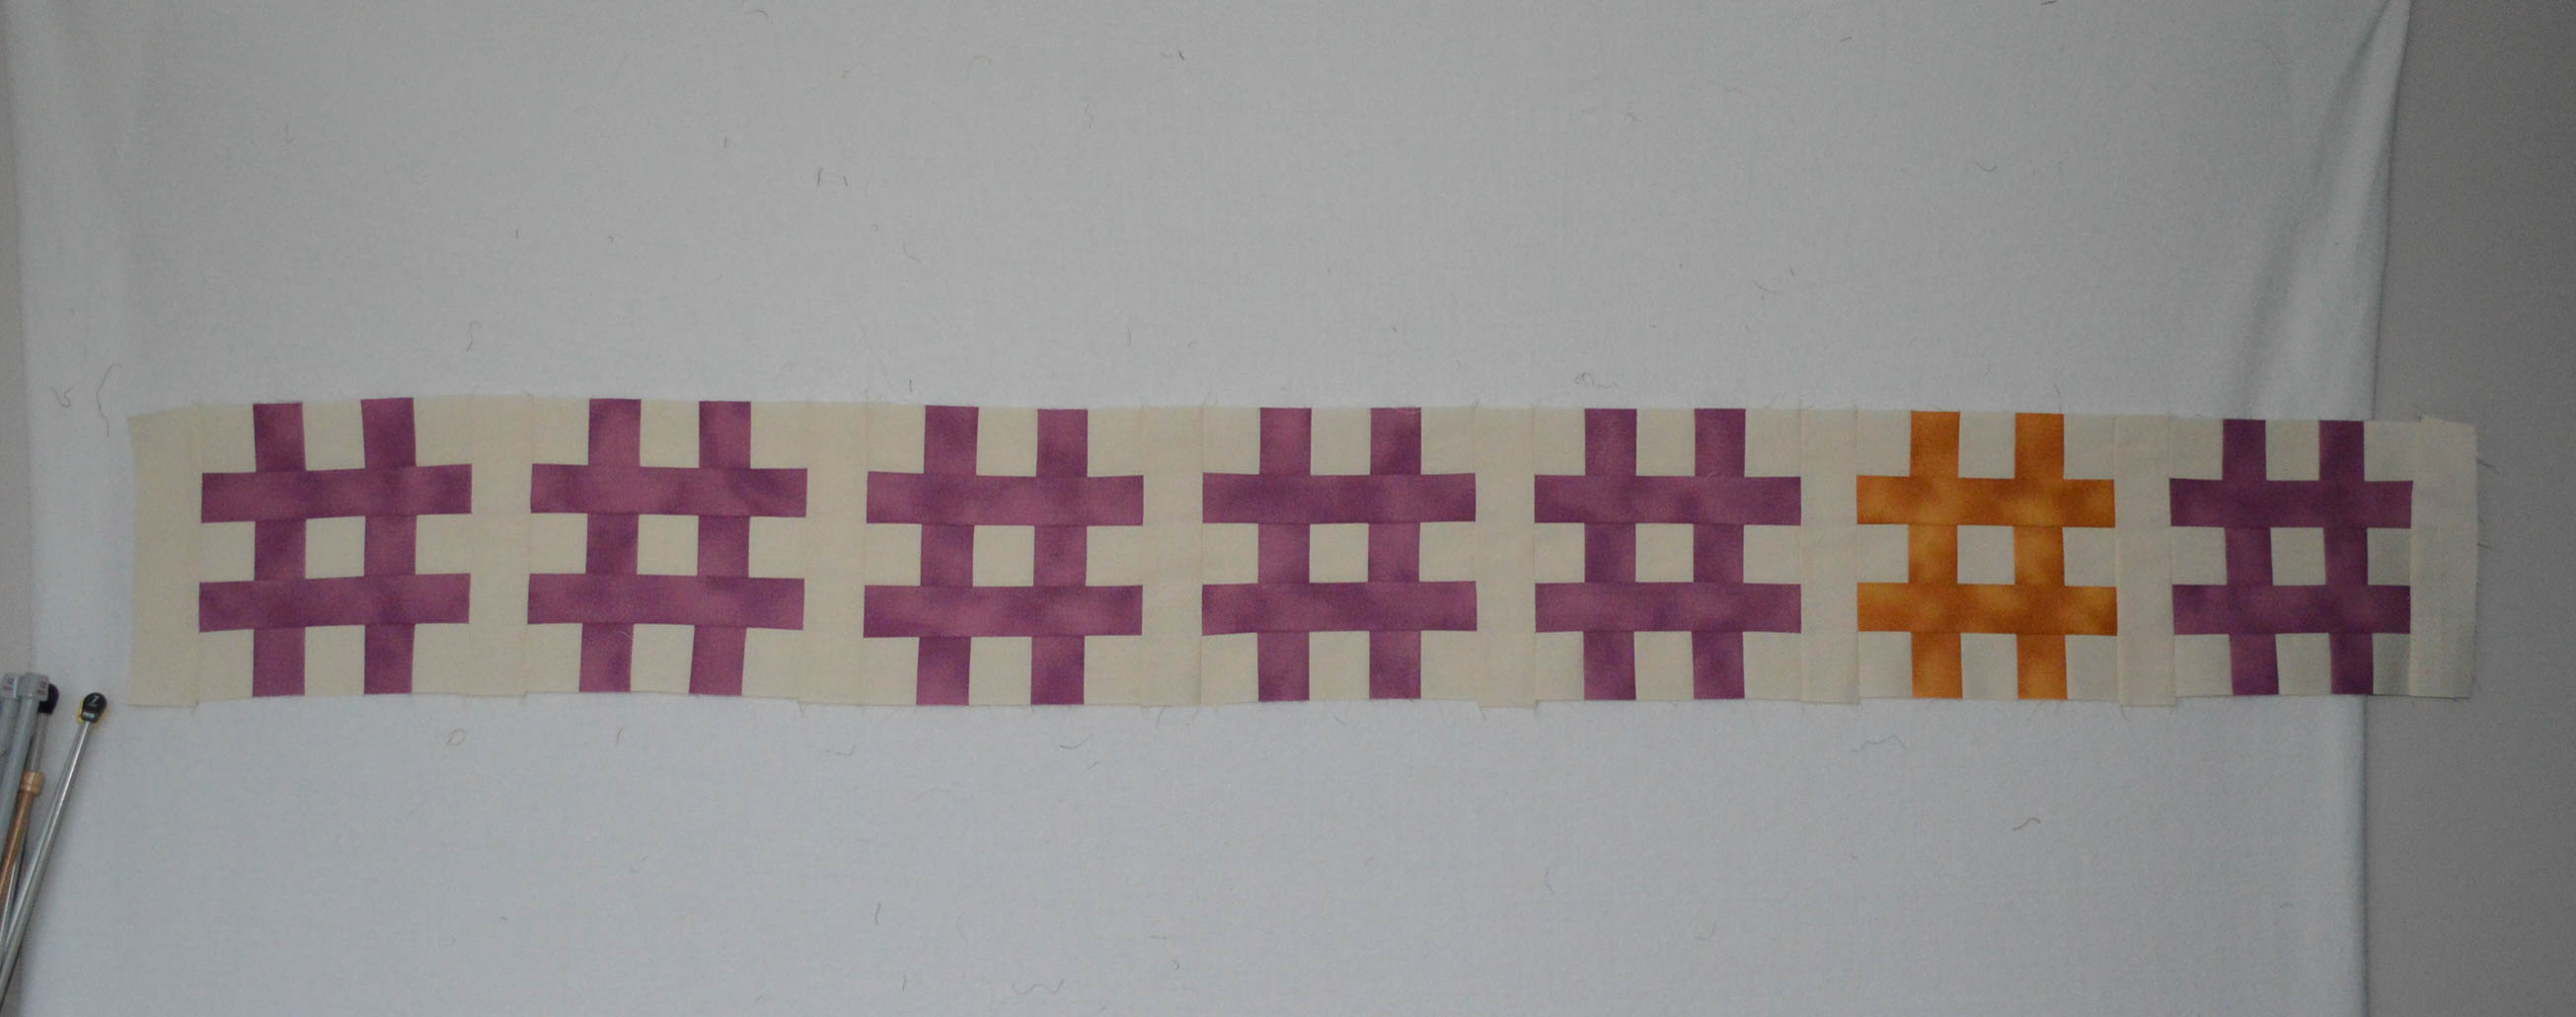
Row 5 done! I like how it’s turned out. Thank you Irene for this QAL.
I’ve finished my first row. I like the way it’s turned out. I’m looking forward to the next one. Happy Christmas everyone
One down 11 to go!
Yeah I’m done! I made a change to my accent color from my original light grey. I really love the change!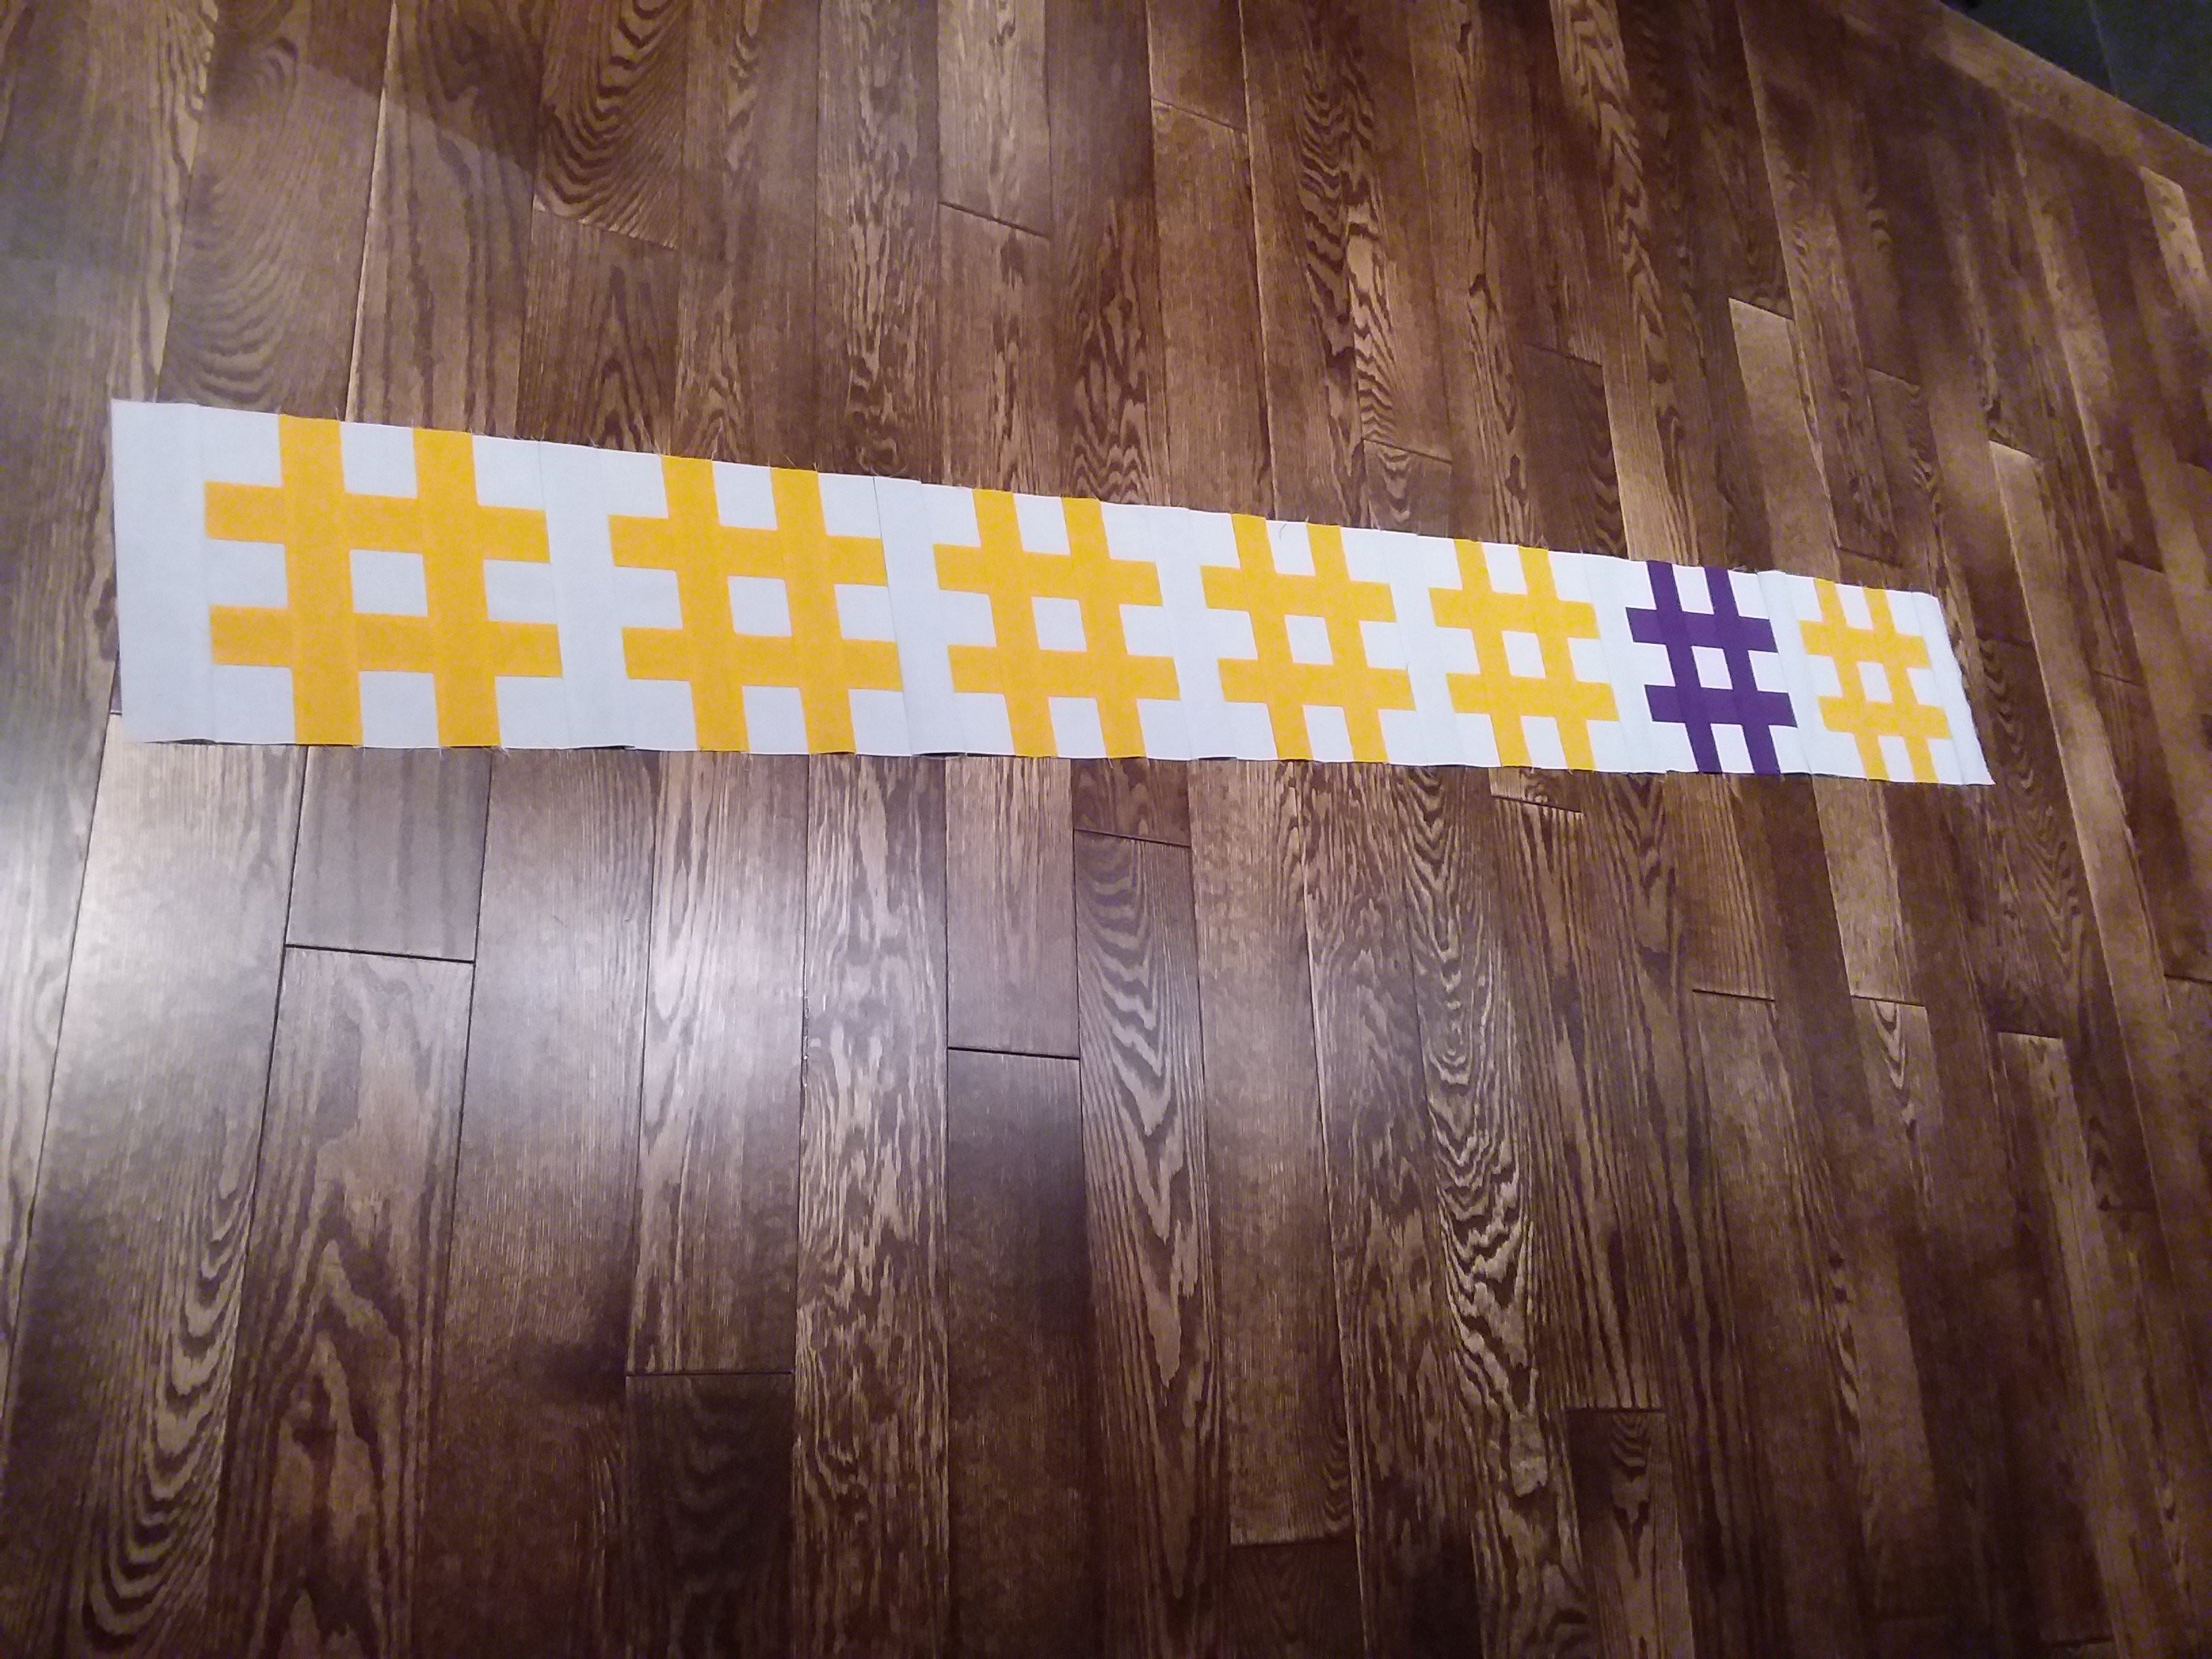
Here is my 1st scrappy block. I just grabbed from my bag looking for the correct size, using a different material for each strip.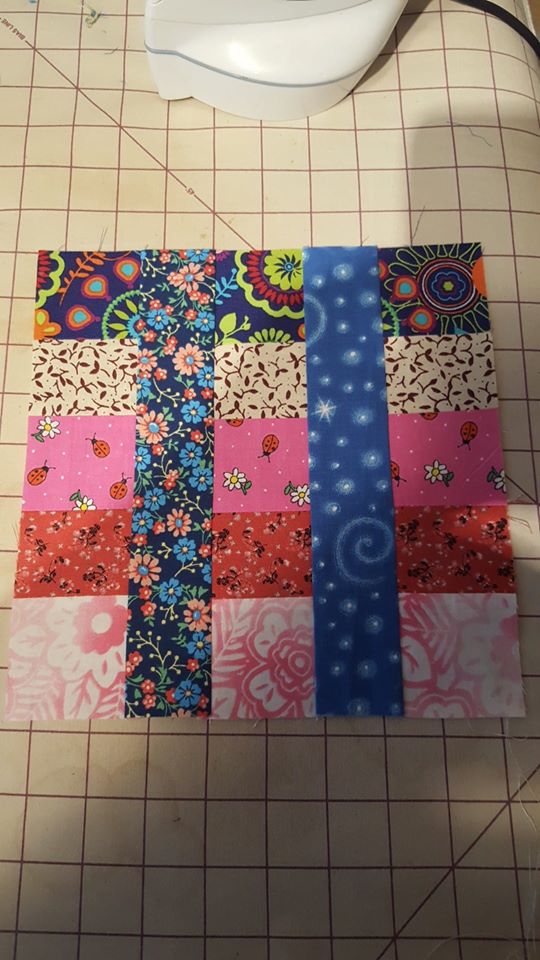
My finished row 5 -the blog wont allow me to upload
Finally finished Block 5 #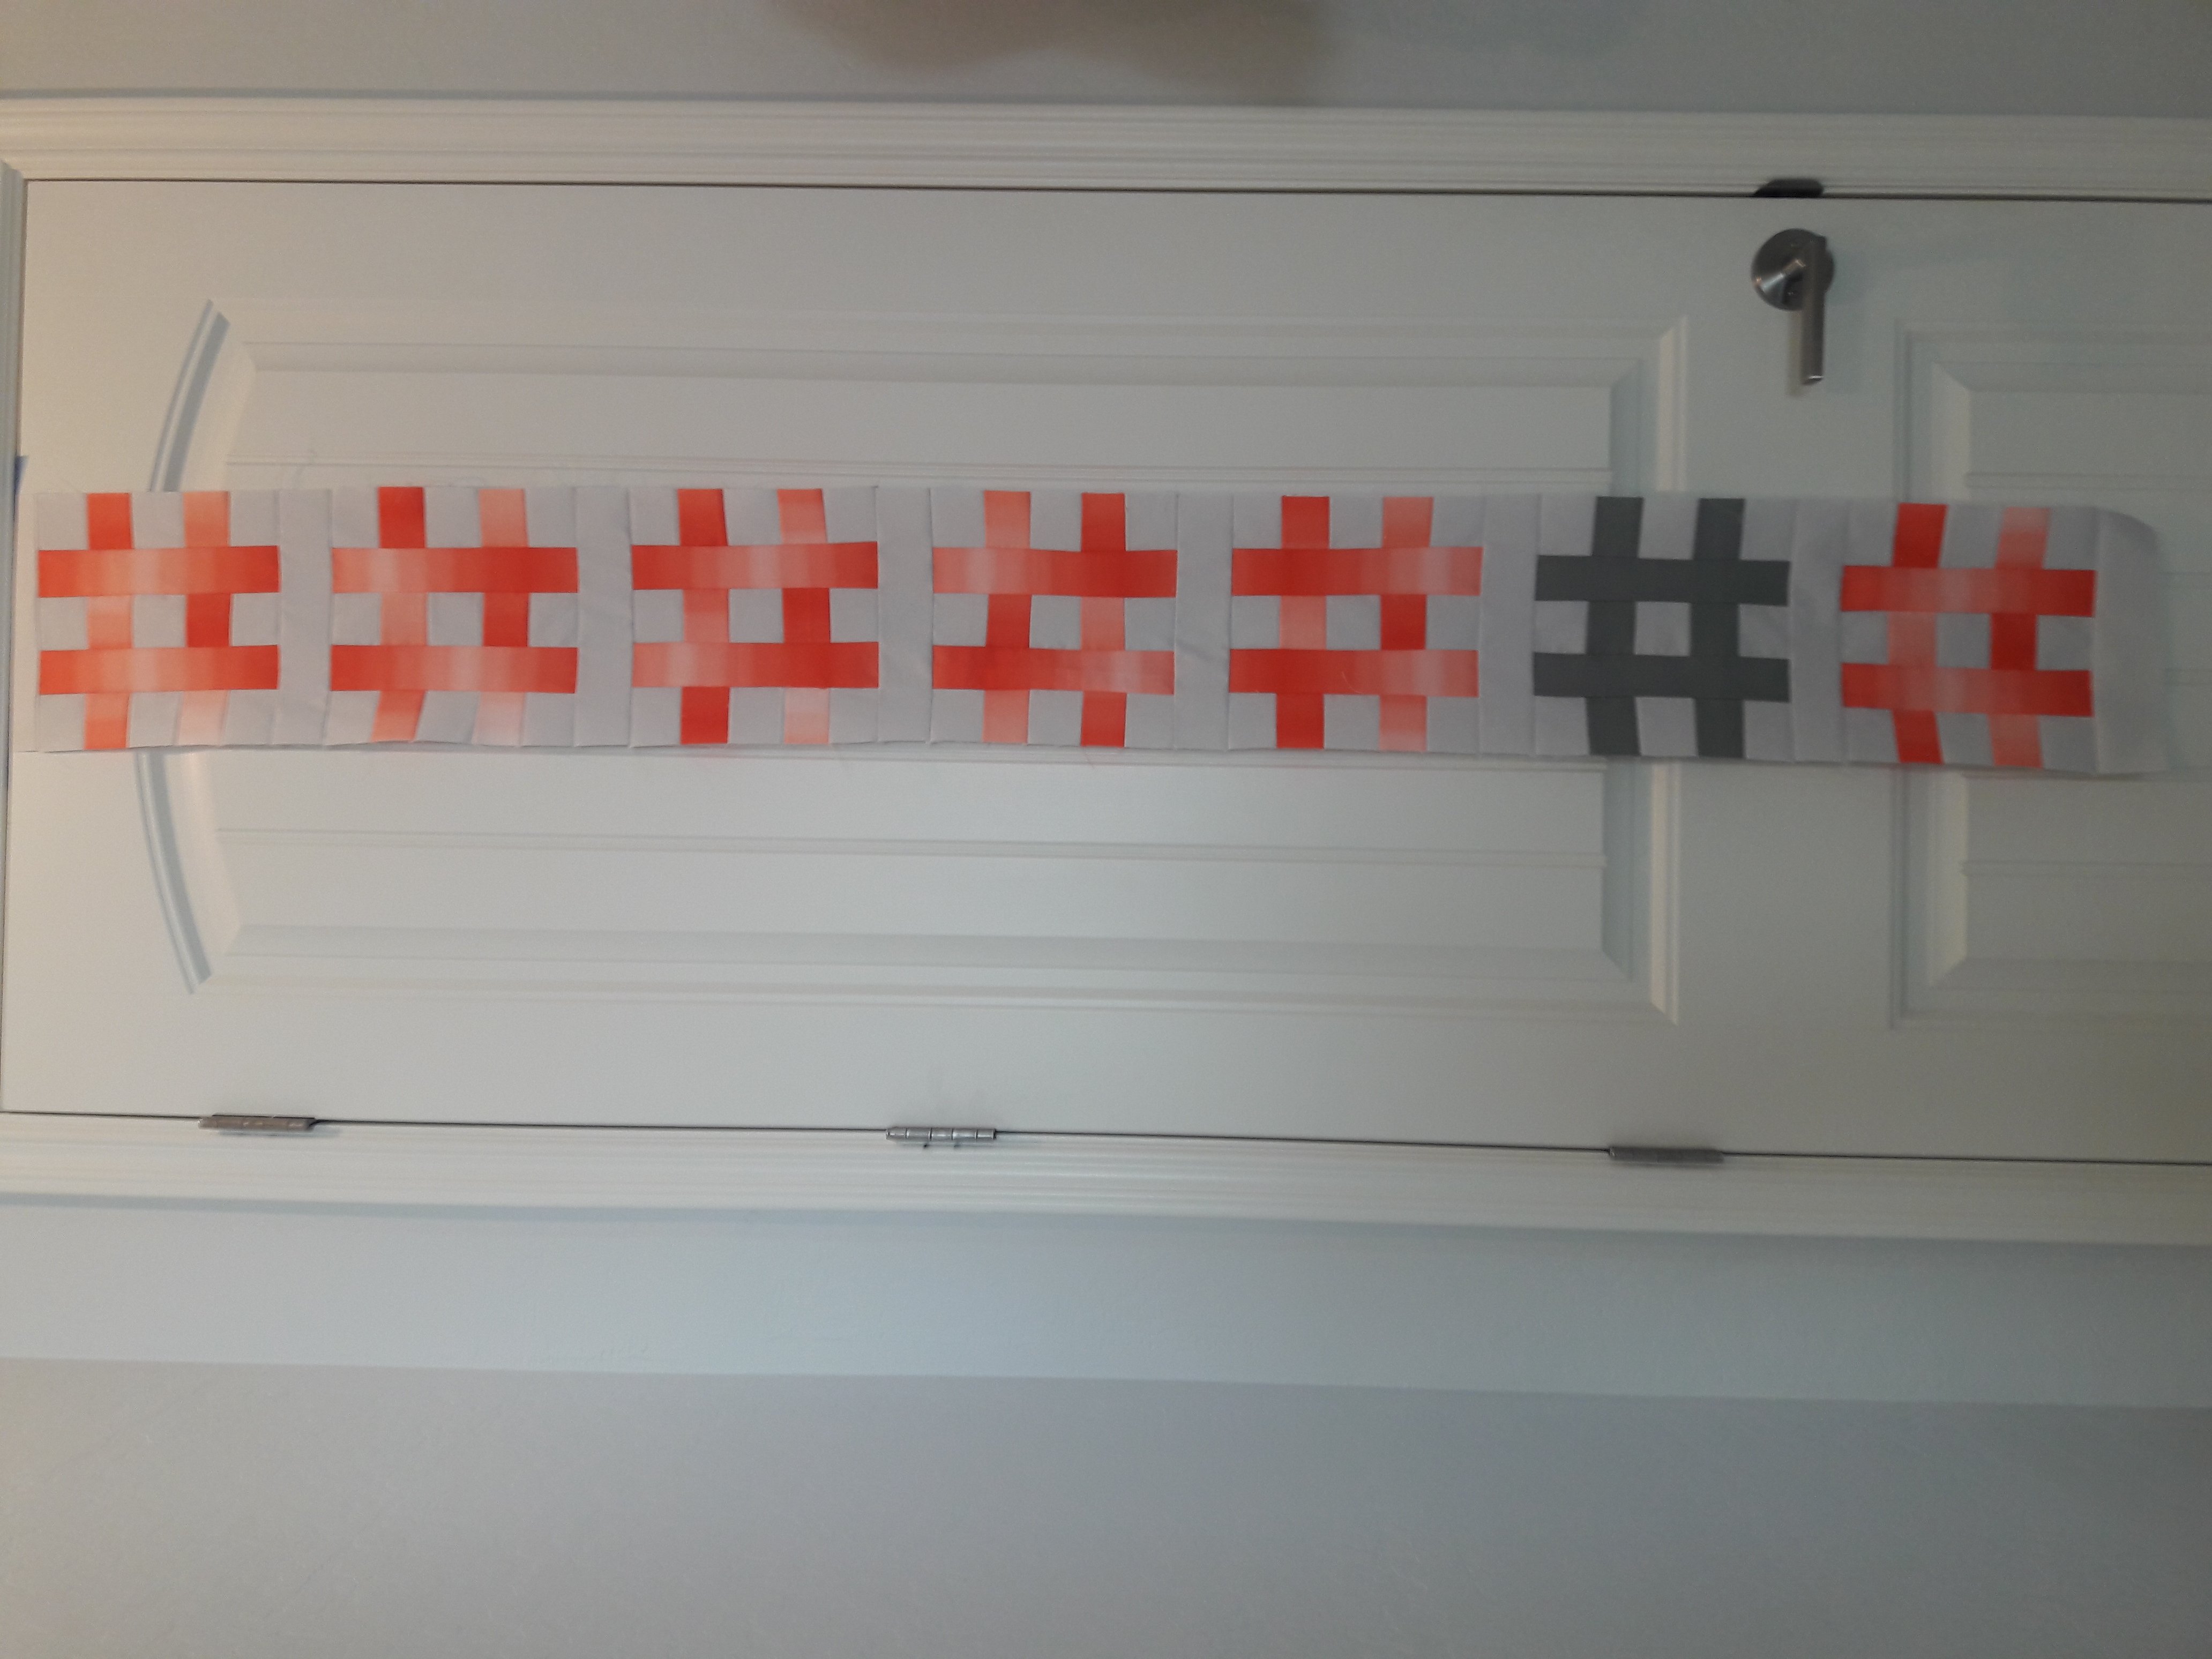
Love your colors
Here is my row 5 complete.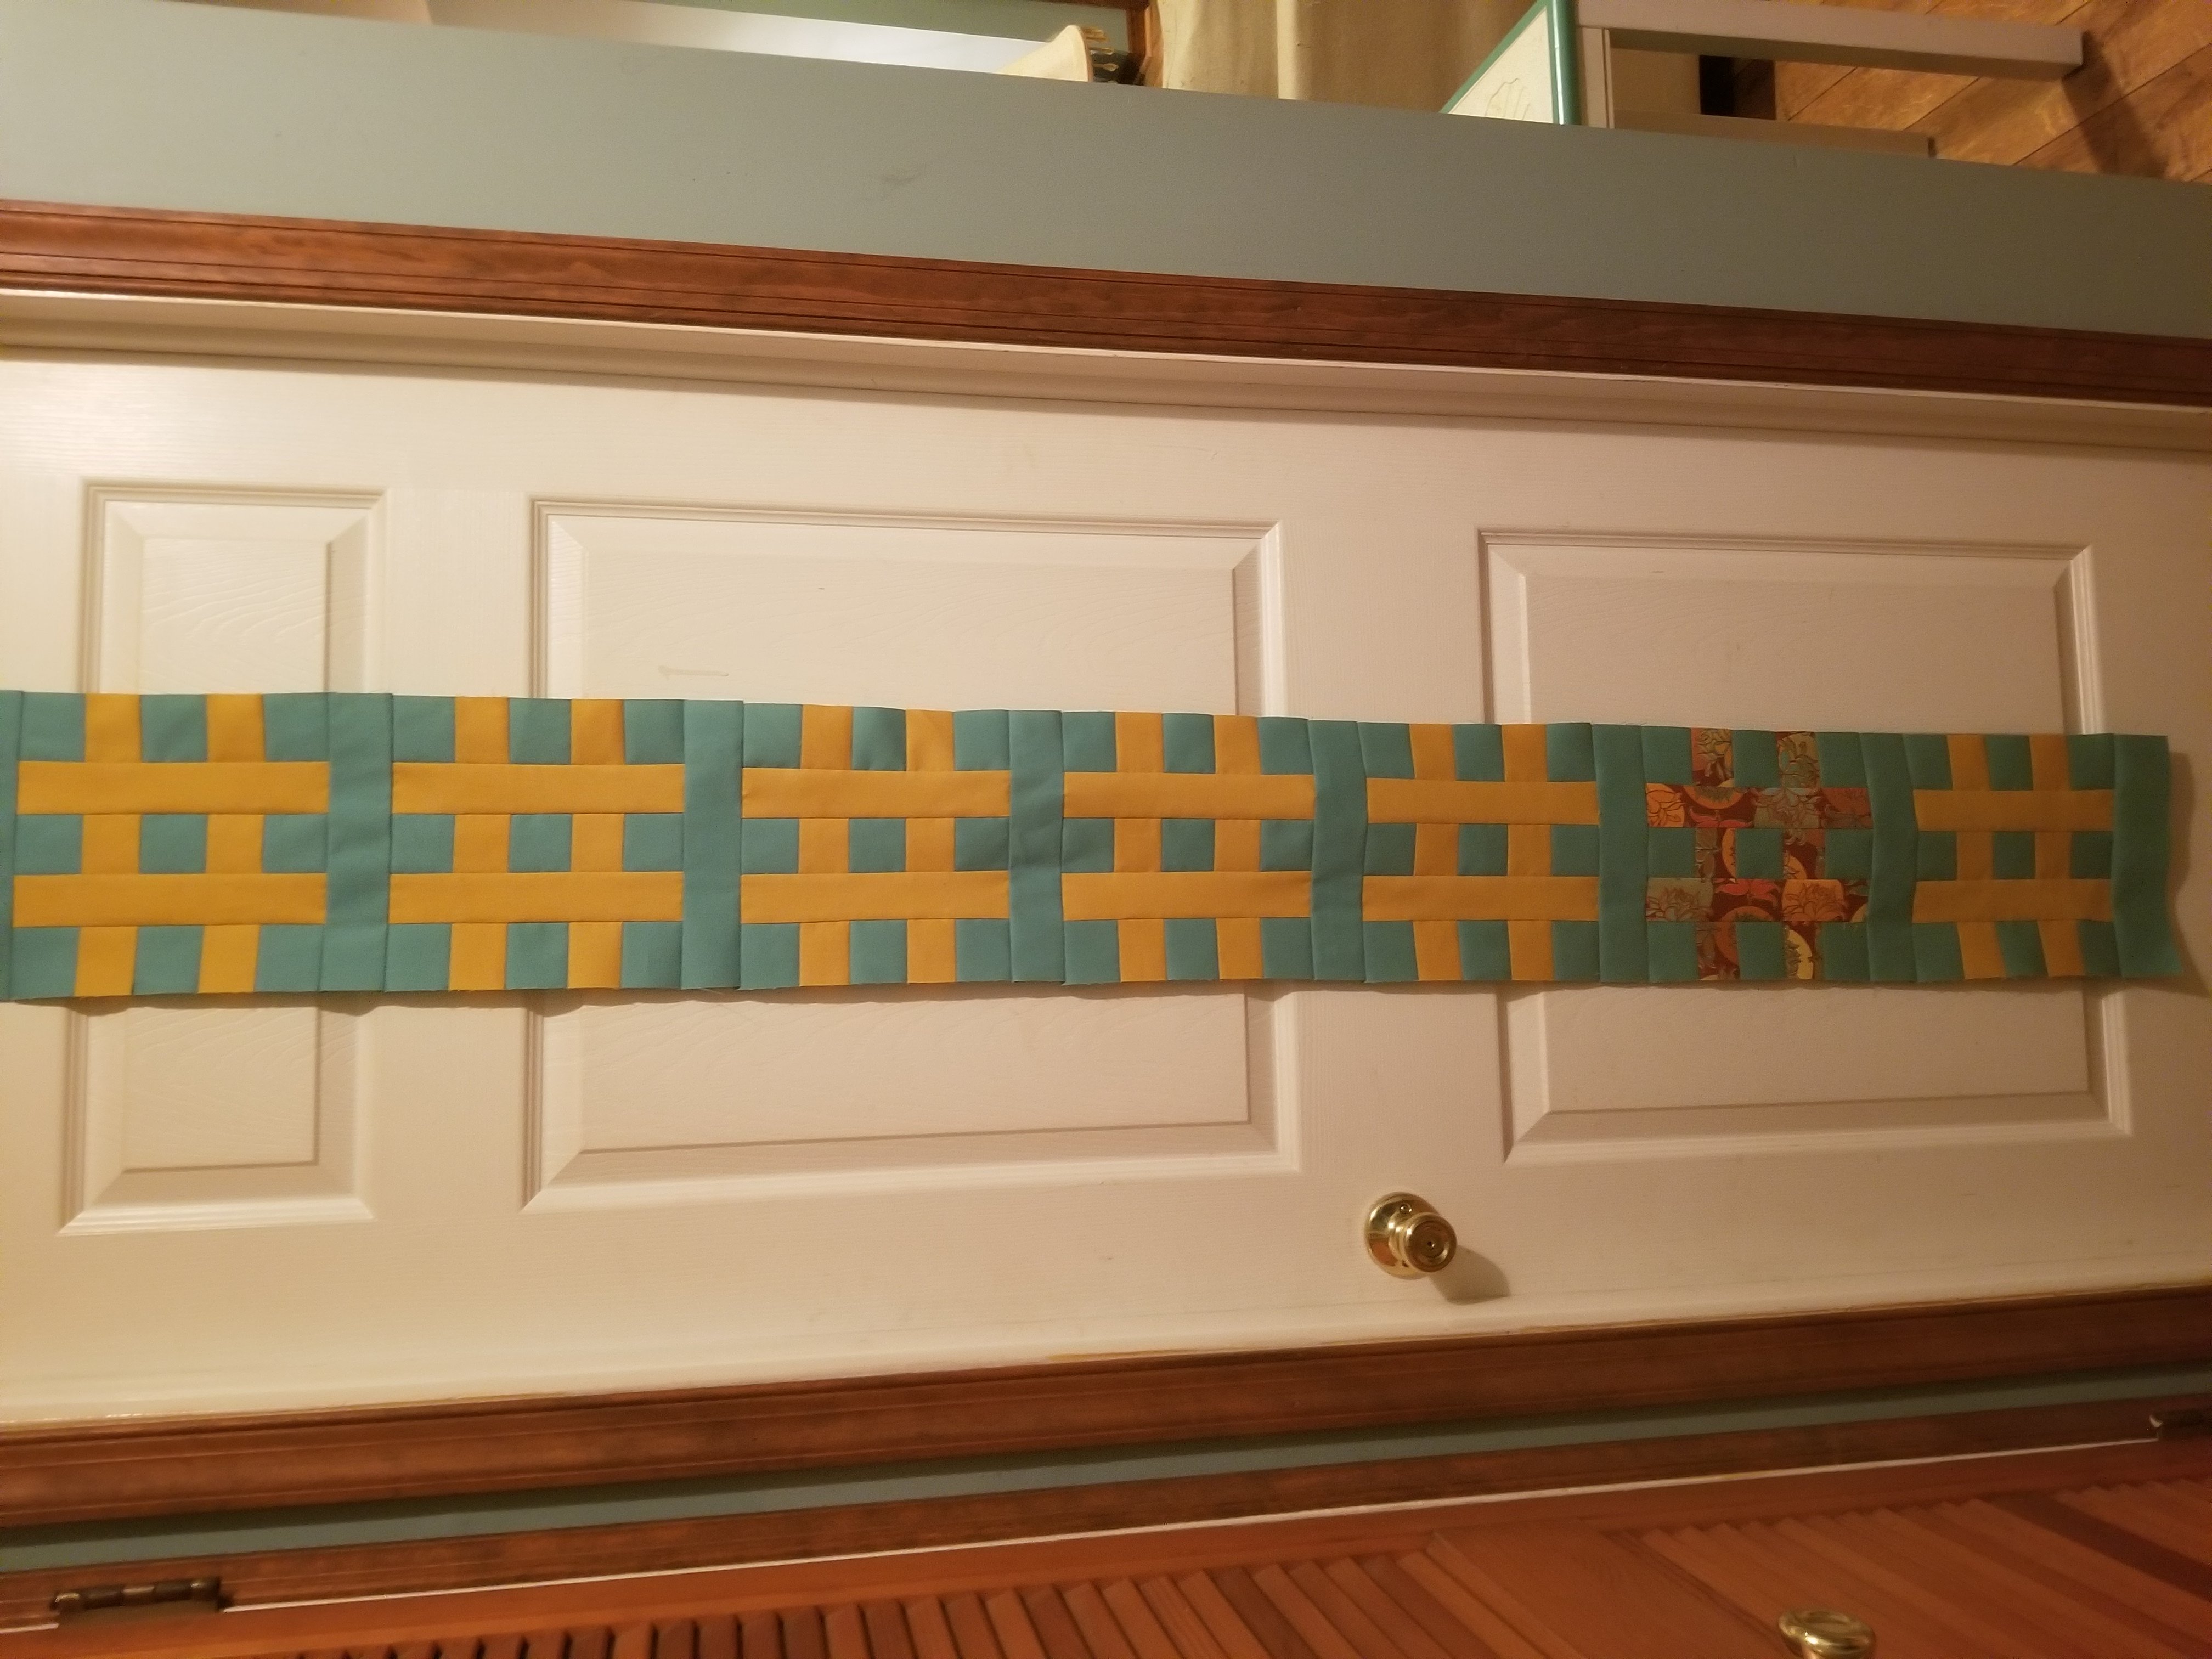
[caption id="" align="alignnone" width="4032"]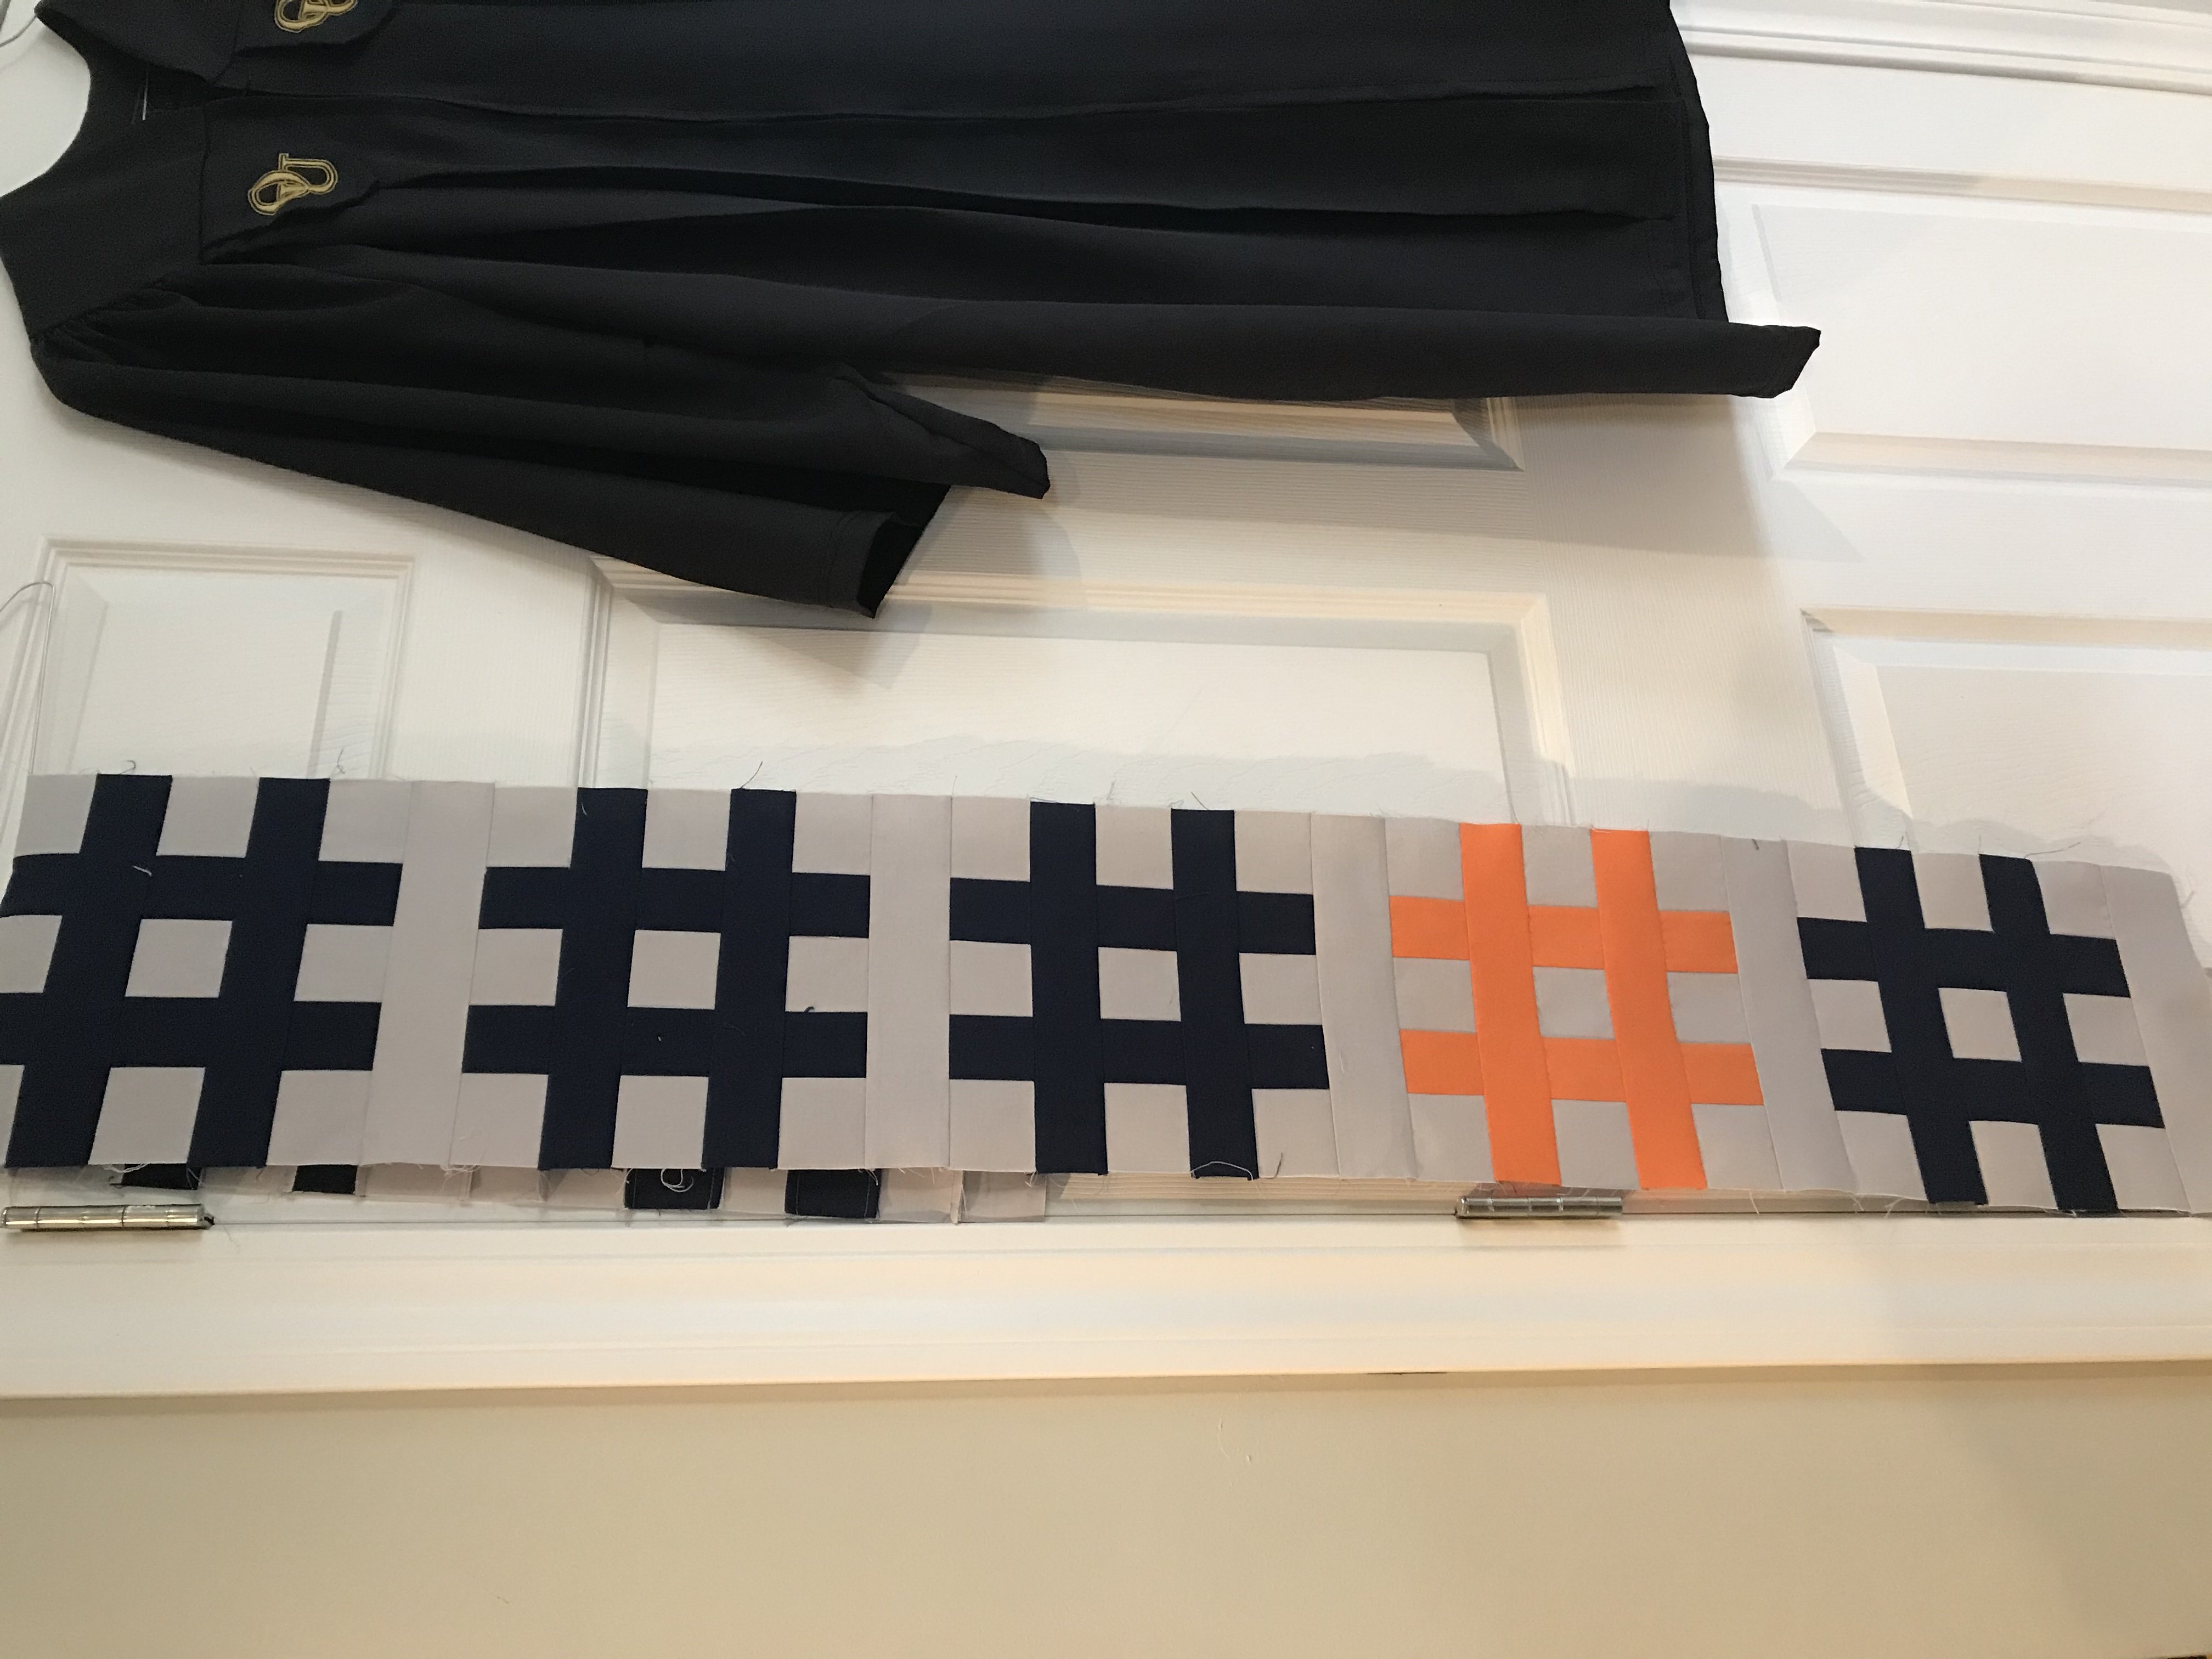 Oh what fun![/caption]
Hello lovely people,
I read all of your comments, and I am so happy and excited and humbled by the kind words.
It will be such a fun year making this quilt together!!!
thank you!
[caption id="" align="alignnone" width="1241"] my row 5[/caption]
Figured it out…now how to crop!!
Whew – having a snow day meant that I could complete row #5 of the QAL. Not sure if we are supposed to post here or on facebook. I can’t seem to publish the picture here…any help for me?
Dear Suzanne,
there are four small icons on top of the text area. The one to the very right gives you the option to upload an image through the comment functionality of the blog.
Regards, Philipp
Thank you Philipp.
I have only just found your facebook page. Am I still able to join this quiltalong? Loving the work that has been posted so far….
That’s awesome! Yes you can still join, and catch up, we only just started.
The quilt along is free, you’ll find all the patterns on the Bernina Blog.
There is no need to register, just follow along. See this page for more info:
https://blog.bernina.com/en/tag/sugaridoo-quilt-along/
Good luck!
Is it too late to join in? How do I register?
I am 66 years old, have been quilting for 40 years, I live in the Bahamas and am a great fan !
That’s awesome! Yes you can still join, and catch up, we only just started.
The quilt along is free, you’ll find all the patterns on the Bernina Blog.
There is no need to register, just follow along. See this page for more info:
https://blog.bernina.com/en/tag/sugaridoo-quilt-along/
Good luck!
Can the directions for the rows be available as a PDF please?
Thanks for this feedback, unfortunately this is not available at this moment. For now you can copy/paste the text into a Word document for instance, and print that.
Thank you, Irene, for a great video and very clear instructions and diagrams. The row was easy and fun to make! I’m one of the rebels who is using fat quarters–two similar colors in each row. It was very easy to adapt using the fat quarters in these blocks. ?❤
Thanks, looks like a great QAL. Do you have PDF for fabric requirements etc? Or do you need to get from blog each week. Di
https://blog.bernina.com/en/2019/10/mettler-quilting-thread-giveaway-sugaridoo-bernina-qal-fabric-requirements/?ml_subscriber=1259236675561723733&ml_subscriber_hash=w7j8
What size is the finished hashtag block please?
Block measurements: 8 3/4″ x 8 3/4″ (this is including seam allowance)
I wish I win the best fabrics make pillowcase for me iamhandcaip got sezuire no mommy no daddy die from cancer no money for sewing supply threads mix color debbiebarlogio 9939gouldst Oakland ca94603.2344
Supper excited about the quilt along!
Just finished my hashtag row! I am so happy that Irene showed us how the rows will be laid out. It helped me decide which colour to start with. This is FUN!!!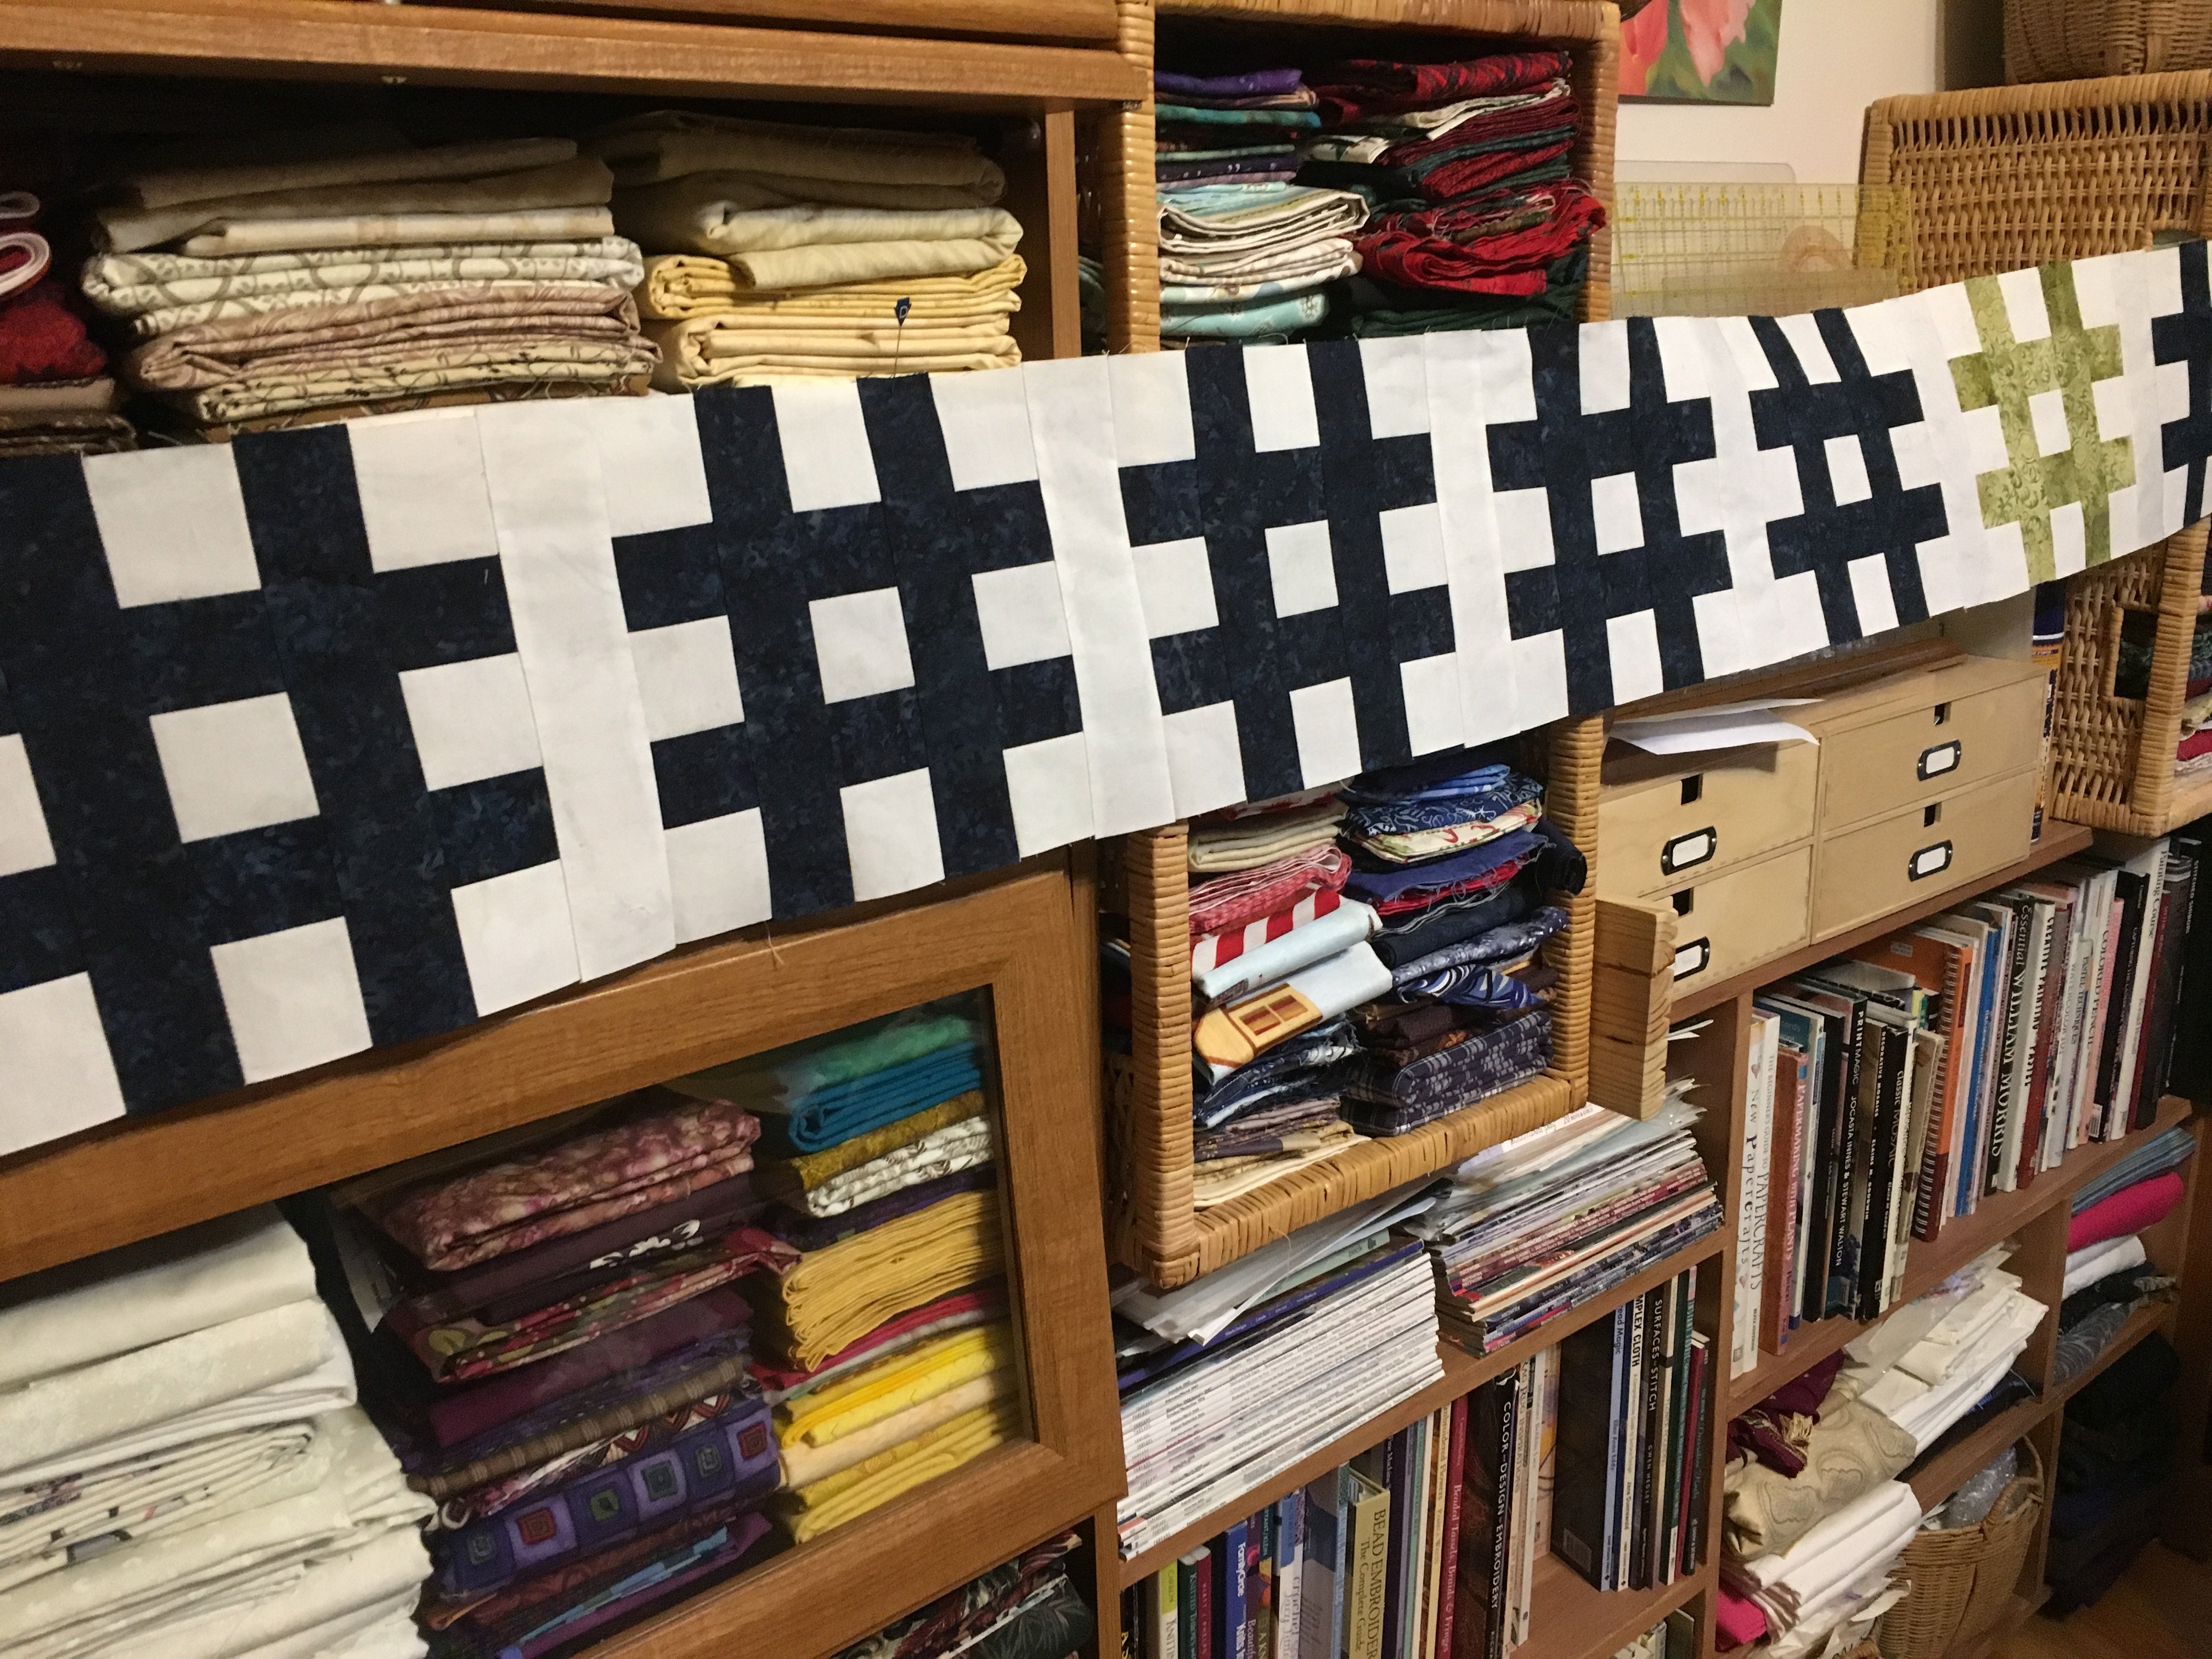
Wow very nice color combination! Love it 😀
What are the measurements of the individual blocks in this step.
just worked out how to upload. Isabella
Would you please try to make a schematic for the blue (6 color) quilt? It might help me make a decision on my colors for my rows. Thank you!
Wonderful instructions!
Could you supply a list of total yardage for each color for the total quilt?
I need to ensure that I have enough fabric, especially for the background.
Thank you!
https://blog.bernina.com/en/2019/10/mettler-quilting-thread-giveaway-sugaridoo-bernina-qal-fabric-requirements/
follow above link.
Thanks so much Irene, I love this QAL already. I really like the way you explain the process and techniques. Baie dankie! Dis soveel pret, kan nie wag om die finale kwilt te maak en sien hoe dit lyk nie.
Good morning,
I am excited to get started! I have been over and over blog.bernia.com and Sugaridoo and cannot not find the PDF to print. I see the instructions on the pretty colorful page, but my internet is so bad, I cannot always use my tablet. Could you please send the PFD link or however it is easiest for you. I would really appreciate it. Thank you I advance.
Dear Tamela,
would it be an option for you to print the page? Simply press Ctrl + P to open the print dialogue of your browser.
Regards Philipp
Hello Irene
Couldn’t sleep this morning, so finished the row. Thank you for your instructions, was very clear. Now back to finishing sewing doll dresses for two little granddaughters for Christmas. This is my first QAL and not sure how to upload photo. Maybe next time!
Regards
Isabella
I am using six fabrics and seem to remember a post at the beginning regarding yardage and possibly which fabrics were in the rows. Does that make sense? Something to the affect that fabric A was for rows 1 and 7, B for 2 and 6, etc. I have of course lost that info. Can you help me please.
https://blog.bernina.com/en/2019/10/mettler-quilting-thread-giveaway-sugaridoo-bernina-qal-fabric-requirements/
this is the link to the blog post with the fabric requirements
Can I please get added to the email list for this stitch along as I do not do social media. My email address is below. Thank you so much. Linda
Dear Linda,
I recommend to subscribe to the BERNINA blog newsletter to stay up to date. Have a nice weekend and a lots of fun with part one of the QAL.
Regards Philipp
So the long wait is over. I like the process of this quilt, right from choosing the fabric, waiting for the pattern and start quilting step by step. It’s very addictive though. Now I feel I should buy fabric for the blue tone quilt as well. Two quilt by end of the year. Thank you and best regards to you Irene.
Excited to get started.
Thanksgiving festivities done! Now for some # fun!!!
Irene,
Your passion and enthusiasm is infectious! I’m so excited to get started and just finished watching the video twice. I’m ready to get to work cutting and sewing! Great lesson.
Thank you Andrea, for your kind words!!
The day finally arrives! Can’t wait to get actually started. I’ve watched Irene’s video through so now have an idea what to expect. Irene’s enthusiasm is so exciting in itself so her support will carry me through.
Happy Thanksgiving to those in the US and to everyone else, Happy Sewing and having lots of fun.?
Irene, love this first row!
printable cutting charts were great , any plans to do brief printable construction instructions for future blocks? I’m not always working near a phone/laptop or indeed with internet access, so it would be really helpful if I could easily print off something that wasn’t the entire blog post.
Looking forward to our next row already?
Thank you, Philipp!
Will there be a pdf file of the instructions
Will there be a pdf Ike of the instructions
Love the hashtags! Can wait to start it. It’s 5:49am here and need to start my Thanksgiving cooking, but I’m relaxing with a cup of coffee and reading the blog . I give thanks for your gifts and you sharing it with all of us.
Thanks for the schematic showing row colors and accent location. Can you tell us the height of each row? It will help those of us who are using fat quarters or scraps to decide on specific pulls for specific rows.
Yes, it would be helpful for me to know the size of each block in each row. I assume the Row 5 block is 8 3/4 x 8 3/4 ???
thanks
Is there a printable version of this pattern? I do much better if I have the instructions in front of me when I am working and not having to run back and forth from my computer to my work station. I am excited to start working on this as soon as I get past Thanksgiving day here in the USA. Thank you for this lovely project.
Dear dorris dale dale,
in order to print out the post, press ‘Ctrl’ + P to open the print dialogue of the browser.
I hope this helped.
Regards, Philipp
Thank you, Philipp!
Thank you for being so specific in your explanations and for the cutting diagrams. I can’t wait to get started!
This is my Thanksgiving Day gift. I get up every Thanksgiving at 5 am and cook and clean all day This is the one thing I was so excited for…thank you thank you thank you so much. Love it.
Thank you!!! I read all of your comments, and I am very excited and humbled by all of your kind words.
What a great tutorial, very inspiring, can’t wait to get started.
Thank you Irene, Bernina & Mettler for this opportunity.
Excellent instructions for the first row Irene.
Excited to start…..
Fantastic! Super excited. Thanks Irene, Sugaridoo, Bernina and Mettler!
Looking forward to getting this one under way 🙂
Love it! Thank you ? is really a pleasure to learn from you. My first quilt and QAL. So excited!
Woo hoo! Ready to get started. Thank you!
Thanks you very I cannot wait to start
Love it
Happy Thanksgiving! Thankful for this group and quilting fun! Just printing and will make coffee to watch the parade and Youtube lol. I slept in! 9:00 is sleeping in for me.
Everyone have a great day!