 BERNINA Corporate Blog -
Dear community,
in this blog post you can find easy instructions for making a pin cushion on a glass bin.
Welcome to the 14th window in our 2019 BERNINA advent calendar. Now it is only 10 days to Christmas. No worries, since my project will take no time at all.
At the beginning of the year, my dear friend Ursula gave me a wonderful body lotion for my birthday. Now my little jar is empty, but I don’t want to throw it away. So, without further ado, I washed it out and gave it a second life!
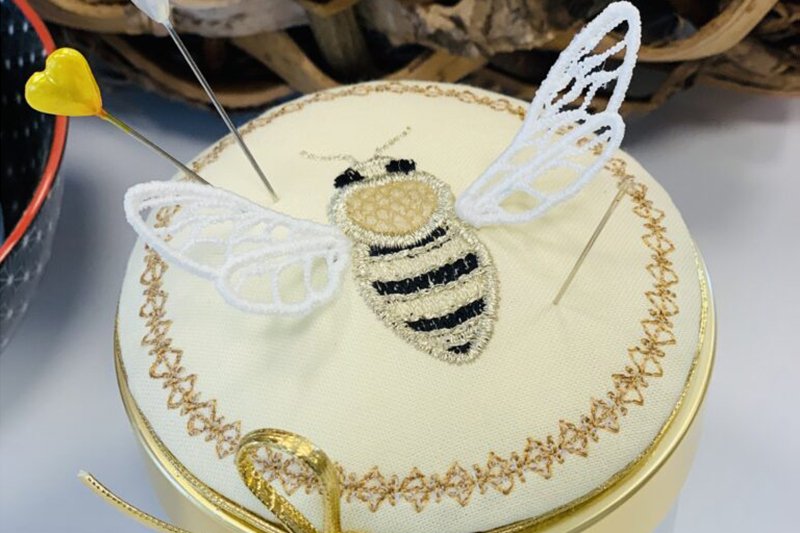
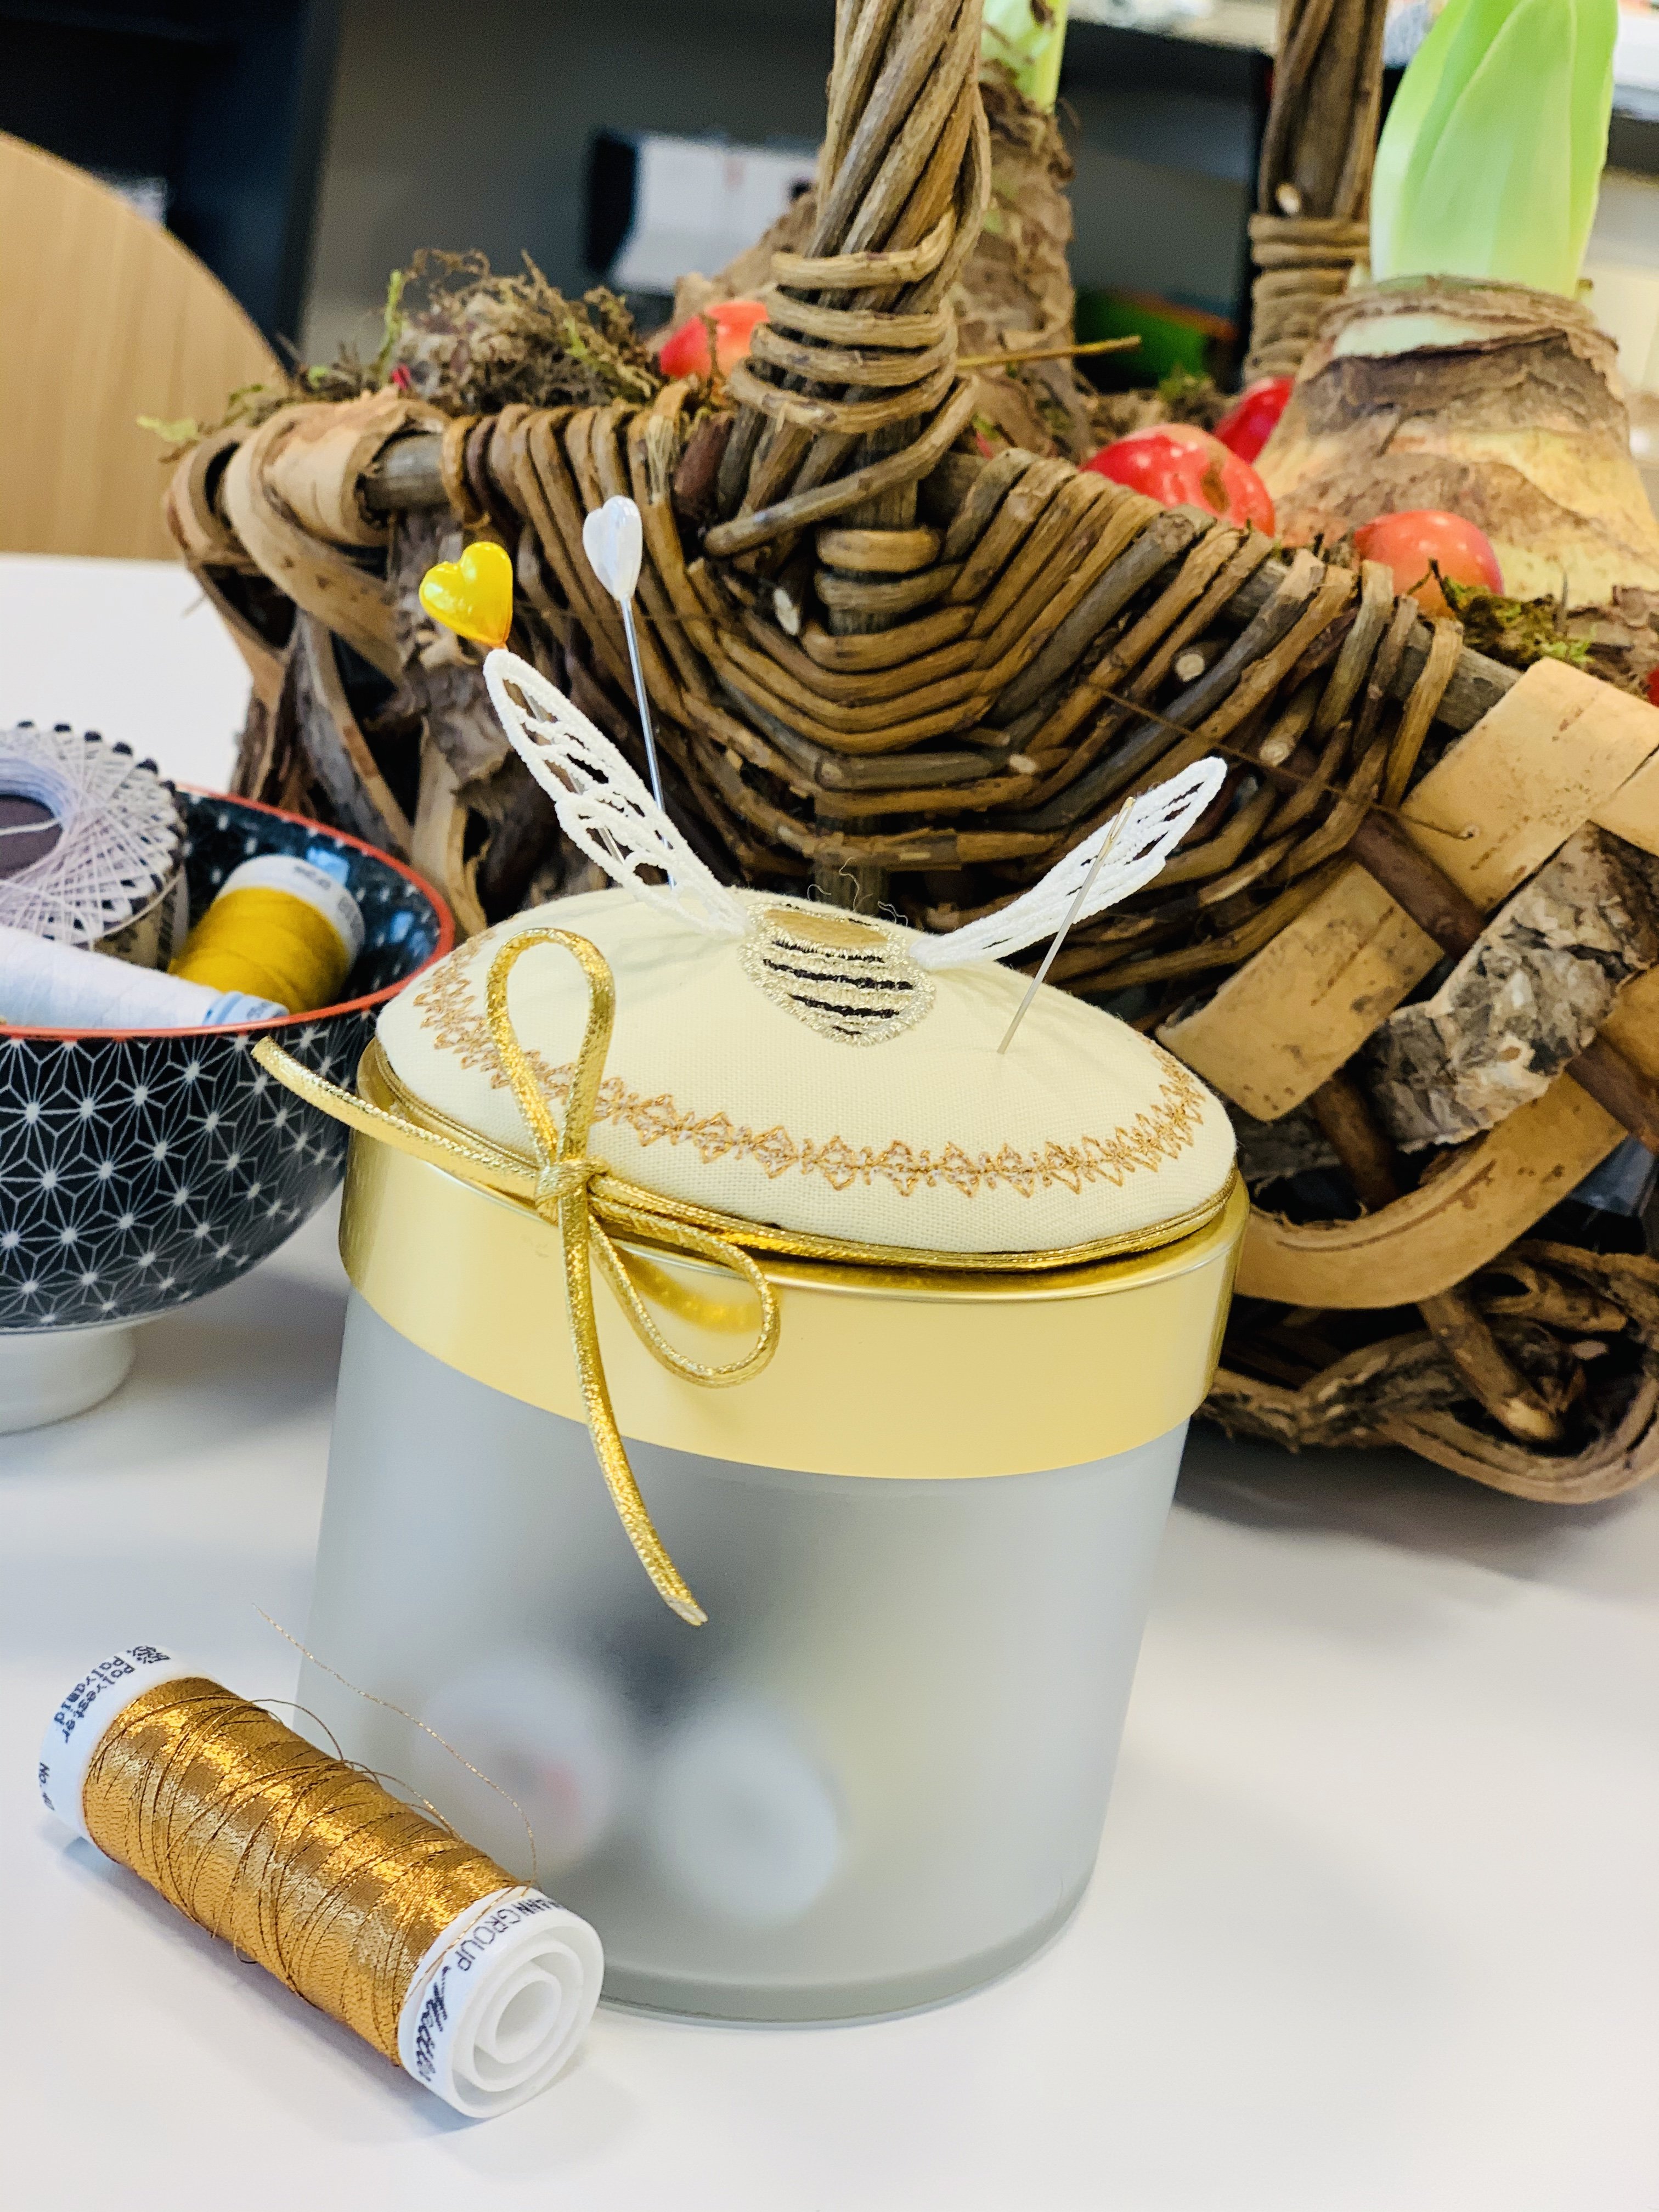
Pin Cushion on Glass
The result was this magical pin cushion with which I can delight a sewing friend. Or maybe I will keep it for myself, since it turned out so cute! 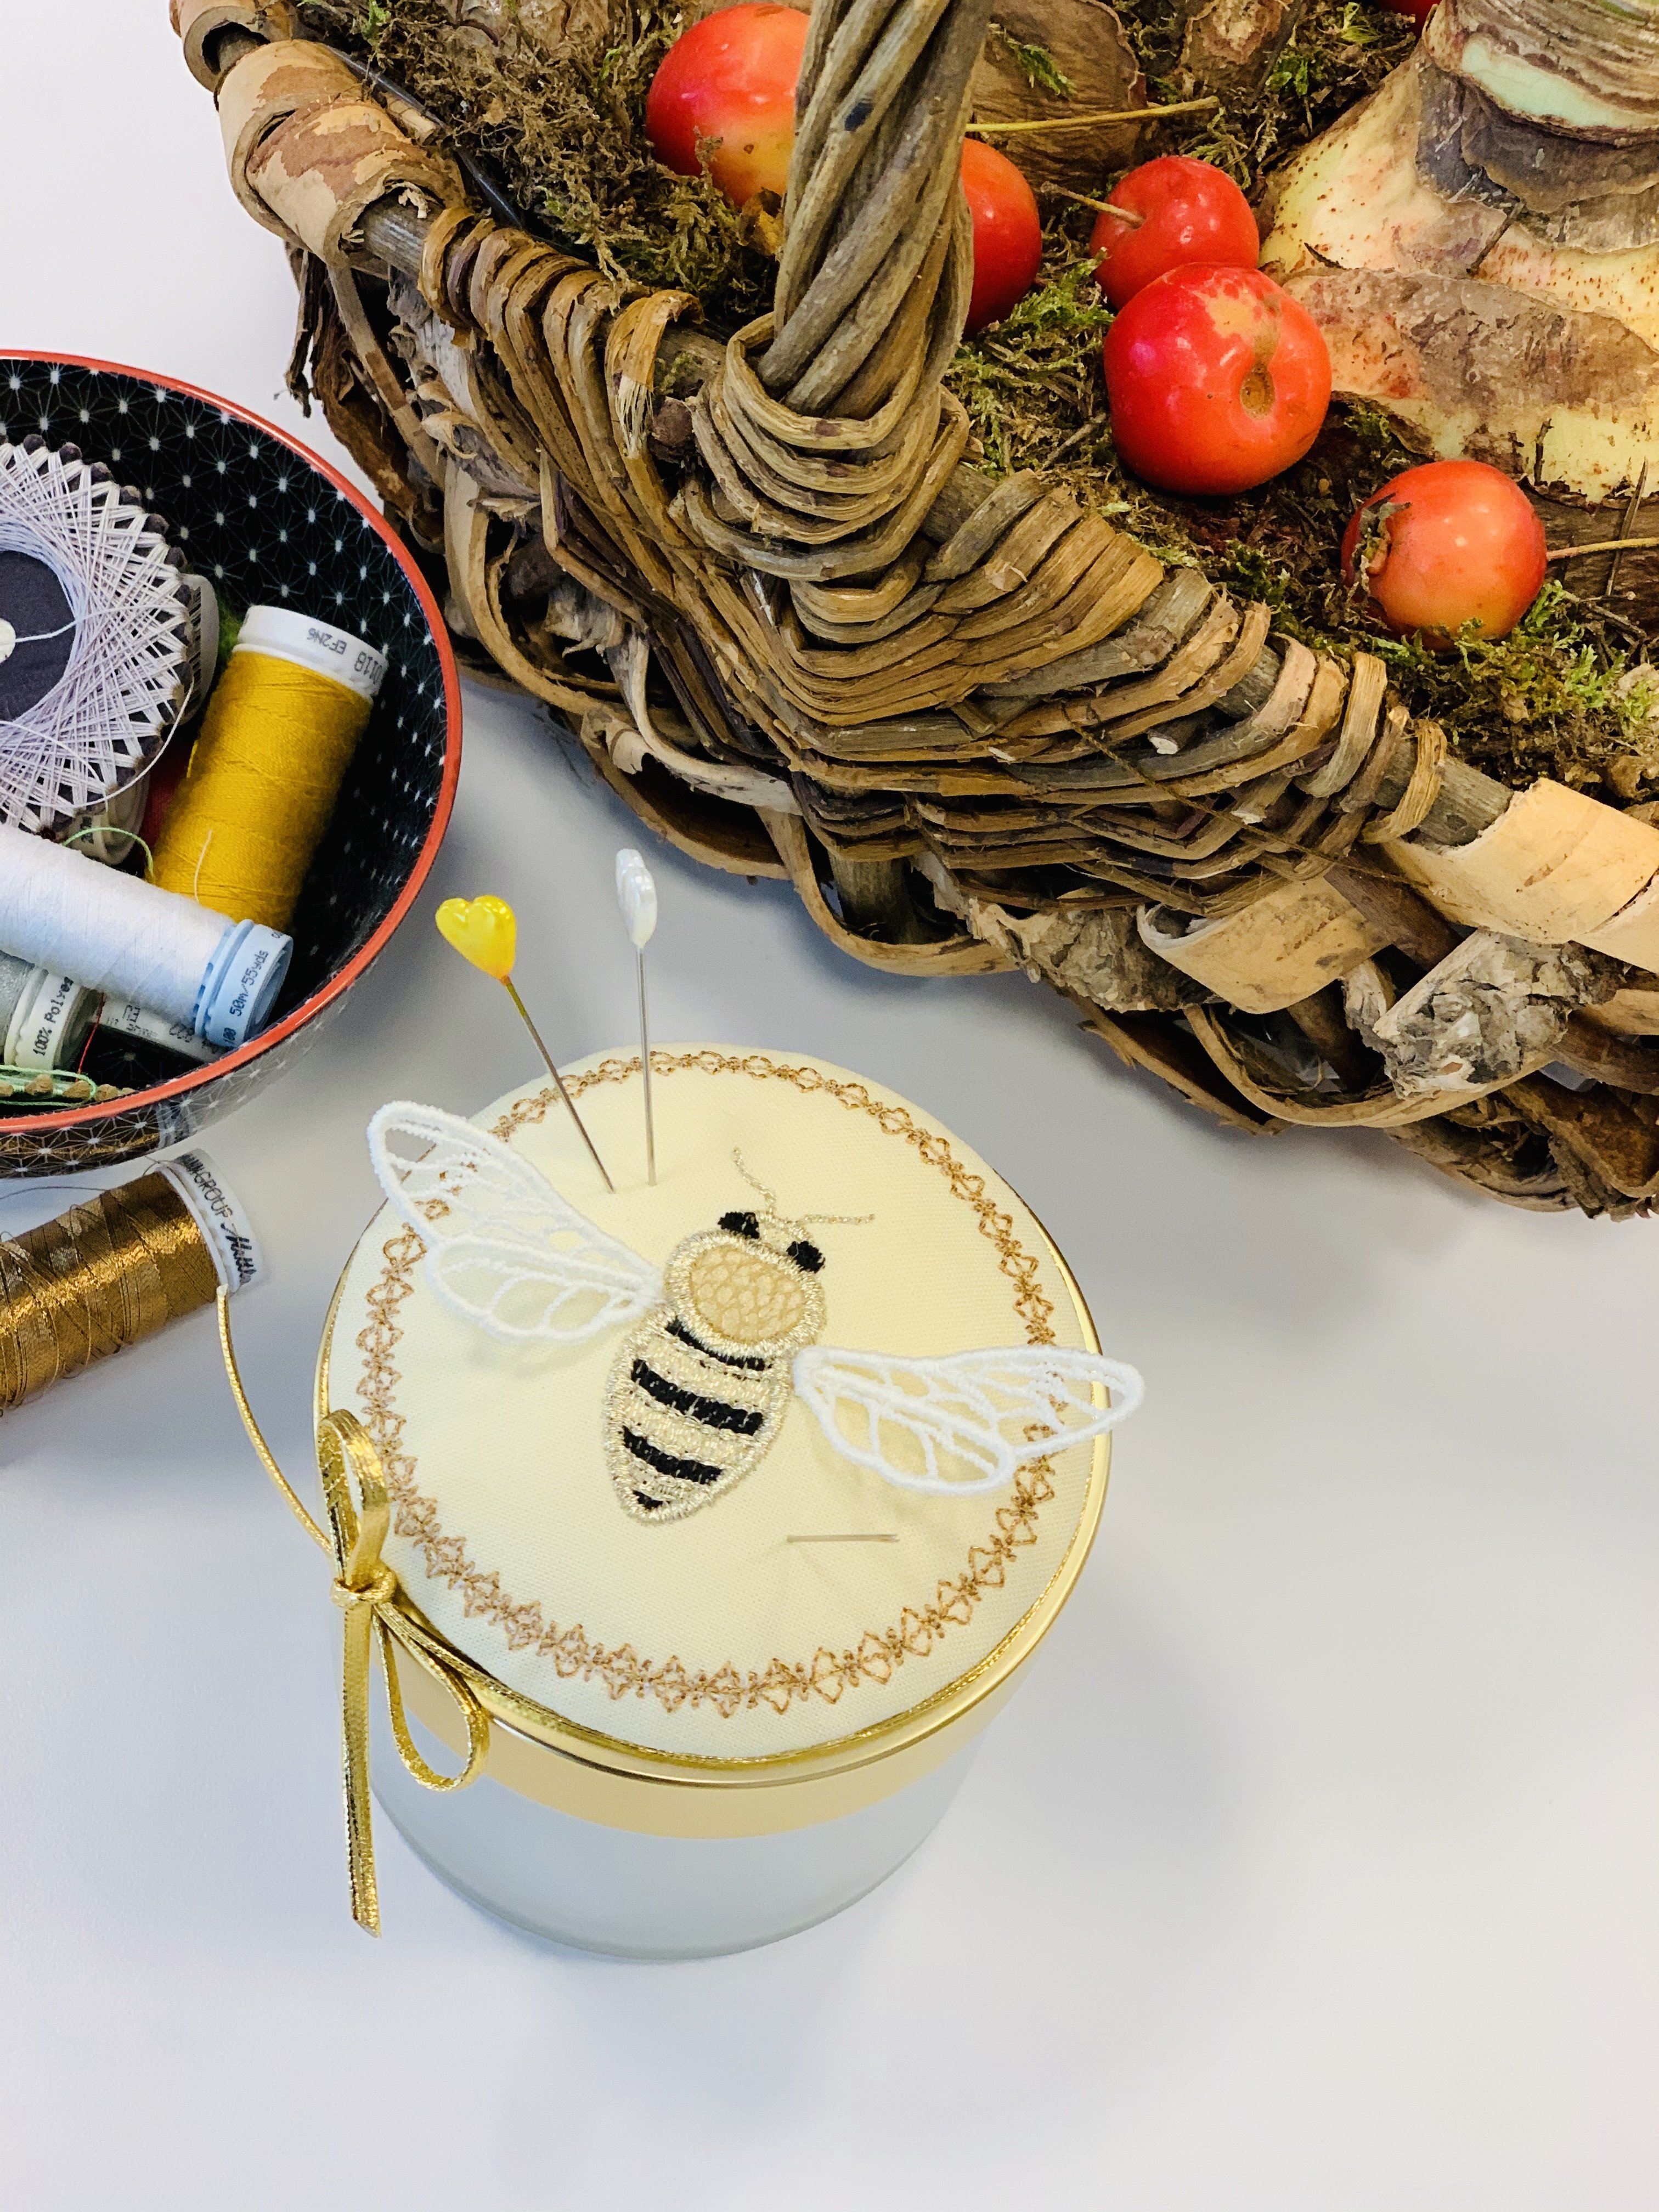
The wings are made from freestanding embroidery and sewn on at the end. You can find the embroidery files for the body and the wings here for purchase.
First I stitch the wings on a water-soluble backing, such as Soluvlies from Freudenberg. I recommend that you double the liner so that it does not rip when embroidering. So that the wings look cute on both sides, I thread on Poly Sheen machine embroidery thread by Mettler as the upper AND bobbin thread. After completing the embroidery, I cut back the lining and wash it out with lukewarm water.
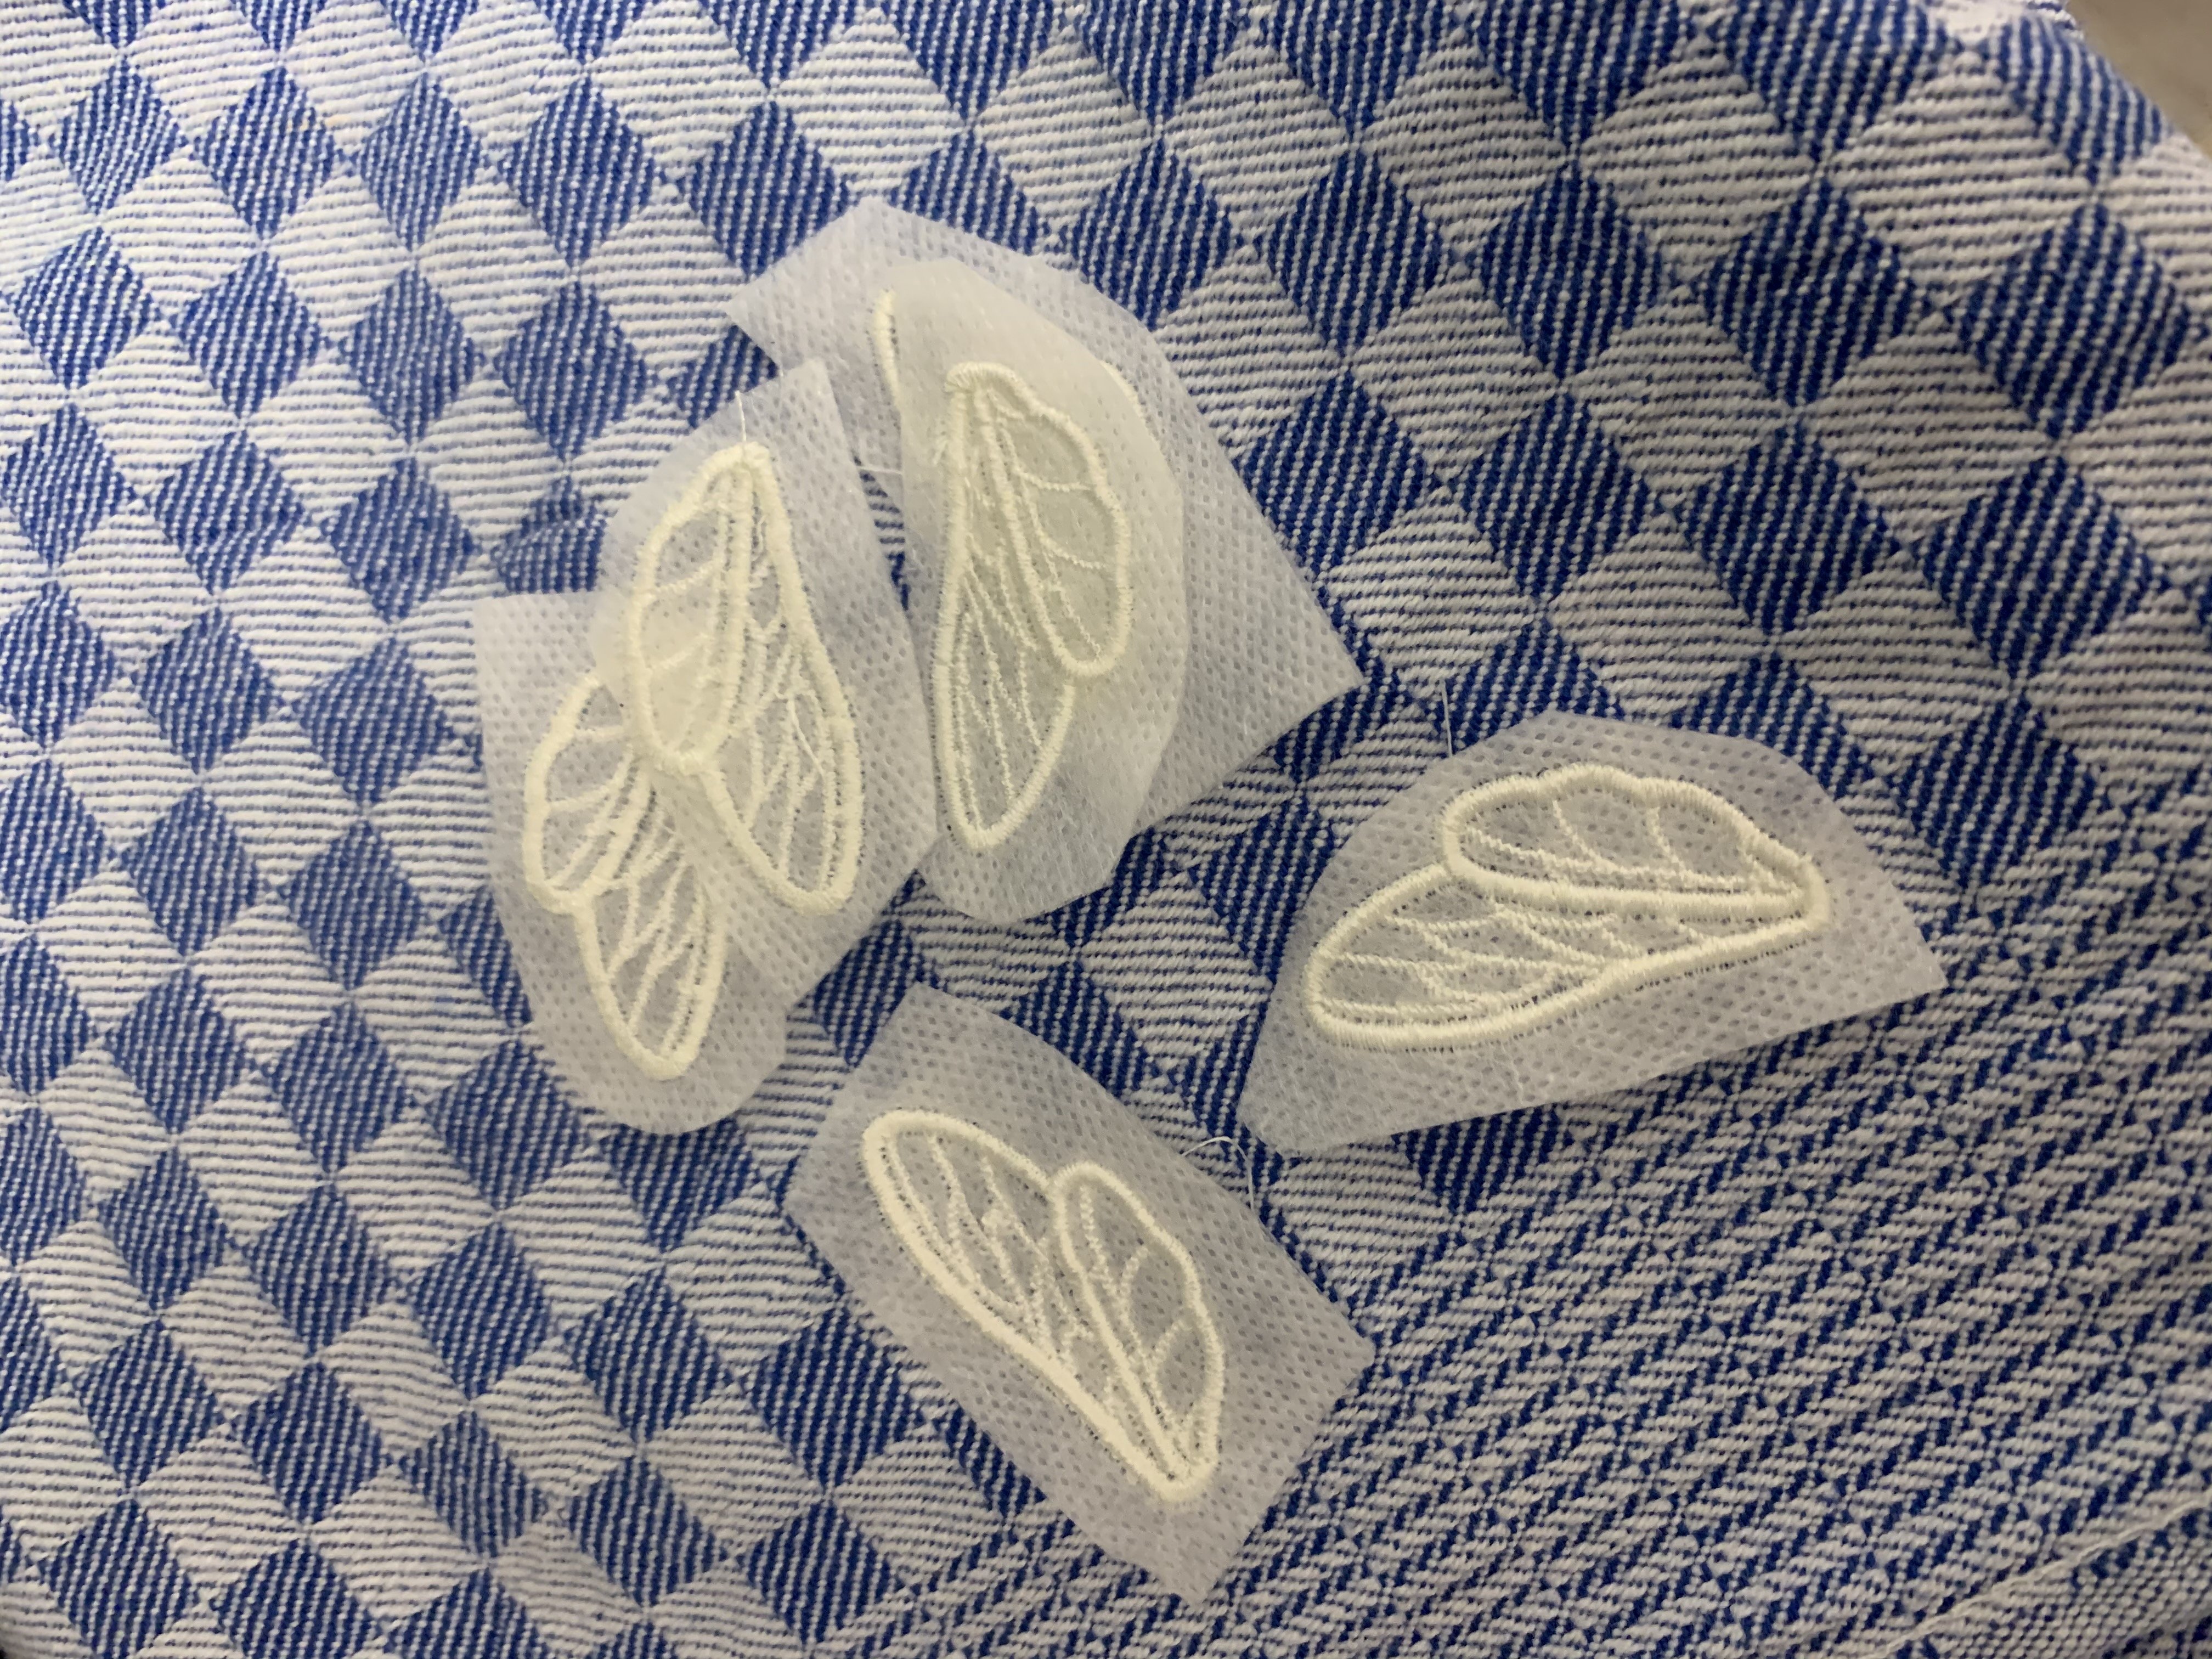
It is best for the embroidery to dry with the right side facing down on the dish towel. I embroider the body of the bee on a piece of cotton cloth that I have set below with a thin batting (volume fleece), such as 249 by Freudenberg. The level on the bottom is of course tearable stabilizer. The head is finished as an application – I used golden artificial leather for this one.
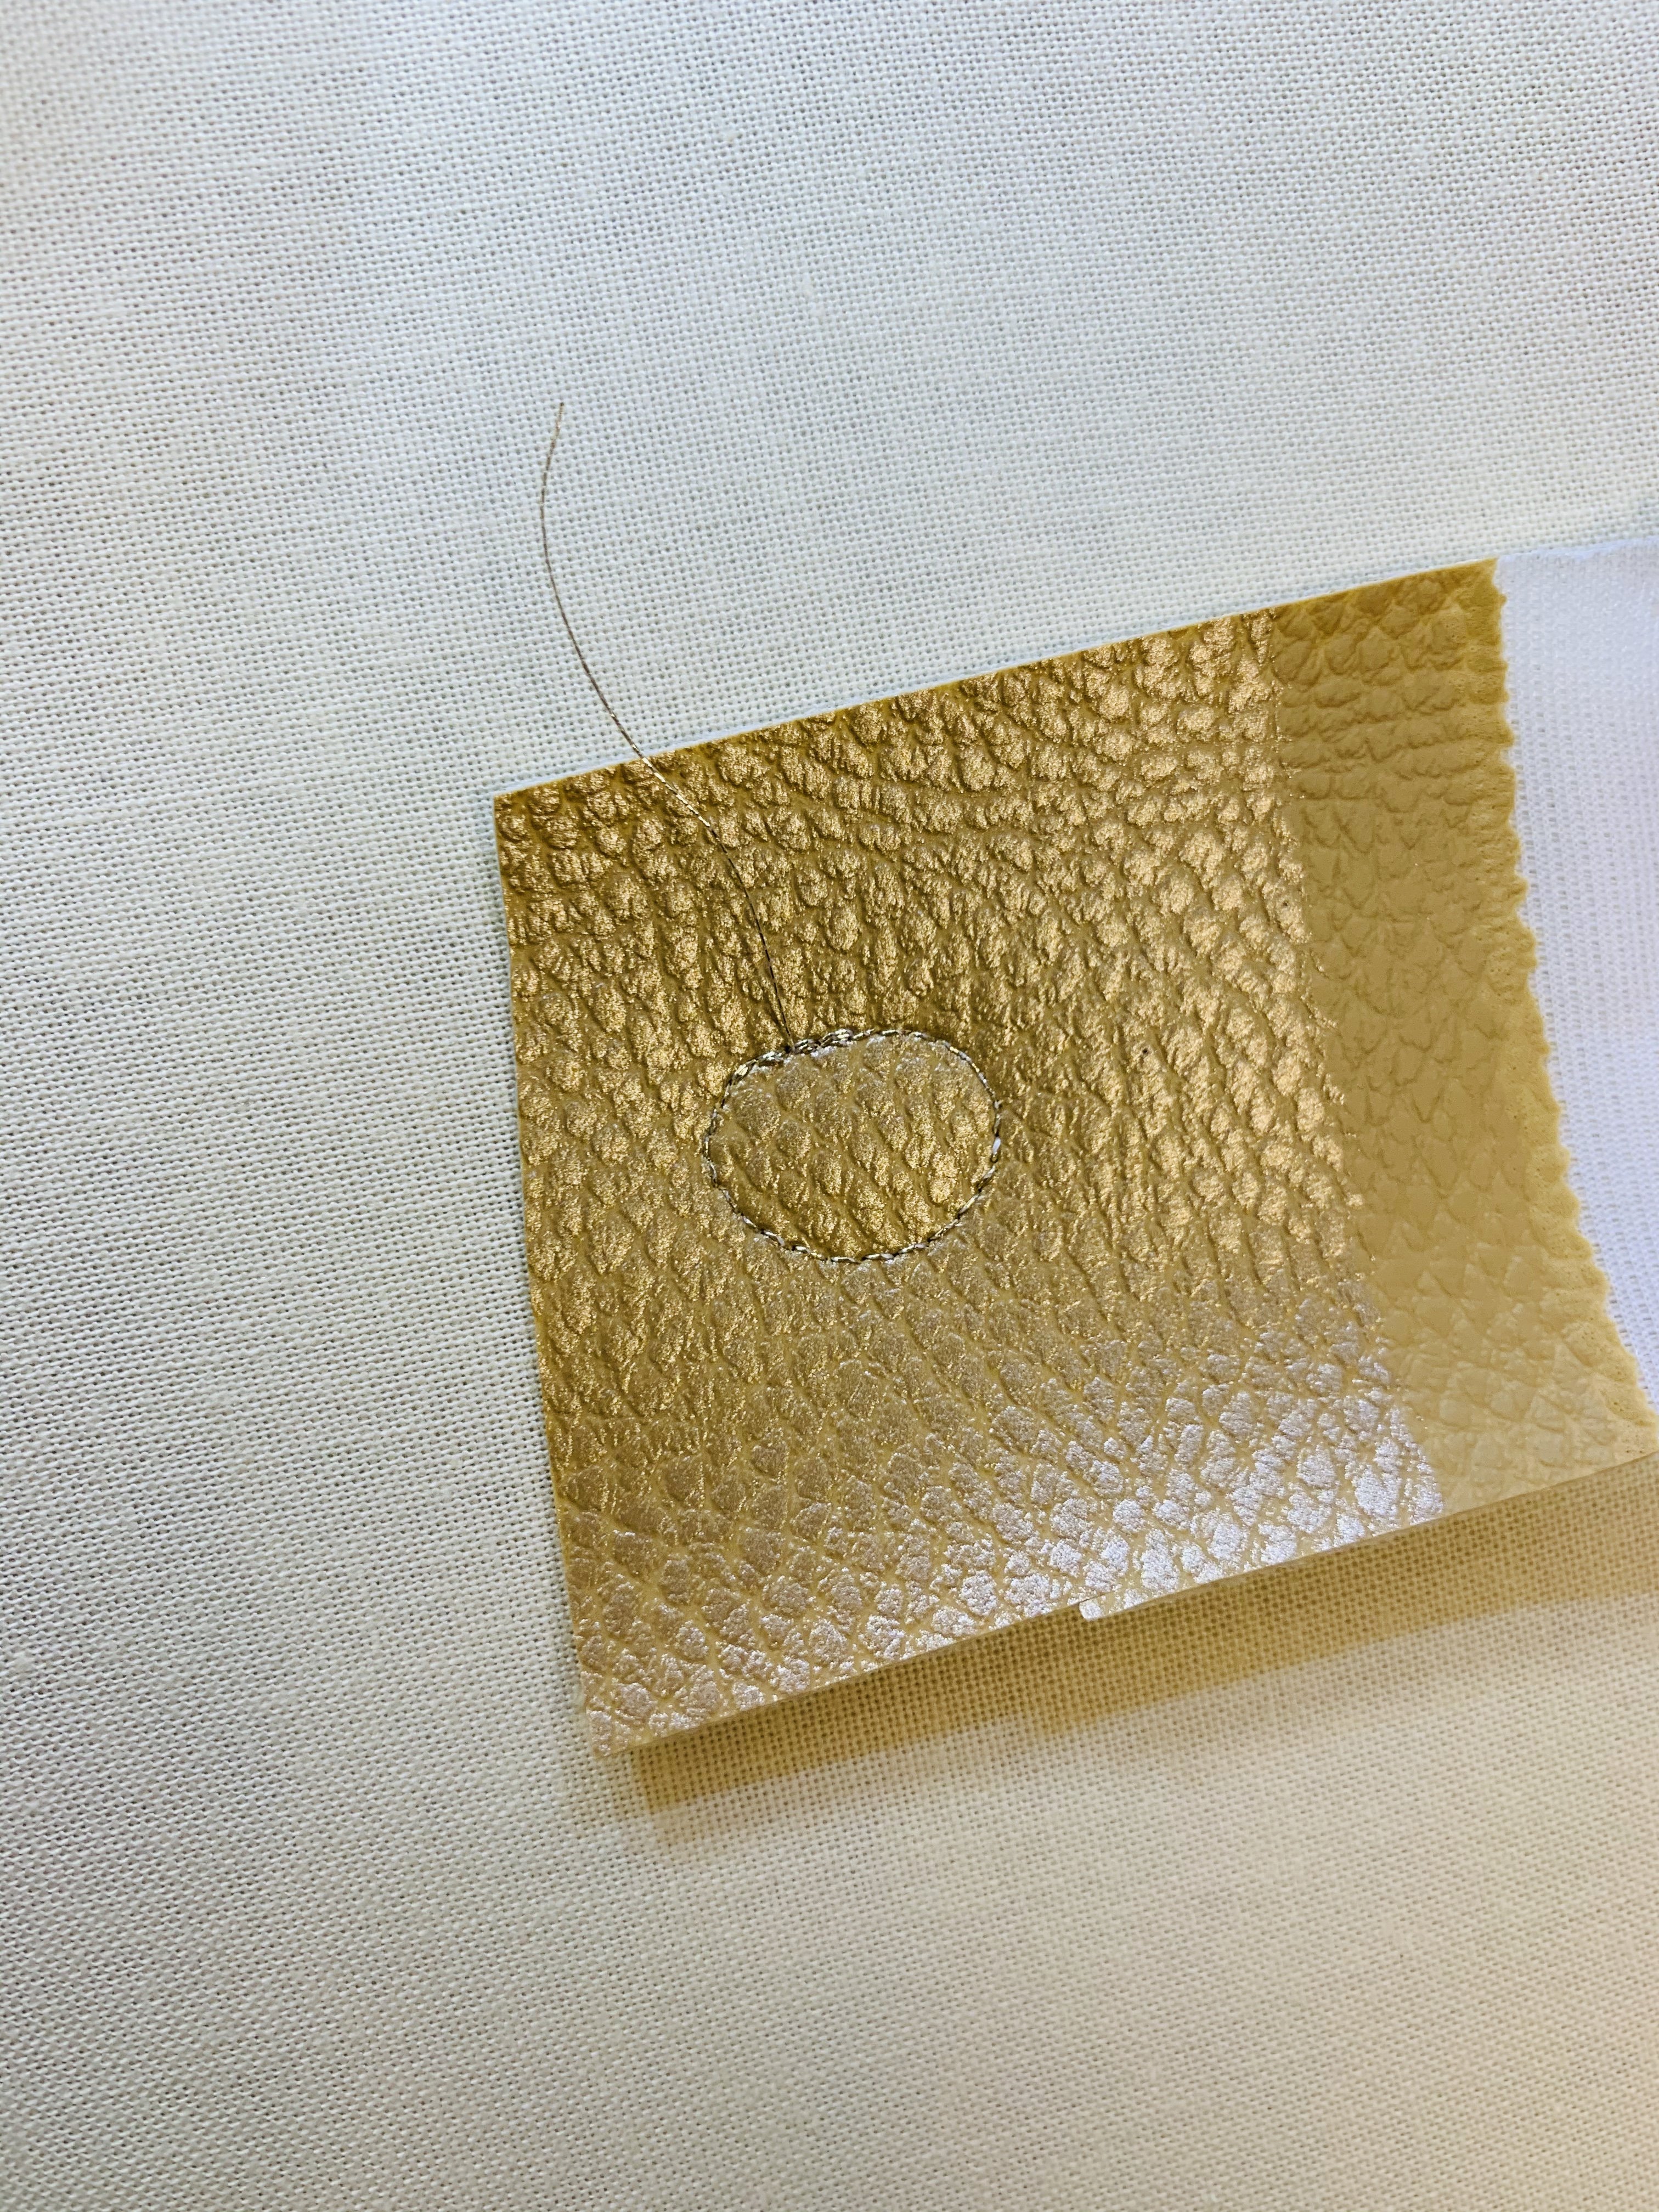
I draw a wide circle around the bee, and another I draw as the marking for the cutting.

Now I encircle the circle of material with small back and forth stitches and tear-resistant thread, such as Extra Strong by Mettler. The section is then pulled over a piece of suitably cut cardboard. Before everything is firmly pulled taut and knotted, I shove a bit of fiberfill between the material and the cardboard.

Then the wings are sewn down by hand and finally I glue the section onto the lid of the can.

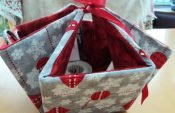
For a cute detail I tie a golden ribbon around the lid and my exceptional pincushion is complete! In the actual jar you will find thread spools, bobbins, and a lot of space!

What do you think about my brilliant pincushion? Maybe you will find a little time to make one of these for your friends who like to sew? If you do, I wish you much fun and enjoyment!
I also wish everyone a wonderful advent season. I hope that you will find a little time to be creative in spite of all the preparations you have to make!
Lovely Christmas wishes and wonderful holidays!
Your Claudia
0 Responses