Dear community,
in this blog post you can find easy instructions on how to make a heating pad for babies (with free pattern).
Sustainable Christmas gifts as the theme of the BERNINA advent calendar? A “sustainable” childhood memory immediately flashed through my mind: I am sitting on the floor sorting buttons while my mama sews! And that is why today I am giving you a short tutorial to make a heating pad for babies – combined with many wonderful memories from my childhood:
Tutorial – Heating Pad for Babies
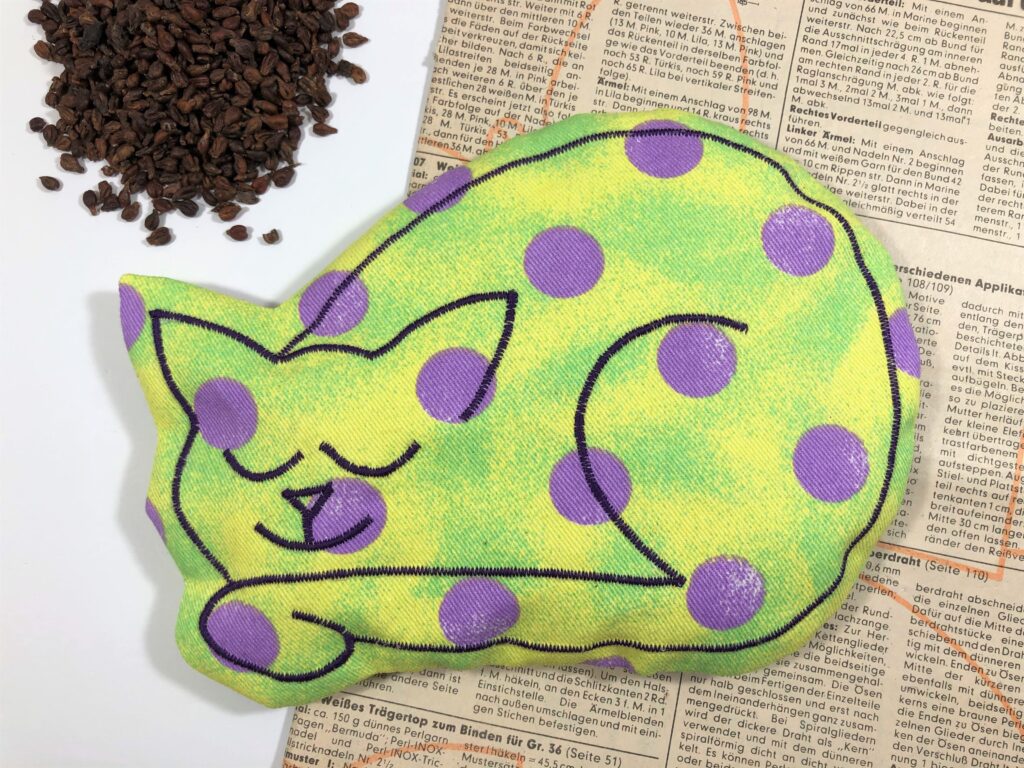
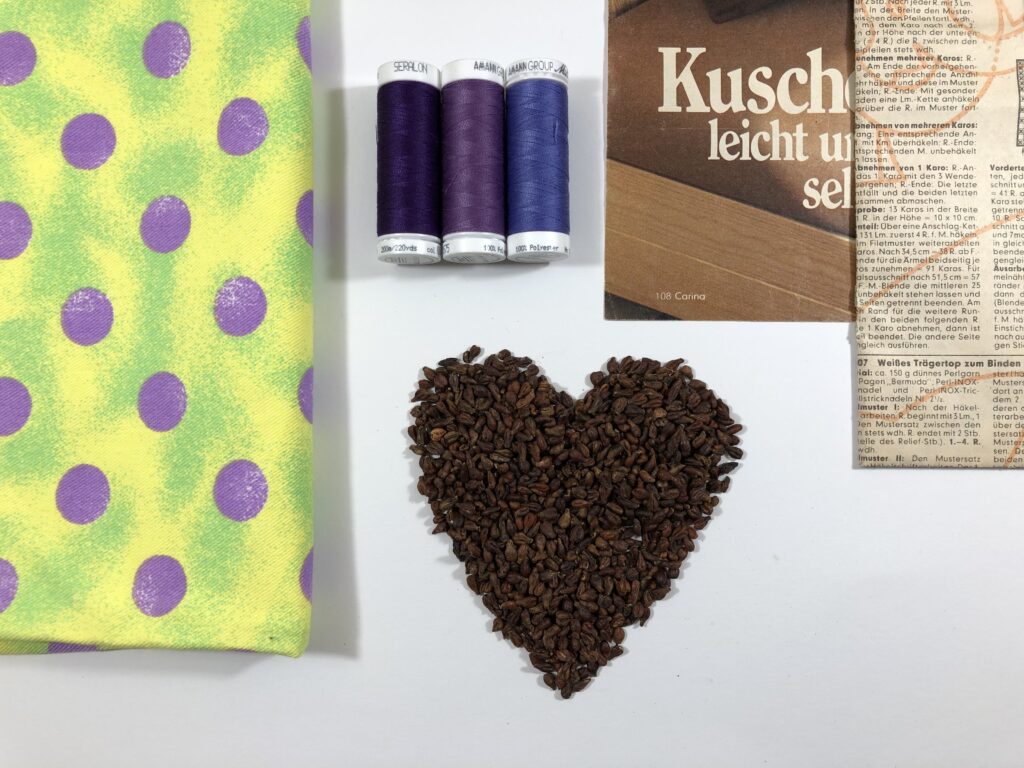
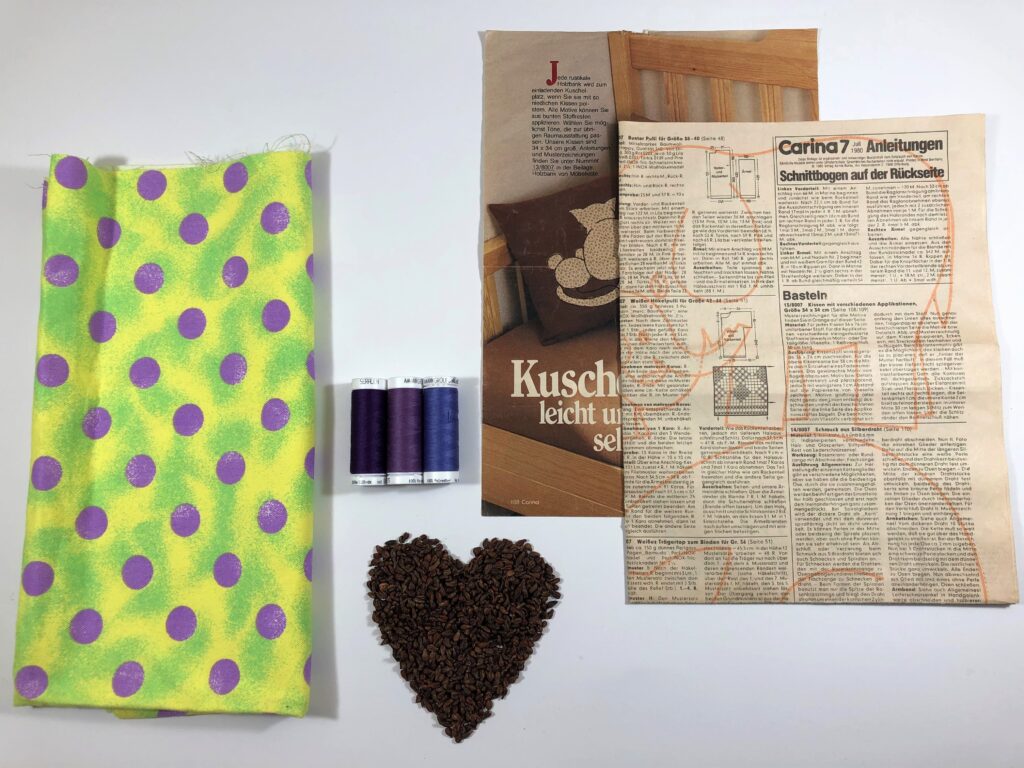
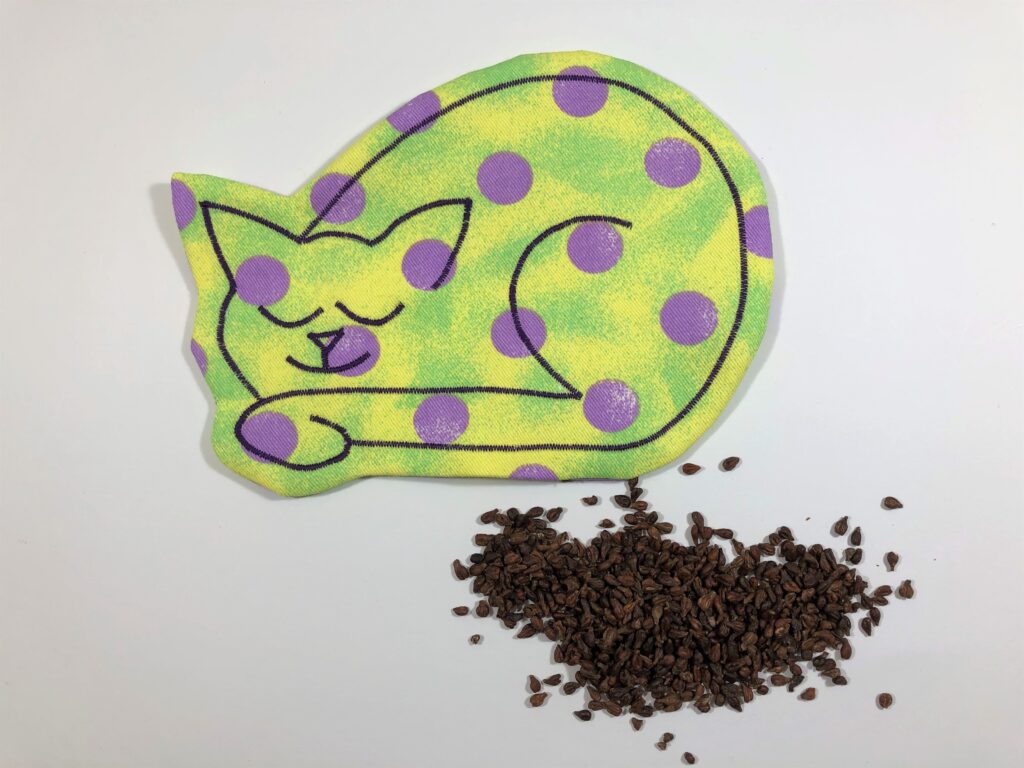
The heating pad design comes from a cuddle pillow pattern from 1980 from mama’s collection and is sewn from colorful fabric remnants from the 90’s (from my first period of sewing in the 6th grade). The heating pad is filled with grape seeds – organic from the local vineyard on the Mosel – so no part of the grape is going to waste! Very sustainable, don’t you think?
This is what you will need:
Material for the heating pad
- Cotton fabric 20 x 50 cm
- Permanent marker or pen
- Pins
- Adhesive tape
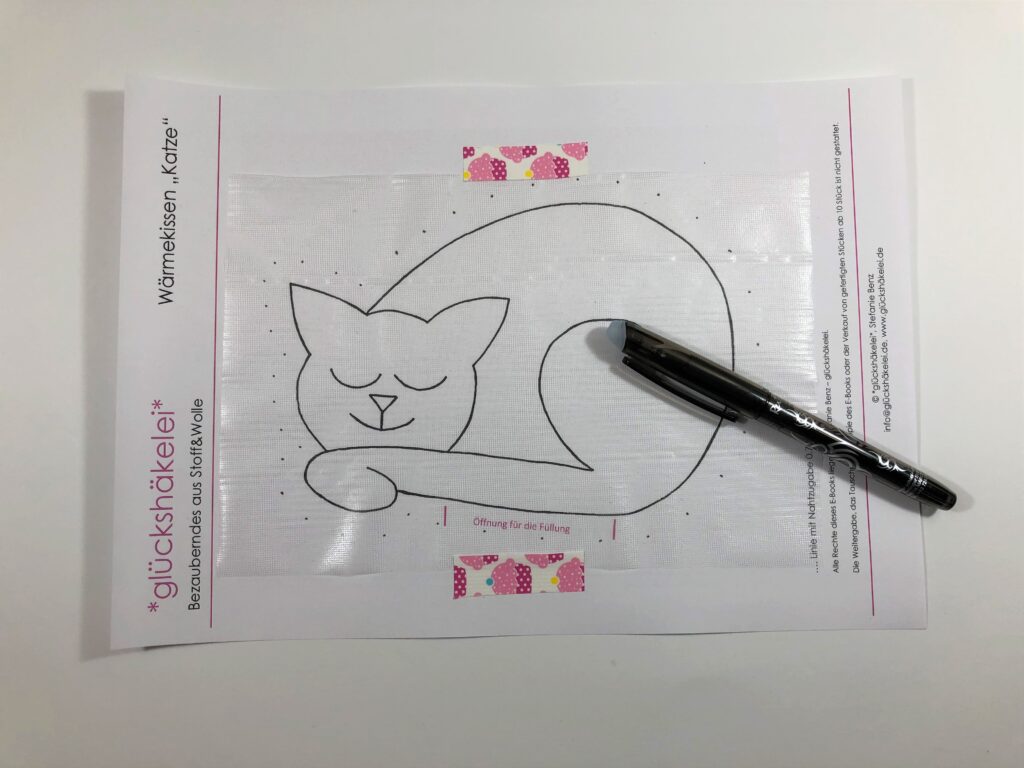
- Water-soluble stabilizer 20 x 25 cm “Avalon” from Madeira
- Thread in suitable colors such as Seralon from Amann Mettler
- Grape seeds – approx. 250 g, for example from Vitis GmbH
- Hand sewing needle
- Fabric scissors and paper scissors
- And the sewing machine!
Preparation
You can find the pattern for the heating pad by clicking on the following link and downloading the PDF:
When printing out the pattern, be careful to ensure that the correct size is selected on the printer (you must deactivate the “Scale to Fit Page” option because this could cause the pattern to be reduced in size).
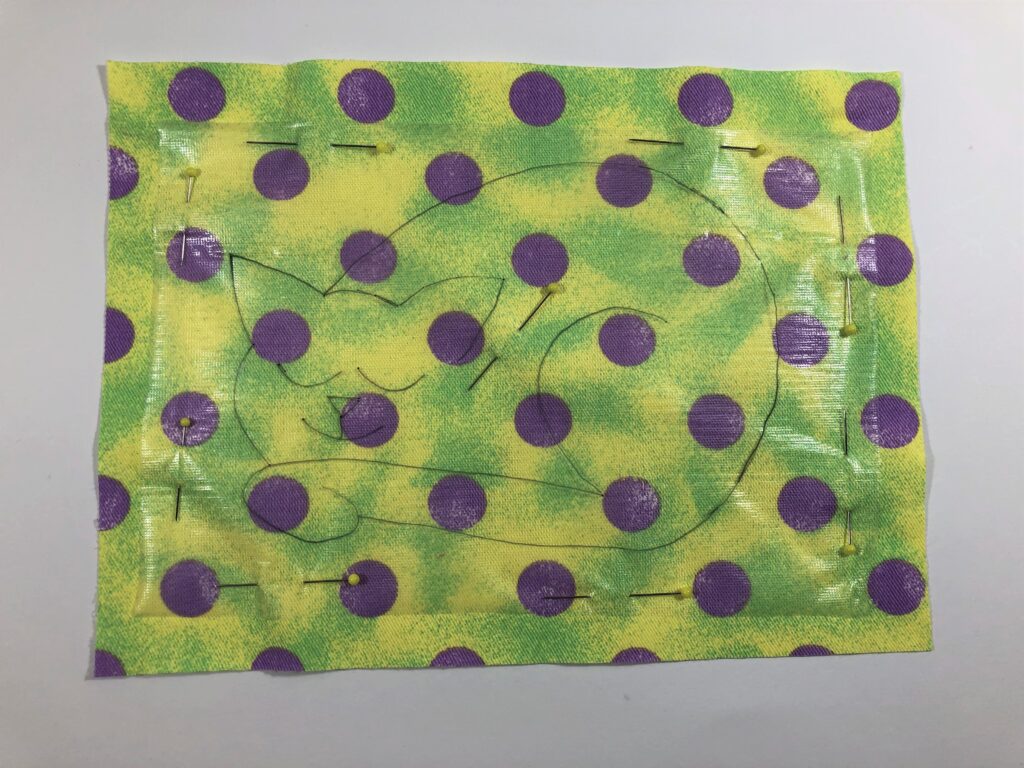
Now cut a piece of the water-soluble stabilizer in the size of the cat (20 x 25 cm) and affix it to the paper with adhesive tape. Trace the cat.
Sewing
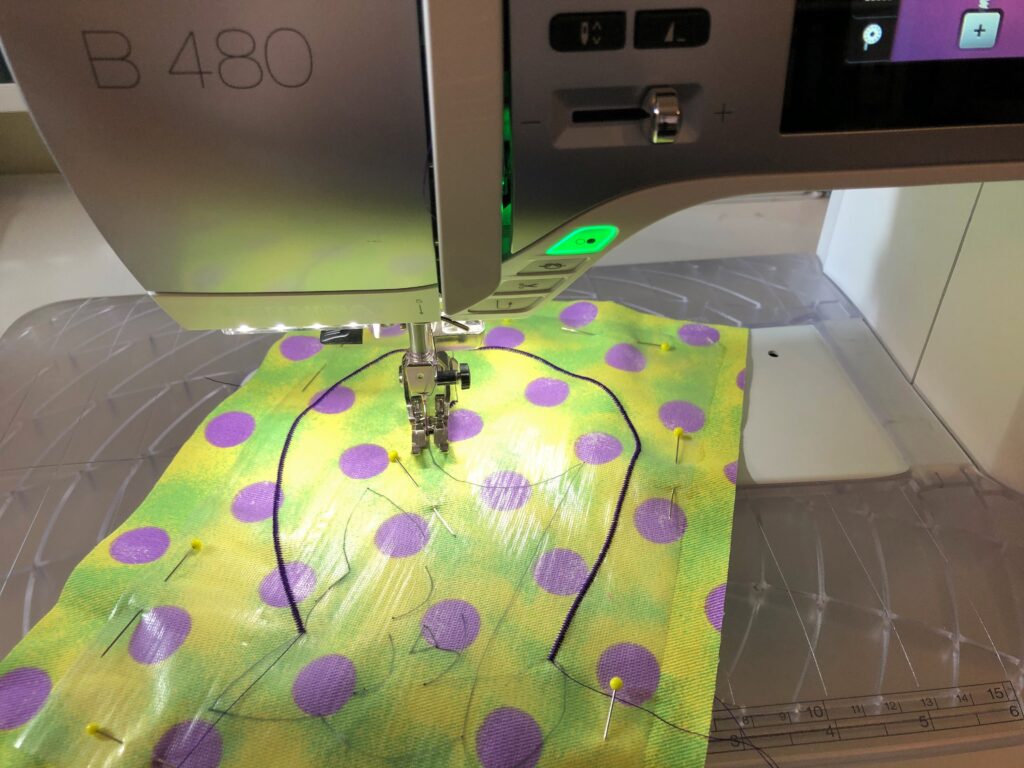
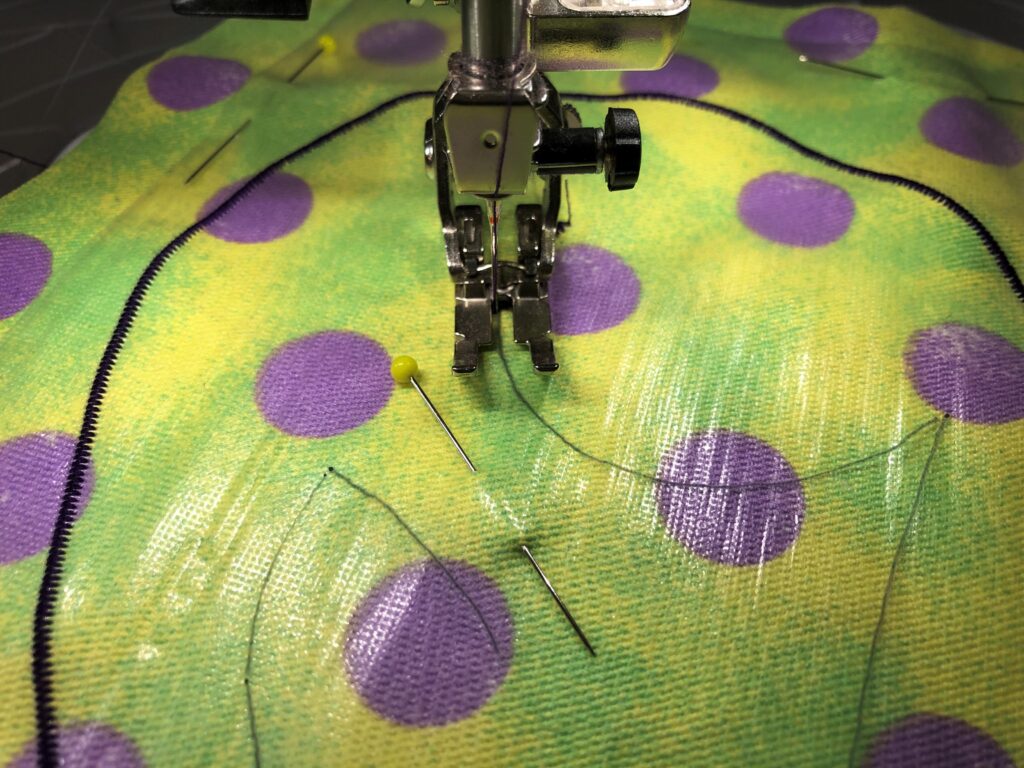
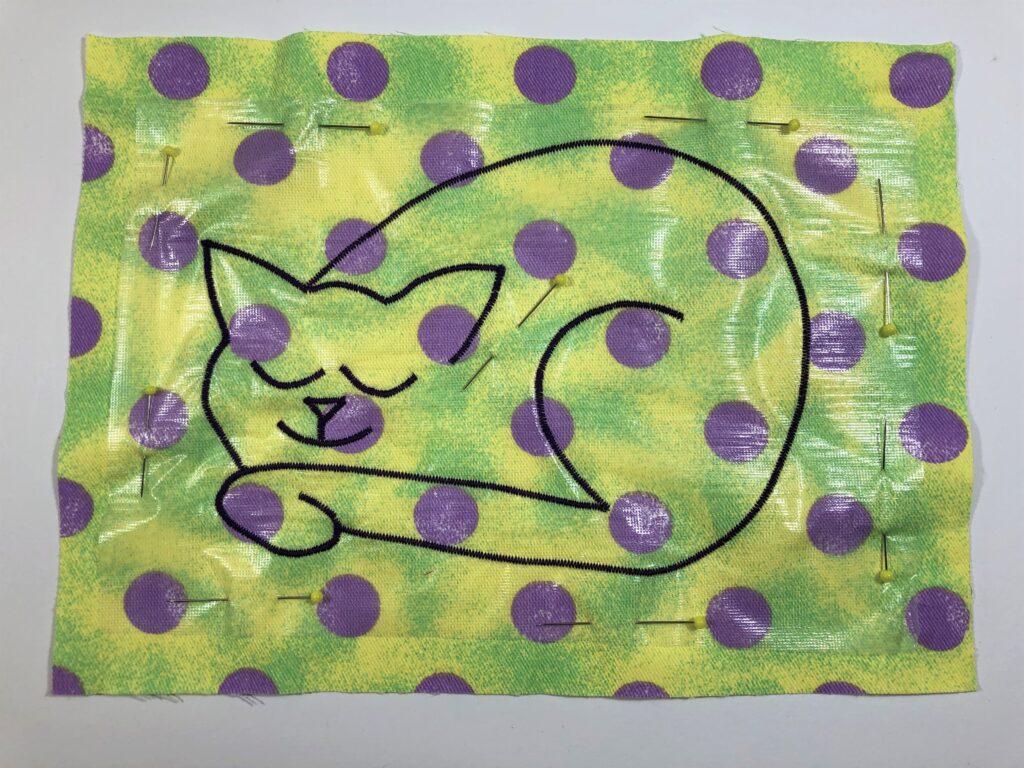
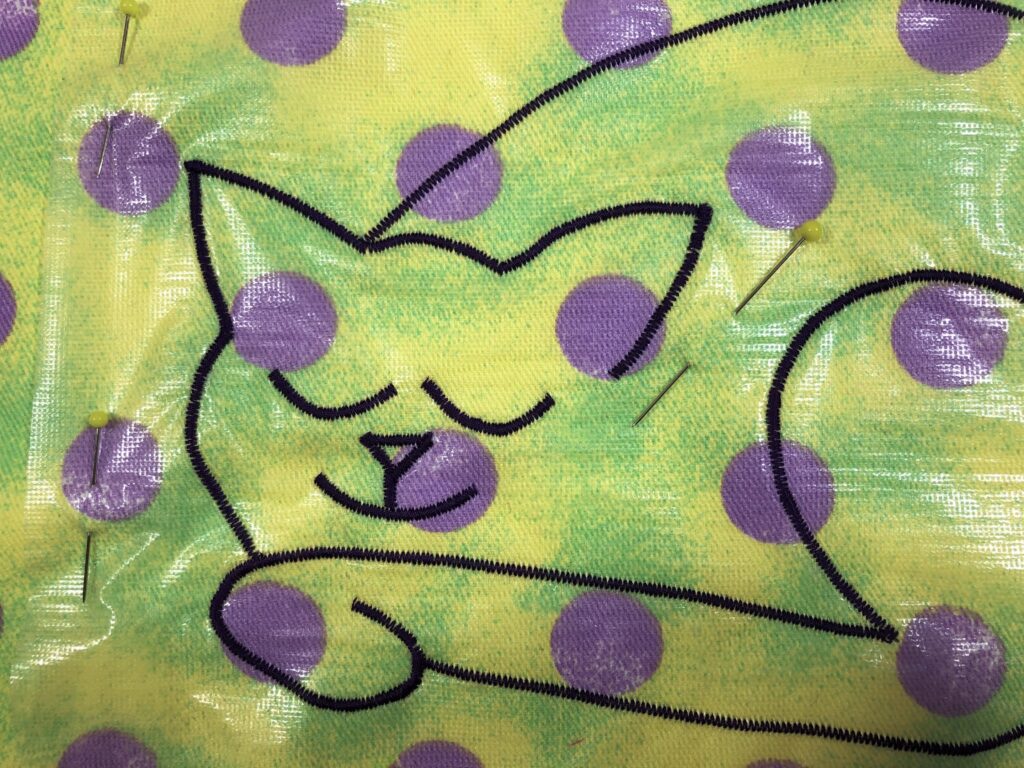
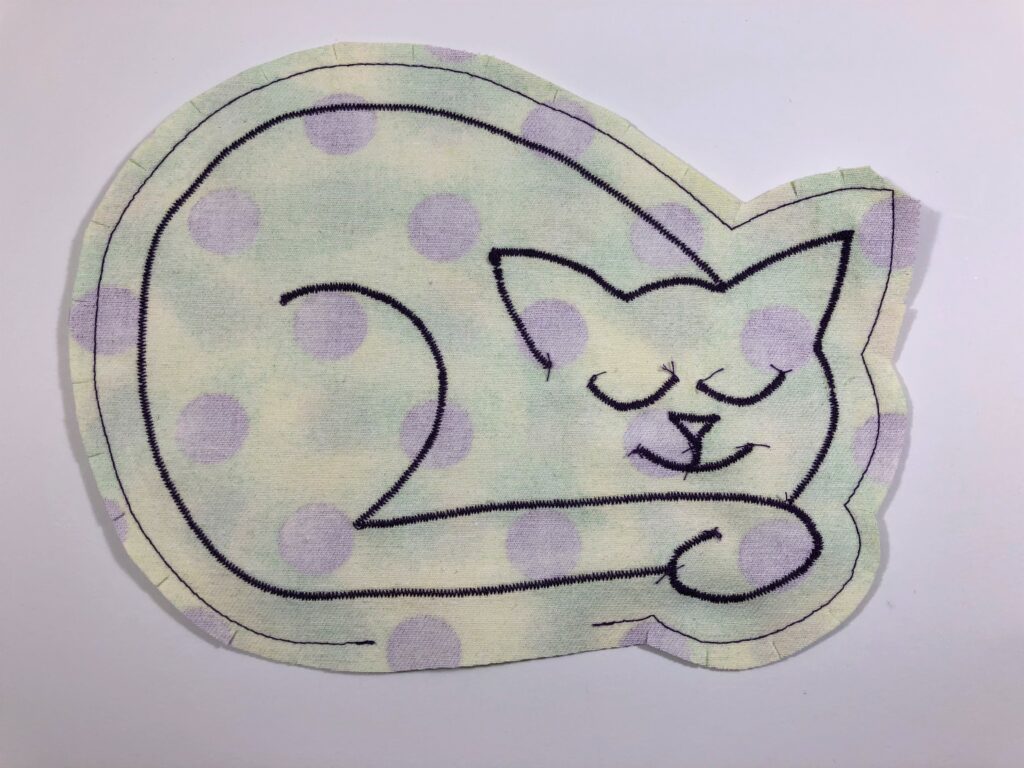
First, pin the stabilizer with the cat drawing onto the material and sew along the lines using a fine zigzag stitch. I used the #37 patchwork foot with my BERNINA 480. This way, I had a better overview of the drawn line.
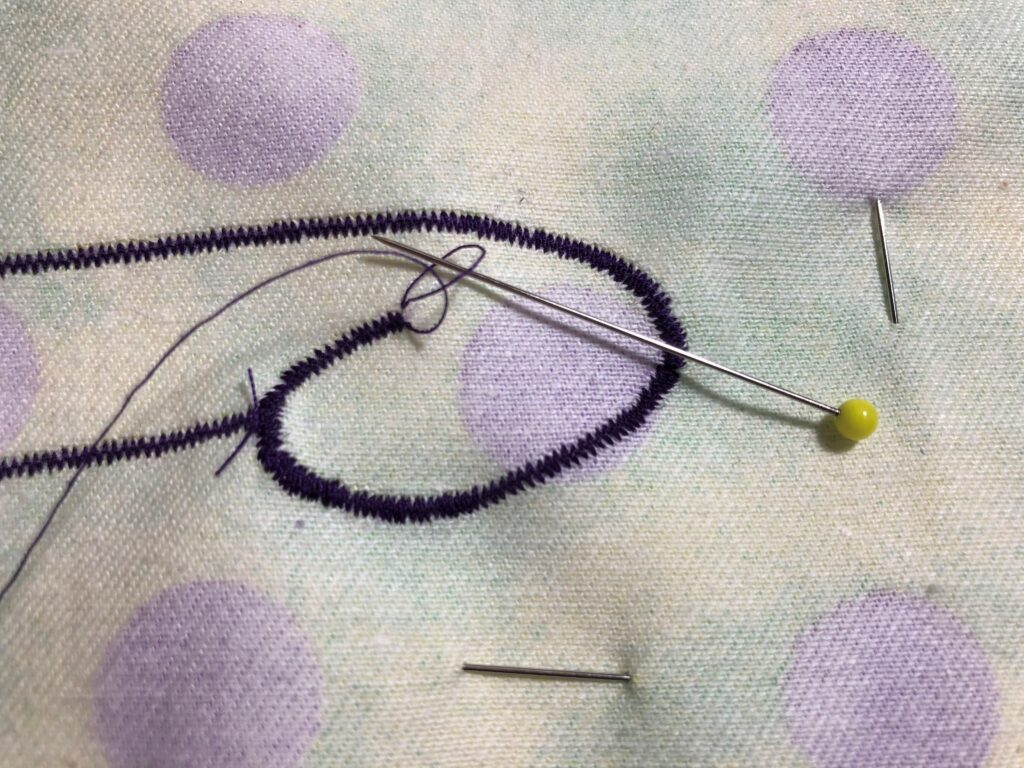
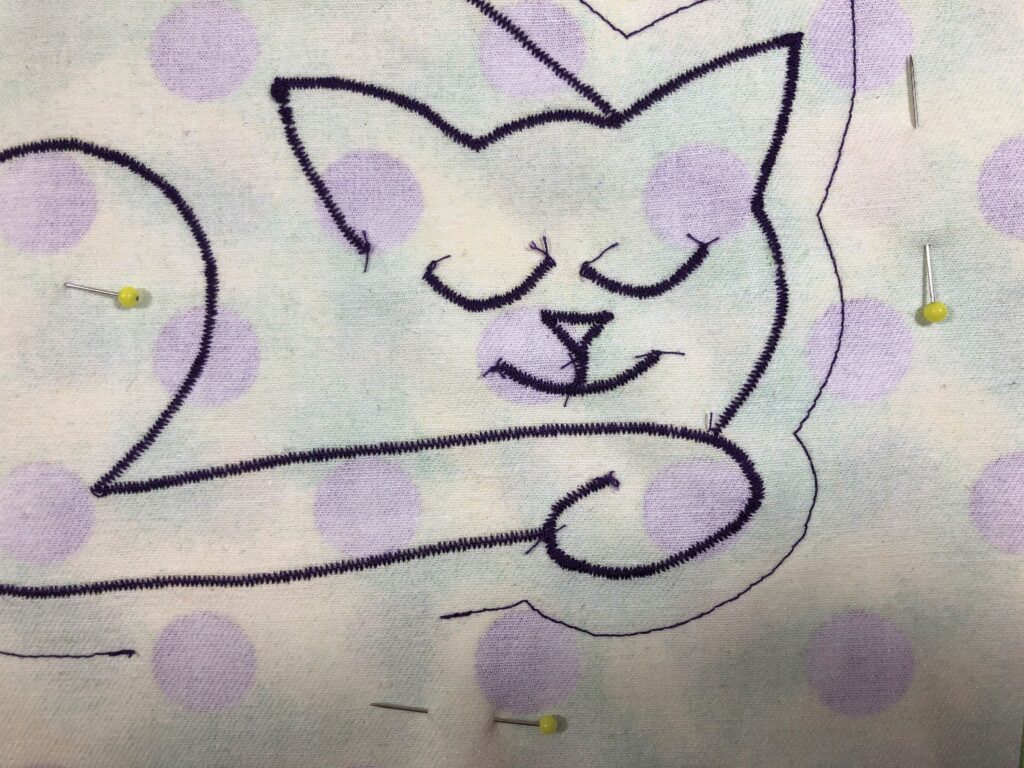
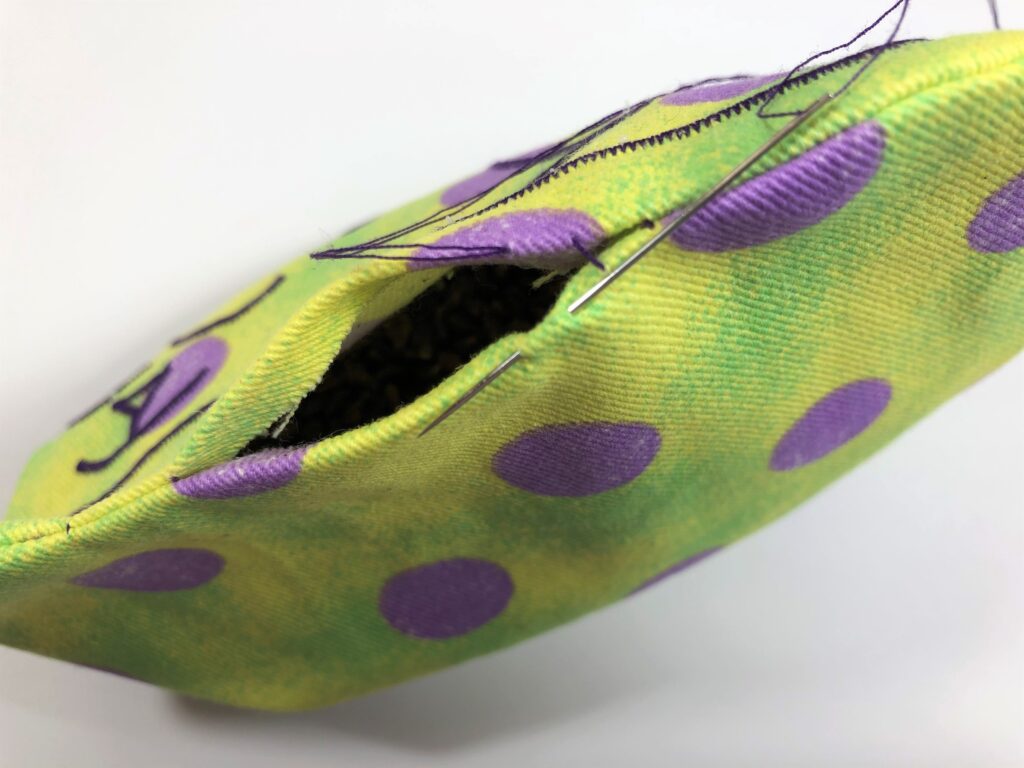
Here is a little tip for you: Do not lock the seams, i.e. do not stitch backwards and forwards! The threads are pulled through backwards with a pin. Simply pull on one thread on the back side of the material and pull the loop through (see photo). Finally, tie off all of the threads.
This is what our cat looks like on our heating pad! Remove the pins and simply tear off the embroidery stabilizer or wash it out.
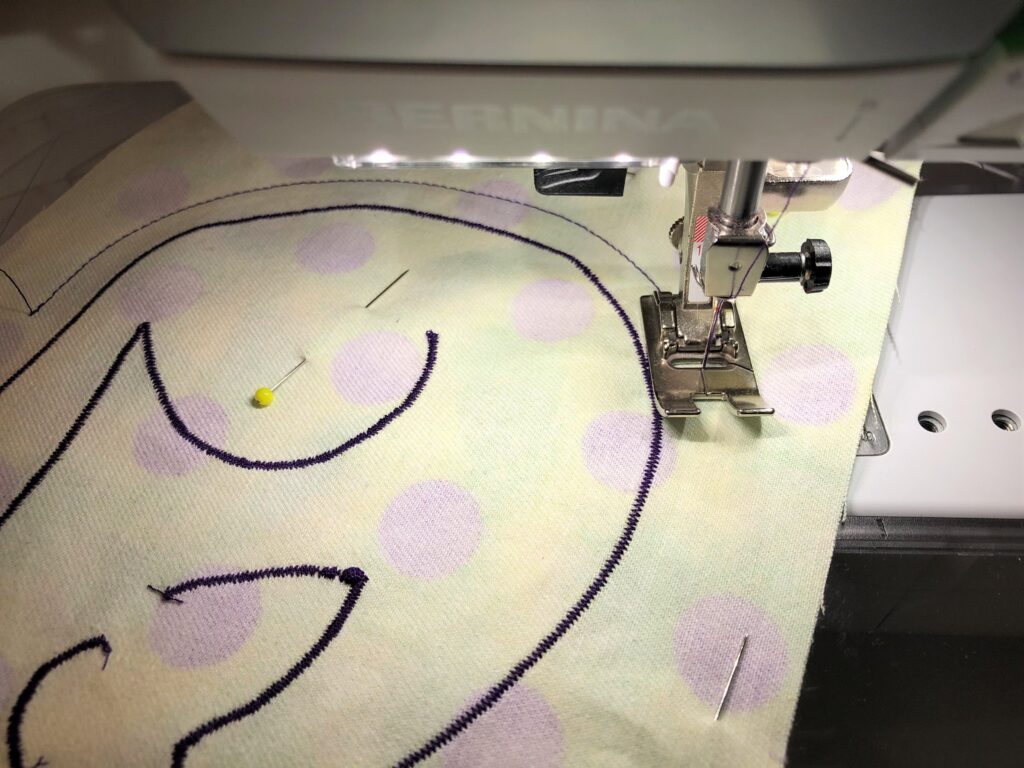
Now we will sew together the front and the back sides of the heating pad, and cut out the cat afterwards. Using a straight stitch (reverse pattern foot #1), simply sew along the exterior line, making sure to leave a seam allowance of 0.7 cm.
Leave an opening in the stitching on the cat’s foot (see pattern).
Now cut out the cat and cut into the curves with small notches.
Completion
Next, turn the heating pad inside out…
… and fill it with grape seeds. Then close the opening with an invisible seam, such as a mattress stitch or a ladder stitch.
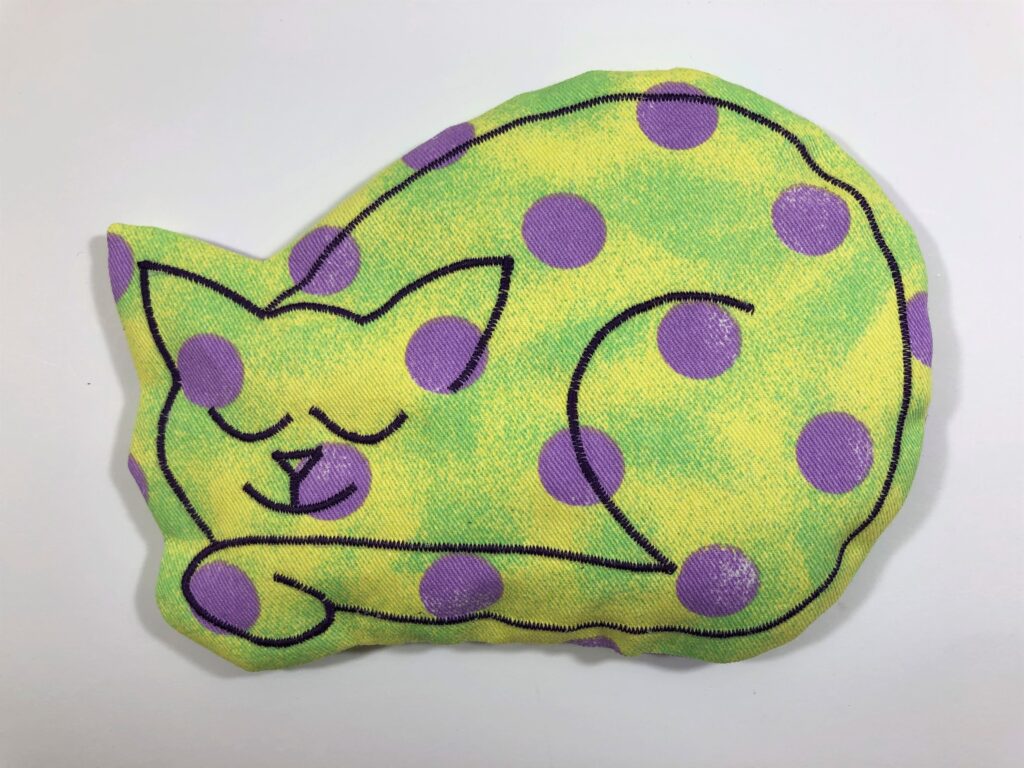
And you’re done!
I hope you have a lot of fun sewing this heating pad! Also, I wish you a relaxing advent season and an excellent Christmas!
“Creativity feeds the soul!”
Lots of love,
Stefanie of glückshäkelei
 BERNINA Corporate Blog -



How do you use the heating pad? Can you use anything else as filling?
Hi, thank you for your comment! You can heat them in the oven or in the microwave, but not too long. I recommend to follow the instructions for use of the seller. You can also filled the pillow with cherry stones. Kind regards, Stefanie