 BERNINA Corporate Blog -
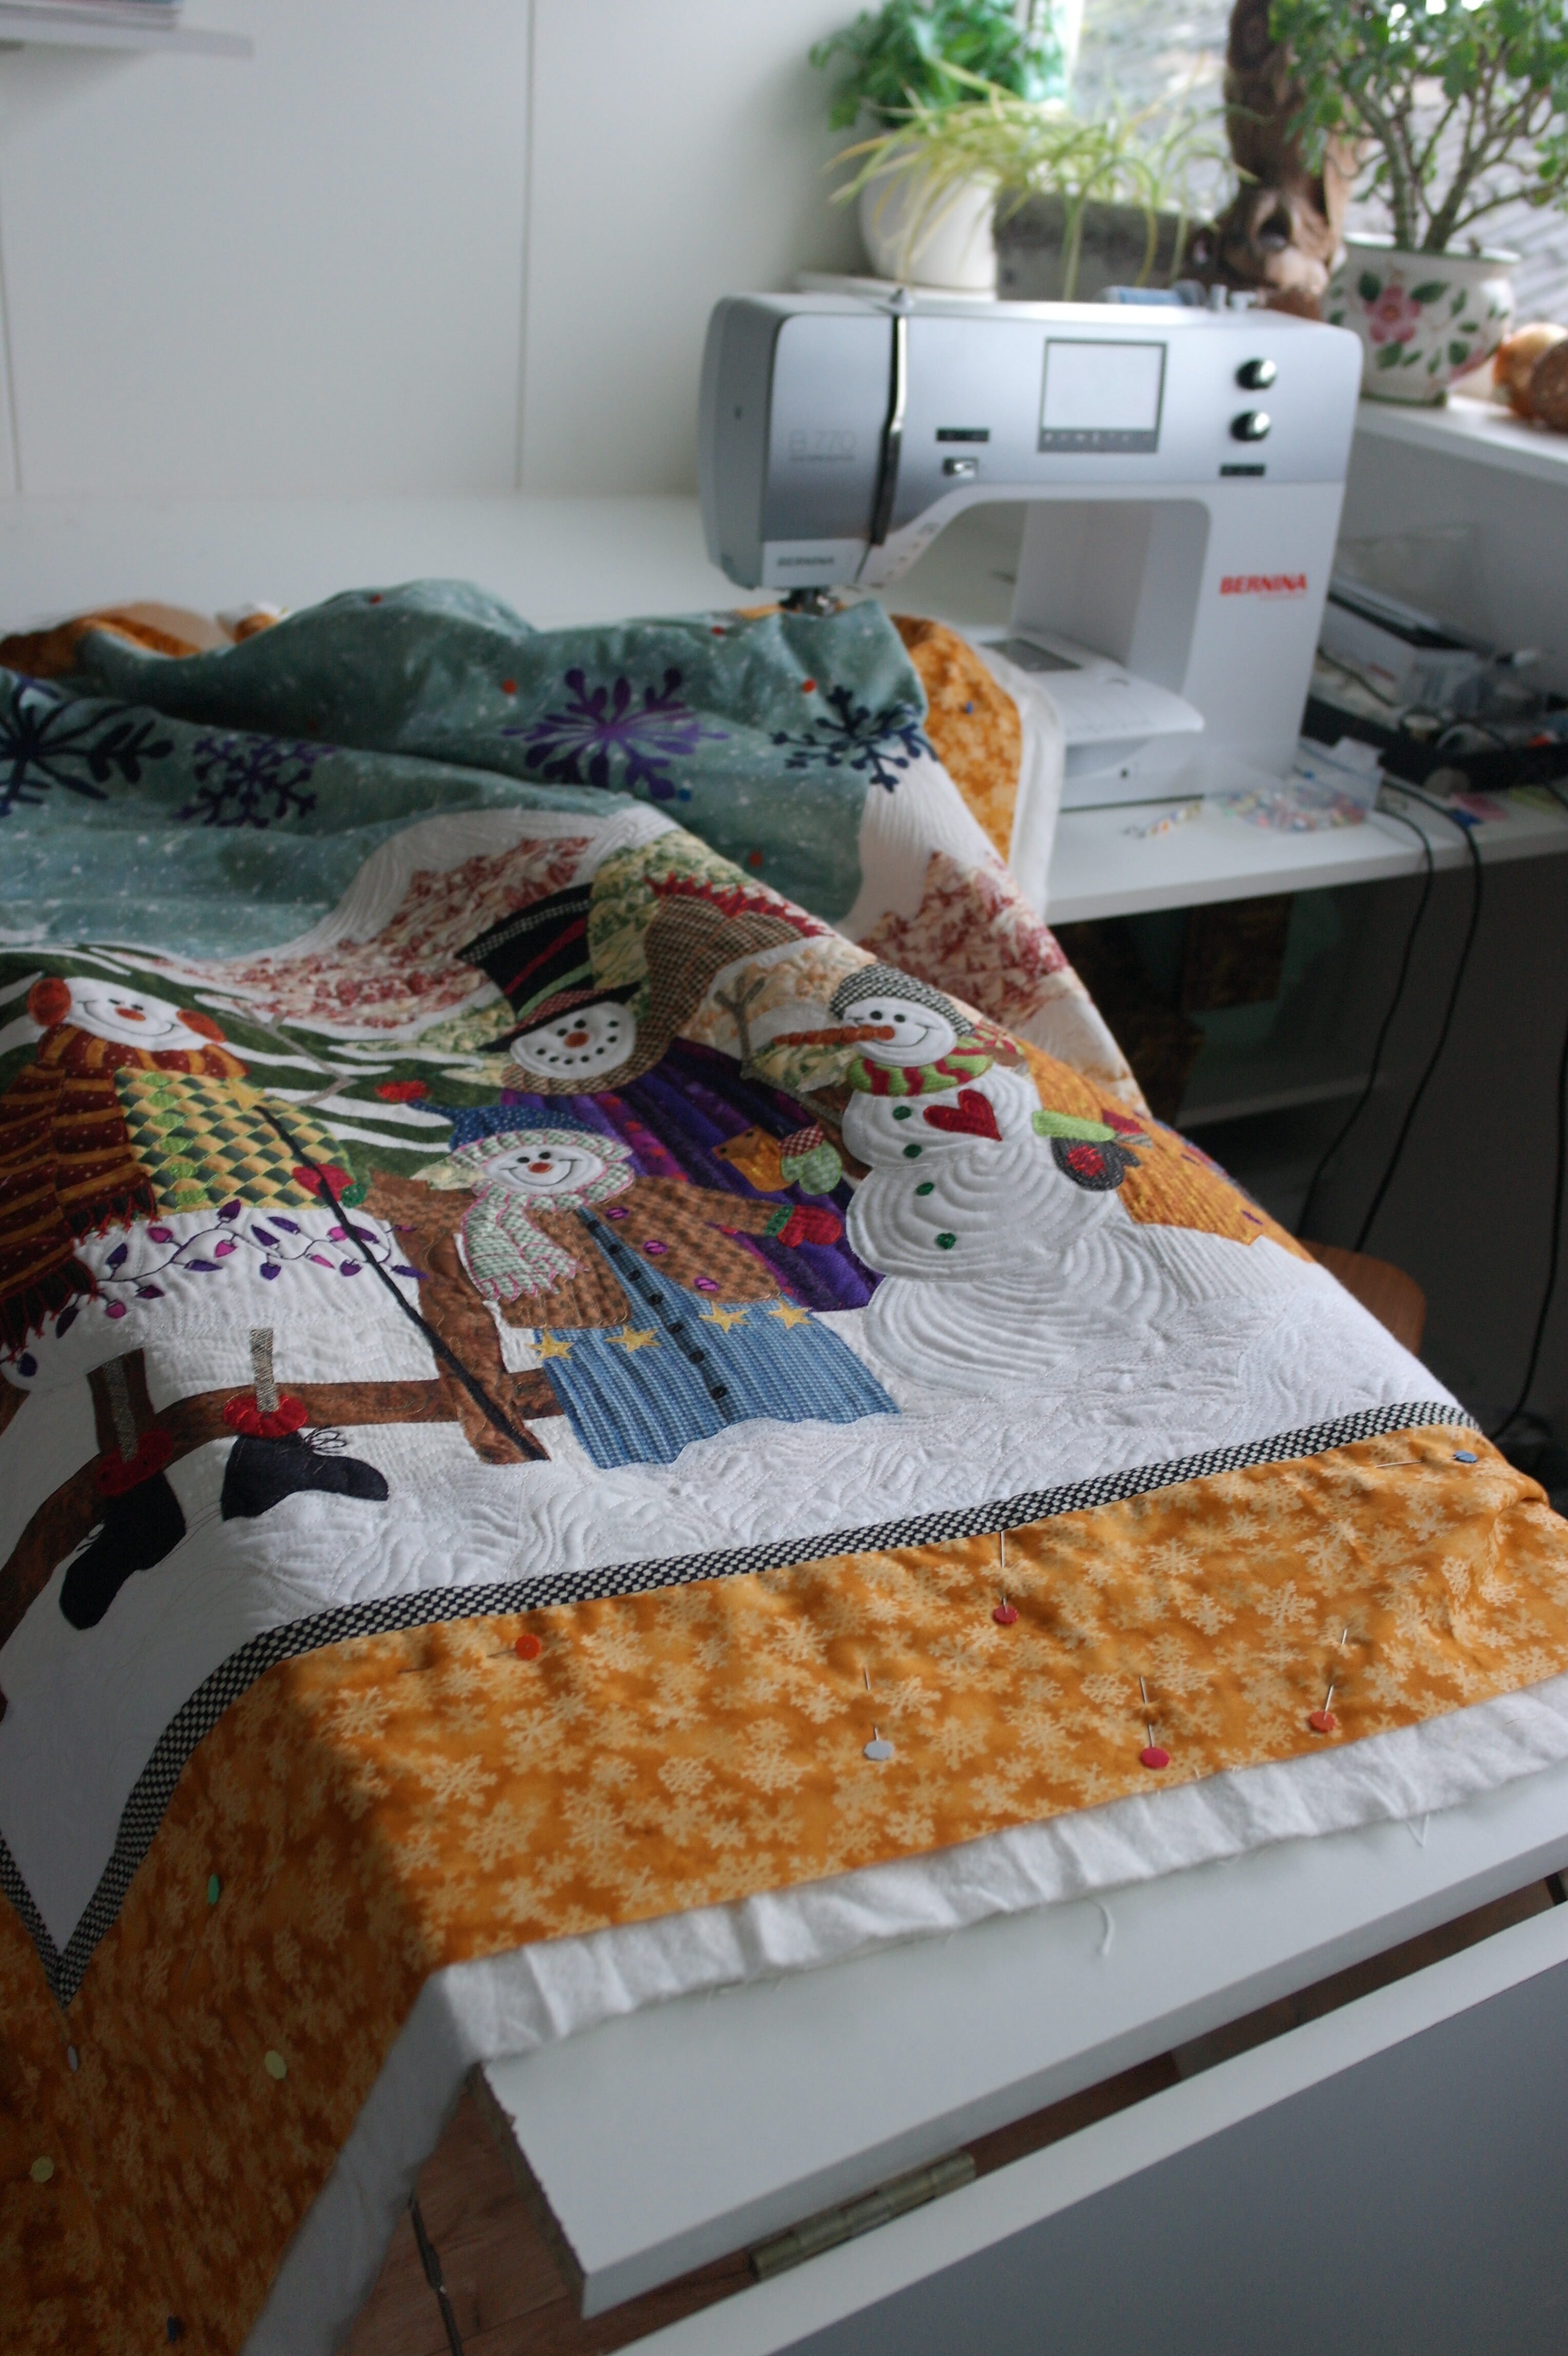
As promised, the last part of quilting and finishing my Snowmen Gathering quilt: although I have done a lot of quilting already, there has to be done even more to finish it all. I like to quilt intensively, so it takes a lot of time. I want to finish this quilt before Winter comes, and I can have it on a wall until Spring.
So… on with quilting. I have used variegated machine quilting thread too, think this is more exciting to use because of the light and dark, or because of the variation of colors.
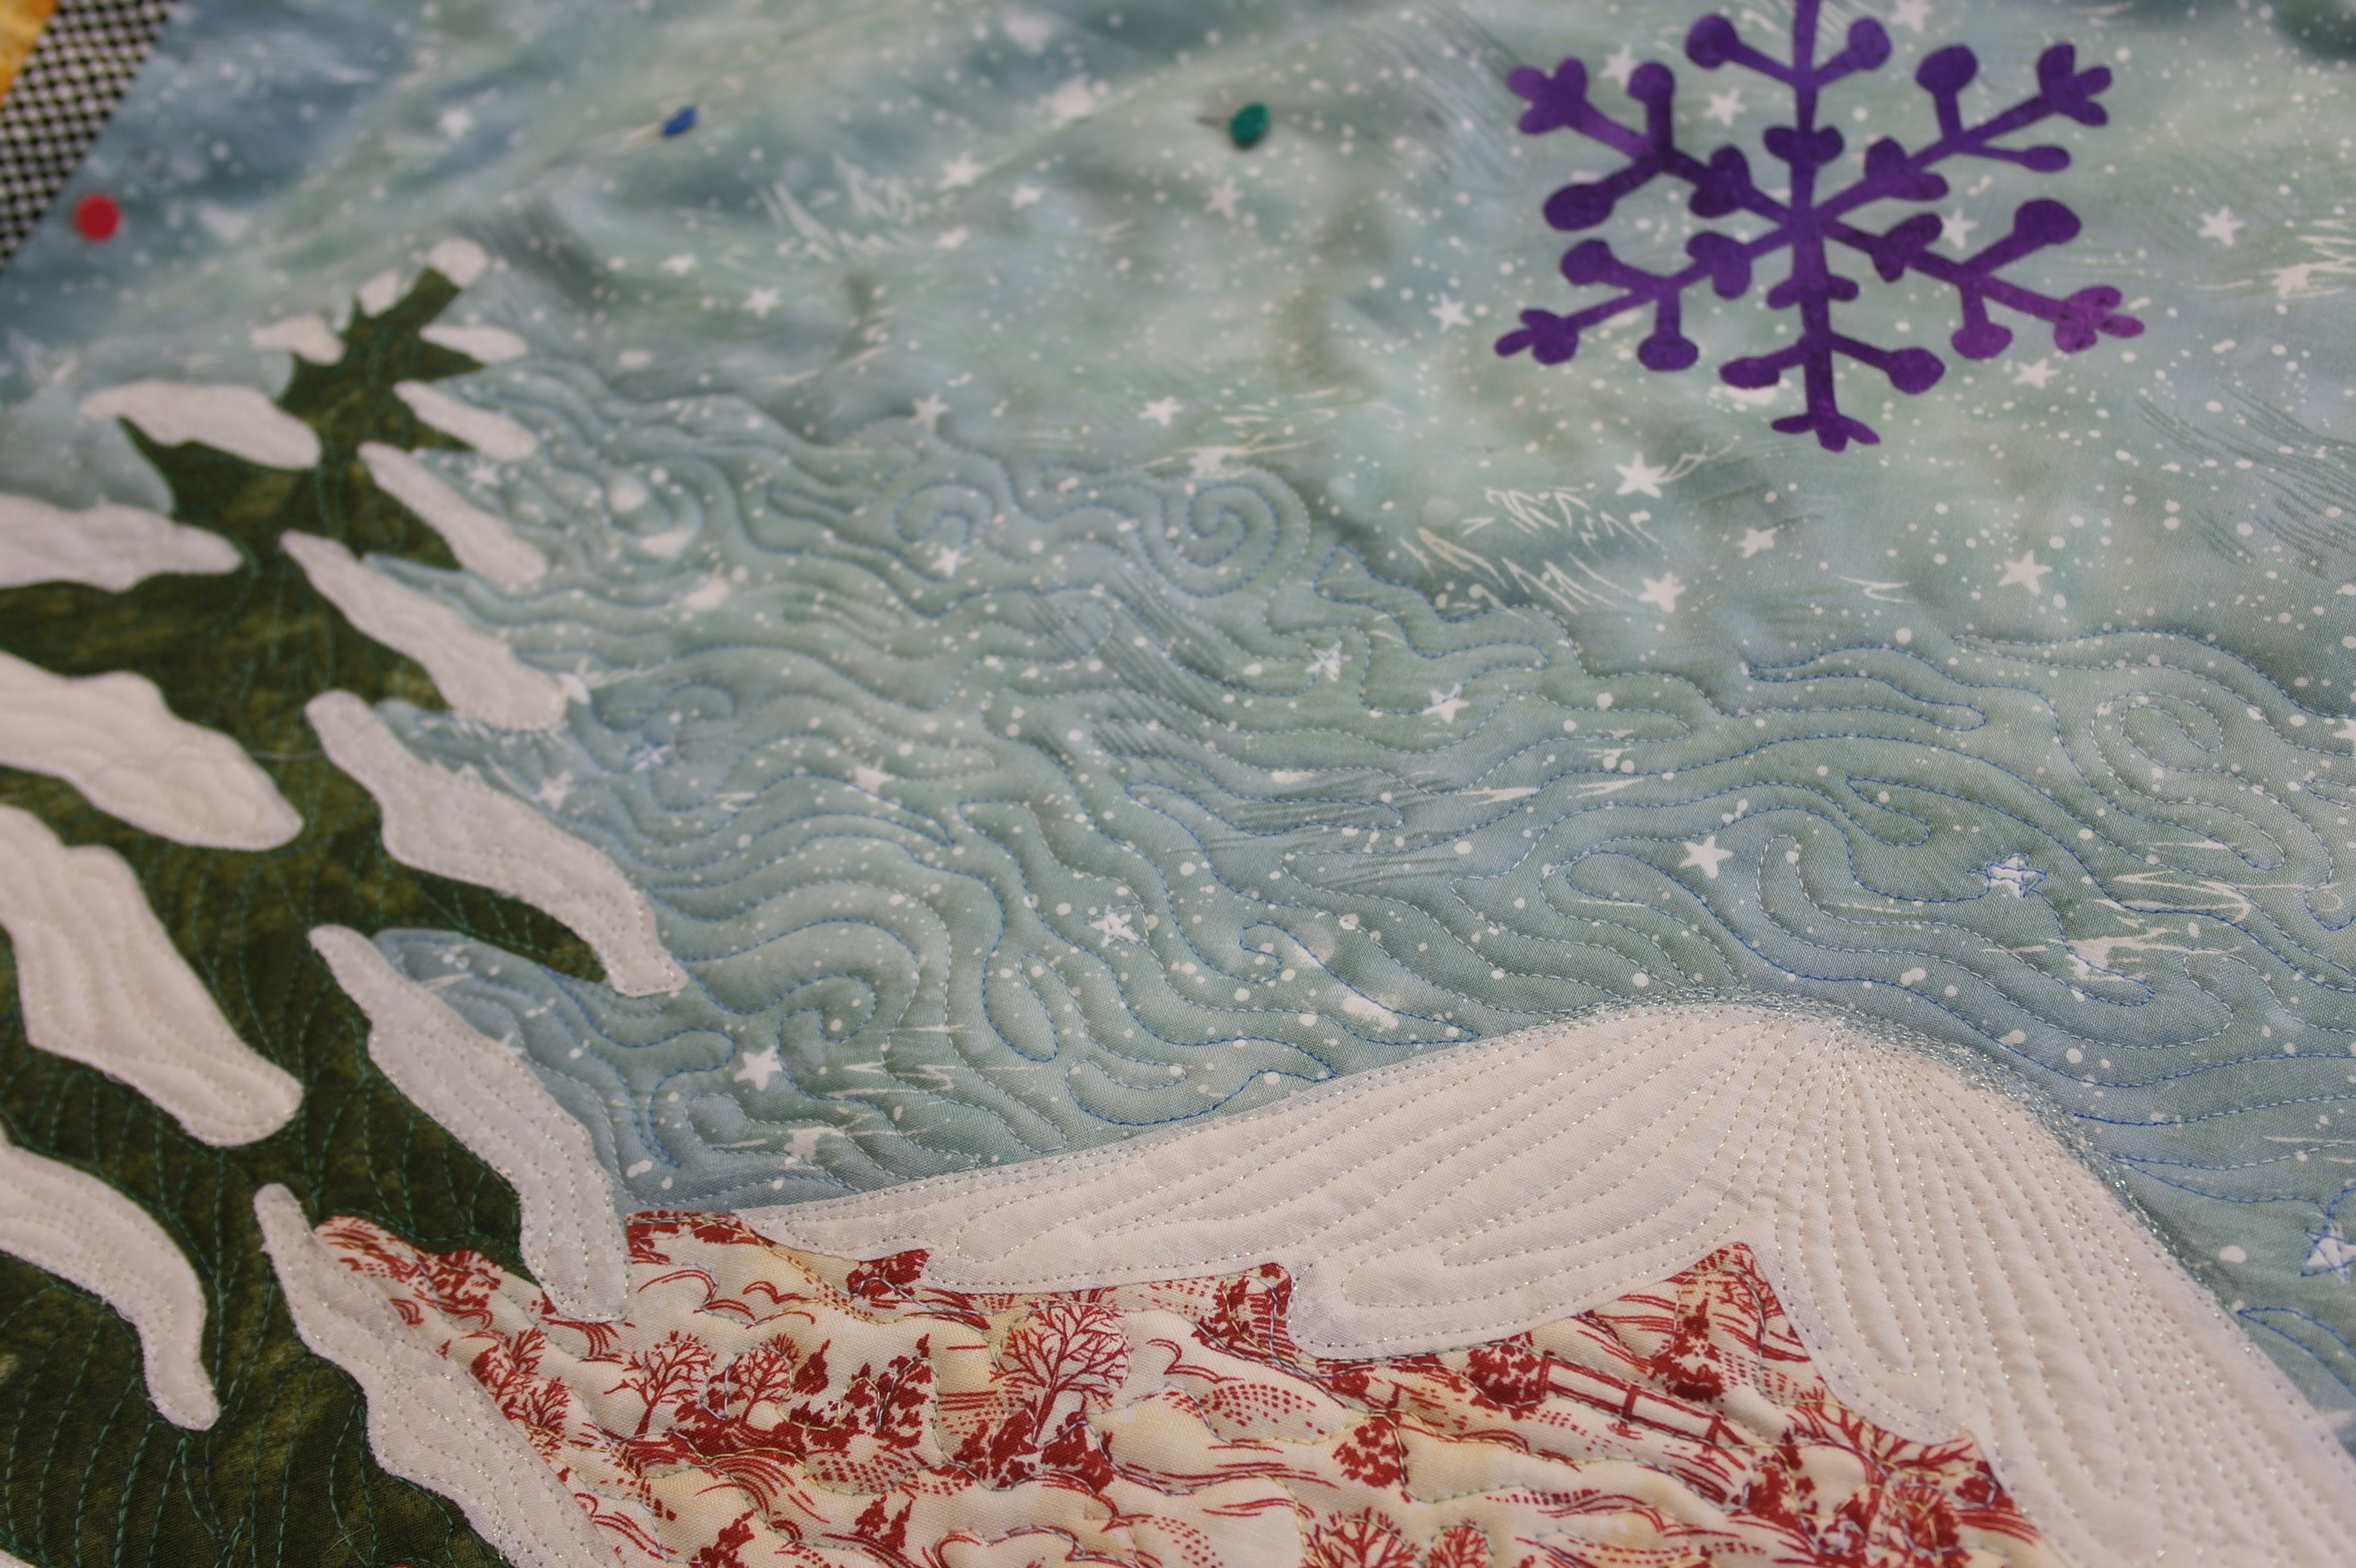
Filling the background with quilting: because parts have multiple layers of fabric/Heat’n Bond Lite, and other parts just one layer (Sky and borders) I have to be careful how to quilt: with just one layer of fabric on top of the sandwich, quilting makes it shrink more comparing to parts with many layers and Heat’n Bond Lite.
At the back the quilting shows even more at this time: the sky is almost ready.

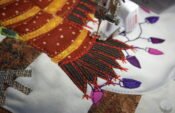
The crystals themselves have to be quilted to, to secure them to the quilt. Heat’n Bond Lite glue will stick to the fabric, if it is ironed the right way, but in time it can loosen, which is not what I want. Also I can add more sparkle to the crystals, using metallic machine thread.
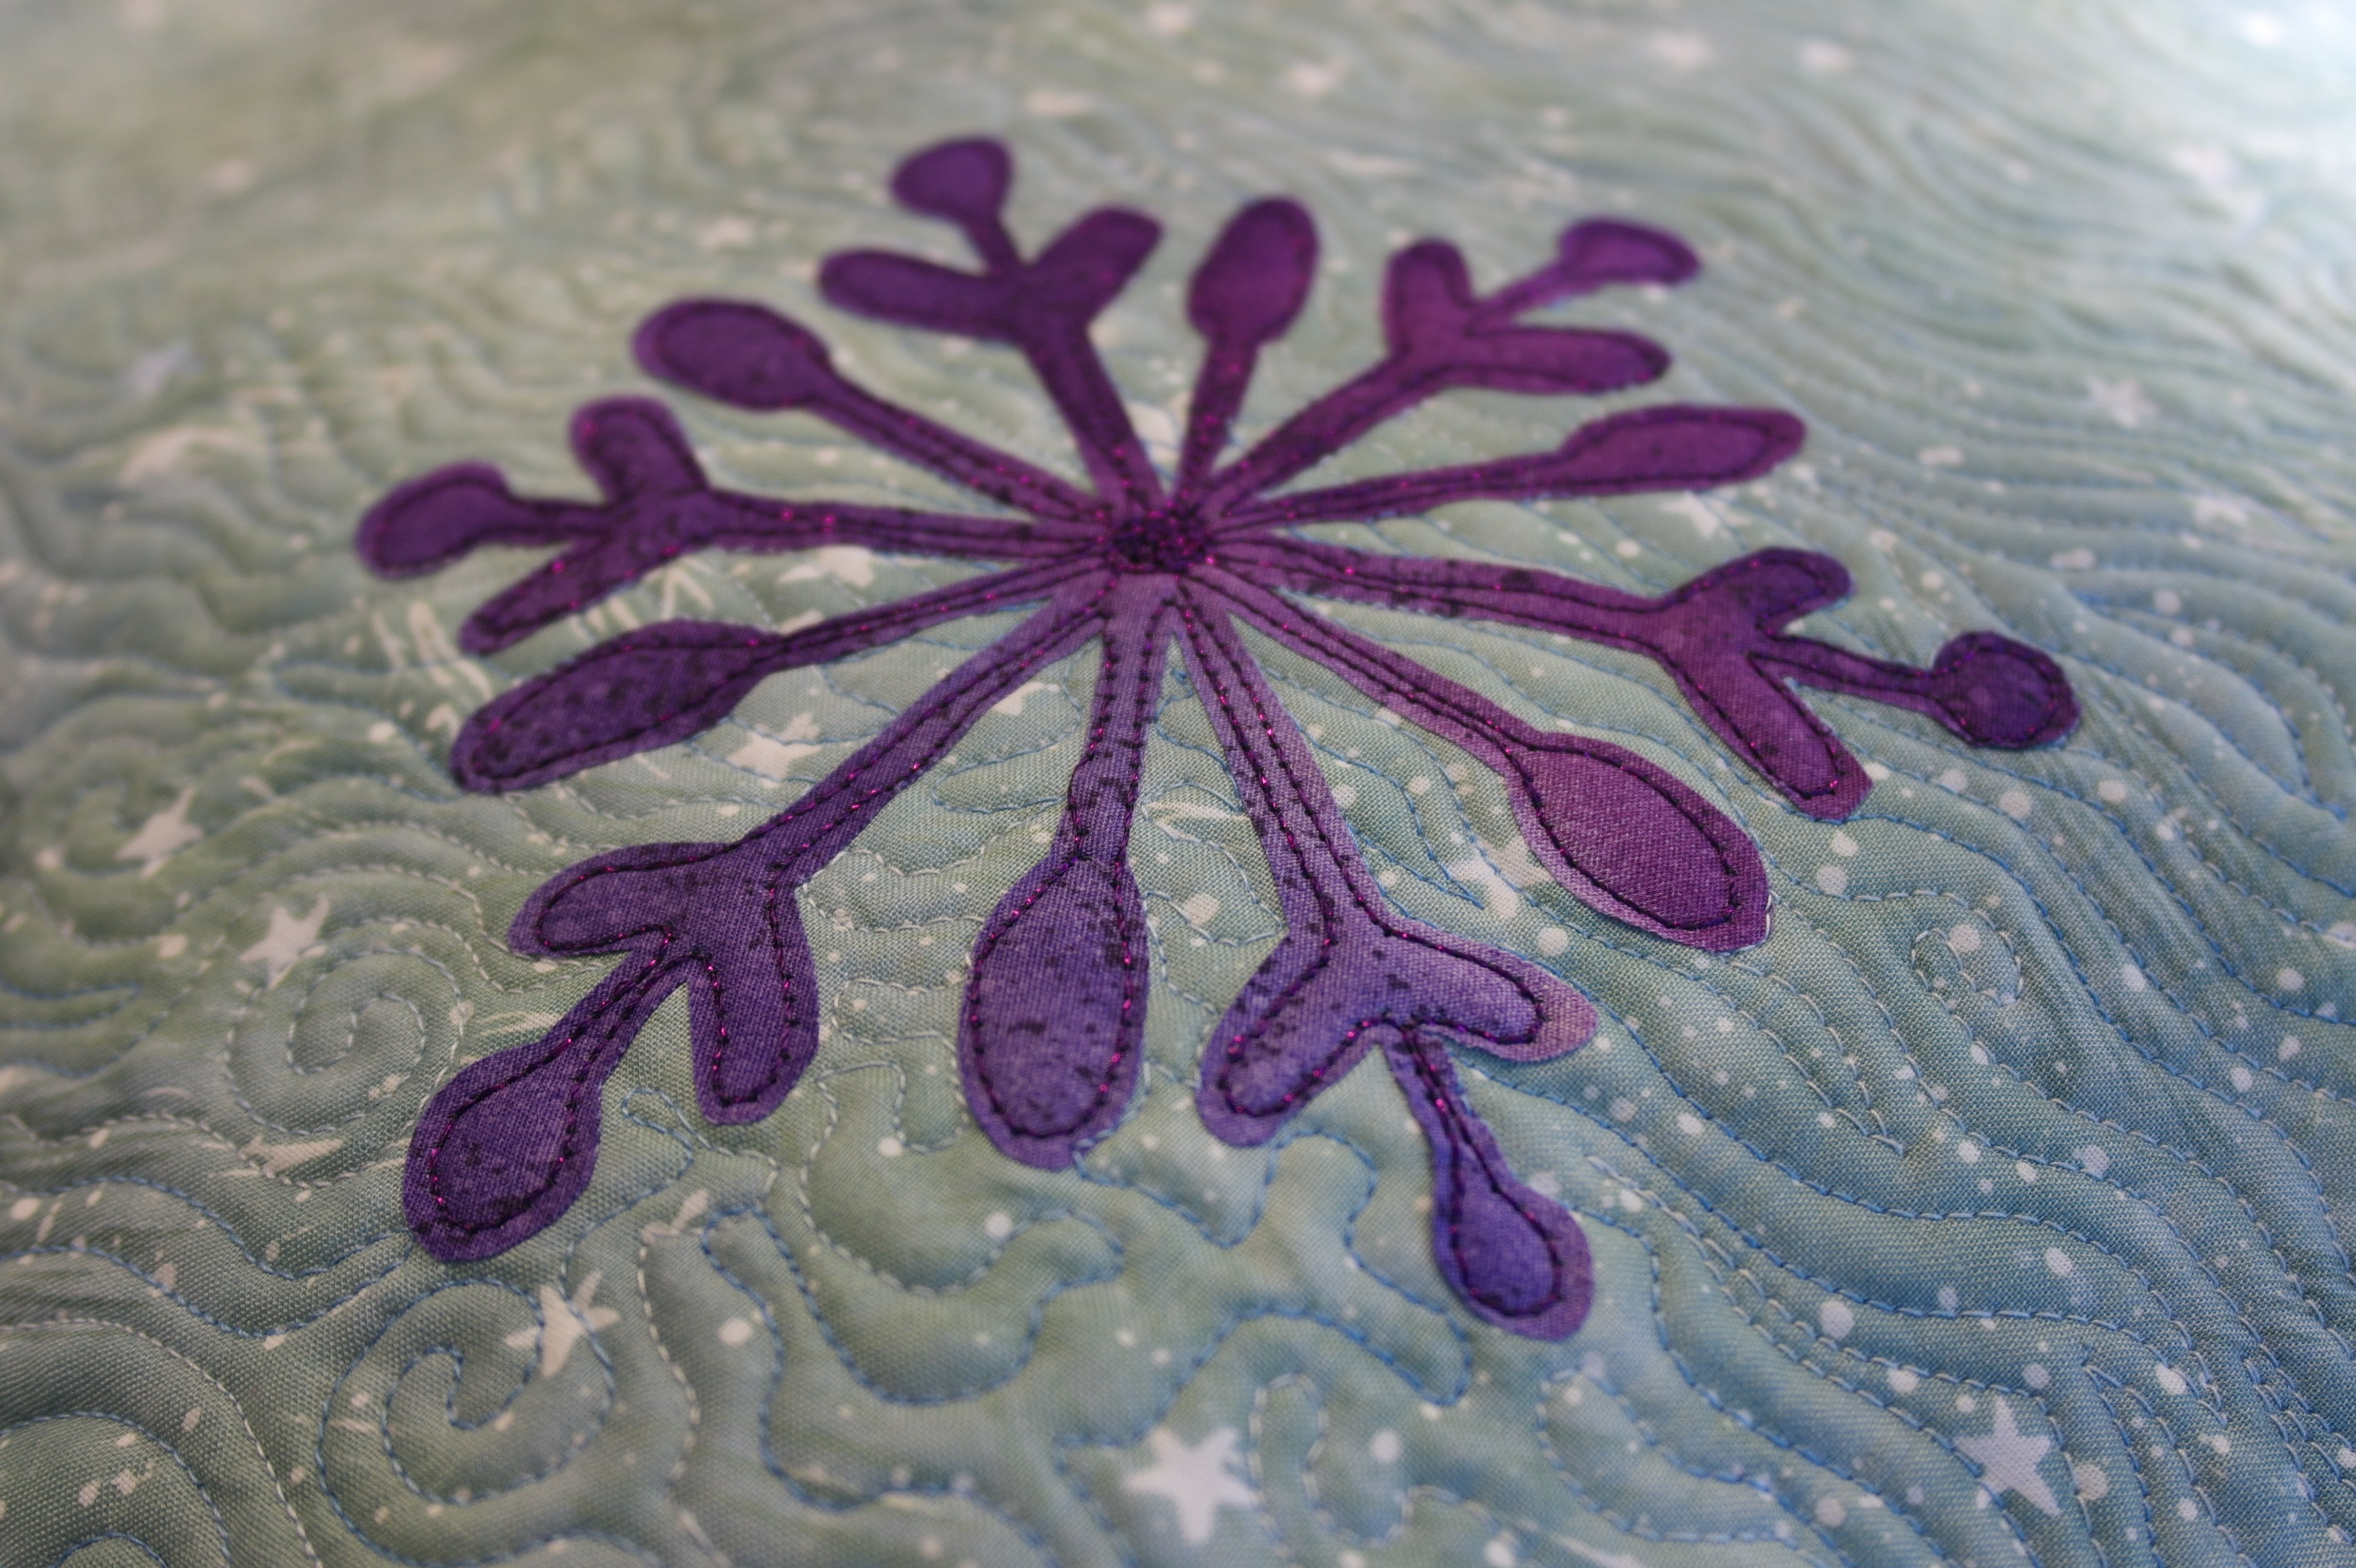
Looks great: the crystals stand out even more. I have used a matching color thread, to get a subtle effect.
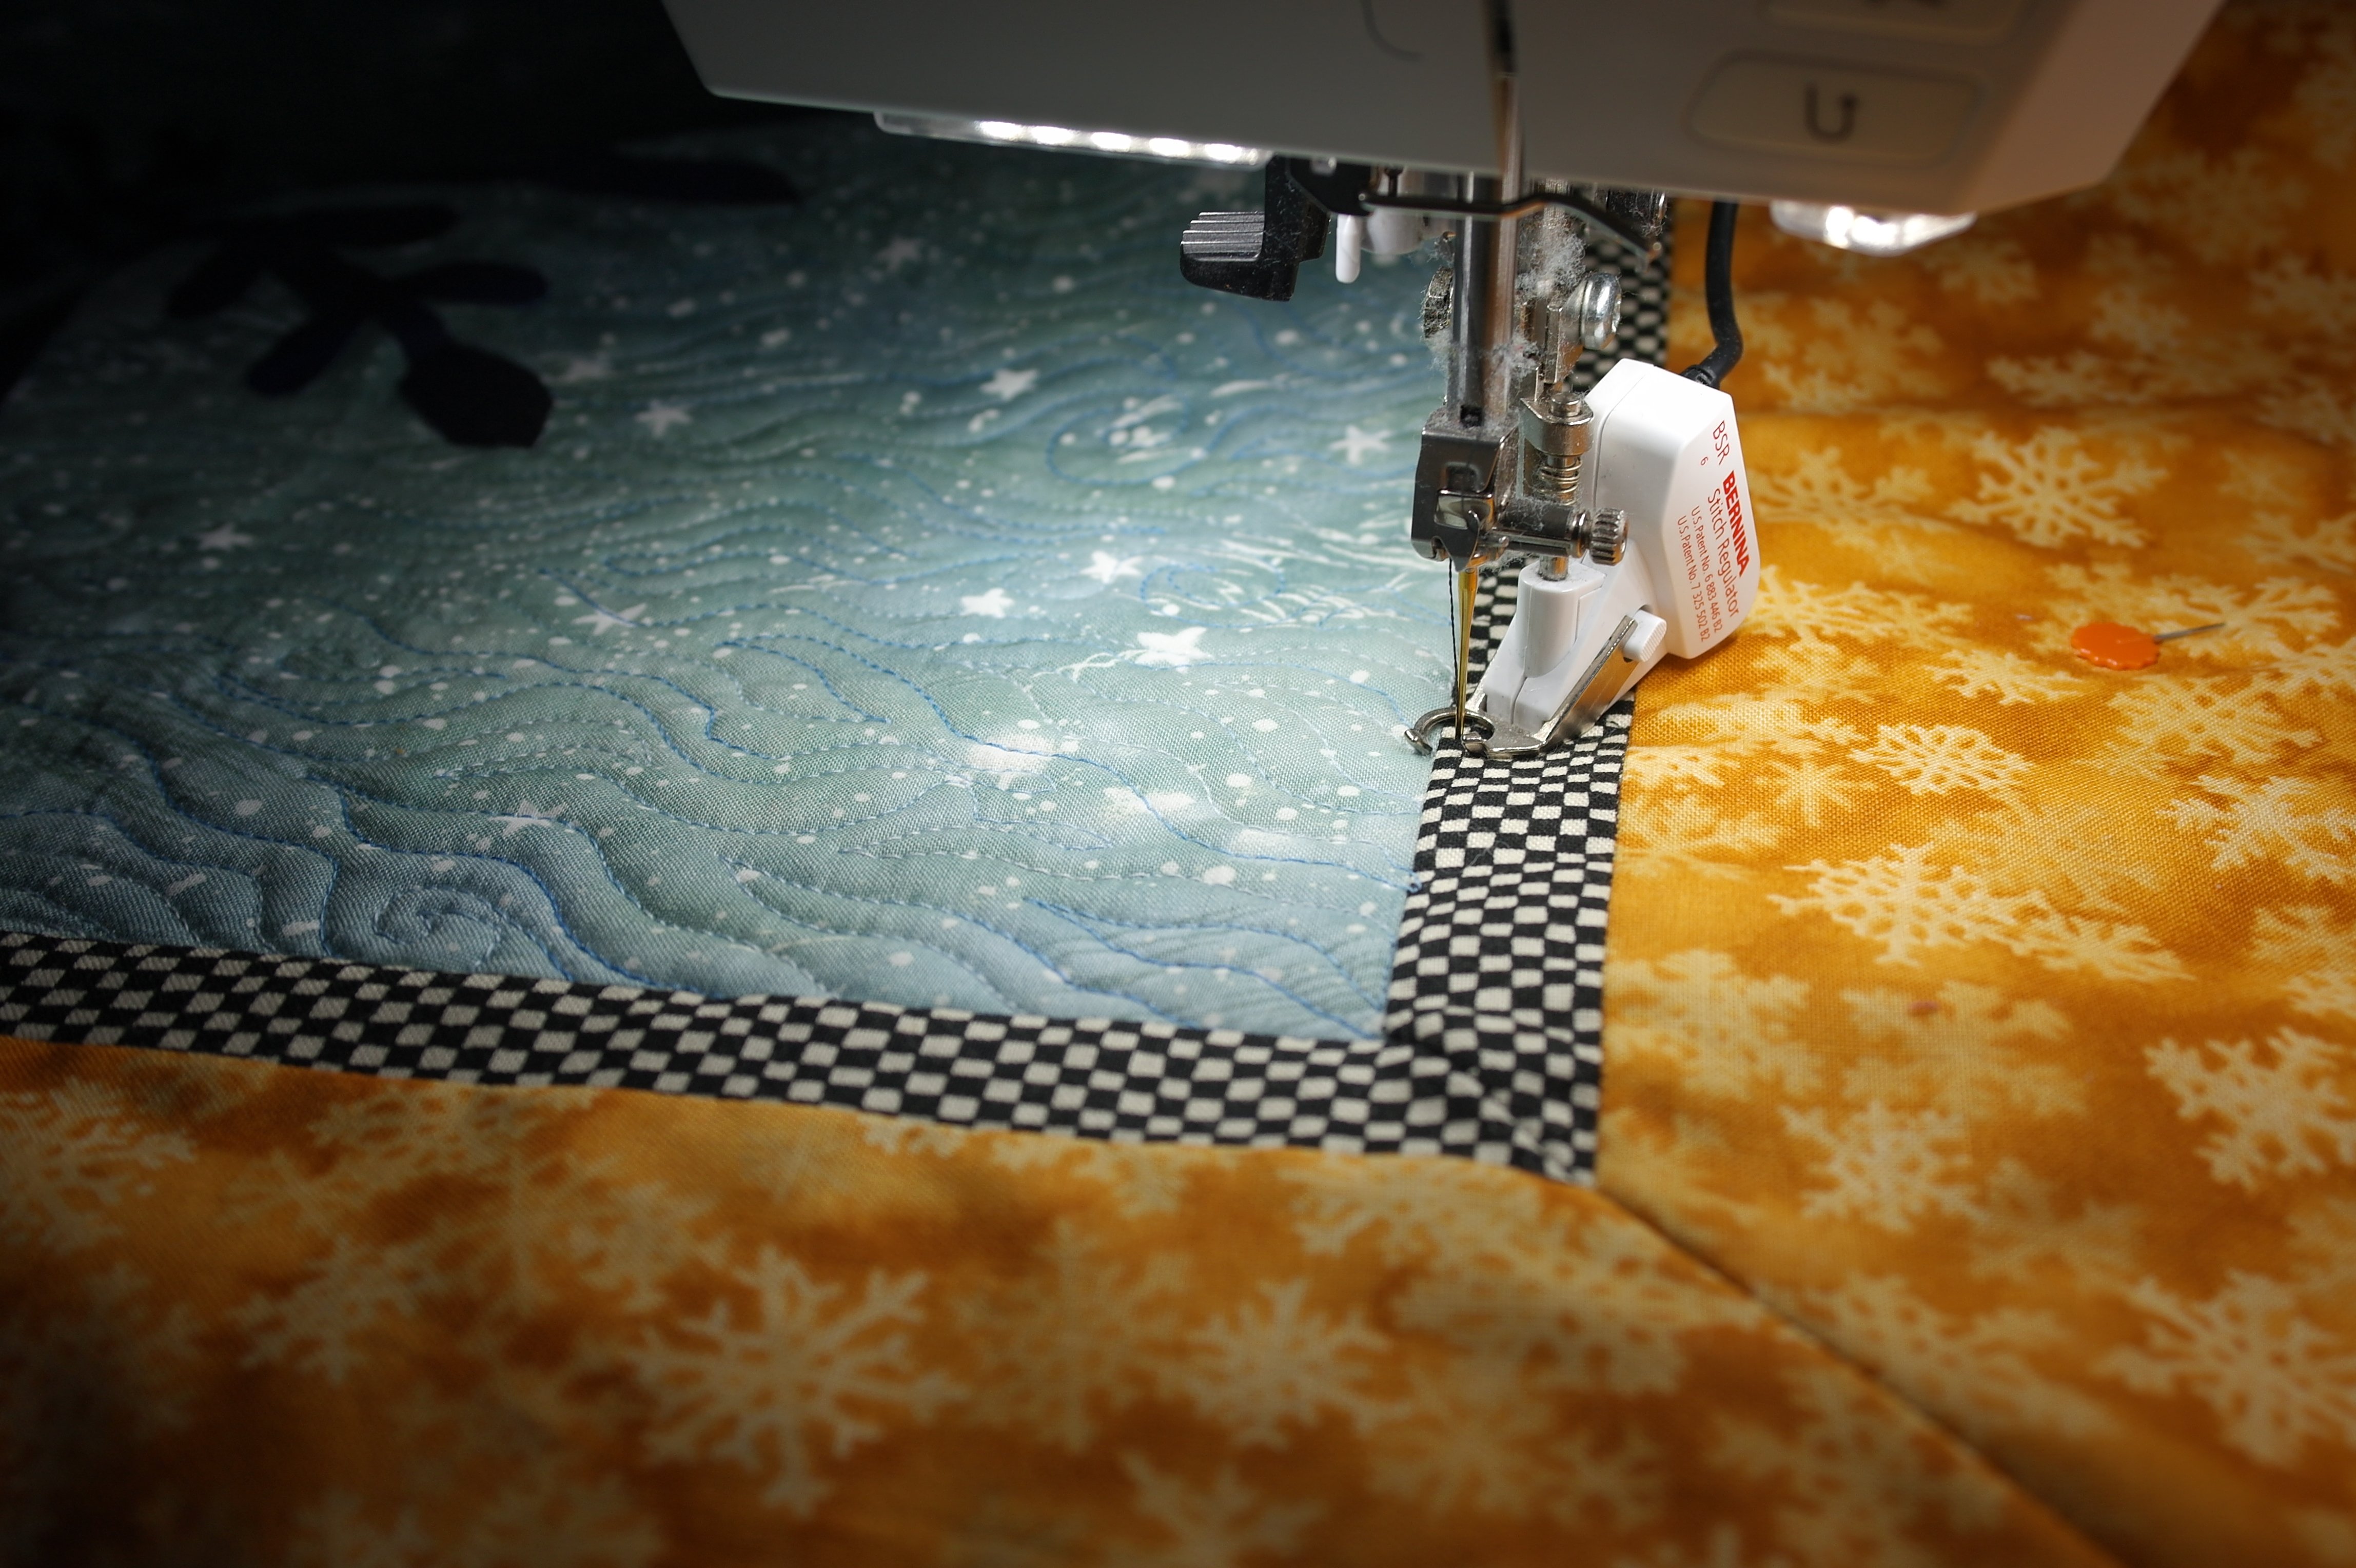
The small borders were quilted too, going from one side to the other, using the checker pattern as guide.

I often draw my quilting ideas onto paper, before quilting on a sandwich. This way I can see if the effect is what I want. Just to get the idea, it doesn’t have to be a beautiful drawing… And I always store these drawings, for future quilts.

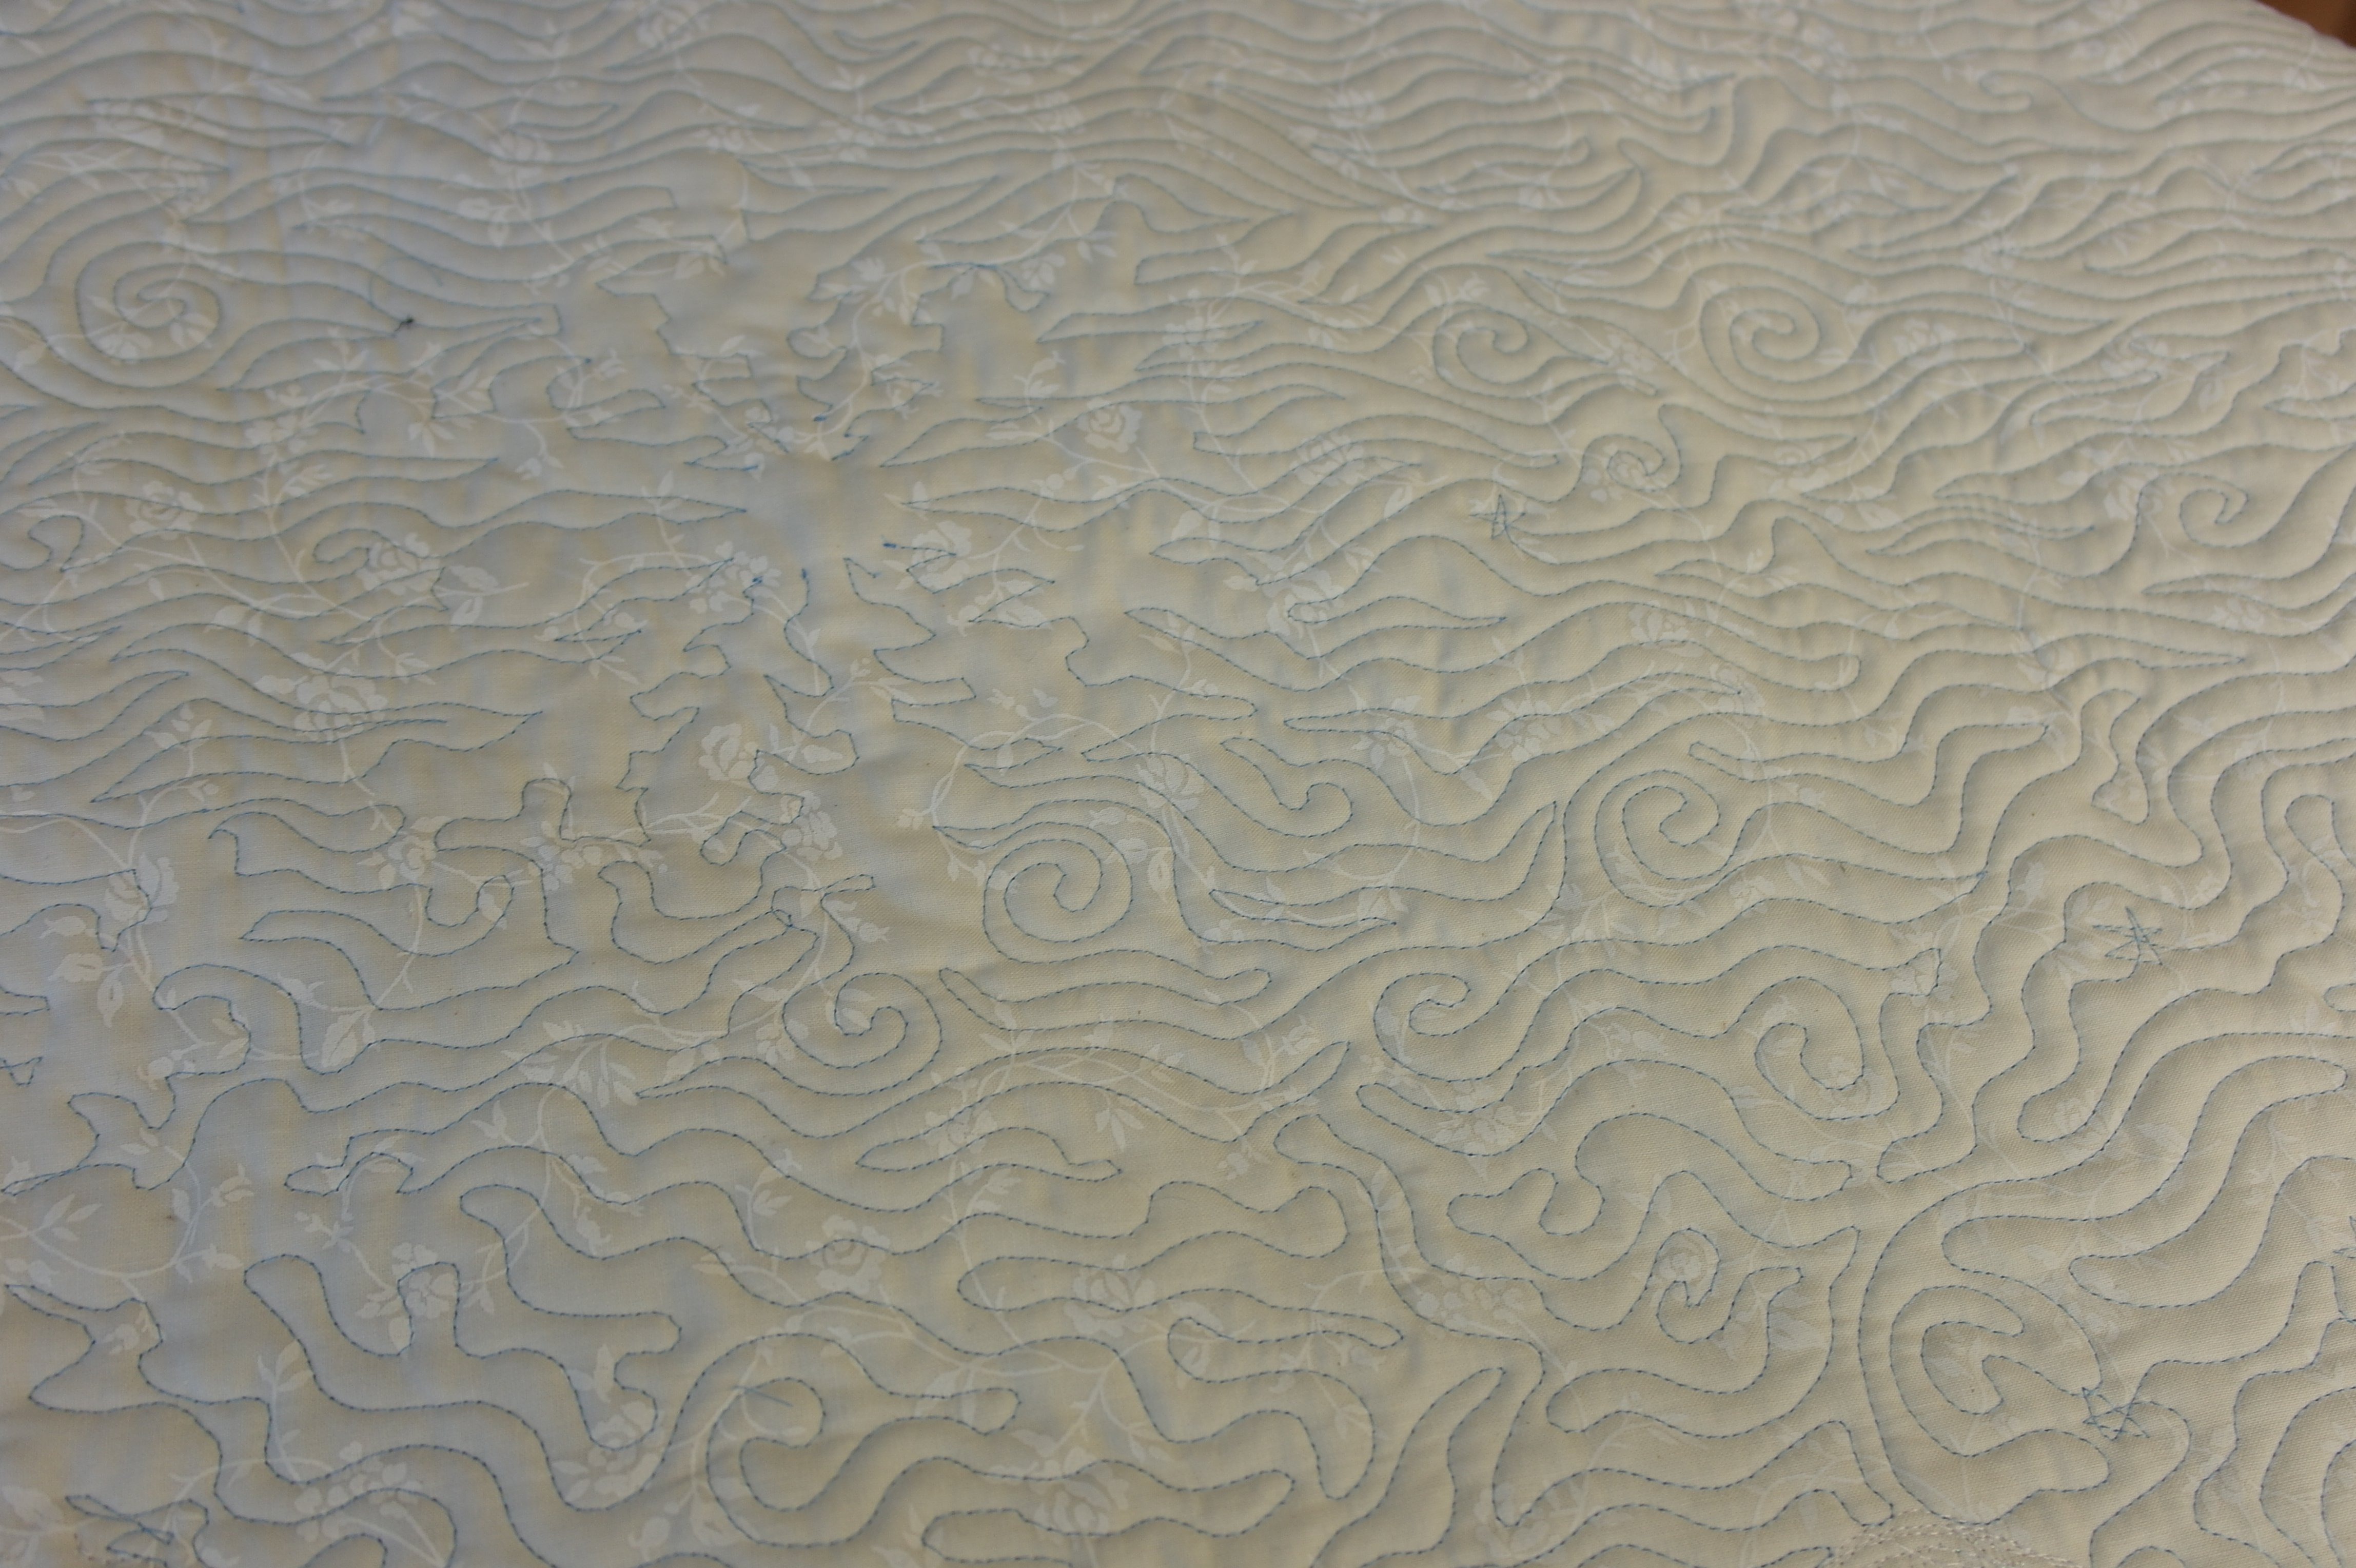
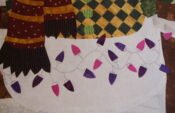
This is how it ended up: the curls and pebbles are not that visible, but I have used metallic threads again. When the quilt is on my wall, the lamp lights will let these stitches sparkle.
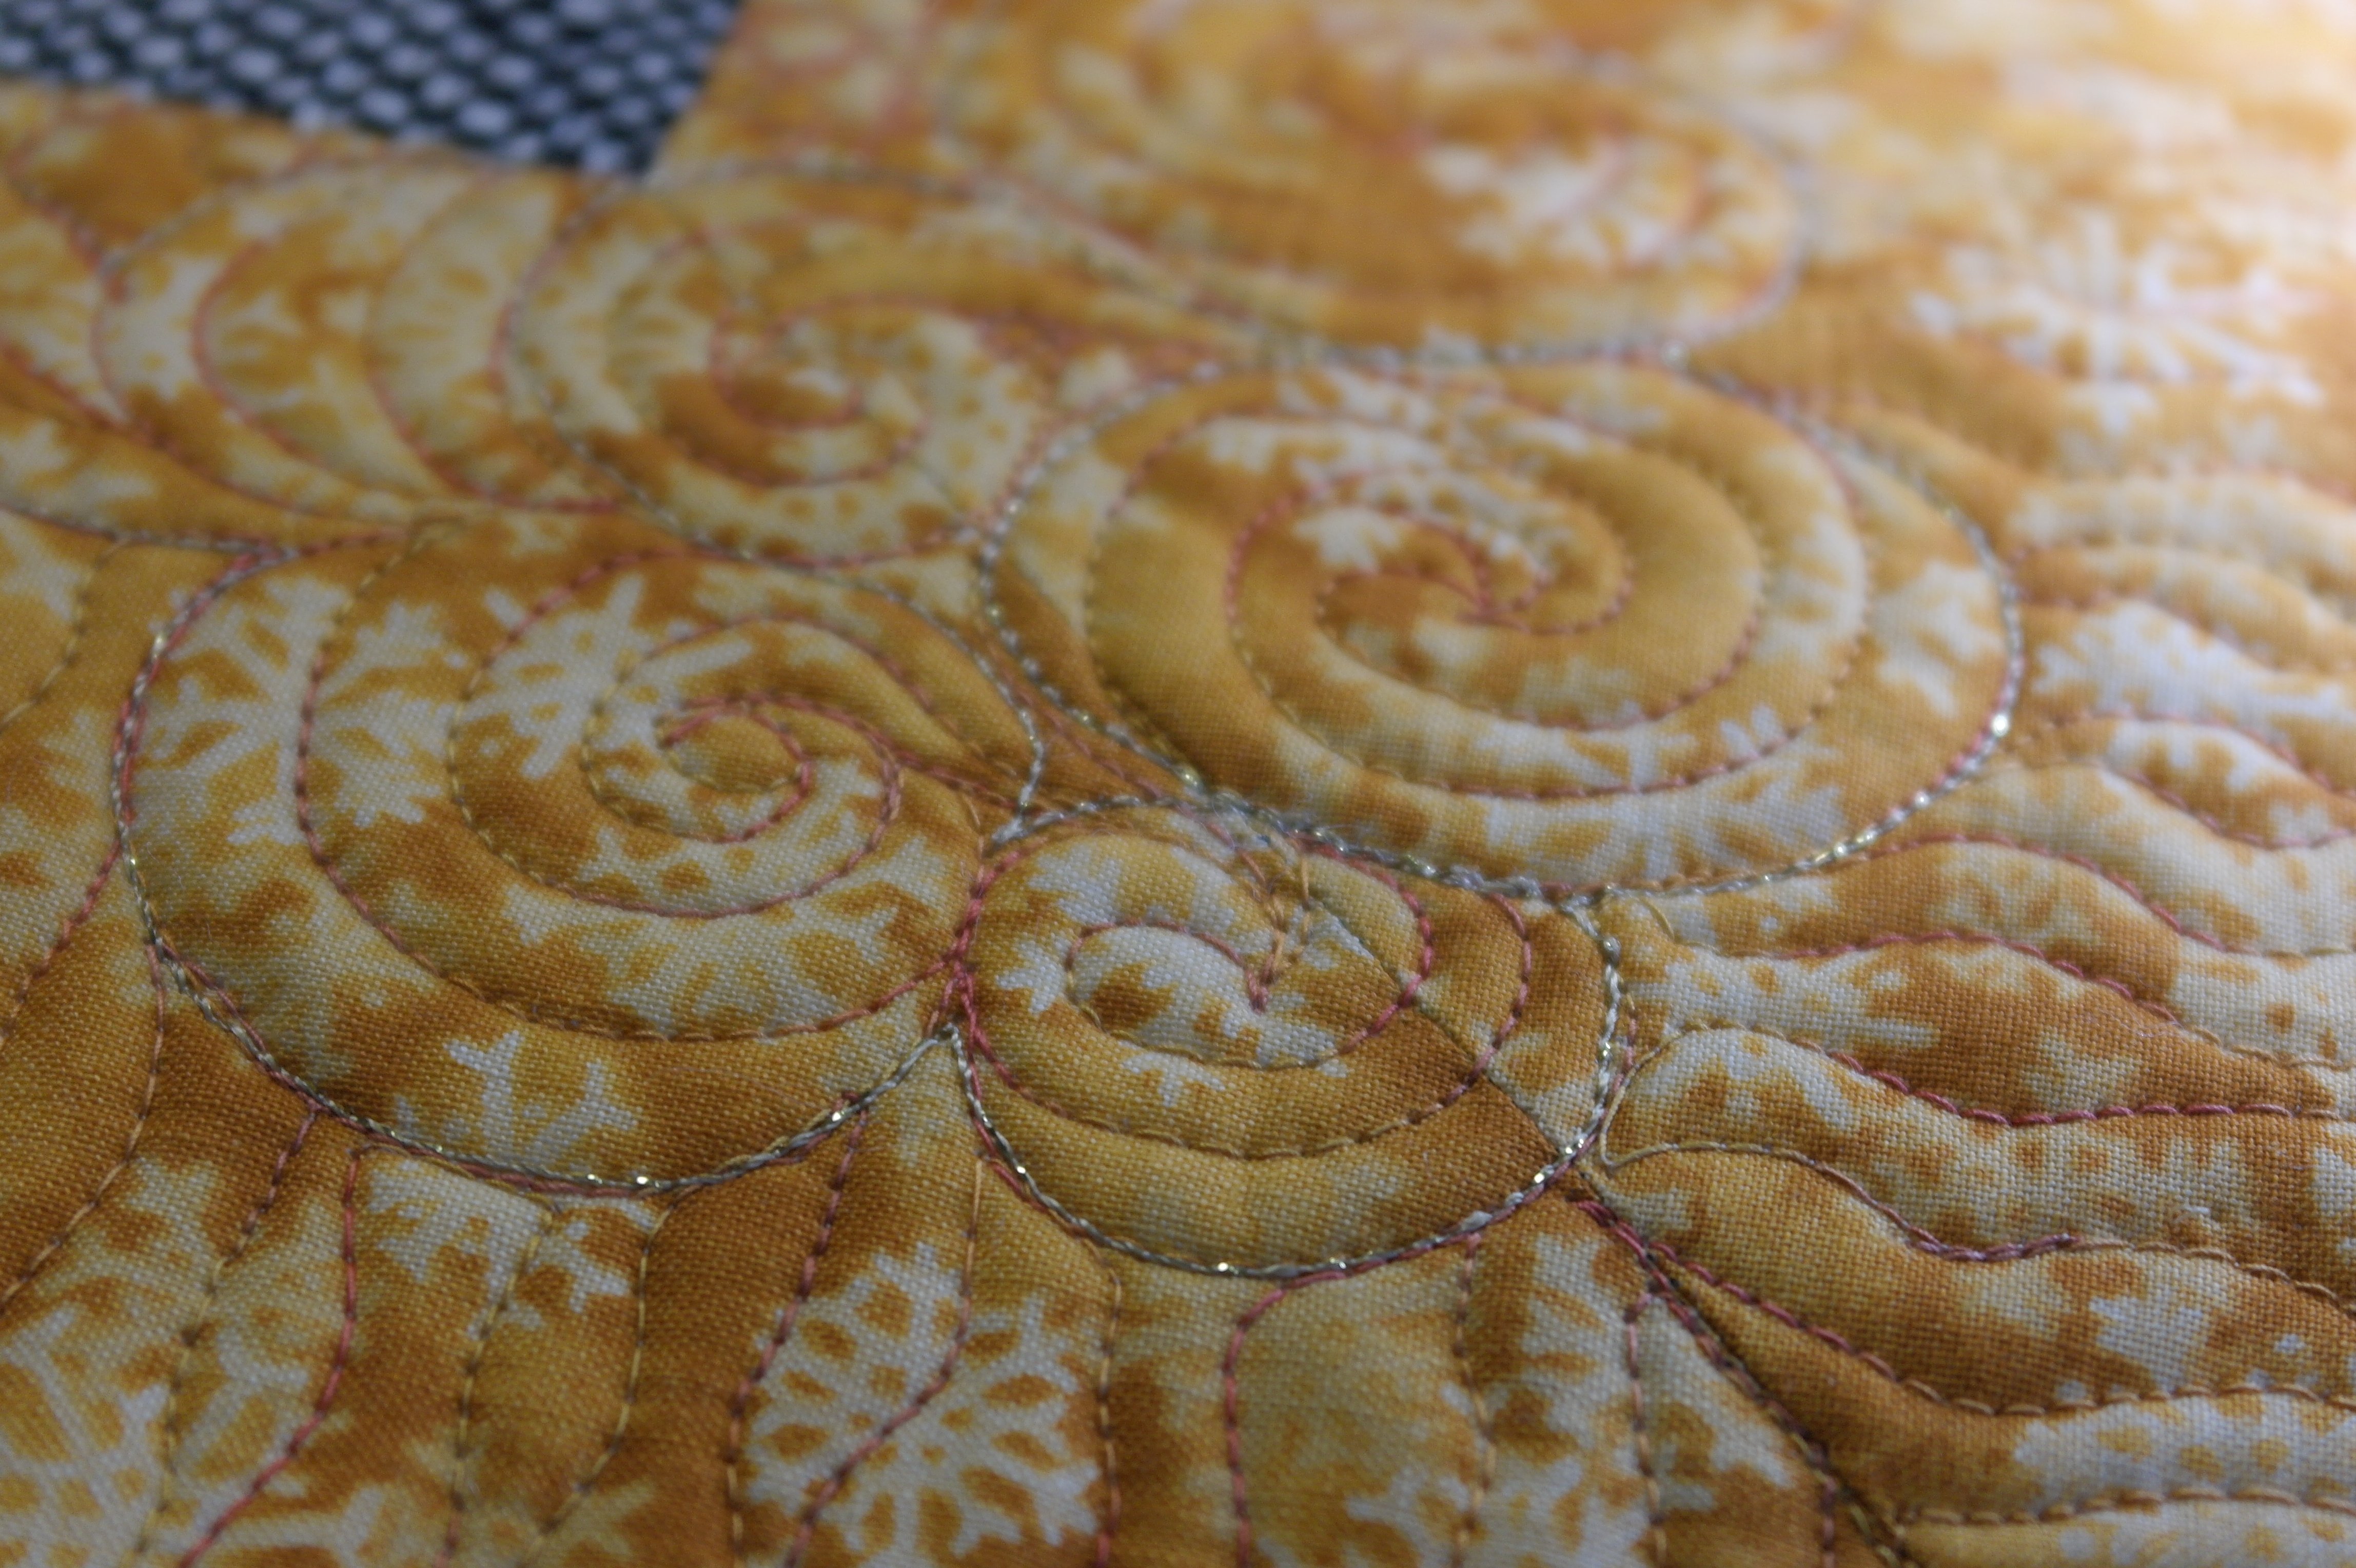
Emphasizing the curls, but quilting them again with GlaMore. This makes them stand out even more. You can quilt with multiple layers of thread, if you work slowly.
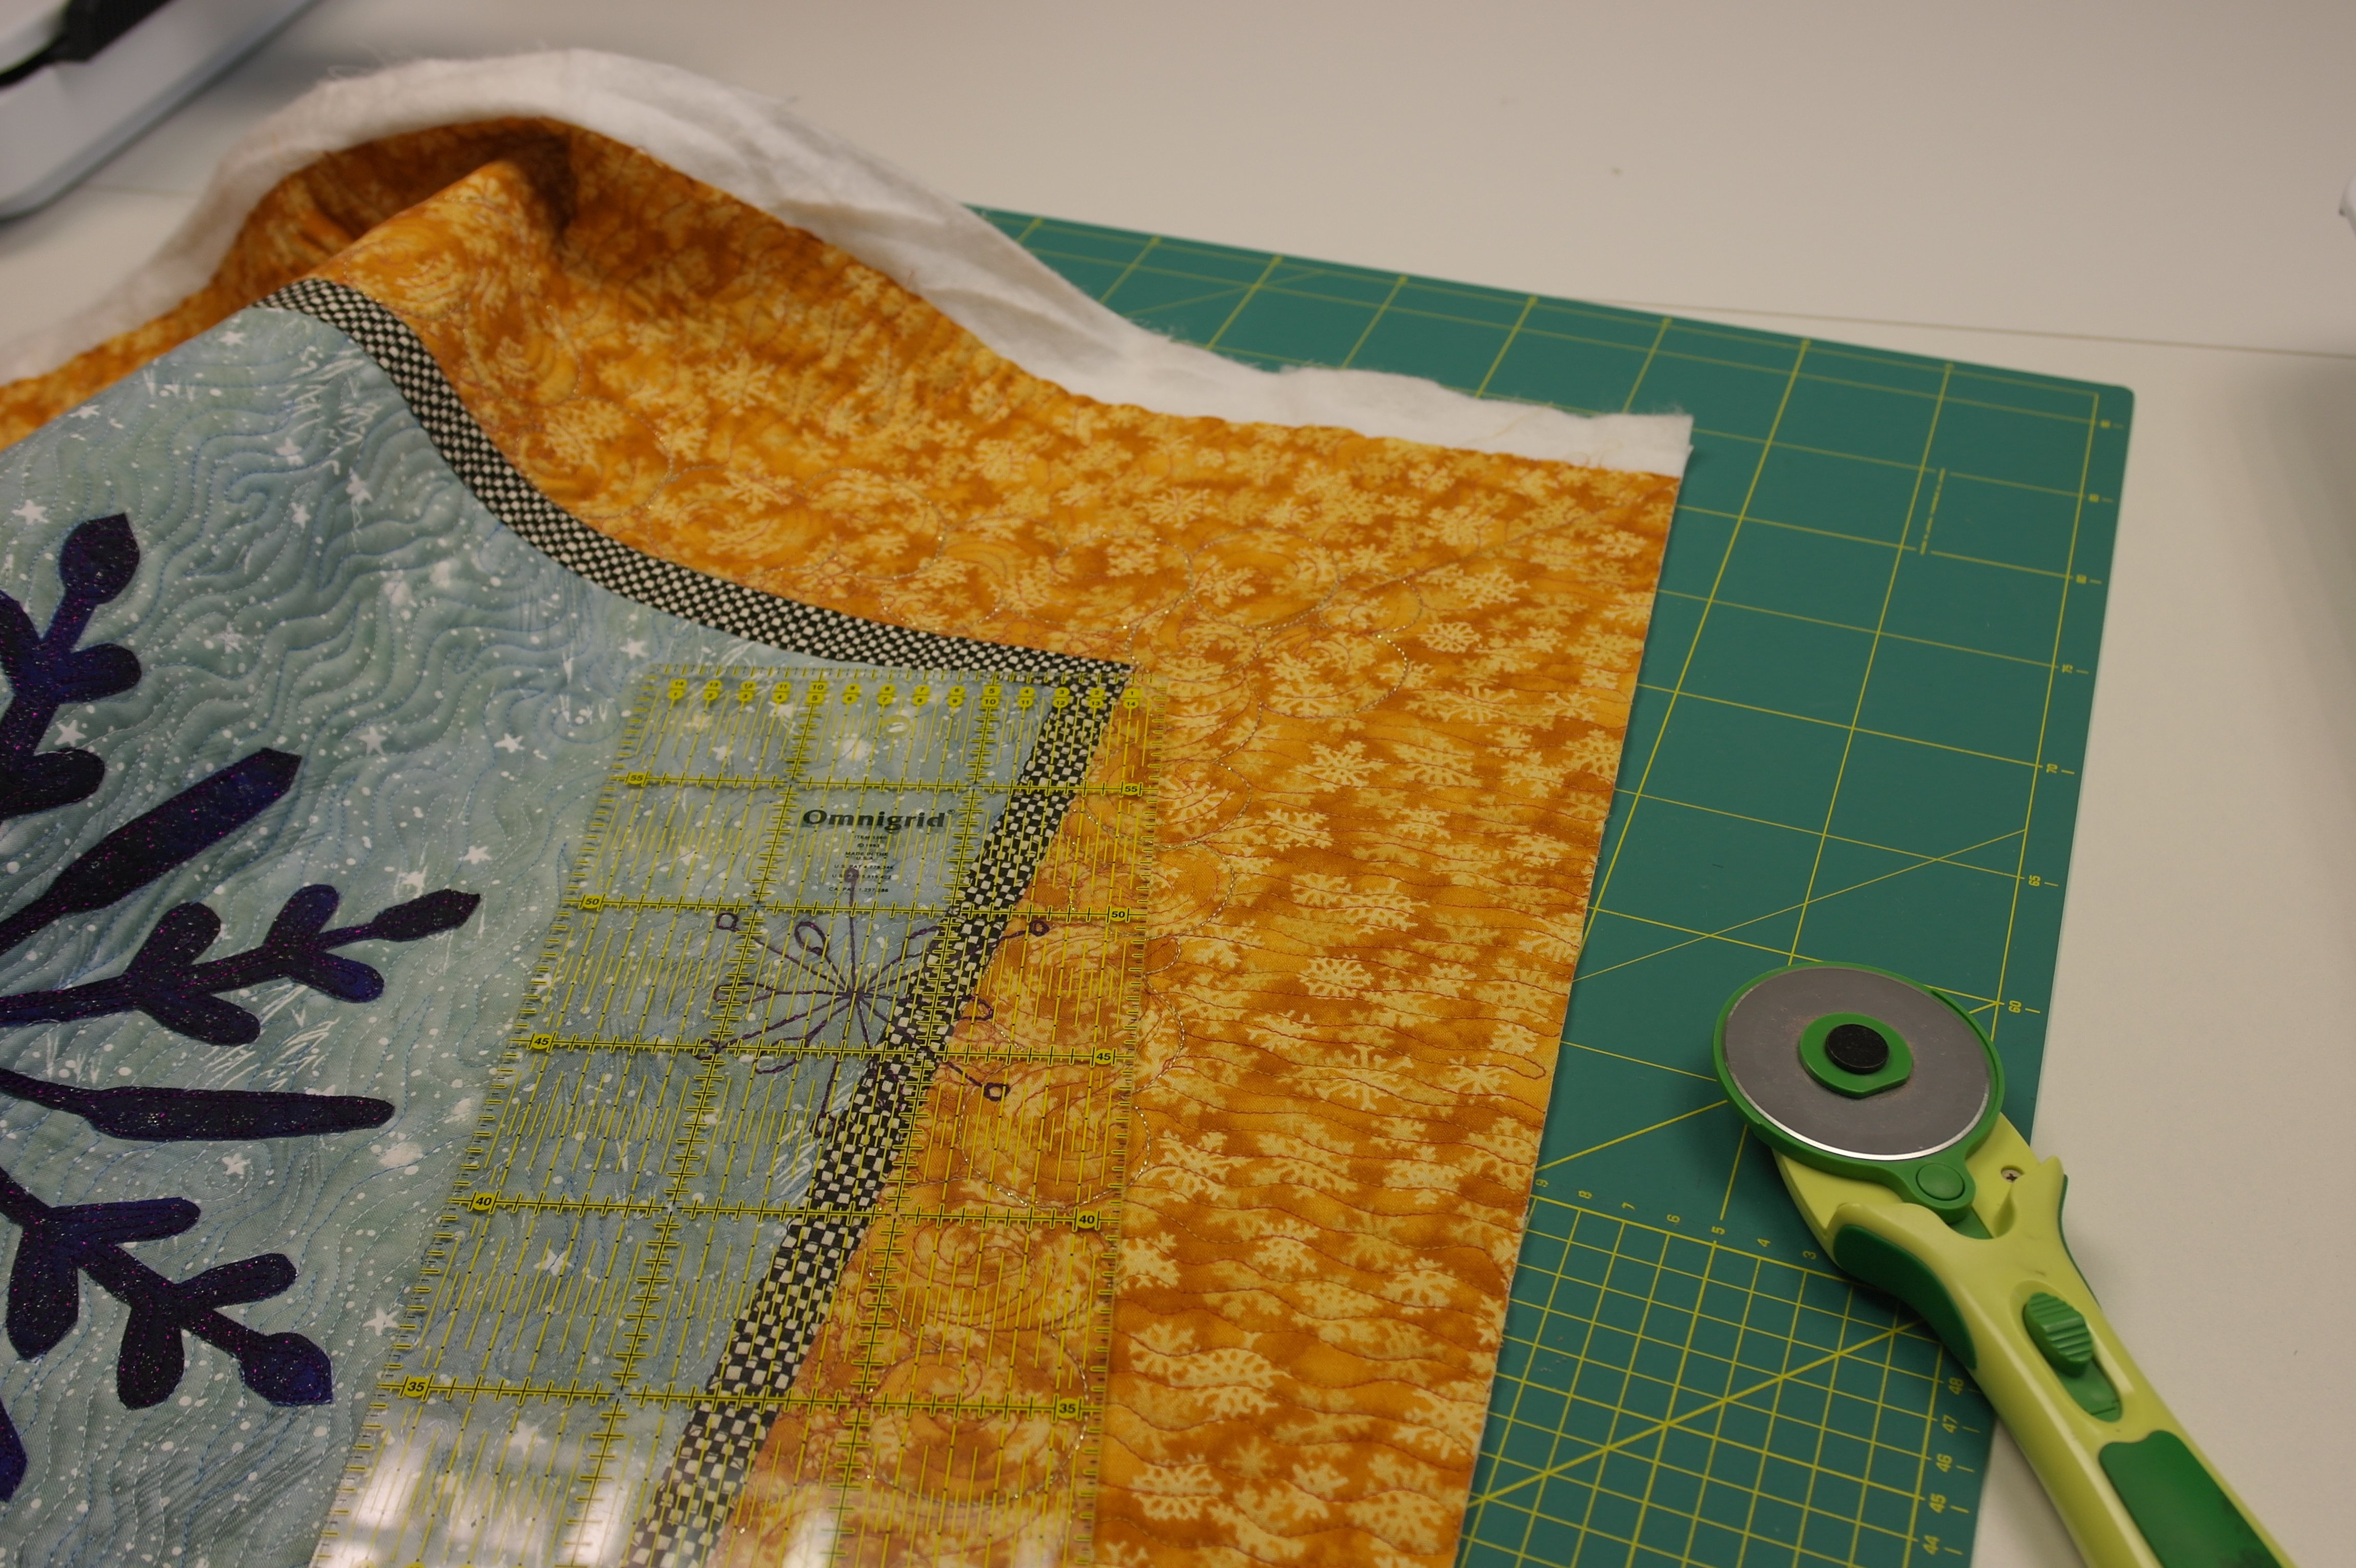
After quilting, I had to square up the quilt, using my cutting mat, rotary cutter and quilting ruler. All edges are of the same width, and the corners are cut at 90°.
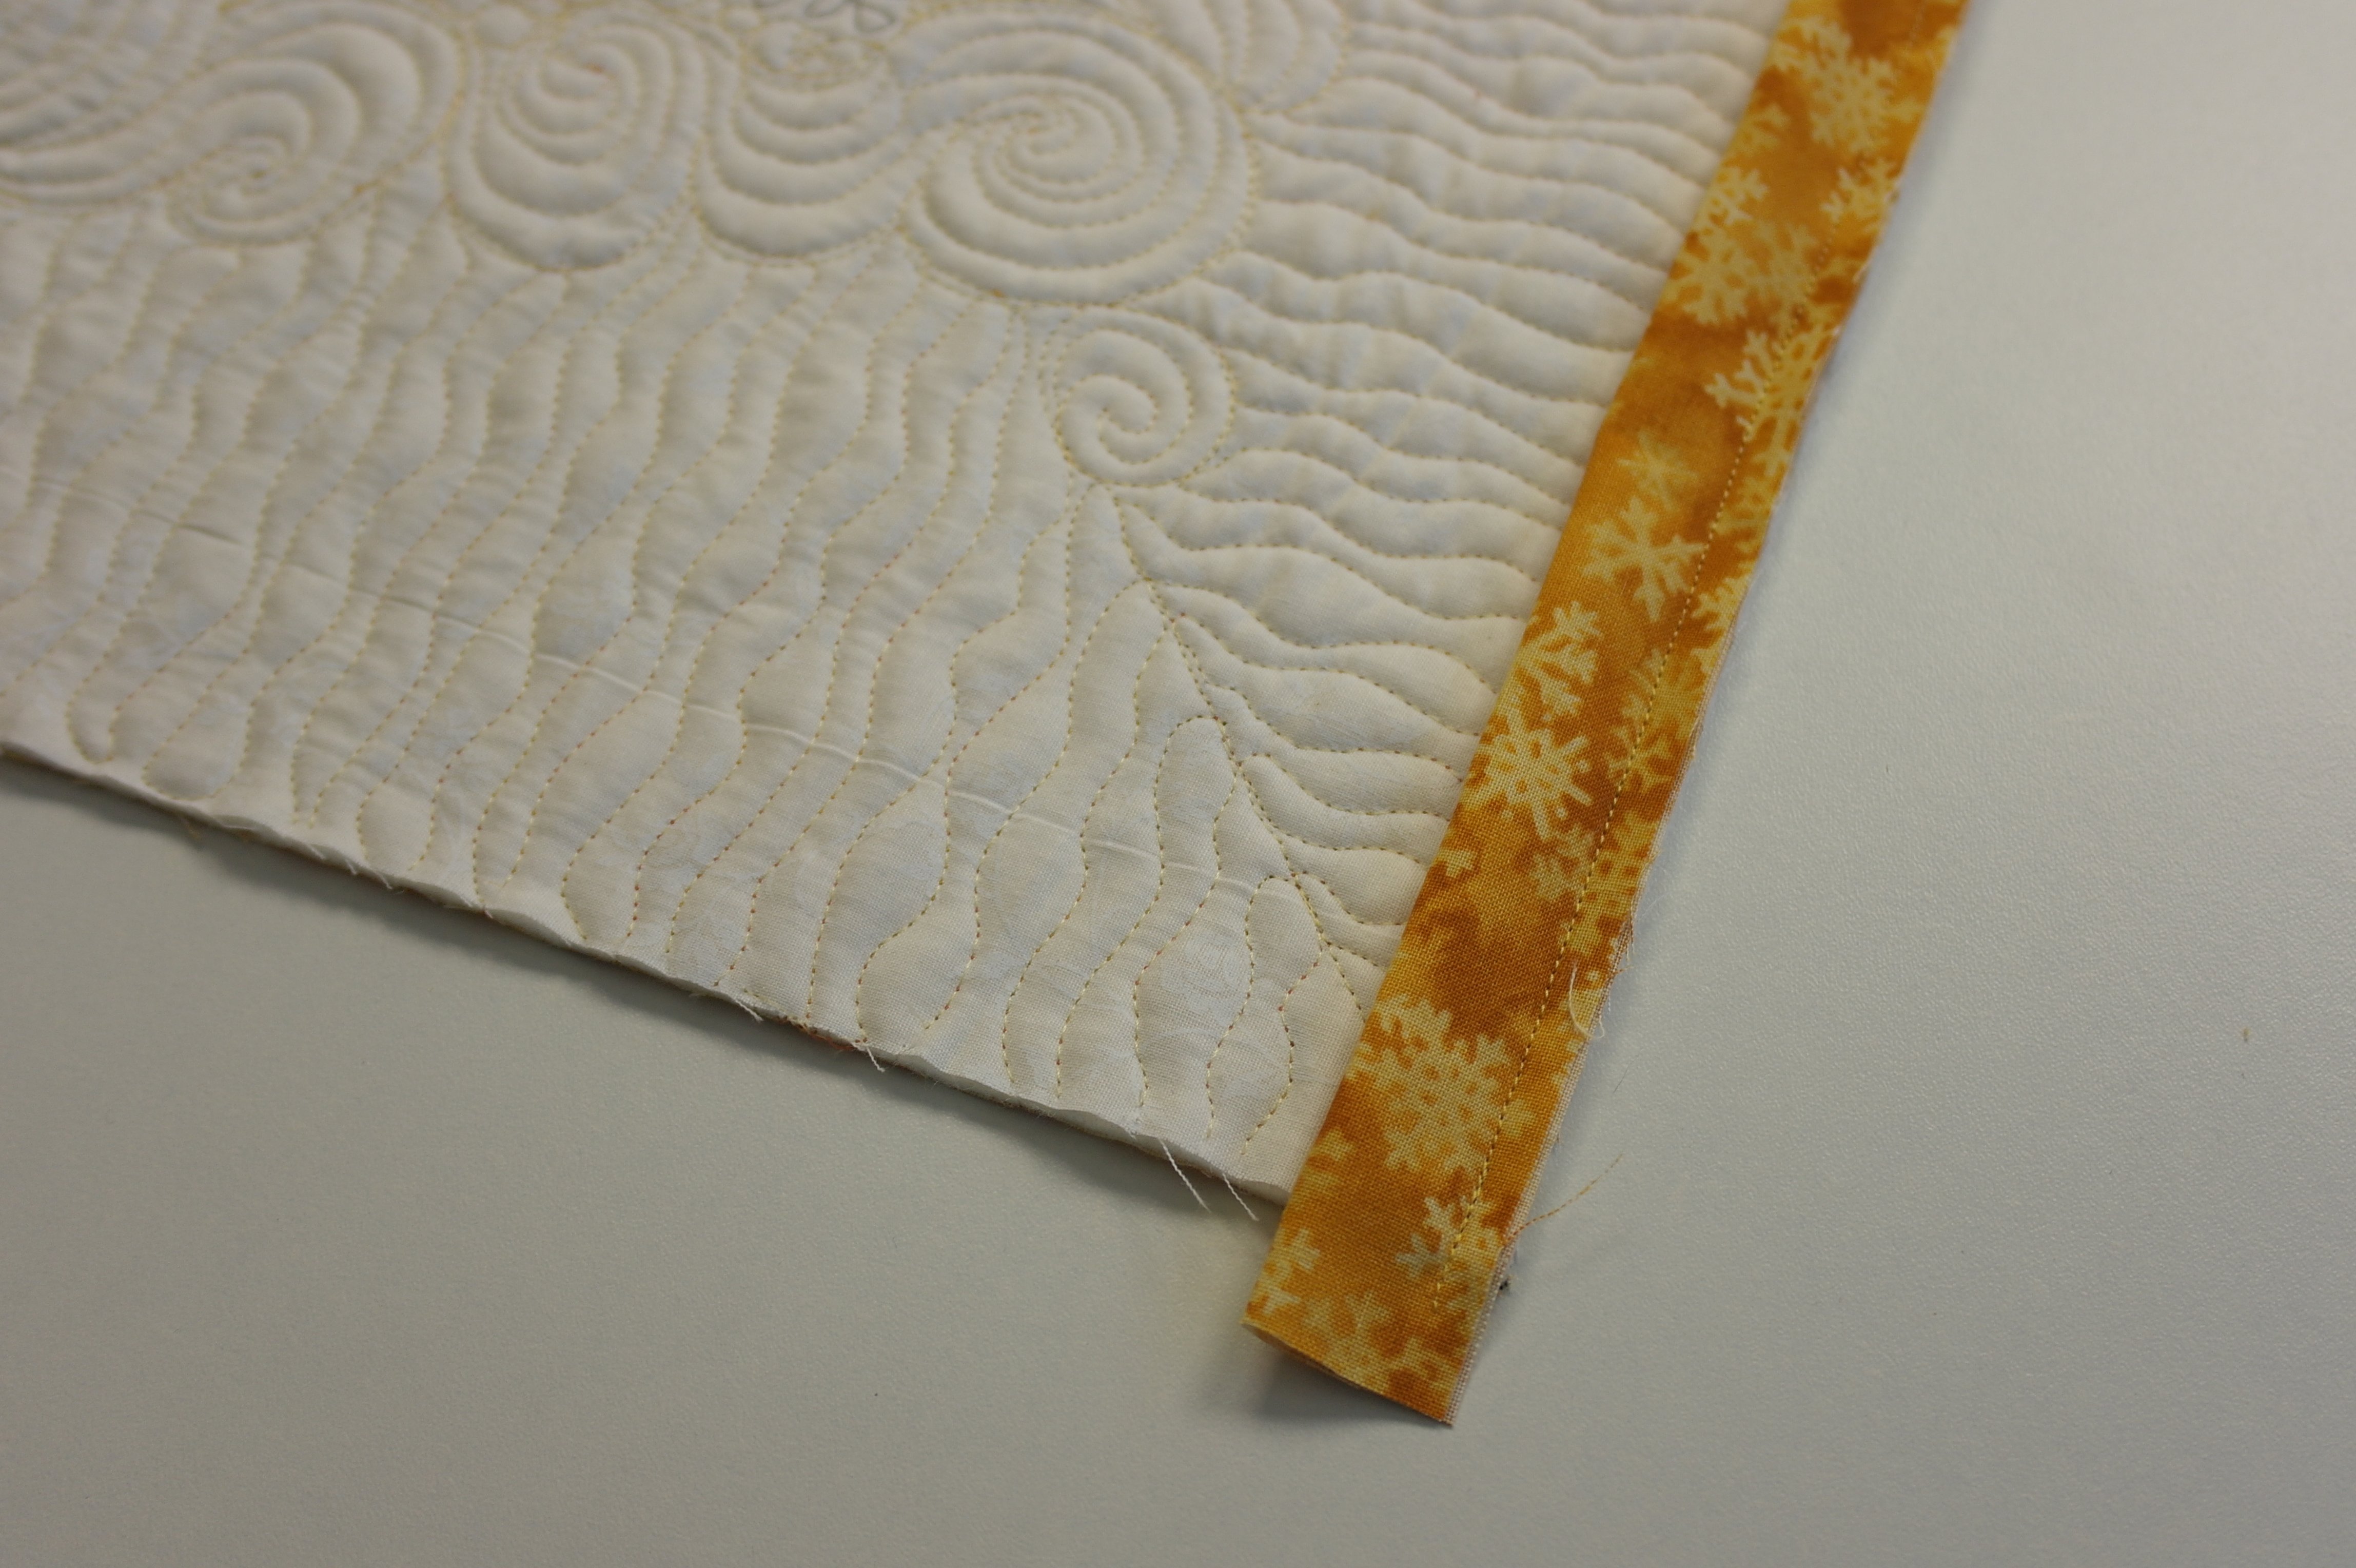
The binding is sewn onto the back first,
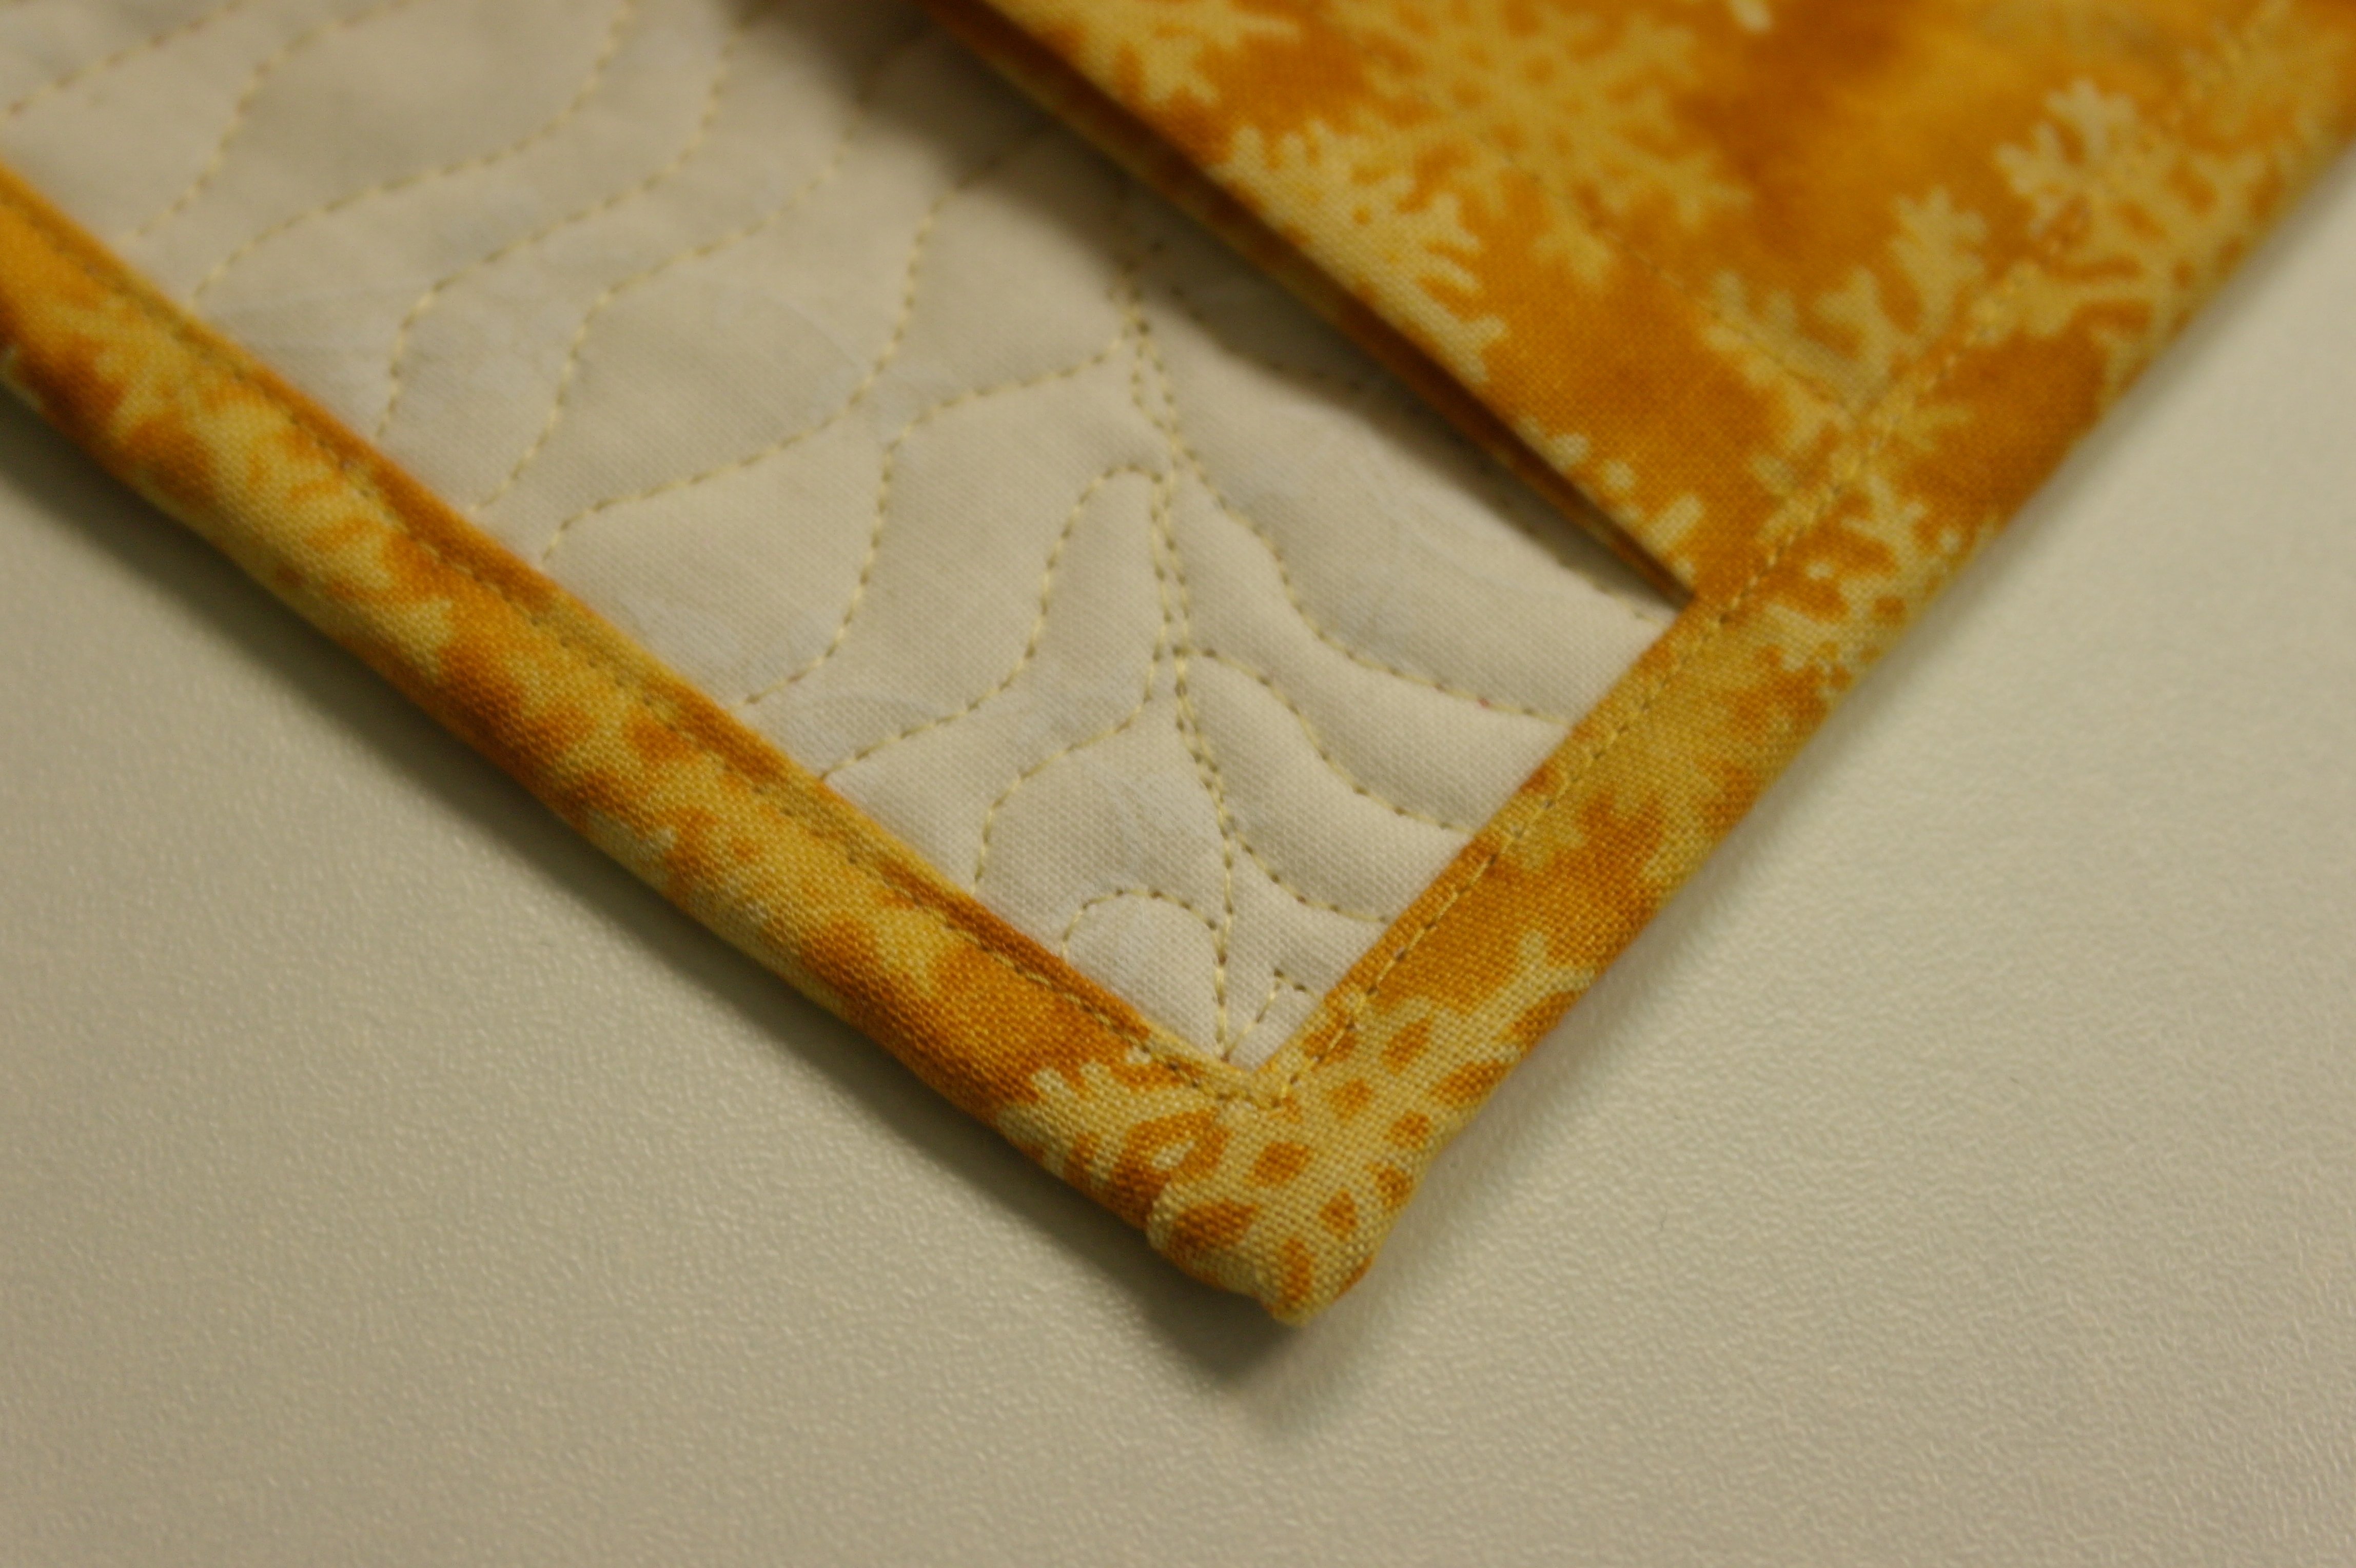
folding it over the edges to the front and sewn onto the quilt by machine. The sleeve is sewn underneath the binding.
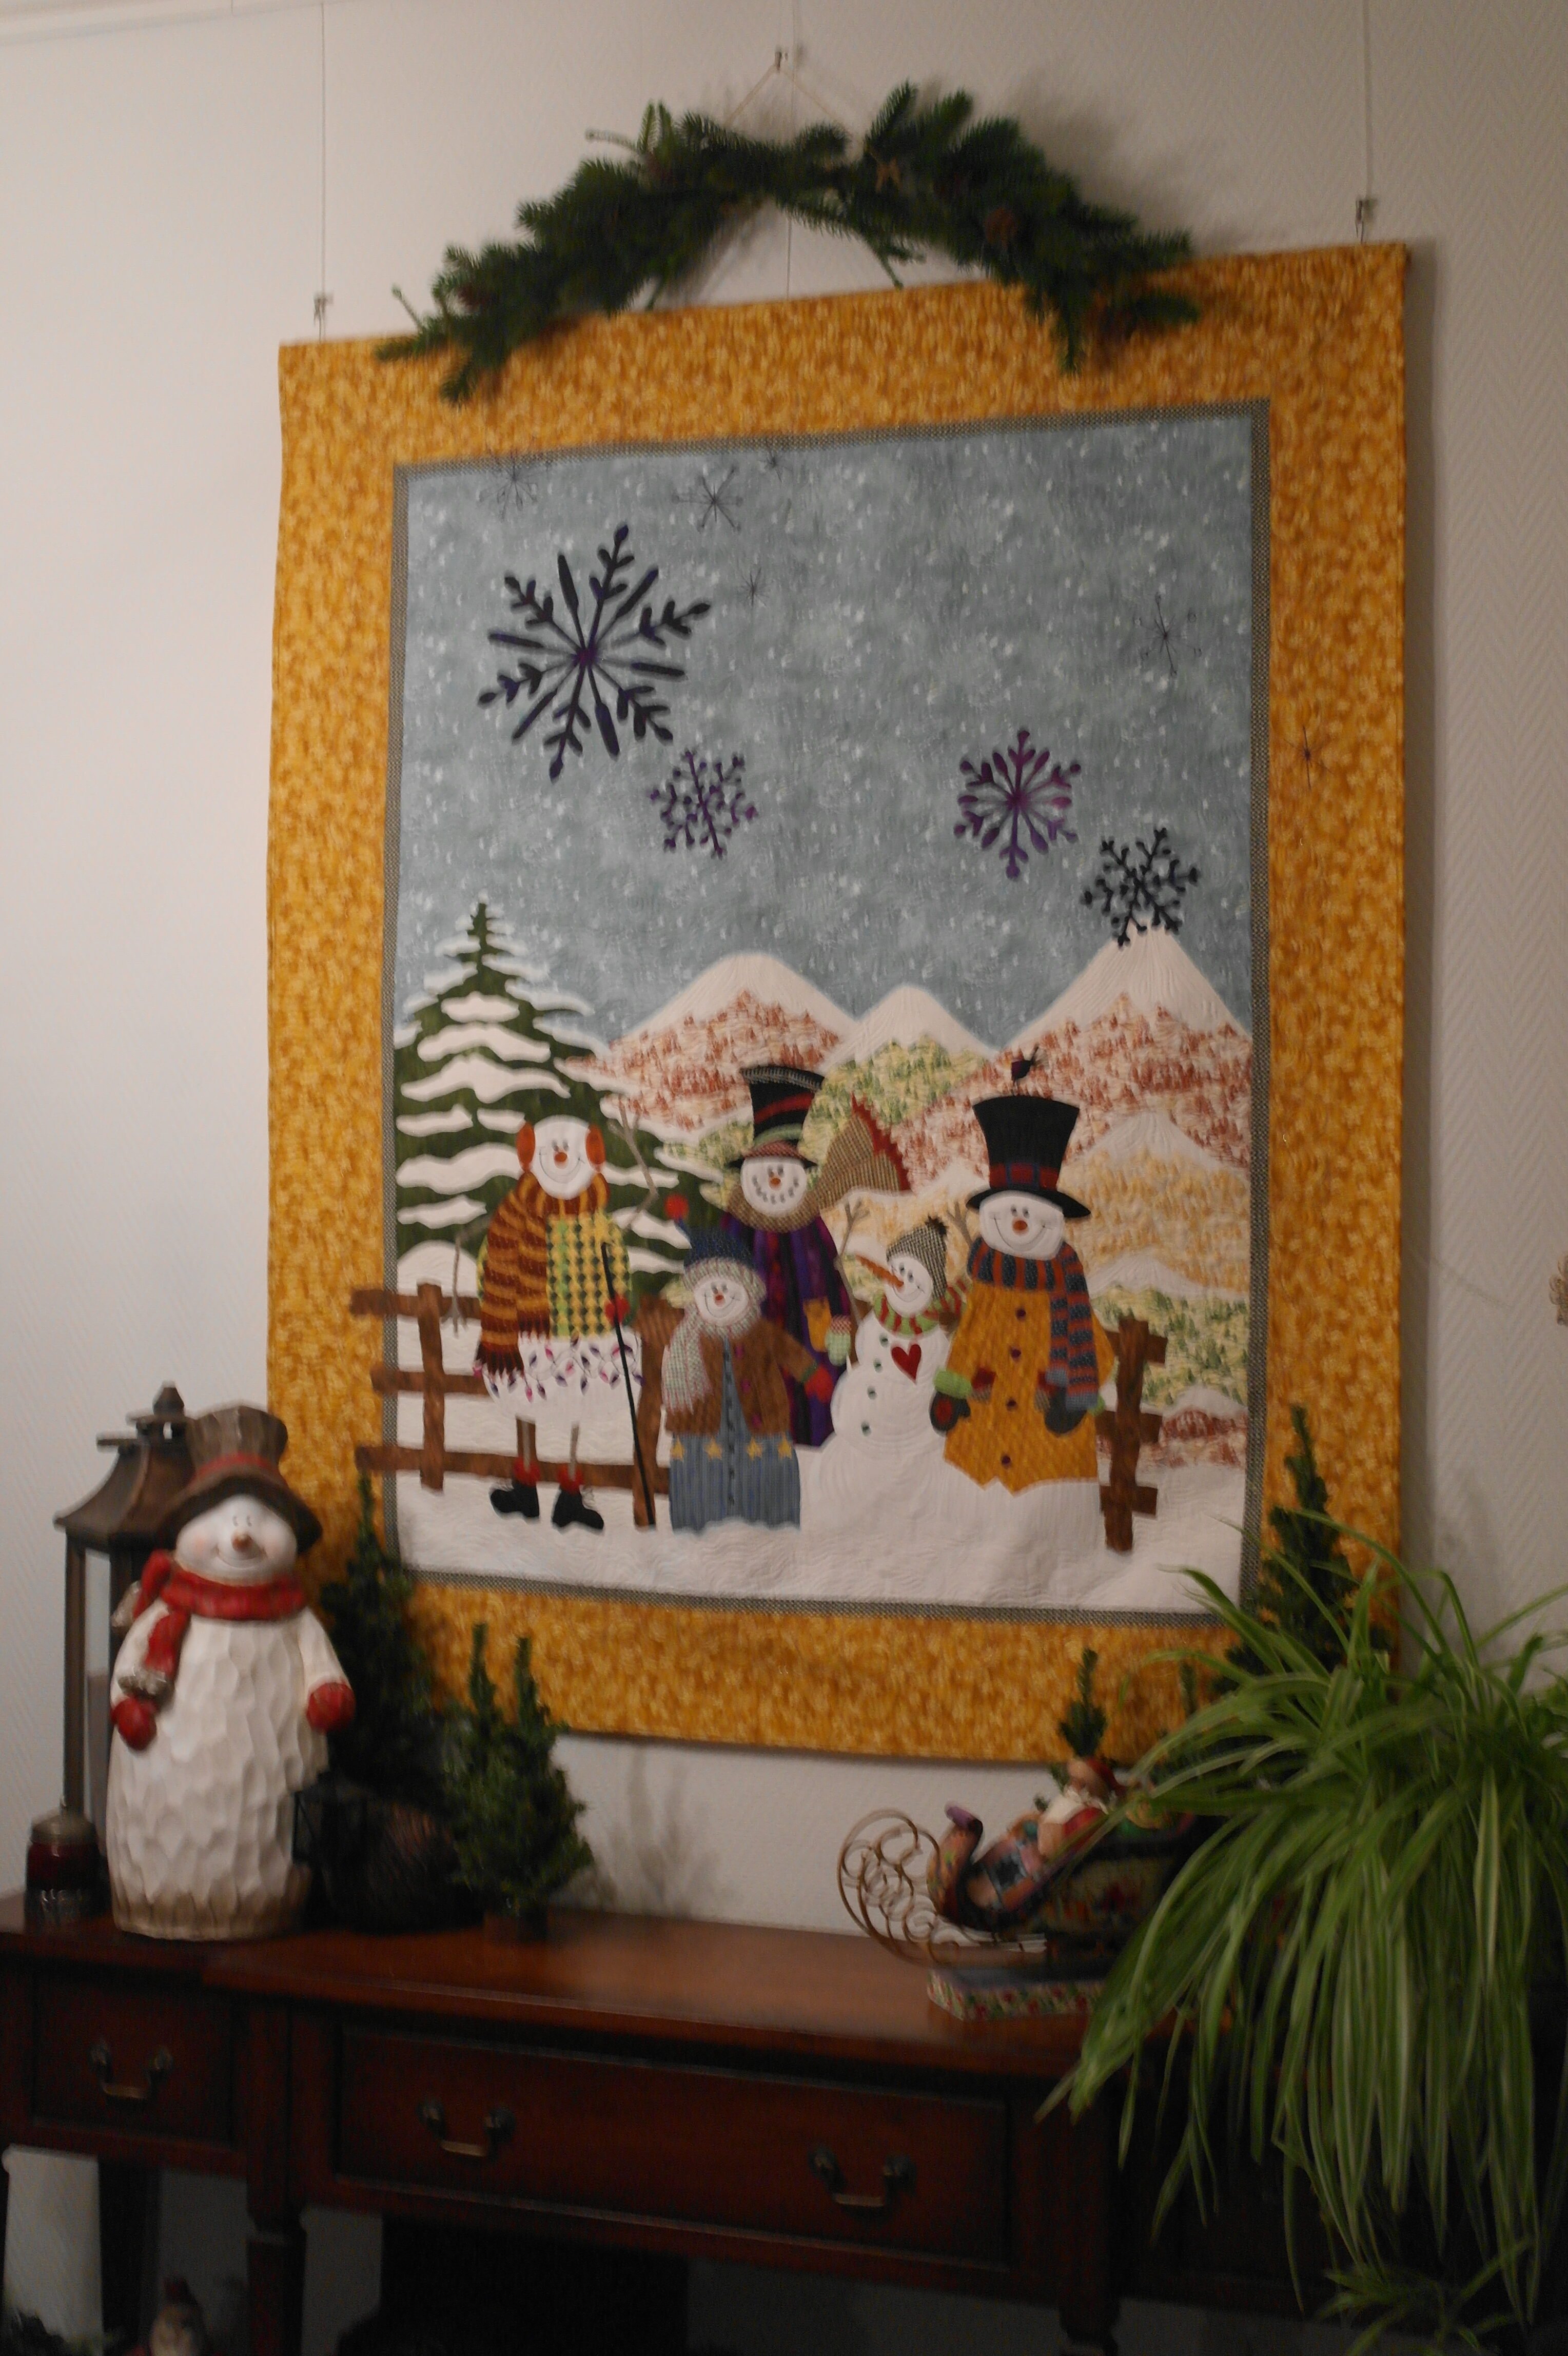
My Winterquilt ‘Snowmen Gathering’ is finished: I have placed another figurine of a Snowman next to it, and garland on top. Hope you enjoyed the making of this quilt and perhaps I have inspired you to make your own Winterquilt with some lovely snowmen.
Happy Quilting.
Sylvia Kaptein
www.sylviasartquilts.nl
(* Copyright Sylvia’s Art Quilts Studio)
0 Responses