 BERNINA Corporate Blog -
Dear community,
in this blog post you can find easy instructions for sewing a sustainable bag with application.

The theme of the BERNINA advent calendar is sustainability. And as part of this theme, I started thinking about plastic carrier bags, which are not sustainable at all. Fortunately, there has been a ban for a number of years now on giving away plastic carrier bags with purchases of clothing and many other items. All you need to do is bring along your own bag that is sustainable, like one made of fabric. I’ve made a handy design here for you to try, which can be folded up small so there’s always space for it in your handbag, jacket pocket or the glove compartment of your car.
Choose a fabric—half a metre of quilting fabric would work well—although other fabrics are fine as long as they are flexible. I’ve chosen a winter fabric to get into the Christmas spirit. Cut 2 pieces of fabric, 20″ long and 18″ wide, including the seam. For the handles, you’ll need 2 strips 3″ wide and 12″ long; and for the bag, 2 pieces 4″ long and 6″ wide. When cutting the fabric, pay attention to the printed pattern to make sure that all the figures stay the right way up. I also used a piece of rickrack tape – 1.5 m should be sufficient. You’ll also need to choose a sewing thread that matches the fabric.
Start by making the handles. Iron them in half lengthways, with the wrong sides together. Fold the strip a little and then fold the strips again, with the frayed edges of the fabric turned towards the fold; iron the edges again, then fold the entire strip in half.
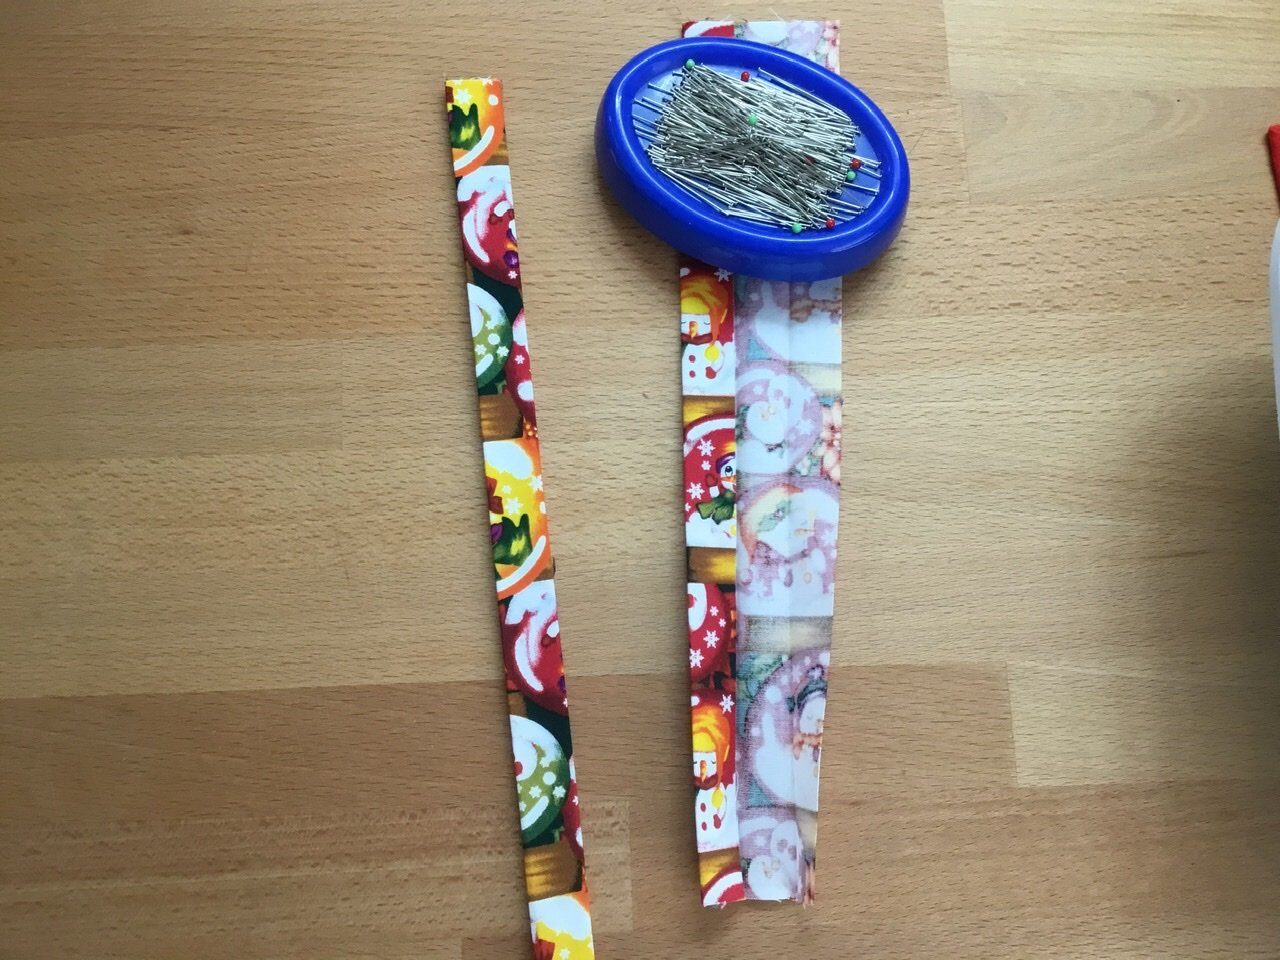
Top-stitch the edges narrowly along the side, on both sides of the handles.

I’ve stitched on a piece of rickrack tape for decoration, but this is optional.

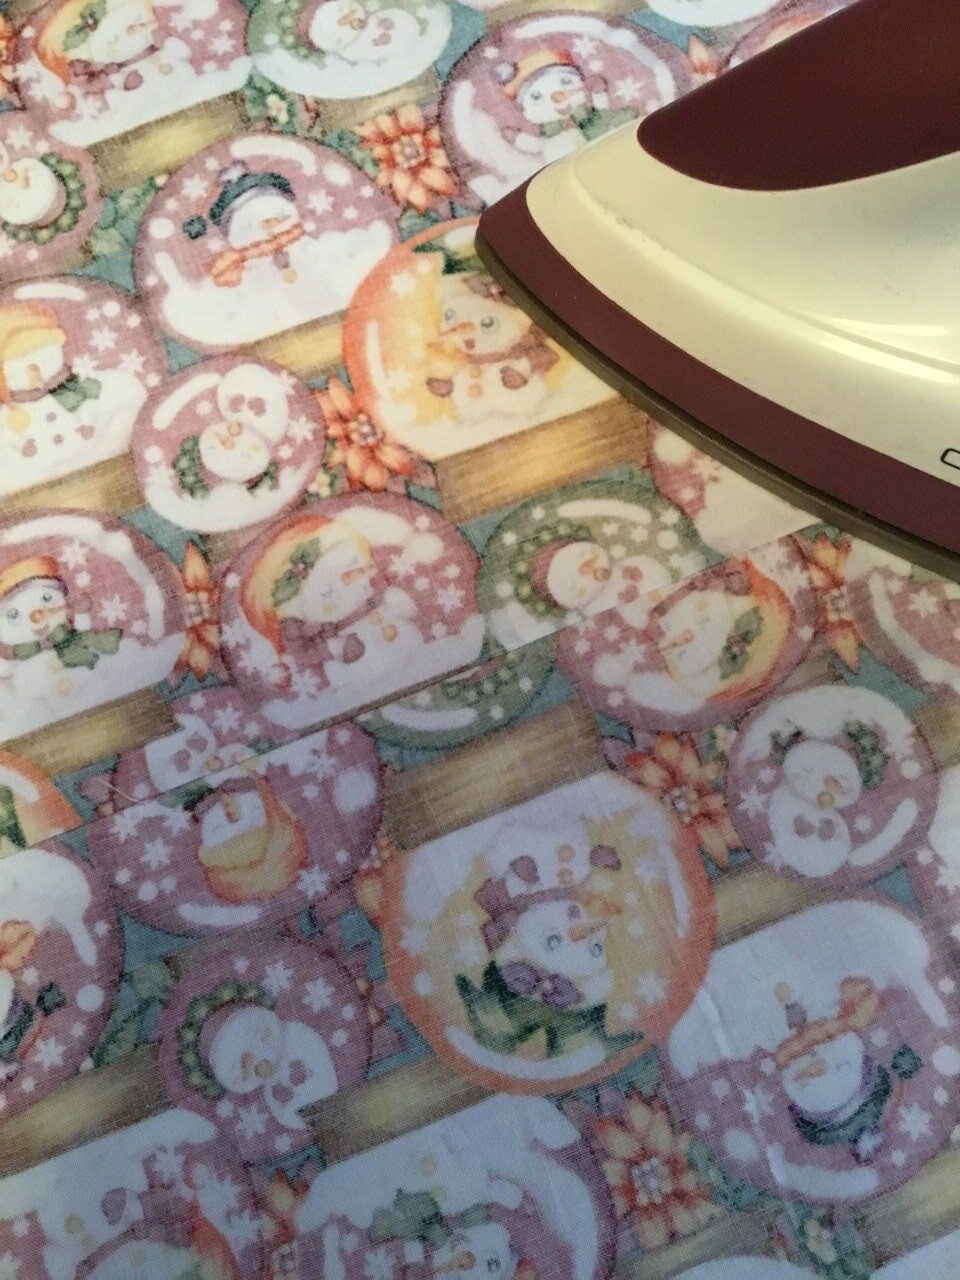
Press over the top edge of the bag. I’ve kept back about 0.75″ and folded the edge over twice here. Slide the ends of the handles underneath the folded-over material. Top-stitch the folded edge, making sure you include the handles at the same time. Fold the handles upwards and catch them with an X-stitch if necessary to strengthen the base. I left a 3″ gap between the ends.
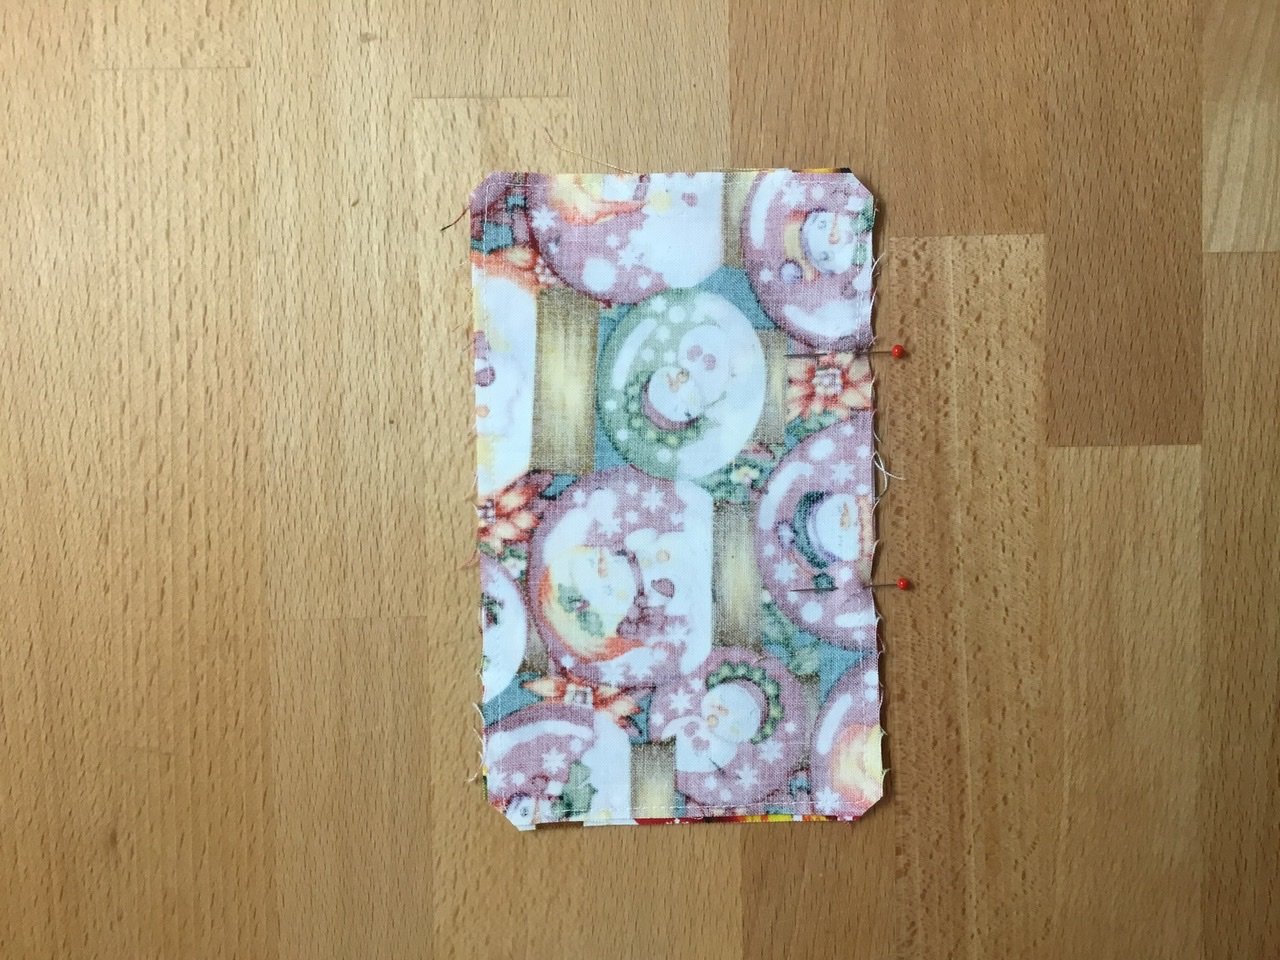
Place the squares for the bag’s right side together and stitch the squares together with a narrow seam all round. Leave a small opening so that you can turn it back the right way again; observe the positioning of the pins. Cut the corners diagonally and turn it over. Push the corners out fully to create a good pocket piece.
I used flat-felled seams. This means you first have to place the bag parts on top of each other, with the wrong sides together. Top-stitch the BOTTOM first, using a 1/4″ seam. Now flatten the seam. Then place the bag pieces with the right side together and stitch the seam again, this time with a half-inch seam allowance. This way, the seam will be strong and nicely finished. Before stitching the side seams in the same way, first stitch the pocket section onto one side of the bag. Make sure that the edge that remains open is pointing towards the handles. I then decorated the bag with embroidery and rickrack tape. Of course, this is optional, and you can decorate it however you wish.
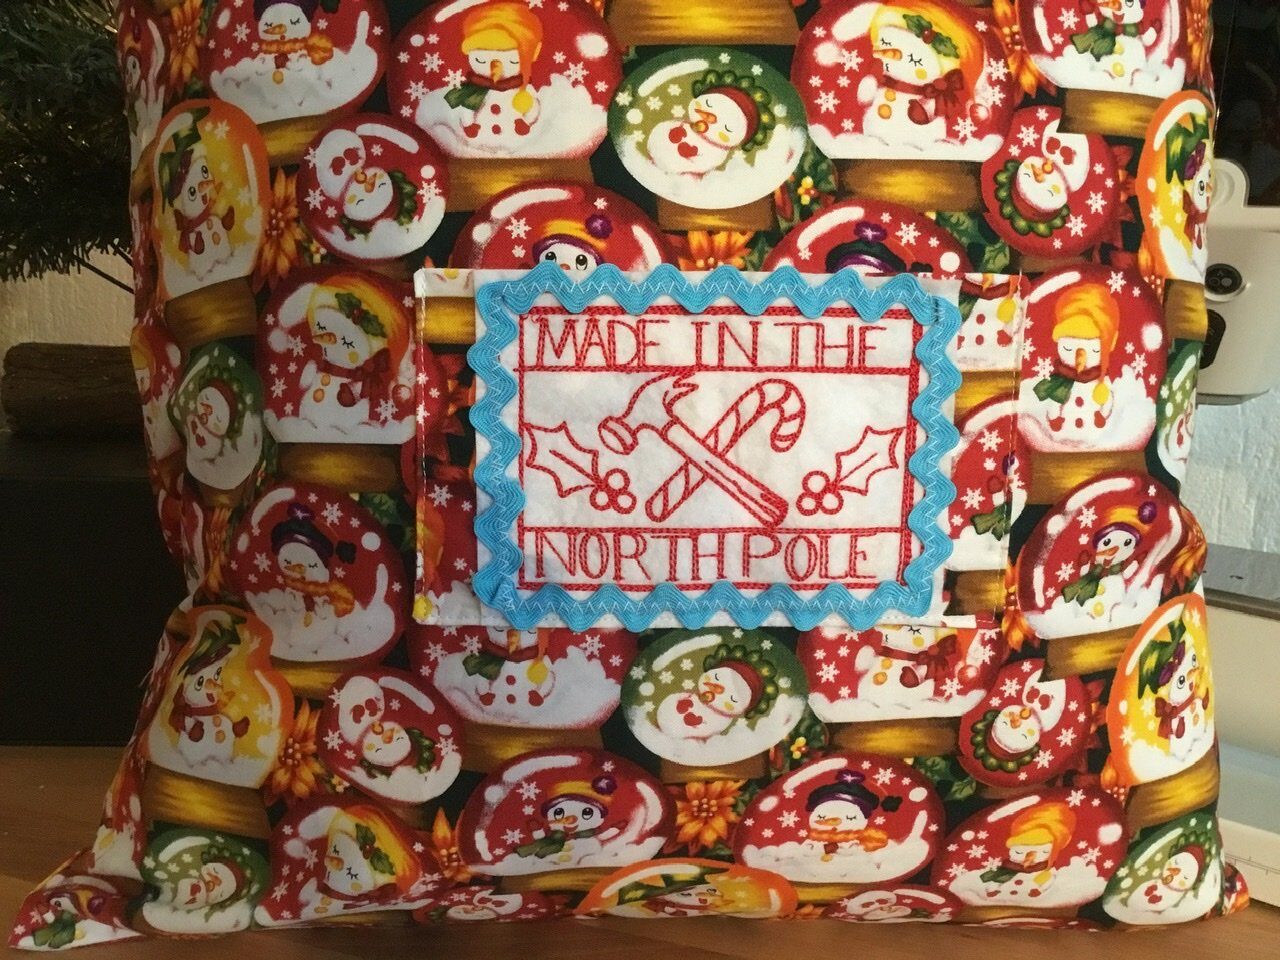
A close-up of the bag. For this picture, I just put a pillow in the bag.
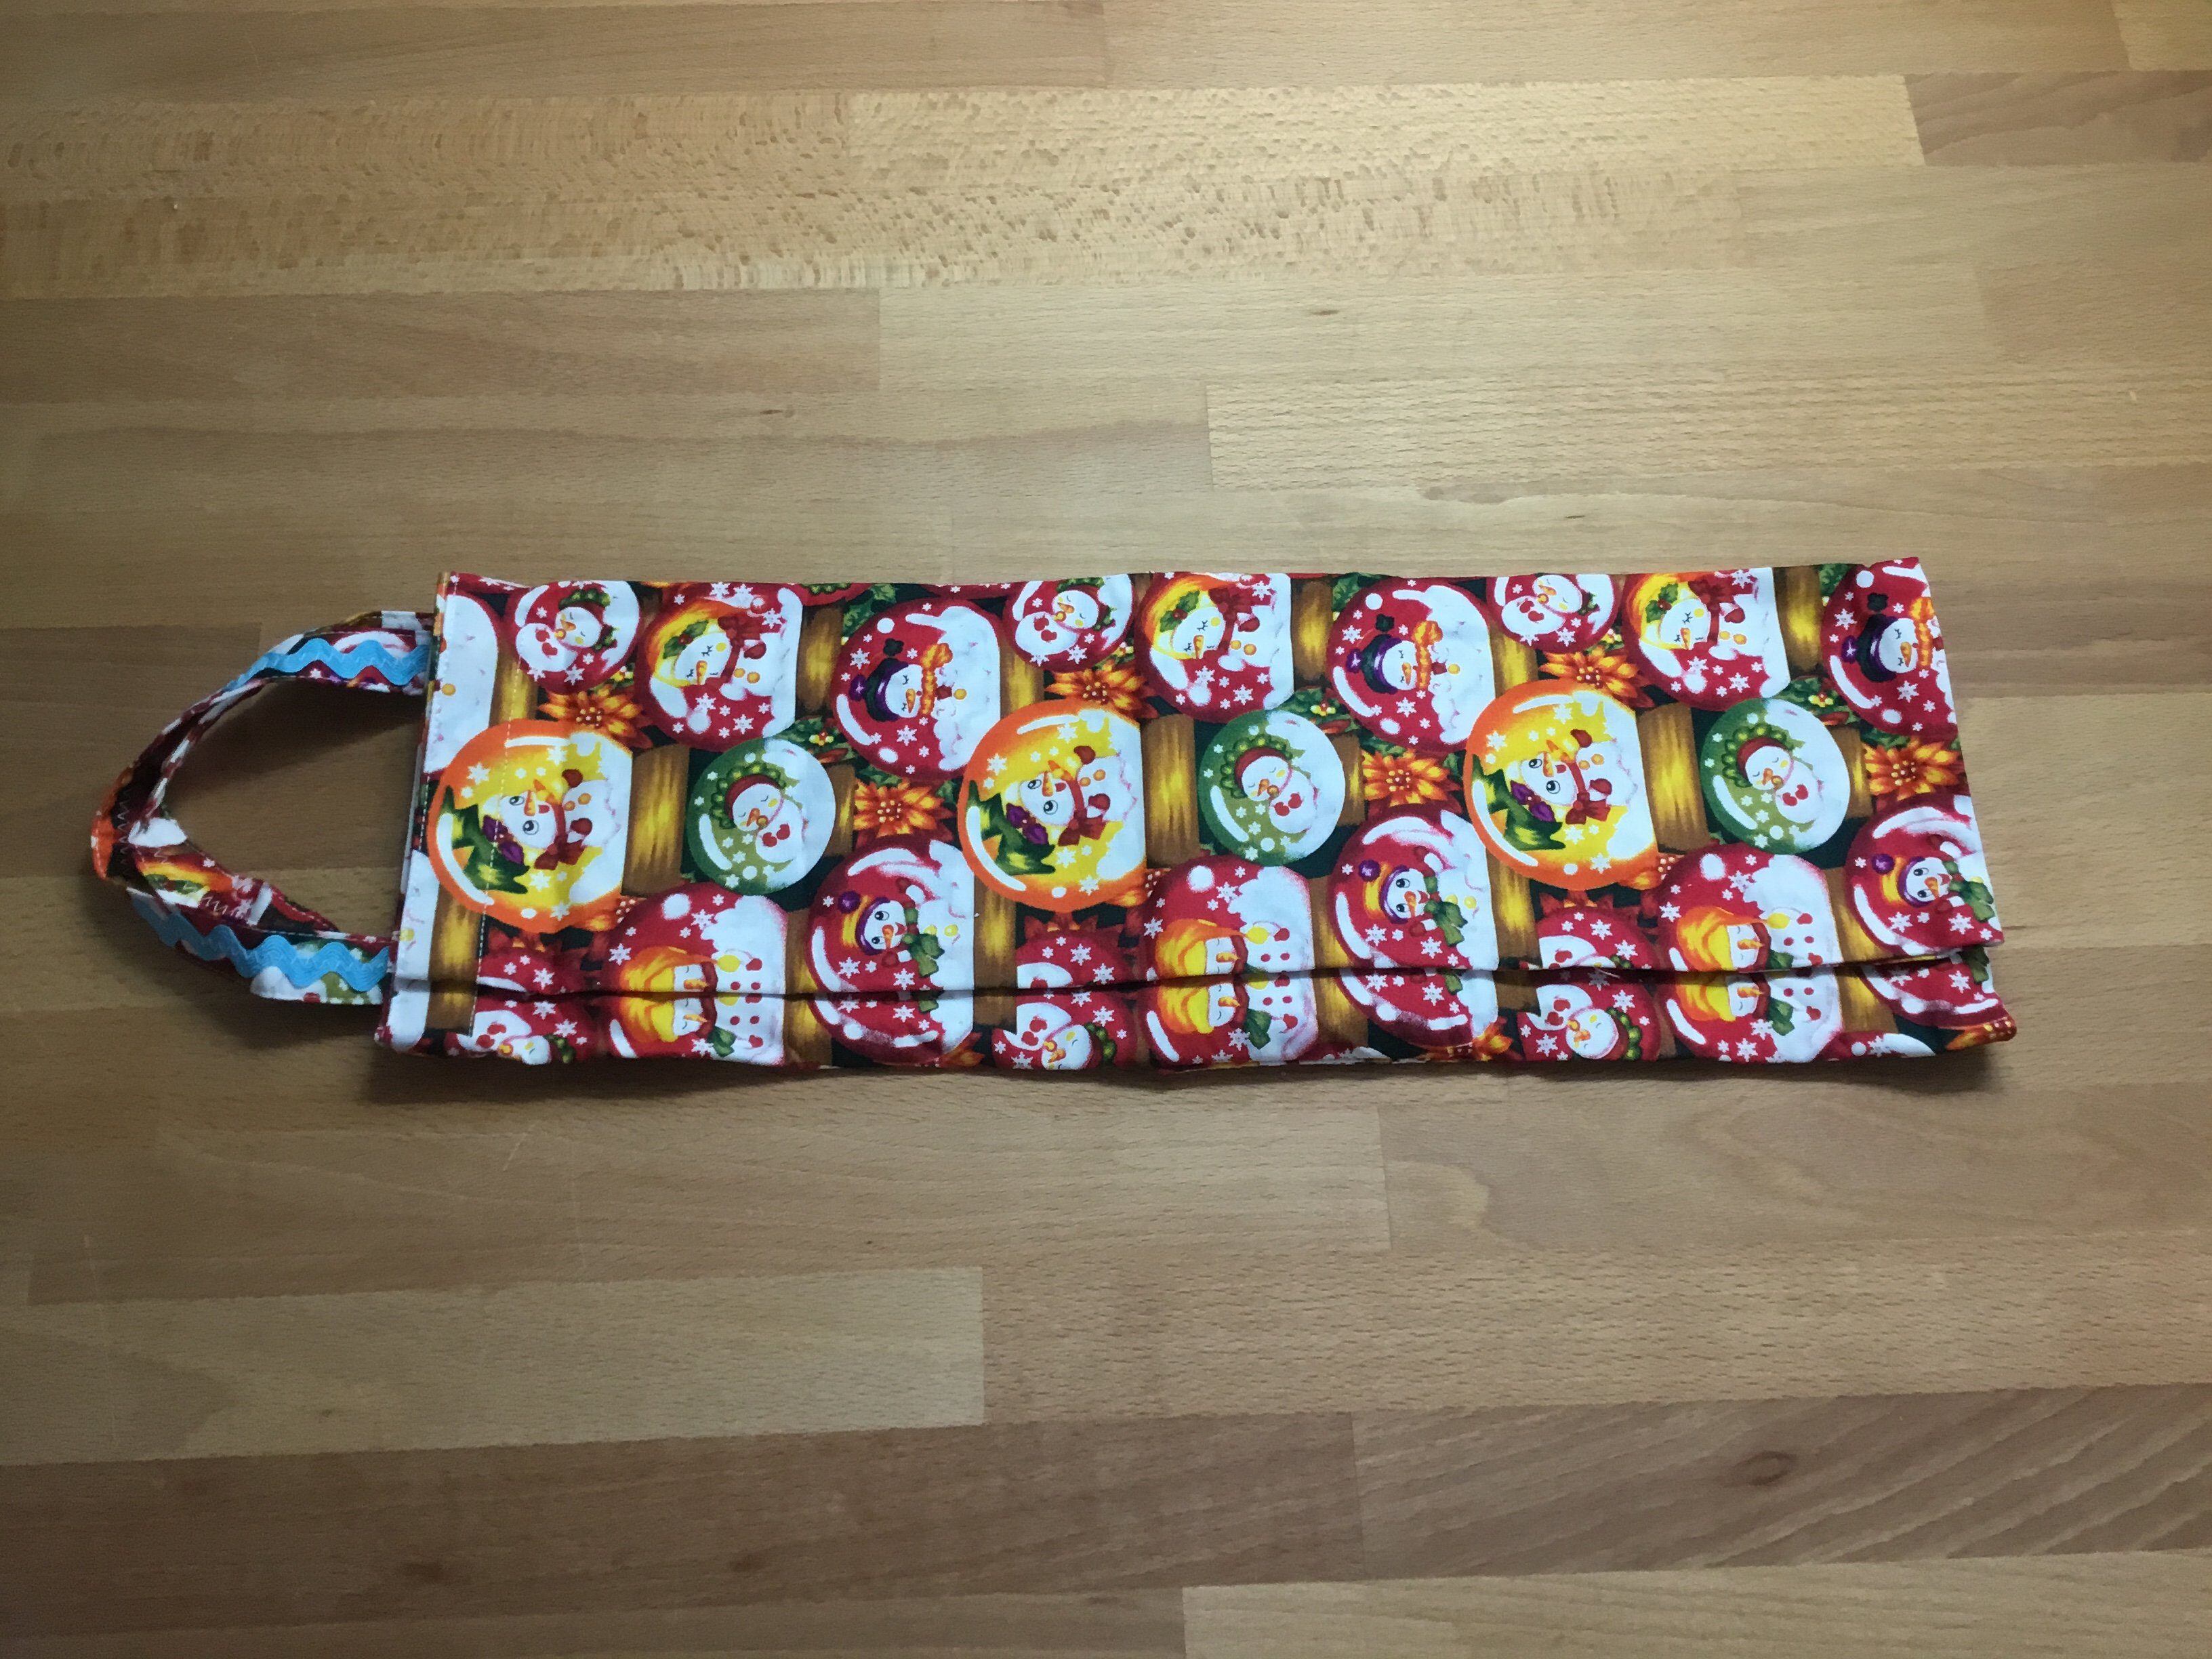
And now for how to fold it… Place the bag with the pocket part on the table, then fold the bag as shown in the picture.

Now you have to fold the whole thing, and you do this in 2 folds from the right side (bottom). From the handle side, you do this in 3 folds.
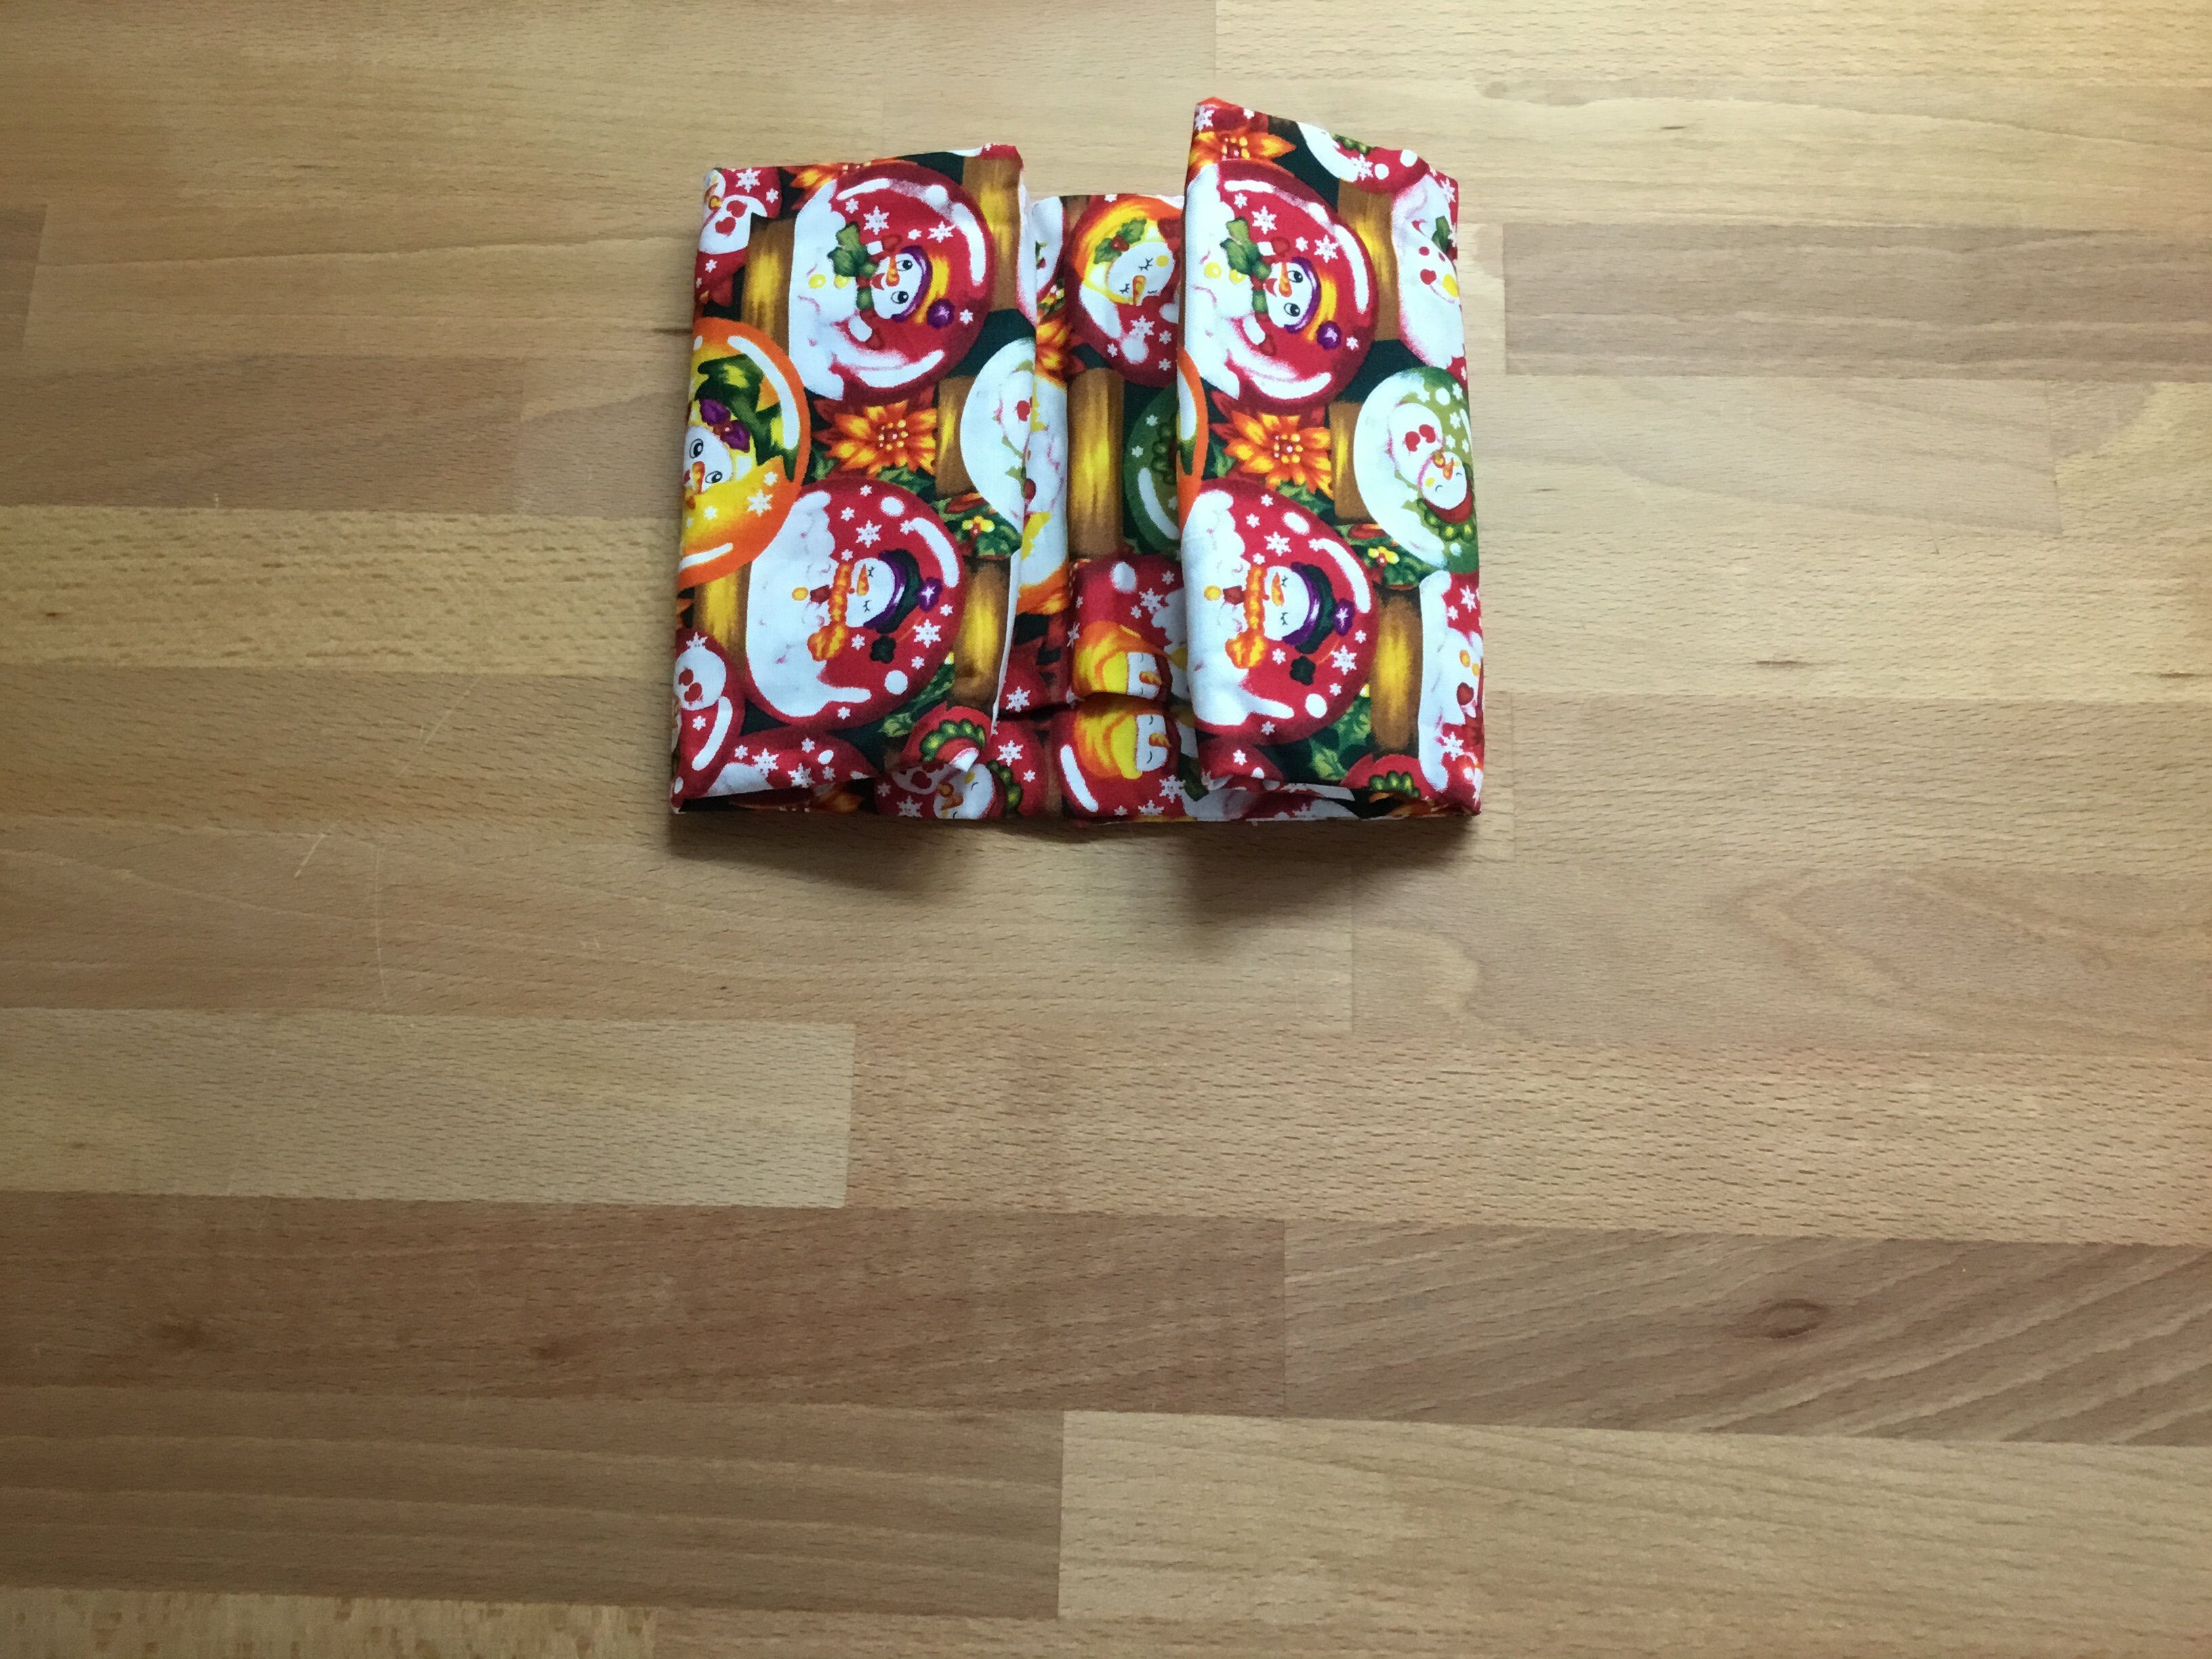
And that’s how you work the bag inwards as you fold it.
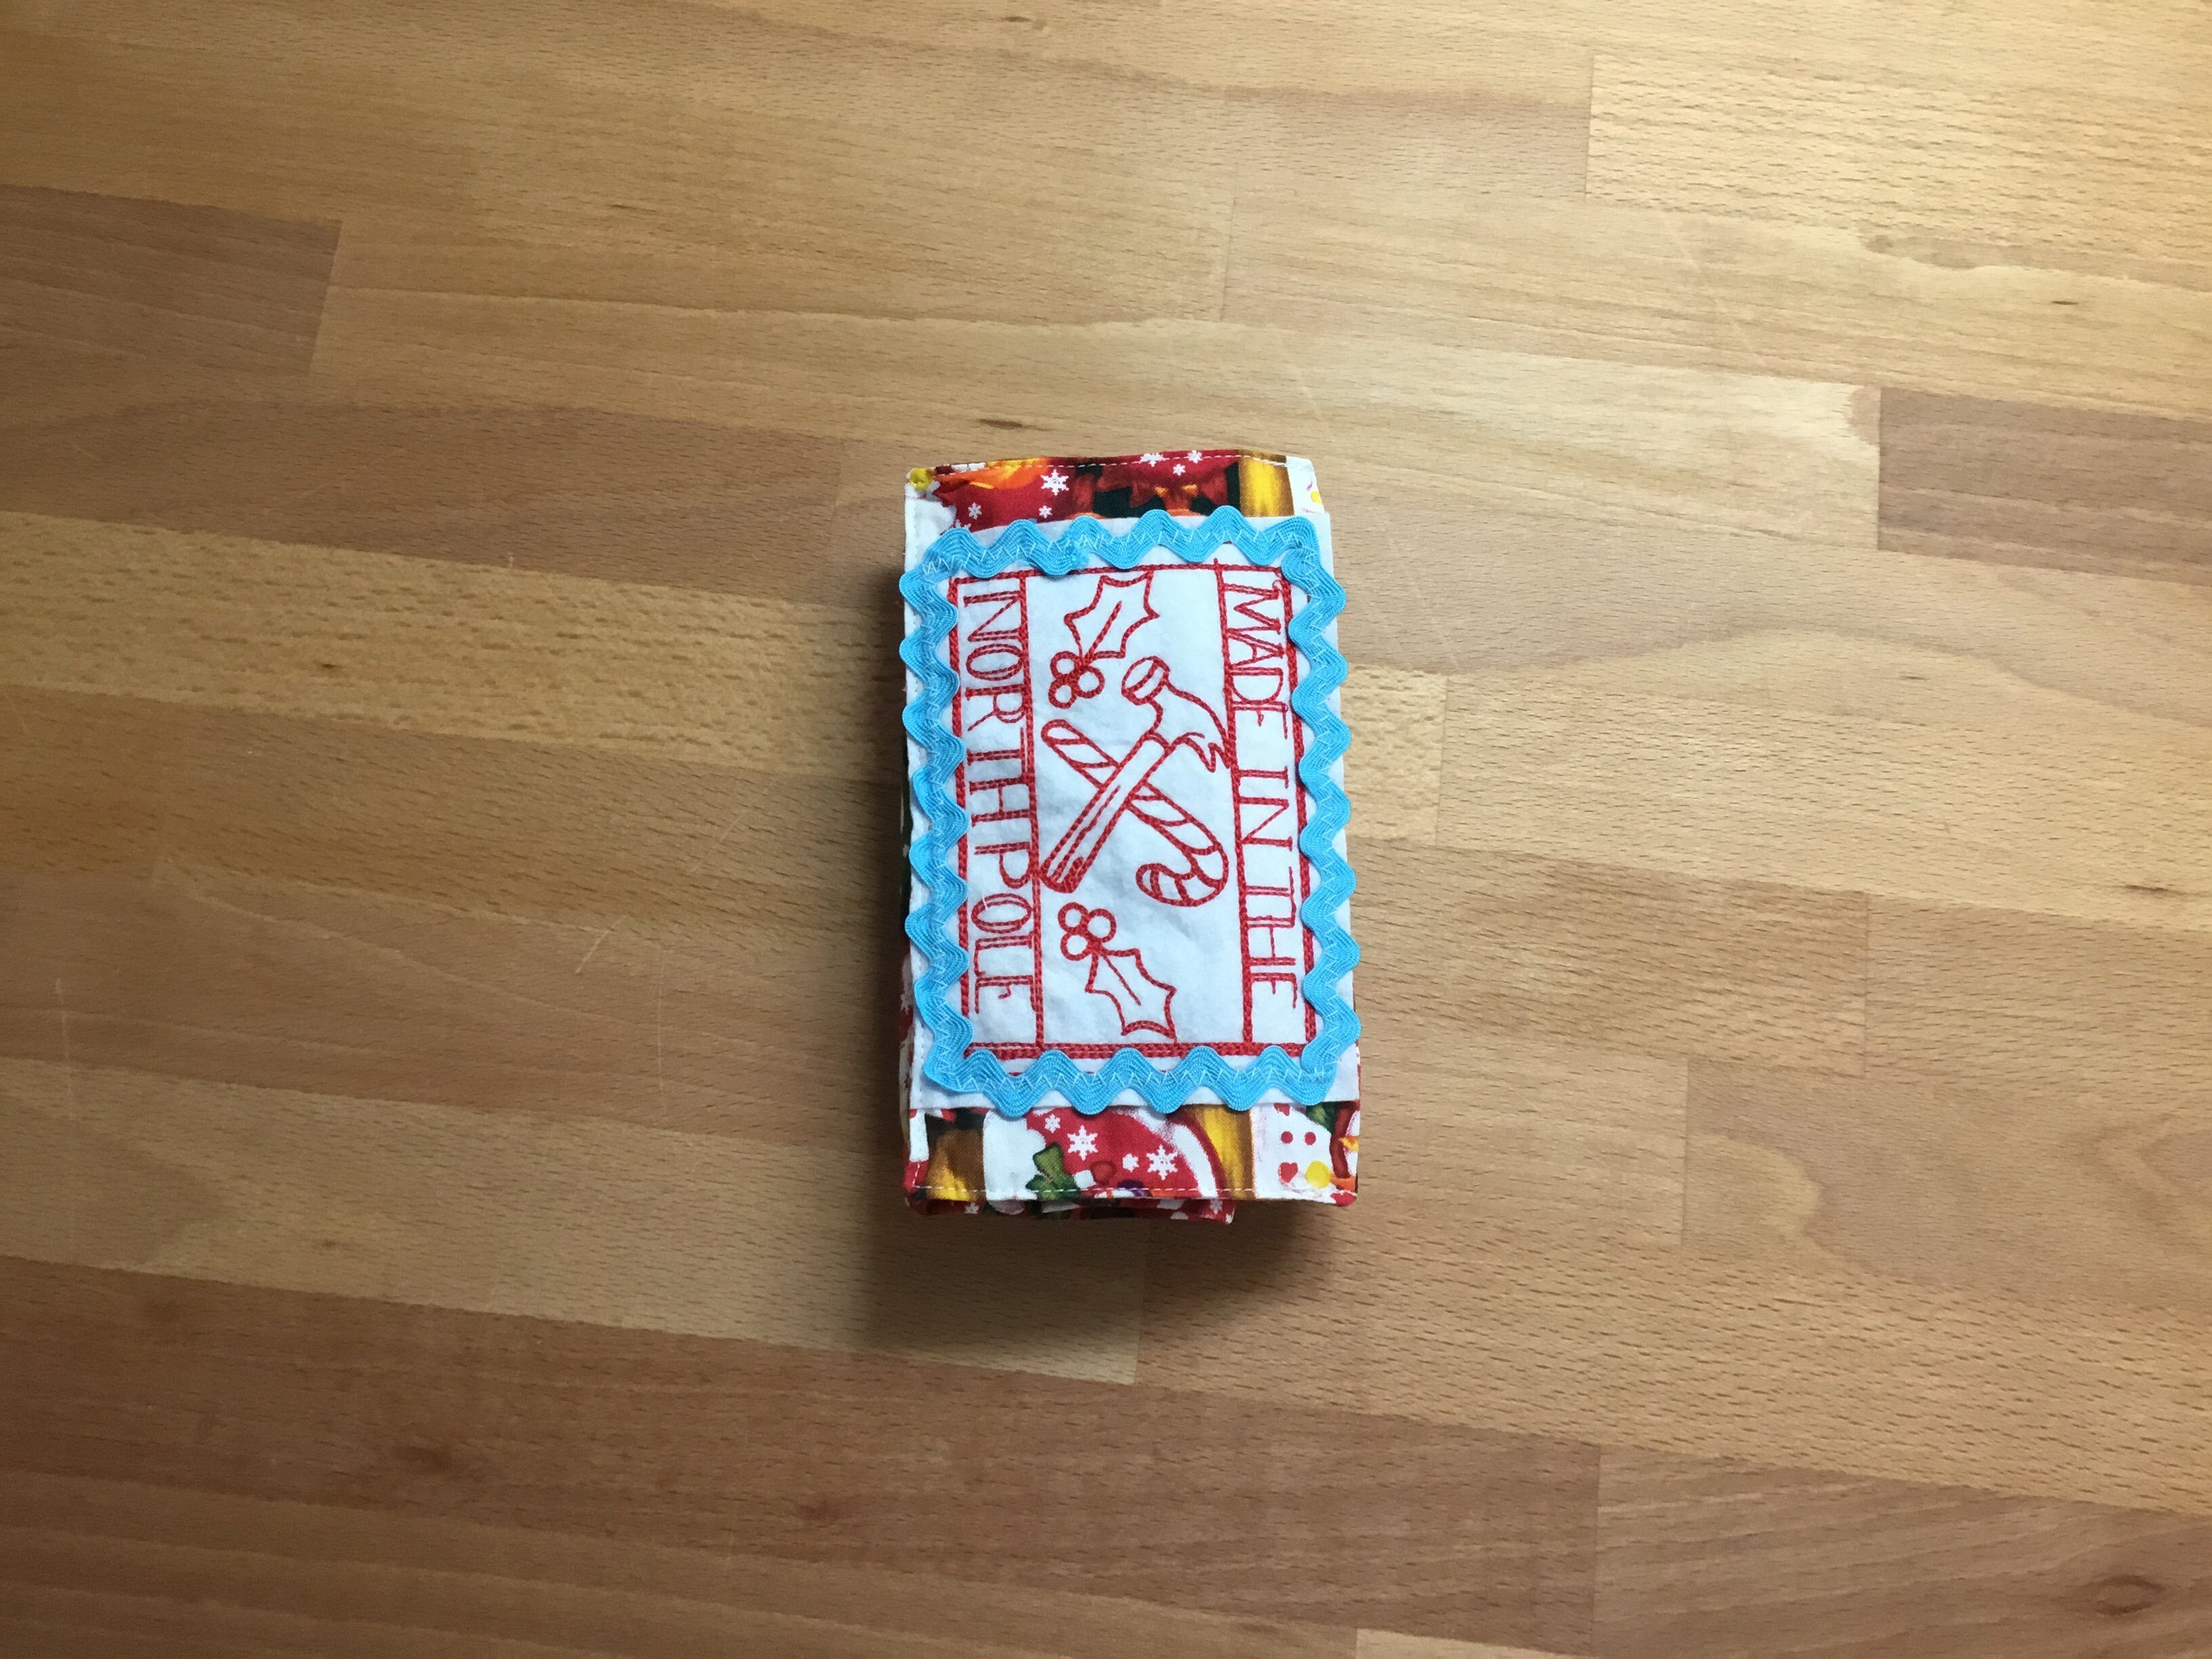
The bag is now folded and is the same size as the pocket section.
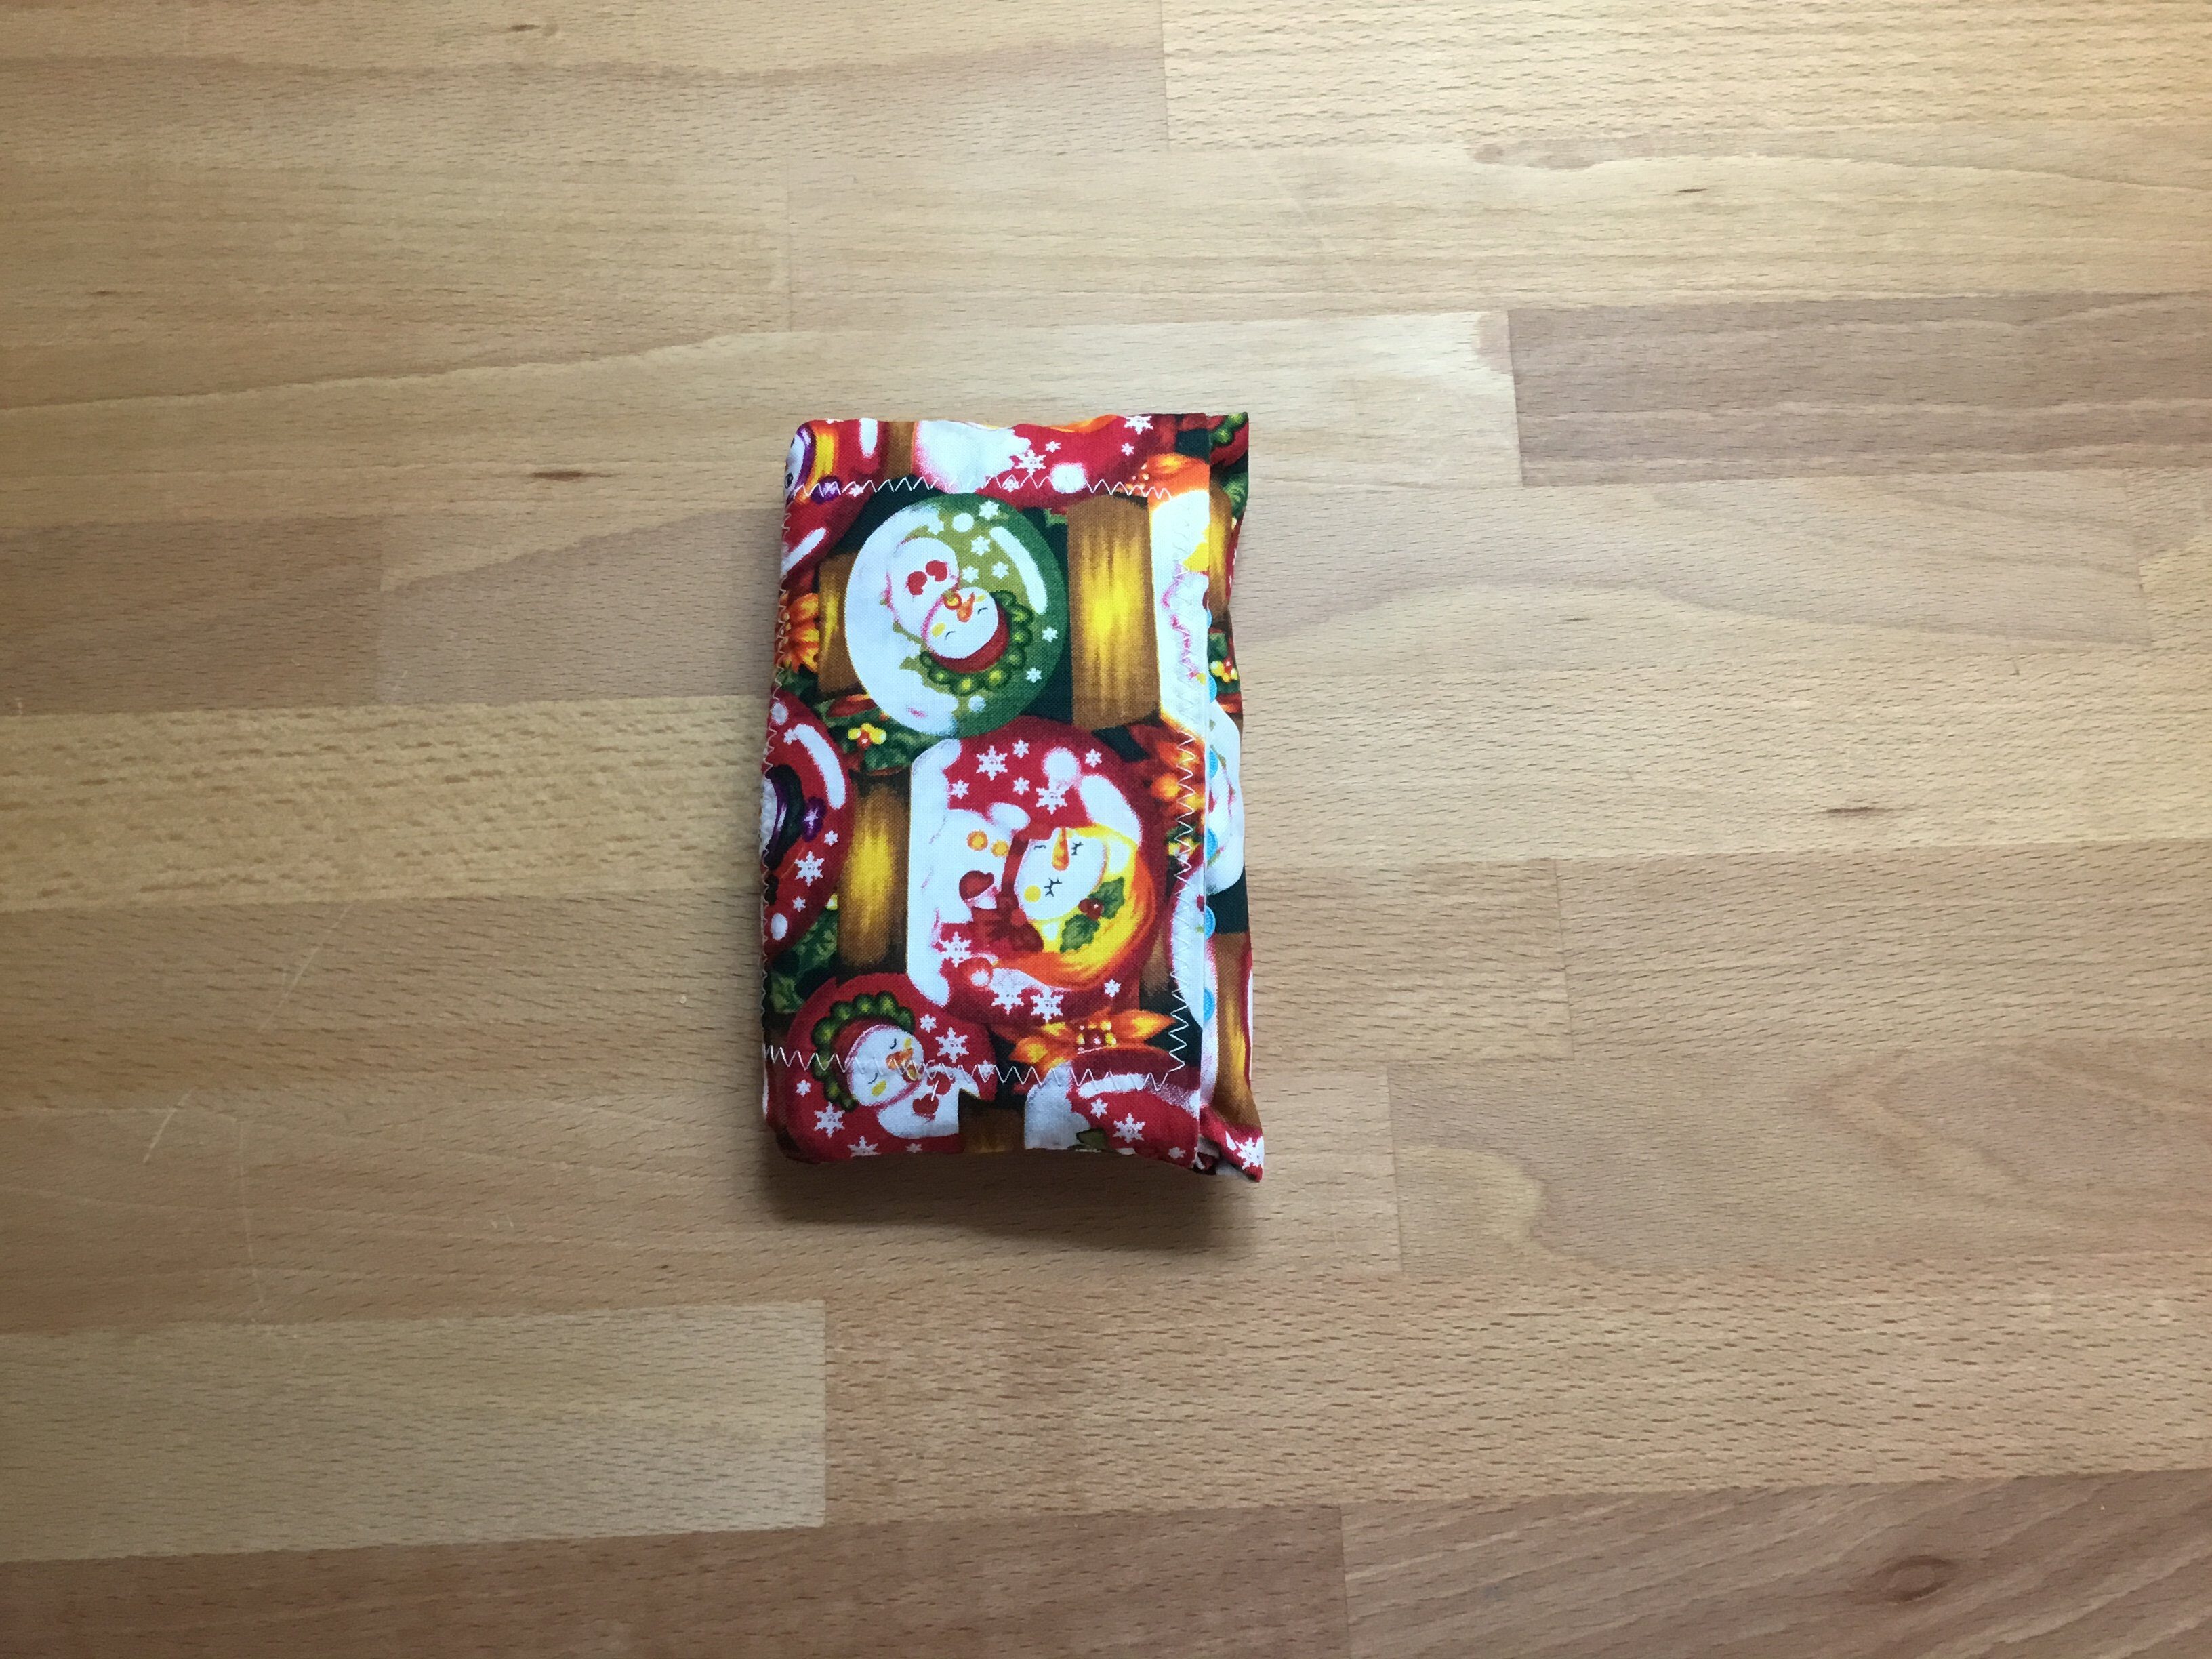
The last thing you need to do is to place the bag in the pocket section so that it stays neatly folded together in a package. The embroidery is now no longer visible.

Now you’ll always have a handy bag with you for all those unexpected purchases!
I’d like to wish all our BERNINA blog readers a Merry Christmas!
Yvonne Müller.


0 Responses