 BERNINA Corporate Blog -
Dear community,
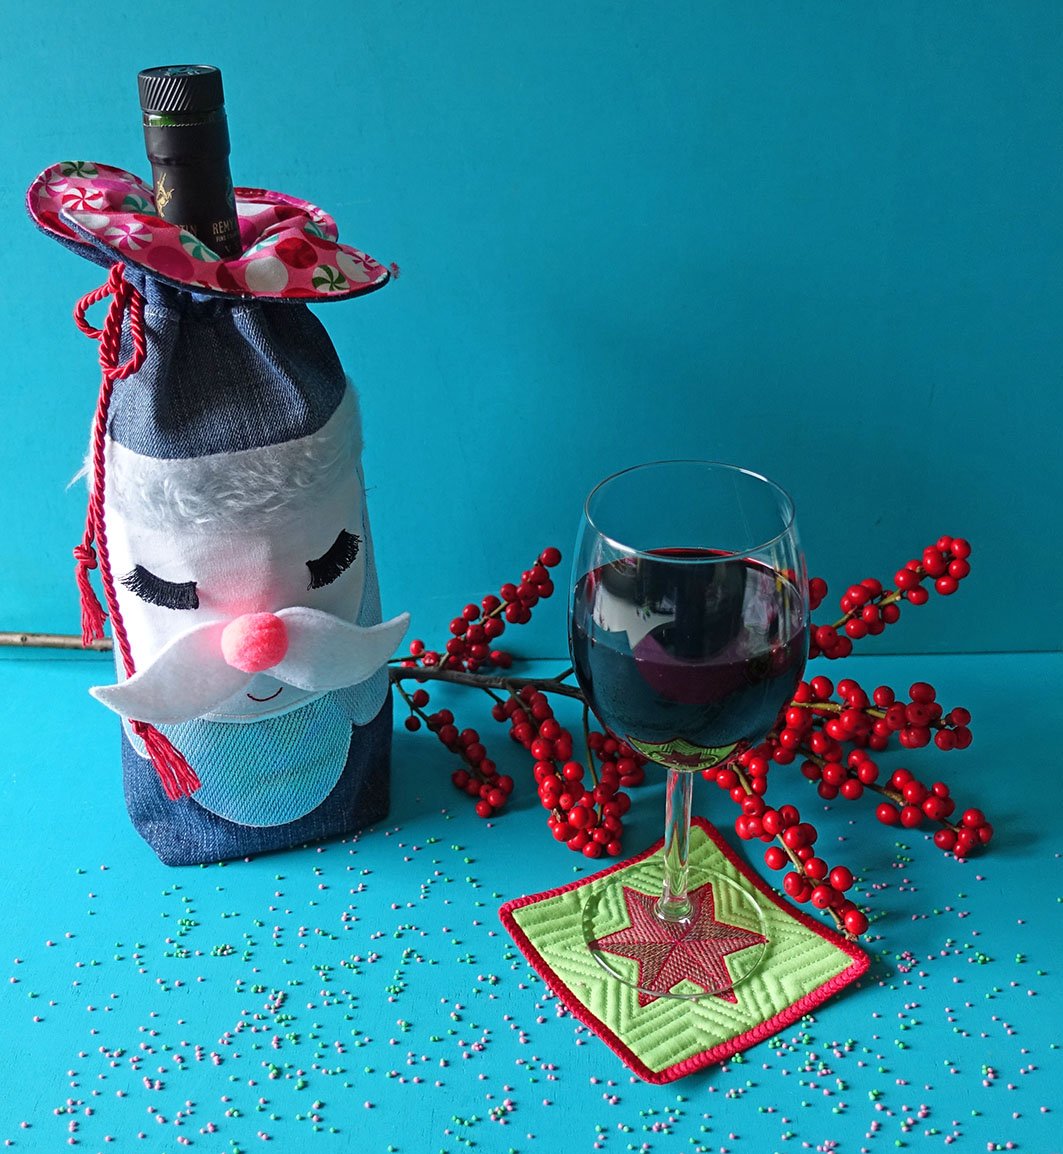
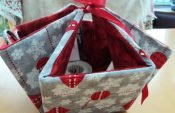
in this blog post you can find easy instructions for an upcycling wine bag – perfect for Christmas!
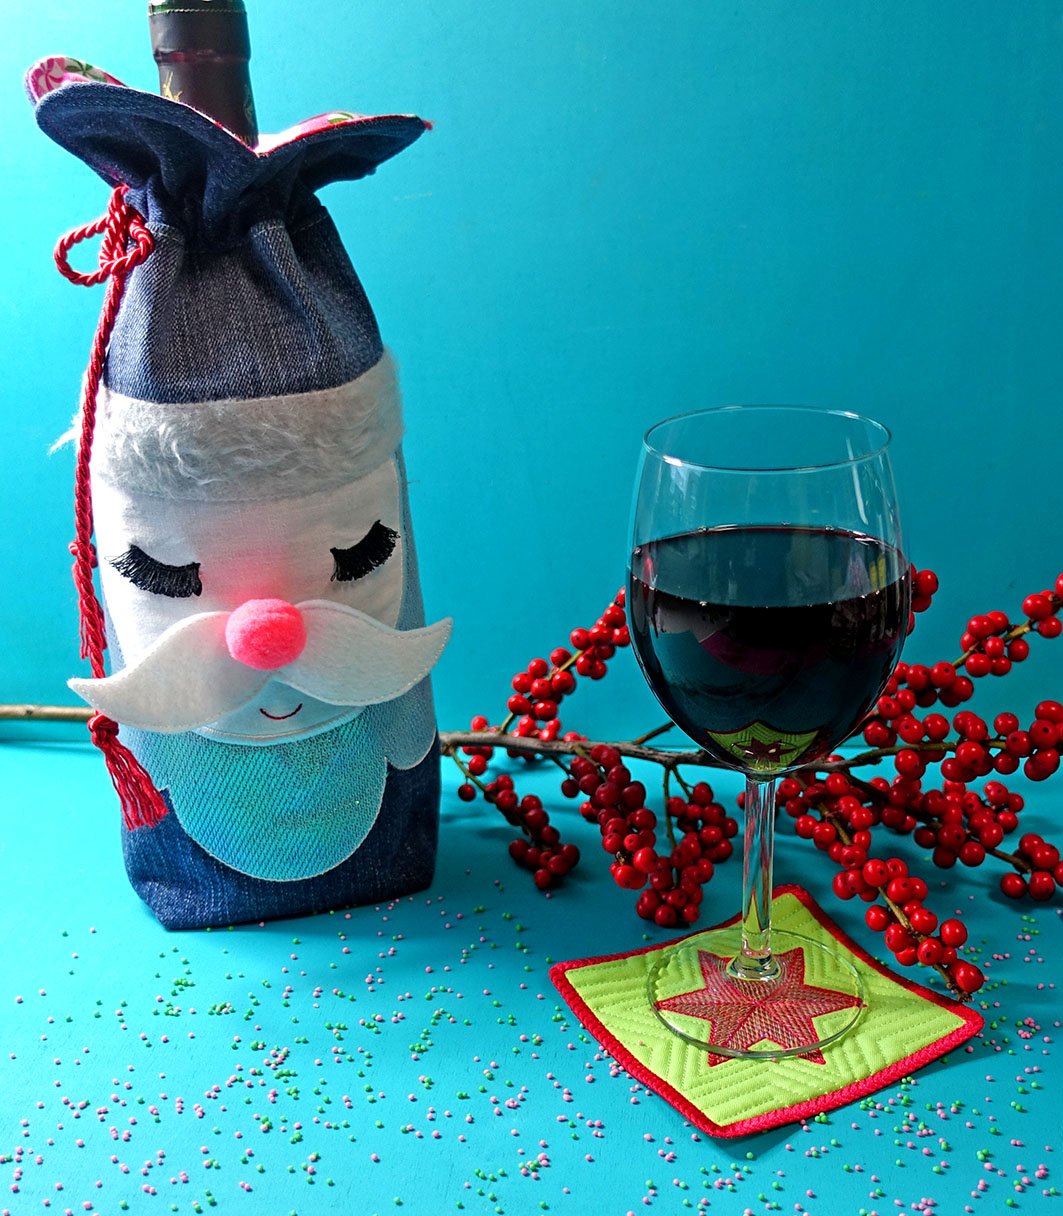
This year, we will focus on the topic of “recycling”. Something new that has been made from old or no longer used things is a gift in itself, and can be mentioned when gifting. During the holidays we are often invited for short visits with coffee and cake. With such “small” visits I like to bring wine. Fine drops will certainly taste better if they are wrapped nicely!
The wine bag here was made out of old jeans and a no longer used tablecloth. The pompon and cord were saved from another gift wrap, and I found that little bit of felt and appliqué fabric in my leftover’s drawer. Surely you can use this bag for other small gifts.
Sewing instructions for an upcycling wine bag
Materials needed:
- Old jeans (we need: 2 x 19cm x 31cm plus 1 x 10cm x 32cm*)
*If the denim contains a lot of spandex it is better to interface it with Vlieseline H180 to stop the elasticity during embroidery. So that the outer bag has the same feel, I would recommend this for both sides of the outer bag.
- Embroidery machine with a Maxi Hoop
- 32cm x 50cm woven cotton fabric
- about 50cm bis 60cm cord
- about 14cm x 10cm woven cotton fabric in white
- about 5cm x 30cm felt for embroidery ( 1,2- 1,5 mm thick) white
- embroidery threads size 40 – white, black, red
- embroidery thread size 12 e.g. Filaine from Sulky or Burmilana from Madeira – white, red or gray
- tear away stabilizer
- about 5cm x 20cm water-soluble stabilizer
- sewing thread
- pompon or button in red, pink or orange
- optional: embroidery foil such as Mylar
You can download the embroidery file here for free:
Download embroidery files wine bag
Cut- List:
Seam allowance of 1cm is included
- 1 x outer bag, front side – will be embroidered, cut exactly on the embroidered line
- 1 x outer bag, backside – use front side as a template
- 2 x lining out of cotton fabric – use front side as a template
- 1 x mustache – will be embroidered
- 1 x scalloped edge – will be embroidered
Embroidering the scalloped edge and mustache
Load the embroidery file “WineBag Top” into the machine. All steps can be embroidered with white embroidery thread. Contrast colors are applied in the embroidery file so that the machine stops between the steps.
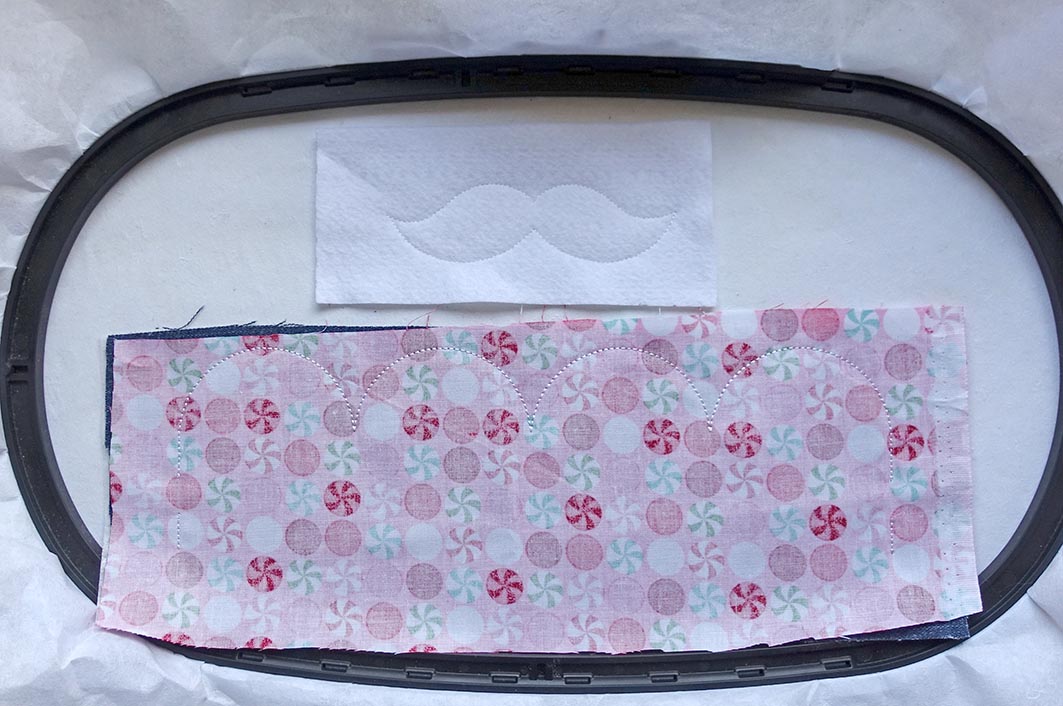
Hoop the stabilizer and embroider the first color (placement line scalloped edge). Place the 32cm x 10cm denim and cotton fabric, both fabrics face each other and overlap the embroidered lines by about 1cm.

The second color sews the two layers together and leaves sections for the cord unsewn.
The third color embroiders the mustache placement line. Place the felt over the lines and let the machine sew it onto the stabilizer.
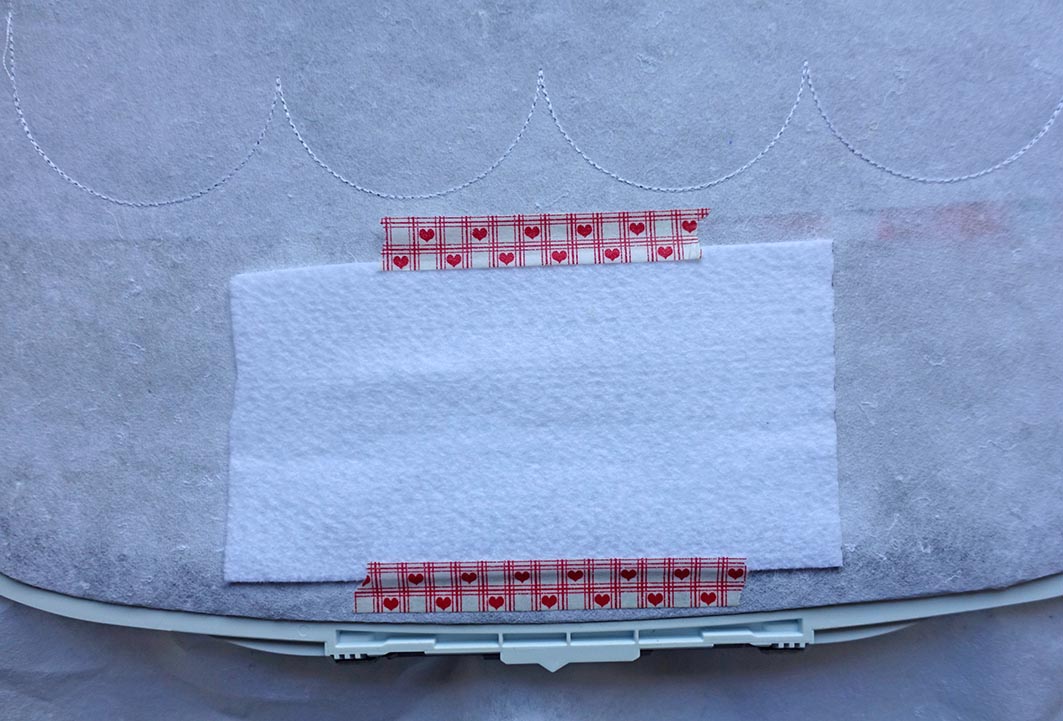
Remove the frame from the machine, but leave the project in the frame. Secure a piece of felt on the back with some masking tape and embroider the last color. This sews all layers together.
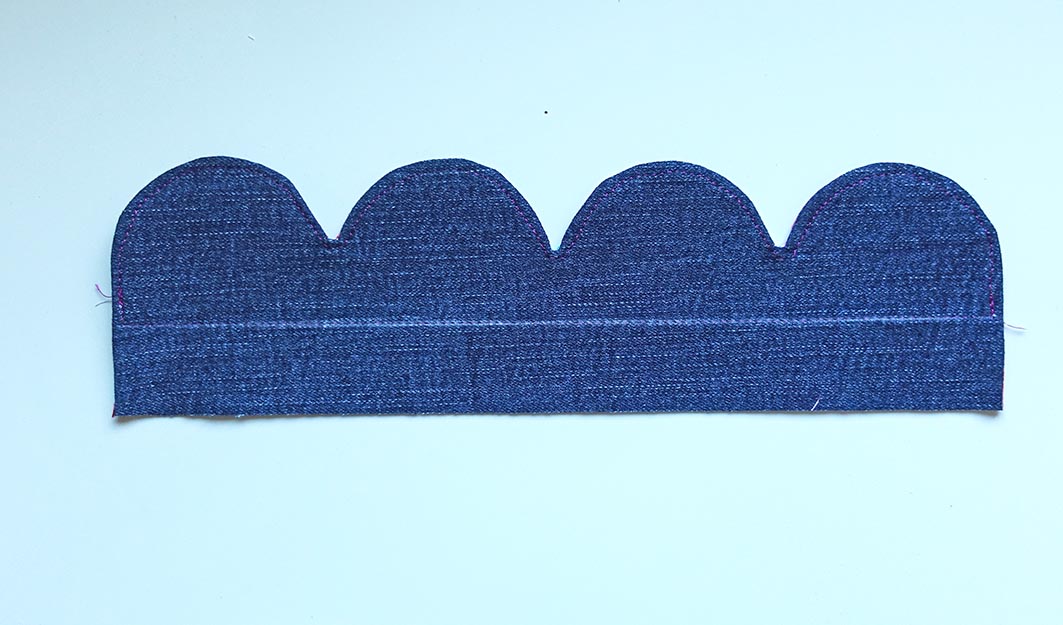
Take the project out of the frame and remove the stabilizer. Cut the mustache out with a seam allowance of 2mm. Cut out the scalopped edge with a 5mm allowance. Clip the curves,
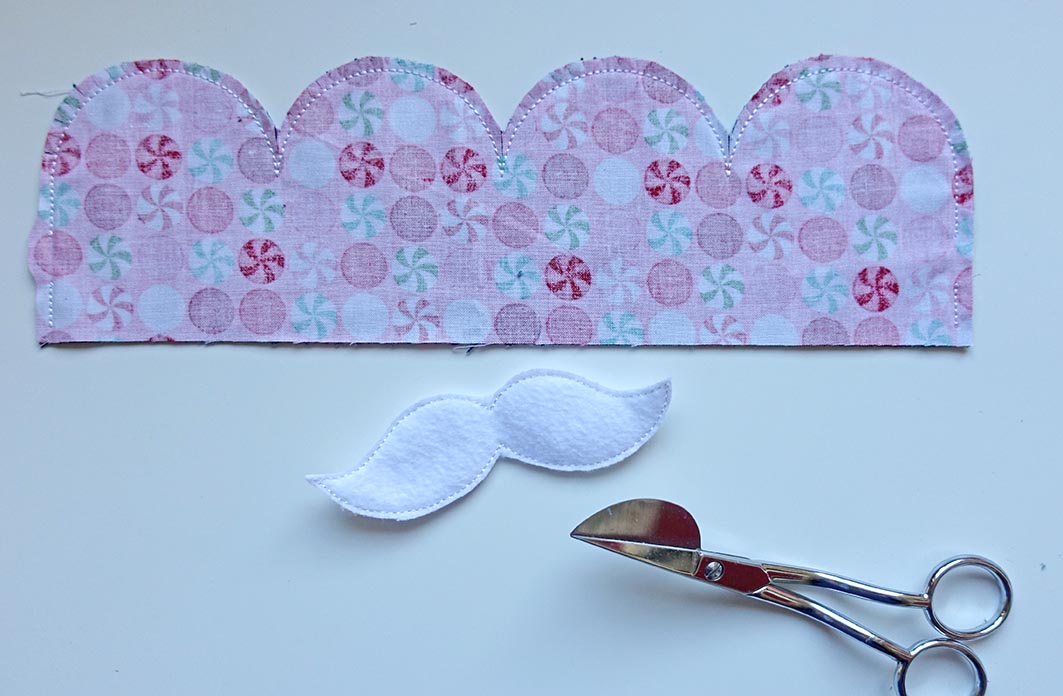
turn to the right side and iron. Topstitch close to the edge starting above the opening for the cord and stitch across (4cm from the bottom edge) to make a tunnel for the cord.
Place aside for now.
Embroidering the front side of the bag
- Sequence 1 to 8 – thread size 40, white
- Sequence 9 – thread size 40, red
- Sequence 10 – thread size 40, black
- Sequence 11 – change the needle (Topstitch size 90), thread size 12 in white, red or light gray
- Sequence 12 – thread size 40, white
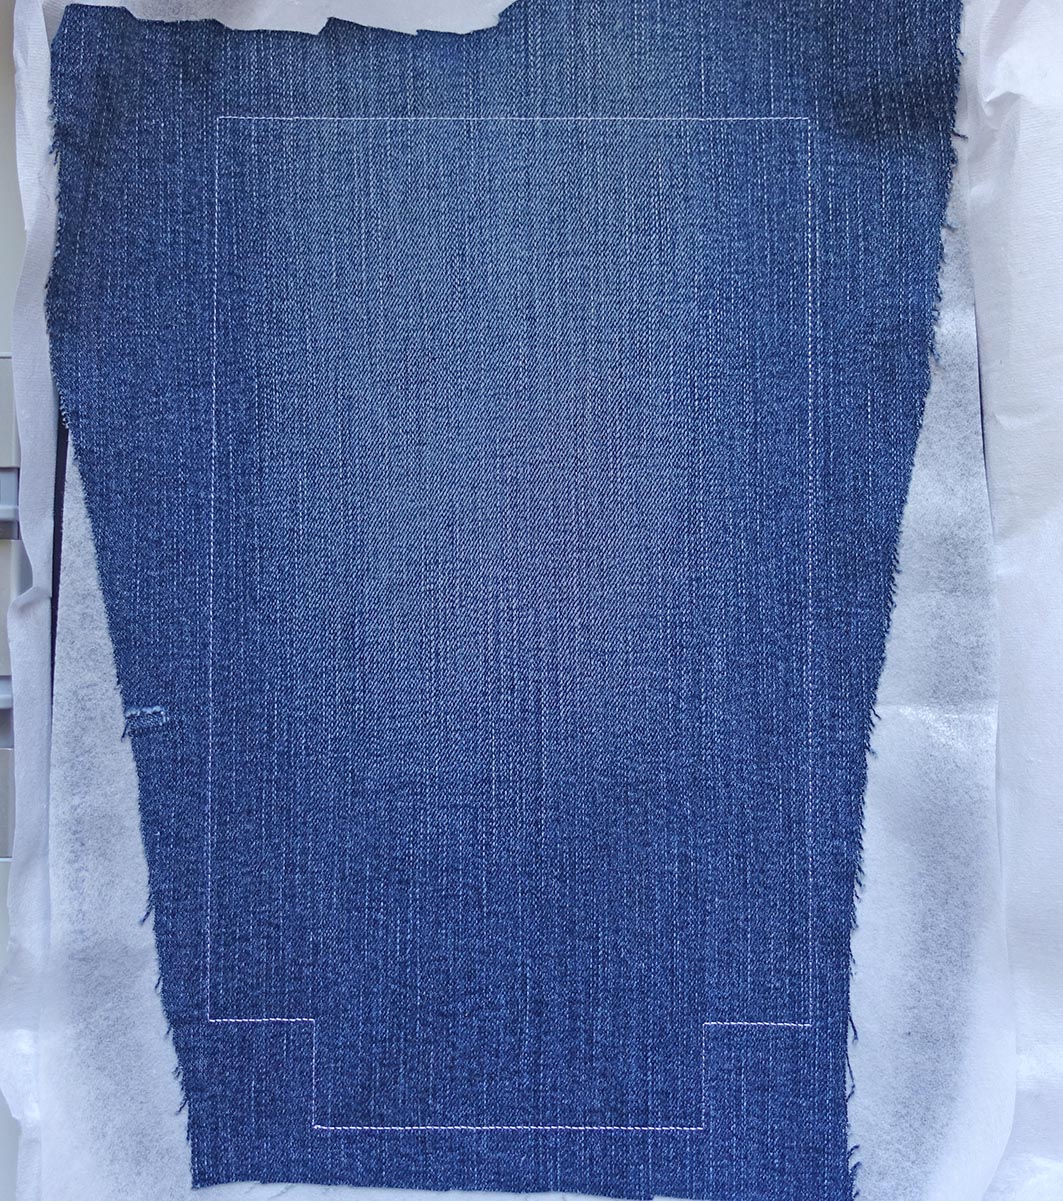
Load the embroidery file „WineBag Vorne“ into the machine. Hoop the stabilizer and sew the first color. This is the placement line for the denim fabric. Place the fabric on top and let the machine fixate it onto the stabilizer with the second color.
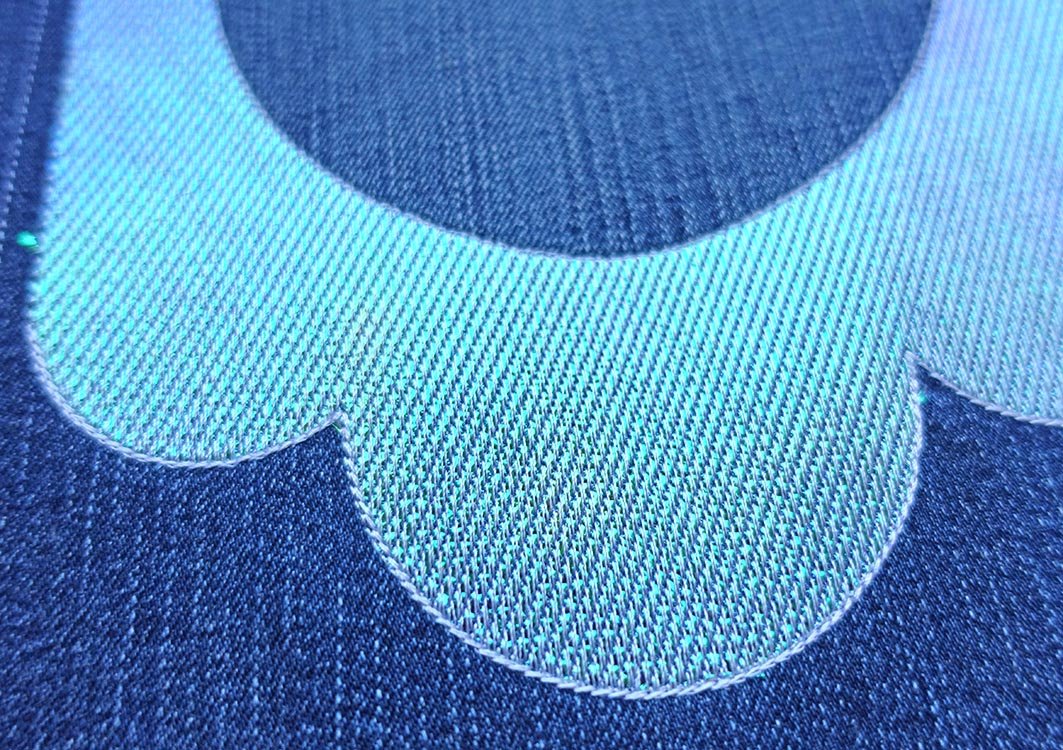
If you like, place the Mylar foil on top and sew the next color removing the rest of the foil after the sequence is done. The embroidery foil is shining through the stitches so that the beard looks as if it were embroidered with metallic thread. Of course you can embroider this sequence without the foil.
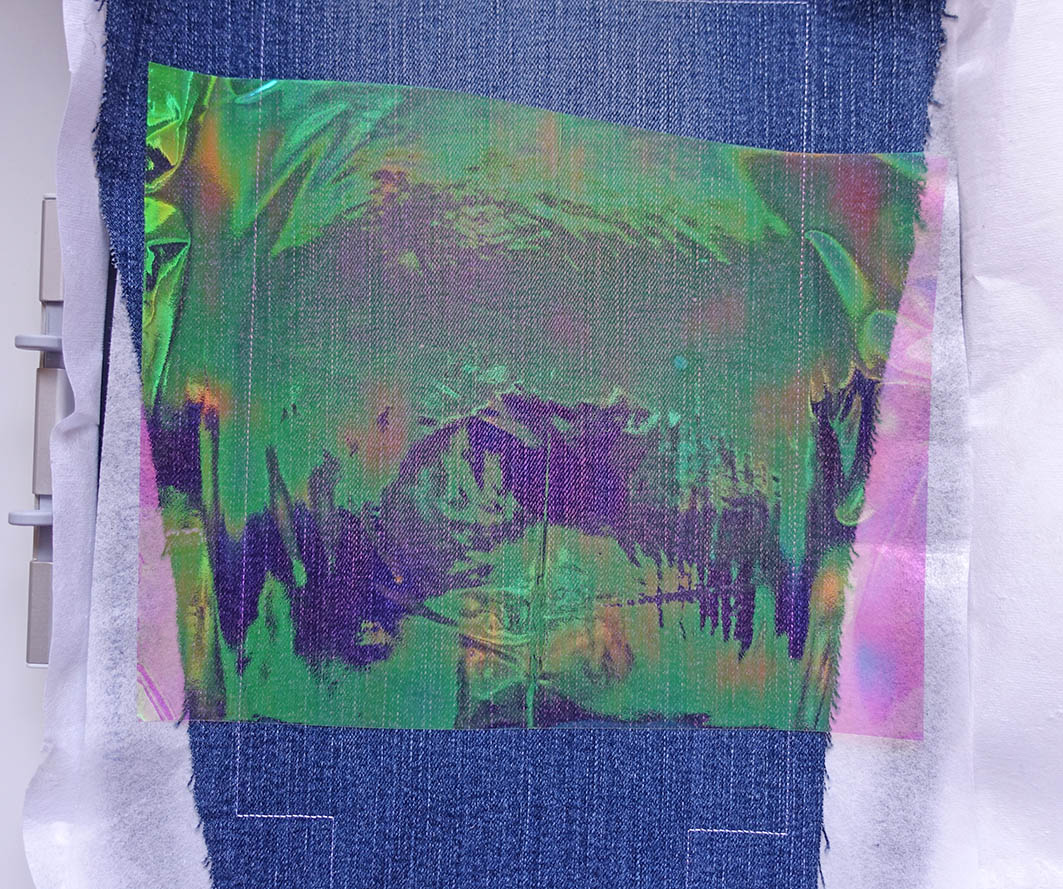
It is difficult to take a good picture of the foil, here a try to show you how nicely it shines:
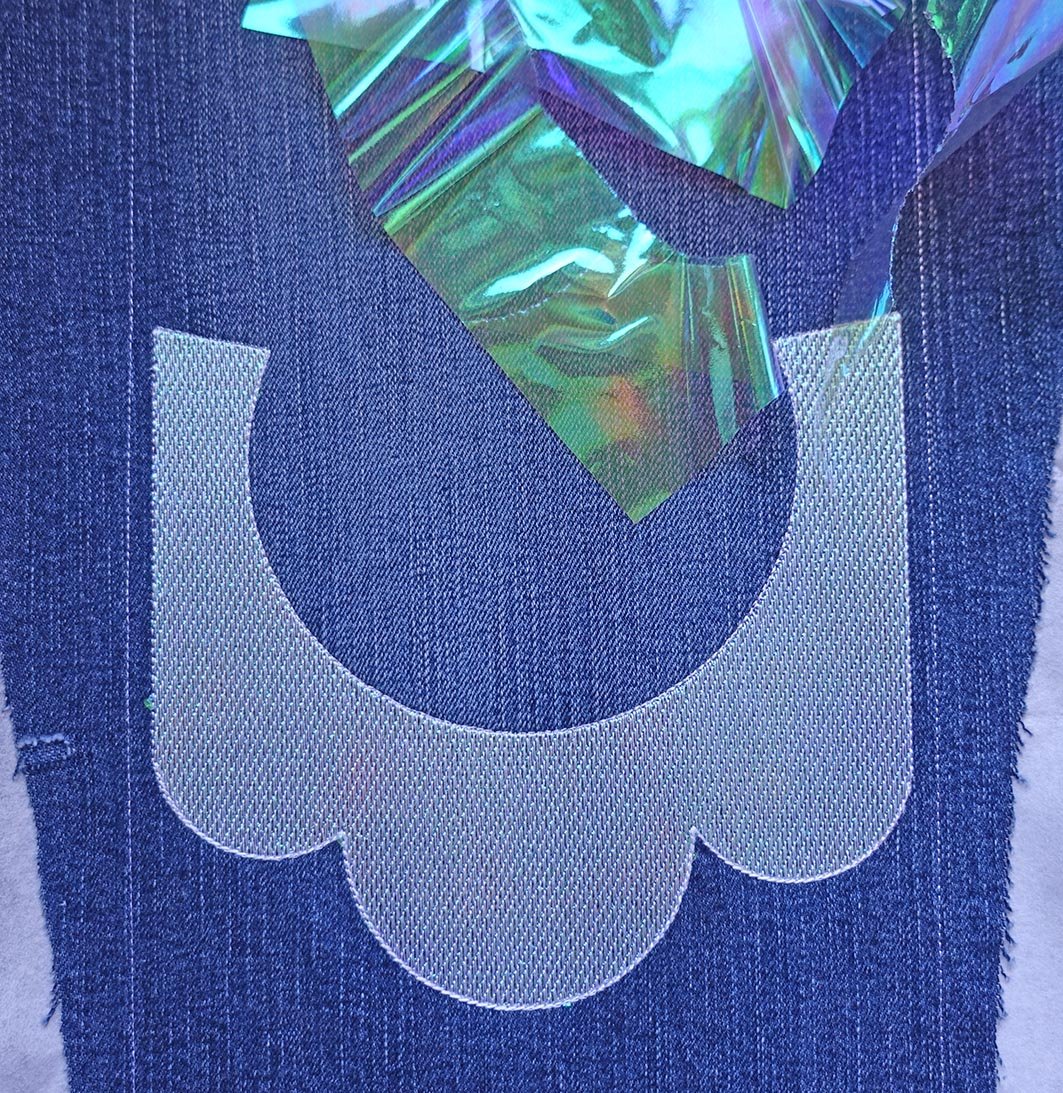
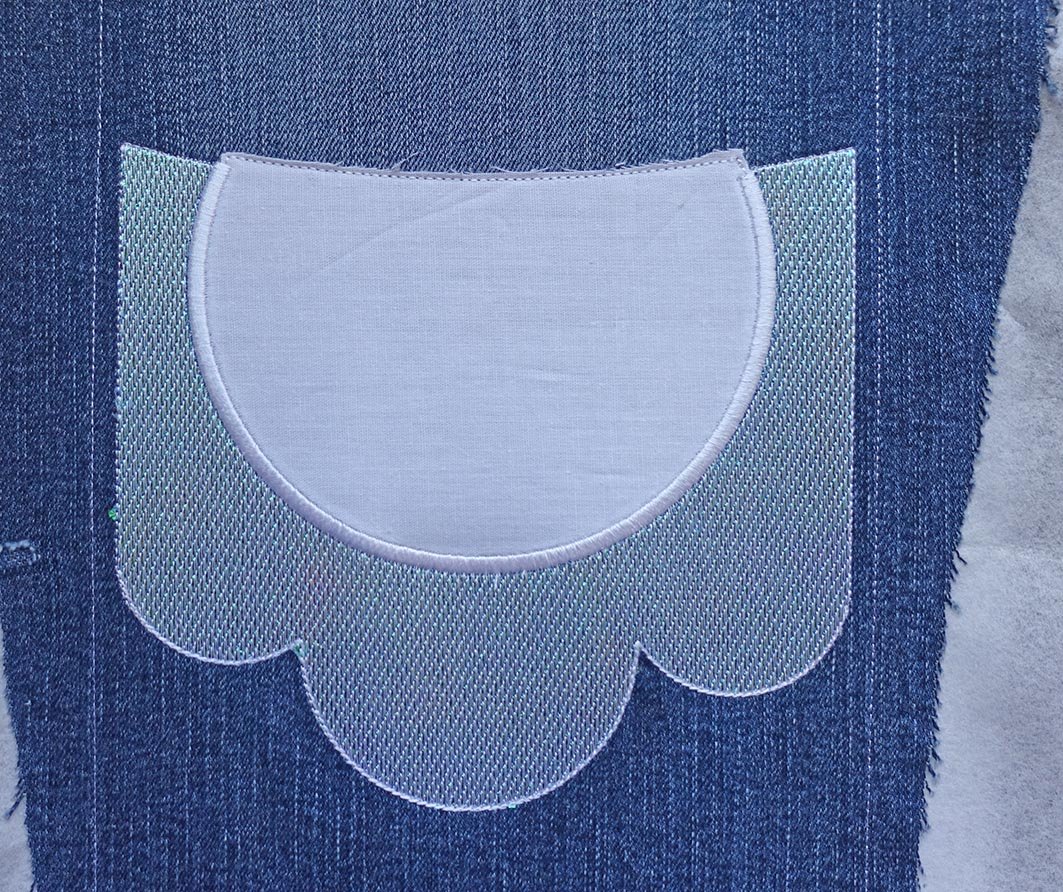
The following color embroiders the placement line for the face appliqué. Place the fabric on top and sew the next color securing the fabric on top of the project. Cut the remaining fabric back, close to the sewing line and let the machine sew the satin stitches covering the edges of the appliqué.
The following color sews a small placement line for the mustache. We will apply it in the last step so that the 3D form does not get in a way of the embroidery foot while sewing the next steps.
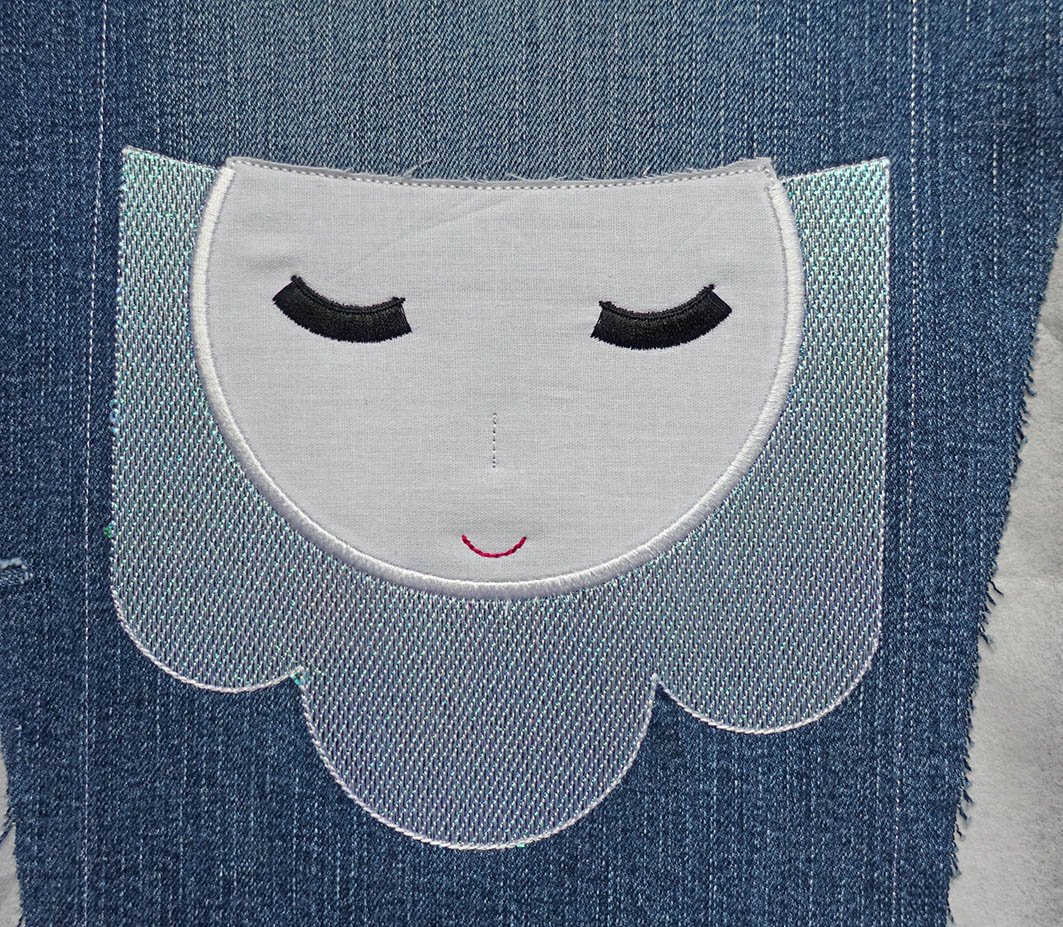
Change the thread to red and embroider the mouth.

Change thread to black and embroider the 3D lashes. We will cut the threads on the back later on.
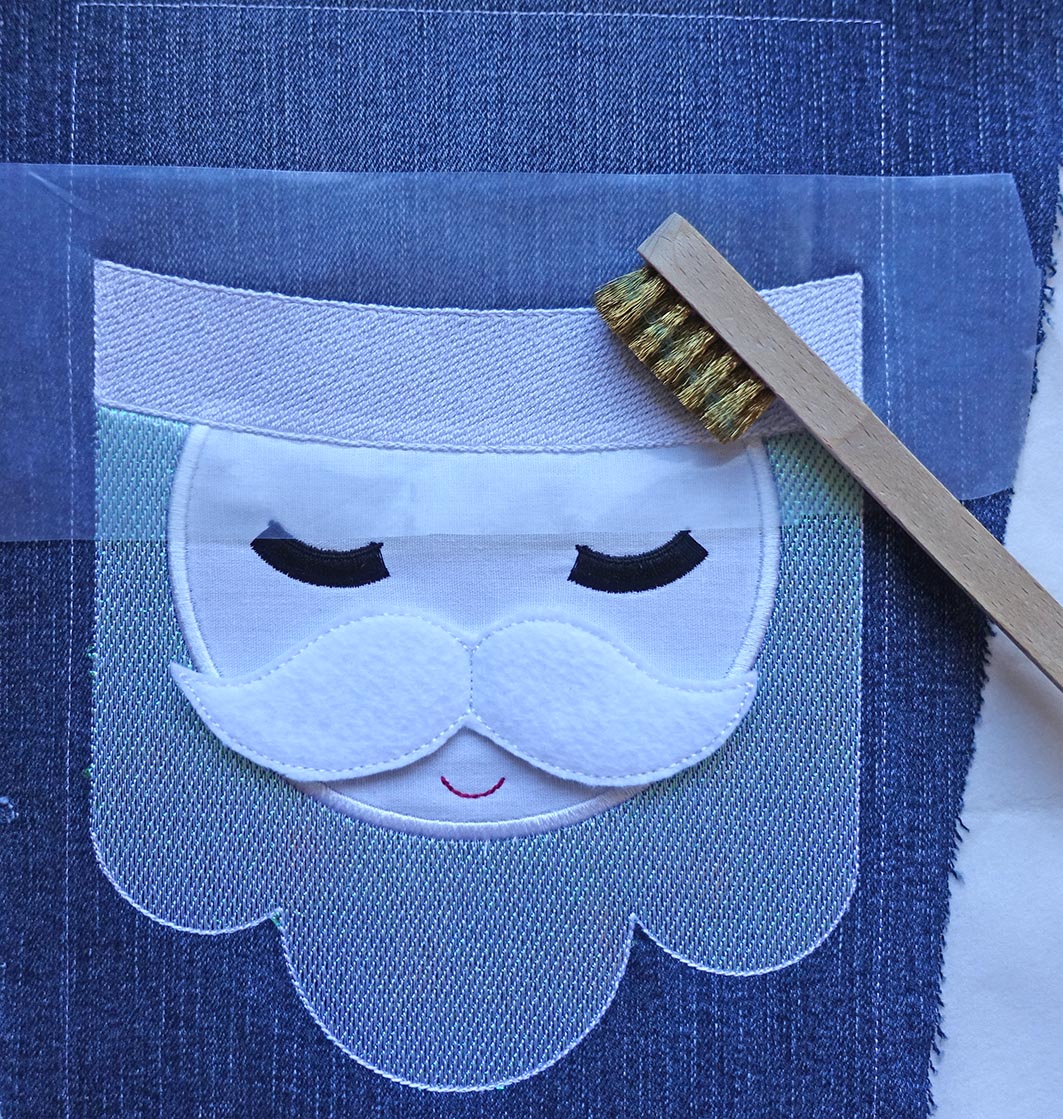
Change the needle to Top Stitch size 90 and thread the machine with the Filaine or Burmilana size 12. This threads can be brushed later for a nice fur effect. Place some water-soluble stabilizer on top so that the underlying fabric and embroidery will not be damaged later while brushing. Reduce the speed, increase the upper tension and sew the sequence. We will brush it later on.

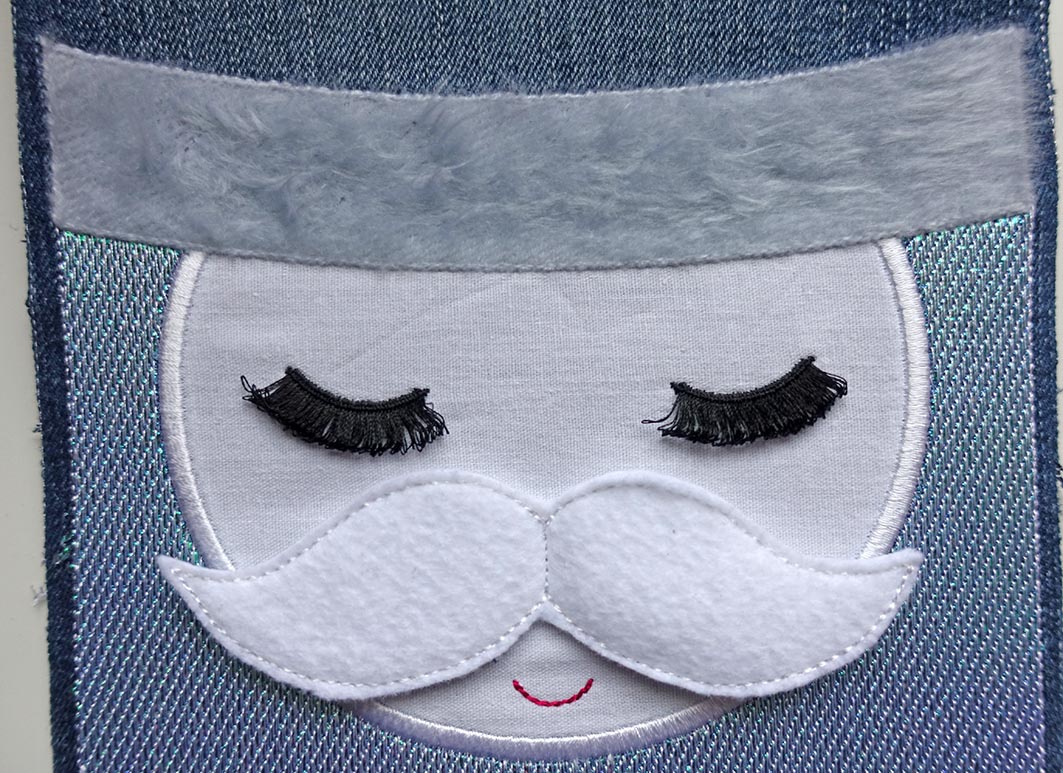
Thread the machine with white thread size 40. Yes, we have a needle size 90 in the machine! It is ok for the few stitches we still have to make. Place the mustache on top of the placement line and let the machine sew it on. Hold it a bit on the sides so that it does not move while embroidering.
Remove the project from the hoop and remove the stabilizer. Brush the hat- band as long as you have achieved the desired length of the fur and remove the water- soluble foil.
Cut the bobbin threads of the eyelashes as shown in the picture
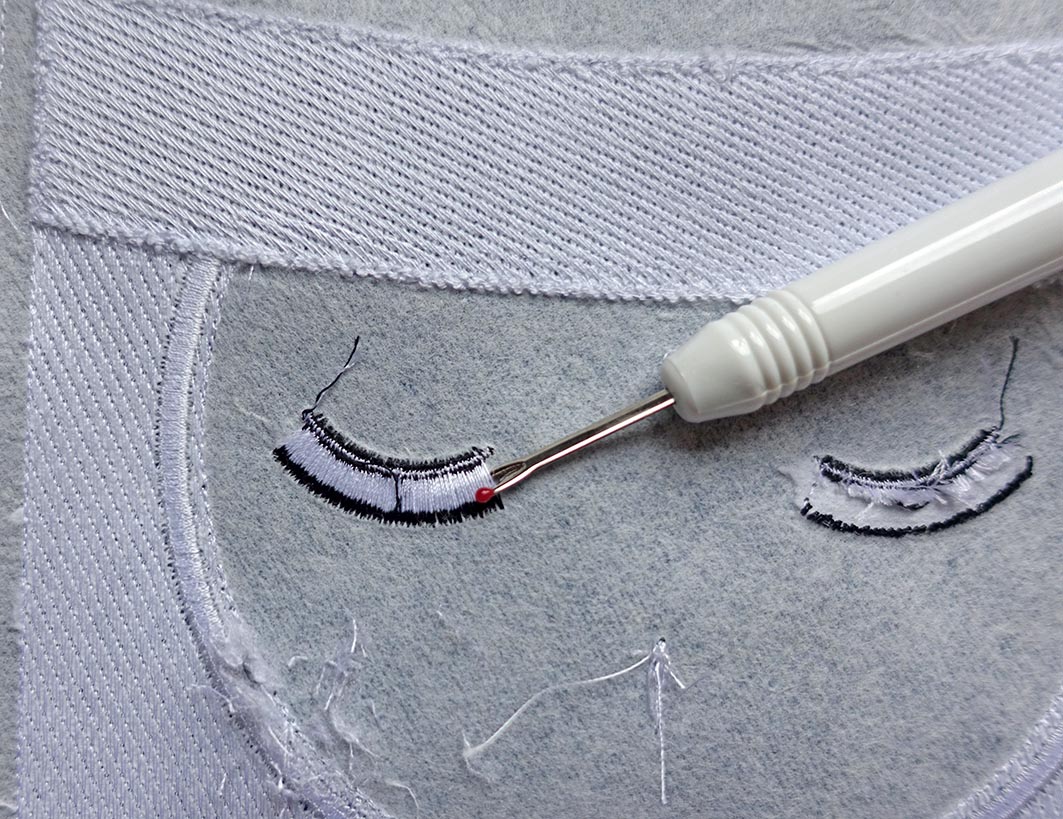
and scratch the threads loose on the front side.
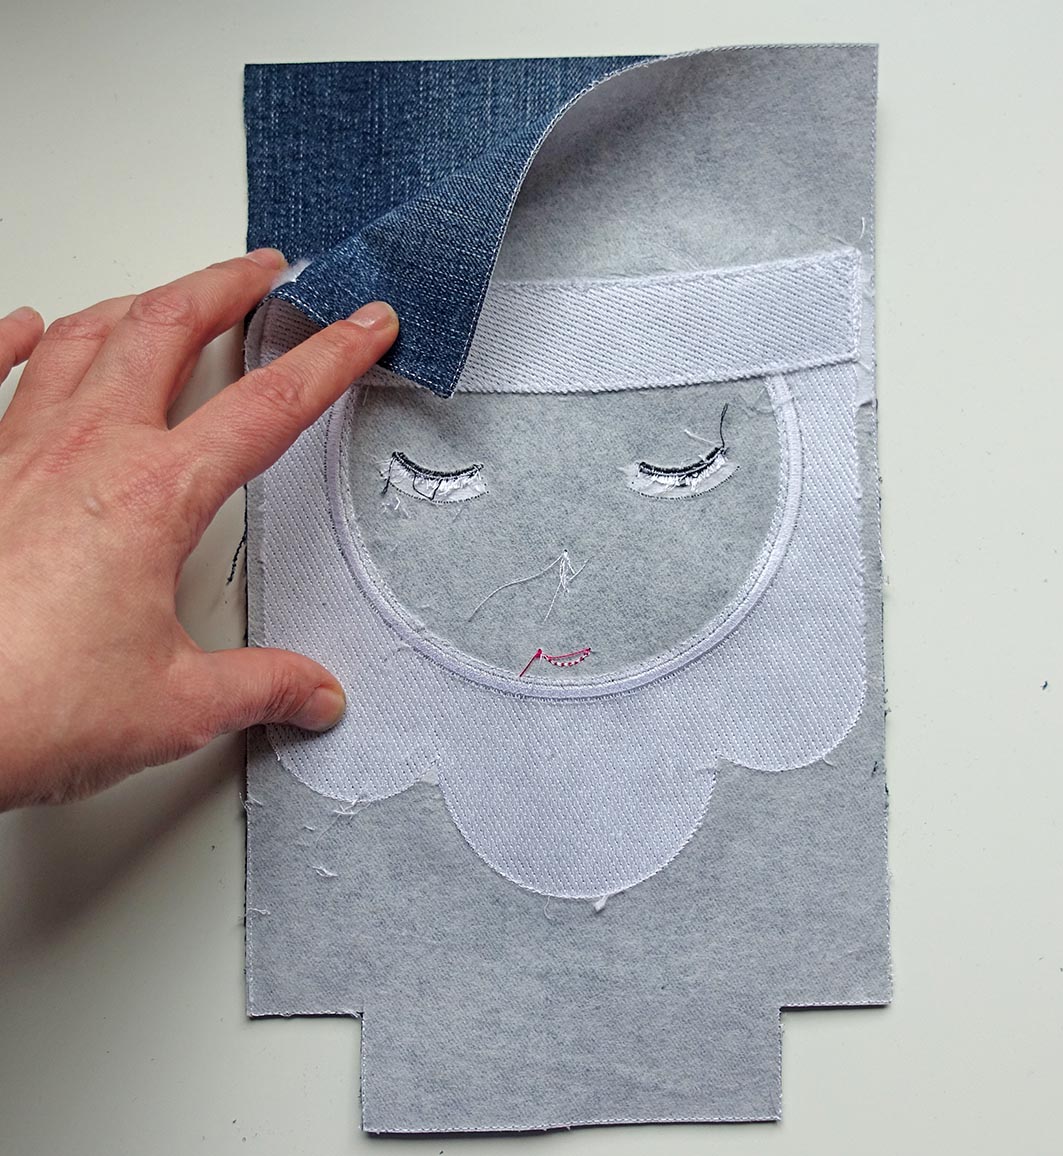
Cut the bag out on the lines sewn and use it as a template to cut the remaining pieces.
Sewing the outer bag
Place the outer pieces right sides together.
Close the side and bottom seams and square the corners.

Turn the bag right side out.
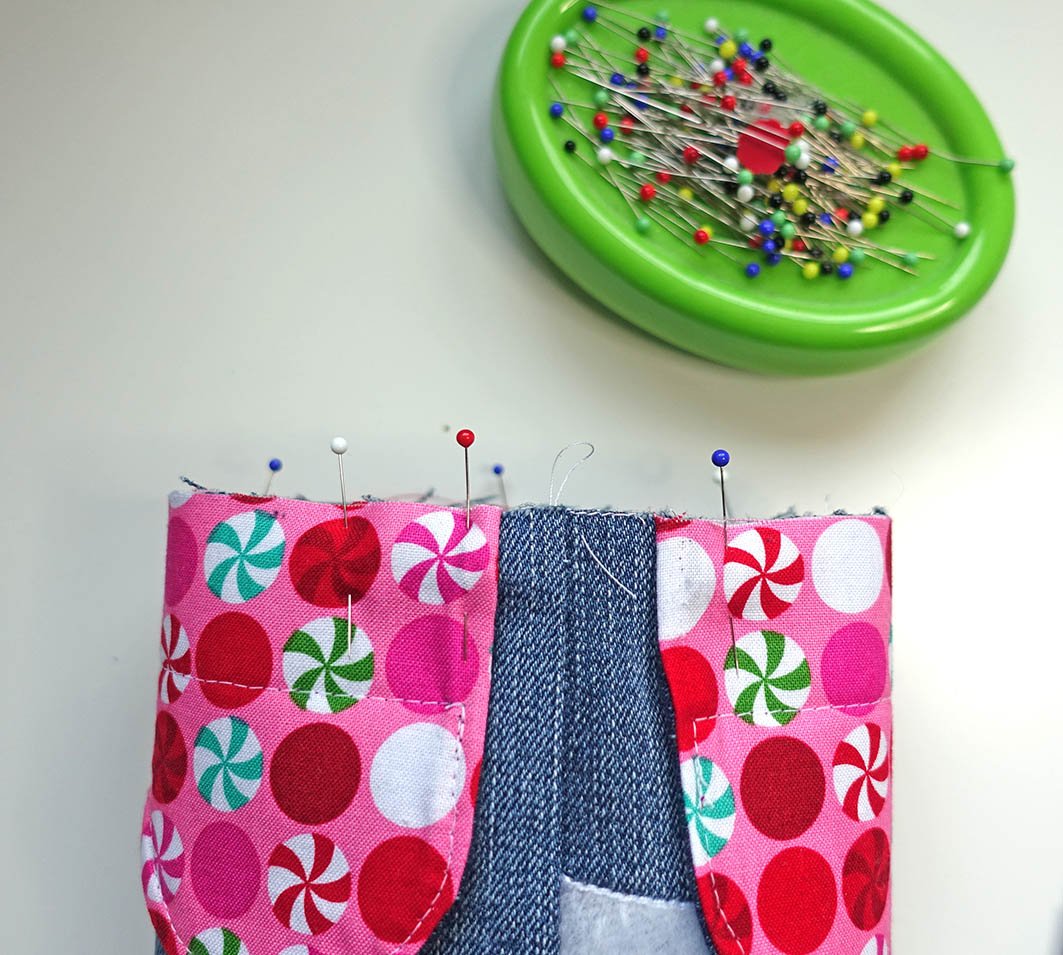
Pin the scalloped edge on top of the bag starting in the middle of the scalloped piece and the side seam of the bag. Stitch close to edge to secure for further steps.
Sewing the lining
Sew in the same manner as the outer bag but leave a 12 to 15cm opening in the side seam.
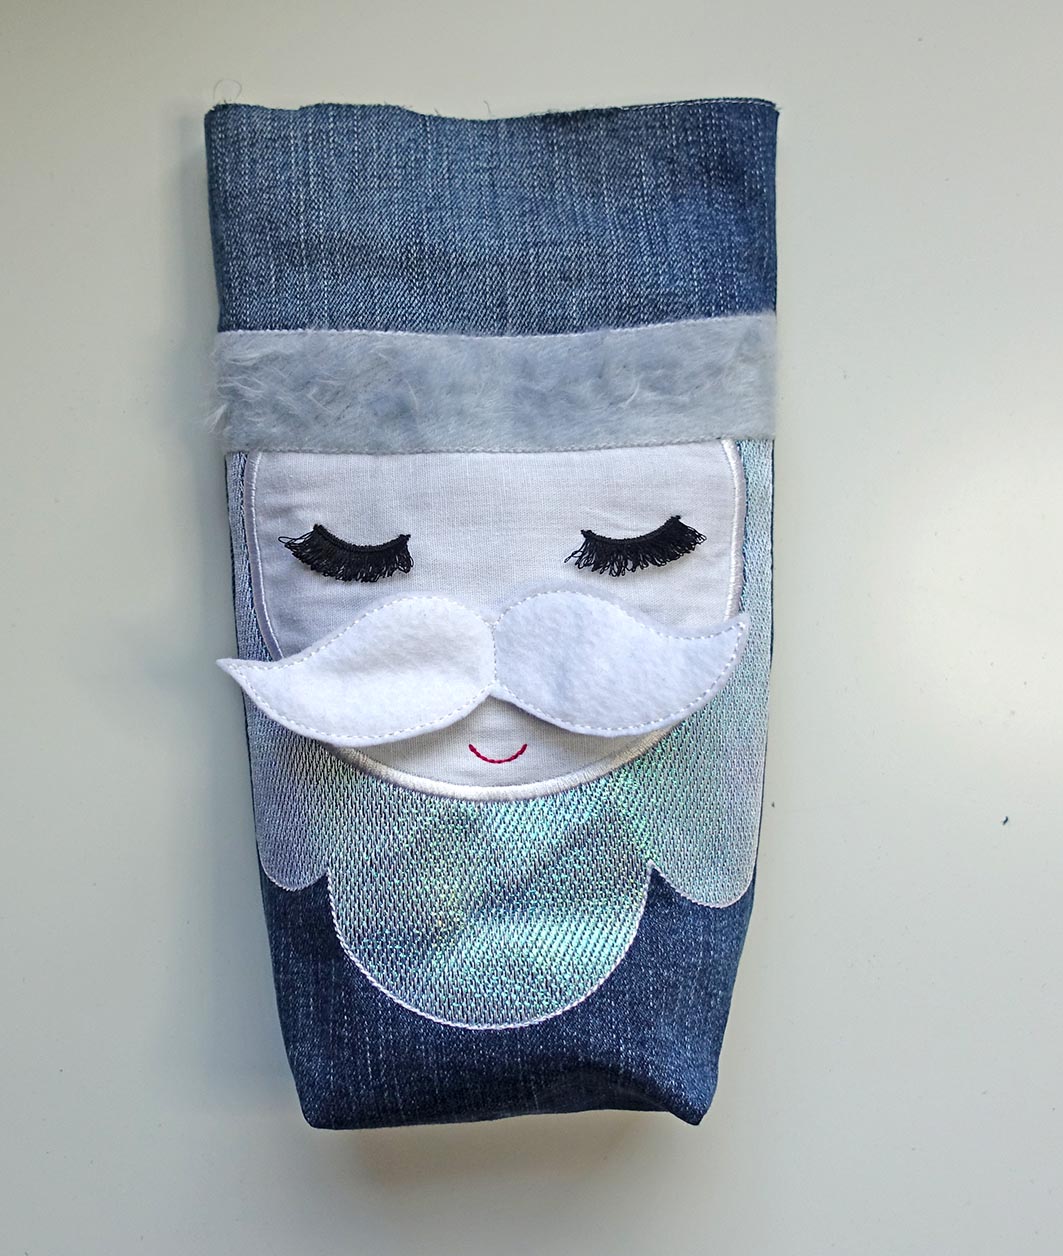
Constructing the bag
Slip the outer bag into the lining right sides together. Line up the side seams and the top edge. Sew the top edge.

Turn to the right side and iron. Topstitch the upper edge and close the opening for turning.
Sew the nose on by hand and insert the cord into the tunnel.

Cheers!
I wish you nice holidays and much fun making the bag!
Kasia

What fun Kasia! Thanks for sharing.