 BERNINA Corporate Blog -
Dear community,
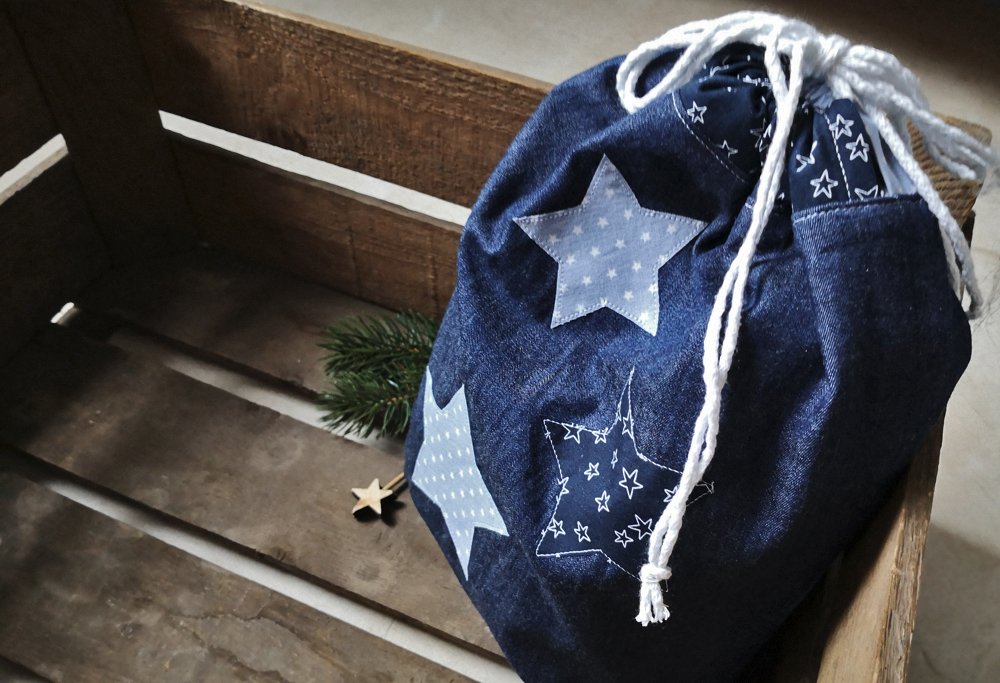
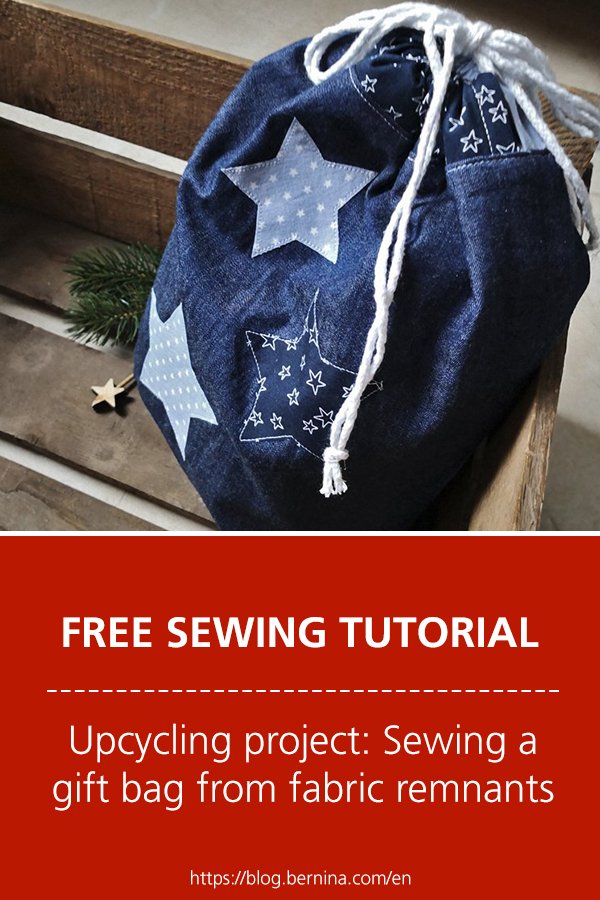
in this blog post you can find easy sewing instructions for an upcycling gift bag from fabric remnants – perfect for Christmas and other festive events!
Today we are opening the 20th window of the advent calendar. It won’t be long now til we once again place lovingly wrapped gifts under the festively decorated Christmas tree. And since this year’s BERNINA advent calendar focuses on the theme of sustainability, it makes sense that we should think about sustainable gift wrap. Let’s get real. Even if the wrapping paper, bows, and the rest are very beautiful, they generally get put straight in the trash after all the presents have been handed out. And that is the exact opposite of sustainable. A gift bag made from material would be a good alternative.
Especially good if you know how to sew.
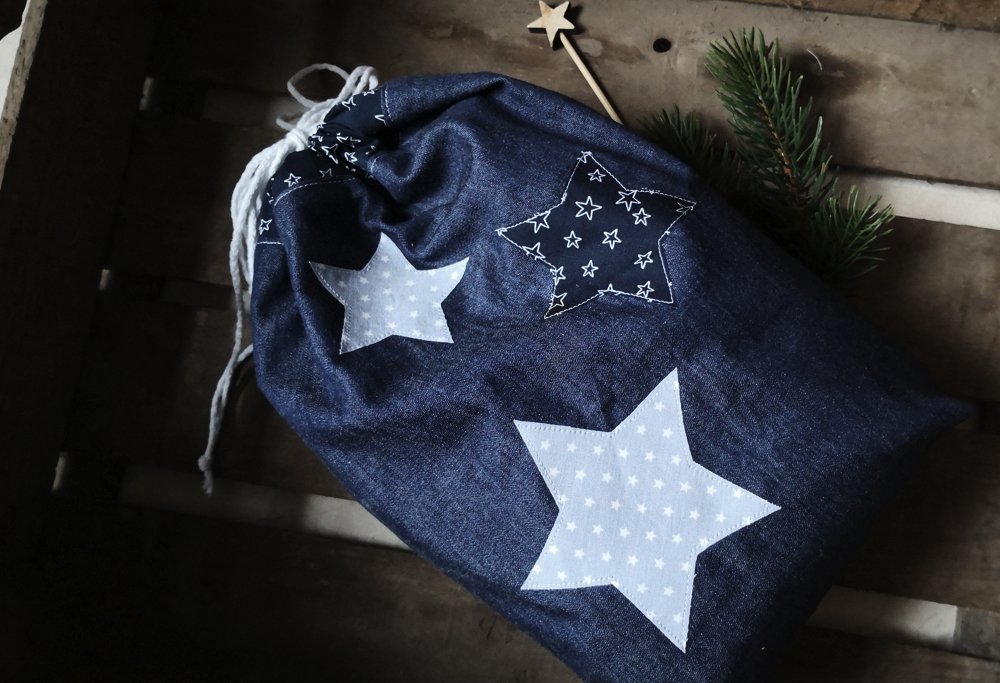
Without much effort I was able to sew this cute little bag that can be used for many years to come. In addition to sustainability, it also offers another great advantage. Packaging a gift into such a bag is much easier and faster than sticking it in paper and arduously covering it with tape and ribbons.
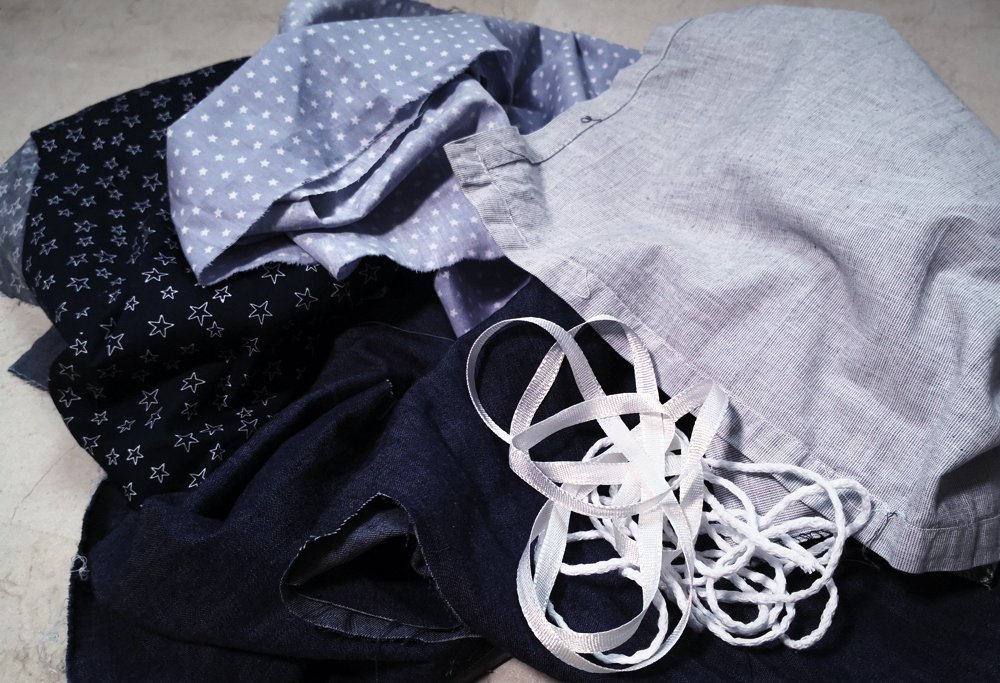
I rummaged around in my remnants box for this project. I quickly found enough material to sew a recyclable alternative to single-use packaging.
Recyclable Gift Bag Made From Fabric
The sewing work required for such a bag is really light and there are many different instructions on the internet. Today I would like to show you my version and explain how I designed it to be suitable for Christmas. I let my fabric remnants determine the finished size of the bag. You can sew the bags into any size that you want. Simply see what materials you have and what size bag would be the most useful for you.
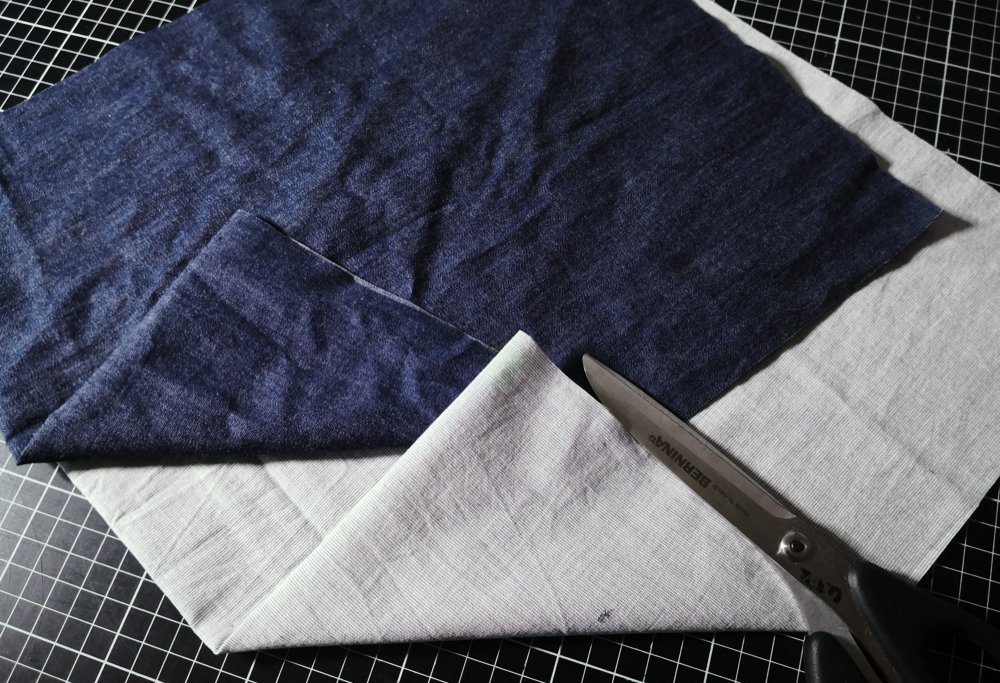
I cut the exterior material and the lining material to 70 cm x 30 cm each. This will result in a bag that is a good 30 cm high and 28 cm wide.
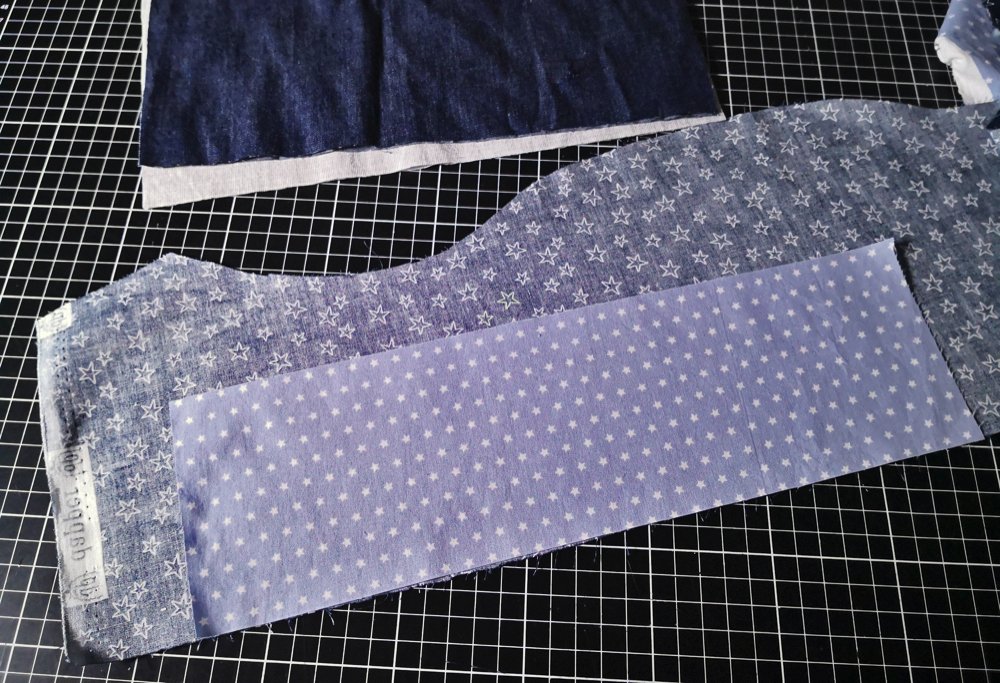
Add two strips for the tunnel drawstring passage. 5 cm high and 32 cm long (for the length I have used the finished measurements of the bag – 28 cm in this case – and added 4 cm so that I can sew the seam on the ends of the tunnel).

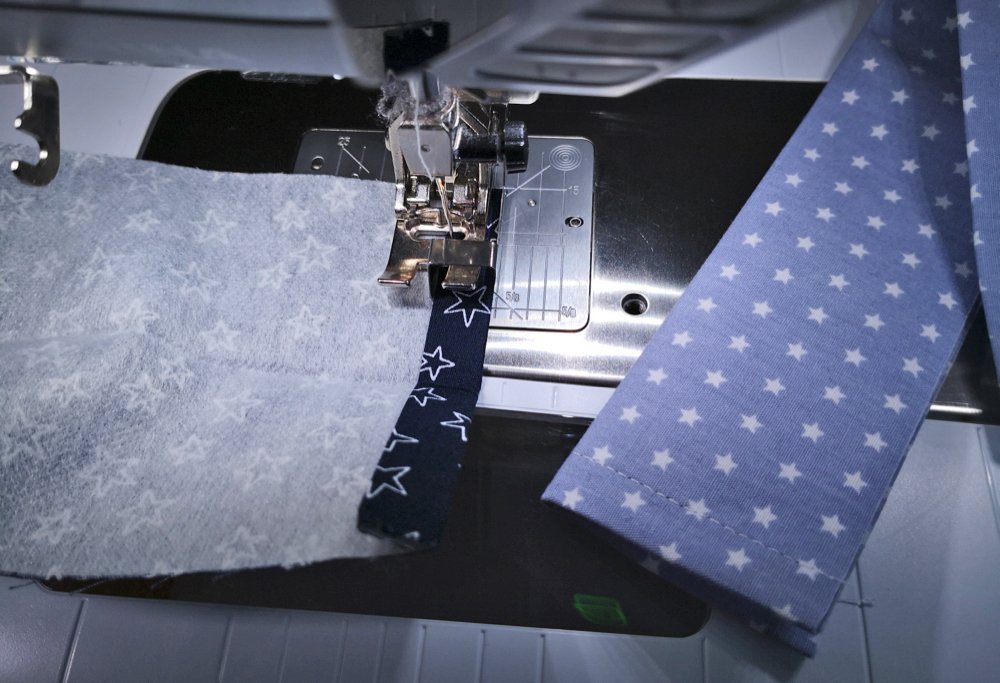
The narrow edges are ironed with a 1 cm impression and 1 cm cuff, then stitched, and finally the tunnel is ironed lengthwise in half.
Starry Magic Bag
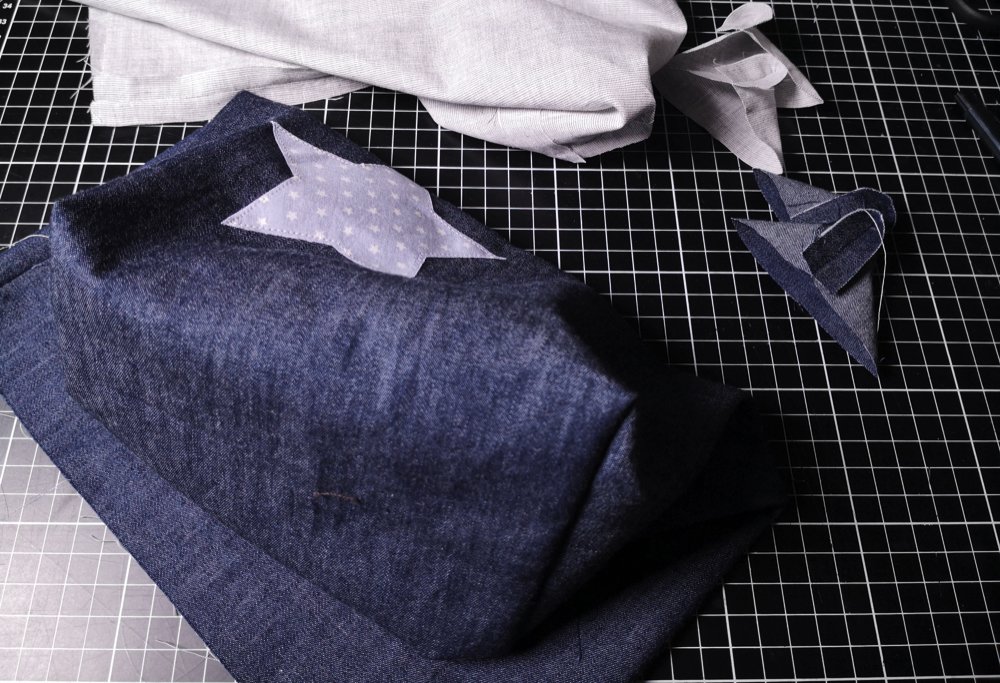
For Christmas flair, I took inspiration from my starry appliqués. Using a pattern, I drew different sized stars on the paper side of Vliesofix (Bondaweb). Afterwards, iron the interfacing onto the back side of the material and cut it out.
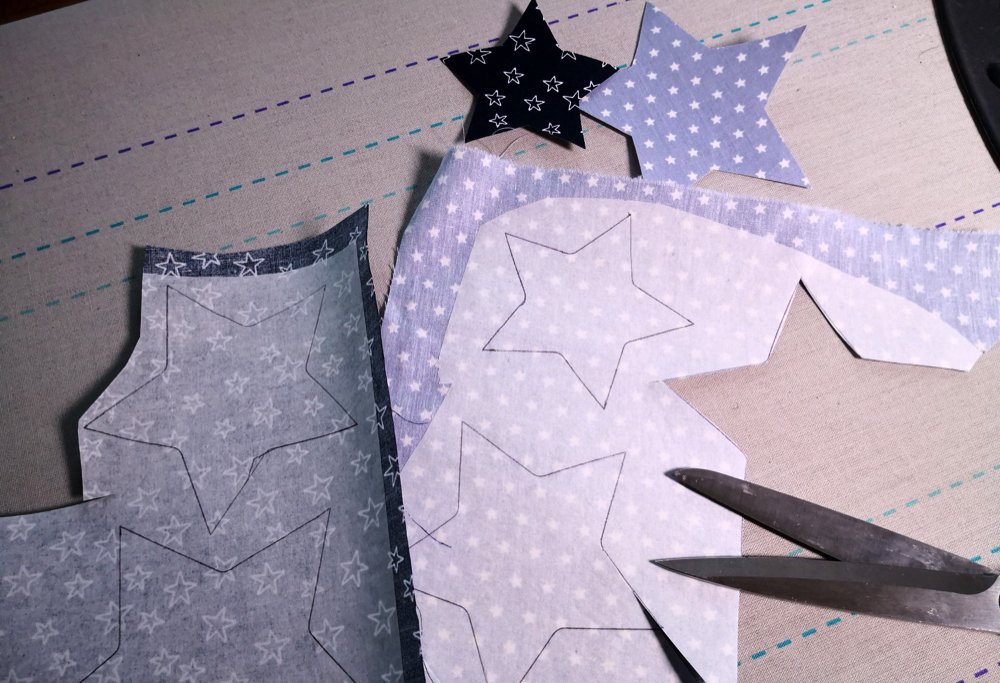
Now I just need to remove the backing and iron the stars onto the exterior material of the gift bag.

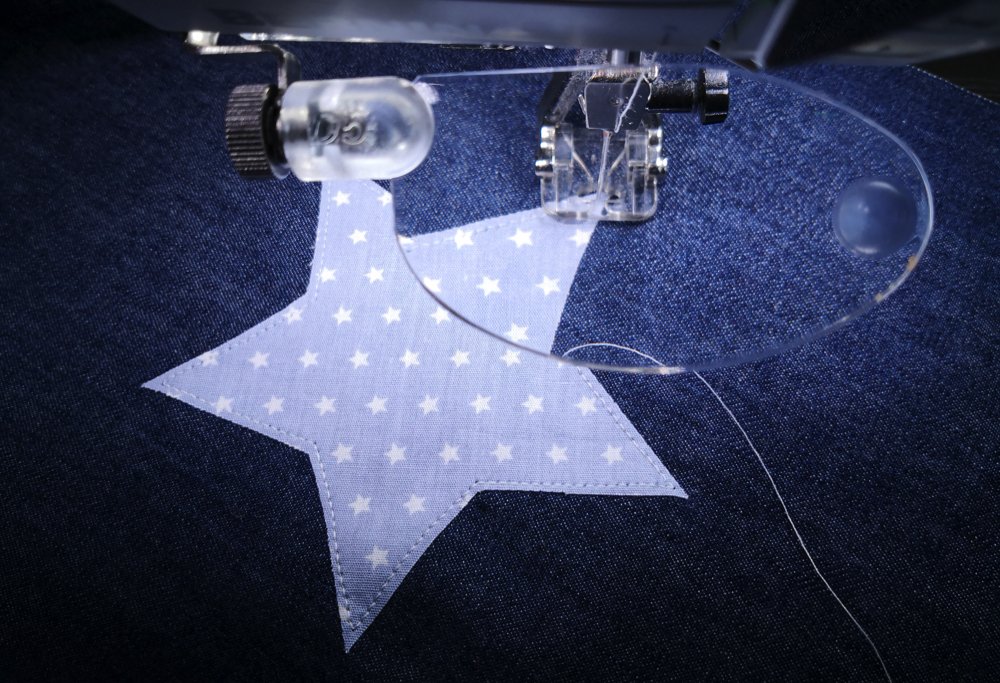
With the help of my appliqué foot and my beloved sewing machine magnifying glass, it was a simple matter to sew on the star contours.
Now we sew the gift bag. To get started, close the side seams of the outer fabric and the lining. Keep a small opening in the lining so that it can be turned later. After sewing, the seams are ironed apart. In addition, I sewed the long sides of both tunnels with a zigzag stitch, which makes sewing the edge of the bag afterward much easier.

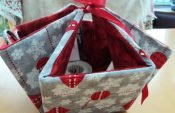
I decided to make a bottom for my bag. For this, corners must be sewn in. In order to save the bother of measuring and to simplify the drawing of the seam line, I always use a small cardboard pattern.
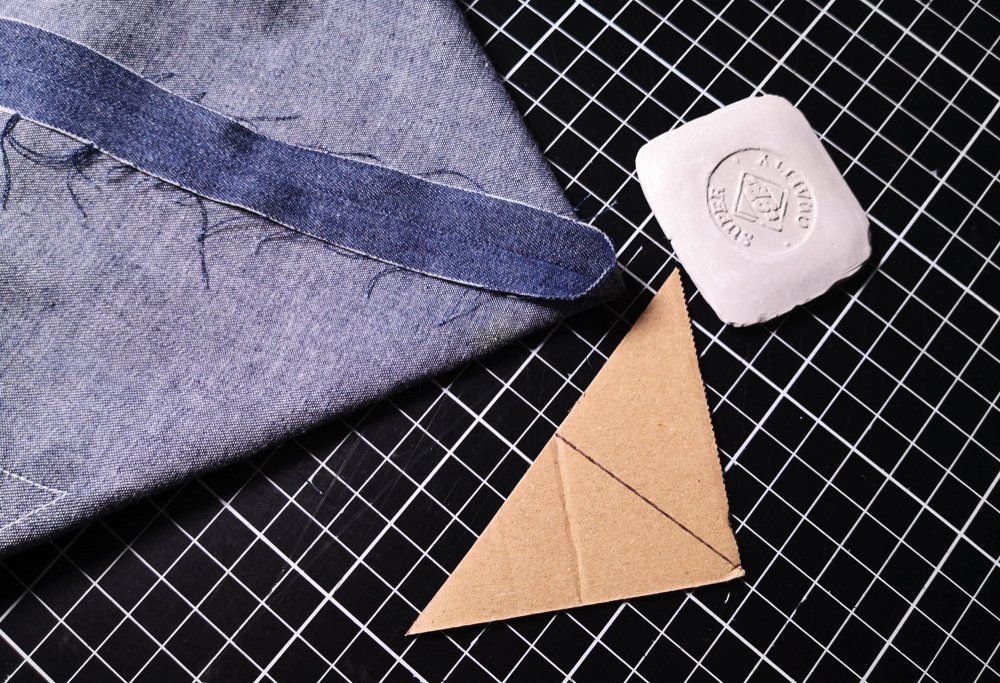
Simply fold the material, place the pattern, and ensure that the line on the template matches up with the side seam.

Mark and sew the seam line and then cut off the corners. The bottom of the bag is done! The size of the bottom can be sewn to whatever size you wish. Here I have sewn a 5 cm corner.
So that you can easily close the bag, the tunnel must now be sewn in. For this I have attached it to the open edge of the outer material so that the ends lie precisely on the side seam.
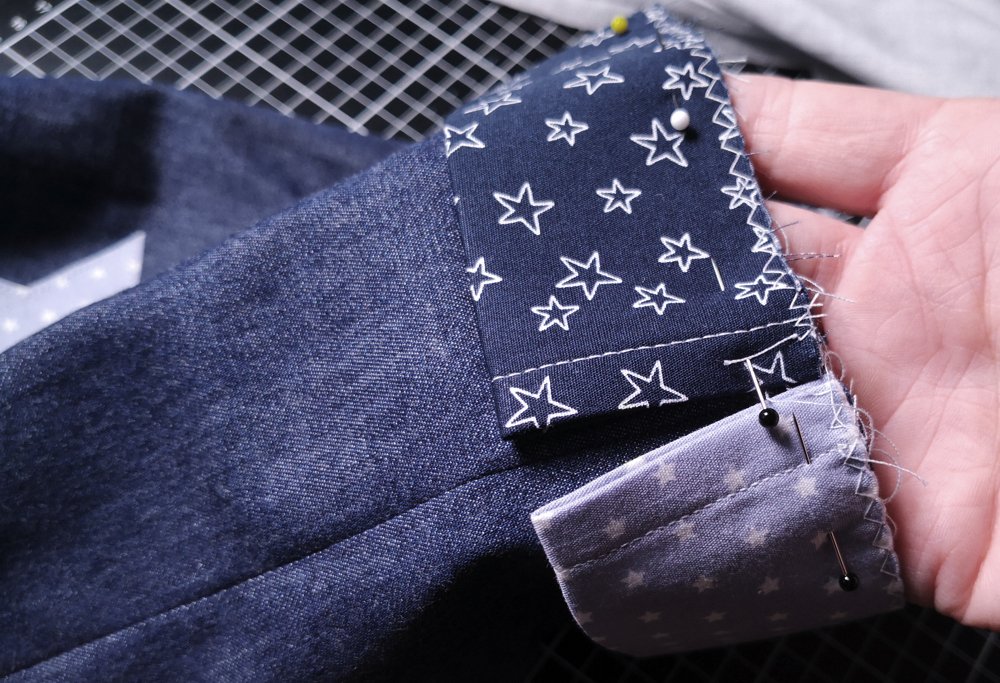
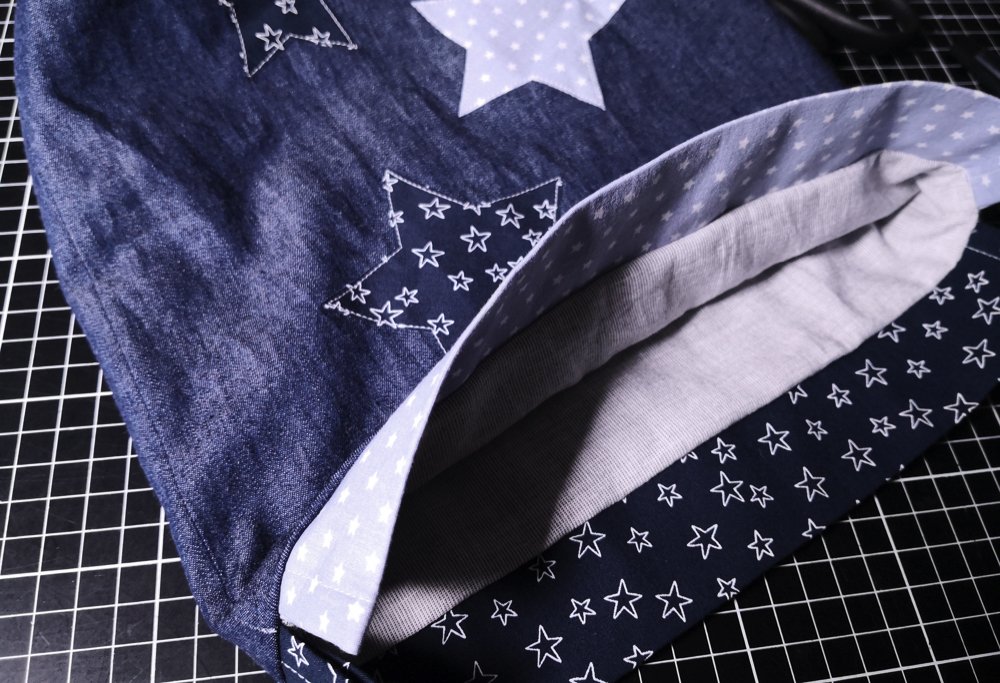
After the tunnels are sewn on, the lining is placed over them and also sewn on.

Turn the bag right side out using the opening we left in the material. Iron it and, if you like, stitch up the edges again.
Now two cords can be pulled (in opposite directions) through the tunnel and that’s it! Your Christmas gift bag is complete.
And again every year
The best part is that this gift packaging won’t be heading to the trash can after all the presents have been opened. It can be re-used year after year. And if you use your fabric remnants or upcycle men’s shirts etc. to make bags like this, then it is even more sustainable.
I hope that you like this little window in the BERNINA advent calendar. Now maybe you have the desire – and the time – to make your very own bag. Of course, it is unlikely that all of your gifts will be packed in DIY bags this close to the big day, but that’s okay. Each individual bag is already an important step in the right direction. And of course, there is plenty of time to sew material gift bags for next year.
I wish you all a wonderful Christmas!
Your “Schneiderherz” Ute


Can use these for QOV quilt cases. Thanks.