 BERNINA Corporate Blog -
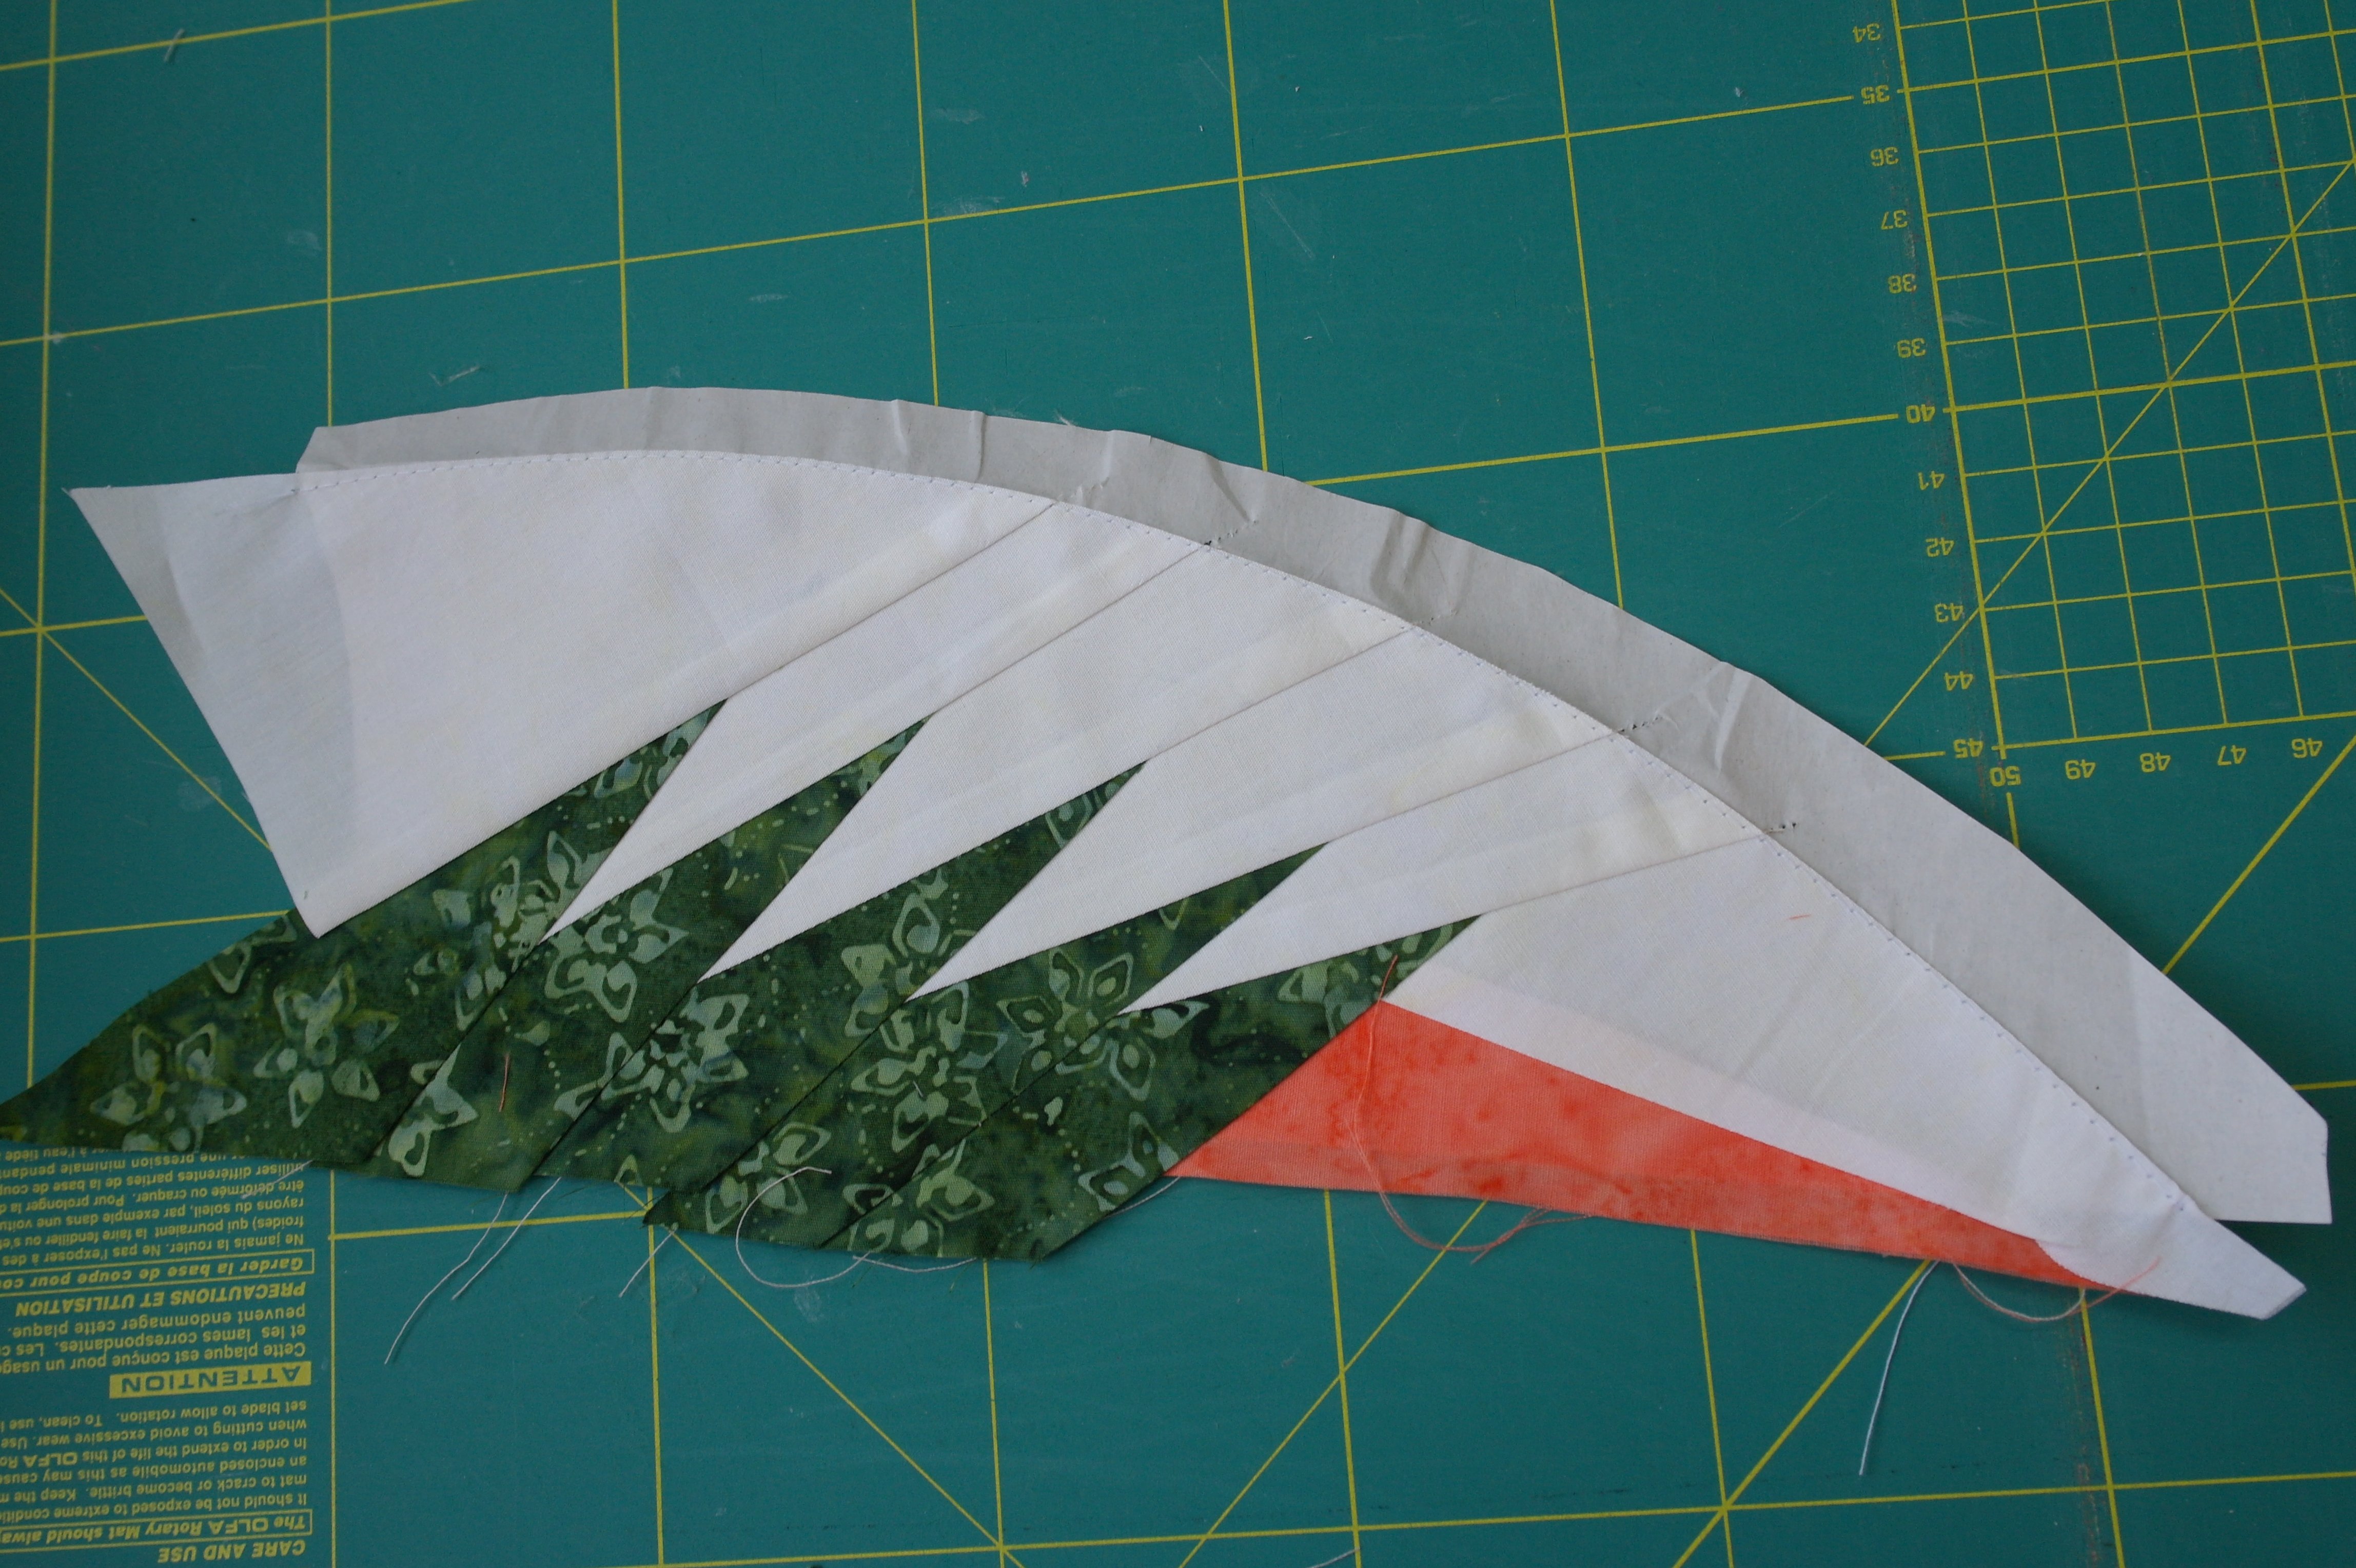
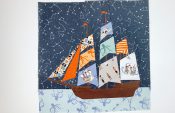
Using paper piecing patterns by Judy Niemeyer will lead you sometimes to something special. I was making the Dinner Plate Dahlia Wall quilt, sewing fabrics onto the paper piecing Units. The last piece of fabric was not straight, but a curved strip, cut via a paper template. This strip needed to be attached to one curved side of the Unit, after the rest of the fabrics were added. Many quilters don’t like curved sewing, but with the directions below, this will hopefully change.

With the extensive directions and step-by-step diagrams, patterns for quilts from Judy Niemeyer are easy to work with, but the Dinner Plate Dahlia Wall quilt is not for novices, but for quilters with paper piecing experience. With Units B1 en B2 units the mentioned curved strips will be added. Cut via paper templates makes them stretchy, but if you follow the directions below, it works fine.
The difference between sewing lines, edge seam allowances and basting lines.
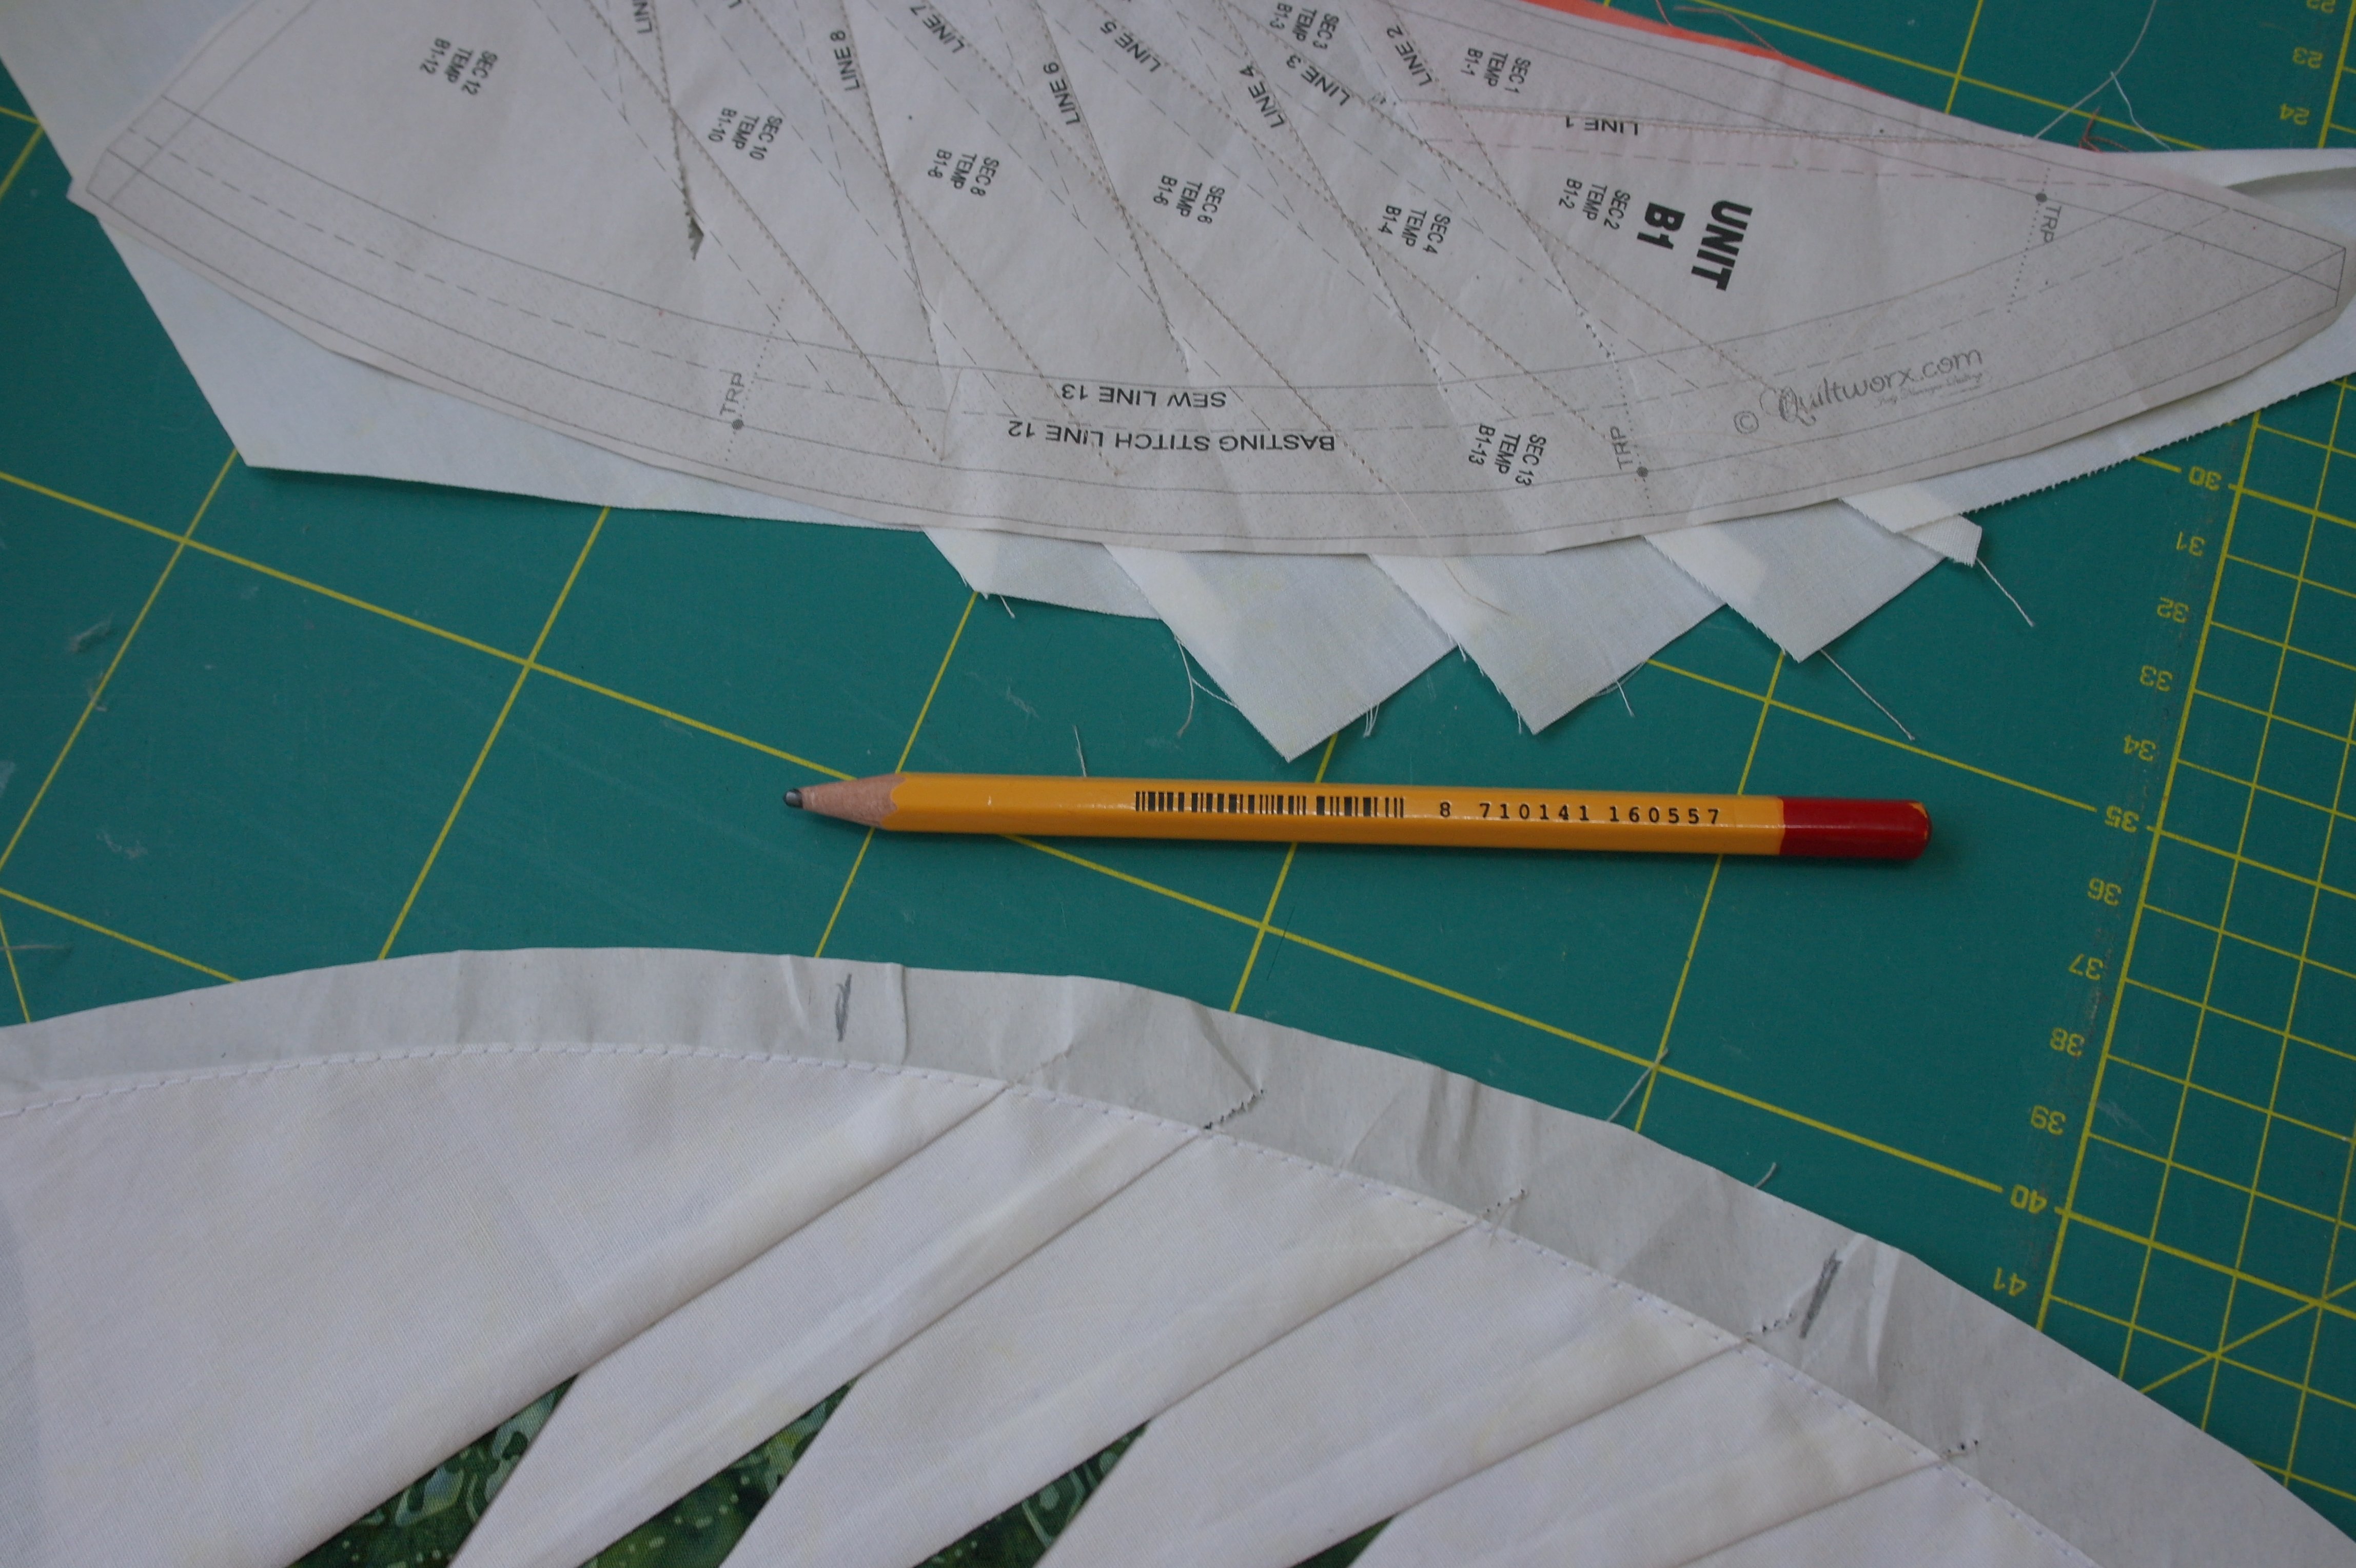
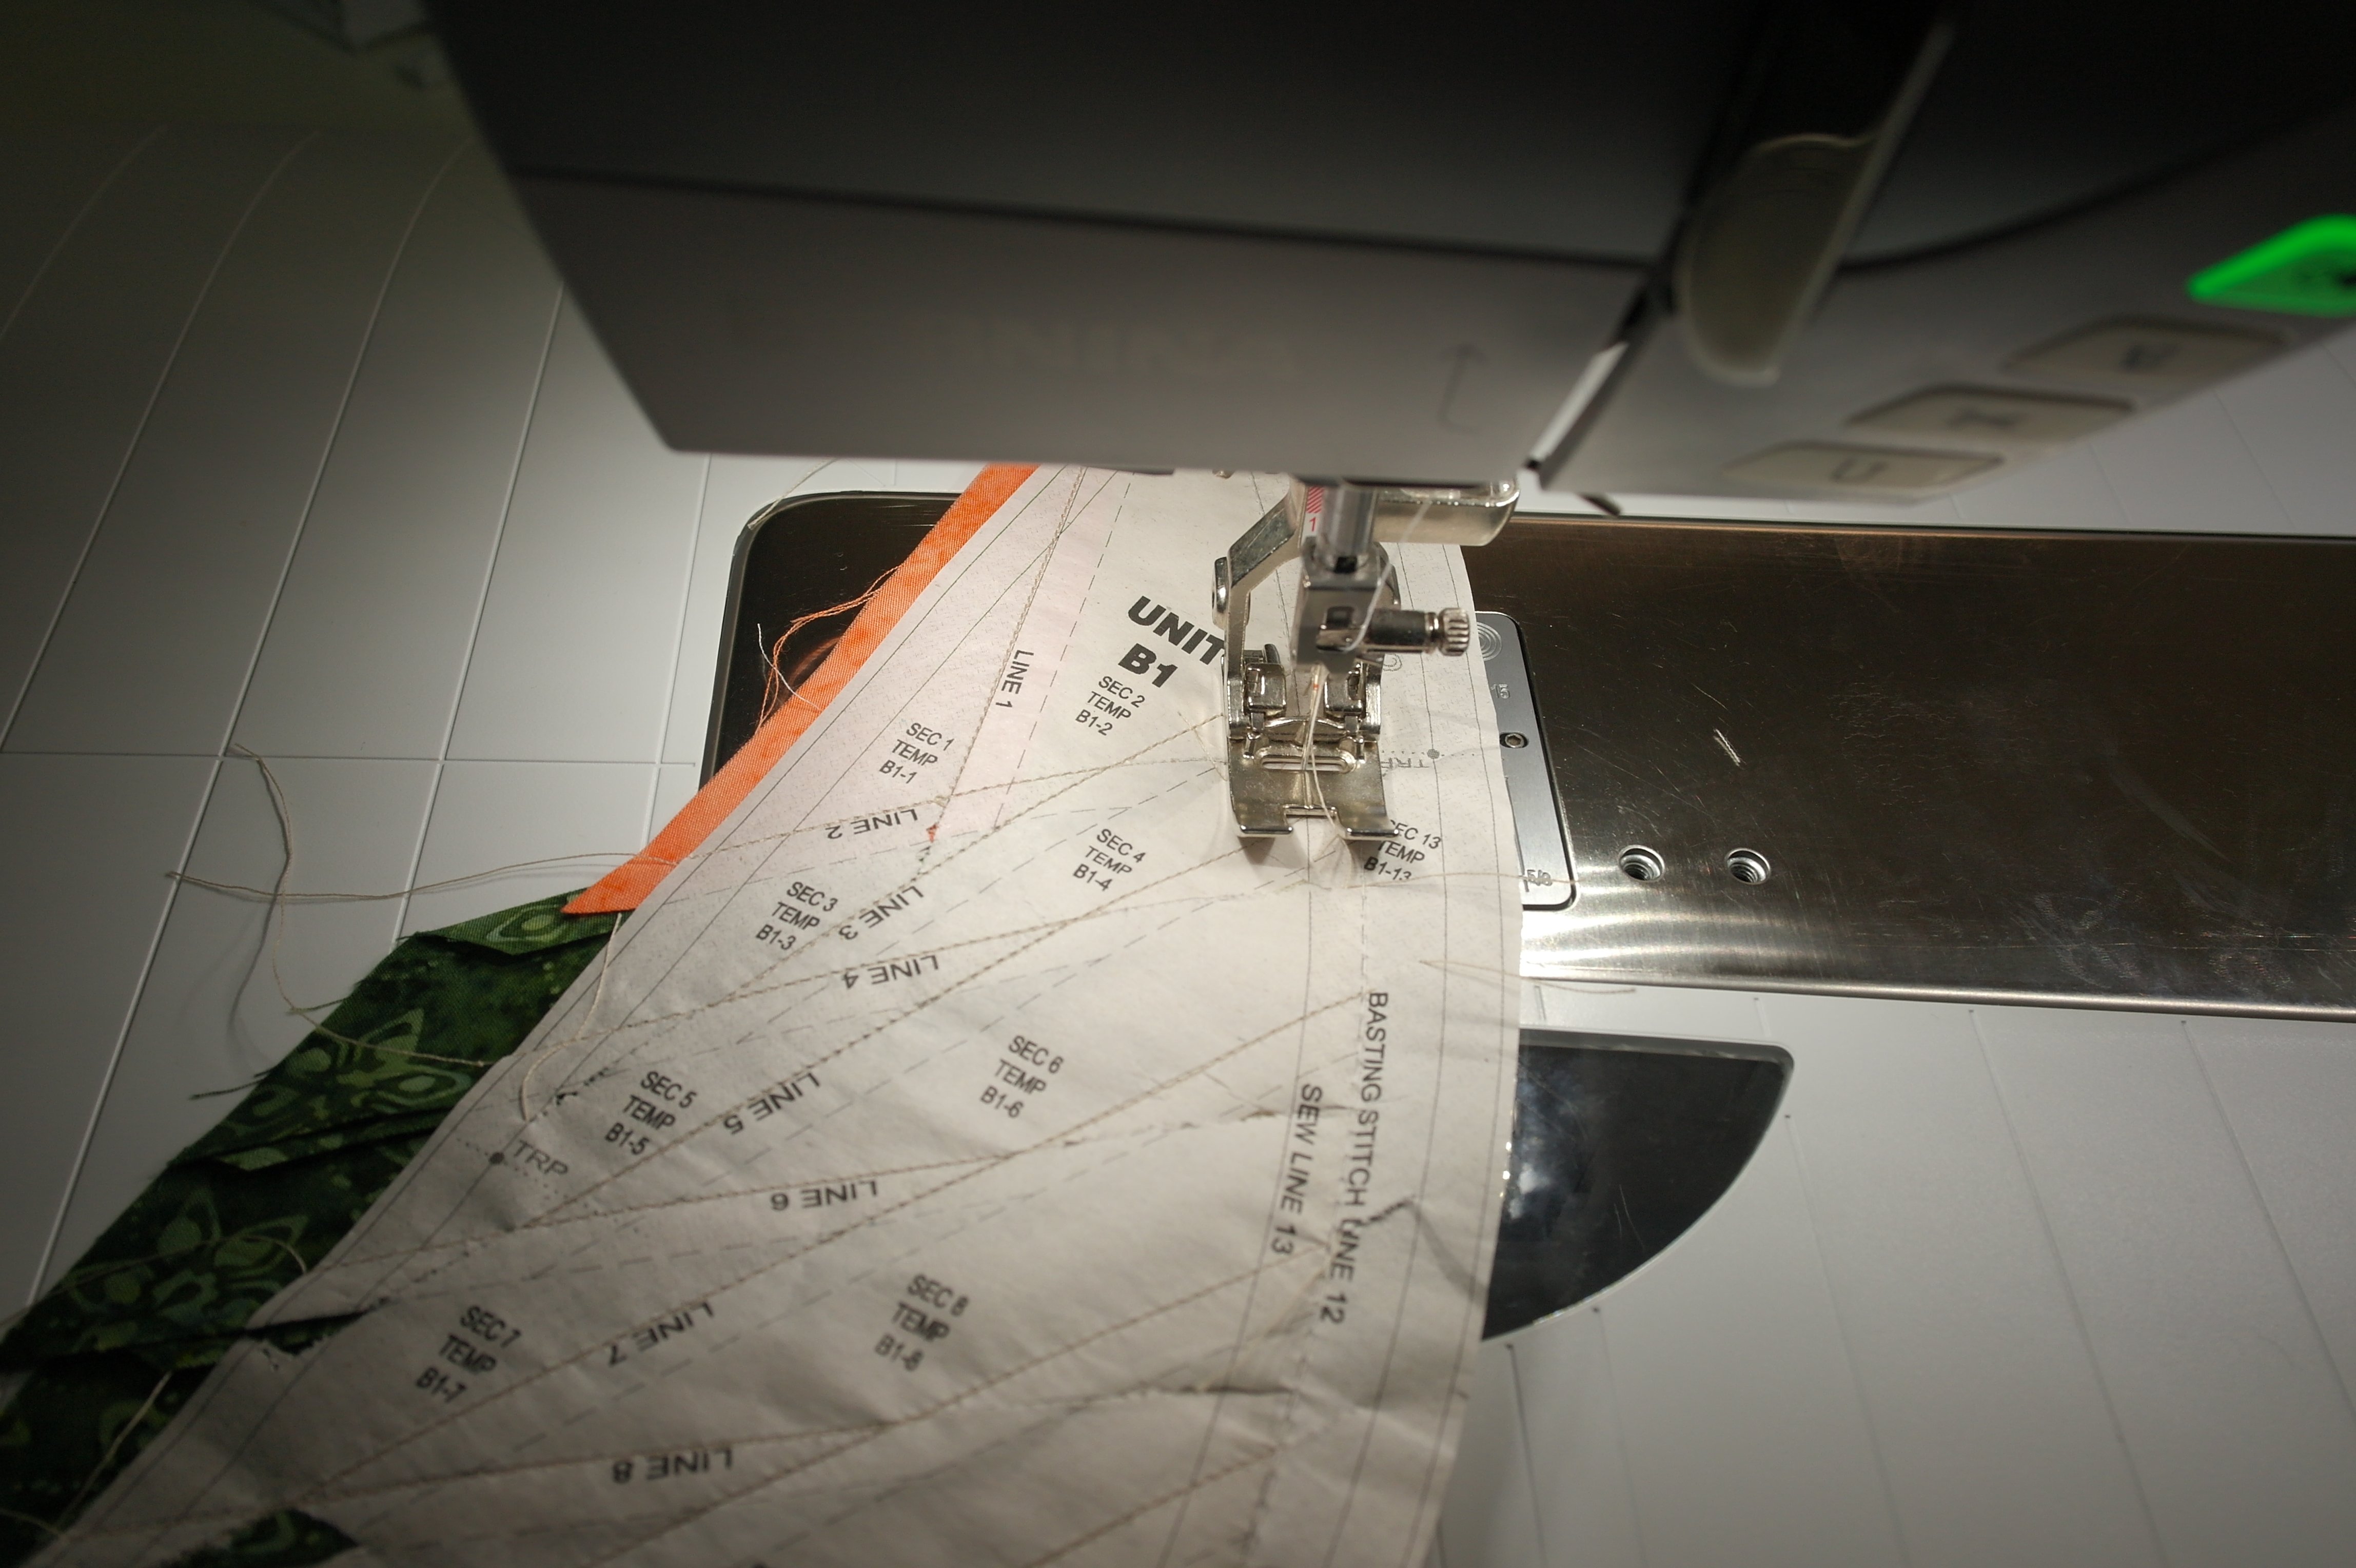
There are multiple lines on each paper piecing Unit. Some are always available, others just a few times.
- The solid lines are sewing lines, indicated with ‘Sew Line …’ or ‘Line …’ accompanied by a number for sewing sequence.
- The dashed lines, 1/4 inch away from the sew lines, are indicating the edge of the seam allowances: fabrics are cut along this line, before adding the next fabric for placement.
- The inner solid lines along the edges of the Units are sewing lines, needed when assemble the different Units and pieces of fabric to complete a top.
- The outer solid lines along the edges of the Units indicate the seam allowances of the Units. Normally you will cut on this line, after completing the Units. Fabrics that are protruding from these lines (which is essential with every Unit) are also cut.
- And – in this case – there is another dashed line, along the curved side of this Unit: it is called ‘Basting Stitch Line..’ with number 12 (because of the sewing sequence).
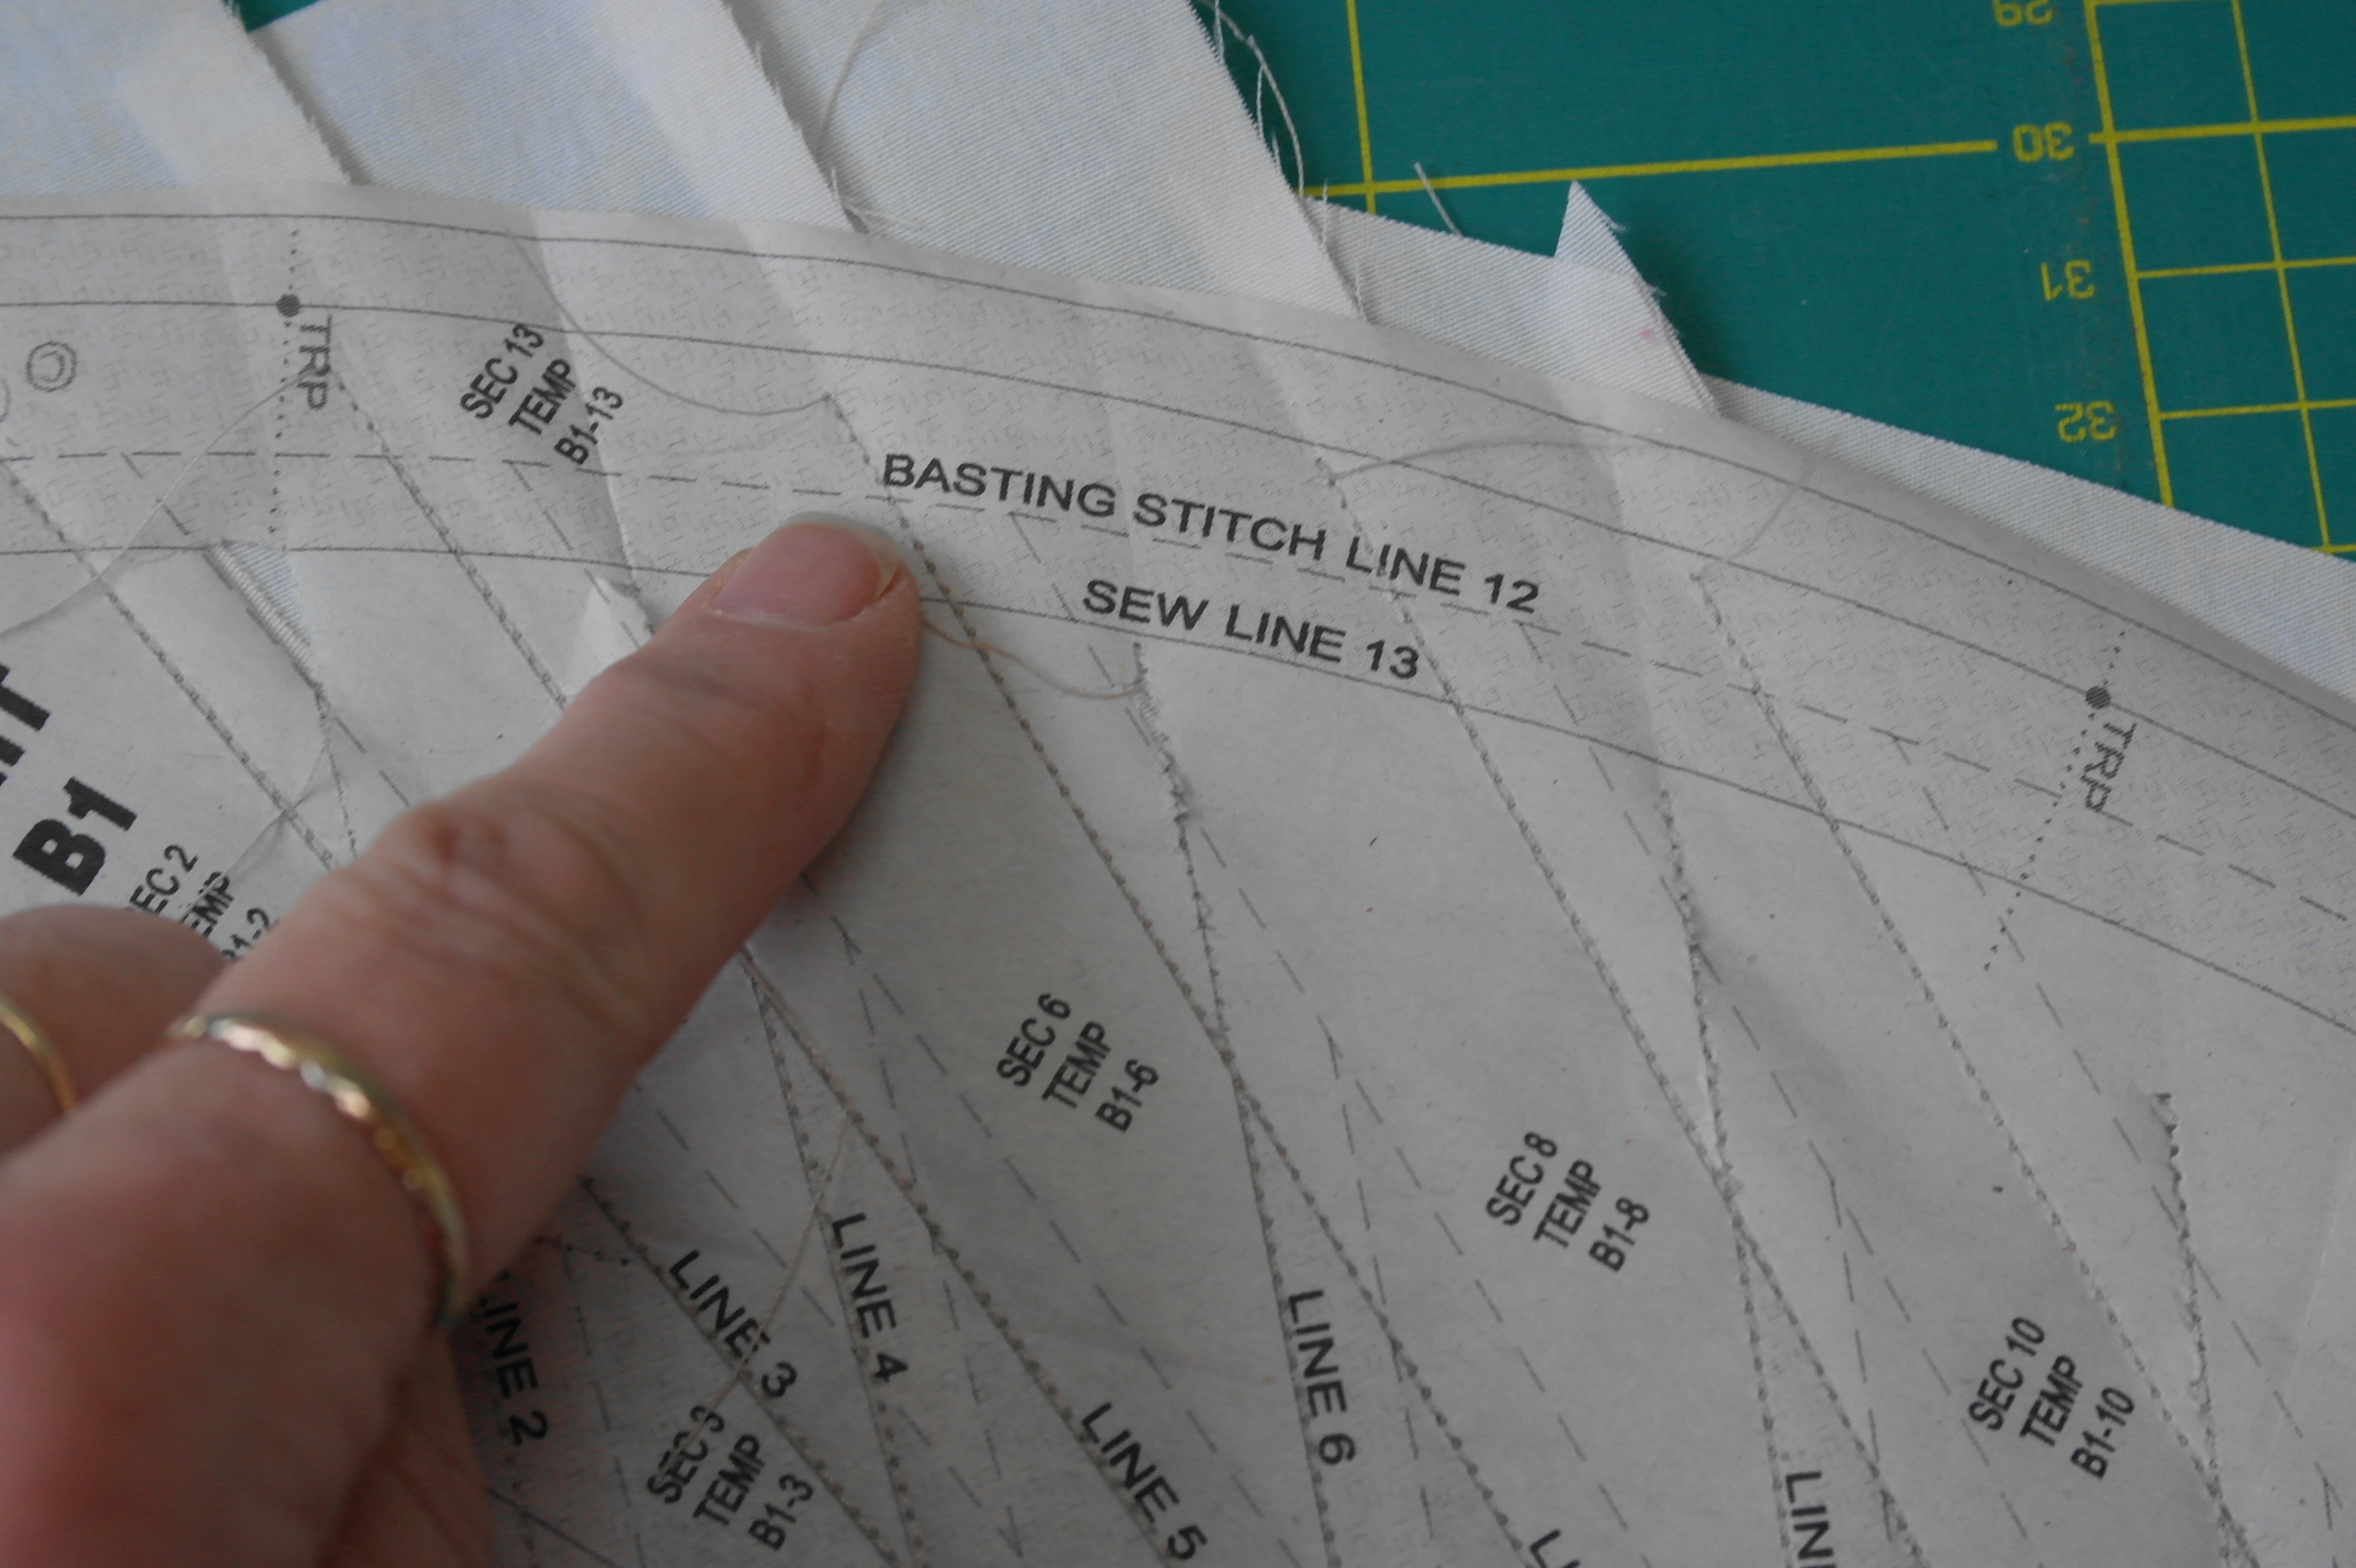
The numbers of the sewing lines will give you the idea in which order fabrics are to be sewn onto a Unit. The picture above shows that the Basting Stitch Line 12 has to be done before Sew Line 13. I will show you later.
Stitch length.
While sewing fabrics onto a paper piecing Unit, stitches have to be small. Not the default 2.50 with my B770QE, but 1.90. This leads to more holes in the paper Units, which will make tearing the paper away after finishing a Unit much easier. But for making a Basting Stitch Line, stitches have to be much larger.
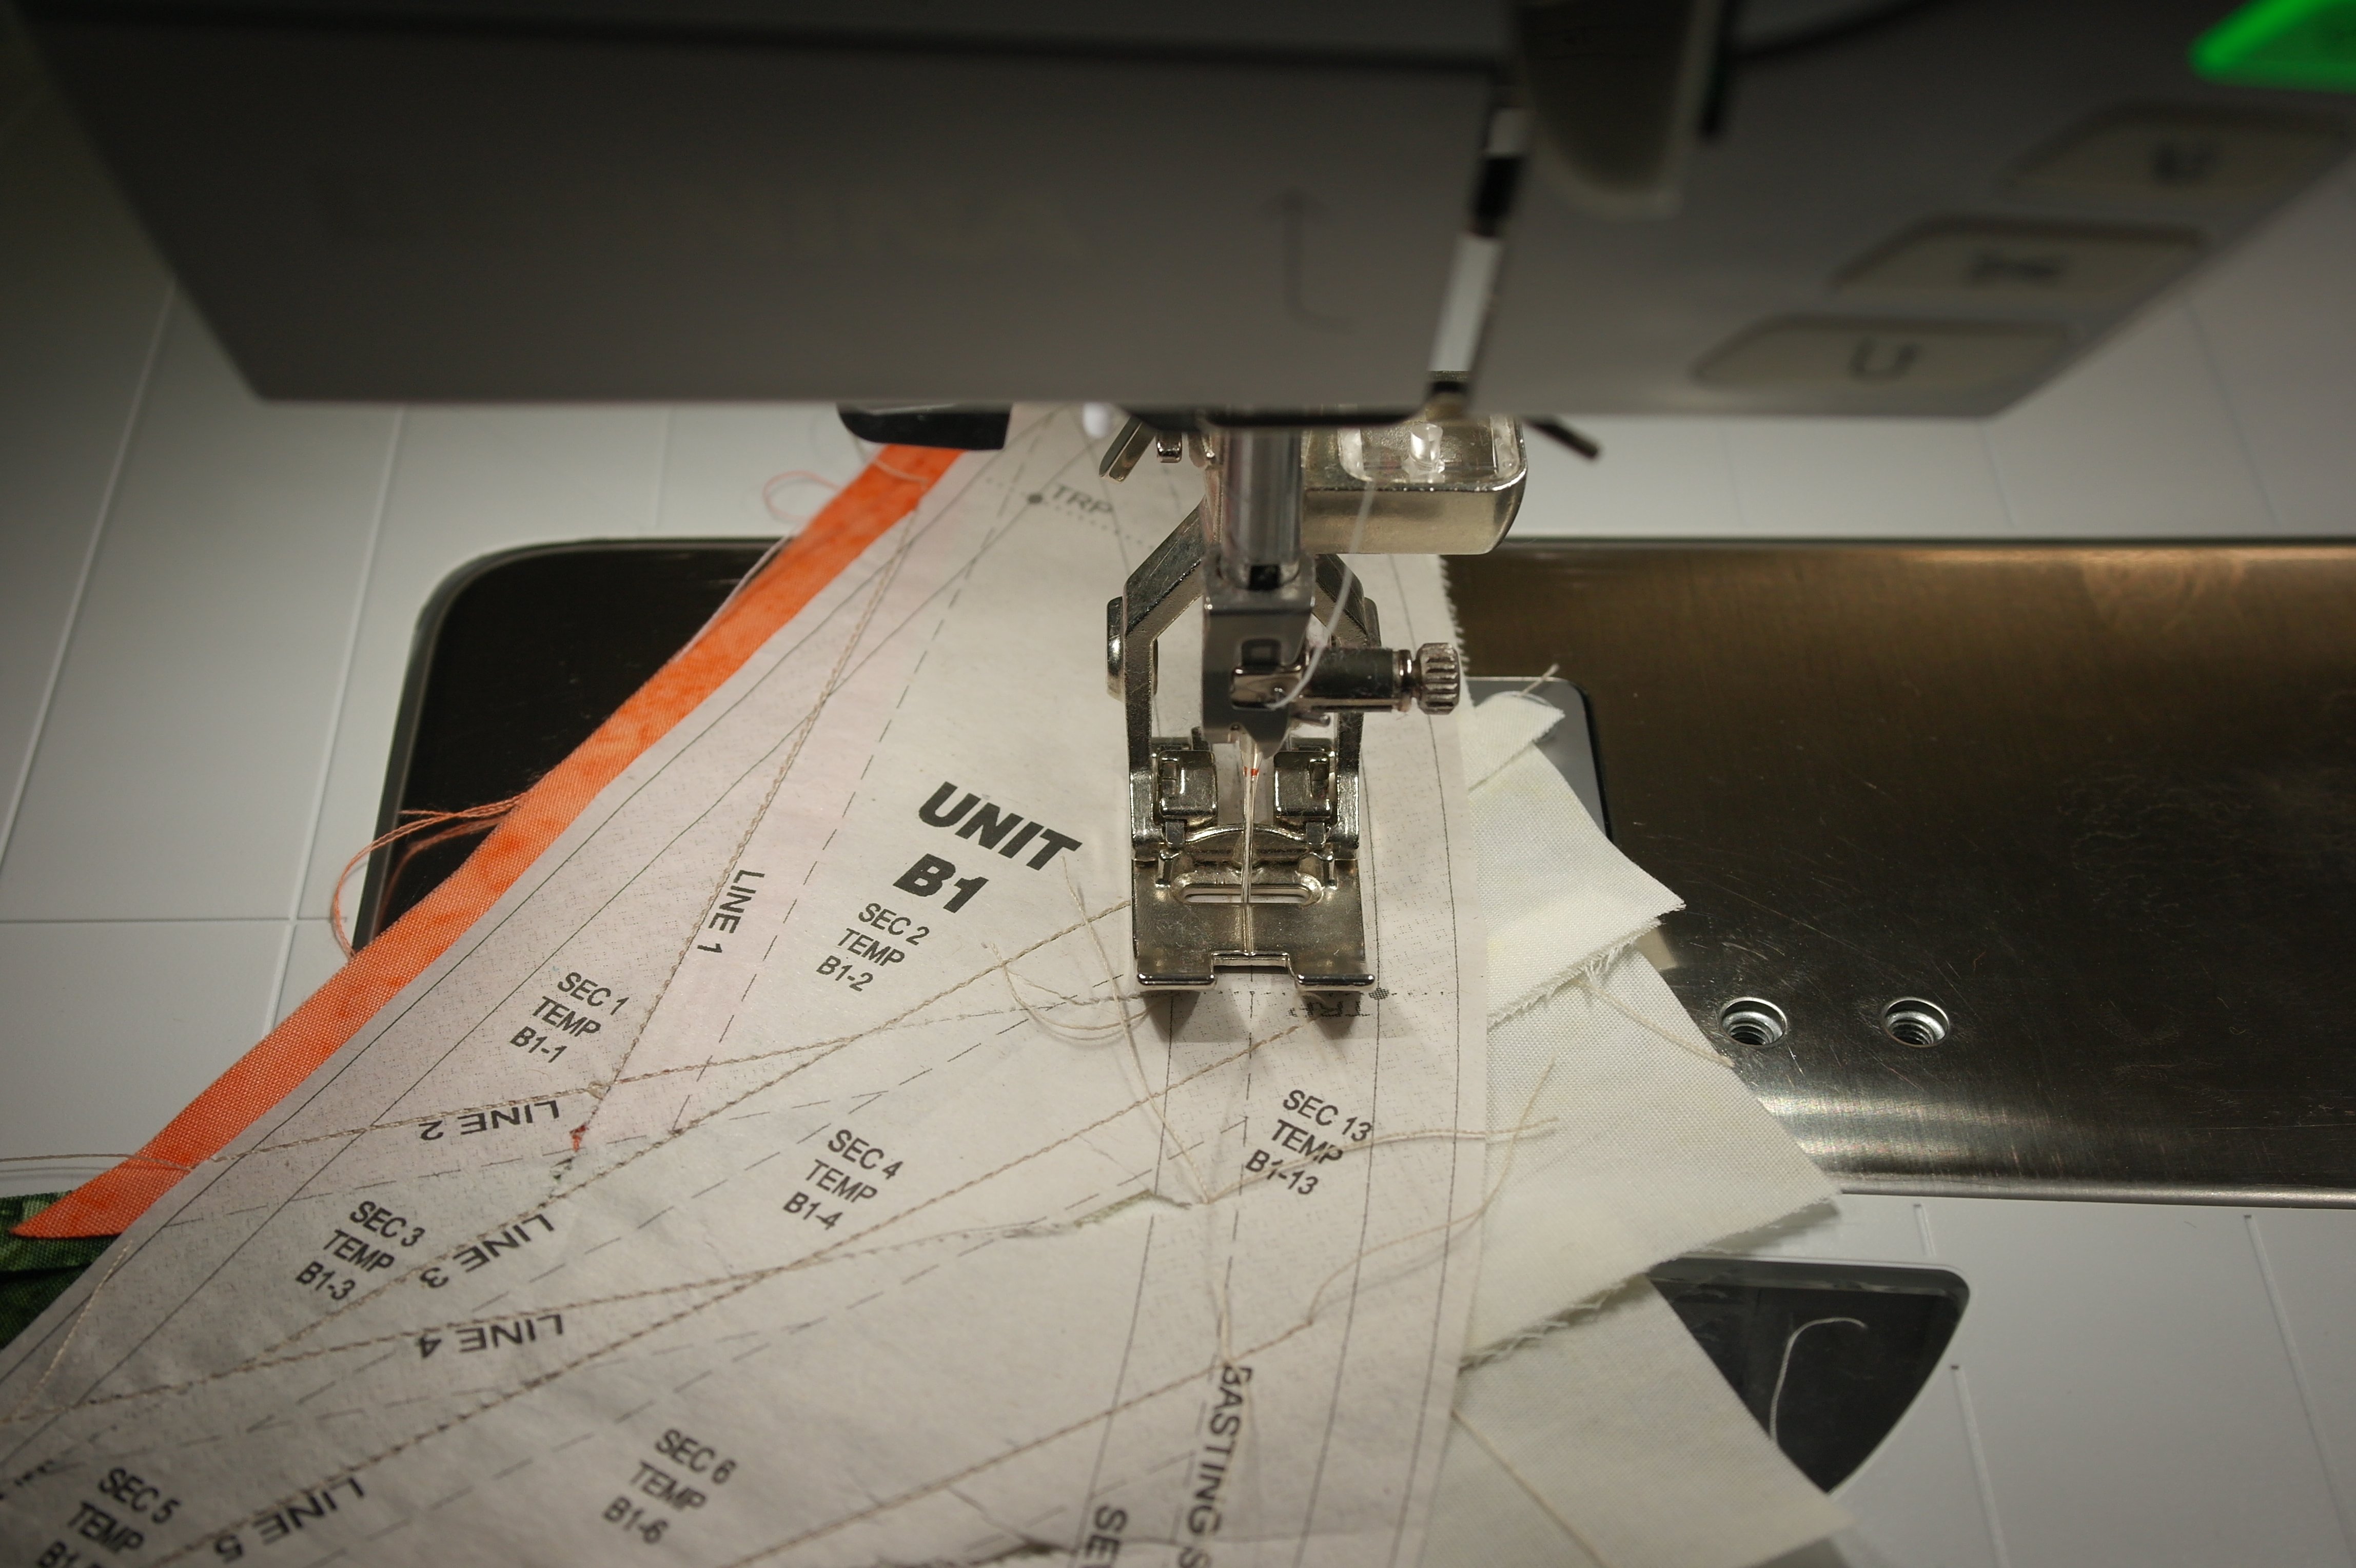
I will use a stitch length of 3.30 with my B770QE . Much larger than usual, because these stitches can be trimmed of, if you want to. I am using presser foot #1D, with the groove in the middle, to keep this on the dashed line. Working slowly, to be sure to follow the curve.

And the Basting stitch is made the arrows are pointing to the stitches at the front of the Unit.
Folding the paper.
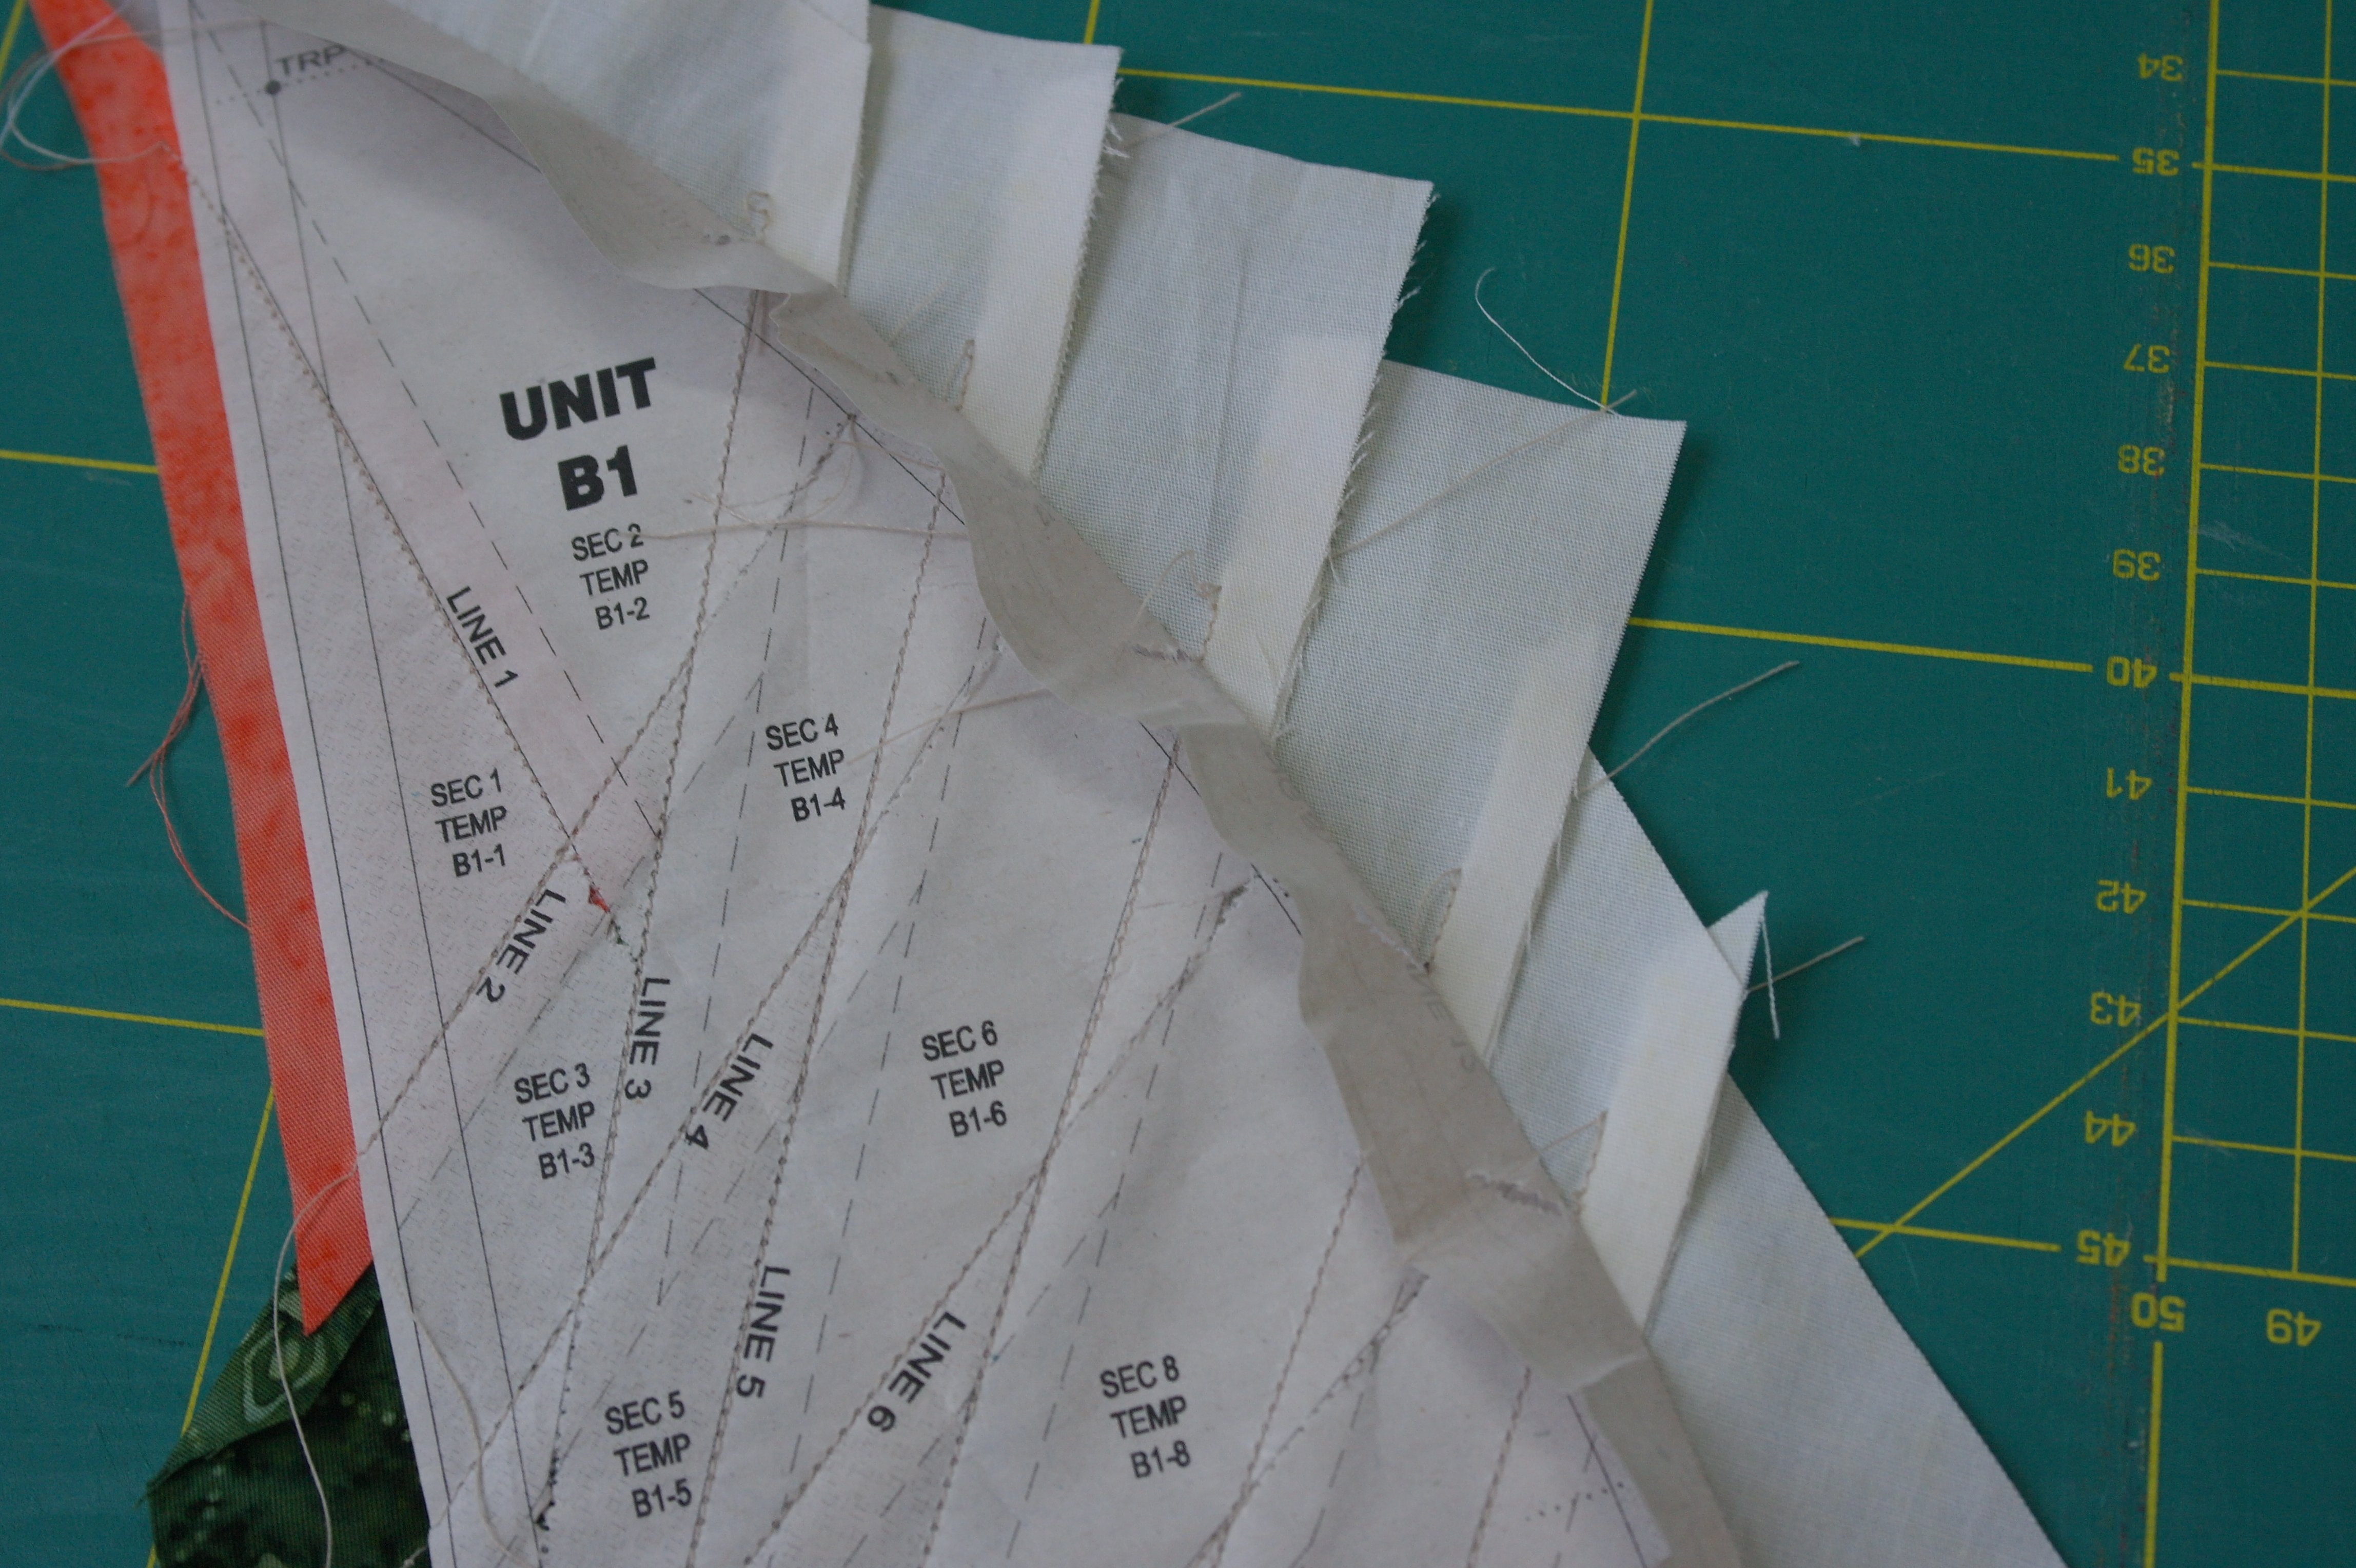
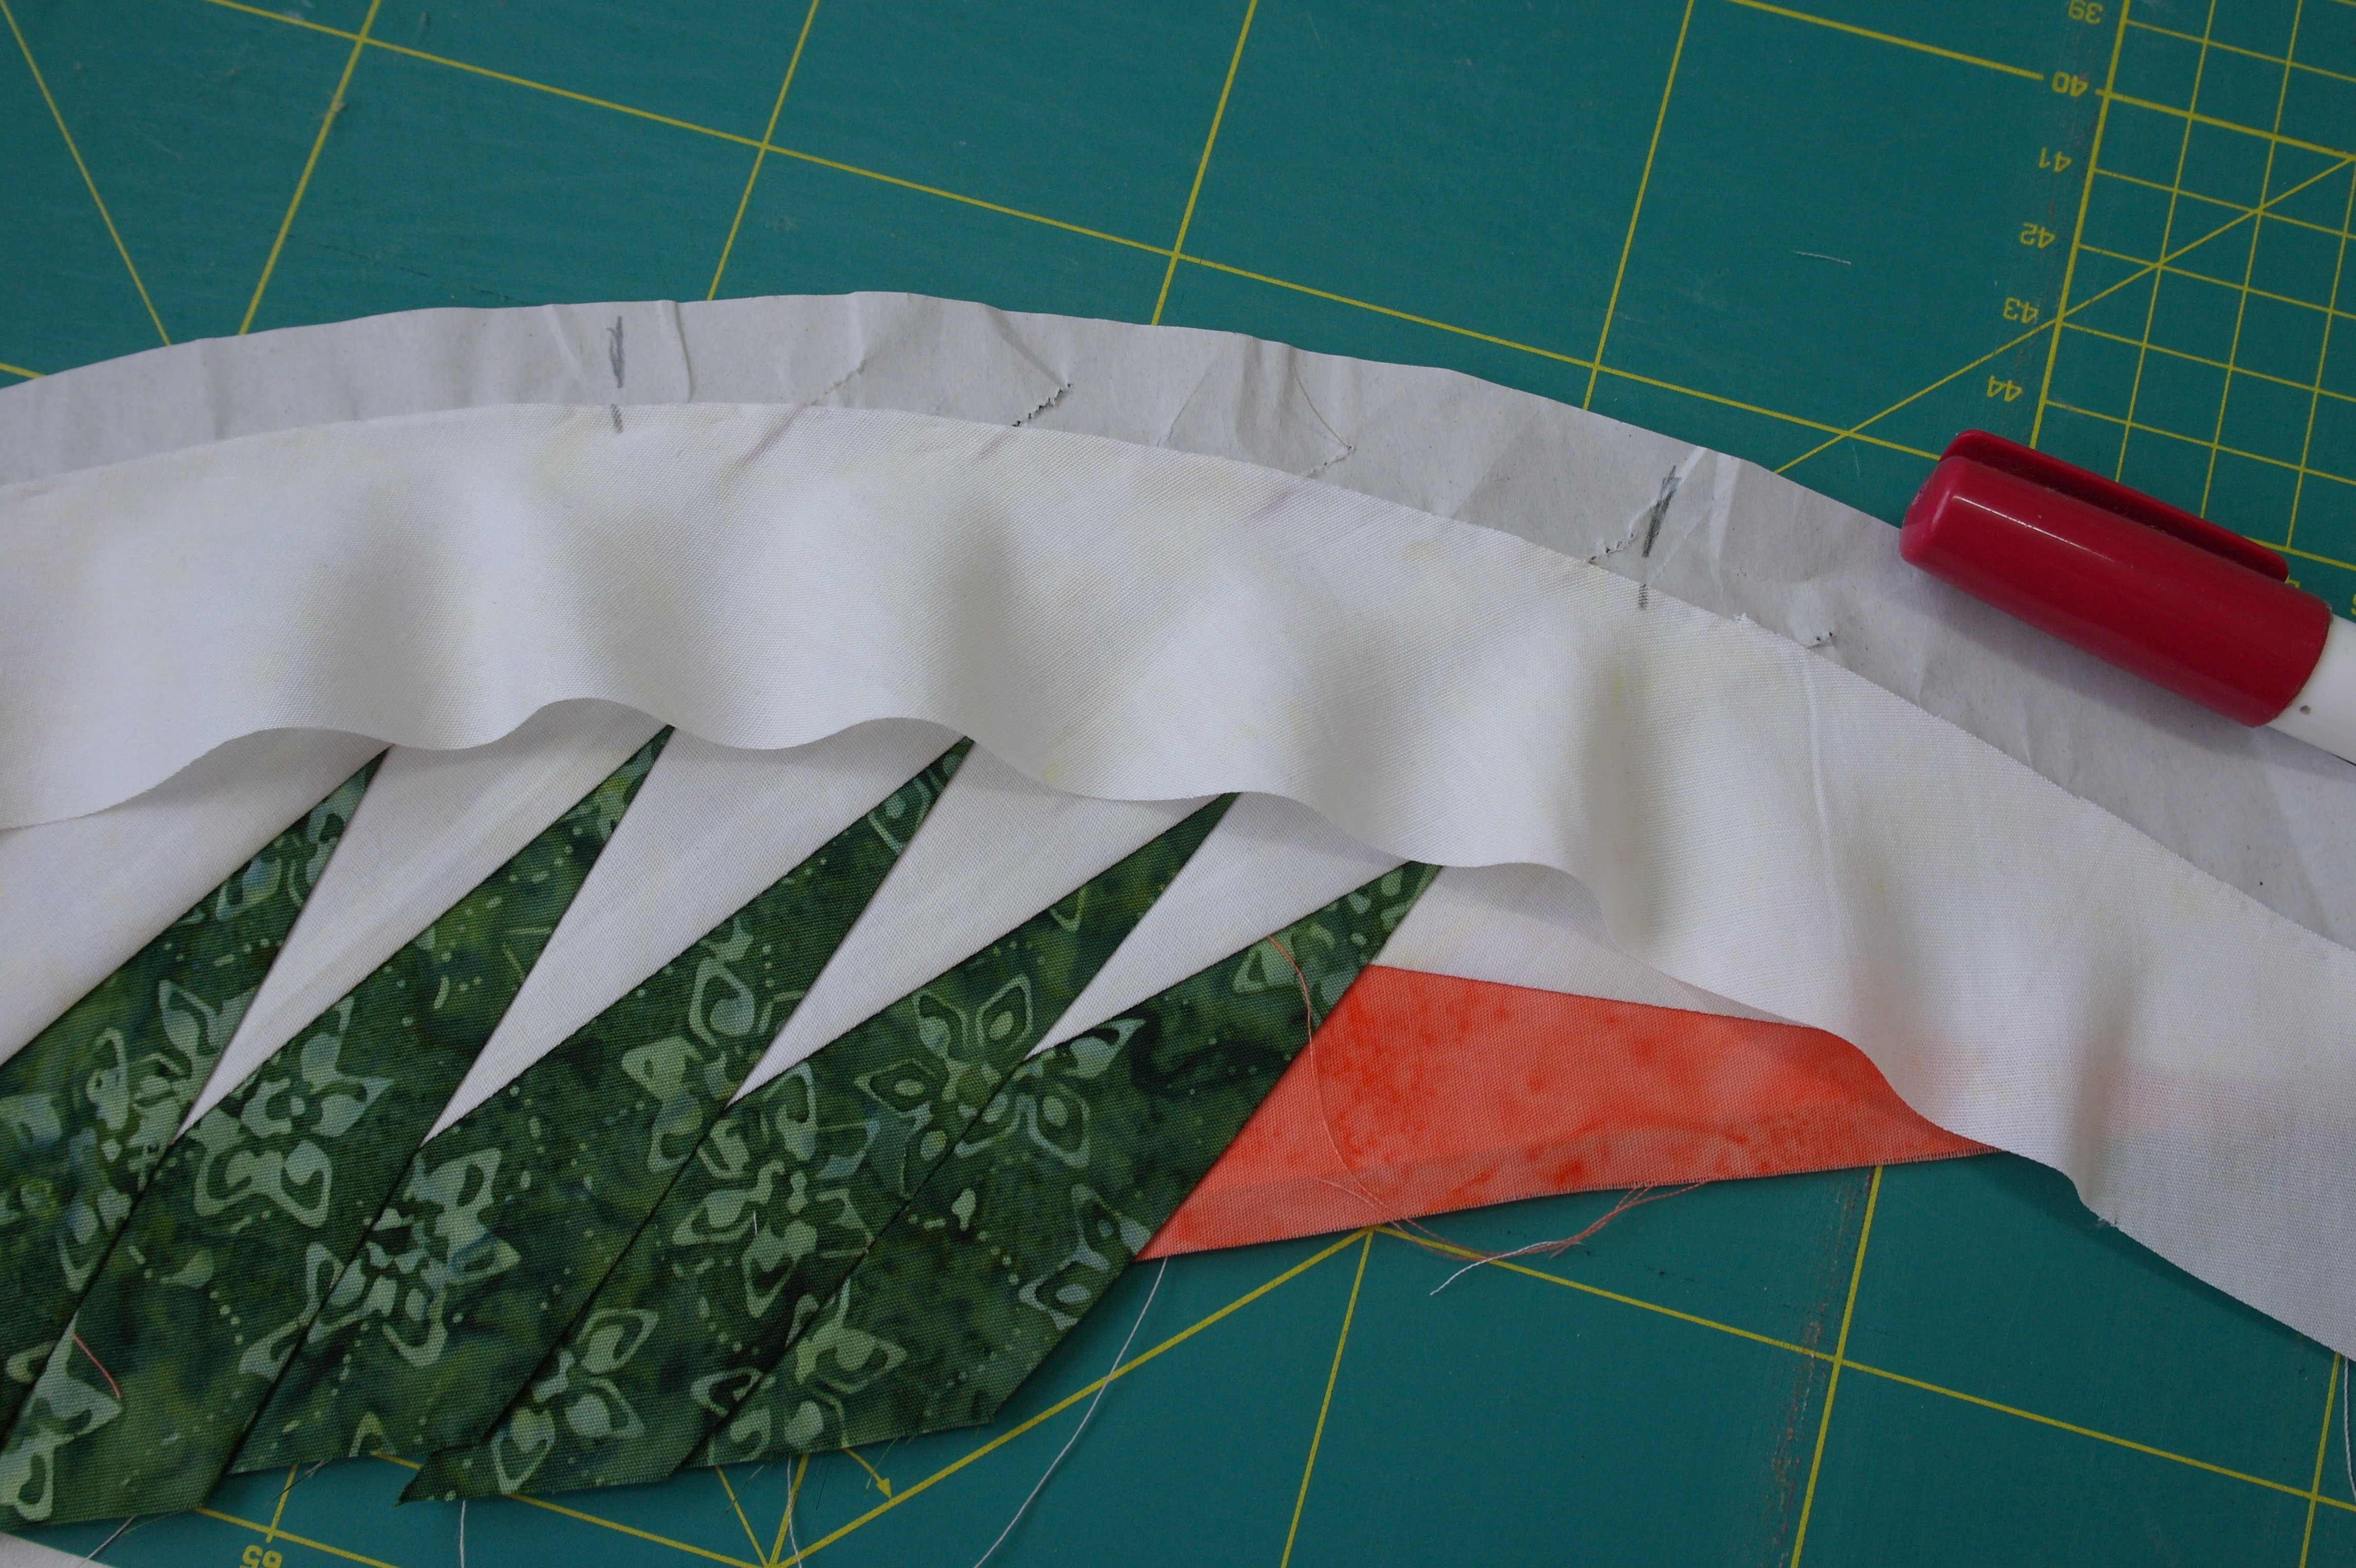
I have folded the paper back along the edge of the Basting Stitch line, as best as I could. Careful, not tearing the paper too much.
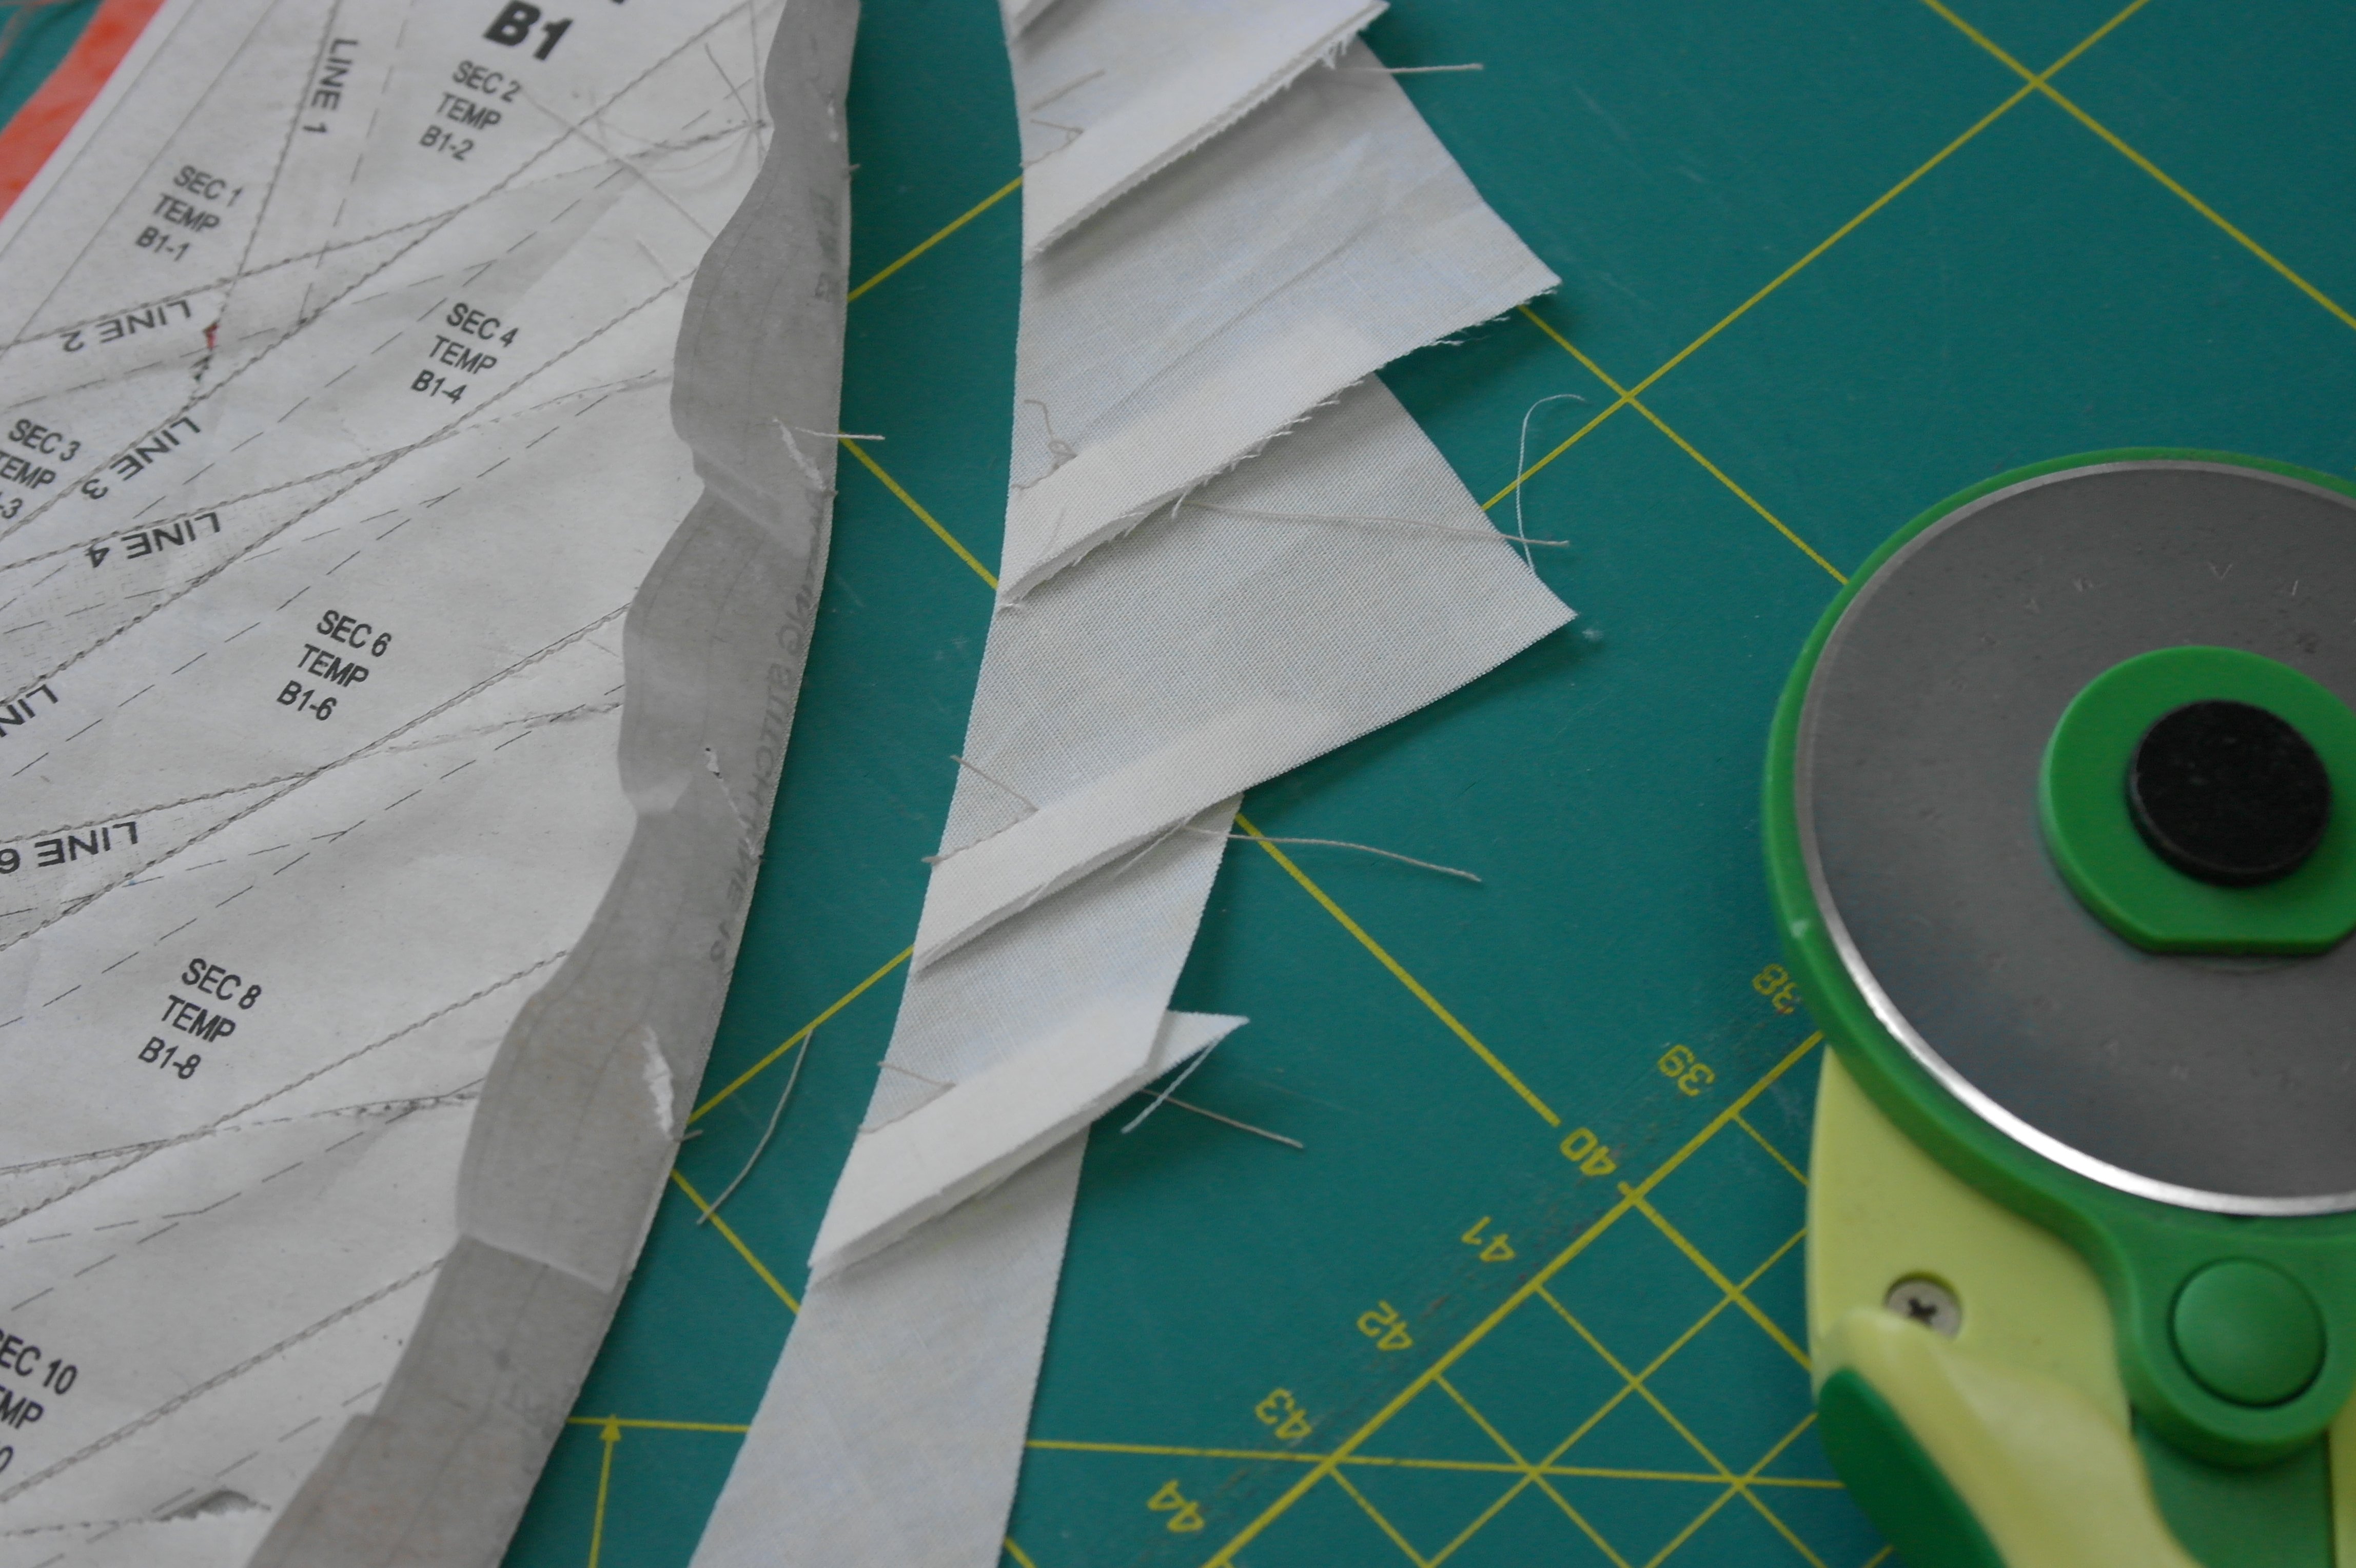
I have trimmed of the excess fabric as close to the Basting Stitches as possible. Sometimes I had to fold the paper back while cutting, so this had to be done slowly too.
The paper is folded back, and the Unit lies flat on my cutting mat at this time.
Turning a Unit upside down, shows there are two TRP’s: Transition Reference Points. I have marked these points on the paper of the unit, to be able to place the curved strip on these points.
Using the Bohin Glue Pen.
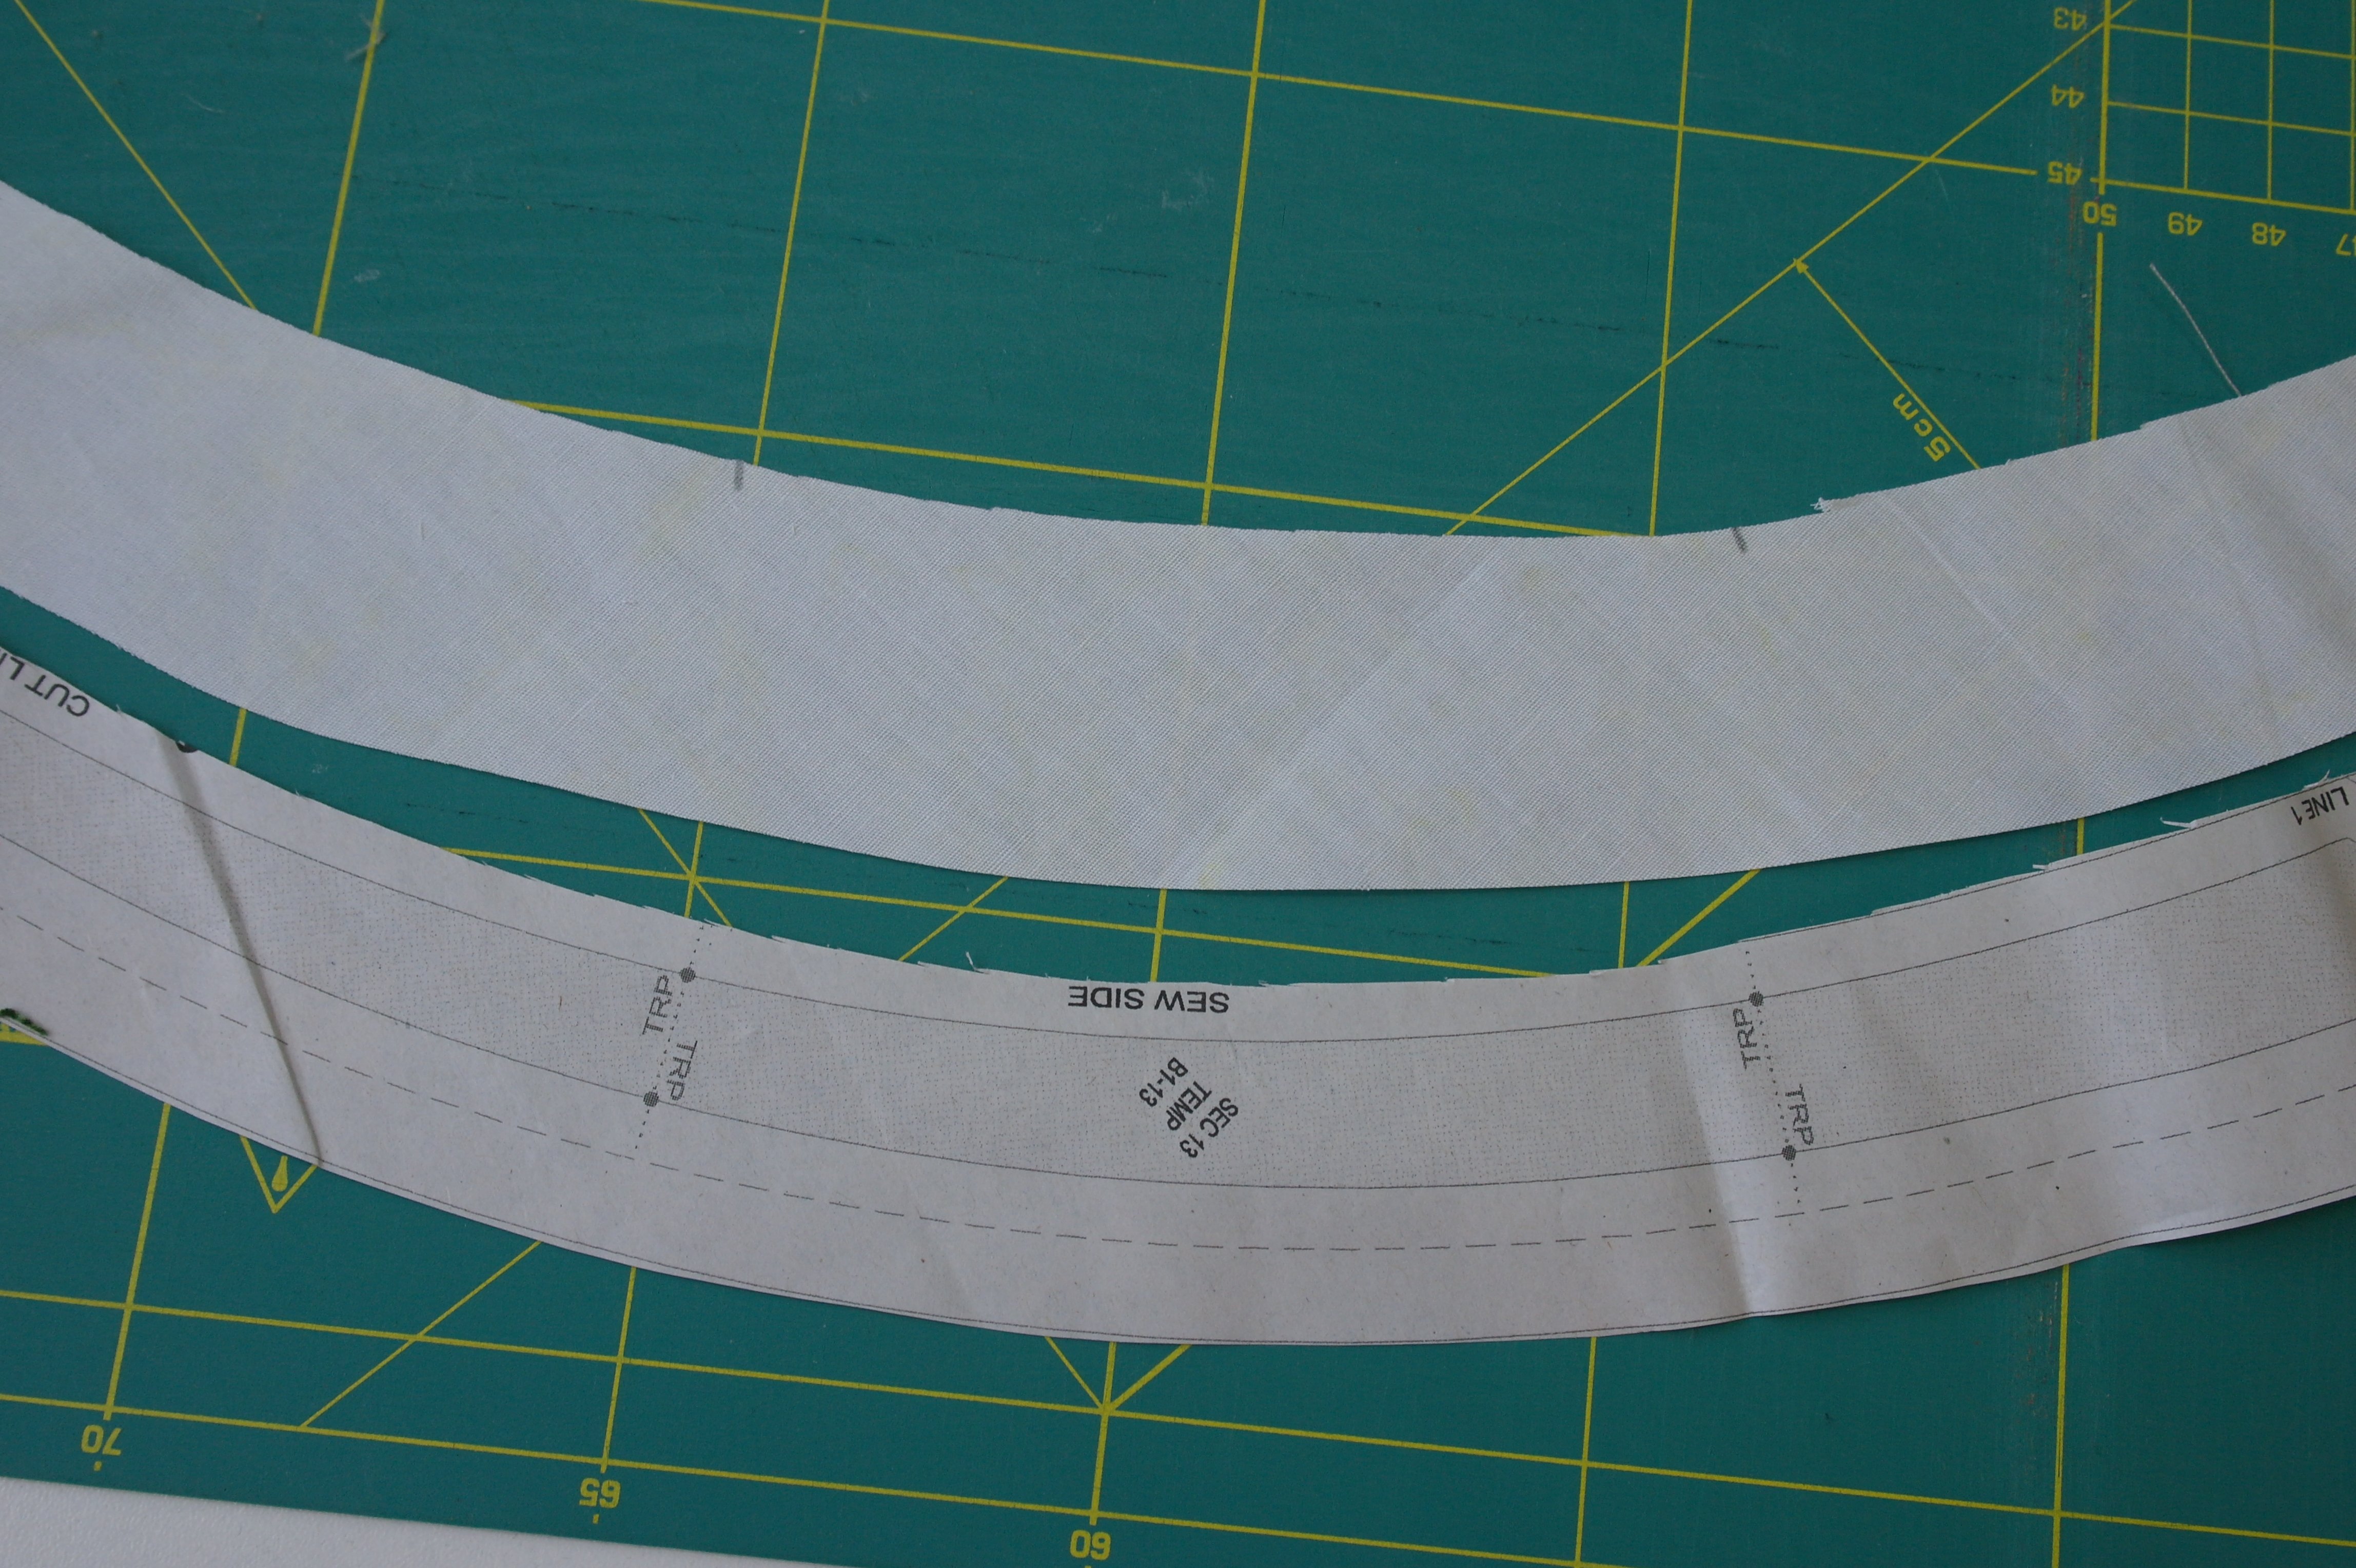
I have marked these points on the curved strips too: holding the paper template in place and marking these points, to match them later with the Units. Of course I could use pins to hold the fabrics and Units at these two points in place, but I rather use fabric glue.

This is a Bohin Glue pen = water soluble glue, which I will tip on the basting stitches and a bit on the fabric, being careful just to put glue ON the seam allowances. It hardly shows, but the pinkish glue is added.
The curved strip is placed against the basting stitches, starting with the TRP’s, working my way outward. Being careful not to stretch these strips!
Sewing the curved strips.
Using a normal 2.50 stitch length, because I am sewing onto the paper of the Unit again, Sew Line 13. Working slowly, and holding the pucker of the added curved strip away from the sewing line.
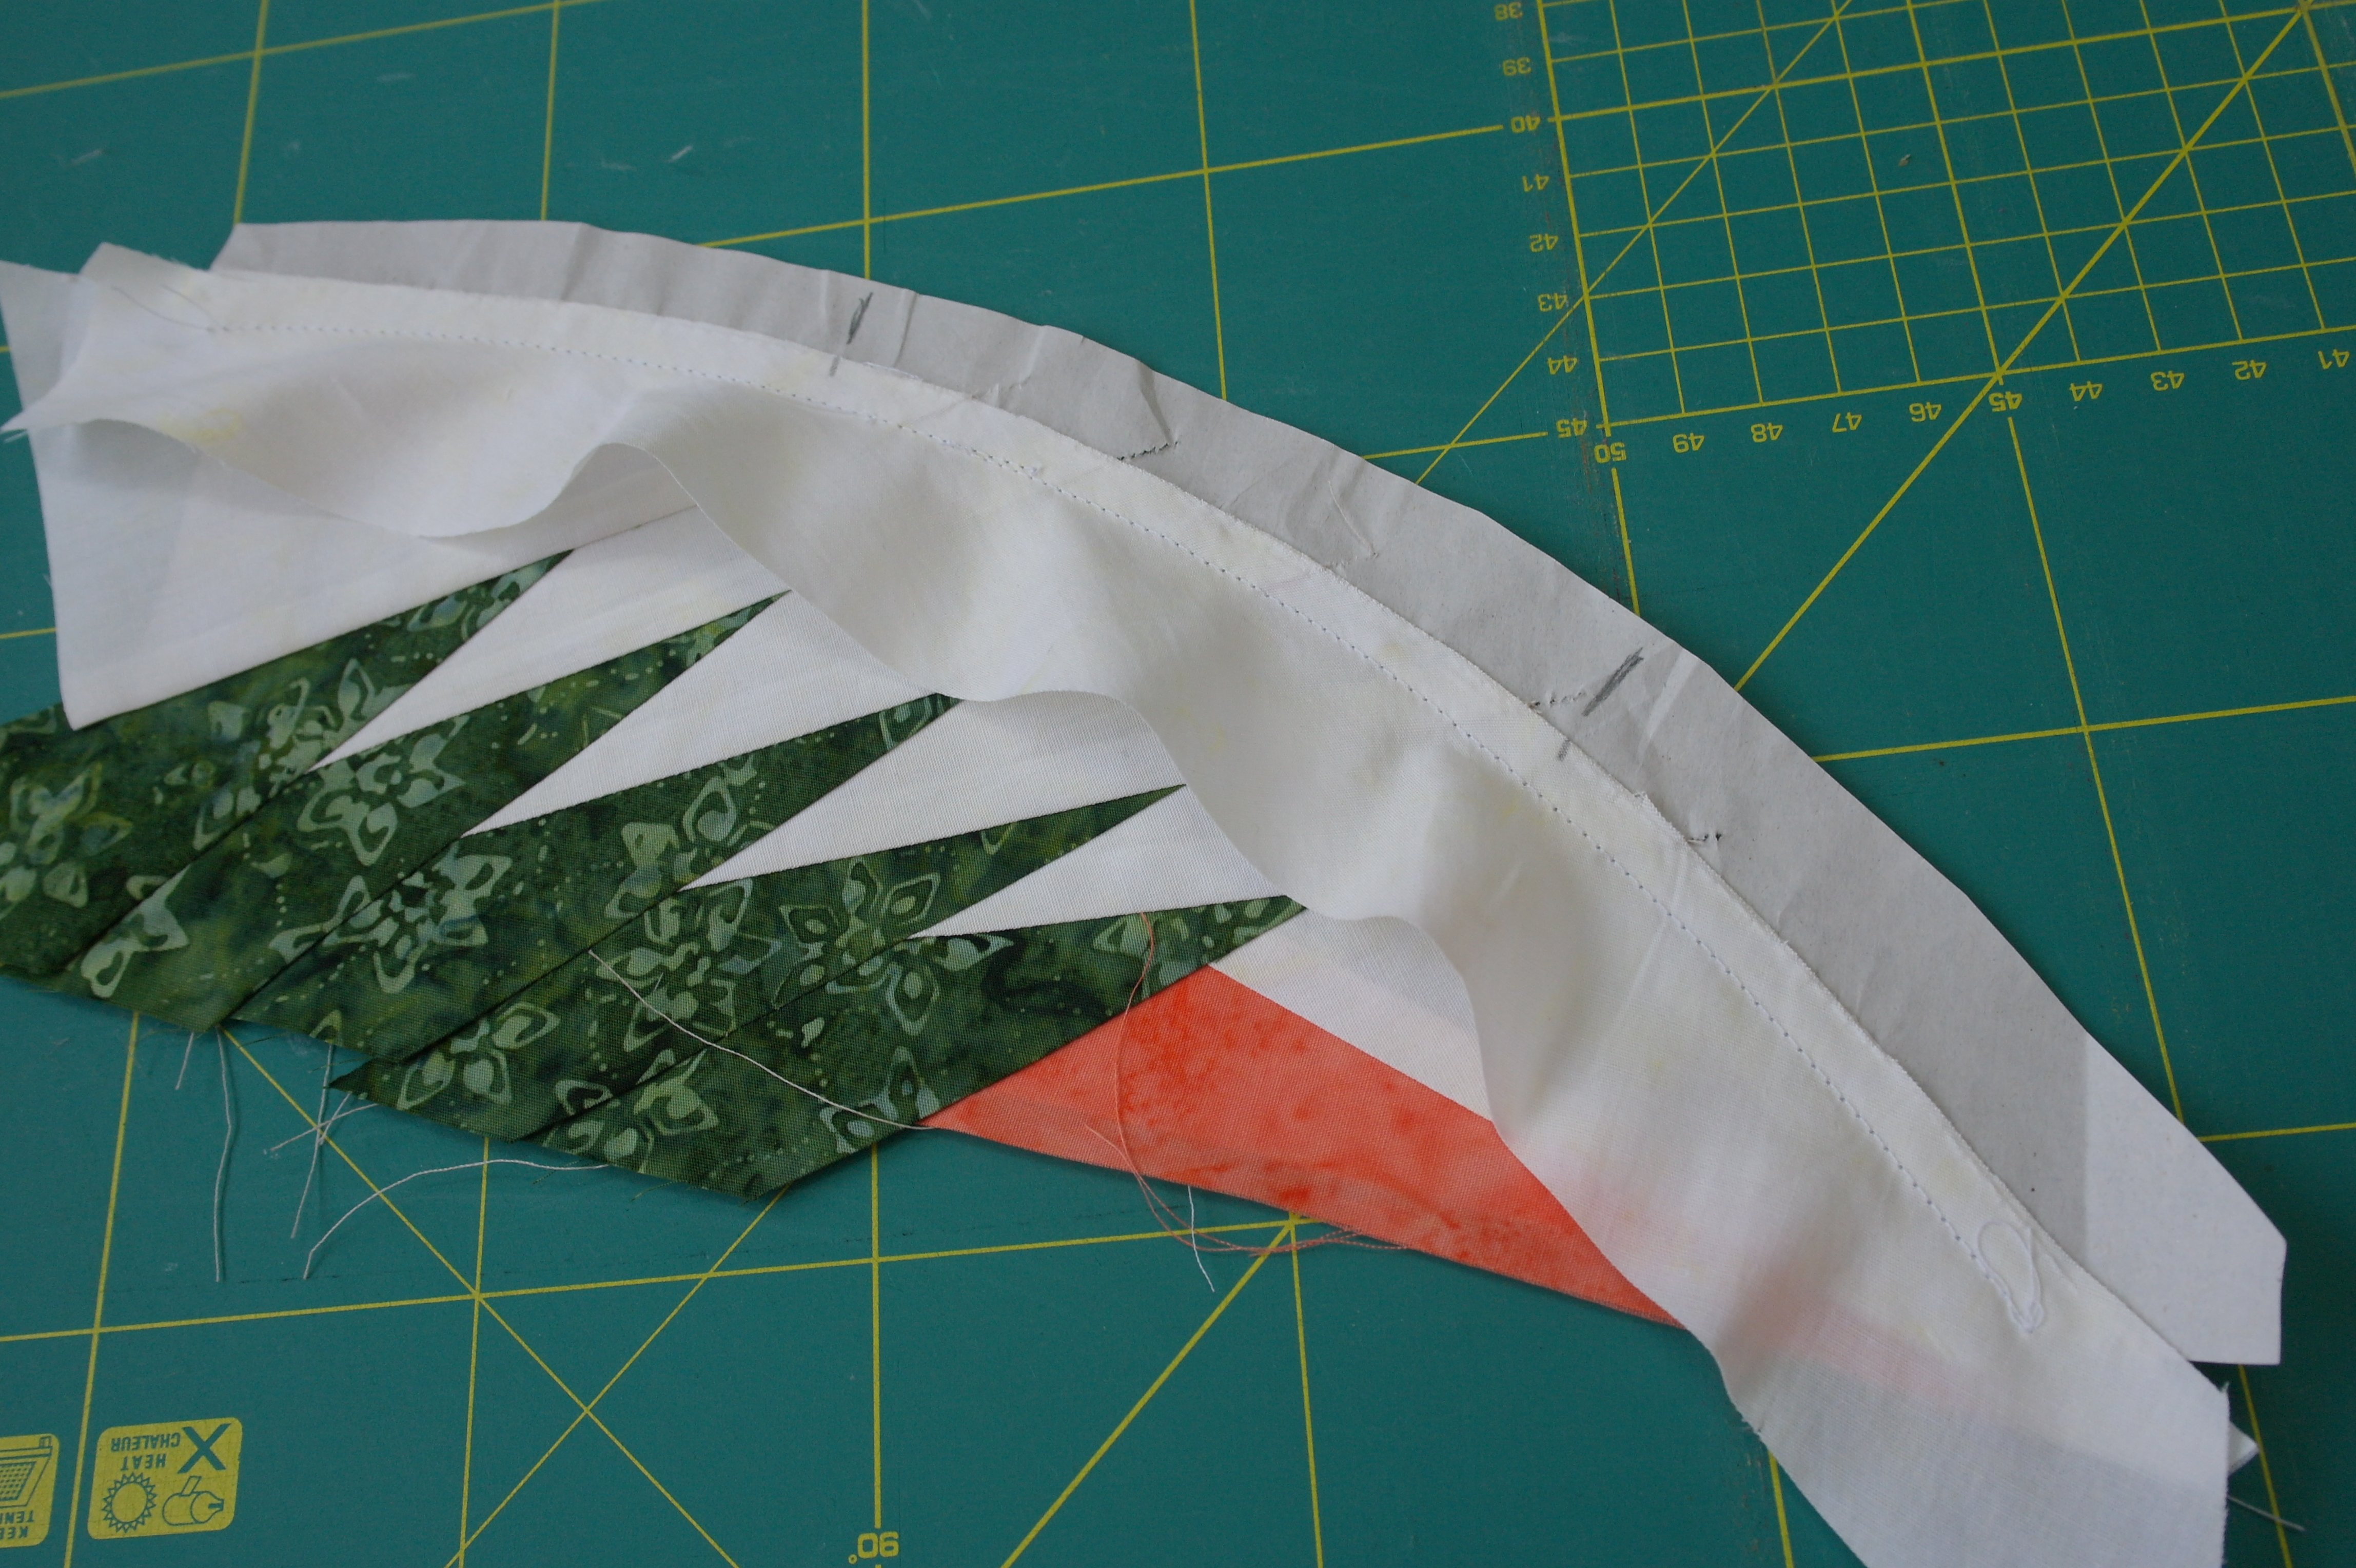
The strip is added: protruding from both sides, but that’s OK. The strip was larger than the Unit, to be sure the full length of the Unit is covered. I will not remove the basting stitches, because they are hardly visible. If you are using contrasting threads and these basting stitches will show up, do remove them.
The finished Unit.
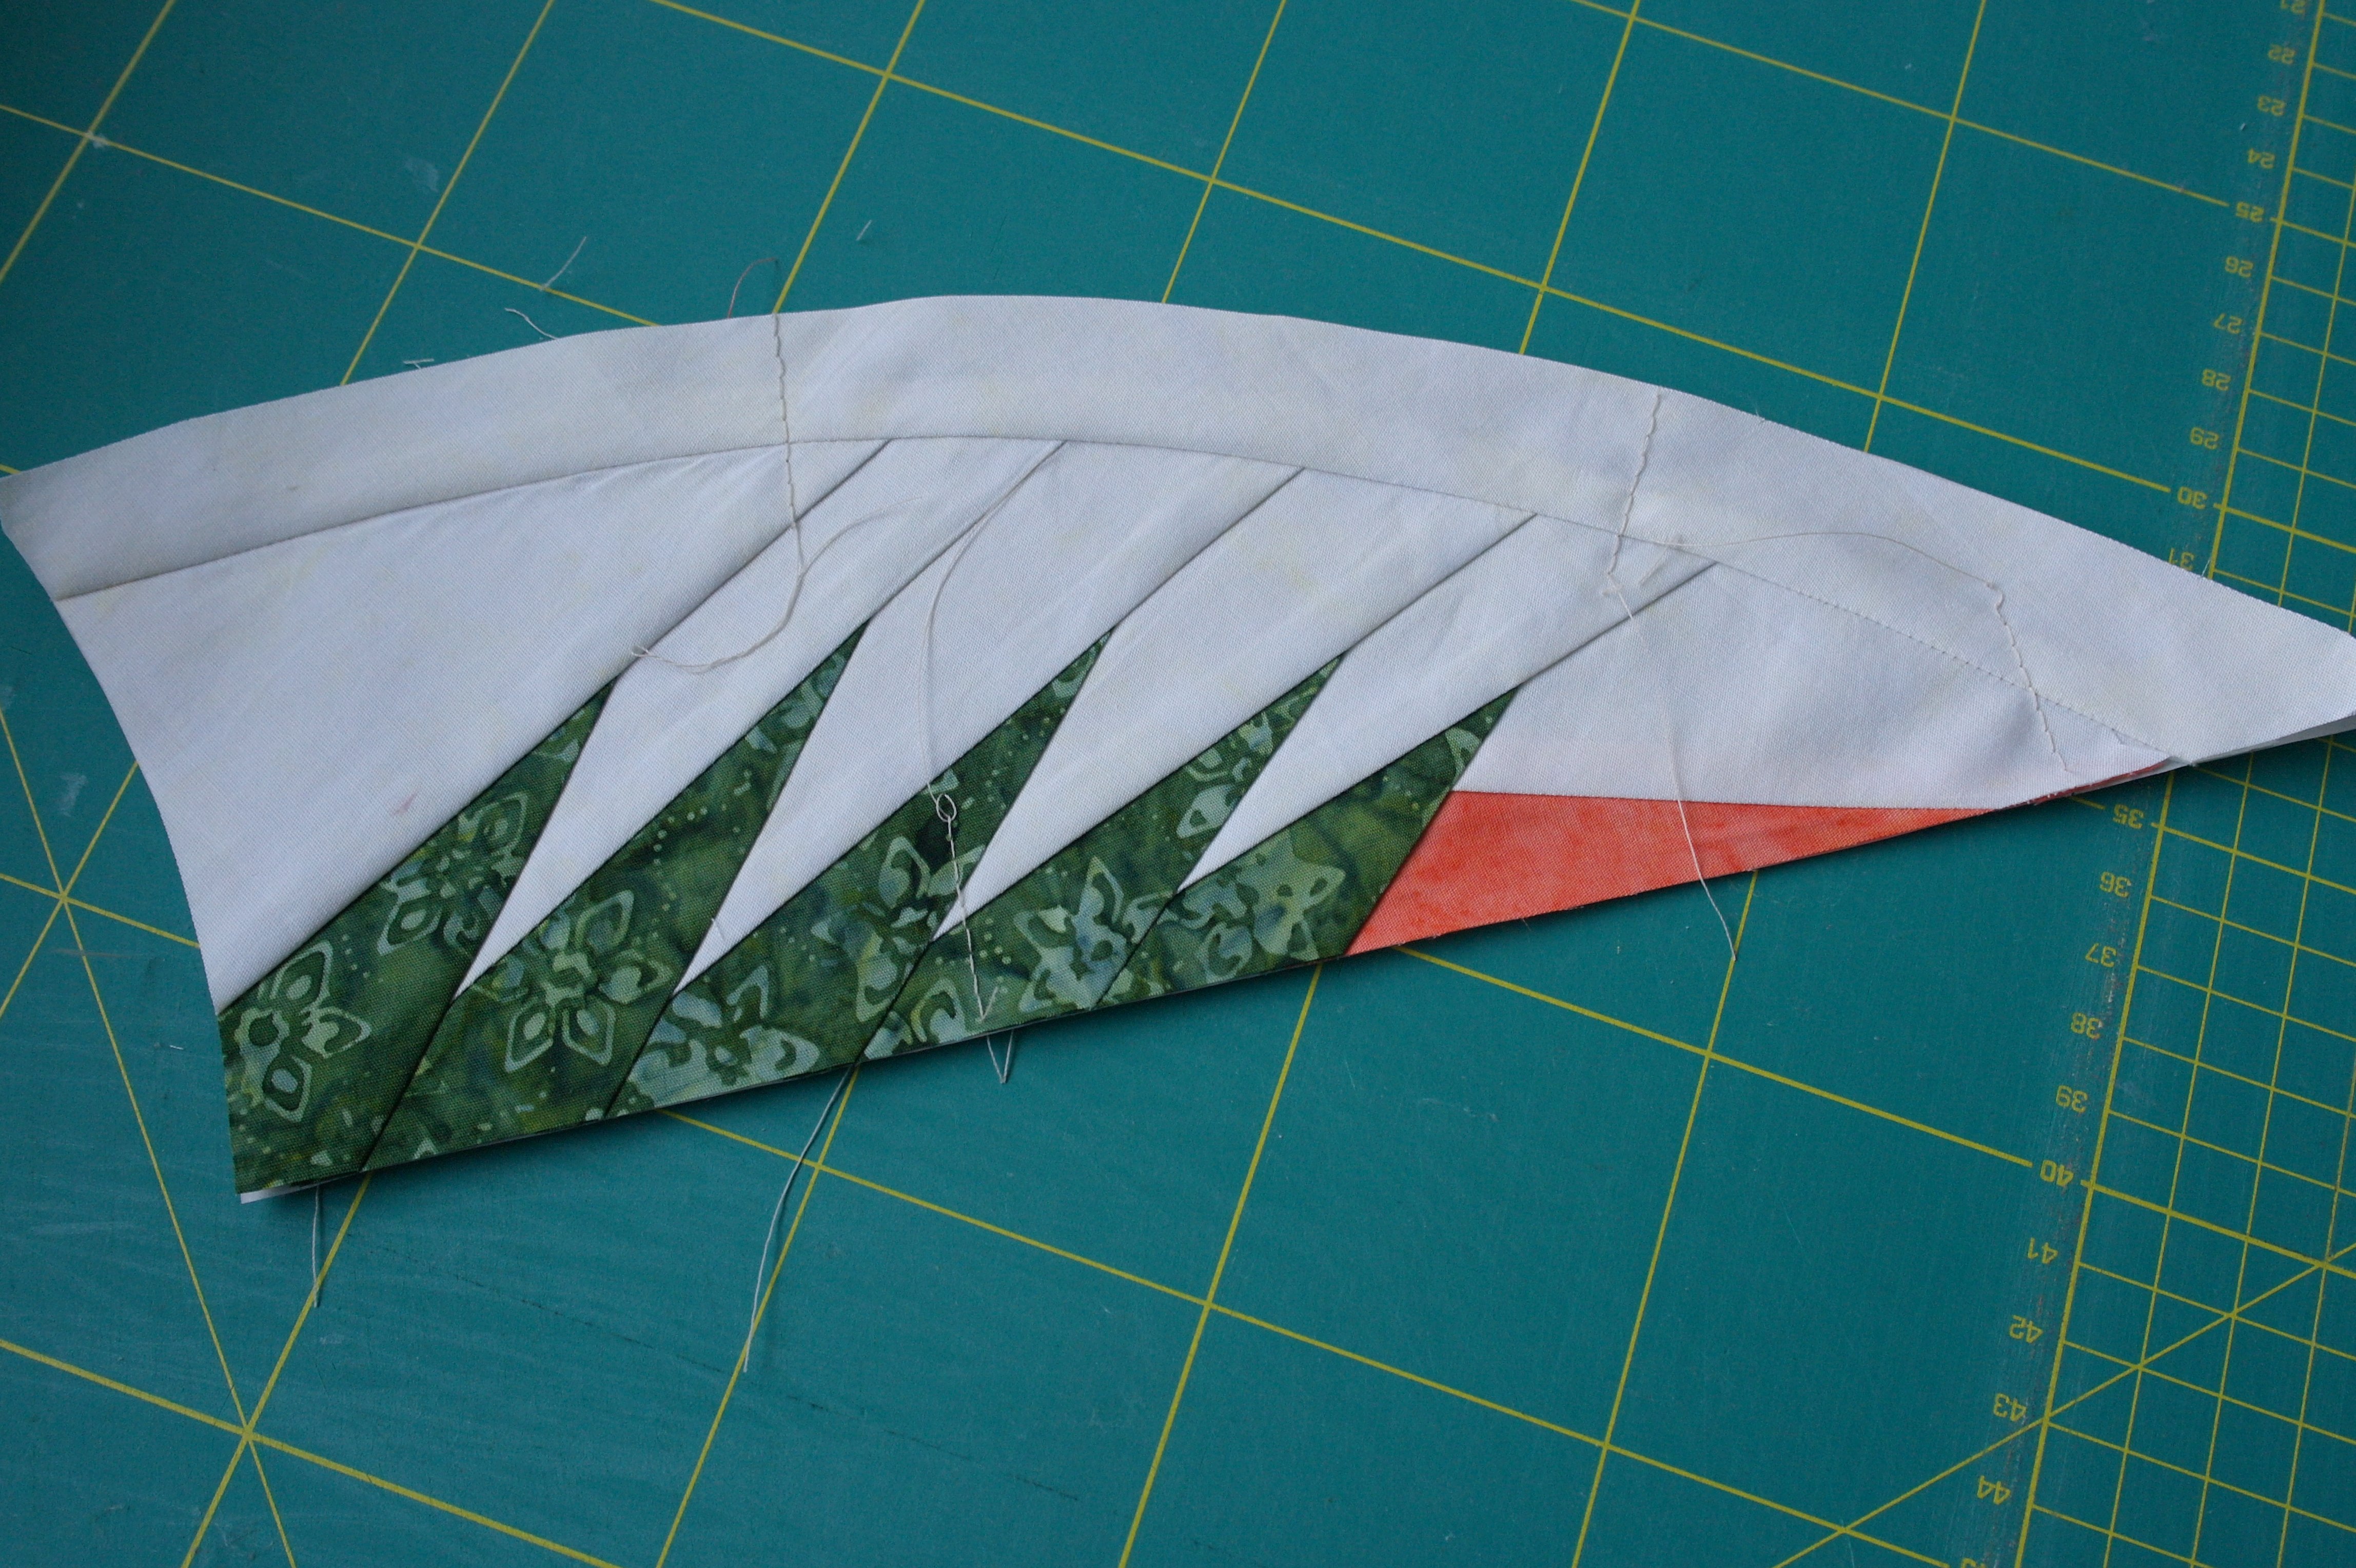
I have ironed the curved strip to the right side, added 4 TRP’s for these Units (two on one side and two on the opposite side), and trimmed the excess fabric and paper along the edges of the Units.
This Unit is ready, but I have to make a lot more. Once the paper piecing is done, I can assemble to make the top of this quilt. That’s something for another post.
Happy Stitching
Sylvia Kaptein
Sylvia’s Art Quilts Studio


0 Responses