 BERNINA Corporate Blog -
This new year 2020 will be my Theme year ‘Red White Grey Black’: I will make as much projects as possible, by machine (and sometimes by hand), with patchwork, quilting, appliqué, stitchery, crochet and (machine) embroidery in these colors. Our – rather large – bedroom will be changed completely: starting point is our dark grey box spring bed. There are walls to cover and of course the bed will be full of quilts, plaids, pillows, stuffed animals etc. It is sometimes great to start all over again, ‘dressing’ a room from scratch. One source of inspiration was a special quilt book.
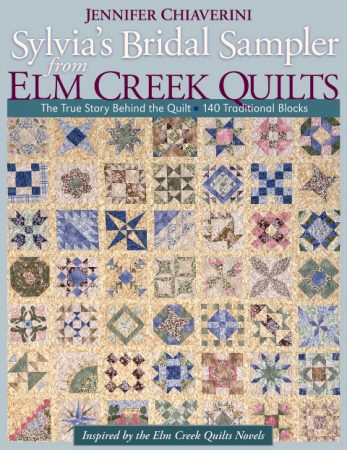
Many years ago – when I still had a quilt shop of brick and stone – this quilt book ‘Sylvia’s Bridal Sampler’ by Jennifer Chiaverini was very popular. This is what the book is about: ‘The staff of the fictional Elm Creek quilter’s retreat-and 72 of author Jennifer Chiaverini’s real-life friends-contributed 140 blocks to this beautiful sampler quilt that became Sylvia Compson’s (leader of the quilt club) wedding gift in The Master Quilter.’ All novels by Jennifer Chiaverini are still being read and the demand for making the quilt blocks, but especially explaining them in terms of technique – 6 x 6 inches finished size – is still there.
My special connection with this quilt book is – as you probable have noticed – that the leading character and I share the same first name: ‘Sylvia’. At the time it seemed this quilt was designed for me. That is why I gave classes back in 2009 and later, in my shop. But still I wanted to make the quilt (again), and so – by popular demand from many quilters from all over the world – I will, via this BERNINA Blog.
It is exceptional, working with a quilt book that old: it is still available for quilters who want to order it: I have purchased a couple of books, which can be ordered via my website: just use THIS link), or perhaps you own this book and it is lying on a shelf: find it and start making those wonderful blocks!
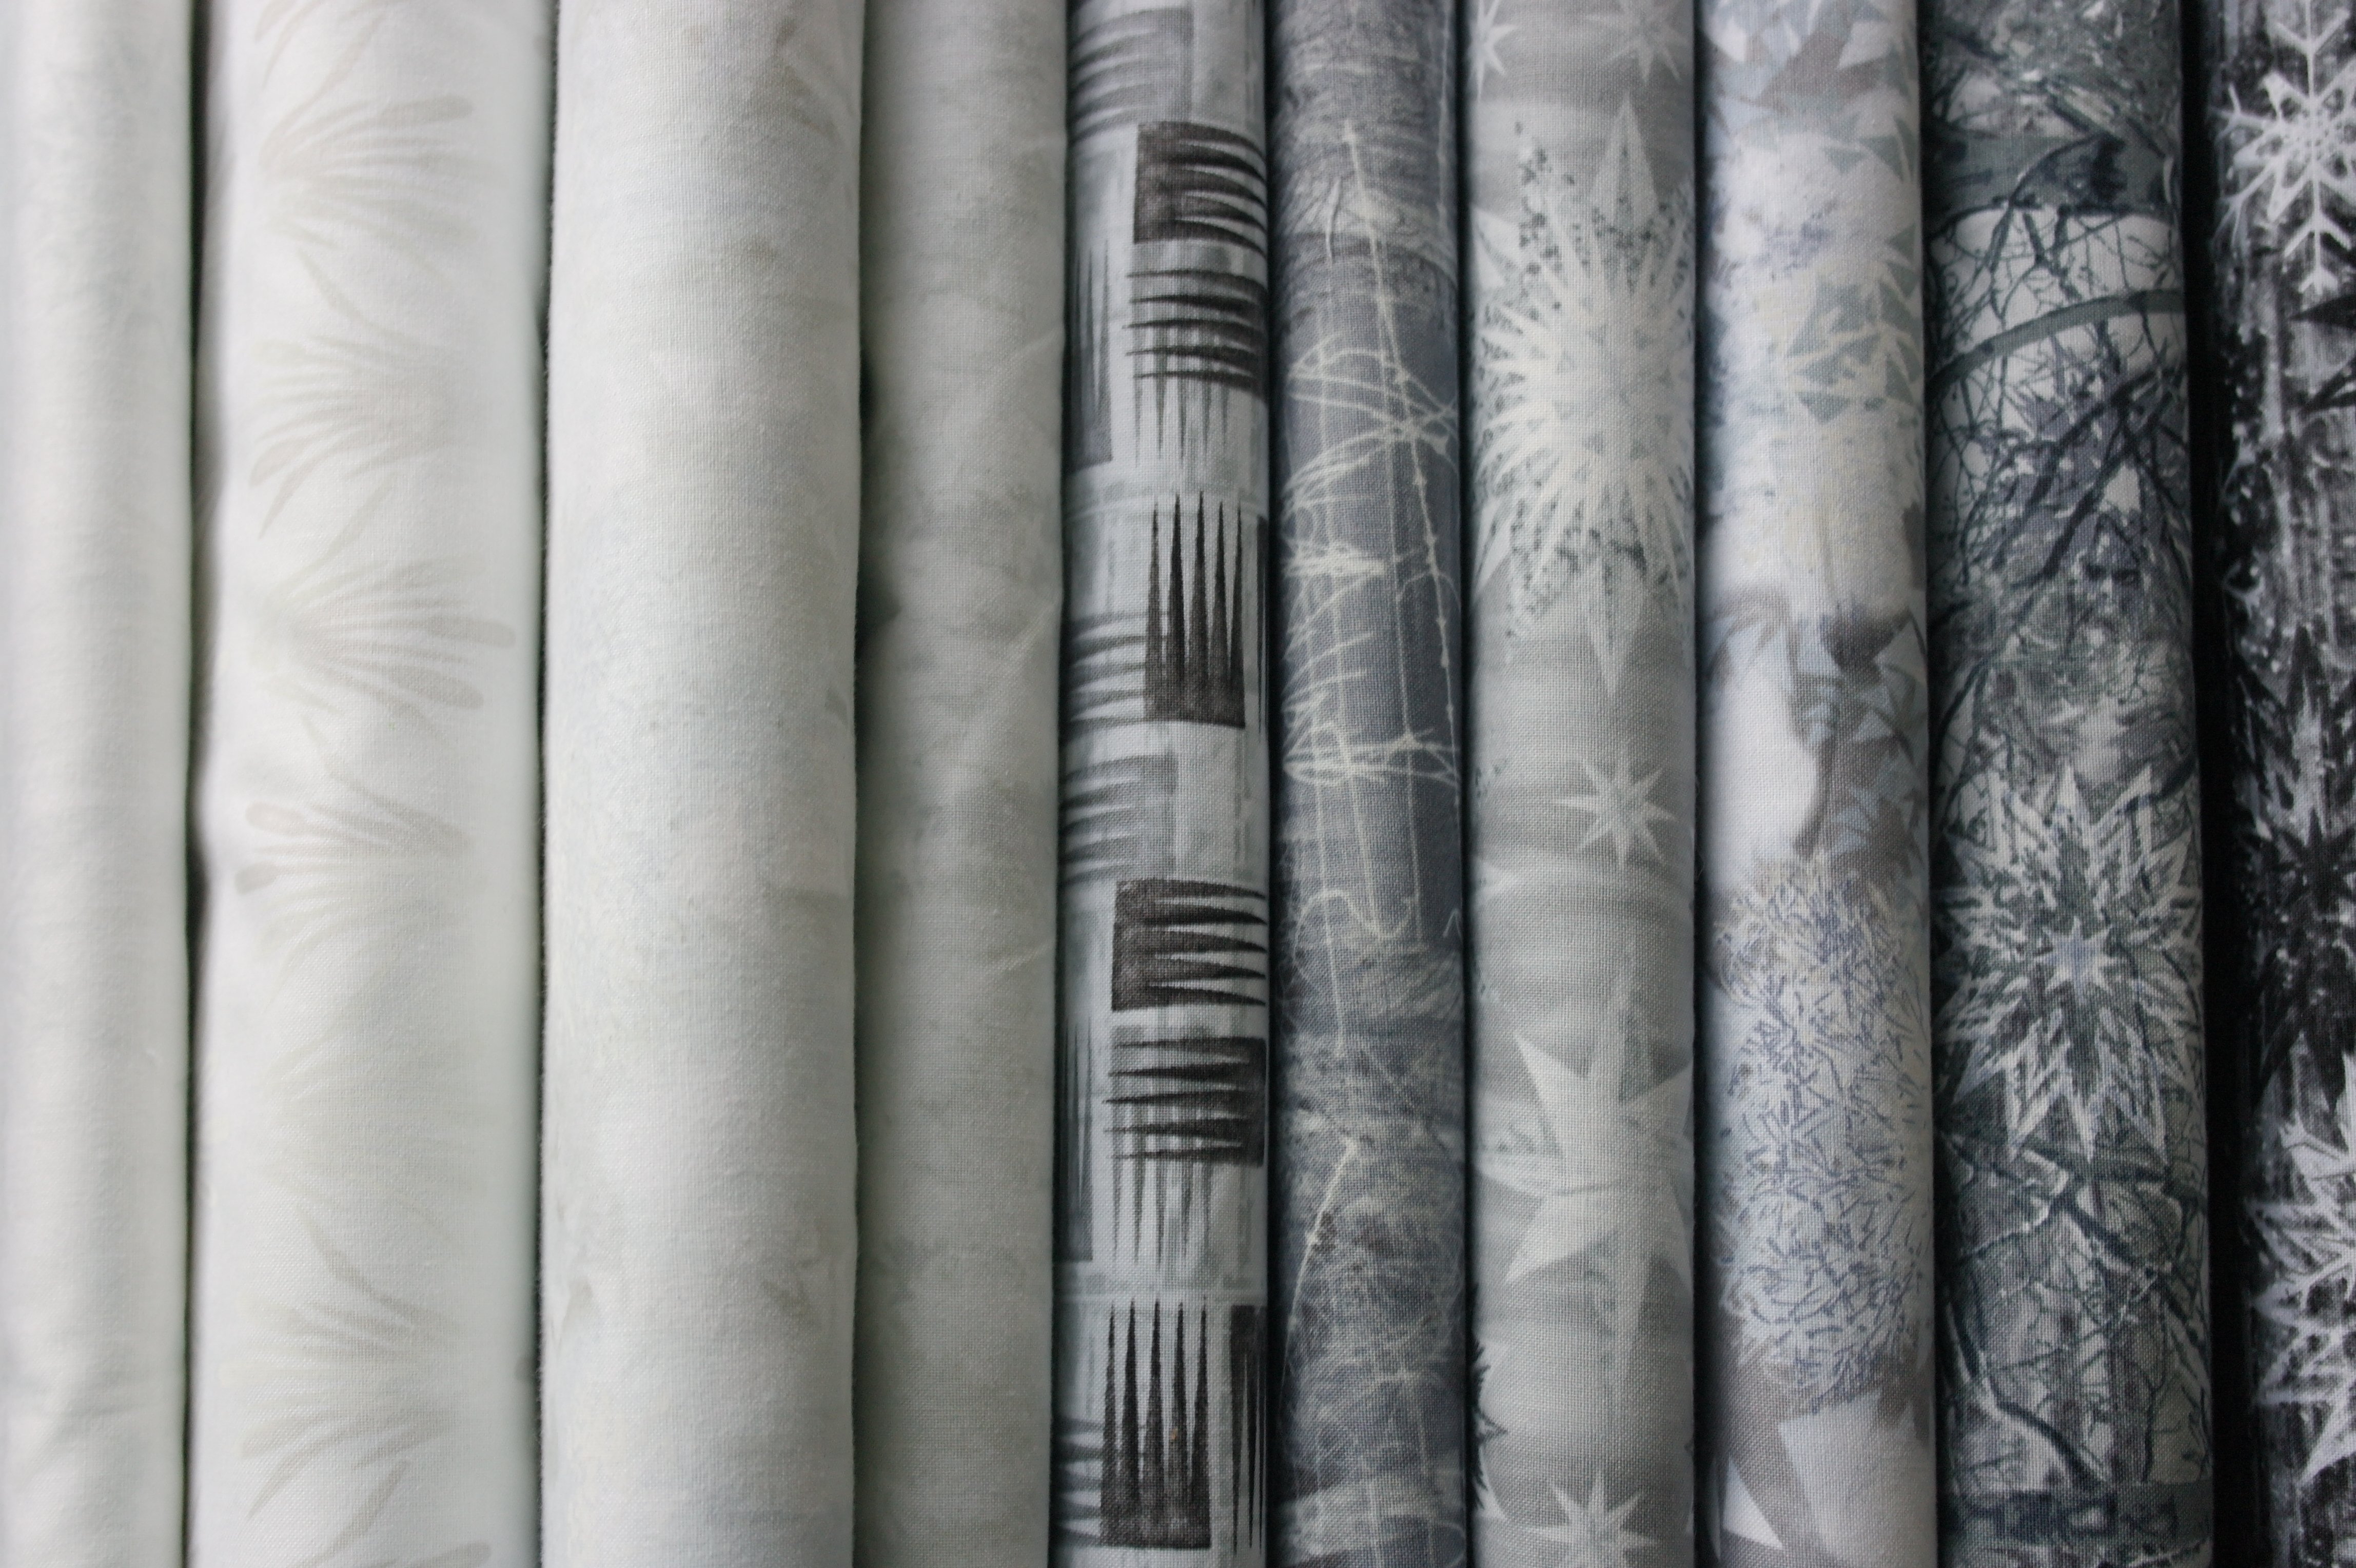
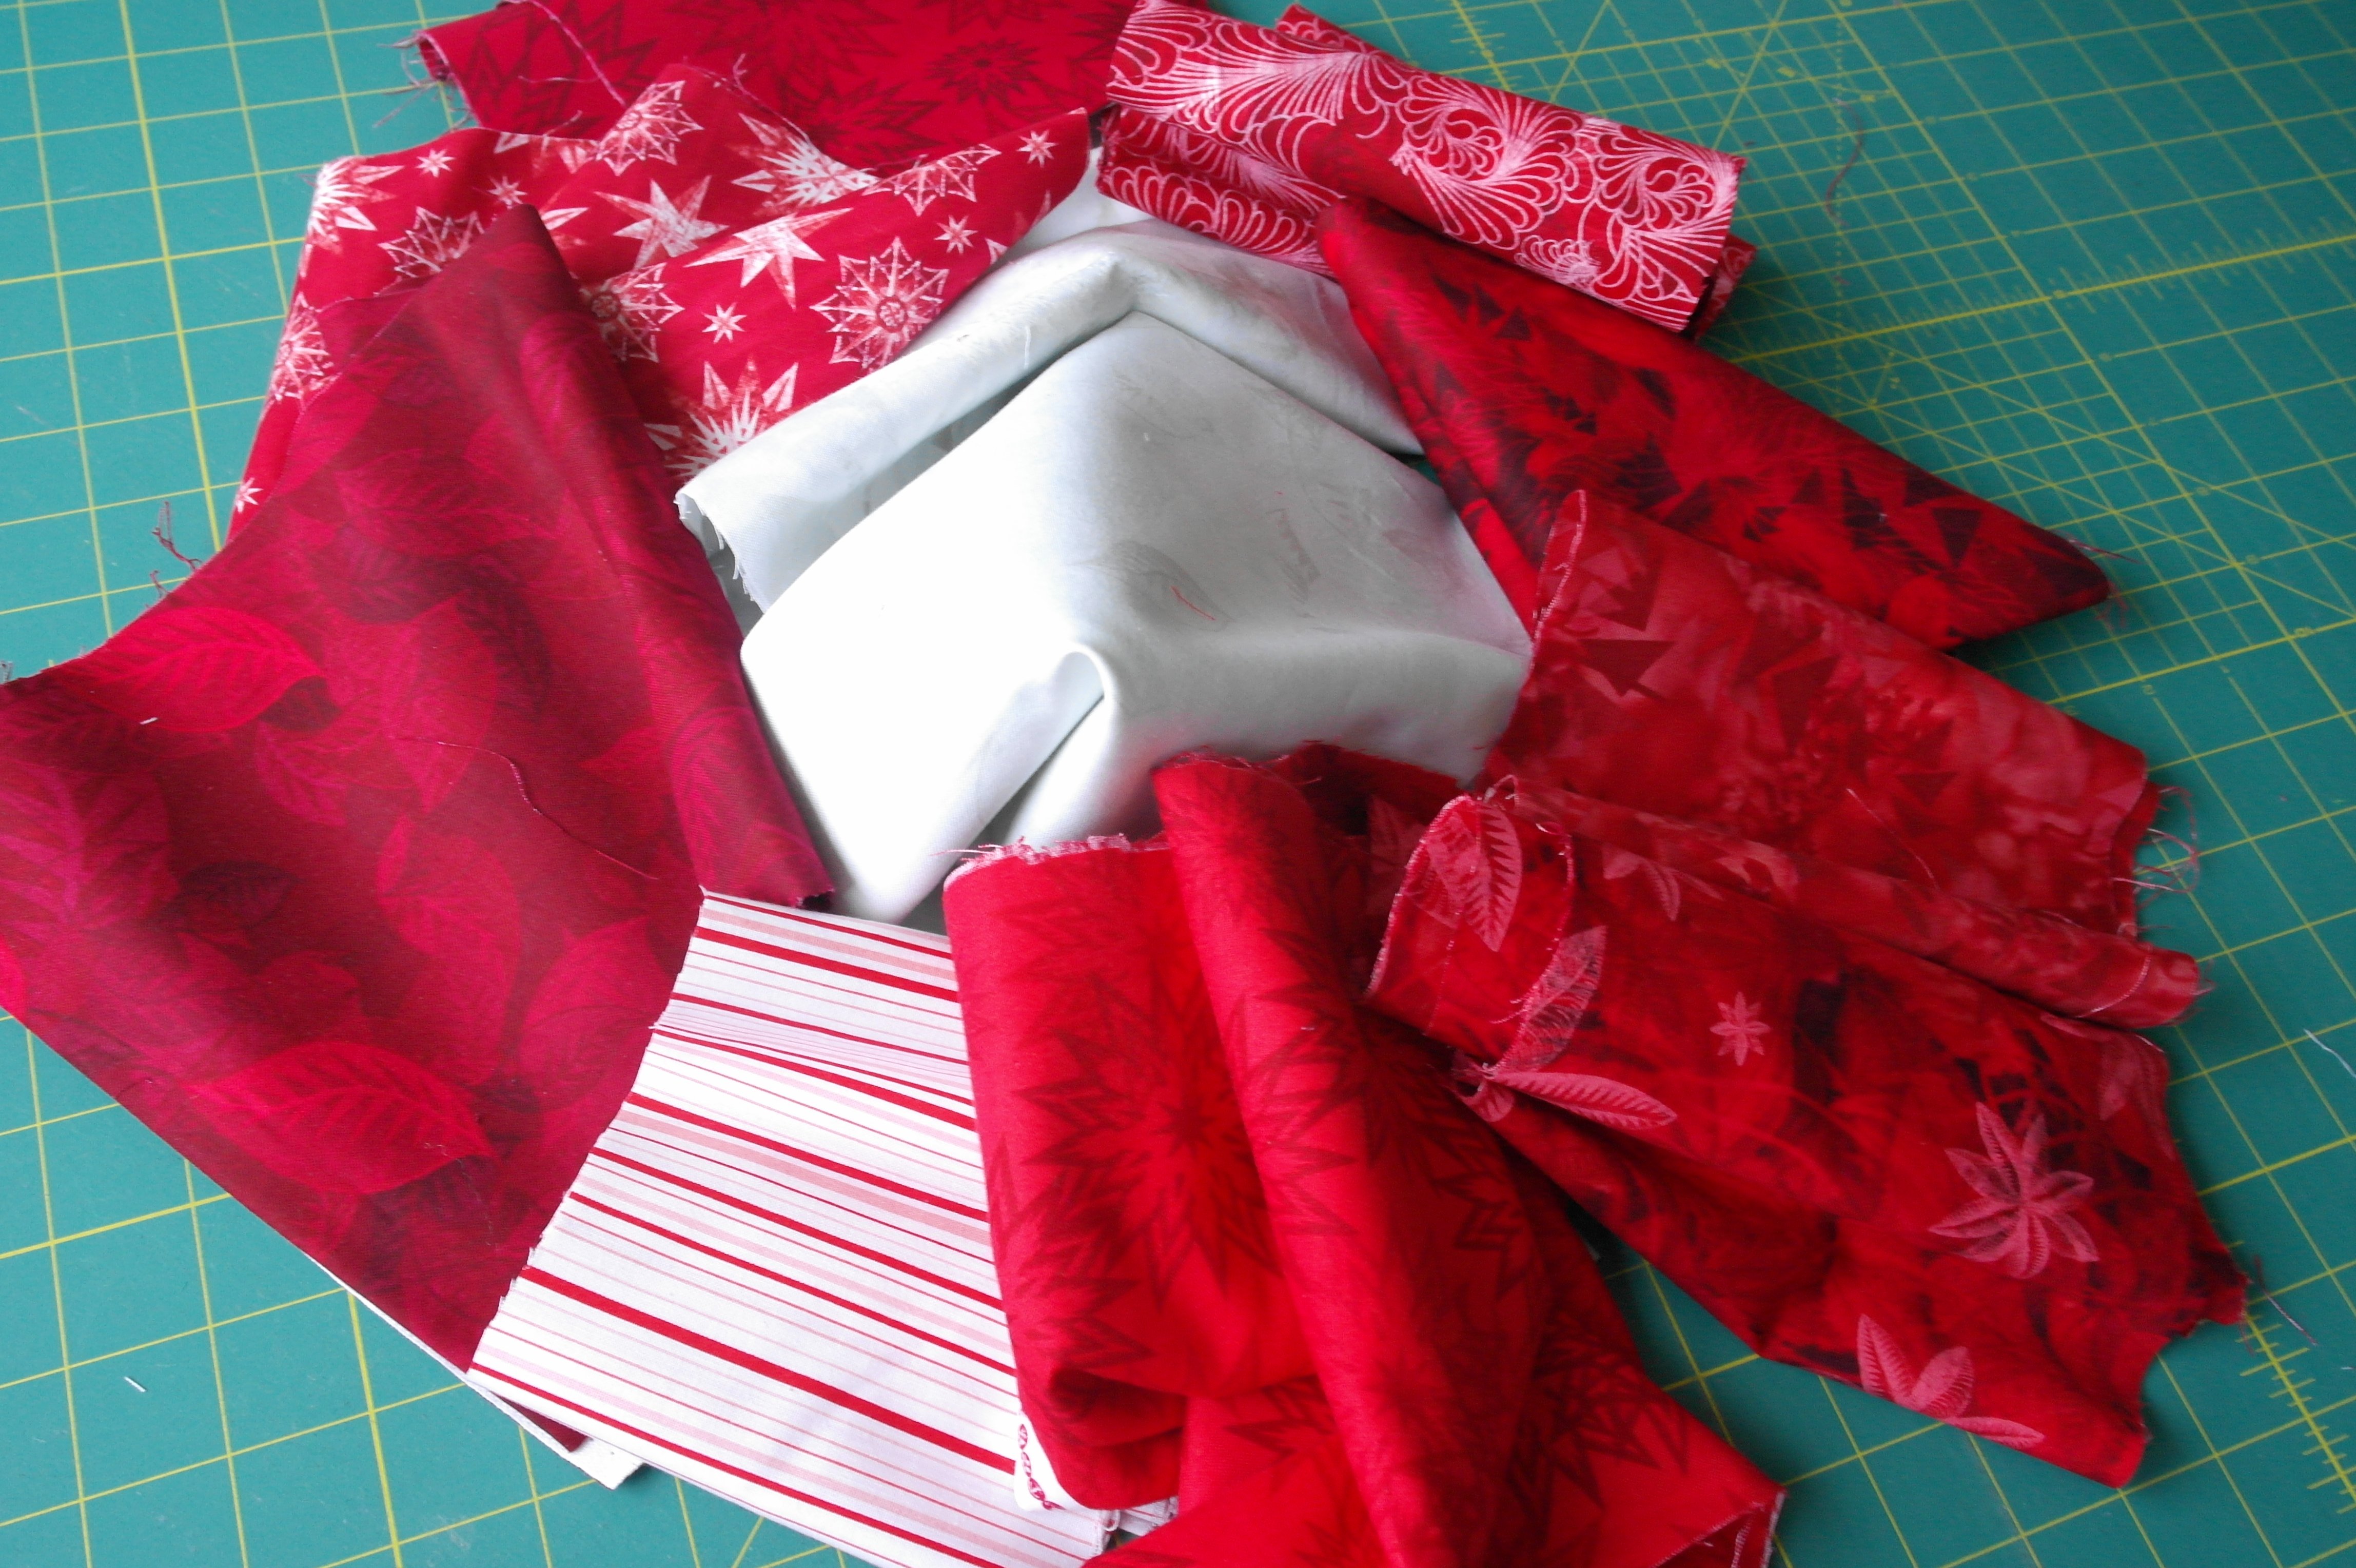
A lot of quilt fabrics with different prints are ready to start with: reds and whites, greys and blacks and combinations of these colors. Perhaps you have a collection of these colors too, or work with different ones. During this year many fabrics will find their way to my webshop, and I will work with additional prints. I don’t have to worry if they match the hues of the ones I’ve already used, because I will mix everything op block wise, before assembling the quilt.
I will use paper piecing techniques often. Sometimes blocks are already available for this technique, if not, I will change them and give you the directions to do so yourself. I will always refer to the book, so you will need that if you want to do make the quilt blocks. If you don’t own the book, ask your quilt friends, or your local quilt store, or order them from my webshop (link above).
What you need to start.
- The quilt book ‘Sylvia’s Bridal Sampler from Elm Creek Quilts’
- Quilt fabrics: I have collected red/white/grey and black, but you can work with any color(s)
- Add-a-Quarter ruler for paper piecing (foundation piecing)
- Folding template for paper piecing (foundation piecing)
- Rotary cutter
- Cutting mat
- Quilt ruler with inches
- Bohin Glue Pen
- Pritt or Uhu glue, water soluble
- Printer paper (as thin as possible) for Foundation Piecing
- Fabric scissors
- Pen
- Heat’n Bond Lite
- Iron and ironing mat
- some additional materials, mentioned later
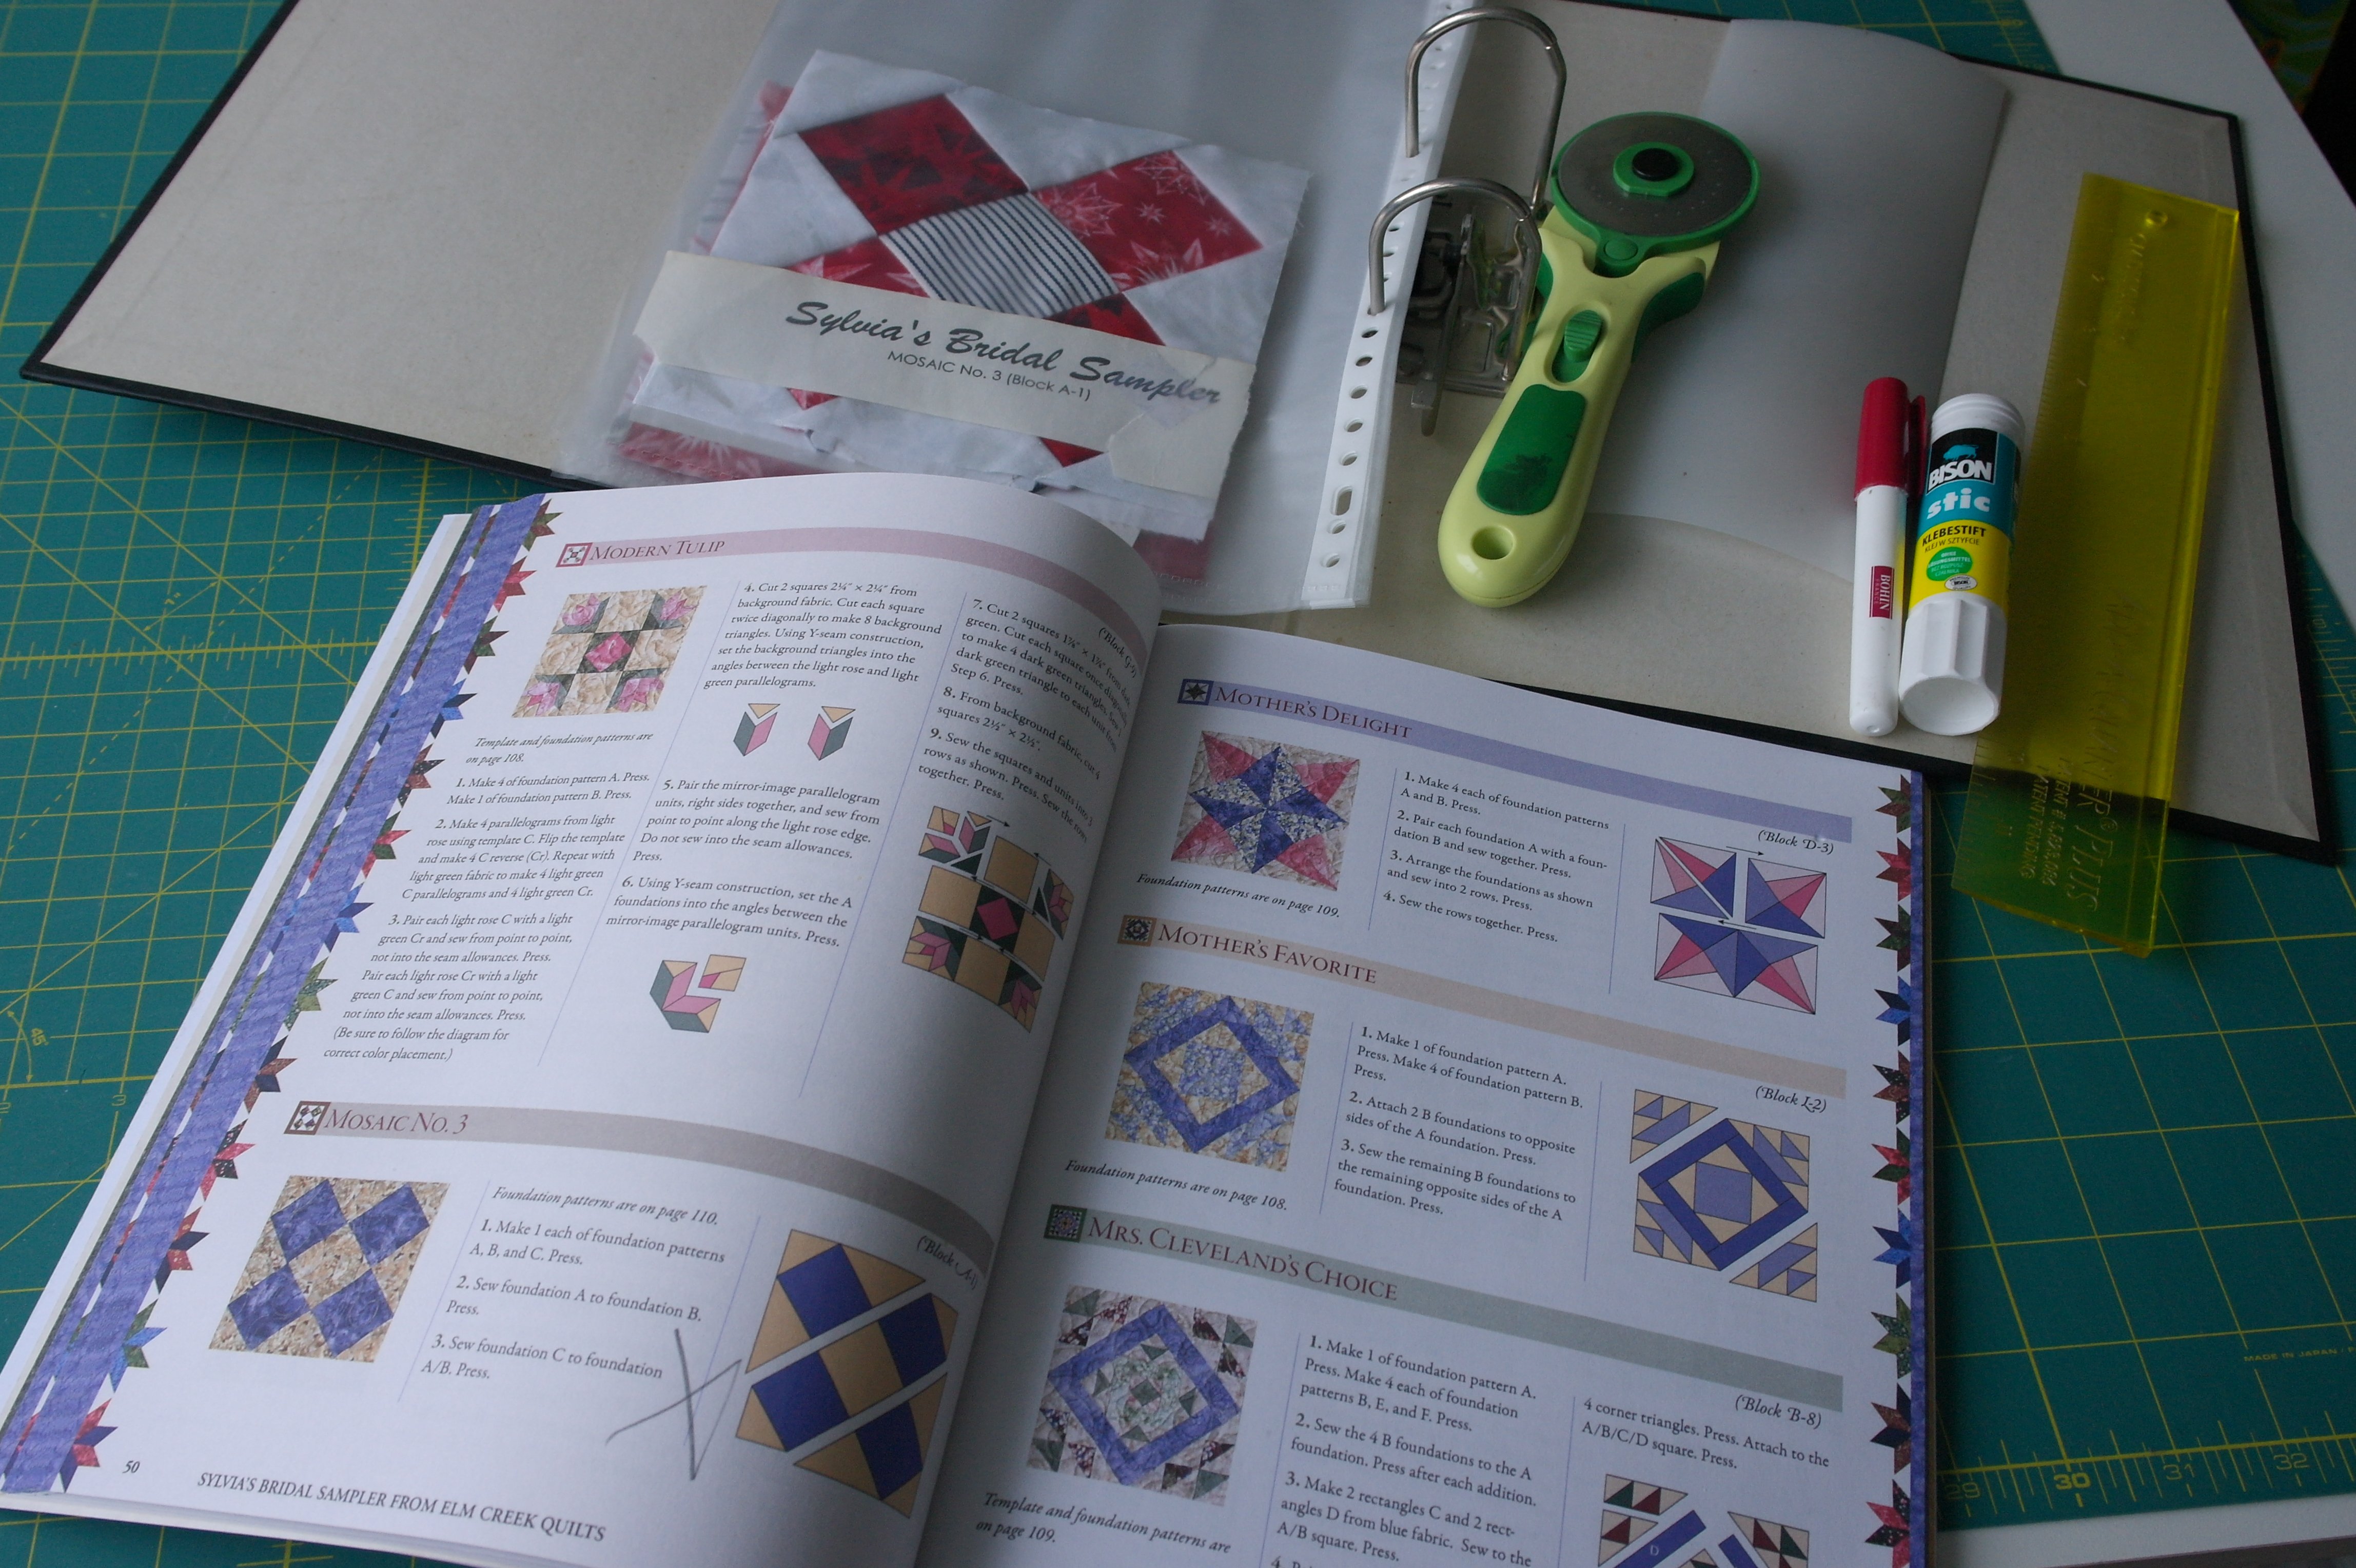
I have found a binder to stash the separate blocks, with their number. That gives me an overview, to know which fabrics and color combinations I have used. I will assemble the quilt using sashings between each block, choosing my own layout.
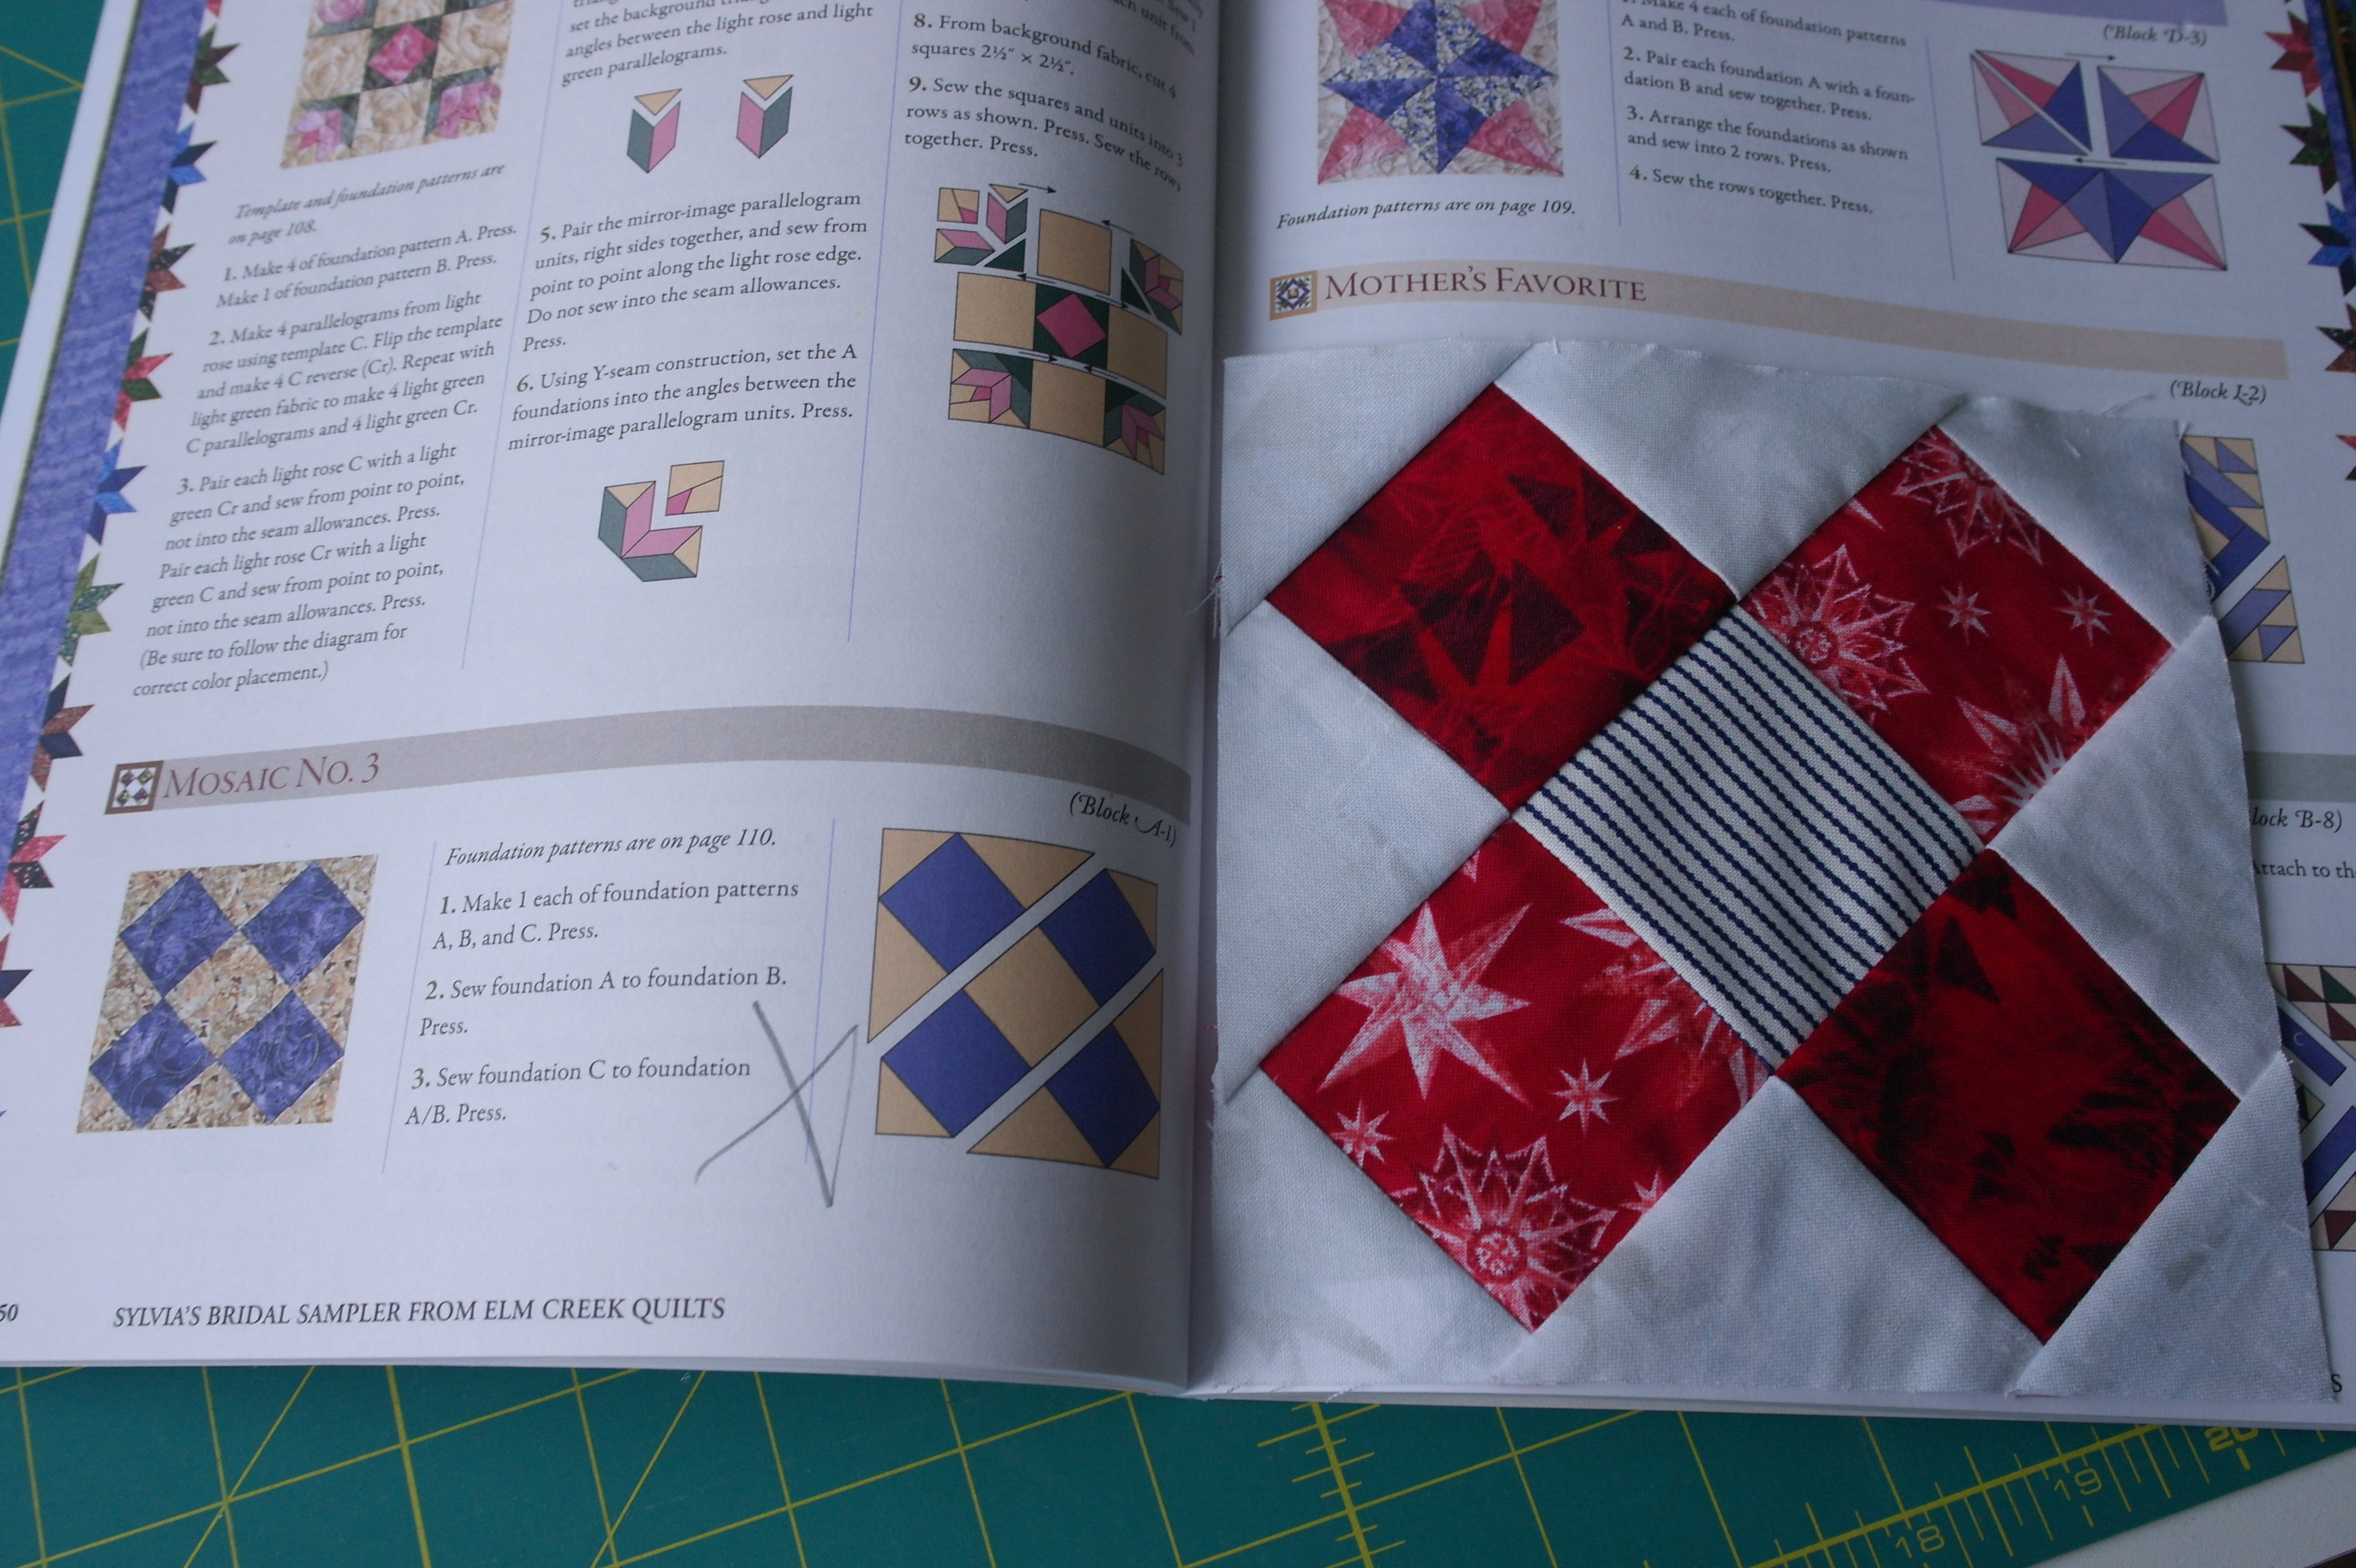
Of course I couldn’t resist making the first block: A1. TIP: you will find a Block Index at the back of the book, page 122*. All the numbered blocks and the page where they are explained, can be found there. Block A1 is on page 50, the Foundation pattern on page 110. This block is already designed for paper/foundation piecing: the pattern can be scanned and printed. Follow the directions of page 50. It has 3 parts, each with 1/4 inch seam allowance. Make this block via the directions to get a finished size of 6 x 6 inch, which will give you a total measurement of 6 1/2 x 6 1/2 inch, seam allowanced included.
For the record:
The finished size of a block from this quilt book should always be 6 x 6 inch. This is the size when measuring blocks after they have been sewn to sashings, or are already in the quilt, but before quilting (quilting makes blocks shrink, depending on the density of the quilt patterns).
A size of 6 1/2 x 6 1/2 inch always includes seam allowances, after a block is finished but is NOT sewn between sashings.
Always measure your blocks after ironing them on the back.
The first blocks…
As you can see with the picture above, I will cross off each block in the book, after finishing it. I will do this not just with the directions, but also with the Block Index, just to see what is left to do.
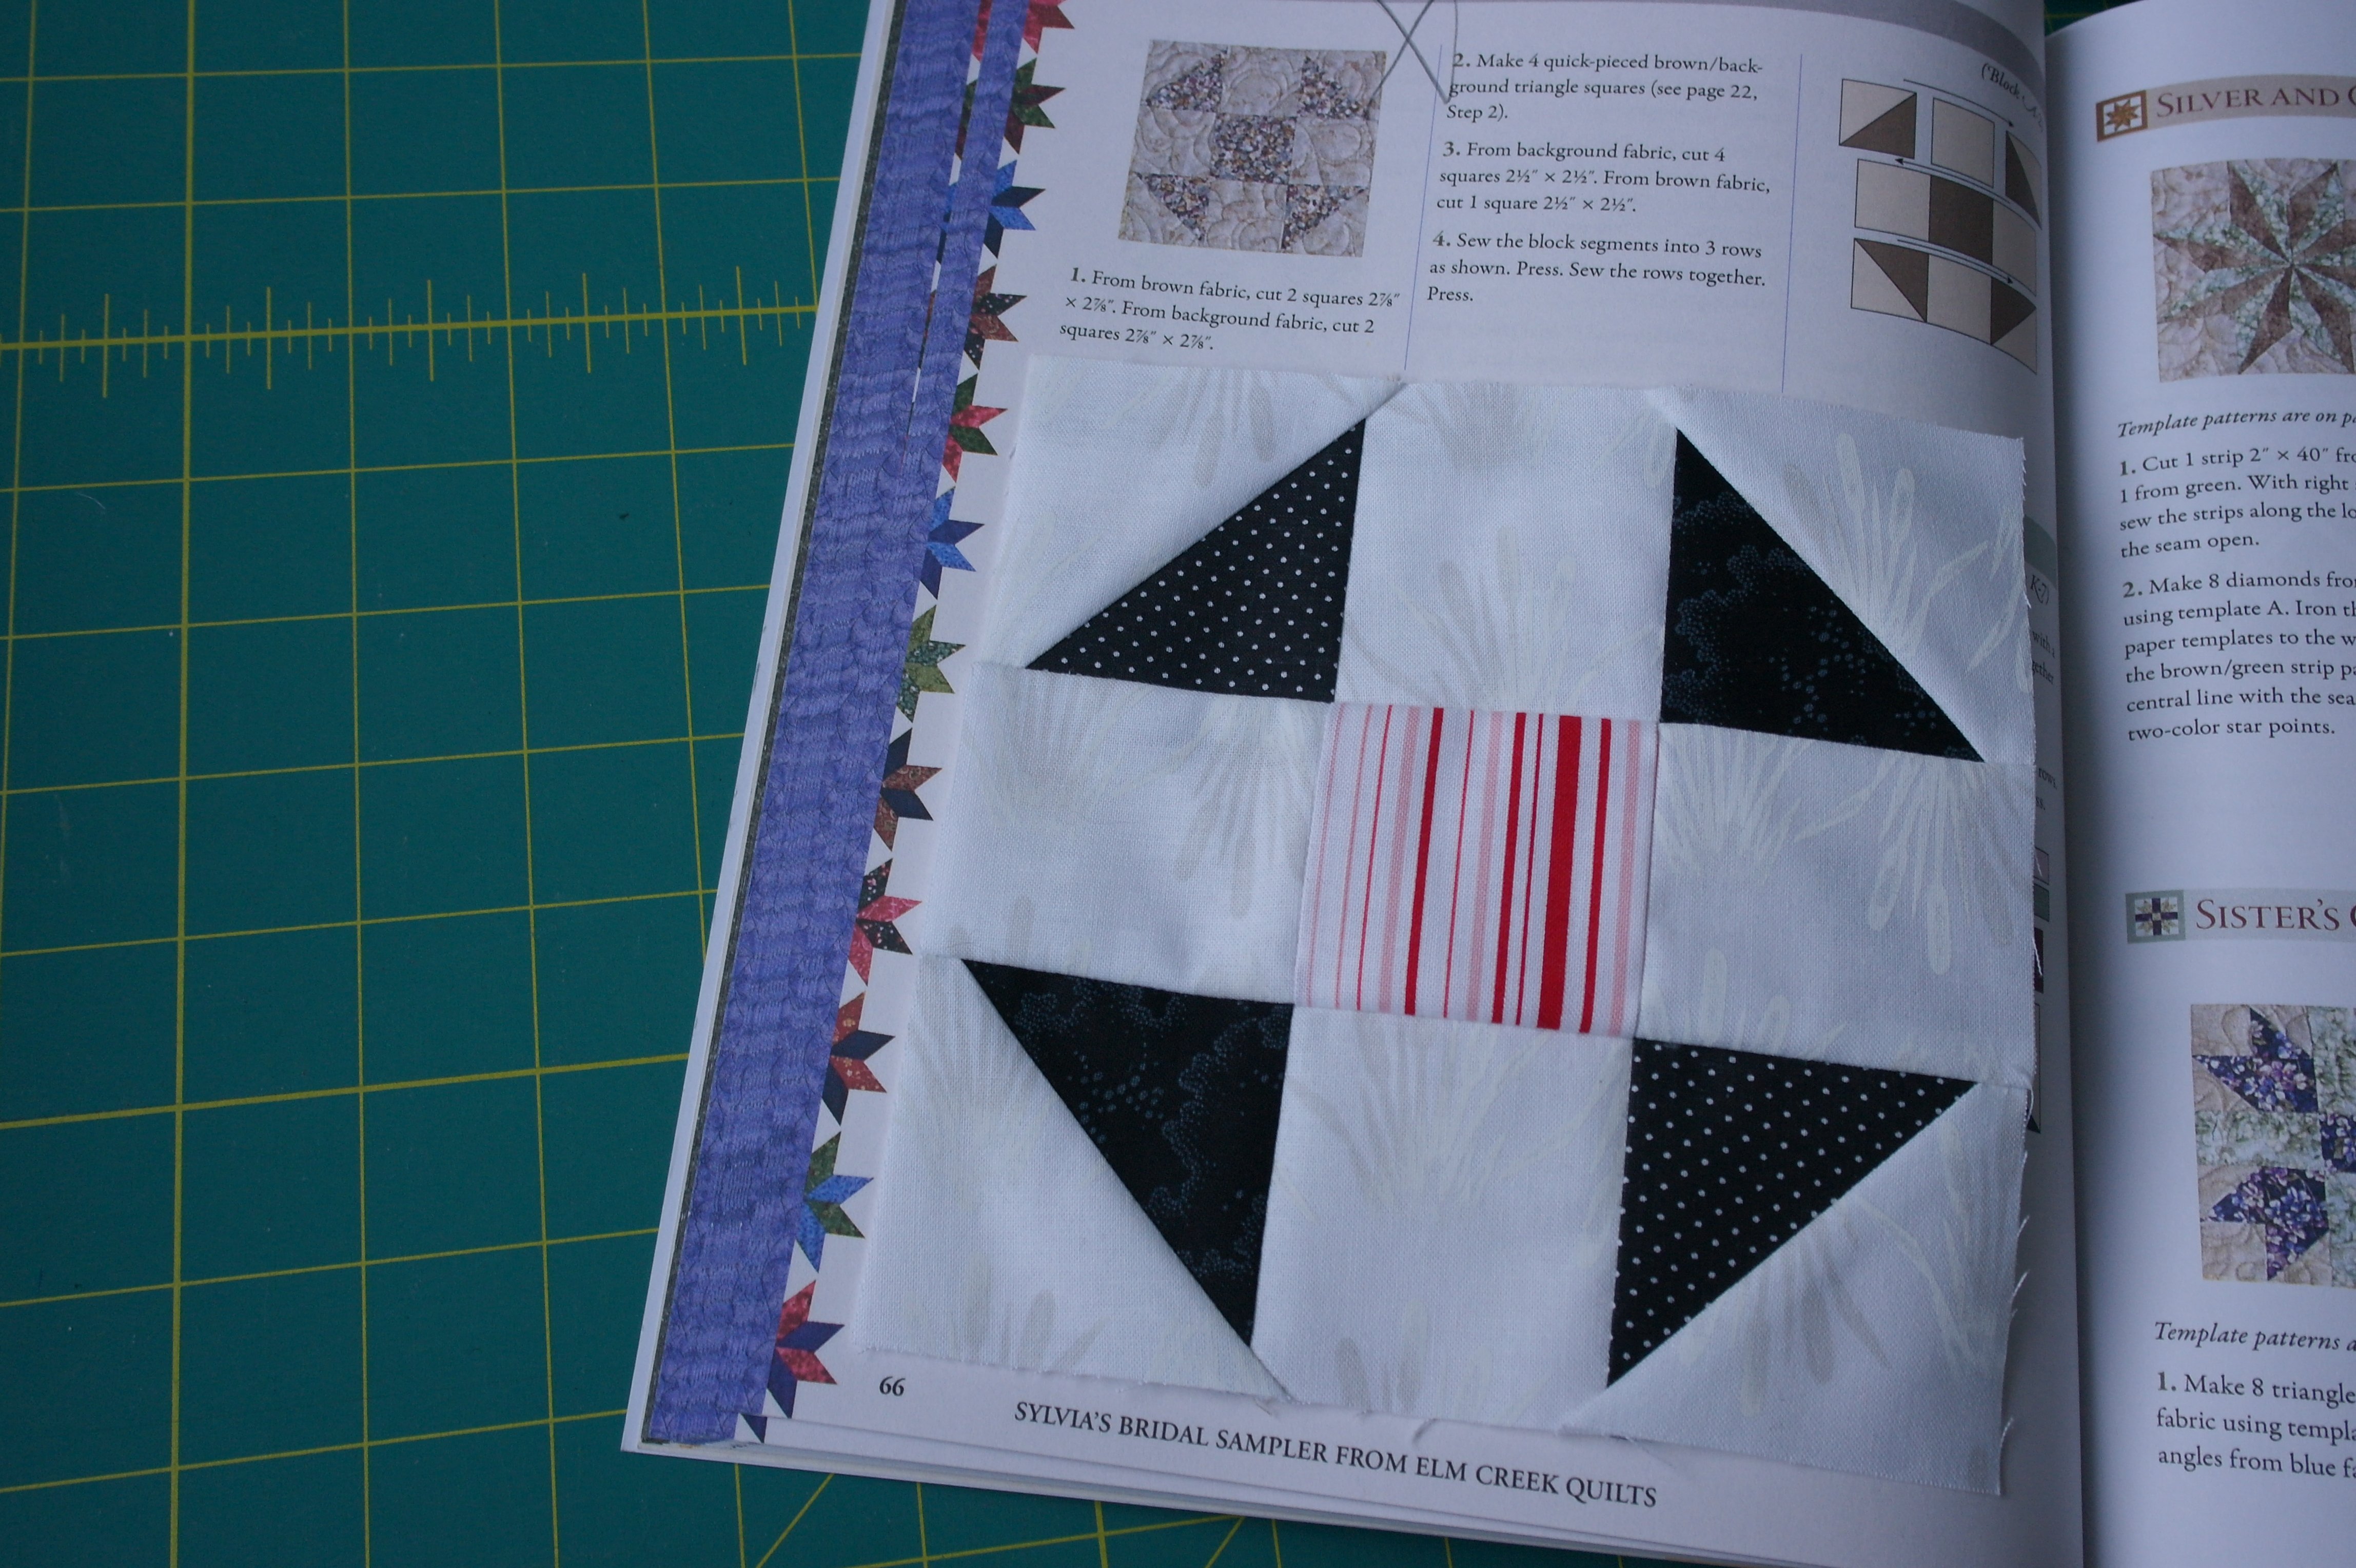
And my second block is ready too: A2, directions on page 66. This block is made via traditional patchwork, cutting pieces of fabric on certain sizes. That should be done very meticulously, otherwise the different pieces won’t fit. You will cut squares 2 7/8 x 2 7/8 inch and other sizes, before making triangles: directions can be found on page 22 how this technique works.
Do you want to make this A2 block via paper piecing too, just like I did? Then look for the next episode of this series: I will explain it there. See you then!
Sylvia Kaptein
Sylvia’s Art Quilts Studio
Missed a Blog post? Don’t worry: you can always find it back on this BERNINA Blog. They will stay here, so you can look back at all the posts about my serie ‘Sylvia’s Bridal Sampler, in red, white, grey and black’ which will be posted in different parts, throughout this year.
*This should actually be page 126, but is printed 122 by mistake in my book.


I loved making this quilt. It is a favorite of mine. I made mine scrappy with happy fabrics.
While I love modern quilts I also love traditional! Many quilters do! I’d love to see more of Silvia’s Bridal Quilt here! Just because it is from some time ago doesn’t mean it isn’t still loved by many!
Dear Margaret,
If you love her Bridal Quilt, you can go on Sylvias Profile and check out the 9 Parts she wrote if you scroll down: https://blog.bernina.com/en/author/sylviakaptein/
She has stopped writing articles since a year, but if you are looking for traditional blocks, then our Old Block Quilt Along is also perfect for you! In case you have not heard of it yet, just follow this link:
https://blog.bernina.com/en/tag/overview-patchwork-old-block-quilt-along/?filter=date
Happy sewing! Ramona from BERNINA International
Still working on my SBS, but no longer via the BERNINA Blog. The posts that are available were to help quilters on their way, to show them the posibilities. The BERNINA Blog has changed with more modern patchwork, not so much traditional patchwork. Perhaps later this year I will show more blocks.
Thanks so much for bringing back “Sylvia’s Bridal Sampler”! I have tried to get interested in the Dear Jane quilt and have made a few blocks, but I really prefer the romance and history of traditional block names. Several years ago I participated in an online Yahoo group that was block-of-the-week for Sylvia’s sampler, but they disbanded a couple of years ago. I am so glad to see this post! But the last post was in March of 2020? I hope that the coronavirus has not killed this project as well. Please let me know, thanks!