 BERNINA Corporate Blog -
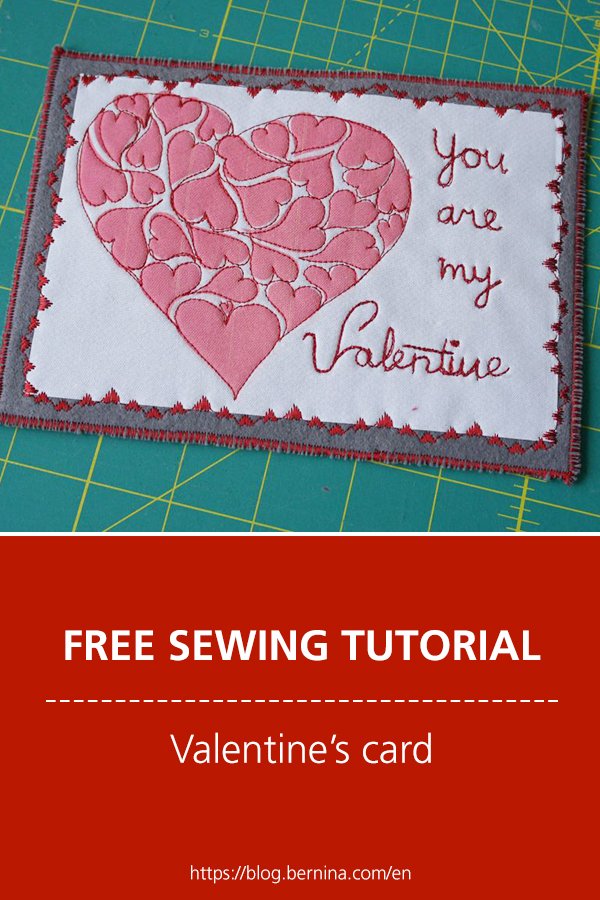
Do you need a Valentine card quickly? Create one yourself, fast and easy, with hearts of course!
In my Blog from October 4 2017 I have shown how to create your own birthday card with an eagle. At a similar way I will show you how to create a card with hears. Not to complicates, to get it done on time.
What do you need?
- A picture or Clipart image with hearts – there are multiple vector images to download, via Free Clipart. I have downloaded hearts within hearts, placed one larger image and a smaller (mirror) image on the size of a sheet of paper, for you to download them HIER if you want to move fast. Otherwise you can search on the Internet for a different image.
- PhotoFabric Cotton Poplin – to transfer an image/Clipart onto fabric. I had one sheet left; that’s enough for the card.
- Sulky Rayon 40 – machine embroidery thread (or different threads). You don’t need much: a remnant on a spool will be OK.
- DecoBob/Wonderfil bobbin thread in matching color.
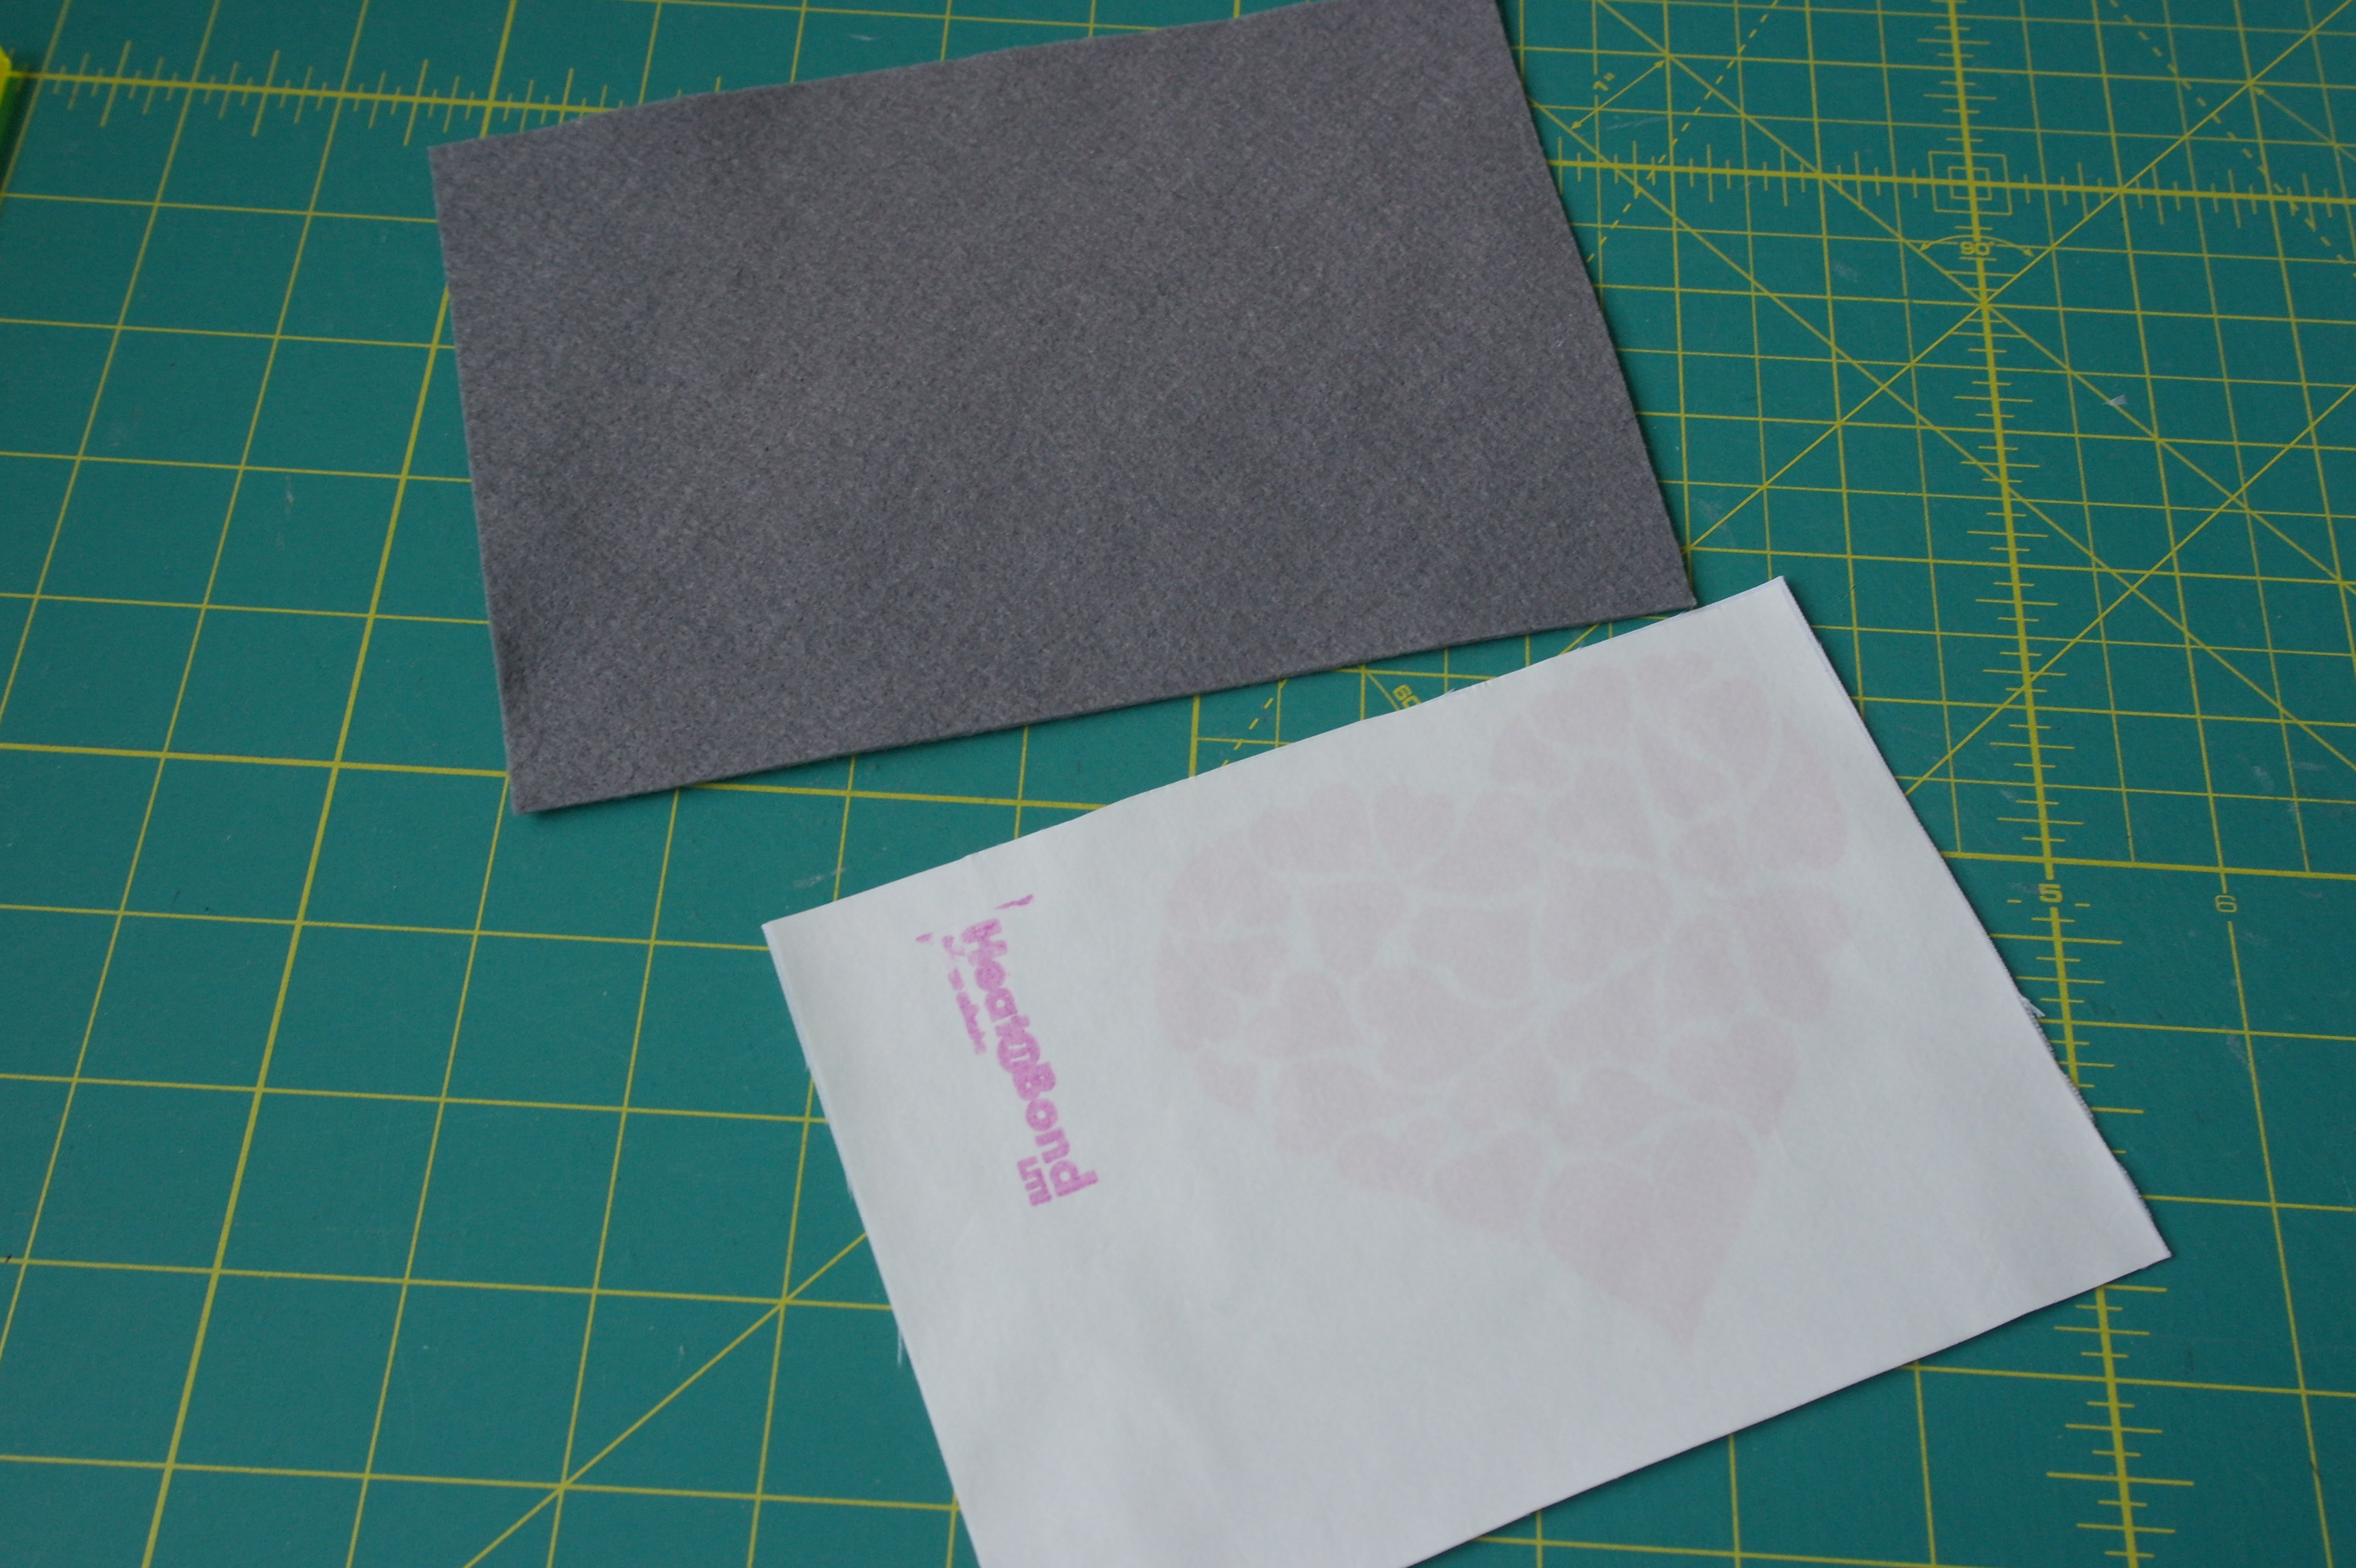
- Piece of thin felt, the size of your card + extra. Better to cut larger, and cut it back afterwards.
- Another piece of felt, of the same size. If you are working with remnants, you can use a different color if you want to.
- Bohin Glue Pen
Voorbereiding
- When you’ve downloaded your own image/Clipart via ‘Free Clipart’, you can edit it via your Paint or PhotoShop etc.
 Place a grid around the image the size of the felt, and move it until it is placed on the right spot. You can check my Blog of October 4 2017 how to do this. If you want to send the card via a regular envelope, measure that, subtract 1 cm from top and one size to be sure the card will fit.
 - You can add a text in Paint/Photoshop, if you want to. Choose a fitting font.
- If you don’t want to edit the hearts or text, just download my hearts via the .pdf. Read the directions for transferring it onto PhotoFabric Cotton Poplin – be sure there is enough space to add text while quilting.
Printing the .pdf
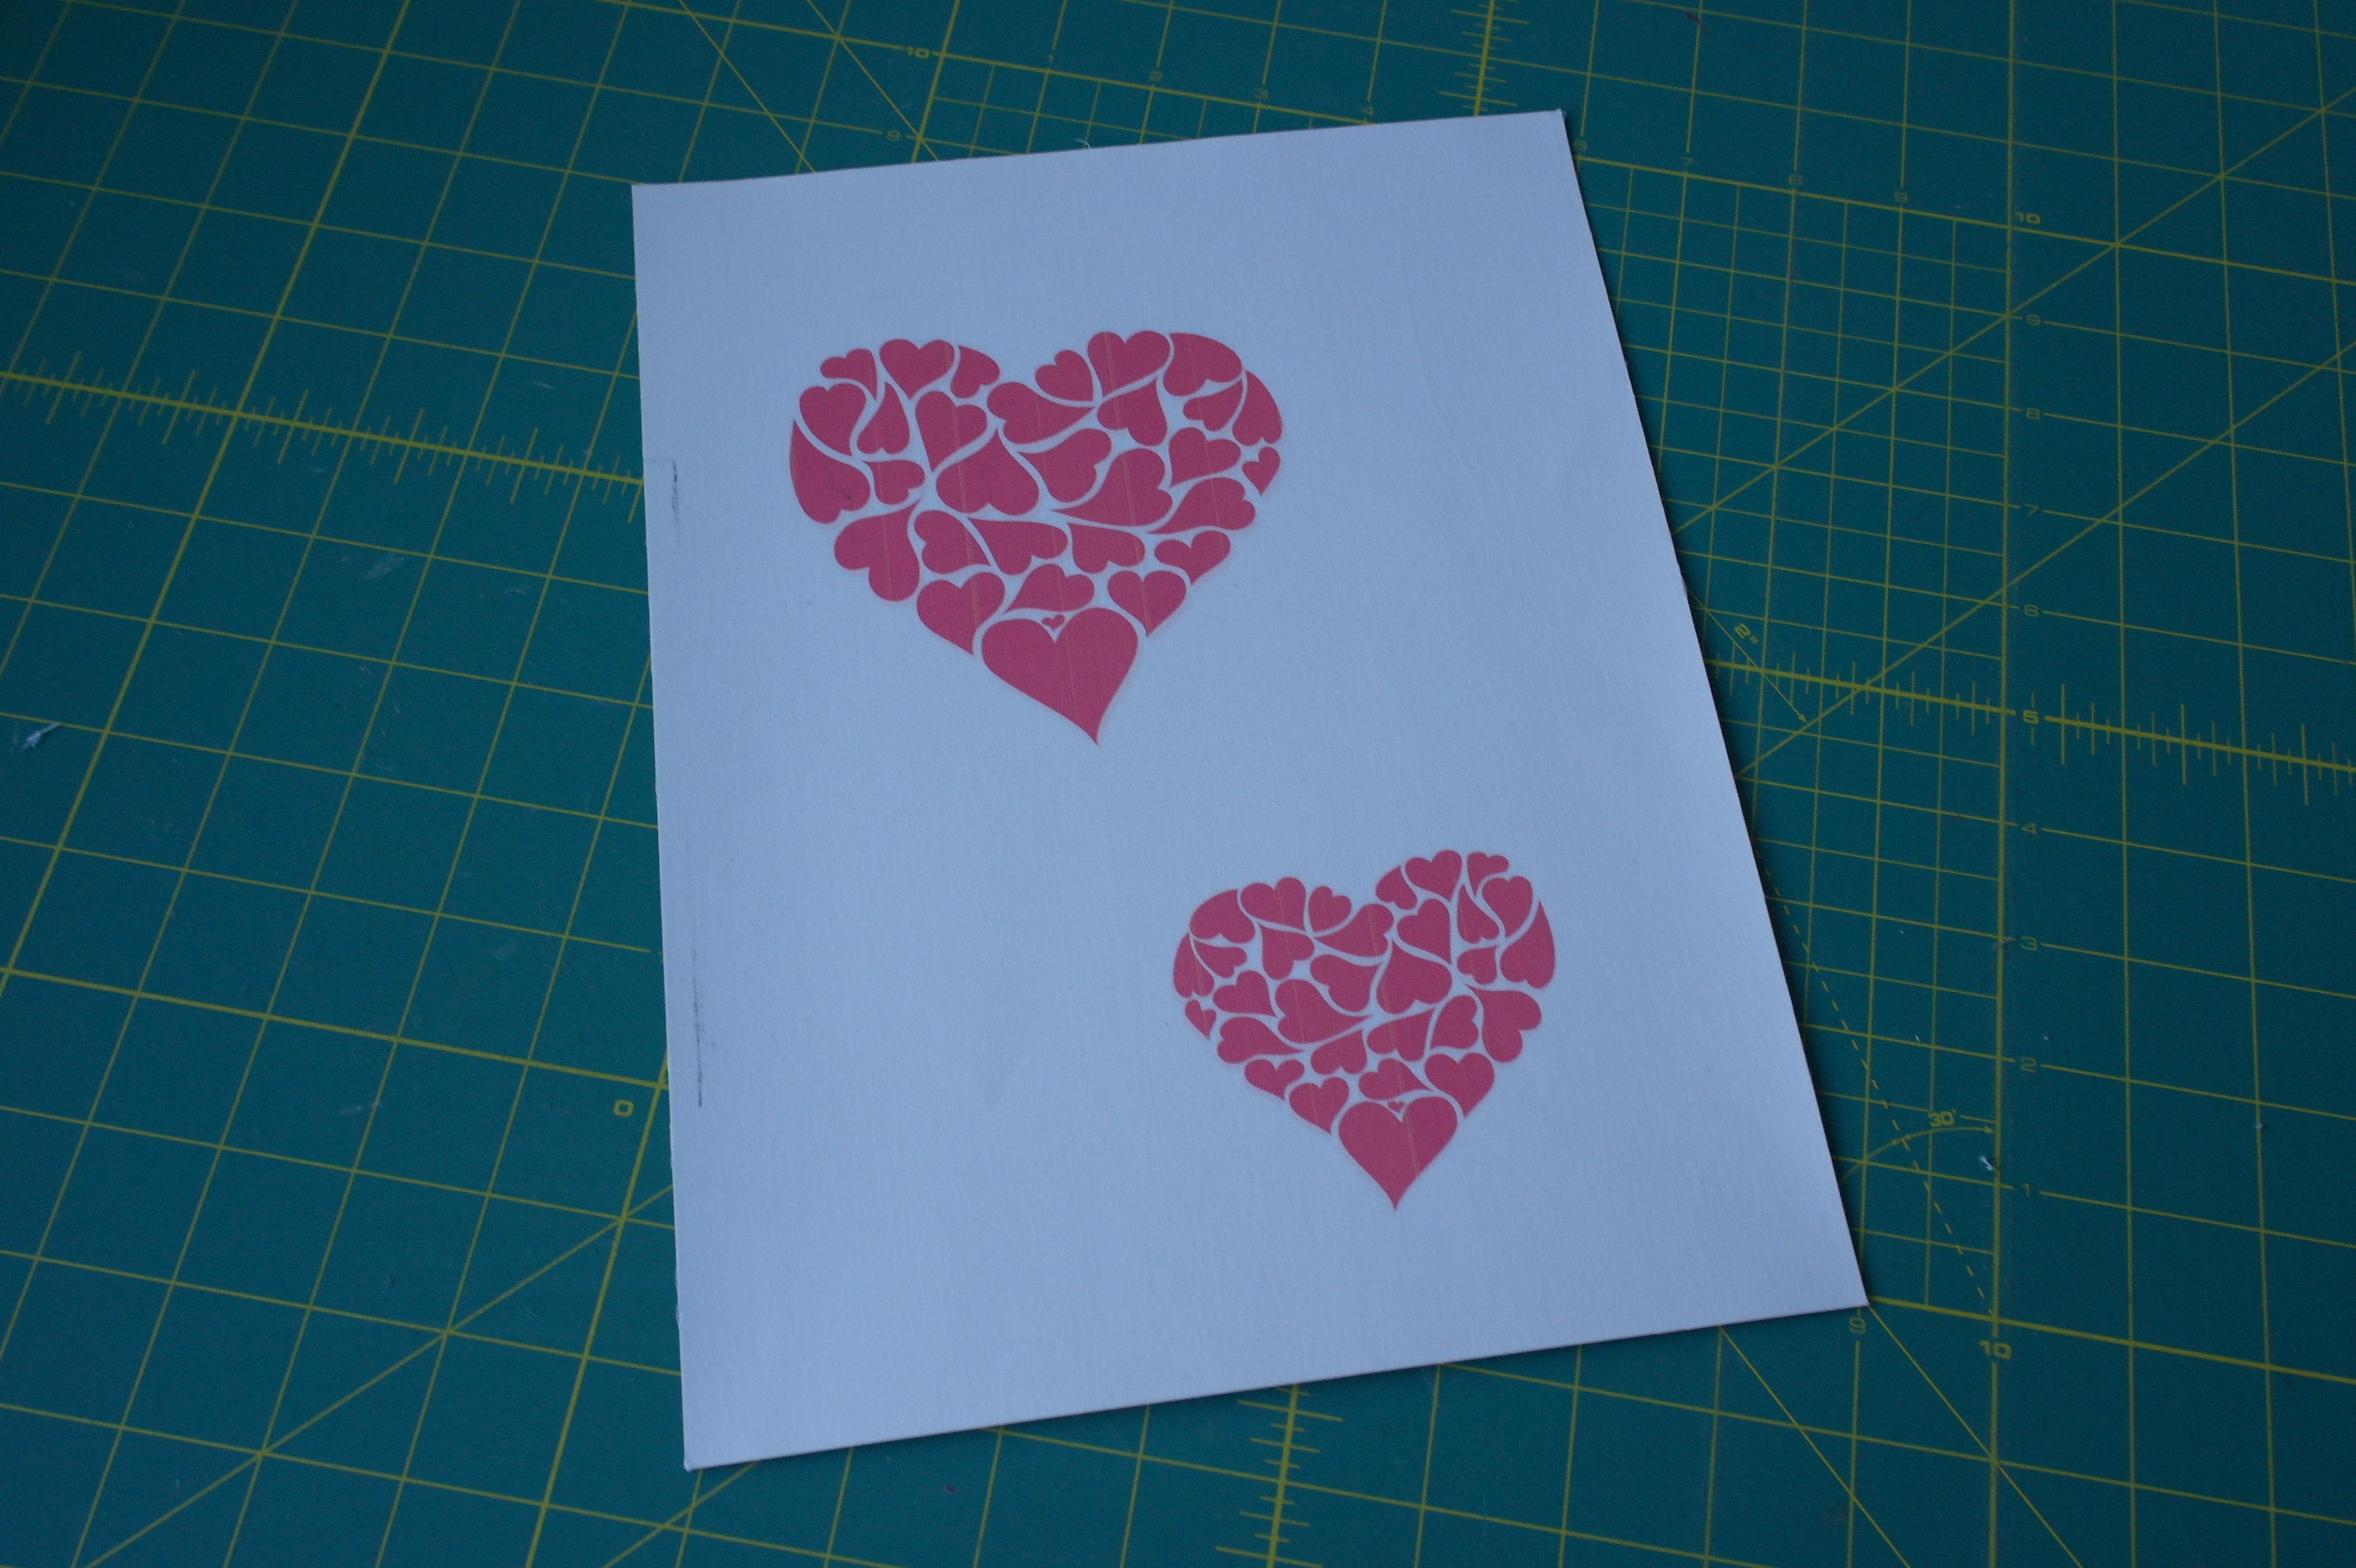
Print the .pdf – 100% size – and let it dry completely. No ink should run/bleed.

Peel the paper backing away: the fabric is what you will use.
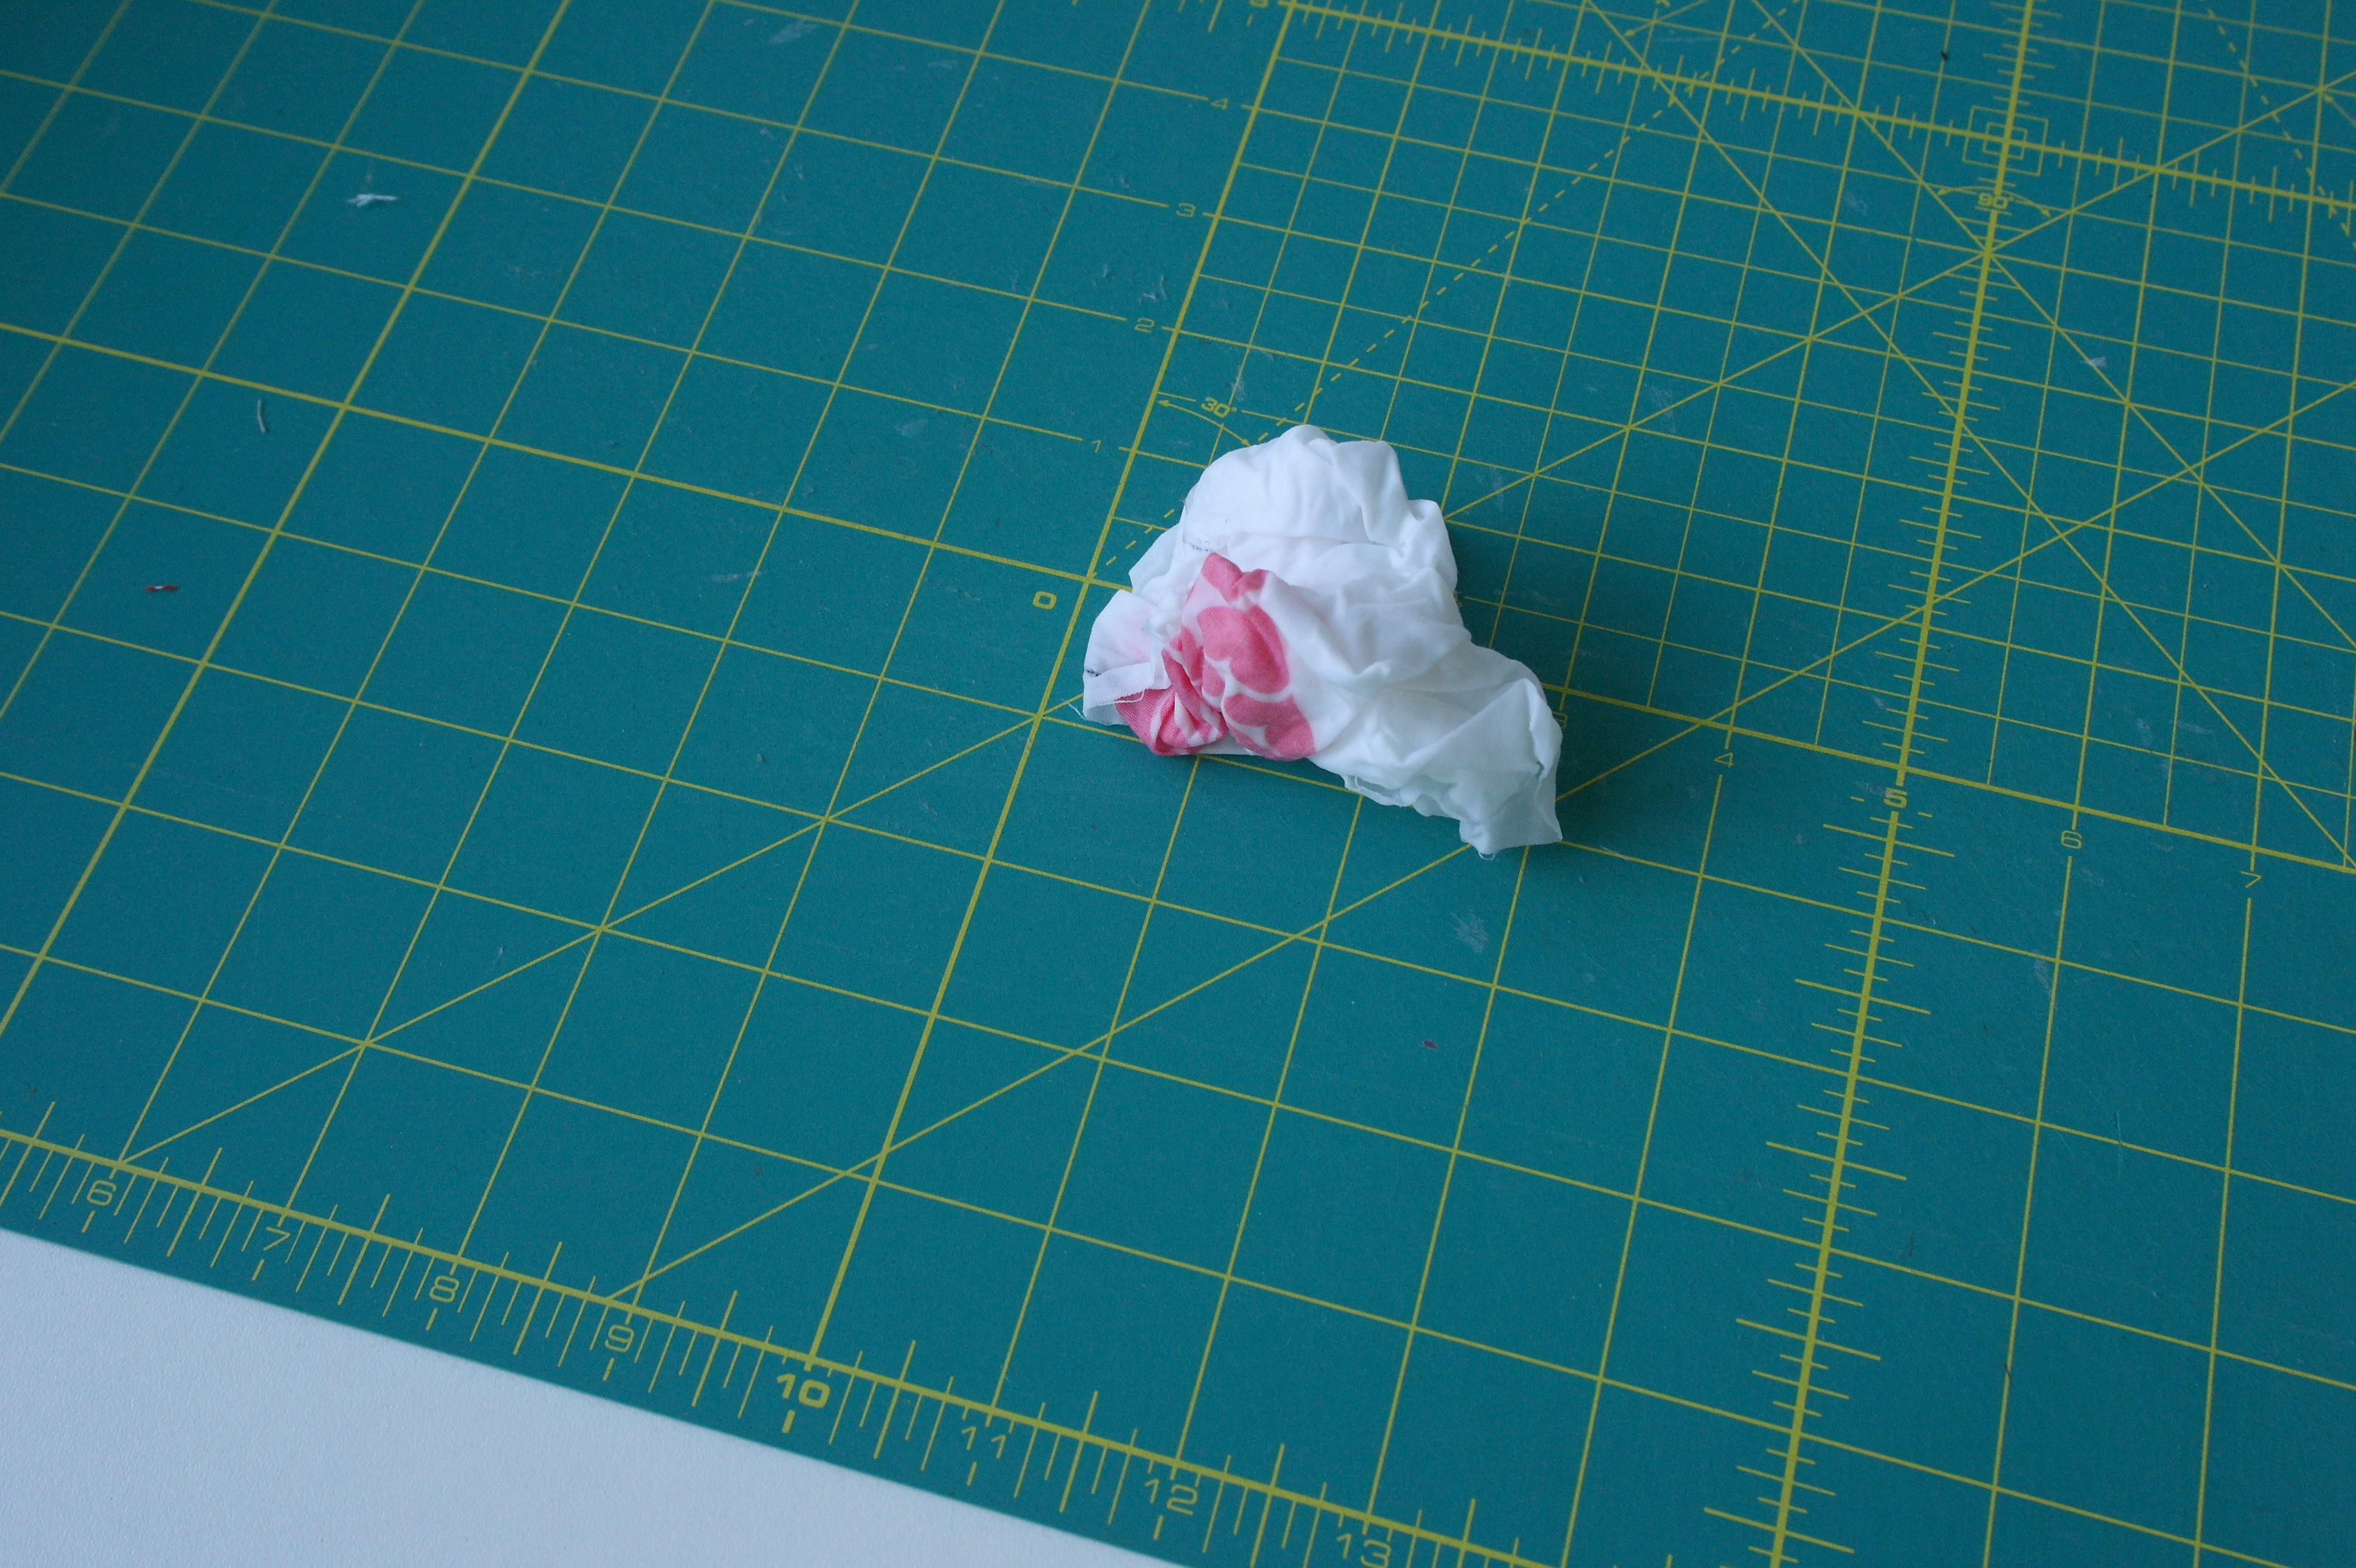
Rinse the fabric approx. 30 seconds, under running tap water until the water runs clear. I have squeezed the fabric after rinsing, to remove the water.
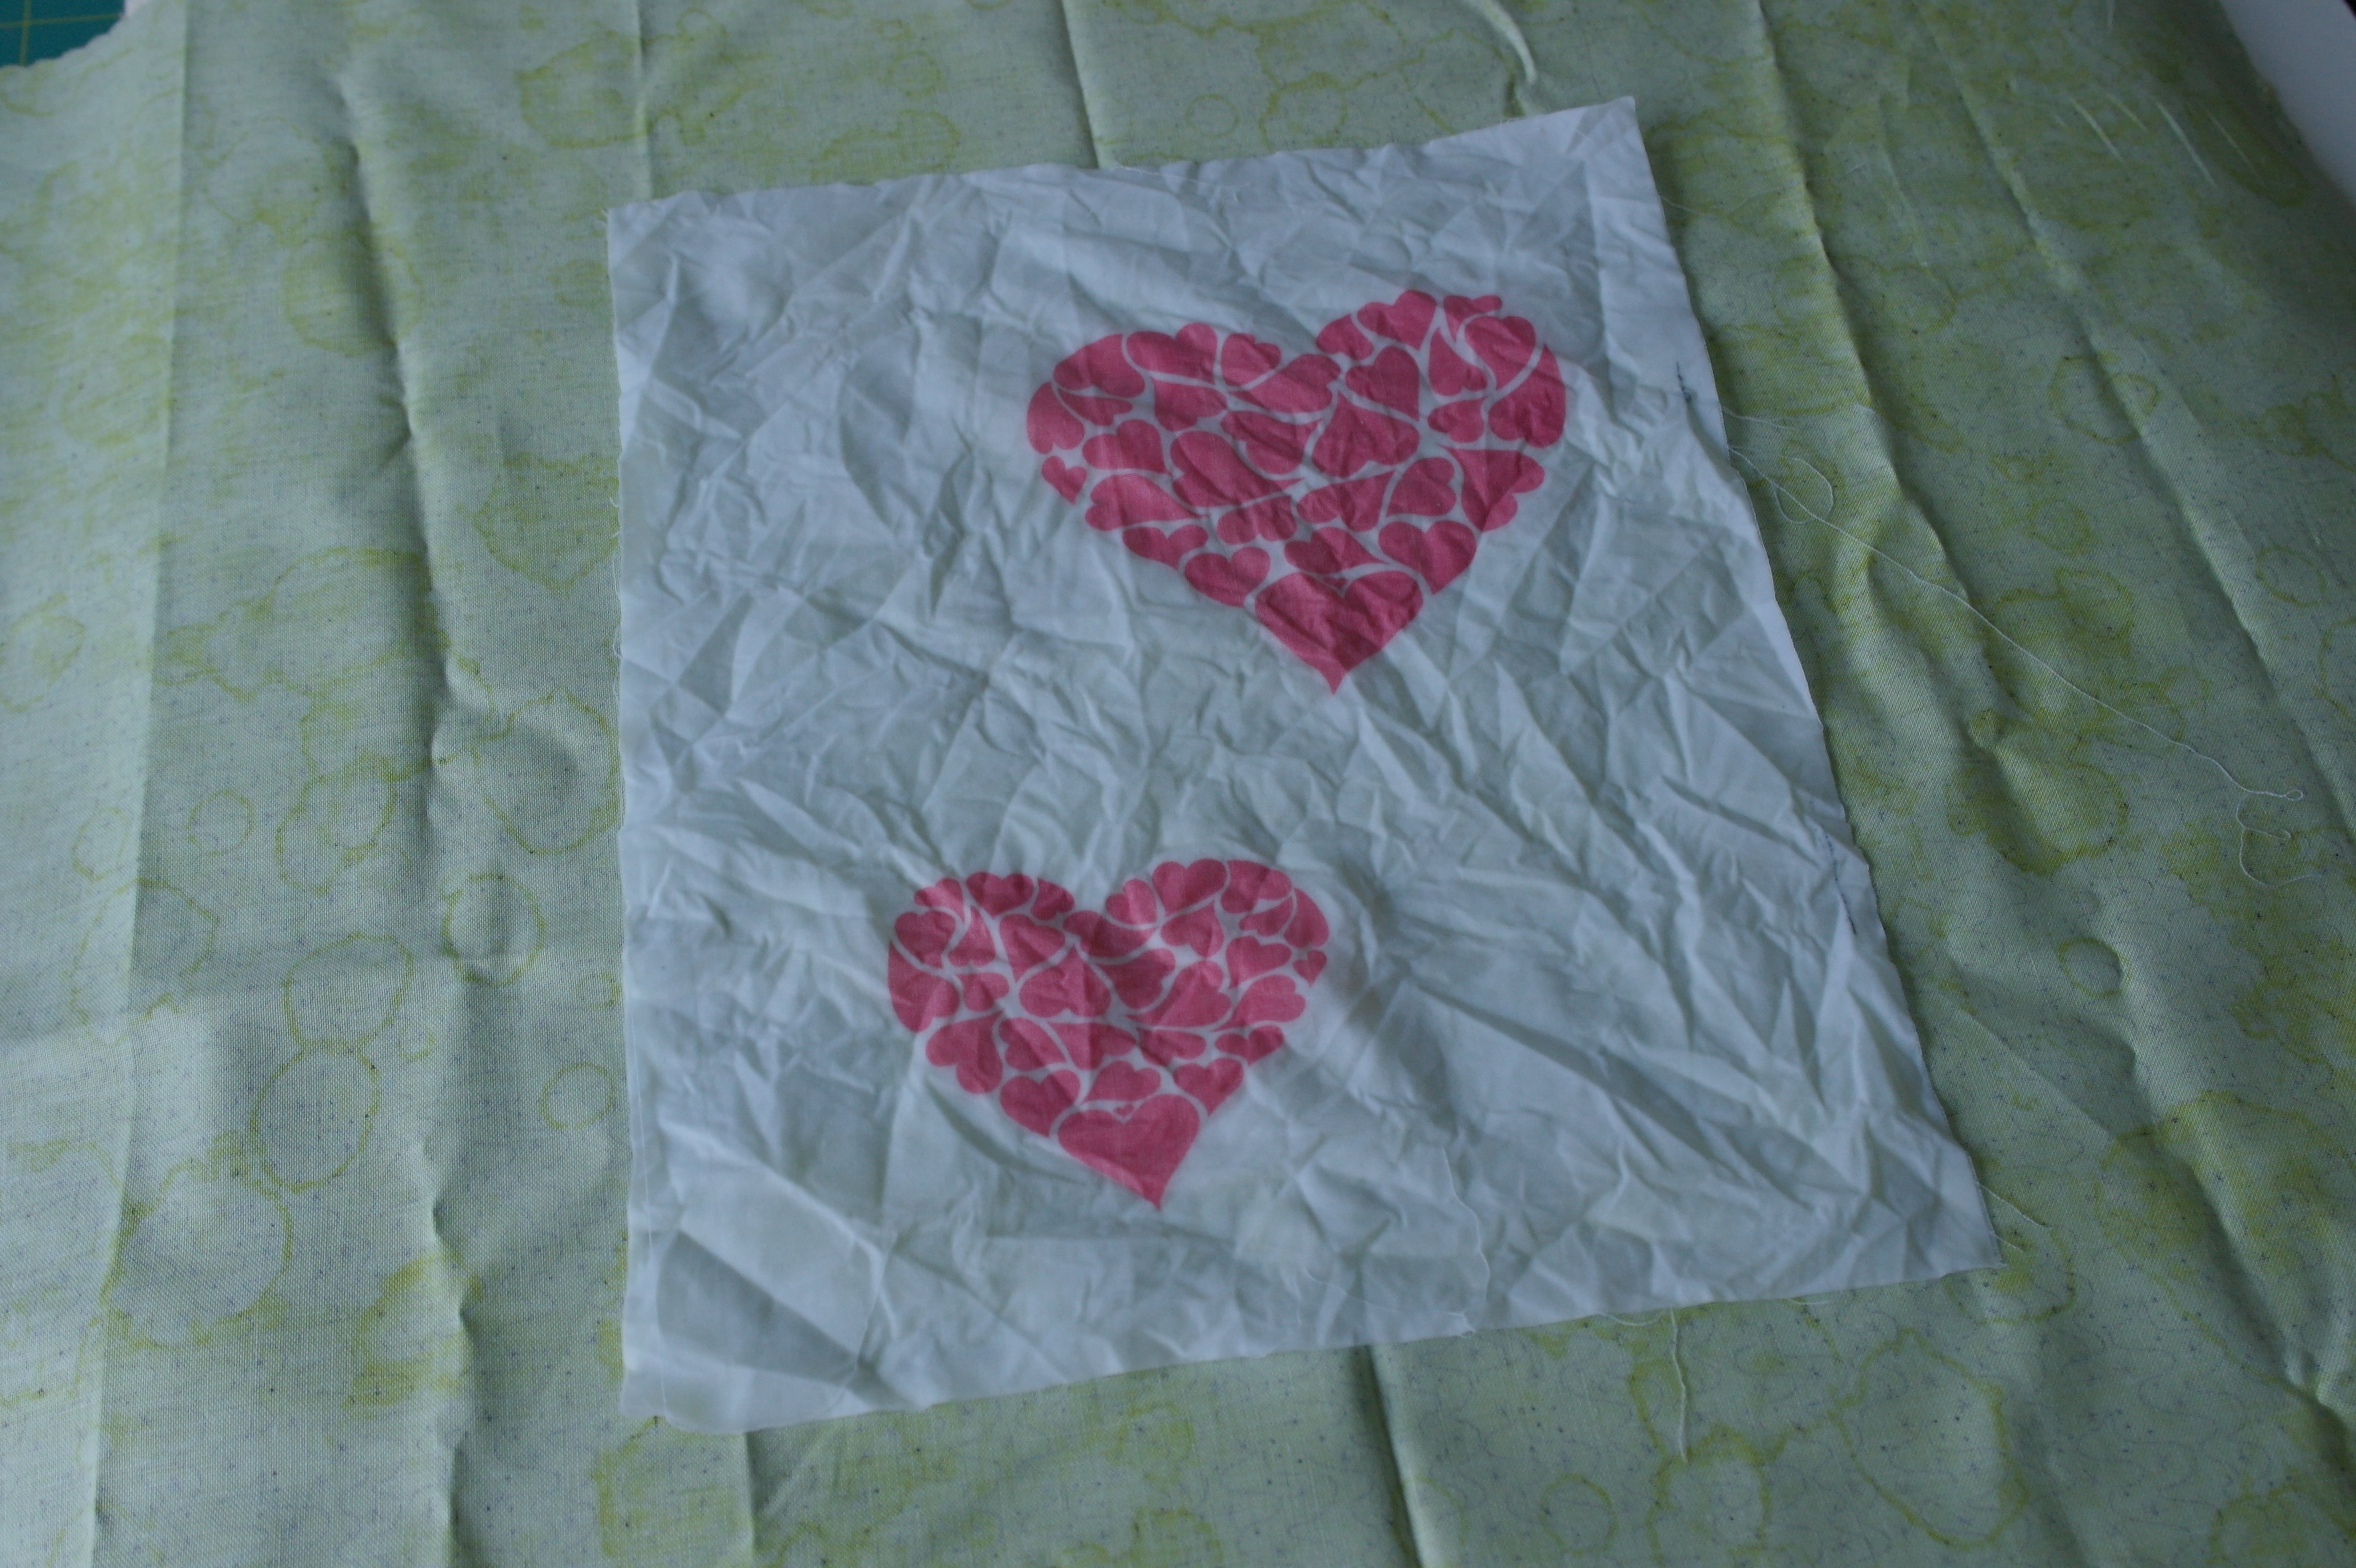
Place it on your ironing mat, as flat as possible,

and press it until it is completely dry, without any wrinkles. Be sure to check how to set your iron.
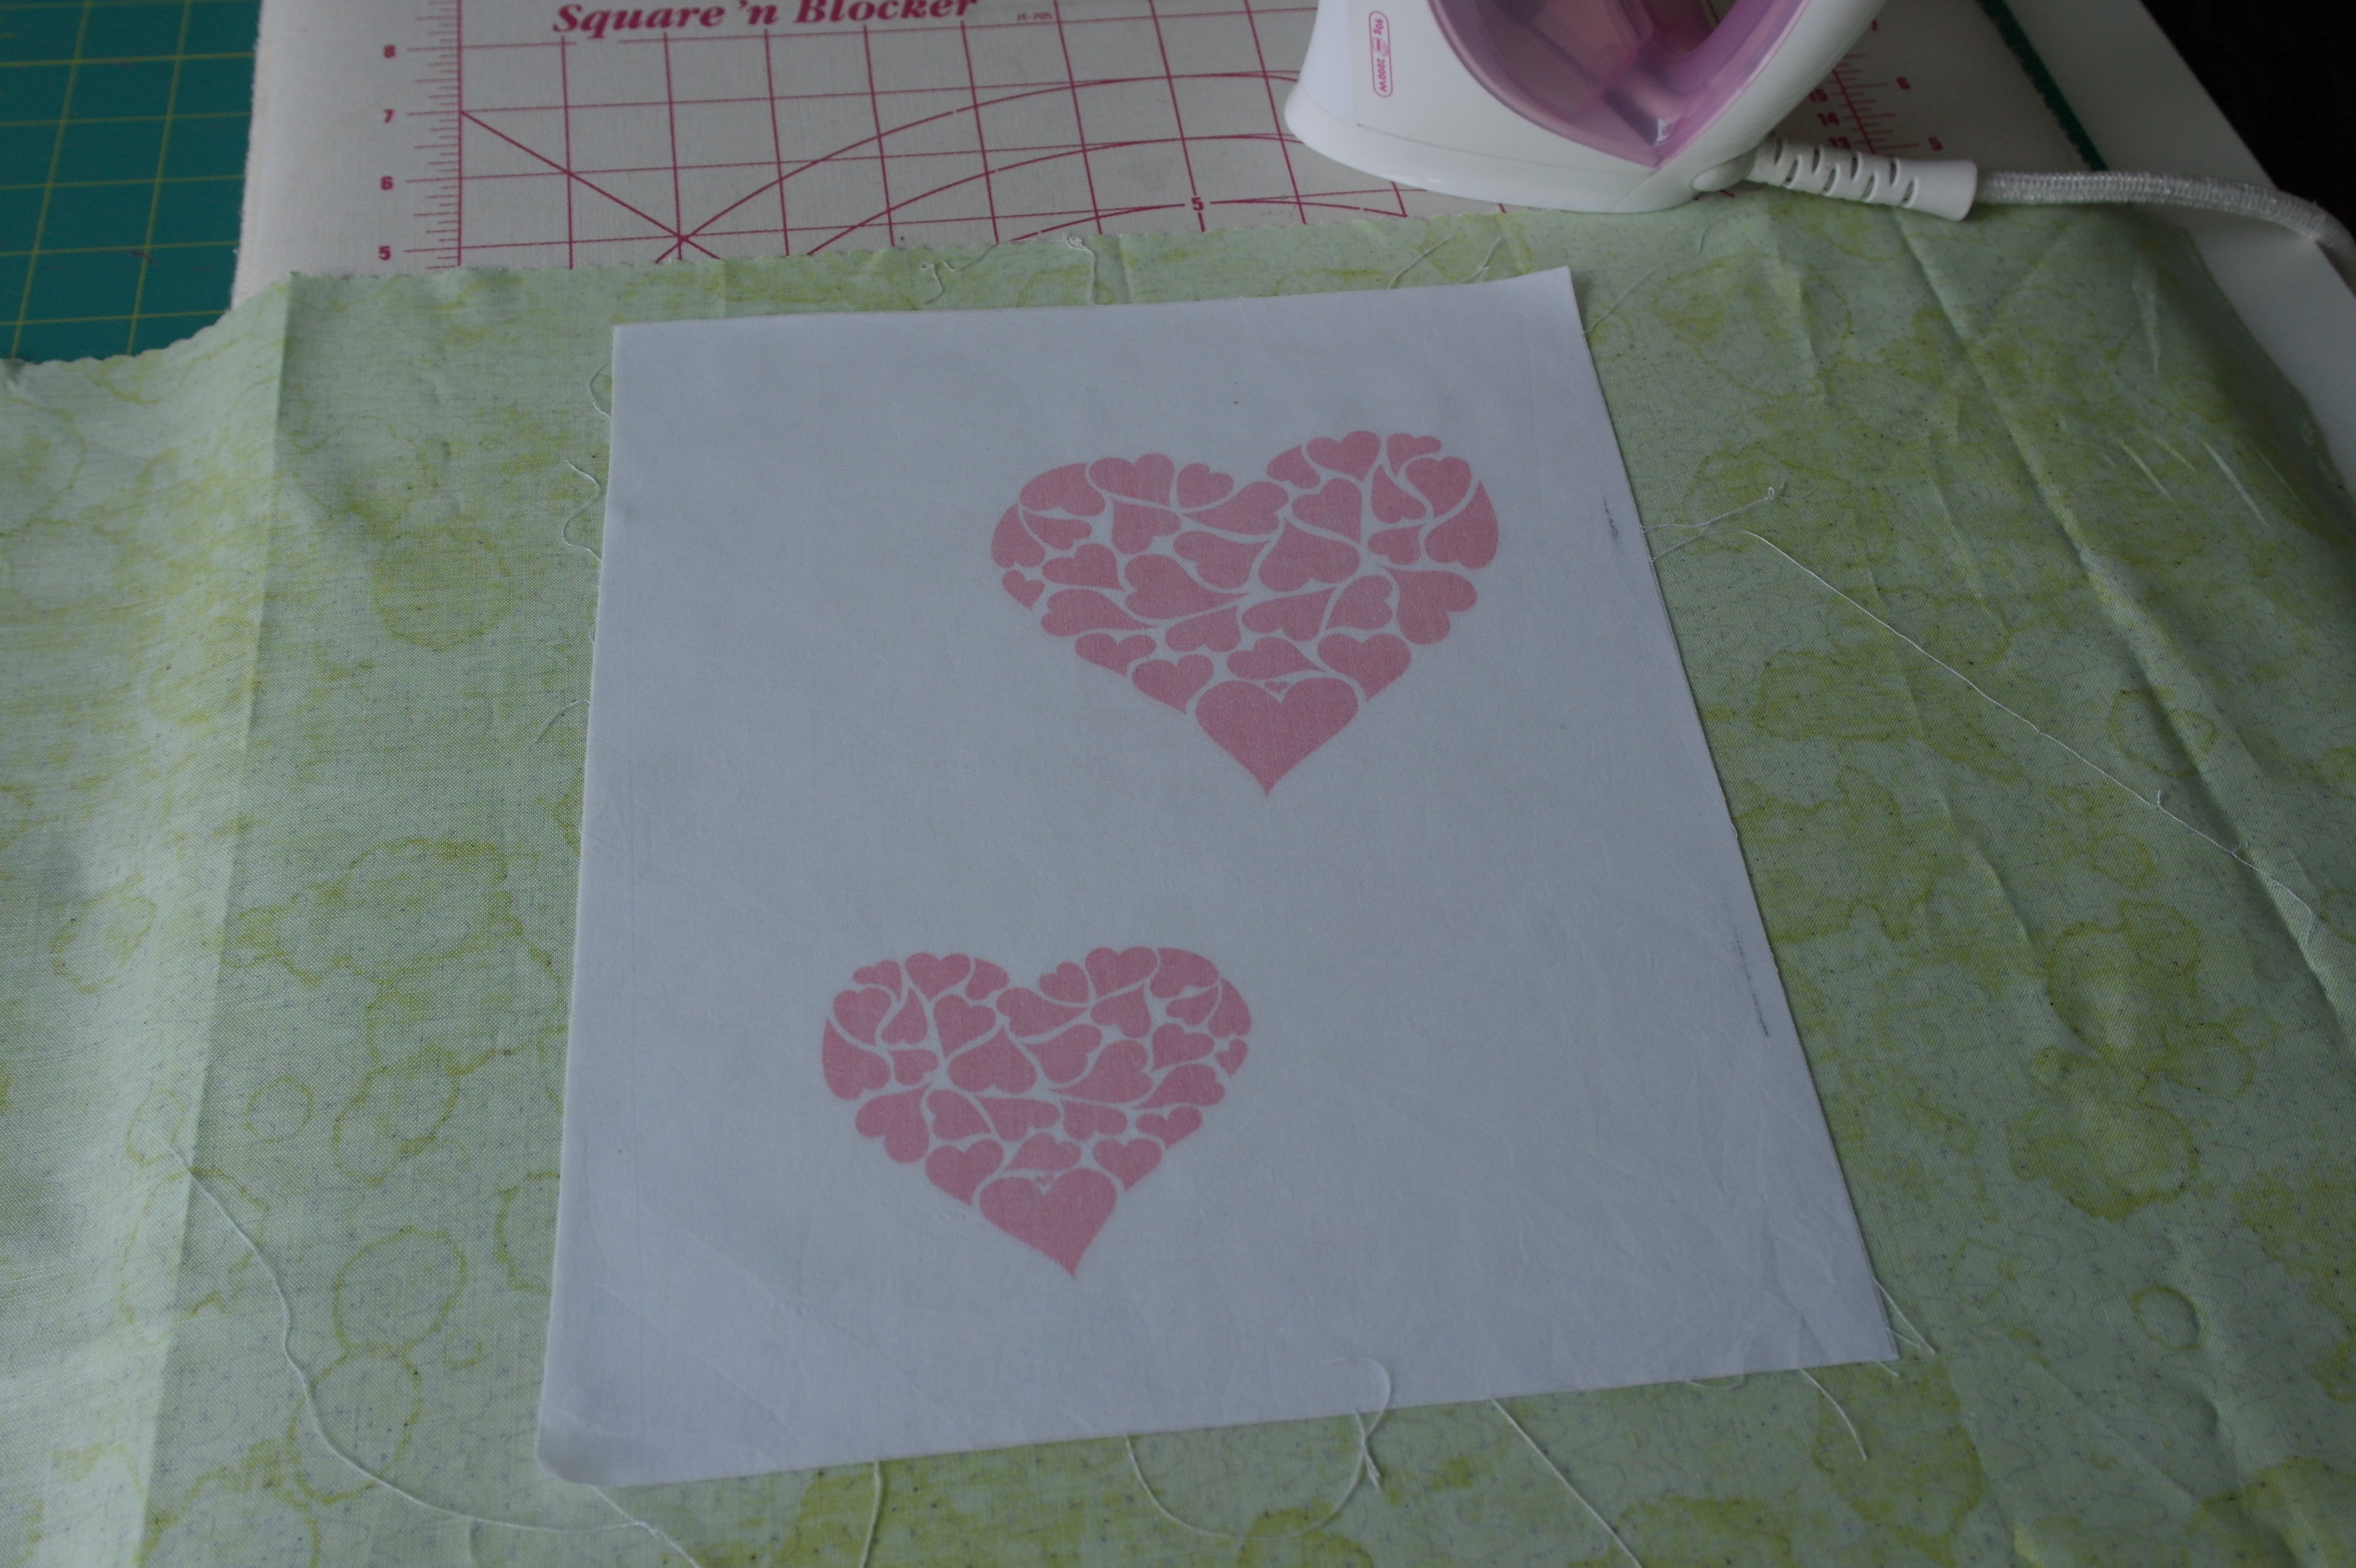
This is how it should be: completely flat, without any wrinkles. There are two hearts for two cards.
Choose which heart will be used for this Valentine Card, and put the other heart aside (unless you have Two Valentines you want to send a card to!). The large heart is the one I’ve used. At this point I’ve ironed Heat’n Bond Lite on the back.
Now you can determine the size of your card. Use an existing card for reference, or an envelope. It is ok if it is a large card: cut both pieces of felt at that size MINUS 1/2 cm on each size, to make it fit in the envelope. I have used two grey pieces of felt, my leftovers from another project.
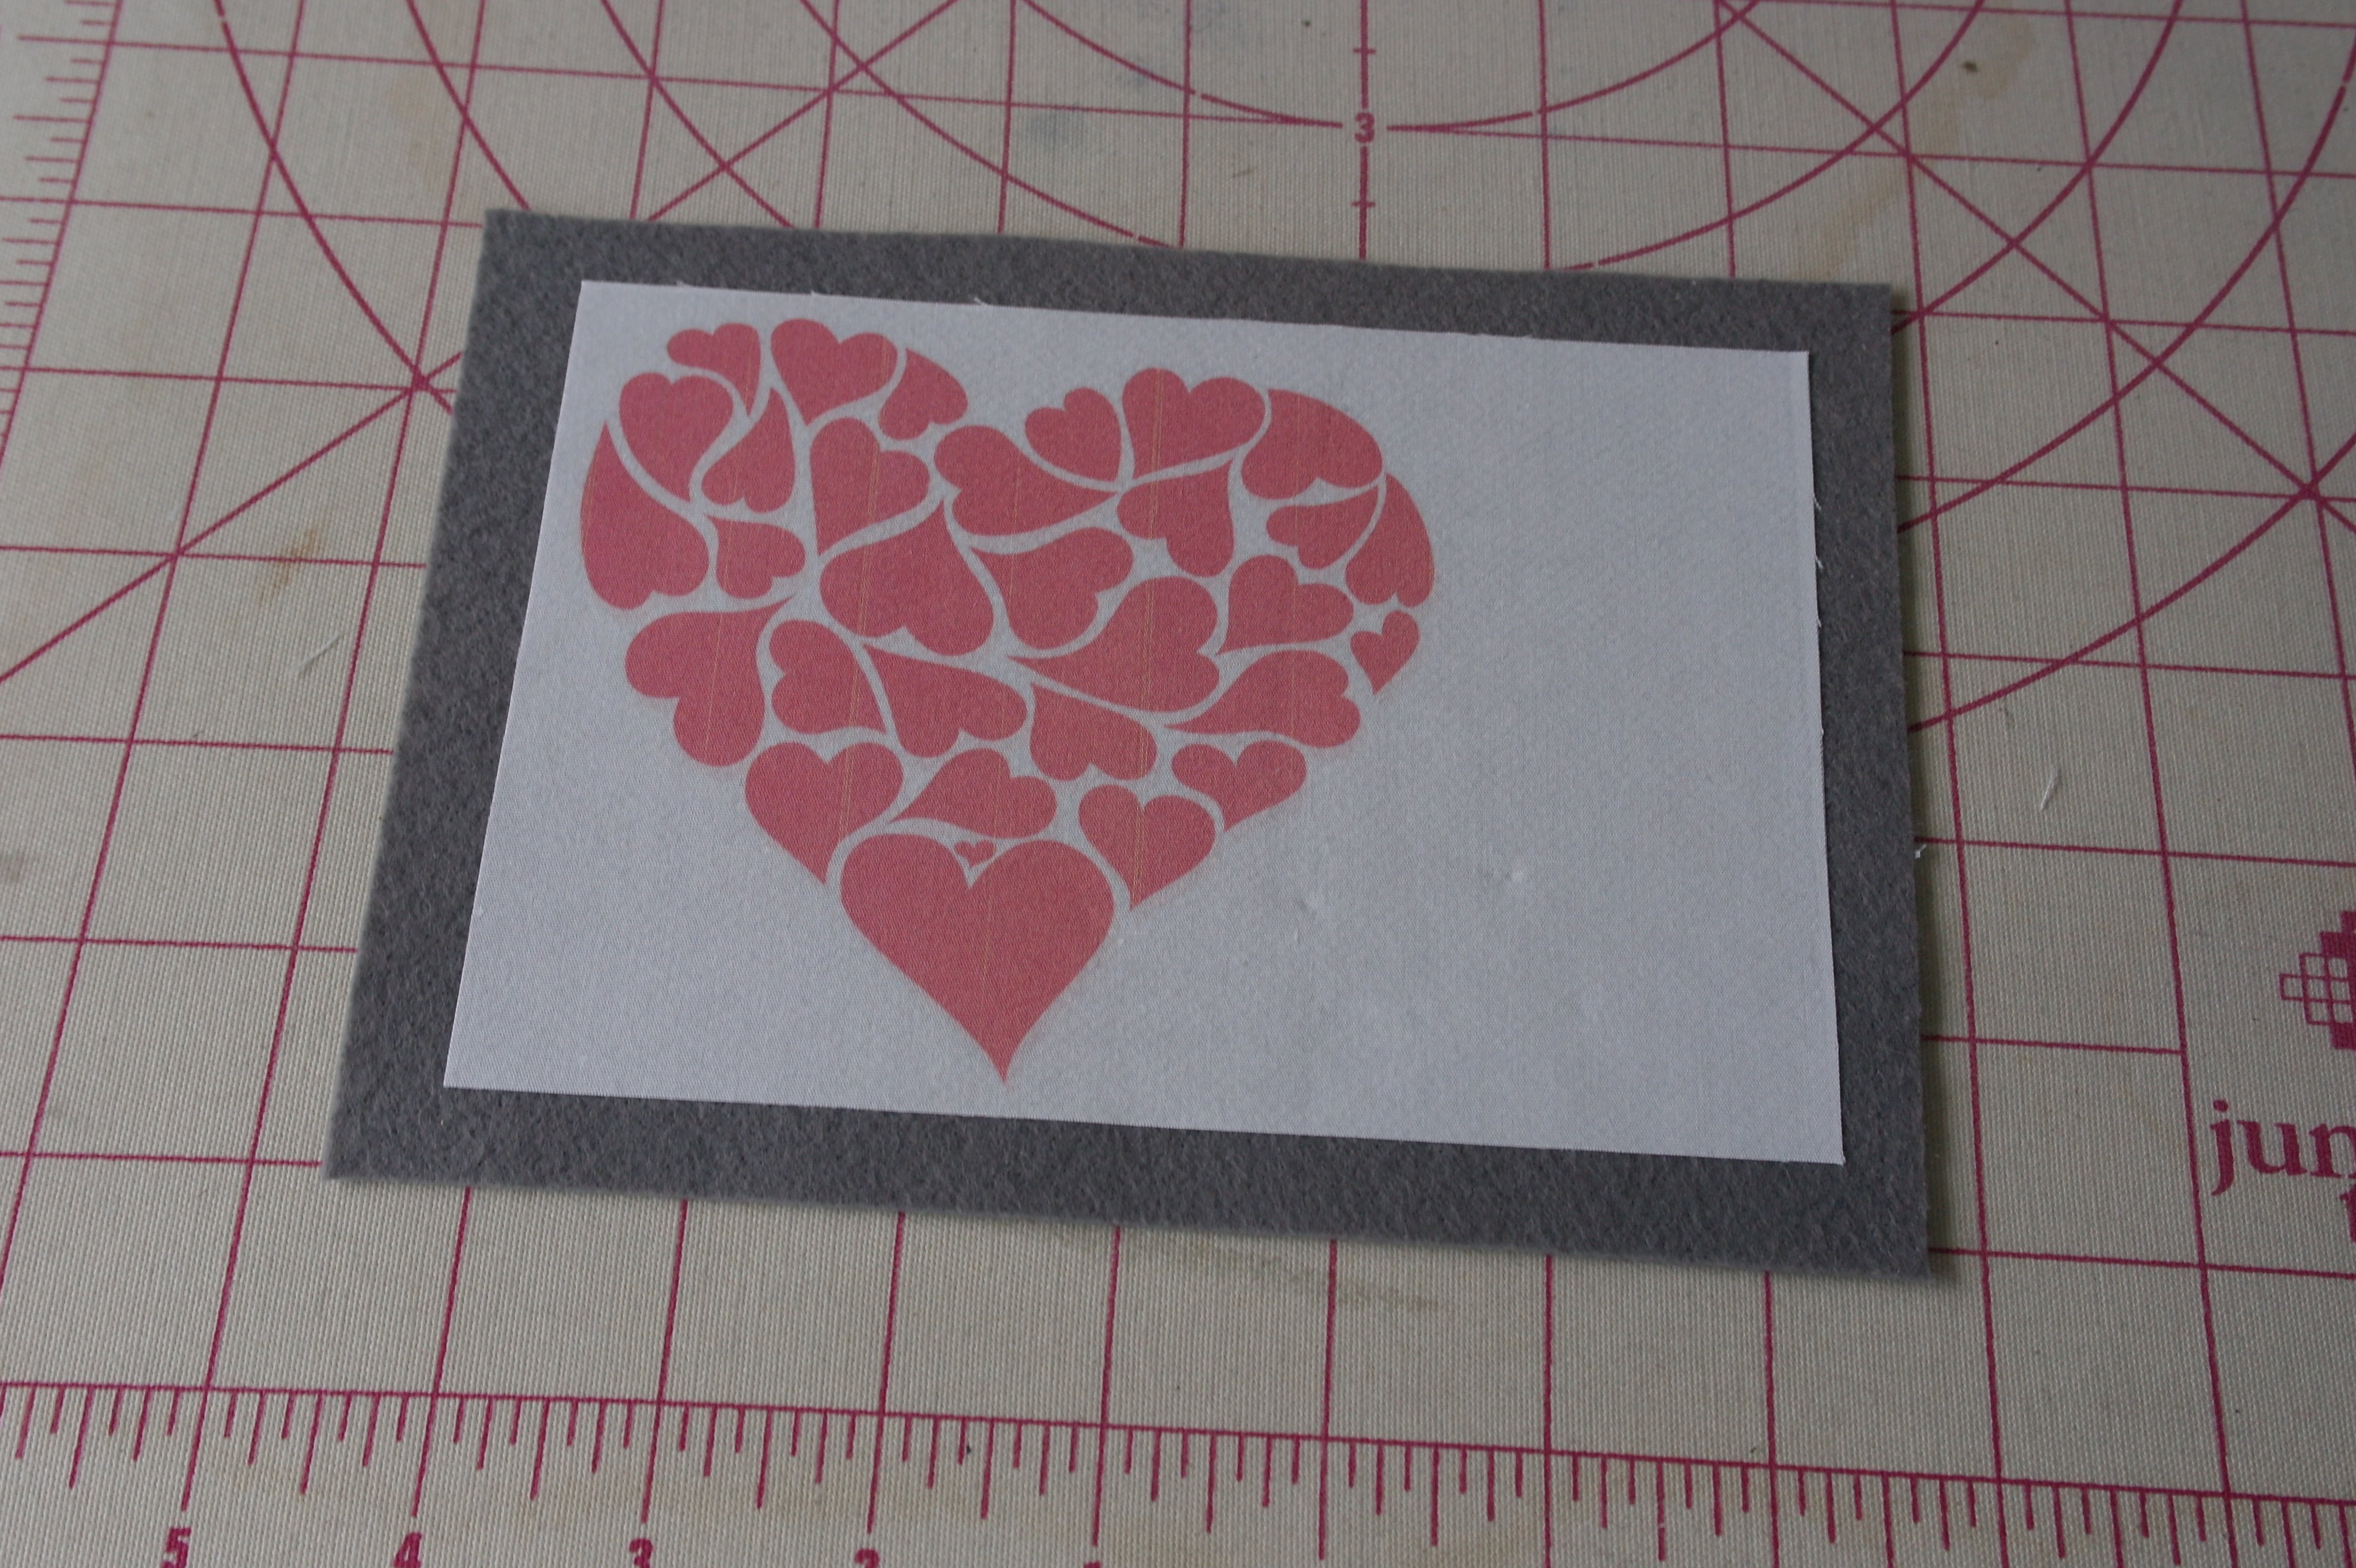
Remove the paper side of the Heat’n Bond Lite and press the fabric with the heart on the felt, centering it.
Adding text.
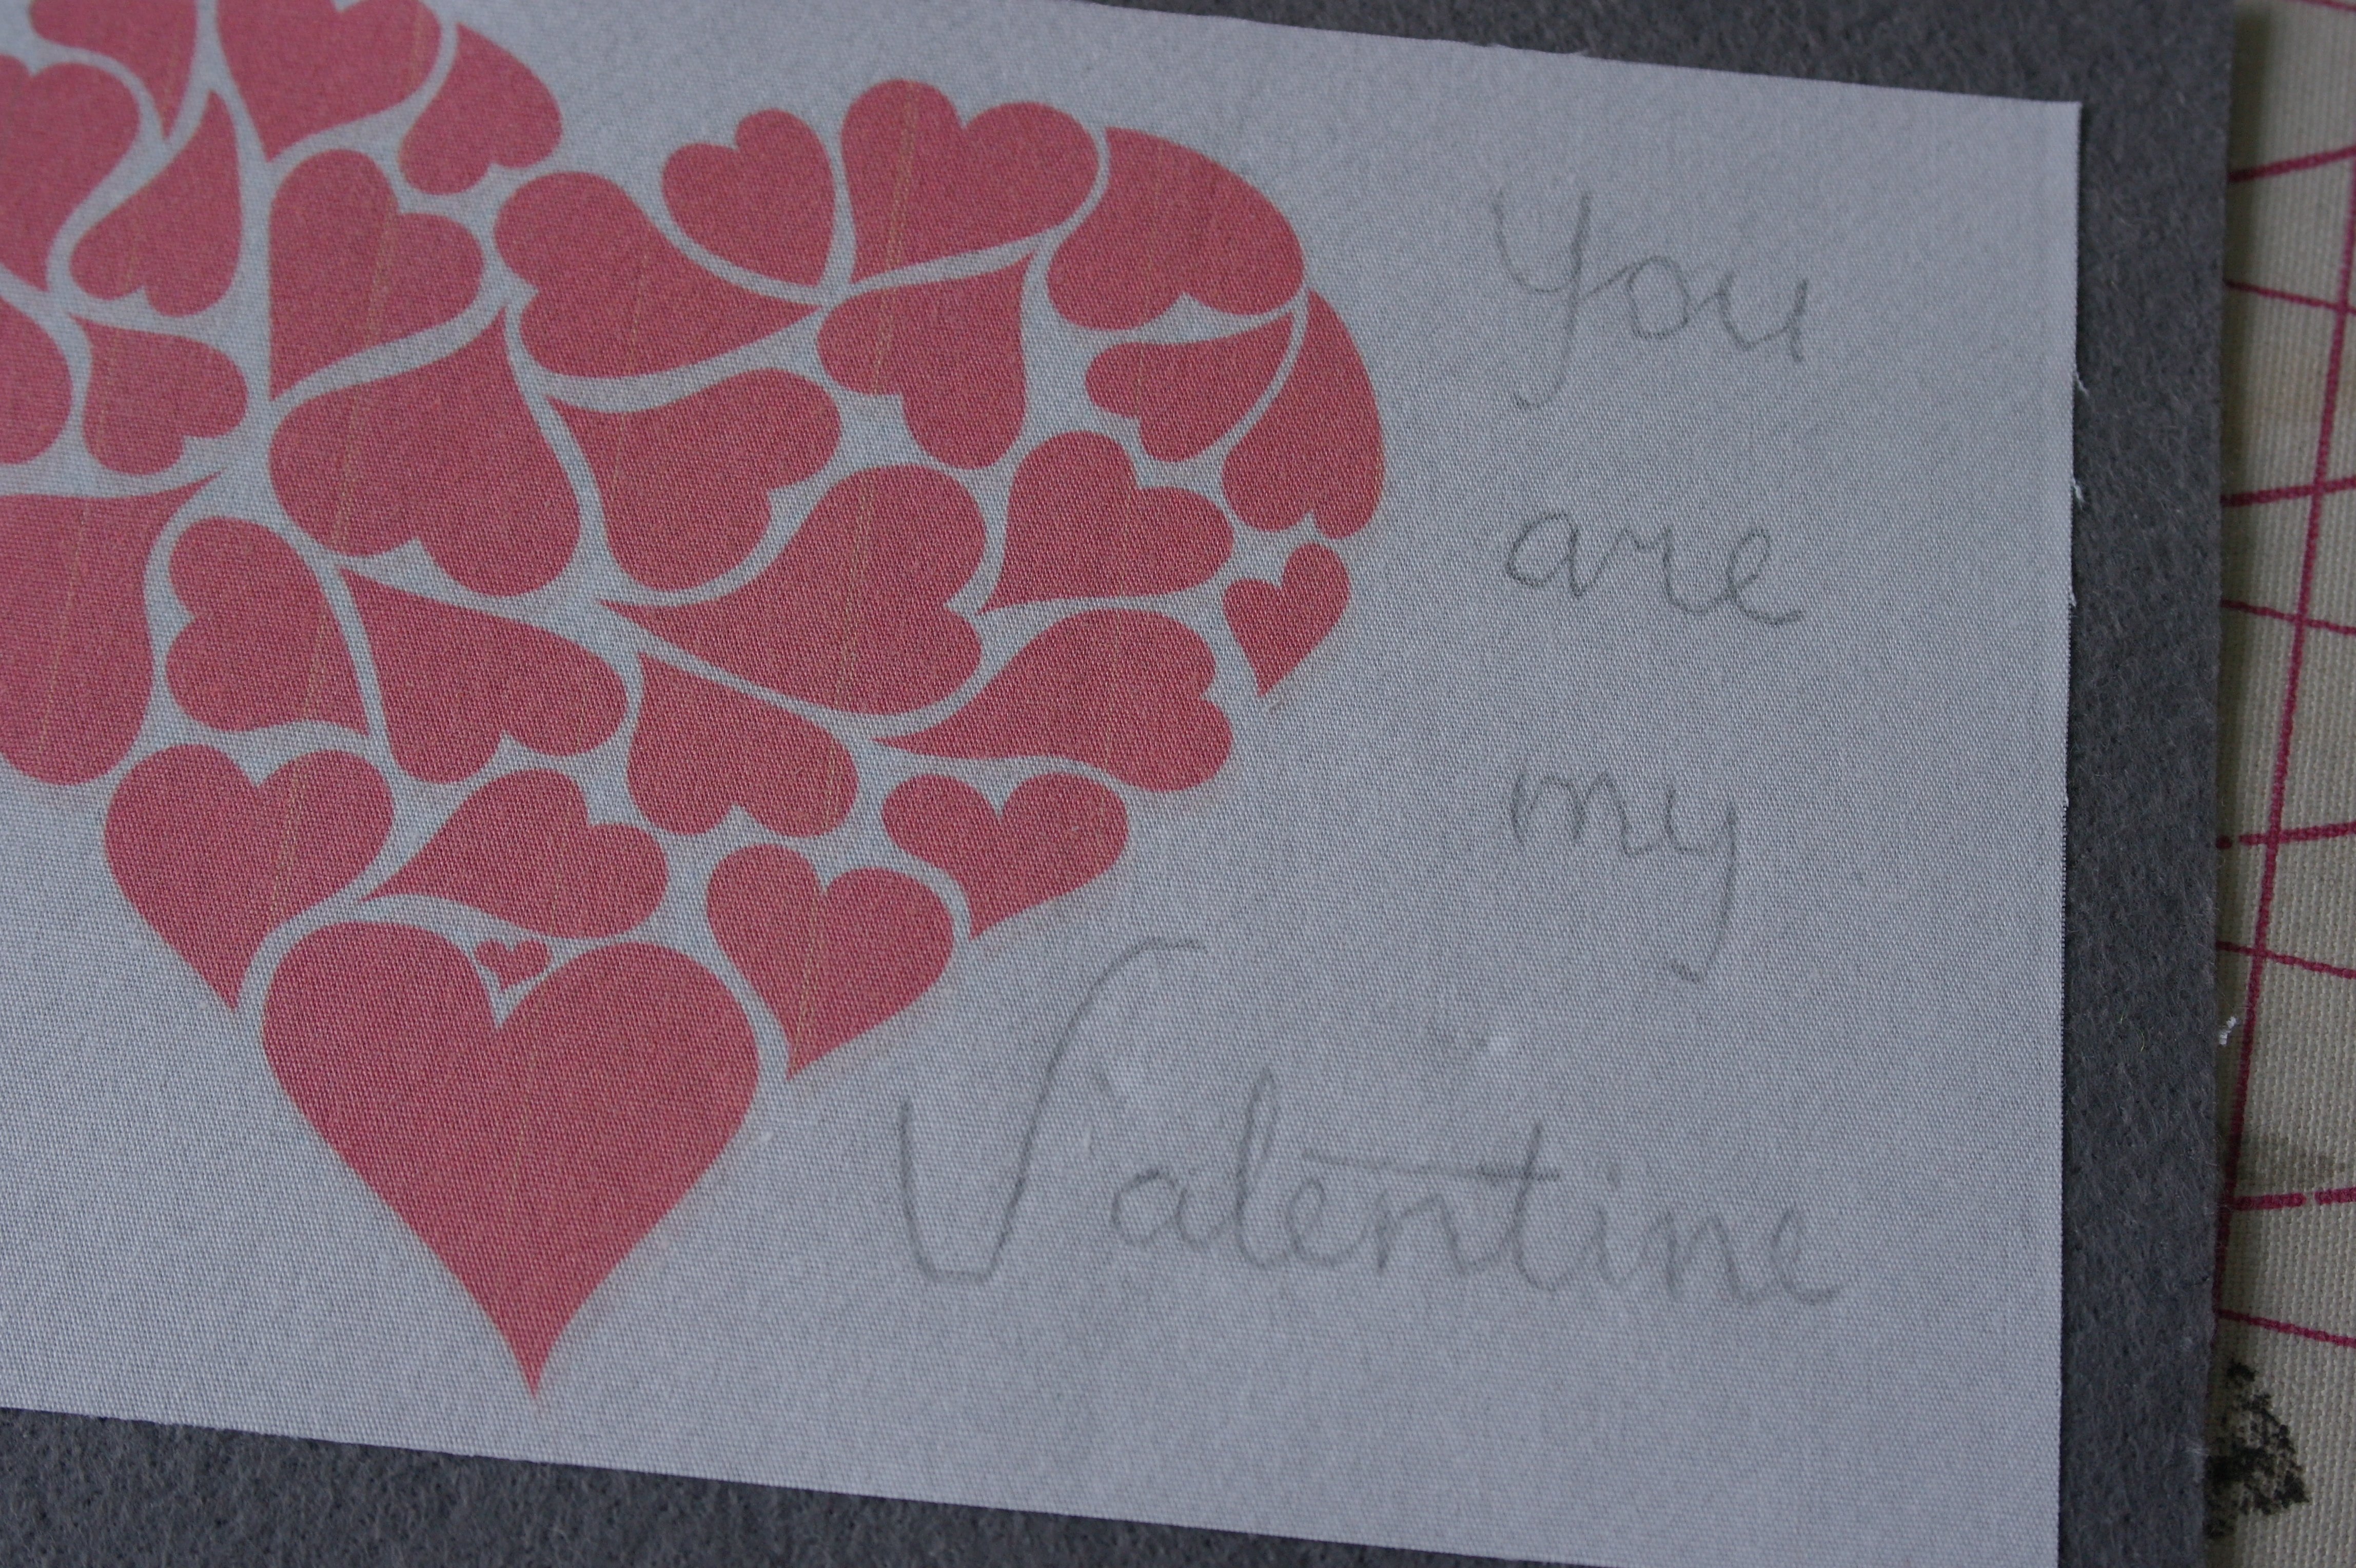
You can ‘write’ during free motion quilting. I’ve used the text ‘You are my Valentine’. You can draw it with a thin pencil line, but it has to be clearly visible to be able to stitch over it. Of course you can stitch text without these base lines.
I have worked with my BERNINA 770QE, using my BSR, for free motion quilting. All was set: feed dogs down, BSR set up, Sulky Rayon 40 -dark red – on top and DecoBob – also red – in the bobbin. Let’s make a card!
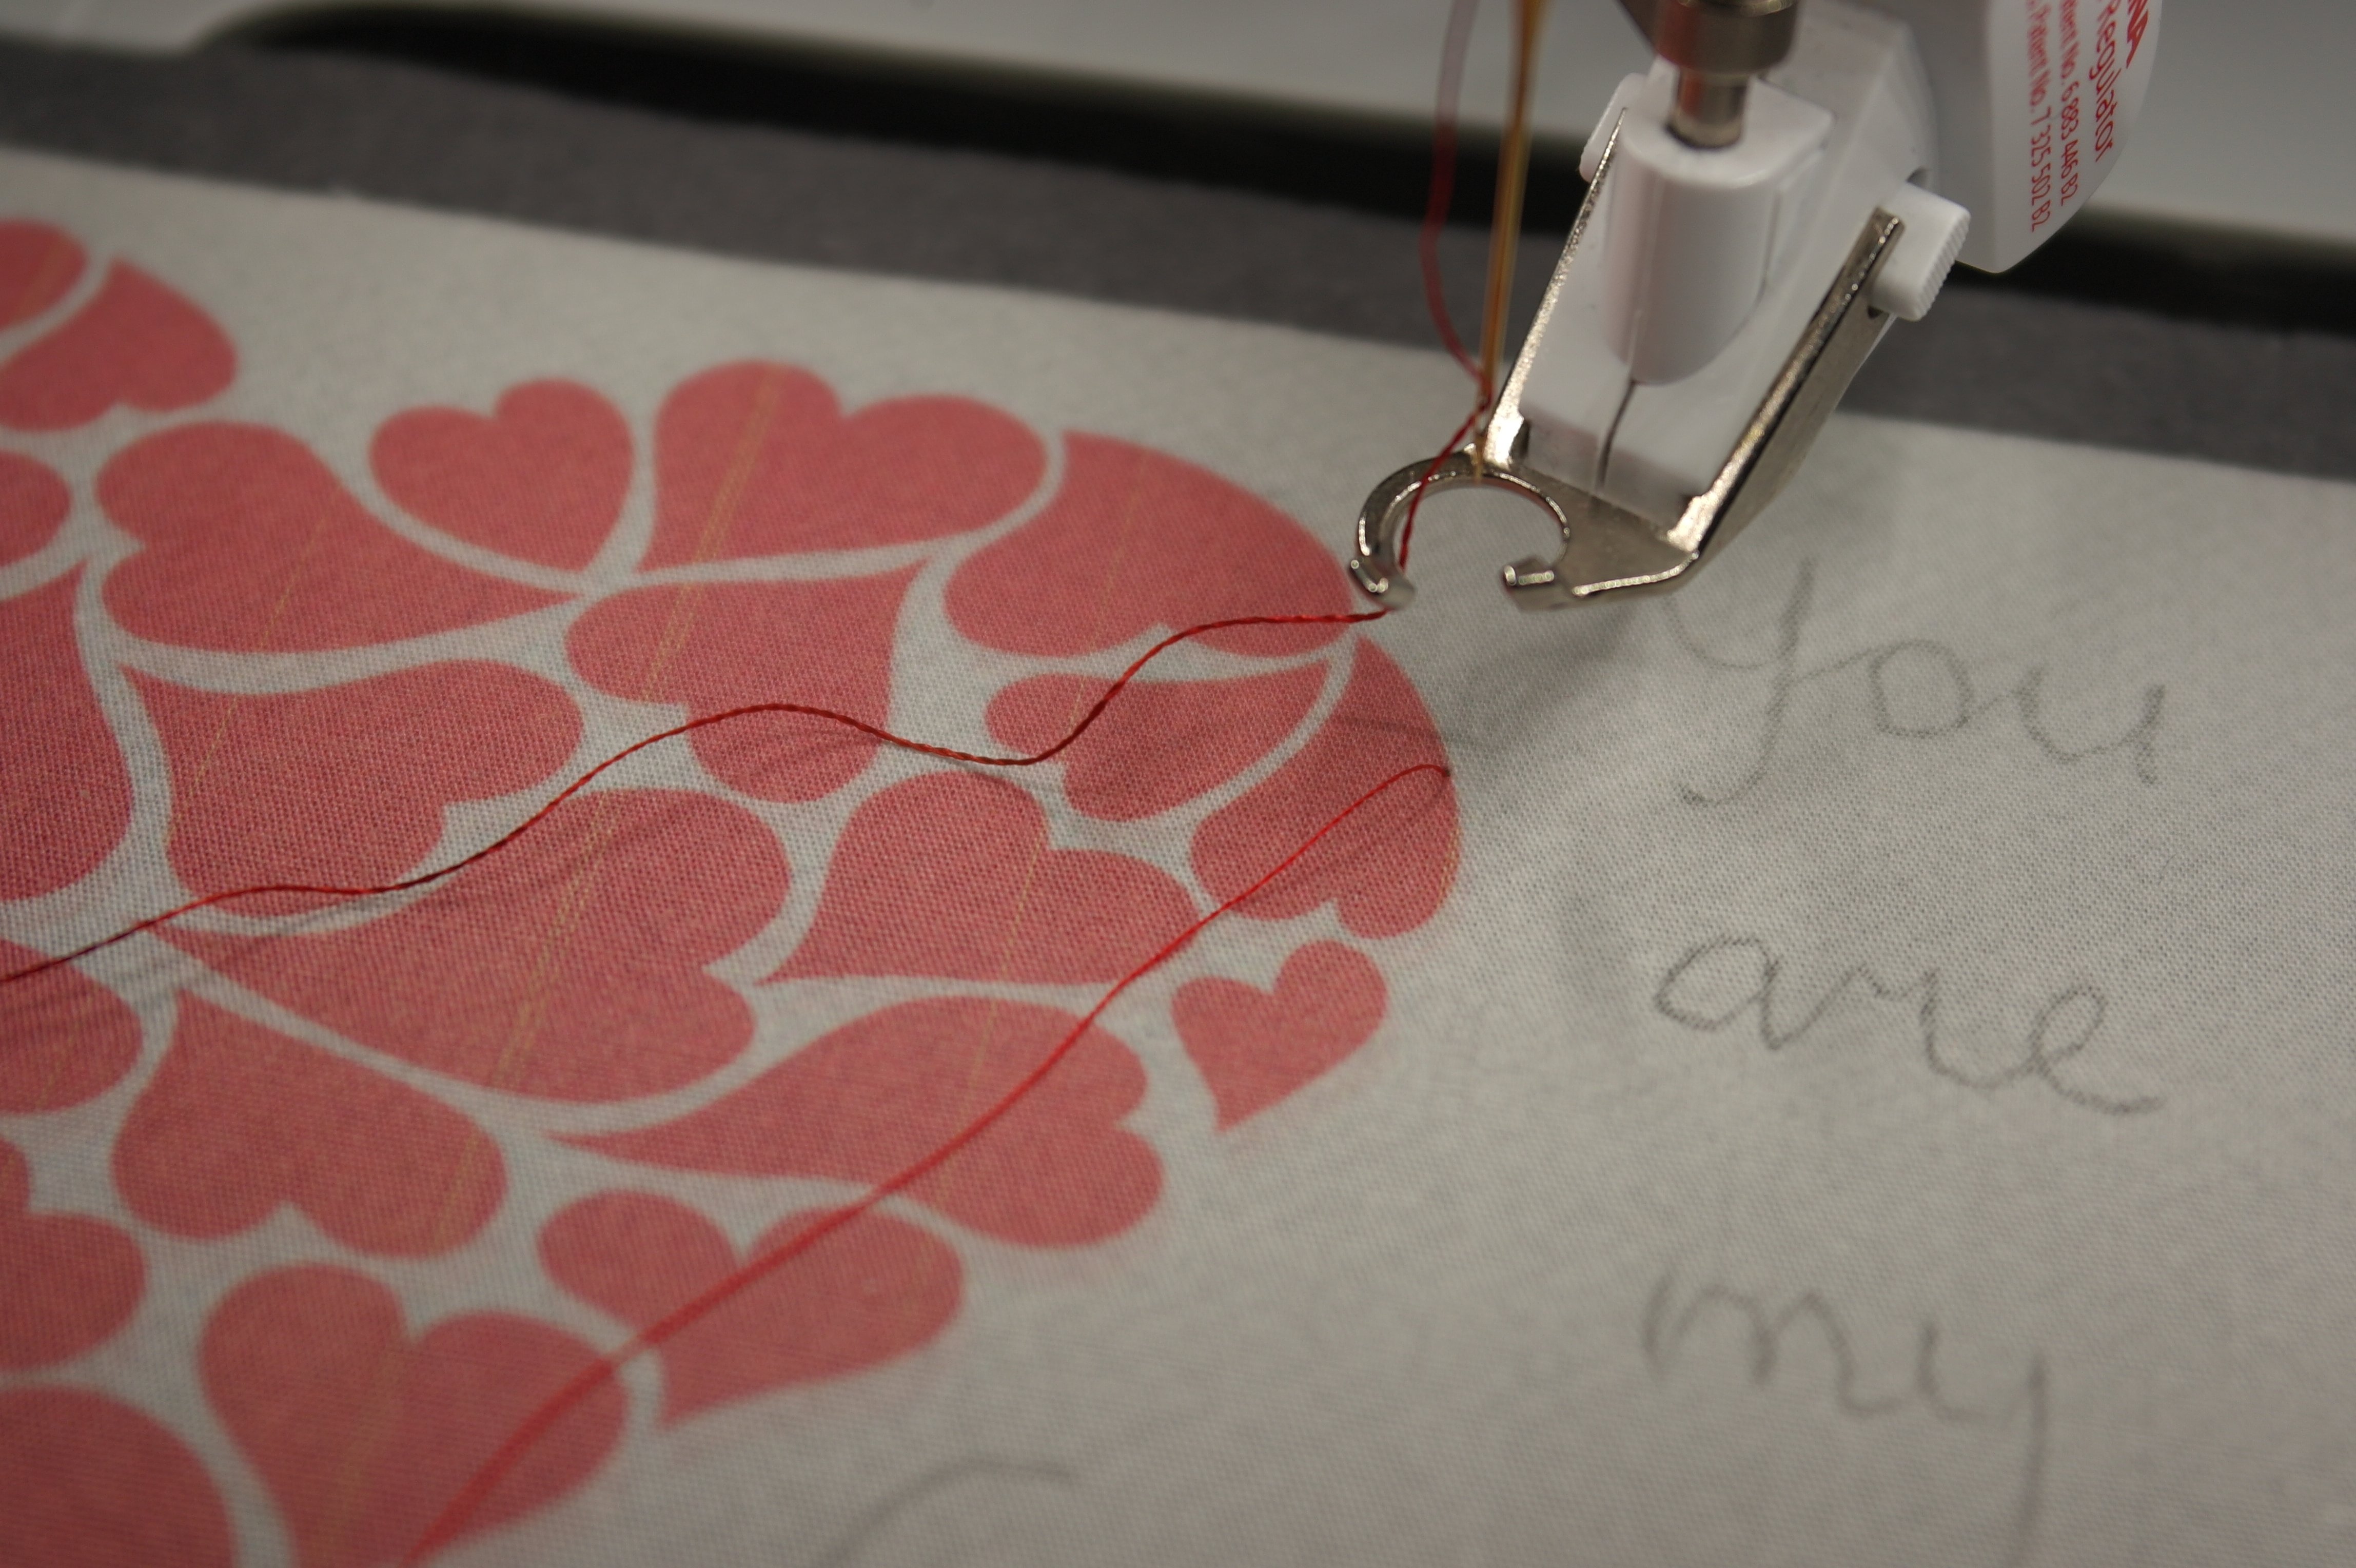
First I have pulled up the bobbin thread, letting the needle penetrate the material once, raising the needle and the BSR and pulling the bobbin thread at the same length as my top thread. No bird nests underneath, and now I was able to hold both threads in my hand, before making the first stitches.
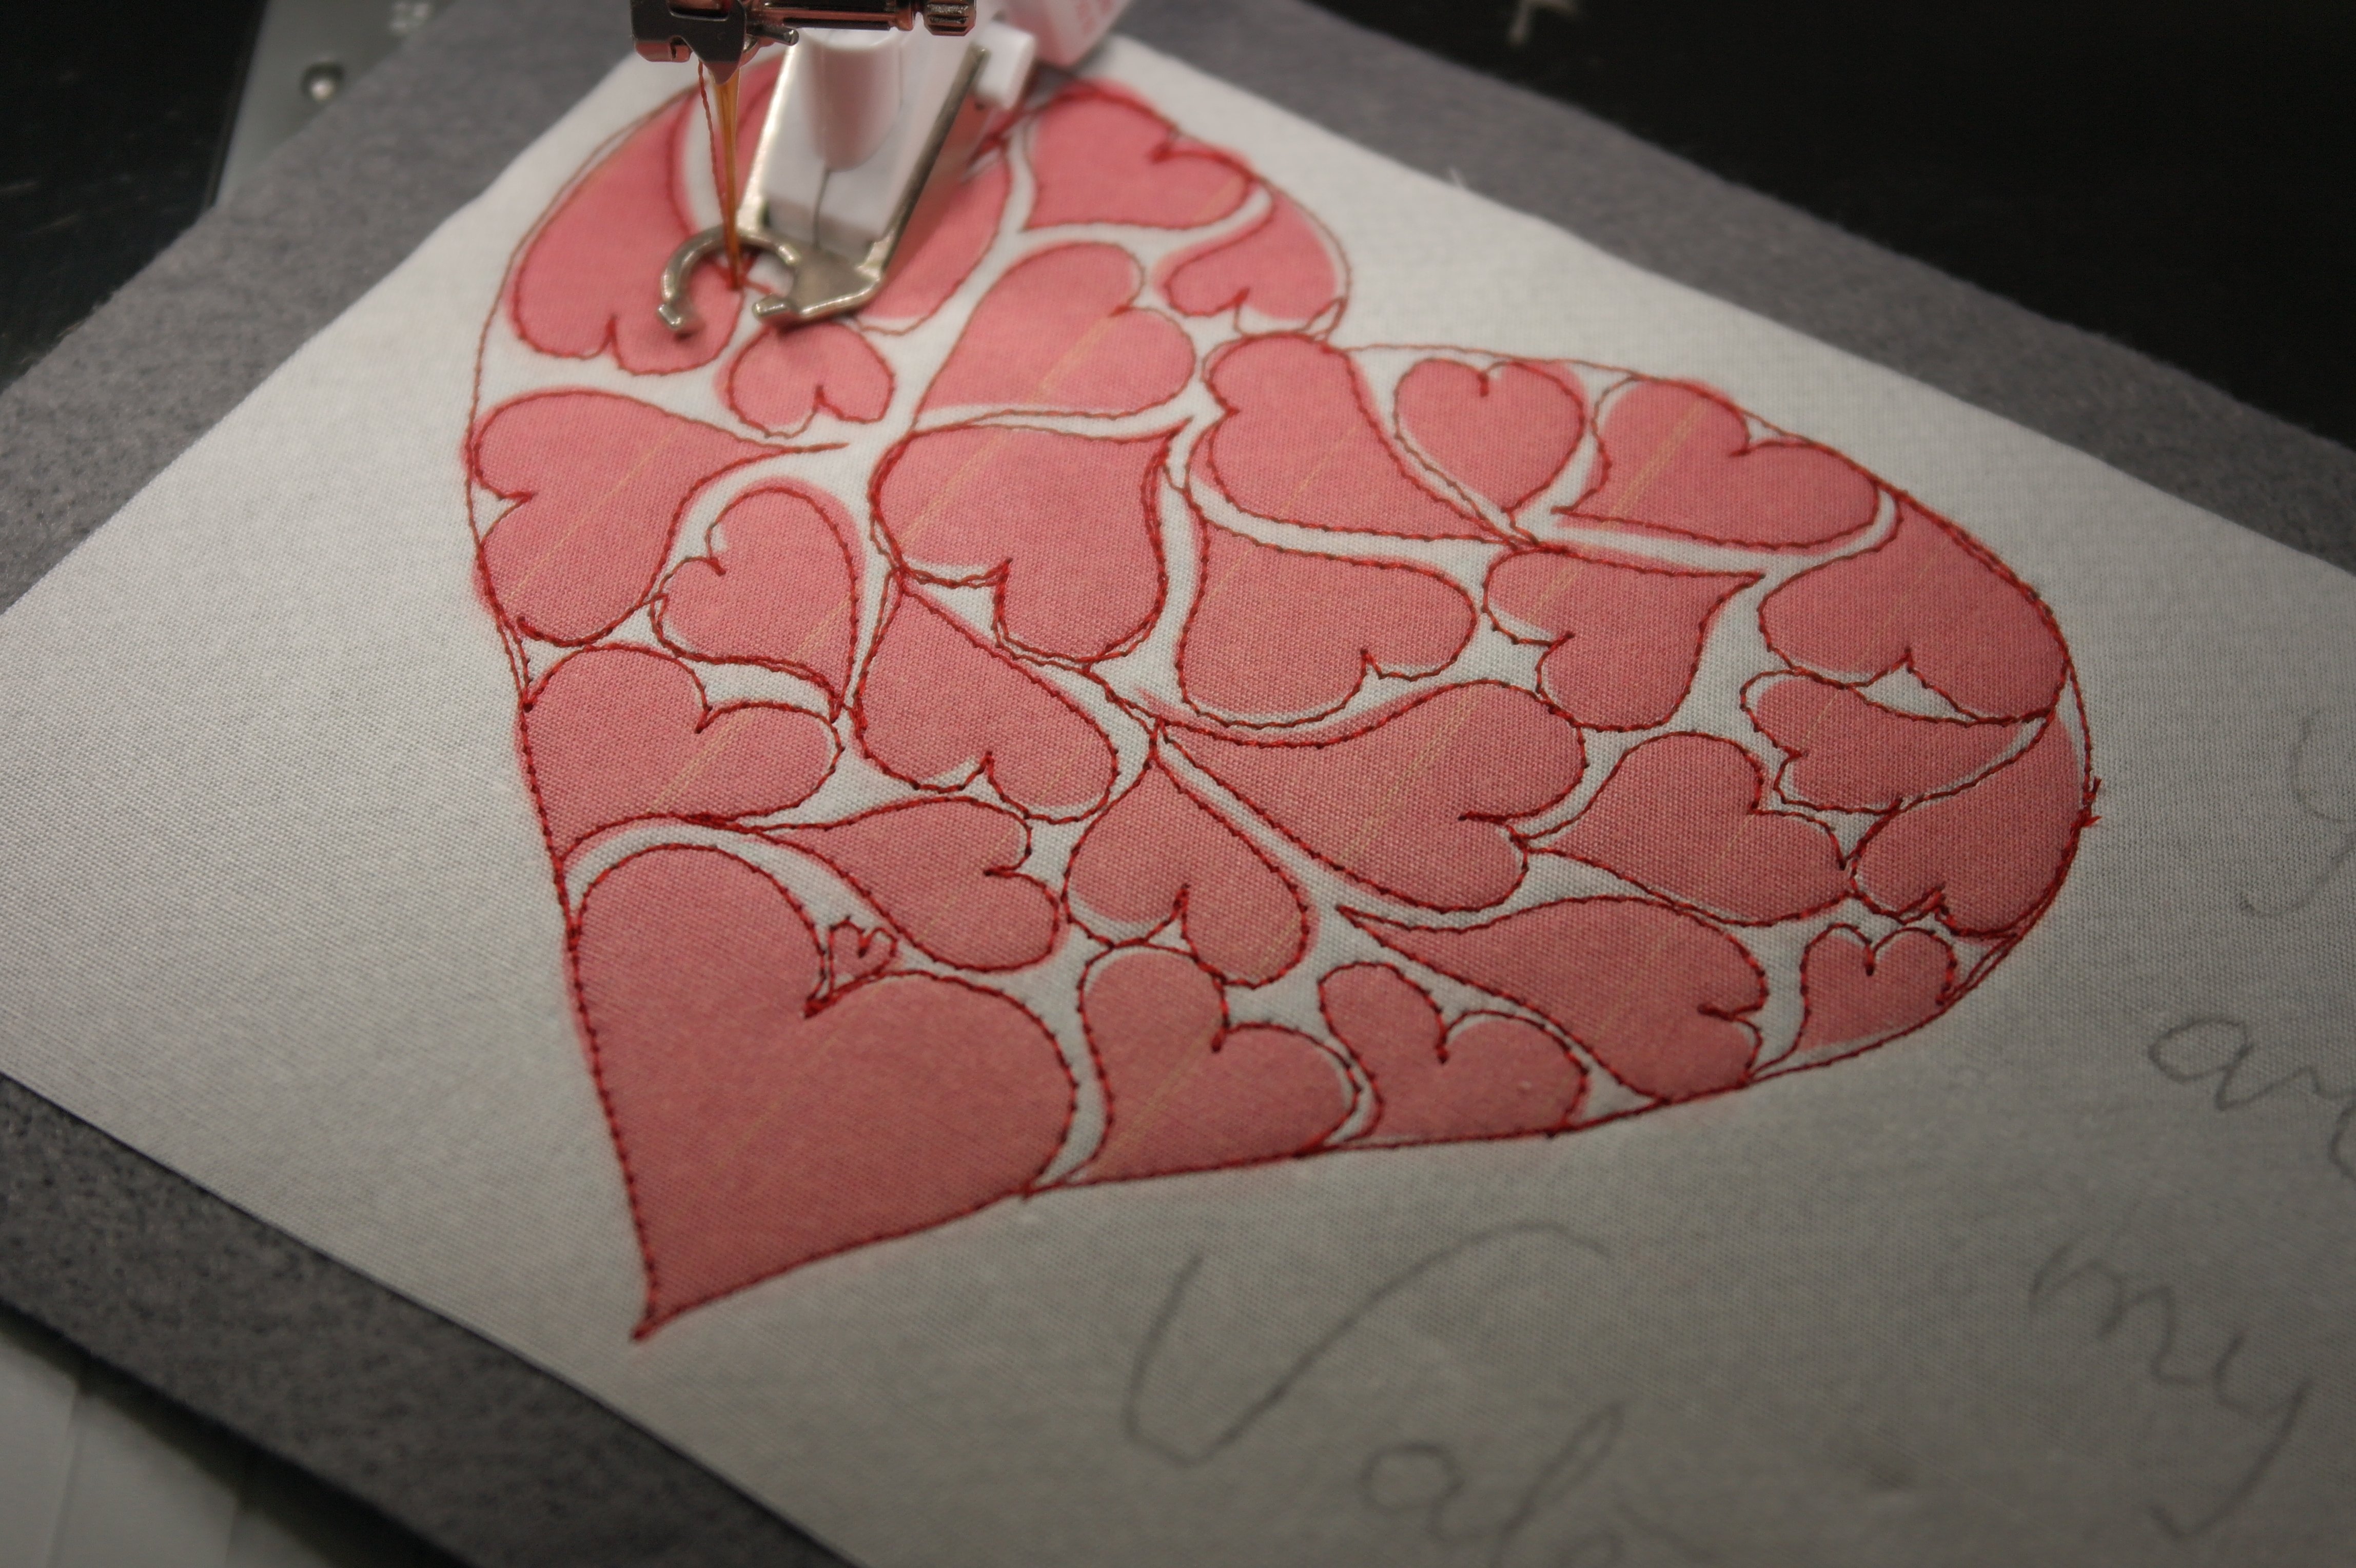
I have started somewhere on the outer edges of the heart shape, stitching around, and also working on the outer edges of the smaller hears. It’s OK to go over stitches twice or even more. This is ‘FREE’ quilting: not just because the feed dogs are lowered, but also for you to be free in however you want to work.

Next, the text is covered with stitches. I have stitches over each letter/word thrice, making the stitches stand out. It doesn’t matter if you follow the pencil lines exactly: again, it is a free work of quilting – do whatever you like.
Finishing the edges.
The BSR was removed when the quilting was finished: next I have used the Open Embroidery Foot #20C. Remember to change settings on your machine: I had to change my stitch plate – from the ‘0-mm’to the 9-mm’, also changing the settings. If you have worked with the ‘0-mm’ stitch plate, changing to decorative stitches without change the settings, the machine won’t make these stitches. You can check the display: no decorative stitches are shown, just a distorted line. Feed dogs up again.

I have used the same thread for making hearts: a decorative stitch, securing the edges of the white fabric. You can choose different stitches, but don’t worry if they are a bit wobbly, or not filling up. This is a whimsical card: it doesn’t have to be perfect.

The front is ready. Now the back – second piece of felt – has to be attached to the front. I have used a bit of Bohin Glue on the inside, to prevent shifting. Placed both pieces of felt, wrong sides together.
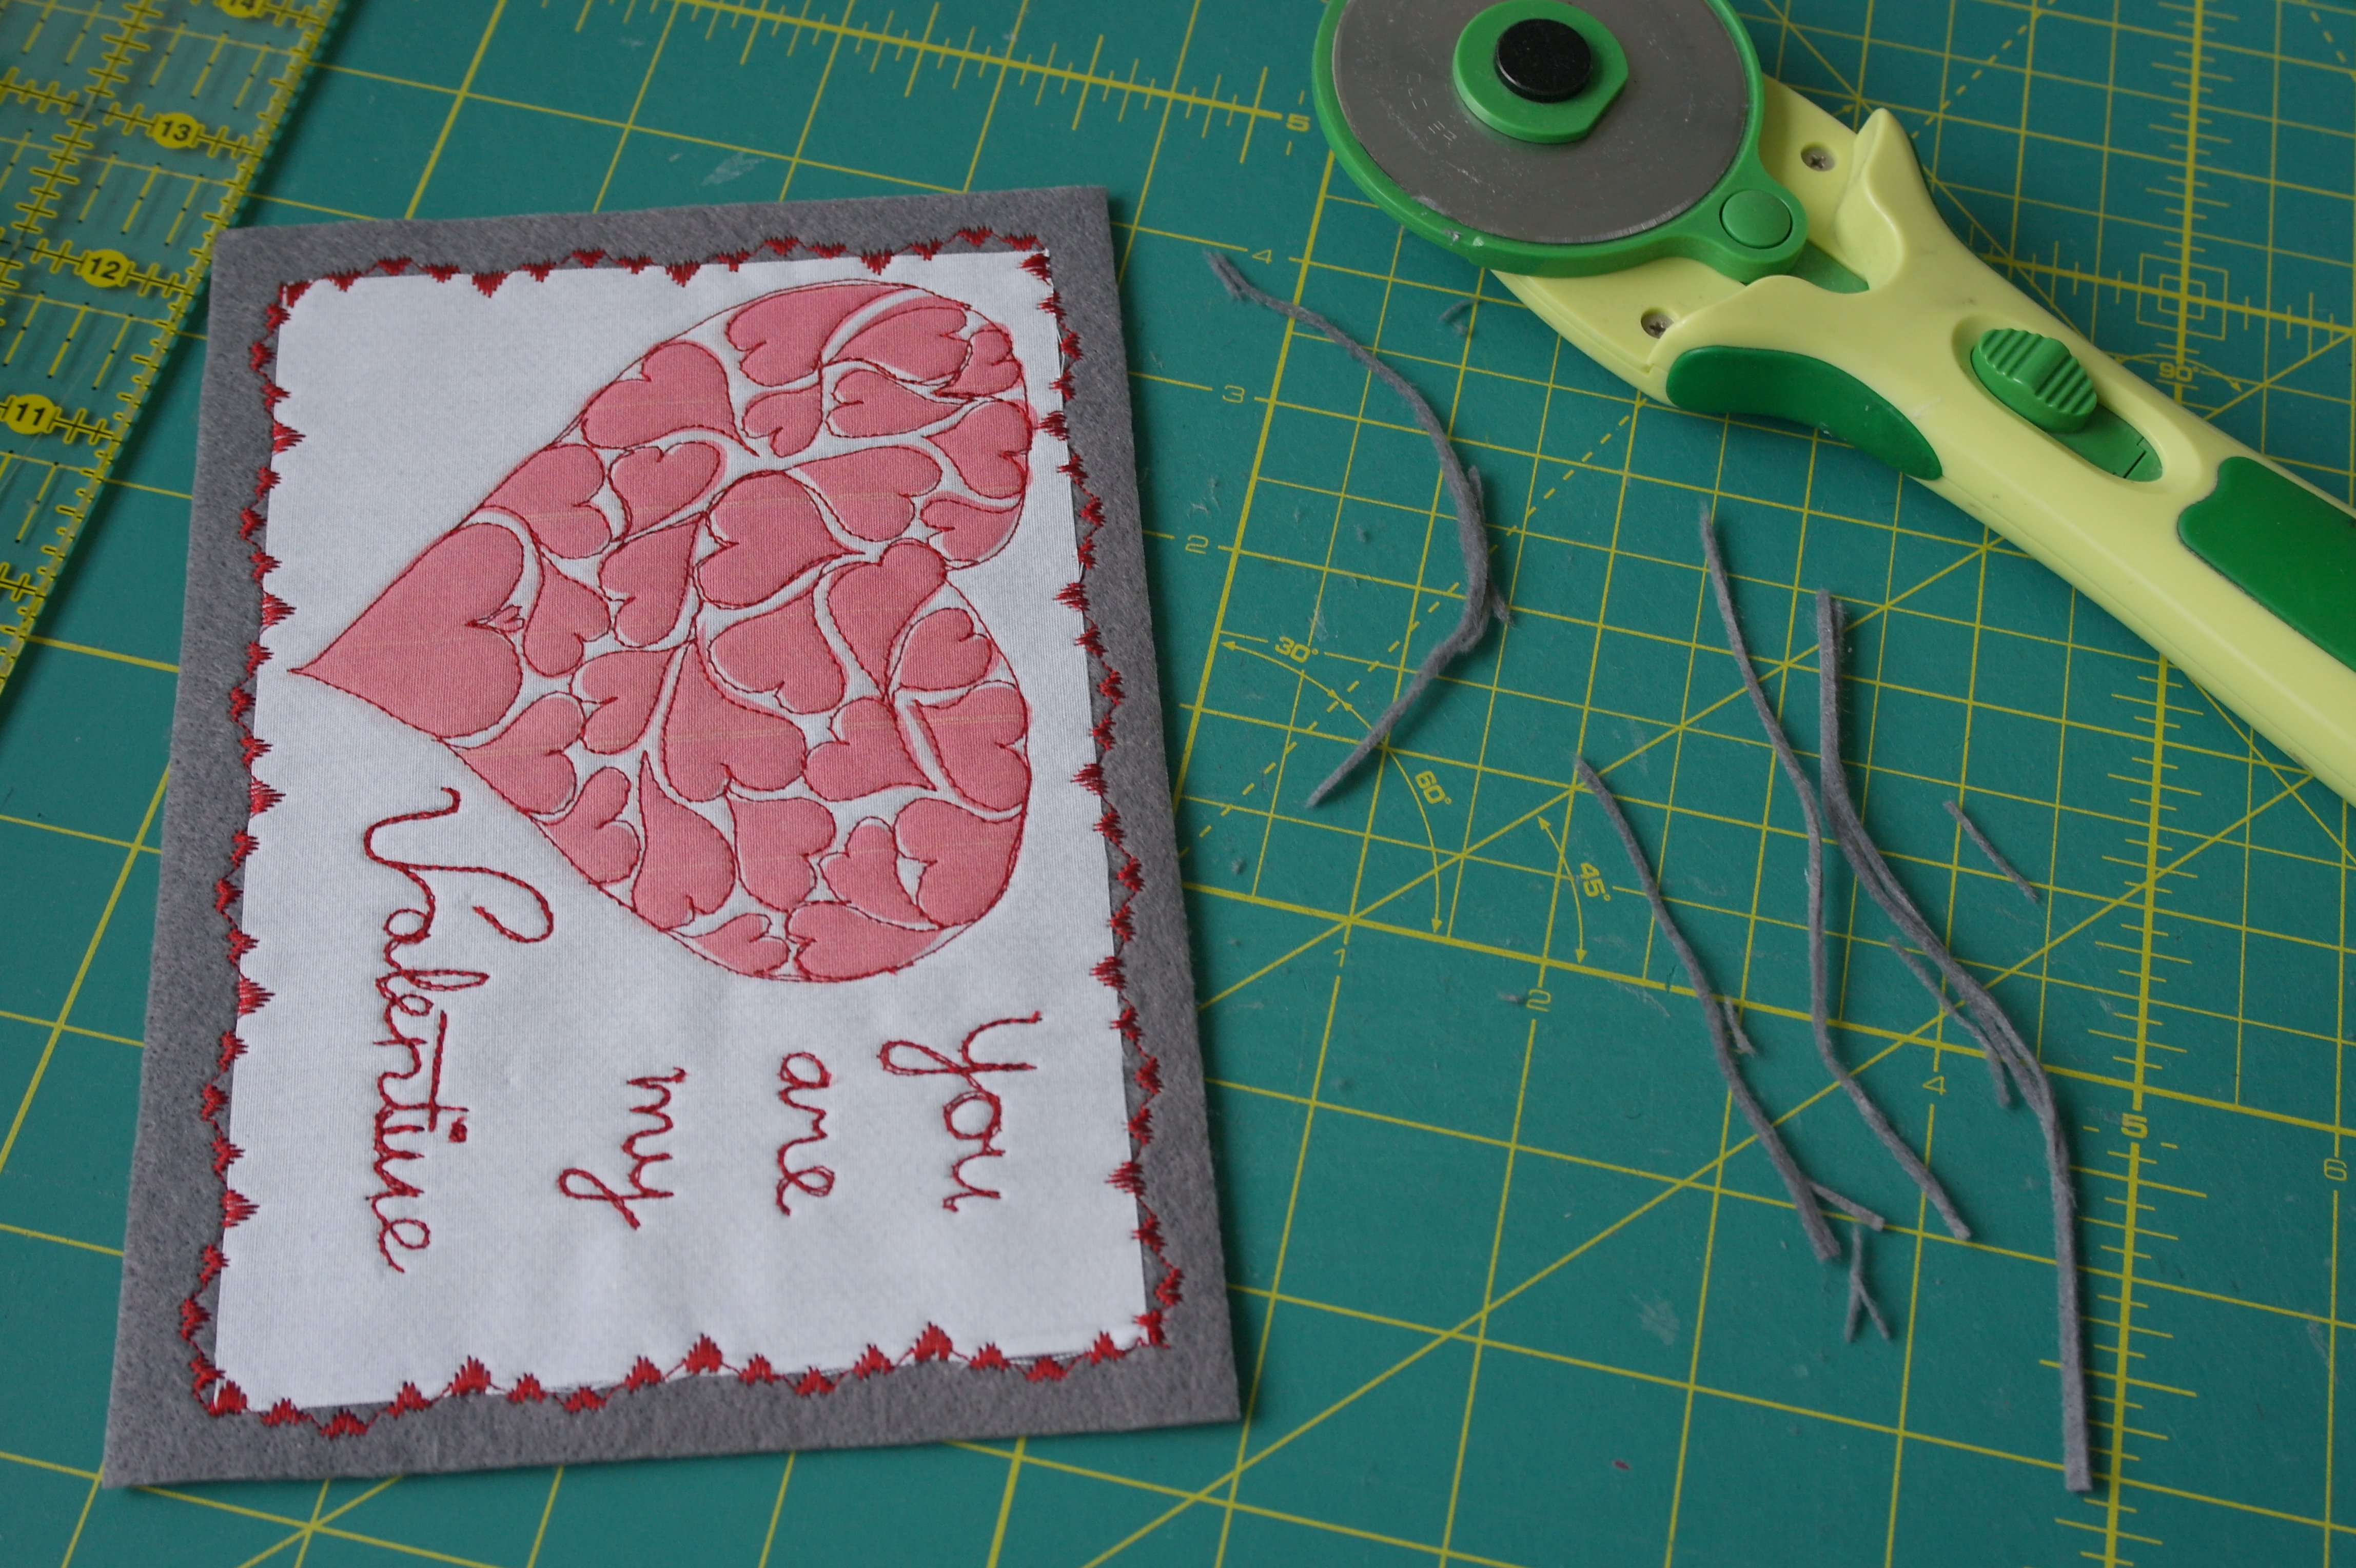
Squaring them, cutting it back to the right size.

As finishing touch, I have used a Satin Stitch to secure the edges, giving the card a final (red) touch.
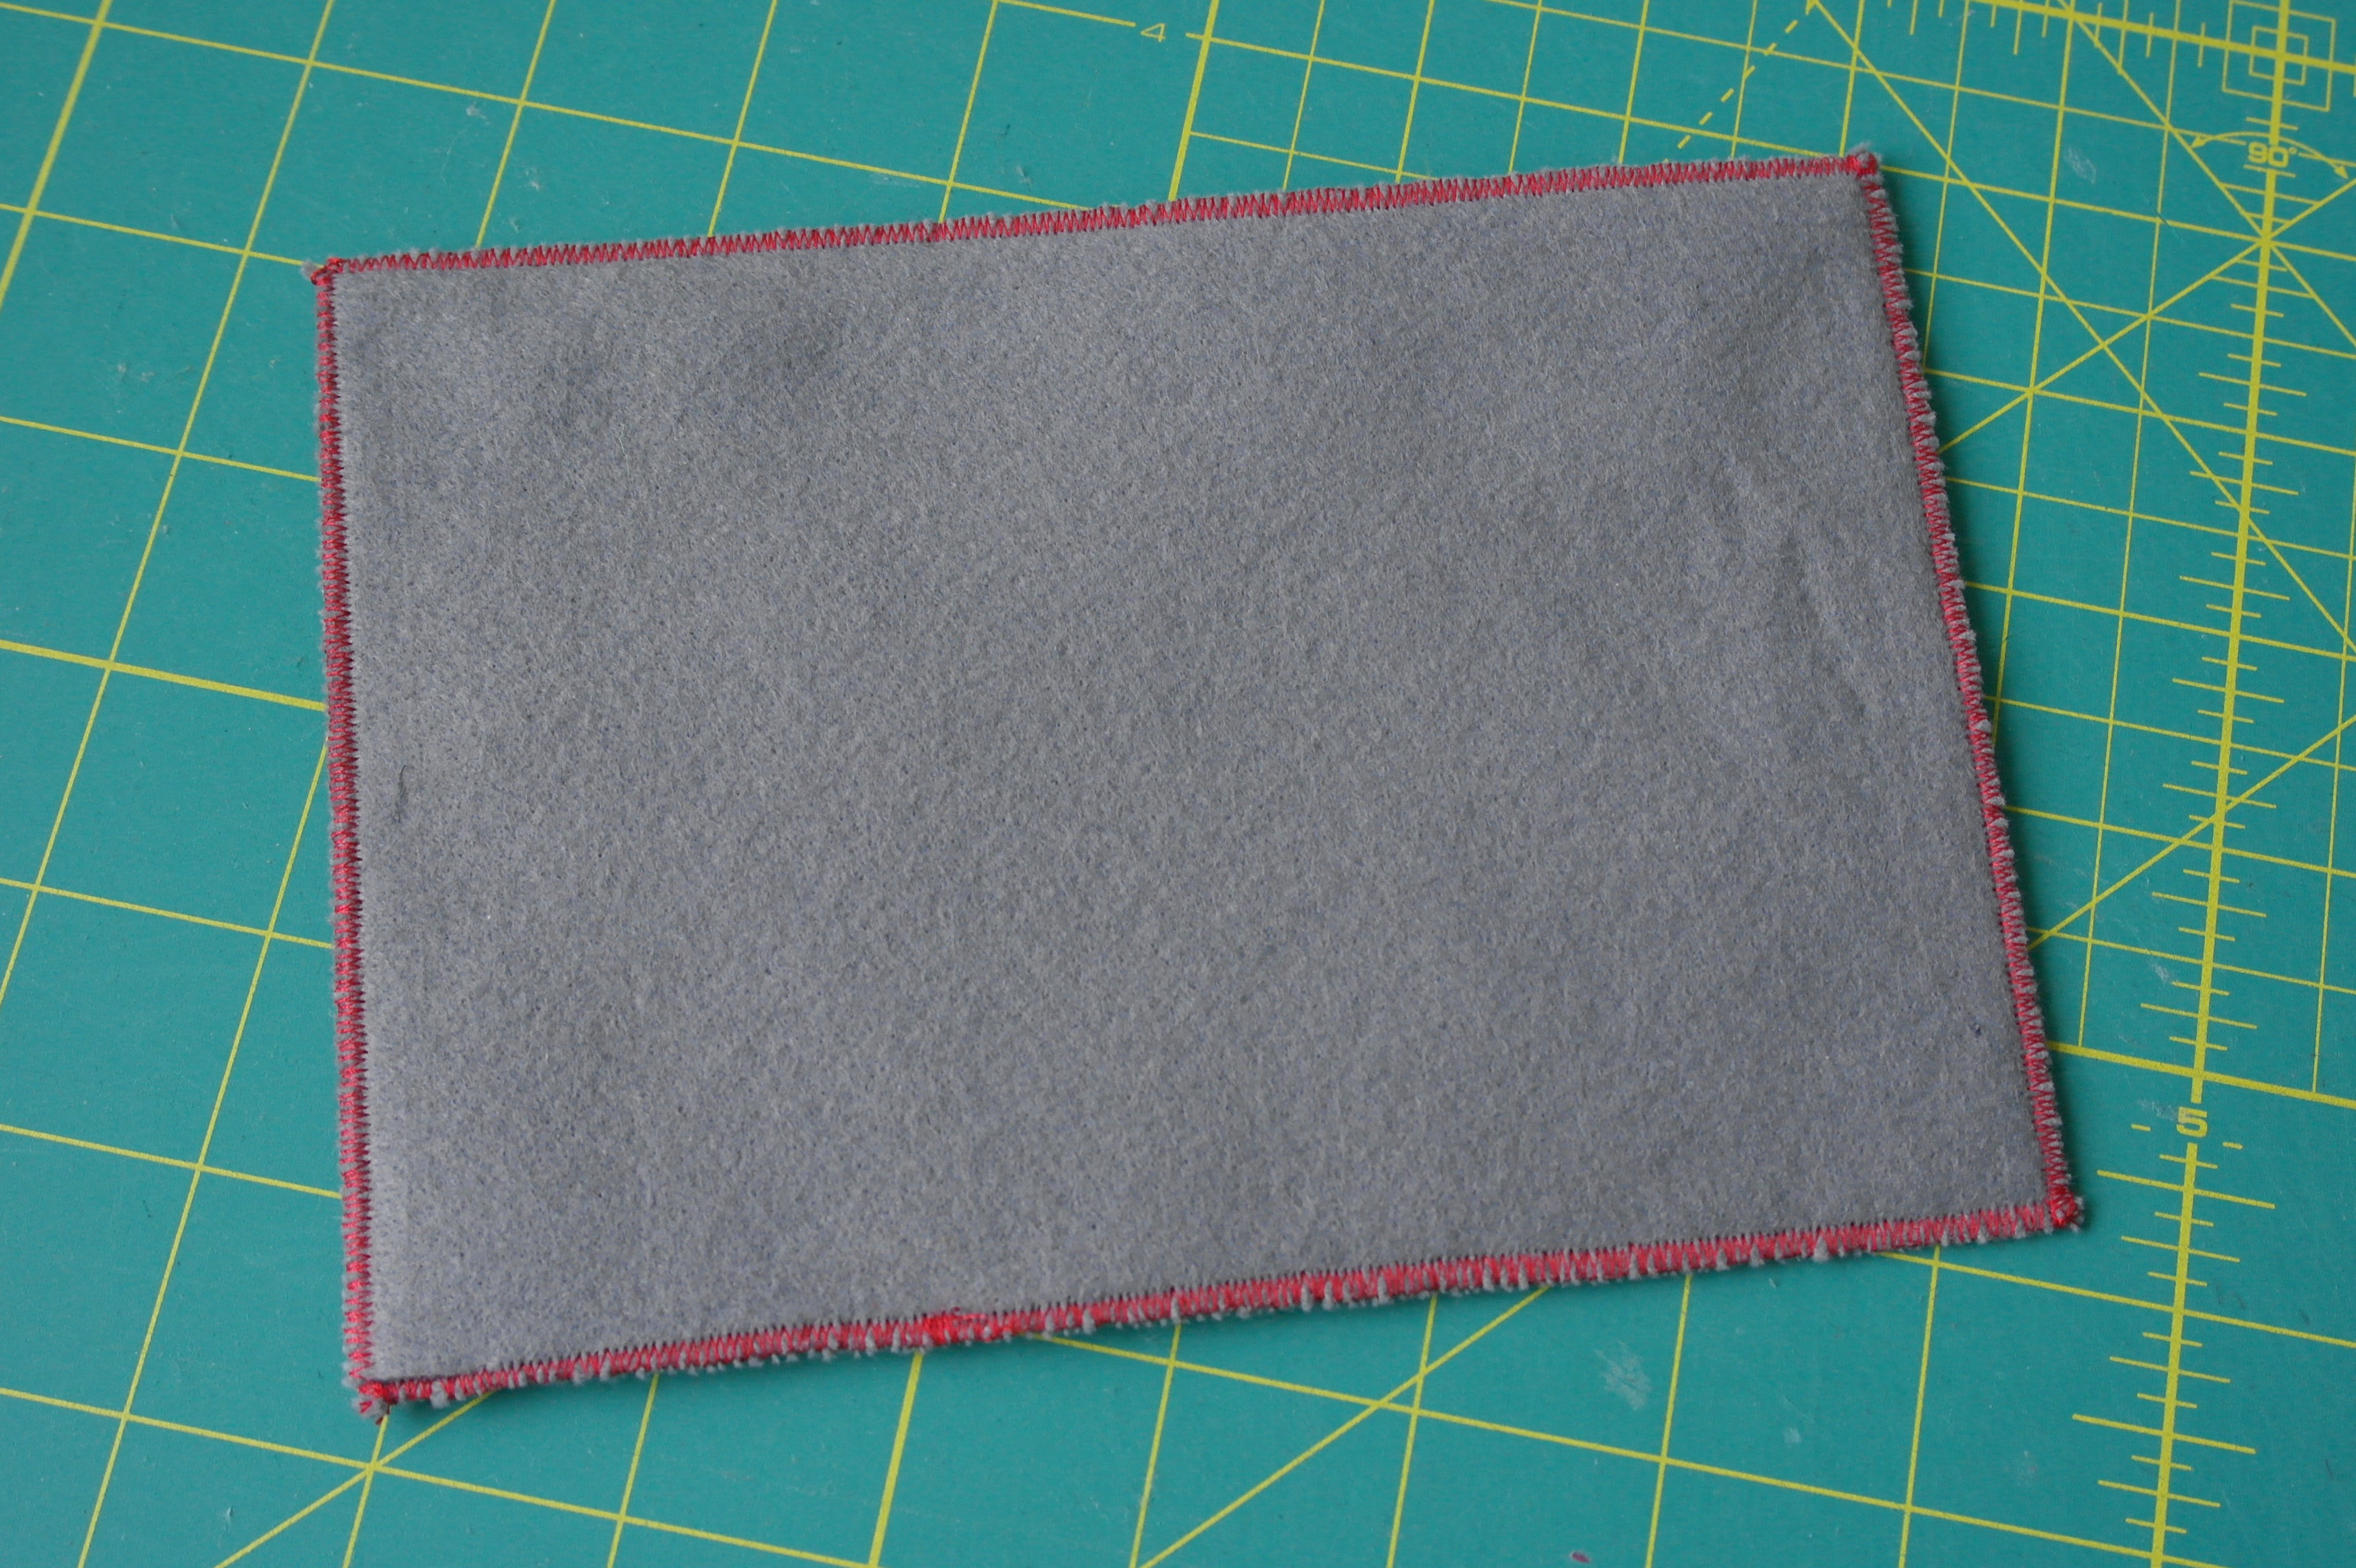
The back looks great: a good contrast between grey/felt and red/stitches,
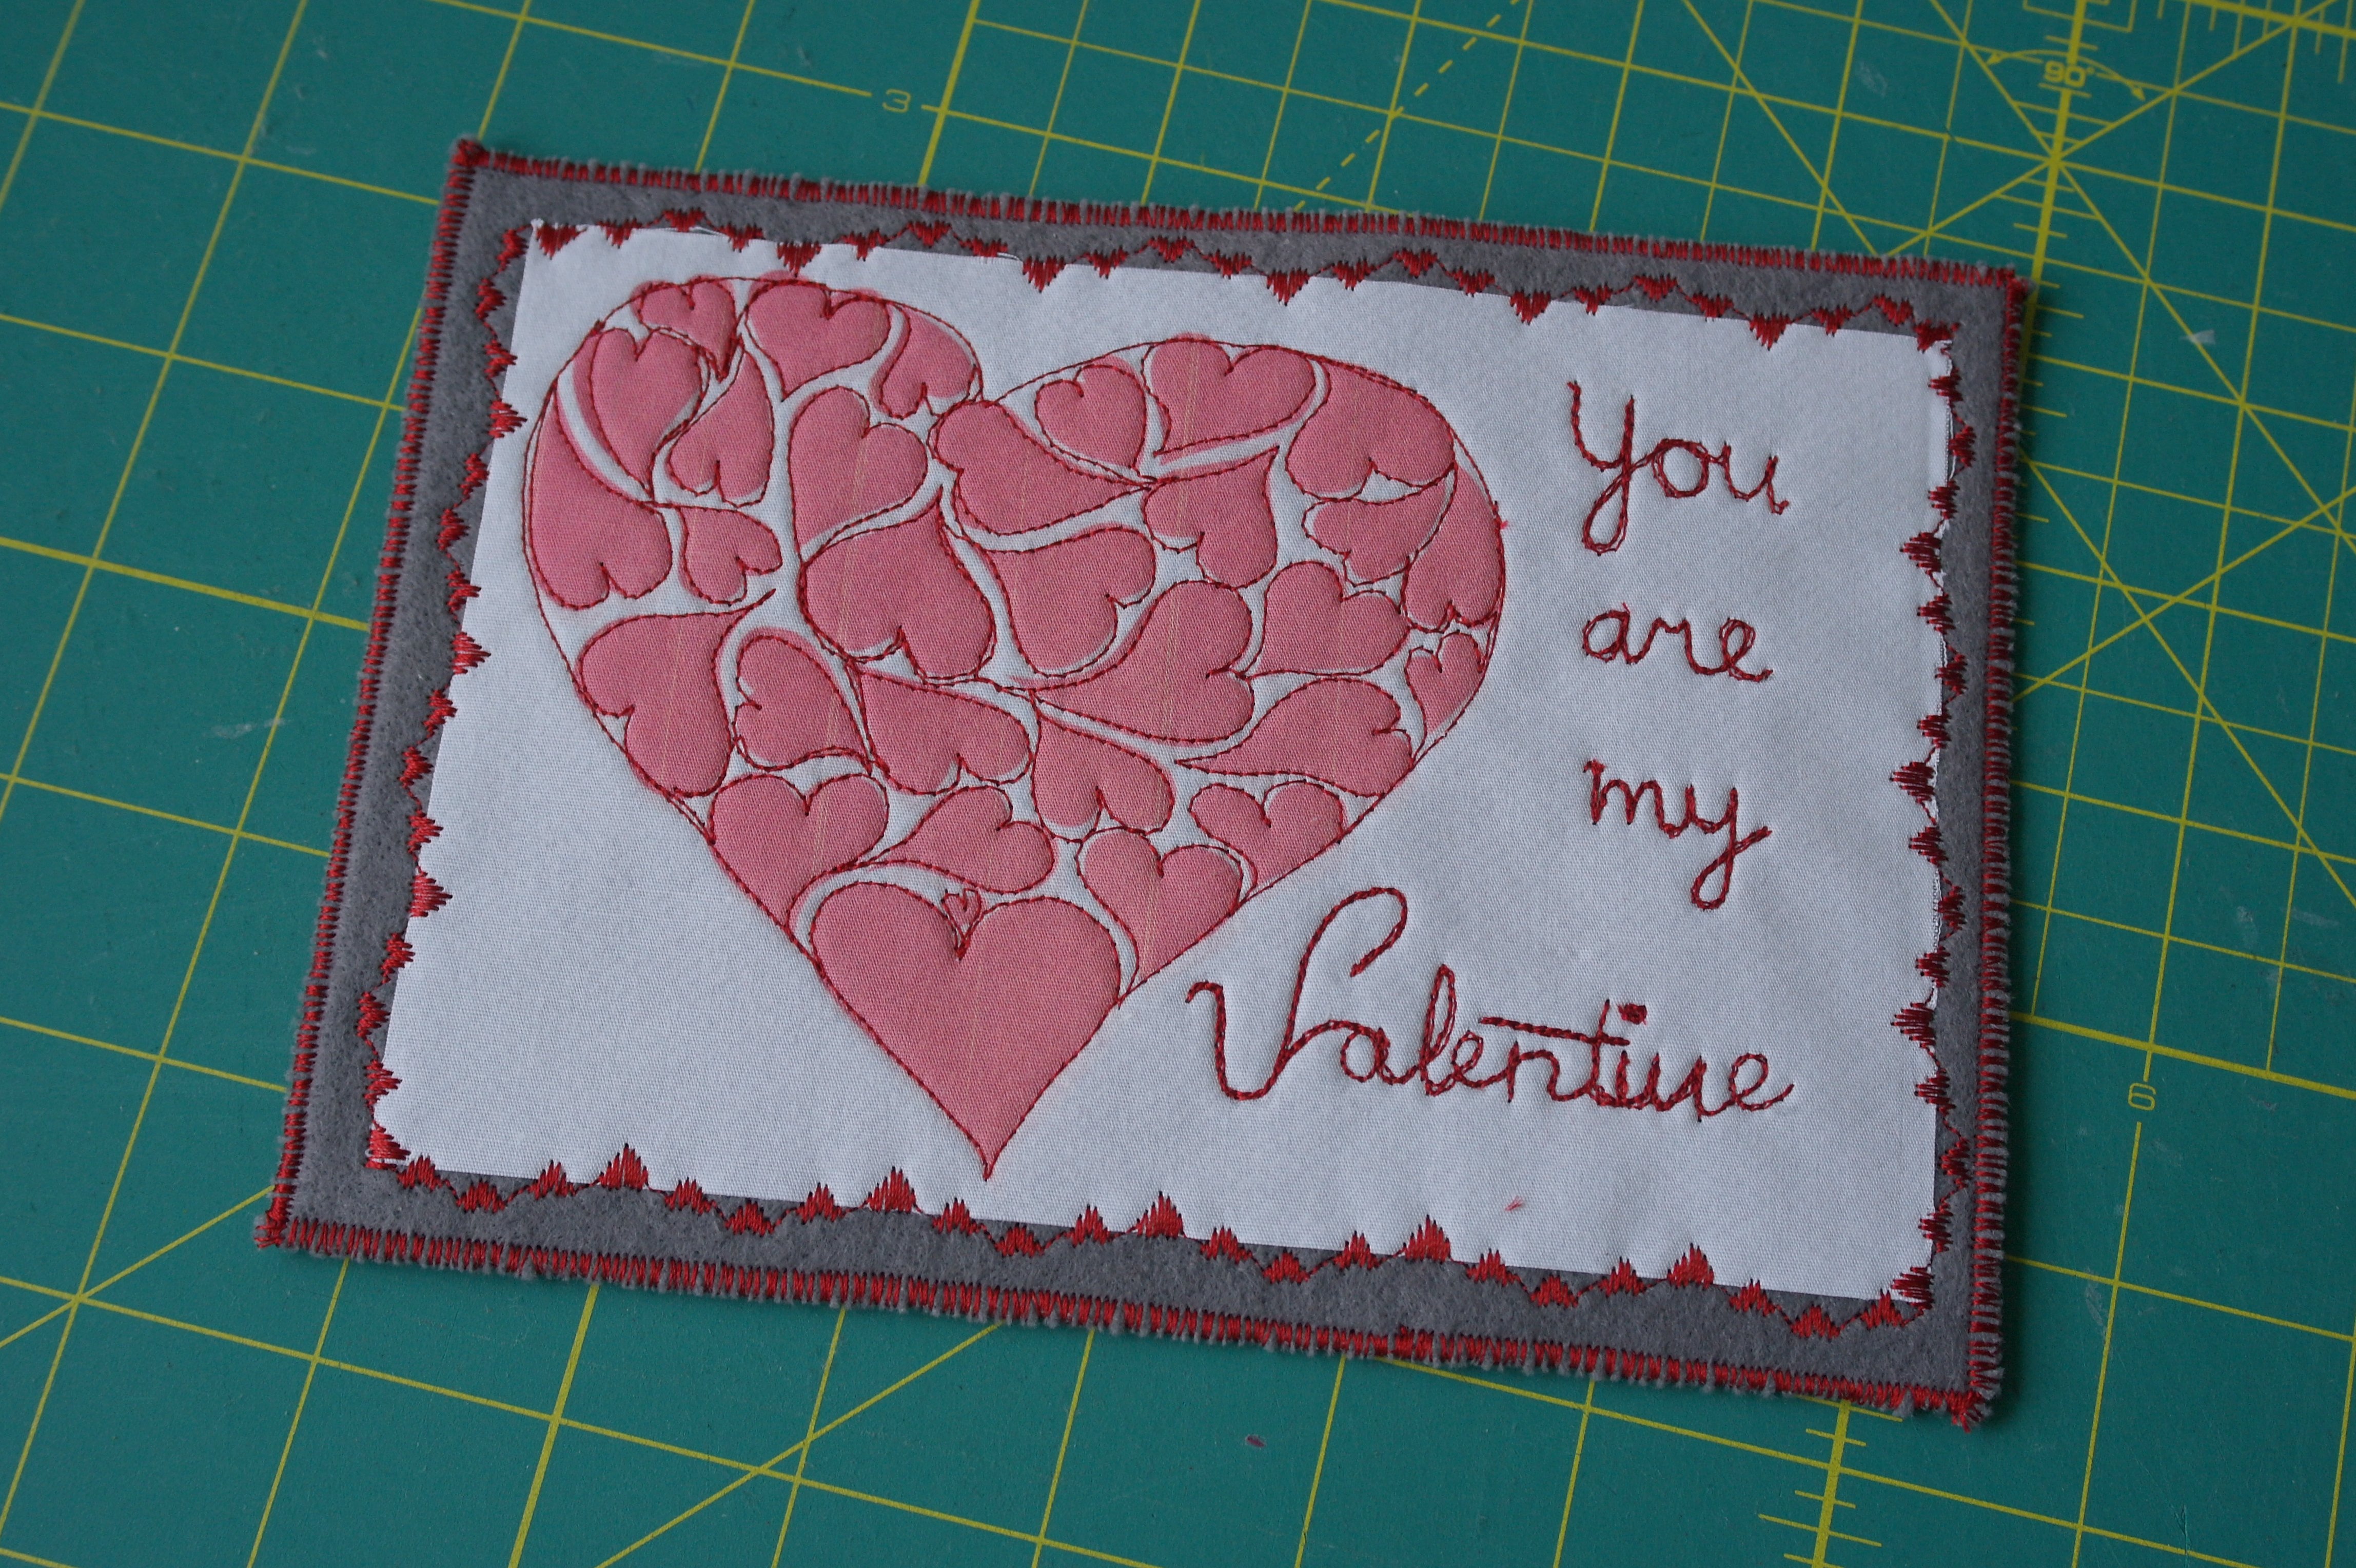
and the front looks even better. This card is ready for my own Valentine.
If you want to use the second heart of the .pdf/PhotoFabric, make a similar card, perhaps for a second Valentine, or for another special occasion.
Happy Valentines Day!
Sylvia Kaptein
Sylvia’s Art Quilts Studio

0 Responses