 BERNINA Corporate Blog -
Many questions from V8 users were asked about Embroidery Designs: how to find them and transfer them to the embroidery machine. They’ve asked me if I purchase embroidery designs, how I transfer them, if I edit them in V8 etc. And of course, I would love to share my experience.
There are so many possibilities, but one of my favourites is purchasing designs from BERNINA Embroidery Designs, a.k.a. BERNINA Embroidery Online.
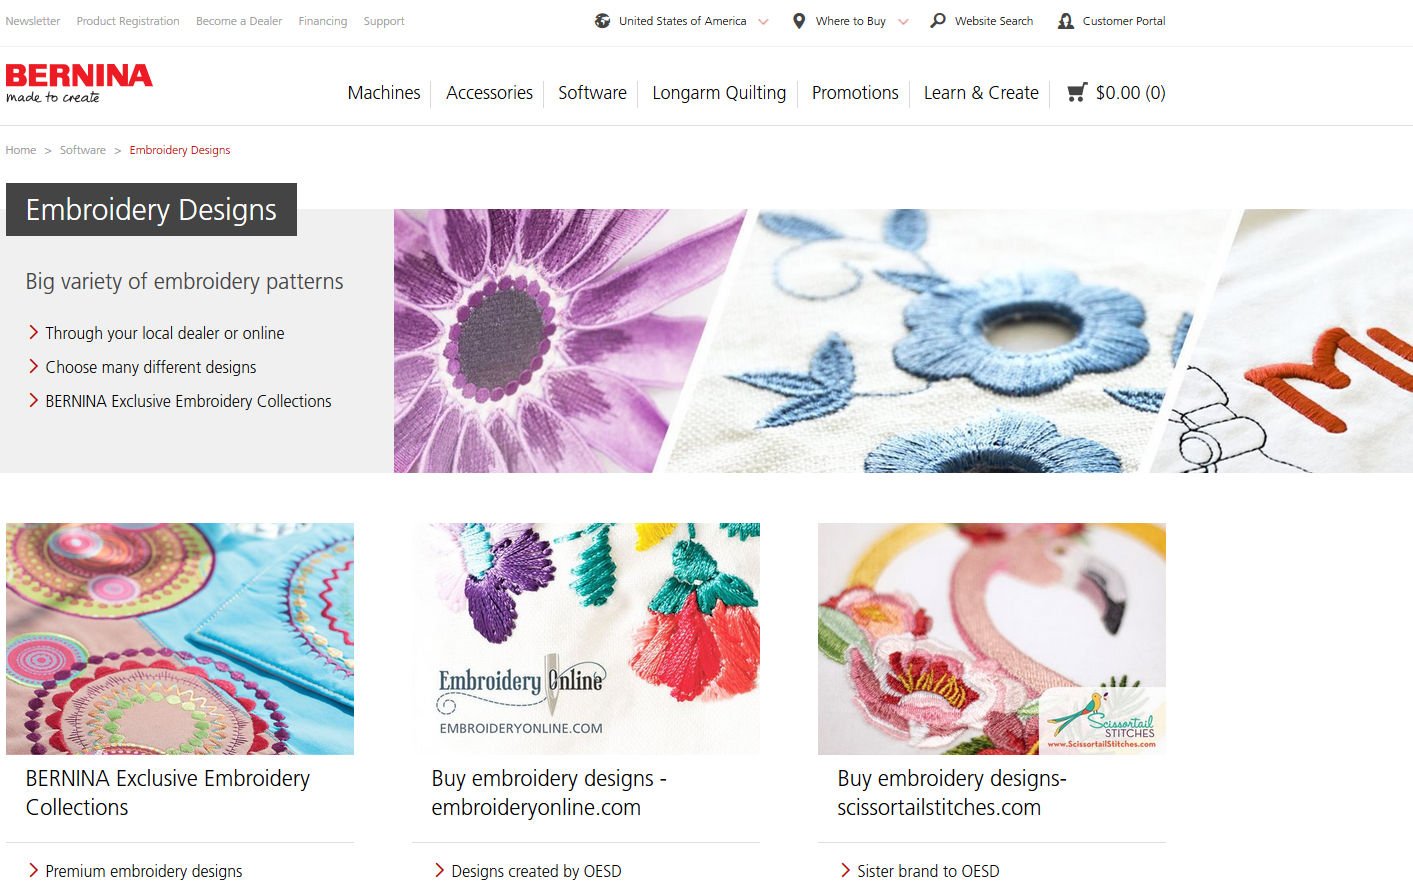
The picture above shows the BERNINA Exclusive collections, and BERNINA Embroidery Online with OESD designs, plus a link to Designs-Scissortailstitches, sister brand to OESD.
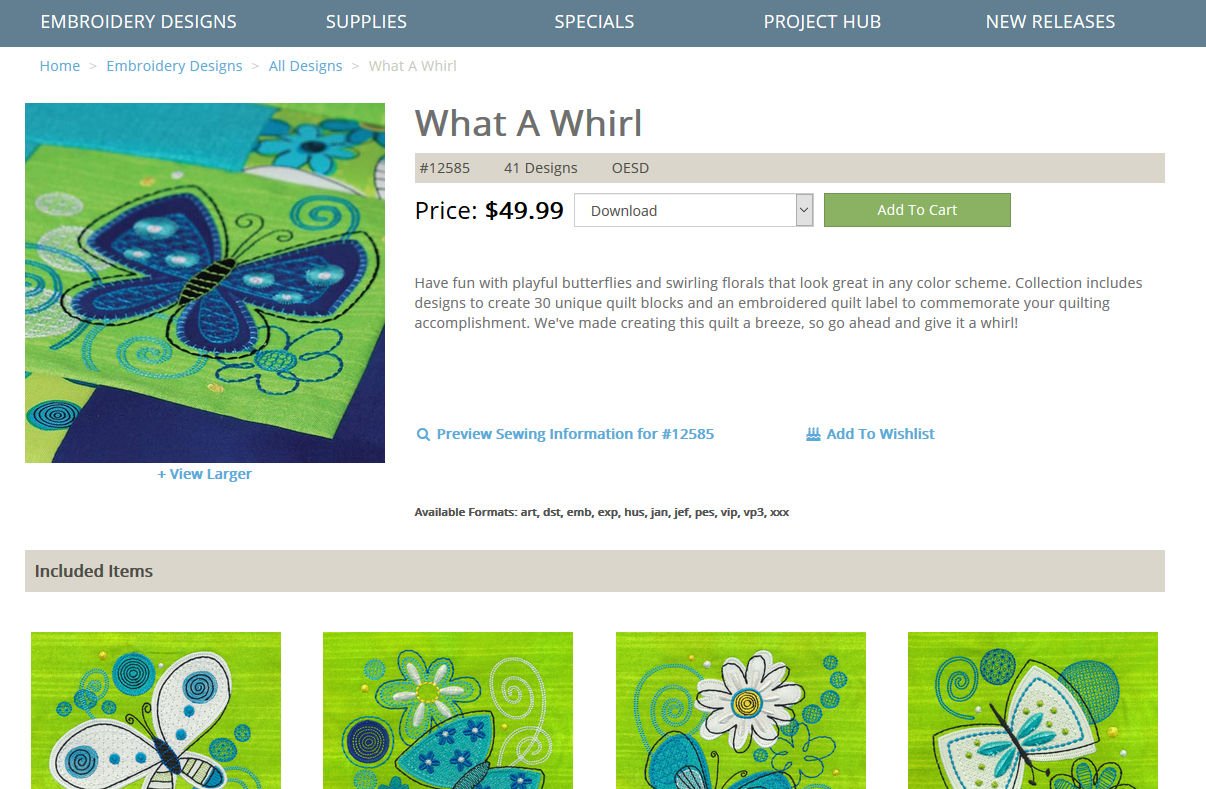
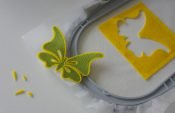
I am currently working on ‘What a Wirl’: a combination of embroidery and appliqué – this is so much fun! If you want to purchase/download this ‘What a Wirl’, click on the link. This is design #12585 van OESD – a pack with lots of beautiful butterflies and flowers.
I know that many embroiderers would like to get it all for free, but sometimes purchasing designs makes live so much easier. It gives you an idea about the quality of it all. Besides: there are so many designs in the pack I’ve mentioned: it will take me a lot of time to make them all. And I love the fact that somebody took the time and effort to design GOOD embroidery,
Information about the designs.
The info tells me: Have fun with playful butterflies and swirling florals that look great in any color scheme. Collection includes designs to create 30 unique quilt blocks and an embroidered quilt label to commemorate your quilting accomplishment. We’ve made creating this quilt a breeze, so go ahead and give it a whirl!
It’s about:
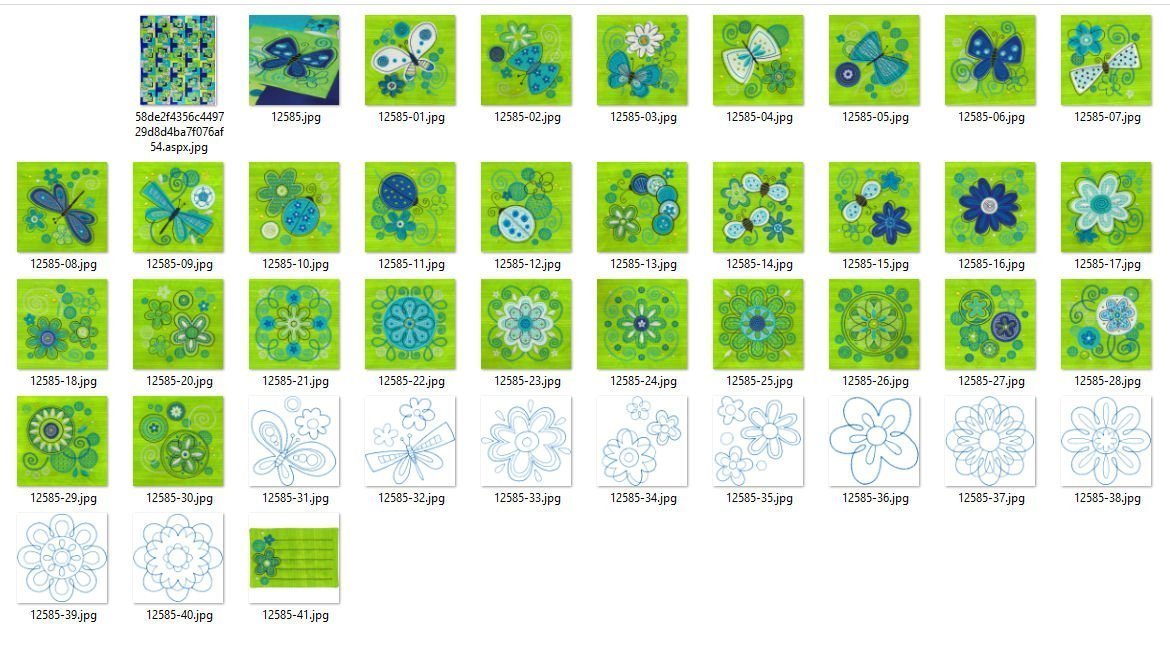
- 41 designs:
30 Quilt blocks (with appliqué)
10 Outline-motifs
1 Quilt label
I am always looking for information about the design to download, to be able to see how it is made, what colors/threads are used and perhaps even more about appliqué (which this is). Therefore I have clicked on ‘Preview Sewing Information for #12585’.
A .PDF is opened, which you can save on your computer for future reference, but I’ve printed it. There are 23 pages: quite a lot of information. Normally there are 2 or 3 pages about thread usage and other info, so let’s see what it is all about.
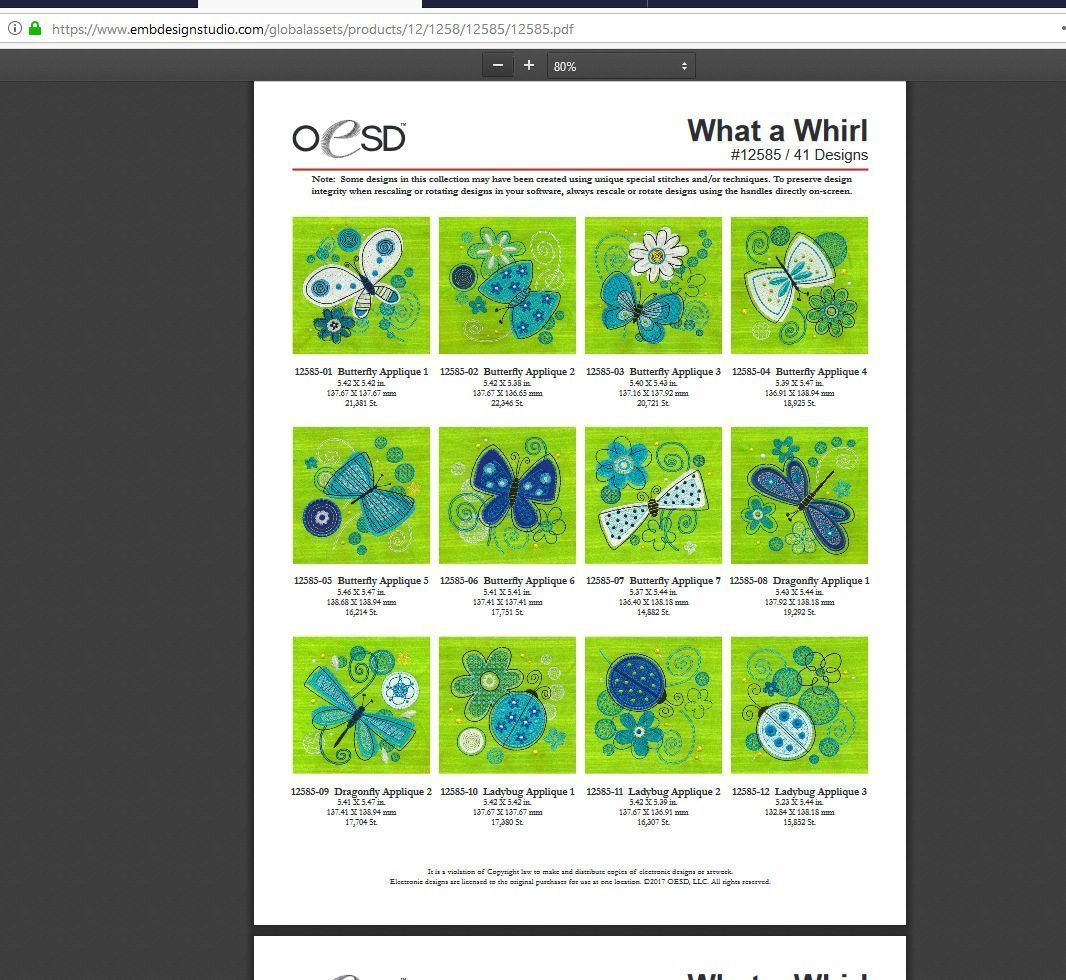
Since these are appliqué embroidered designs, pictures of them all are available: 30 different ones. Under each picture there is a number and name, size in inches and millimeters and the number of stitches.
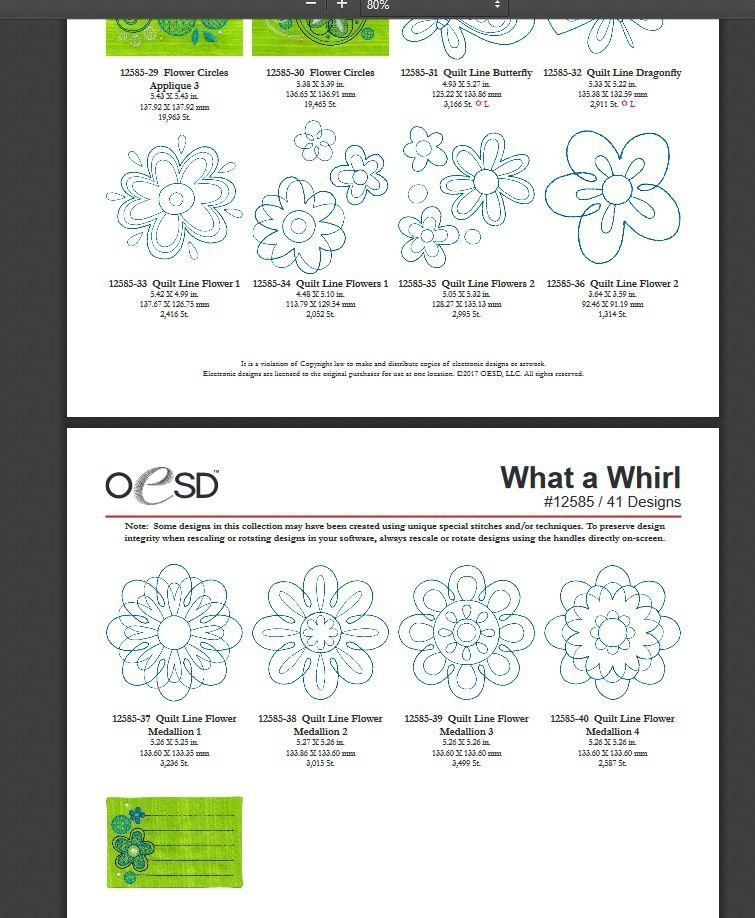
Scrolling down, there are Outline designs – 10 of each, and a Quilt label – how wonderful they even designed that!
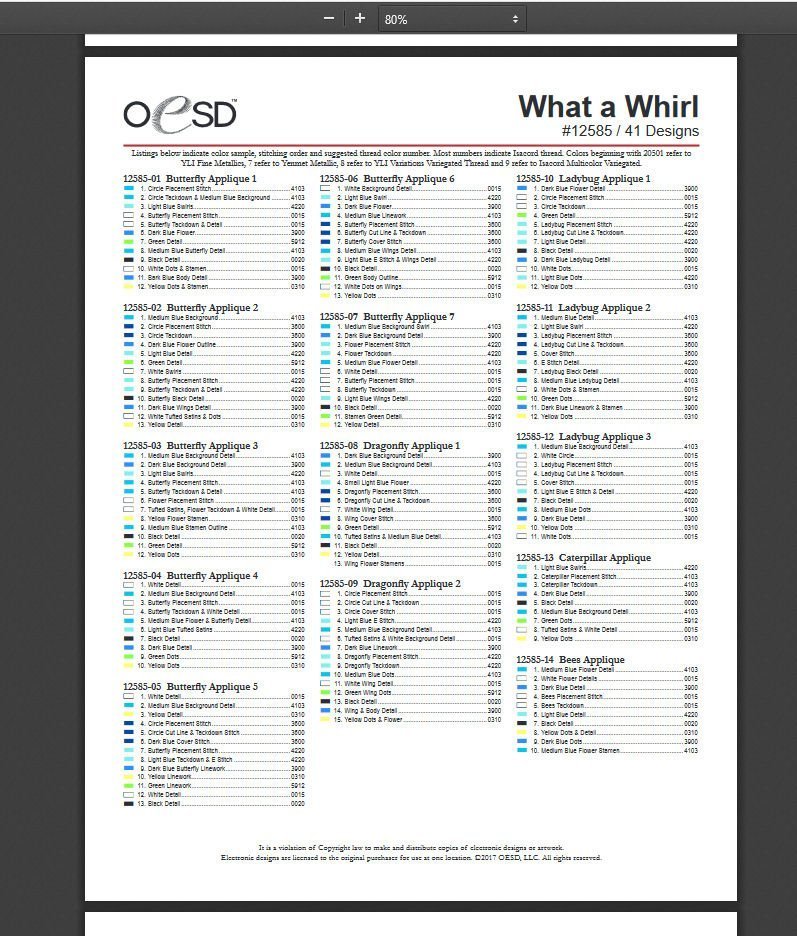
Thereafter a list with used thread, per design, and the section of the design for which it is used.

The design tells you to use Isacord threads, but I will use Sulky Rayon 40: I just have to match the mentioned colors, or use my own combination. Since all colors are indicated with a box, it’s easy to do so.
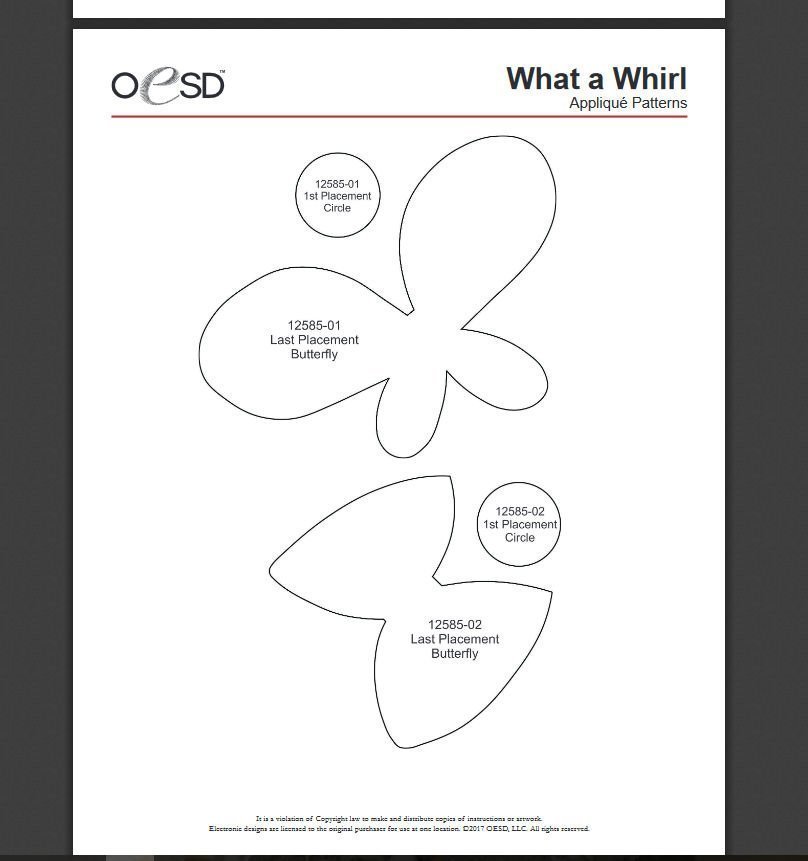
Then there are Precut-Appliqué Instructions: how to cut templates for the appliqué fabrics which are used for a certain block. Cut them and use place them om the indicated fabric along the outer lines to get the proper size. When the embroidery machine stops, indicating to place a fabric, the prepared shape with stitches is a bit smaller than the fabric, which is how it is supposed to be.

Because of the appliqué templates, it is very important to print these pages at 100%, or the appliqué will be either too small or too large. It tells you at a certain page to do so. This is what I love with a good design: the proper information about it all. You get what you pay for!
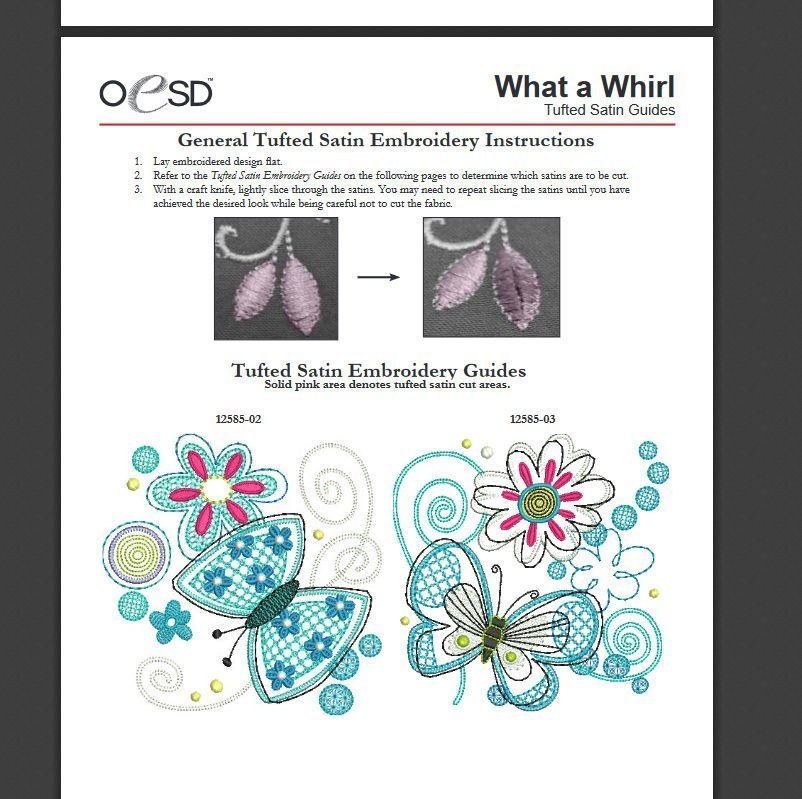
And finally there are clues to make Tufted Satin Embroidery – a special technique, developed by OESD in 2011. This involves many layers of Satin Stitches, from short to long, with tacks to prevent loosening the stitches. Because: after the embroidery you will cut these in the center, allowing the threads to loosen, for a dimensional effect. With some it is just at a small part of the embroidery, the rest is regular embroidery.
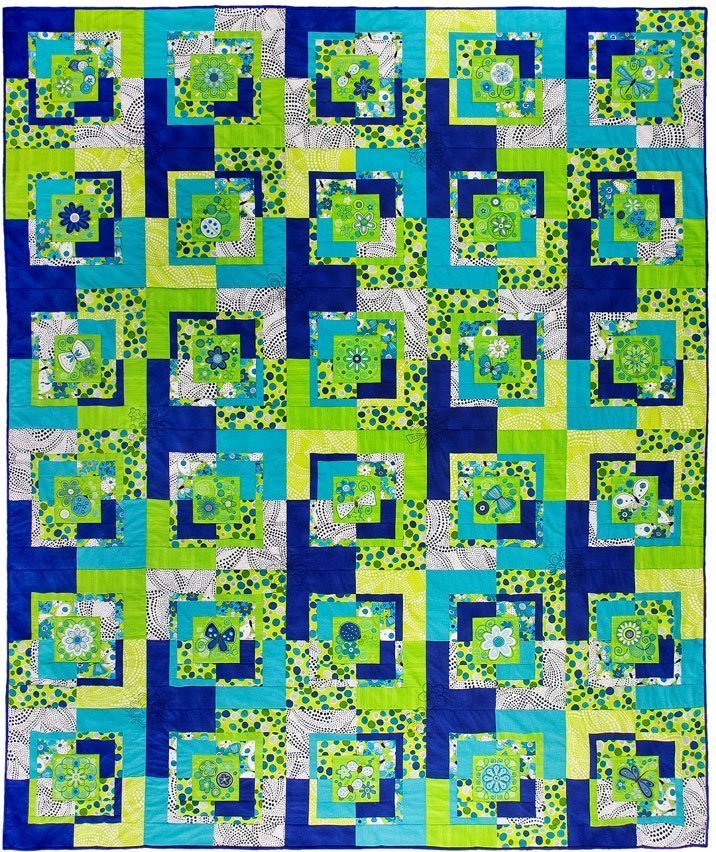
And if you need inspiration to use the blocks after embroidery: at the end of the pages there is a quilt, with 30 blocks. How wonderful is it, to have an example ready for you.
Again: extensive information but fun to be working with. I have purchased the Embroidery Pack, indicating to work with .EXP files (format of my BERNINA 770QE). It came as a .ZIP file with many more extensions: .ART, .DST, .EMB, .EXP, .HUS, .JAN, .JEF, .PES, .VIP, .VP3, .XXX.
If you don’t want to order the entire pack, you can order just one or two embroidery/appliqué designs separate. But I love packs: you never know when to use them. Besides: it is much cheaper to purchase it all at once, instead of ordering a couple at one time, and then a couple of more the next time…
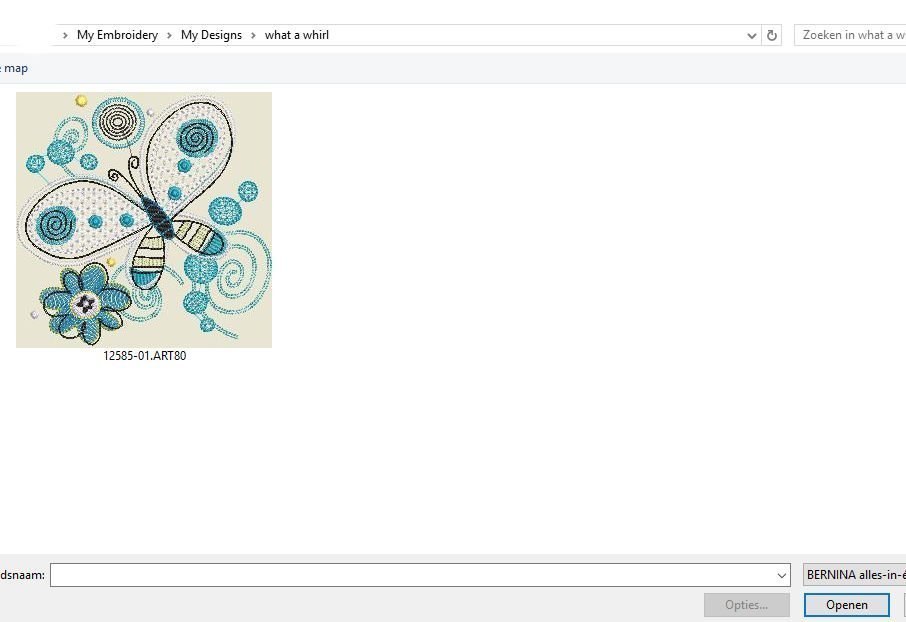
After purchasing and paying, I have placed it on the hard drive of my computer, naming it ‘What a Wirl’ (!). Now I have a good overview.
I will look at the first embroidery design in V8: I have to double click on the folder, open it to be able to use the .EXP files.
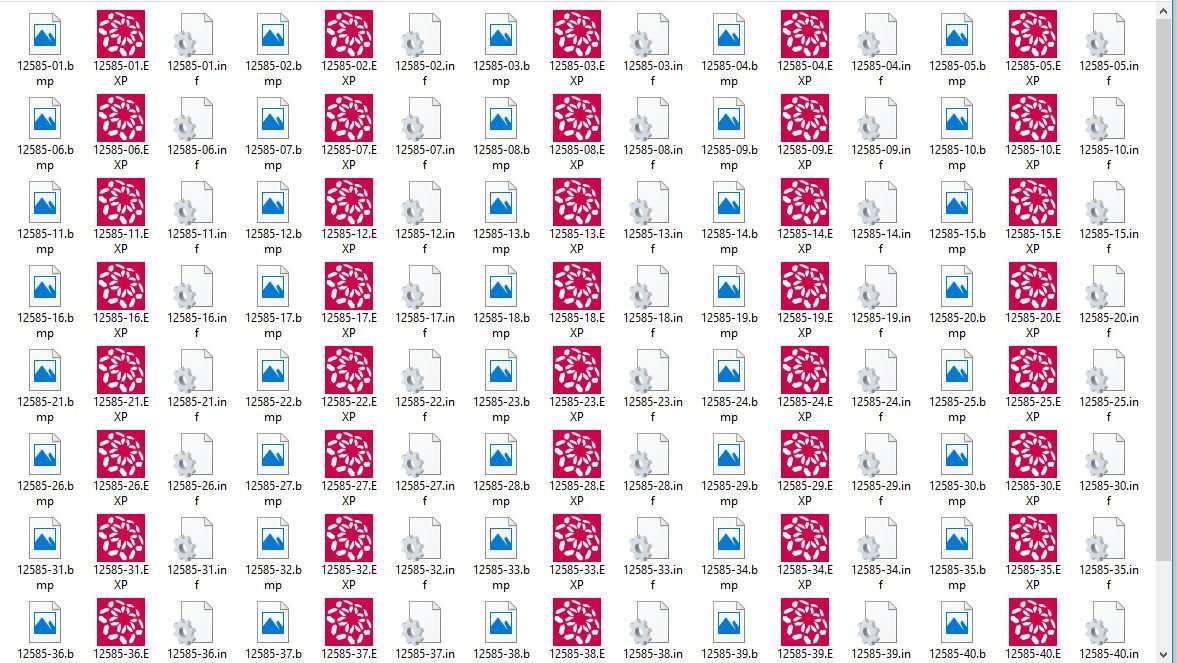
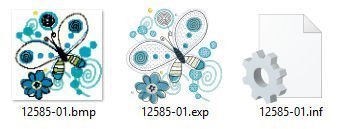
A list of all designs is opened: each with three files – a .BMP with the picture, a .EXP with the actual embroidery design and a .INF with the information my machine needs to be able to do the actual embroidery. You will always need these three folders together, to transfer them to your machine.
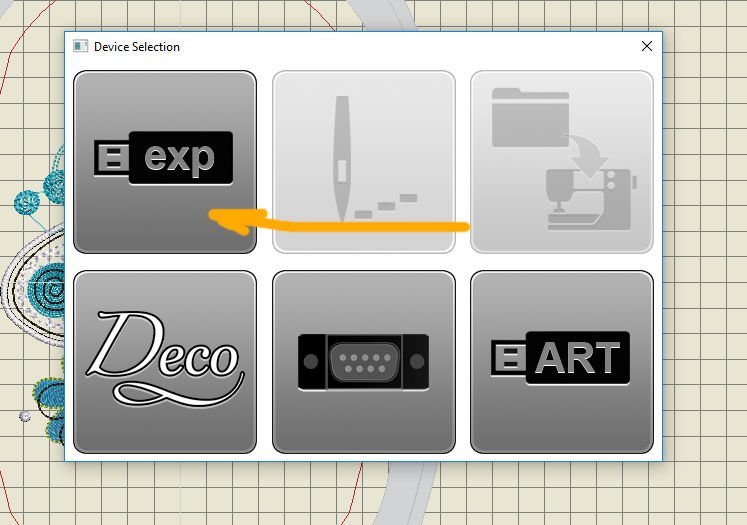
There are a couple of choices I have to make at this time:
- Use my USBstick, transfer the design of my choice (Butterfly Appliqué 1) to it and bring it to my B770QE with embroidery module to do the actual embroidery.
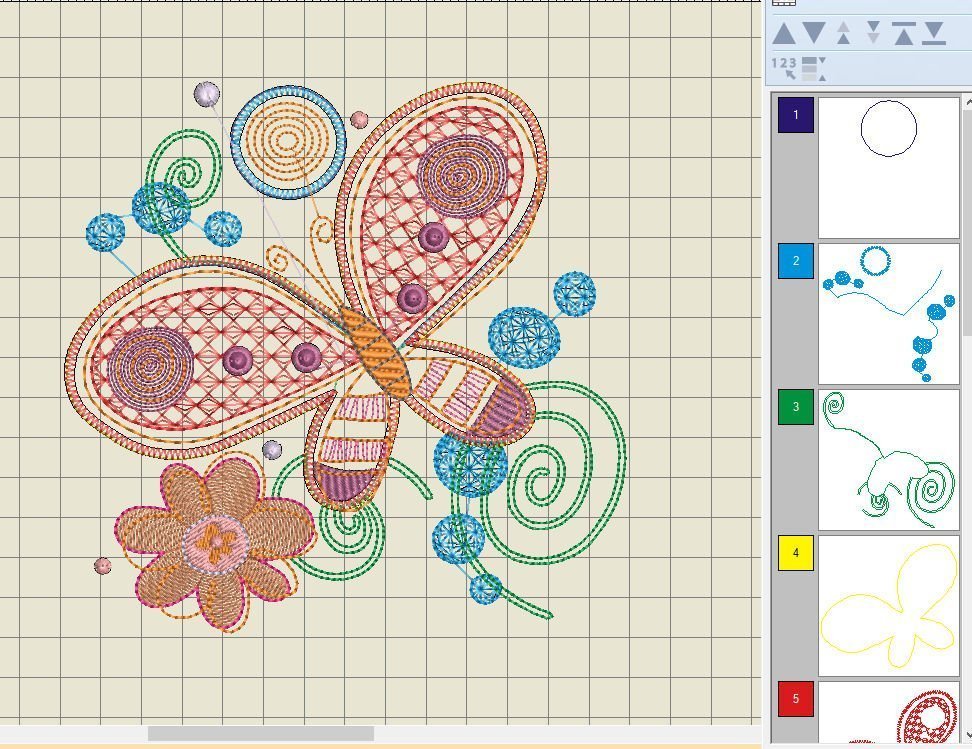
- Double click on the .EXP file, a menu appears, asking ‘Do you want to open this file?’, and open it in V8 I prefer to do this, being able to change colors or settings, using the docker ‘Color Film’ to see how any different boxes there are.

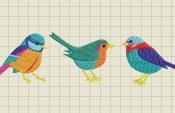
As you can see with the previous picture, colors are different from the pictures with the designs. That’s what happens when embroidery is designed with different software, comparing to the BERNINA software. No problem, because there are colors/thread numbers available with the .PDF .

Since I will use Sulky Rayon 40, I have to change threads/colors anyway. But first I want to see the original colors, setting the brand ‘Isacord’ with ‘My Threads’, and clicking on each box with ‘Color Film’ to change into the original threads/colors.
If you want to use the original colors, this is how you can change it. But if you still want to use your own threads/colors, just set up the threads/spools in working order with your machine. It doesn’t matter if your list of threads/colors tells you to use a brand you don’t worn, just use the brand you do own.
At this point, you can edit this design, to add, delete etc., making your own variation. Save it with a different name.
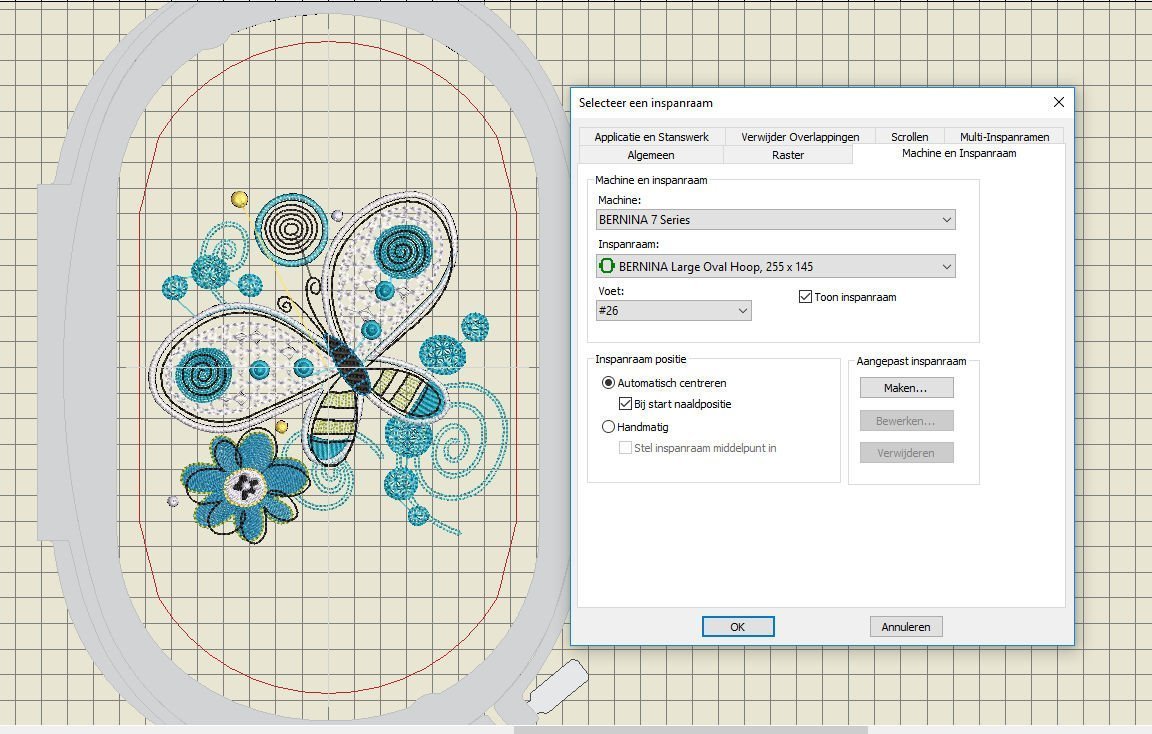
I have selected the Large Oval Hoop, and the Open Embroidery foot #26, plus checked the box with ‘Automatic centering’.
It is wise to save this design under a different name, if you have changed theads/colors. I always create a different folder for my own variations, to be able to find them next to the original ones. I NEVER change the orginal designs.
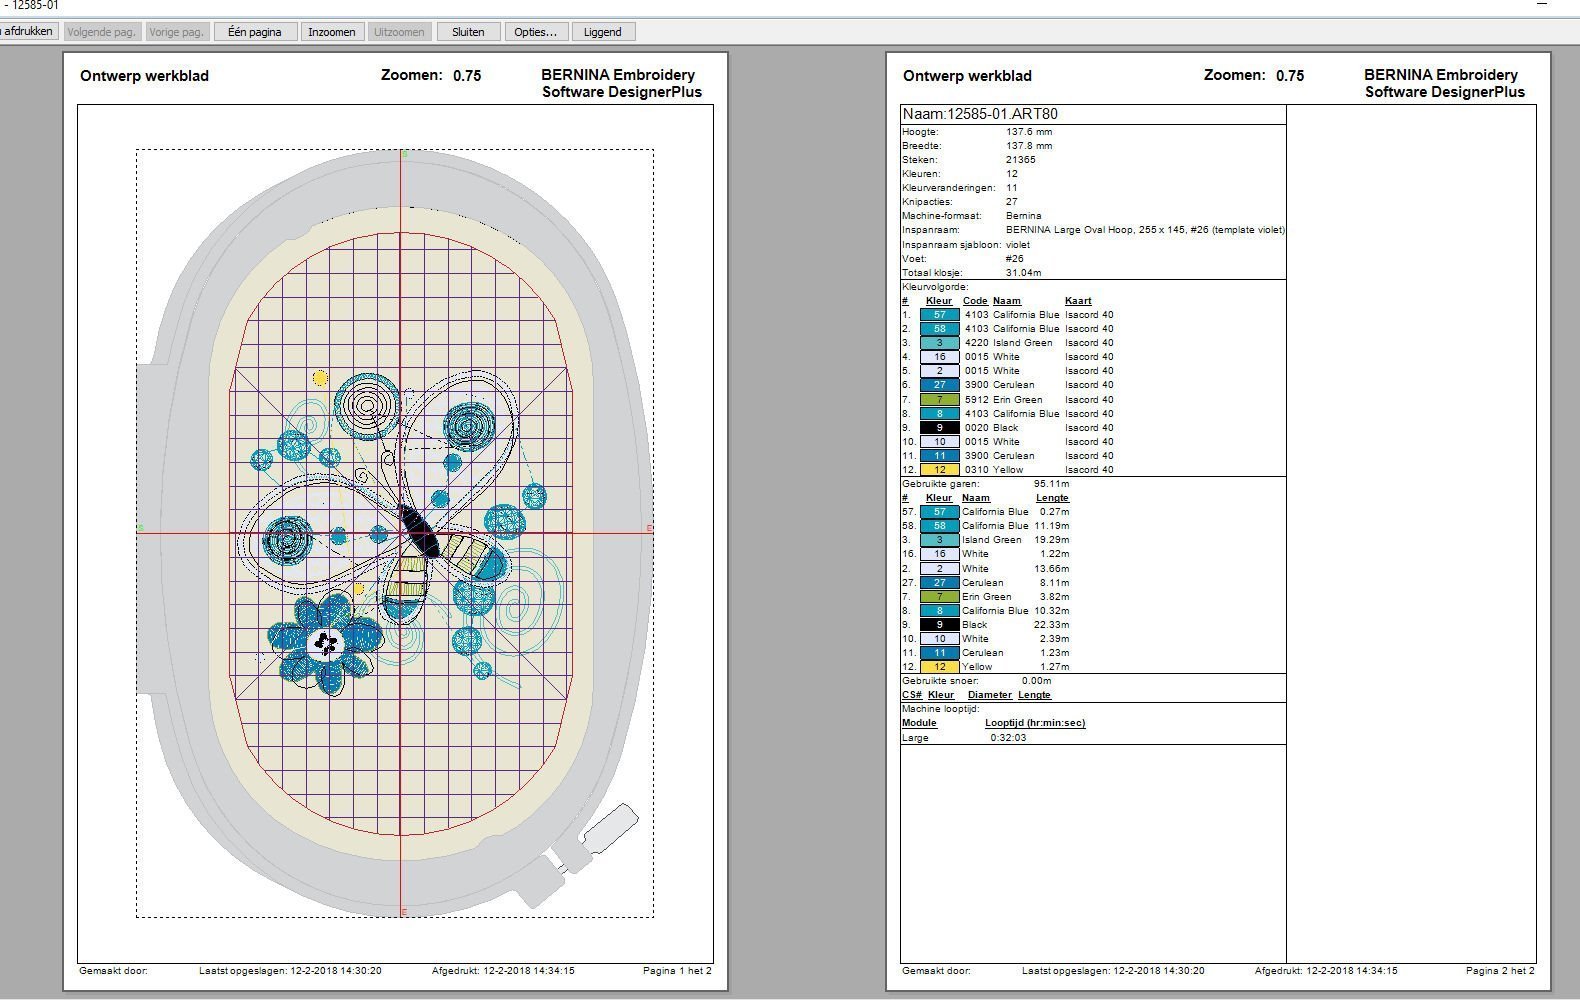
The print preview shows the original Isacord threads, but still I will use my Sulky Rayon 40 threads. Again: it doesn’t matter what the print preview tells you. If you have to use blues, you can change that in reds with the actual embroidery.
Finally, I have transferred the file on my USBstick, choosing ‘EXP, for that is the extension I will need to be able to embroidery it all via my B770QE.
Just checking if there are three files. Next, choosing fabrics and threads.
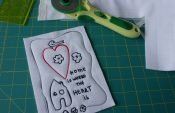
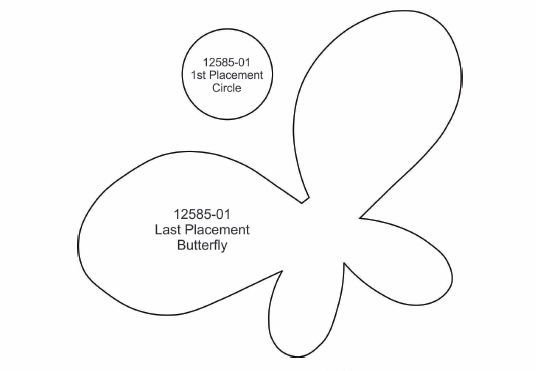 I have cut the appliqué templates (actual size). There are two butterflies present: 12585-01 and 12585-02. I need the 01: a circle and a butterfly. The circle tells me I will need it for ‘1st Placement’, the butterfly indicates I will need it for ‘Last Placement’. Again I salute the designs, for doing such a good job.
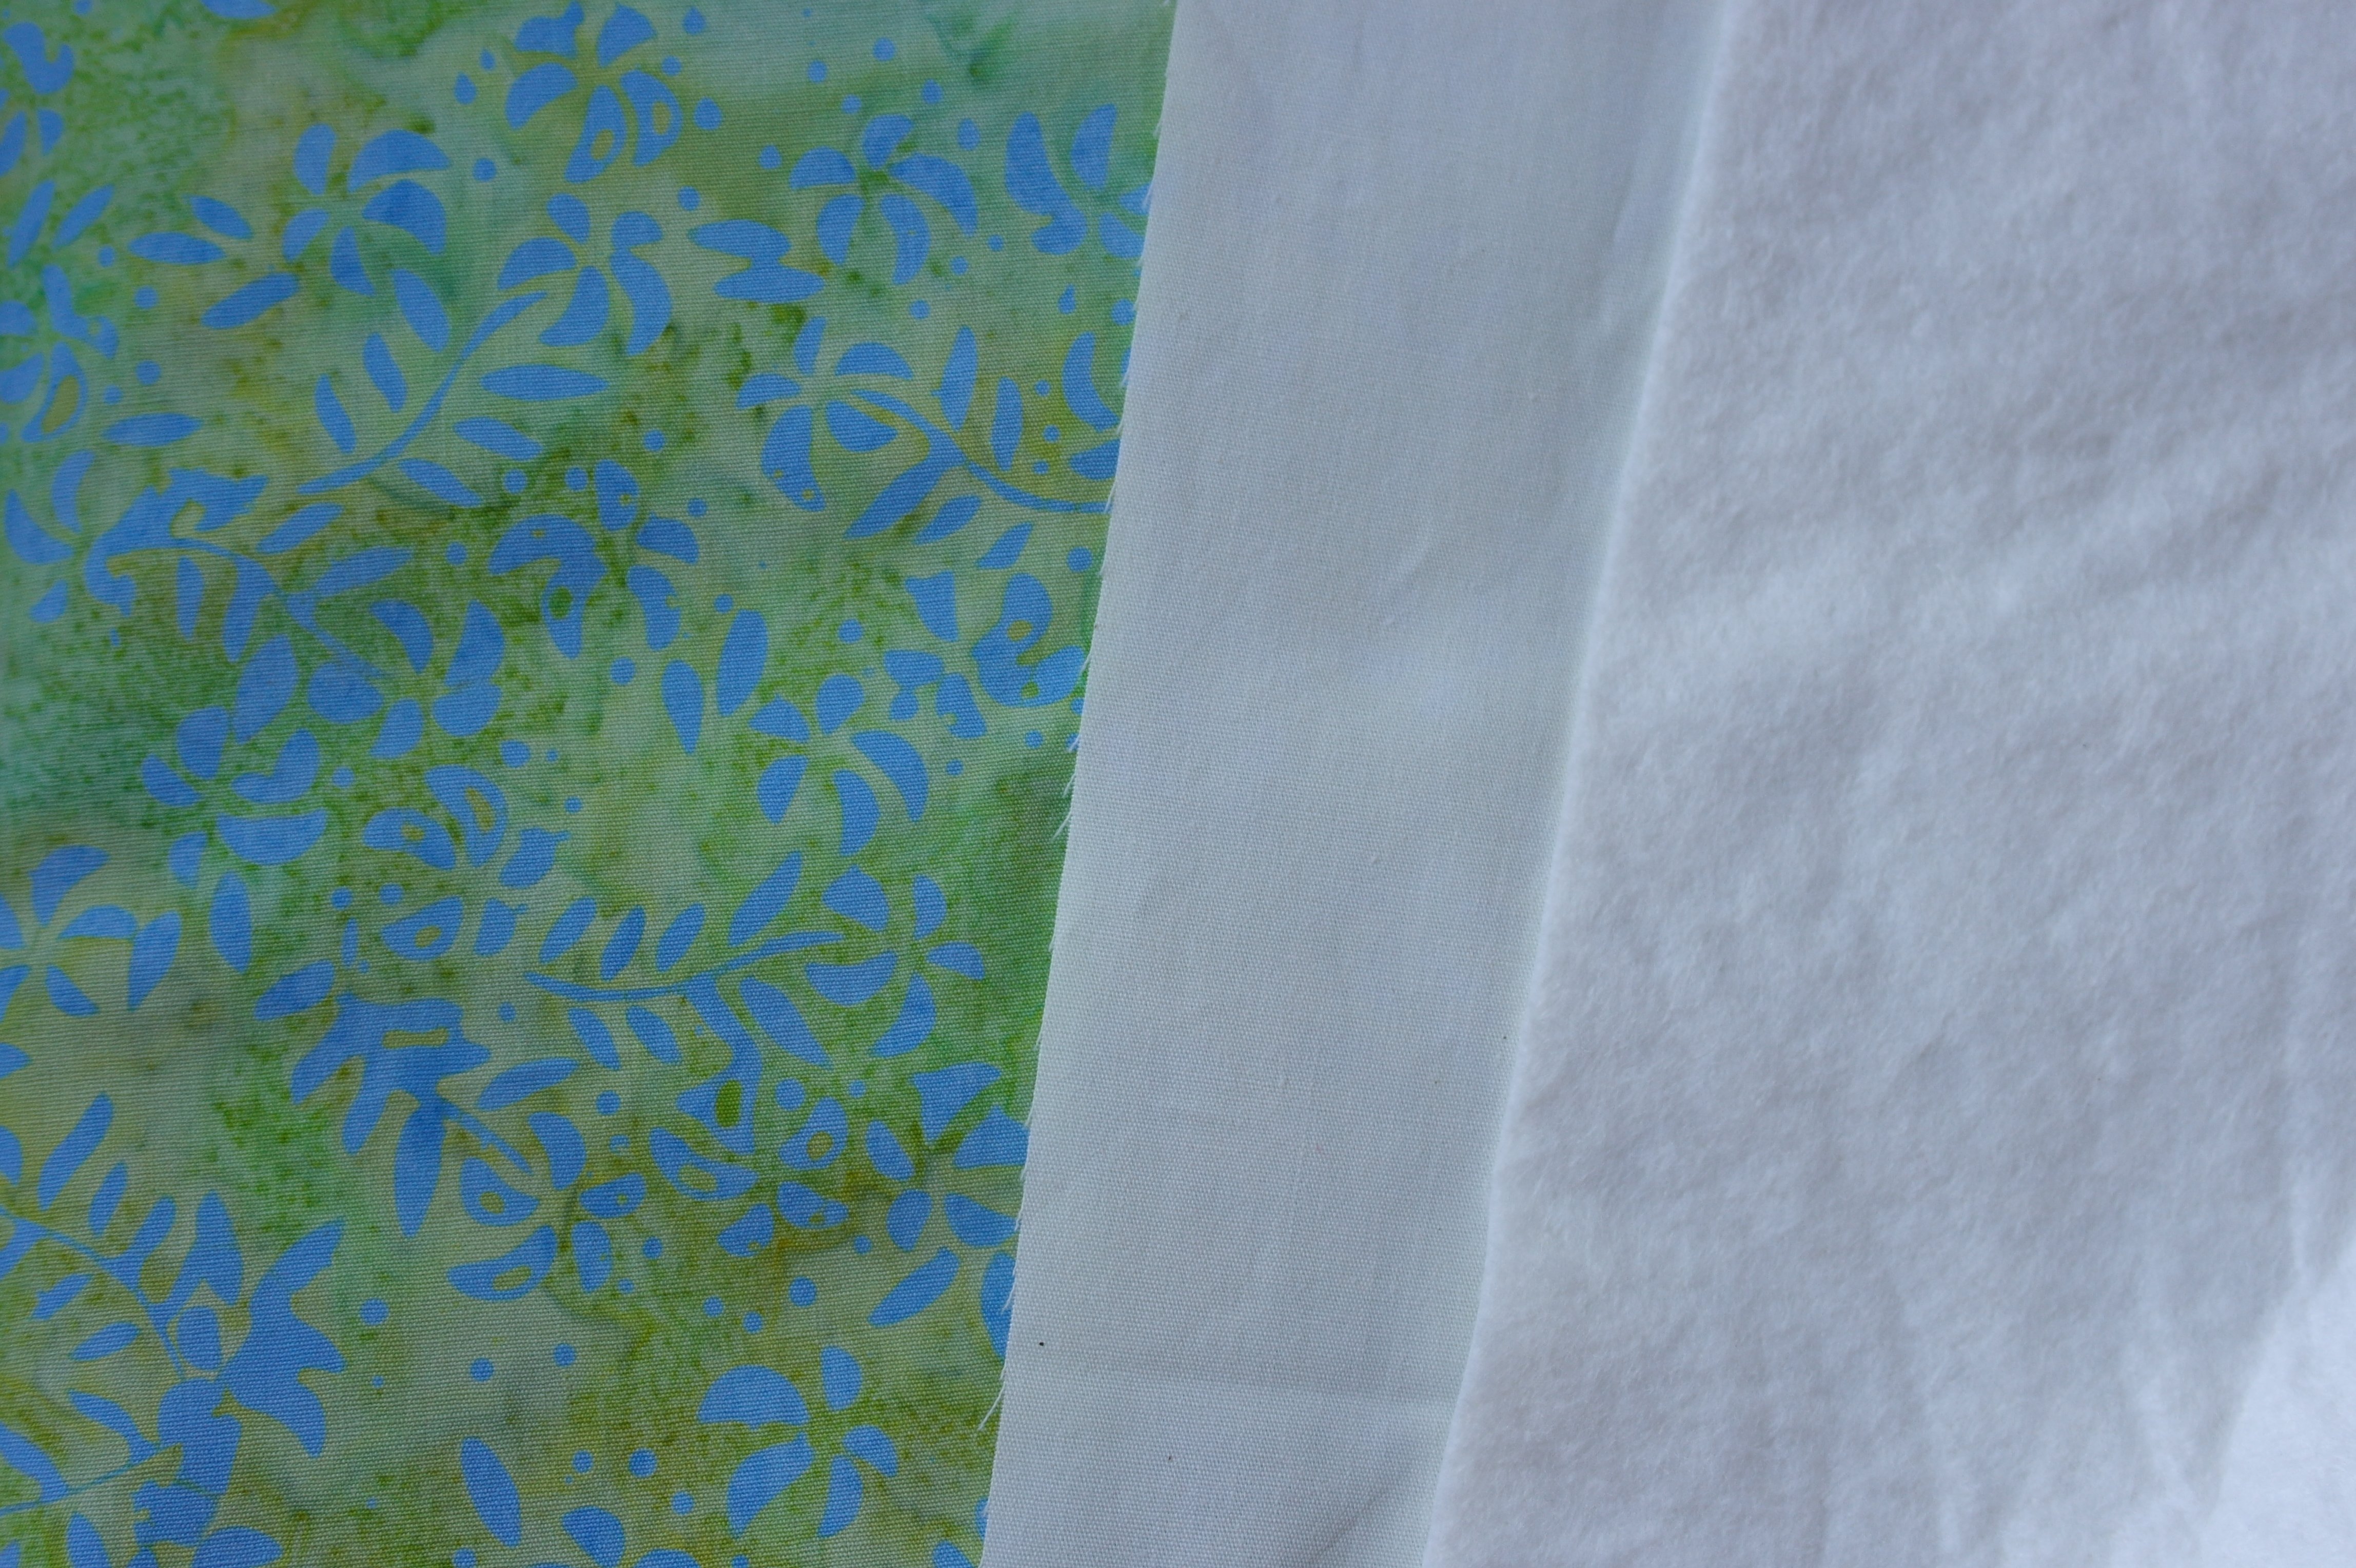
Selected fabrics, for background and applique, I have made a sandwich, using 100% bamboo batting and a off-white backing: these will be my quilt blocks.
I am using Filmoplast stabilizer in the Large Oval Hoop, letting the sandwich float on top of it all. I am always using the ‘basting border’ to demarcate the embroidery area, becausse of the floating material: this connects it all before the actual embroidery.
Now I can start with the embroidery and appliqué, because I’ve organized it all. Next time another topic: see you then!
Happy Stitching!
Sylvia Kaptein
www.sylviasartquilts.nl
Have you got the King Charles emblem. I would like to put this onto my Bernina 590 to embroider for a Coronation project we are doing.
Thanks as always
Again, you’re welcome, Ann. Have fun!
Sylvia
vos motifs proposés aussi bien dans/sur le logiciel ou ceux que vous vendez indépendamment sont ” d un autre temps”, dépassé, poussiéreux, ringards et vomitifs. Au regard du prix exorbitant du dit logiciel V8 , je pouvais espérer des motifs non moyenâgeux, ils font honte à la condition féminine; en 2020 un femme ou un homme peut avoir envie de broder d’autres motifs que des fleurettes niaises, des oursons puériles, des théières d’un médiocre niveau, majoritaires dans votre bibliothèque.
” Have a fun”, morte de rire!!!!!!
Le design, ça vous parle?
Bien amèrement
Constance Merlin
Thank you for your honest opinion on the designs. Our Embroidery Software 8 contains almost 600 designs, with which we try to cover a wide range, so that there is something for everyone. We are sorry that we did not meet your expectations with our designs.
We take your criticism seriously and would be happy if you would tell us what kind of designs you would like to see in the software. We will gladly take this into account when putting together future designs.
Kind regards,
Philipp from the Marketing Department
such a great blog about the embroidery software and machine embroidery