 BERNINA Corporate Blog -
Refashion
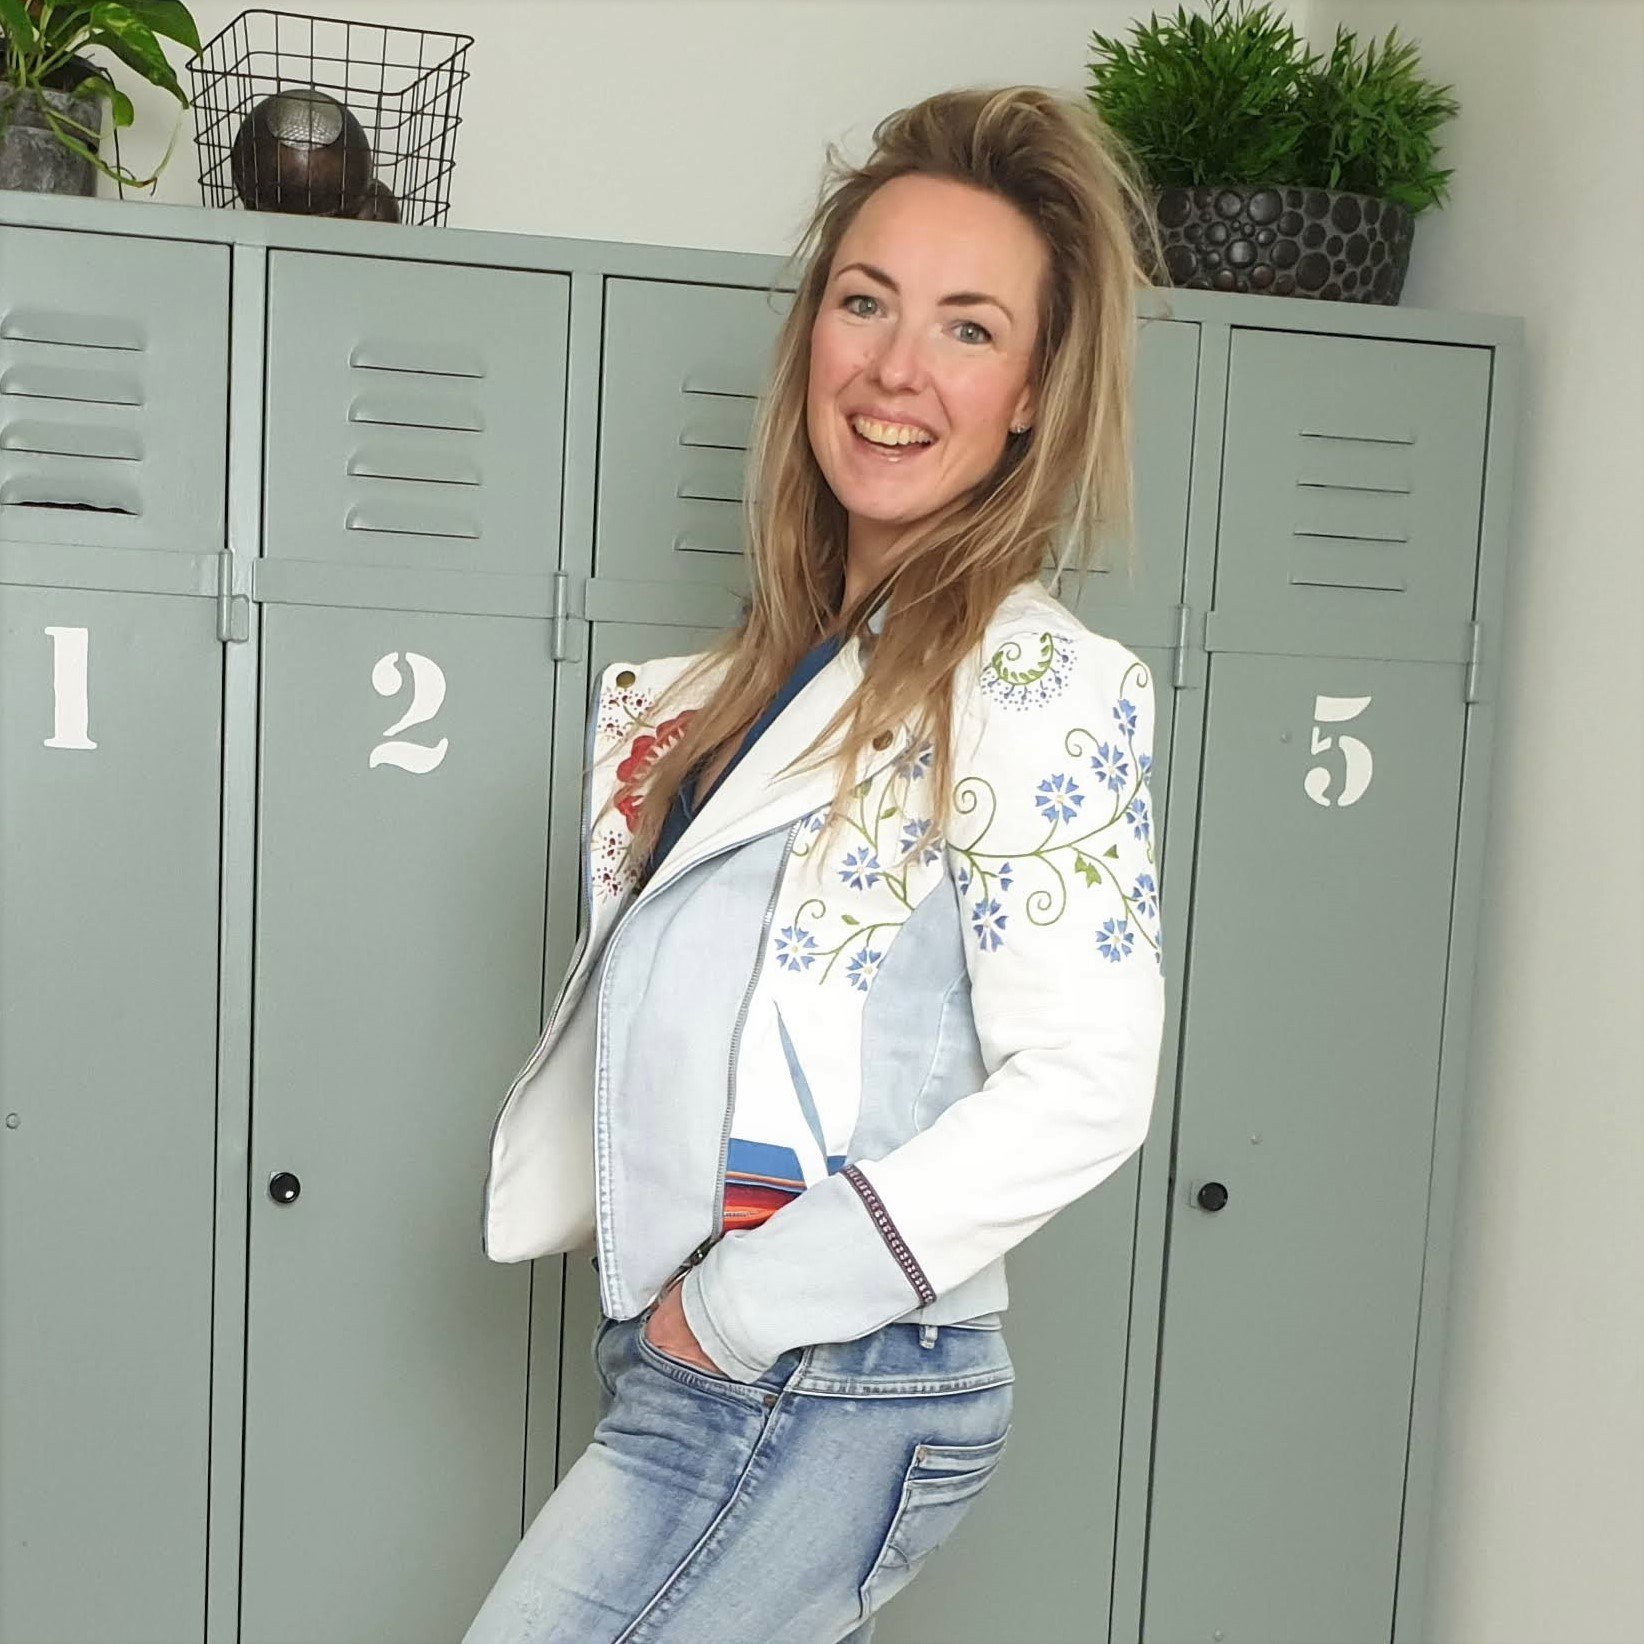
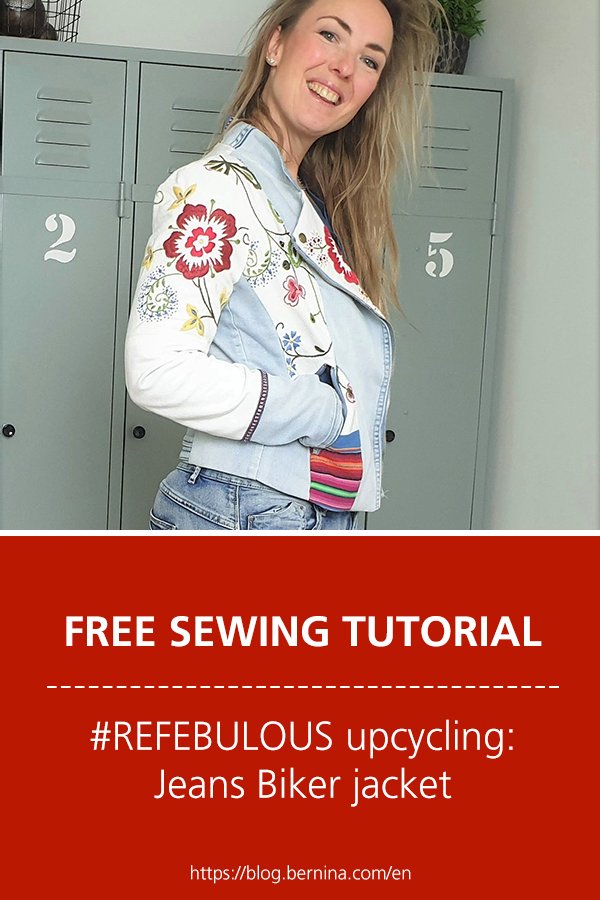
The first project I am going to share in the #REFEBULOUS sewing challenge on this blog is this jeans biker jacket. A definite refashion project!
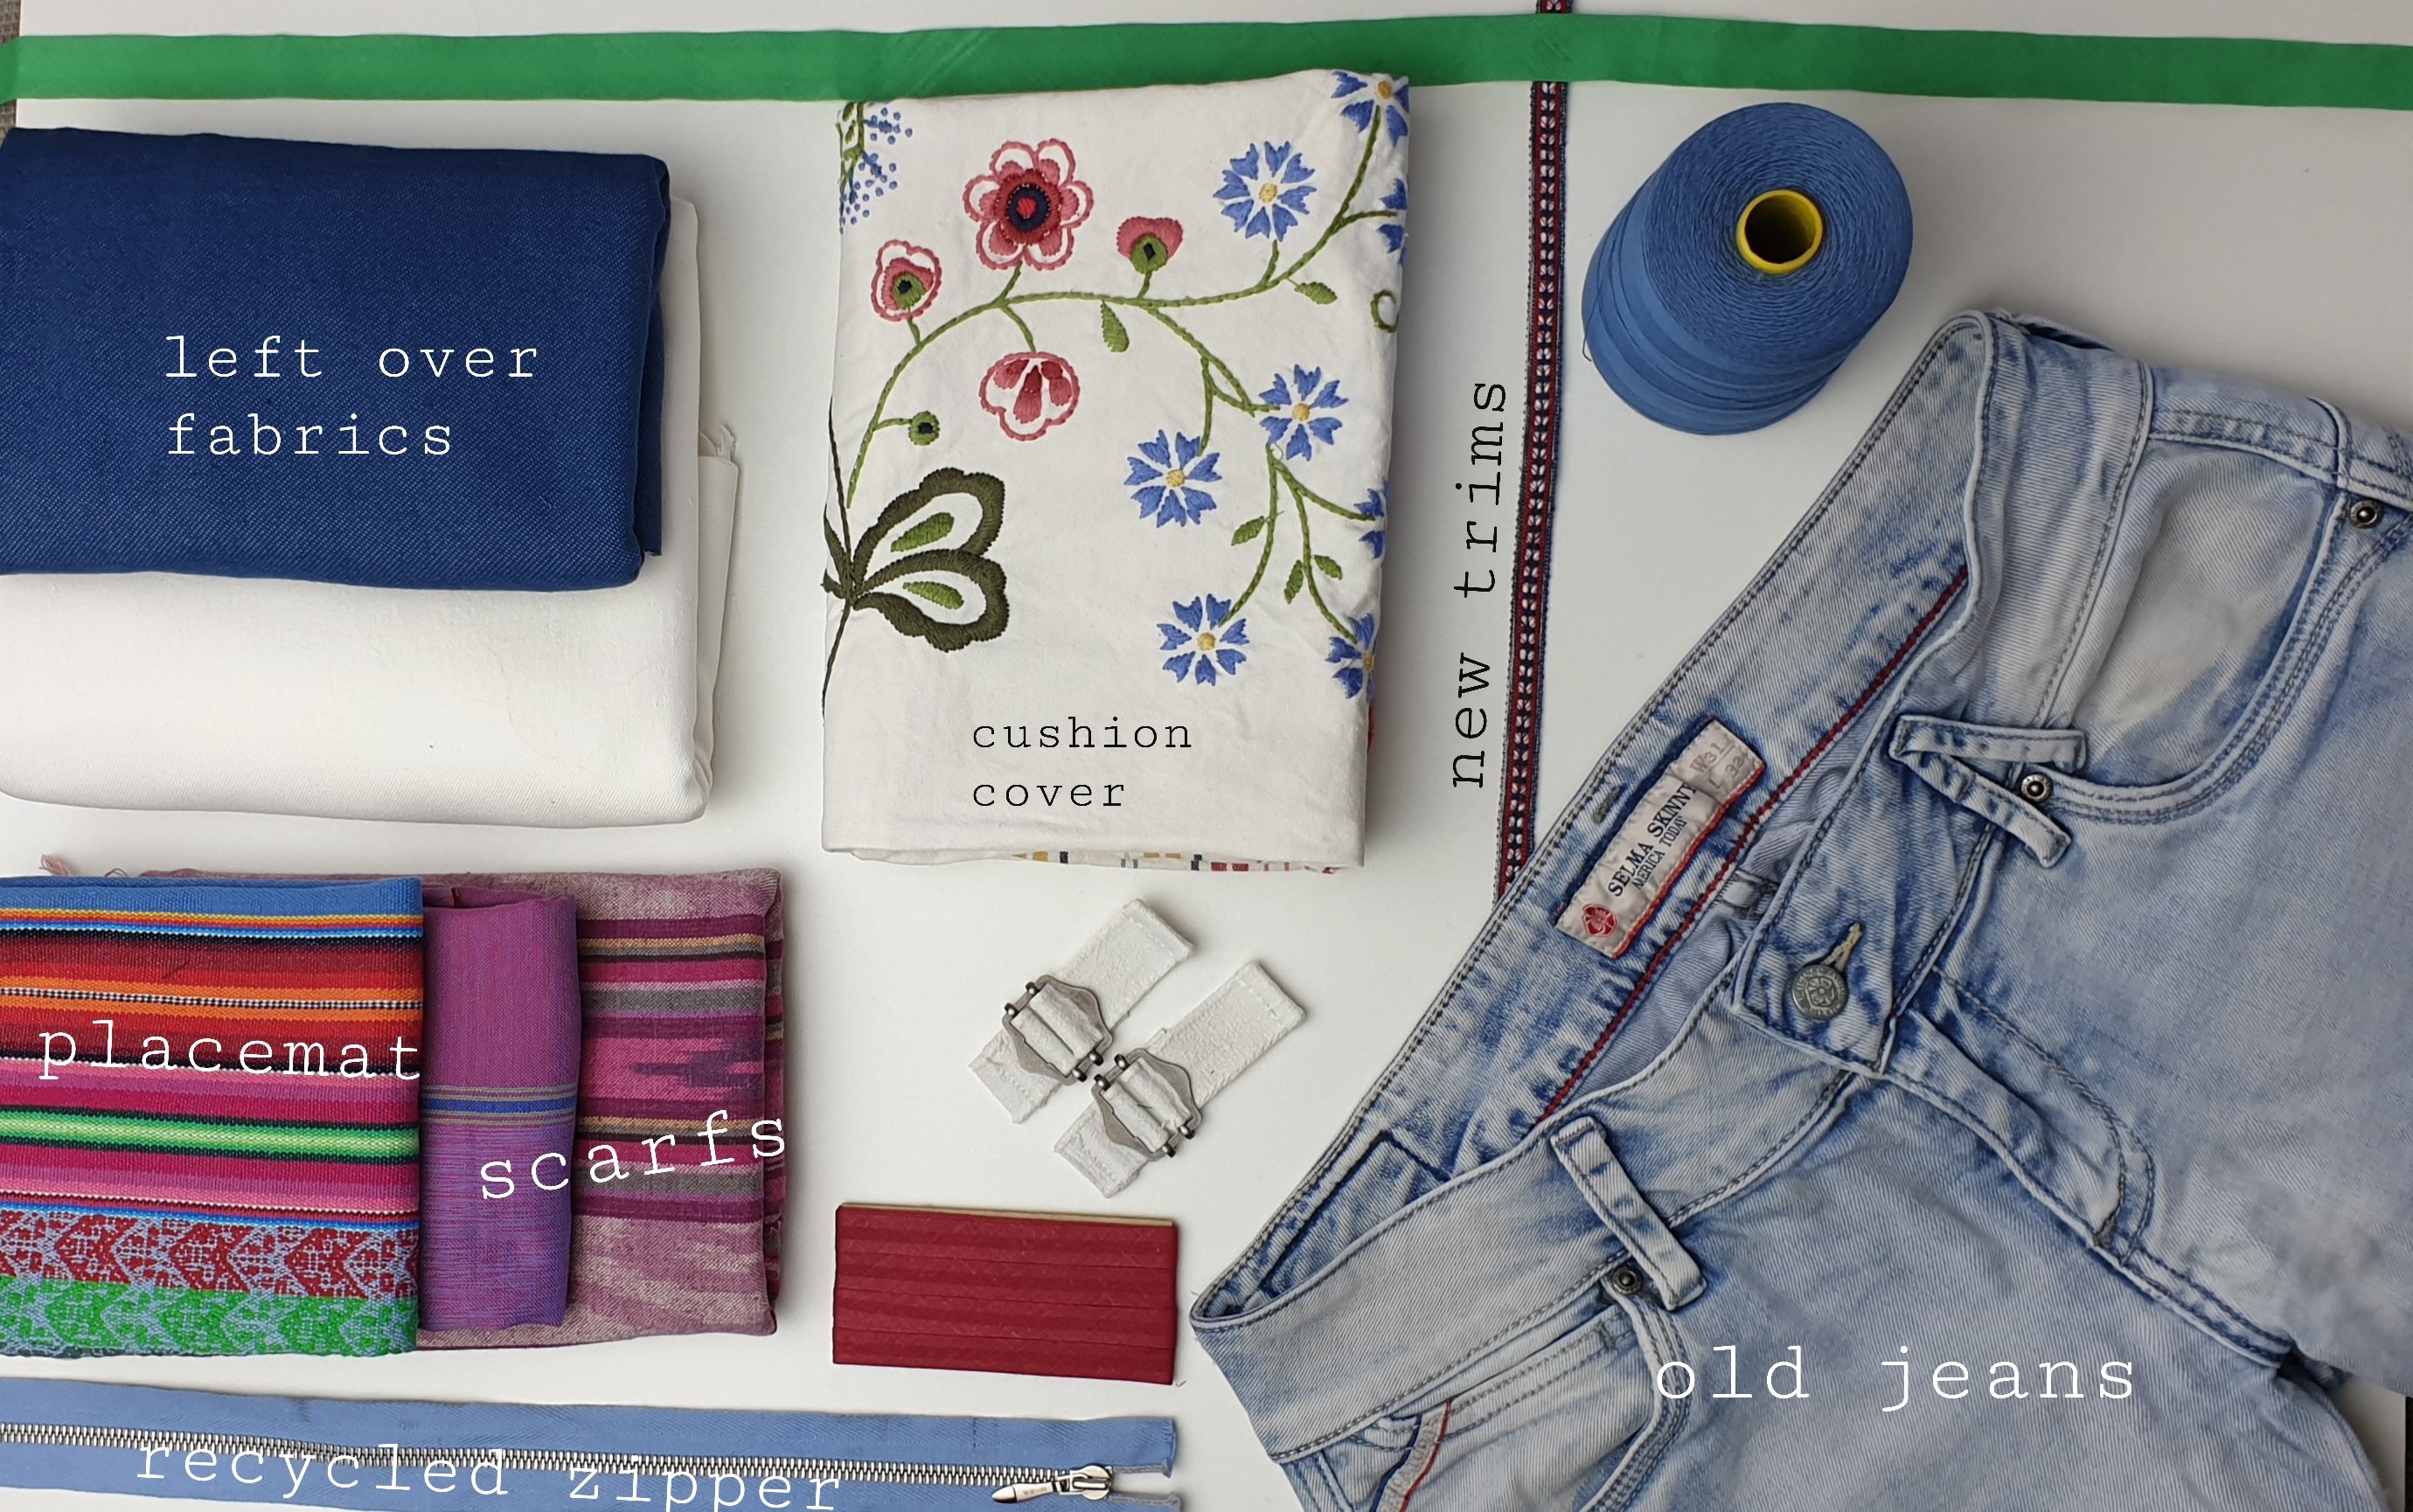
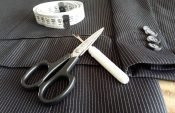
Materials
I went for a scavengers hunt in my own house and found several pieces that I could use. It always is more than I need so the photo shows all the options I had. What did I use: First up my favourite jeans, which I’ve repaired several times. The jeans was so worn down that I could cut it up and give it his second life. Then a embroidered cushion cover. I’ve saved this, because I love the ‘chunky’ embroidery. It’s a very well-known cushion cover from that yellow-bleu furniture store. Then a placemat which I’ve picked up in a local thrift shop, some left over jeans fabric, new trims and recycled zippers. Mix it all up and voilà I got myself another LIESL jacket.
Well, it was a bit harder than that.
Pattern
In a refashion project like this with different fabrics I like to choose a pattern with a lot of different pieces. The smaller the pieces, the easier you can get it out of an existing garment. If the pattern pieces aren’t small enough you can always try the ‘technique’ of freestyle colour block. You just cut the pattern piece, mark the grain of thread and start to puzzle.

Pattern Knipmode (click on image) (in Dutch)
More tips on how to refashion in next weeks blog
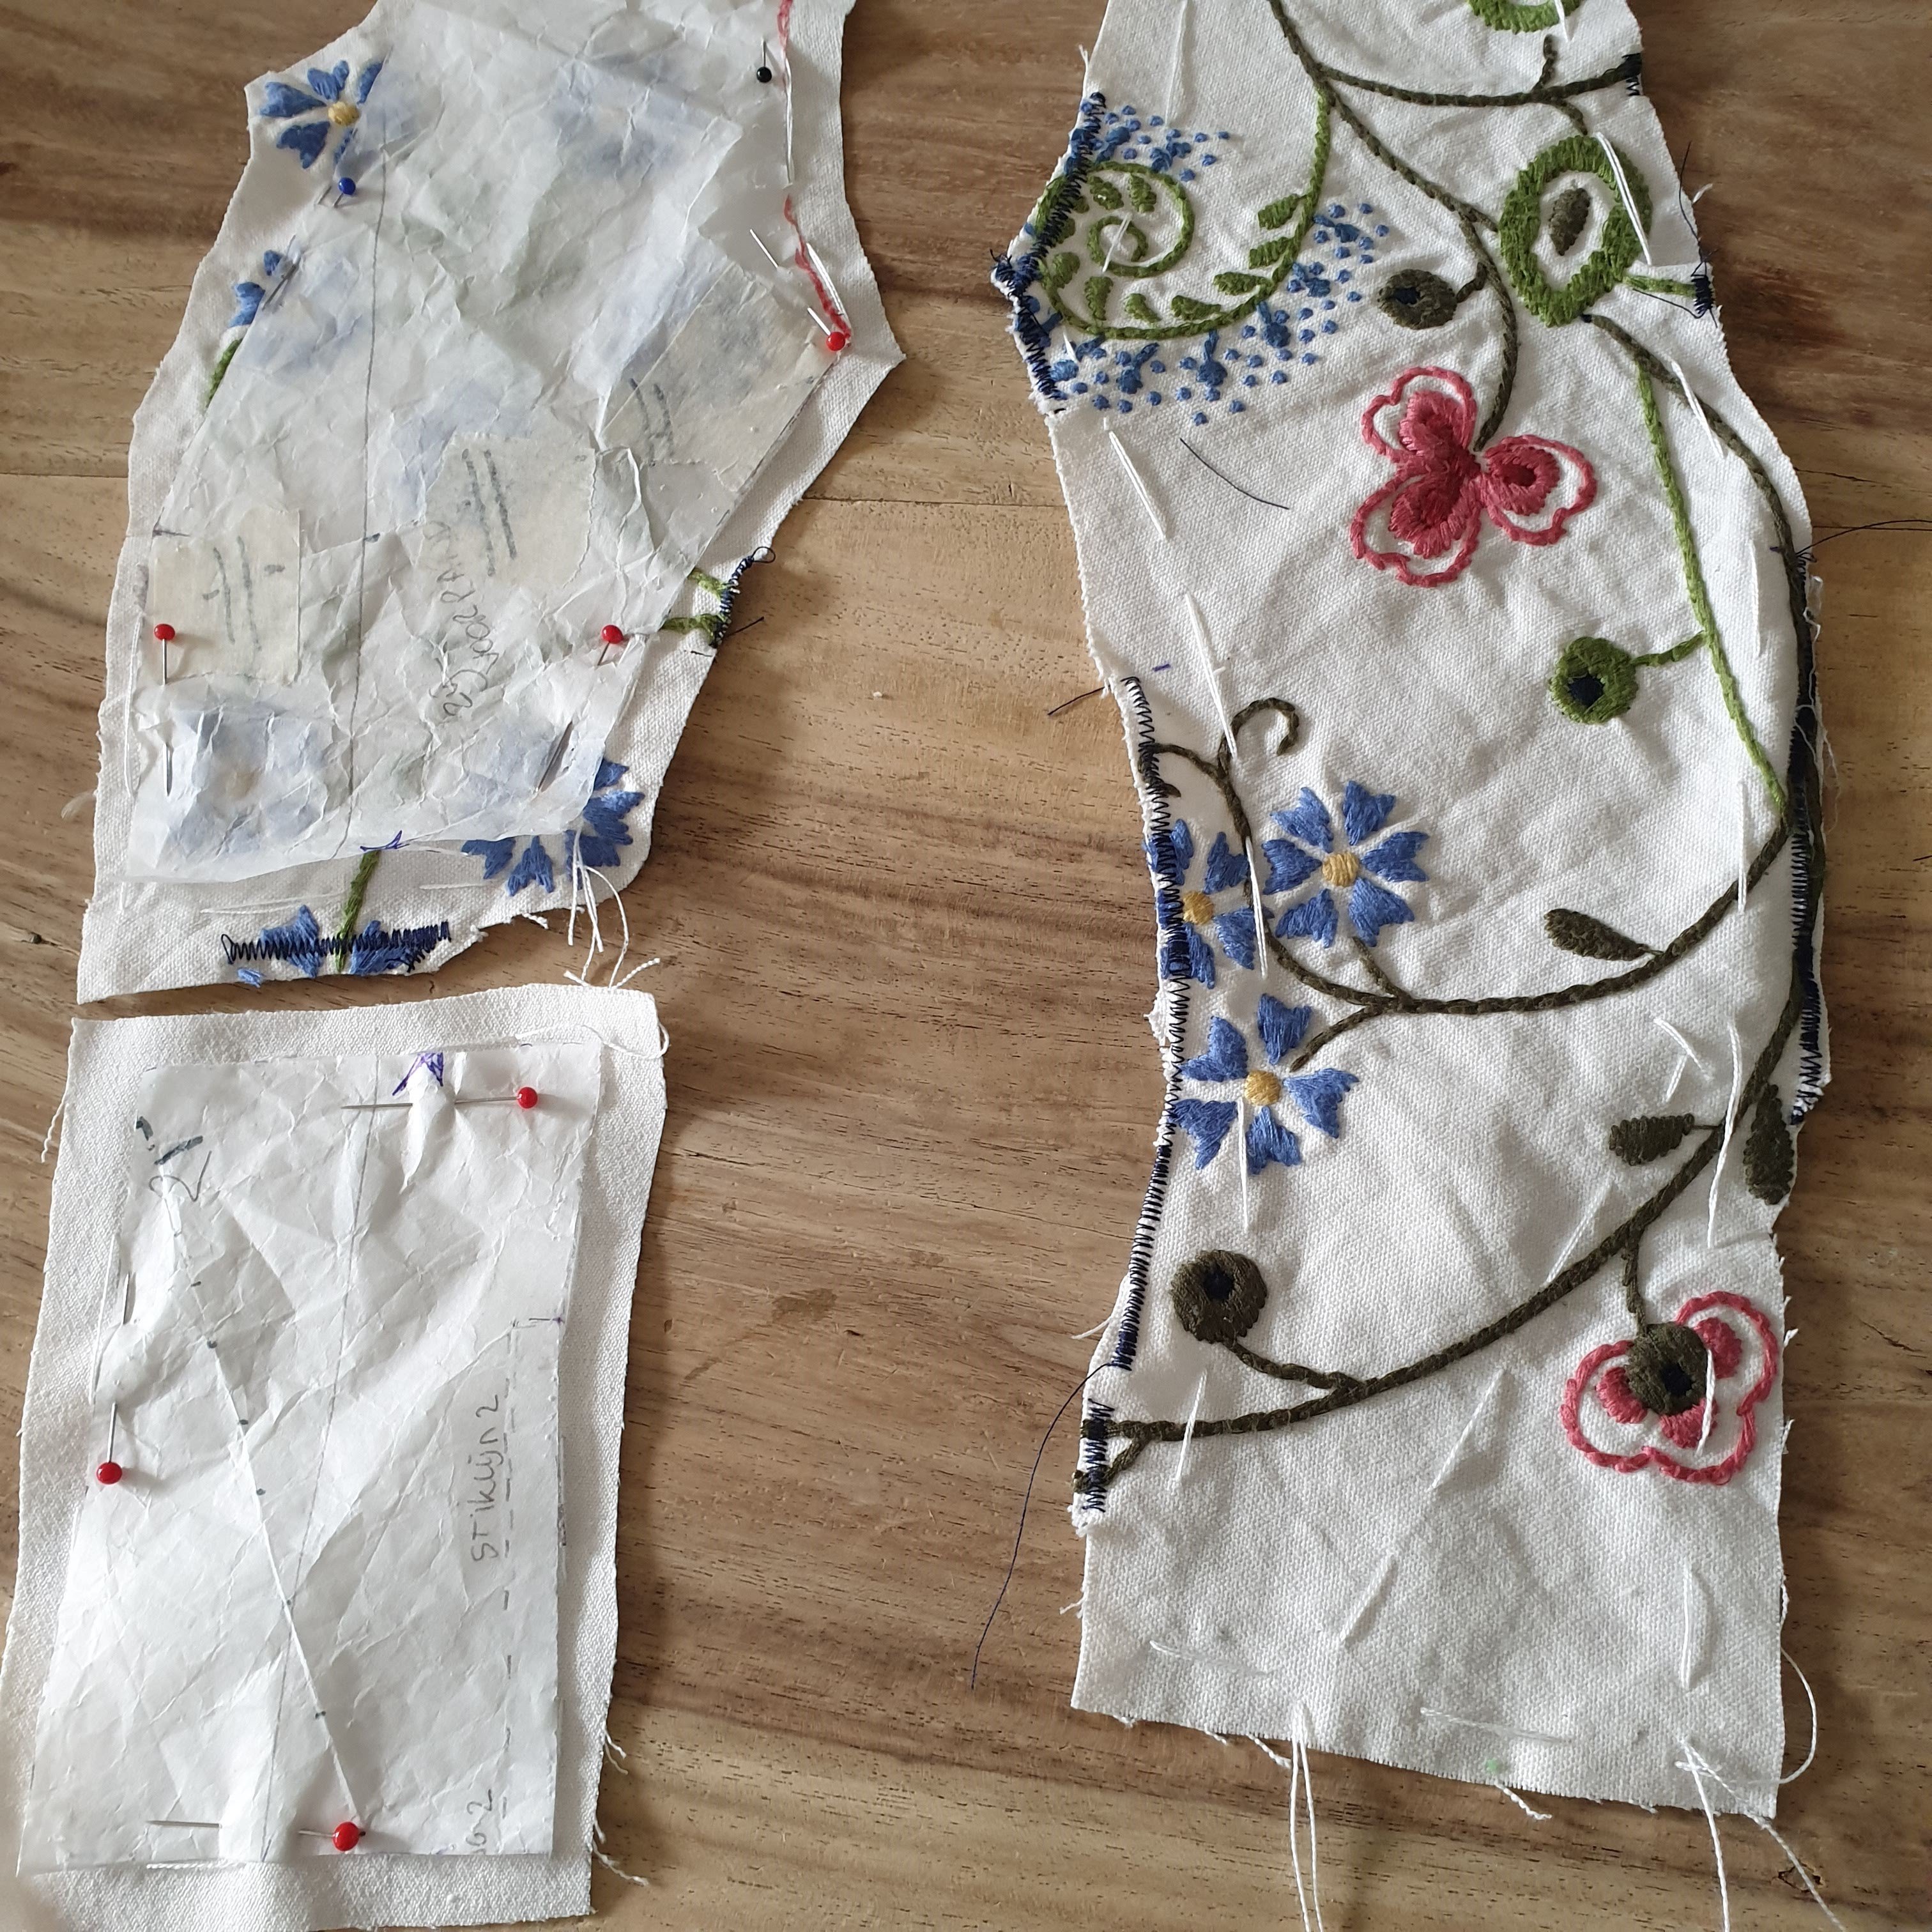
Puzzle
I started with harvesting pieces out of the cushion cover. I only wanted to use the embroidered side. After seam ripping I placed the pattern pieces which I could get out of this fabric and pinned it. Part of the sleeves and some of the front pieces of the jacket. Before cutting I fixed the embroidered with a zigzag stitch on either side of the cutting line.

Freestyle colour block
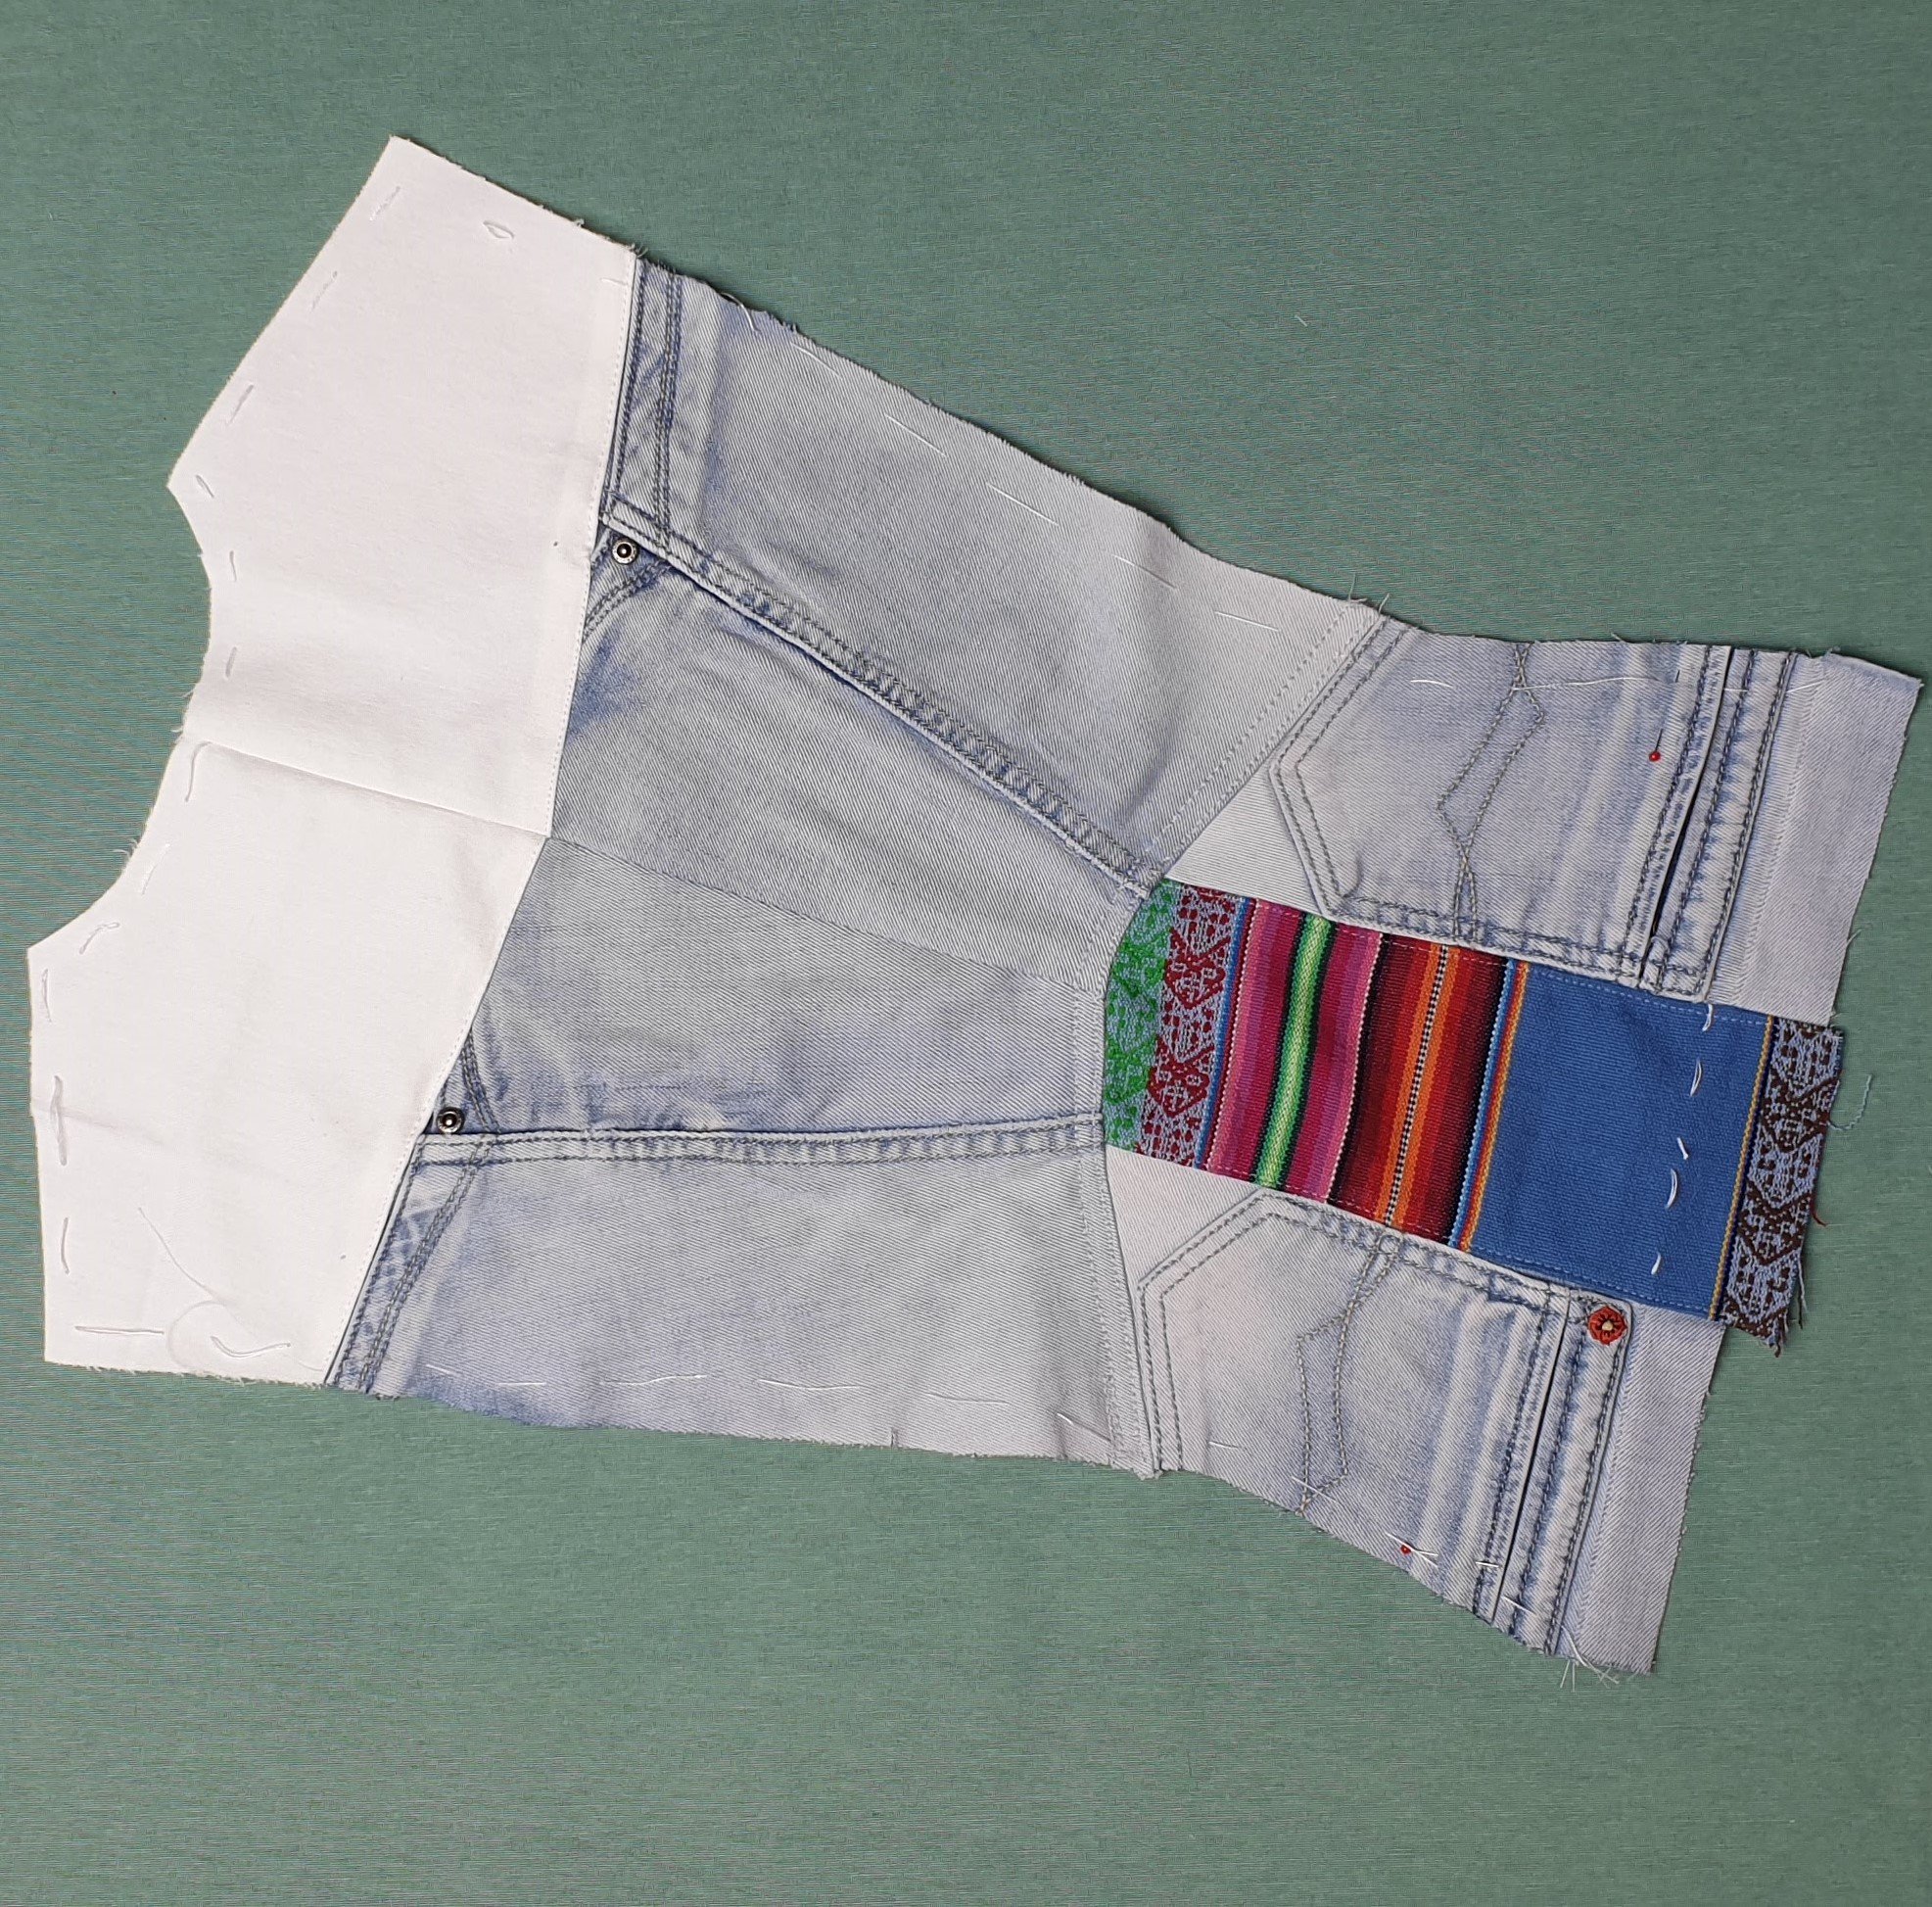
I hadn’t enough for all the pieces so I juggled in some left over white jeans. By cutting the pattern pieces in smaller bits I was also able to use the placemat. I love how the colours match the embroidery yarn and giving it a bohemian feel.

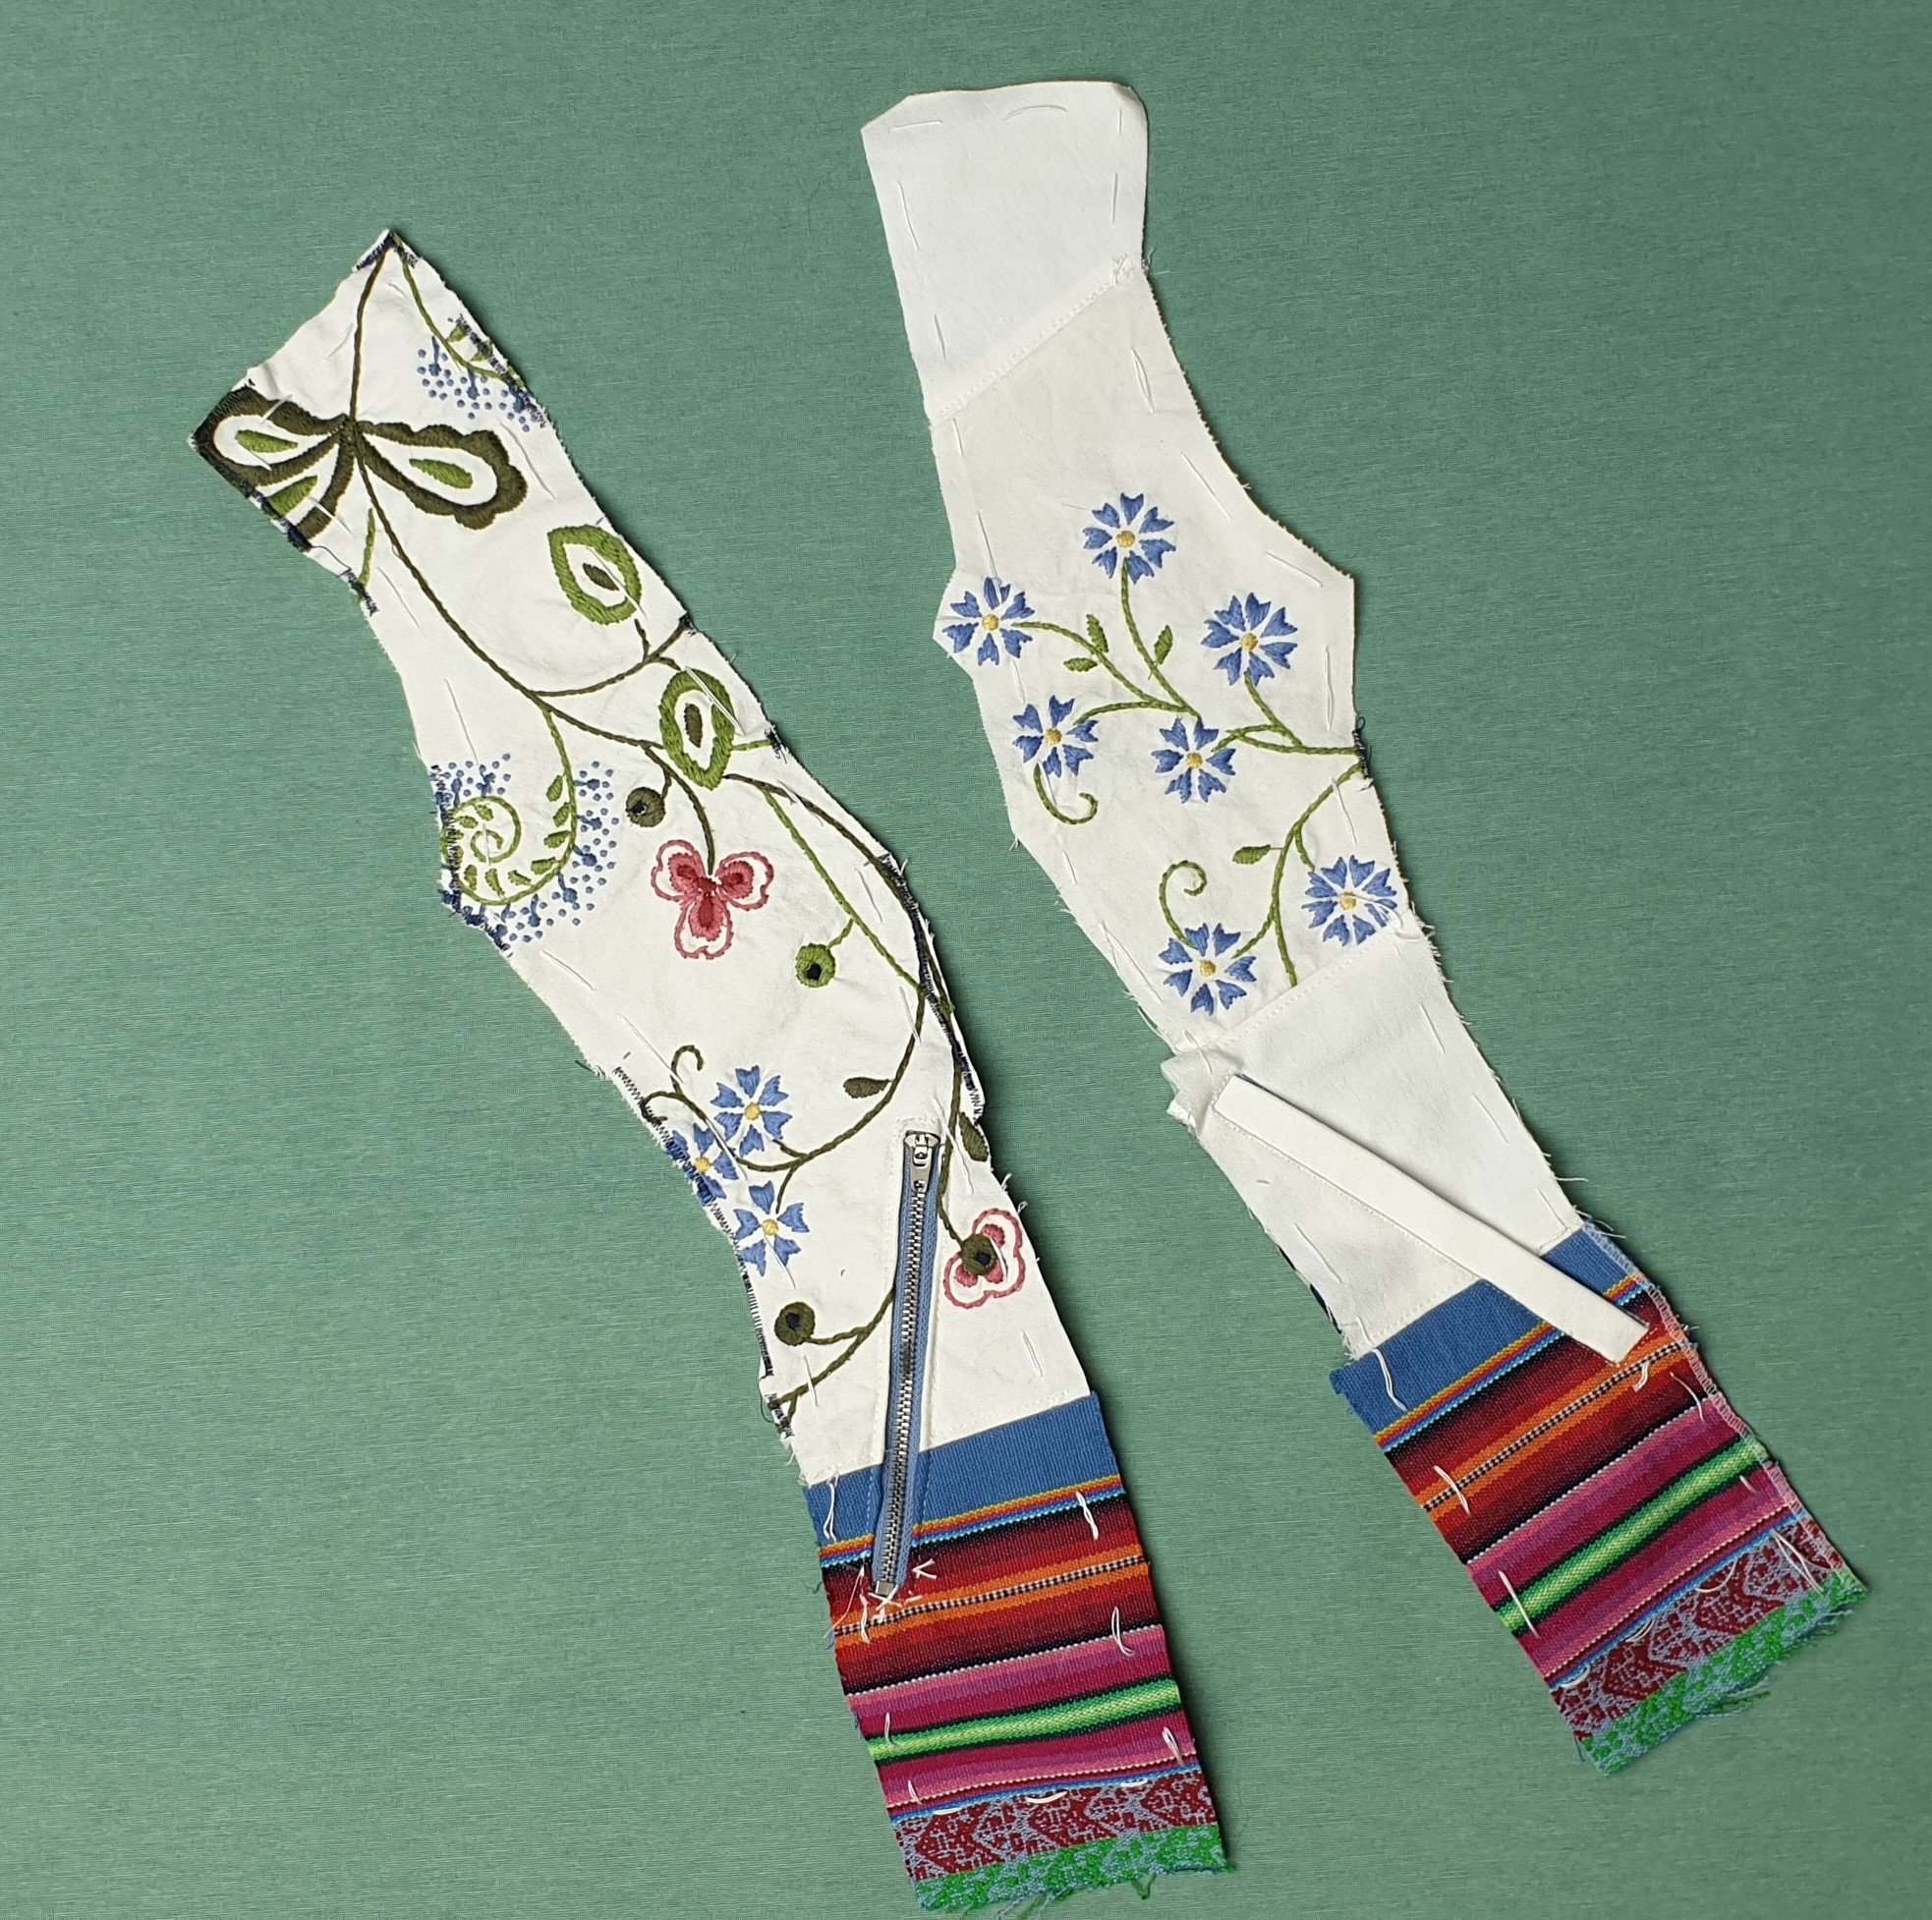
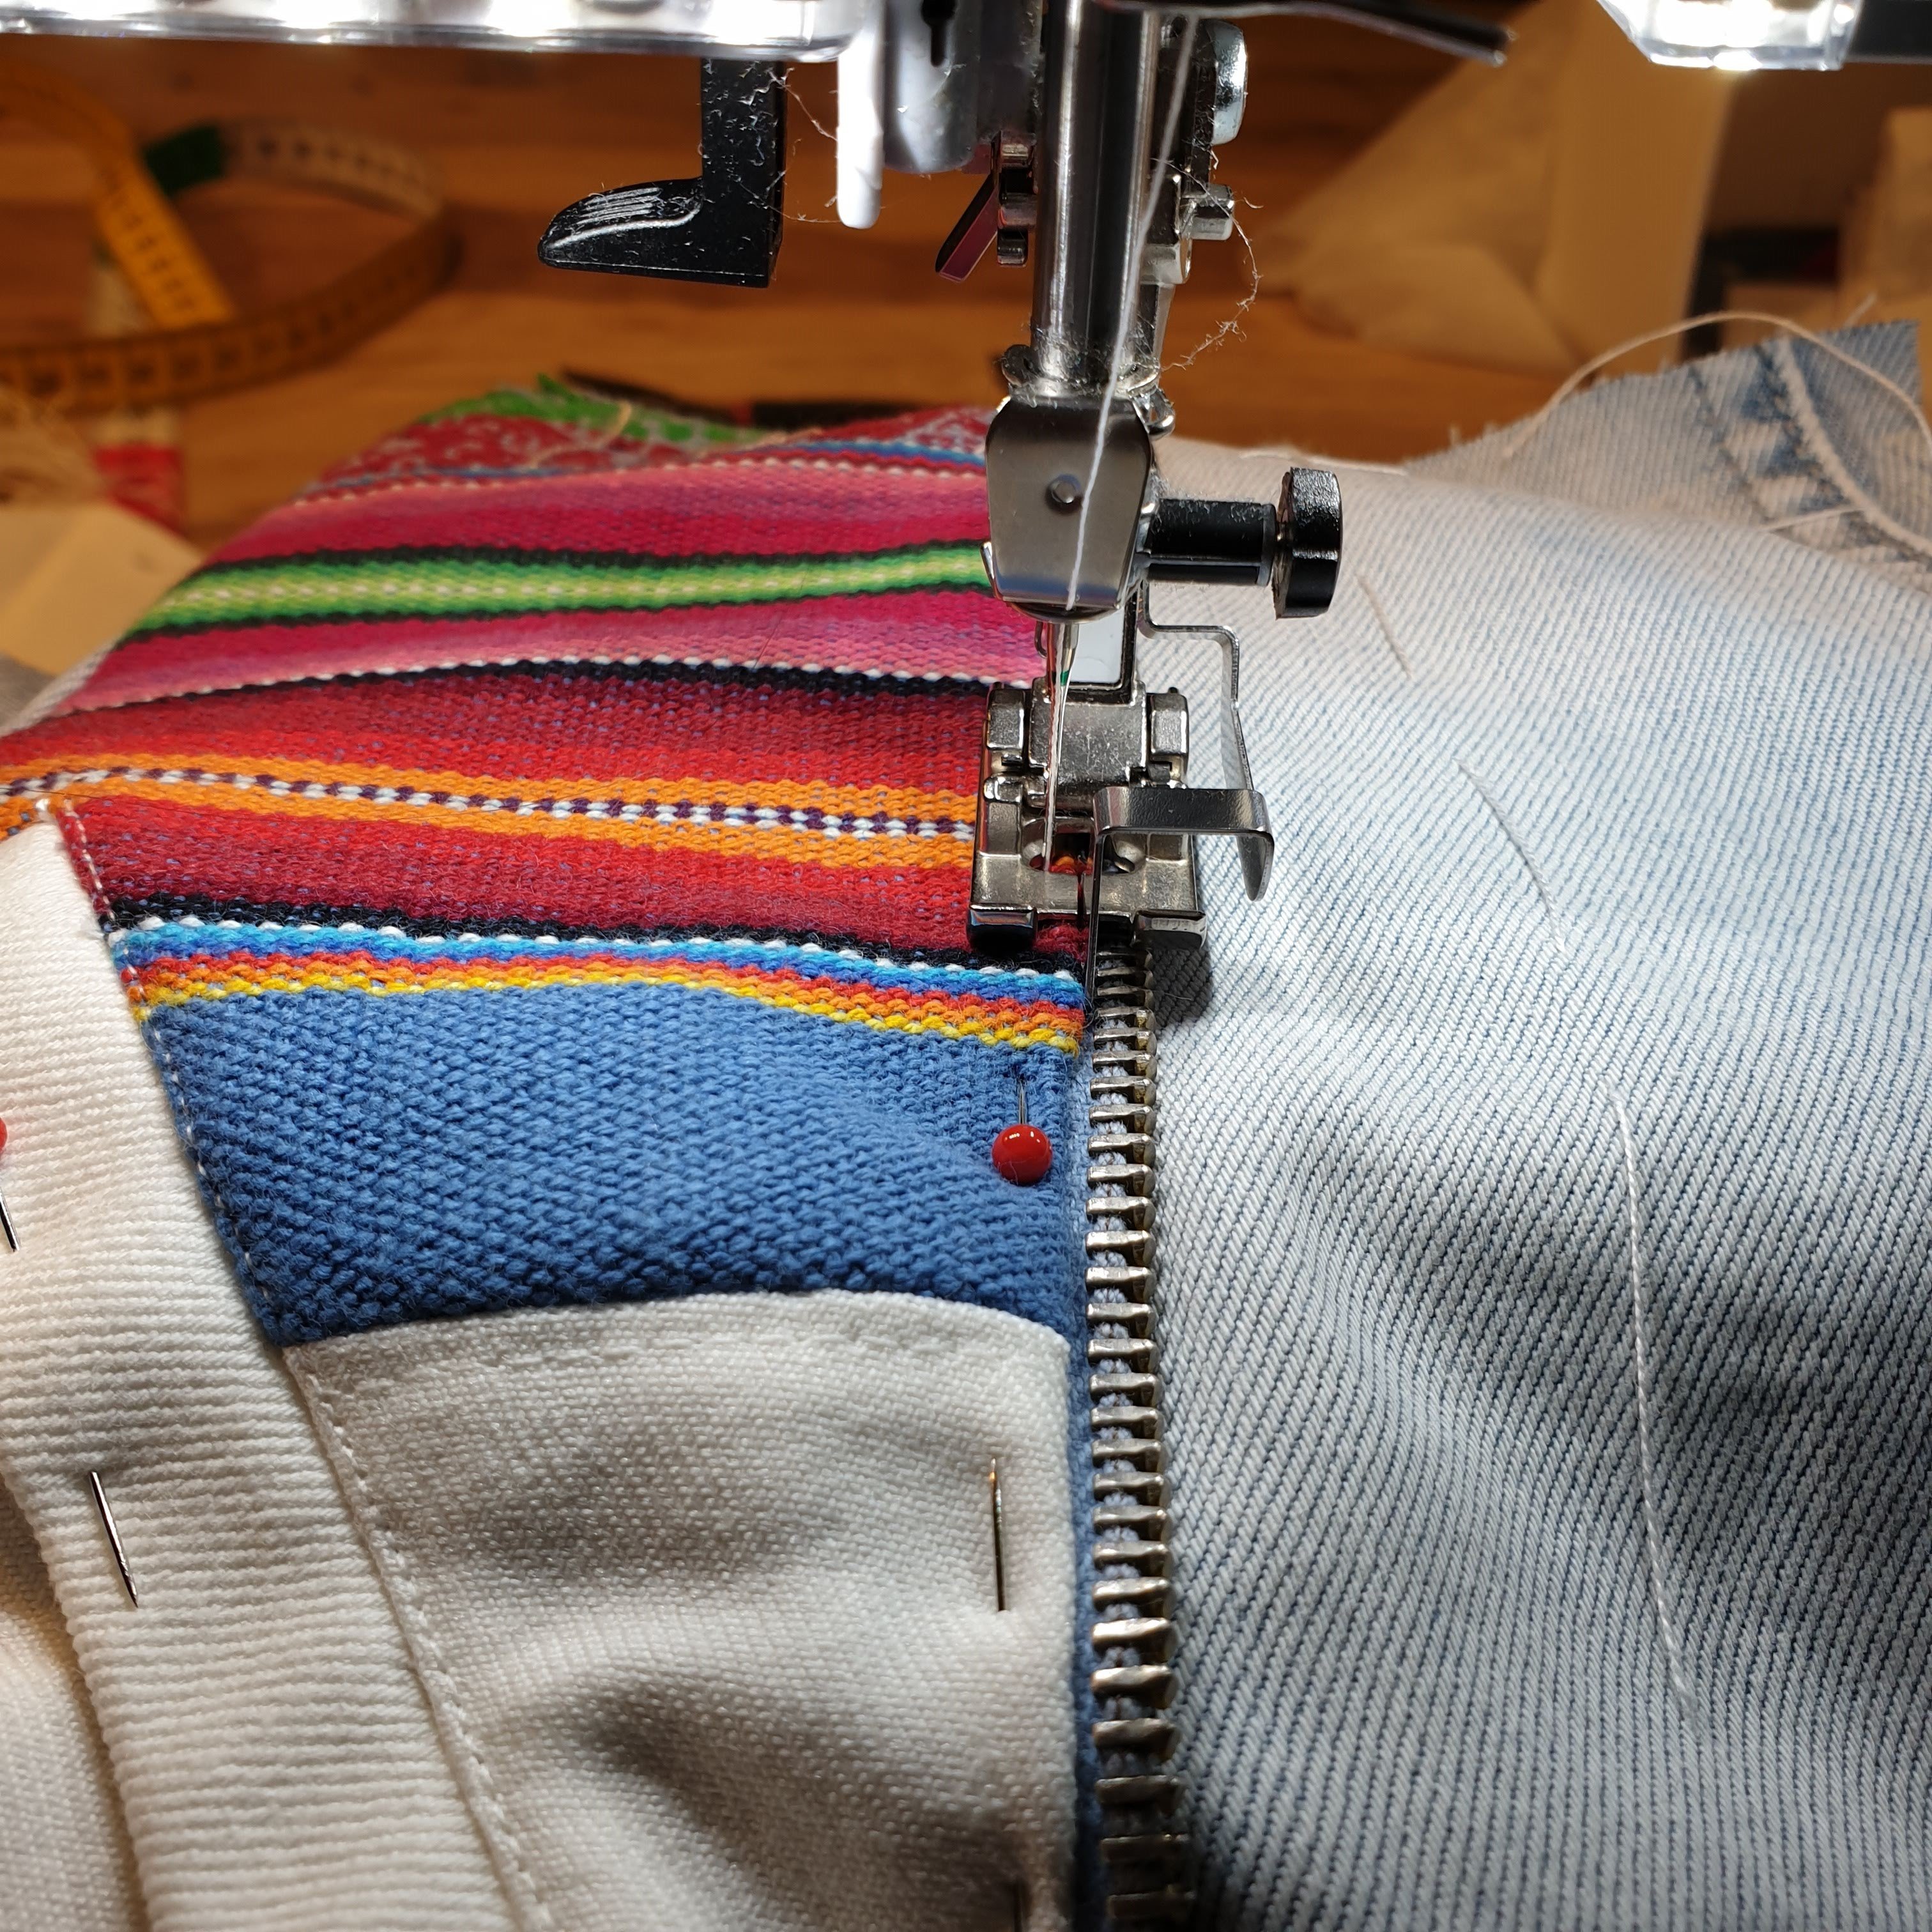
The zipper used for one of the pockets is also recycled. I used a white jeans placket to make a welted pocket on the other side.
Jeans
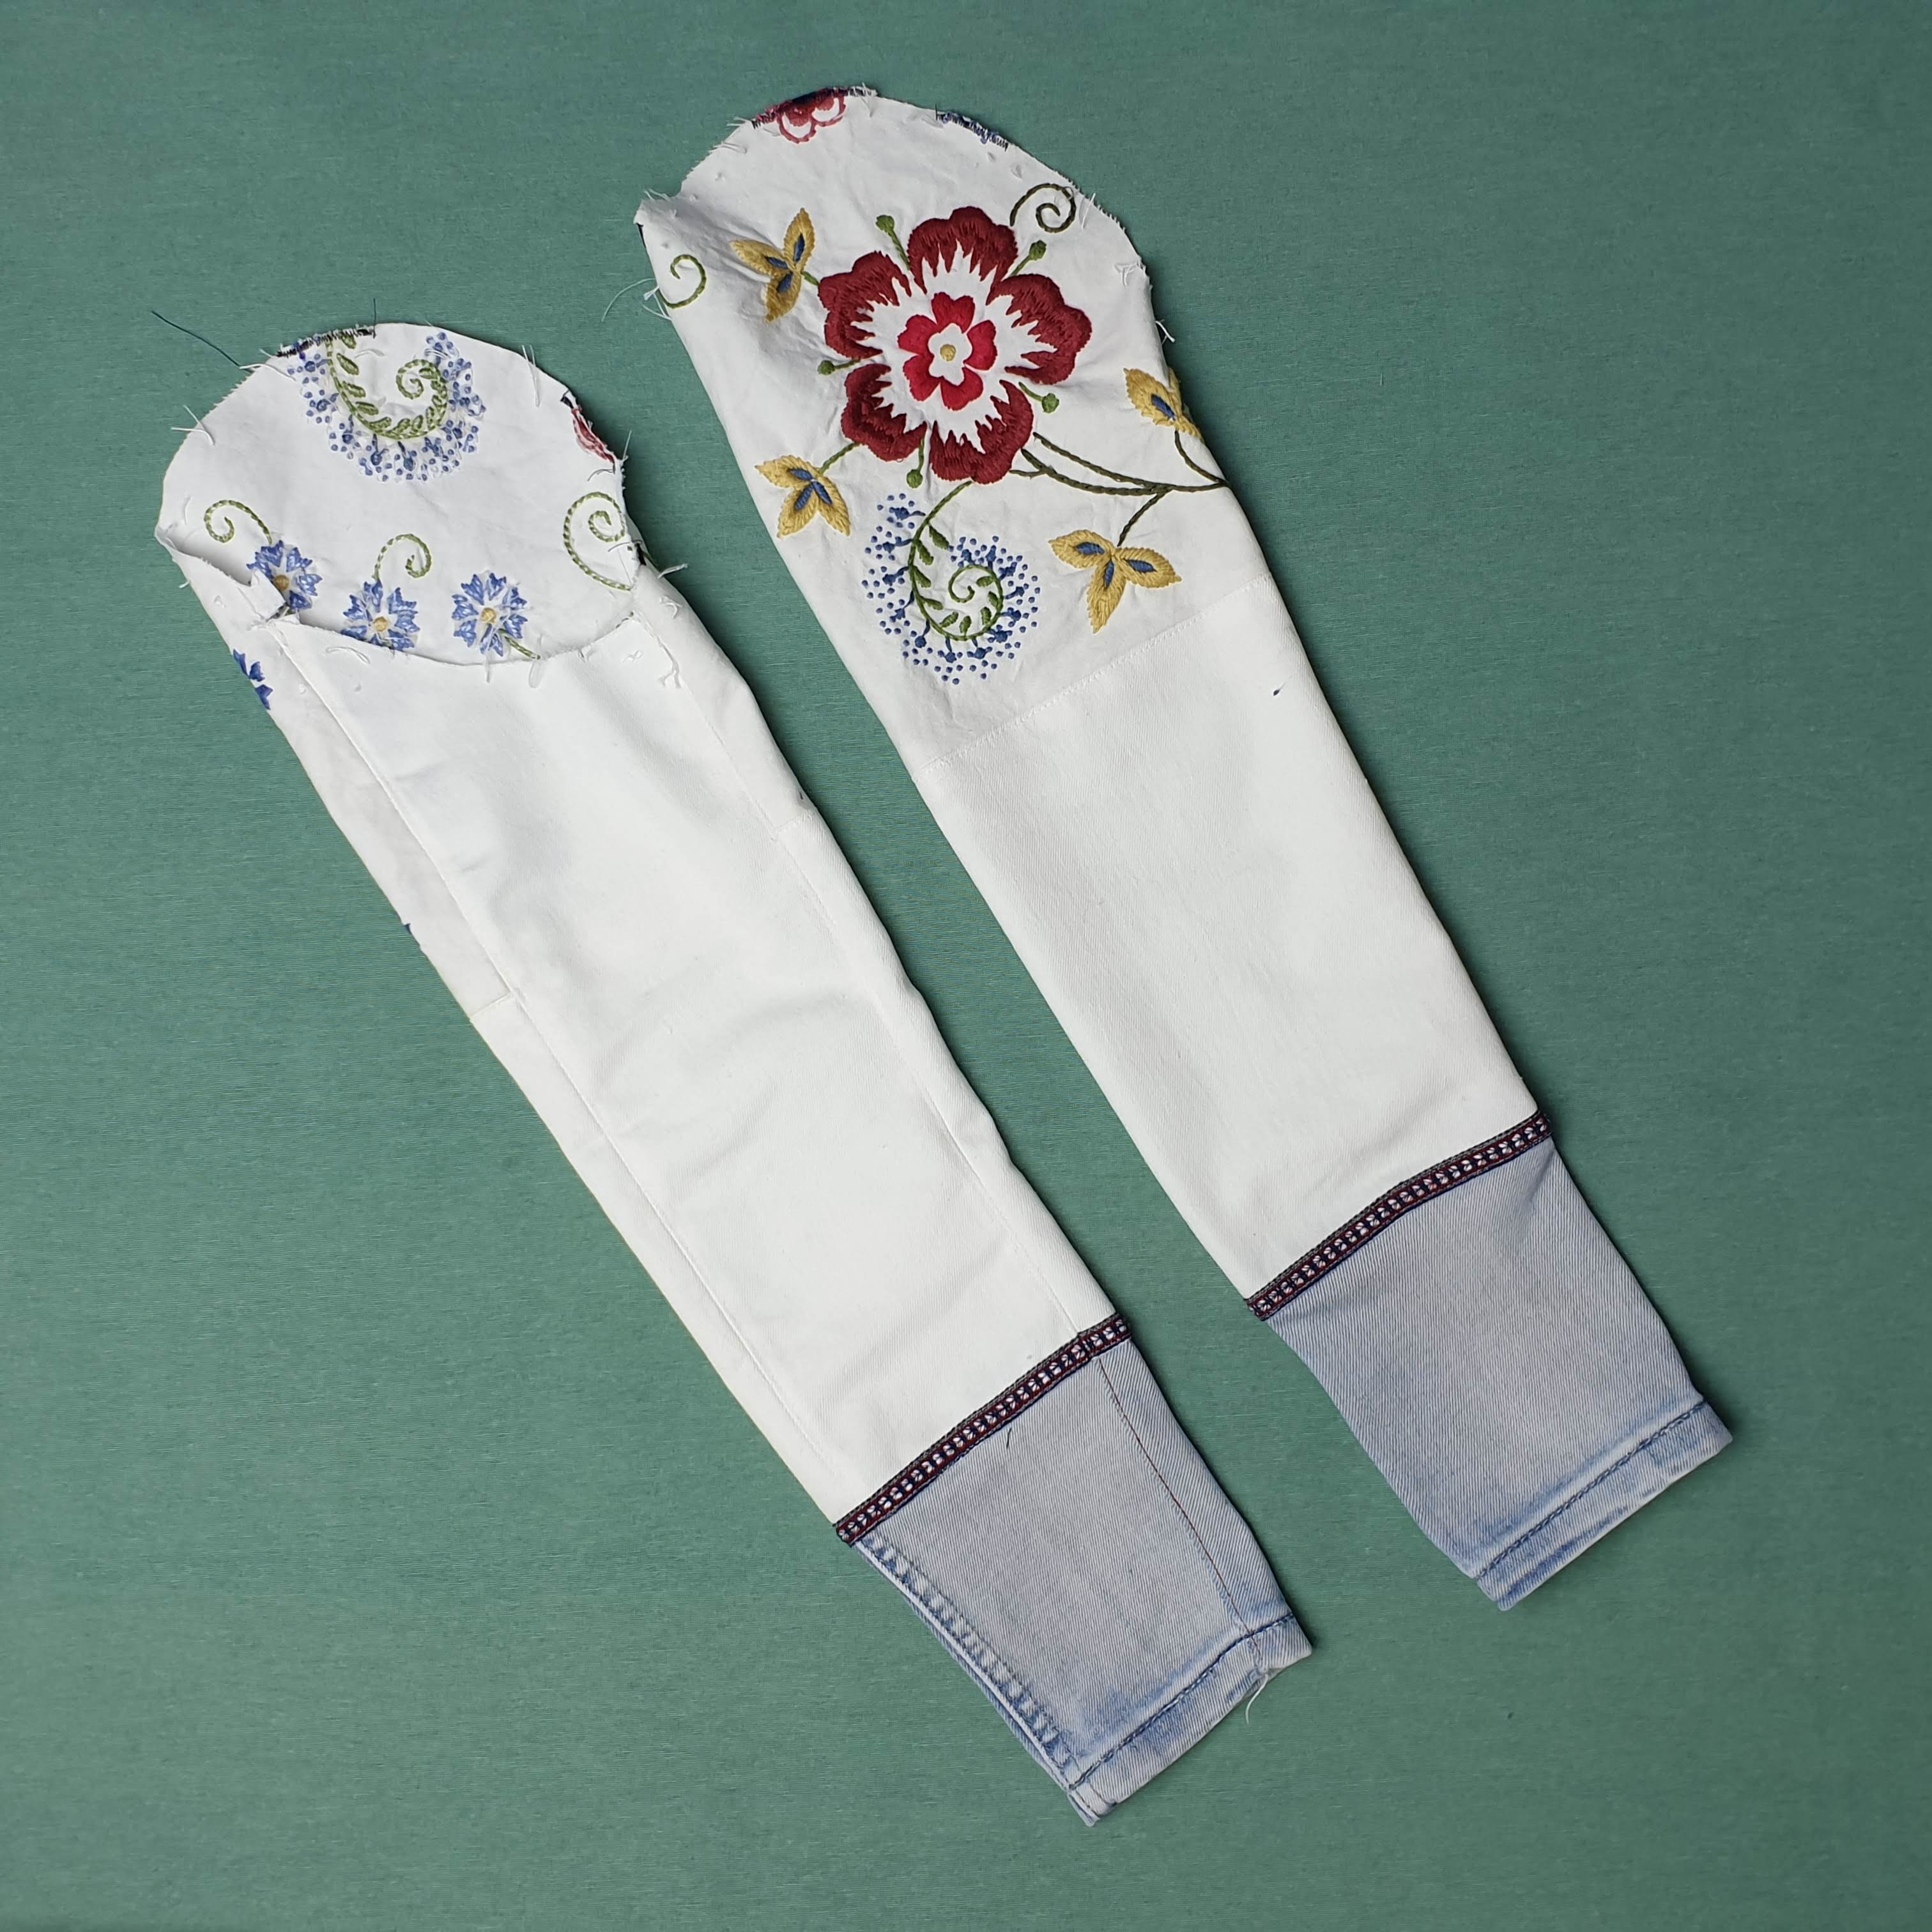
After the cushion cover and the placemat it now was time to cut the jeans. My favorite pair… First I cut off a piece of the bottom of the leg to use as the bottom of the sleeves. The sleeves now would consist of the embroidered fabric, white left over jeans and the blue jeans. Mmmm, it just needed a bit more…a trim. The trim was placed alongside the basting line and stitched on either side using the blindstitch foot nr 5.

The overlay in the front of the jacket is partly cut out of the legs of the jeans. I aligned one side of the pattern piece with the side seam of the pants containing the typical jeans stitching.

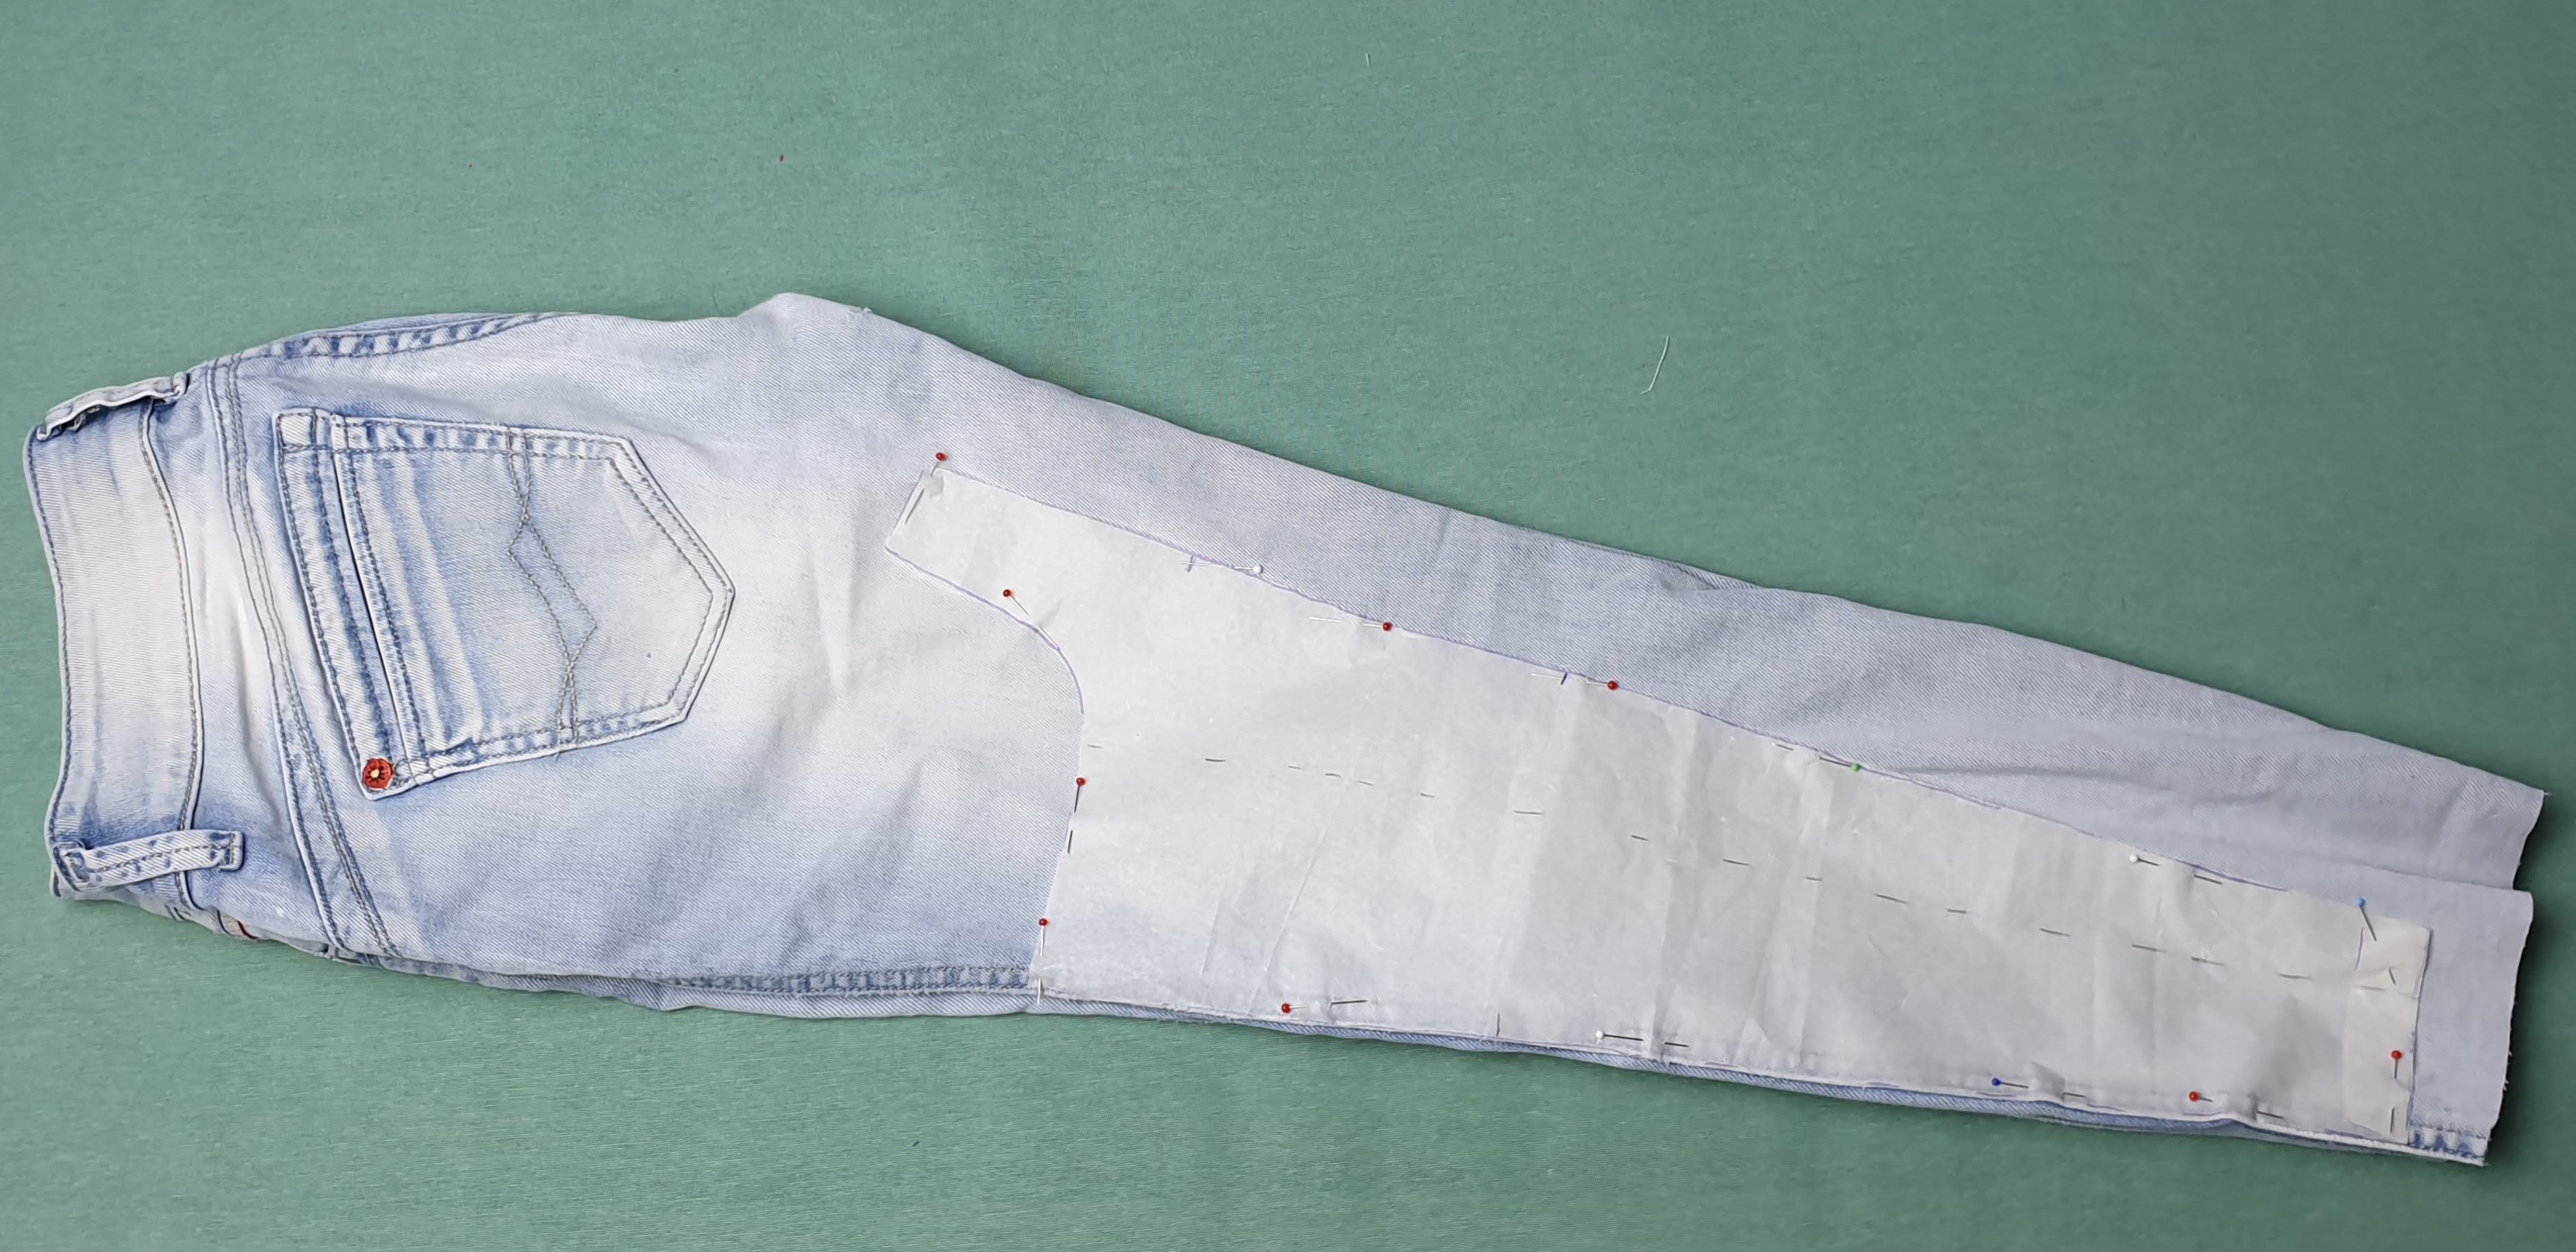
The other part of the overlay is partly made with the embroidered fabric.
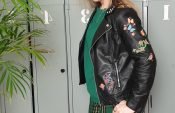
Furthermore I used the pair of jeans in the back. Reusing the pockets and saving the rivets of the front. I used the diagonal lines in the jeans to determine the design of the back. This is just designing by doing.

Assembling
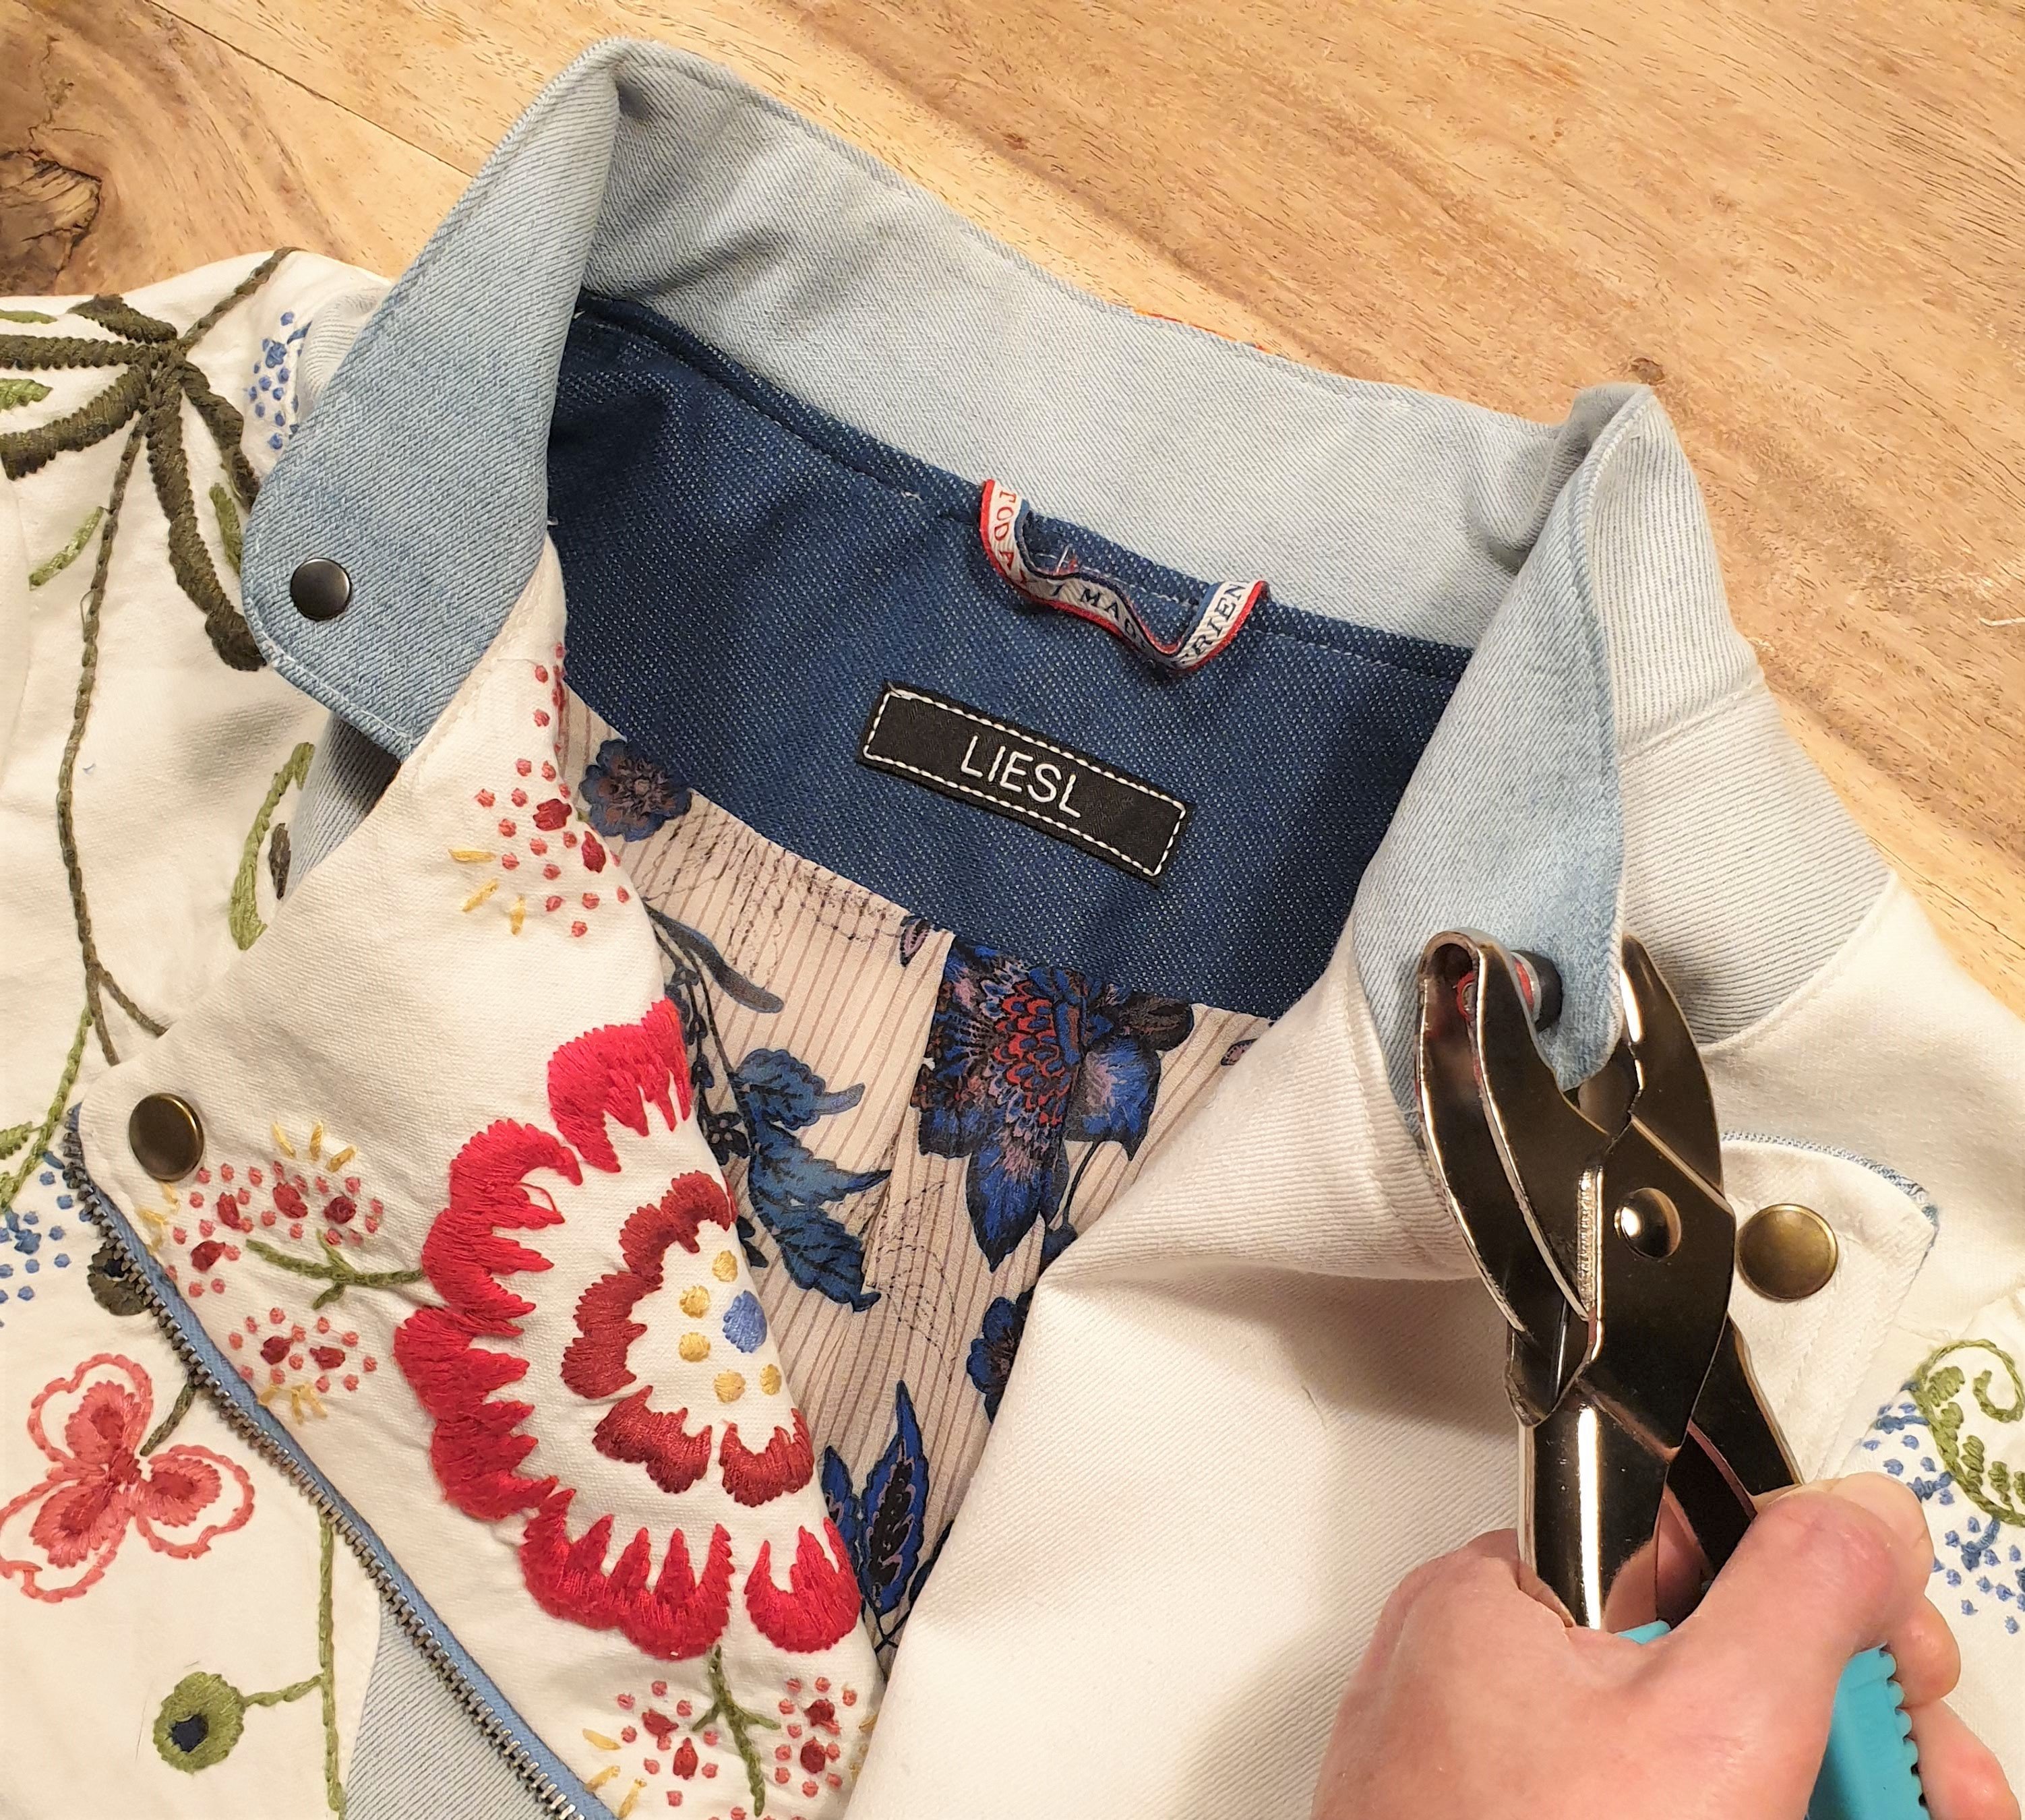
With all the pieces of the puzzle complete I assembled the jacket. Added the collar, the zipper and lining. I had to hand sew the lining at the bottom of the sleeves. The jacket is jacked up with some jeans push fasteners and rivets. I even reused a ribbon of the jeans as a loop. Love it!

Did it go to fast? Maybe this little (even faster) video shows the construction again will clarify:
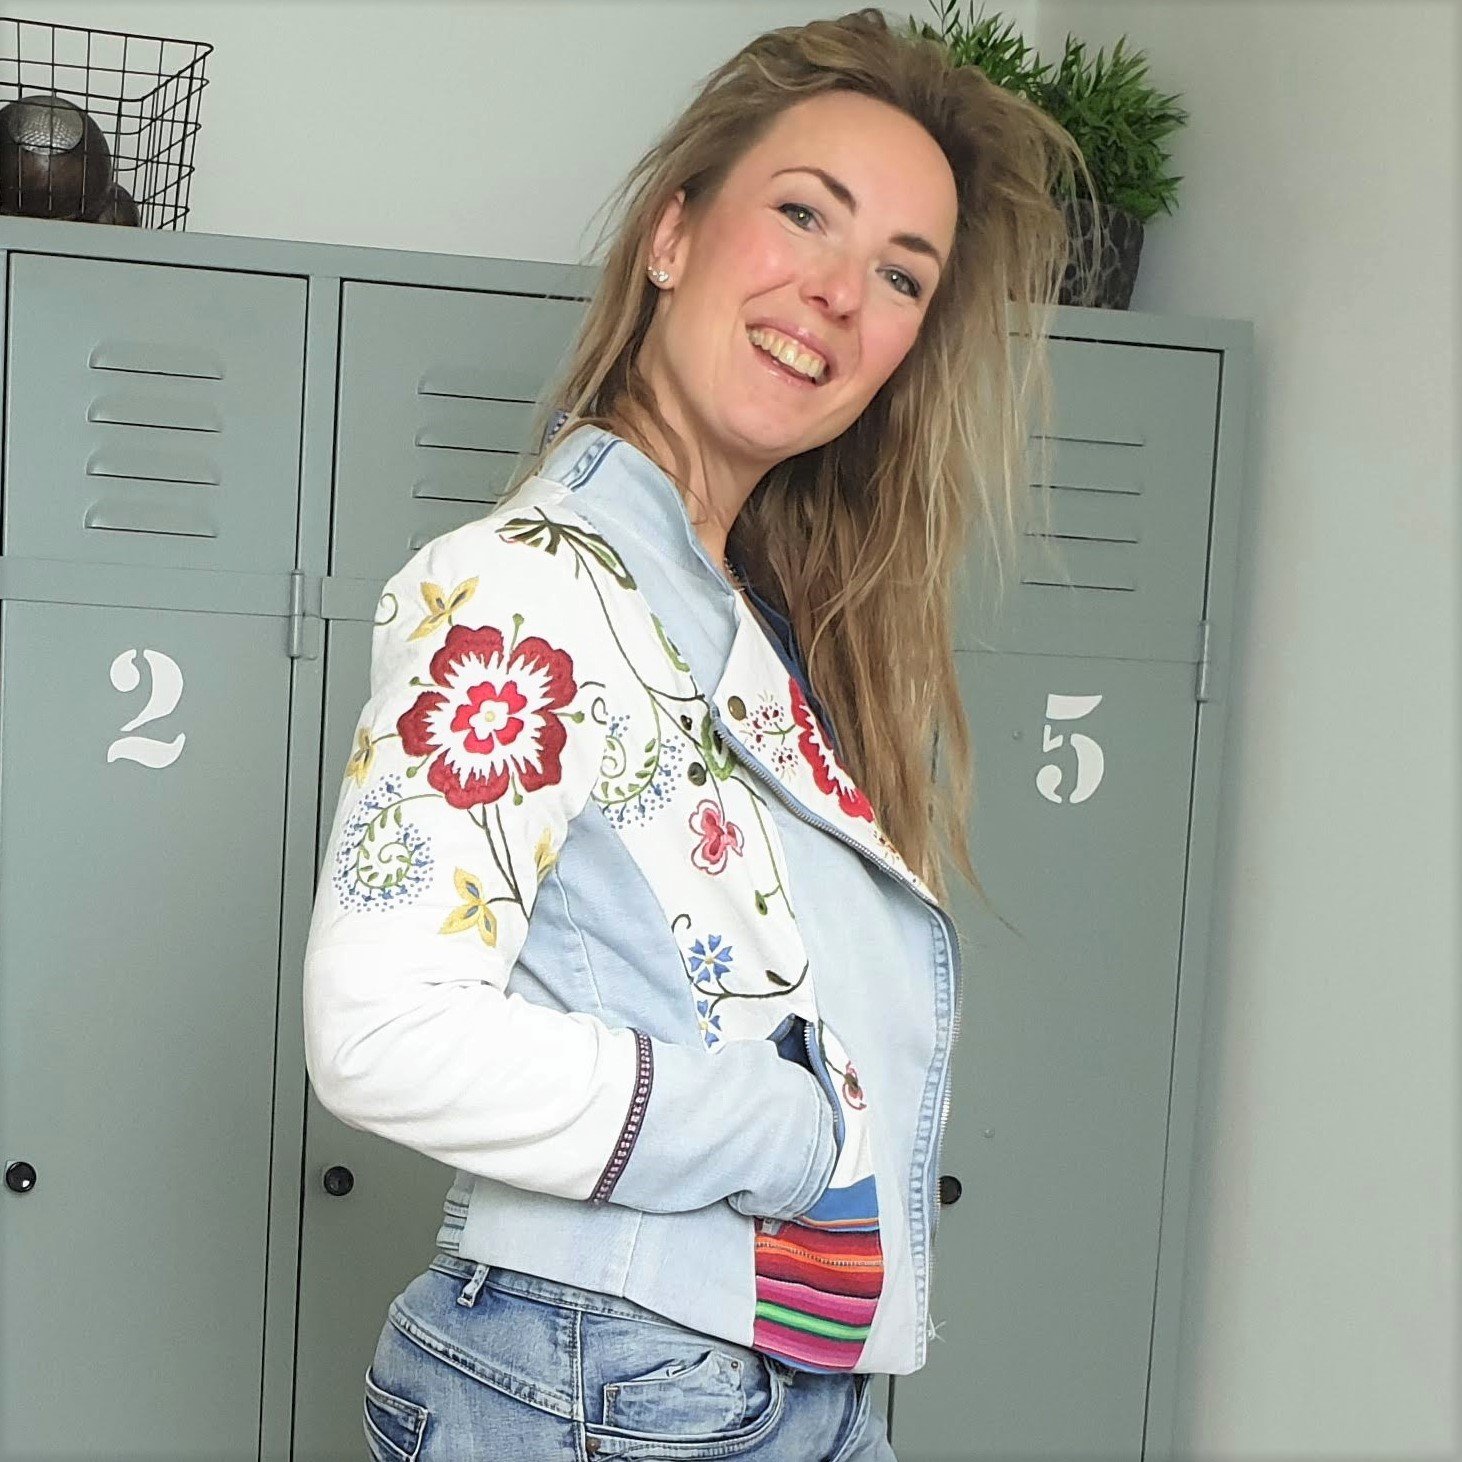
I love the outcome! It was a fun project to work on, improving my refashion skills and being mindful at the same time!
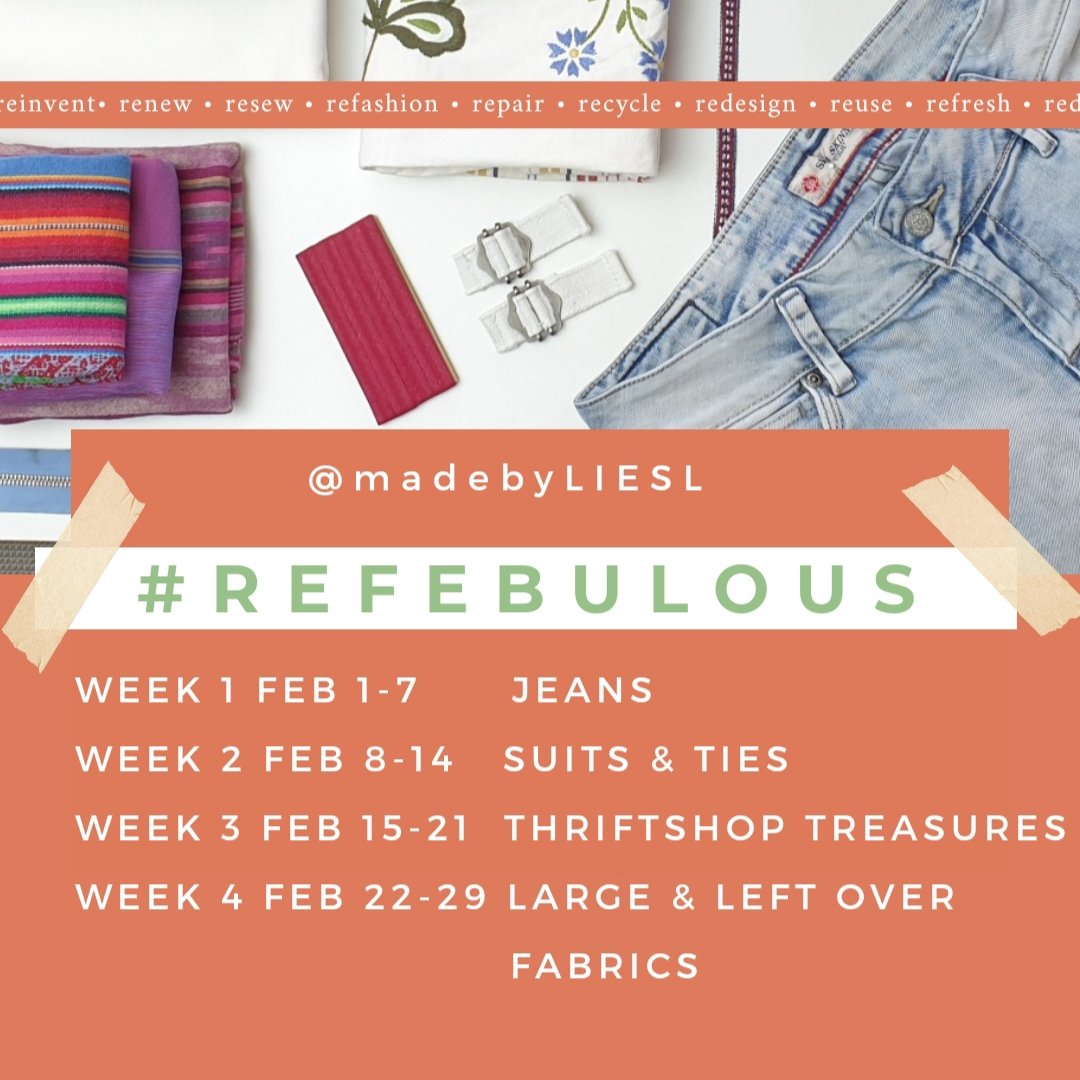
Do you also have a #REFEBULOUS jeans project to share? The first week of this Instagram sewing challenge is about reuse-repair-refashion jeans. Read about this challenge in the blogpost. Click here.
In my next blogpost I will share my best tips in refashion. Stay tuned!
Love,
Marlies


I really like jacket. Wonderful sew it pattern. Good job work . Ian so happy.
I really love this style of jacket, would you share the pattern you used please
Hi Nyssa,
I’ve used this pattern:
https://knipmode.naaipatronen.nl/patronen/vrouw/jassen-jacks/knipmode-1704-21-jackje.html
It is in Dutch. I did alter the collar making it a stand up collar.
Ingenious, creative and interesting.