 BERNINA Corporate Blog -
Thrift Shop Treasures
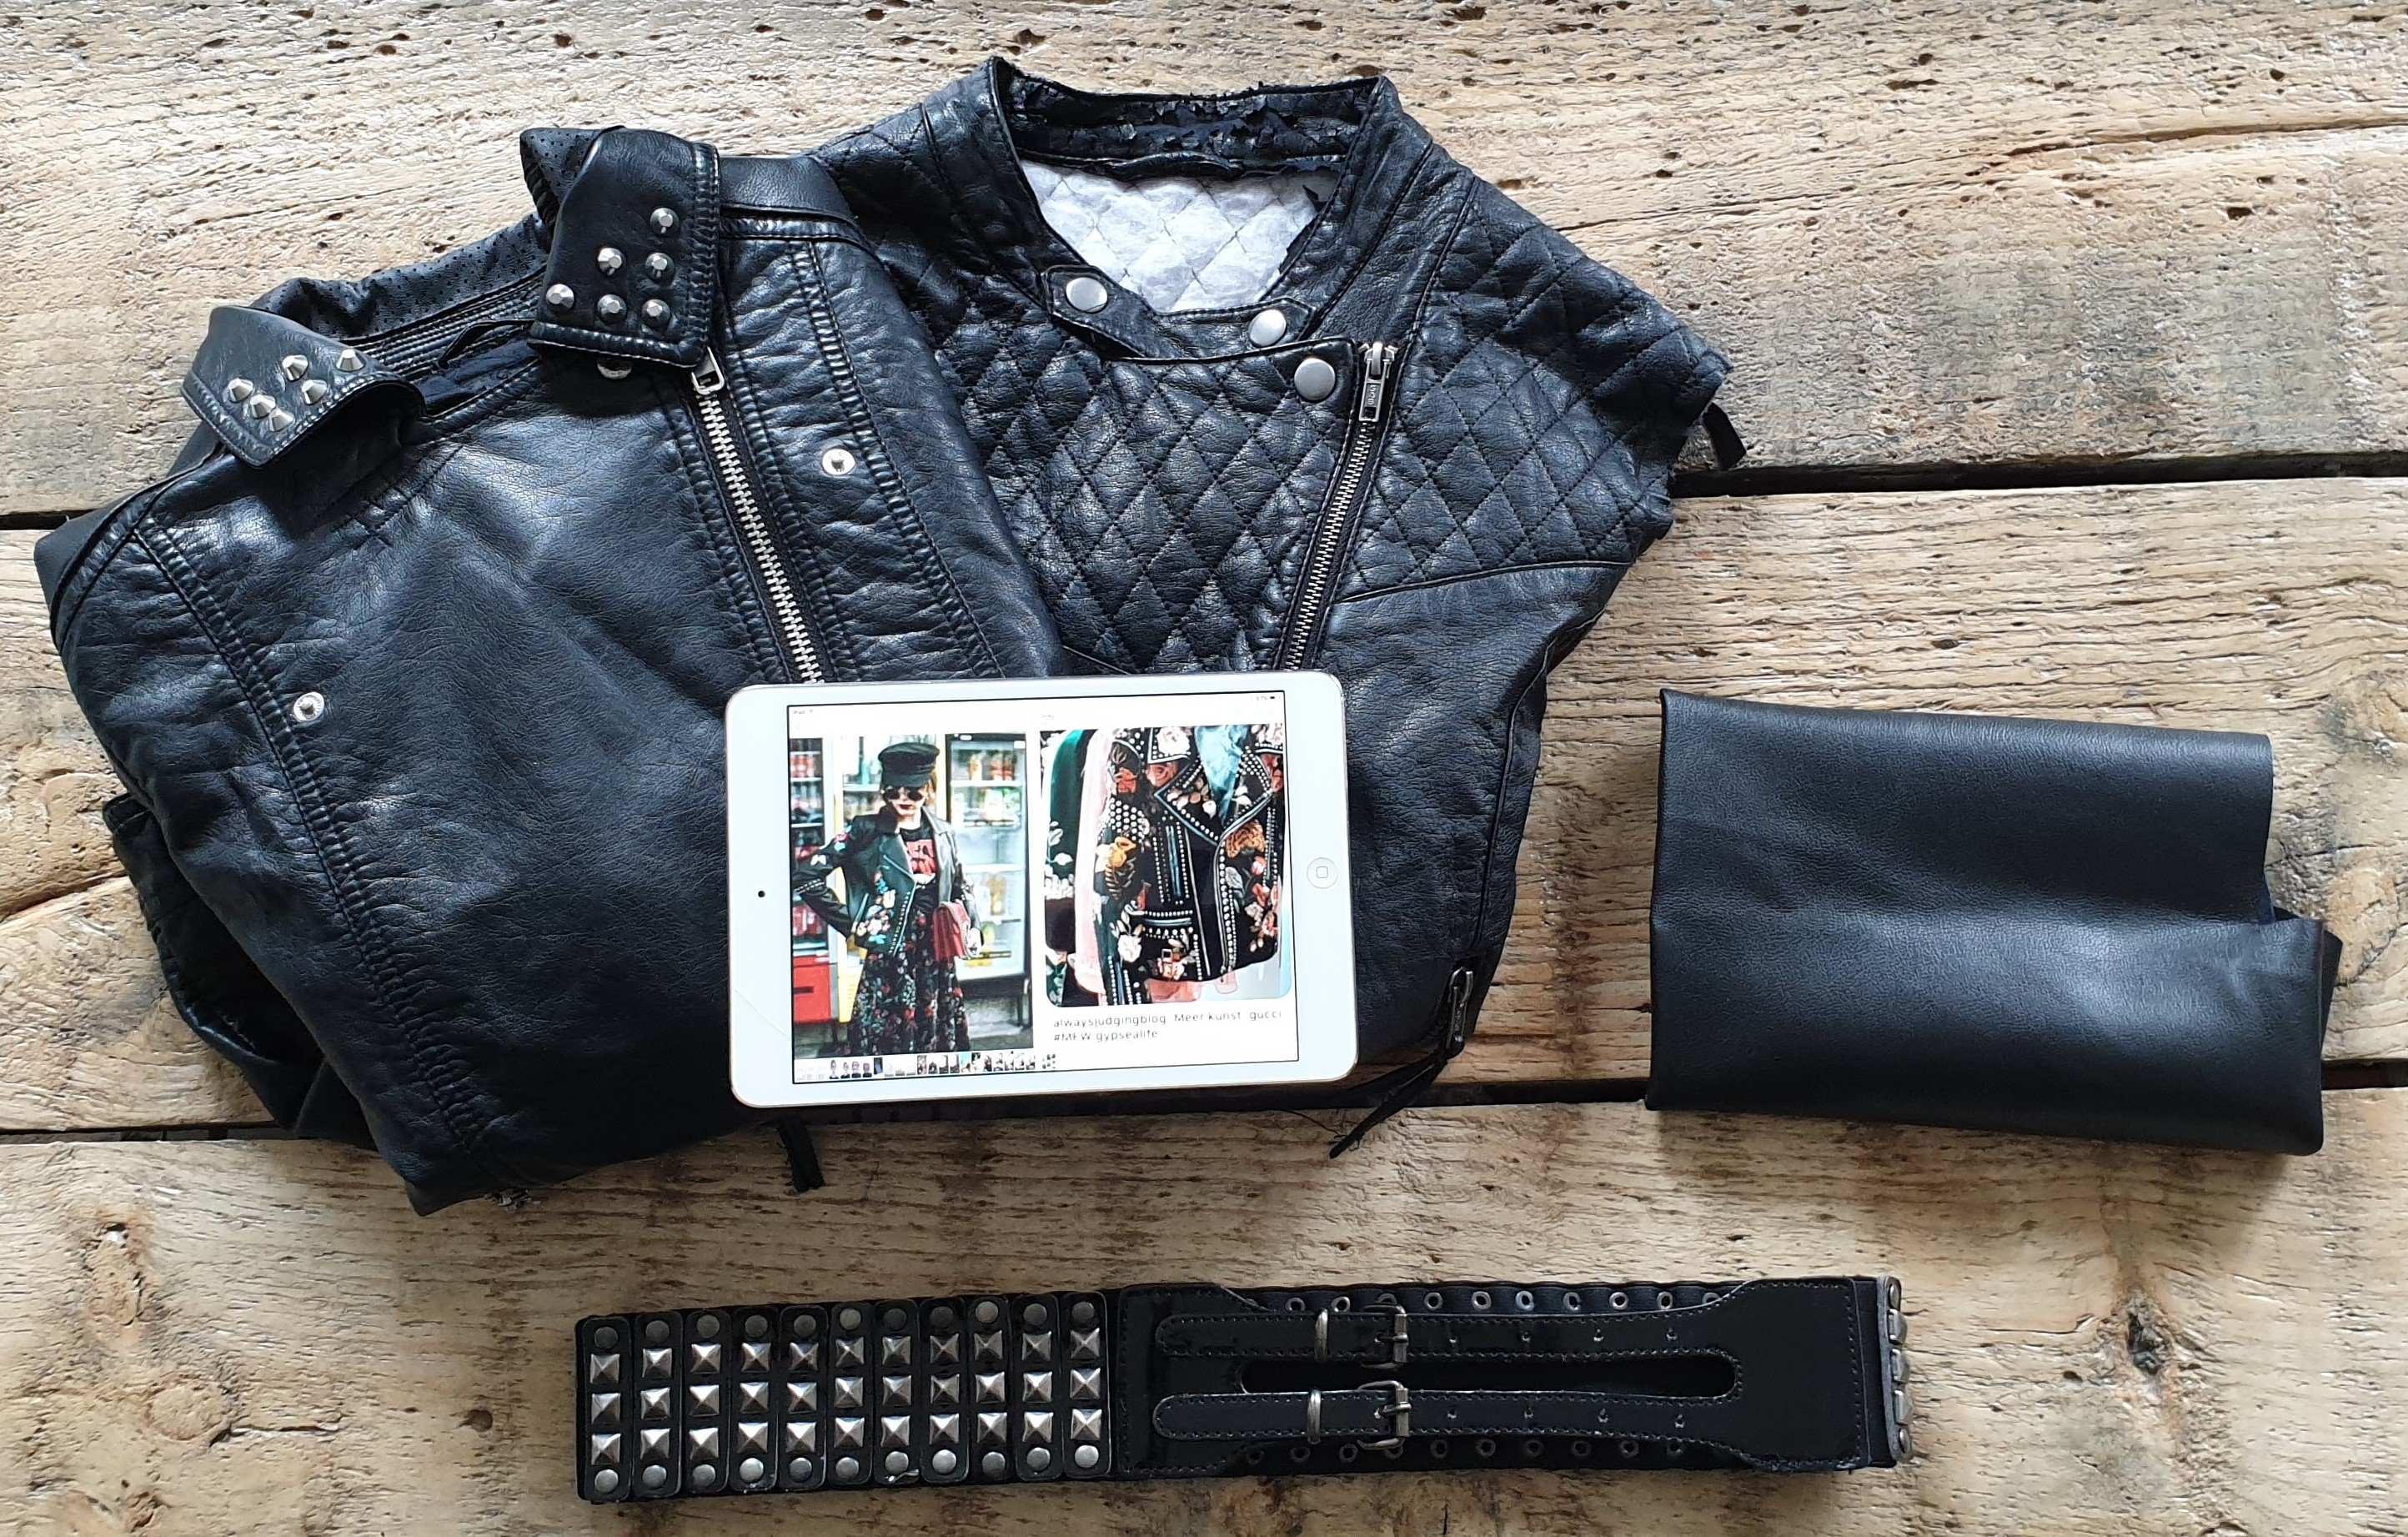
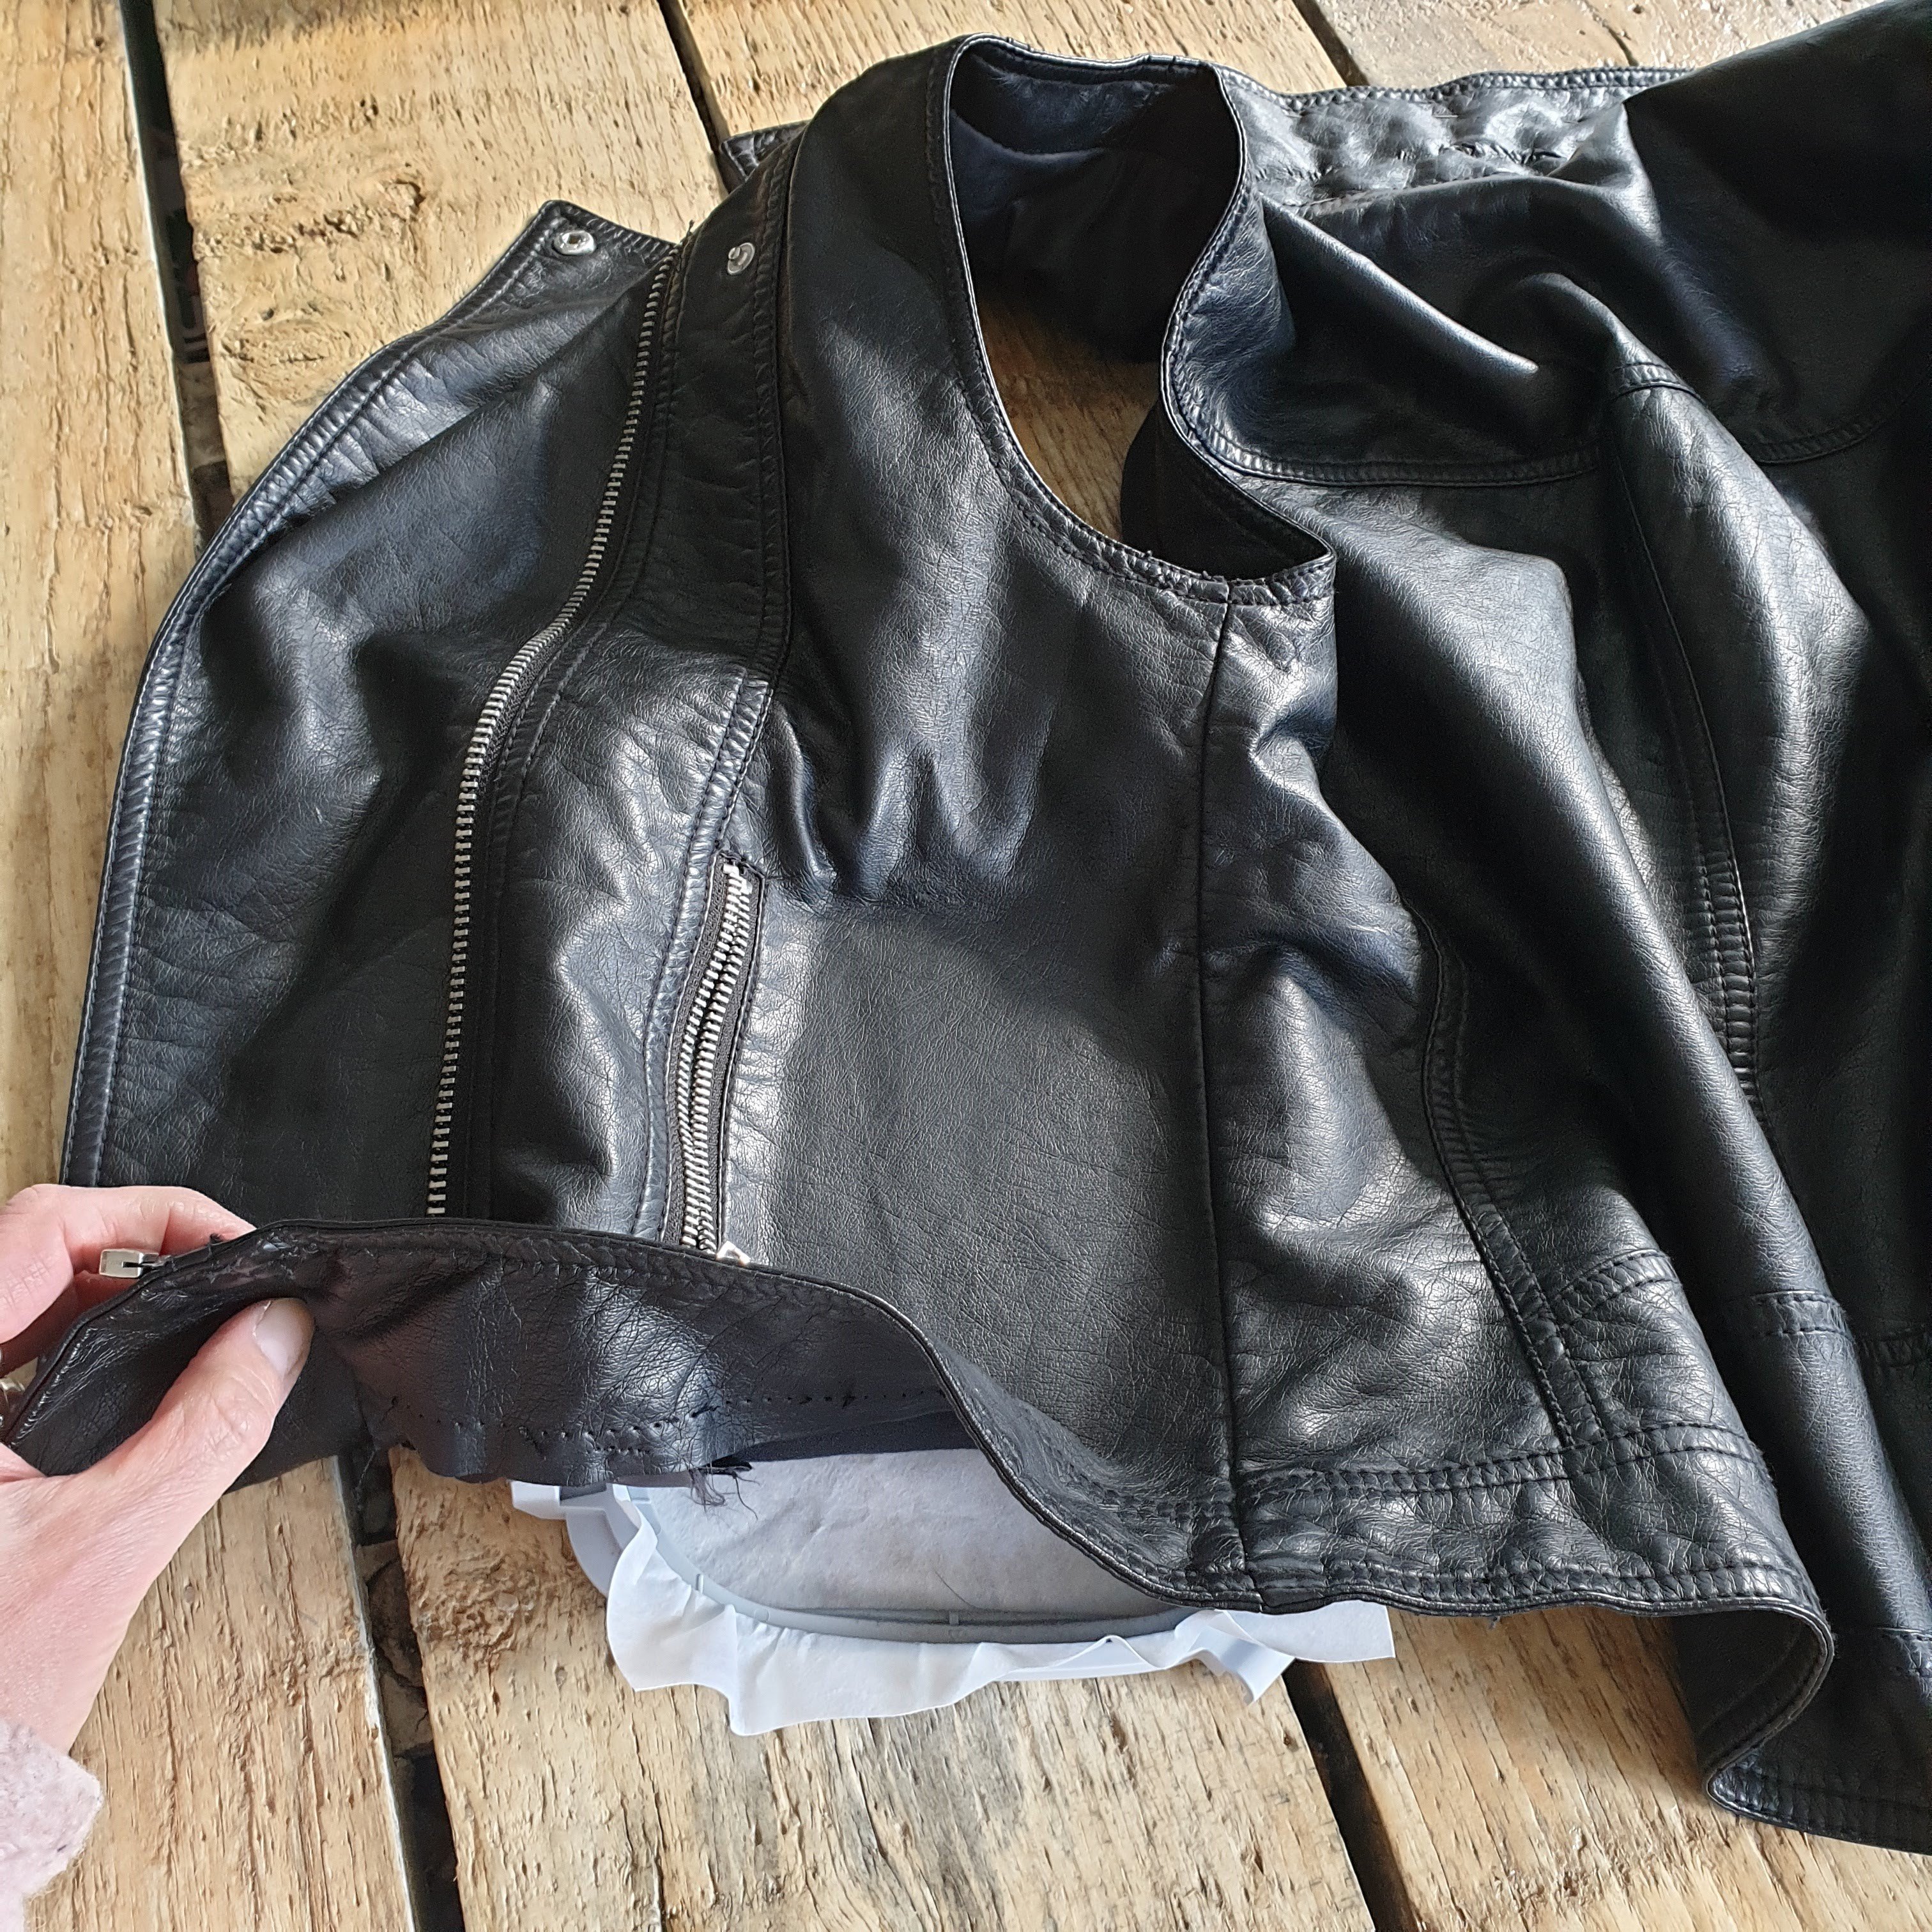
This #REFEBULOUS blog is about thrift shop treasures. I often wander around in a thriftschop and be drawn to lovely fabrics, patterns or unusual designs. In this case I found two lovely fake leather jackets. One had a good fit, but didn’t have sleeves. The other too big and with sleeves. What if I could put these two together…..Oh wait… I can! And what’s going to be left is still a treasure for future projects; fabric and the zippers.
Inspired by
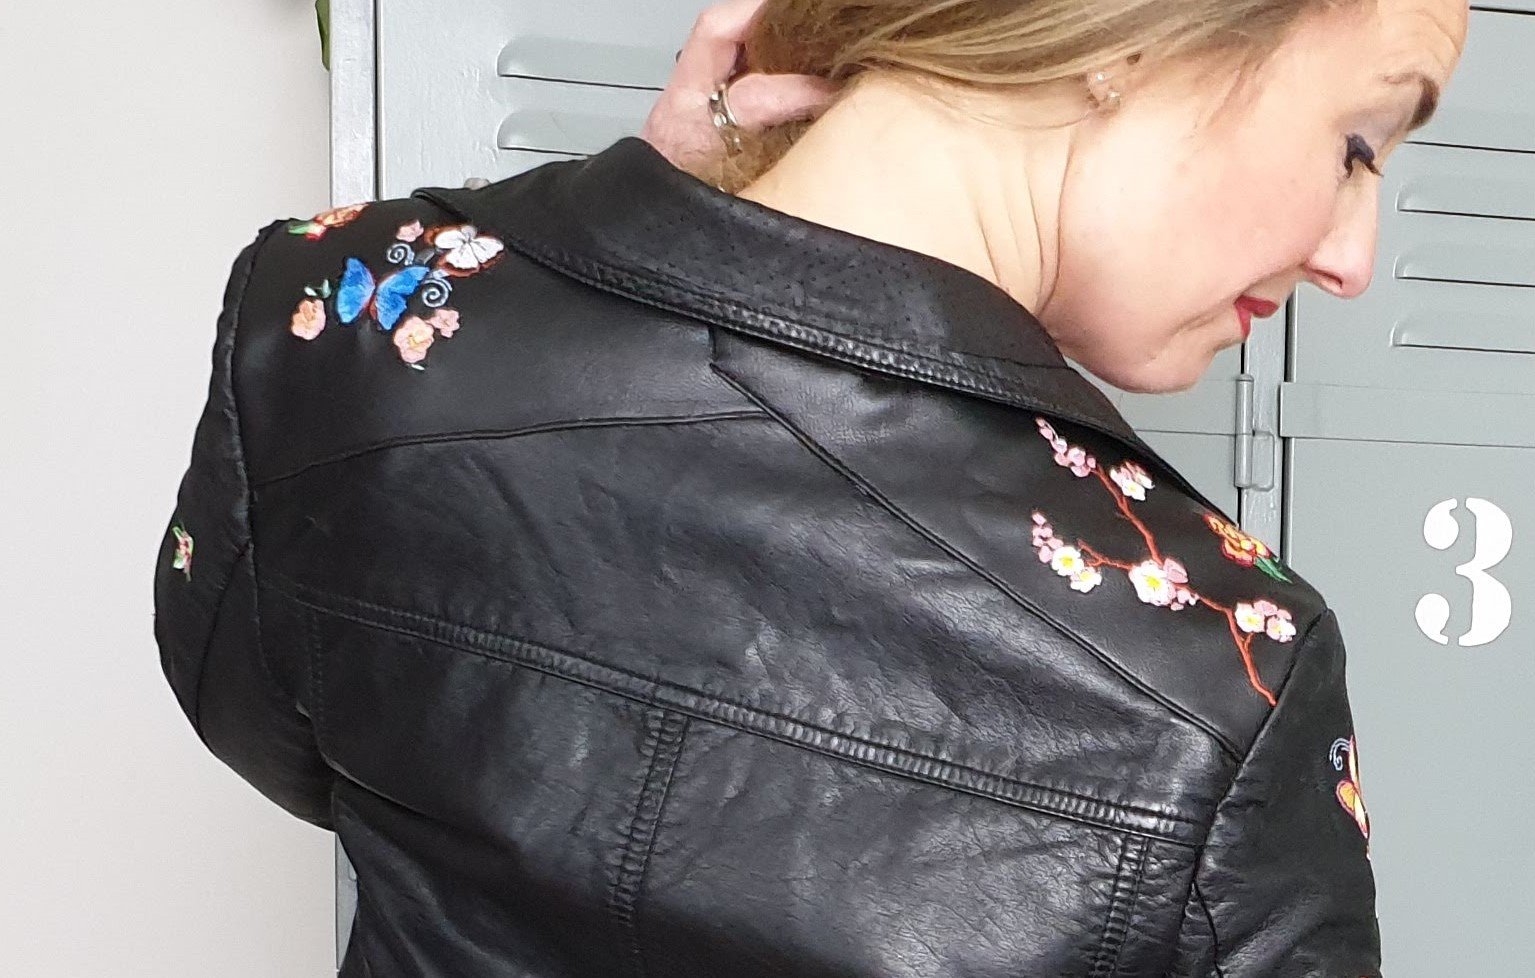
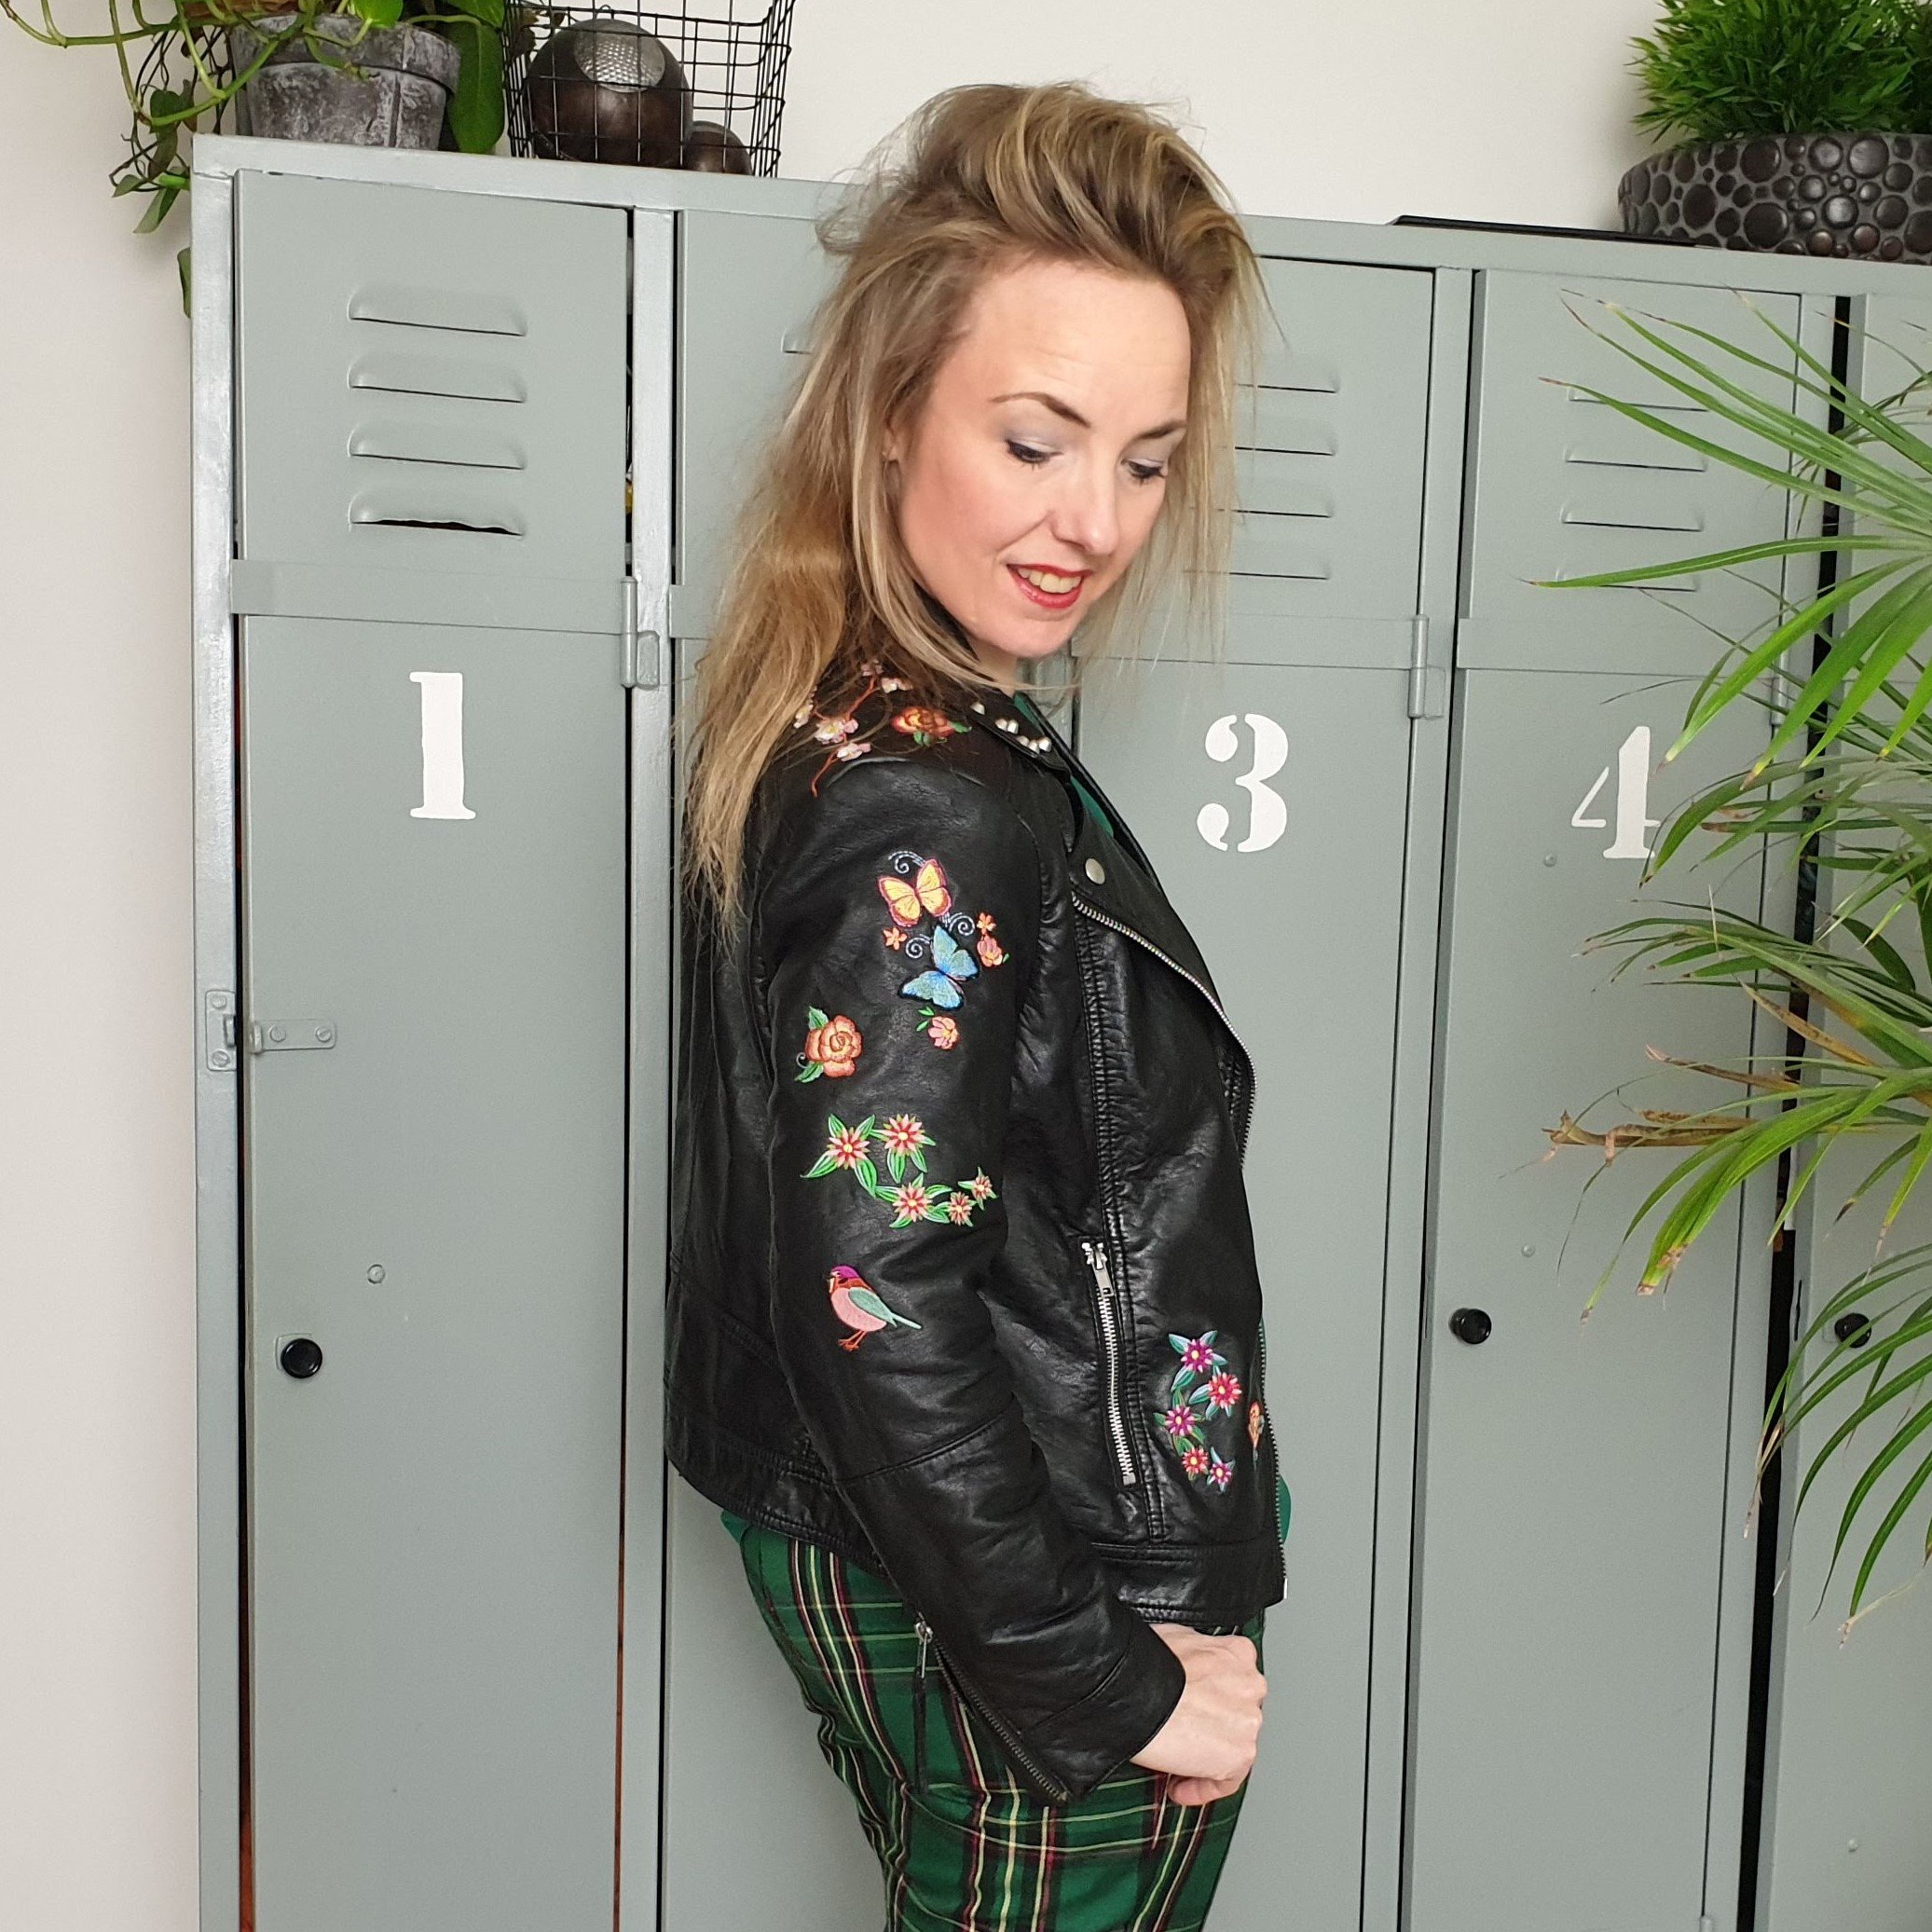
The inspiration for this #REFEBULOUS refashion project are the embroidered jackets as shown above. I love the combination of the coolness of the leather and studs and the sweetness of the embroidery. On one of my trips to the thrift shop I picked up this belt to use for the studs. In the end I decided not (yet) to use them on this jacket.
To create the jacket of my inspiration I had to learn some embroidery skills for this. Luckily I own a B540 who can do this for me. I got some embroidery lessons to learn the ins and outs of machine embroidery and although I was advised not to start with leather I went all in in this project. I just love a challenge!
NOTE: Embroidering leather is a bigger challenge then any other fabric. Due to the fact that it might tare because of the many little holes the embroidery makes. So for a first project I wouldn’t recommend this. Especially not if the embroidery is done on places in your garment were there is al lot of pull on the fabric. In this case I get away with it.
Sleeves
First I had to tackle the sleeve situation. I removed the sleeves from one jacket and tried them on to the other. I tried two ways by pinning the sleeves. I had to take in a couple of centimeters and then they would fit. I went for the second option.
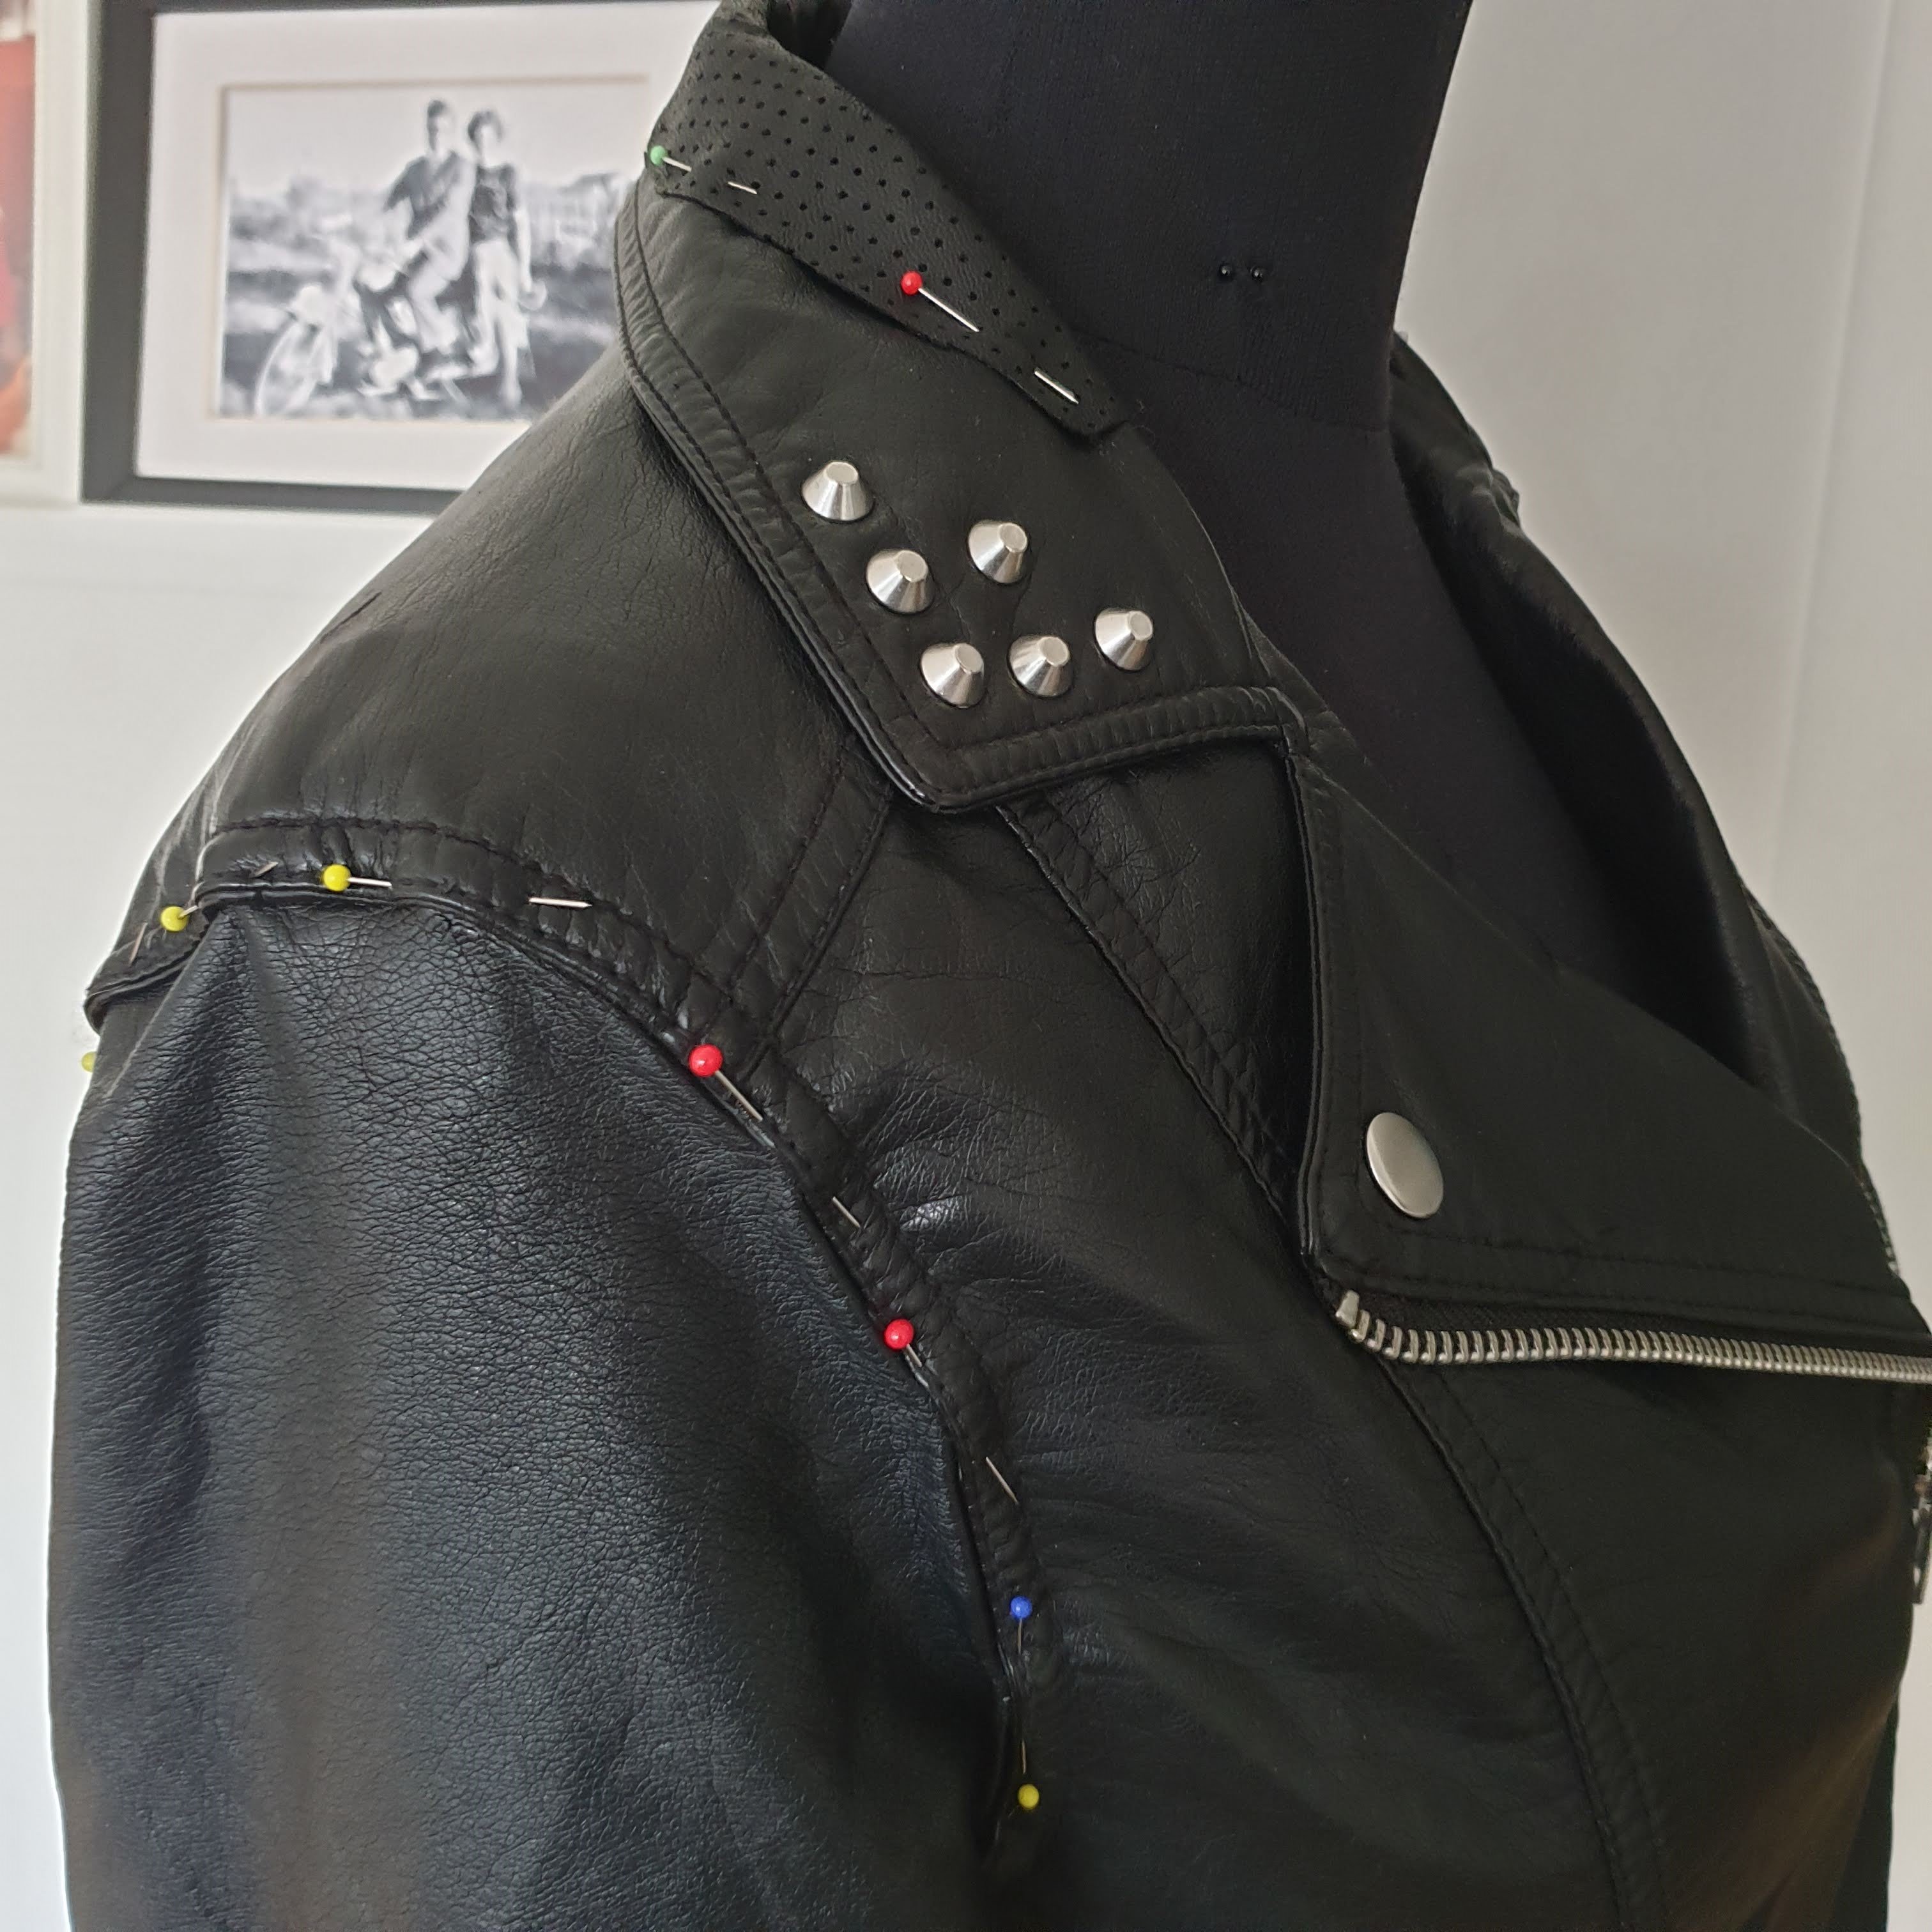

As you can see I had to do some repairwork on the collar by adding some new fabric. It was just a bit worn down there.
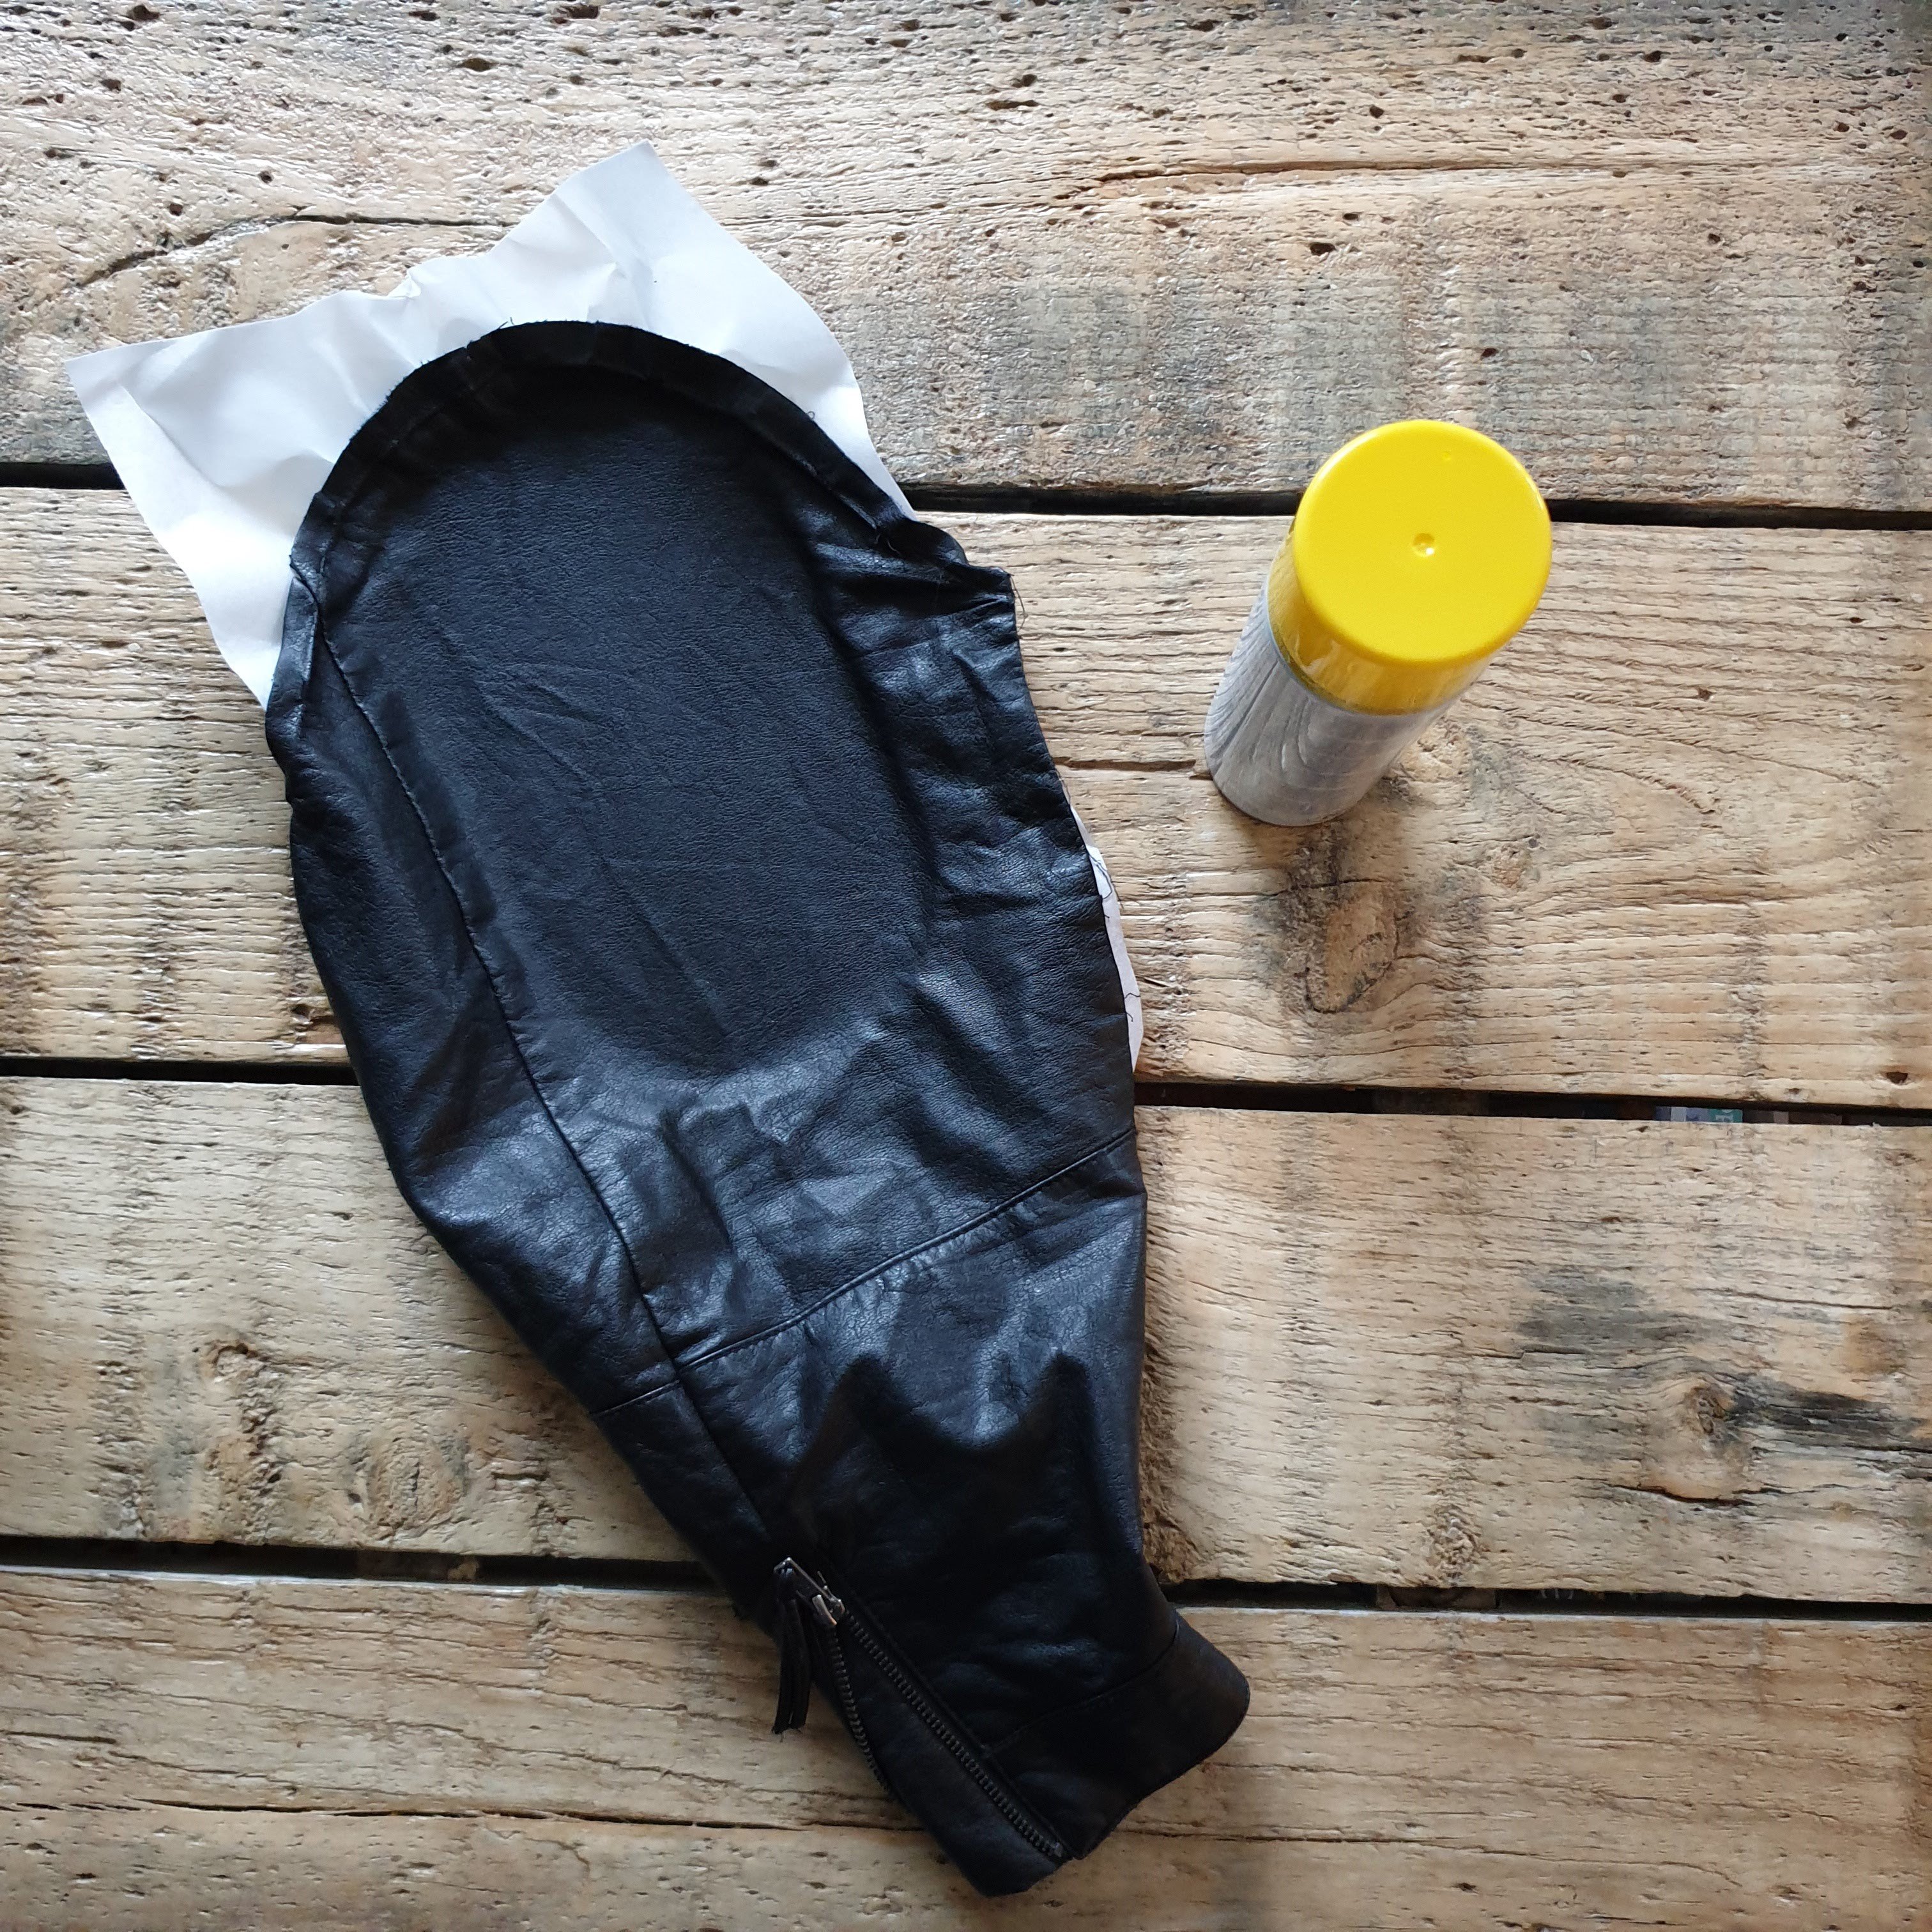
Back to the sleeves. I wanted to do embroidery on the top of the sleeves. Therefore I loosened the seam so I could open up the sleeve and attached it to the stabilizer which was clamped in the embroidery hoop. I used some spray glue to hold the sleeve in place. The hoop I used is the midi hoop.
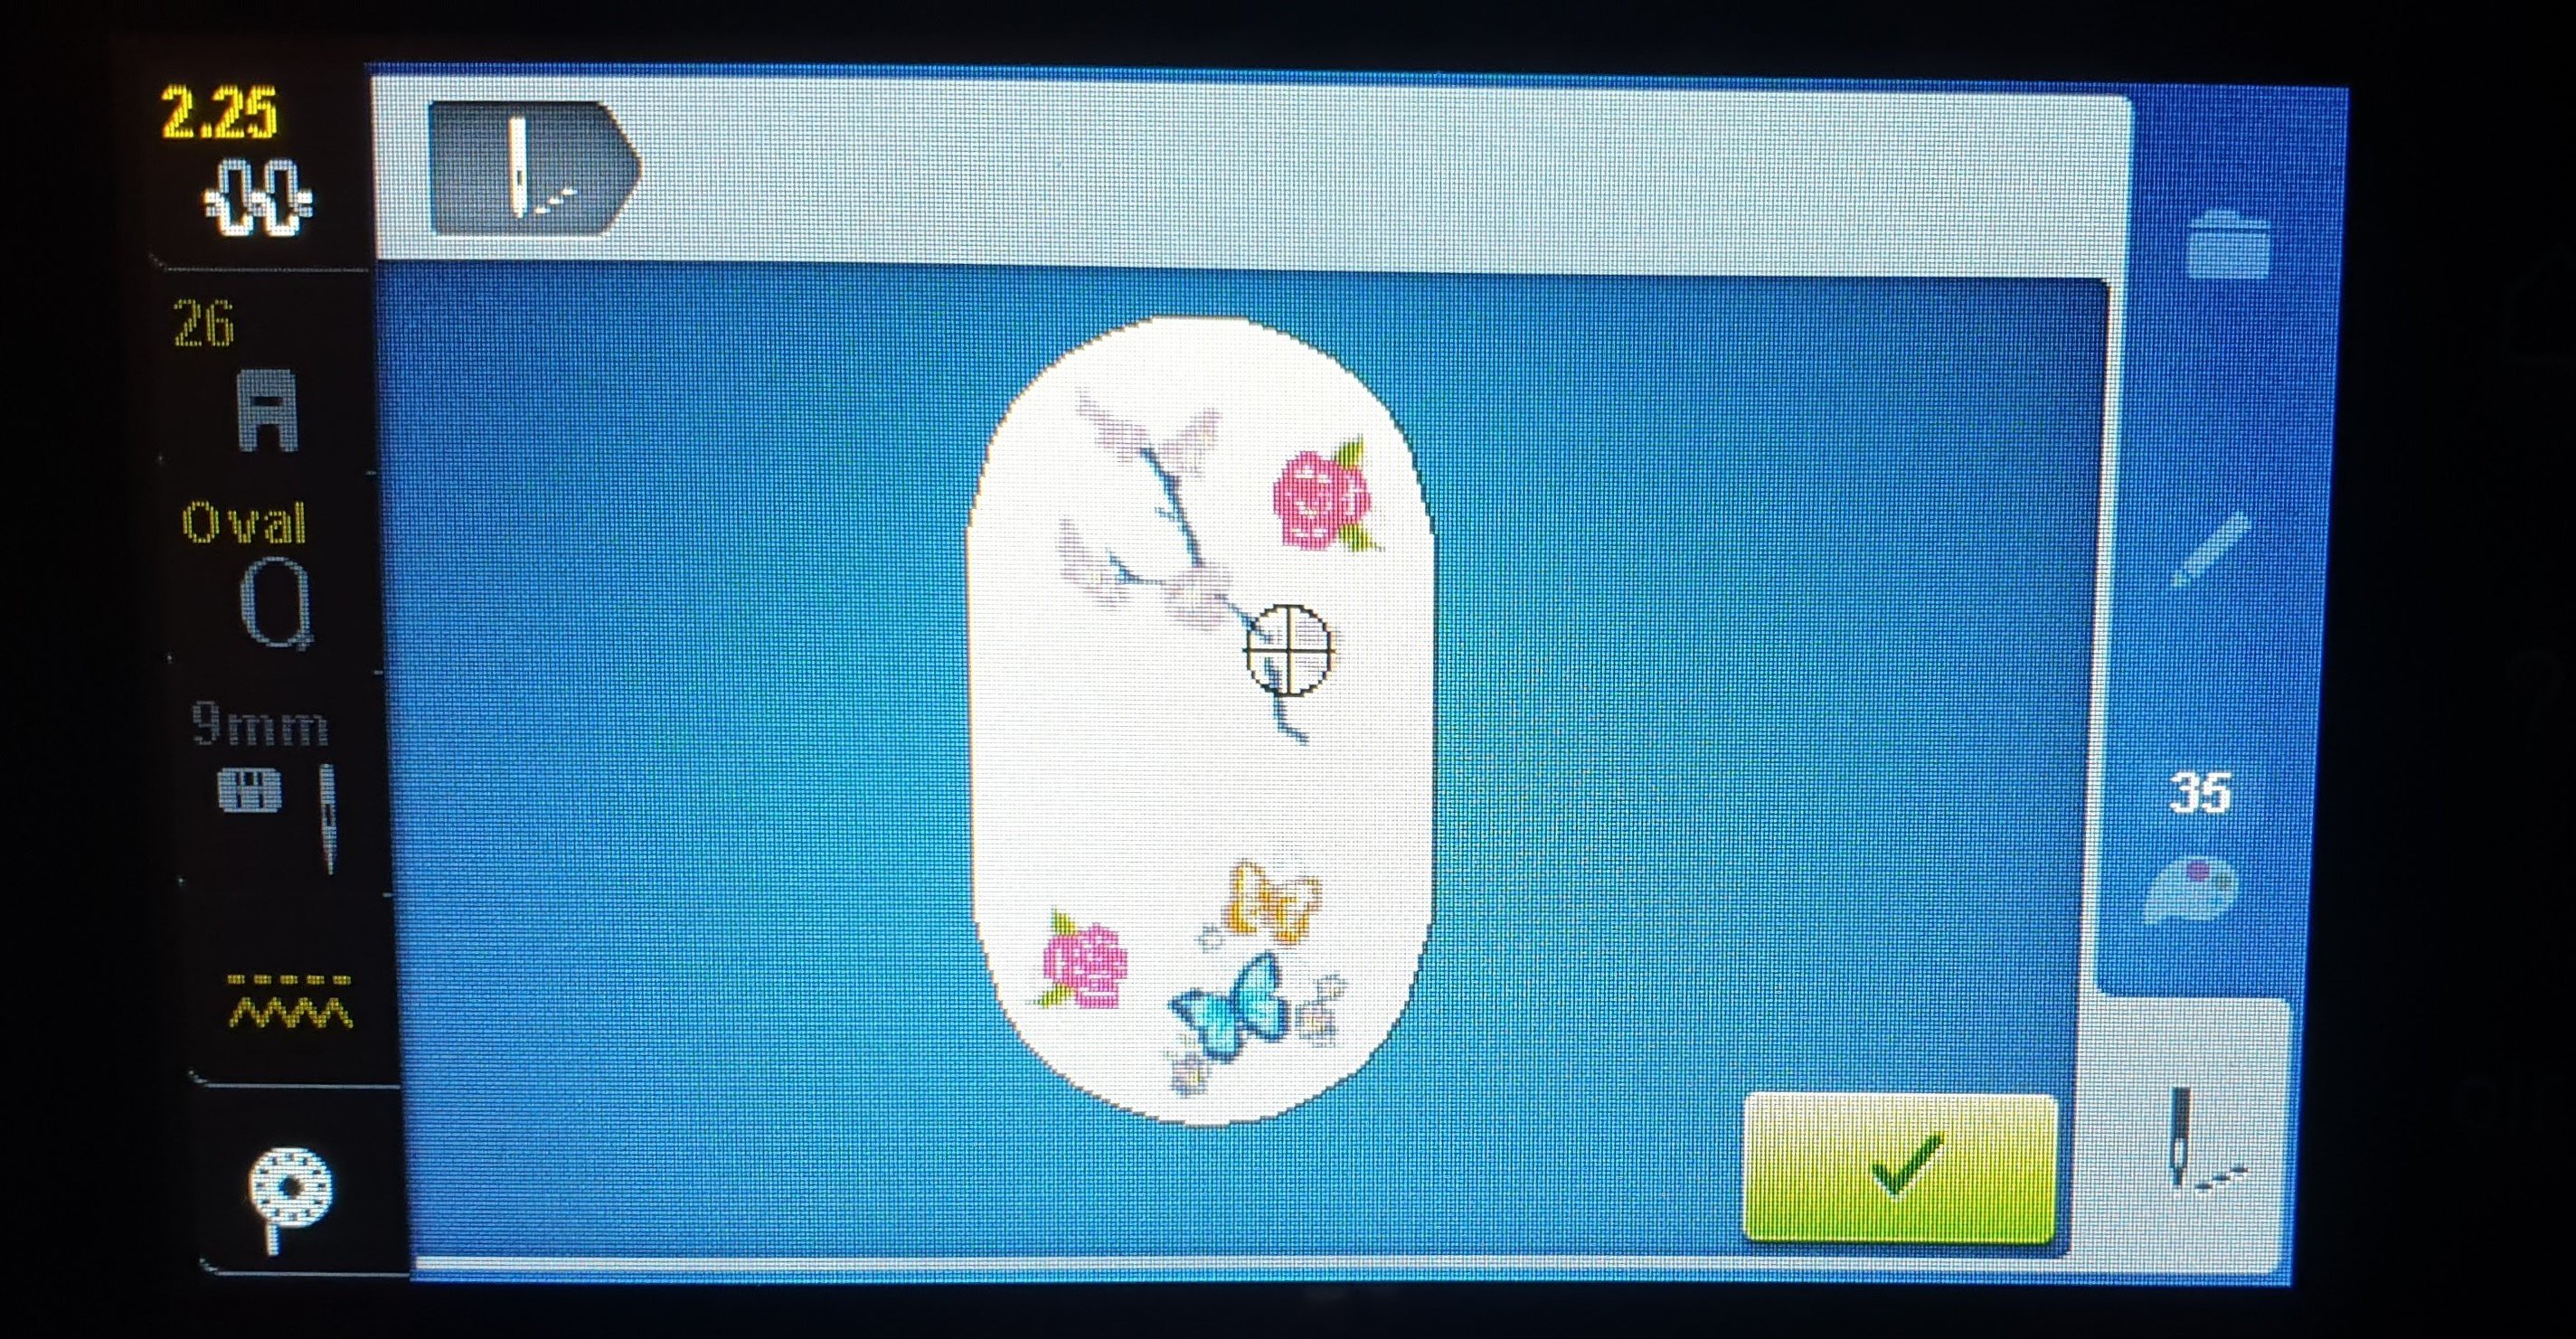
I selected several embroidery designs, some of them I used several times and by the use of different color threads I made the same designs just slightly look different.
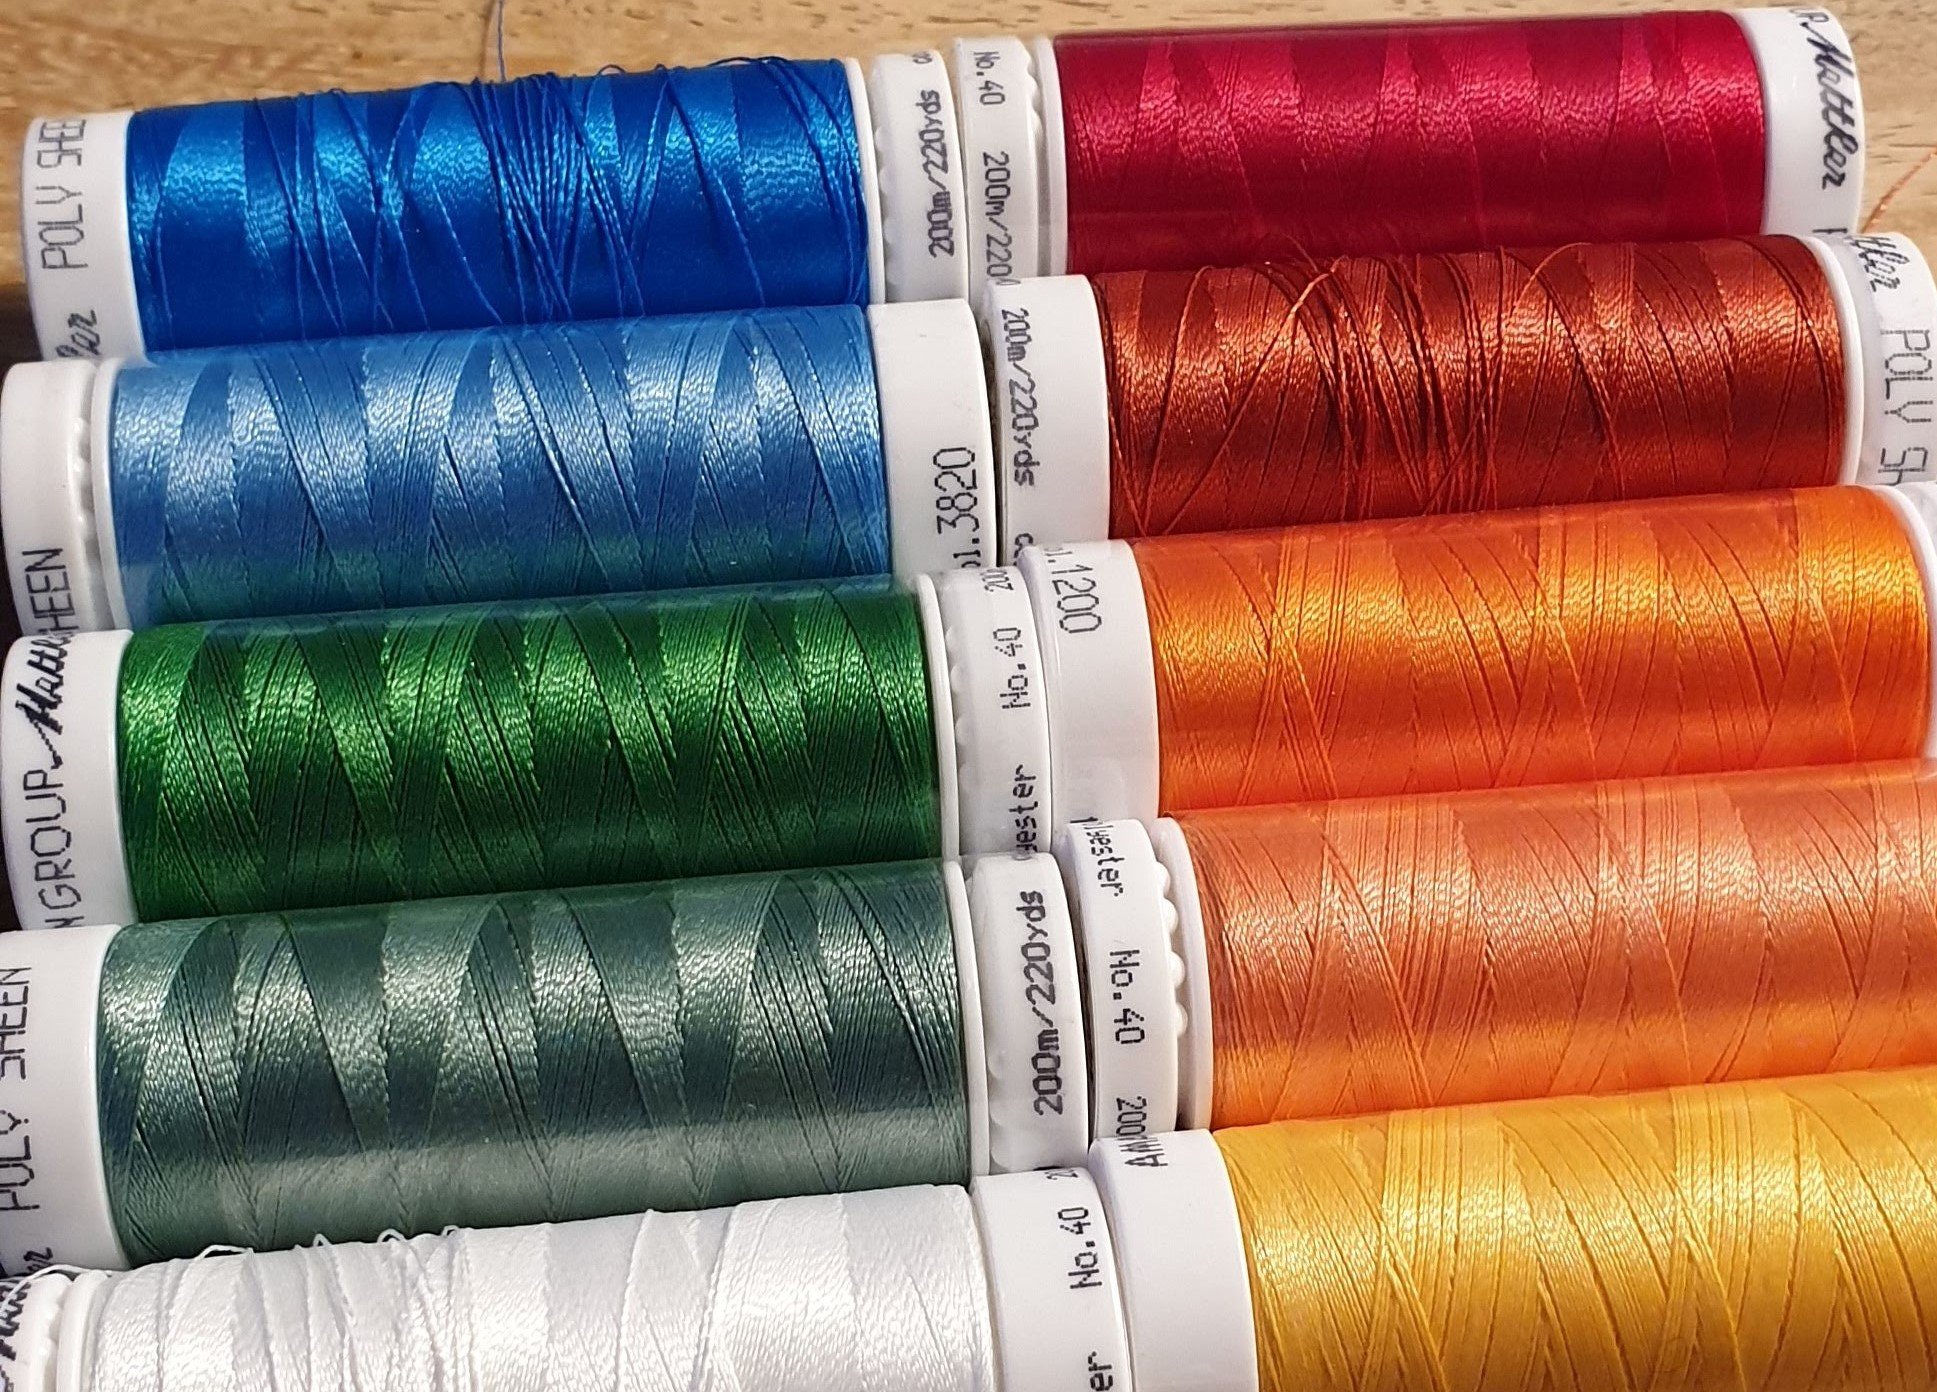

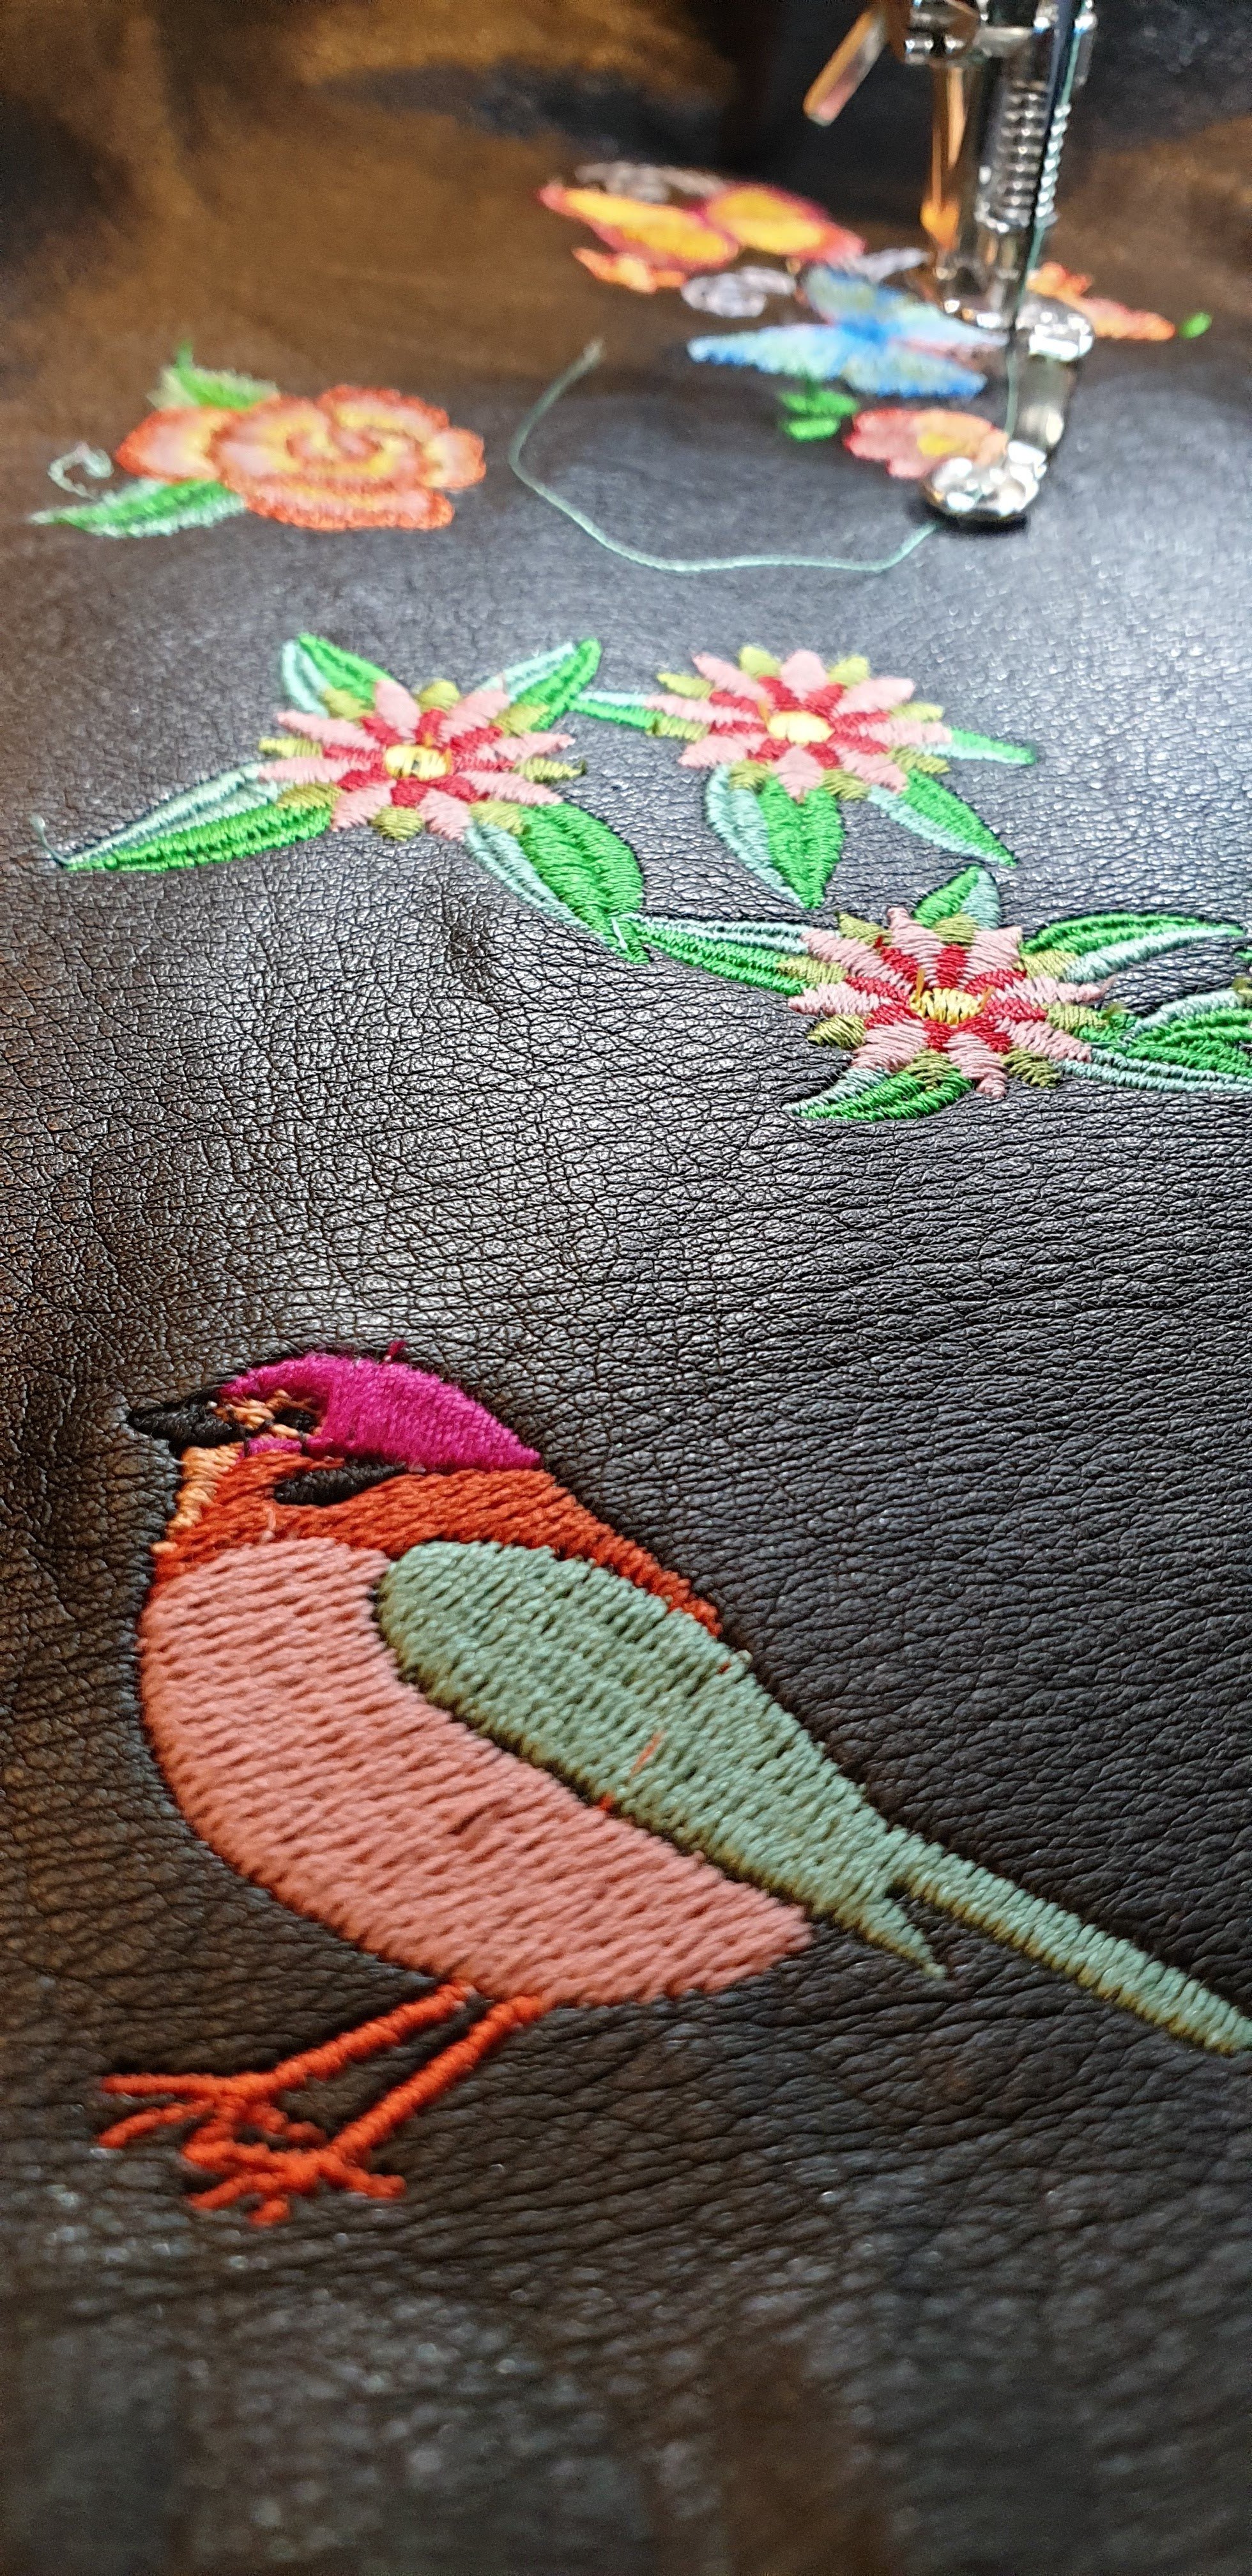
It’s like painting with threads!
More embroidery
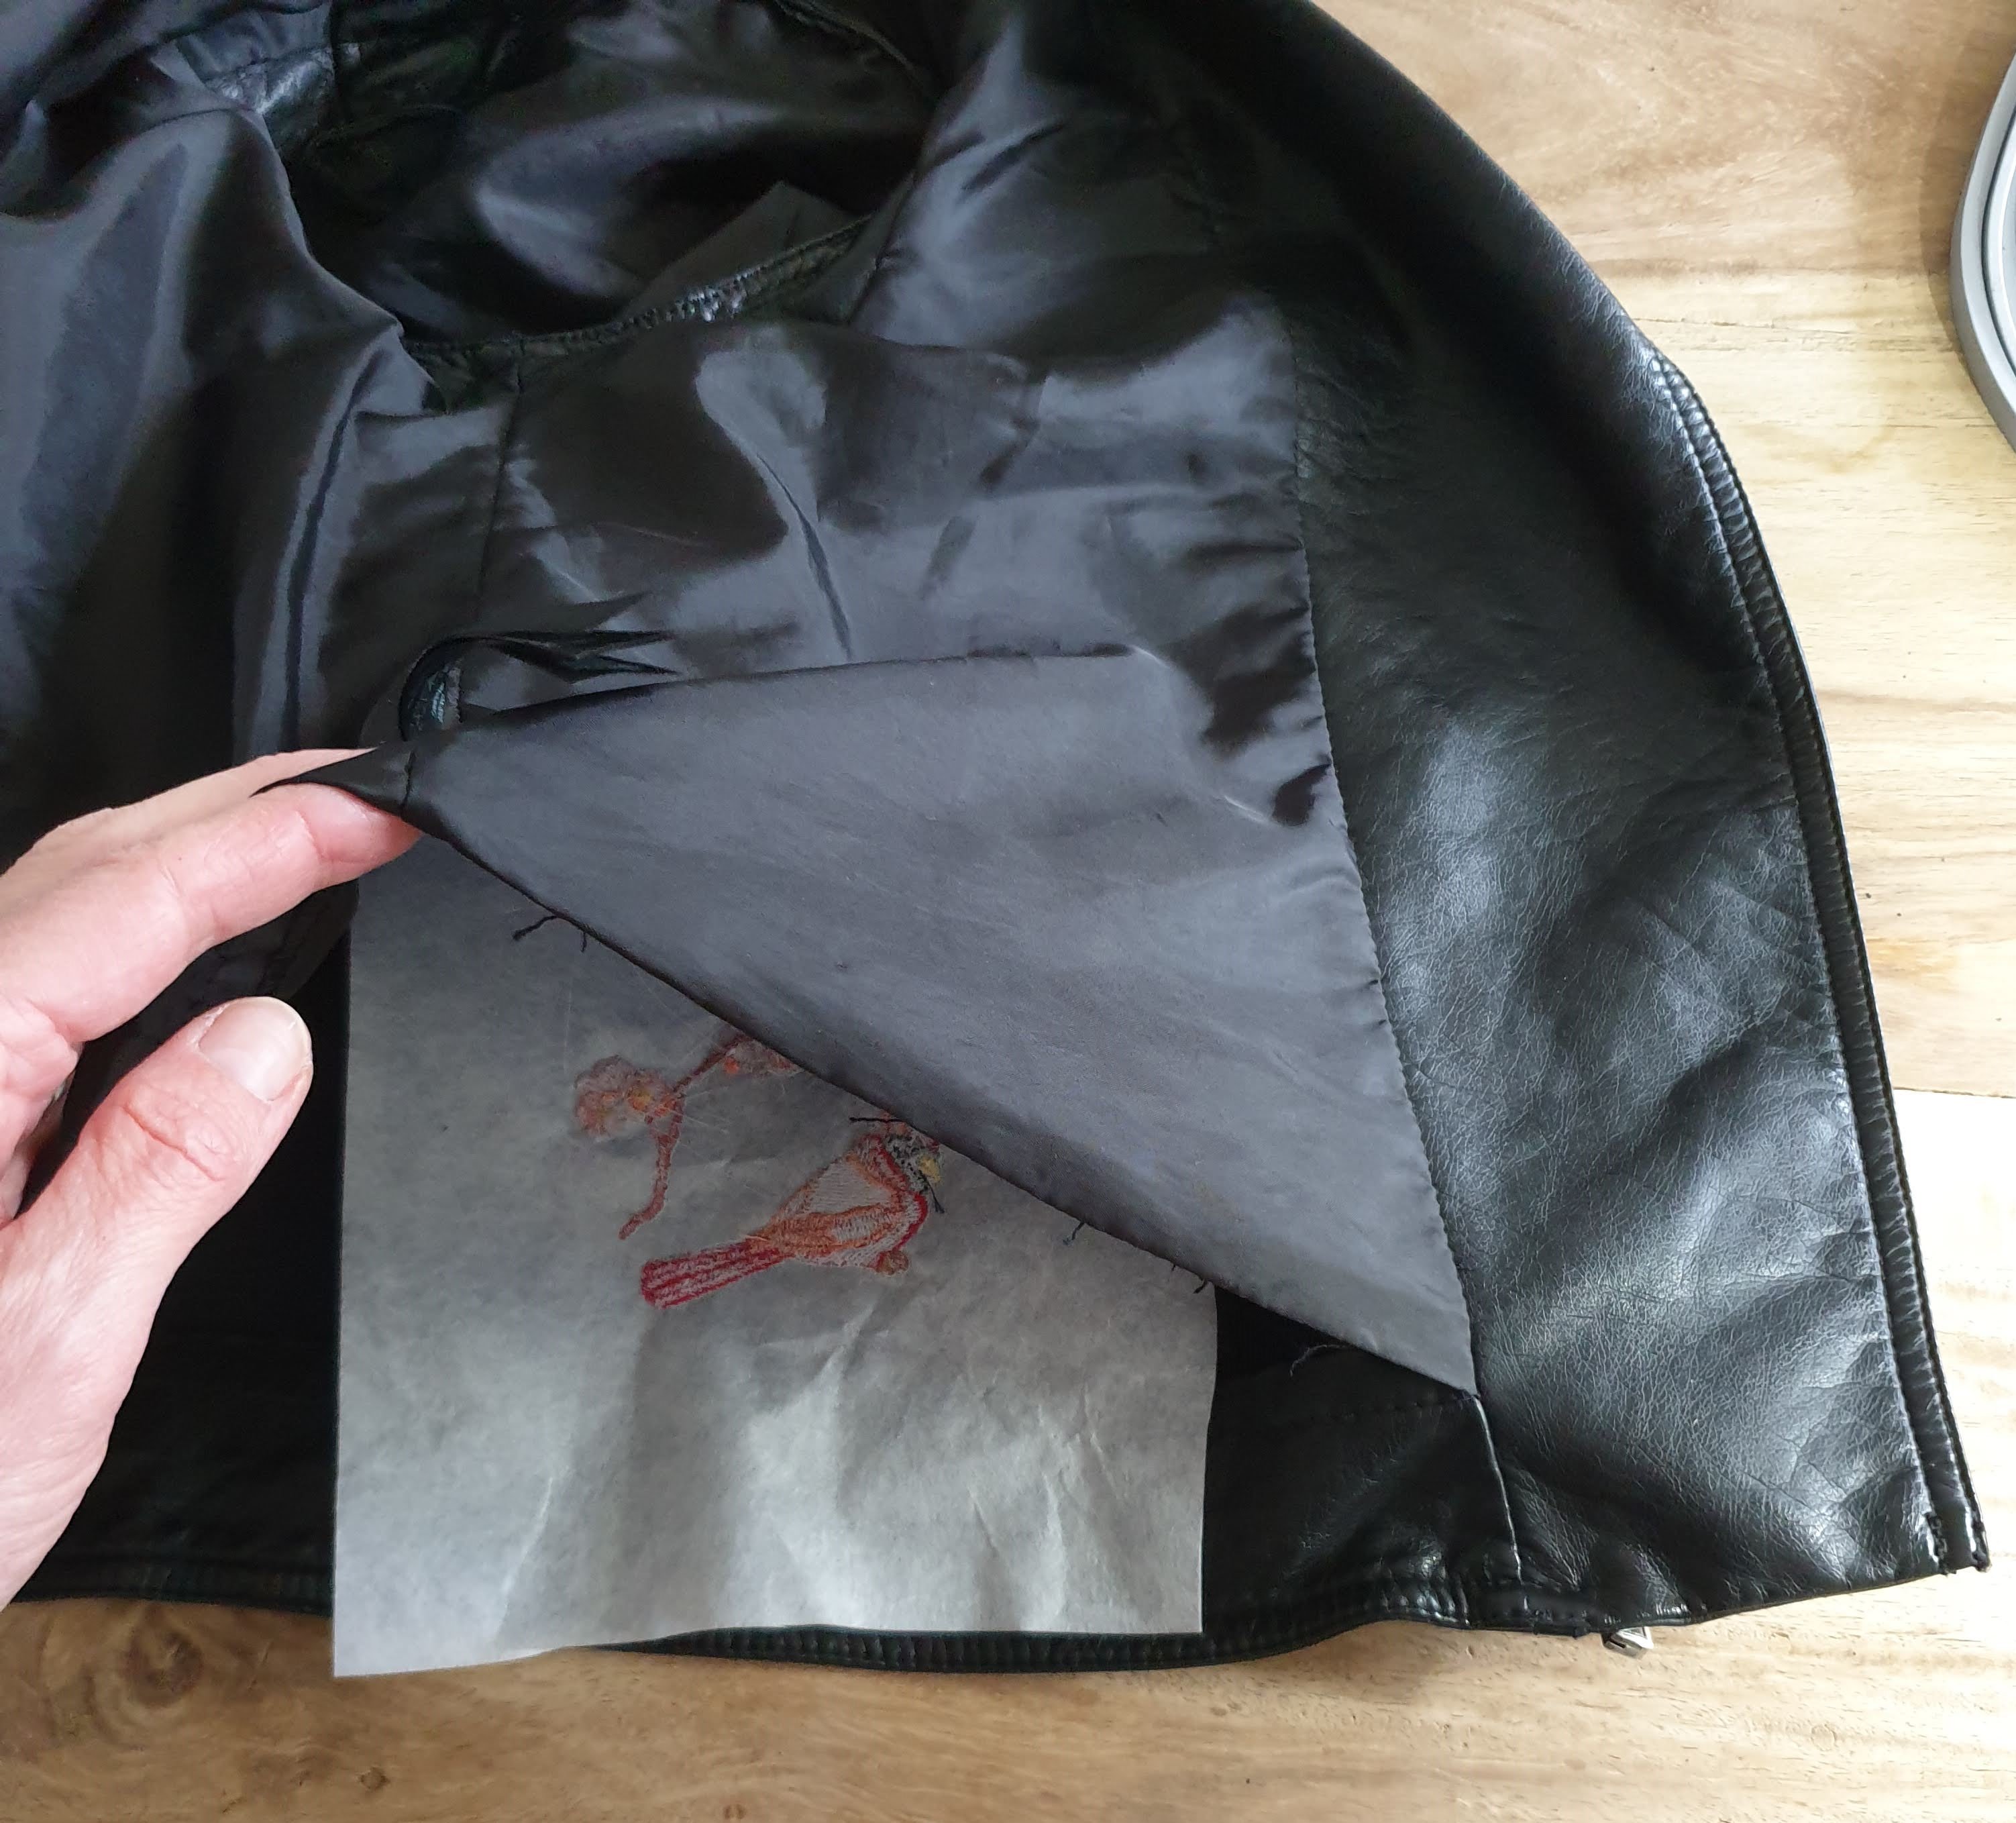
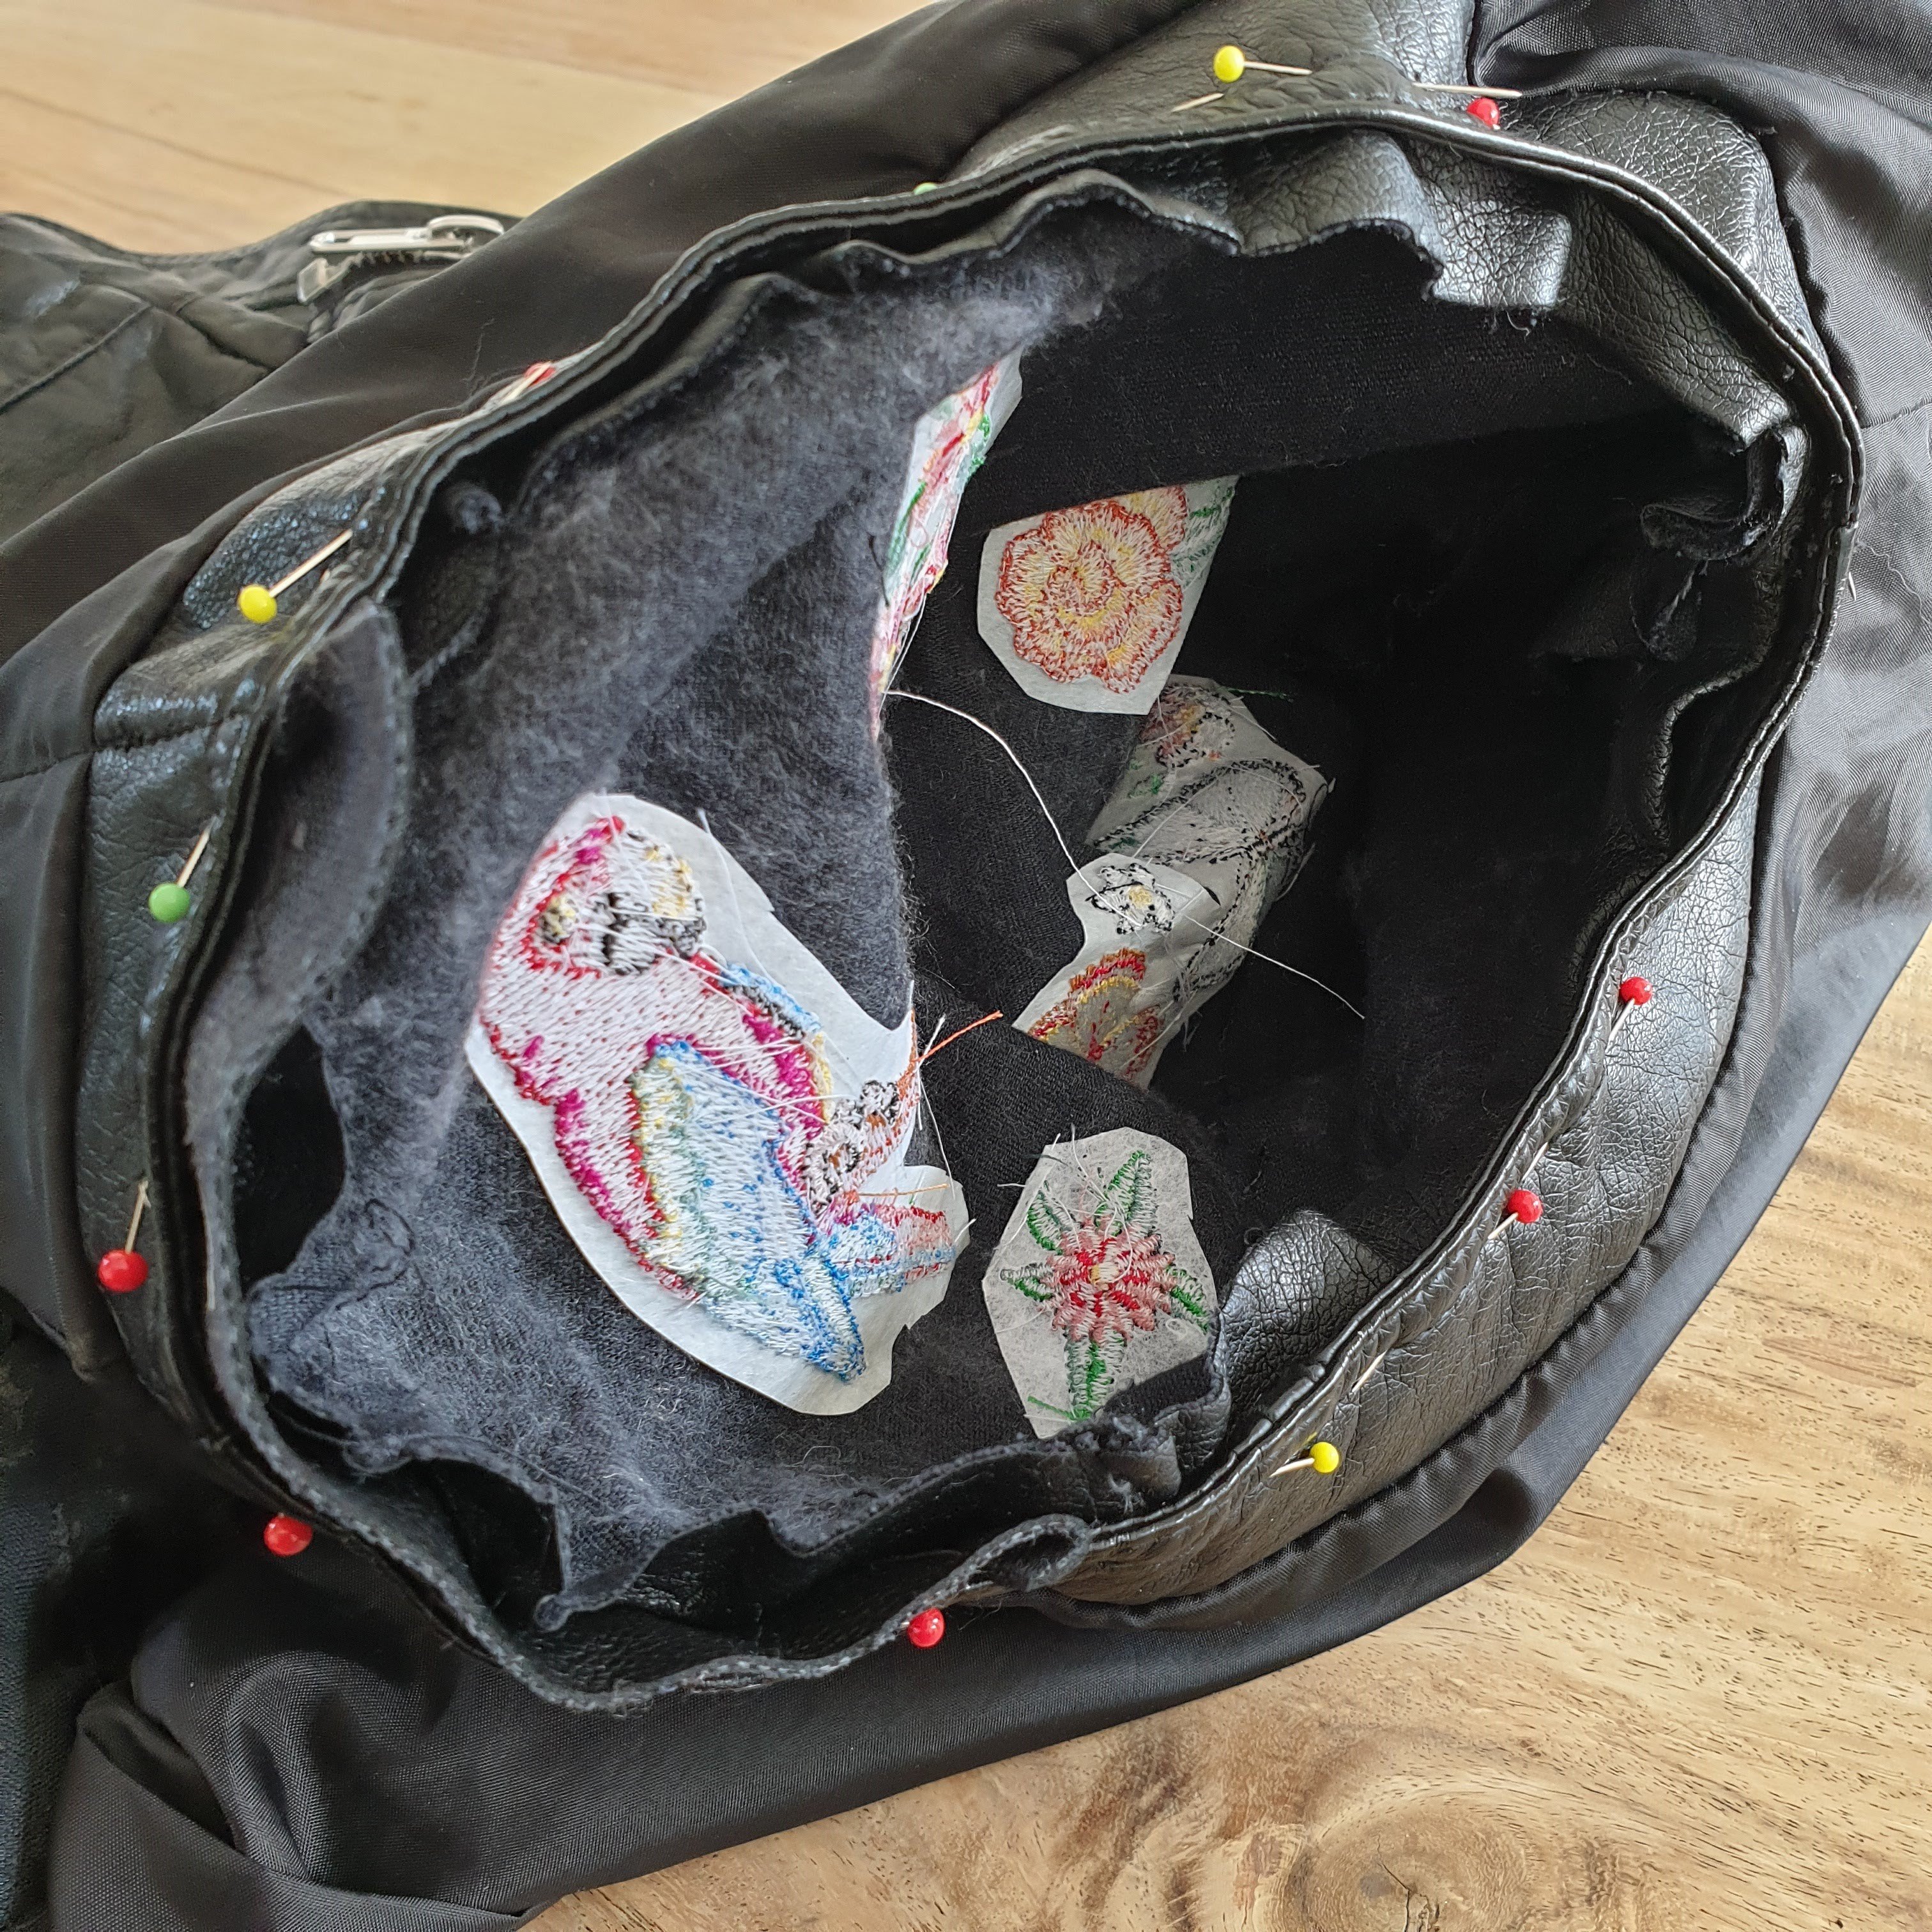
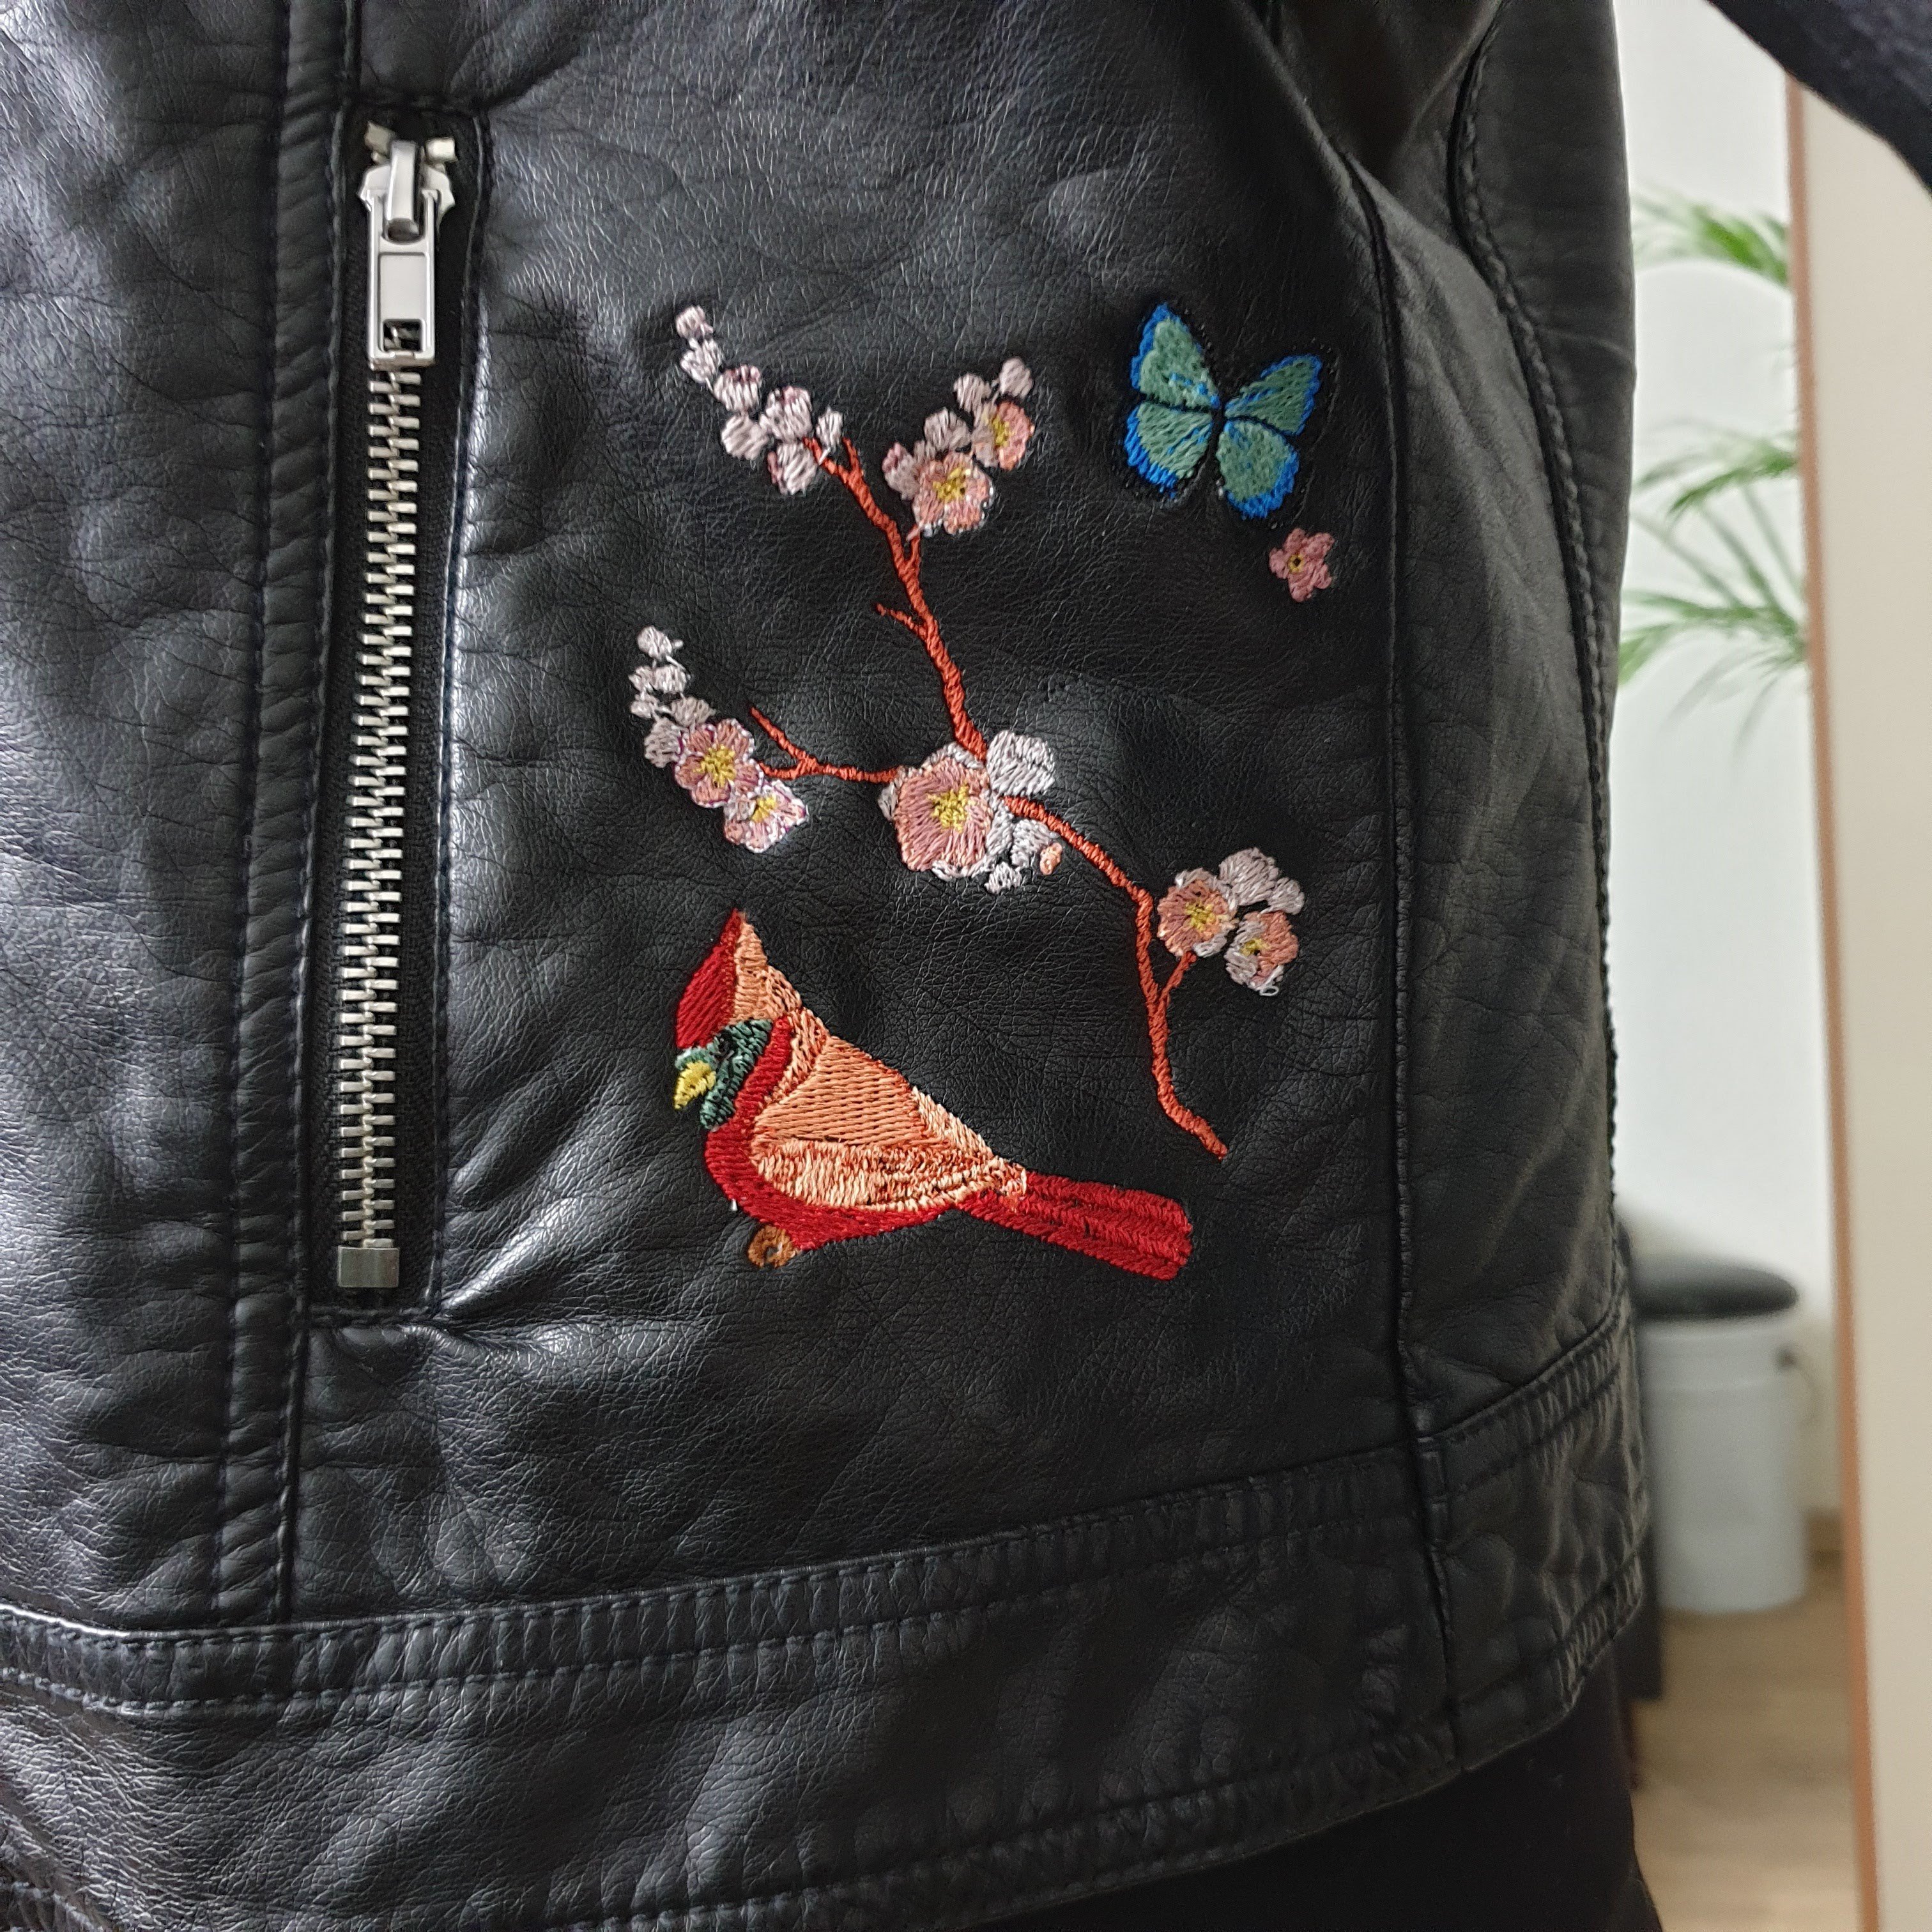
To embroider onto the jacket itself I loosened the lining at the bottom and tried if I could place the fabric onto the smallest hoop I have. And I could. You have to check also if the embroidery module can move around as it should be able to. This is just a matter of trying. I used the same method as the I did the sleeves. First make sure the stabilizer fabric is secured in the hoop, than the spray glue and then the piece of fabric/garment you want to embroider on it.
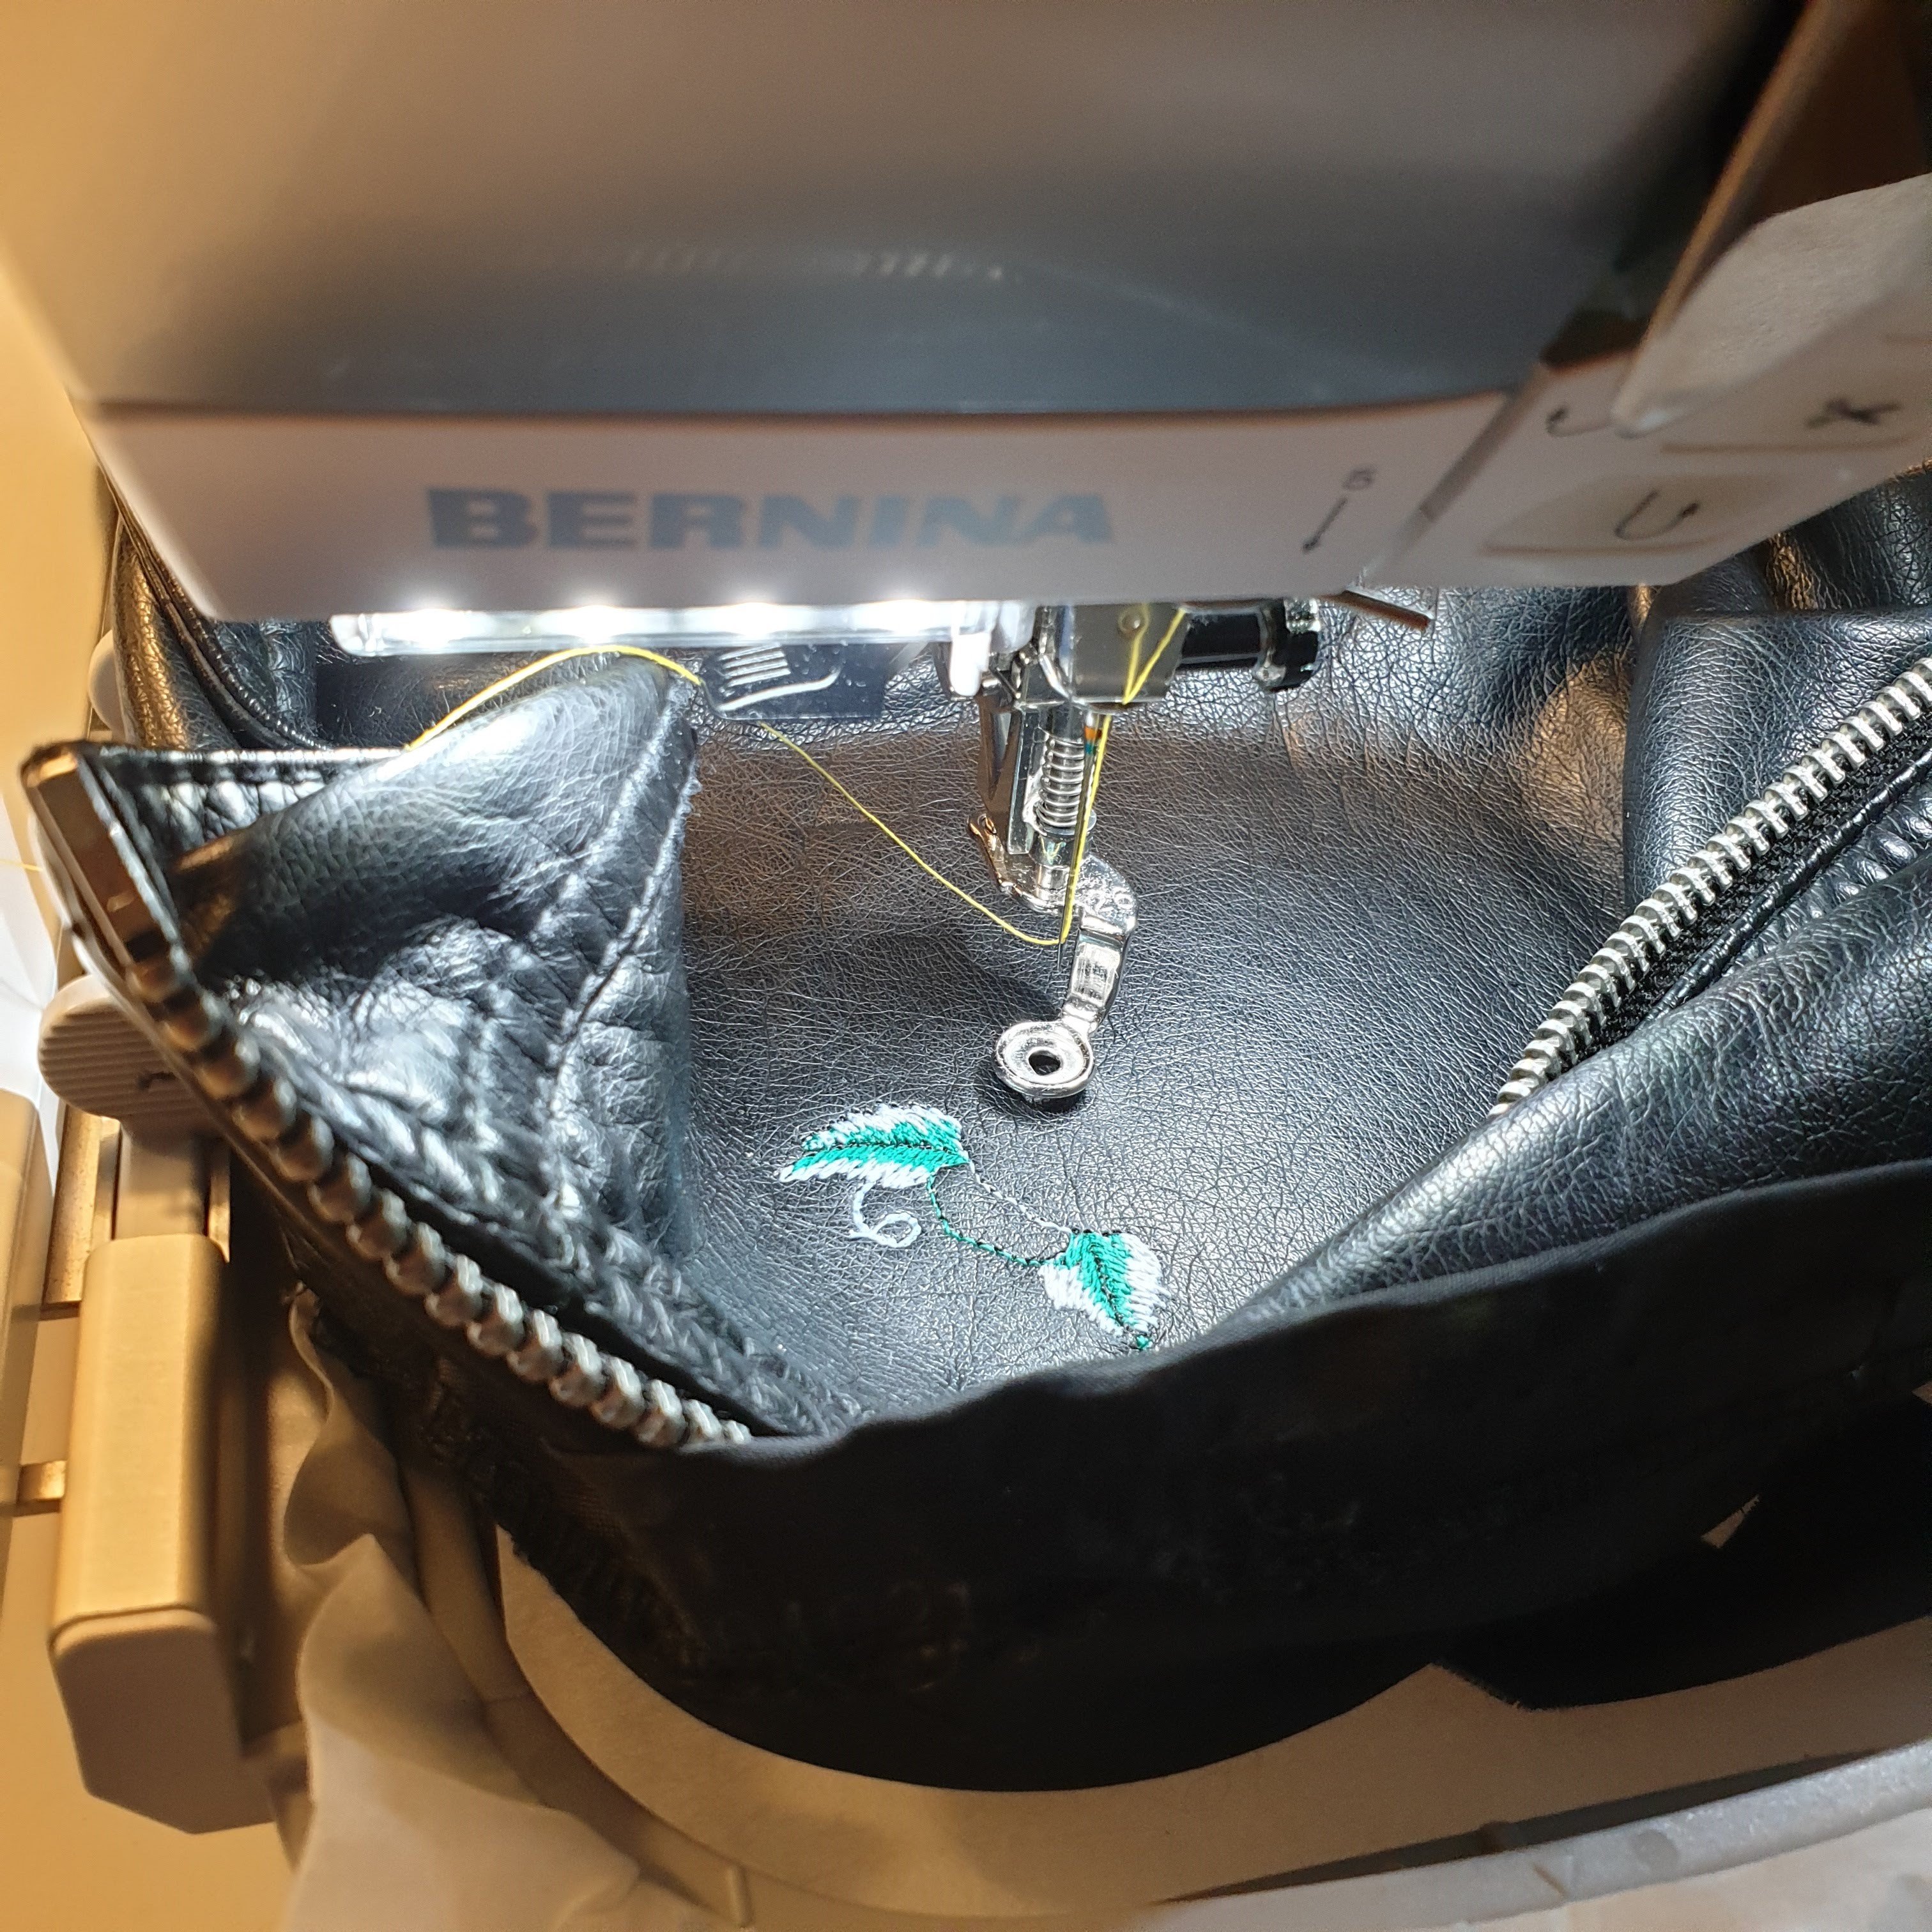
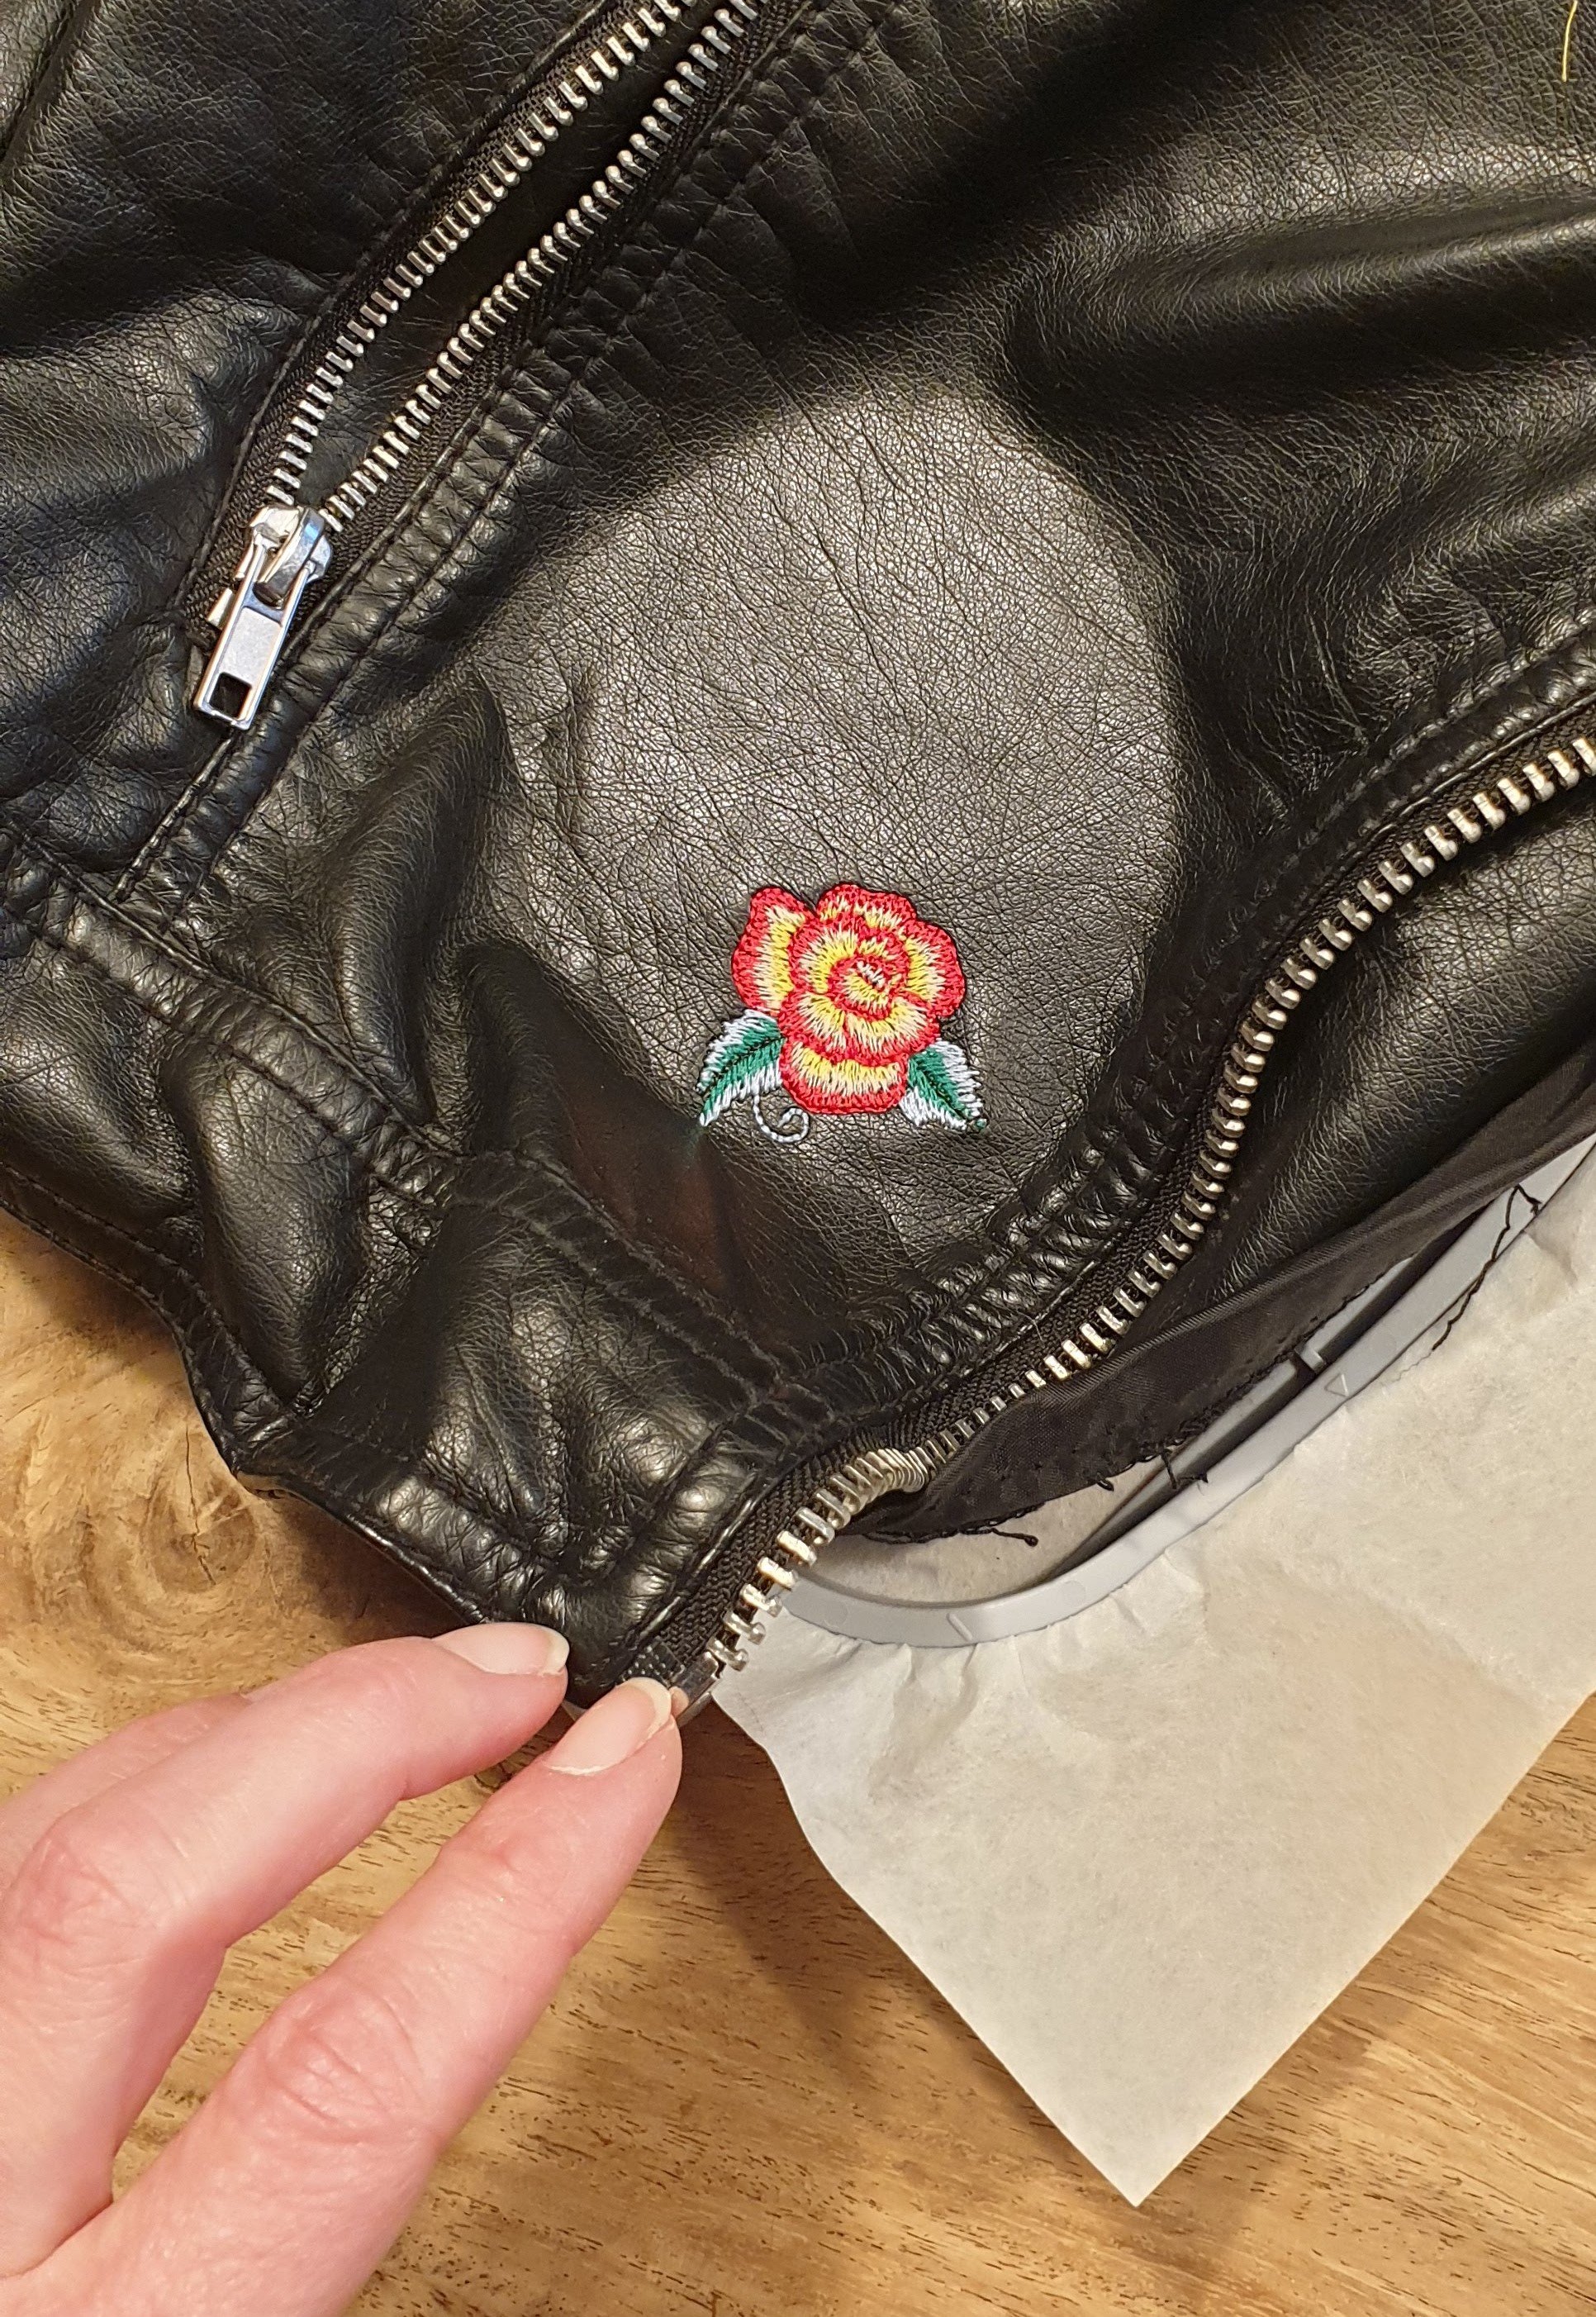

Make sure before you start you check were the embroidery is going to go, especially with the zipper and all. I checked, double checked and tripple checked.
Repair
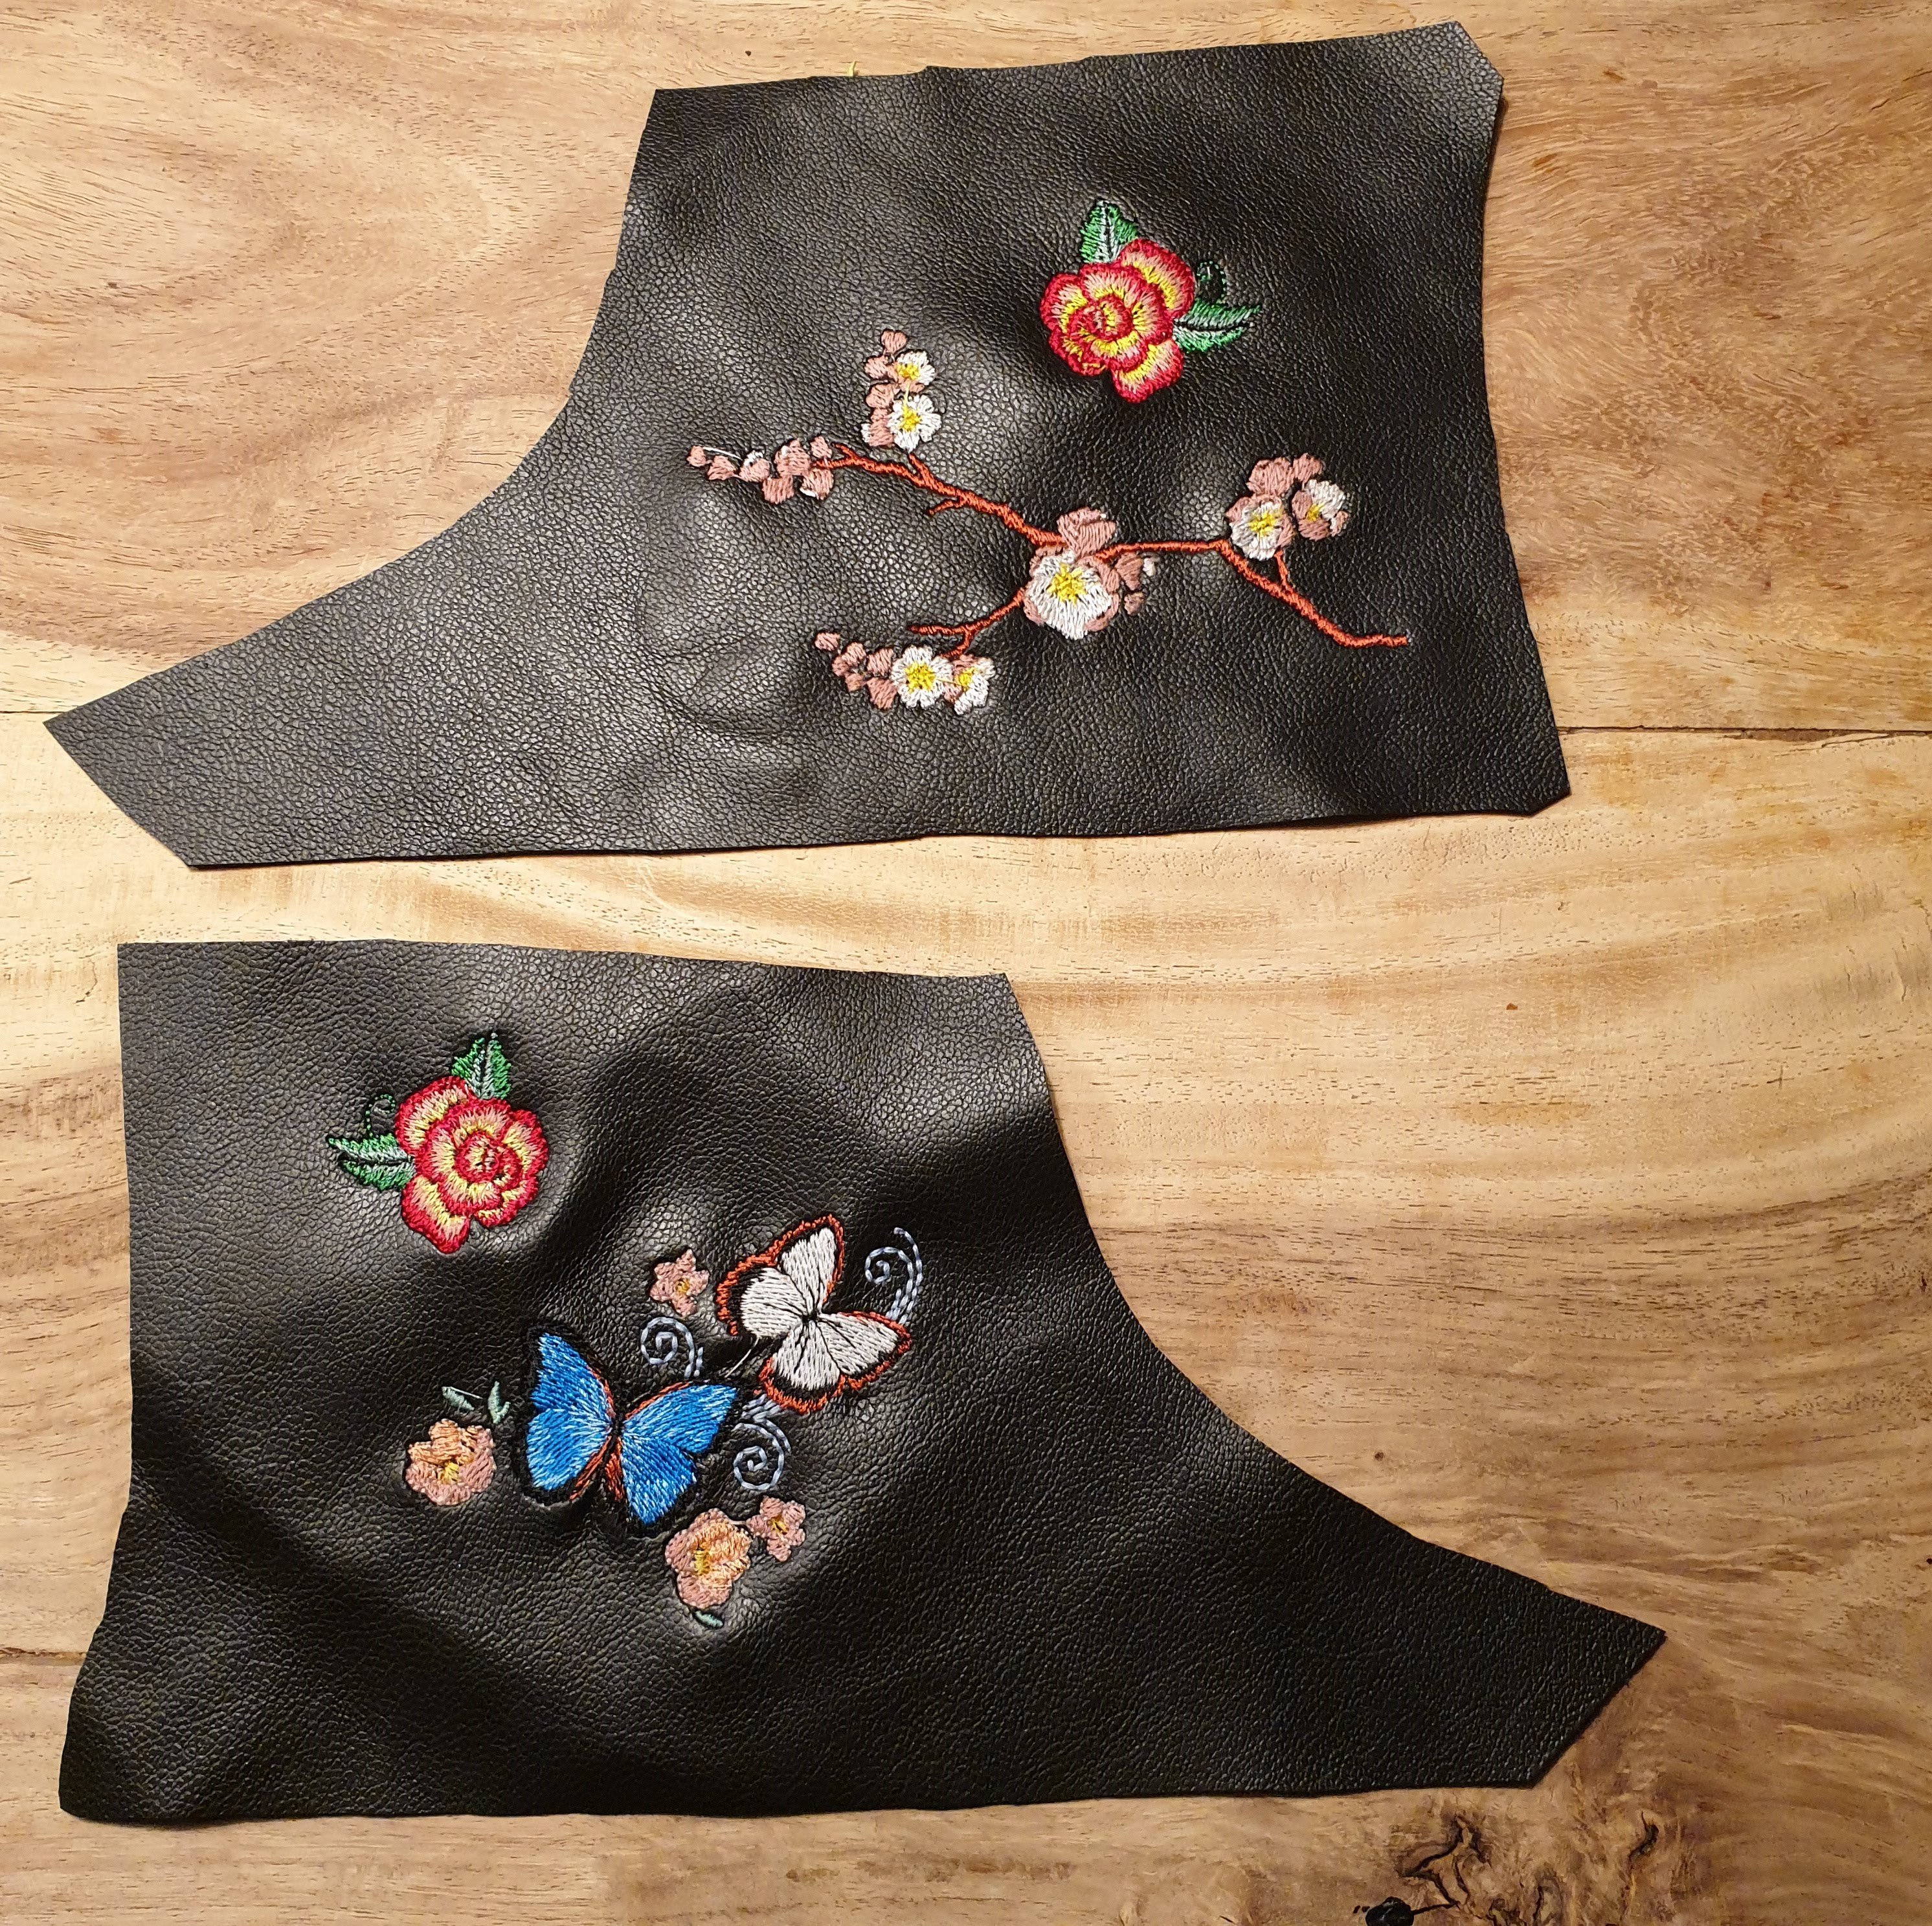
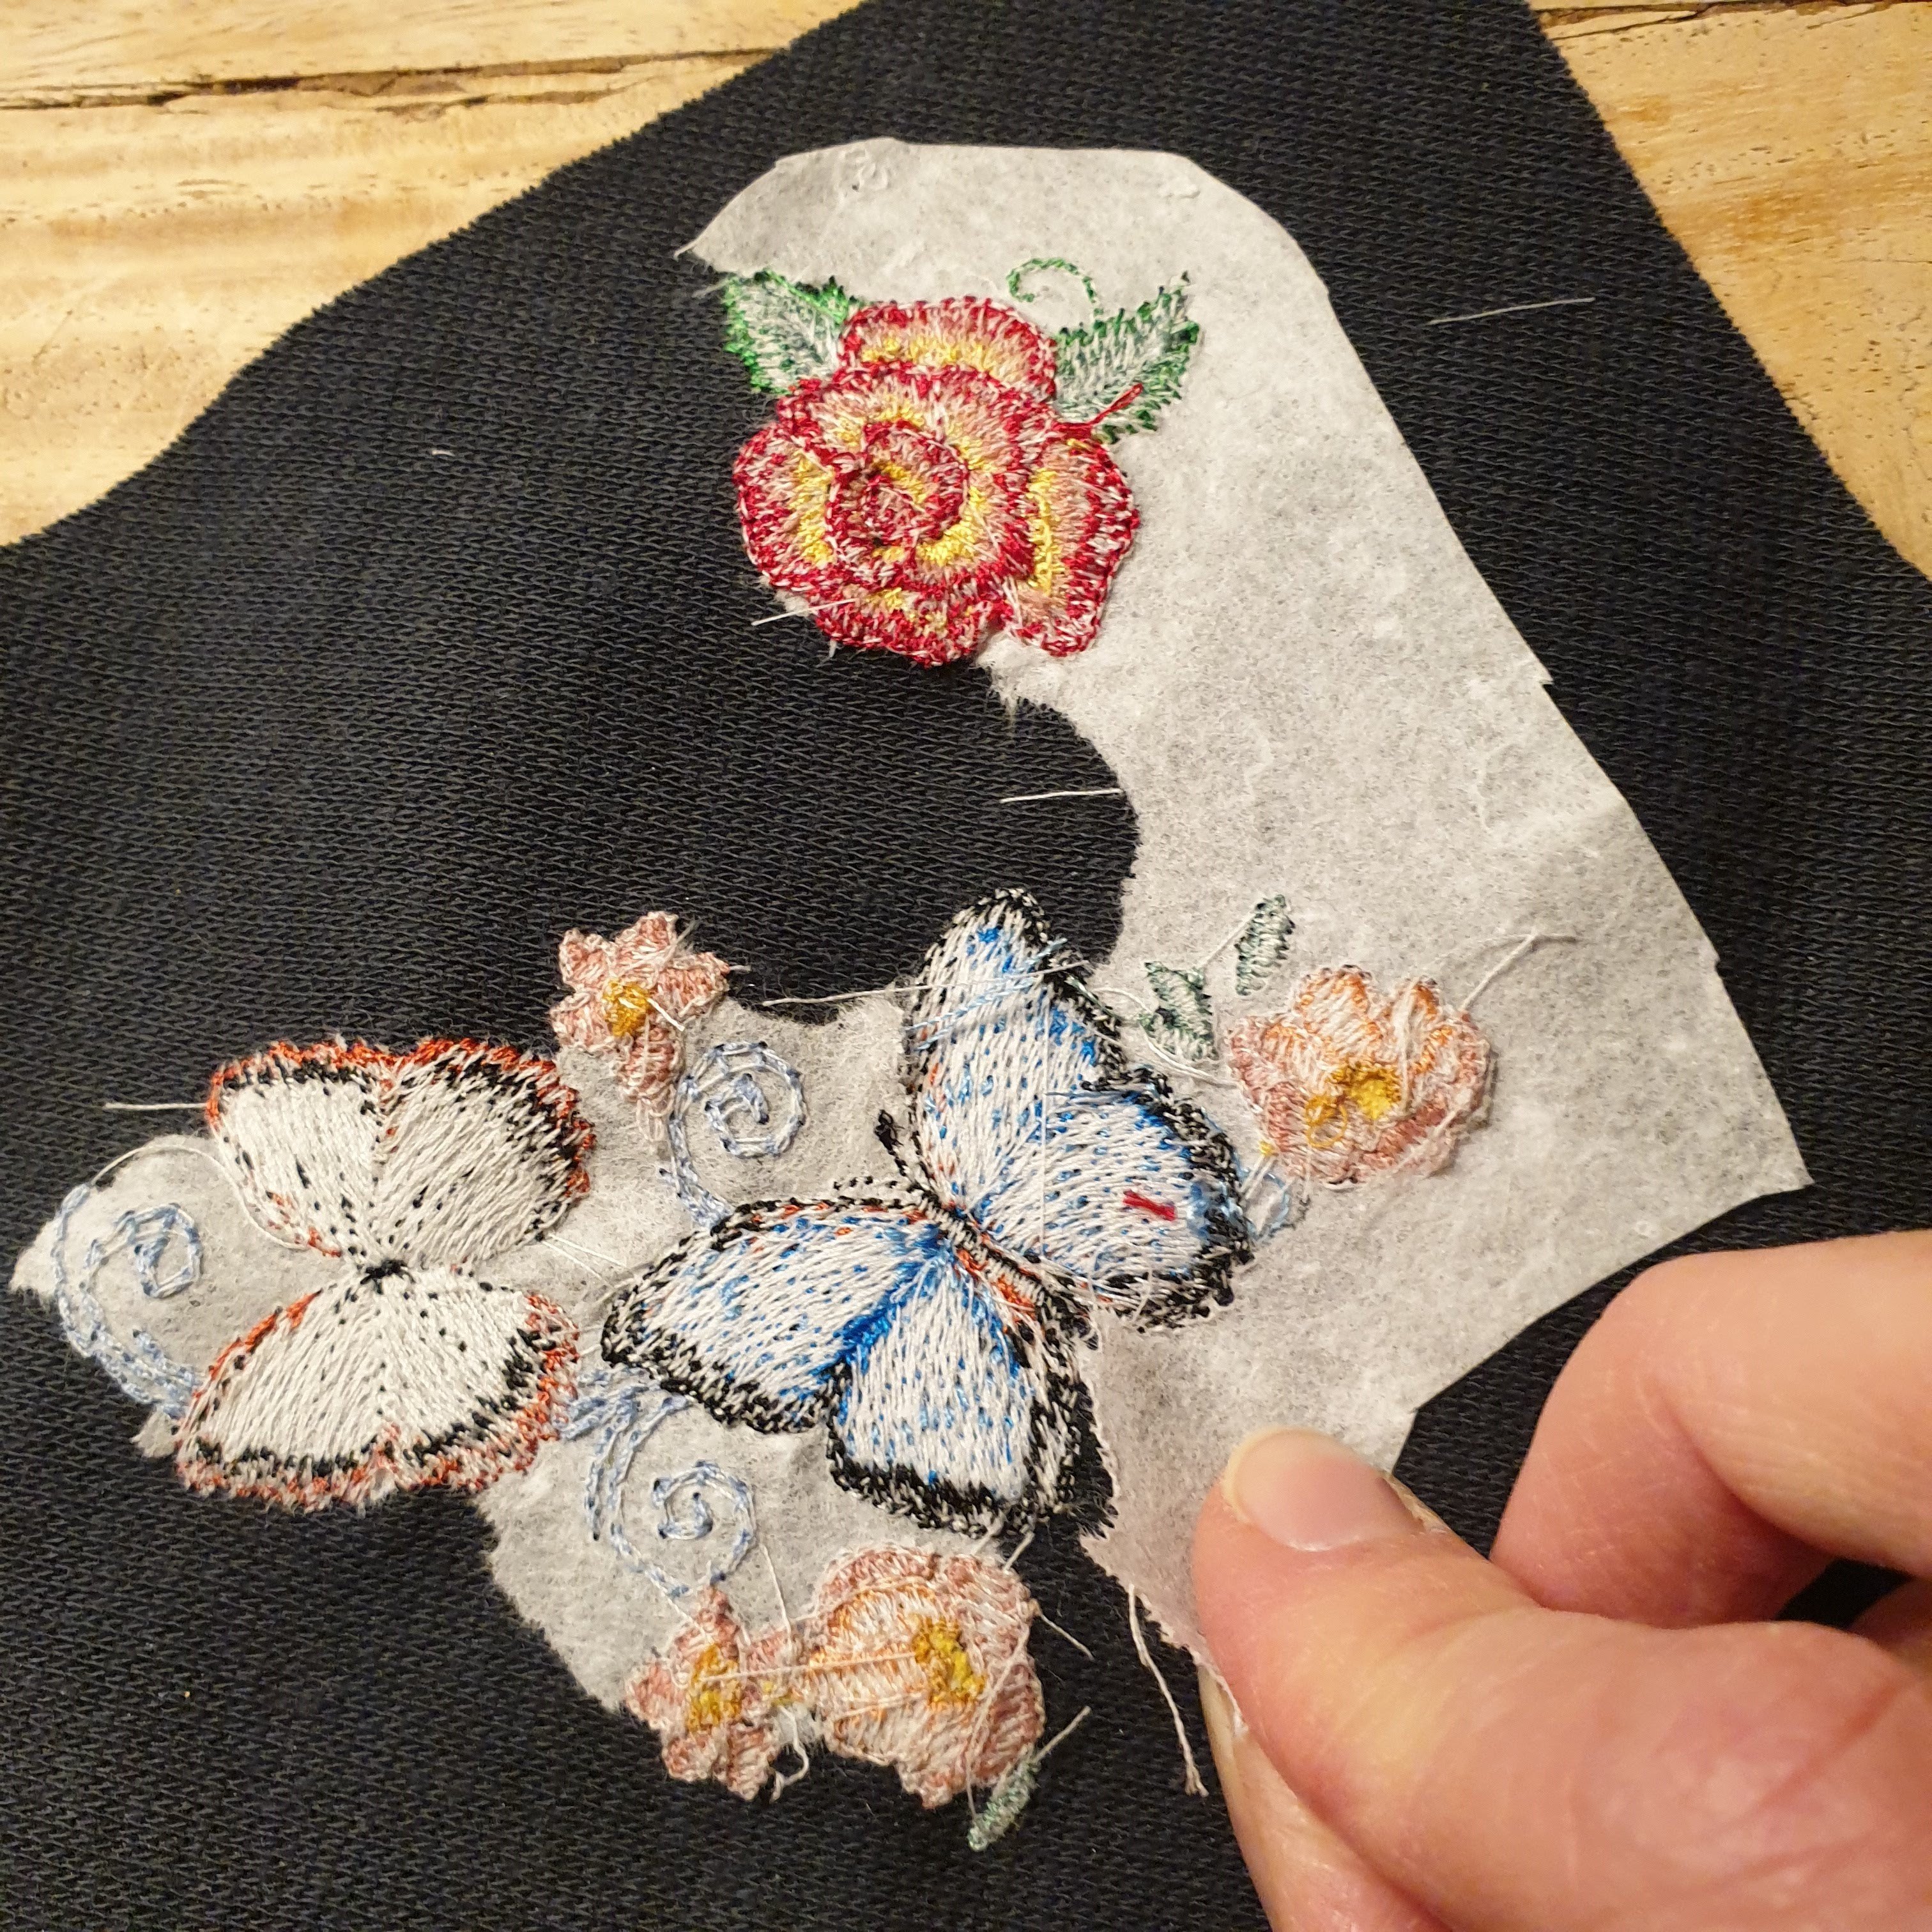
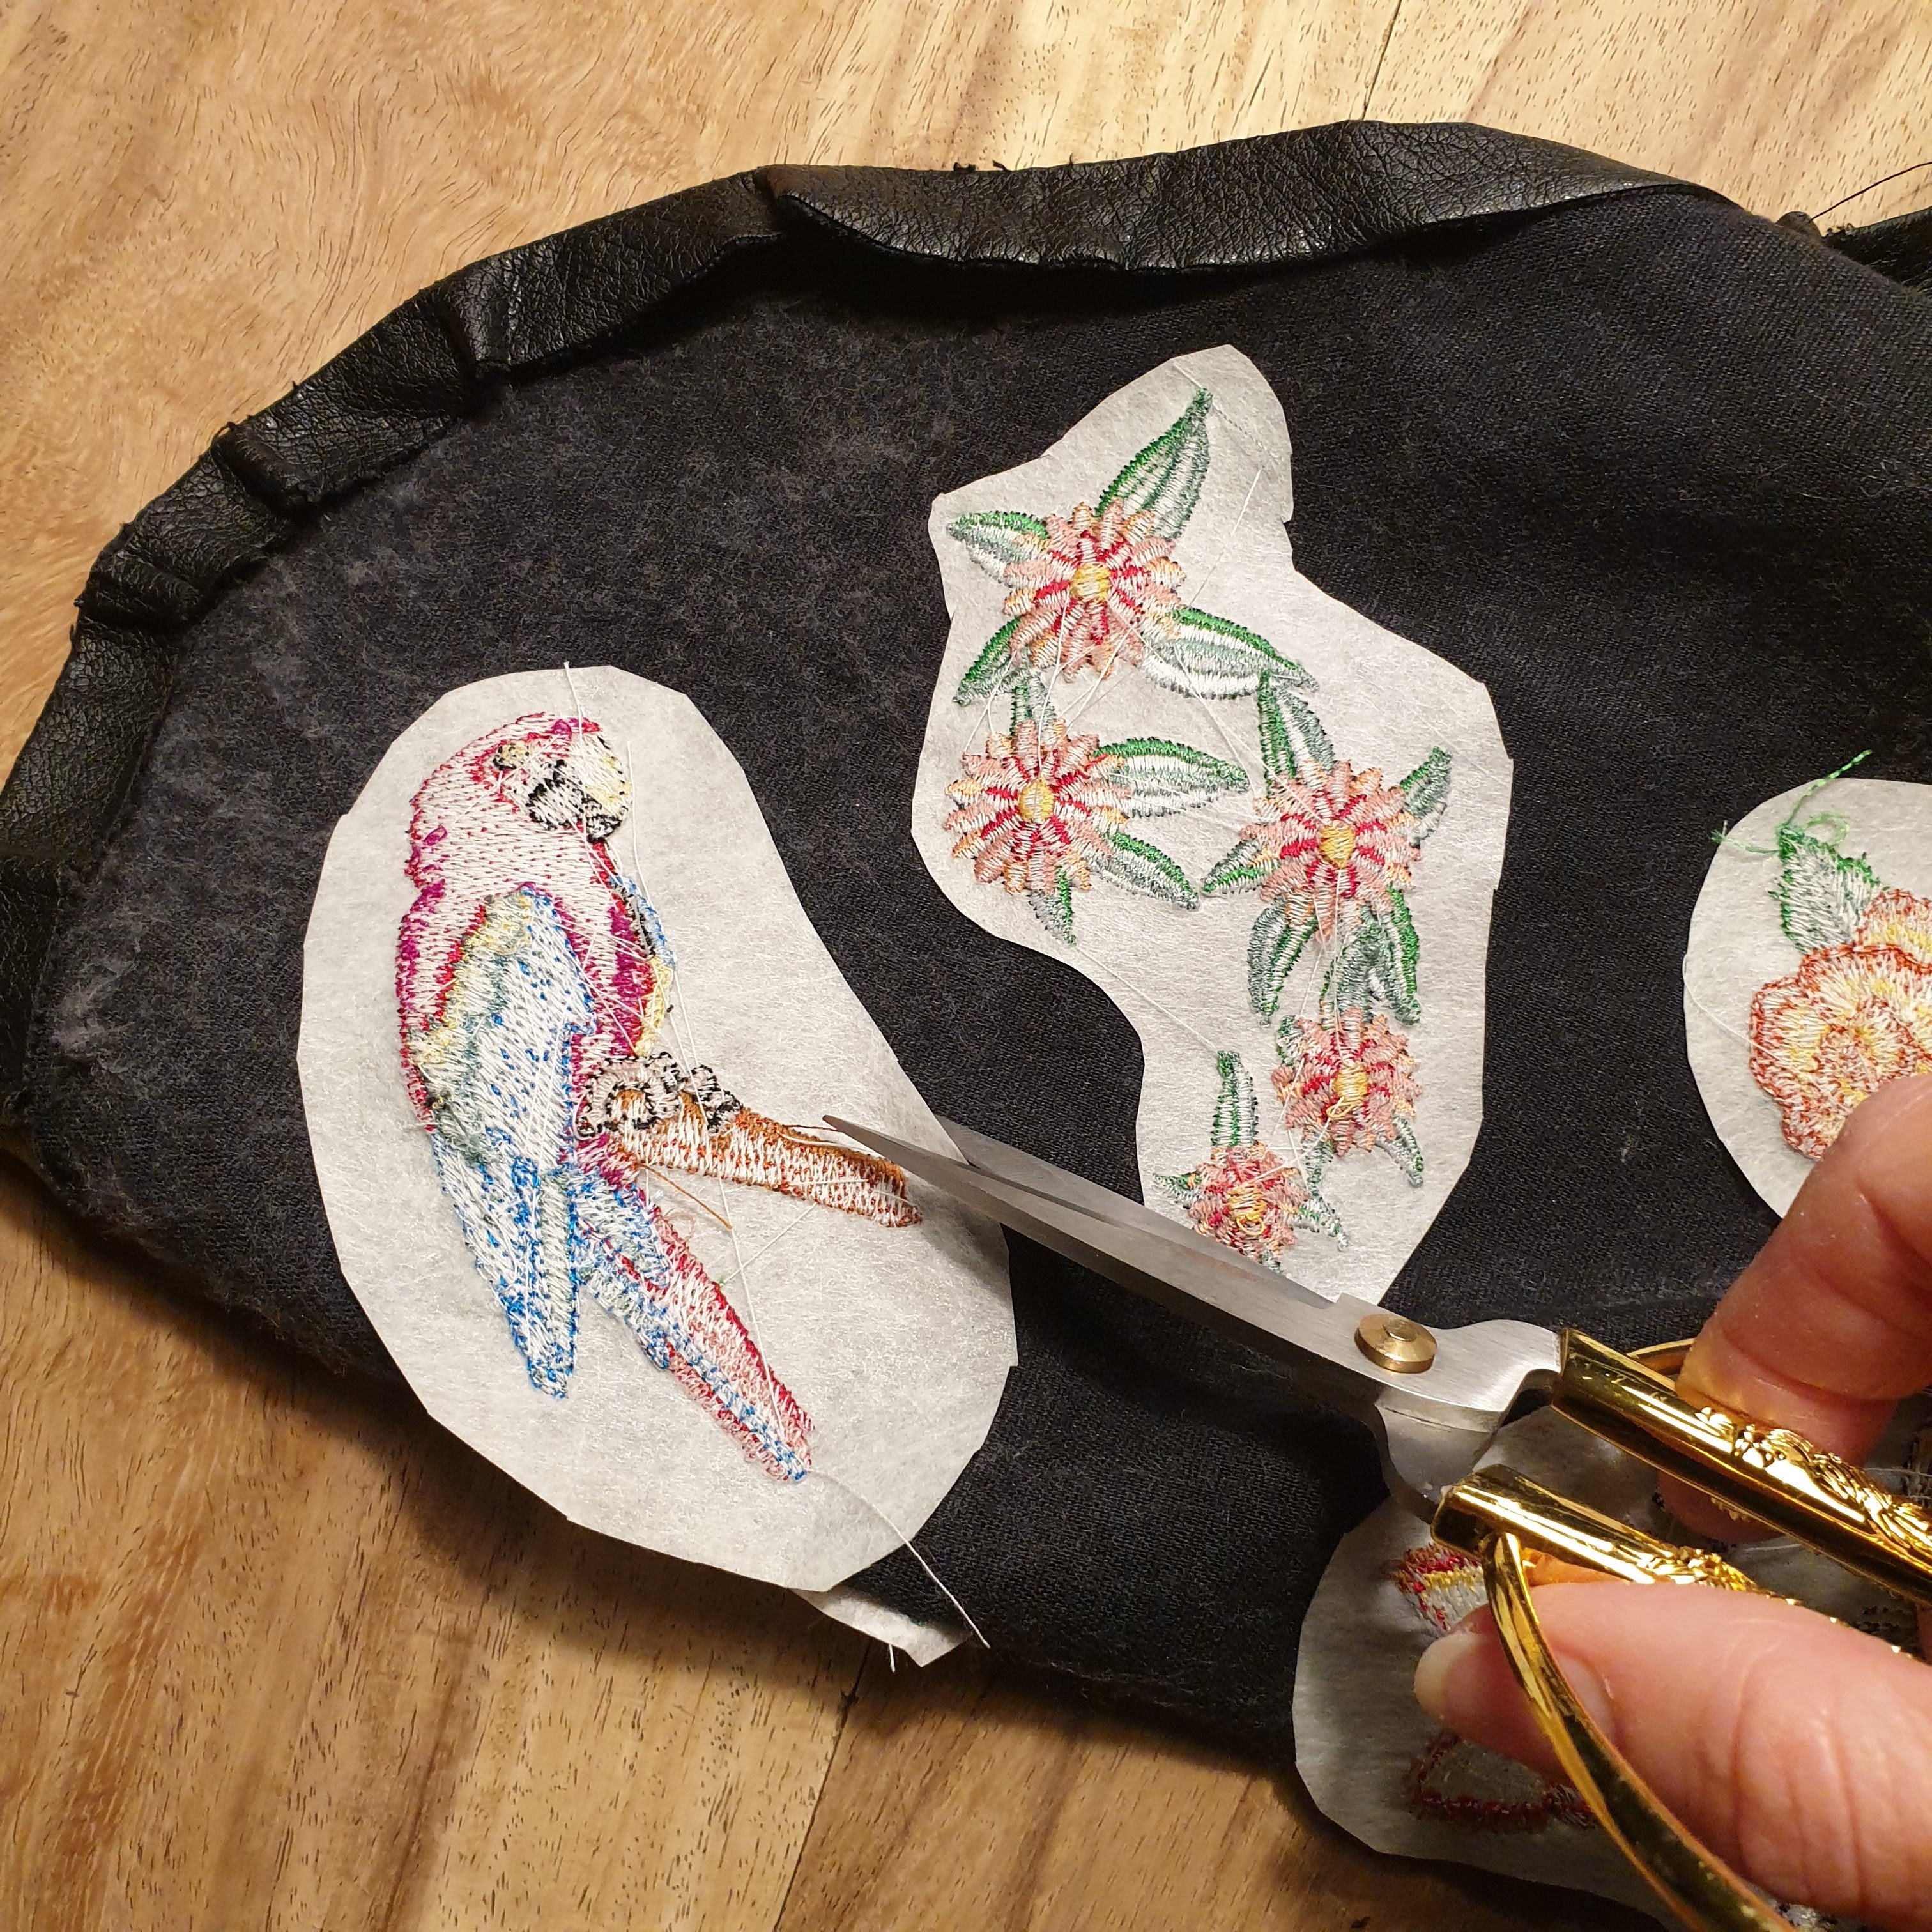
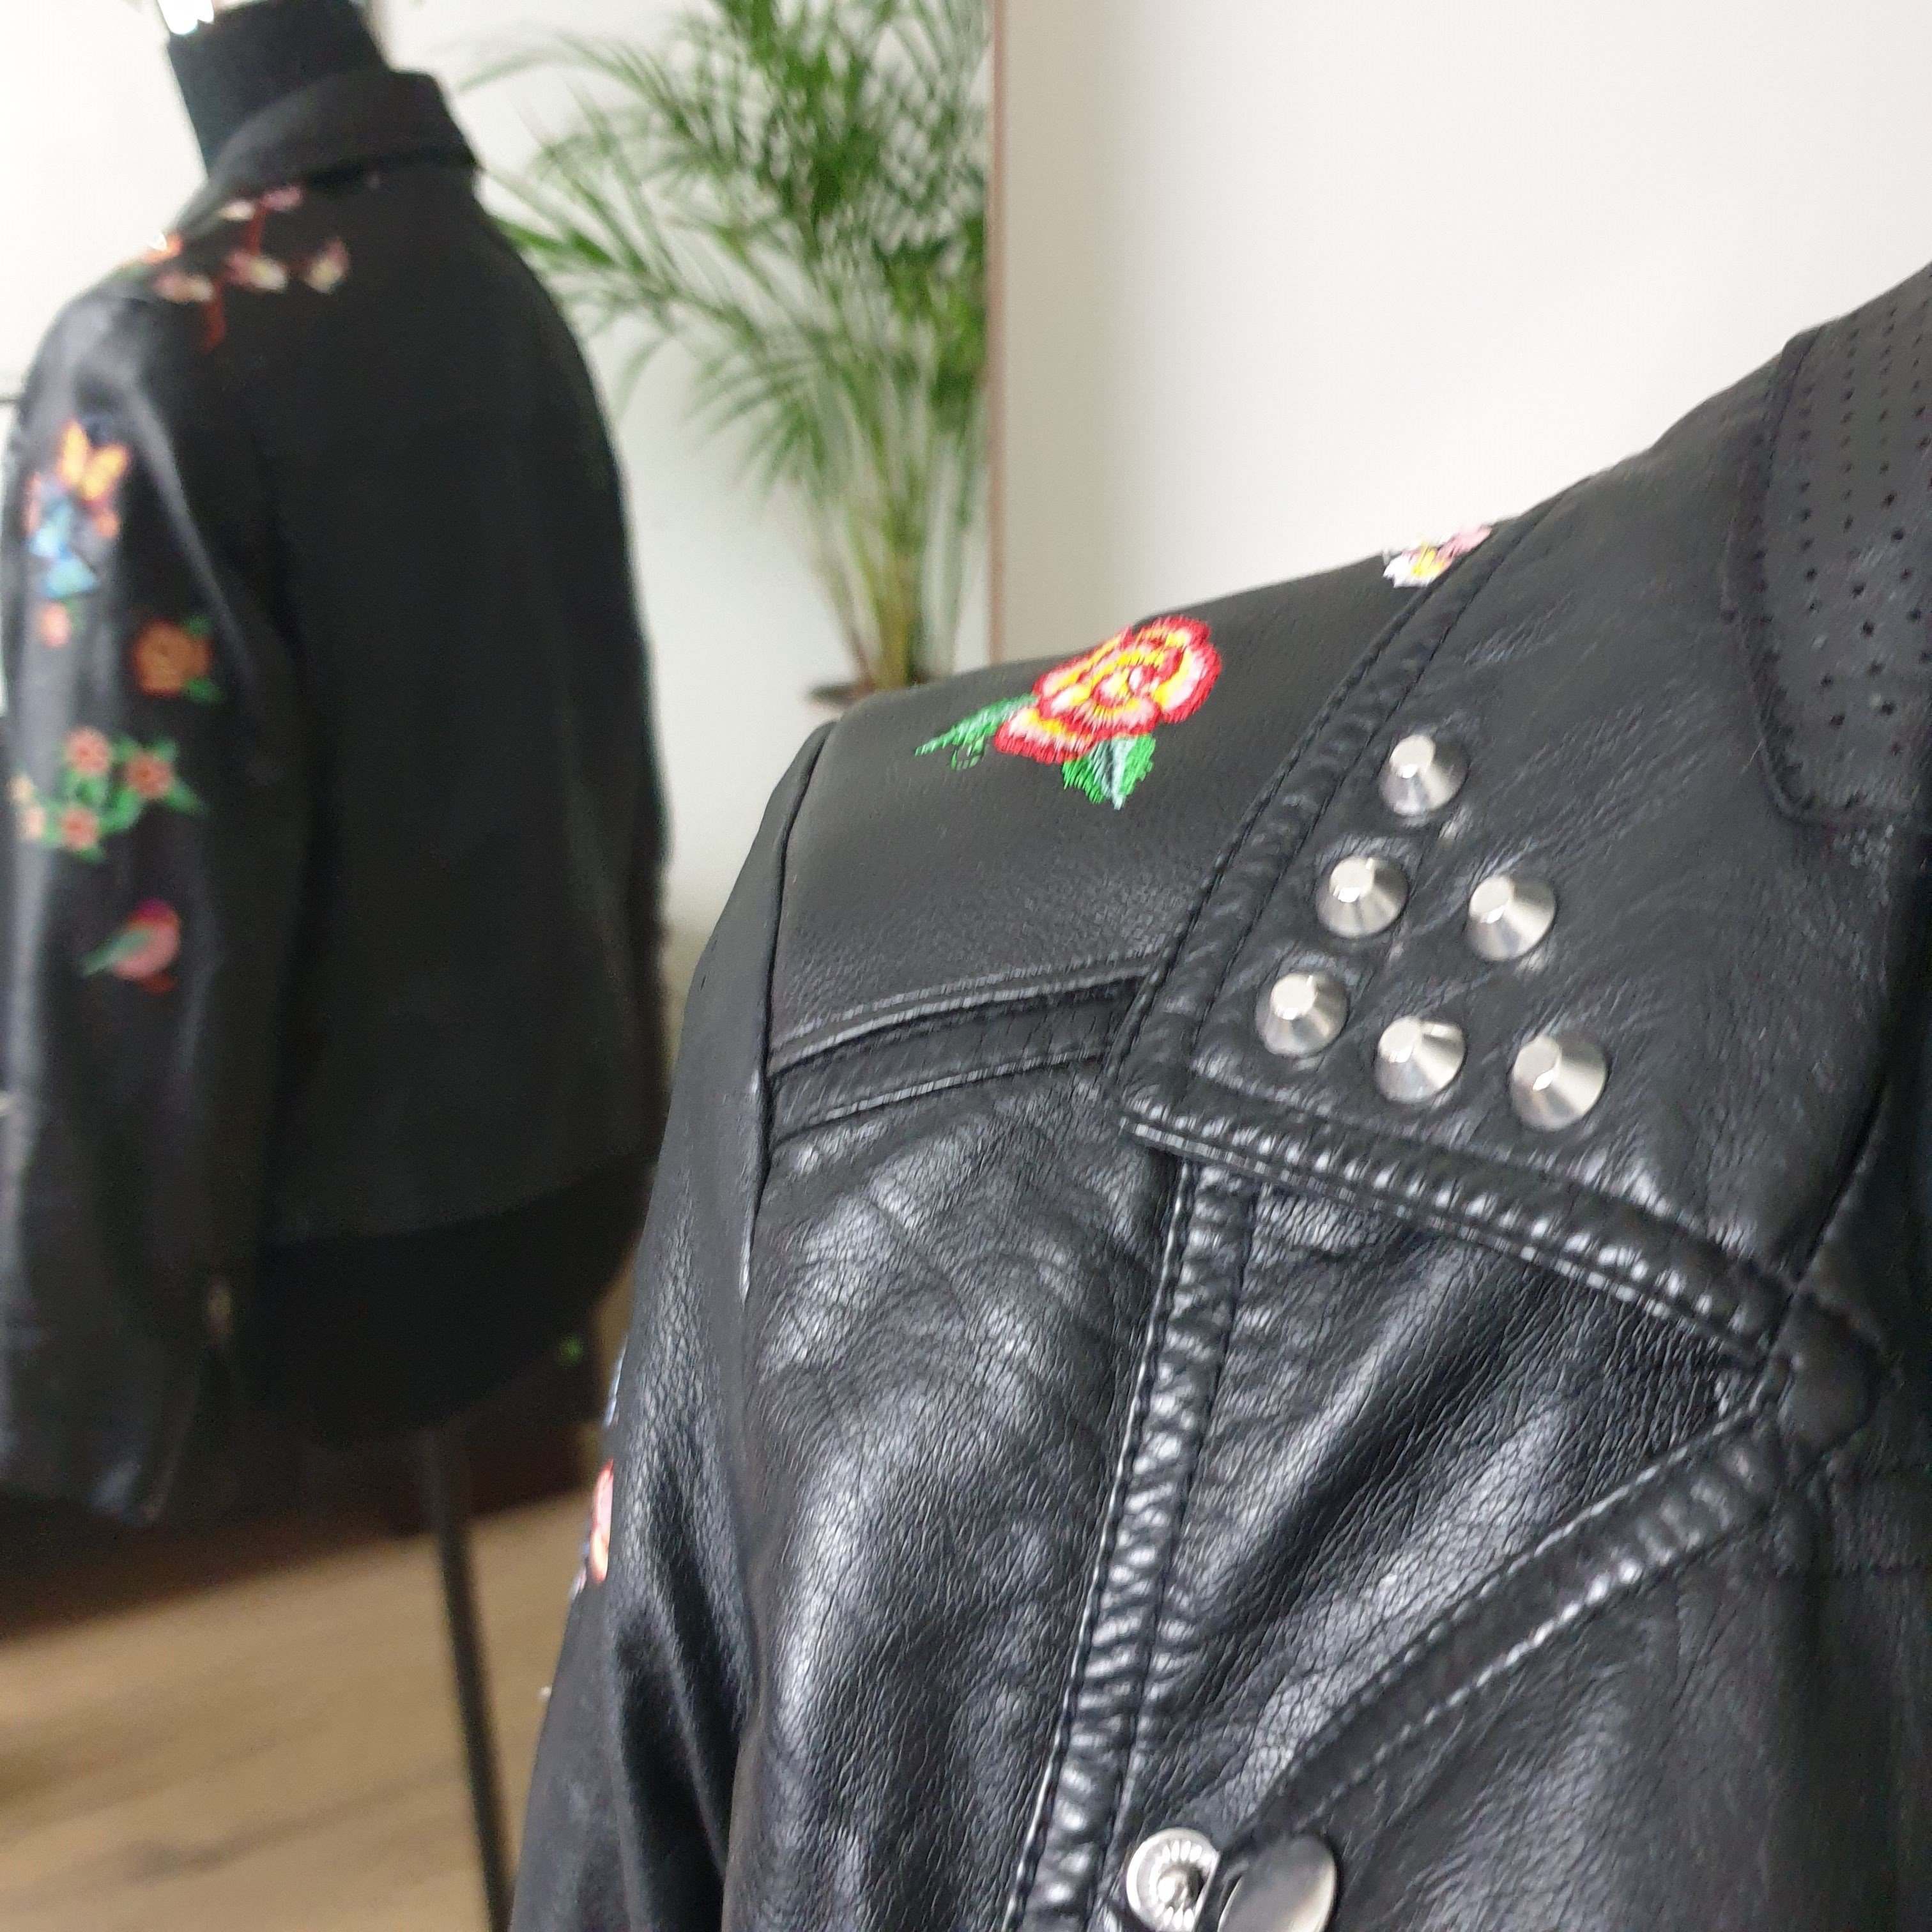
I had to do some repairments to the garment. Not only the collar was a bit worn down, on the shoulders/yoke the fabric was a bit damaged. I’ve sewn over some new fake leather. But only after I embroidered the pieces. I cut out the parts and placed them on one hoop. I took into account which way would go up eventually, so there wouldn’t be some upside down butterflies…
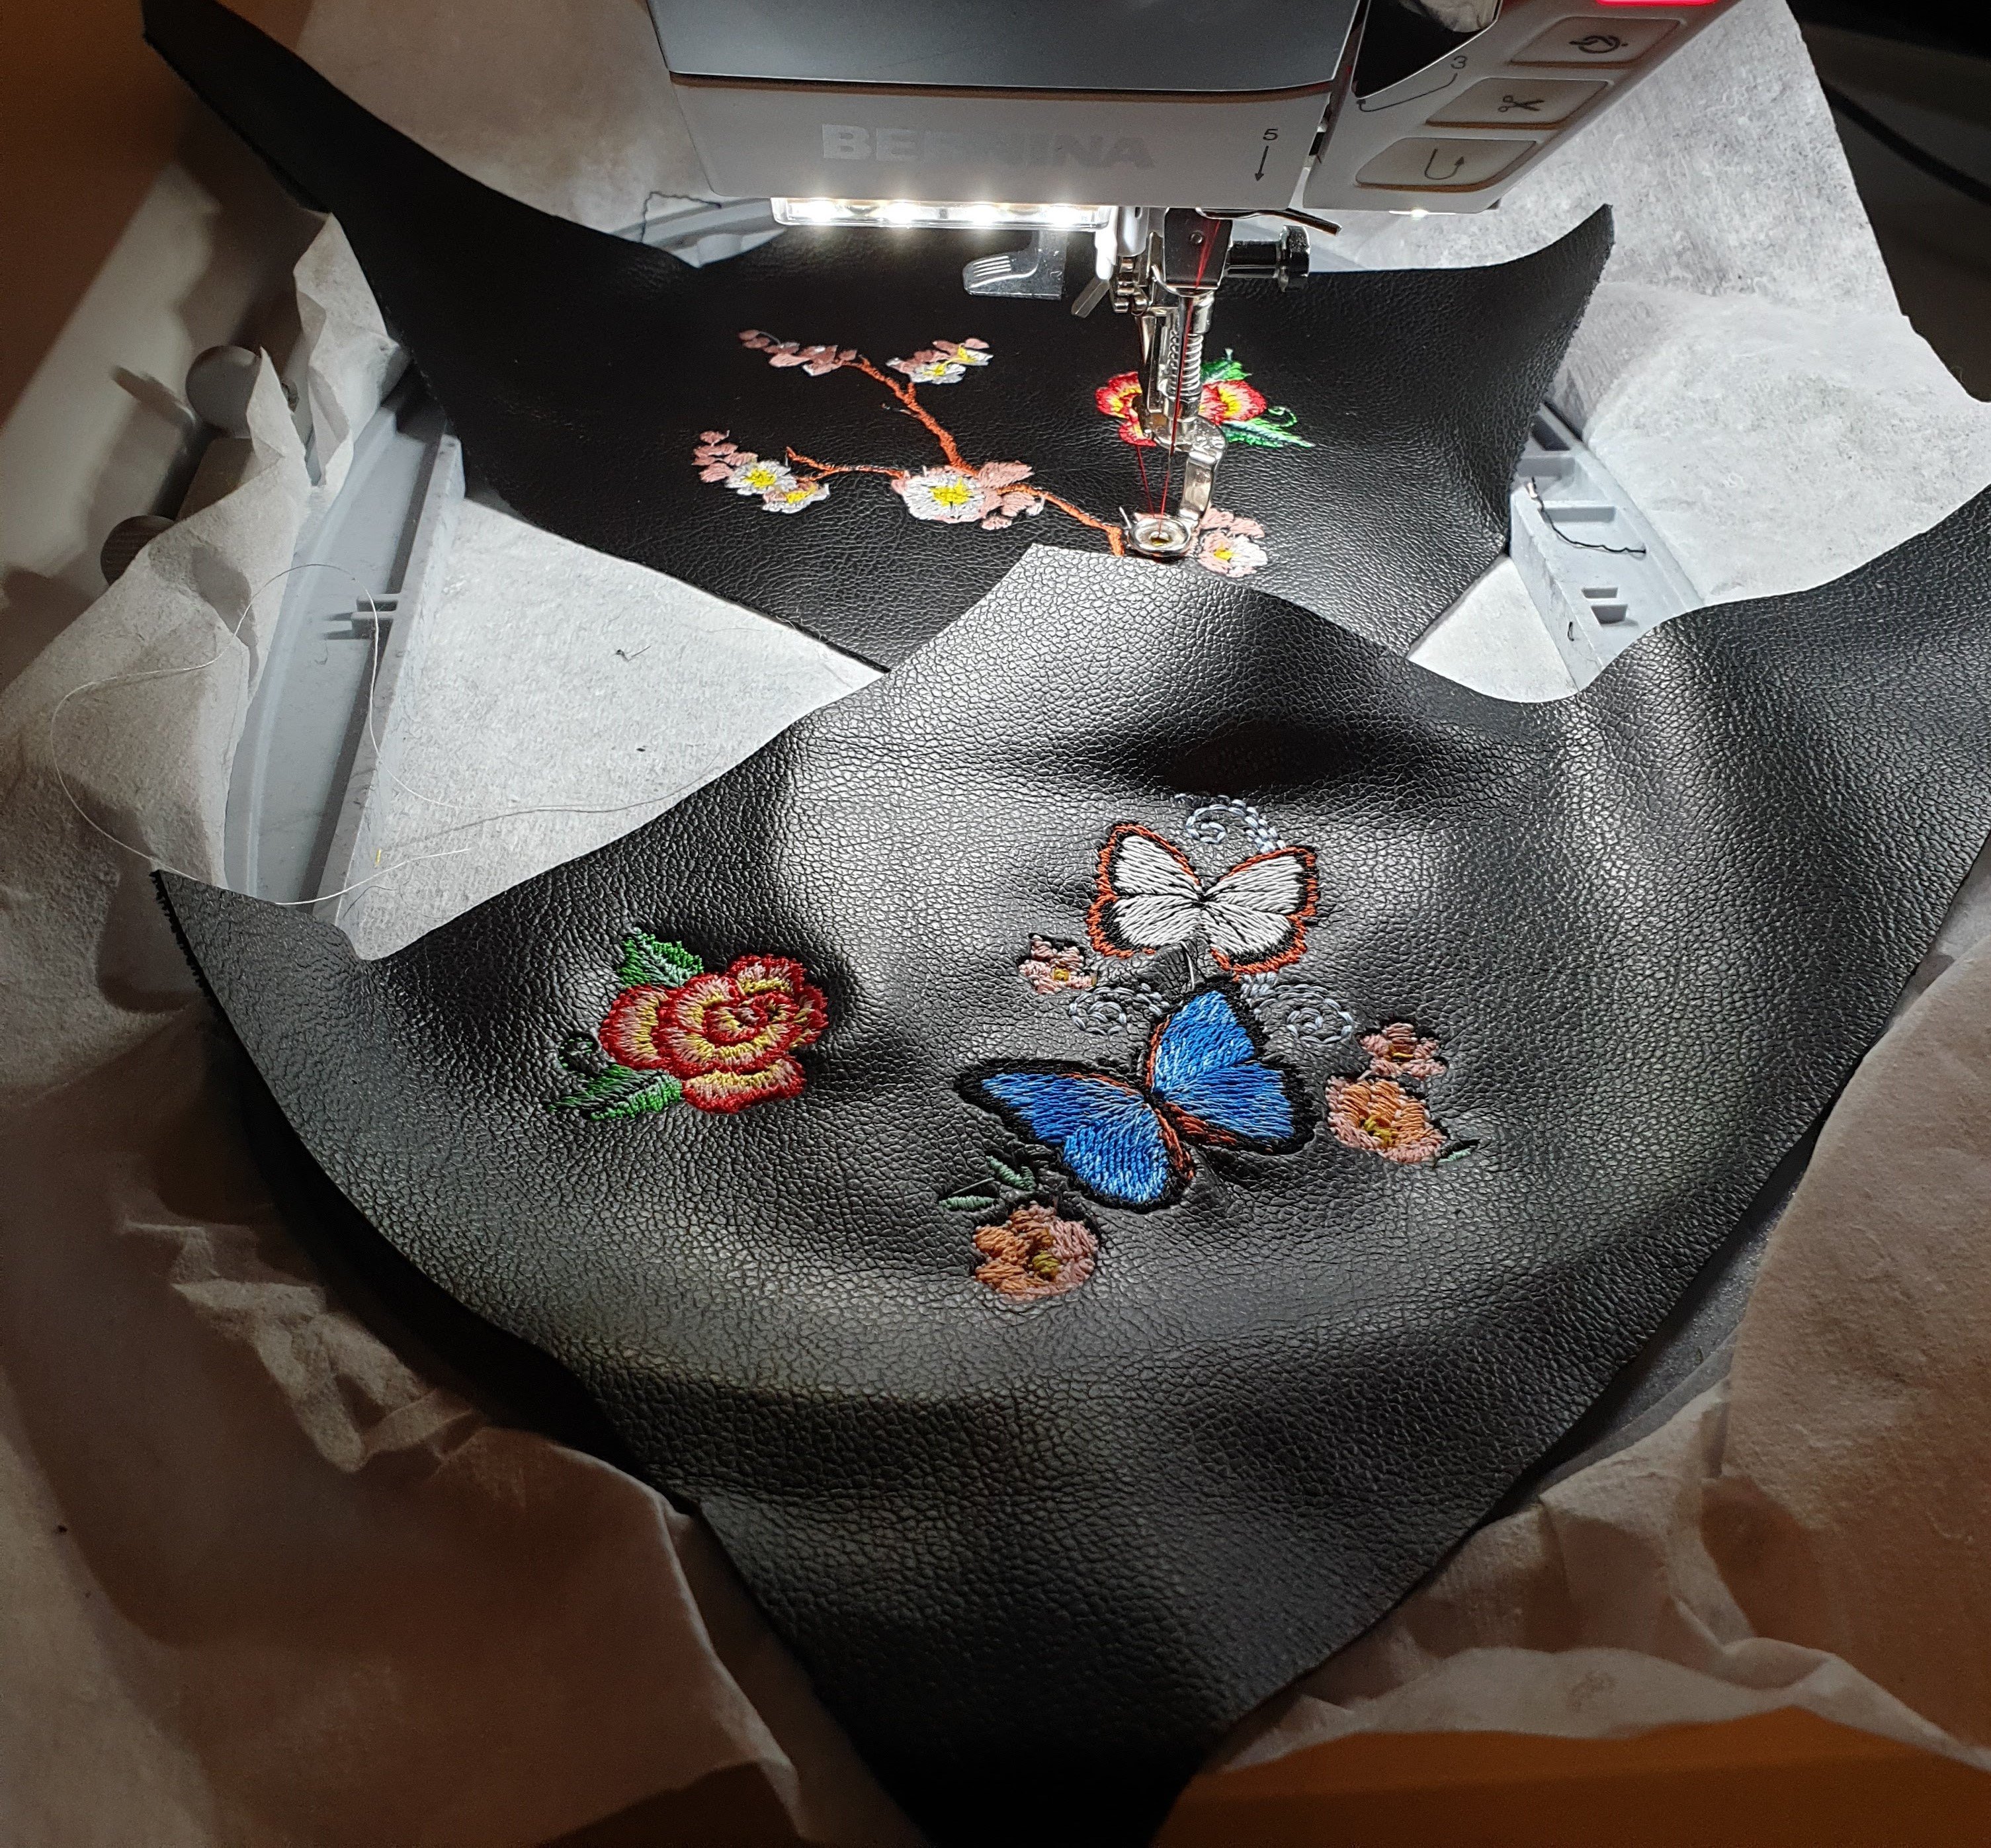
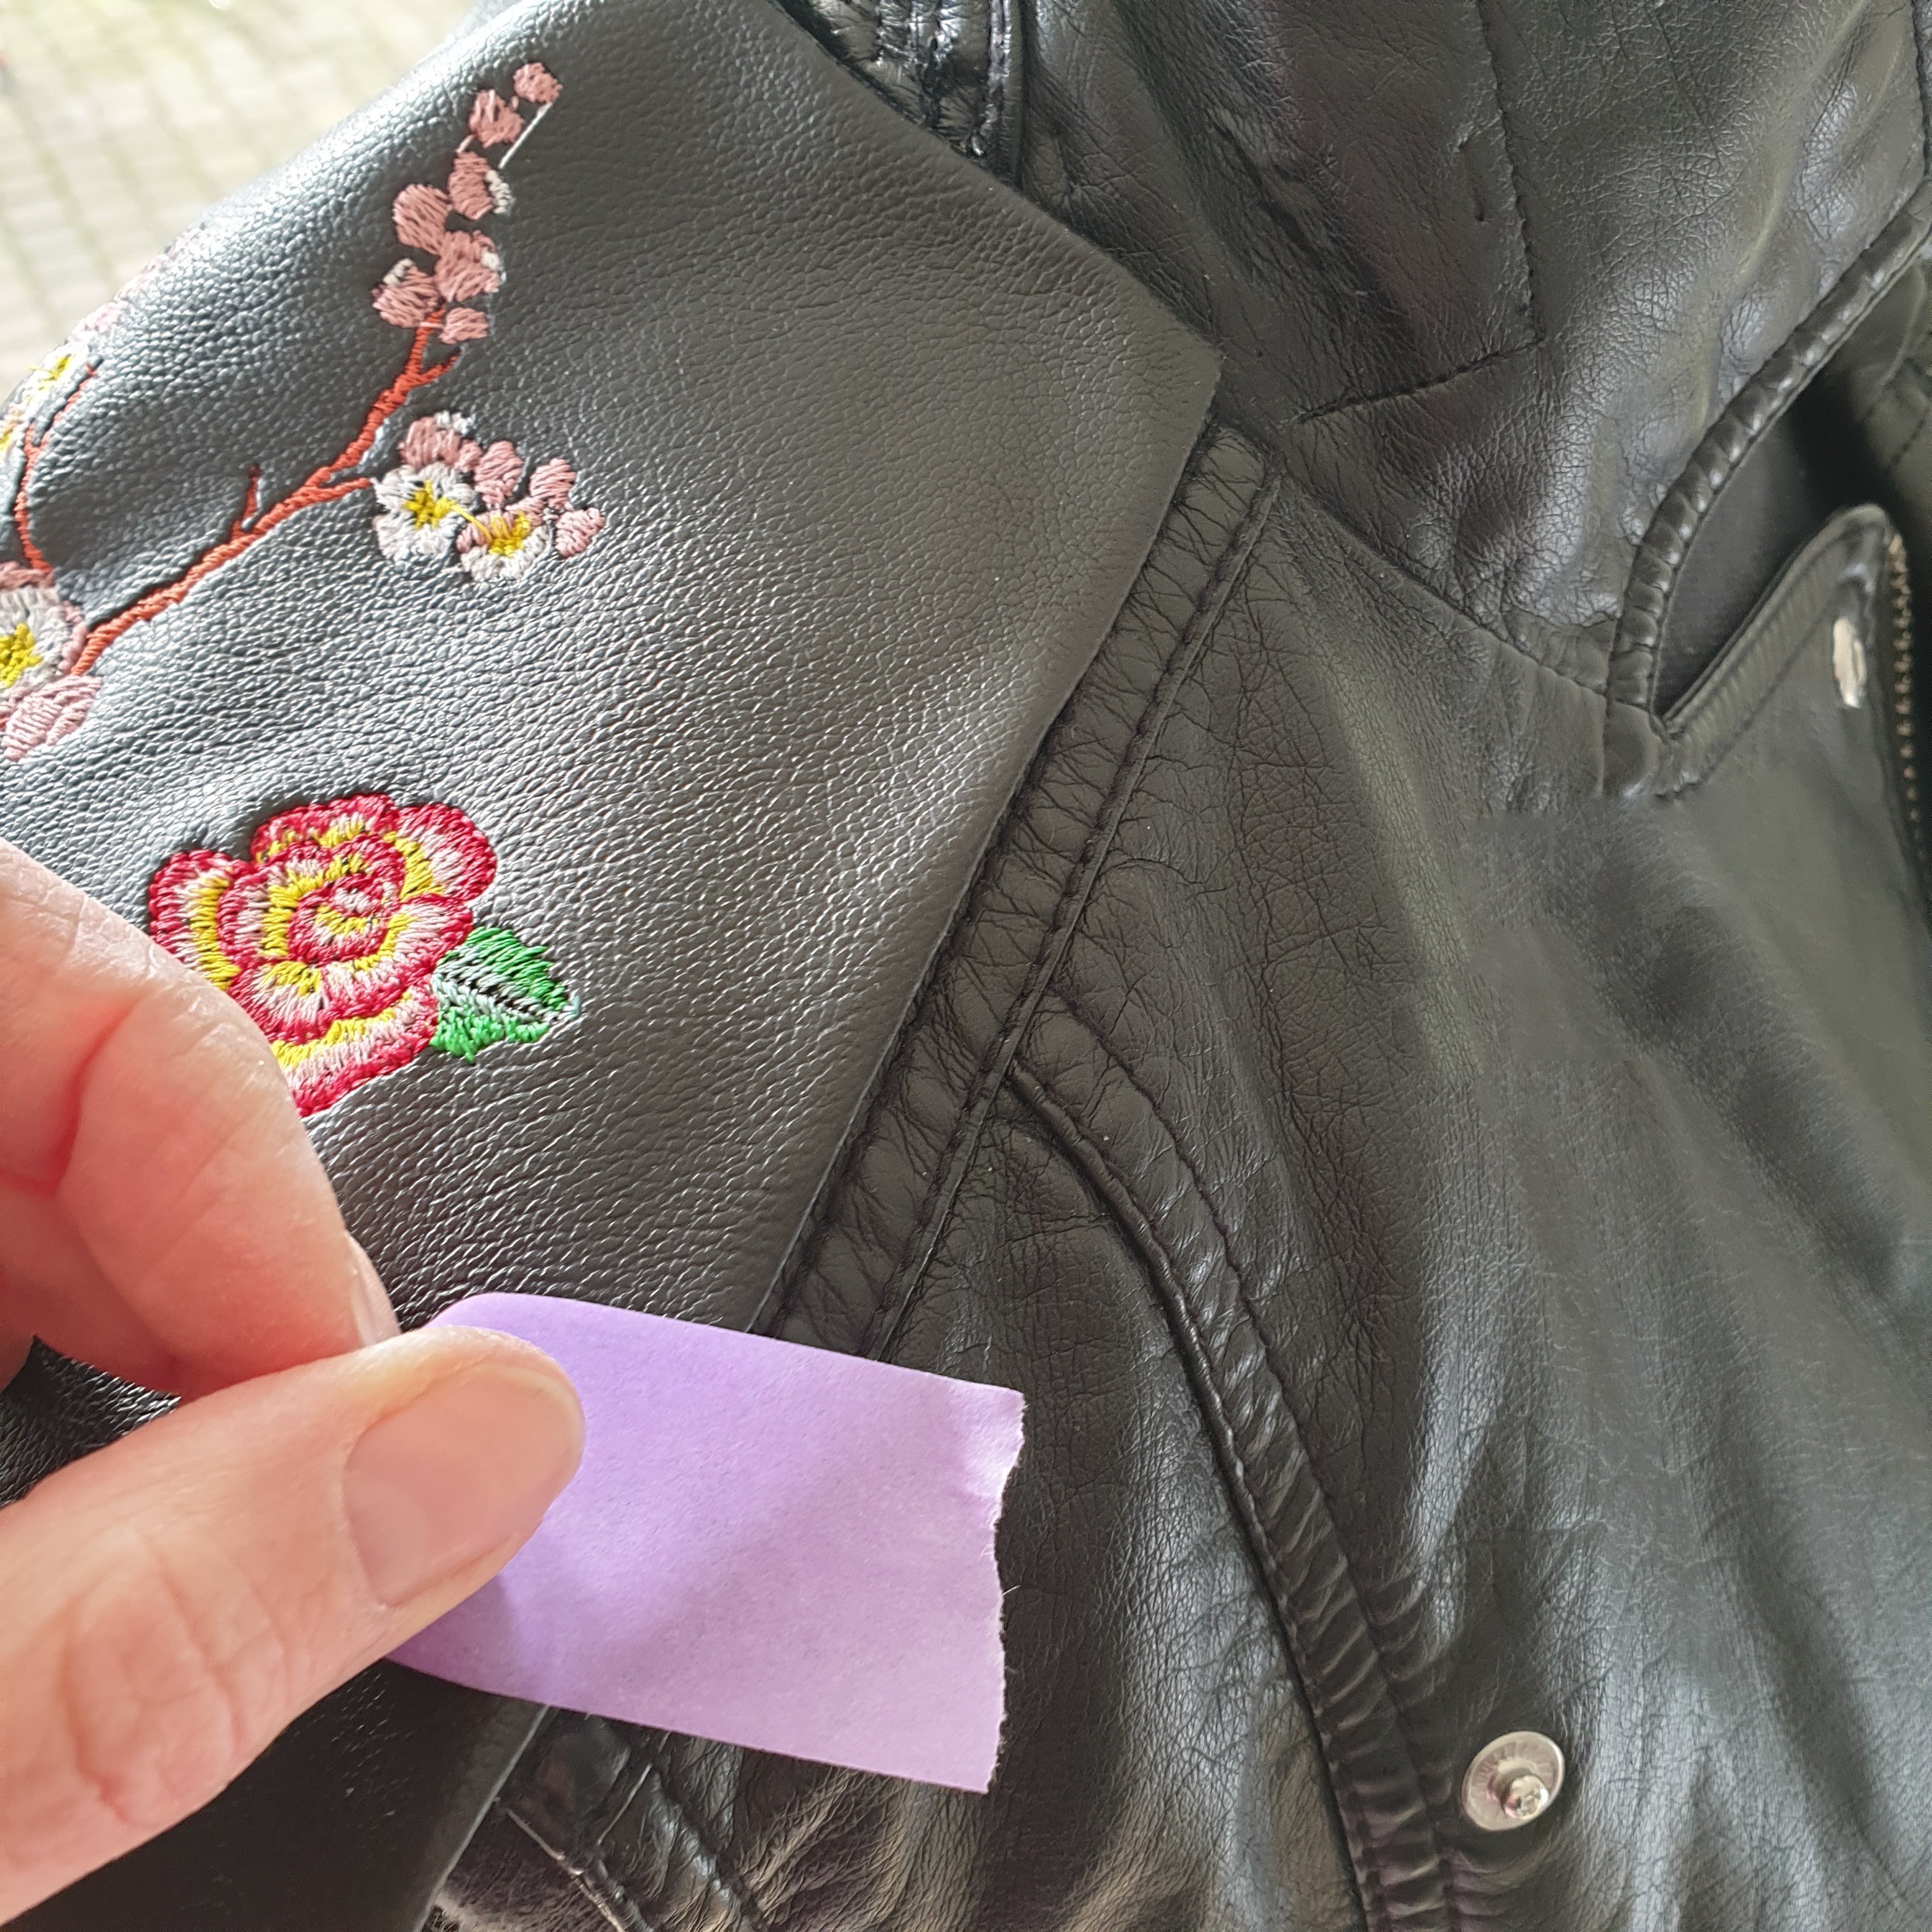
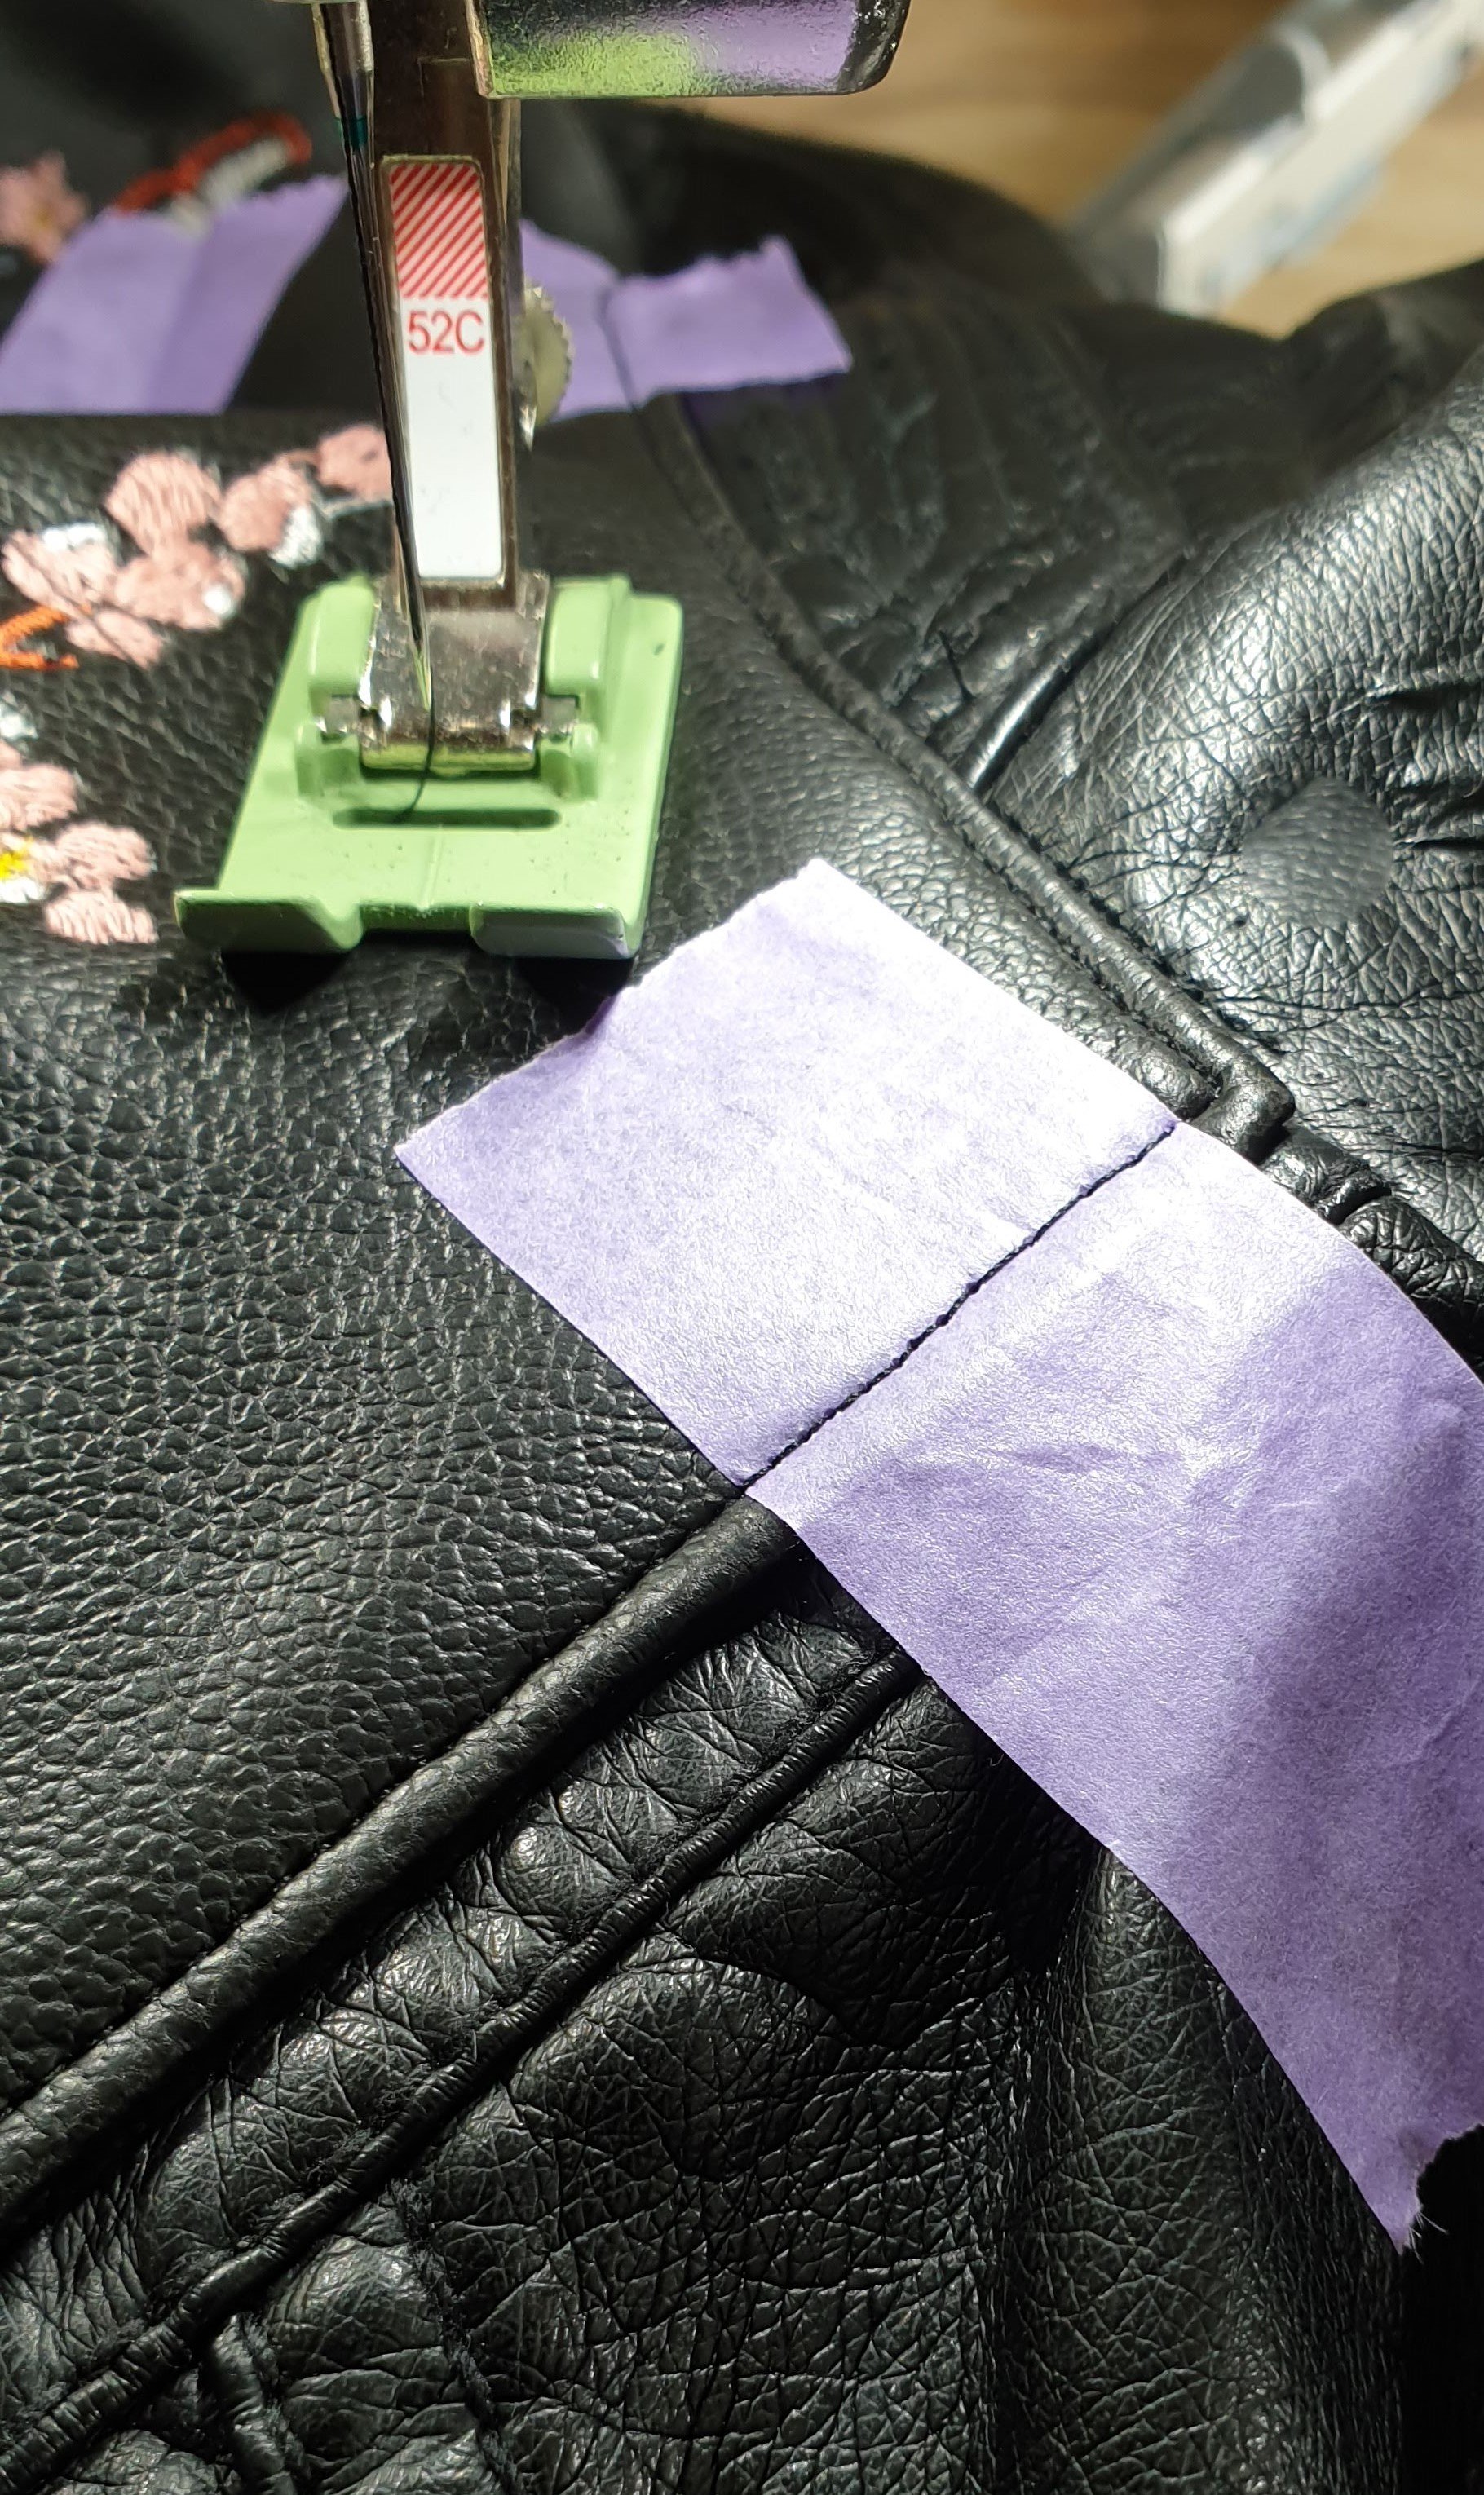
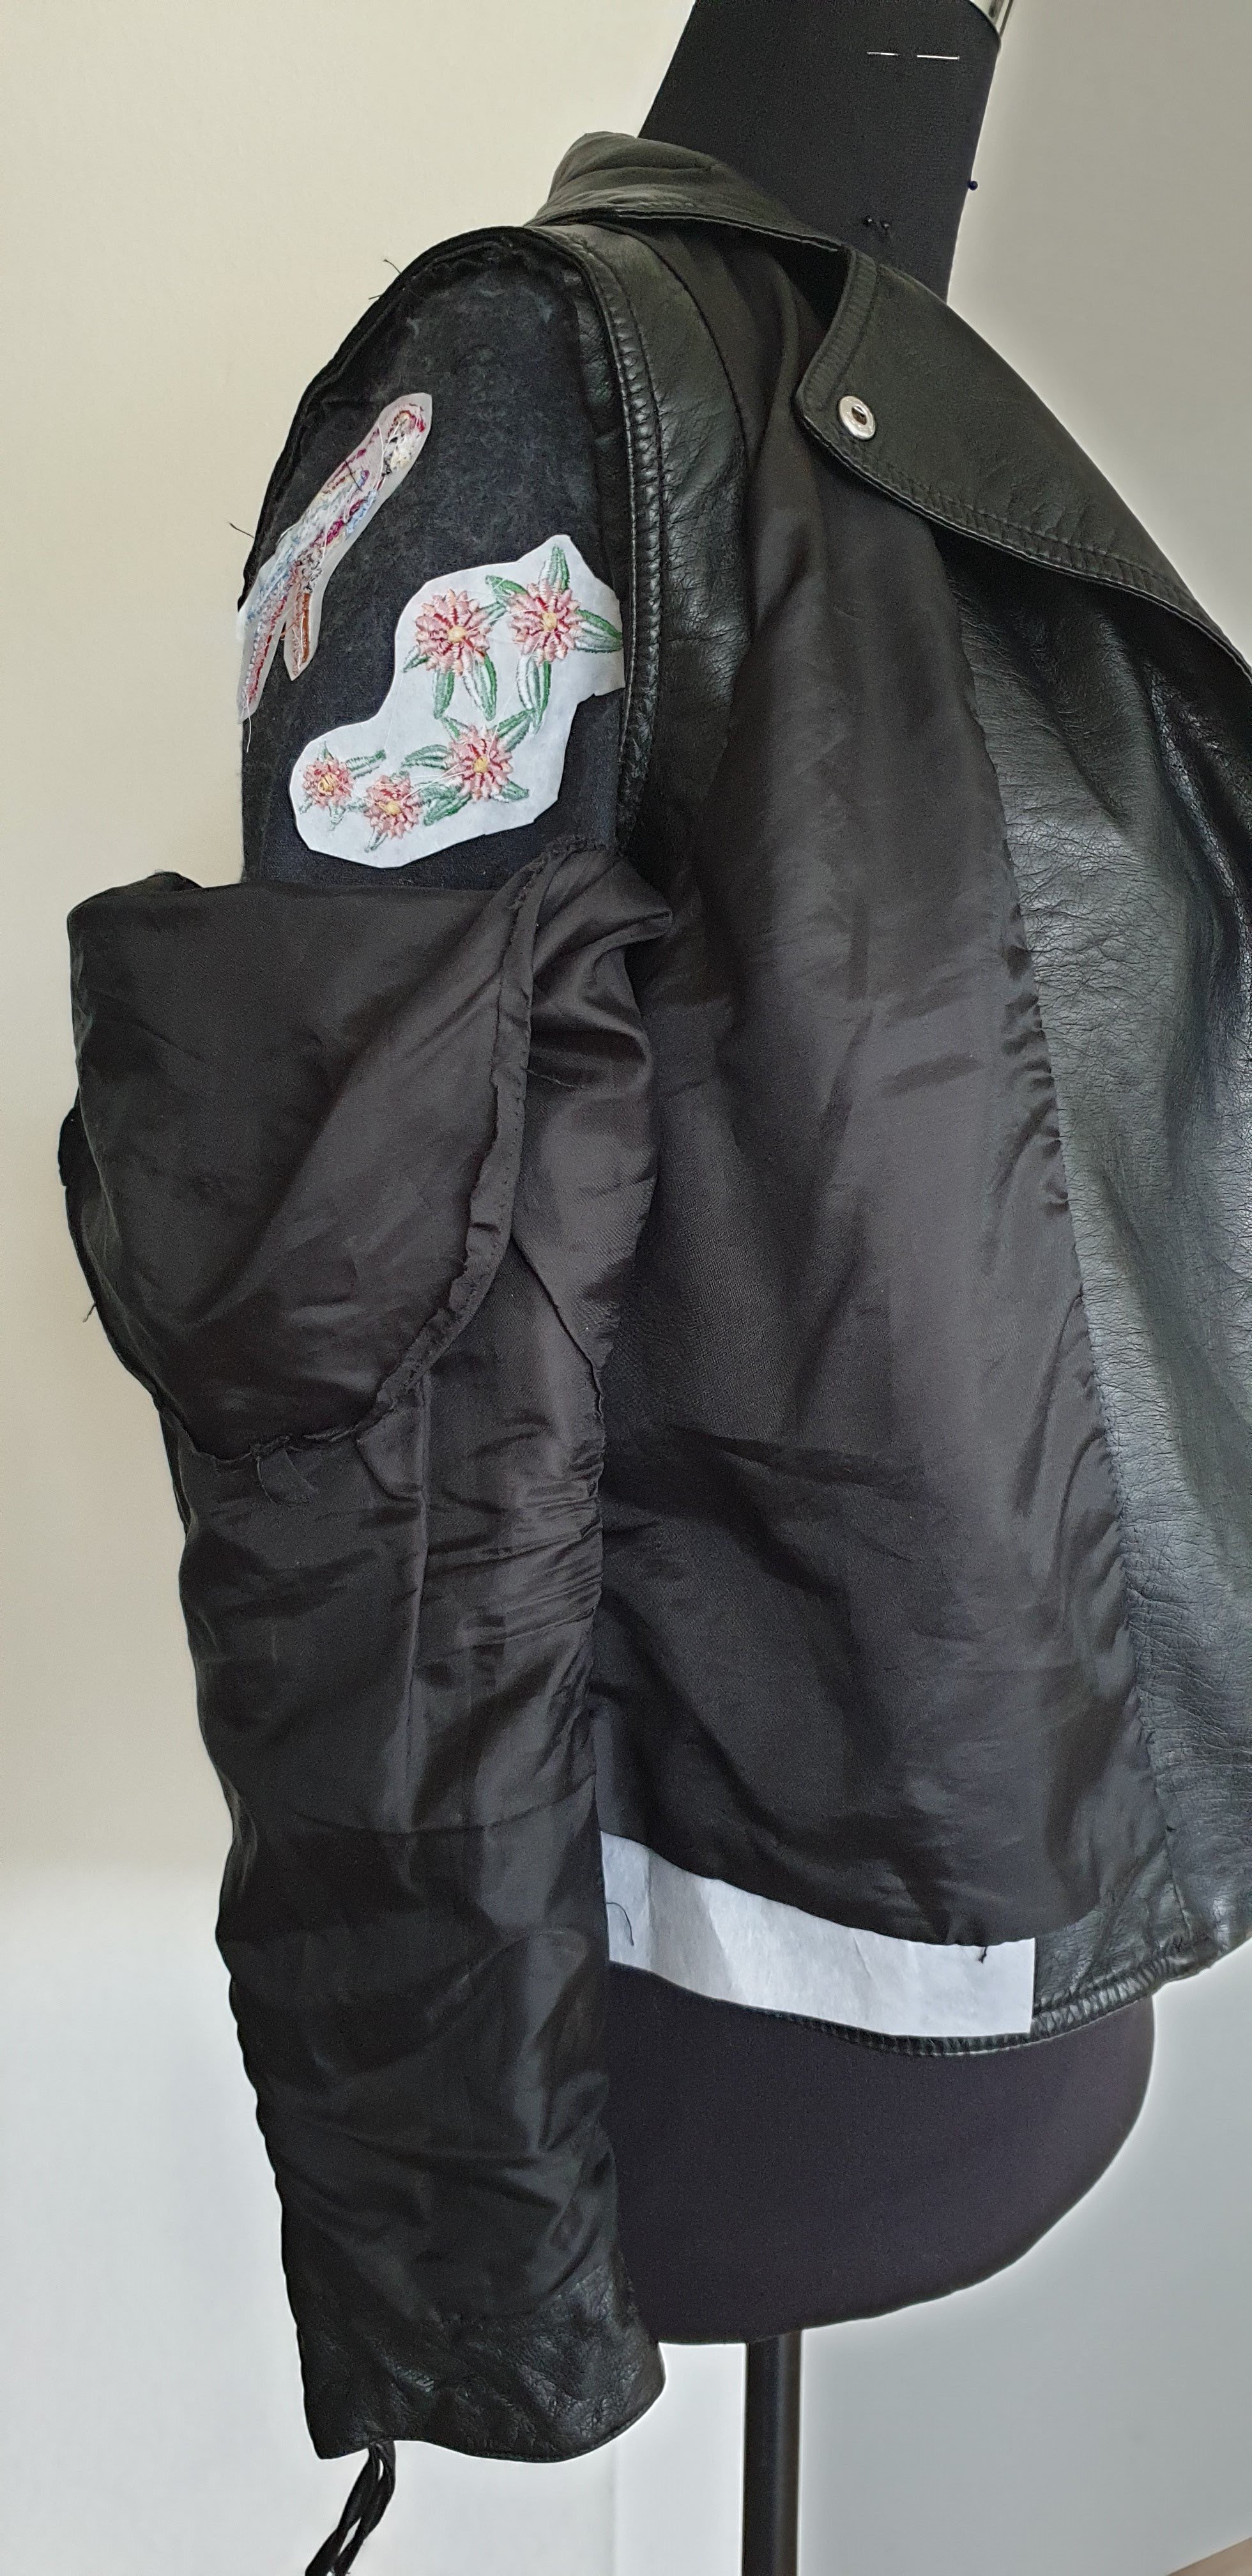
In these yokes I used the tear away stabilizer, in embroidering the jacket I used cut away stabilizer. Both work very well. Before attaching the yokes to the jacket I spray glued them, folded the little hems and I while the jacket was placed on the mannequin I could easily place them on the jacket. With masking tape I temporarily fastened the new yokes before stitching. You can stitch over this and then remove it. Works like a charm.

Assembling sleeves
With the jacket done it was time to put in the sleeves. First the stabilizer is cut away and then the sleeves were closed again. As determined before a bit narrower then the original sleeves. I attached them to the finnished hem of the sleeveless jacket. The lining was still in the sleeves and those were sewn, again, to the finnished hem. Easy peasy.
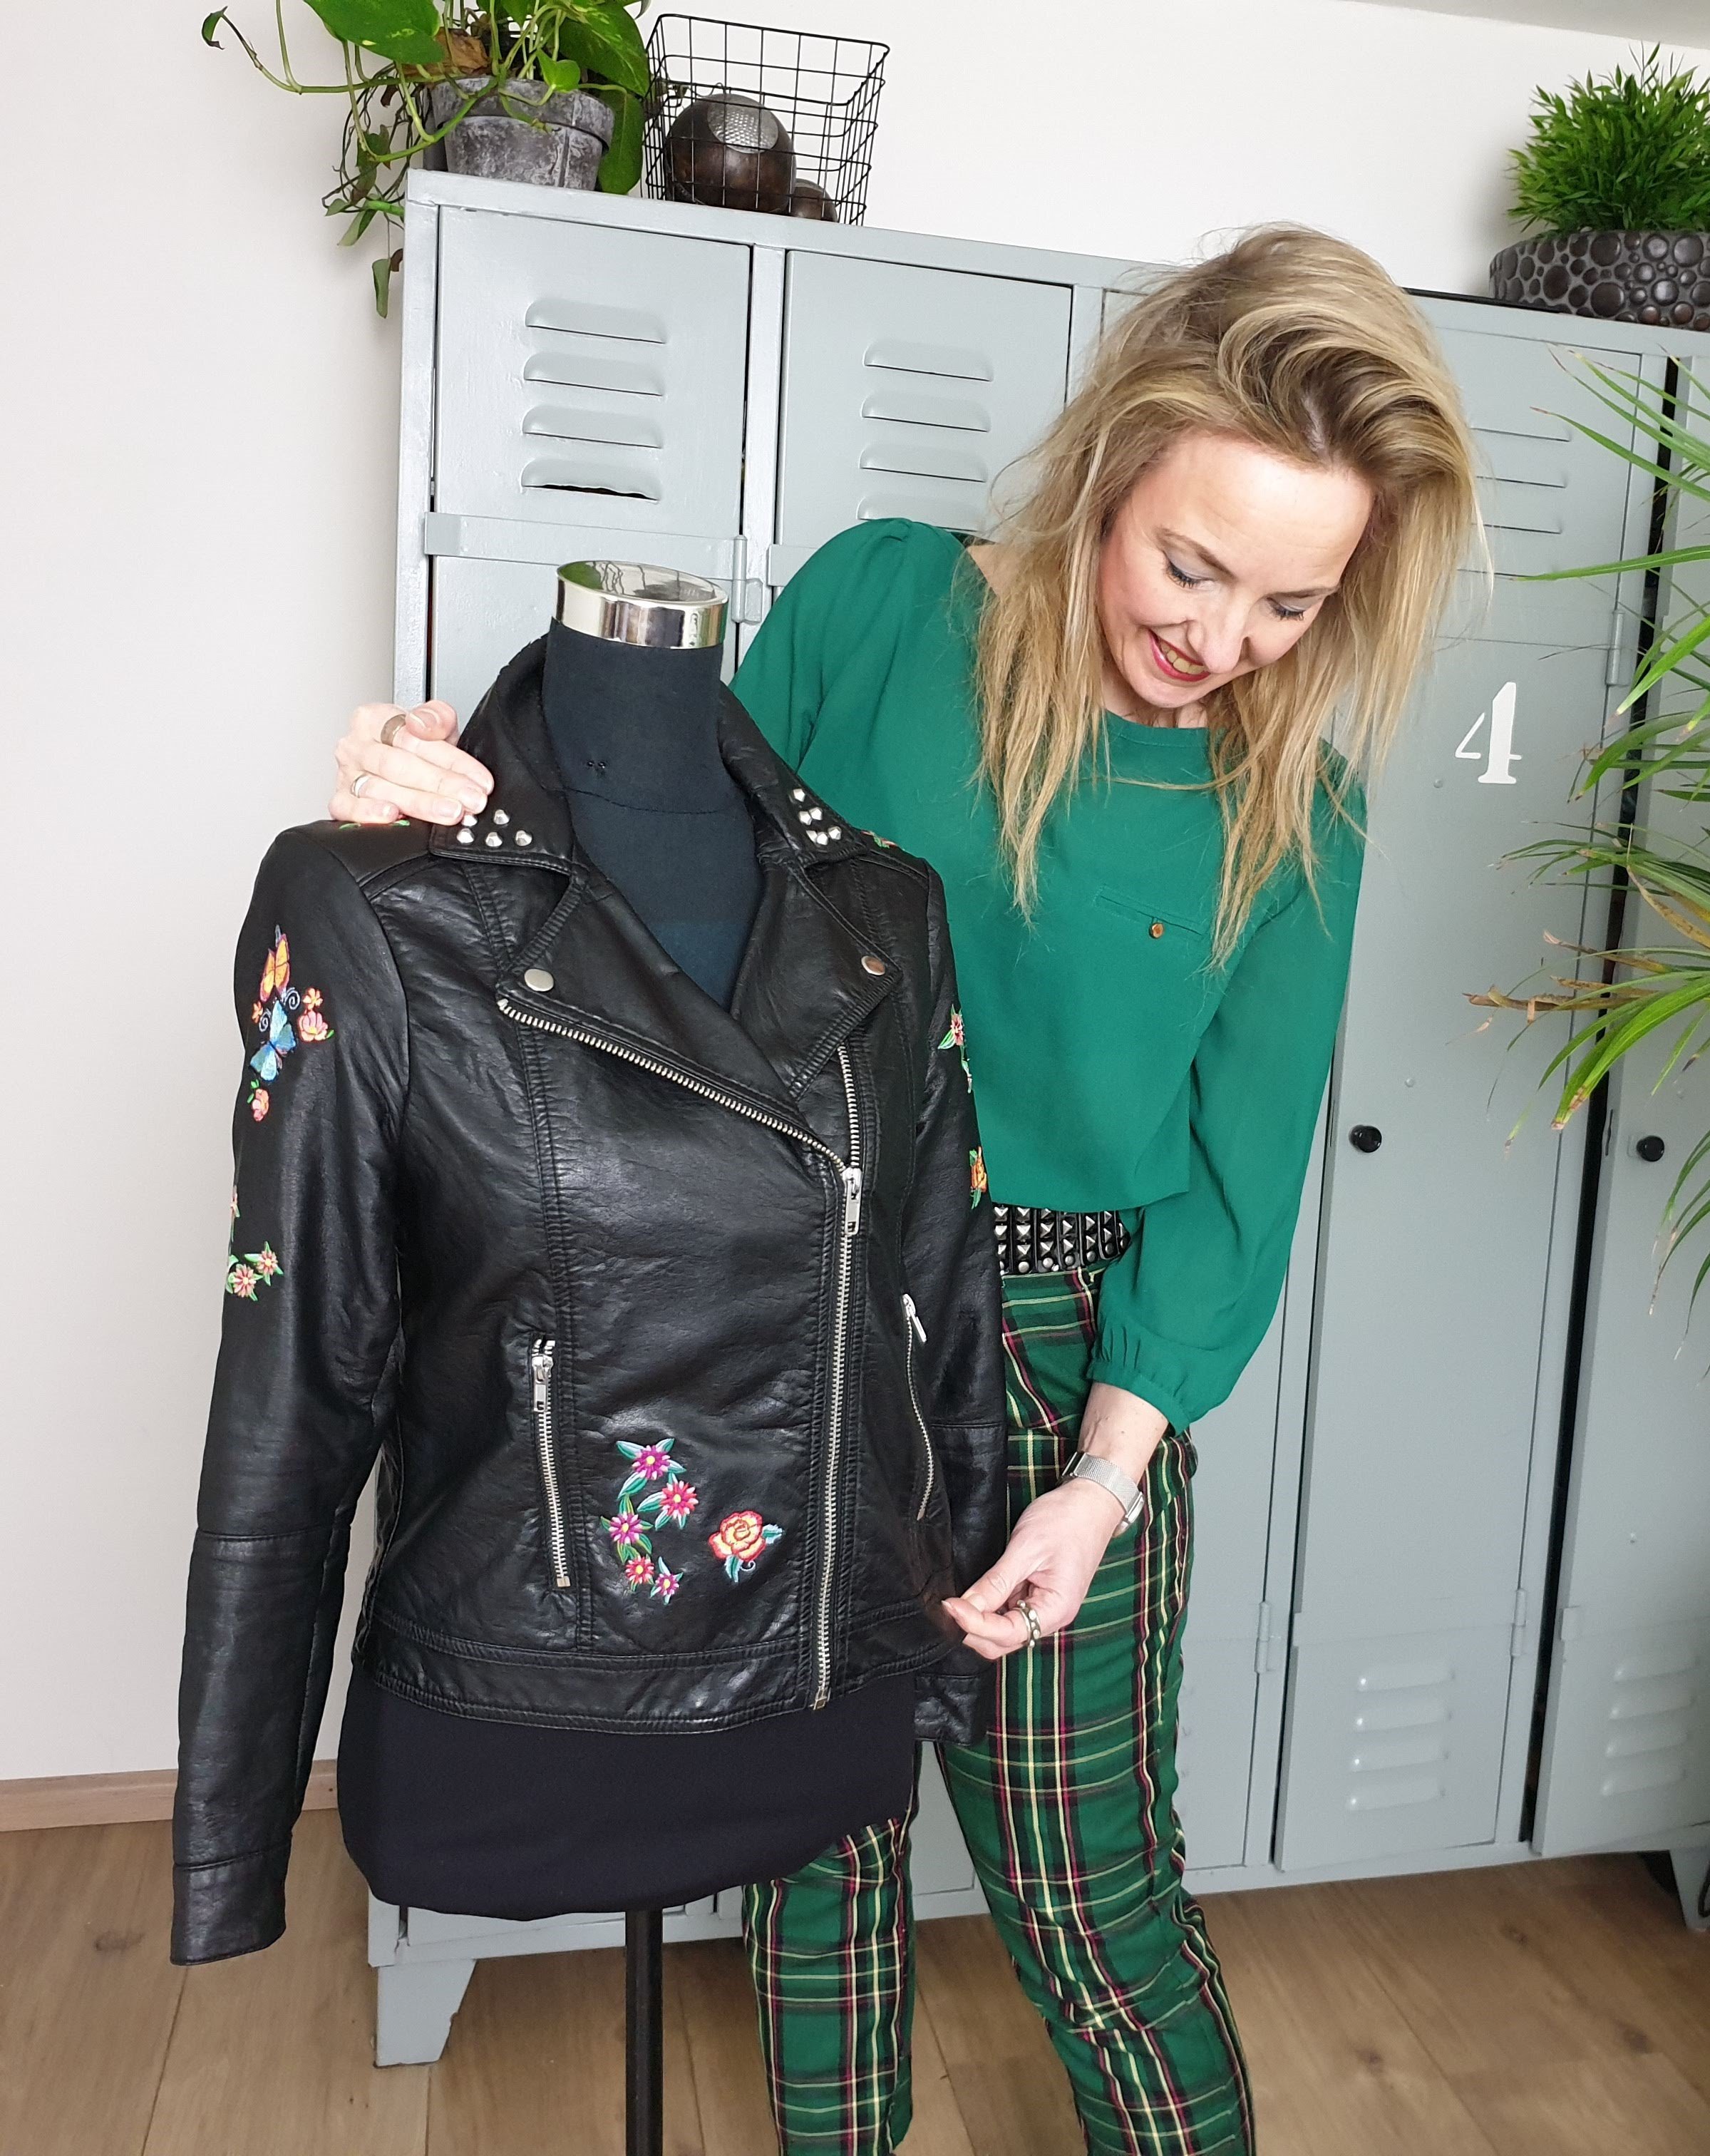
Refreshed
So here is my freshened up Thrift Shop Treasure in which I have evolved my embroidery skills. I know I am going to do this more often, embroidery that is. I’ve learned again, as I also stated in my previous blog with Refashion Tips, that it is super important to check the state of the fabric of your thrifted garment. The repairments I’ve made added a lot of character into the garment, but also were very time consuming. 😉
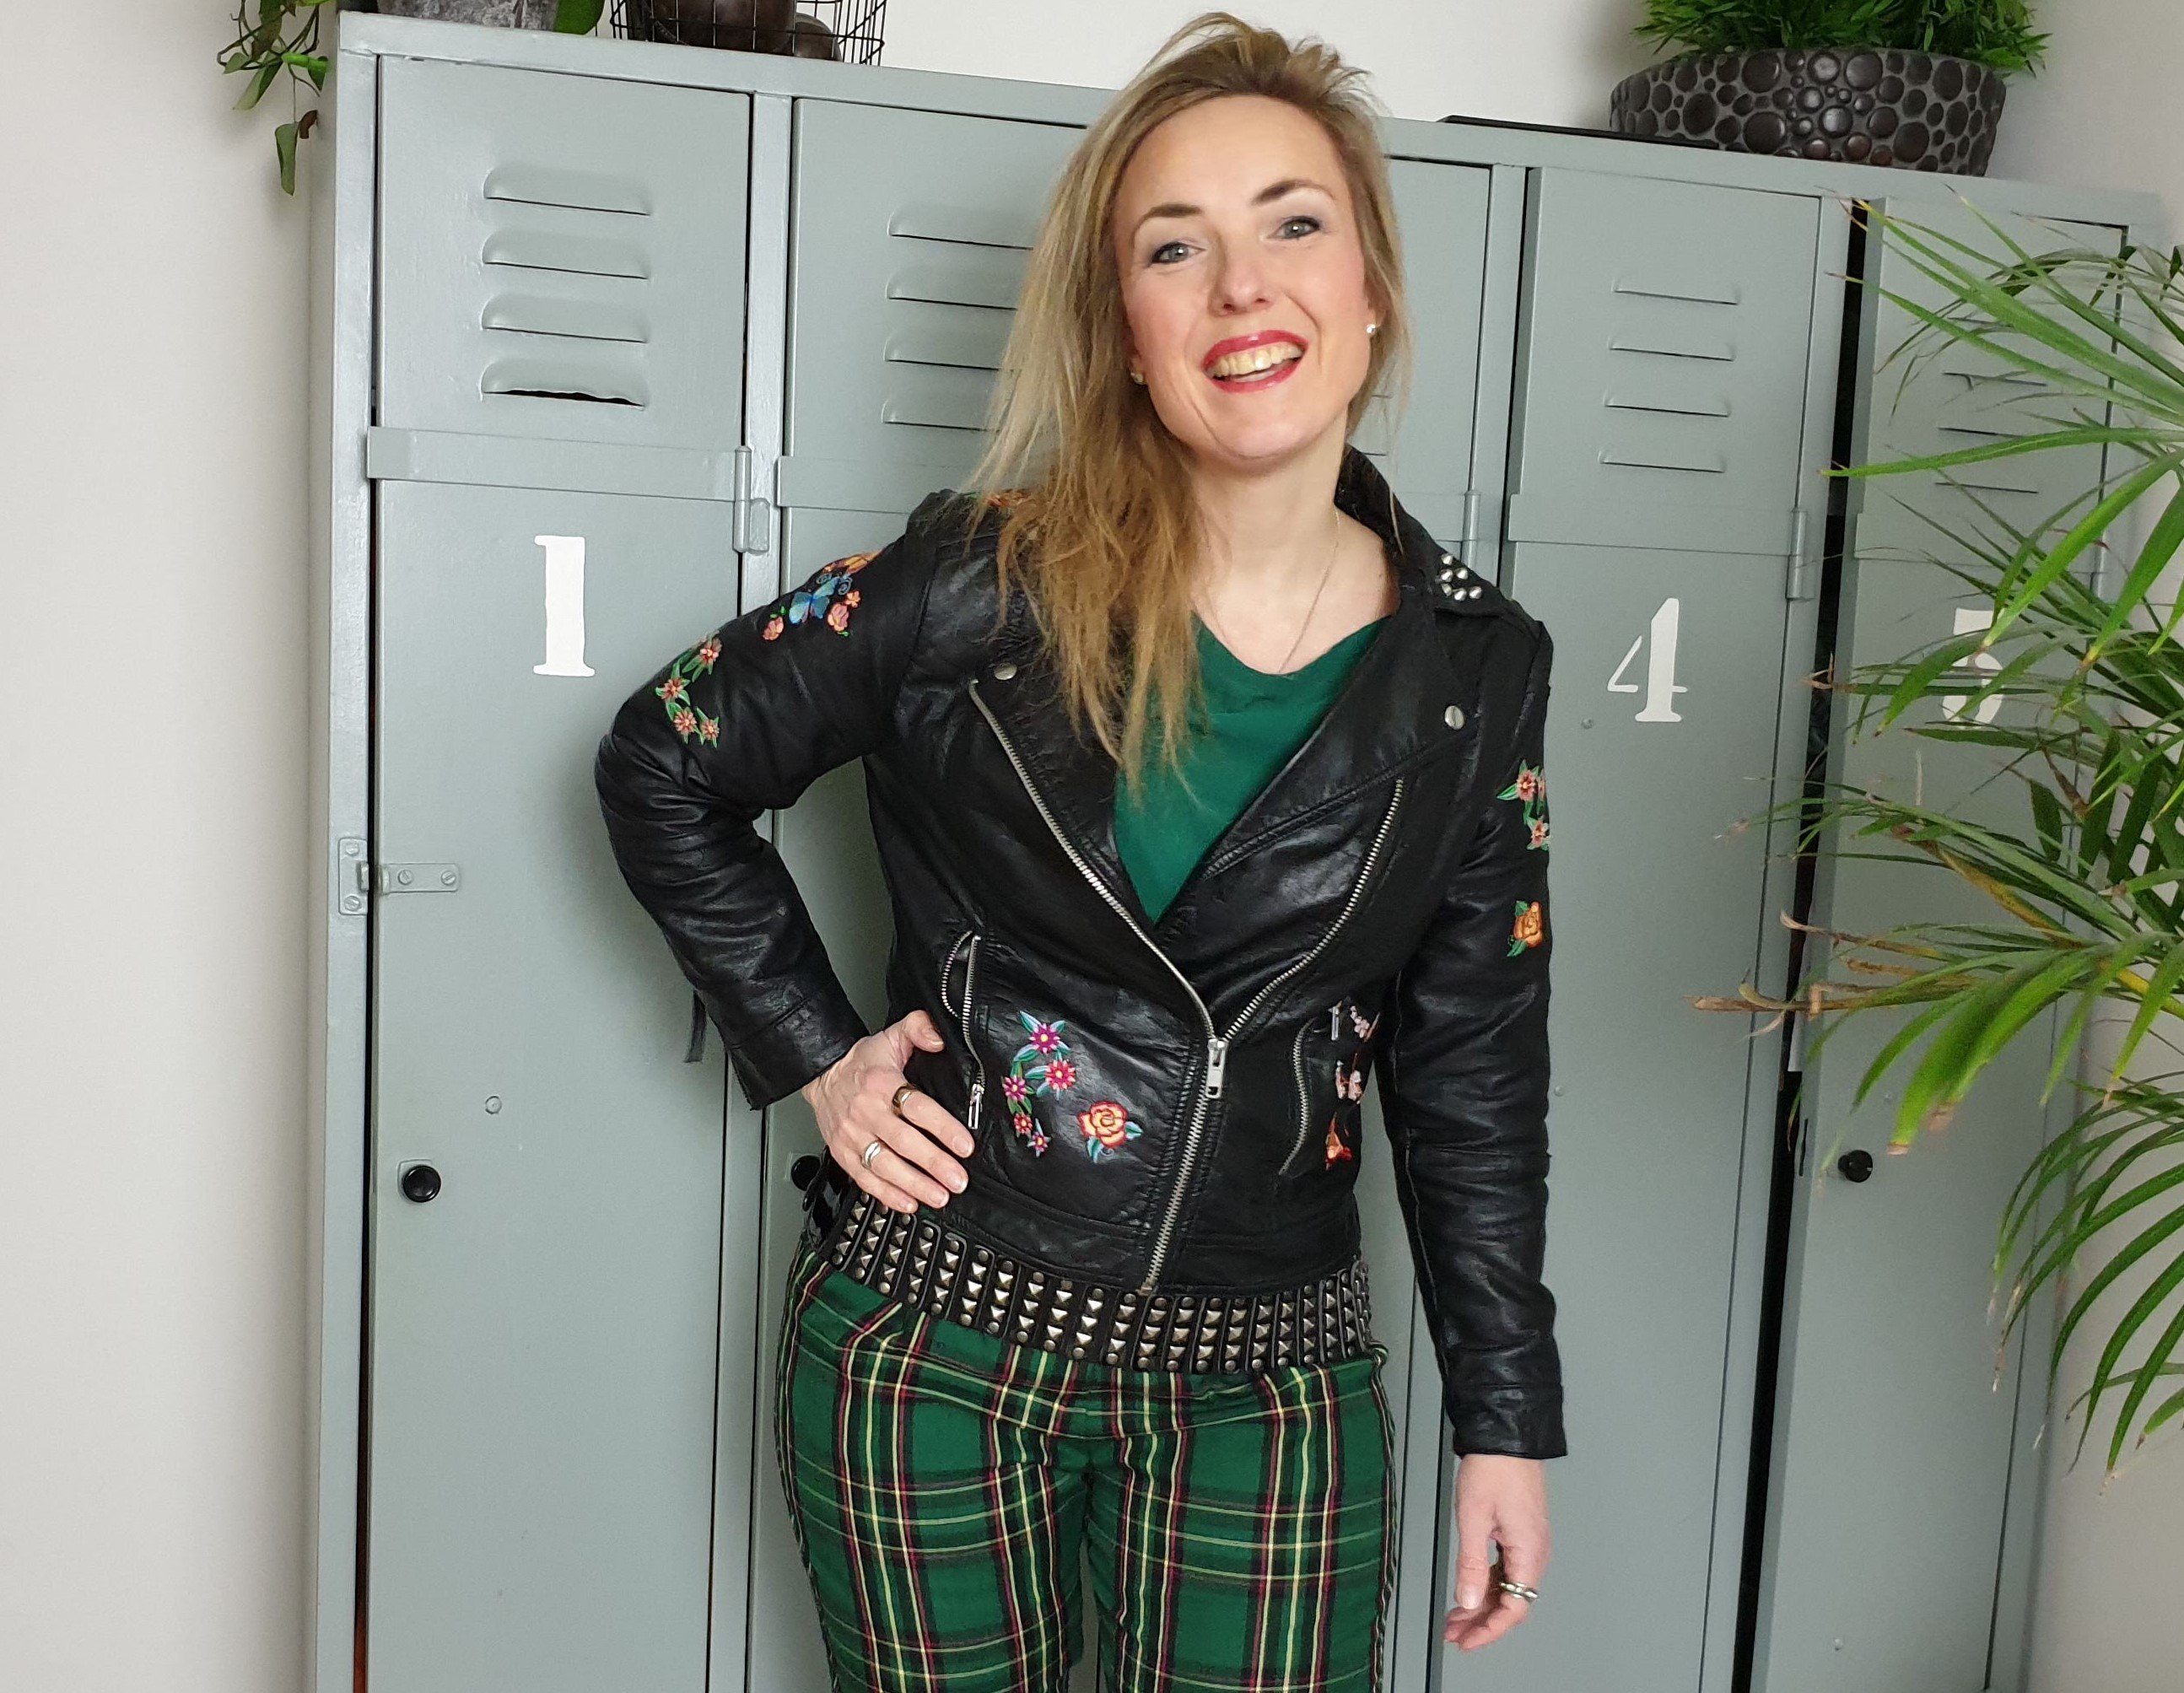
I am super happy with the result and I might add some studs from the belt, but for now it makes a lovely accessory.
You still can join the #REFEBULOUS train. Share your refashioned, refreshed or repaired Thrift Shop Treasure. You might even win a prize doing that. Wanna know how? Read all the ins and outs in this blog or hop on over to my Instagram.
Hope to see you there!
Love,
Marlies


Hi Marlies – when I’ve sewn leather in the past I’ve used a ‘leather’ needle and a Teflon foot. You haven’t mentioned these so I’m wondering which foot you used and whether Teflon is still my best option. This looks like a fun project, although I’d like to use different embroidery motifs. I wonder if my Bernina has the scope to search for different motifs. I have a B580 which has an embroidery attachment.
Hi Joanna,
For stitching fake leather or PU I always use a teflon foot. Not always a leather needle. It depends on the fabric. For this embroidery project I’ve used a normal embroidery foot nr 26. It went smooth.
Kind regards, Marlies