Large & Left over fabrics
This week’s #REFEBULOUS theme is Large & Left over fabrics. Think blankets, curtains, tablecloths, sheets, etc. and left over fabrics from your previous projects that you combine in a new item of clothing or project.
Lees hier de Nederlandse blog
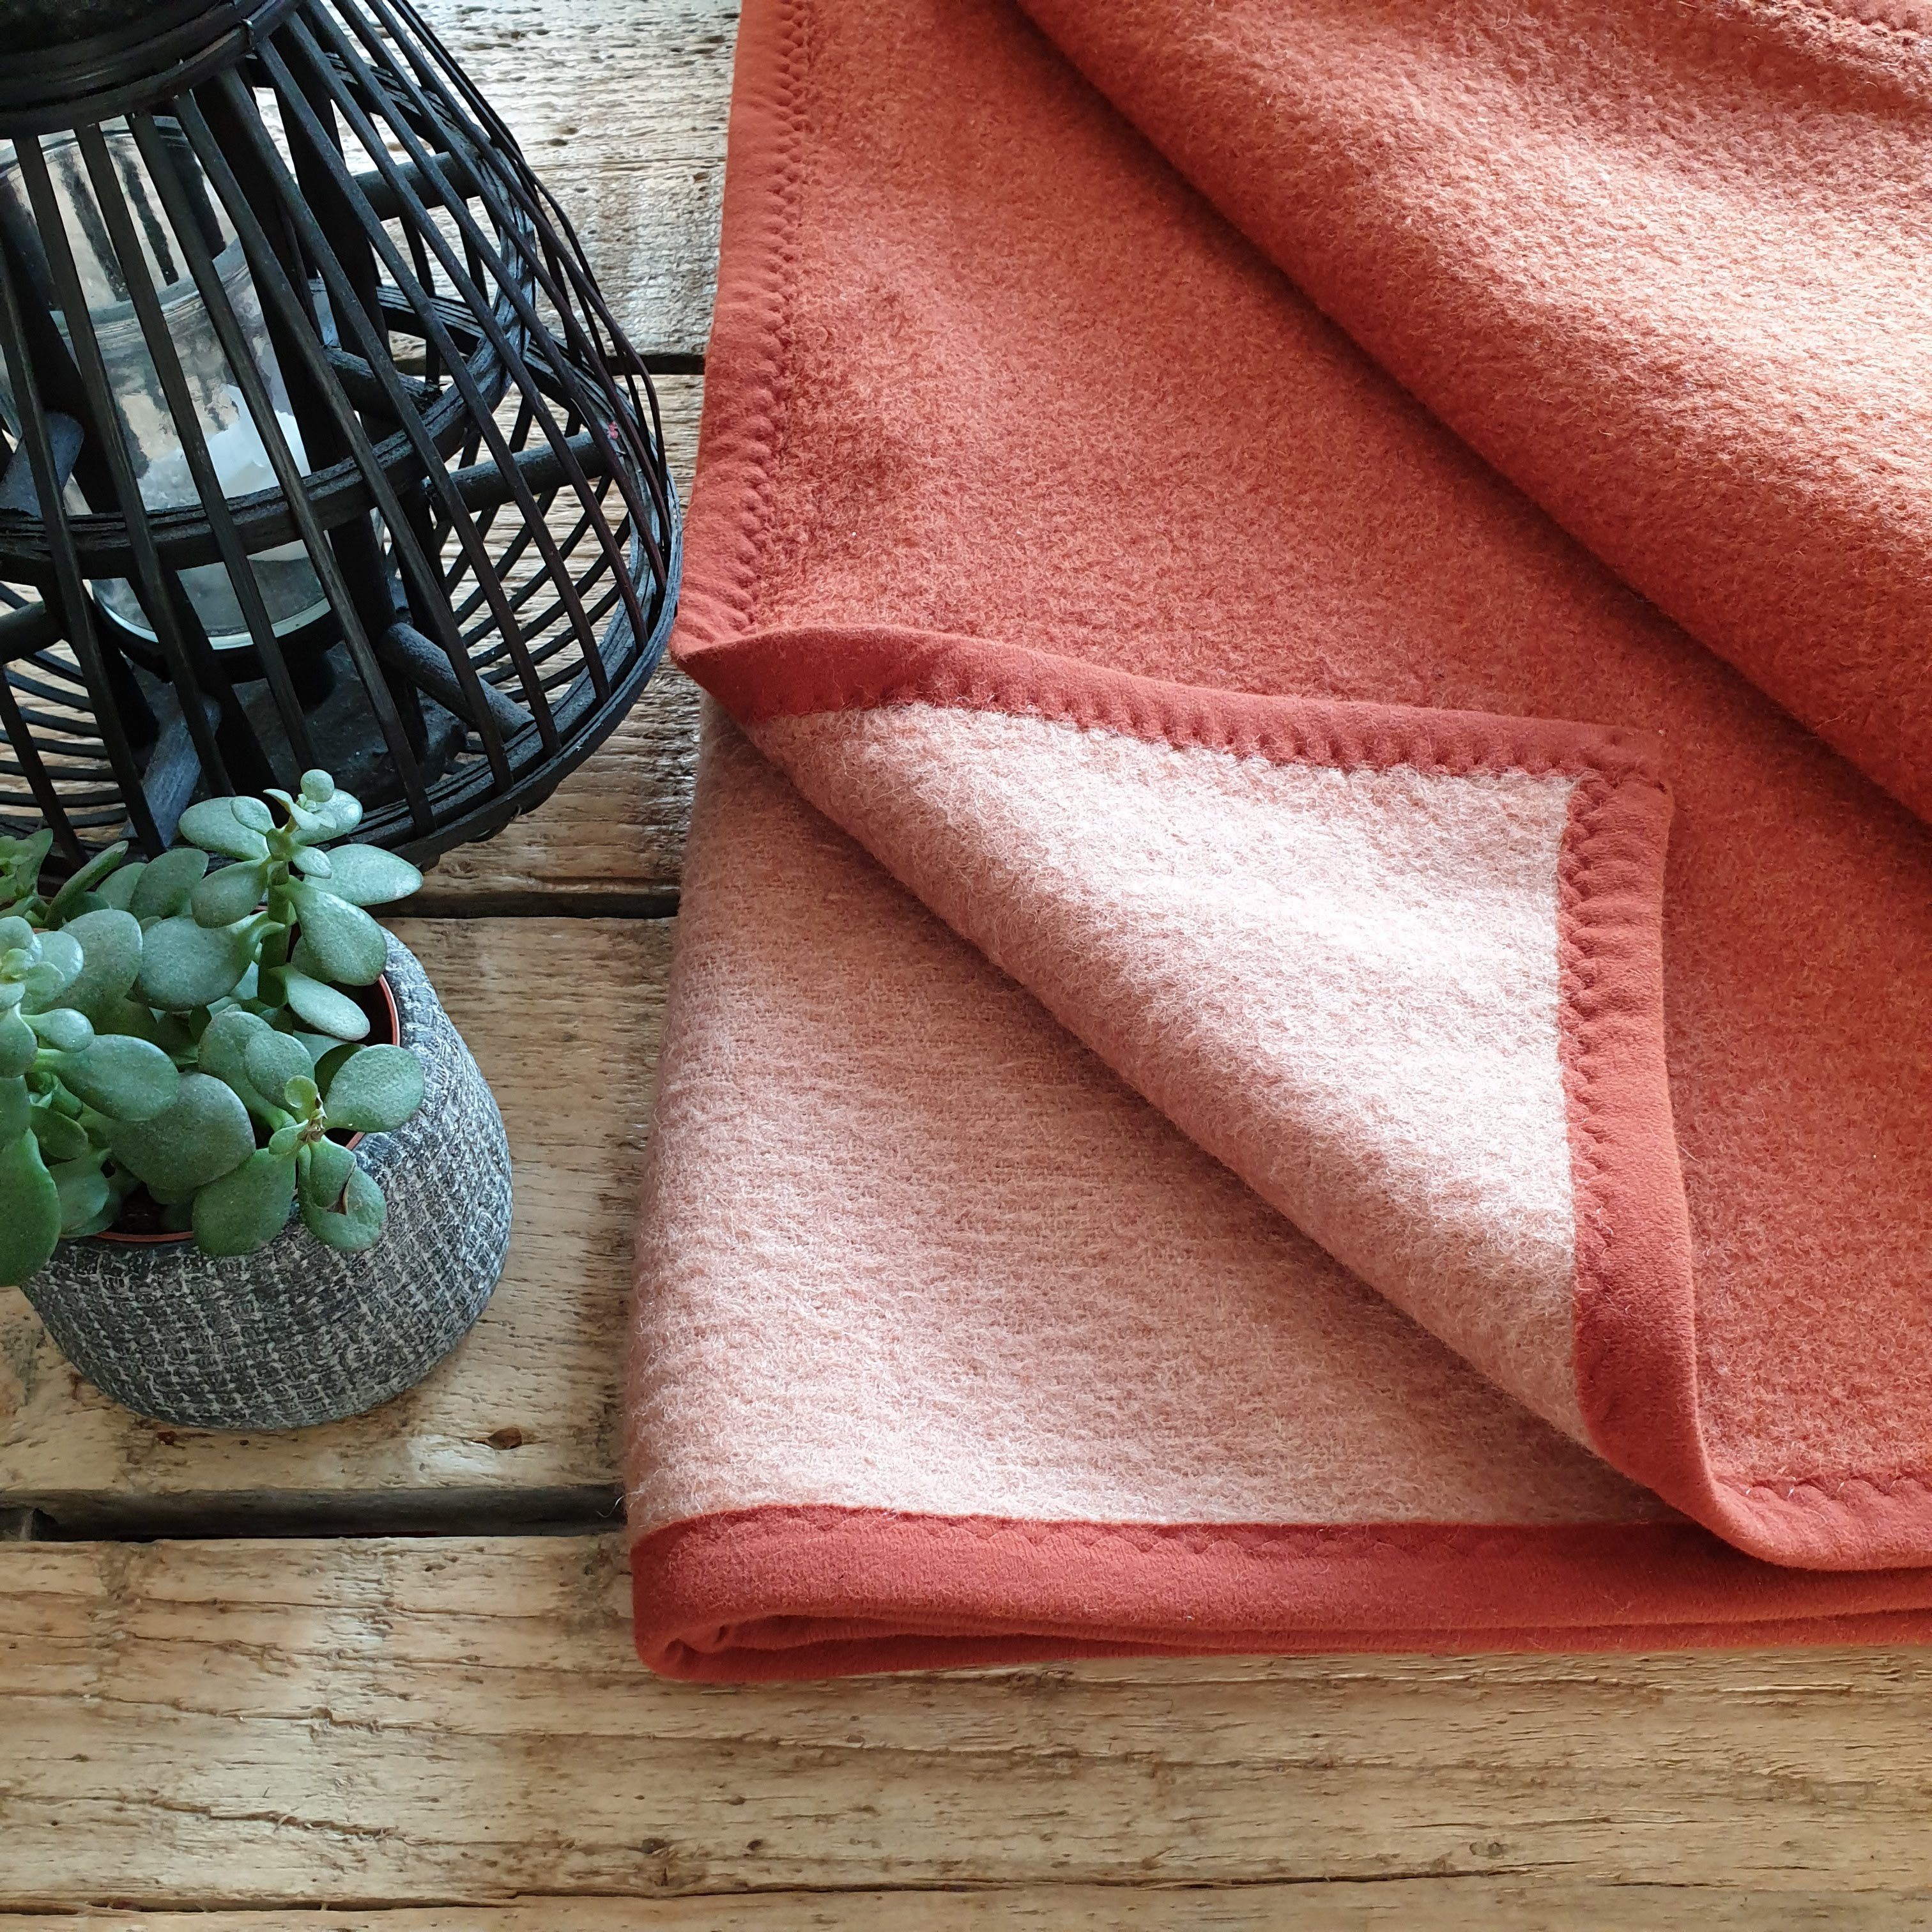
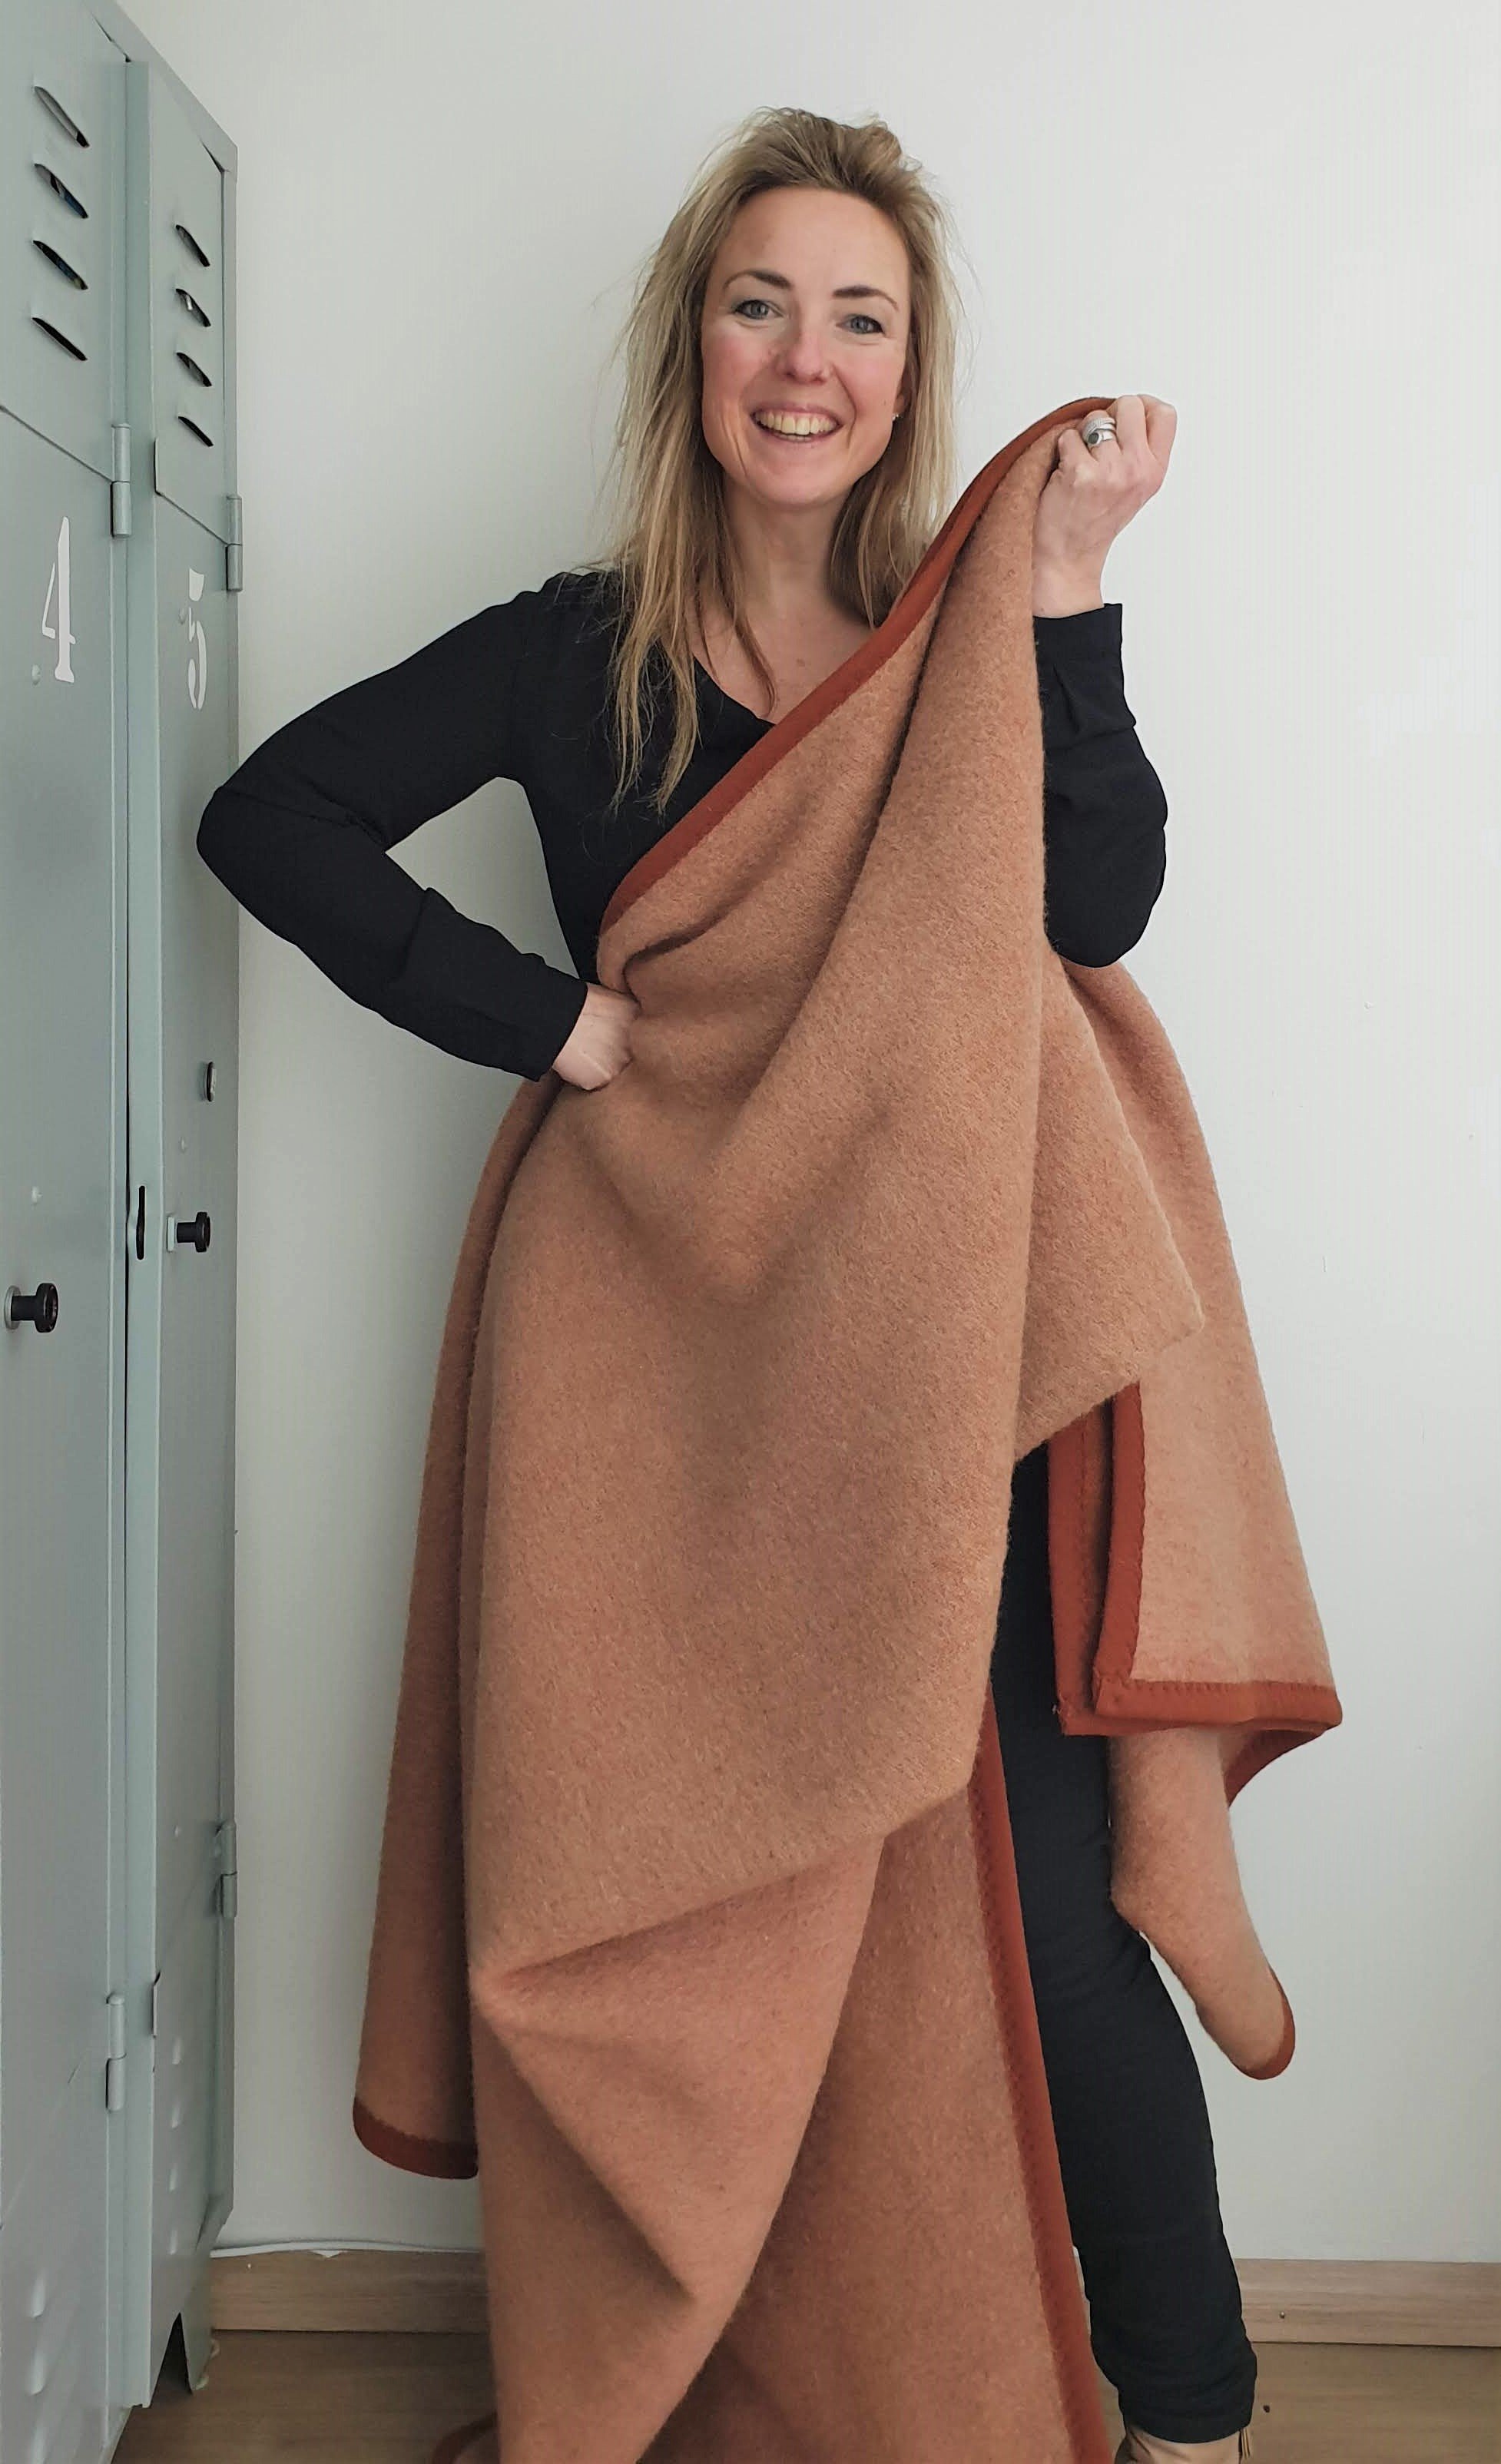
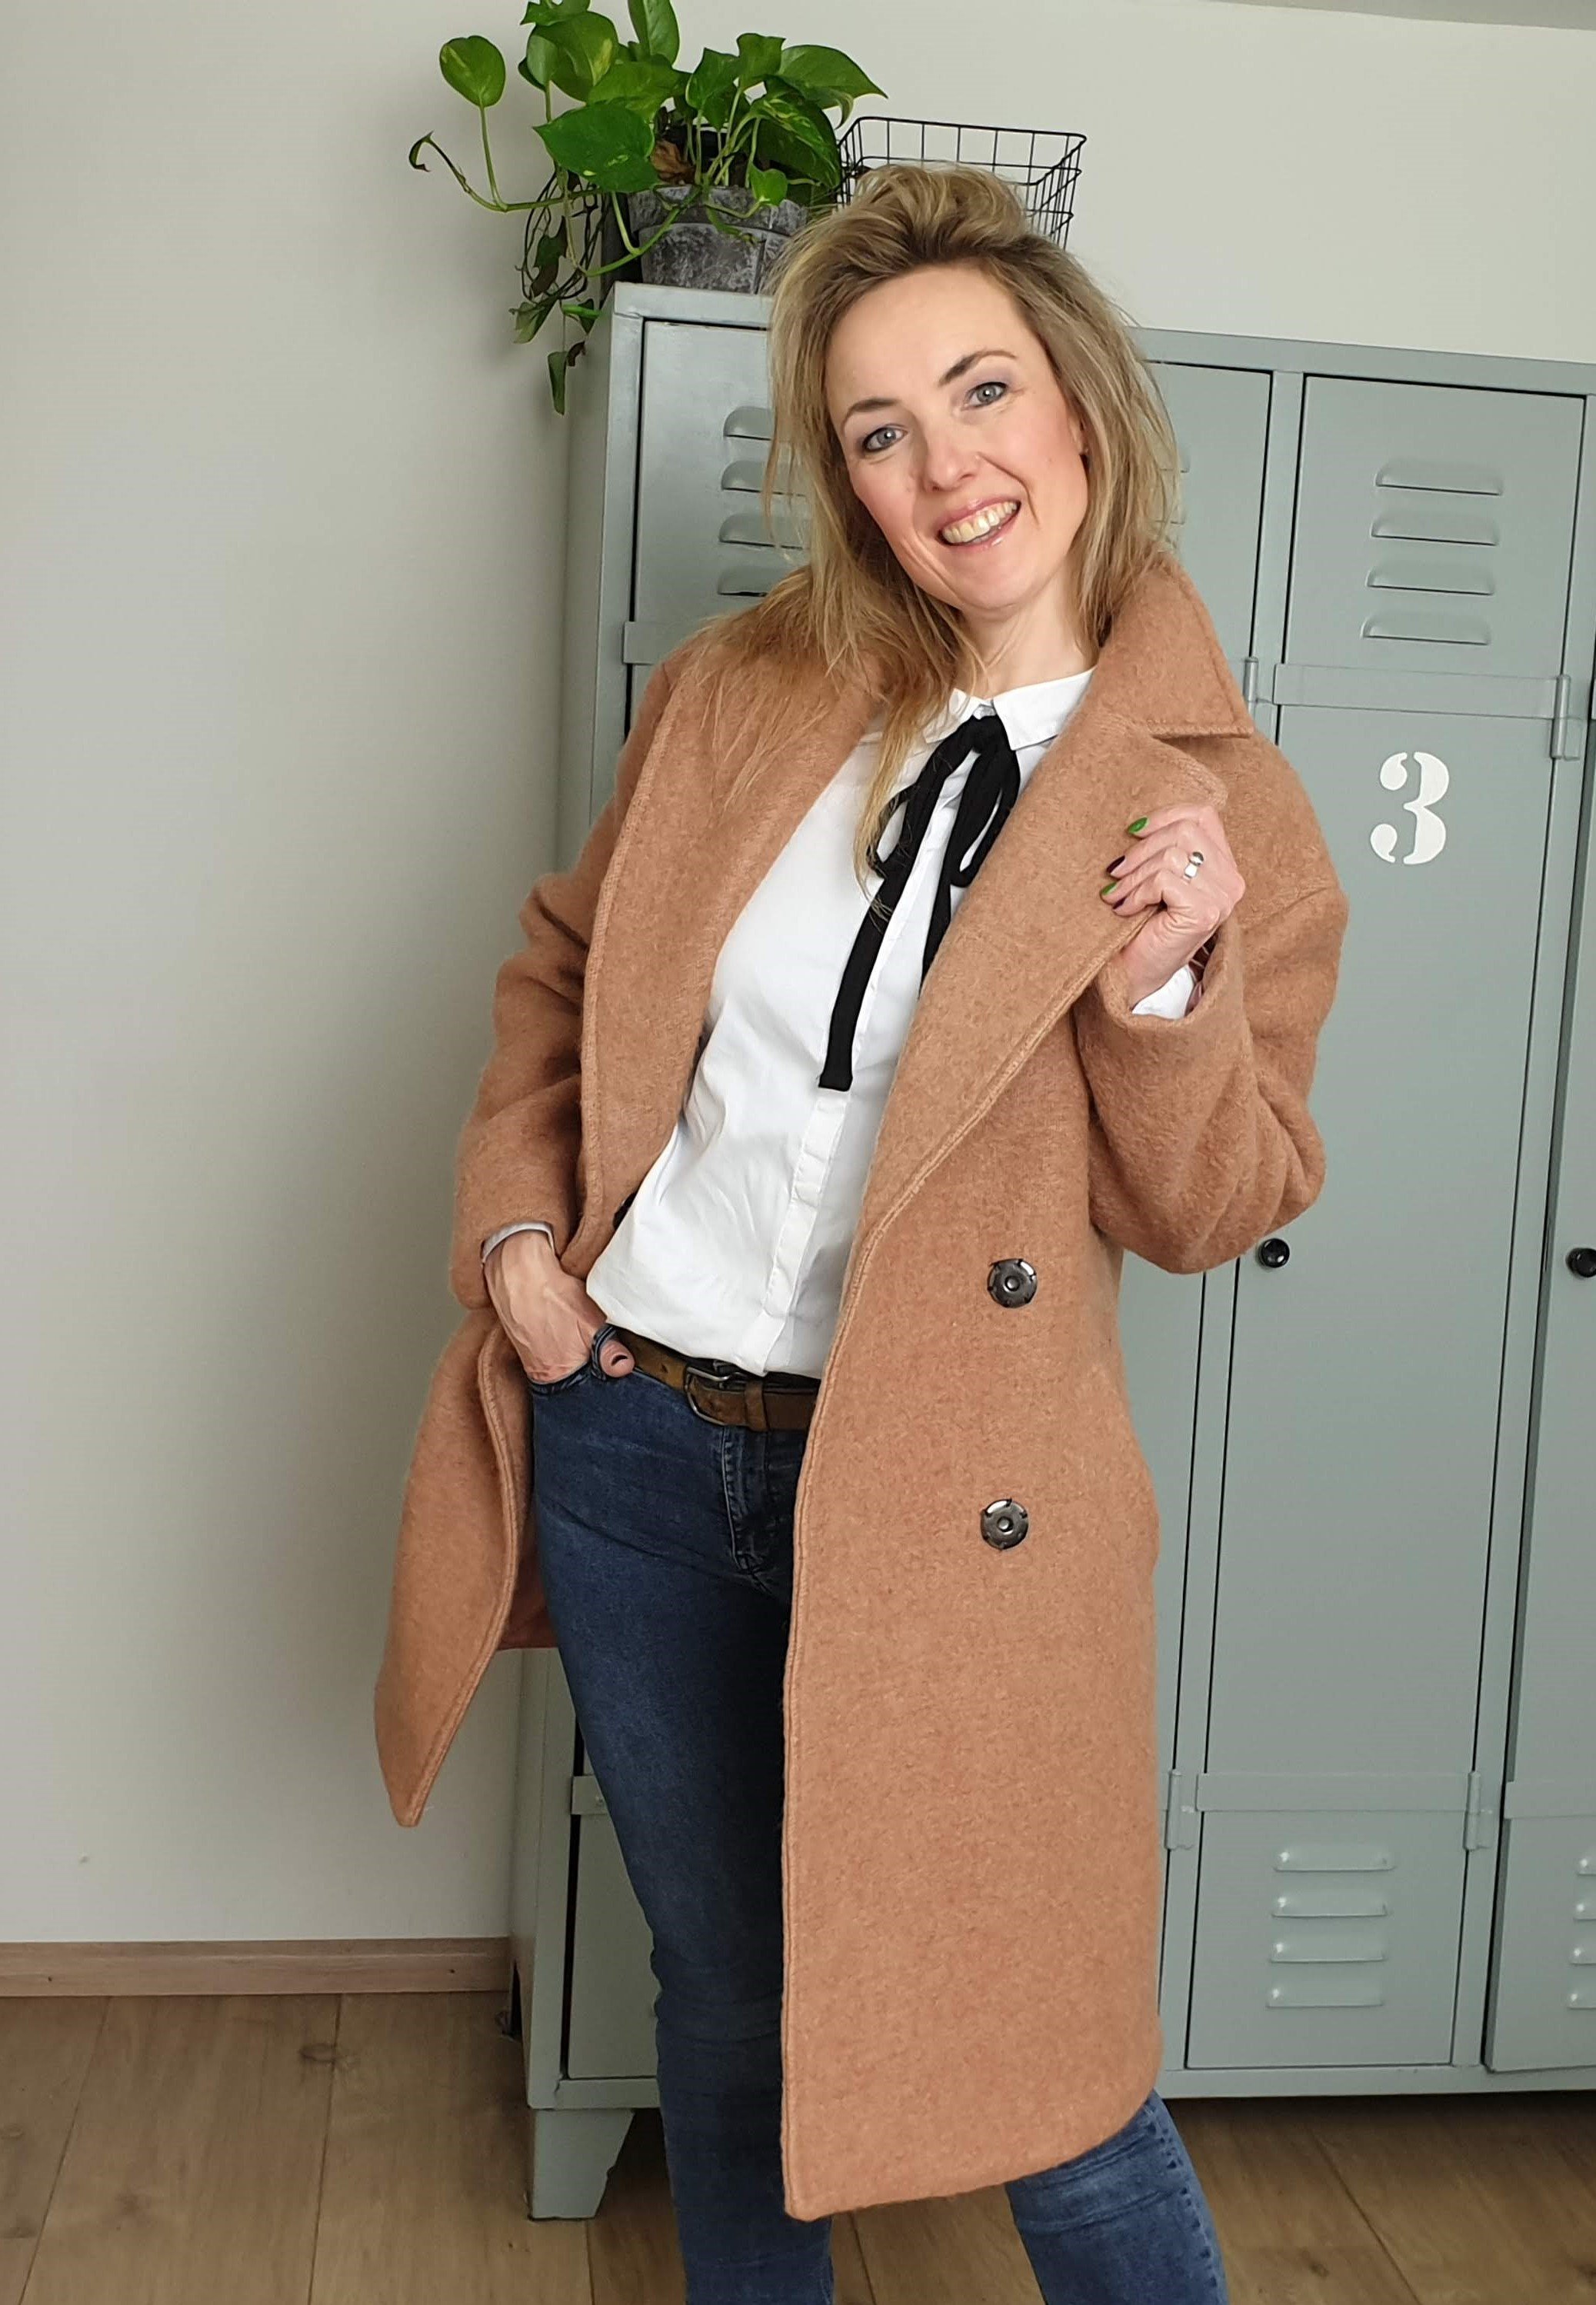
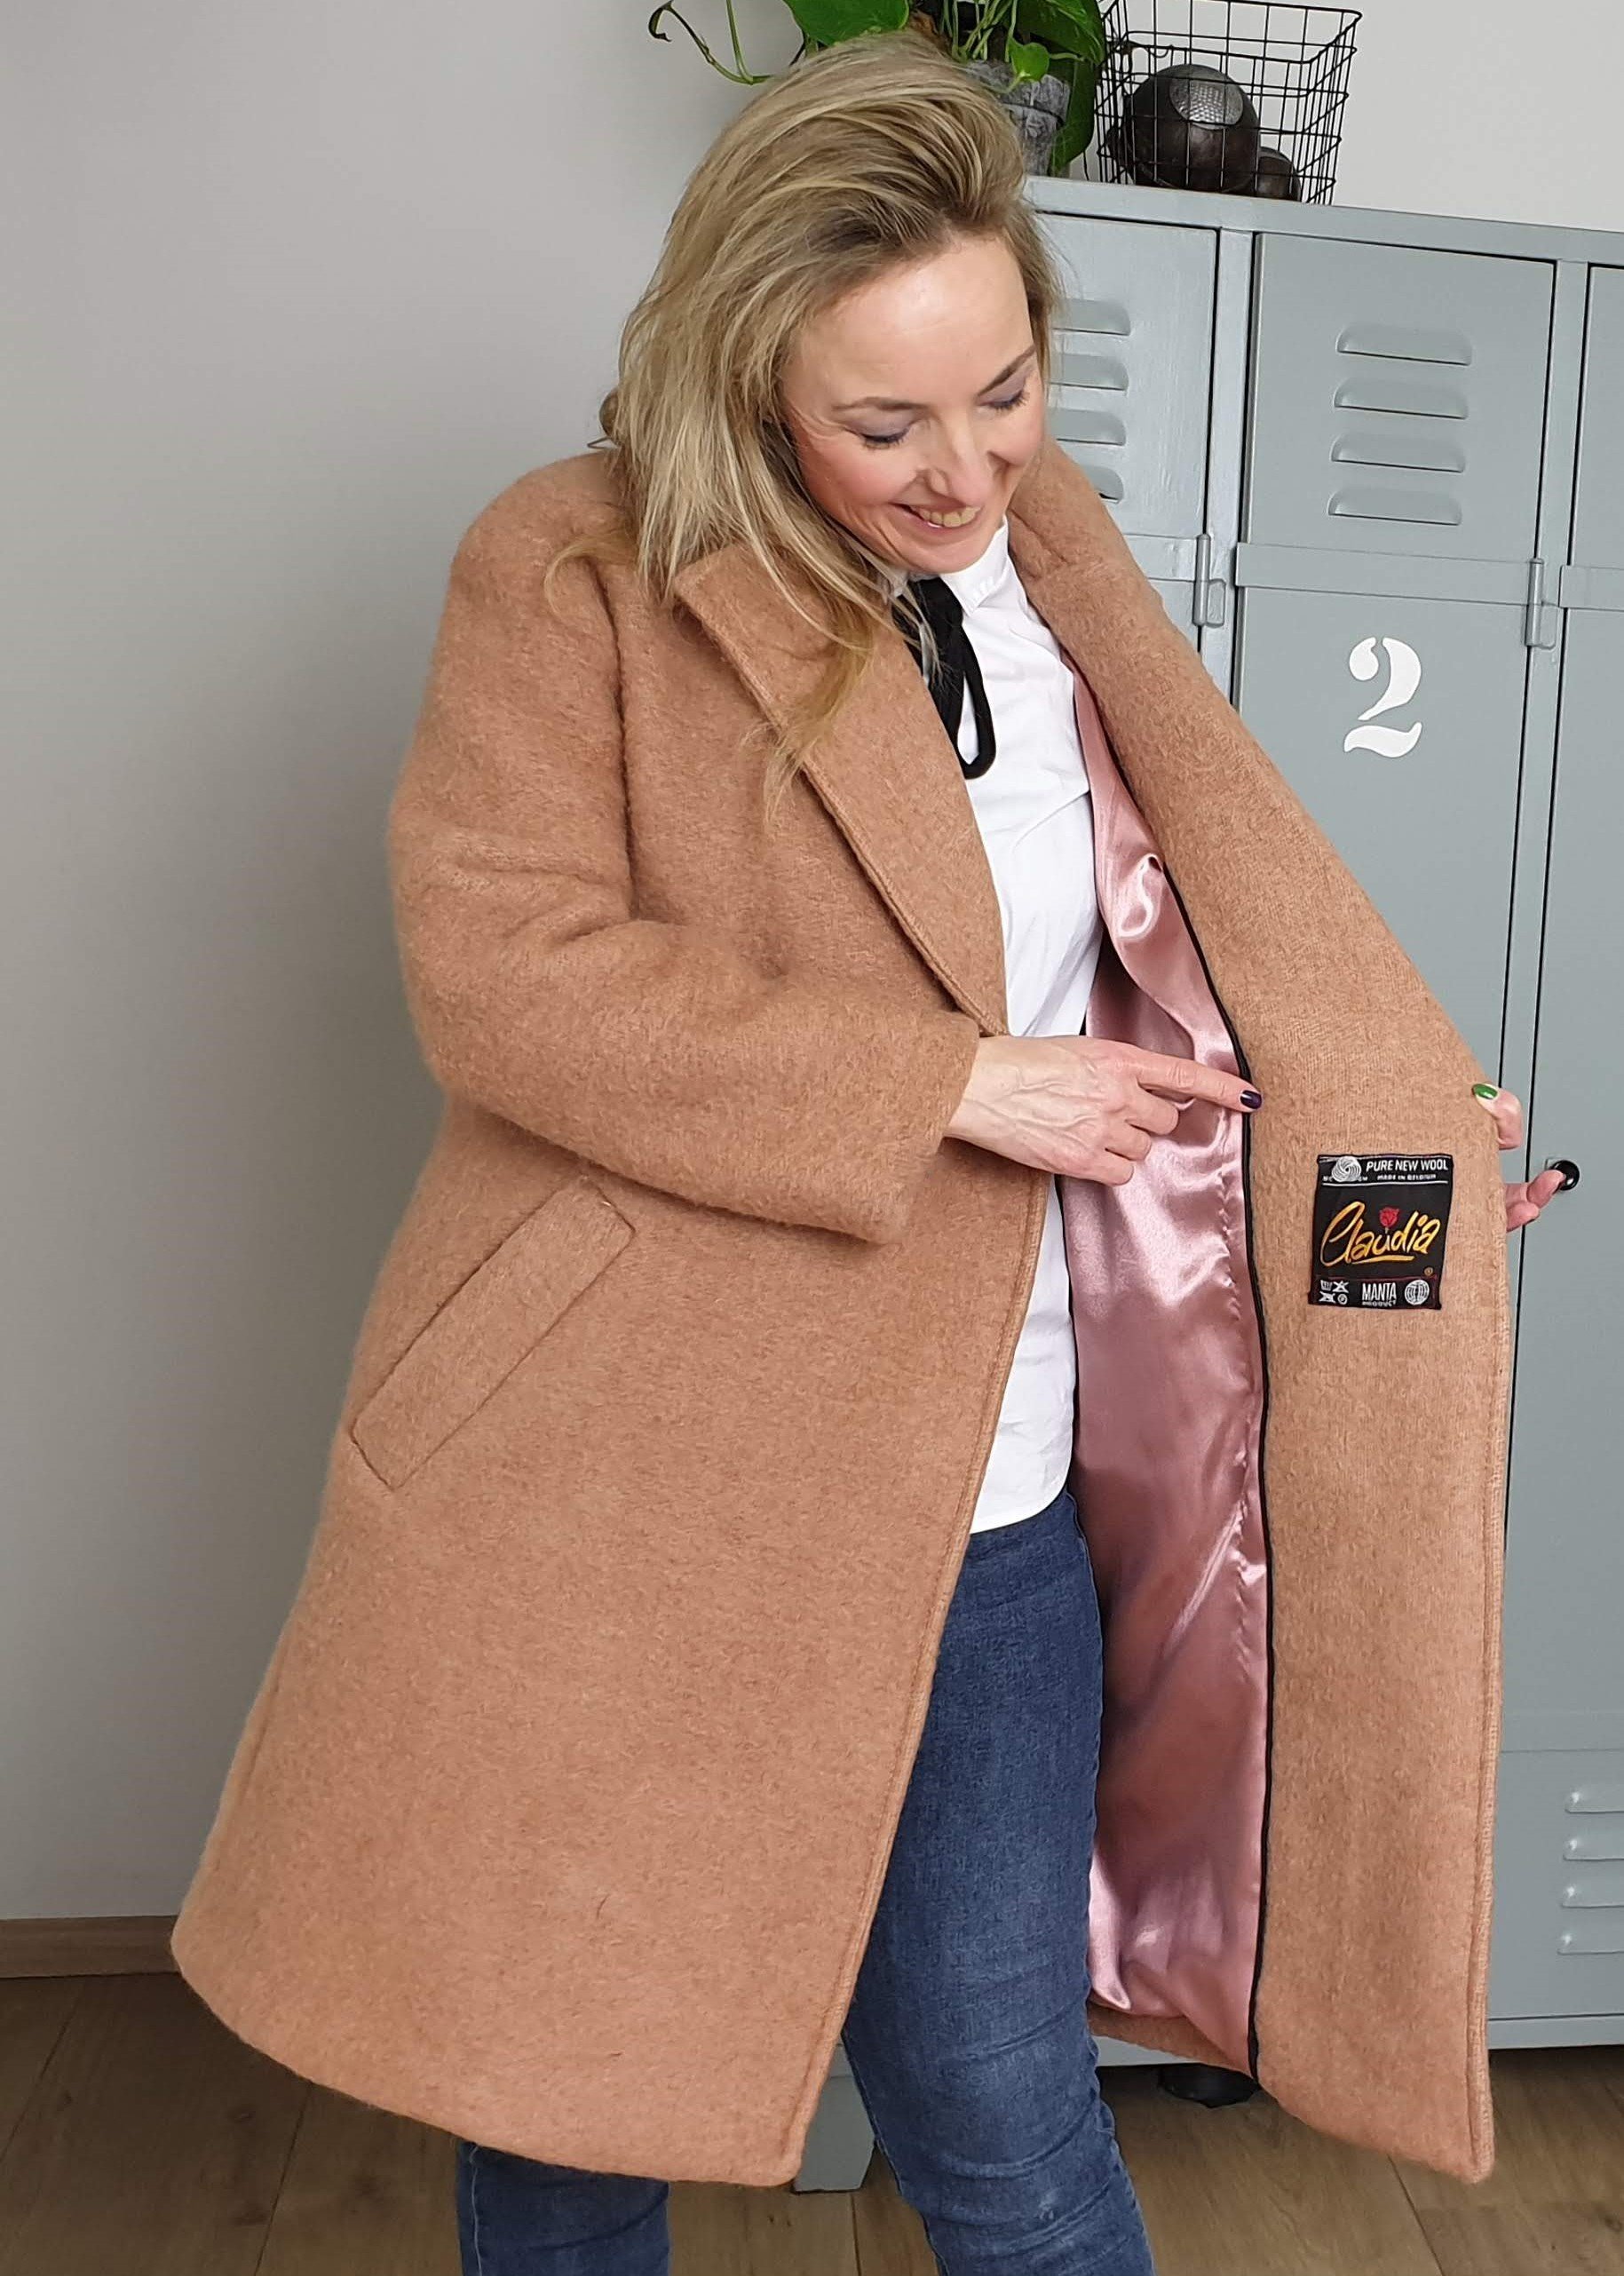
The project that I’m sharing with you on the blog is made from a large piece of fabric. I used a blanket that my mother saved for me and turned it into a lovely warm winter coat. The blanket is still in super good condition, no holes or stains, 100% wool and has stood the test of time very well. It has two colours. On the one side the blanket is taupe and the other side is more rust. In front of the mirror, I decided that the taupe side suits me better, so that became the outside of the coat.
Pattern
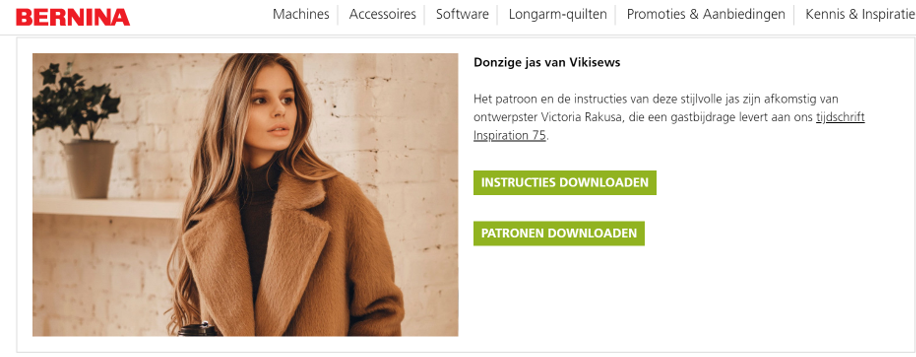
The pattern that I chose for the coat you can download for free on the BERNINA site. The coat is called Mary and it’s by the Russian designer Victoria Rakusa a.k.a.Viki Sews.
It is a fairly boxy pattern and ideal for the thick woolen fabric that I wanted to use. I especially liked the large lapel collar for this type of the fabric.
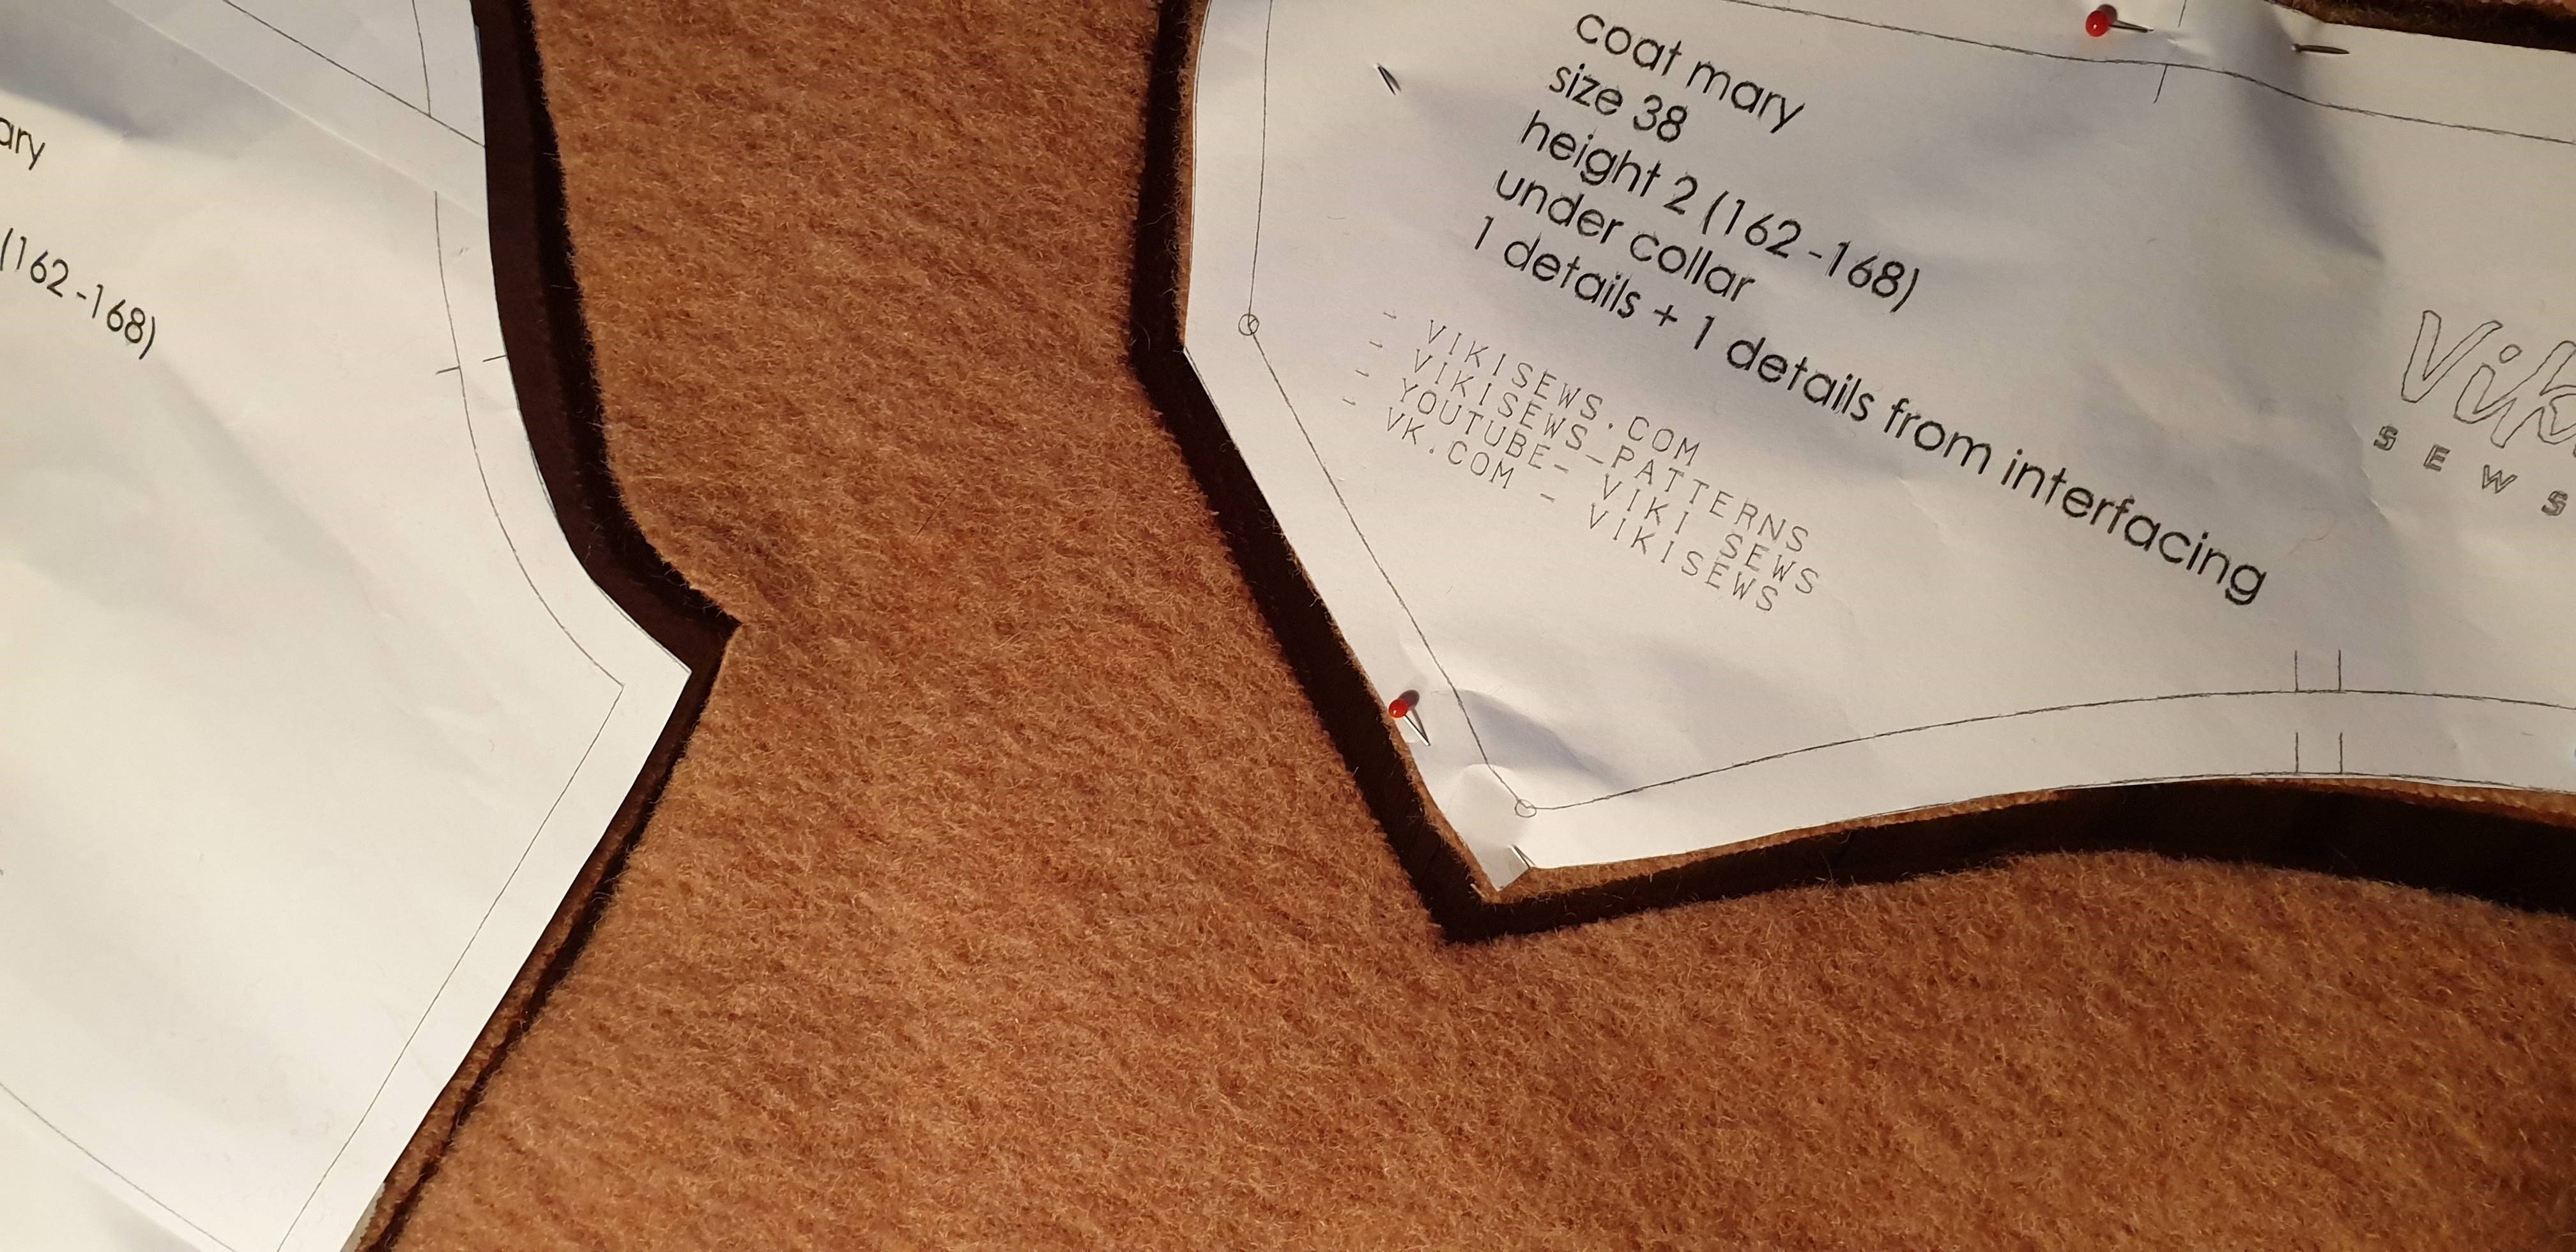
You can download the pattern in sizes 36 to 48 (8 – 20). Each size consists of two files to be printed, one for all lining parts and one for the jacket. In addition, you download a separate file with explanation (in English). The indication on the pattern were all very clear as were the sewing instructions. The size is standard for a certain length. In my case size 38, length size 162-168 cm. I therefore did not have to adjust anything. It is indicated at which places you can extend the pattern to make it fit your height.
After cutting the fabric, I reinforced the indicated pattern parts with fusible interfacing. The standard pocket is one that is stitched on top of the coat. I chose to make insertion pockets with a large placket at the pocket entrance.
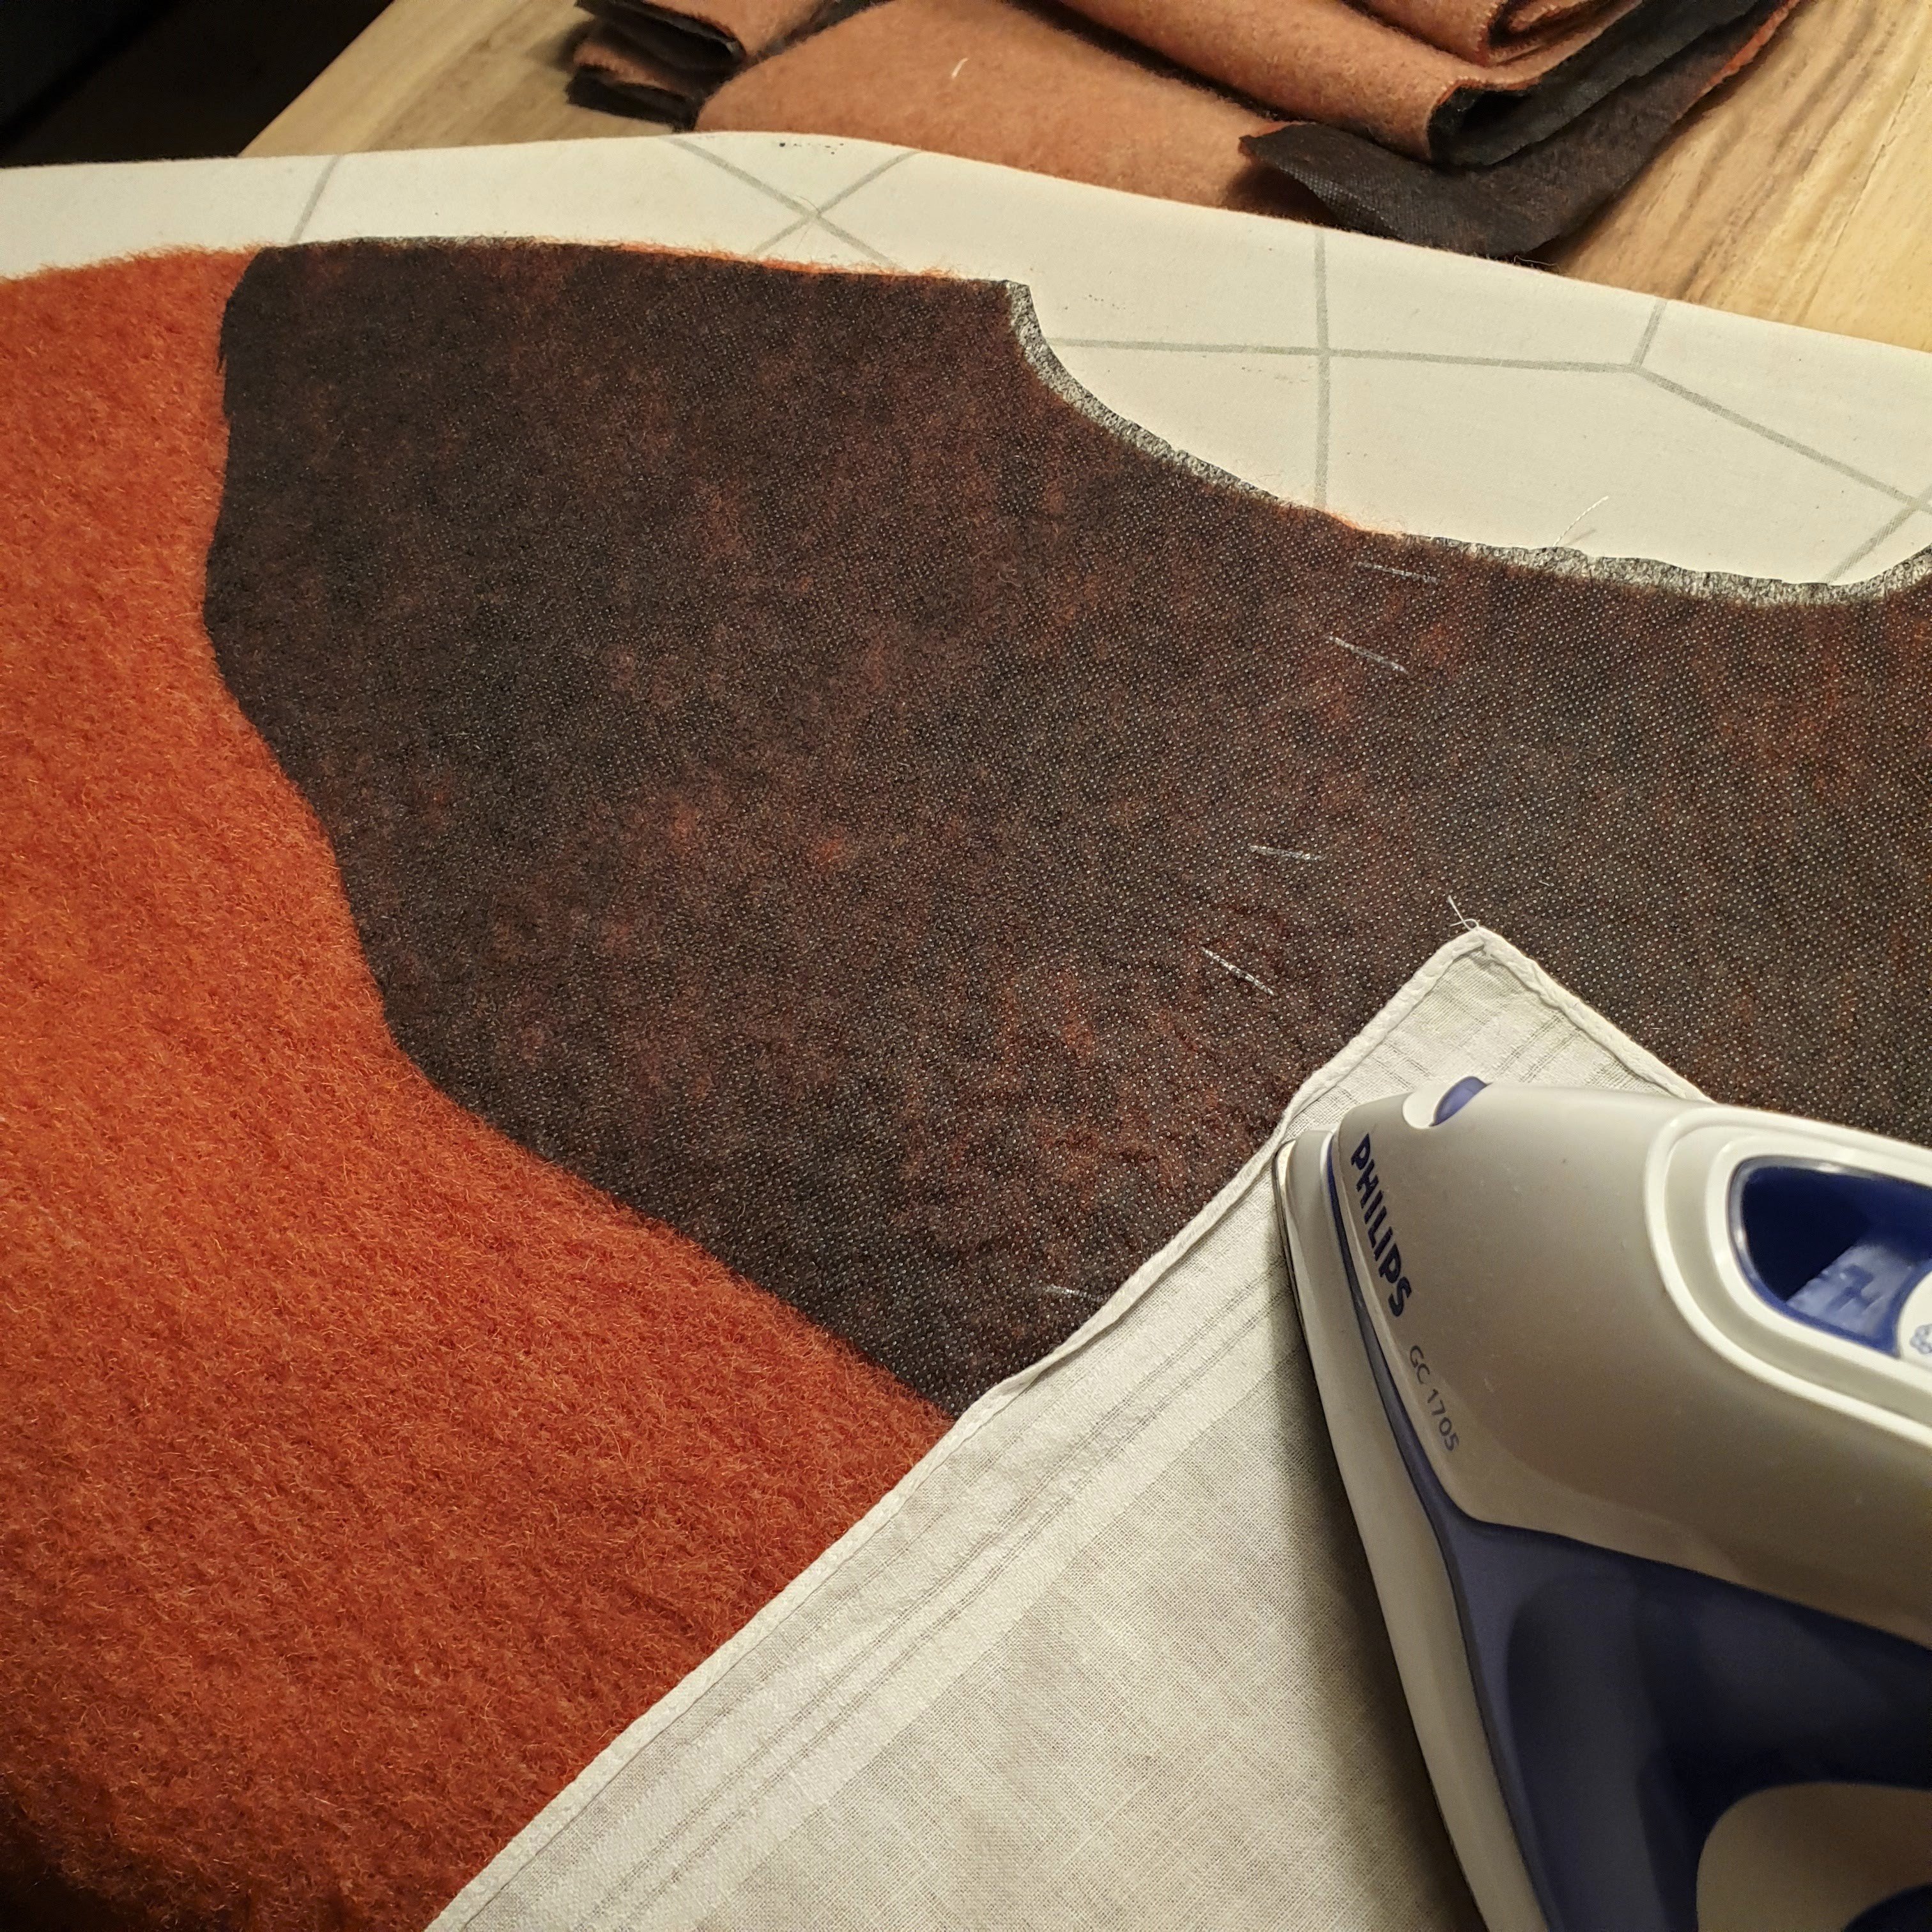
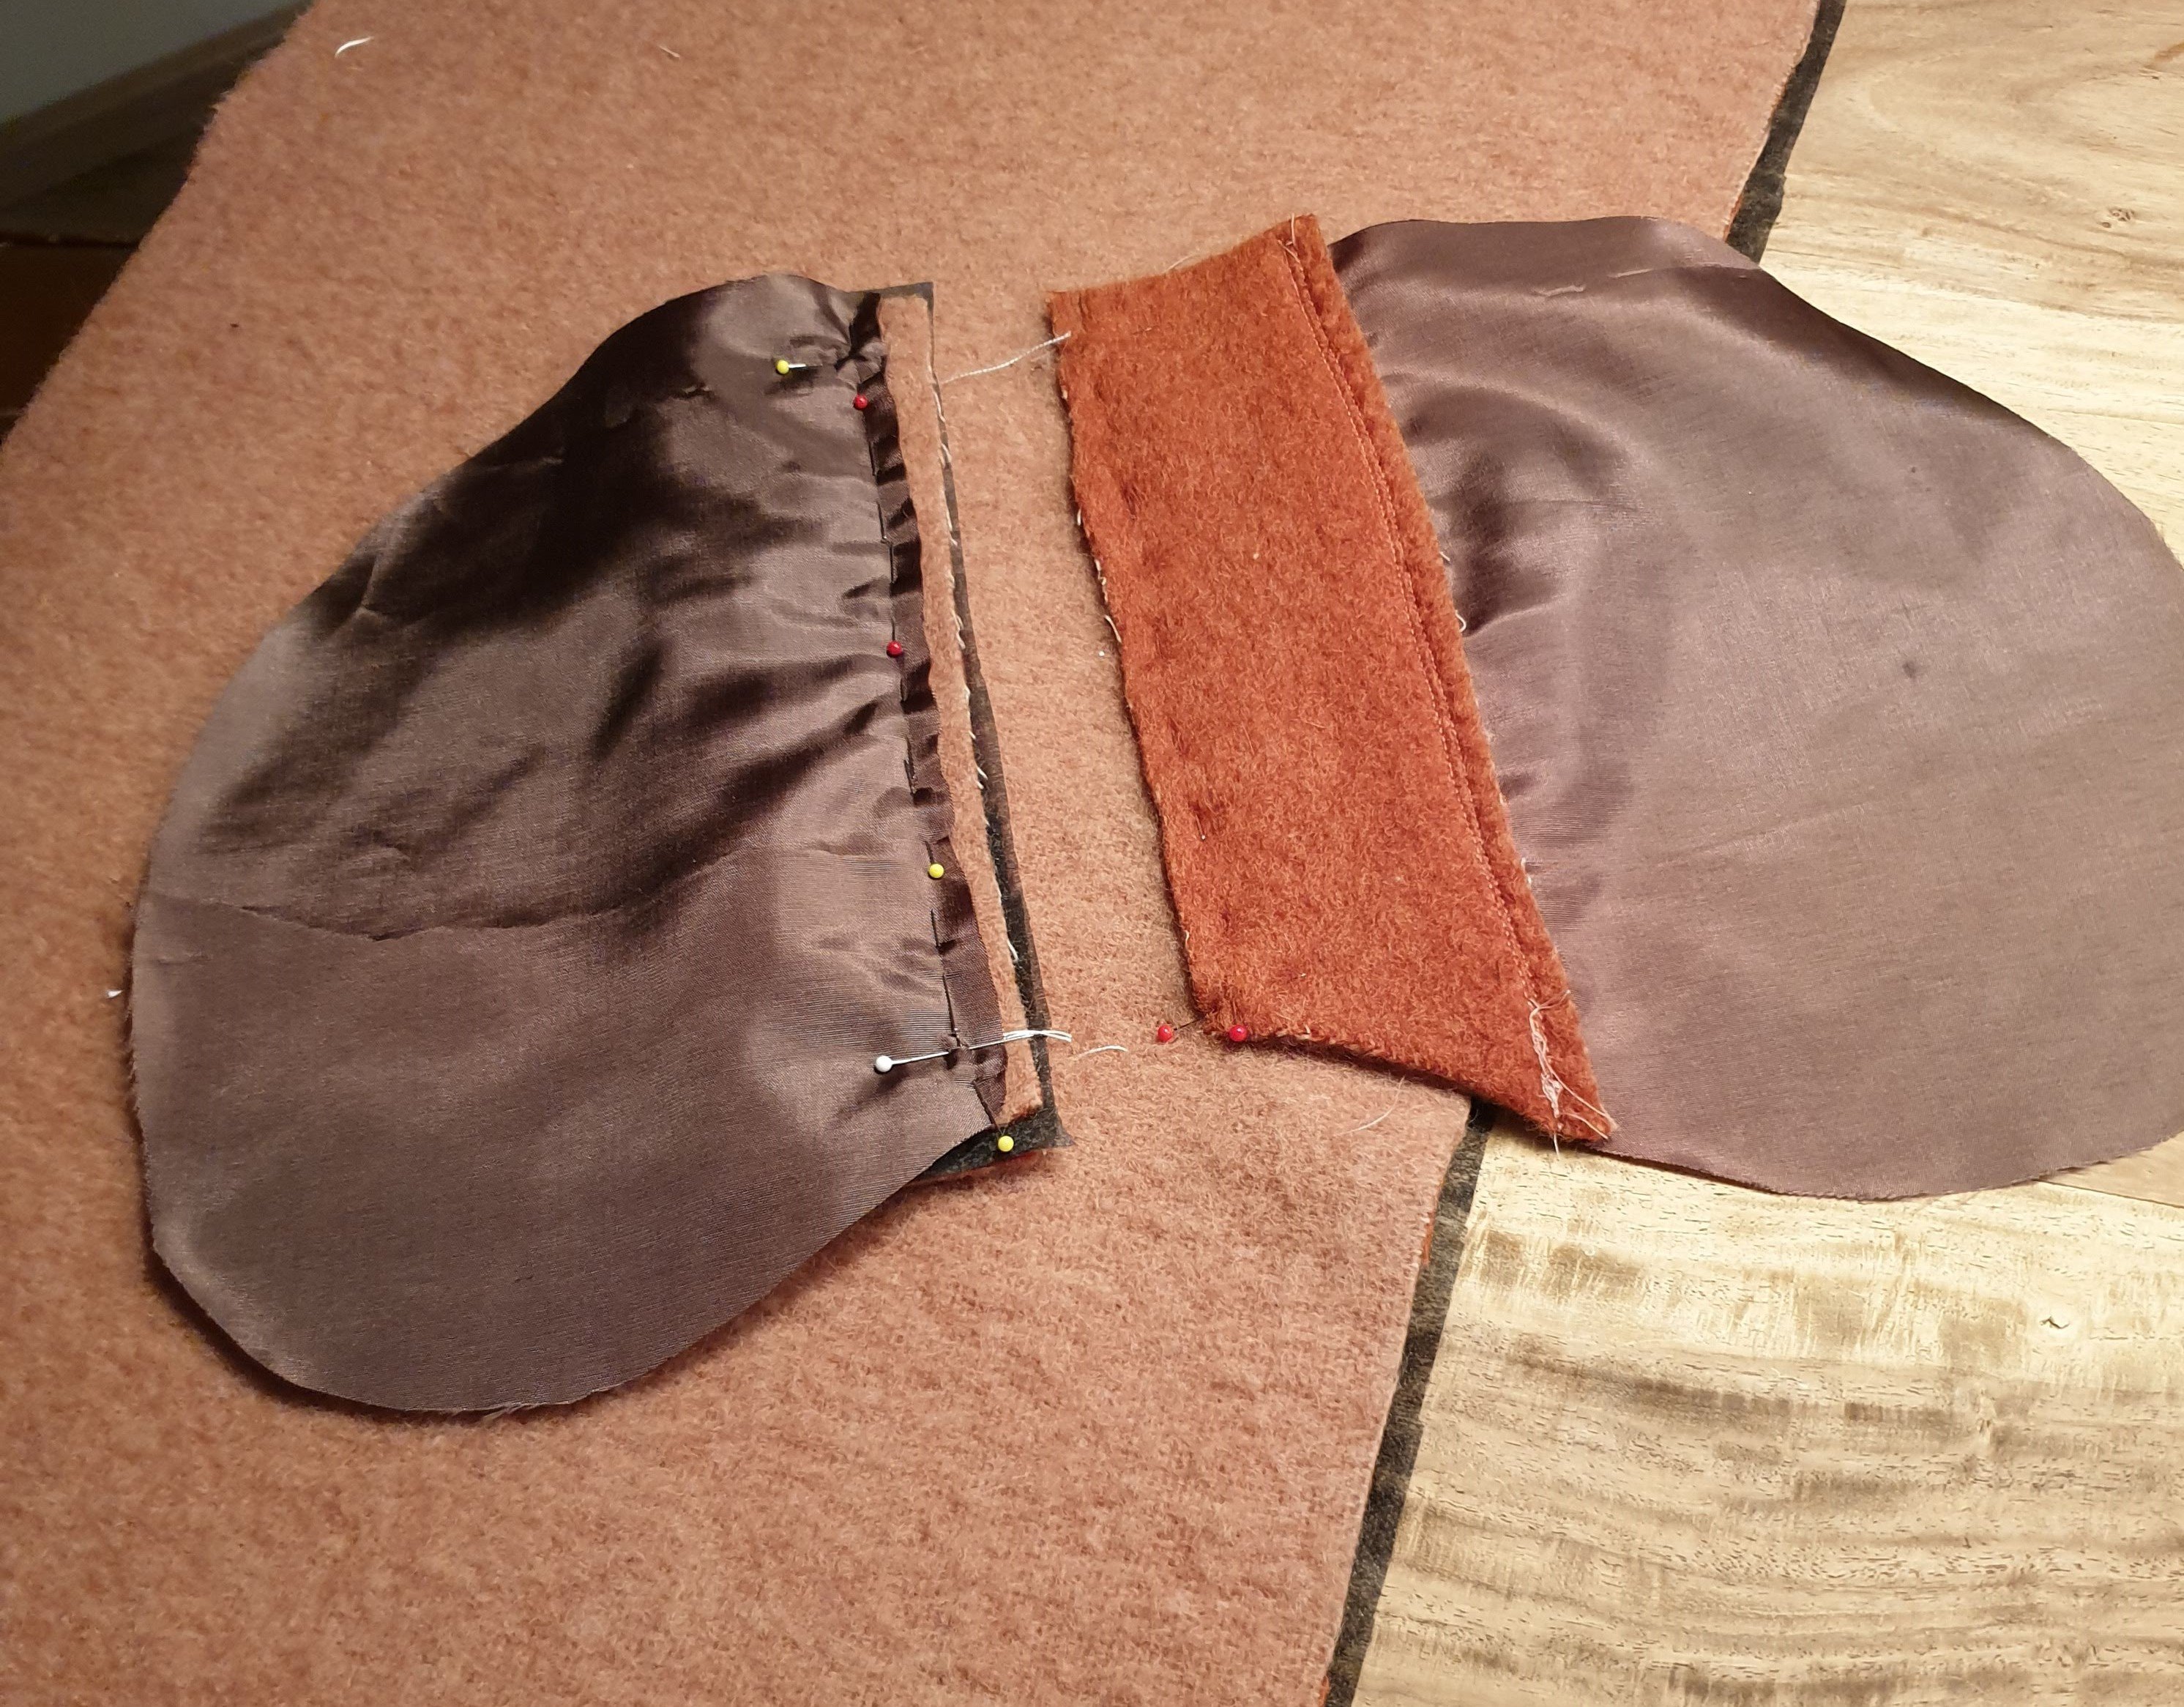
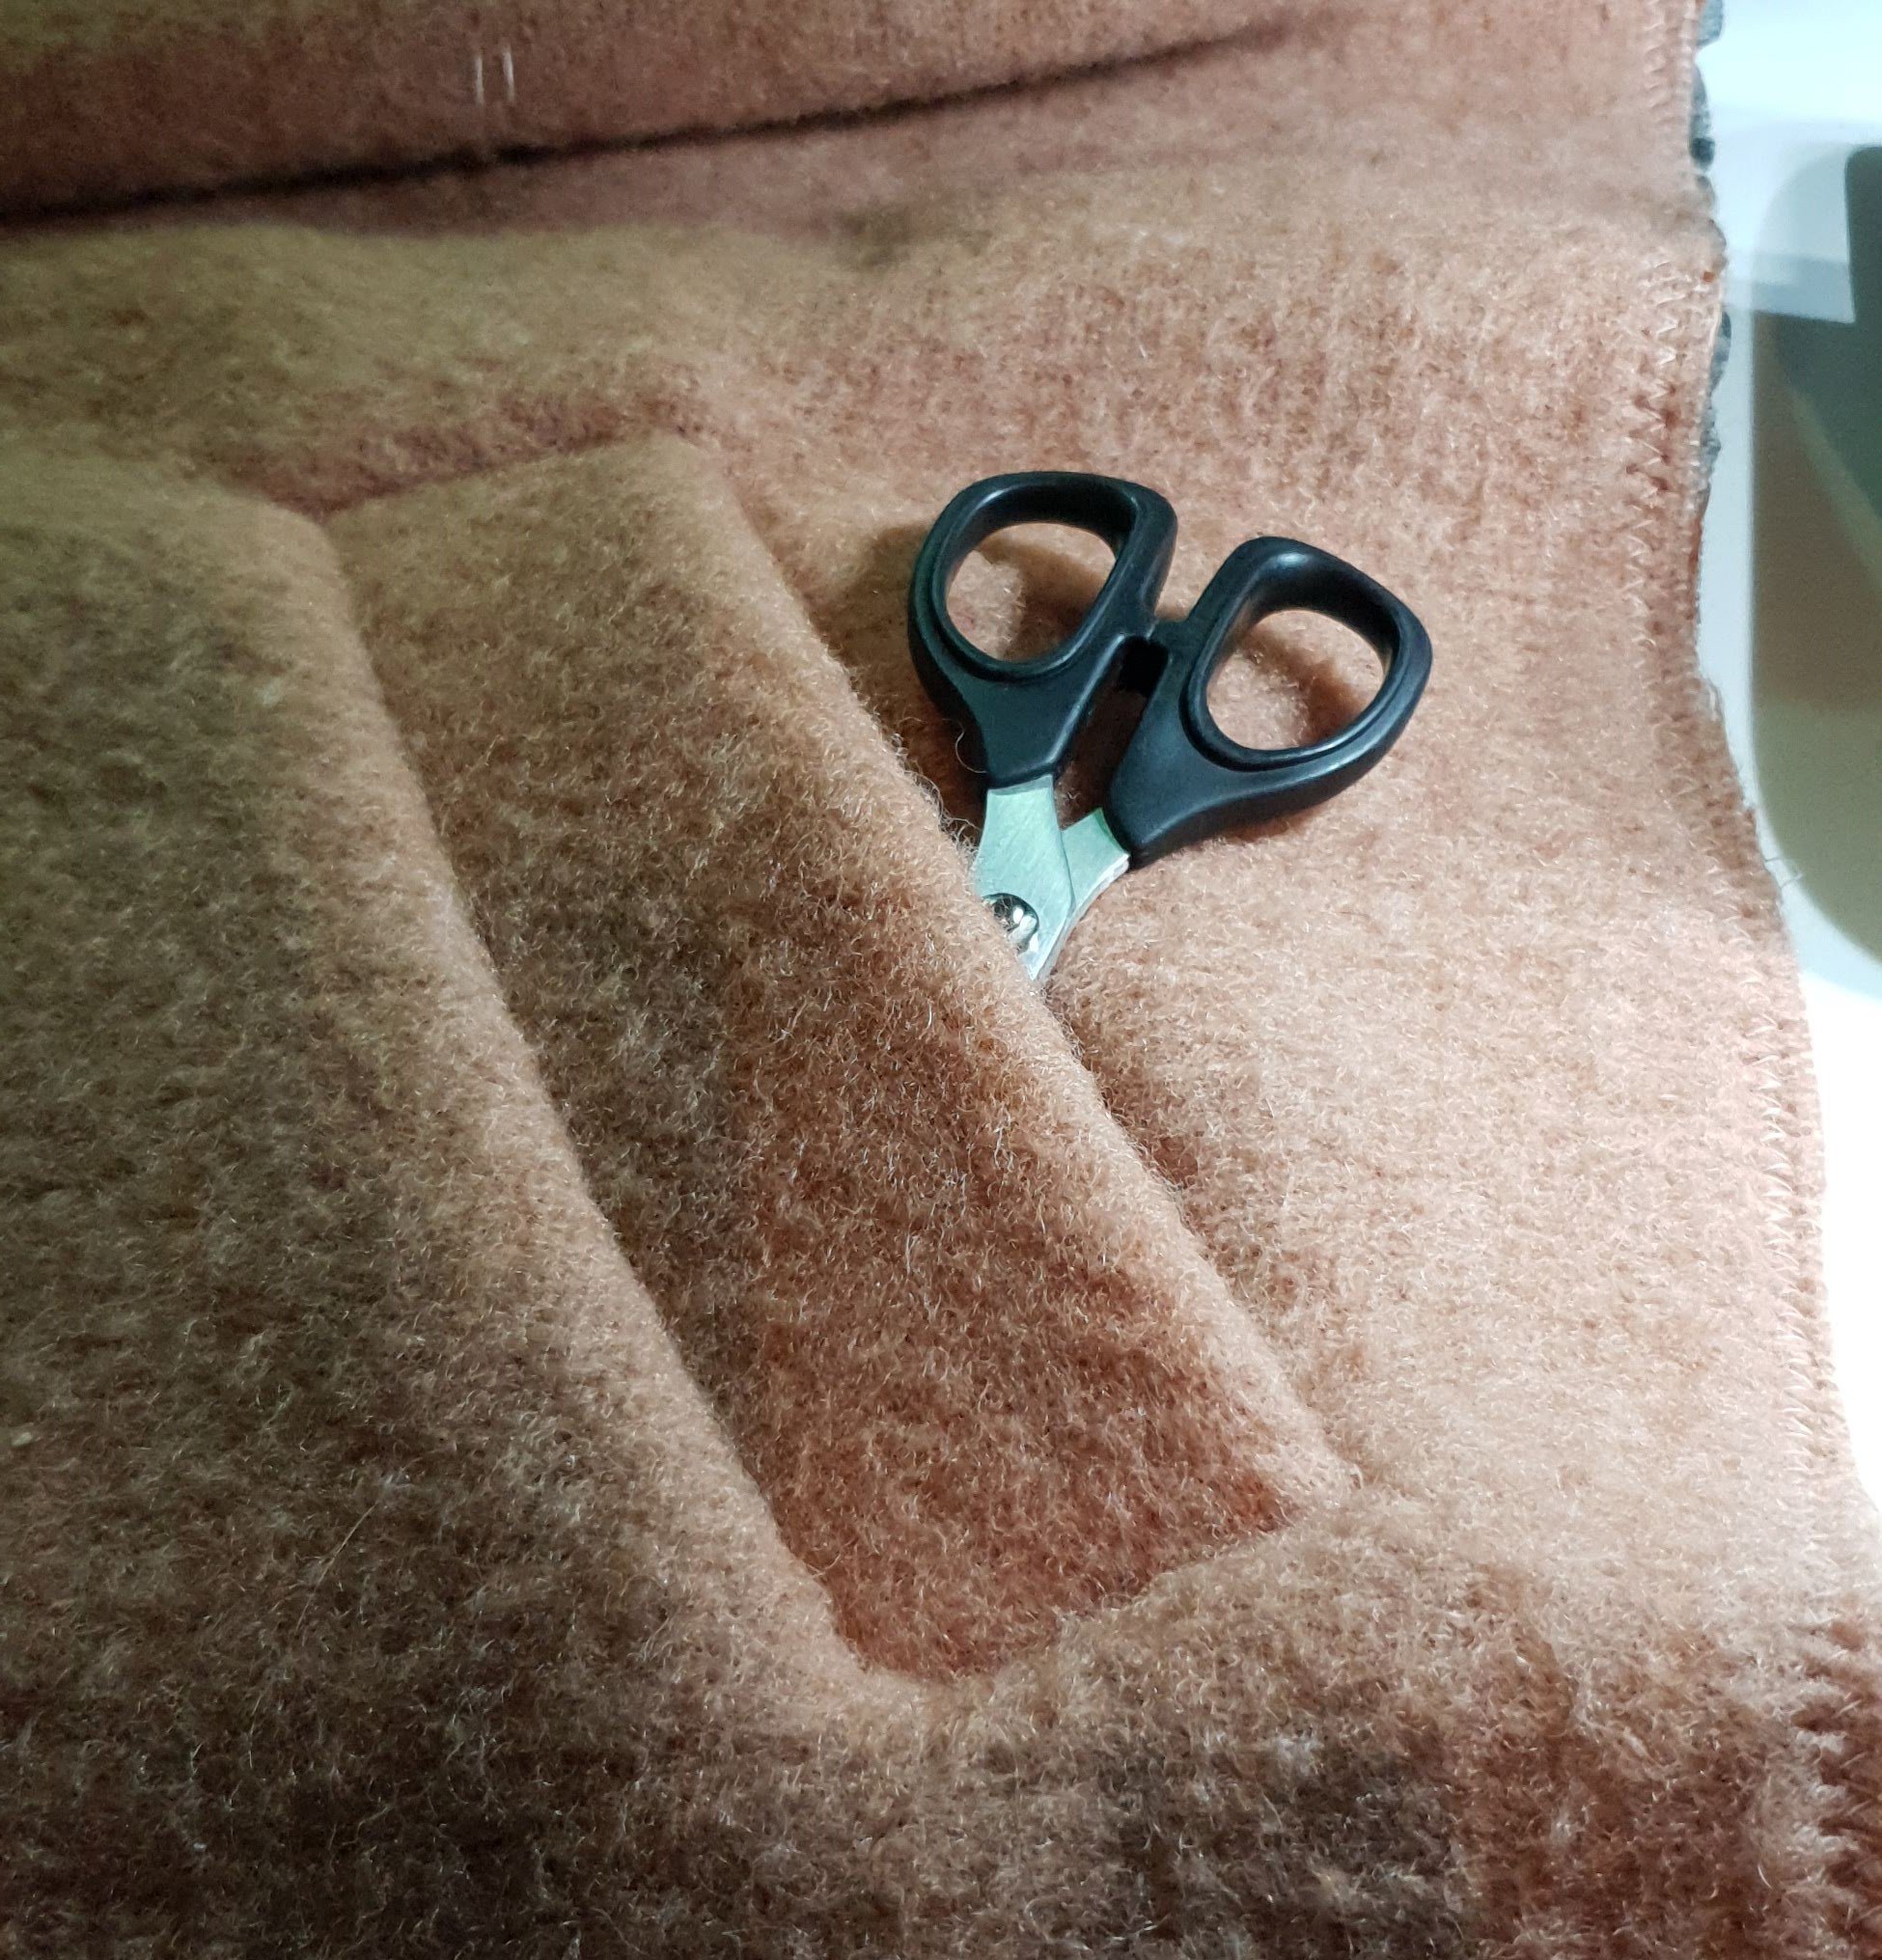
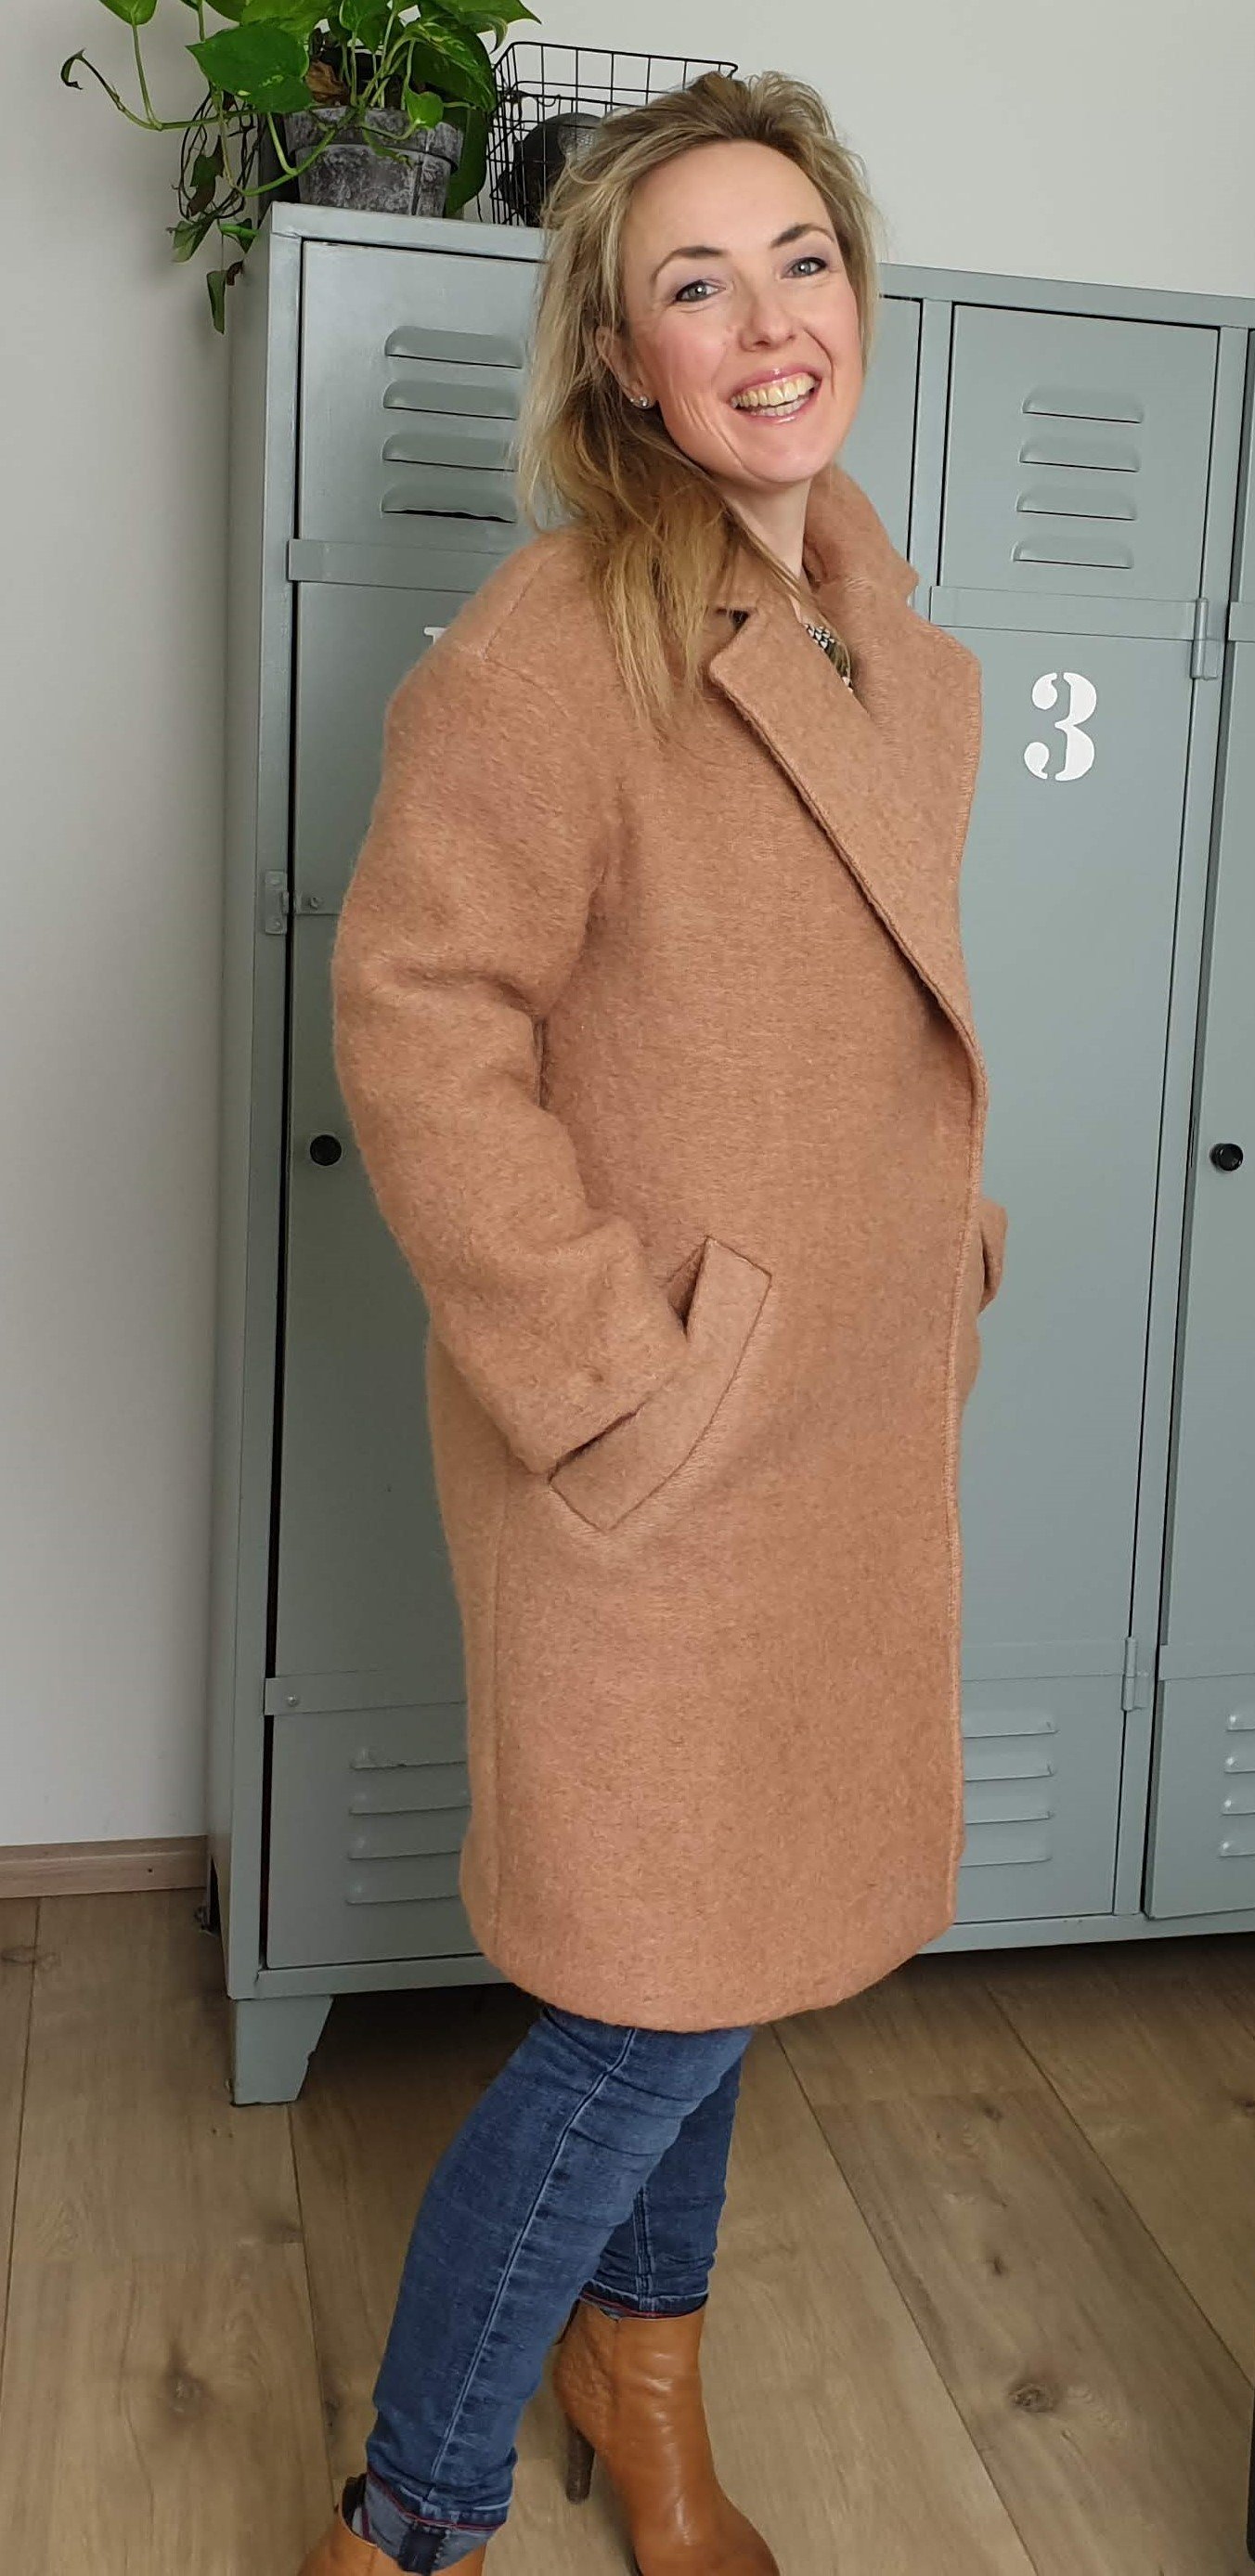
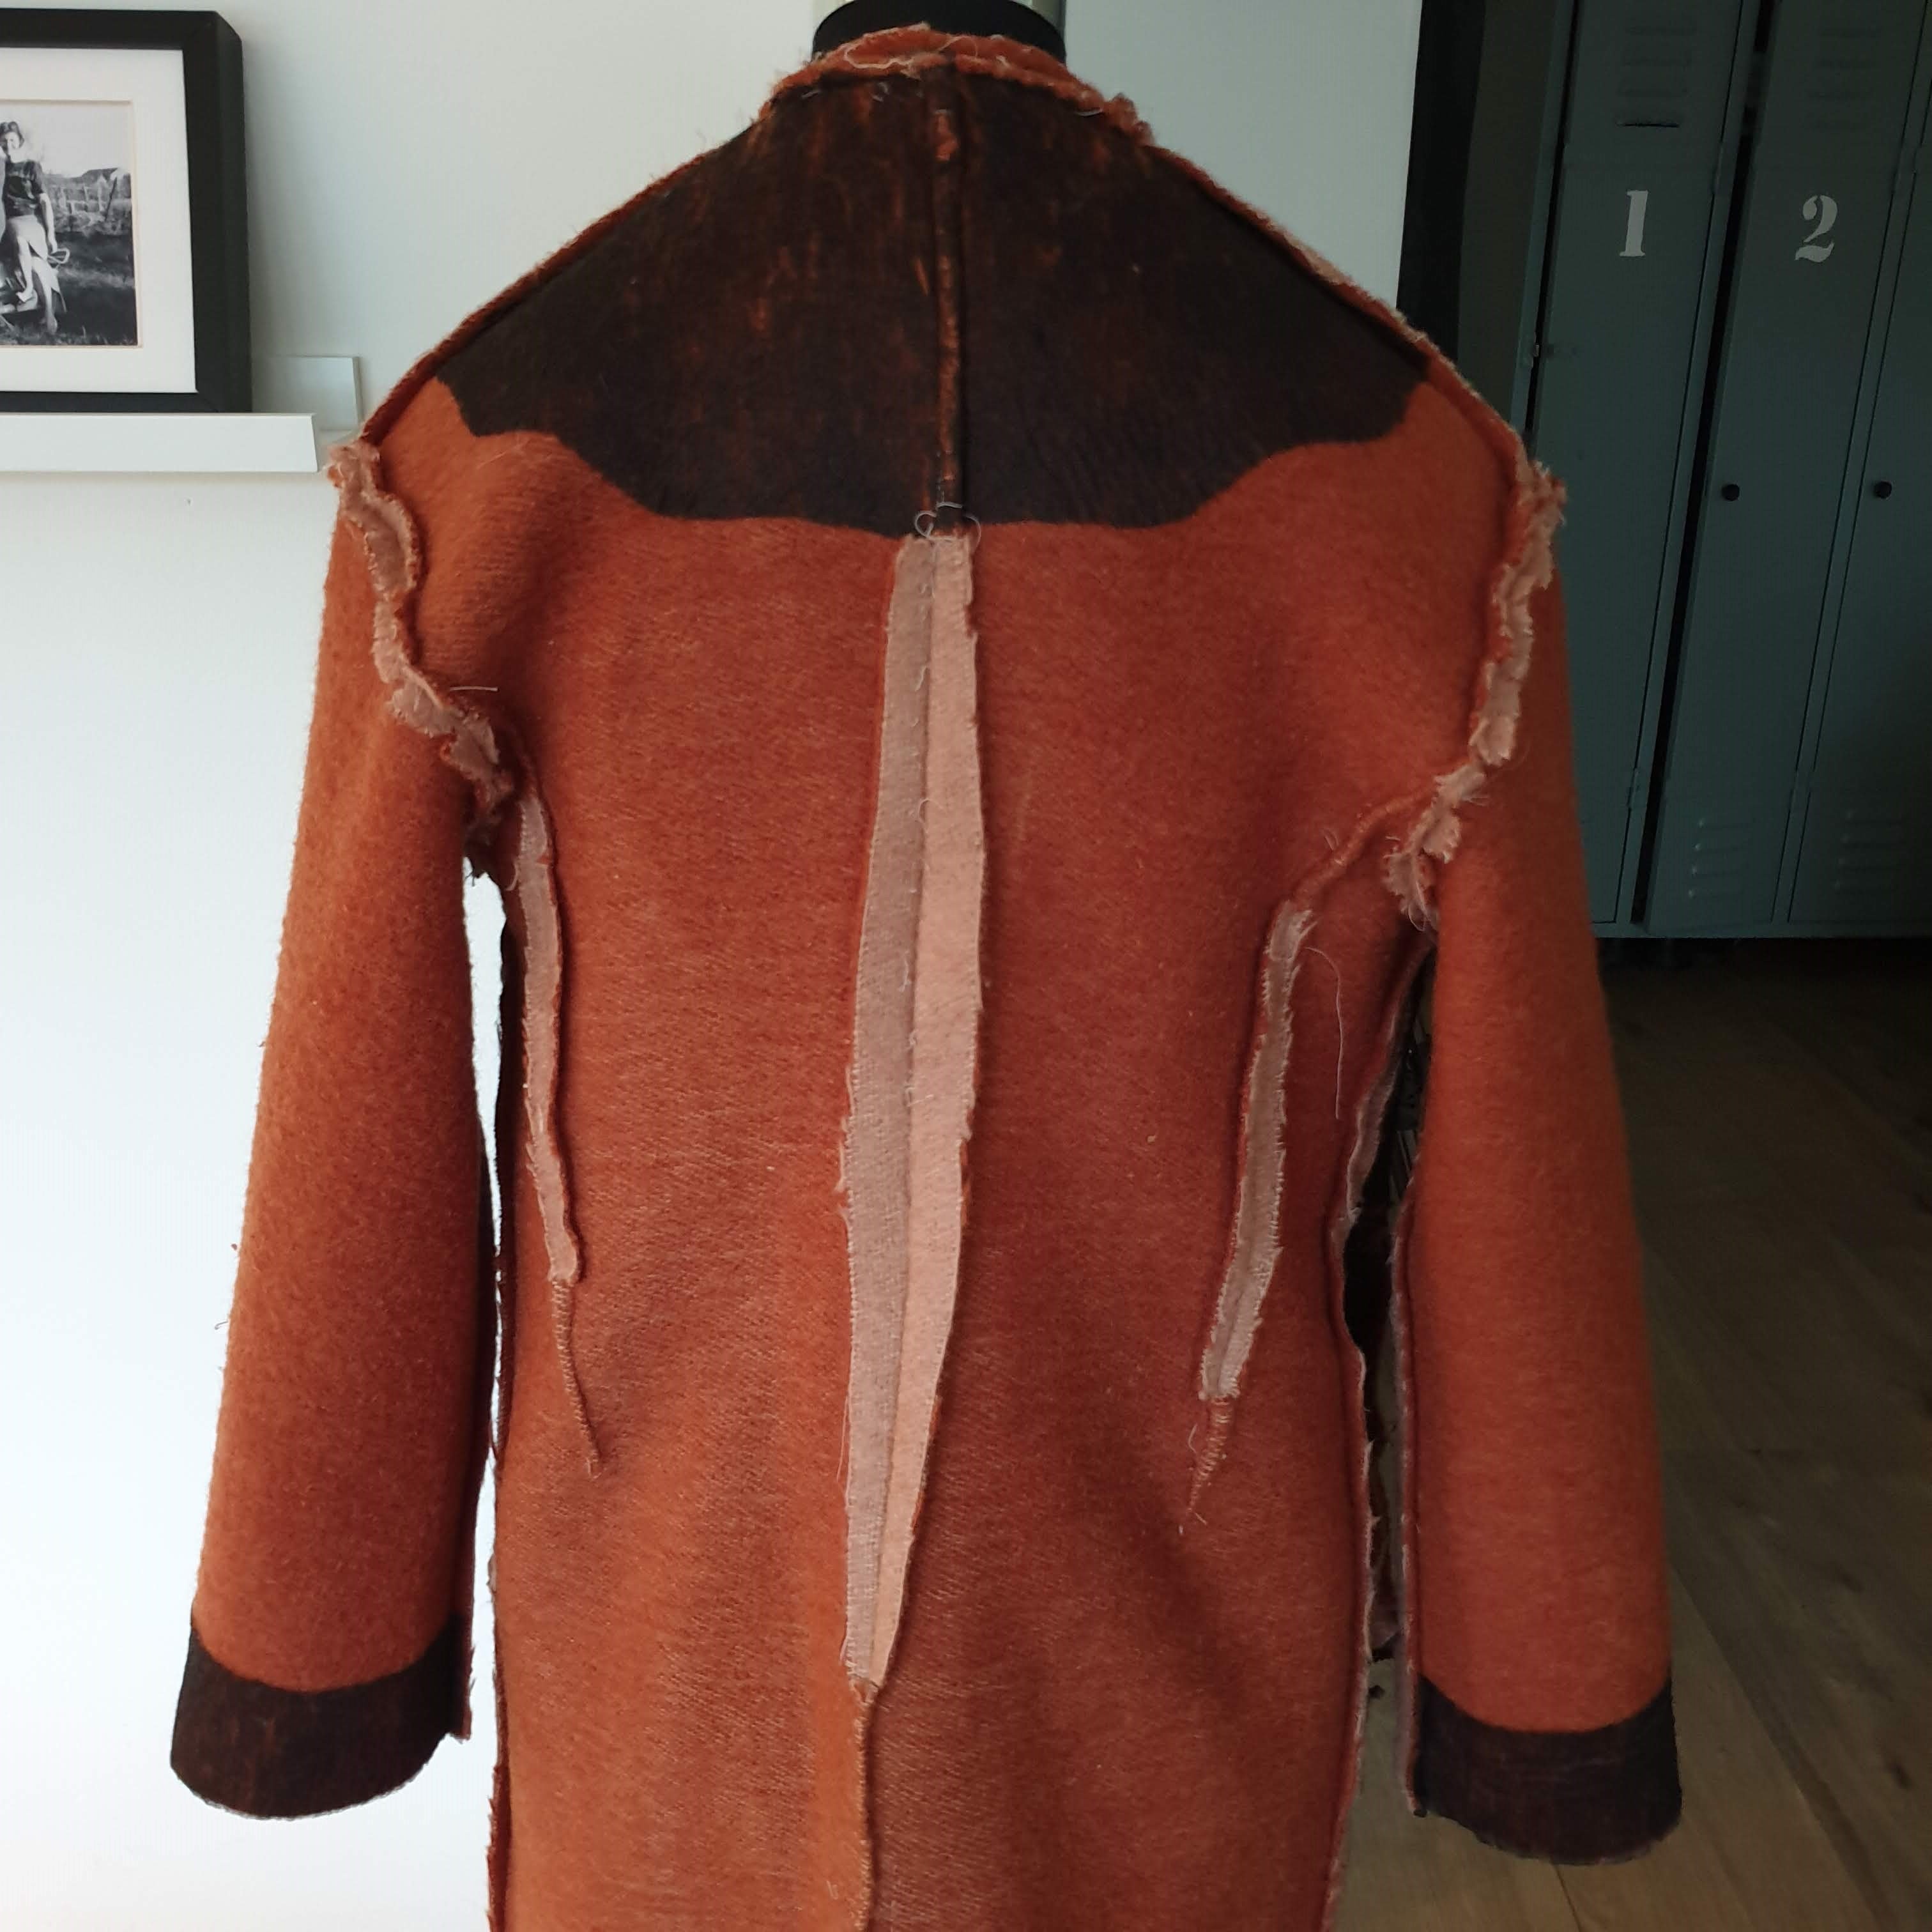
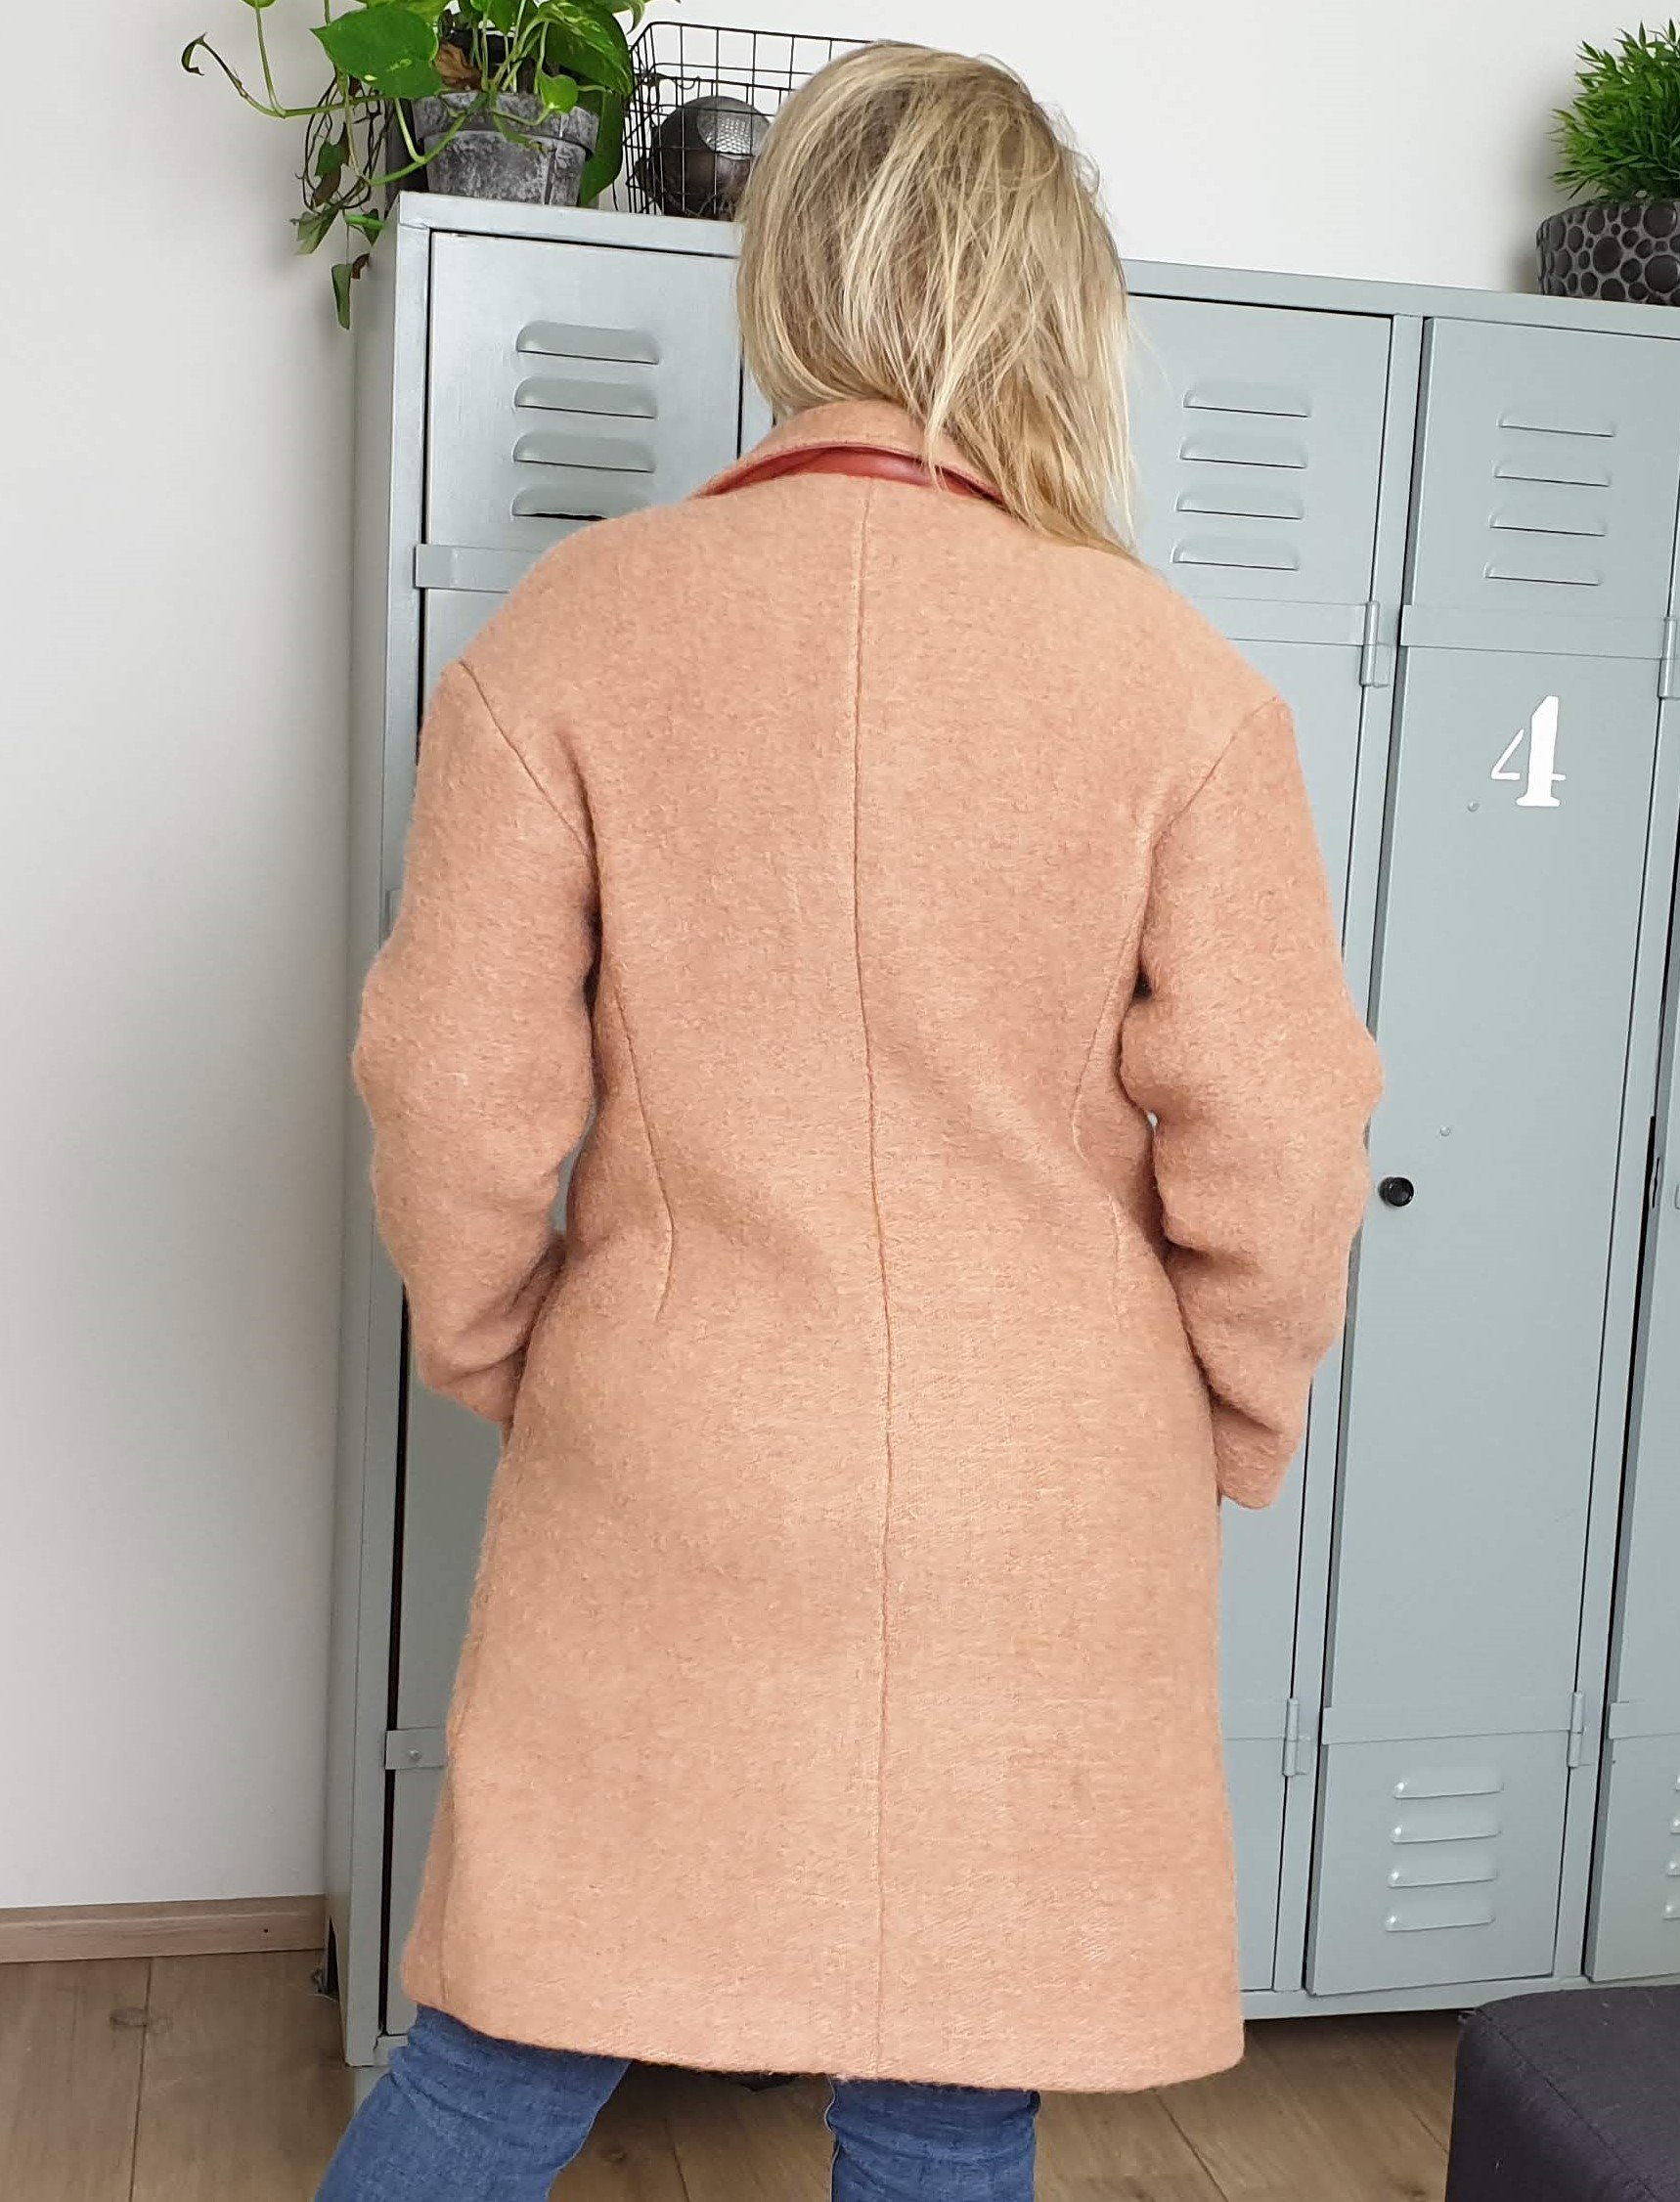
When the jacket was assembled so far, I decided to tailor the straight model. The coat was too boxy for my taste. At the back I added a seam in the middle and I added a dart on either side. First you pin these extra seams then you fit the coat and if it fits right you then stitch. To be able to properly press the new seams, I partially cut them to fold an iron them.
Pressing
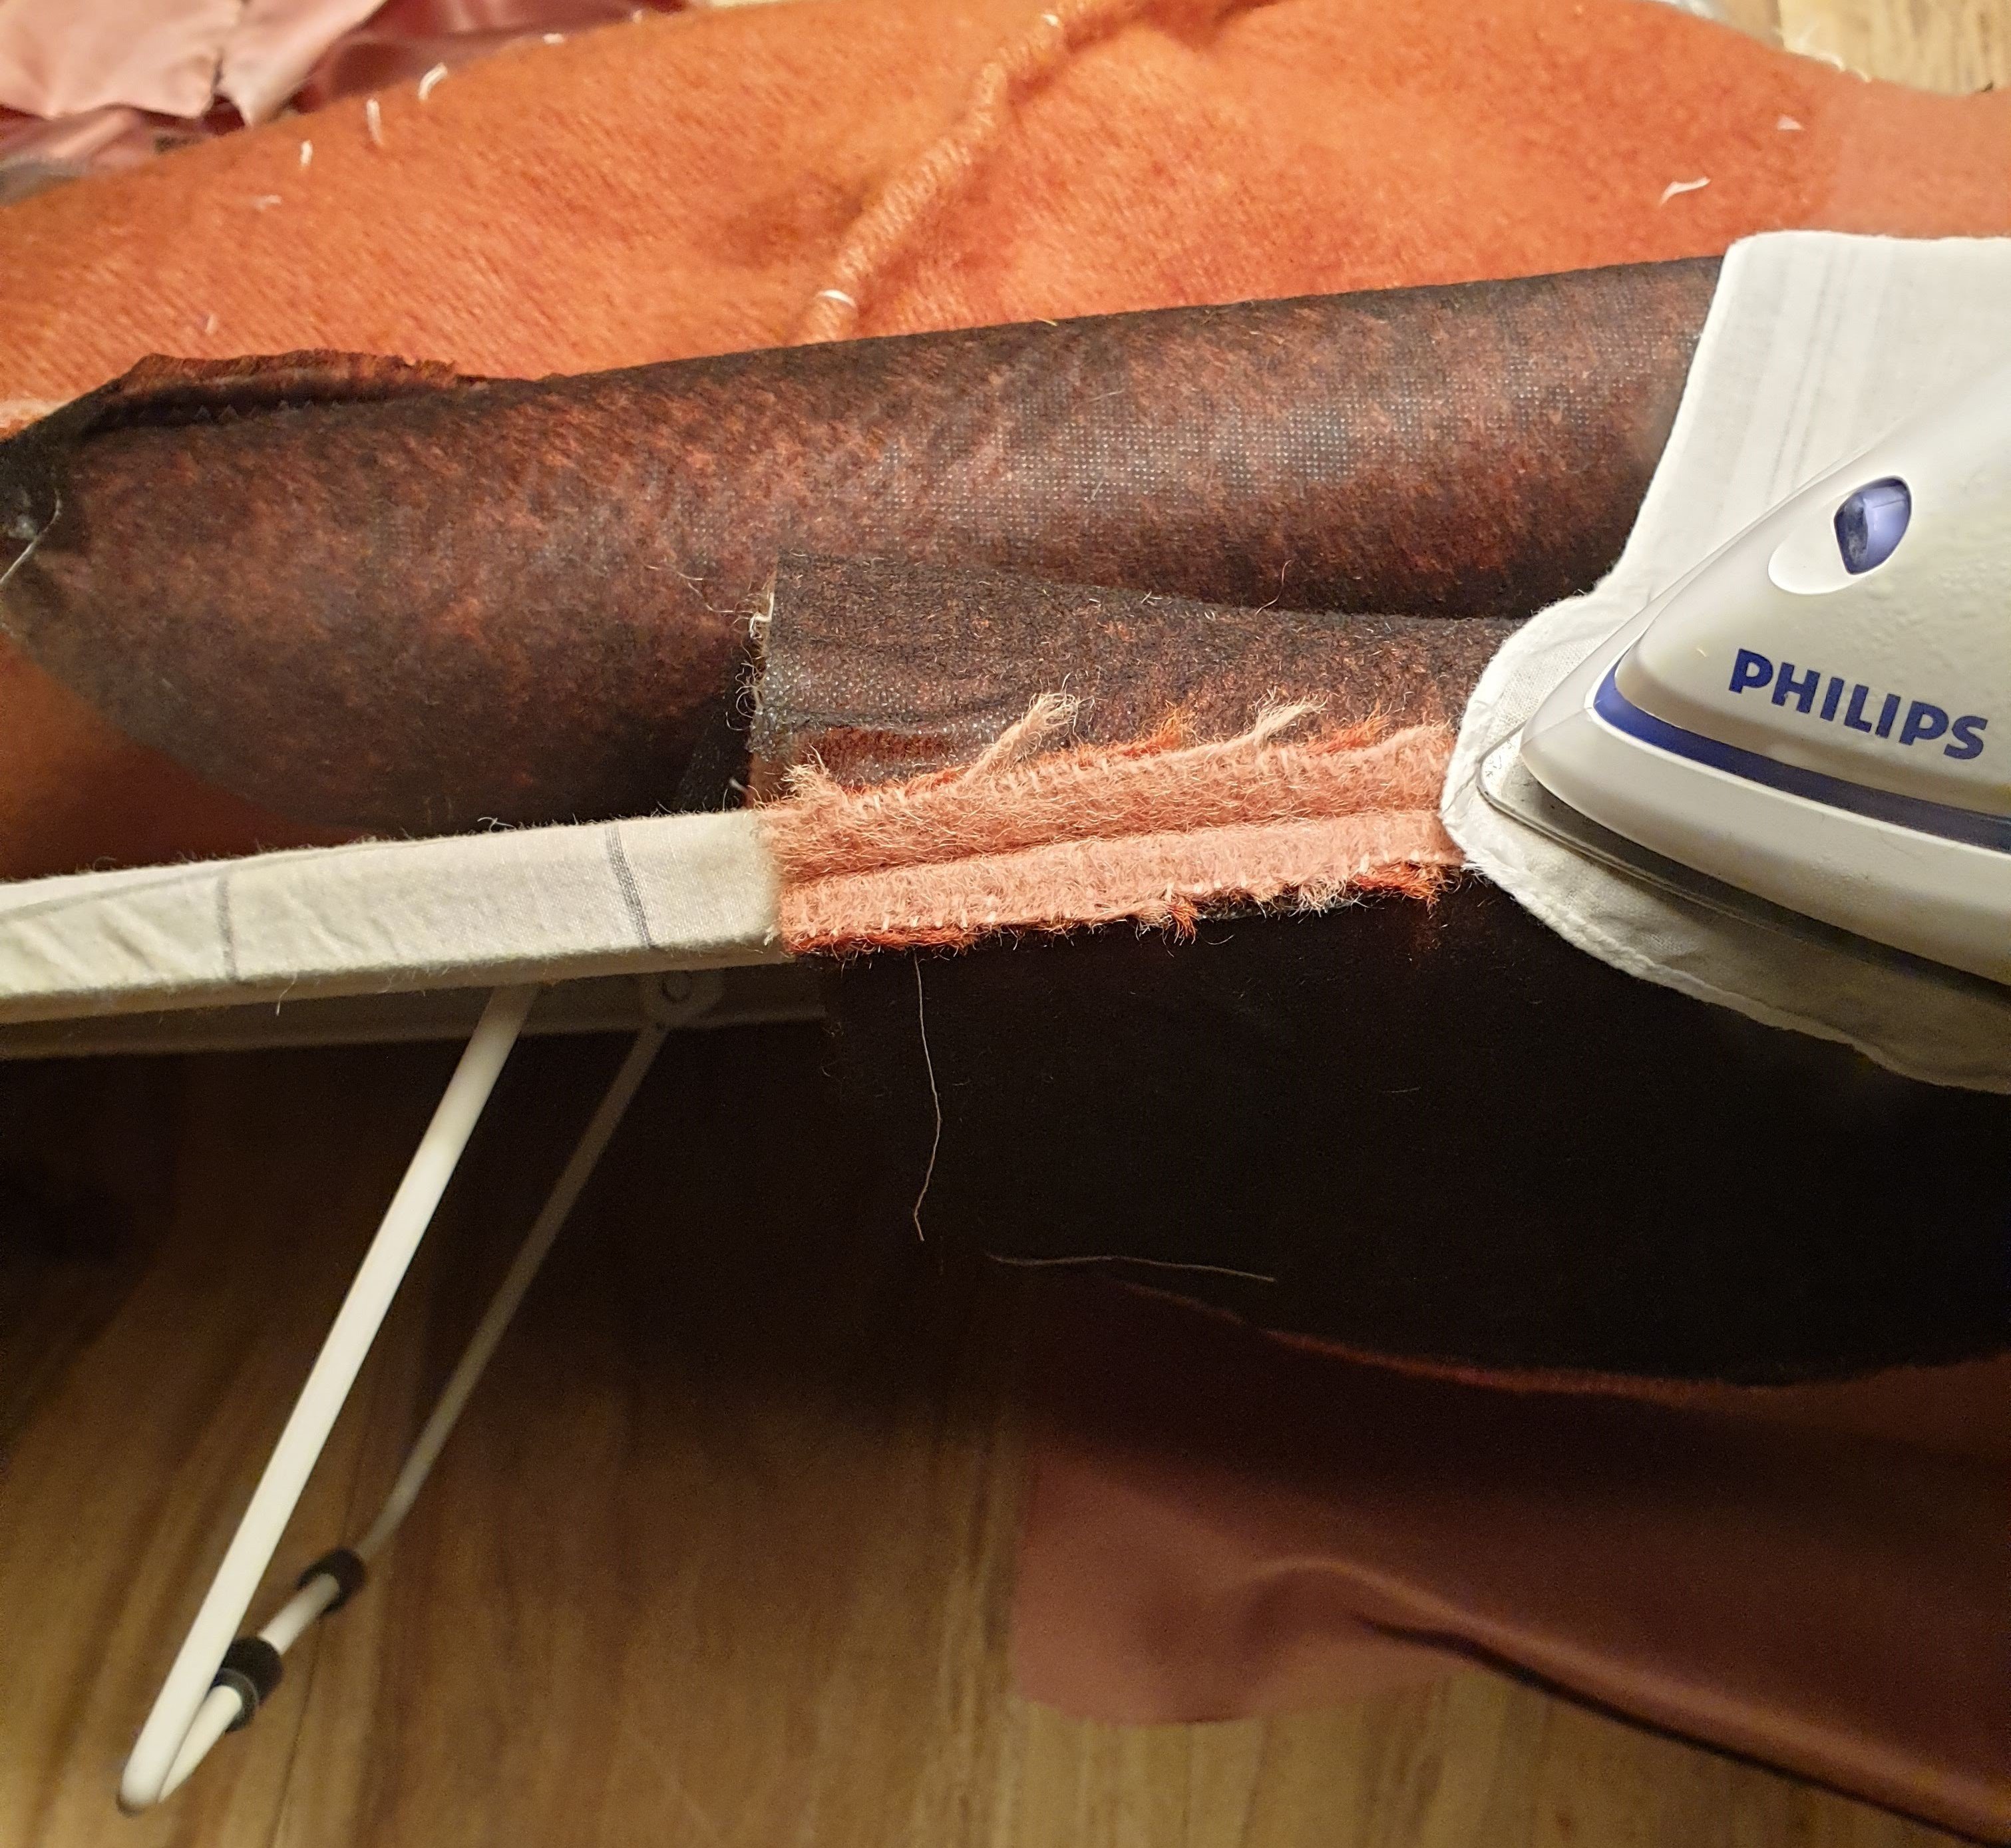
Pressing the coat went really well. With the iron set on wool, using a cloth and with a Tailor’s clapper. I recently got that Tailor’s clapper and I no longer know how I did this before. It is a wooden block that when you iron your project with steam it quickly removes the moisture from your project and makes the fold extra sharp / firm by simply pushing the clapper on it.
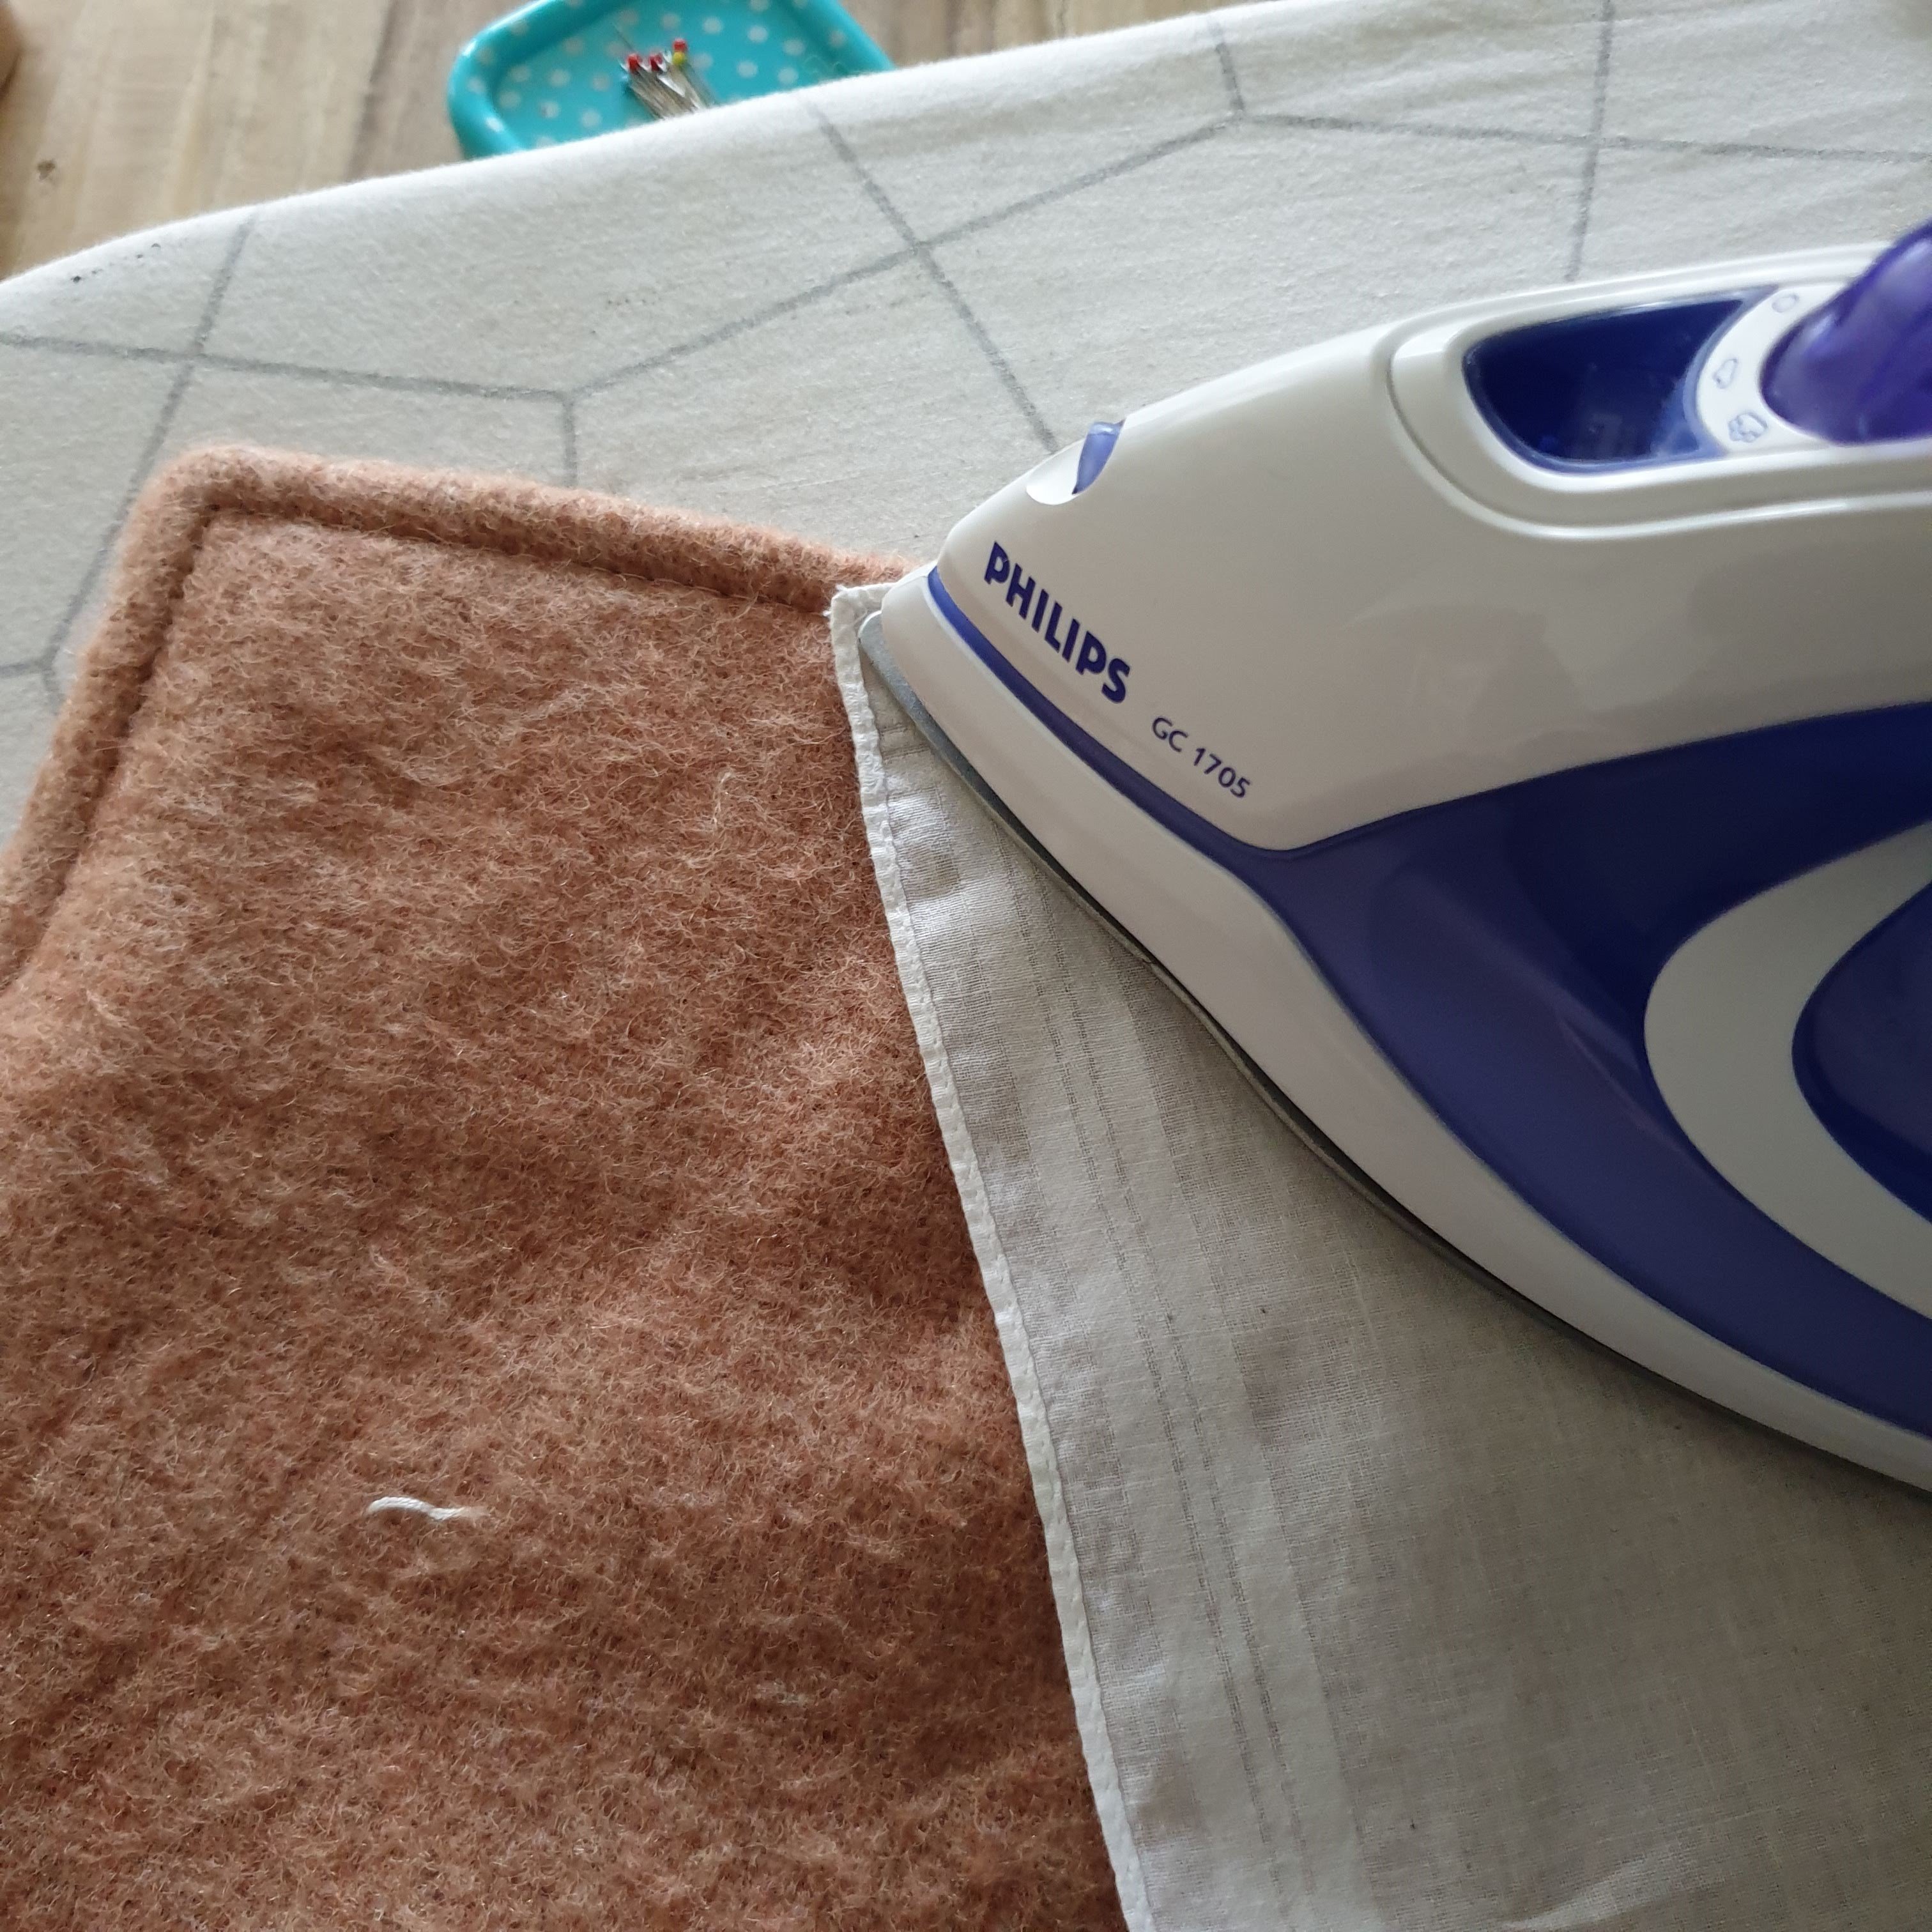
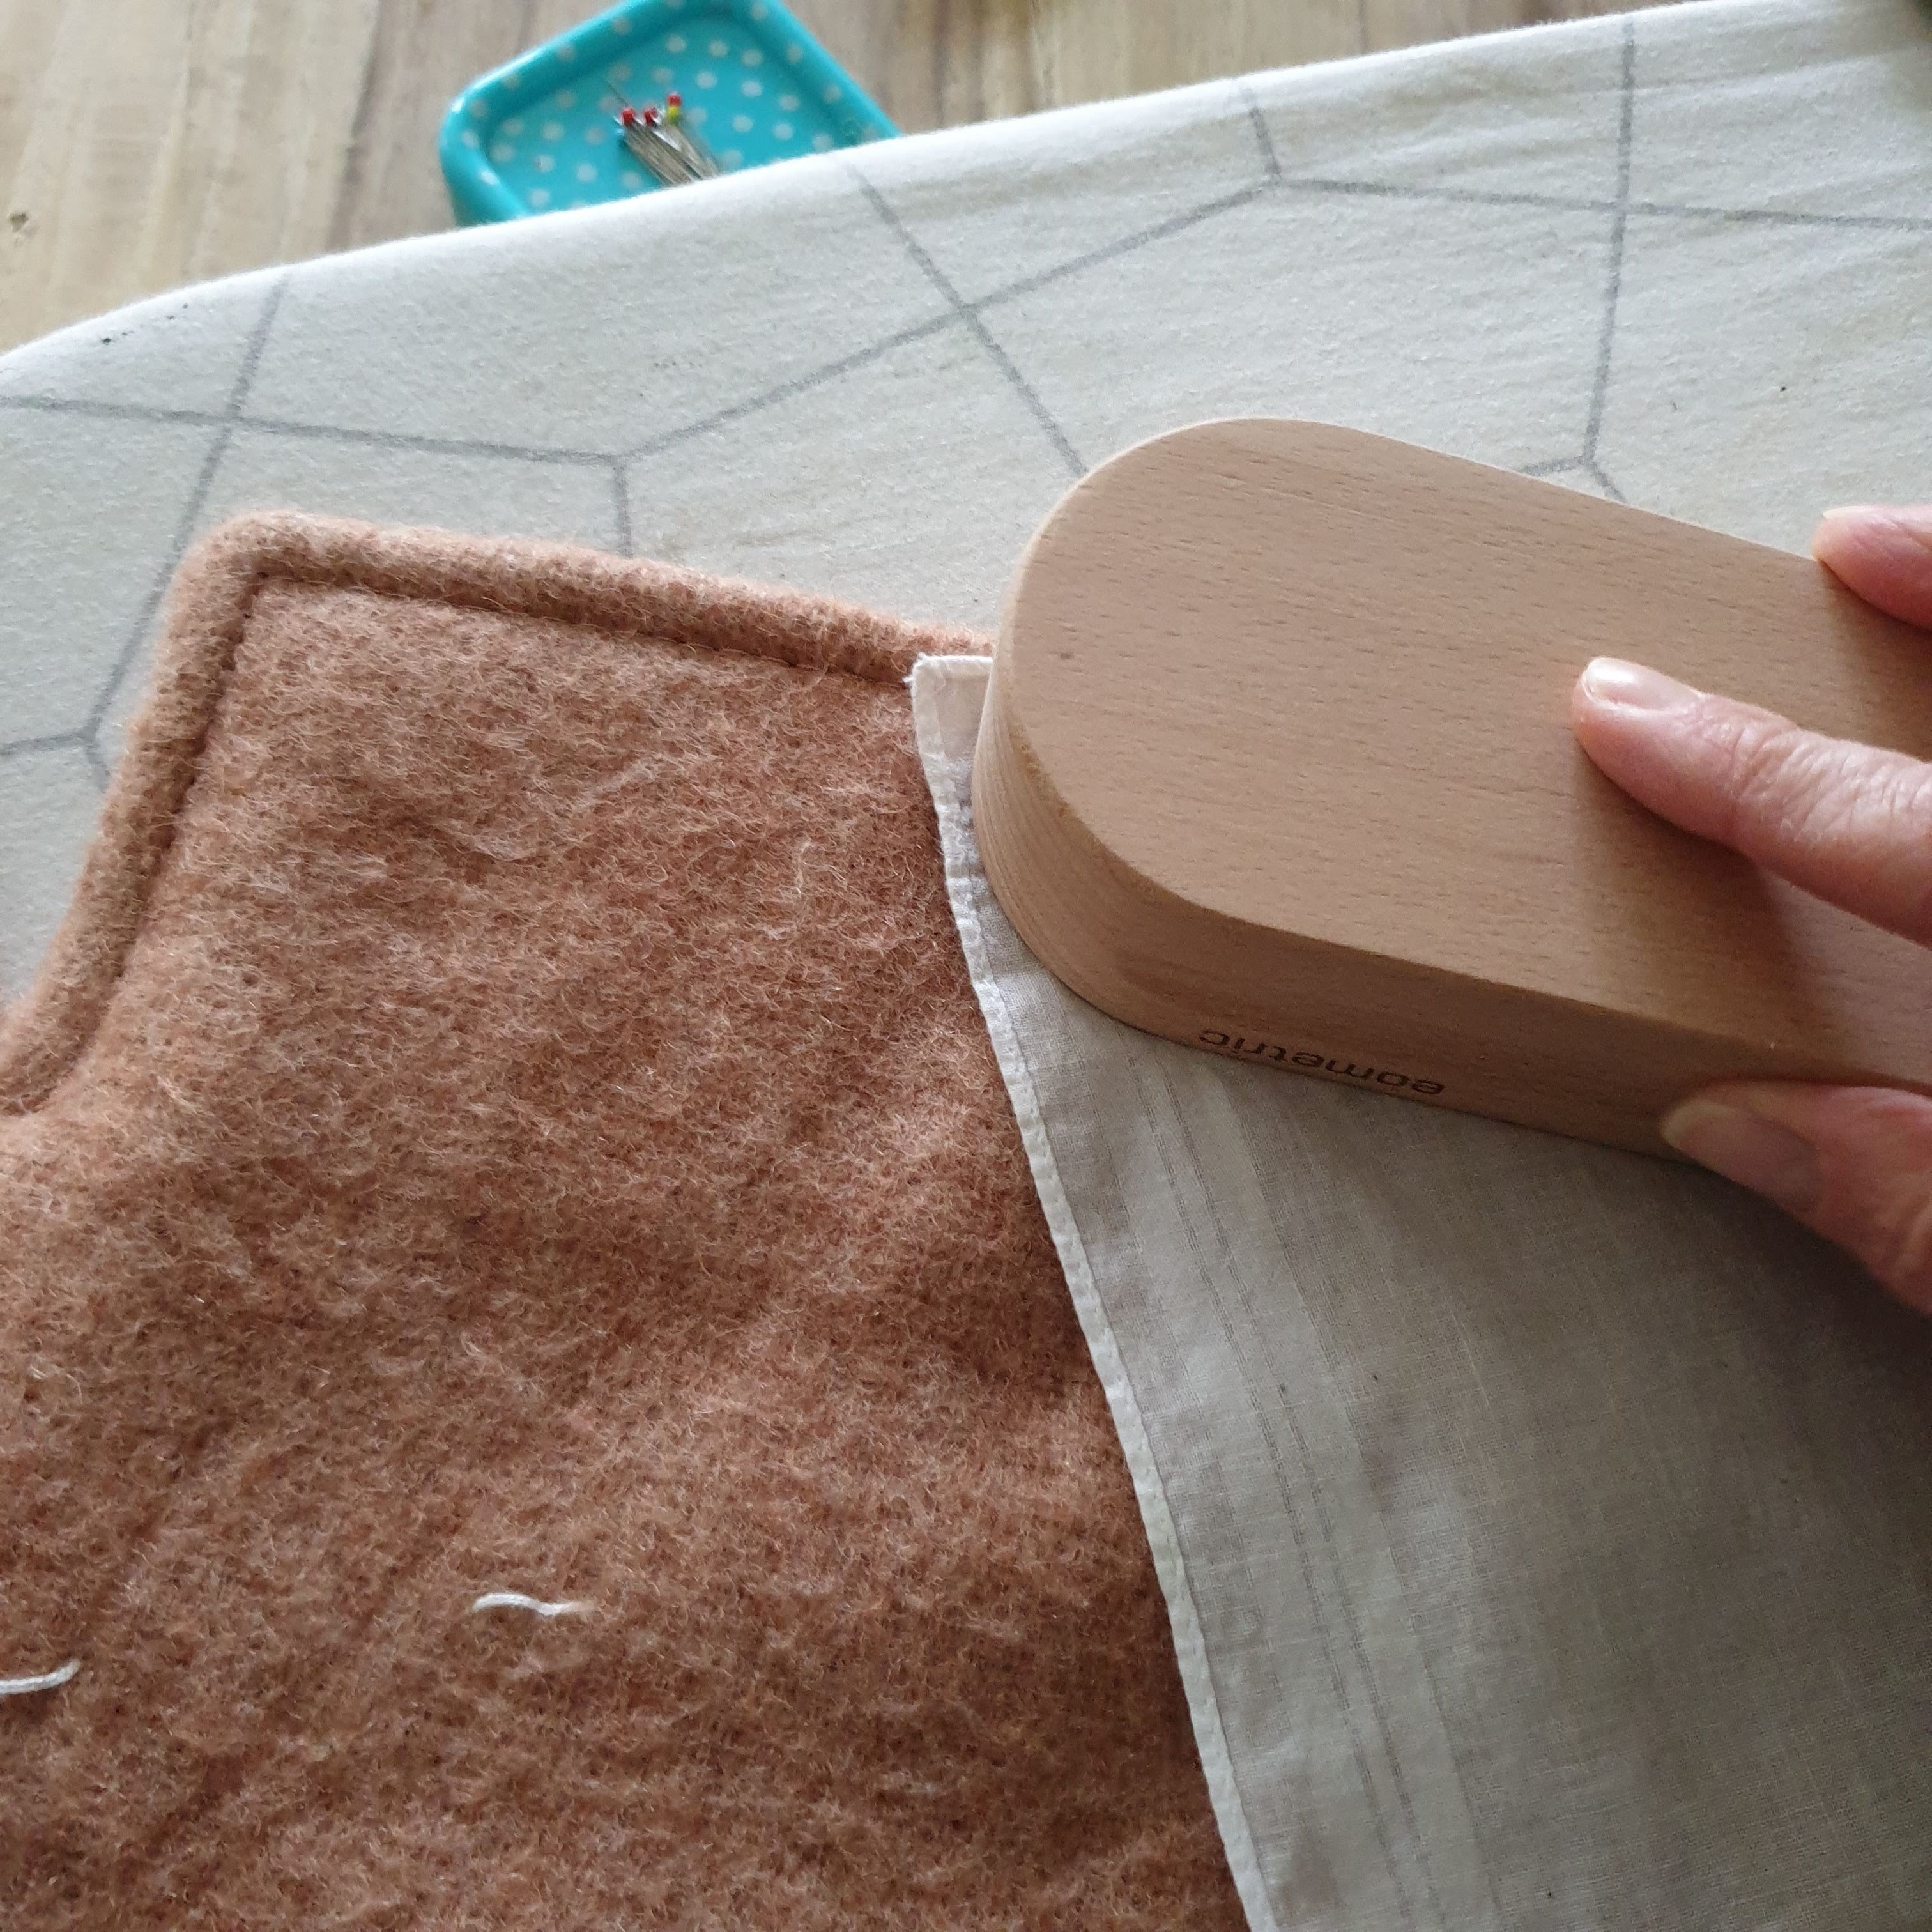
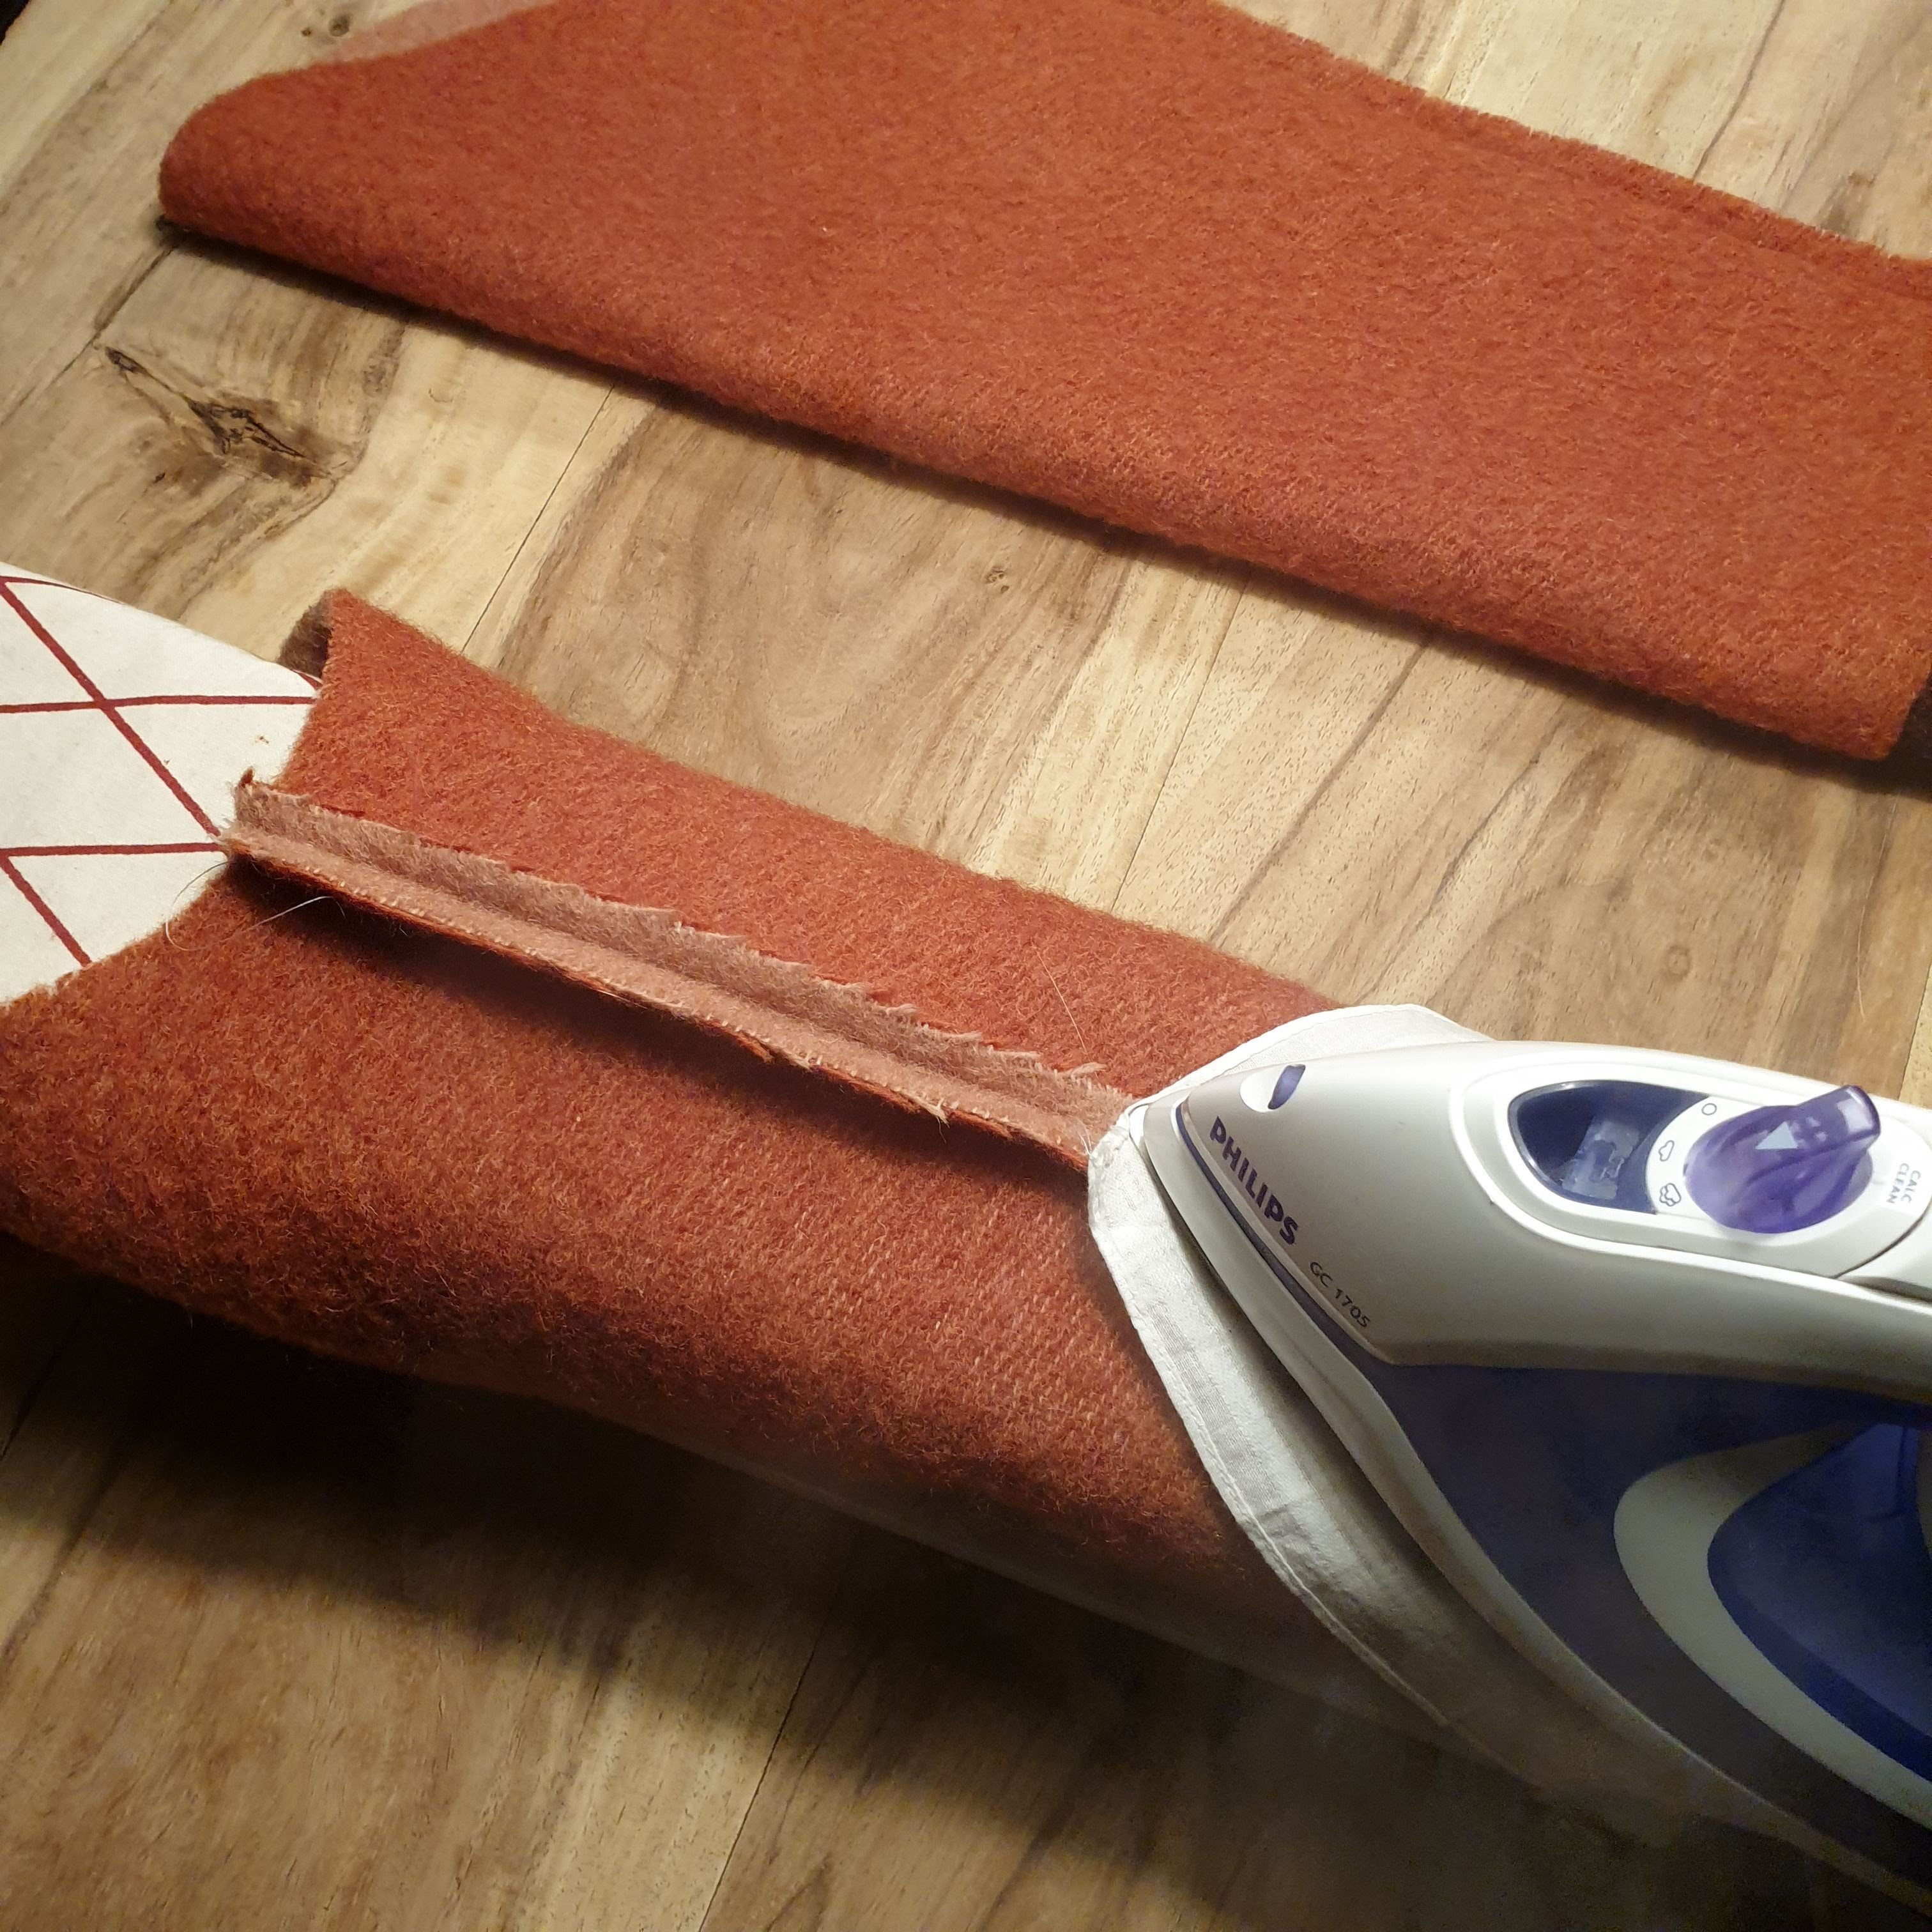
I used the sleeve ironing board for pressing the seam of the sleeves. In the explanation of the pattern I learned that you can also use the side of this sleeve board or a table ironing board to iron curves.
The collar
The blanket was large enough to get all the pattern parts out. As a nice detail, I decided to cut the lower collar out of rust-colored faux leather (which I got left from a previous project). My first idea was to make a belt partly with this fabric. In the end I decided not to make the belt, because I didn’t think it suited this type of coat.
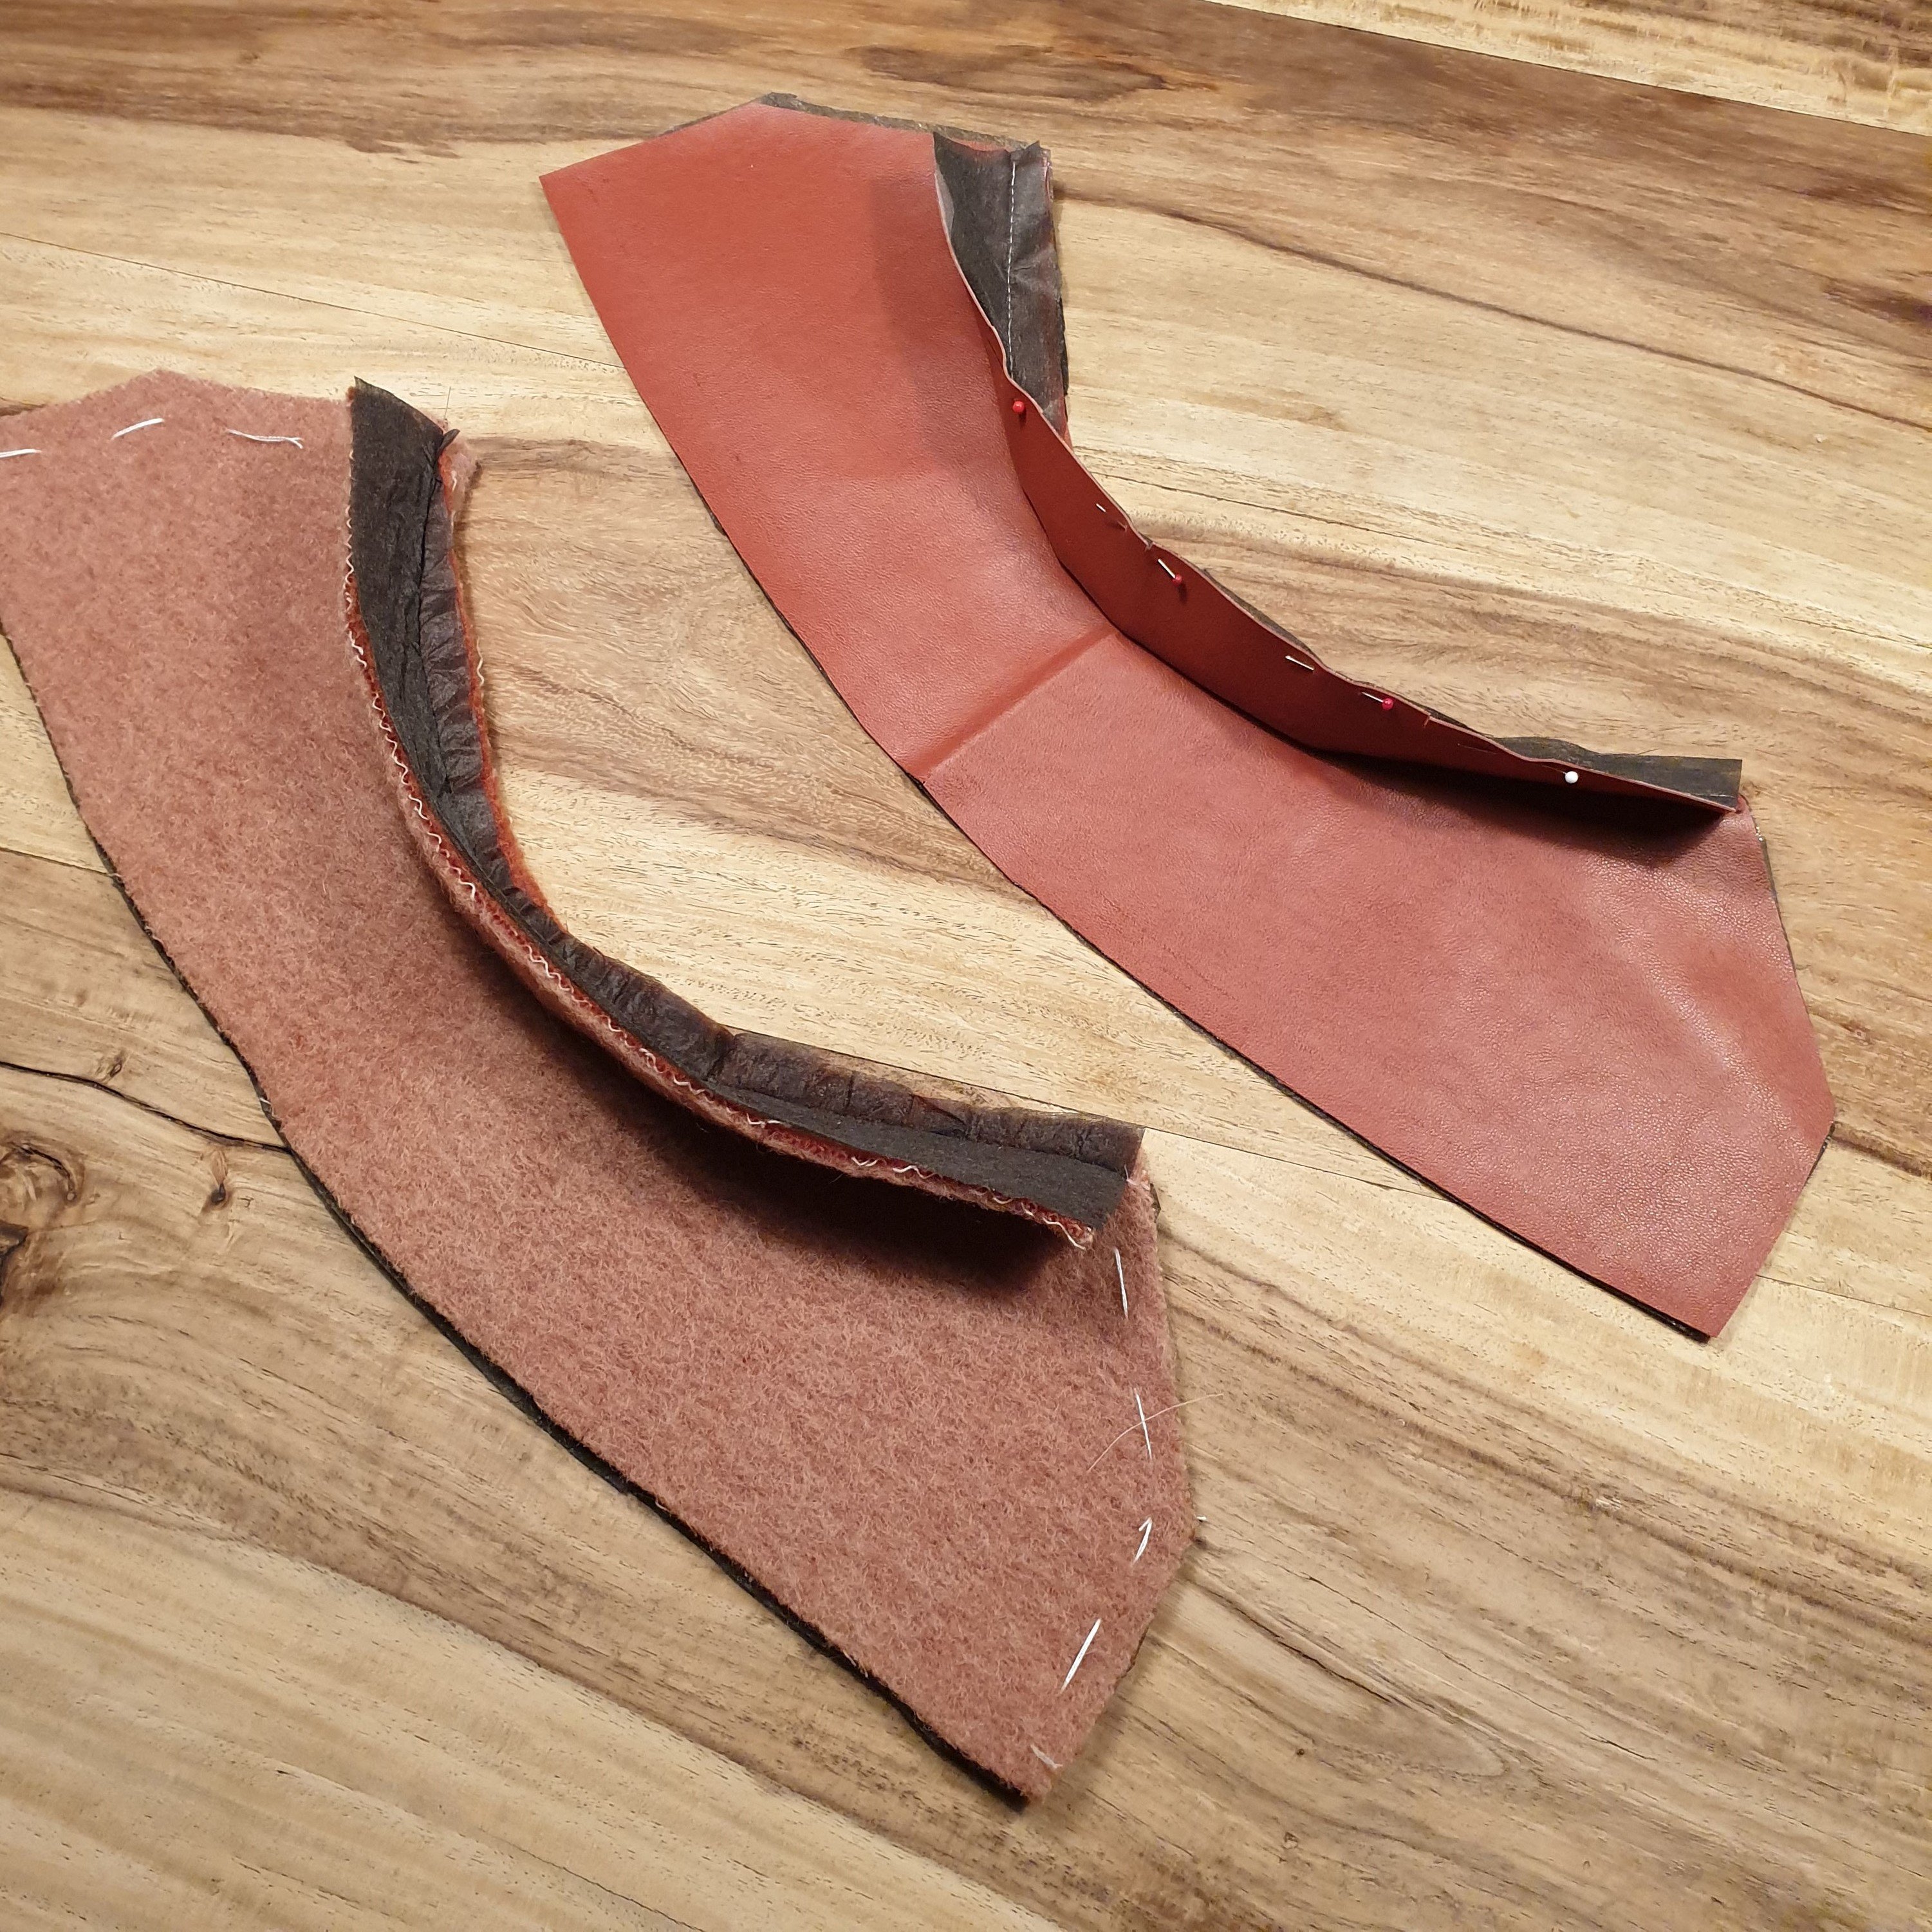
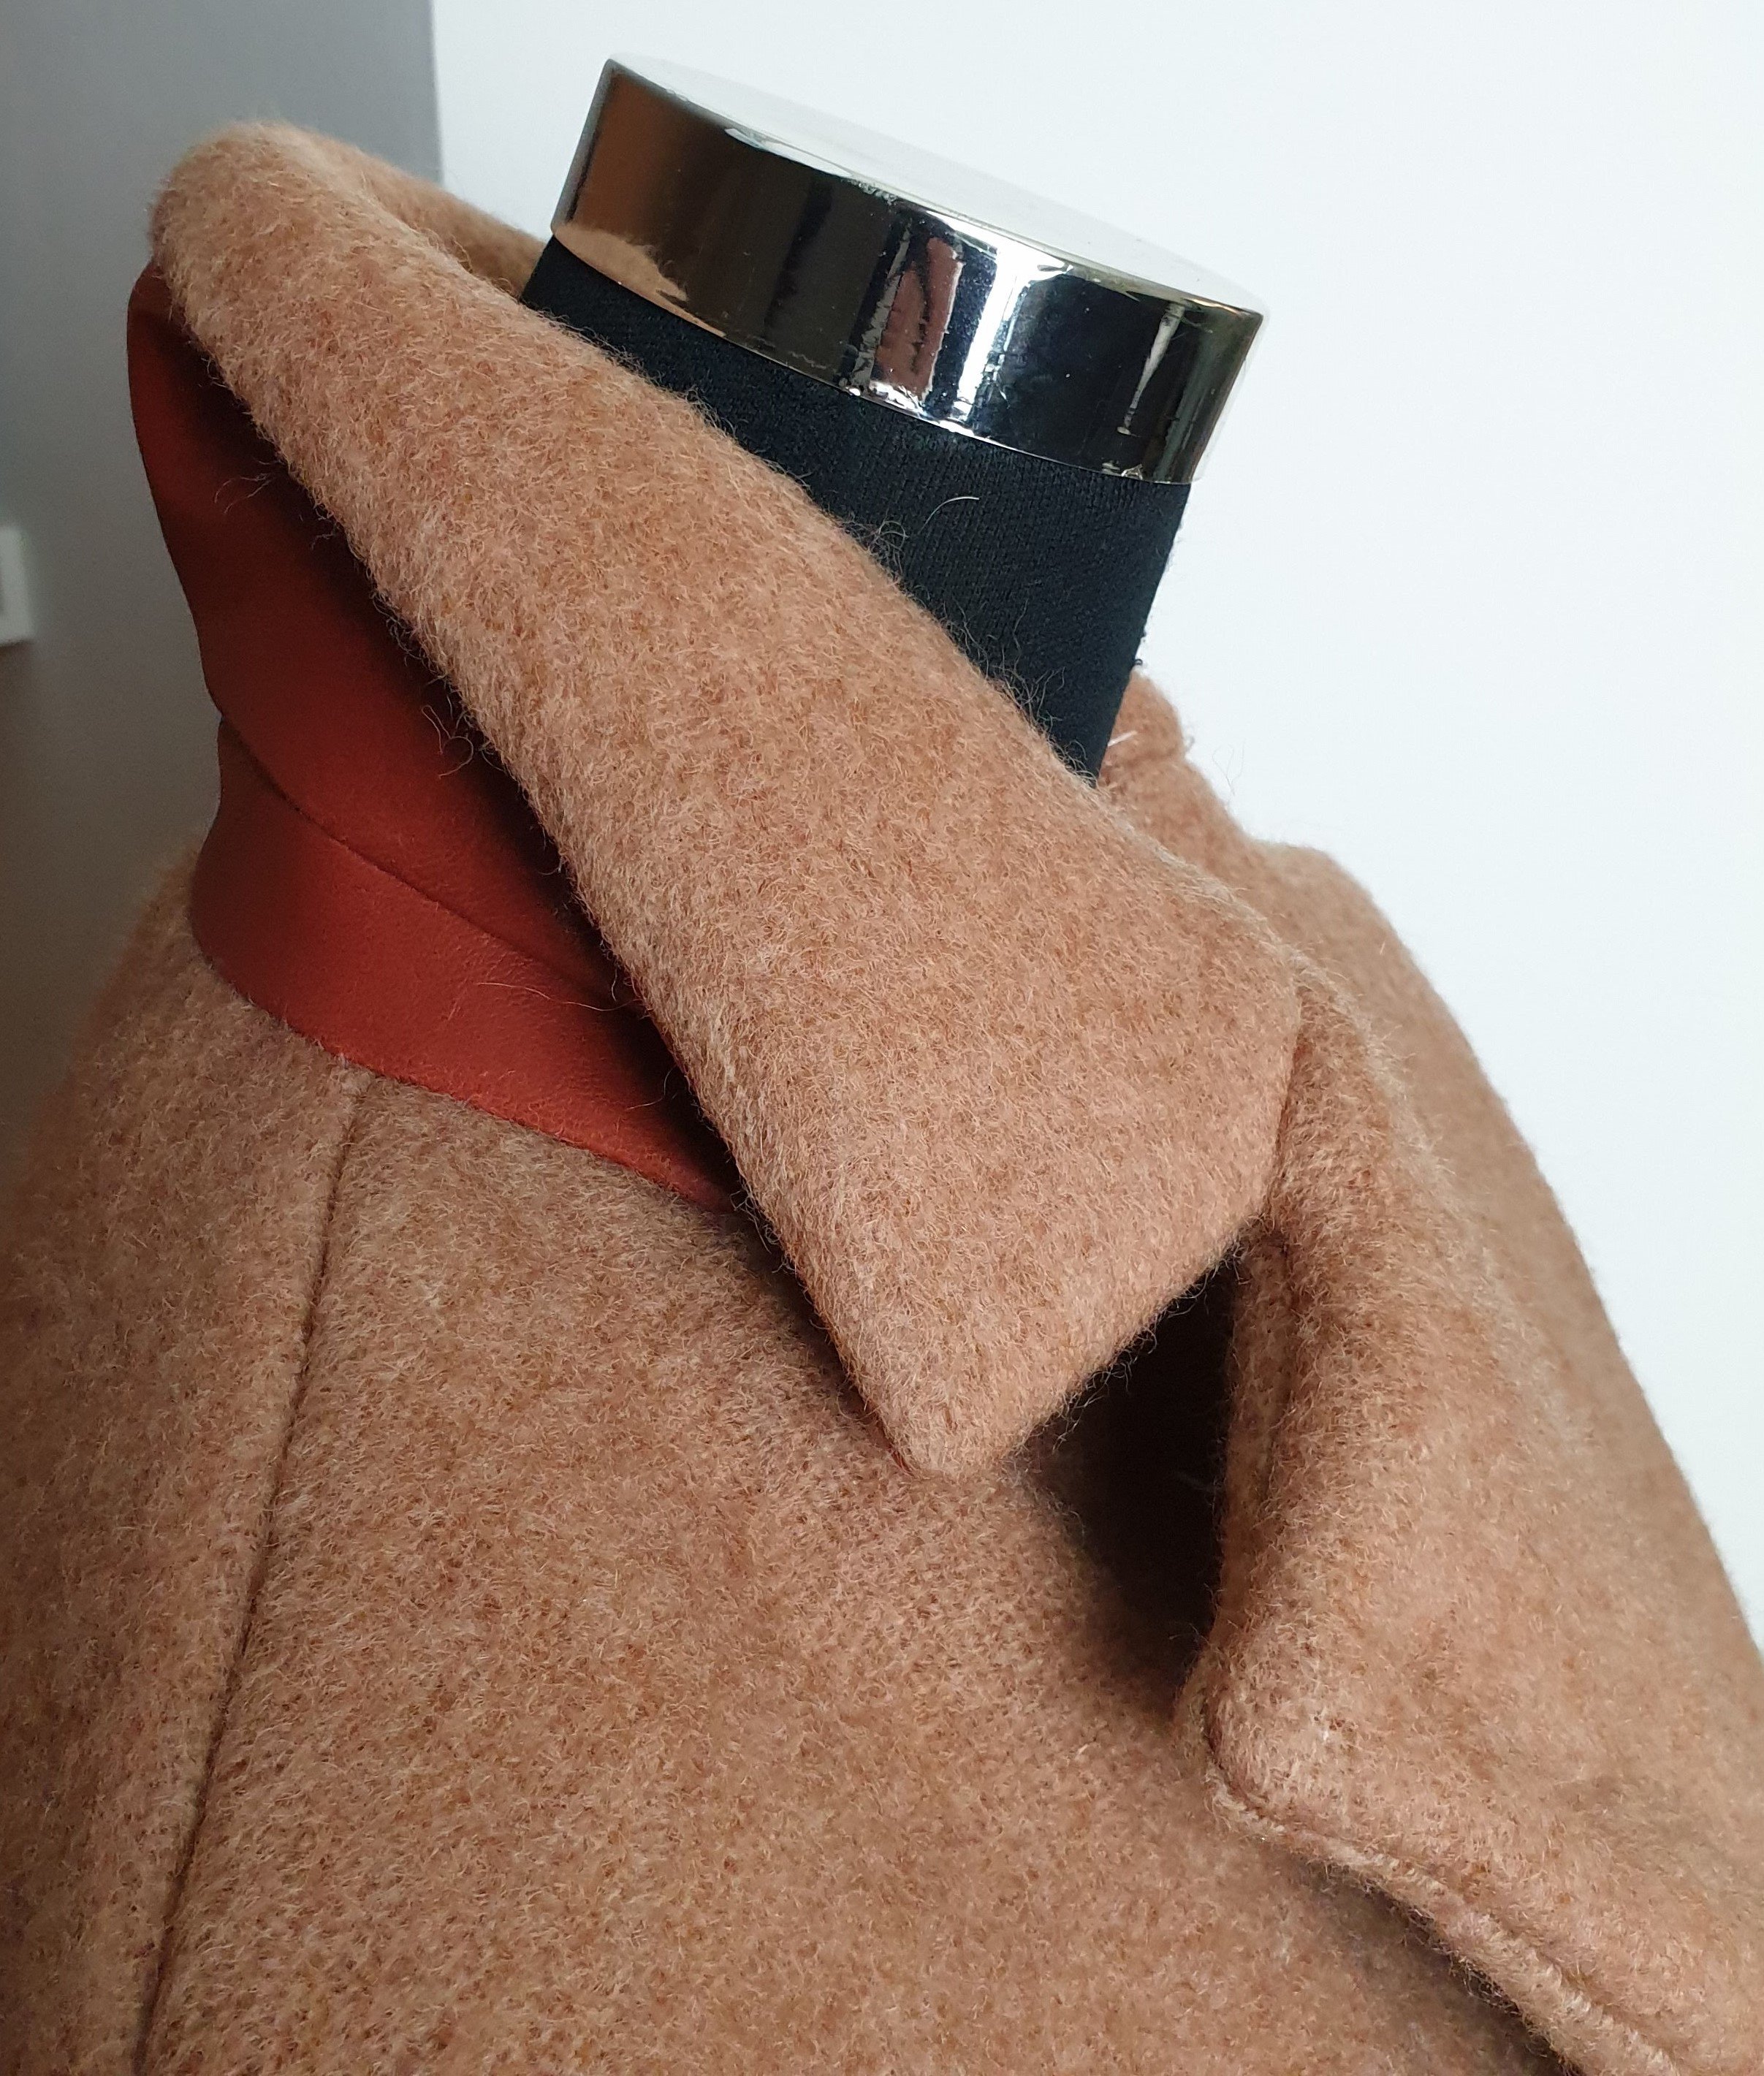
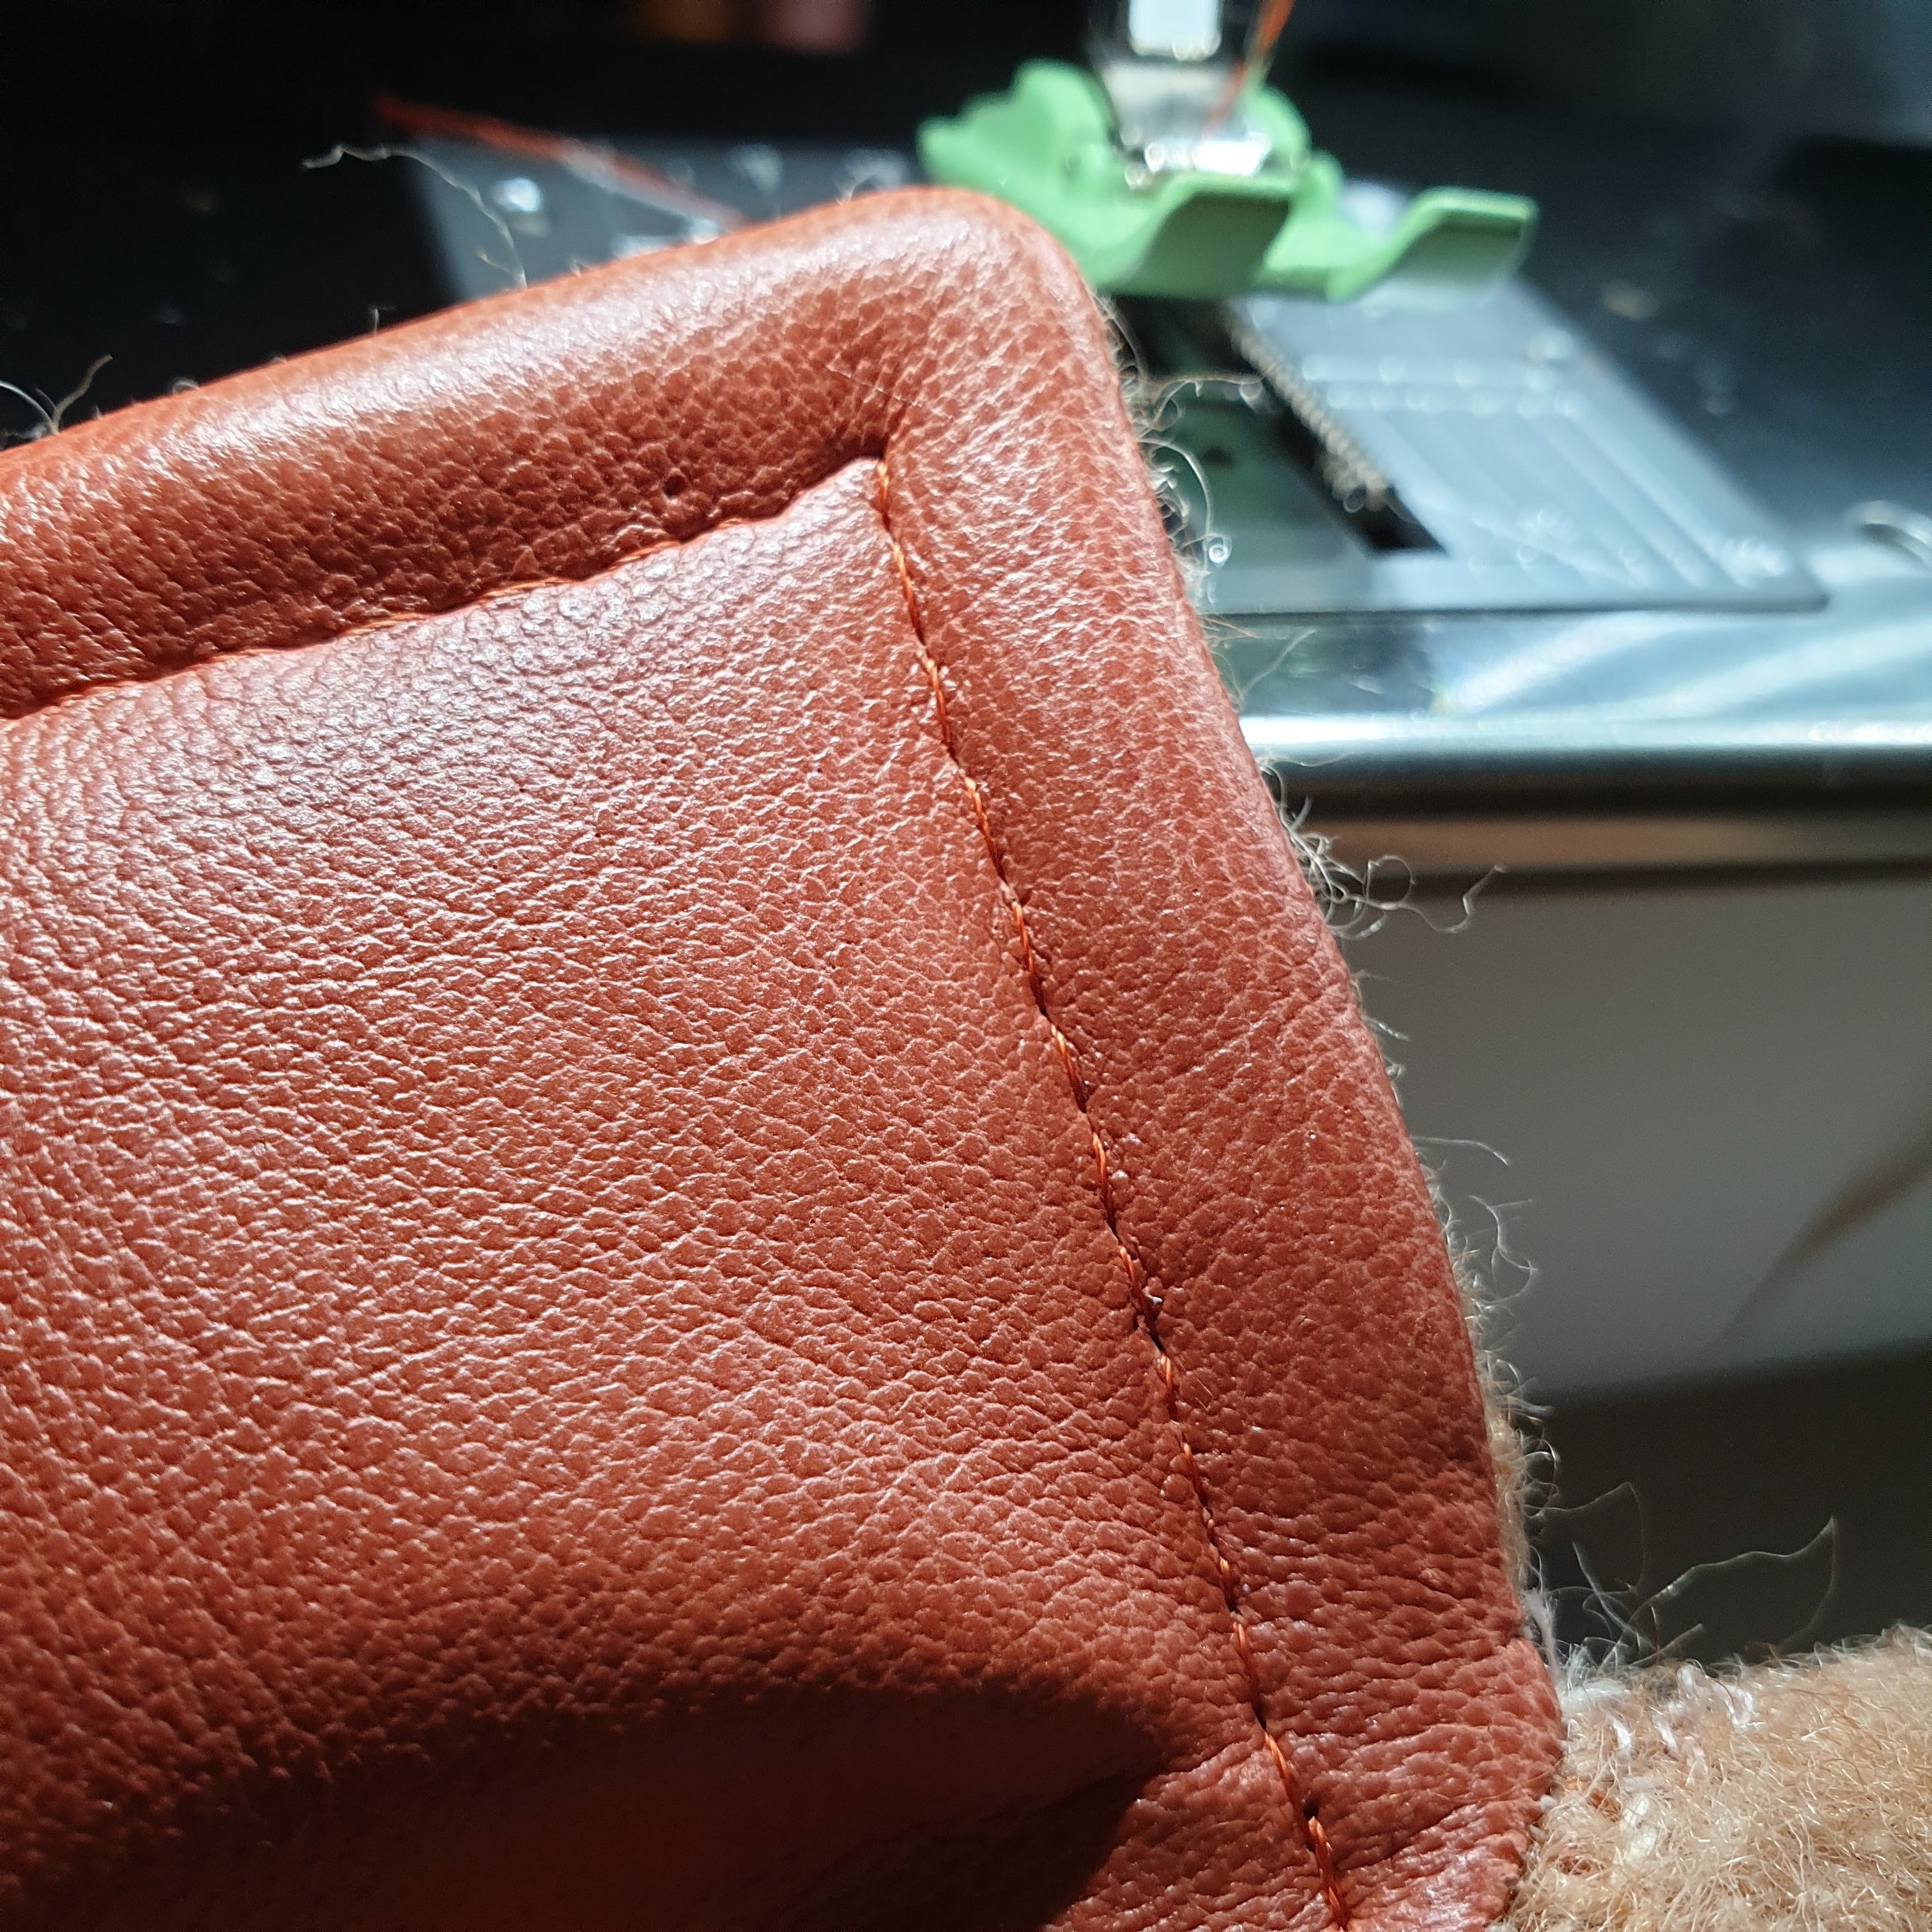
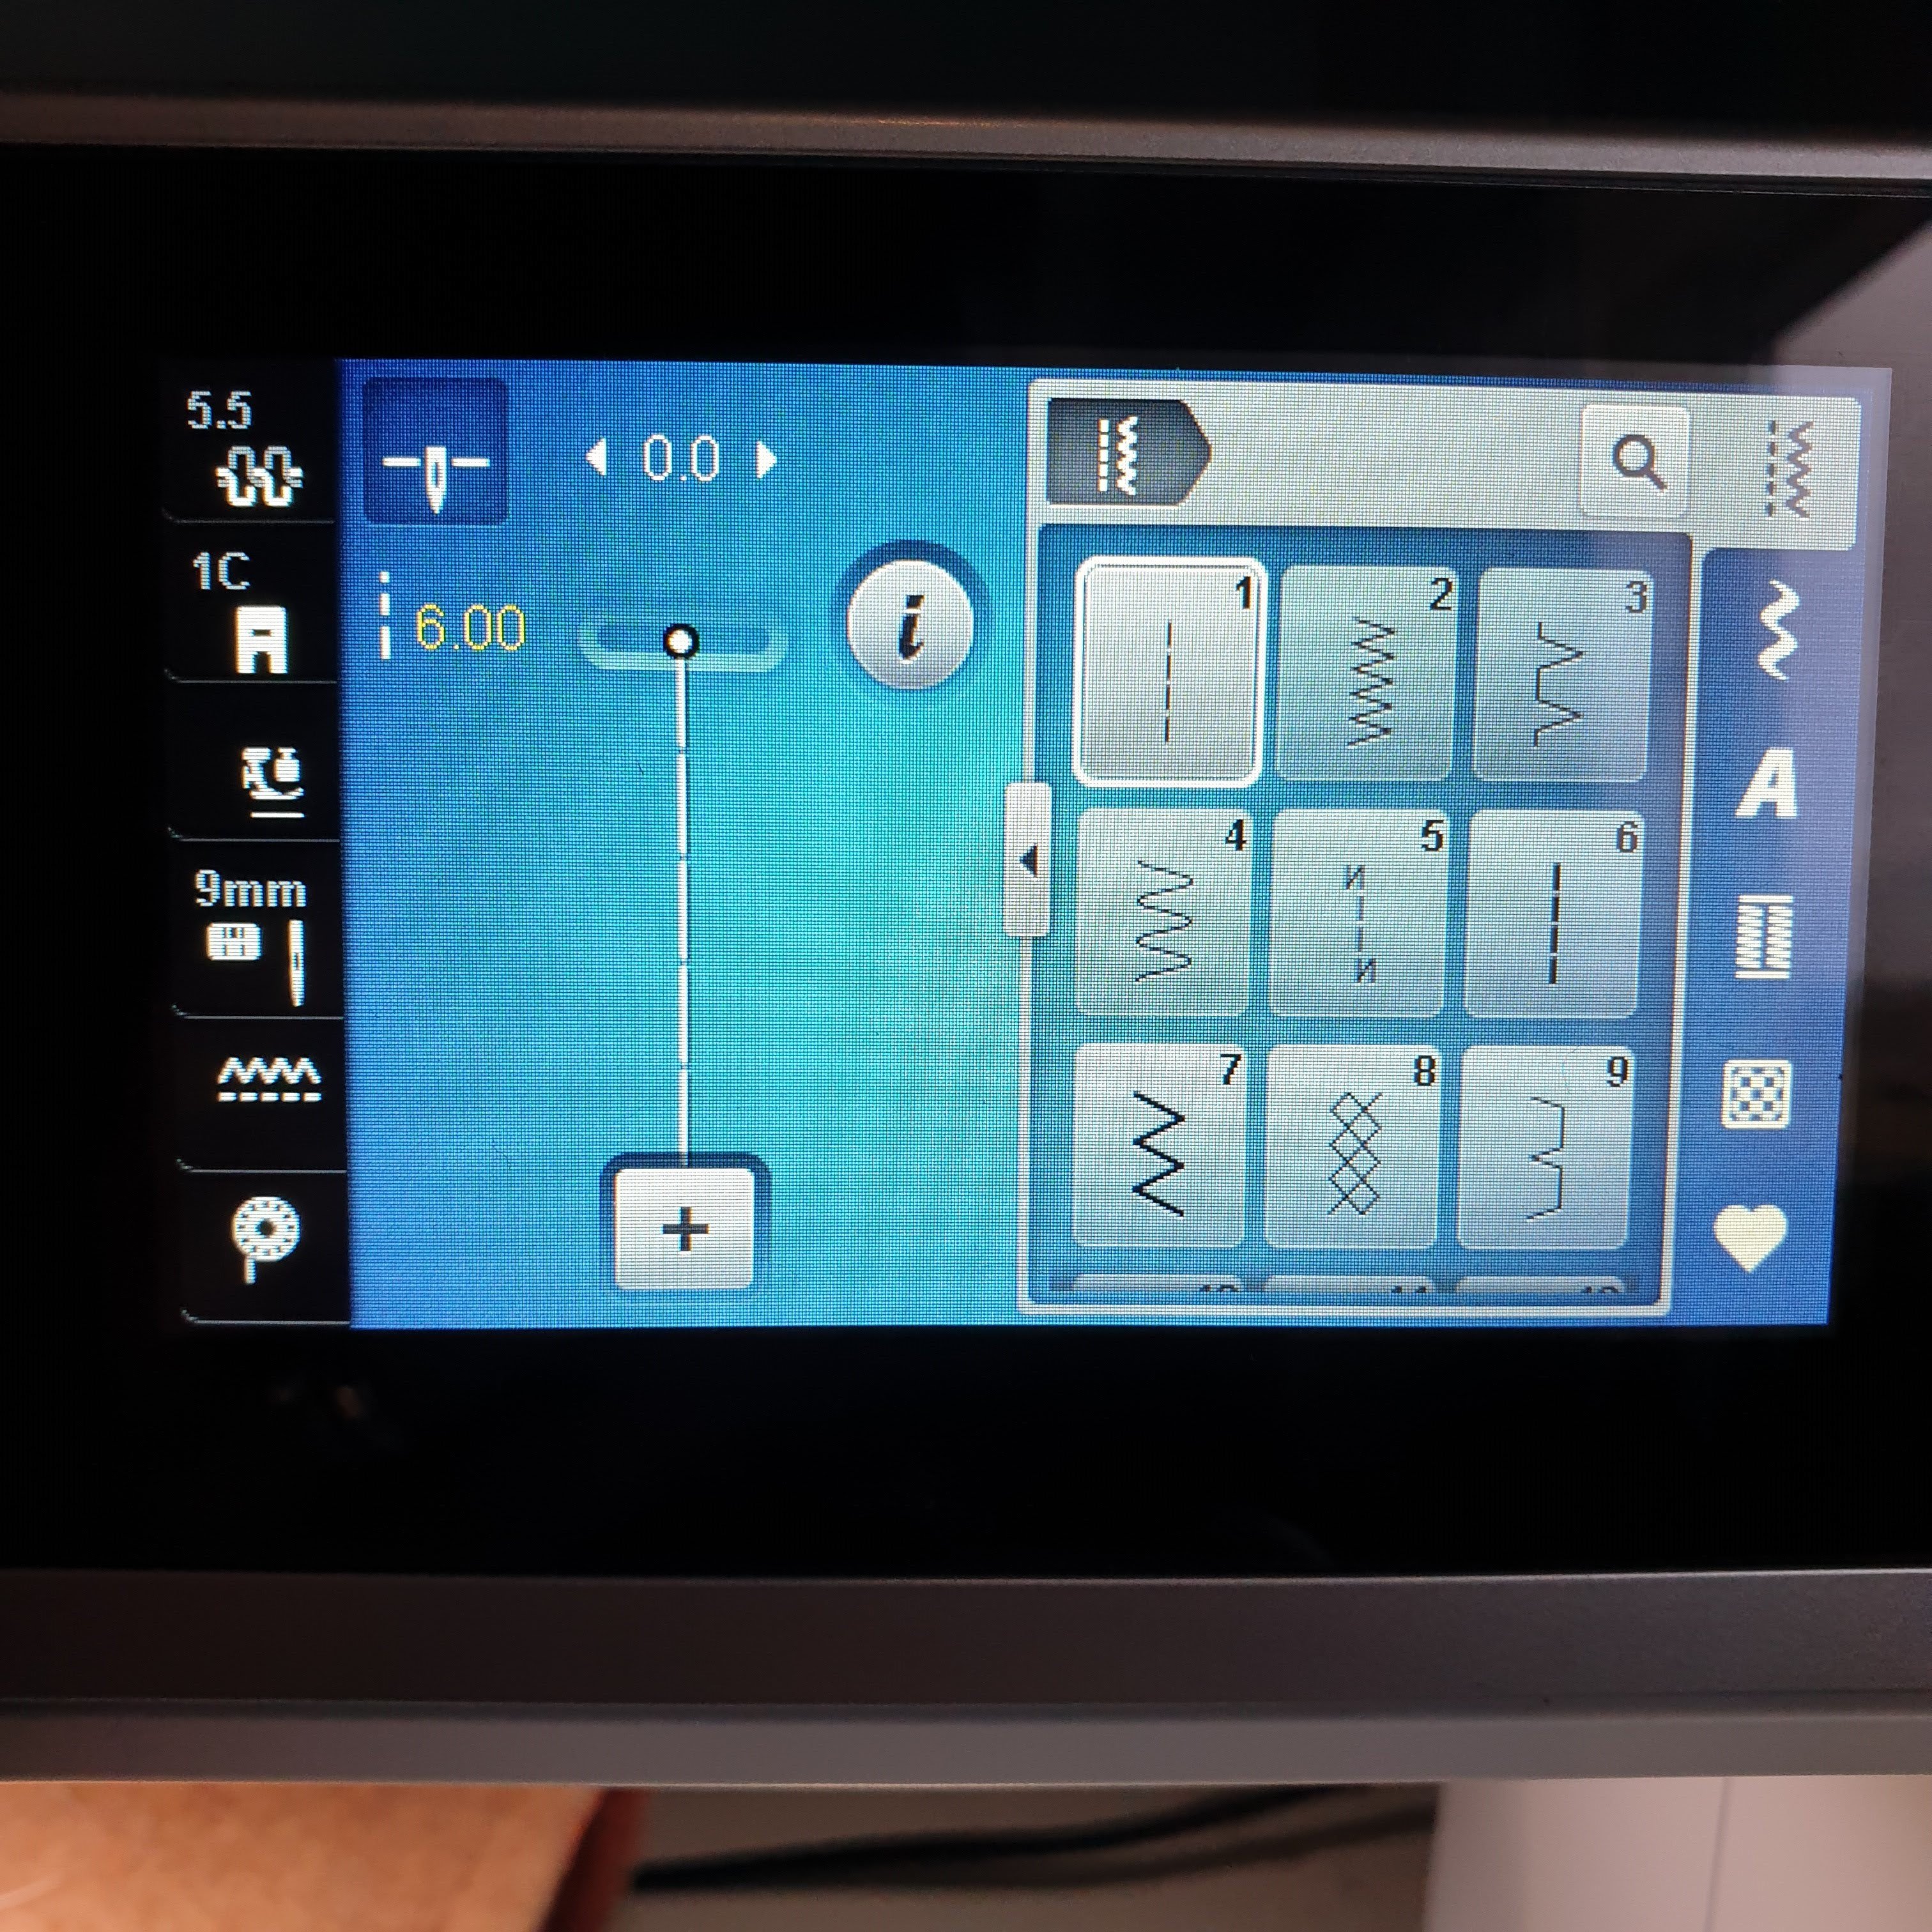
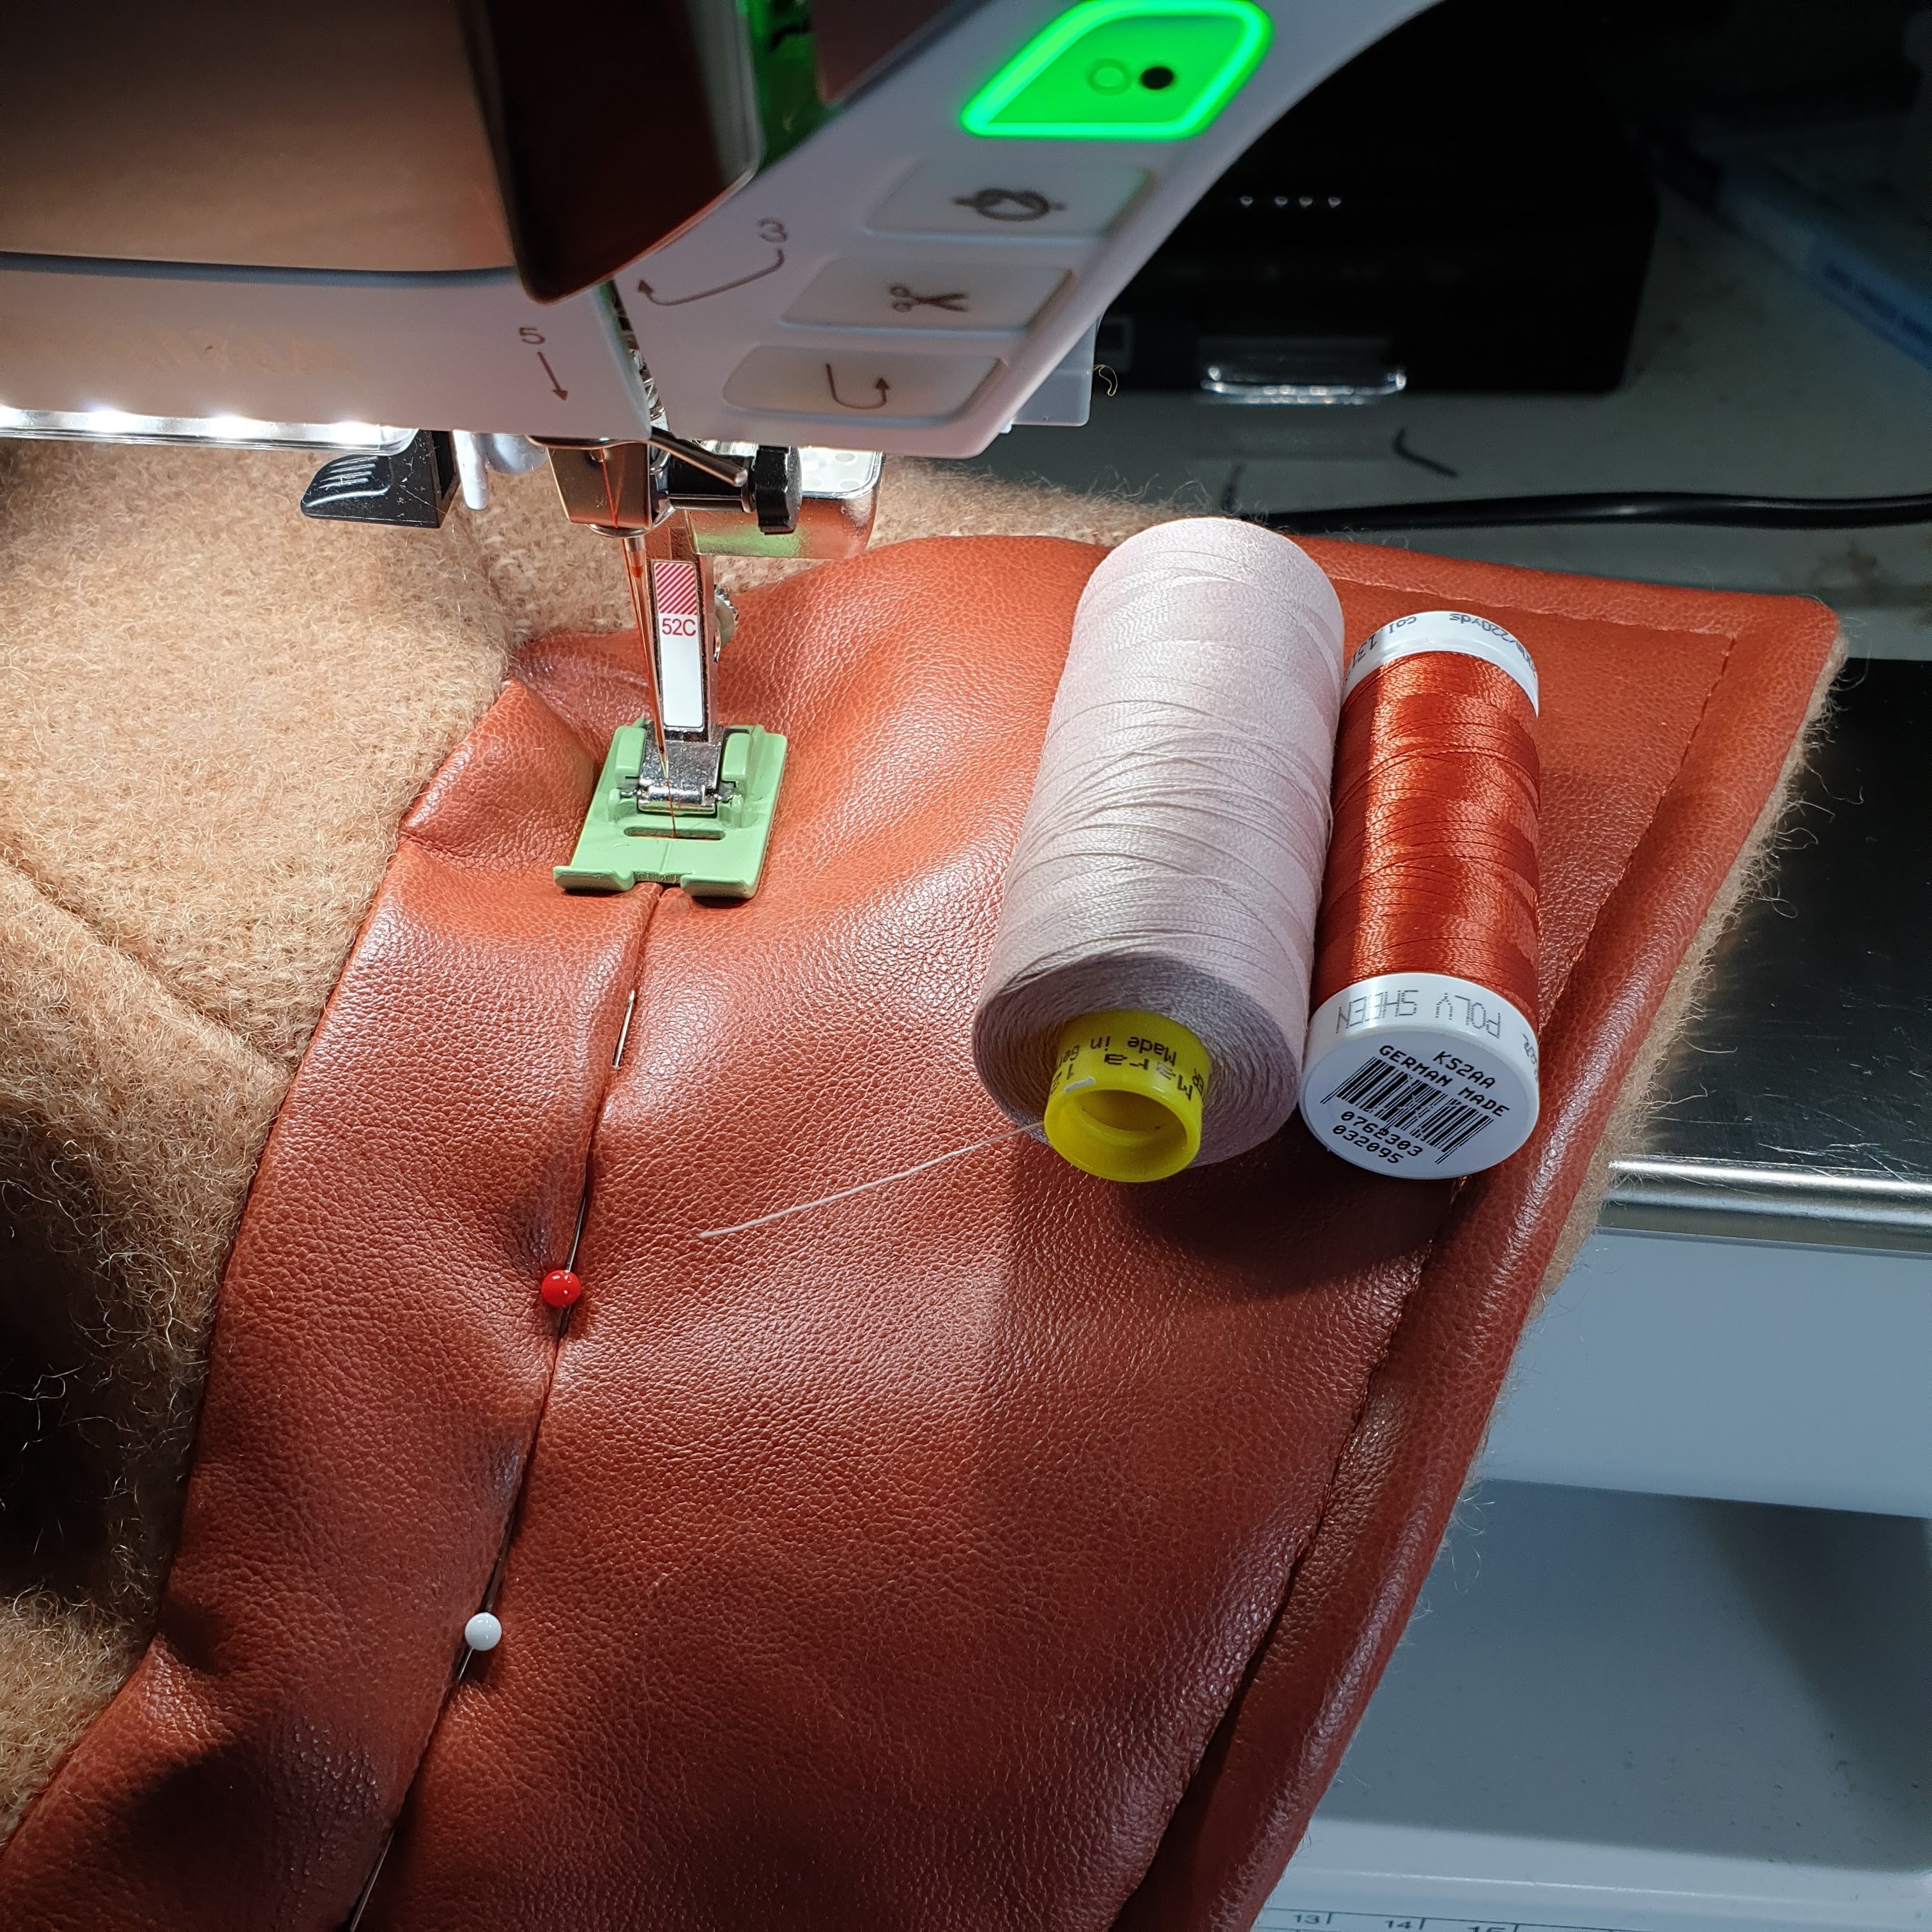
I top stitched the collar along side the edge with a Teflon foot (52c), so that the pieces of collar were pressed together. (I couldn’t press it with the iron because of the faux leather). Later I also top stitched the rest of the jacket at the front. This was done with stitch length 6.
I also stitched the seam in the collar. I used rust-colored thread on one side and taupe-colored thread on the other.
Lining
With the collar attached it was time to add the lining. Although I normally do this in a different order, I followed the explanation of the pattern this time. Afterwards I could have used my own order: top collar attached to the lining and bottom collar attached to the jacket and then attach this to each other.
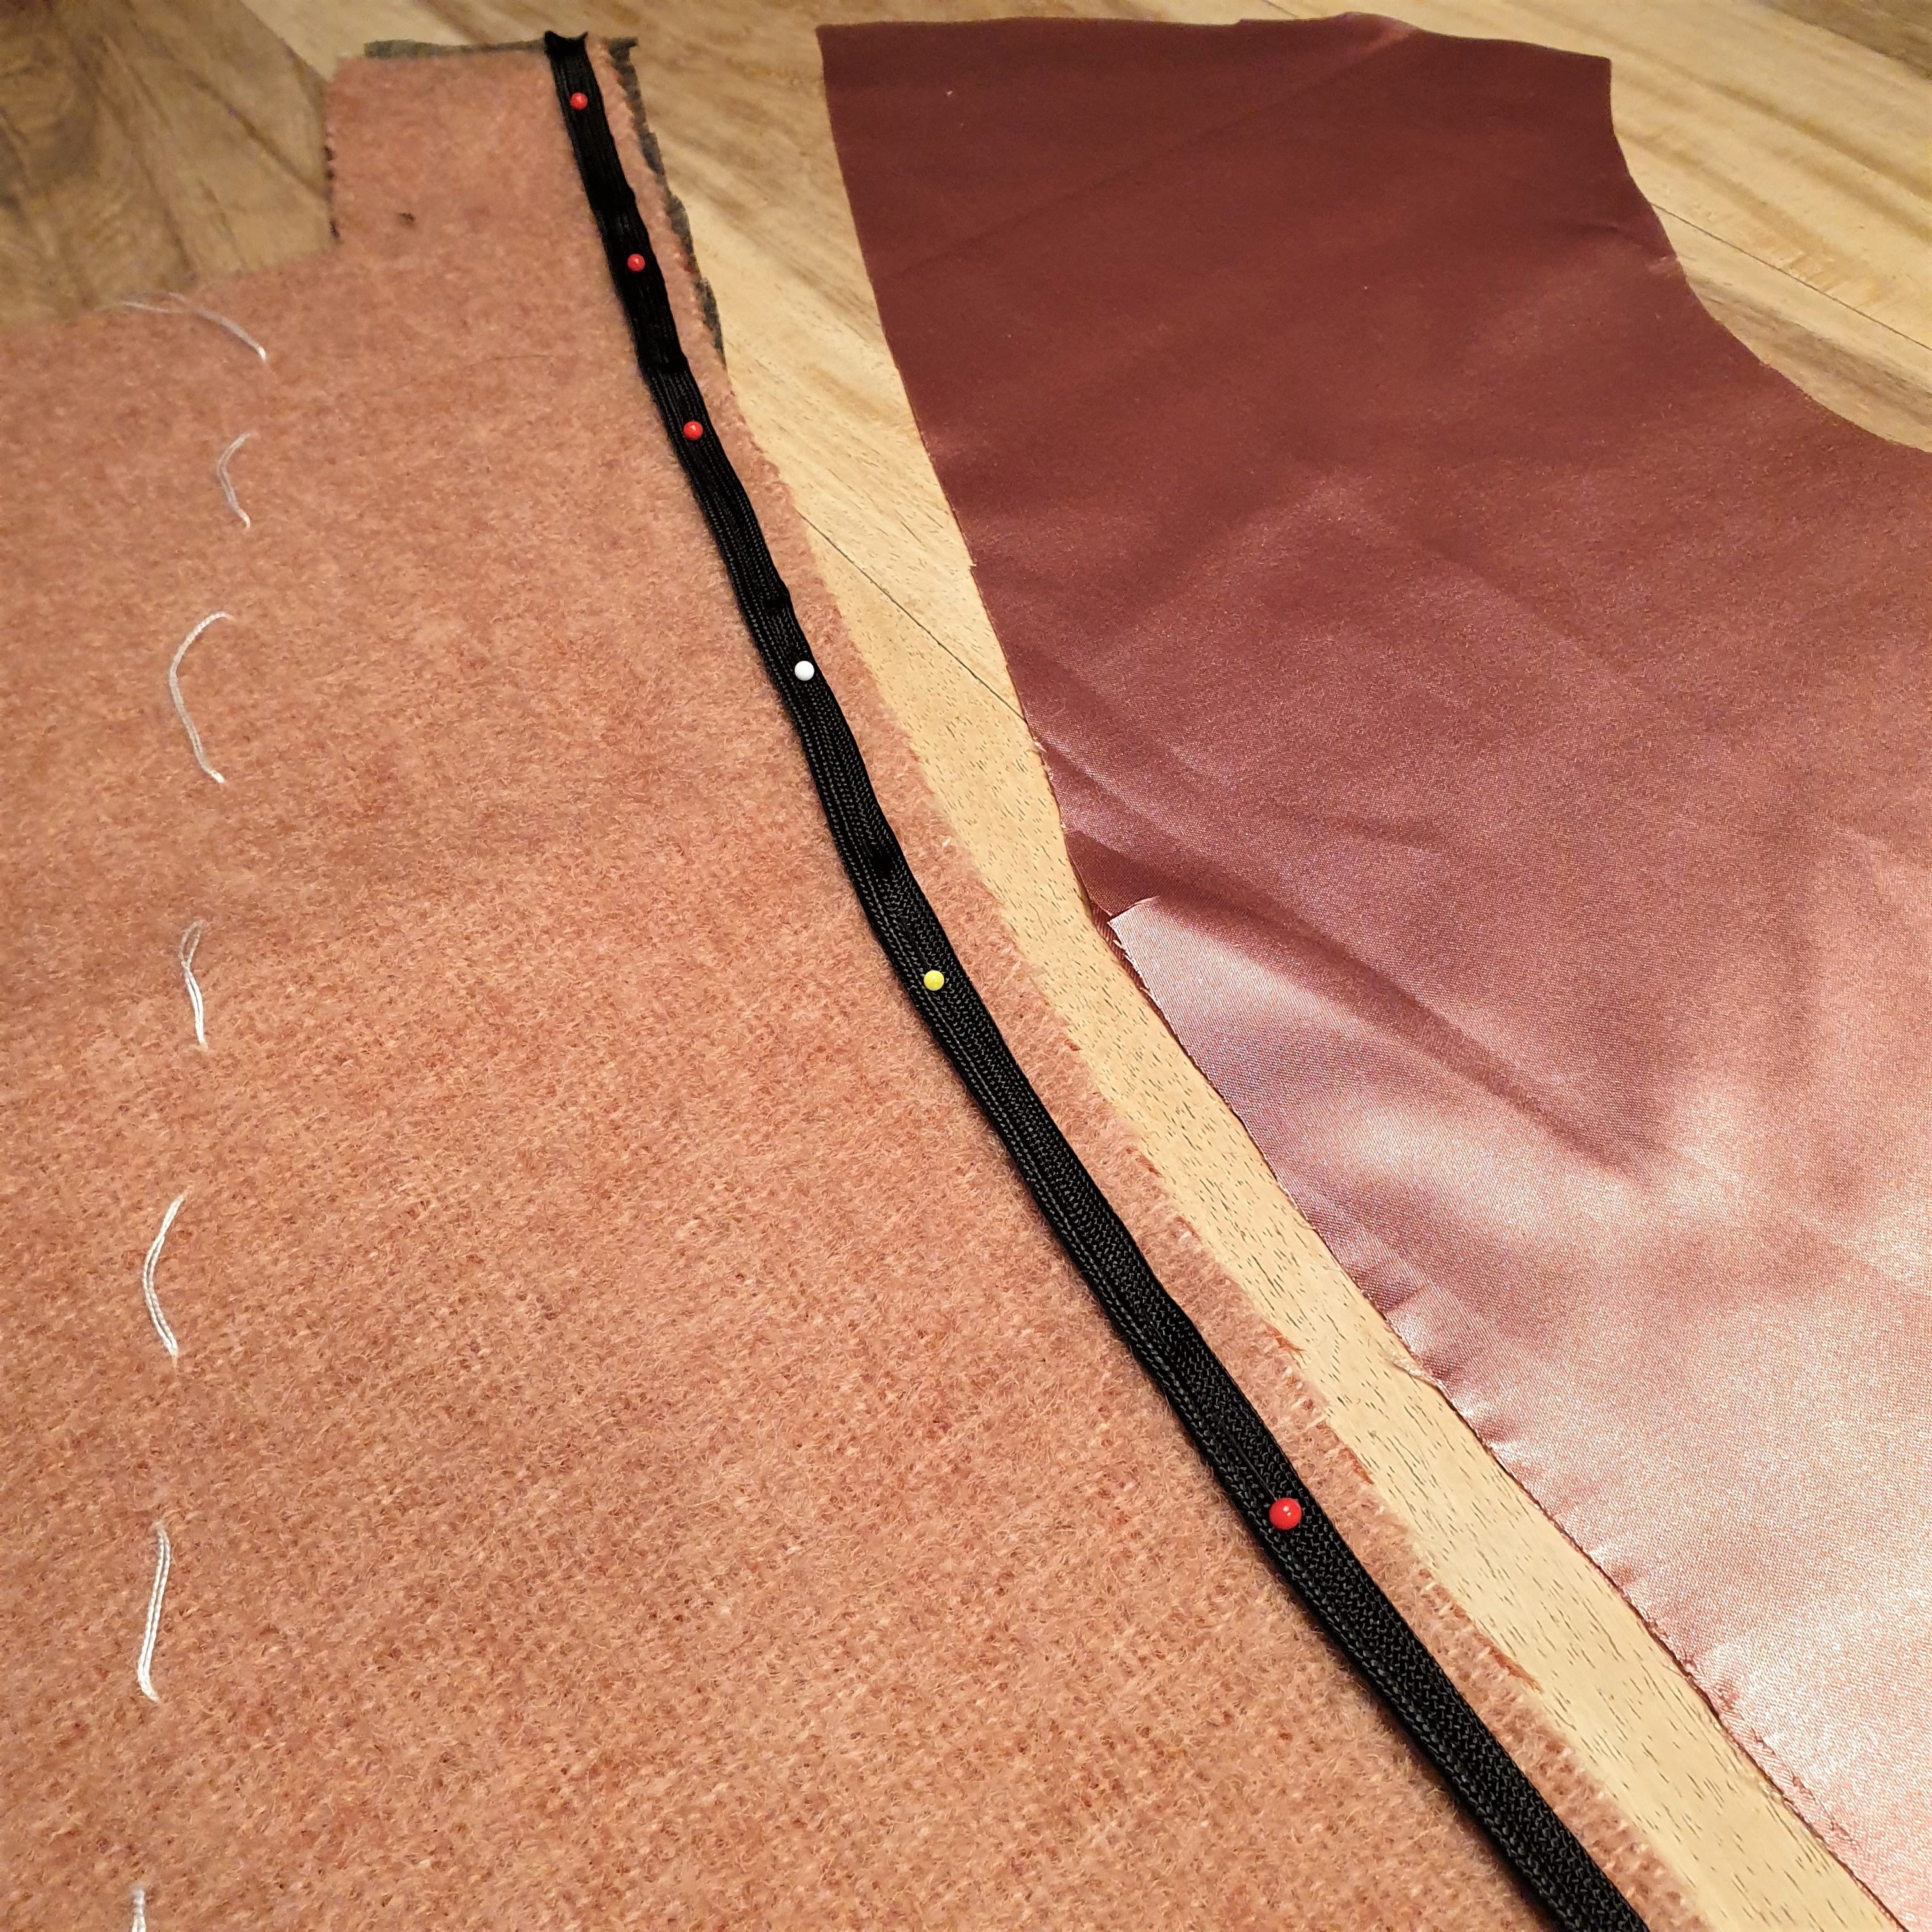
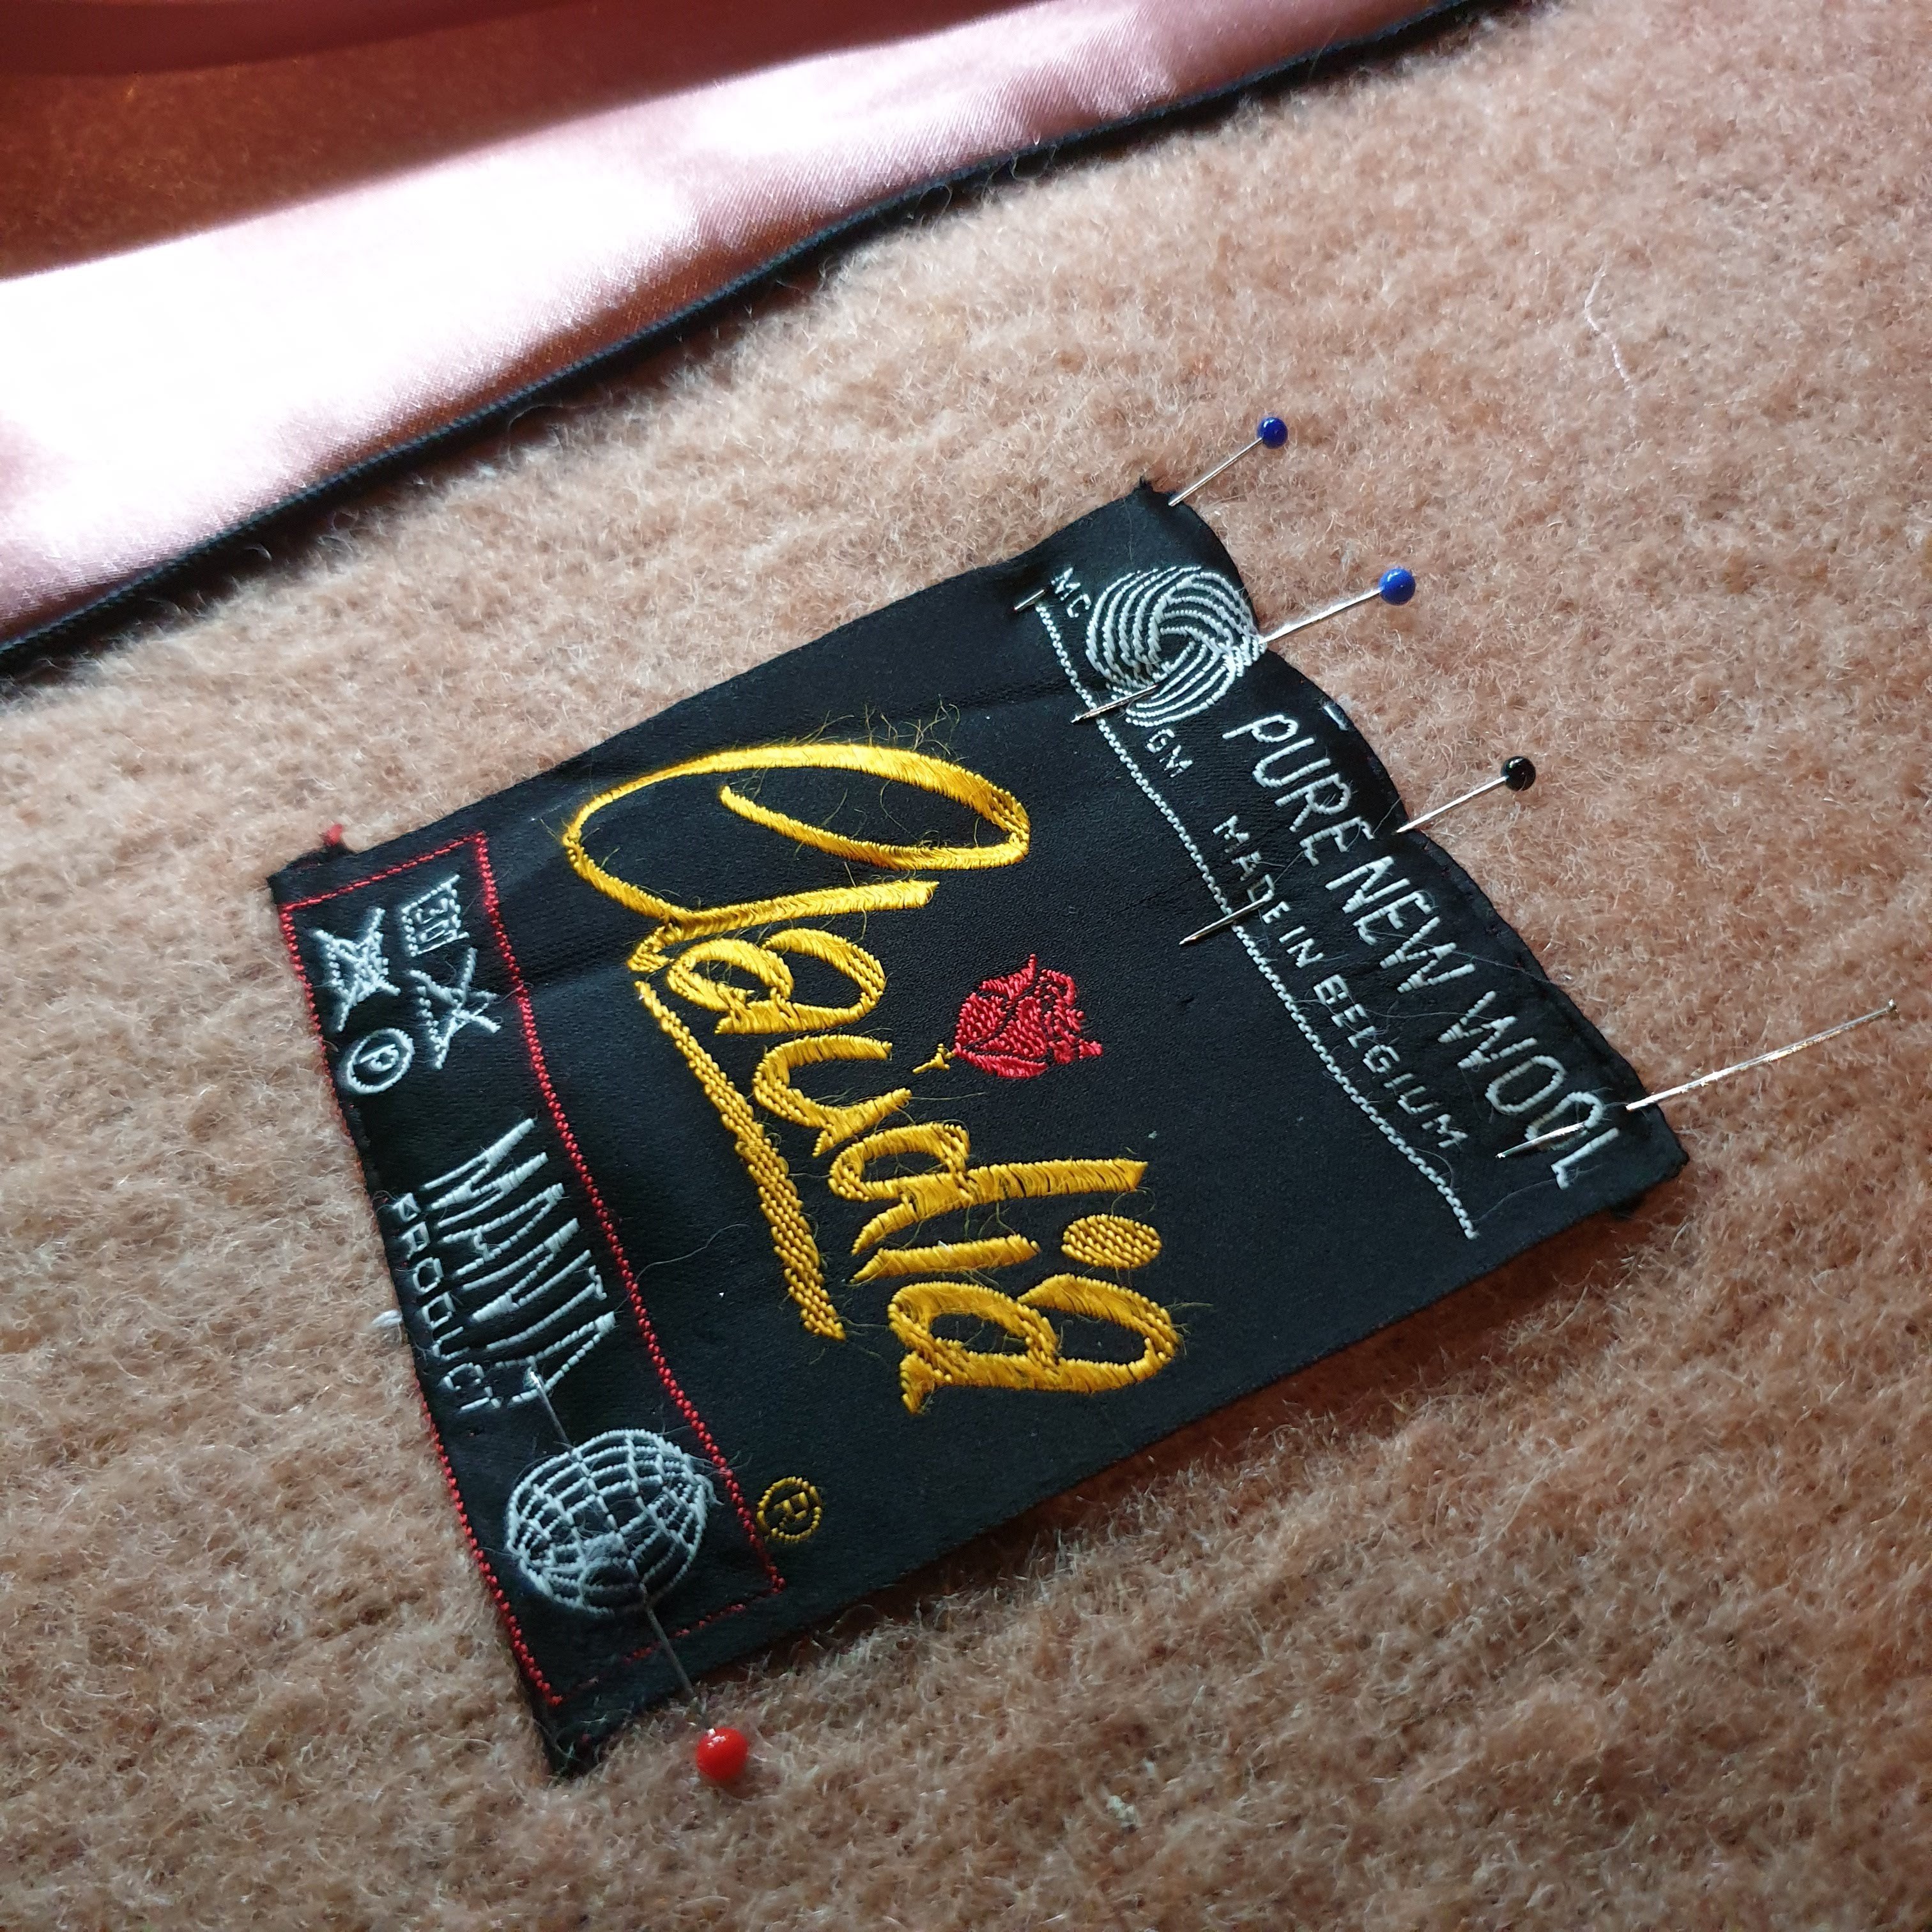
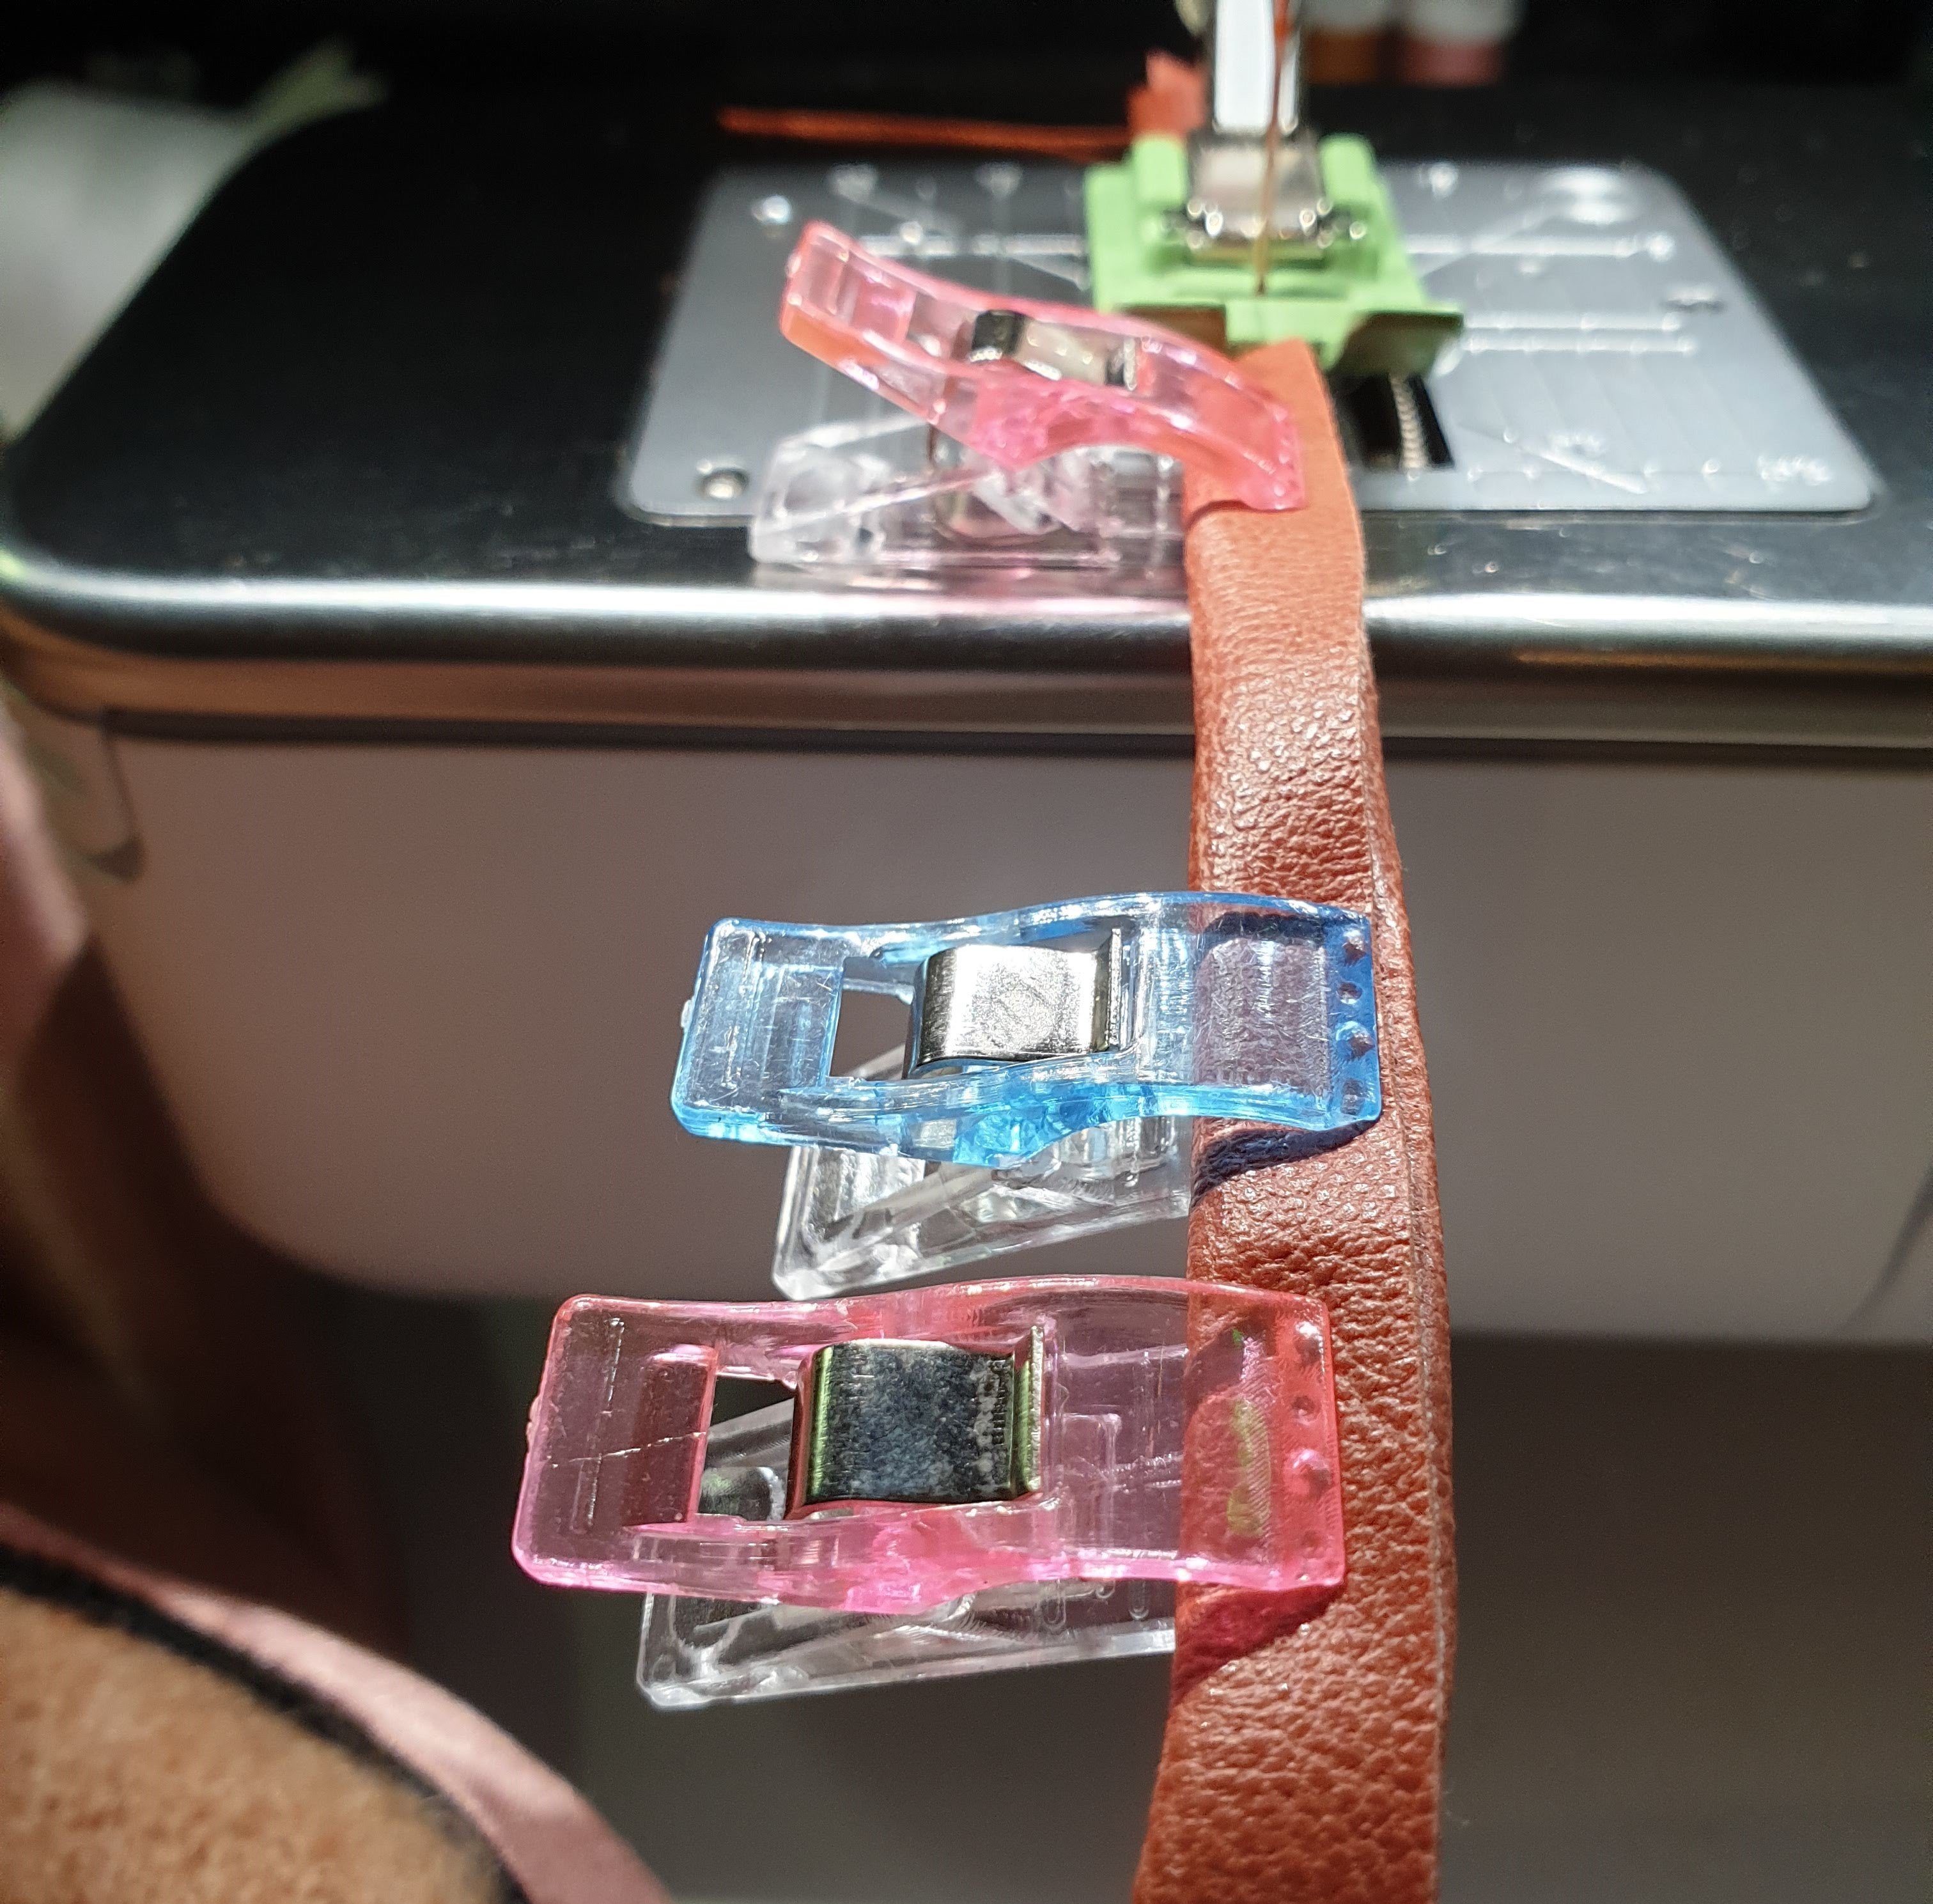
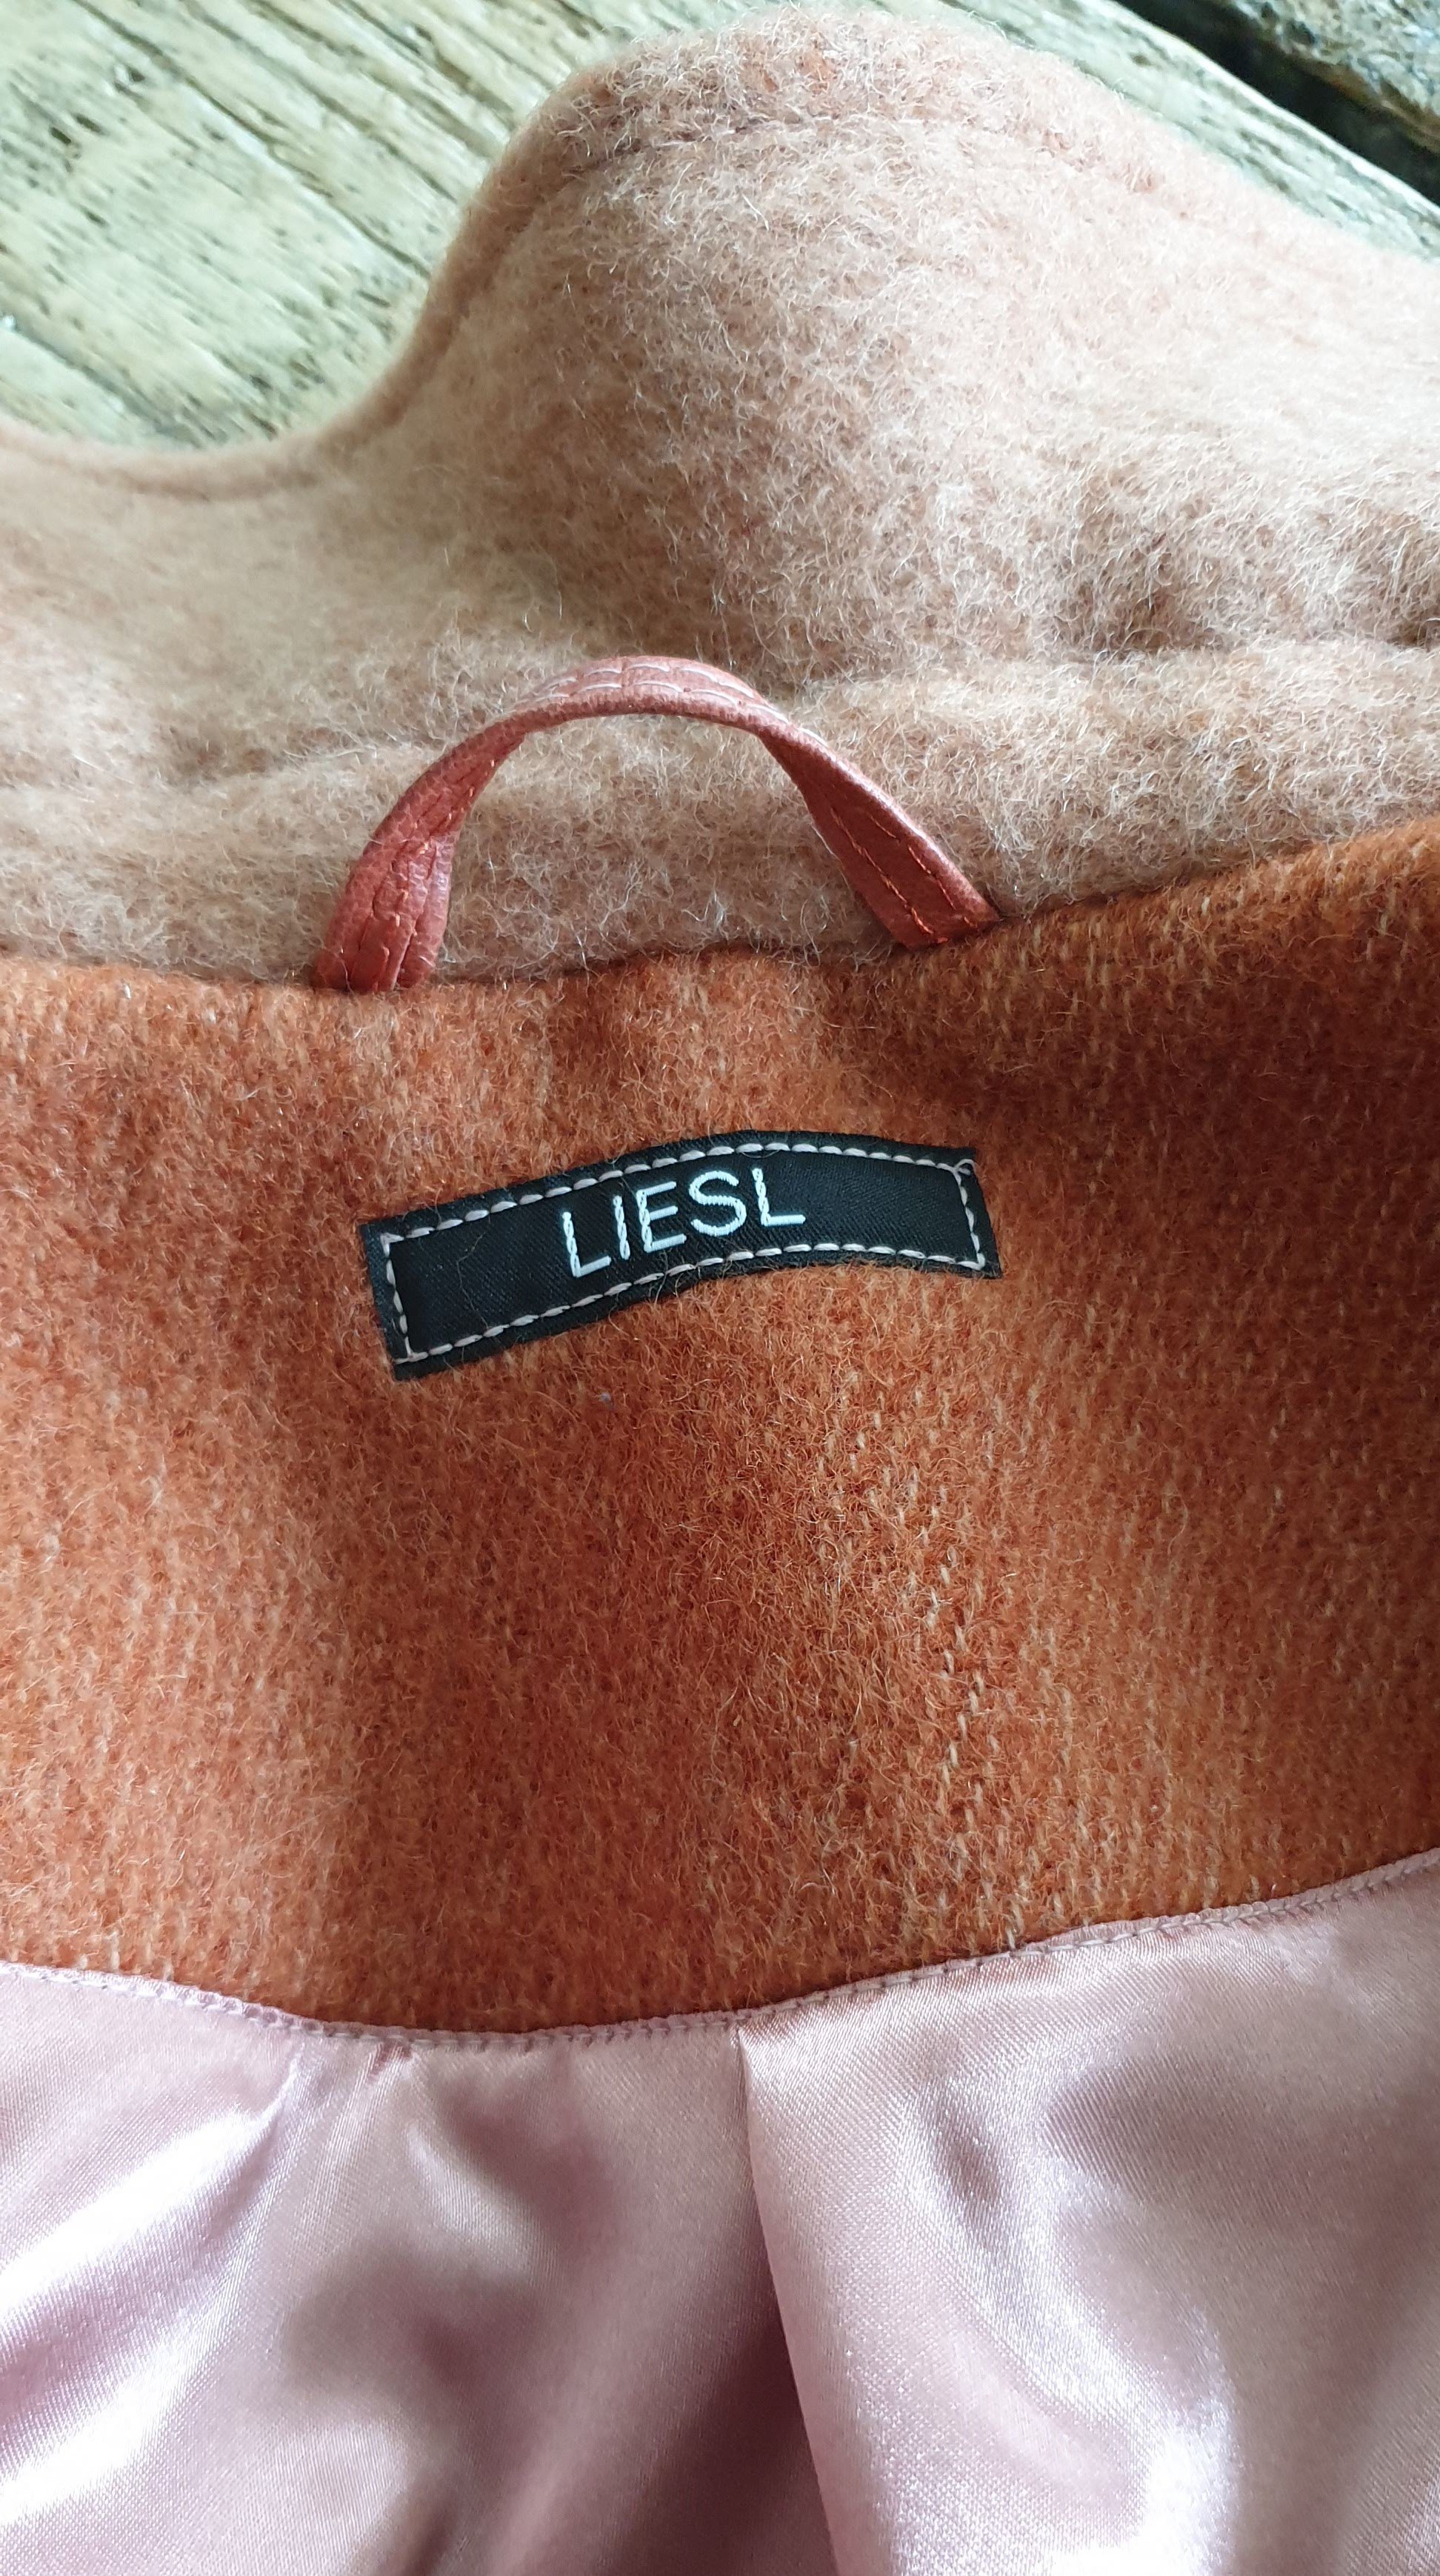
As a nice detail on the inside, I stitched black piping between the lining and the facing. On the facing I placed the original label of the blanket and also my own label. I sewed the facing piece at the back with the rust color on the right side. Just because I can 😉. As a handy detail, I turned the faux leather into a loop on which the jacket can easily be hung.

Buttons
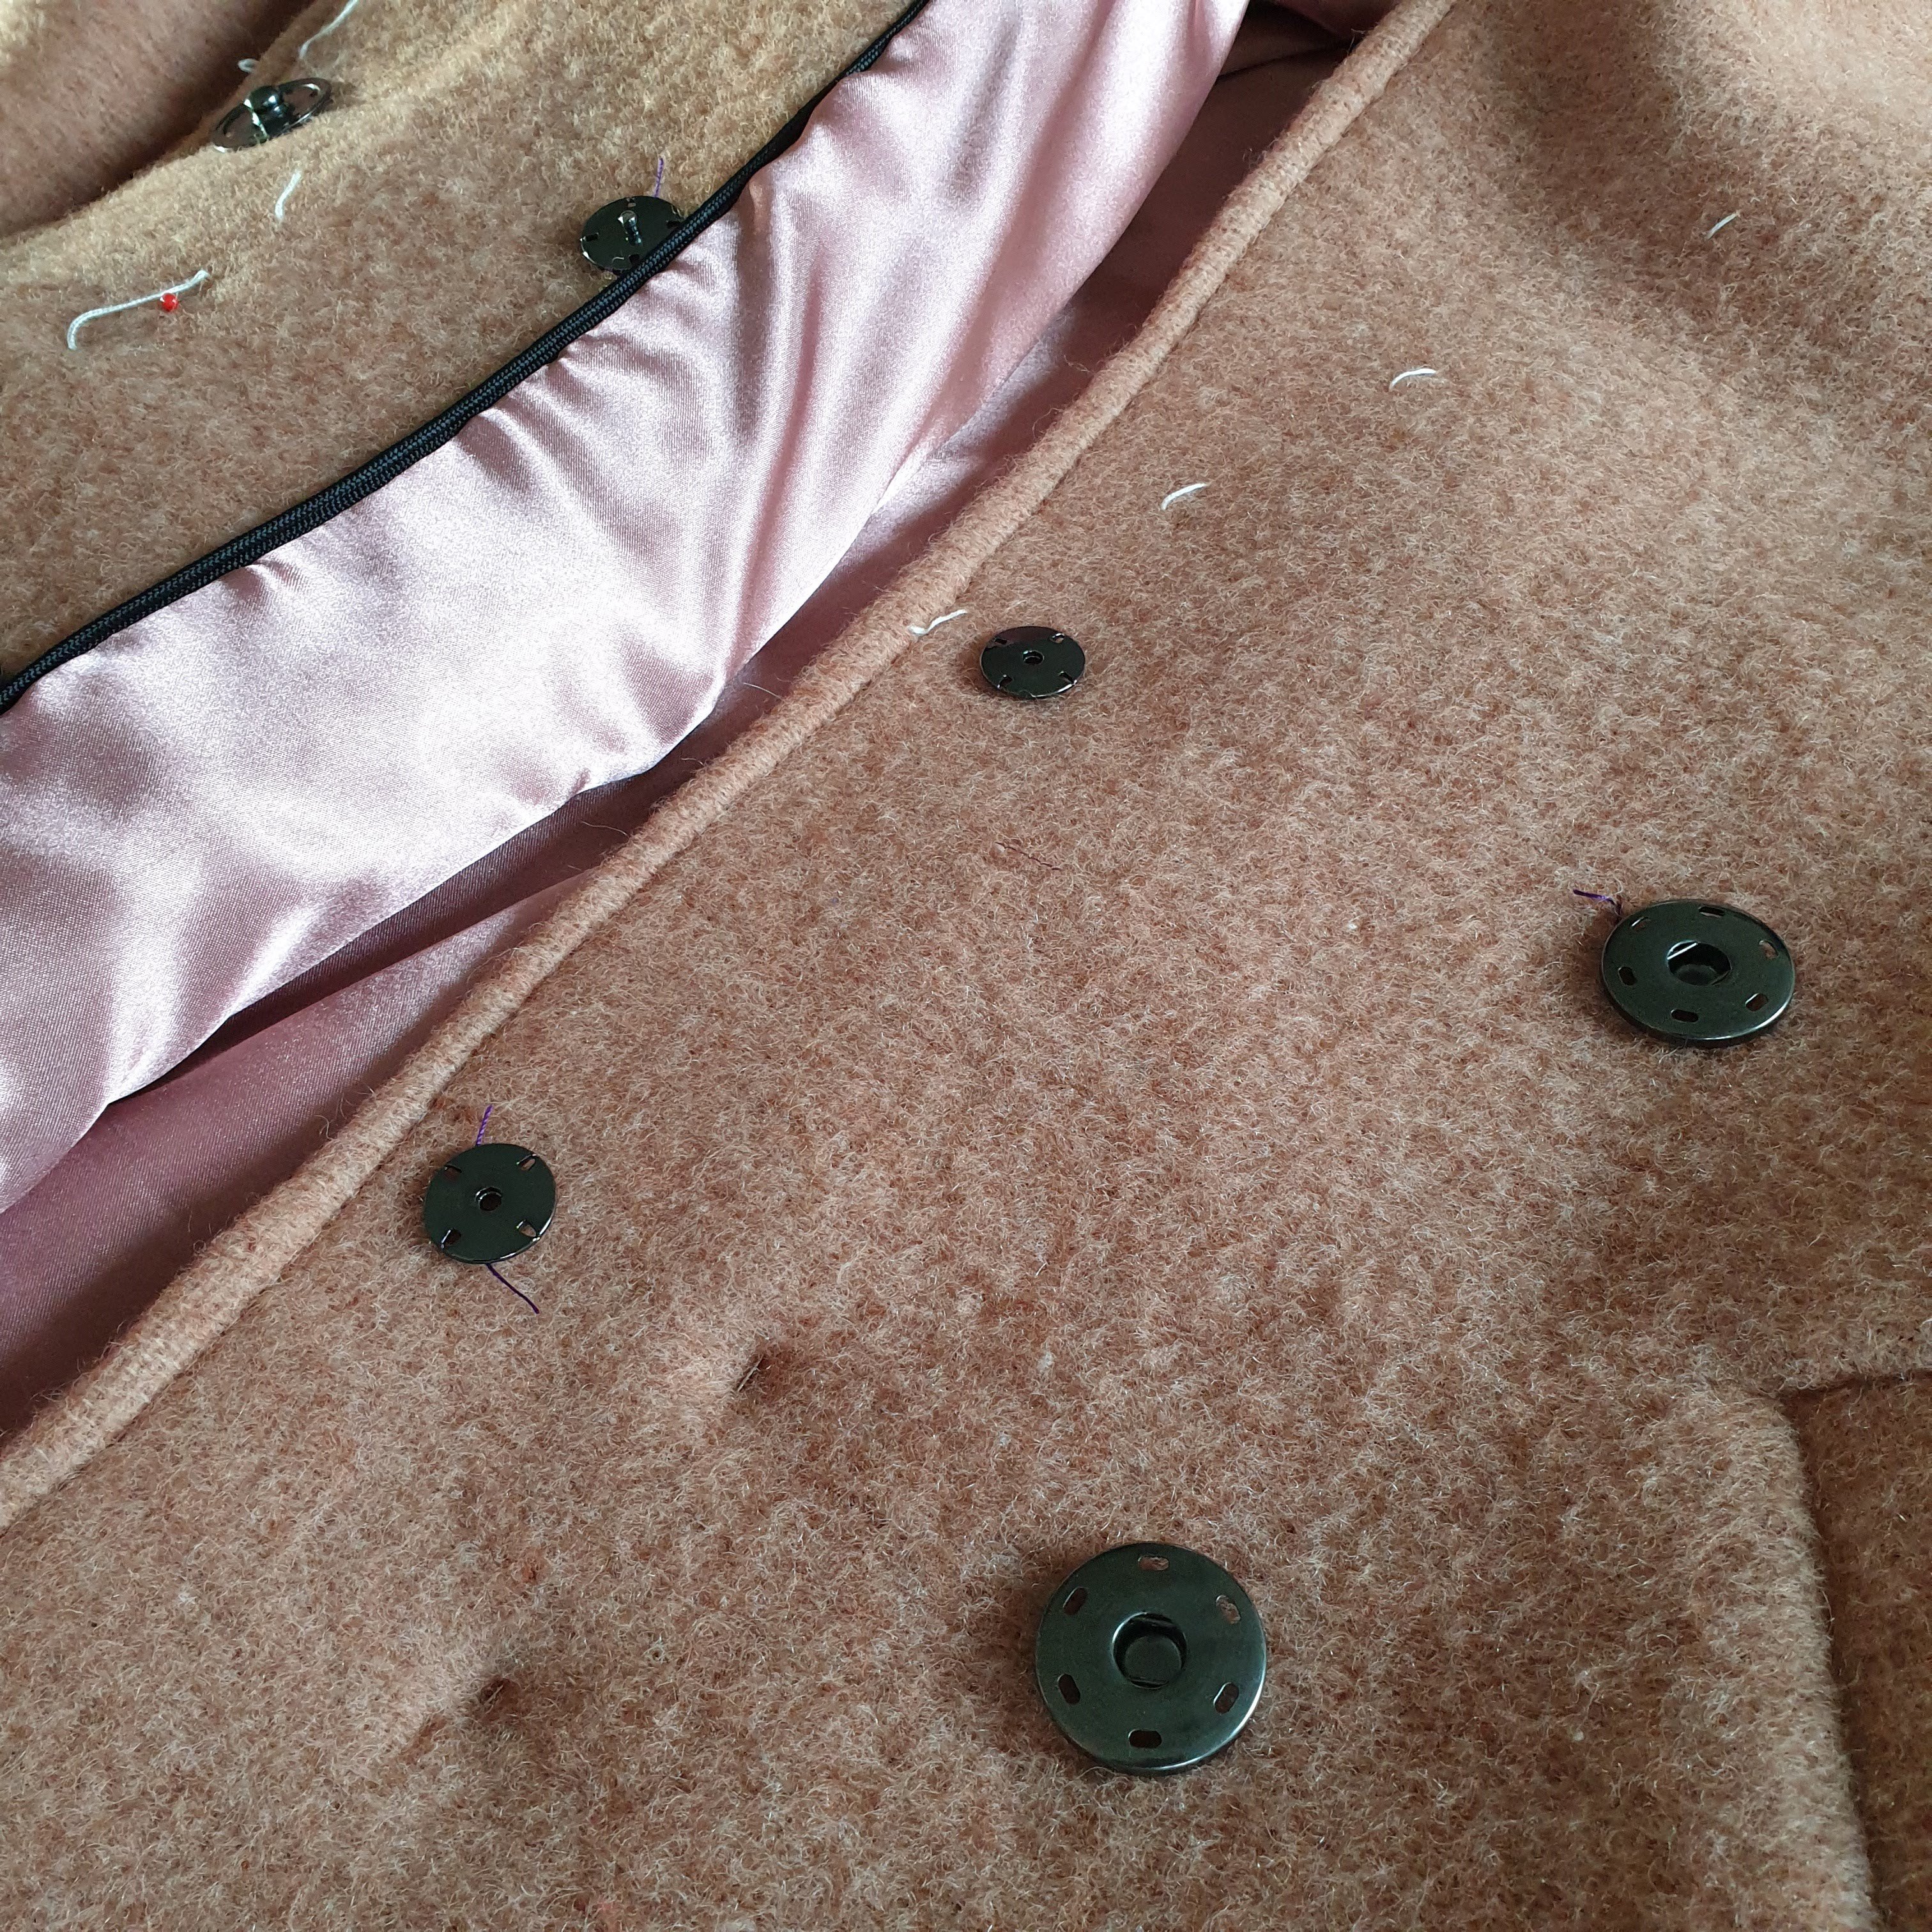
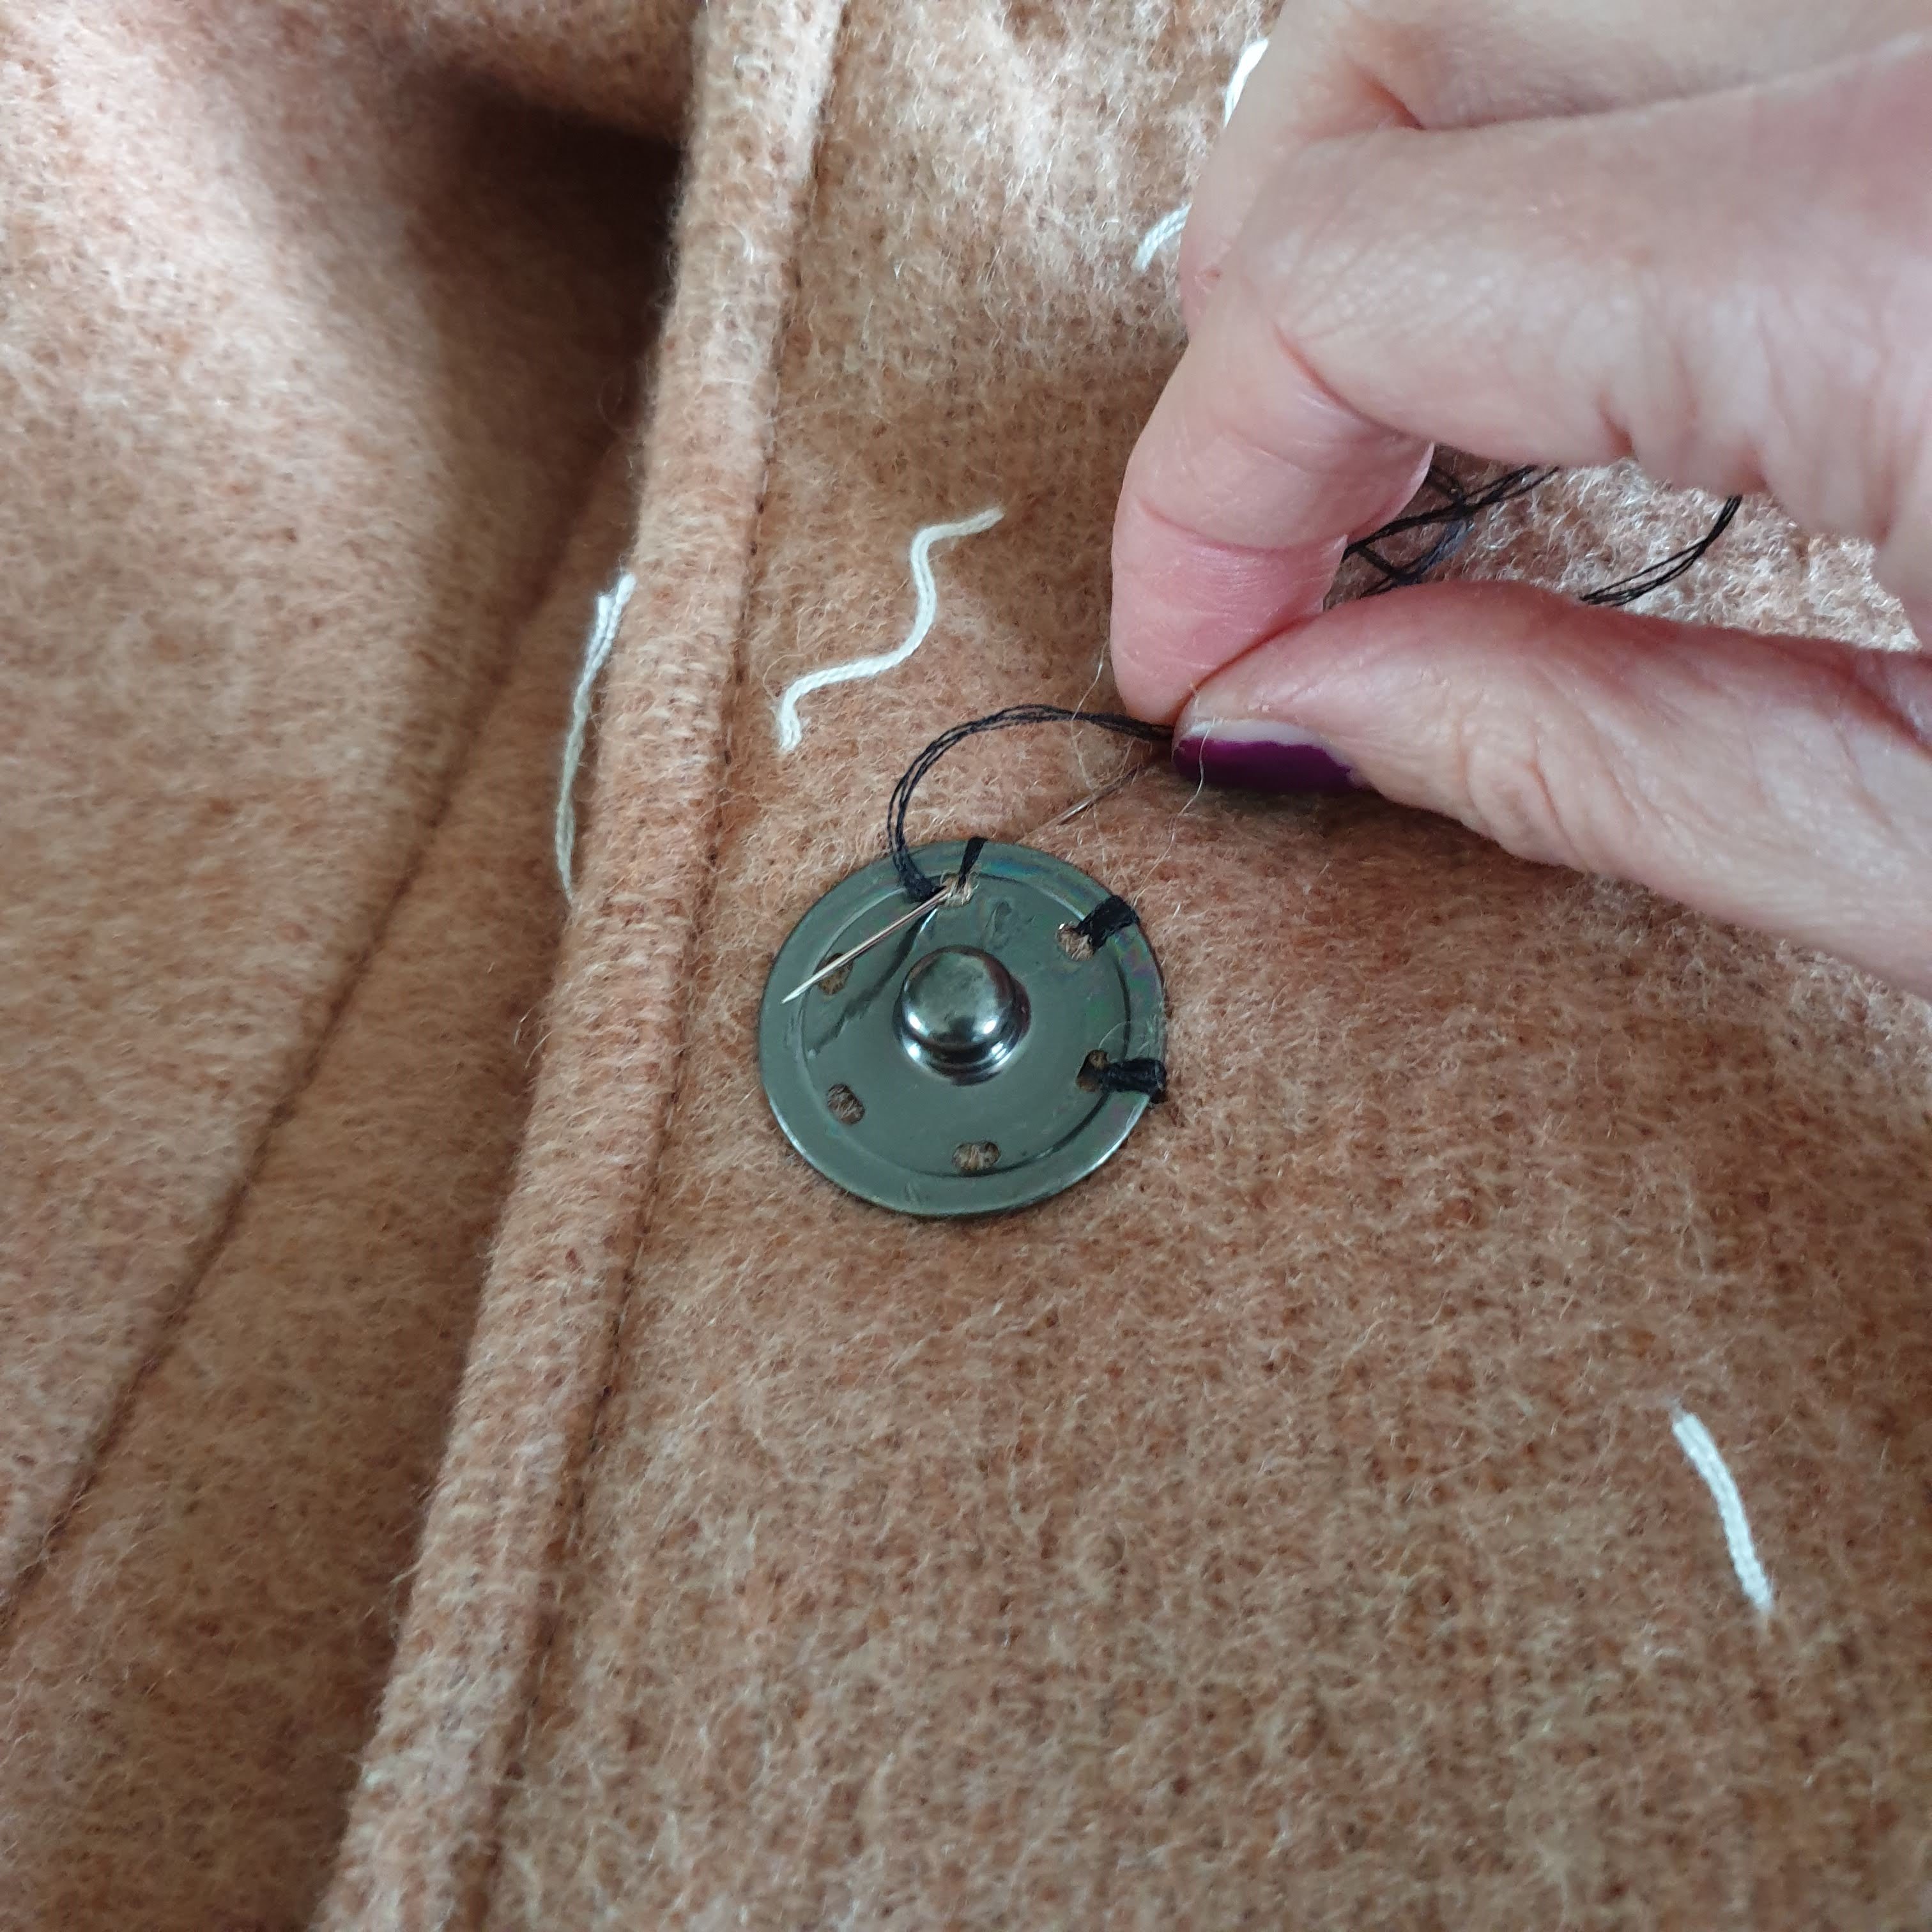
To close the jacket, 4 big snap fasteners were advised. I finally put on two, which in this case are enough. Maybe I will put large decorative buttons on the outside to smarten up the coat. For now I leave it this way.
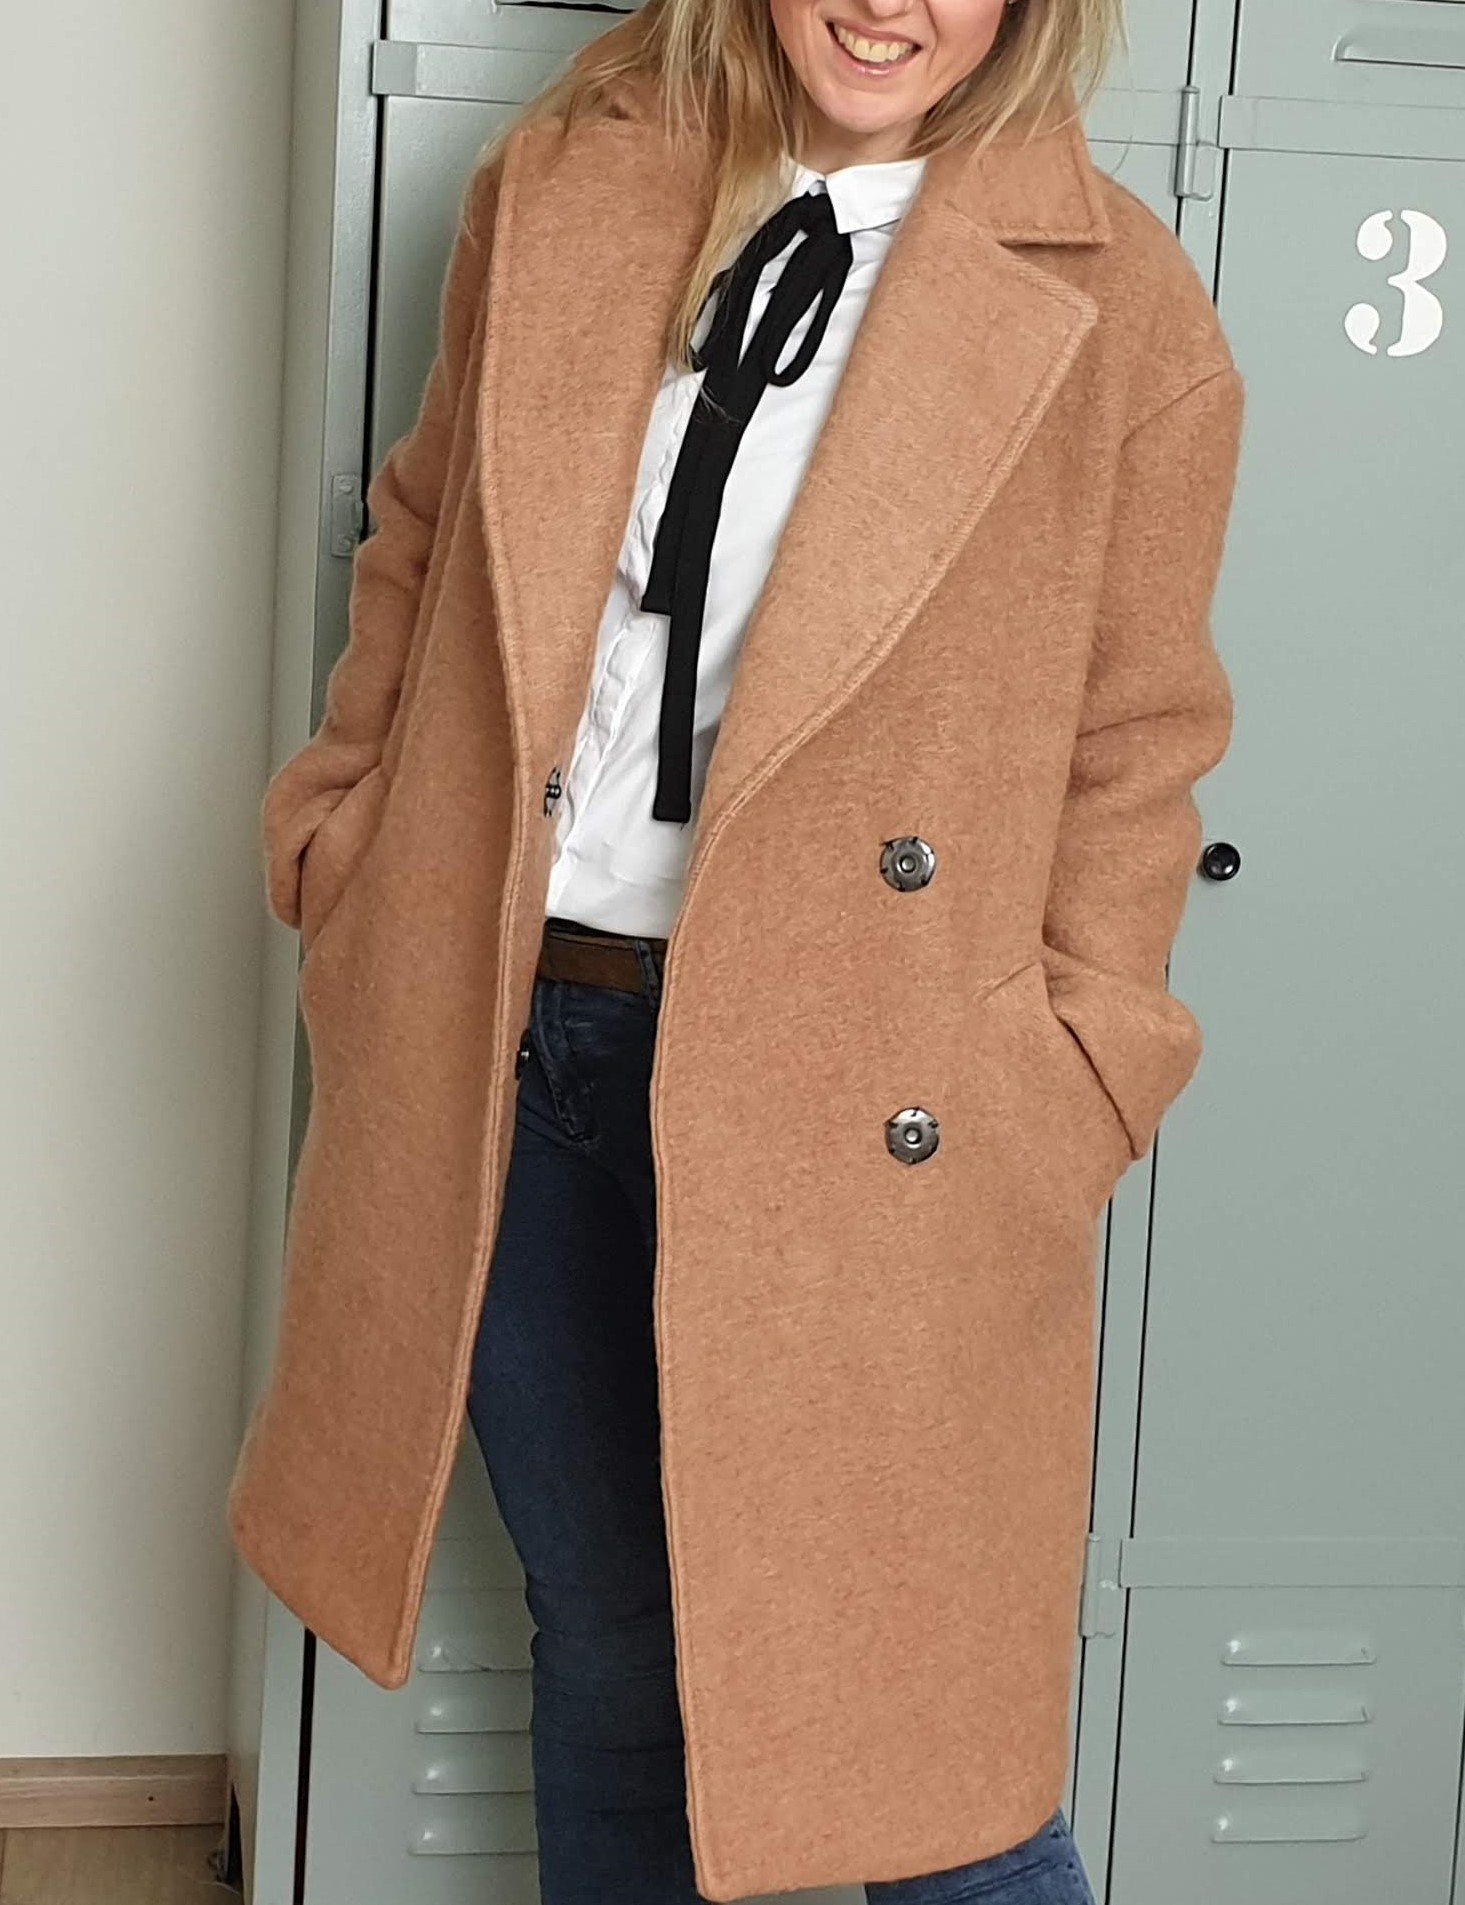
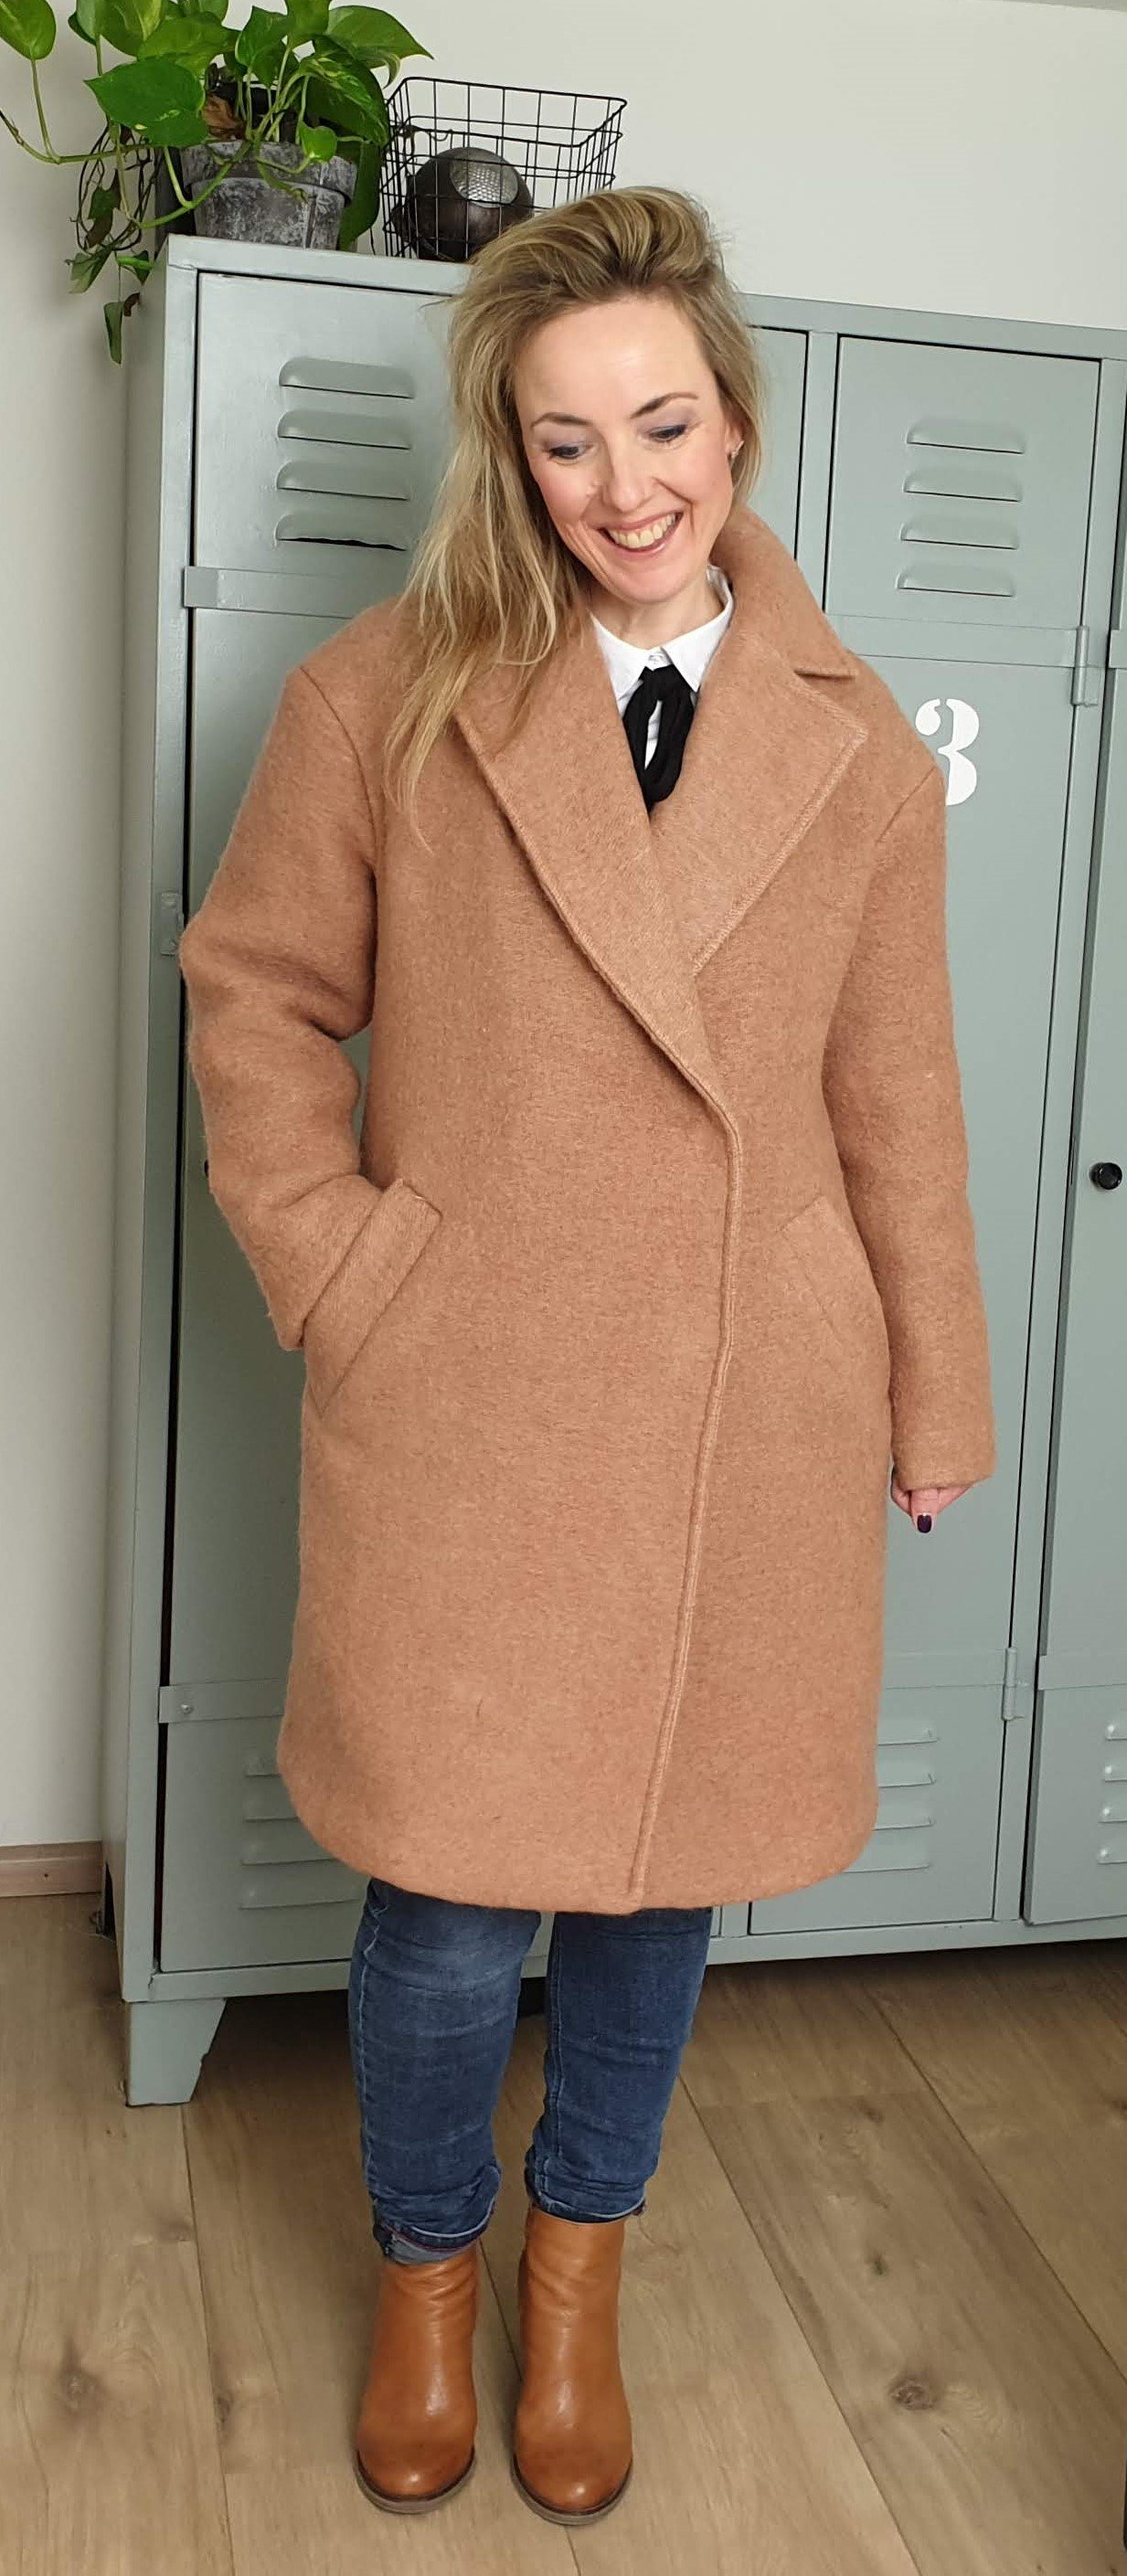
I only have to wait for that cold winter to kick in, because this coat is nice and warm! And it’s a coat with history. Love it!
Do you also have a nice blanket or another large piece of fabric? Go and create a new item and share it in the #REFEBULOUS challenge. Do you want to know how you participate and therefore have a chance of winning great prizes? Then read this blog:
https://blog.bernina.com/en/2020/01/inspired-by-the-sustainable-sewing-challenge-refebulous/
You can find more of my REFEBULOUS projects on my Instagram, for example what I’ve made for the Dutch Carnival (like Haloween) with a curtain and a tablecloth. Take a look! @madebyLIESL
See you there!
Love,
Marlies
@madebyLIESL
 BERNINA Corporate Blog -


The pattern for the fluffy coat does not open properly. Just a serie of codes
Dear Fabienne,
It seems like the link is not forwarding you correctly. Try this direct link to the BERNINA of America Page and you should be able to download the pattern in English there.
Kind regards, Ramona
You did a wonderful job on this coat! Thank you for sharing your process. When my daughter was about 4 yrs. old, I made her a coat out of a cashmere coat my aunt was going to get rid of. It was in good condition and though impractical for a child, it turned out really cute and the fabric was soft and warm. I was able to use the satin lining fabric, too, and my daughter thought it was very special.
Hallo! Wat een leuke jas! Mijn dochter wil graag proberen deze te maken, maar we kunnen het patroon niet vinden. Hoe kunnen we deze vinden? Alvast heel veel dank!groet, Marieke
Ik heb ze al! Dank!
I once used old curtains and a sheet to make a sleeping bag that I donated to a homeless shelter. I have a beautiful wool blanket that has been in the family for years. I think it would be too small for a coat but it would make a great blazer; maybe I can adapt this pattern for one. I’ve never made a coat but I’ve made a lined waistcoat.Refebulous is a great idea and February is certainly a suitable month. Maybe I’ll look into it for next year.
I have a polyester blanket ( I am allergic to wool) I am using, for the shell ($70 on sale for$16!), and a Vera Wang supima cotton sheet for the lining. Same washing instructions for both. However, the blanket is much thinner than I had anticipated. I am considering using the sheet as interlining rather than lining. (both pieces sewn together as one) If so, what would be best type of seam to use inside the coat?
Dear Sue, If I understand correctly, you wont do a lining then, and the sewing allowance will be visible? I have seen different variations of how to make those inner seams clean. I saw others using bias tape and covering the sewing allowance with either a colormatching or a contrast color on the inside. Gives it a little pop! Or you could cut one of the sewing allowances short, fold the longer one over it and topstitch it down. Or, since you have 2 fabrics, you could do that on both sides of a seam, and topstitch on both sides?
Please do correct me if I haven’t understood your question correctly 🙂
Kind regards, Ramona
Love it, I wish I had a pure wool blandket. On a lovely coat as this I would put some nice buttons on, poppers just don’t look right on sich a lovely well made coat. Thank you.
This looks fabulous. What was the dimensions of the blanket you used?