 BERNINA Corporate Blog -
Traditional blocks can be converted to paper piecing: some blocks can look complicated, because they have to be taken apart, making them suitable for a different patchwork technique. I have shown you with SBS part 2 how to start from a base – sometimes it takes some effort, to understand the construction of a block, before converting it.
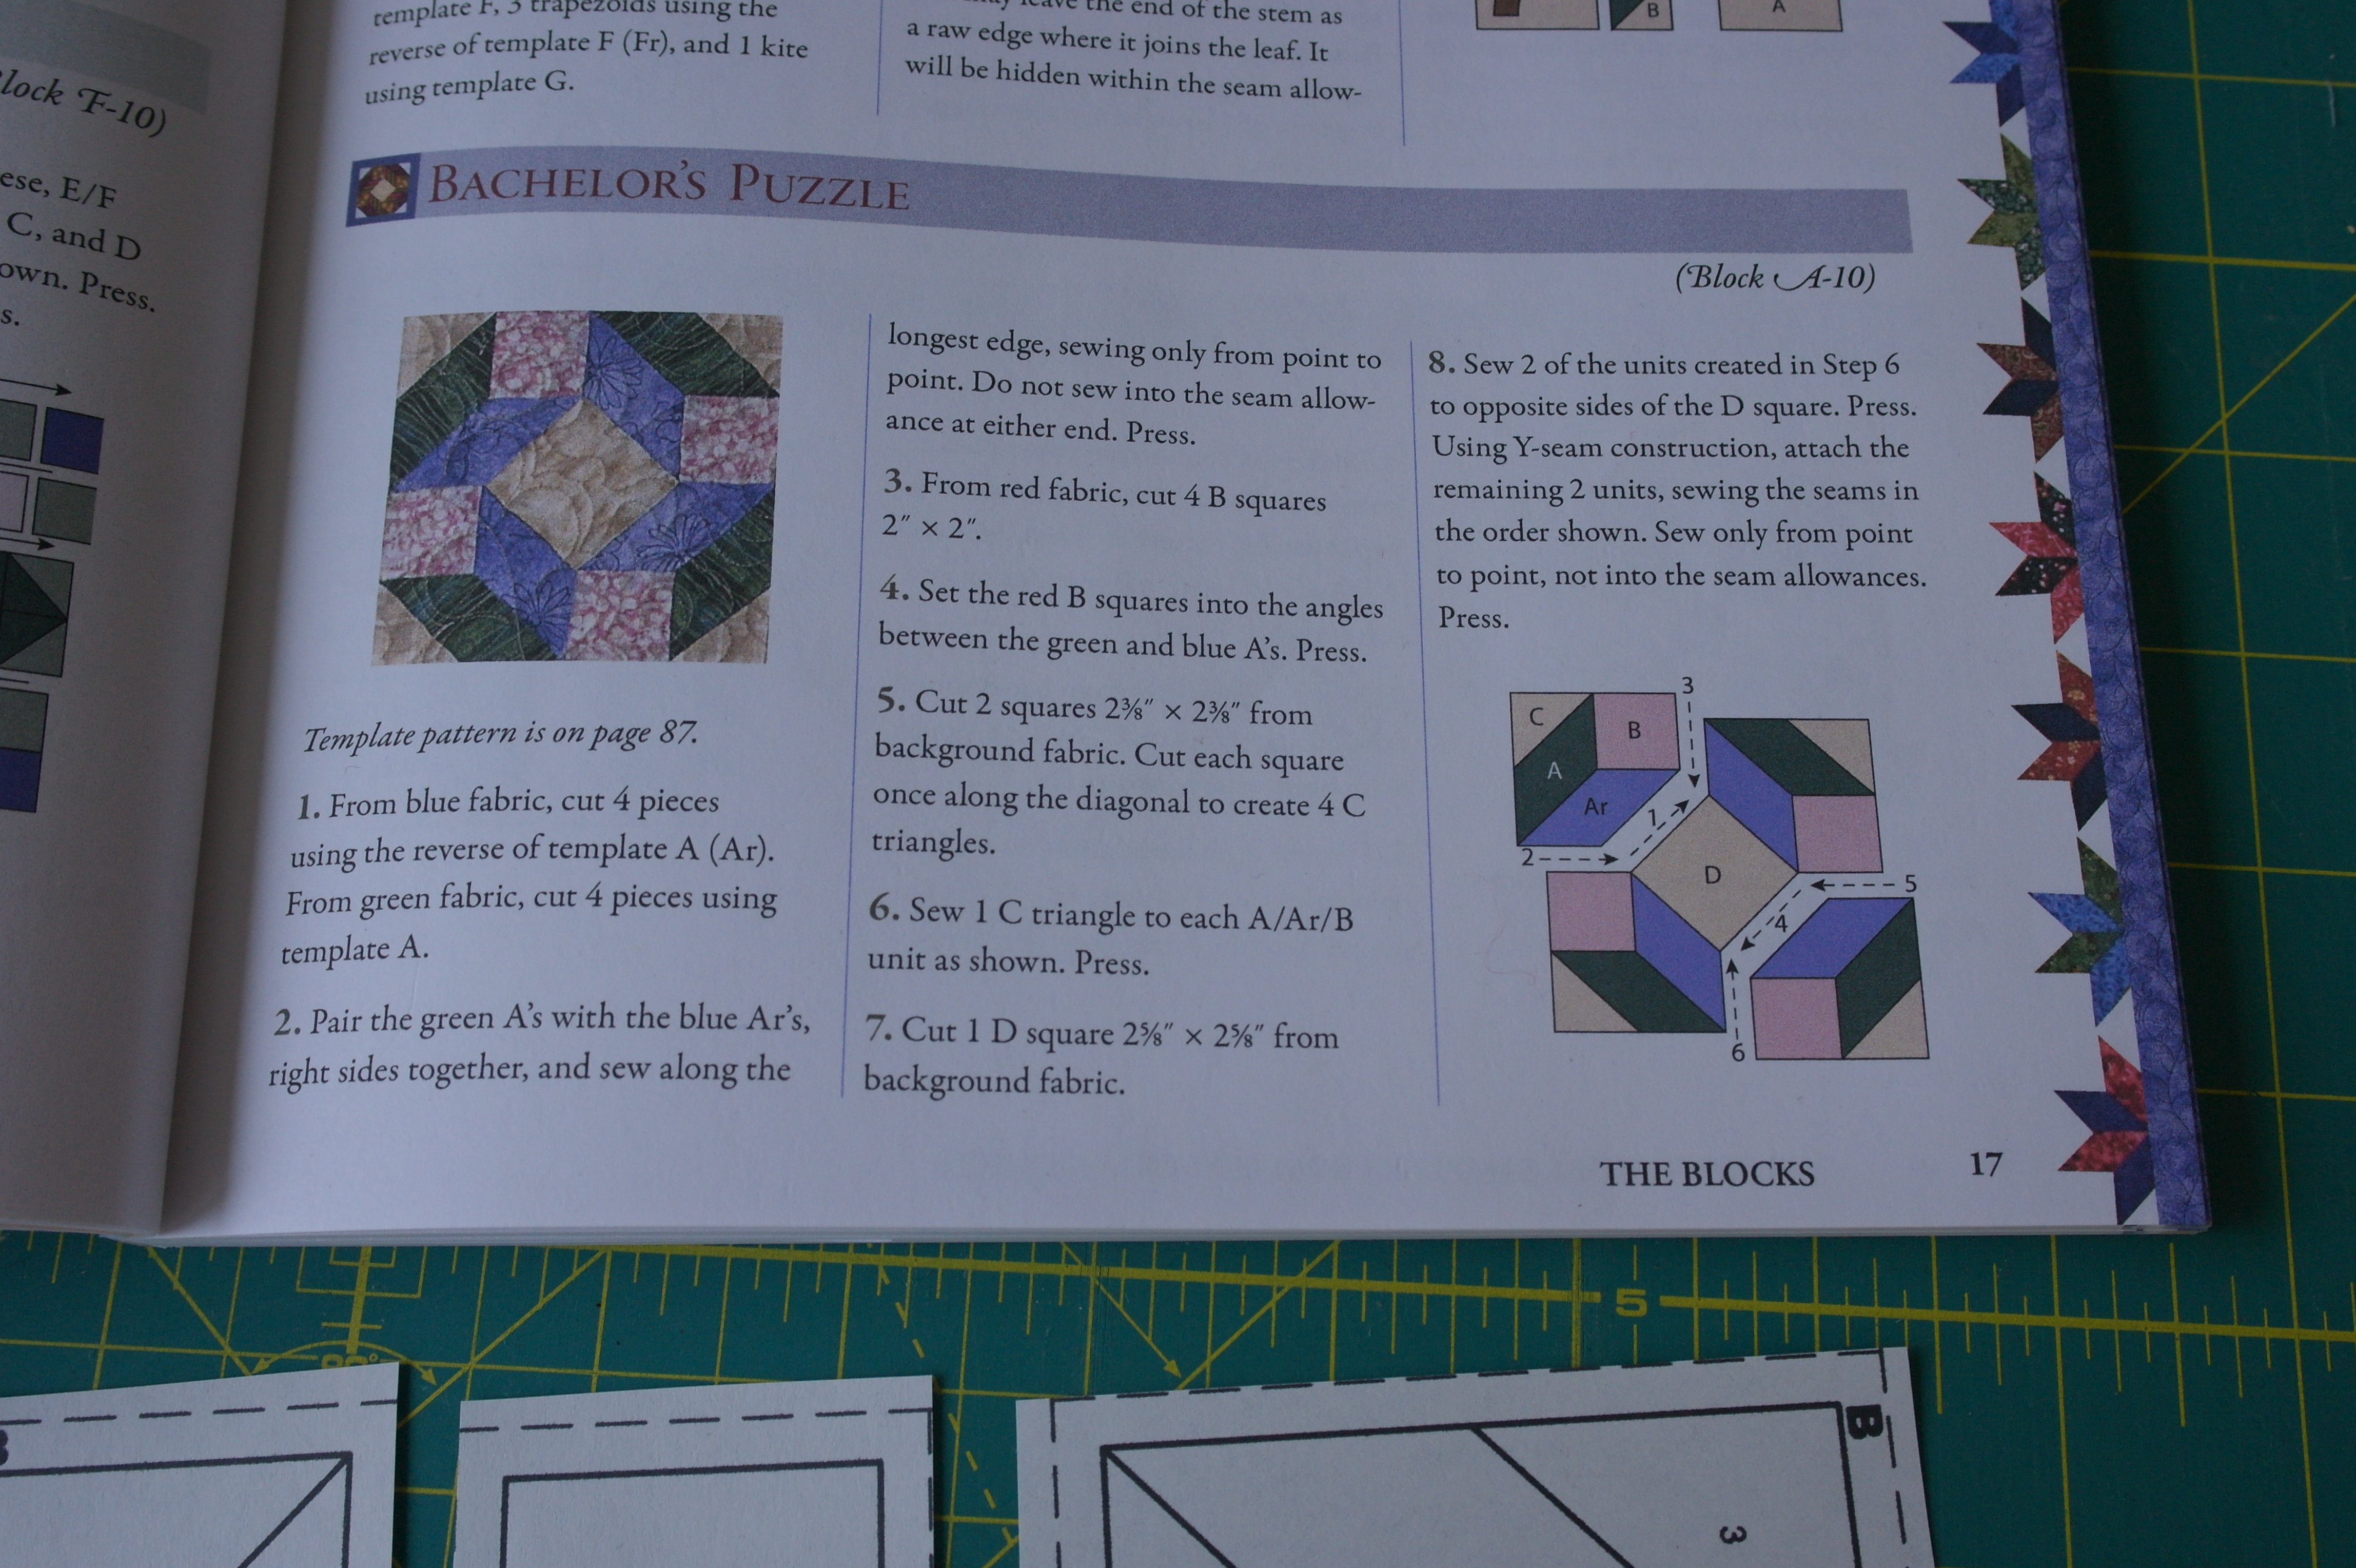
Block A10: Batchelor’s Puzzle, is such a block. You can find it on pg. 17, the original templates on pg. 87. These are designed for traditional patchwork – the templates on pg. 87 are used to cut out one or more pieces of fabrics, each with 1/4 inch seam allowance. They even have an indication of grain. With this block, the diamonds are cut in one piece, but with converting these to paper piecing, I will have to cut them up.
Drawing before converting.
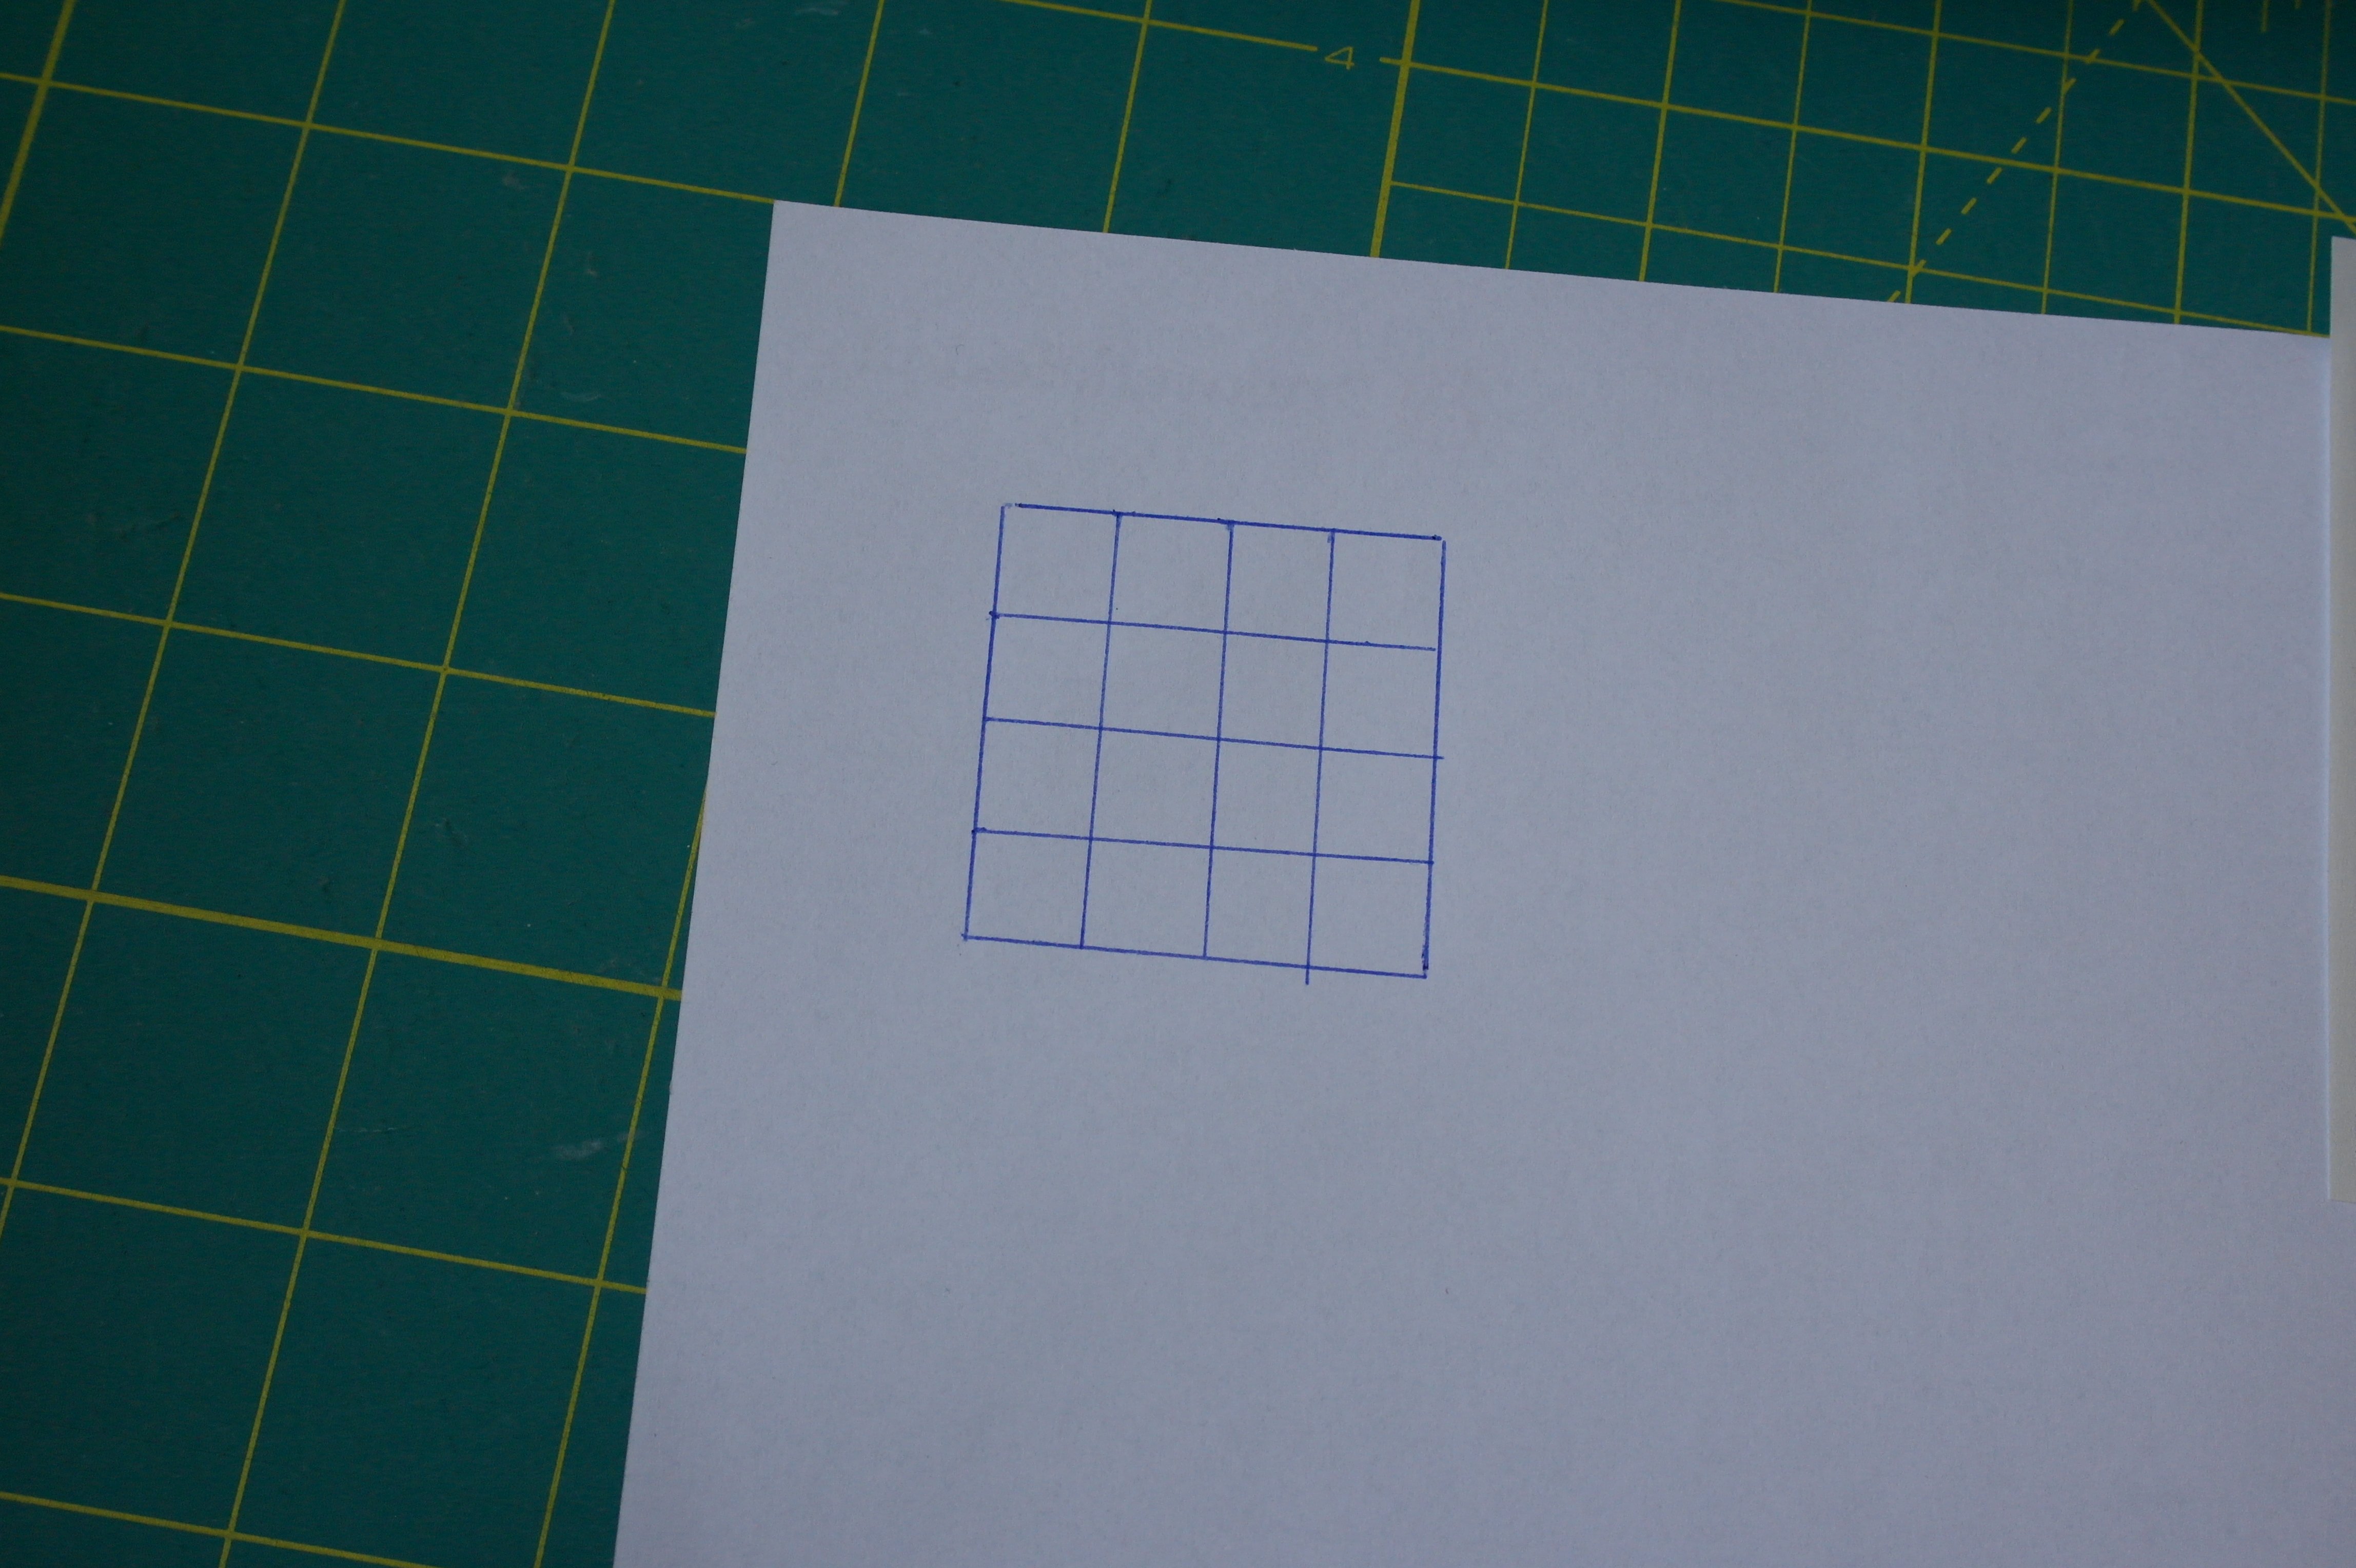
Before making a paper piecing pattern, it is important to understand the way the block is designed. For quilters who have taken a Basic Patchwork Class, it is familiar to try to divide a block into equal pieces, thus understanding how it is constructed. This particular block is a 4-Patch, but also a 16-Patch. The picture above shows my drawing, dividing the block into 16 equal squares. Along the sides there are 4 squares, so both names can be used.
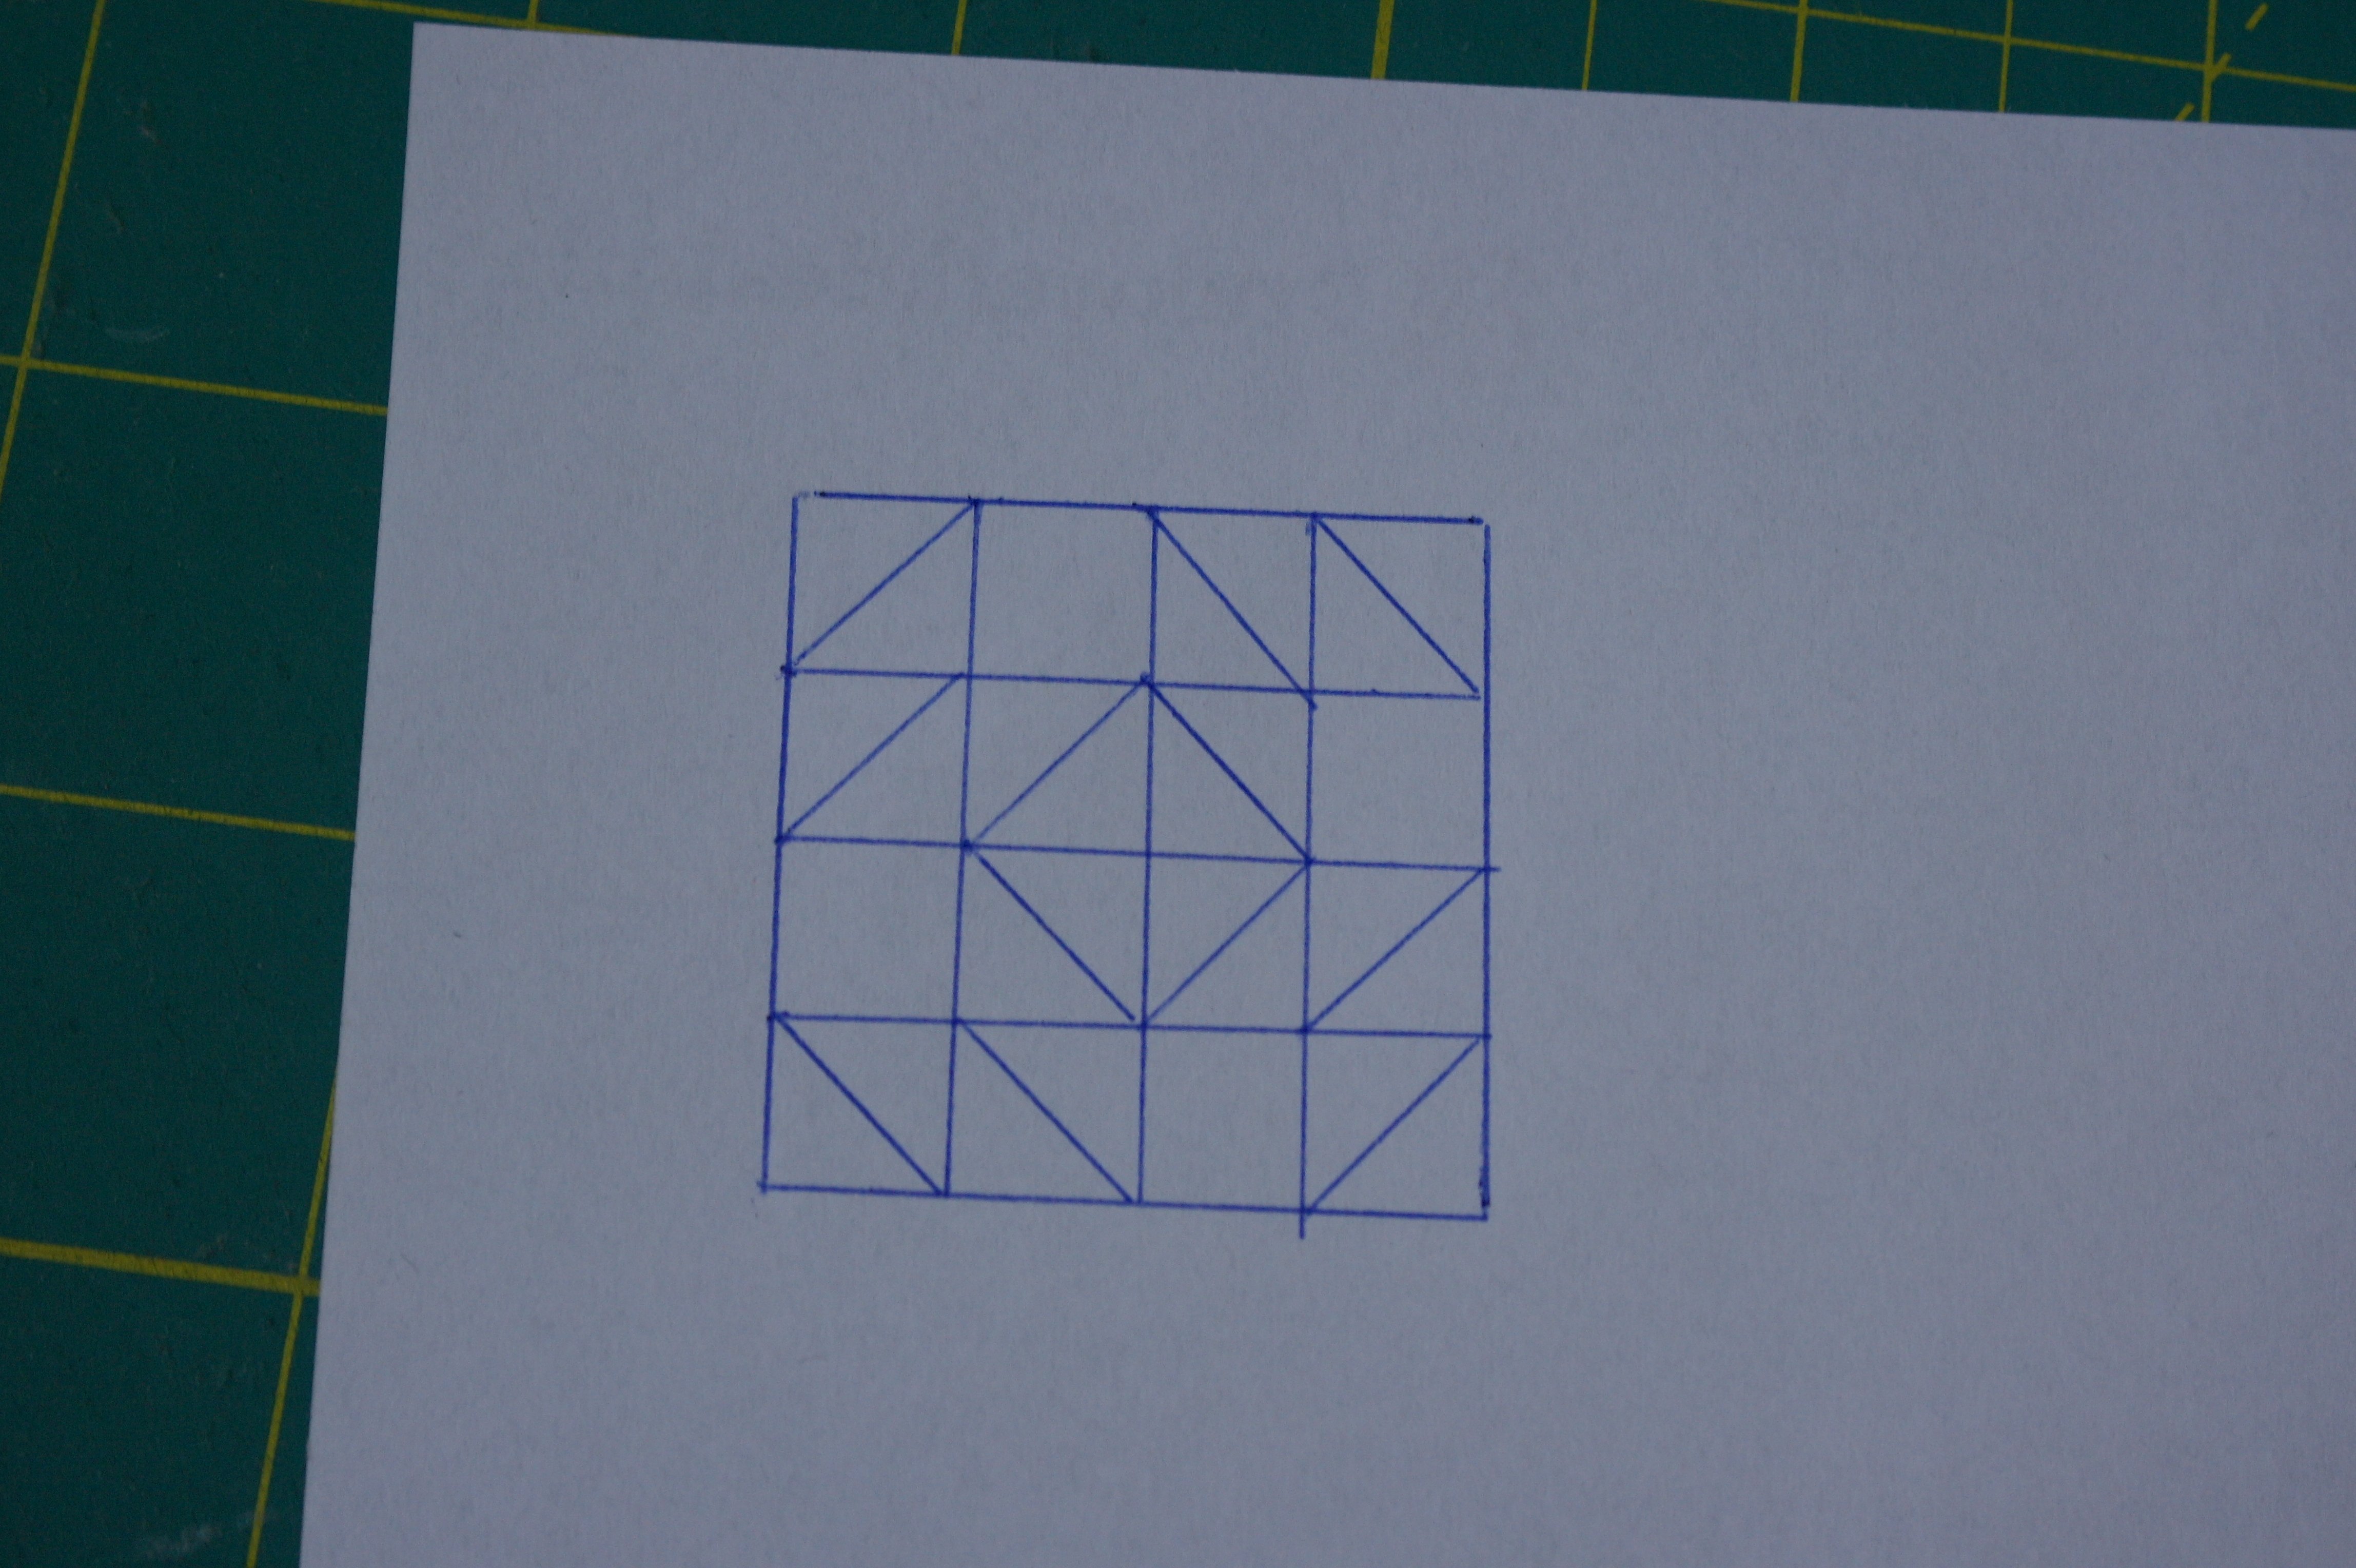
There are not just straight lines with Block A10, but also diagonal ones. I have drawn them too: you can see different shapes appearing.
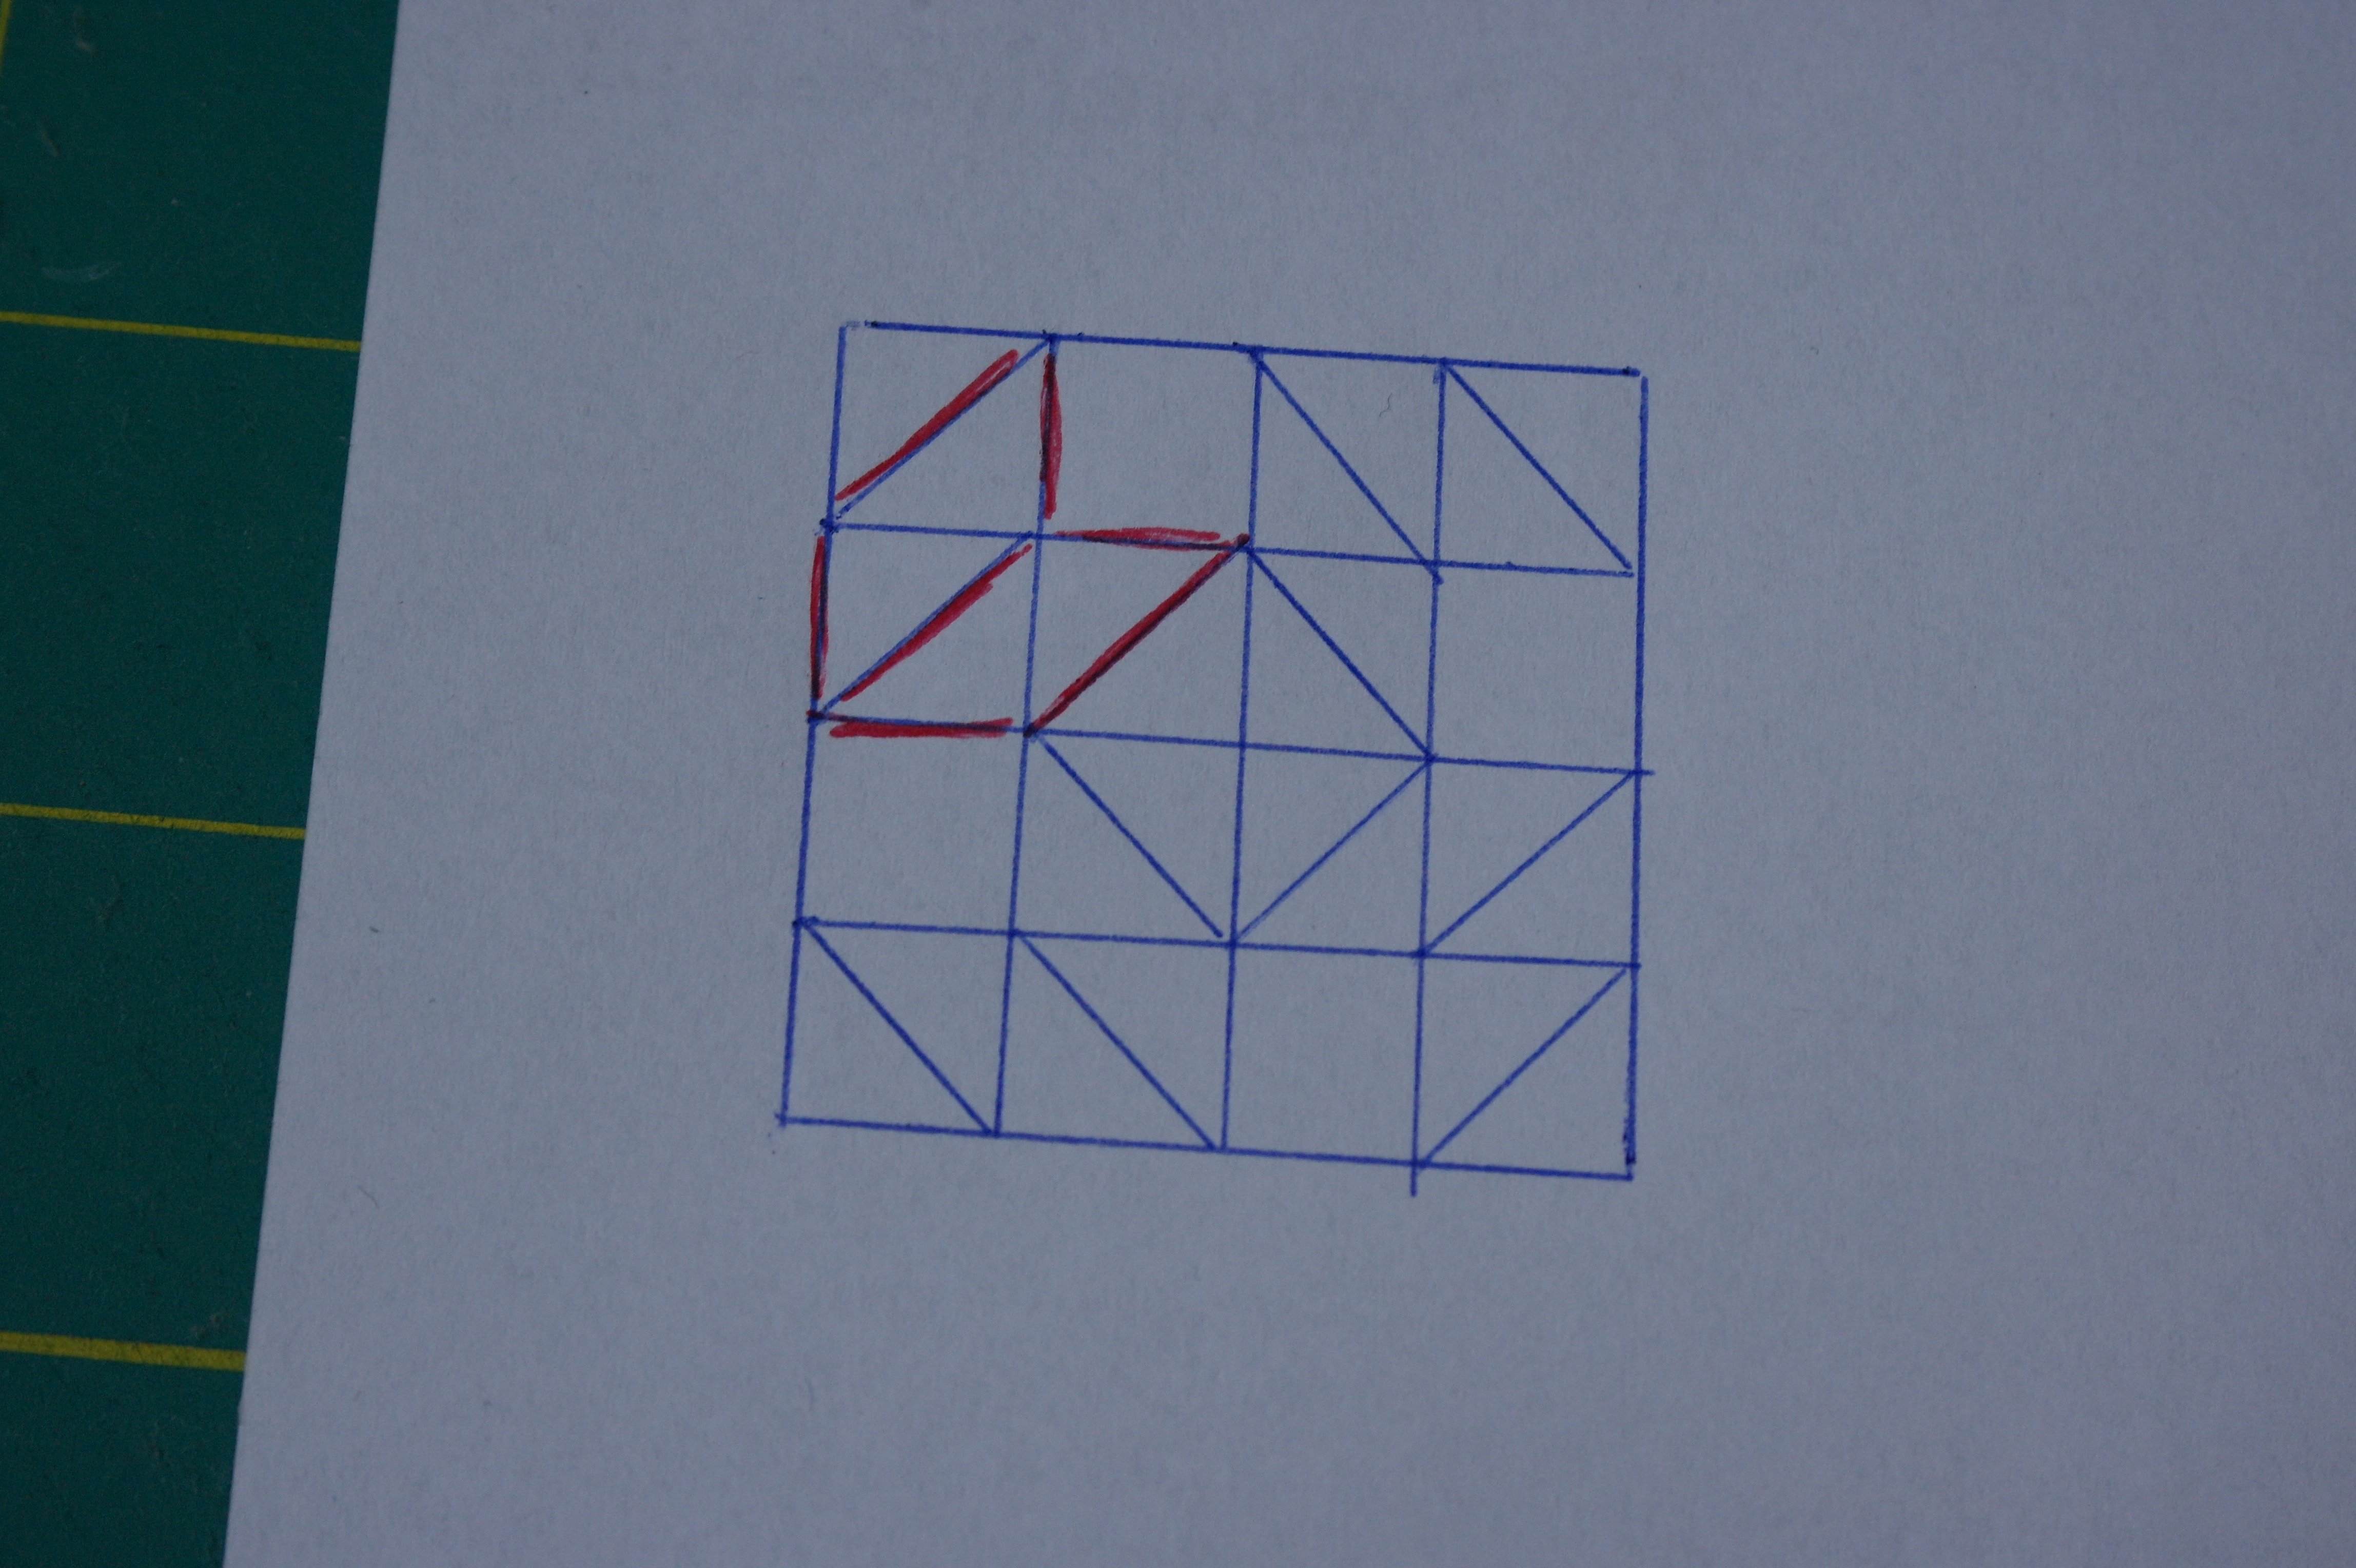
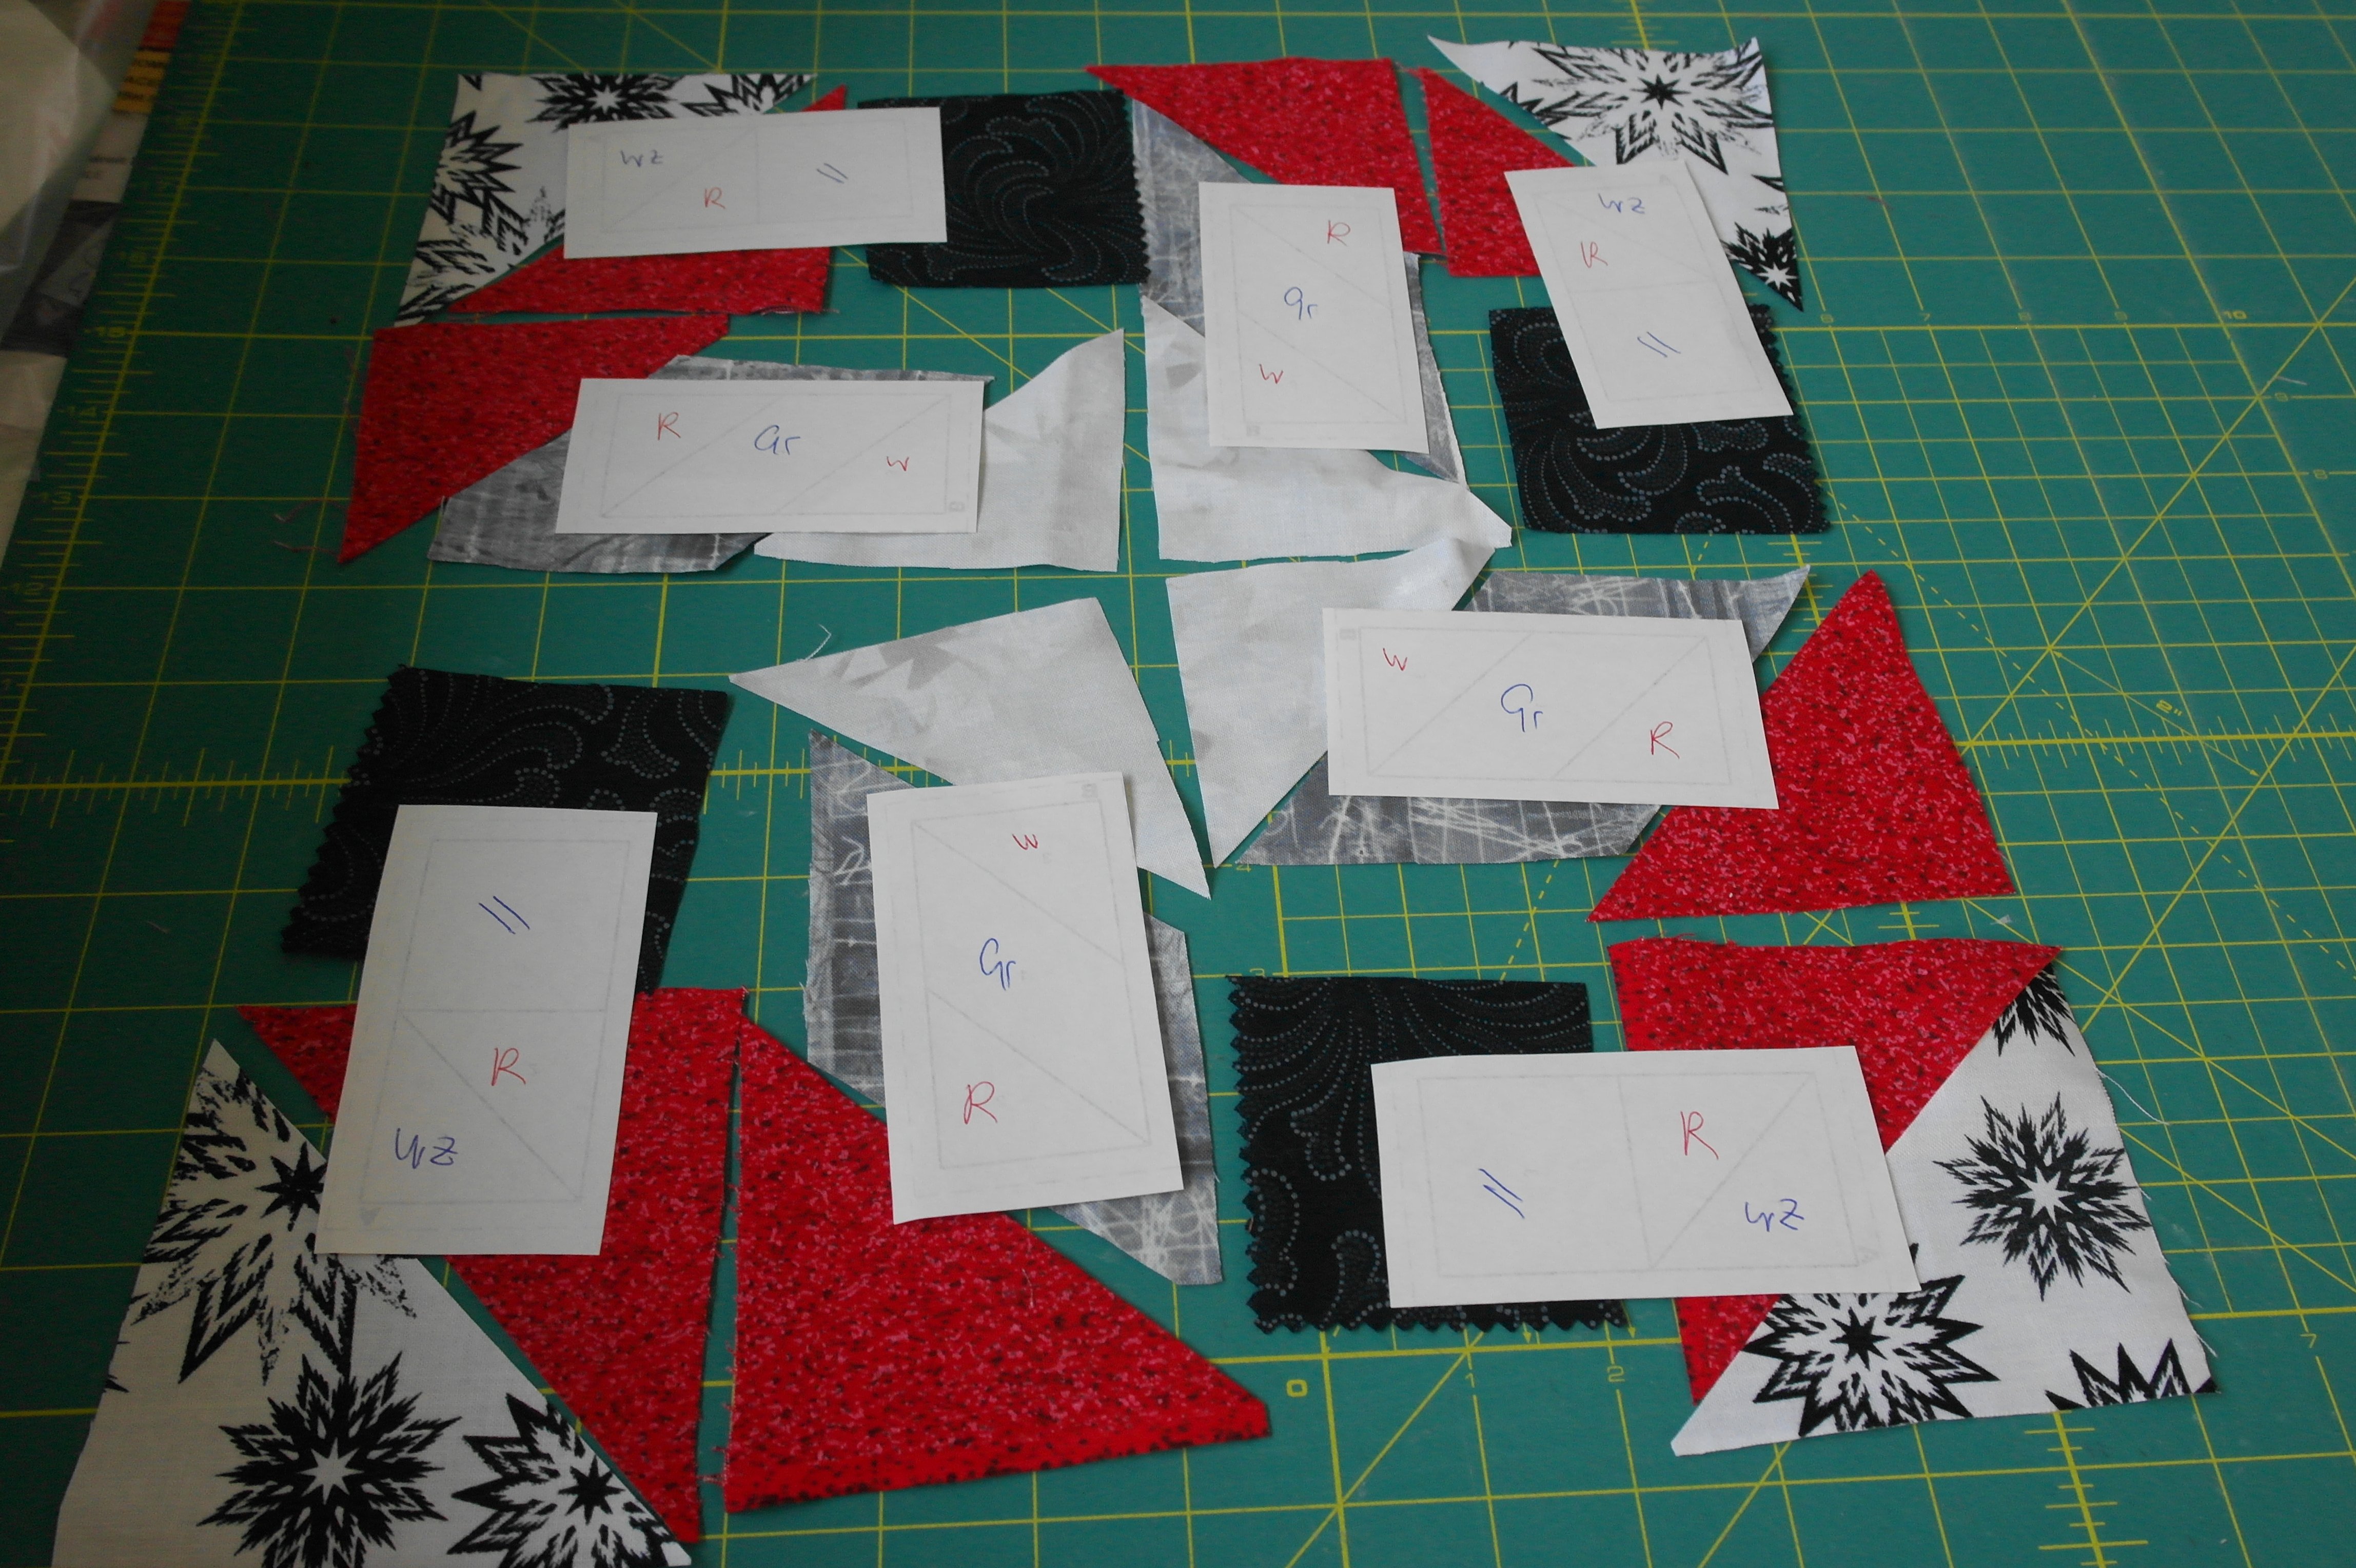
To show where the original fabrics/pieces were supposed to be, I have drawn them in red: these two figures are the original diamonds, two in each quarter.
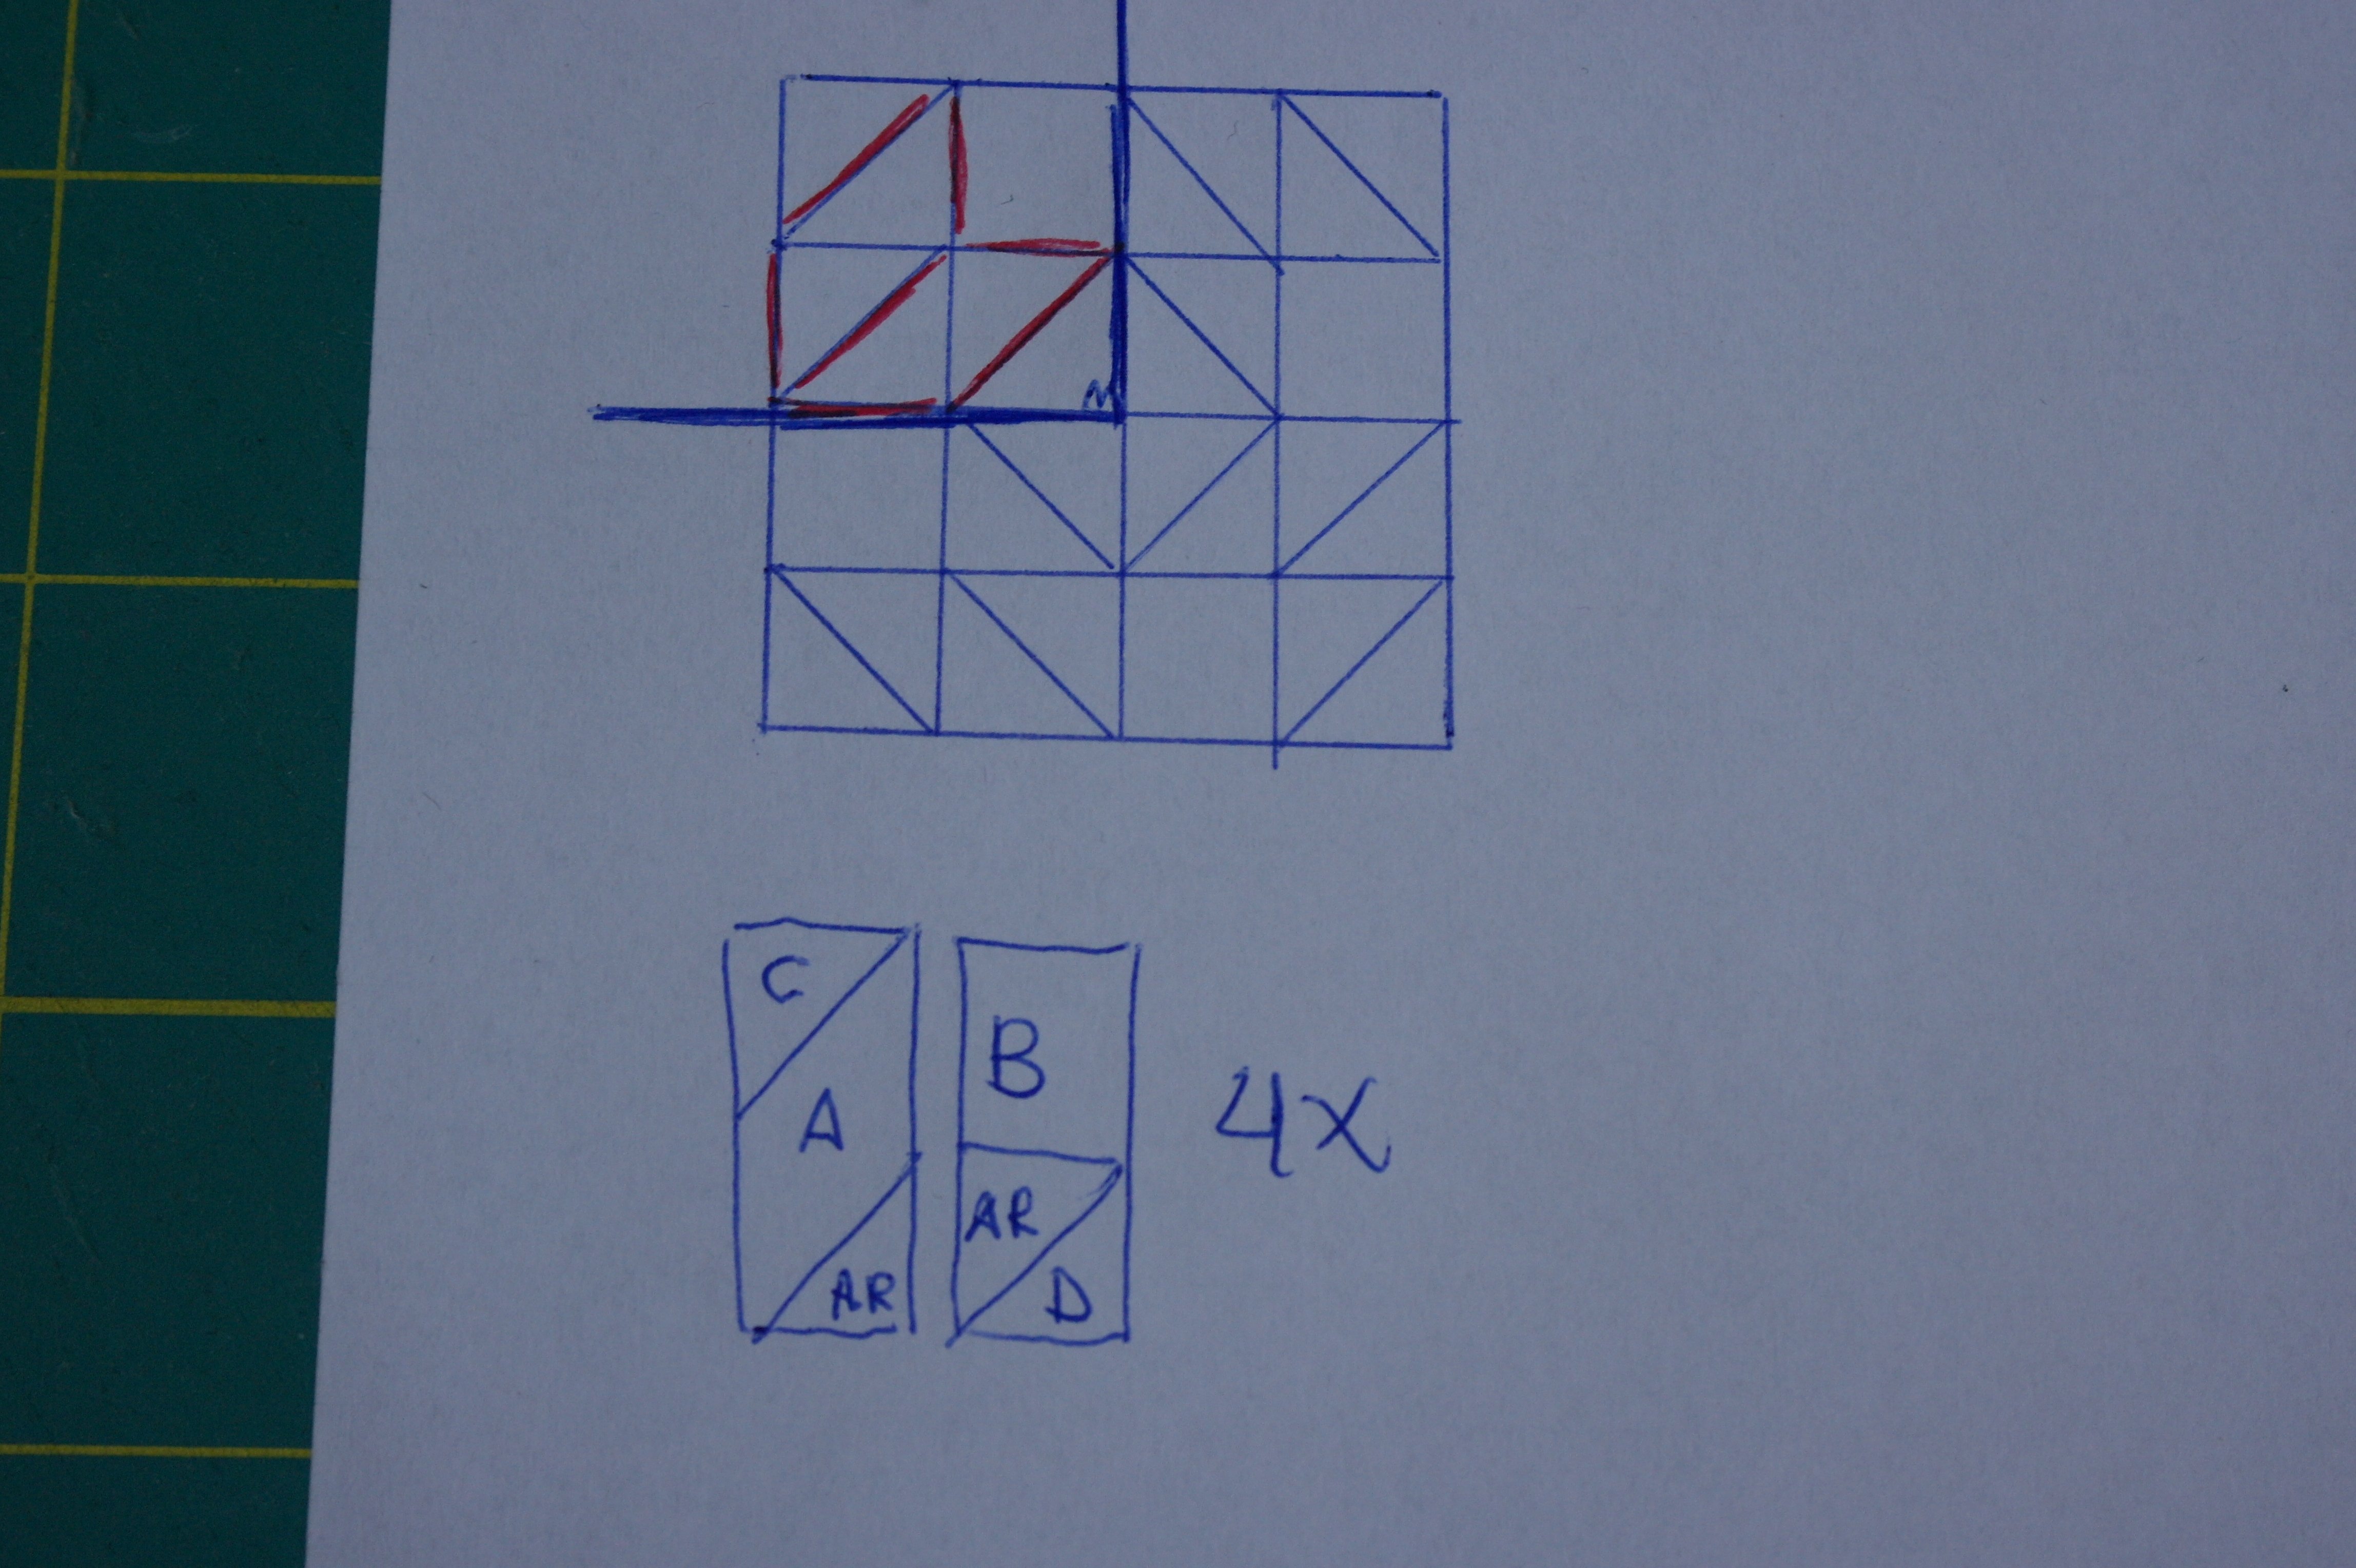
I have separated a quarter, just to make it clearly visible, and drew two paper piecing rectangles beneath the block – these will be the paper piecing Units: I will have to make 4 of each. The markings (A, Ar, B and C) are the same as with the picture in the book, page 17. As you can see, A is the actual diamond, a whole piece of fabric. But Ar is used 2 x, to complete one diamond, on separate Units*. But there is more:
- the square in the middle is now divided into 4 triangles, while the original block contains just one square/one piece of fabric. I will need 4 pieces of fabric.
- the diamond Ar is divided into 2 triangles, each on a different Unit. I will need 2 pieces of fabric for each quarter.
It is best to use a solid or neutral print, with fabrics that are cut into multiple pieces. The seams will show up more when using a large print, stripe or plaid, because it will be difficult to continue the pattern.
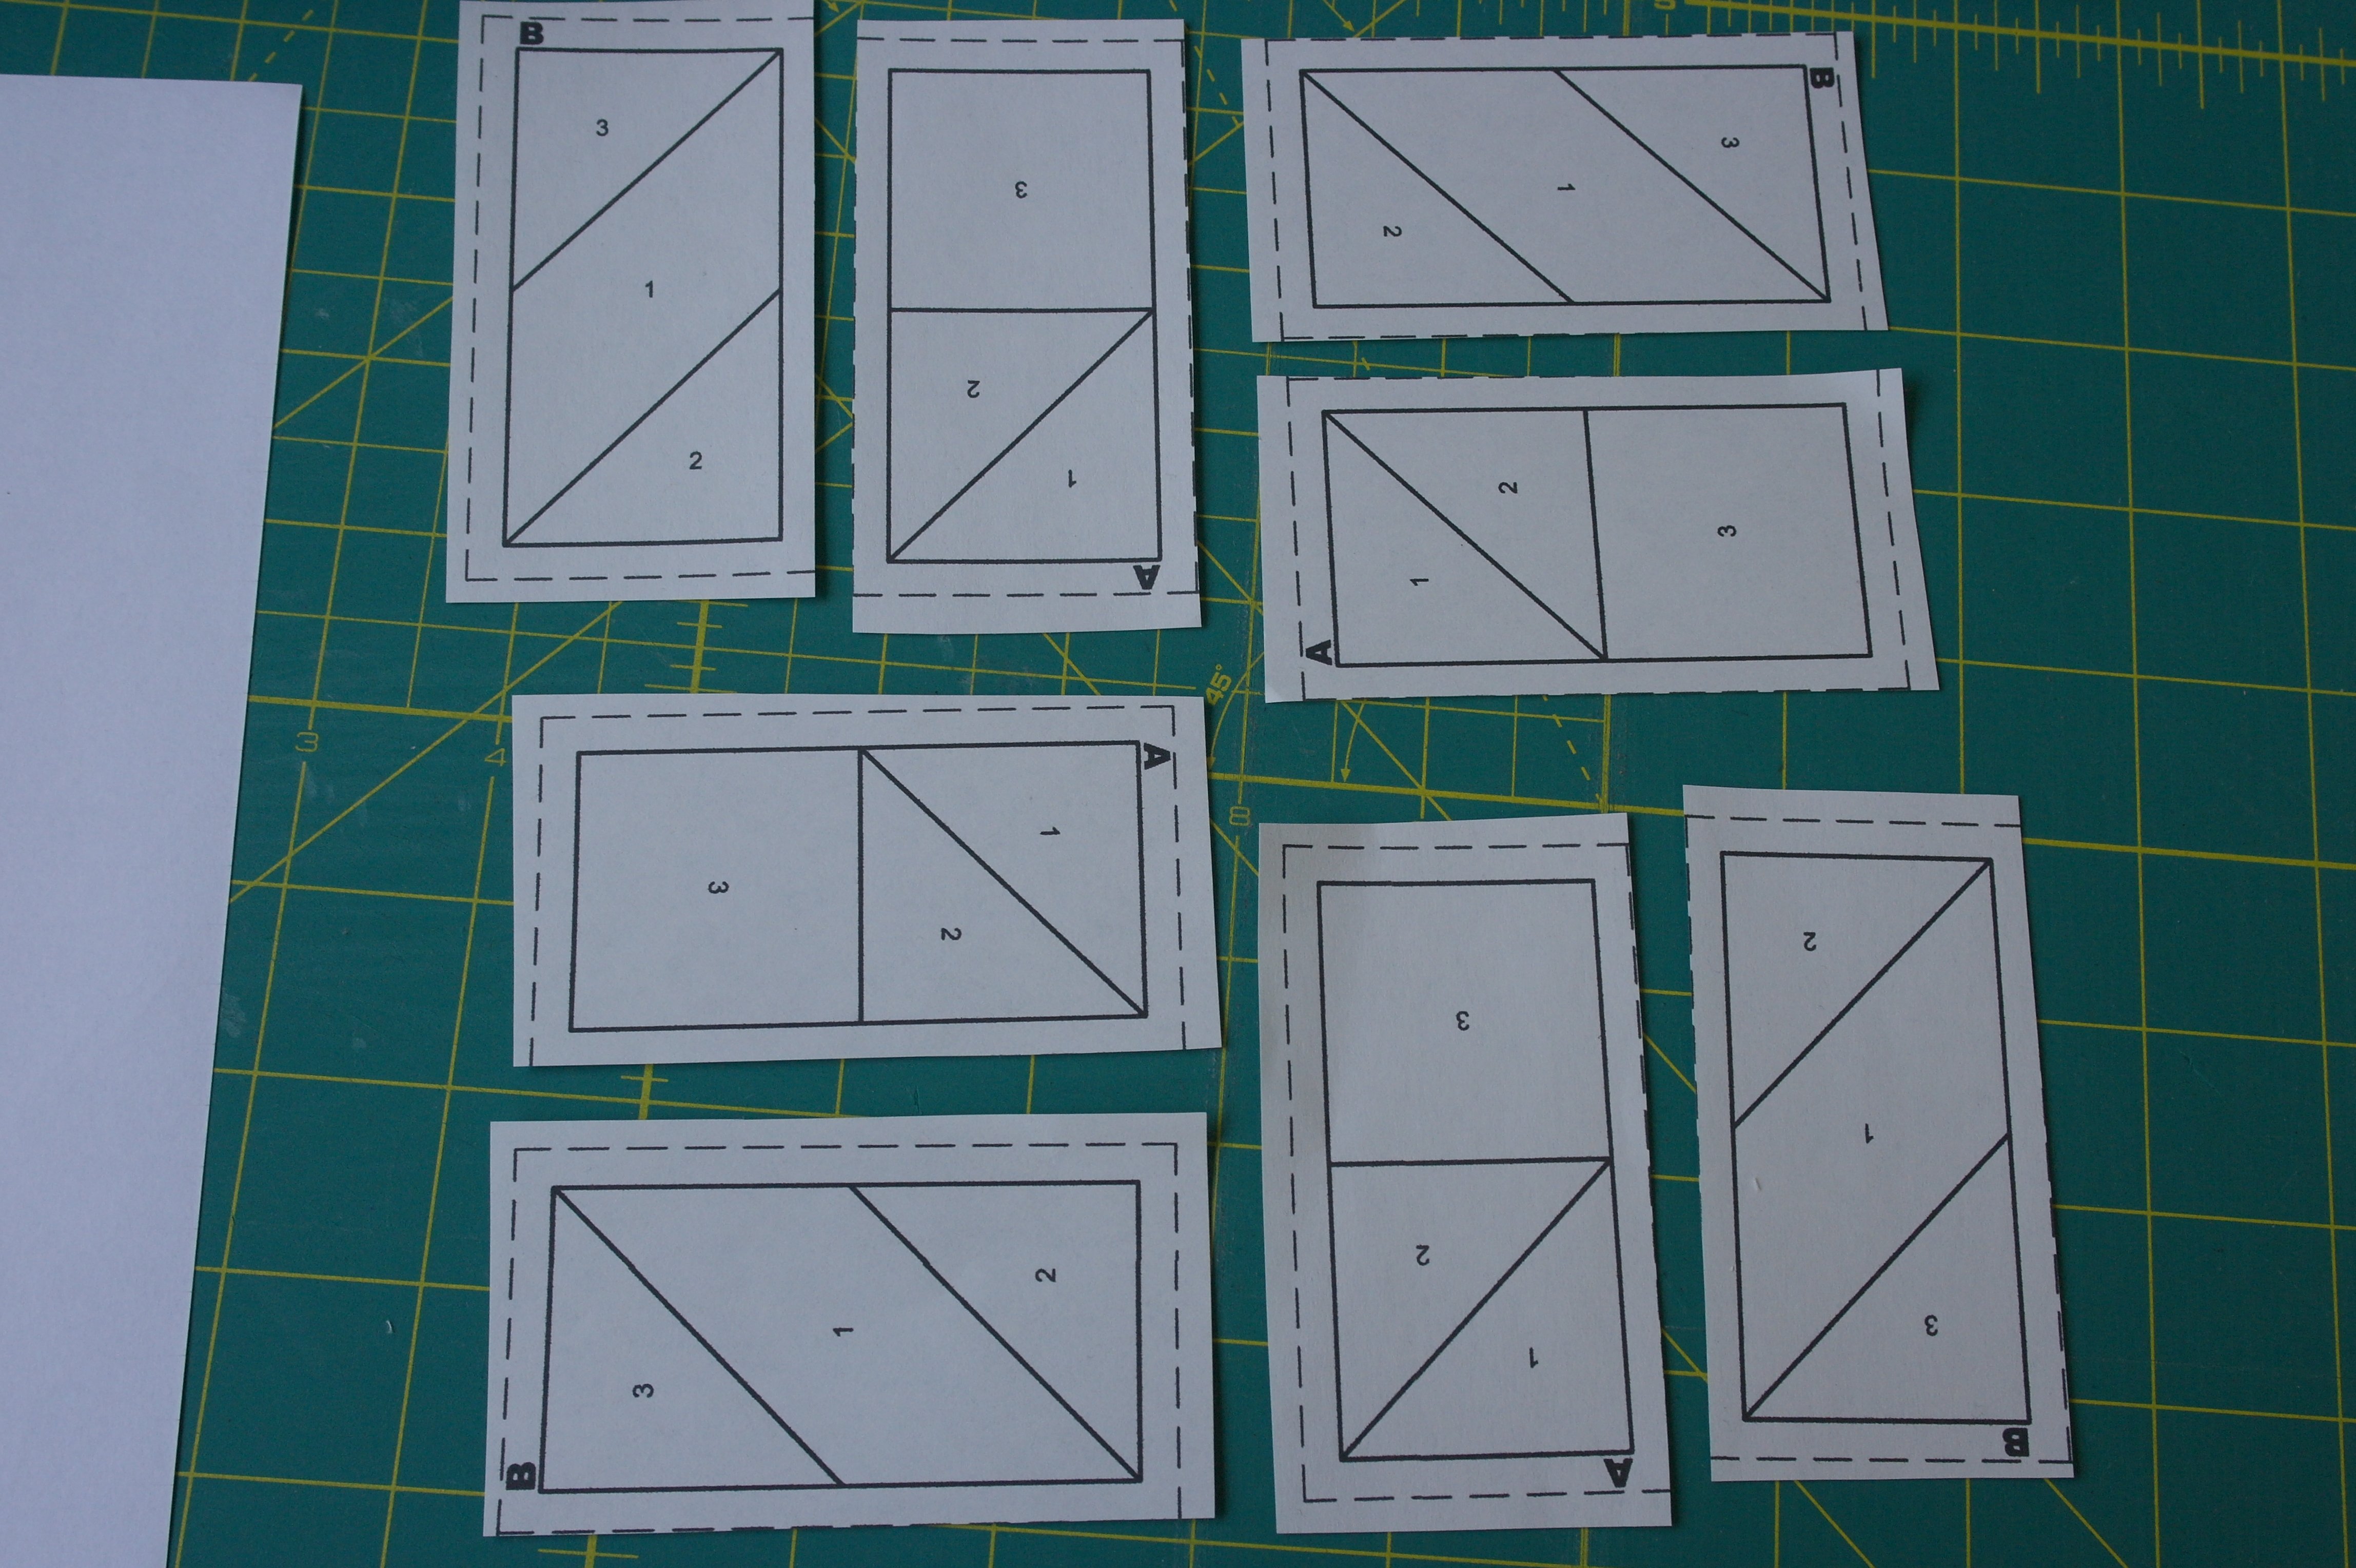
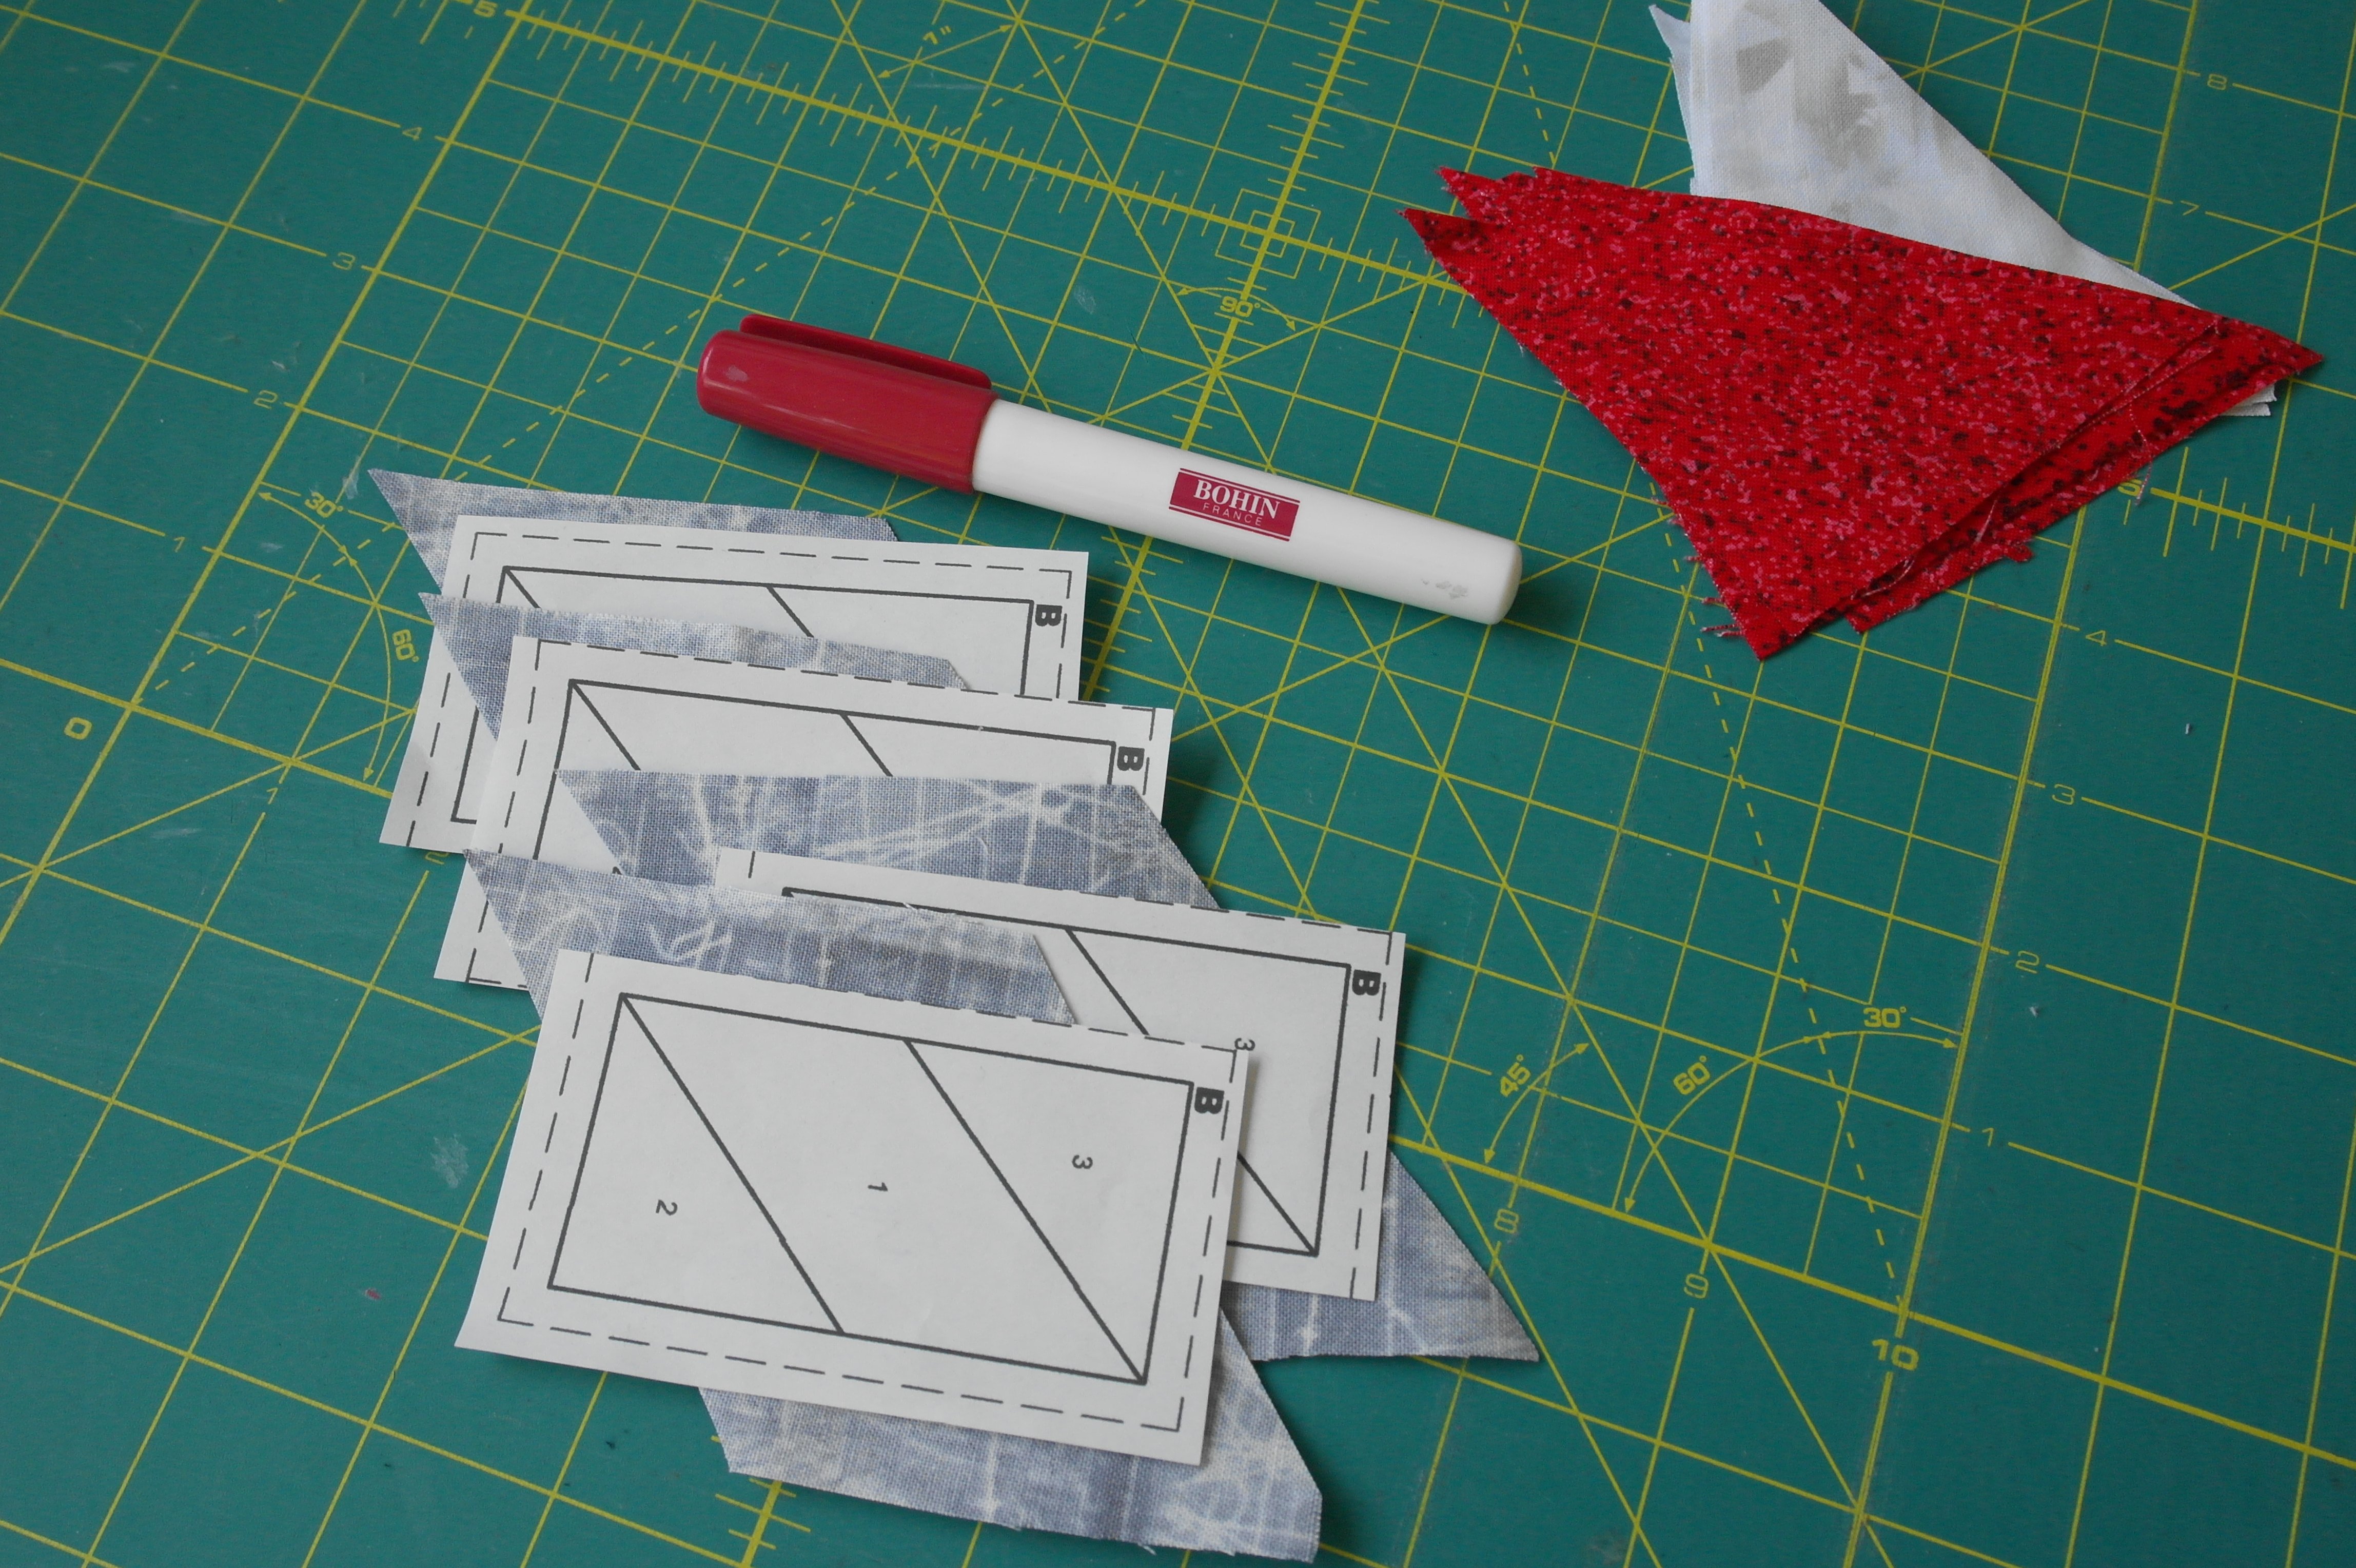
I have drawn the block via my computer: 8 Units, 4 x A en 4 x B, printed them on special paper (Papers for Foundation Piecing). I’ve cut them apart – the seams are not all exactly 1/4 inch, because I’ve placed the Units very close together, to be able to fit them on one piece of paper. That’s ok, because I will still maintain a 1/4 inch seam allowance, using a special presser foot, on my BERNINA770QE.
IMPORTANT: paper piecing is where fabrics are reversed, working on the side with the lines and markings. That means you will have to create a mirror image of the original block, when converting it from traditional patchwork. Especially with asymmetrical patterns.
Fabrics and preparations.

The paper piecing Units are placed face-down, because that’s the side the fabrics will be visible. I have marked the first triangle sections with a red ‘R’, to know where to place the red pieces I have cut. Again, they will become diamond shapes when the block is assembled.
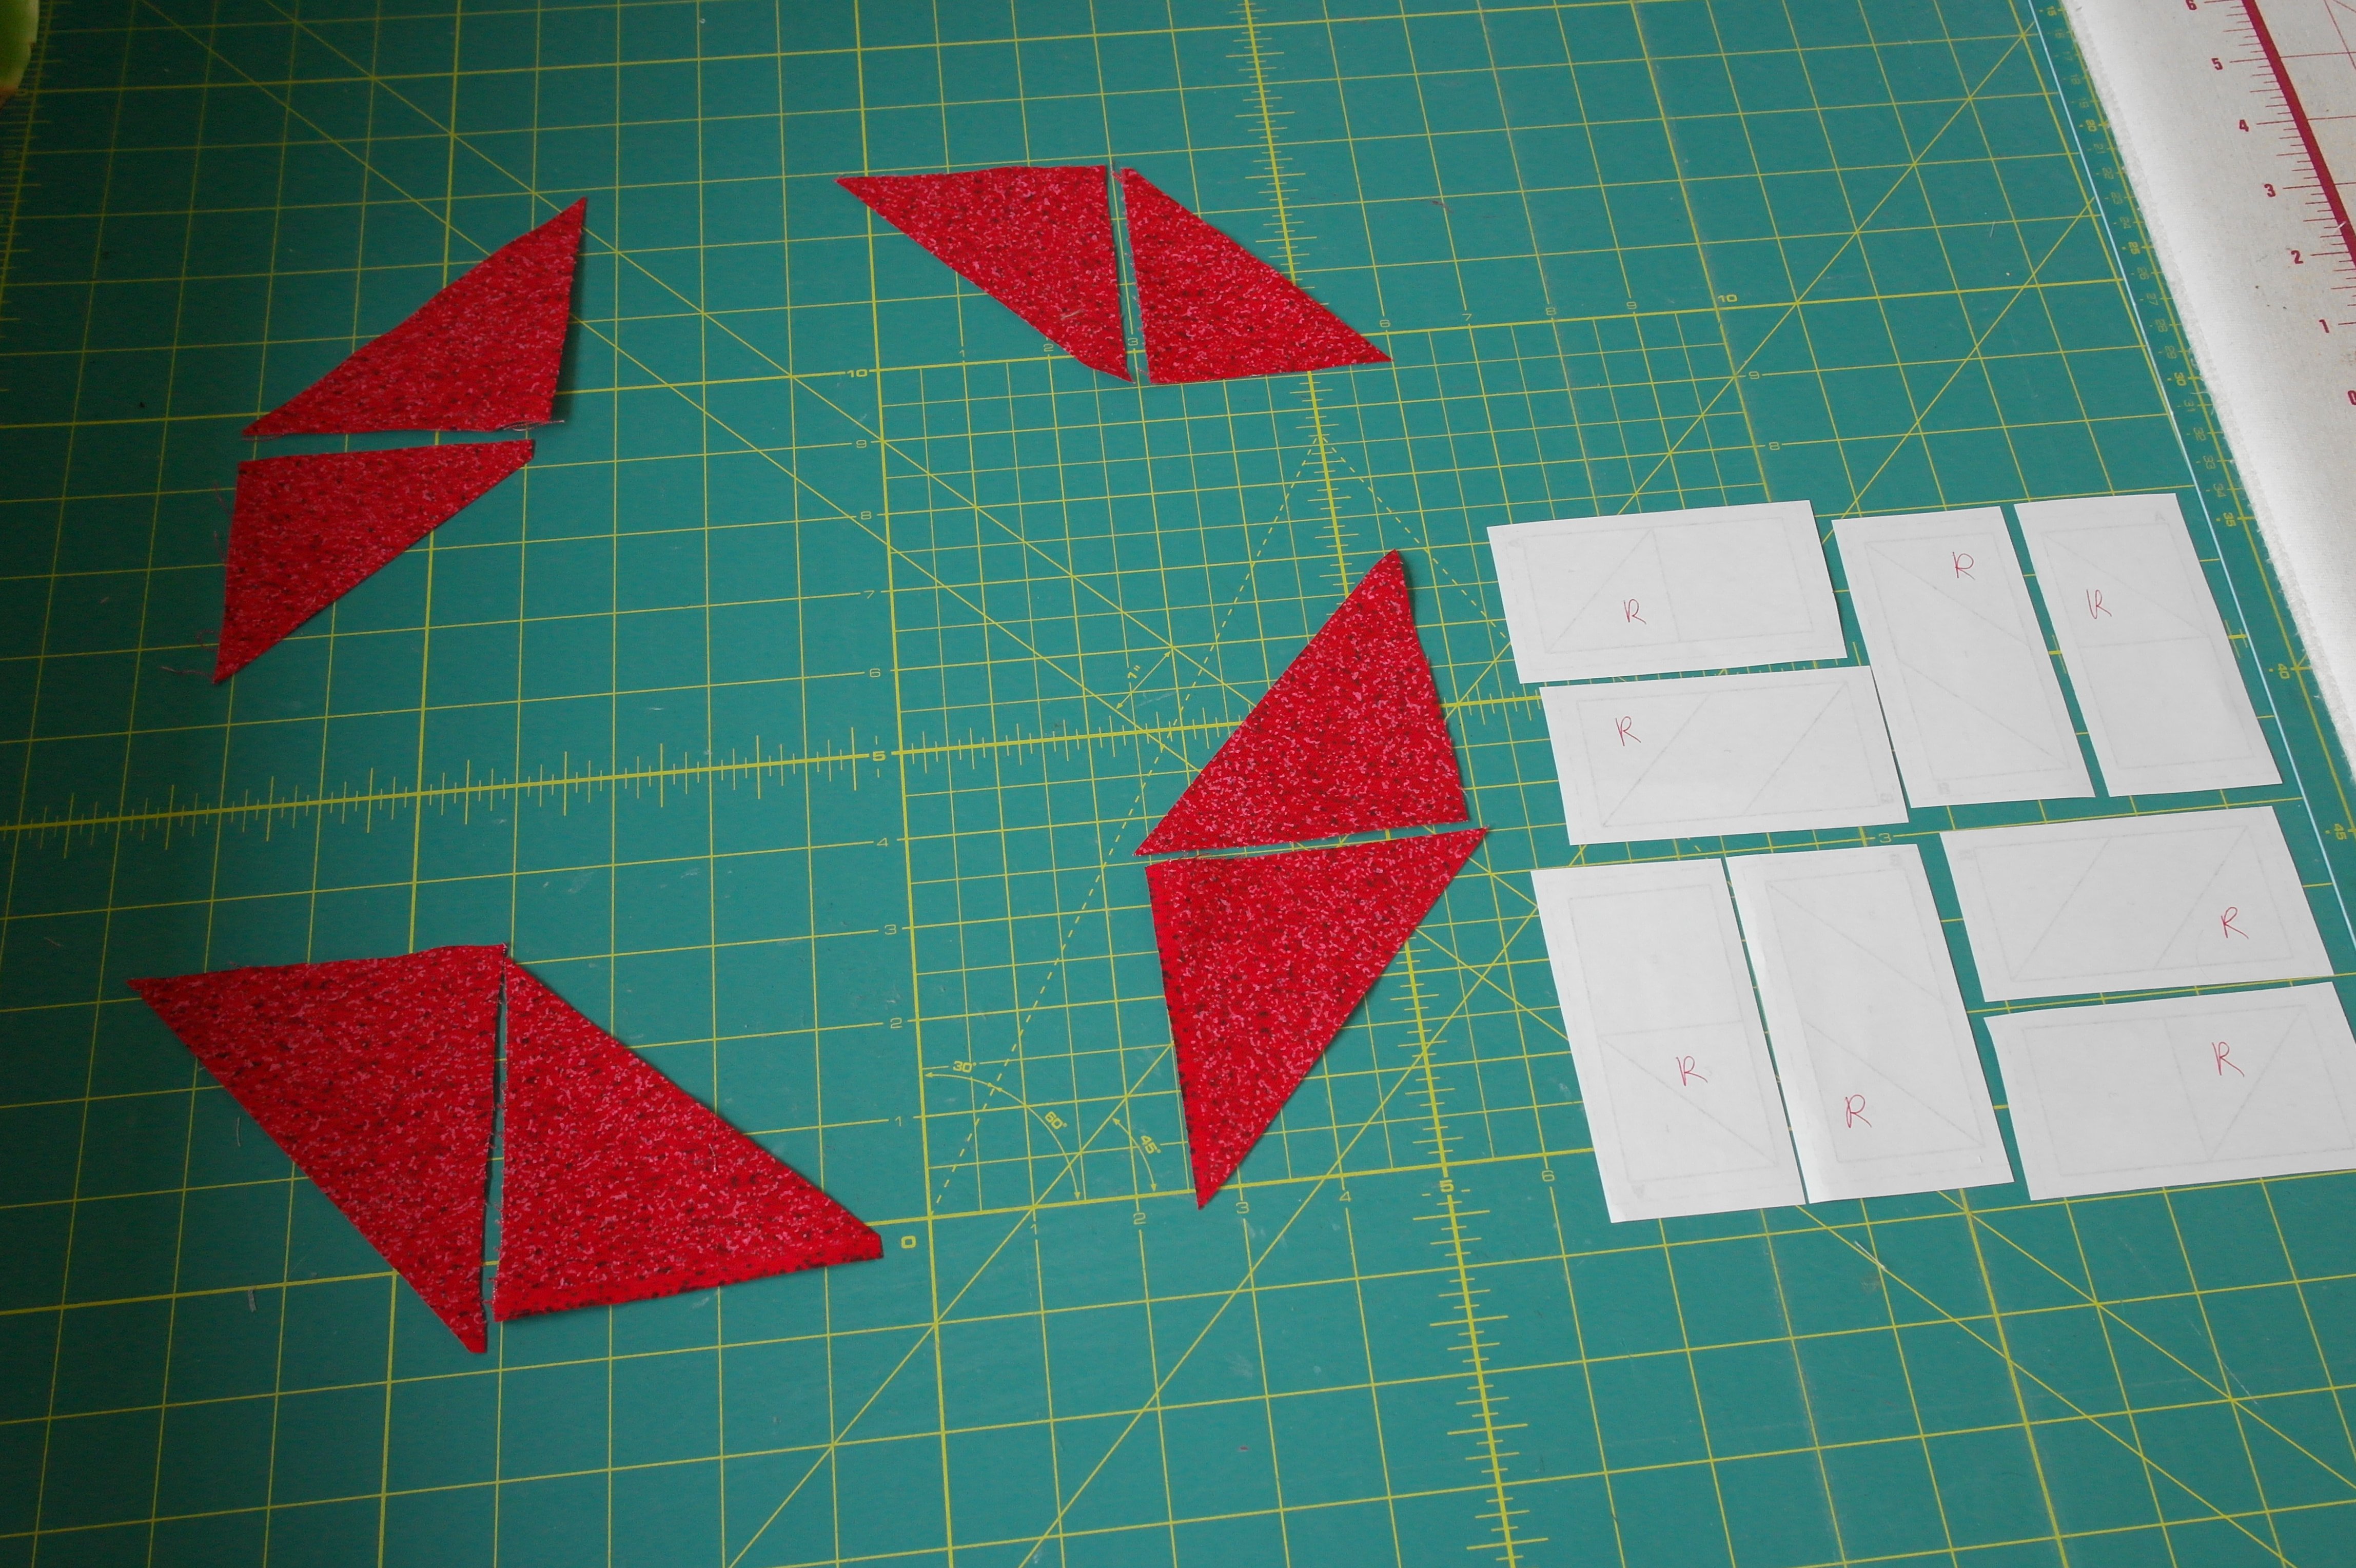
I have used a red print with small dots, no directional print, so this will work just fine.
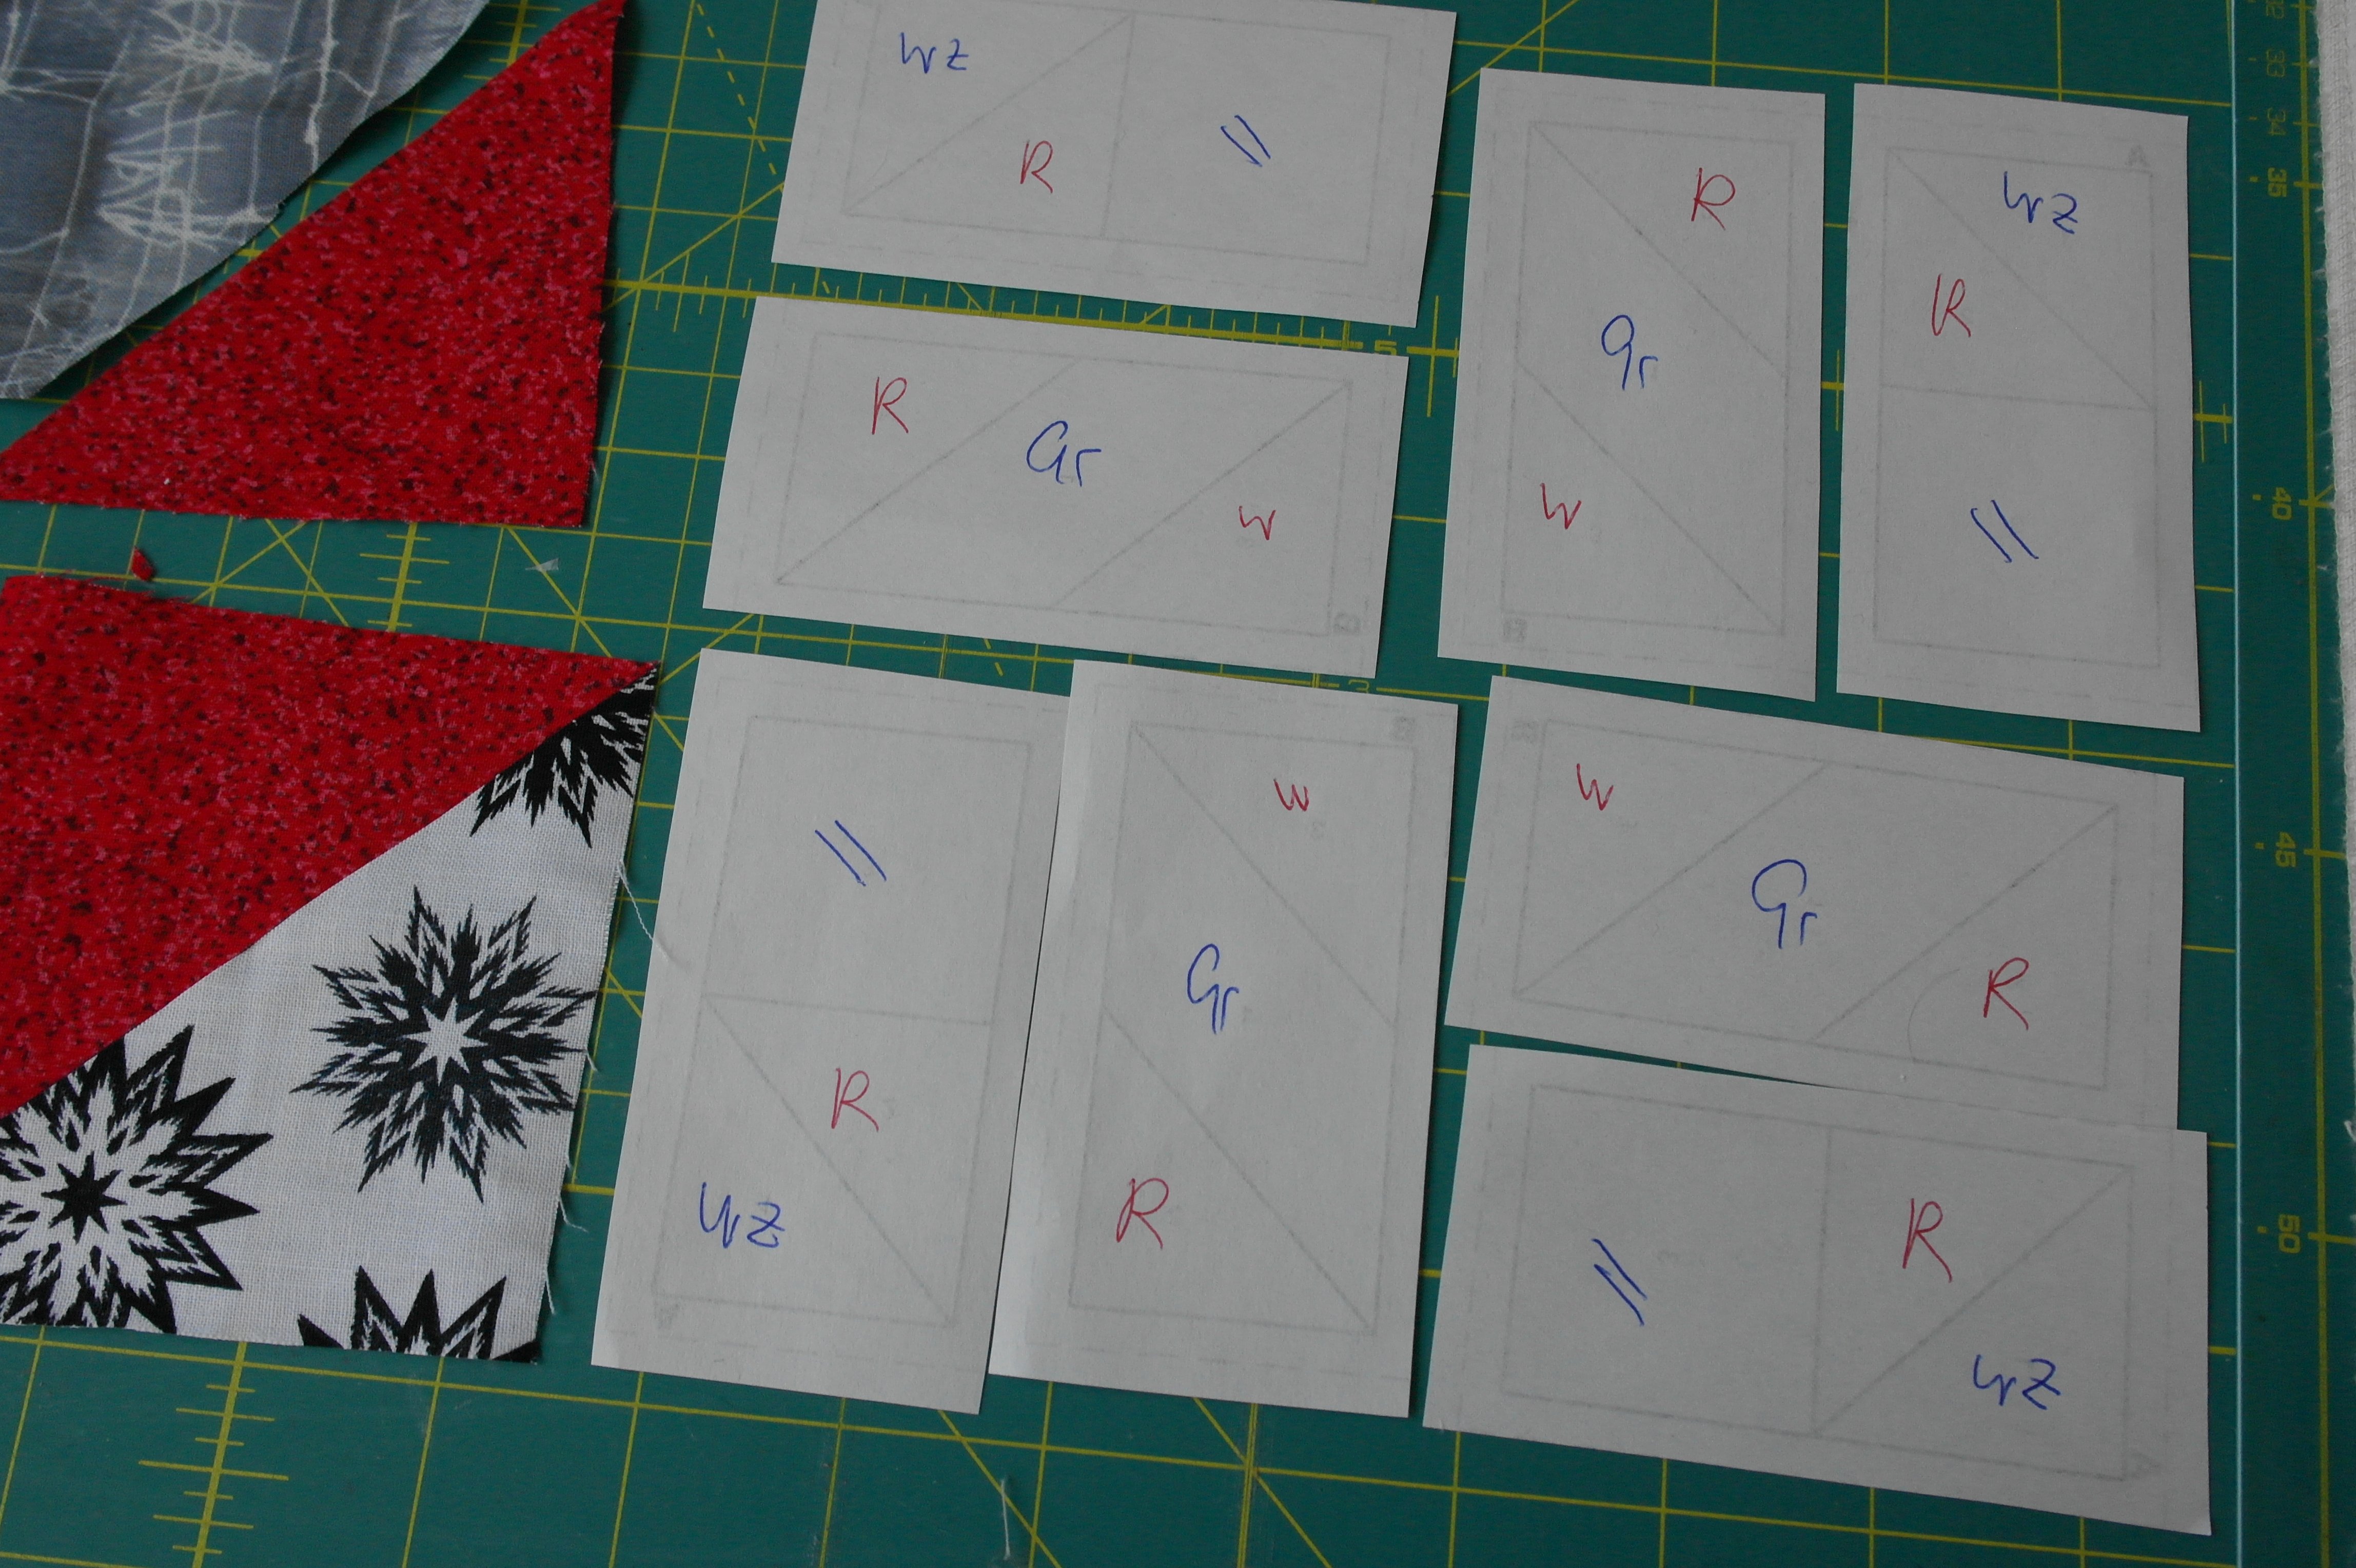
I have marked the other sections too, each with their own color/code, to remember where to place a certain fabric. I can always check this side of the Unit, to be sure to use the right fabric.

This is the layout for Block A10: I can see how it will turn out and I think it will look great.
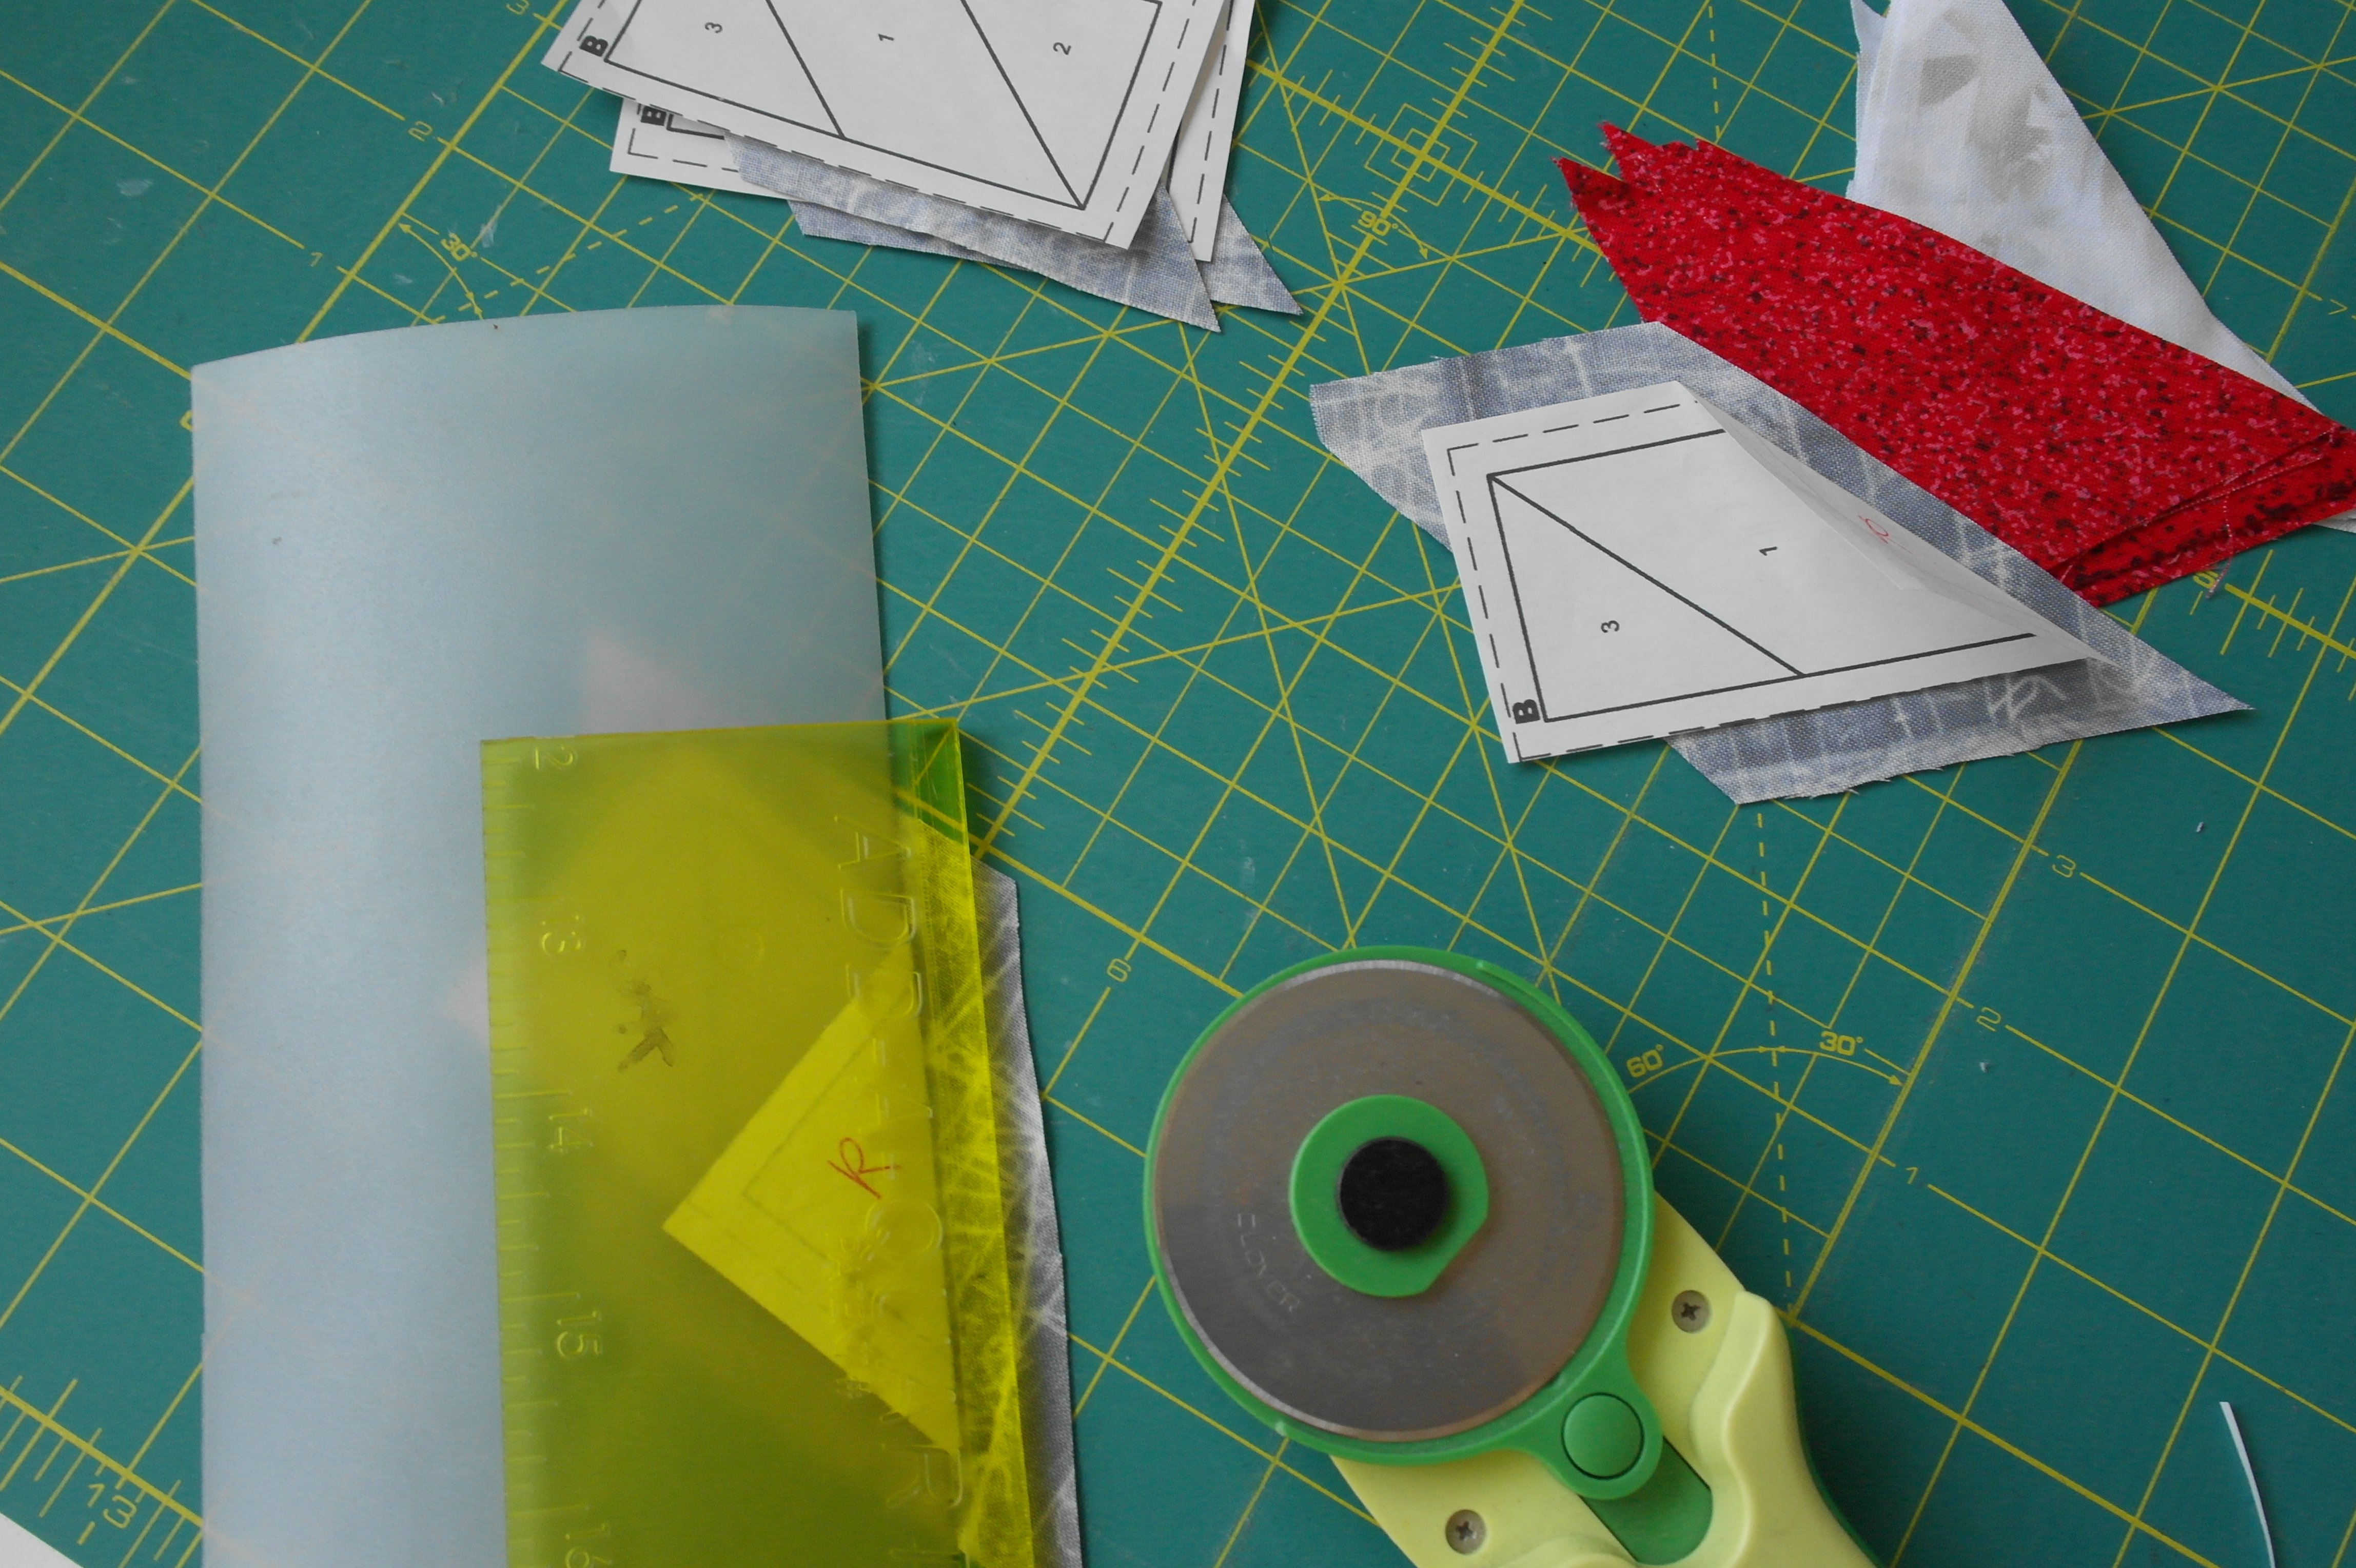
I have placed the Units on top of the fabric pieces. Because there are four Units A and four Units A, I can line them up.
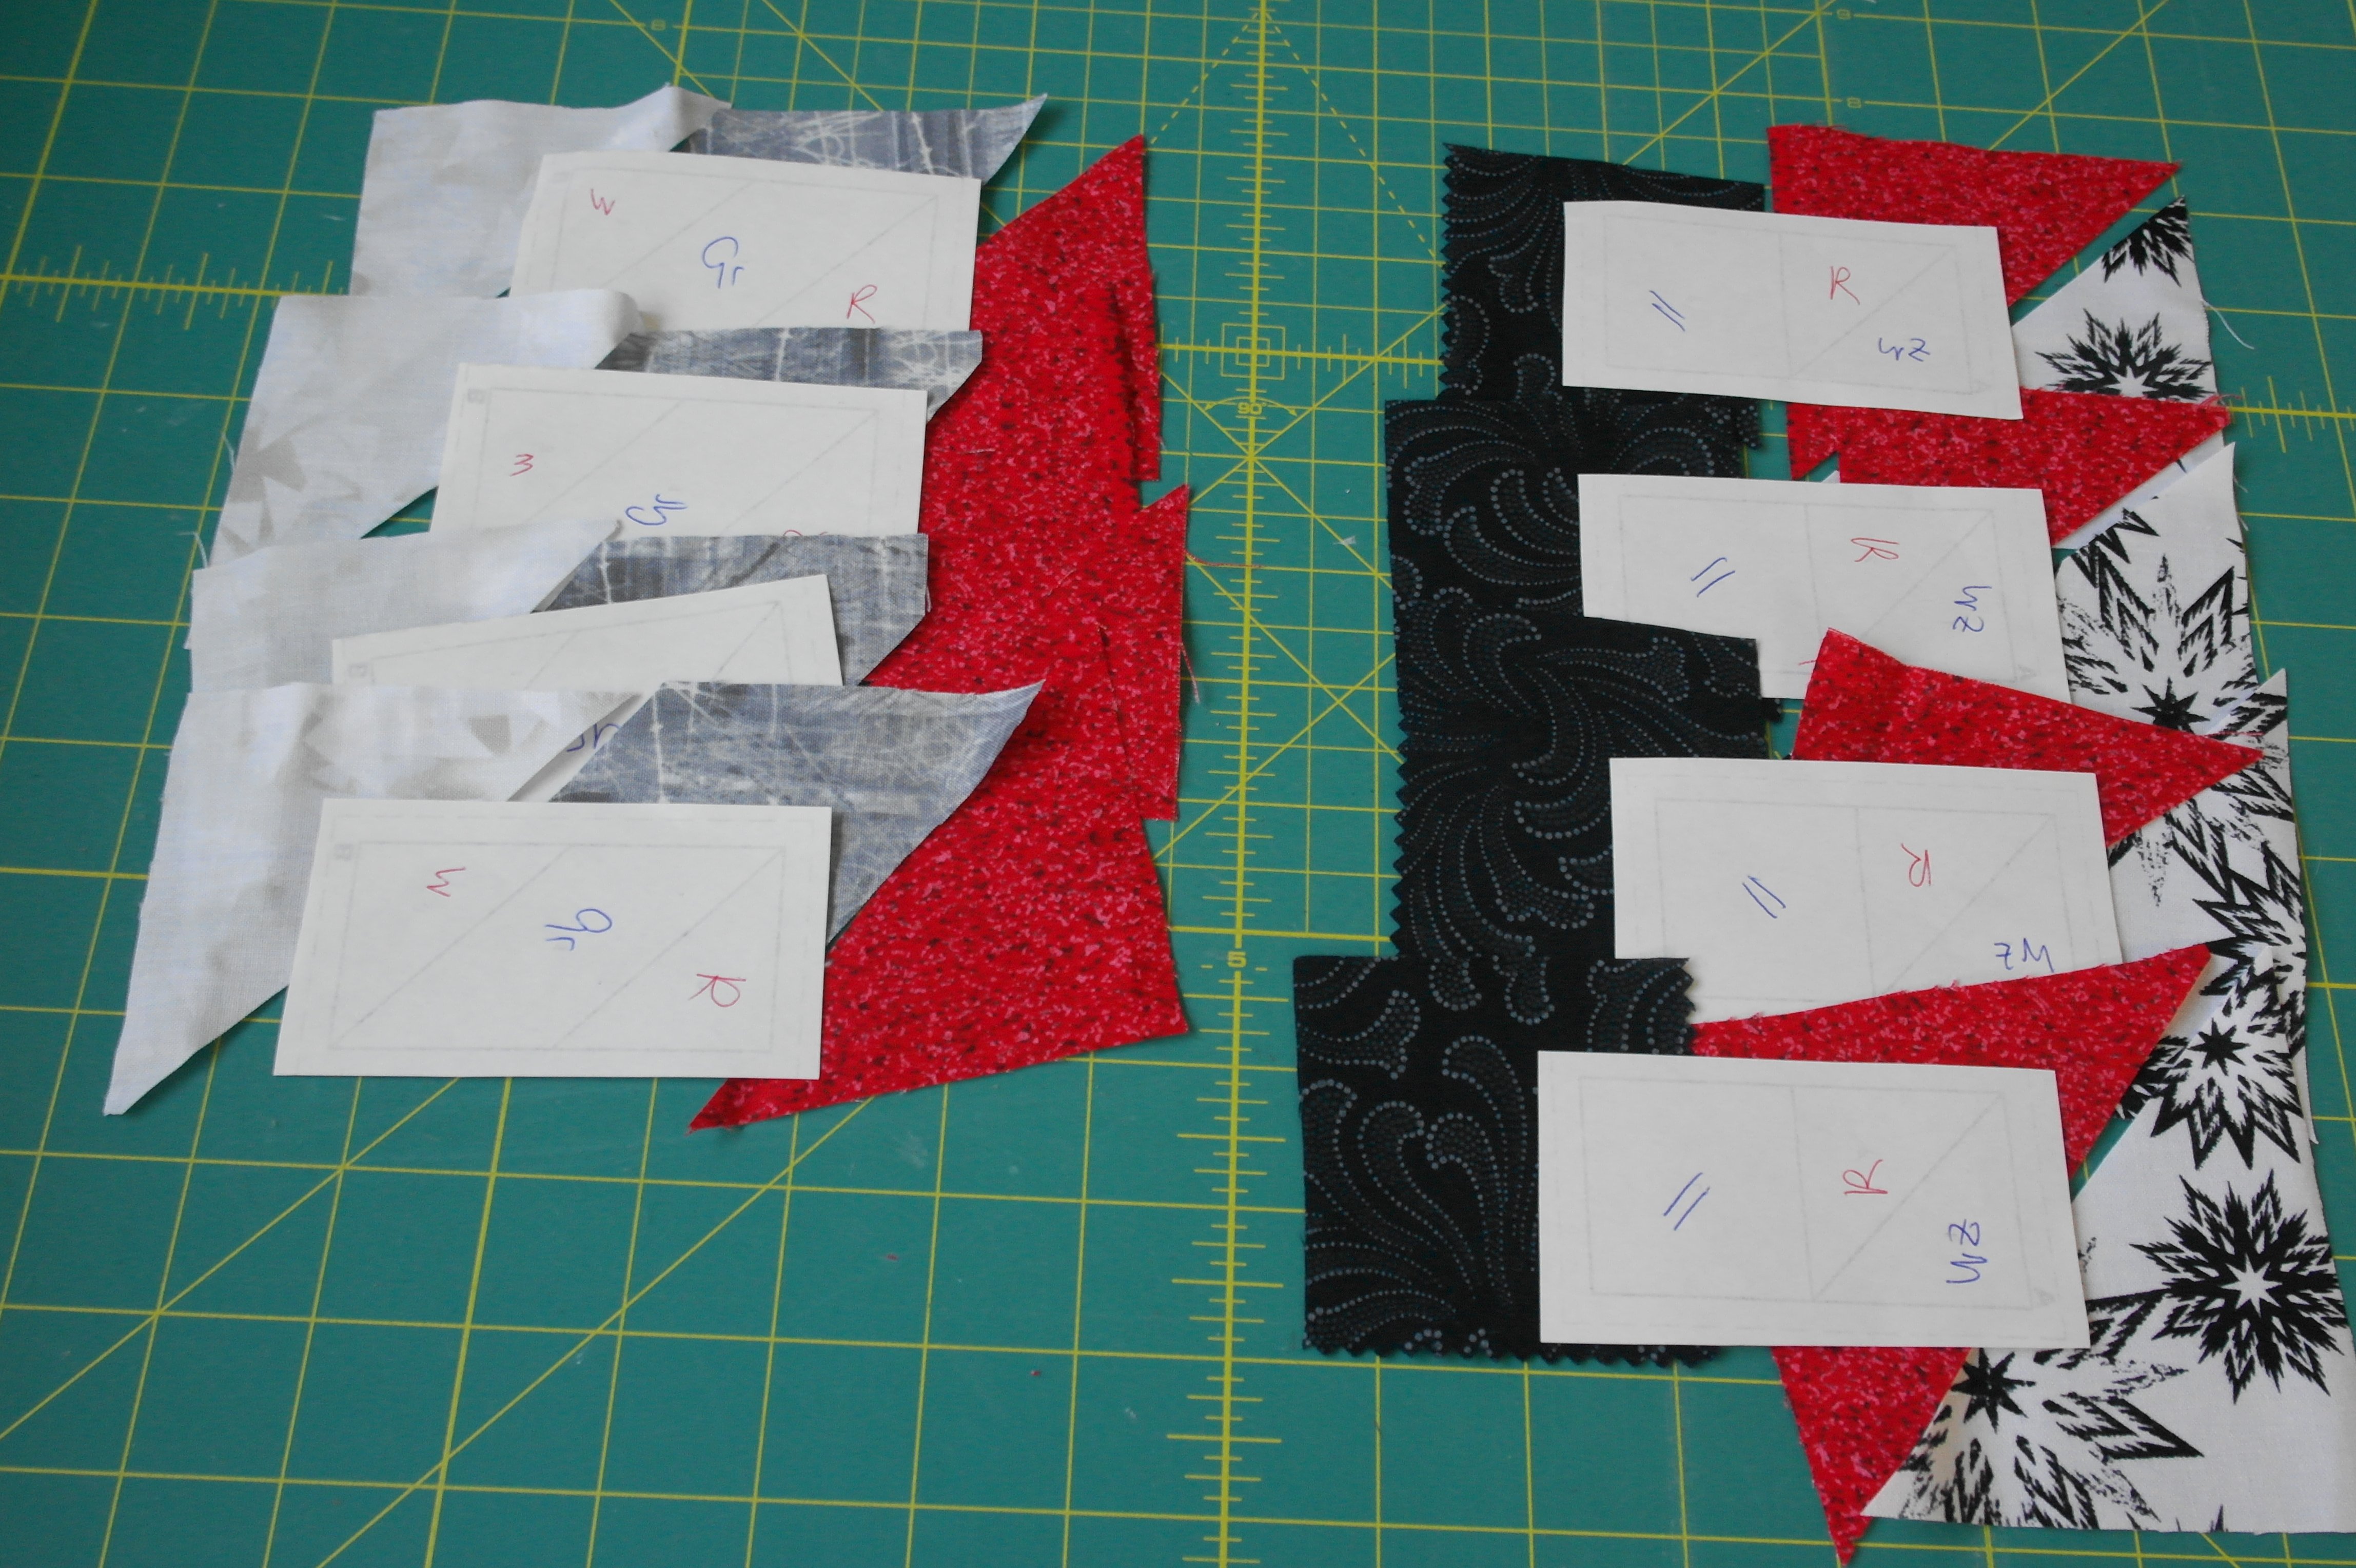
To the left, four B’s, and to the right, four A’s – working in groups is much easier.
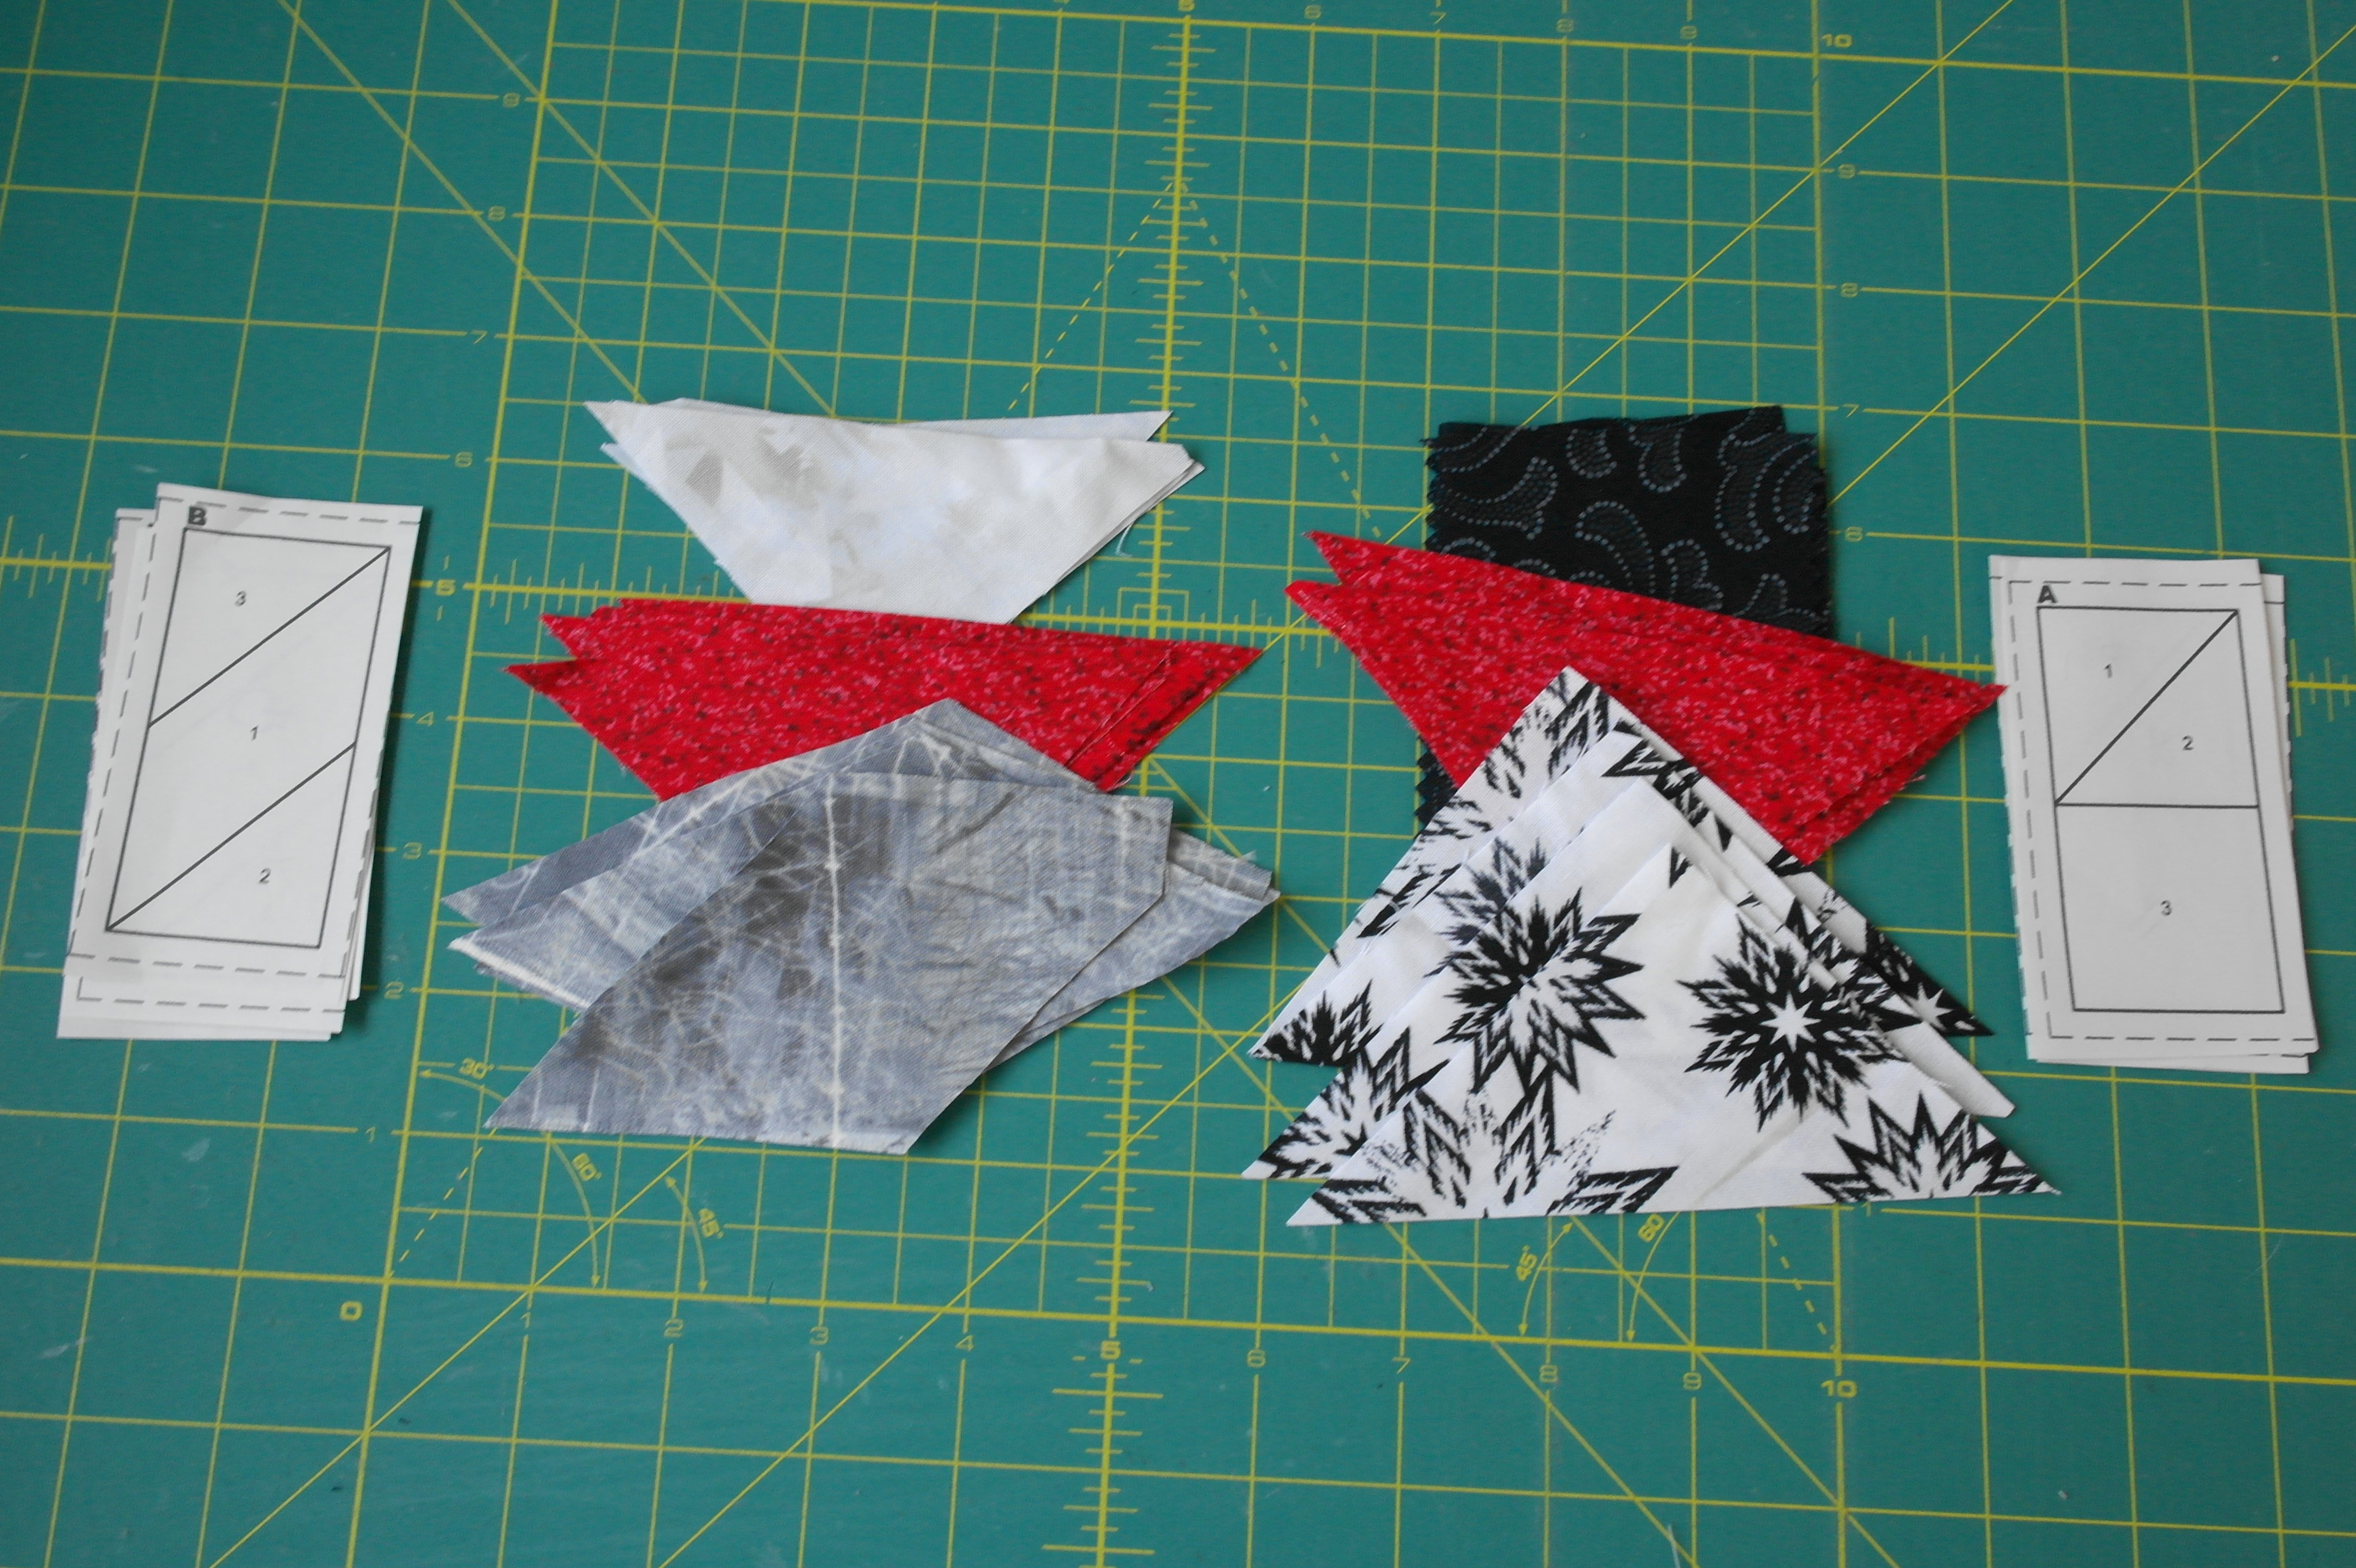
I have lined the fabrics up in order of sewing: nr. 3 first, nr. 2 next and nr. 1 on top of it all. Putting everything for Units B aside, starting with Units A.
Paper piecing Units A.
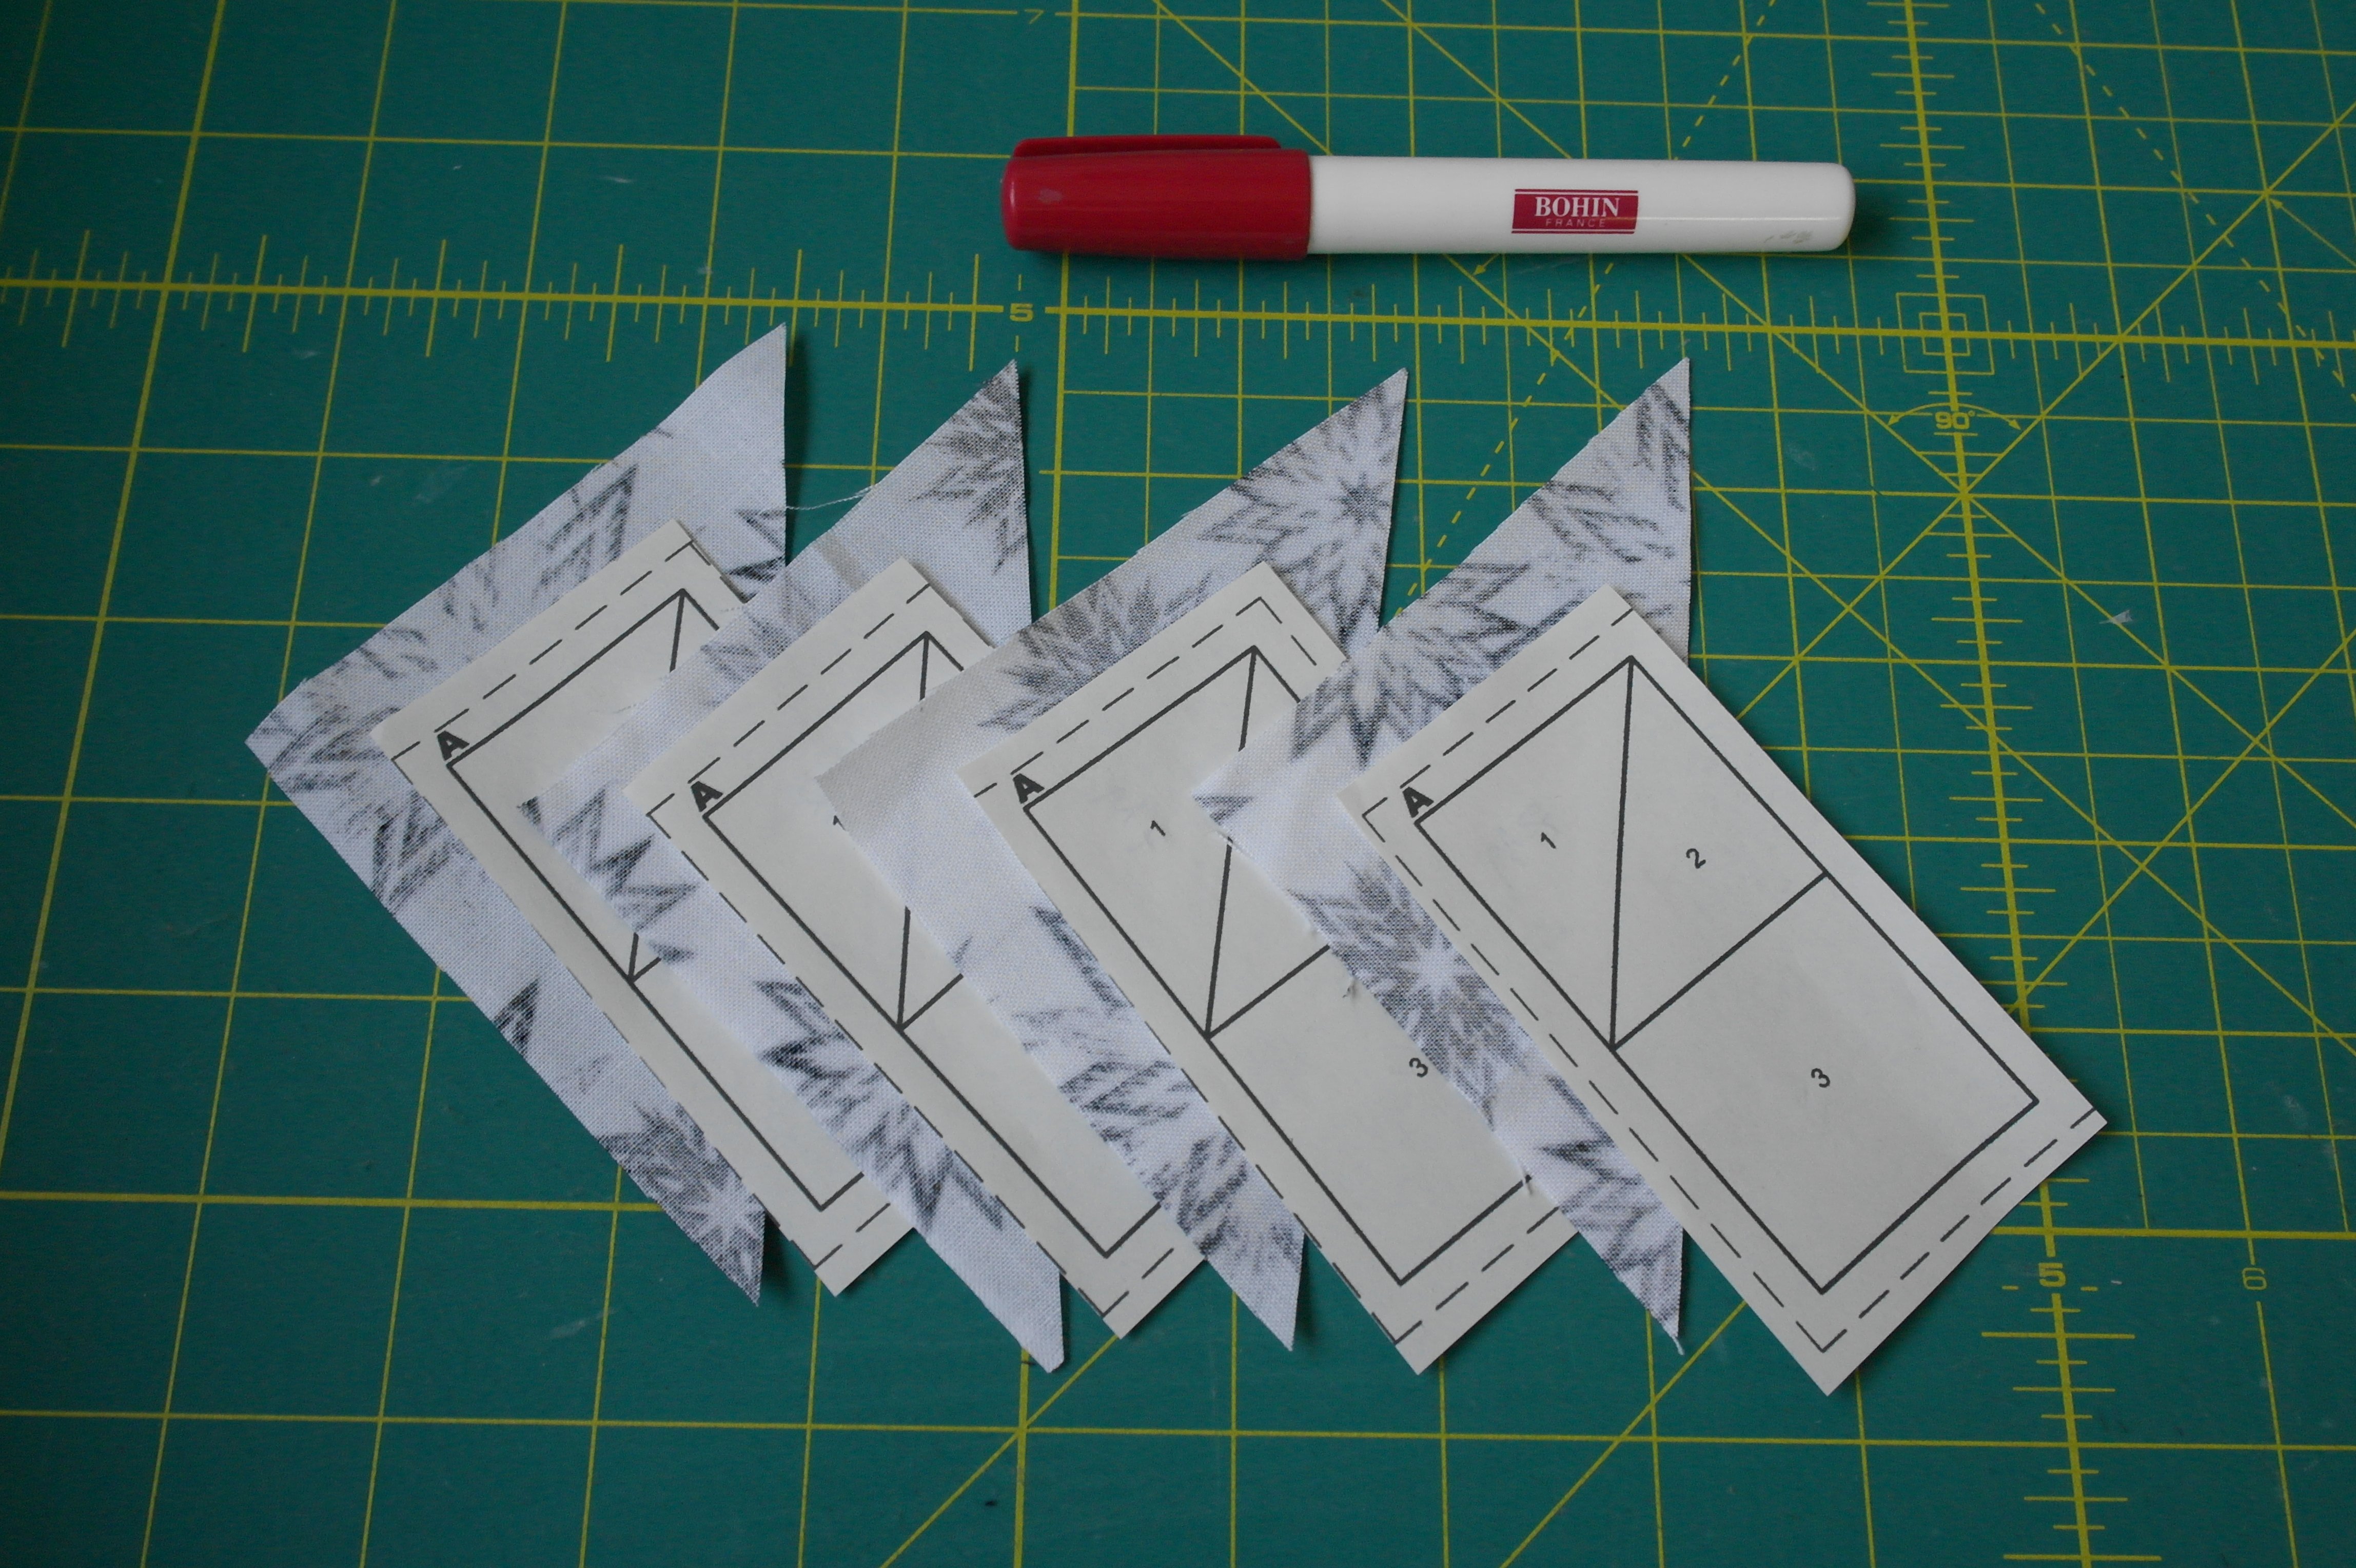
Paper piecing is a repetition of actions: working in order of number, starting with section 1. The fabric for this section is always glued to the Unit: I am using my Bohin Glue pen, it is water soluble and will hold this first fabric in place.
TIP: While assigning numbers to a paper piecing Unit, I always try to find the most logical way. Thinking in advance, in which directions seams have to be pressed, and cross sections have to match, the numbers are added. Sometimes it doesn’t seem logical at first, but when assembling the block, it all makes sense.
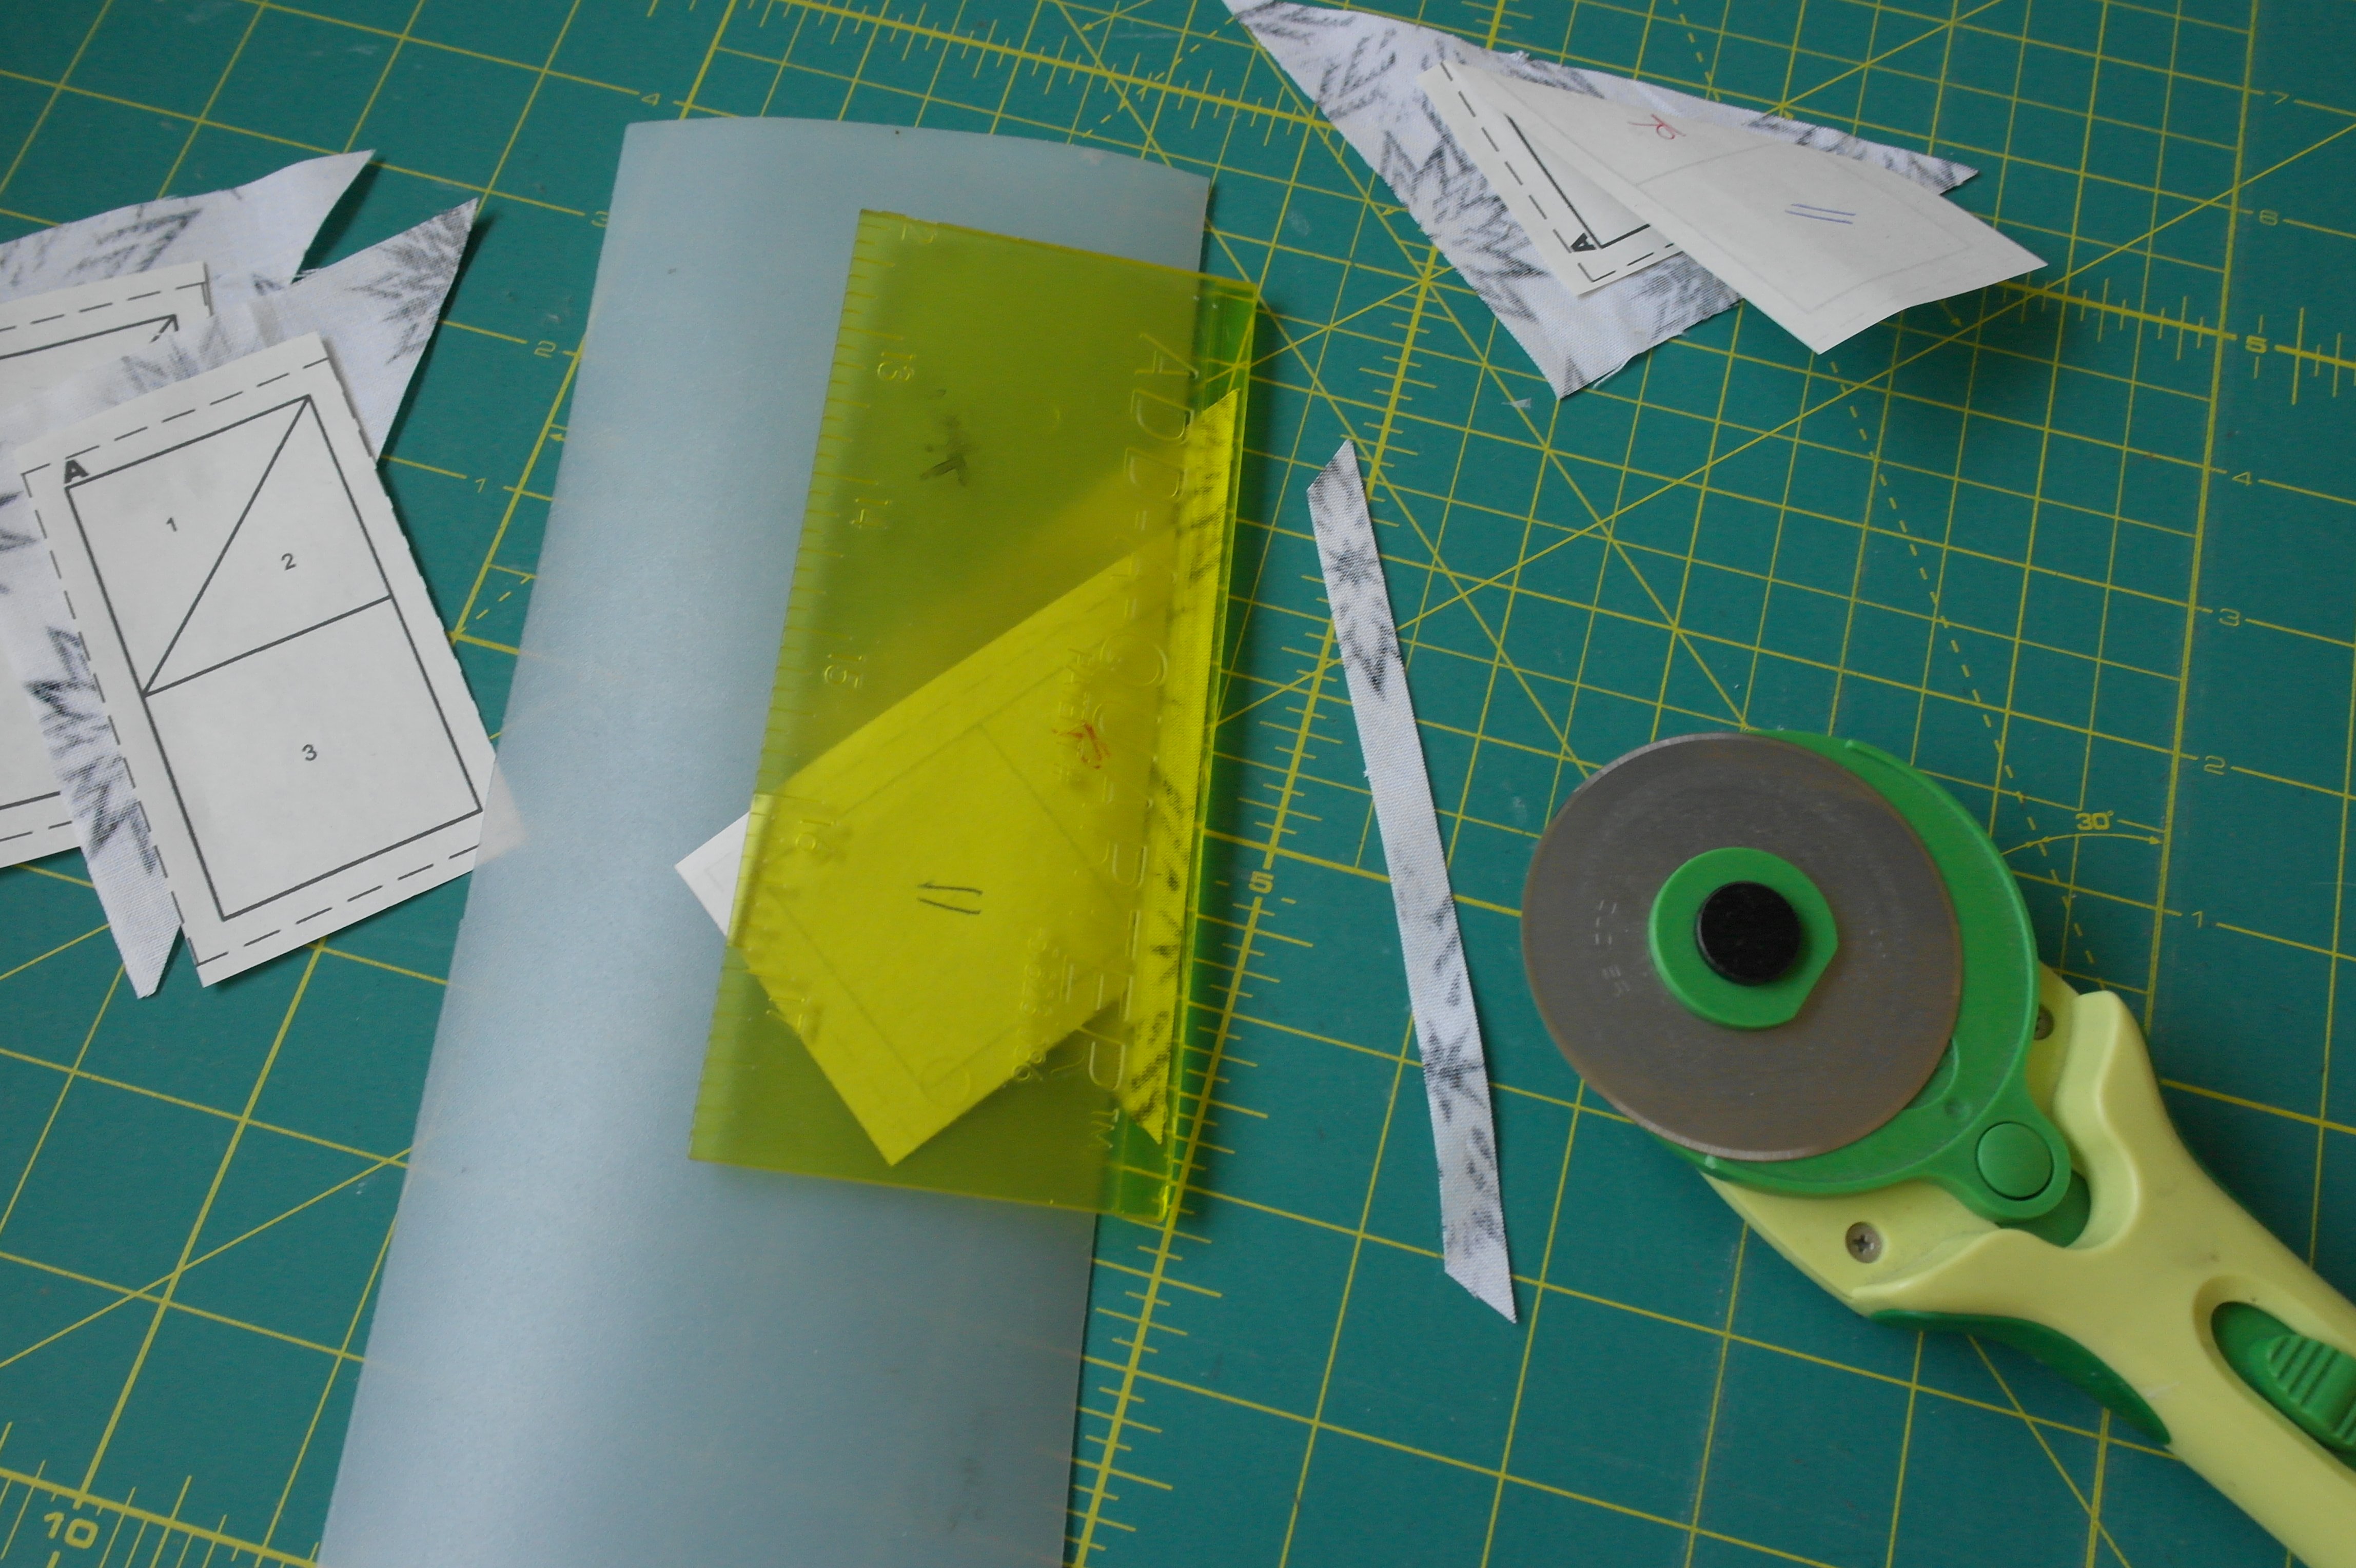
The fabric is cut back on sewing line 1 = between section 1 and 2: 1/4 inch seam allowance remains, using the folding template, the Add-a-Quarter ruler and a rotary cutter.
Fabric pieces for section 2 are placed underneath section 1, dapping some Bohin Glue pen ON the seam allowances – no pins necessary there.
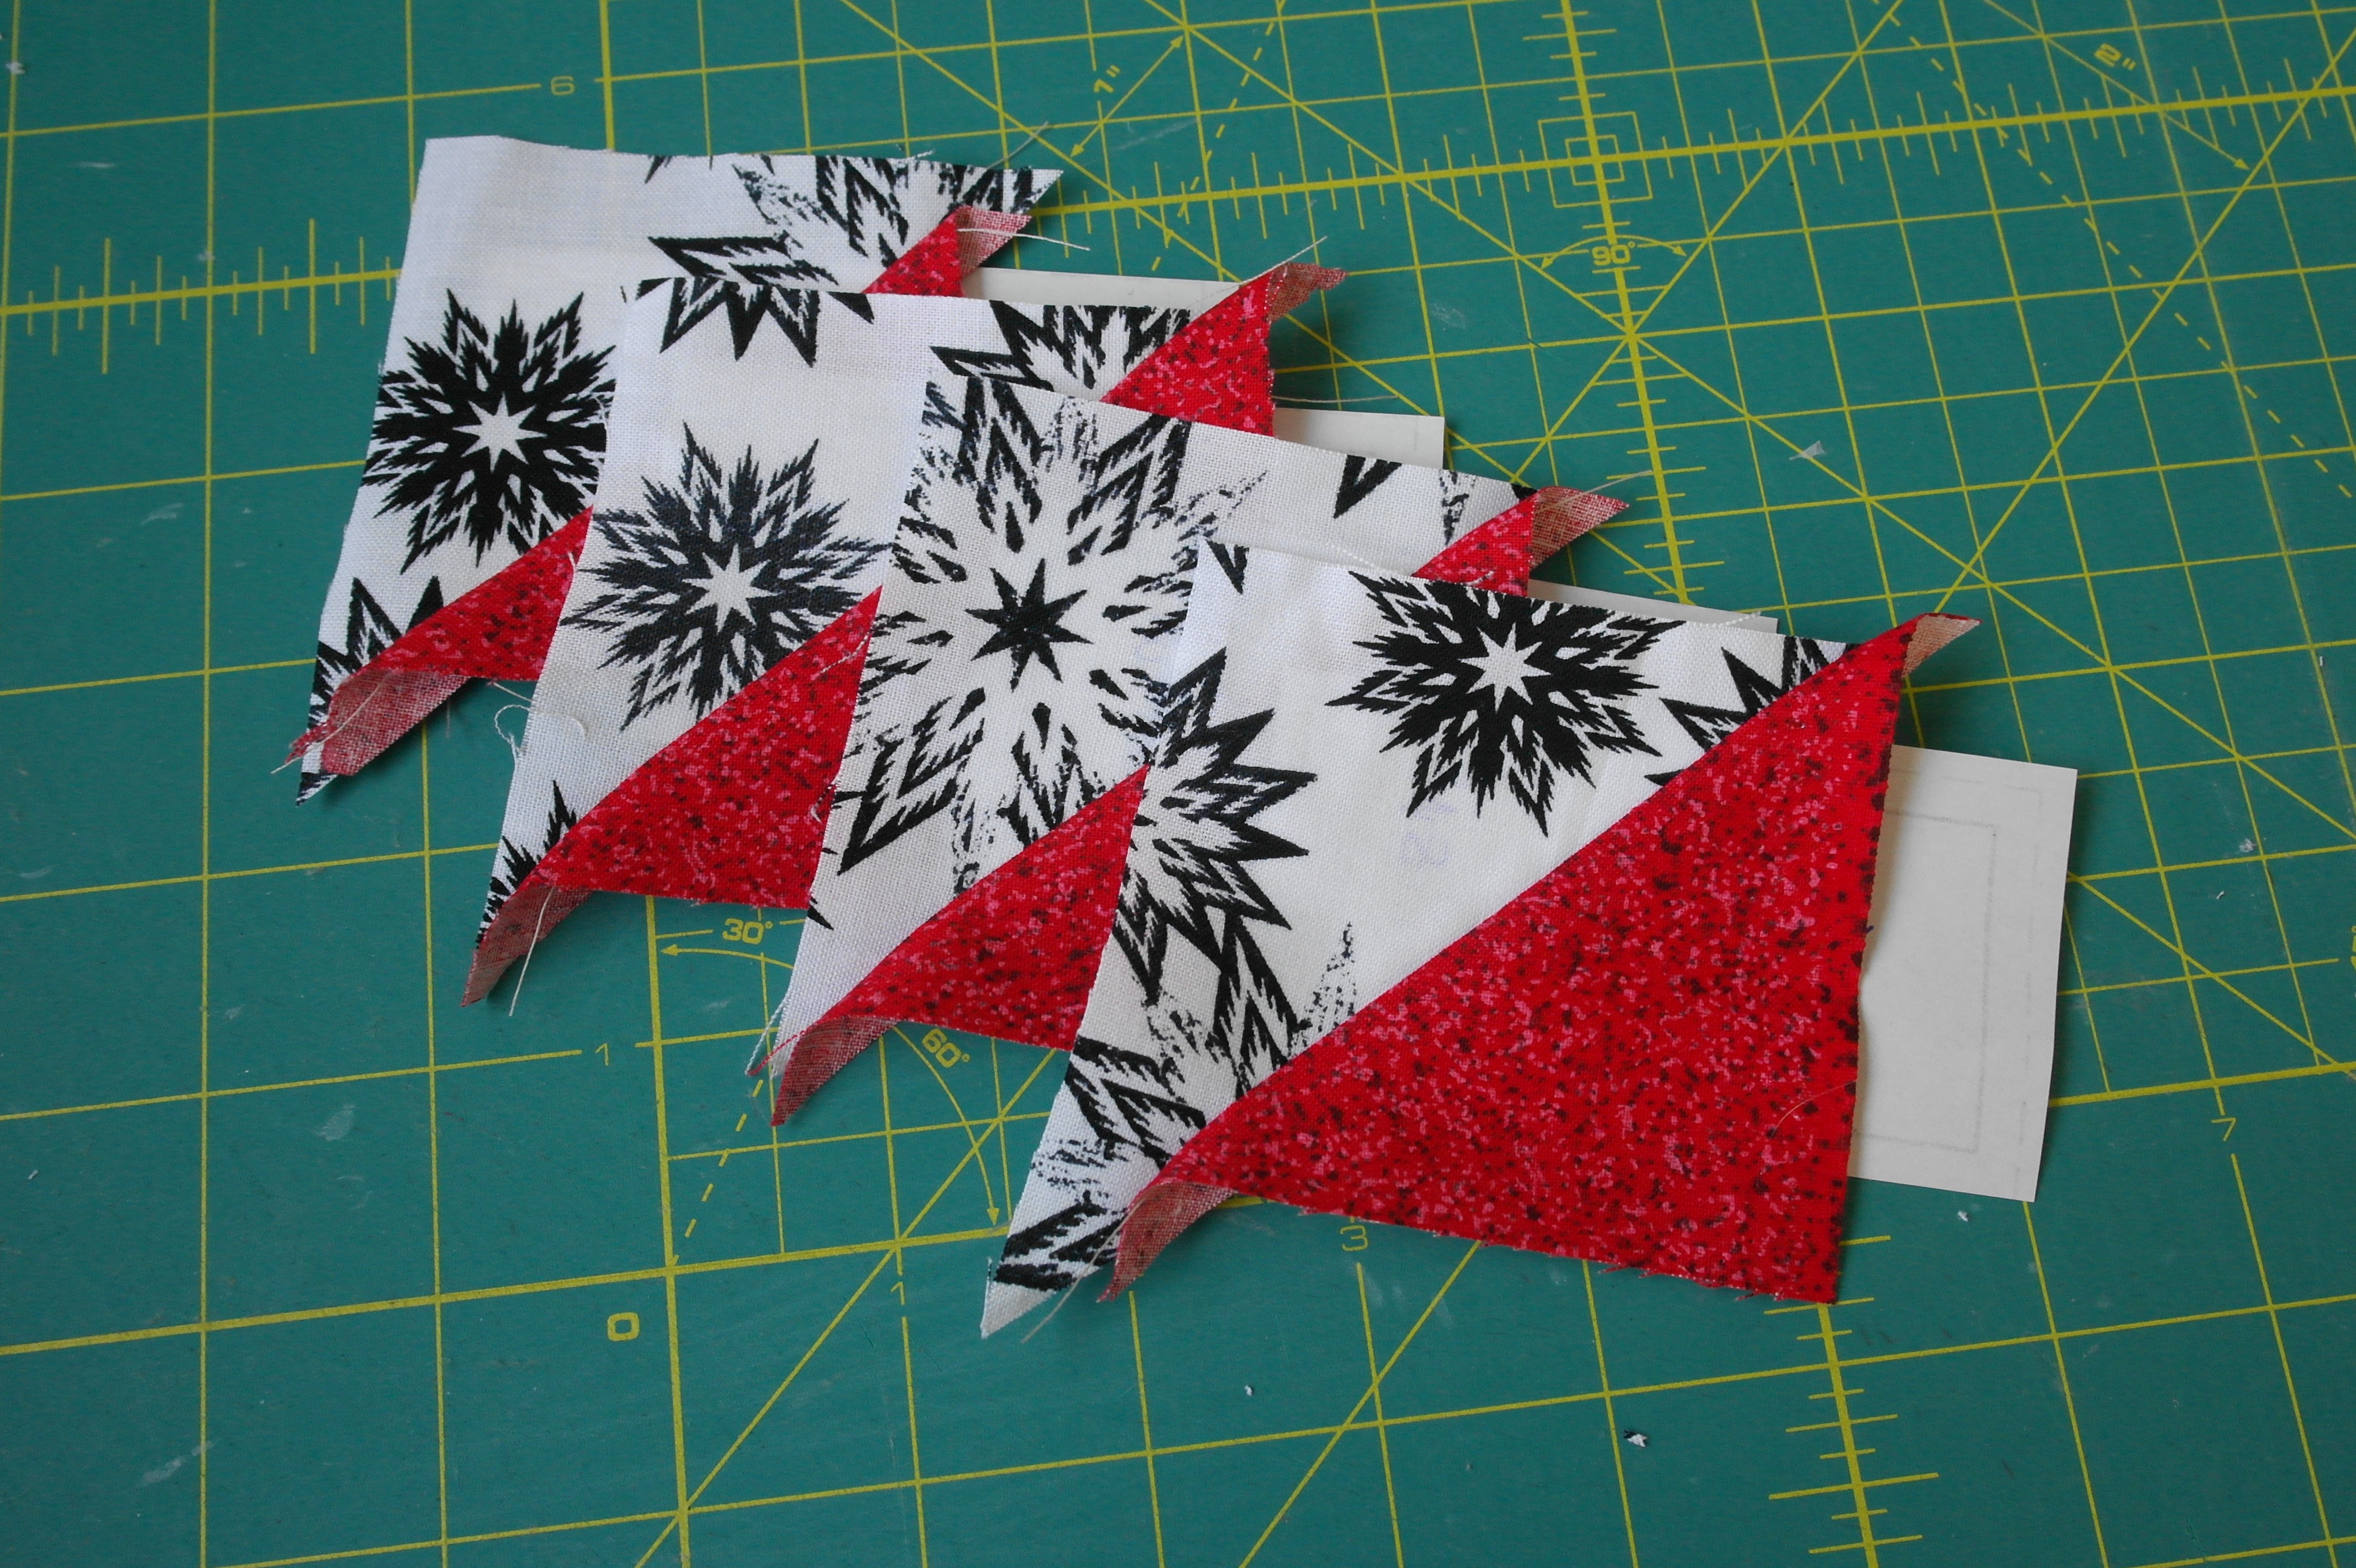
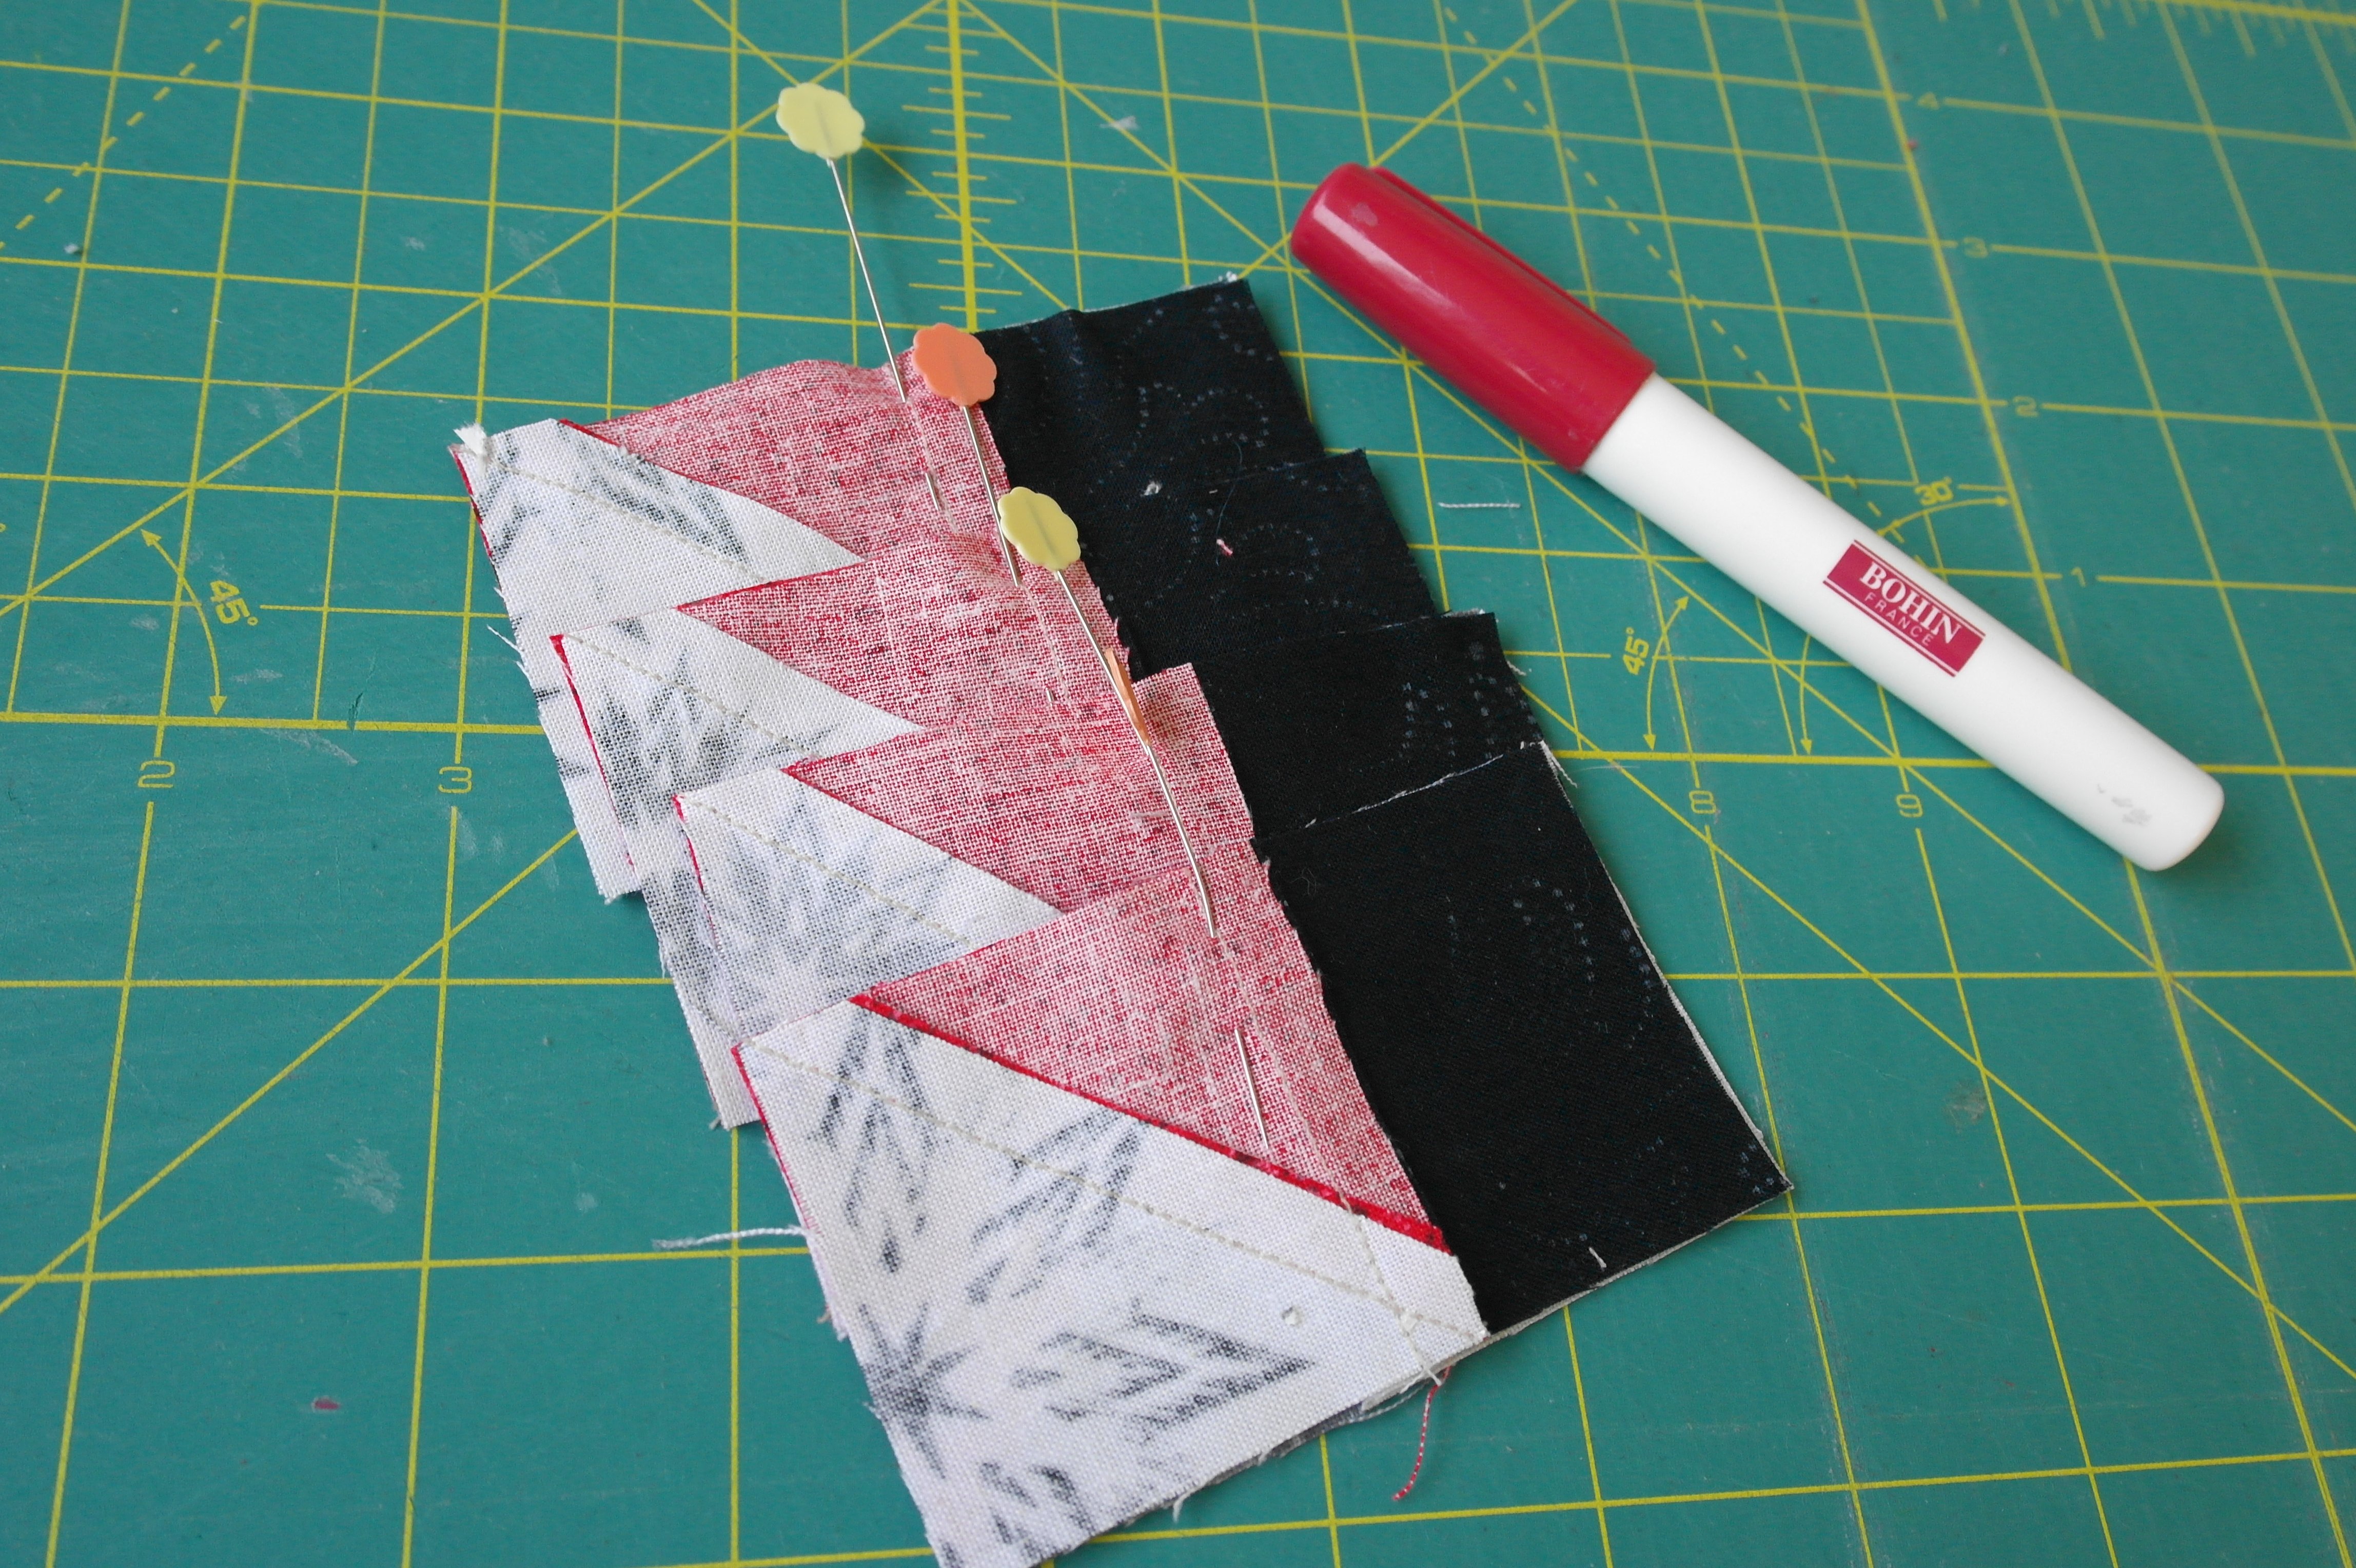
Section 2 is covered with all four Units A: I have reduced the stitch length, making tearing the paper afterwards easier.
Cutting back the seam allowances with folding template and Add-a-Quarter ruler.

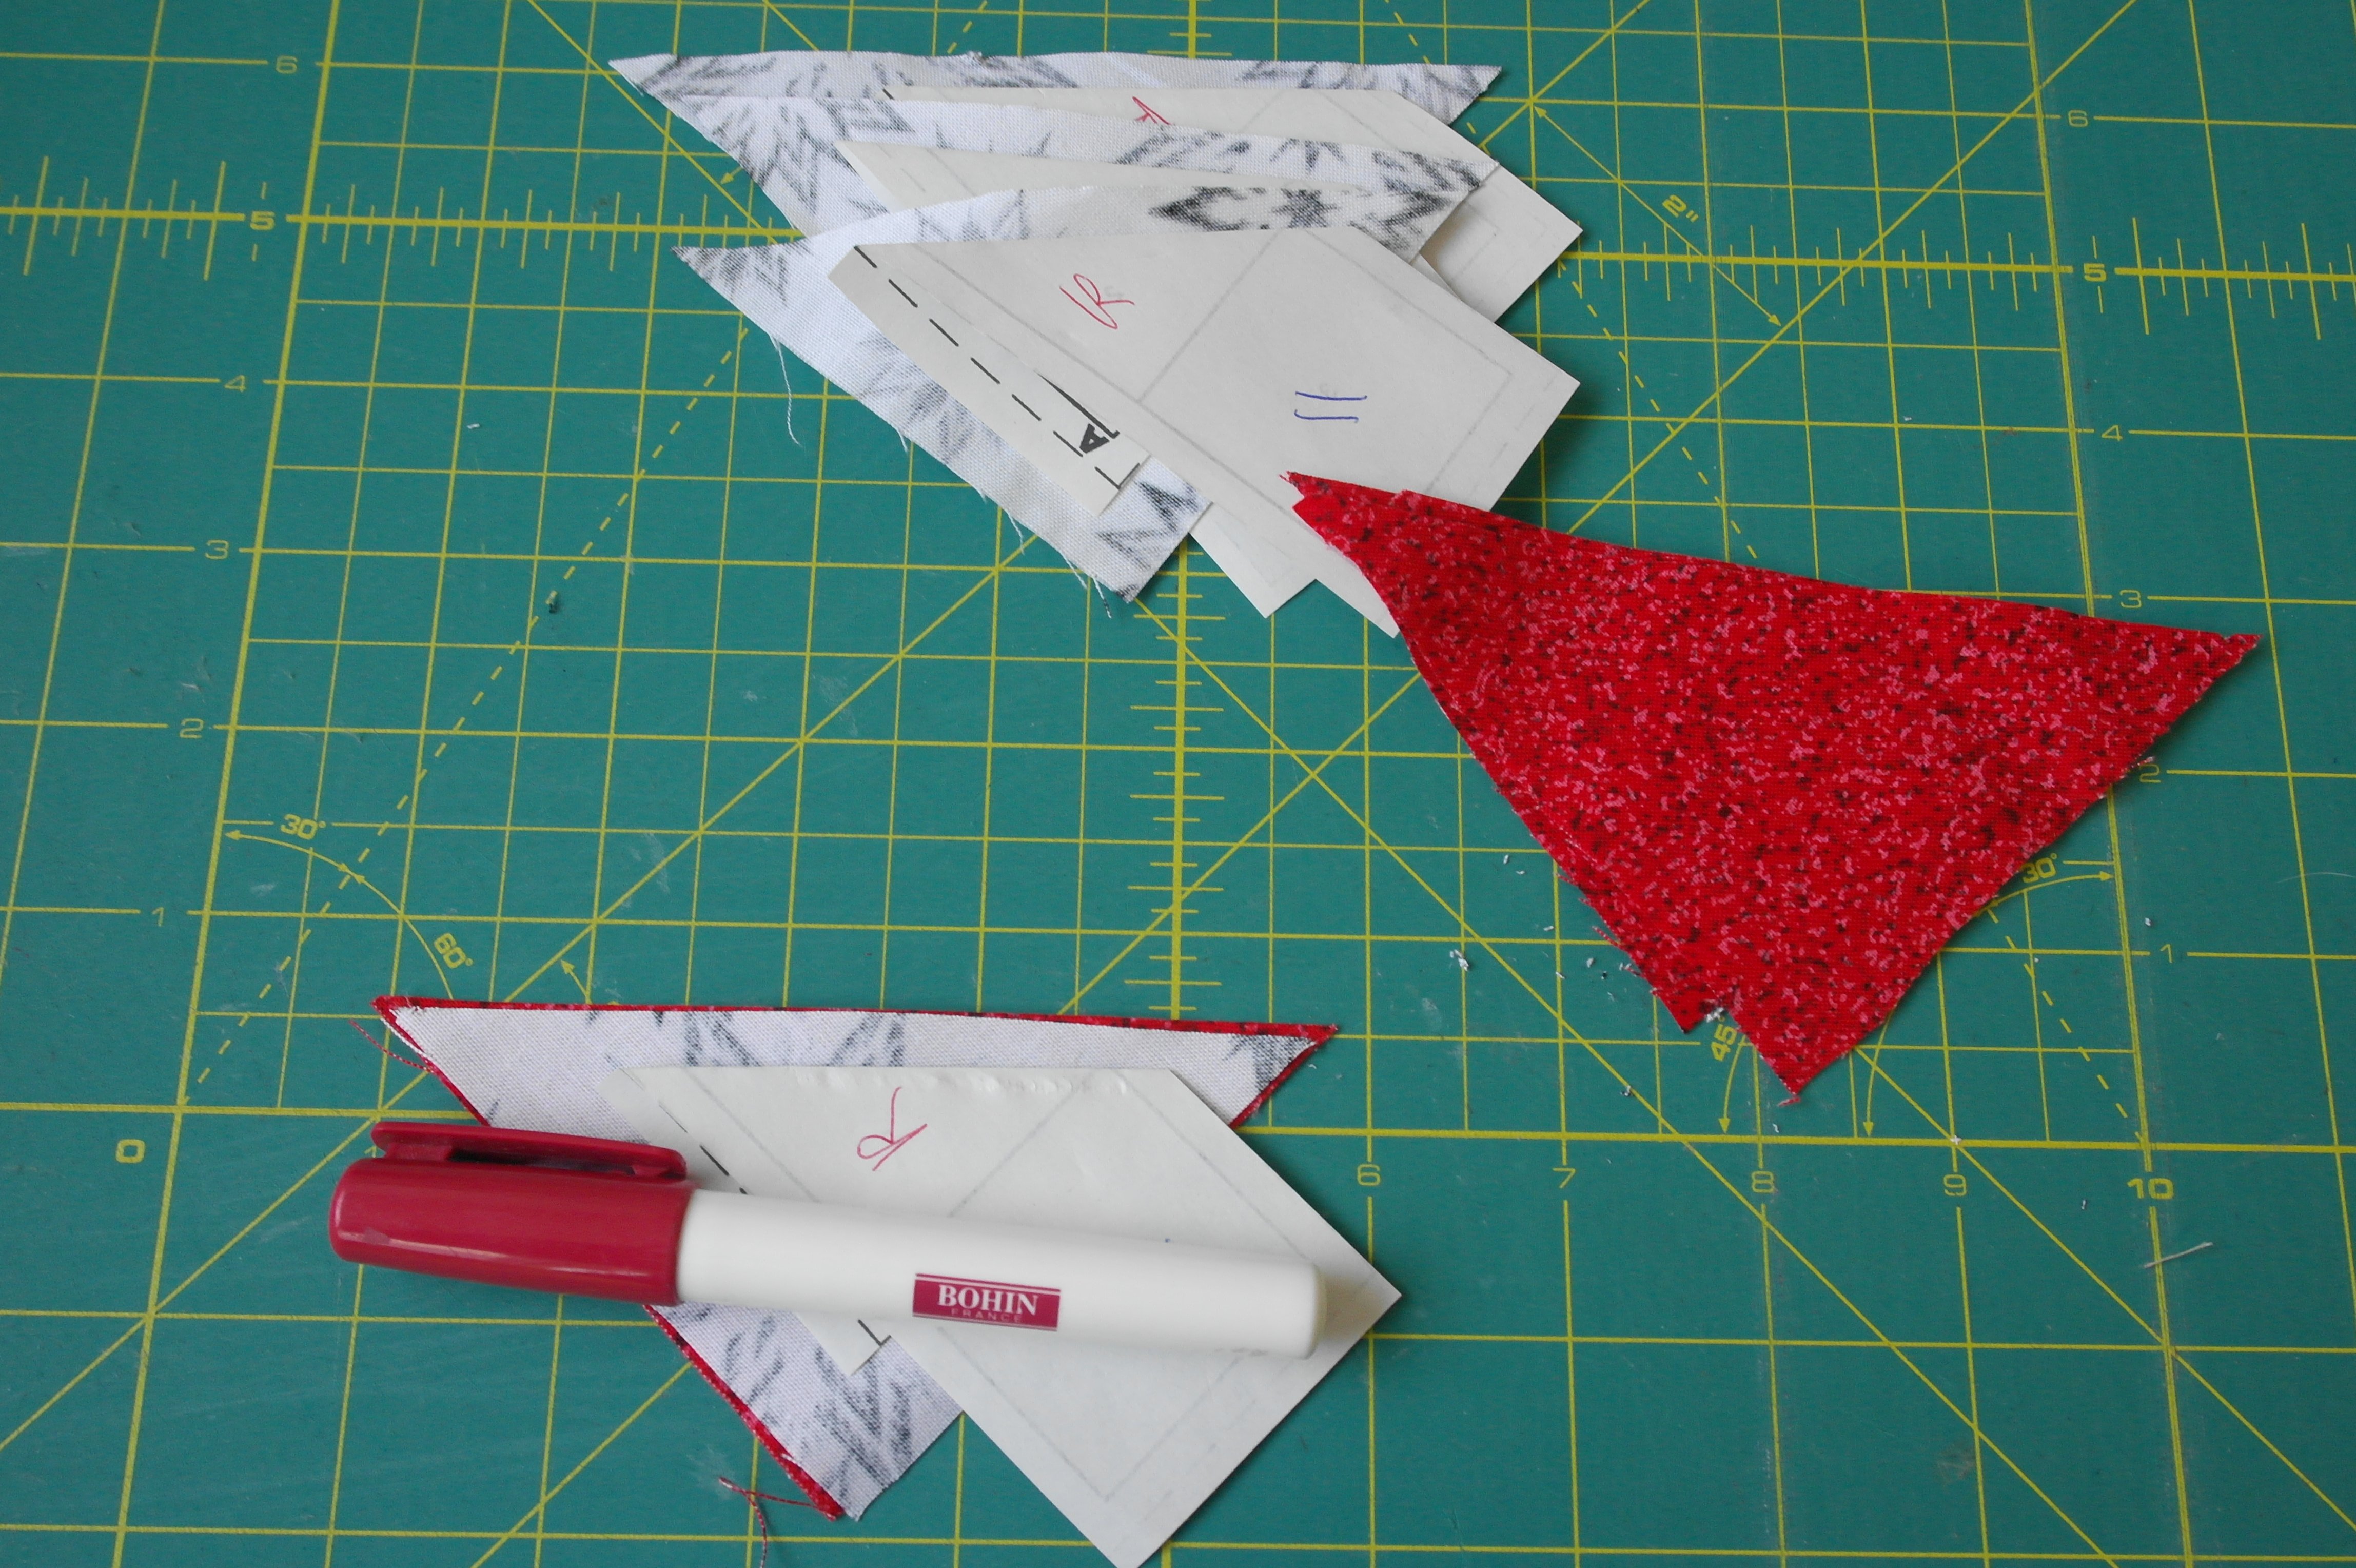
Section 3 is covered: the Unit to the right has just been completed, the Unit to the left is already cut back on all sides.
Paper Piecing Units B.
At a similar way, make Units B. The difference with Units A is the placement of the center of the Unit: the first fabric piece is glued with the Bohin Glue pen,
next the sewing line – between section 1 and 2 – is used to cut back the seam allowance, again using the folding template and the Add-a-Quarter ruler.
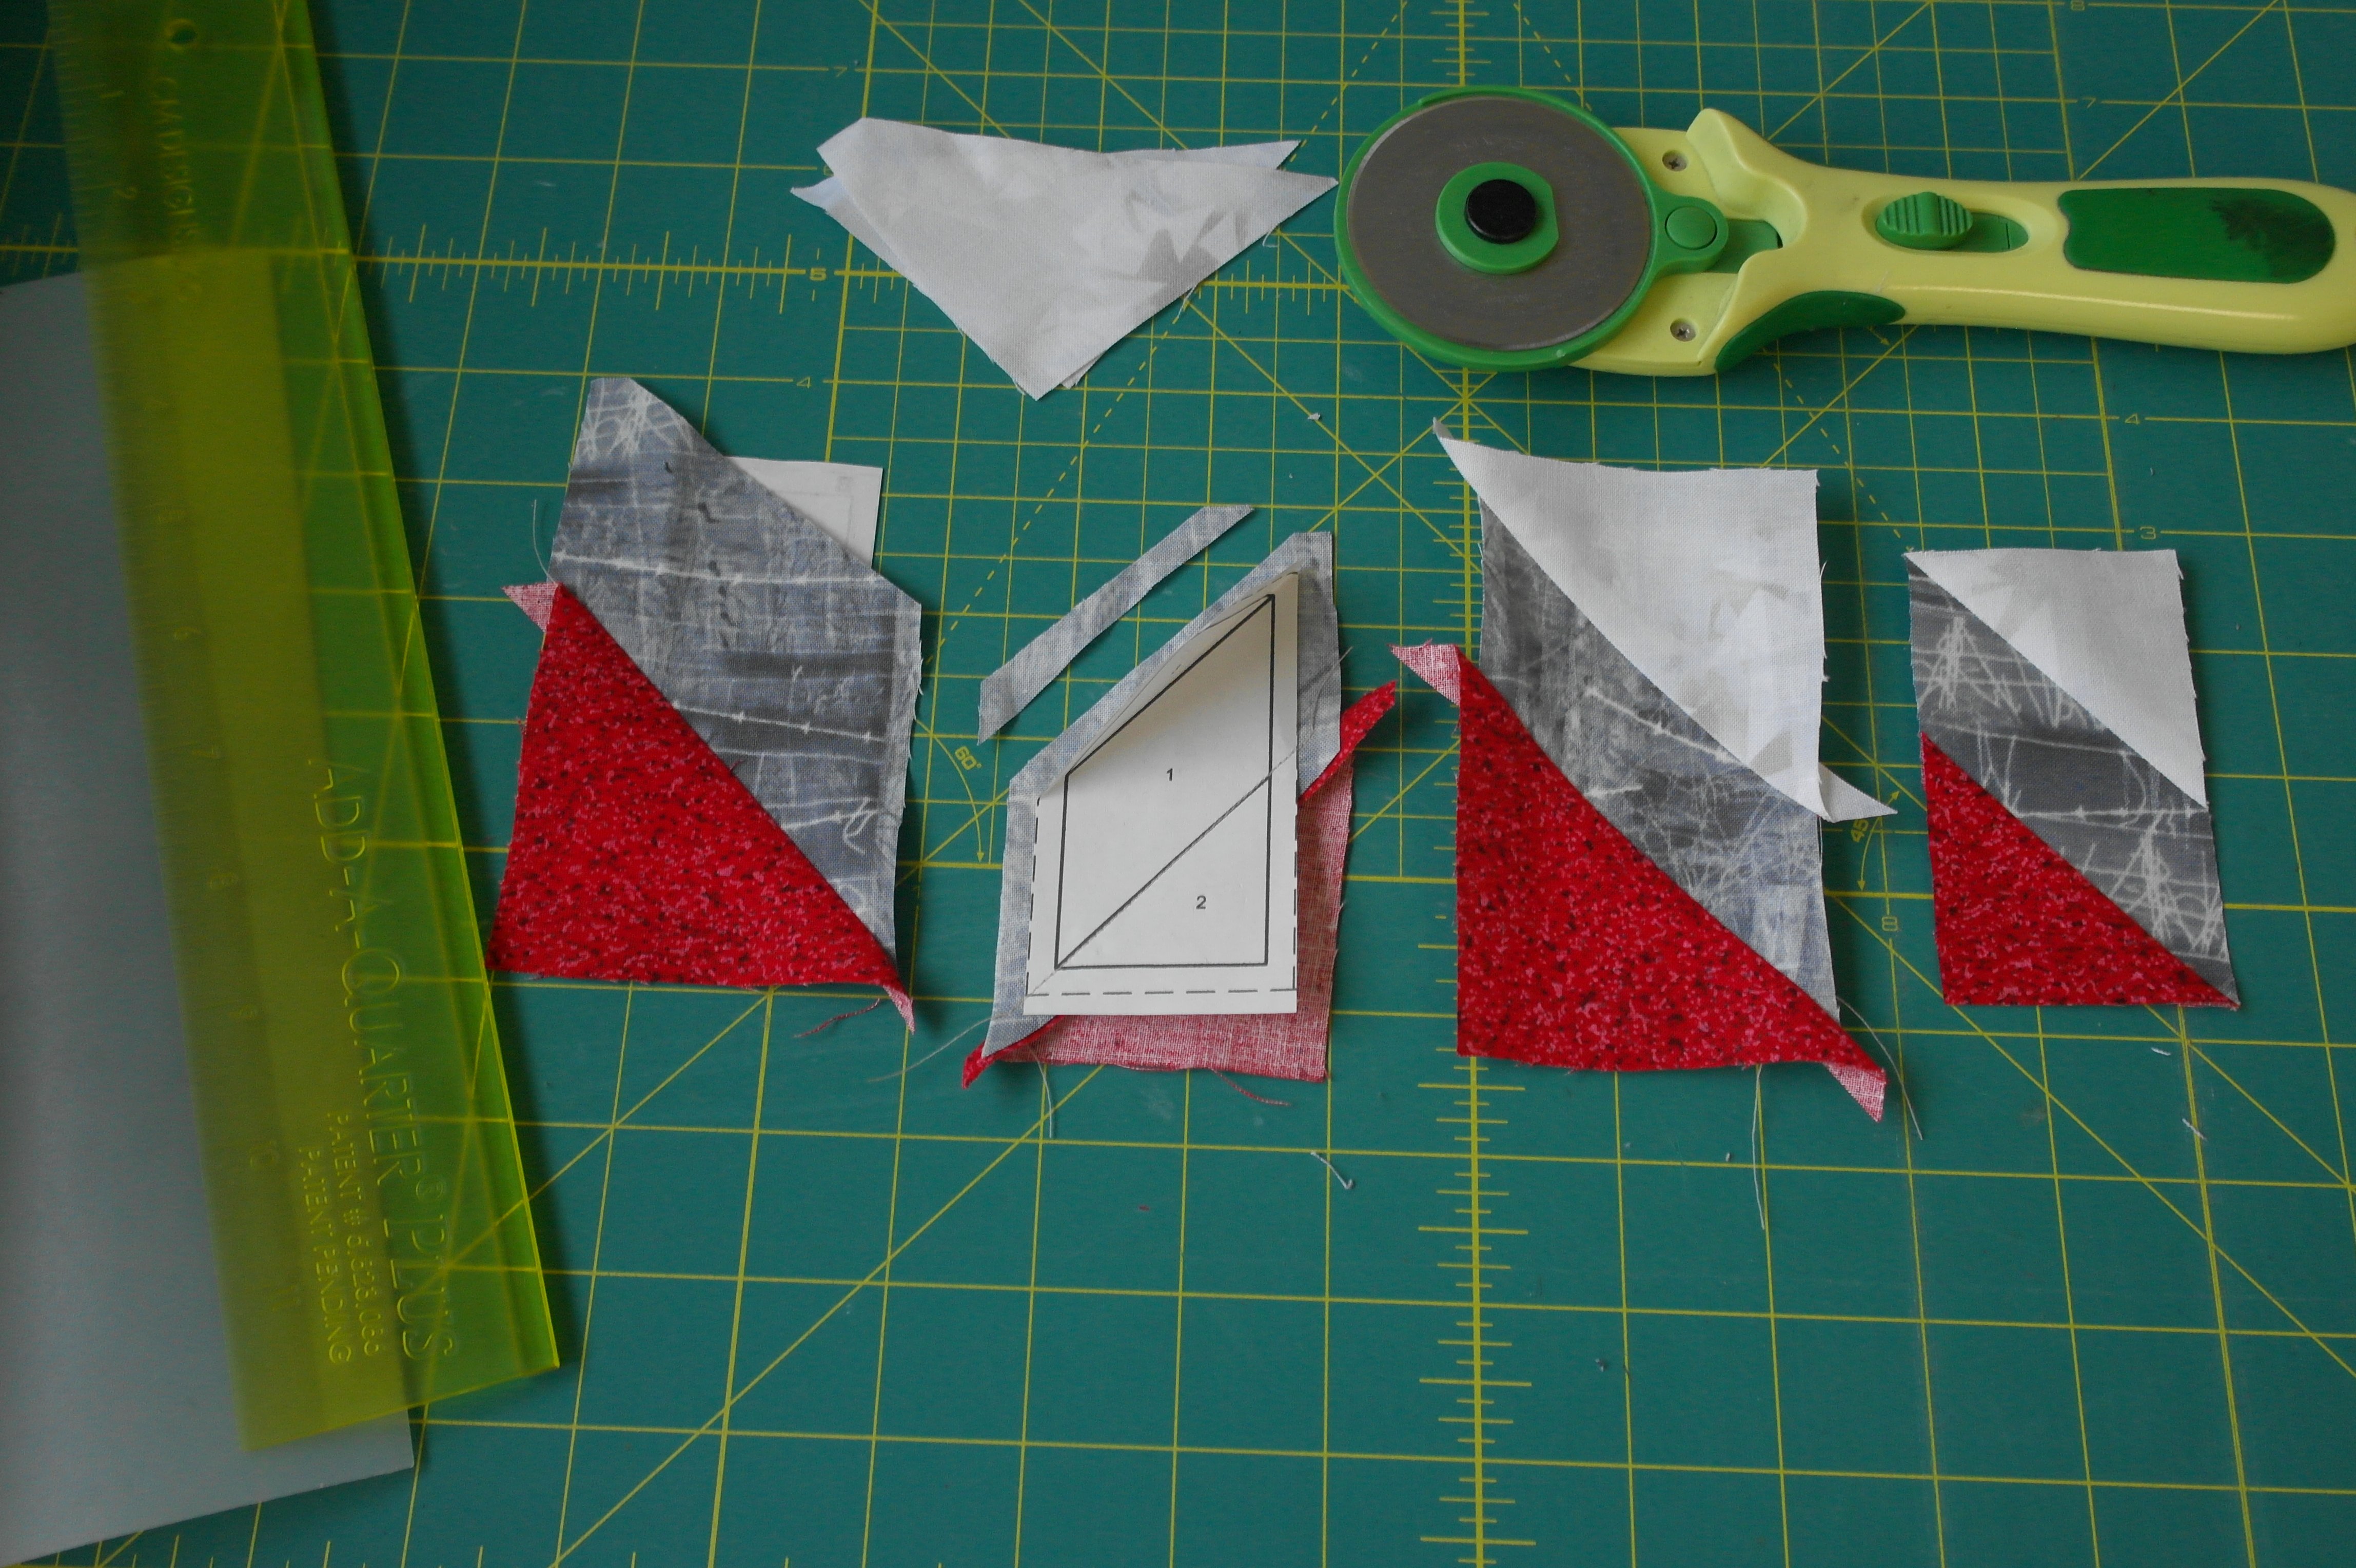
Working to complete Units B: from left to right – section 2 is covered, seam allowance is cut back, section 3 is covered, and Unit B is completed, cut back on all sides.
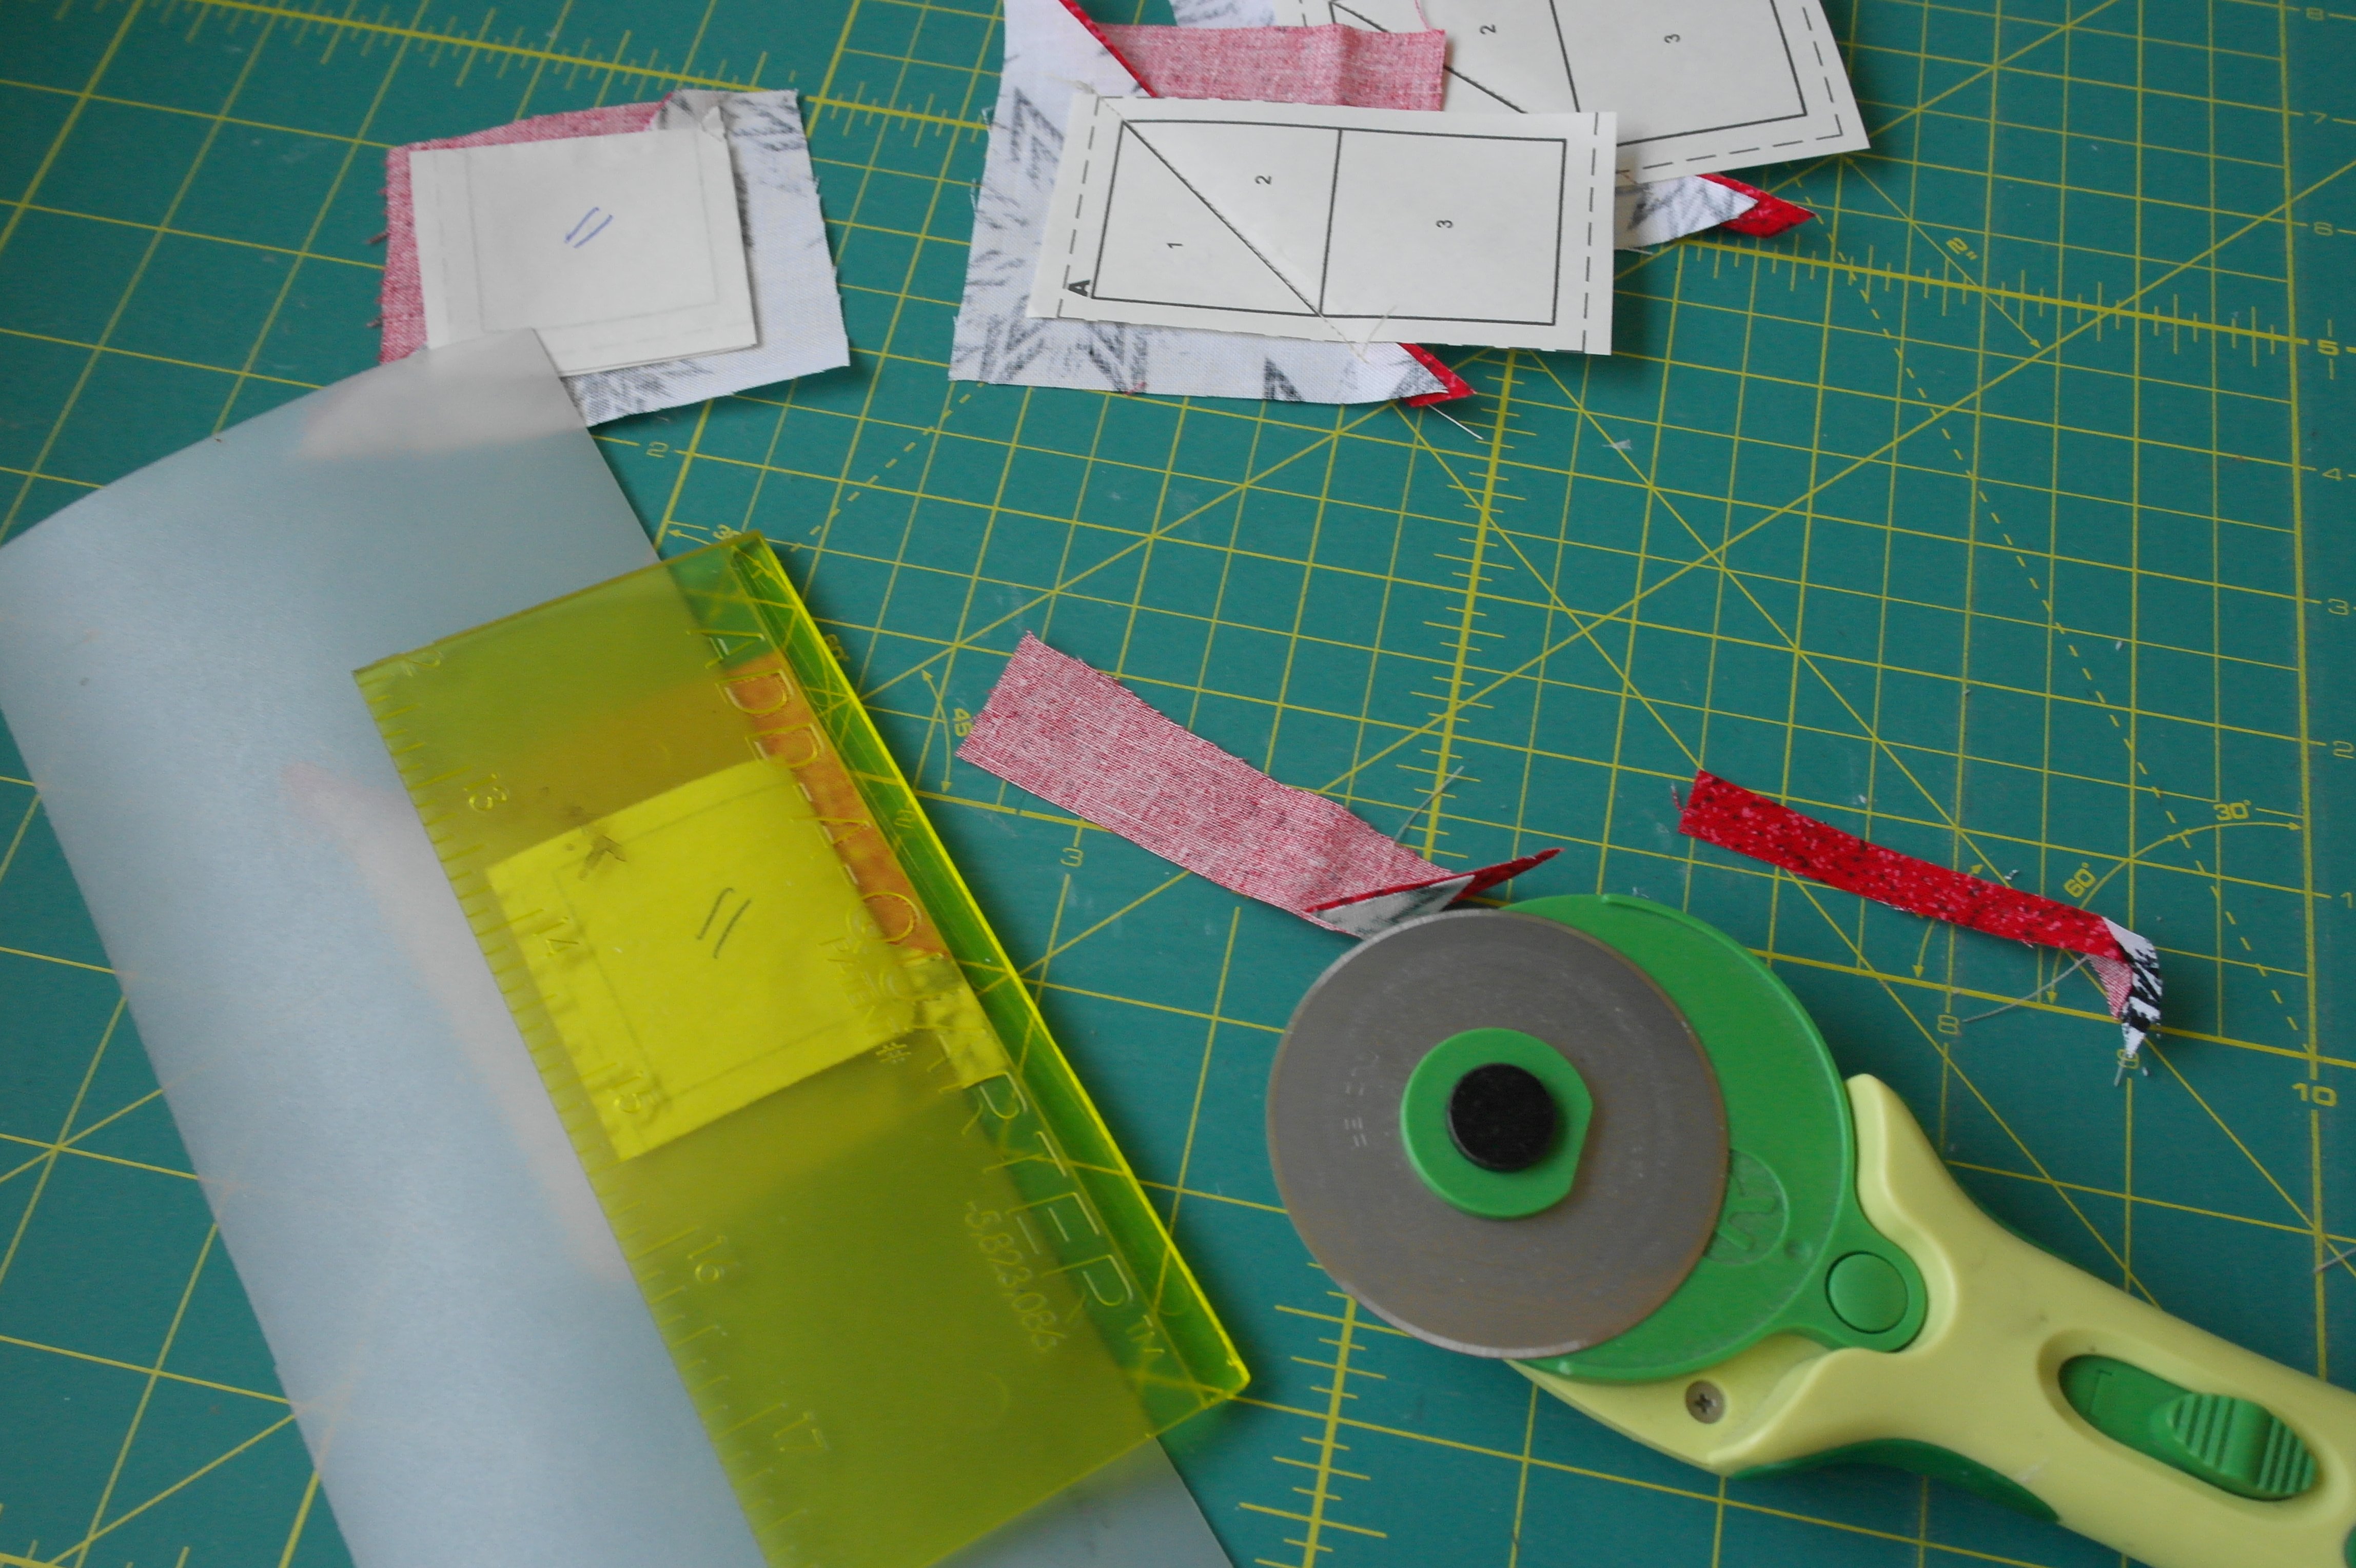
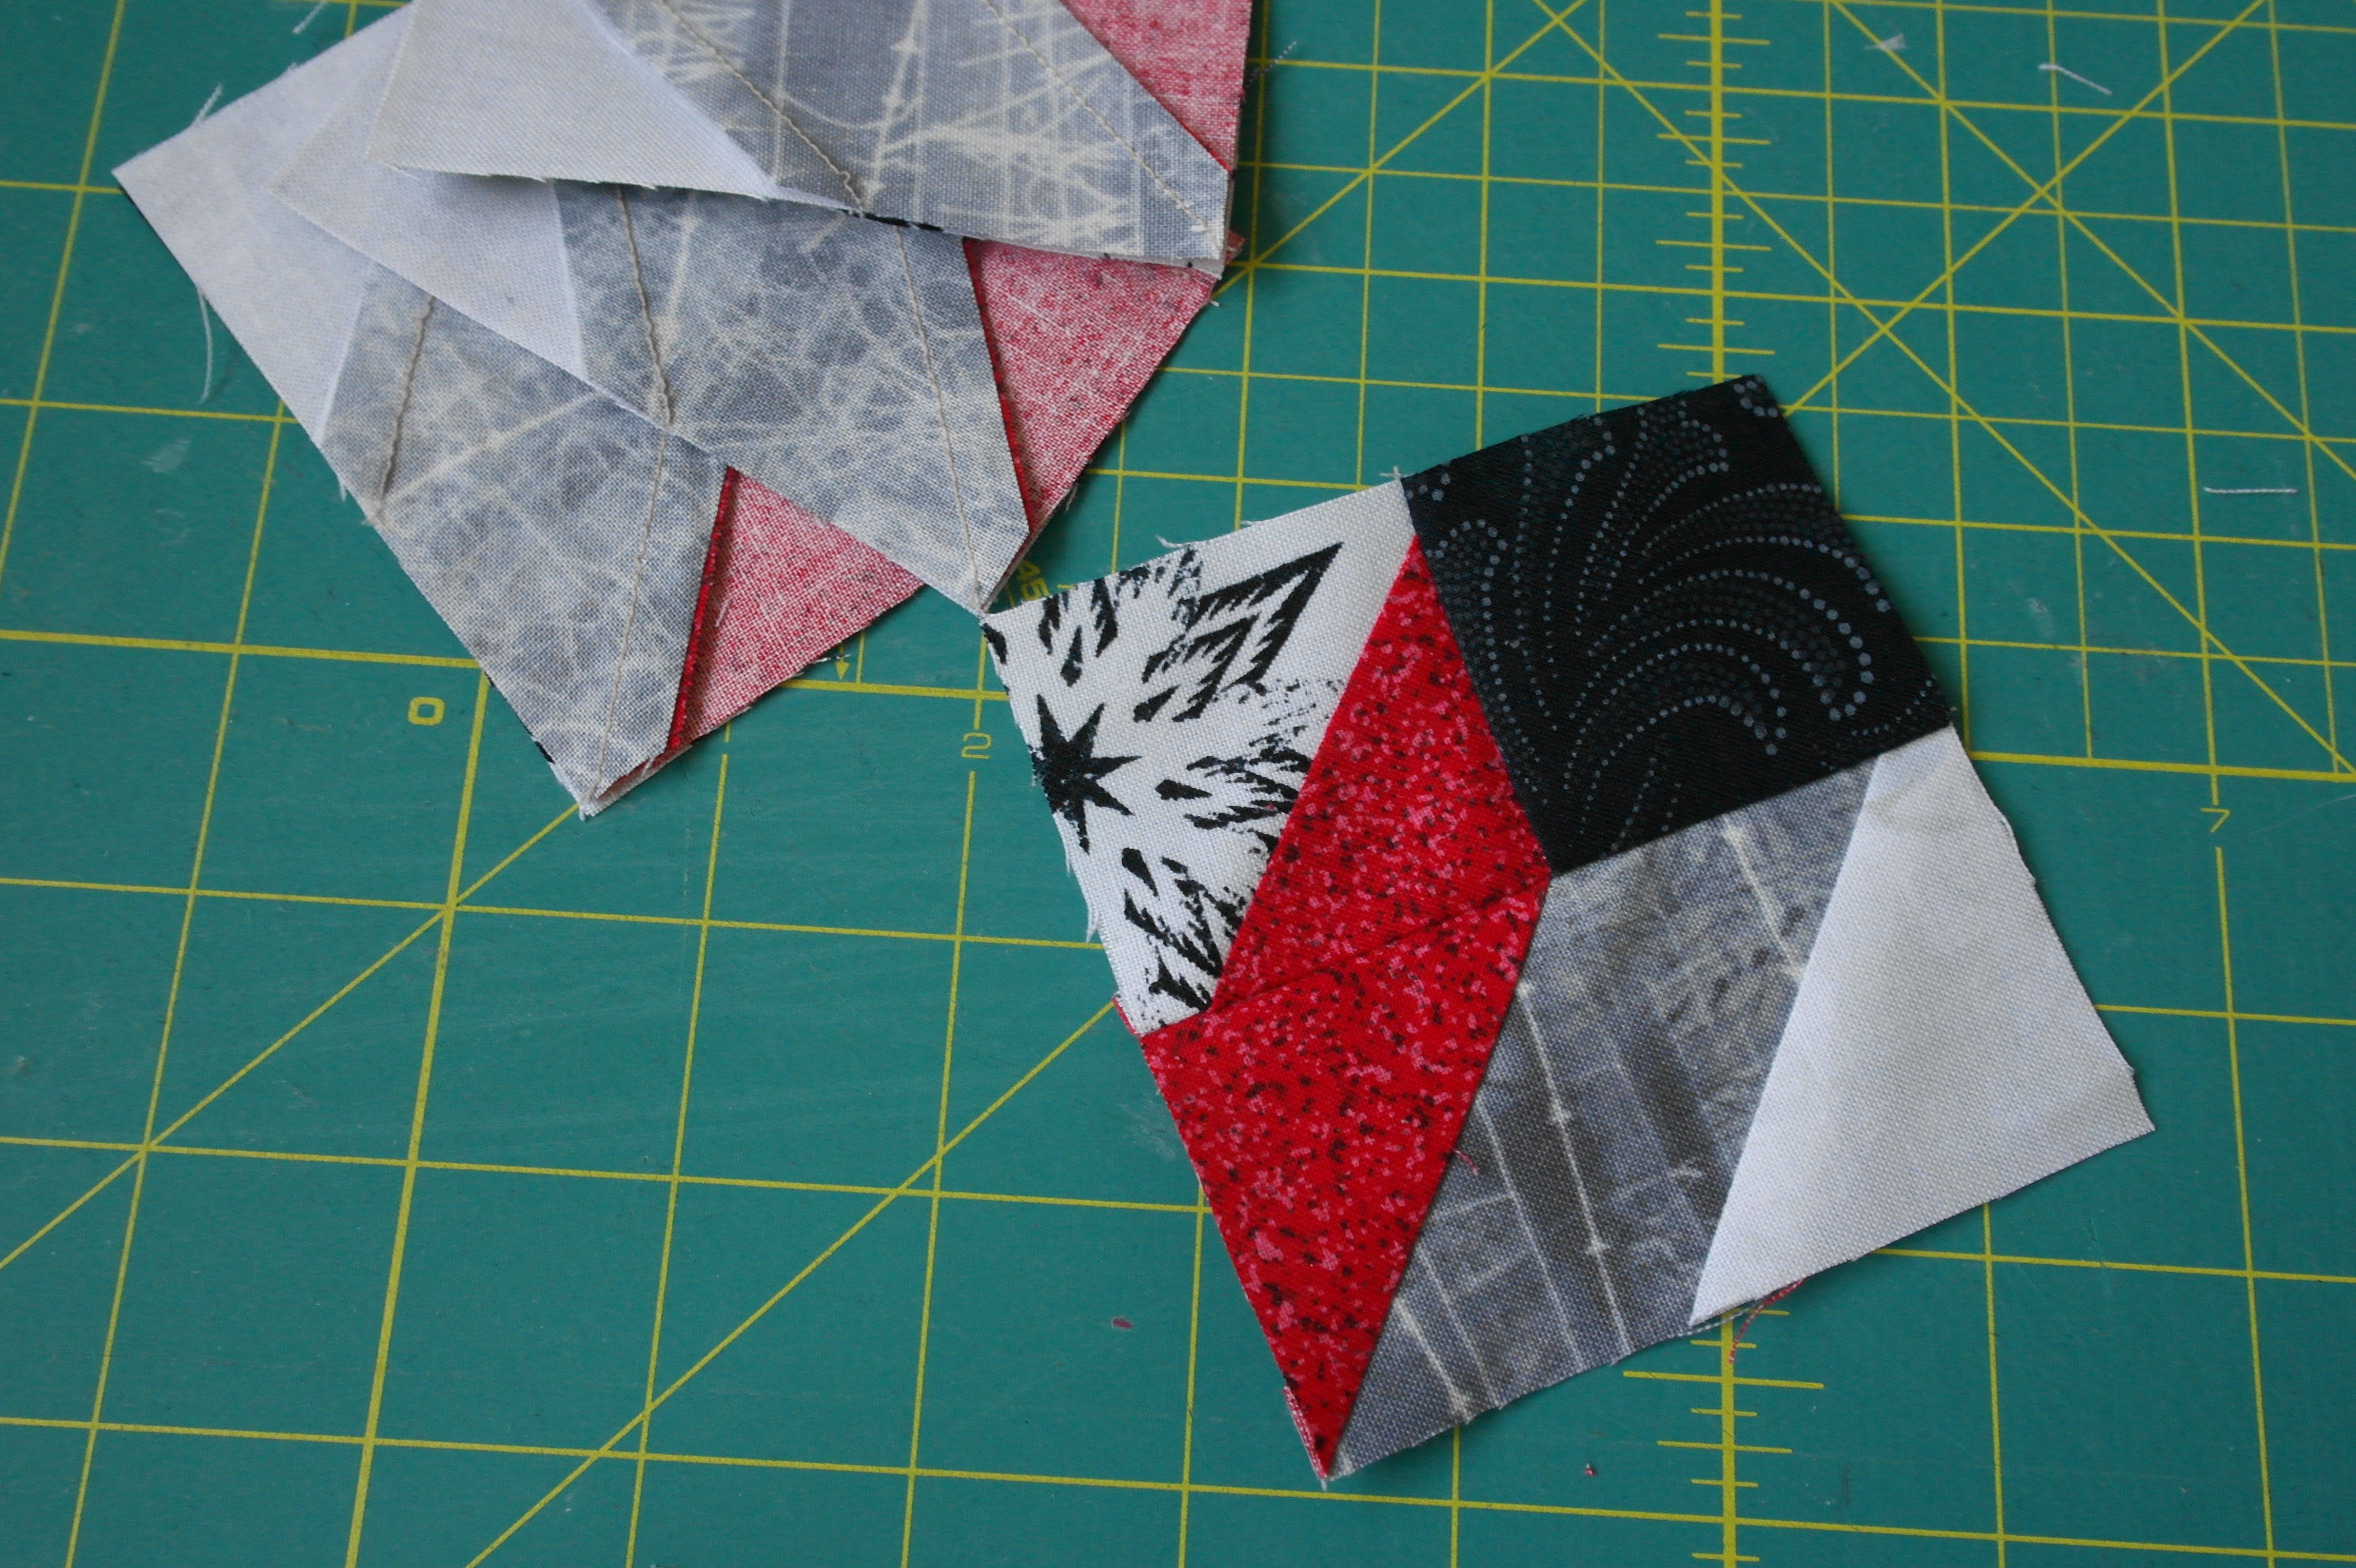
I have torn the paper away from the Units in reversed order. Now I need my 1/4 inch presser foot to sew these together.
Assembly without the paper.
Again, try to find a logical working order. Look for straight lines. There are four quarters with this 4-Patch (16-Patch) block. Each will be assembled separate.
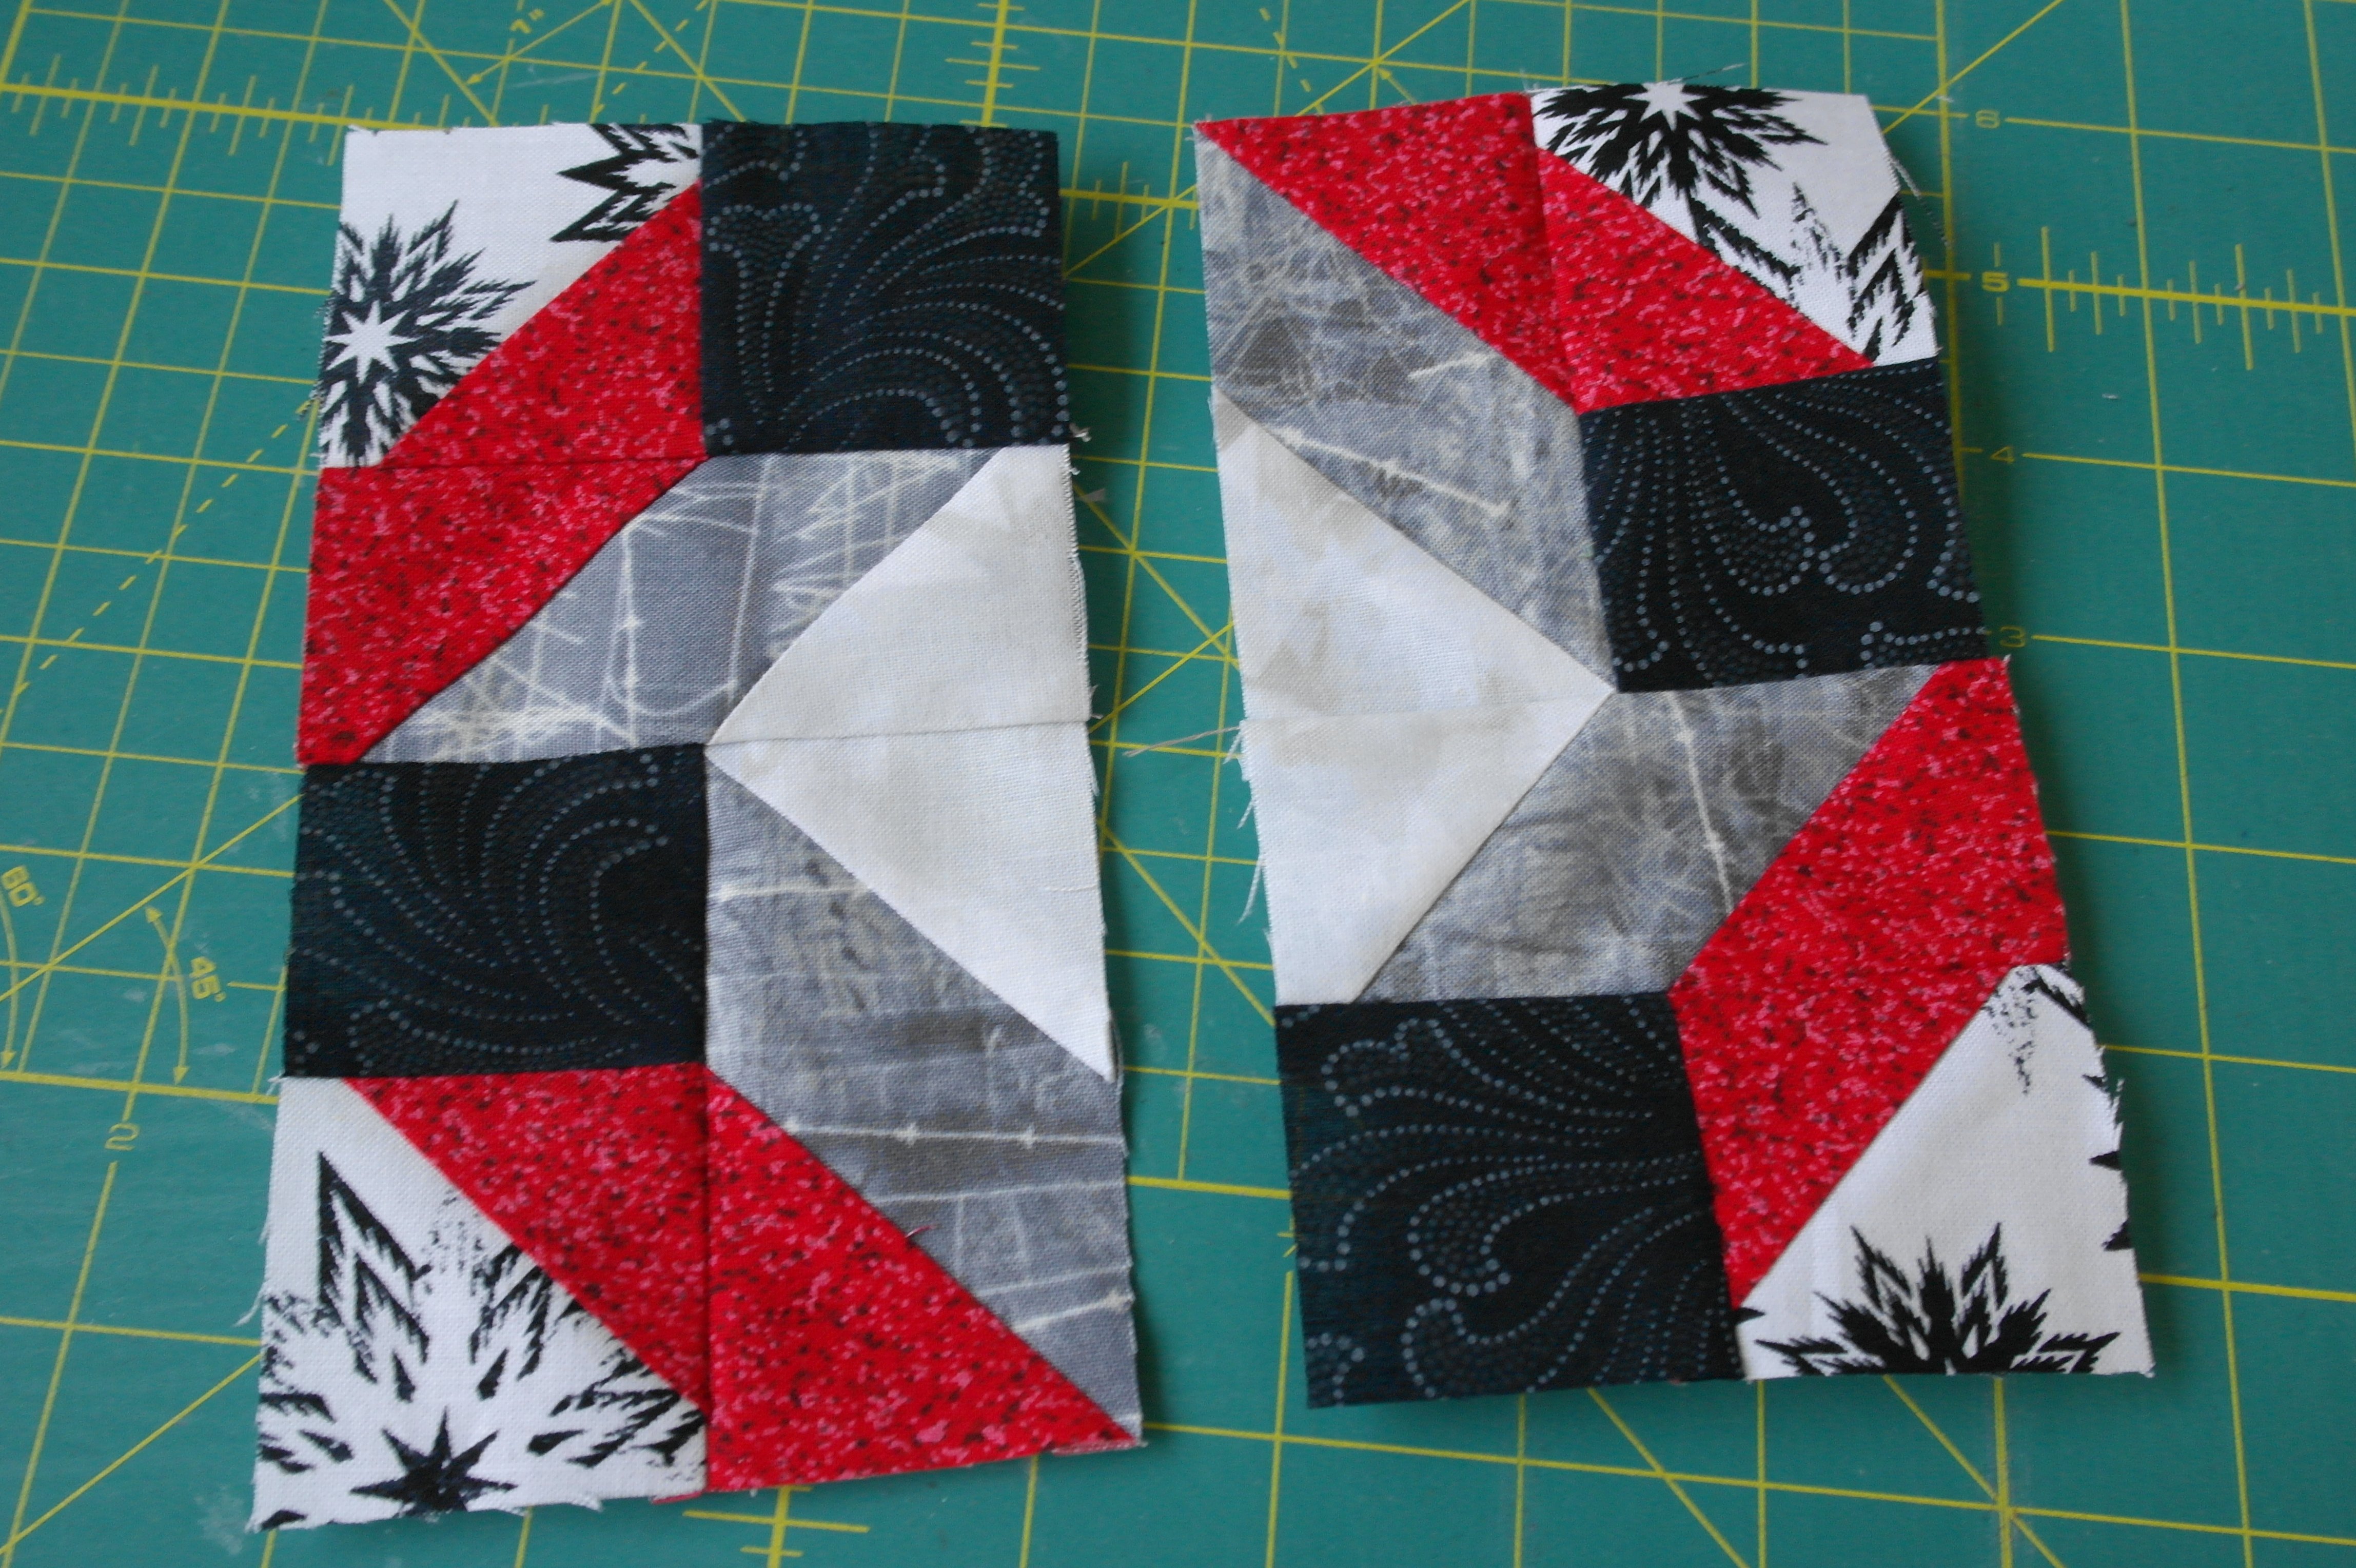
To be sure nothing shifts while sewing, I have used my Bohin Glue pen again, dapping ON the seam allowances, using just a single pin for the cross section.
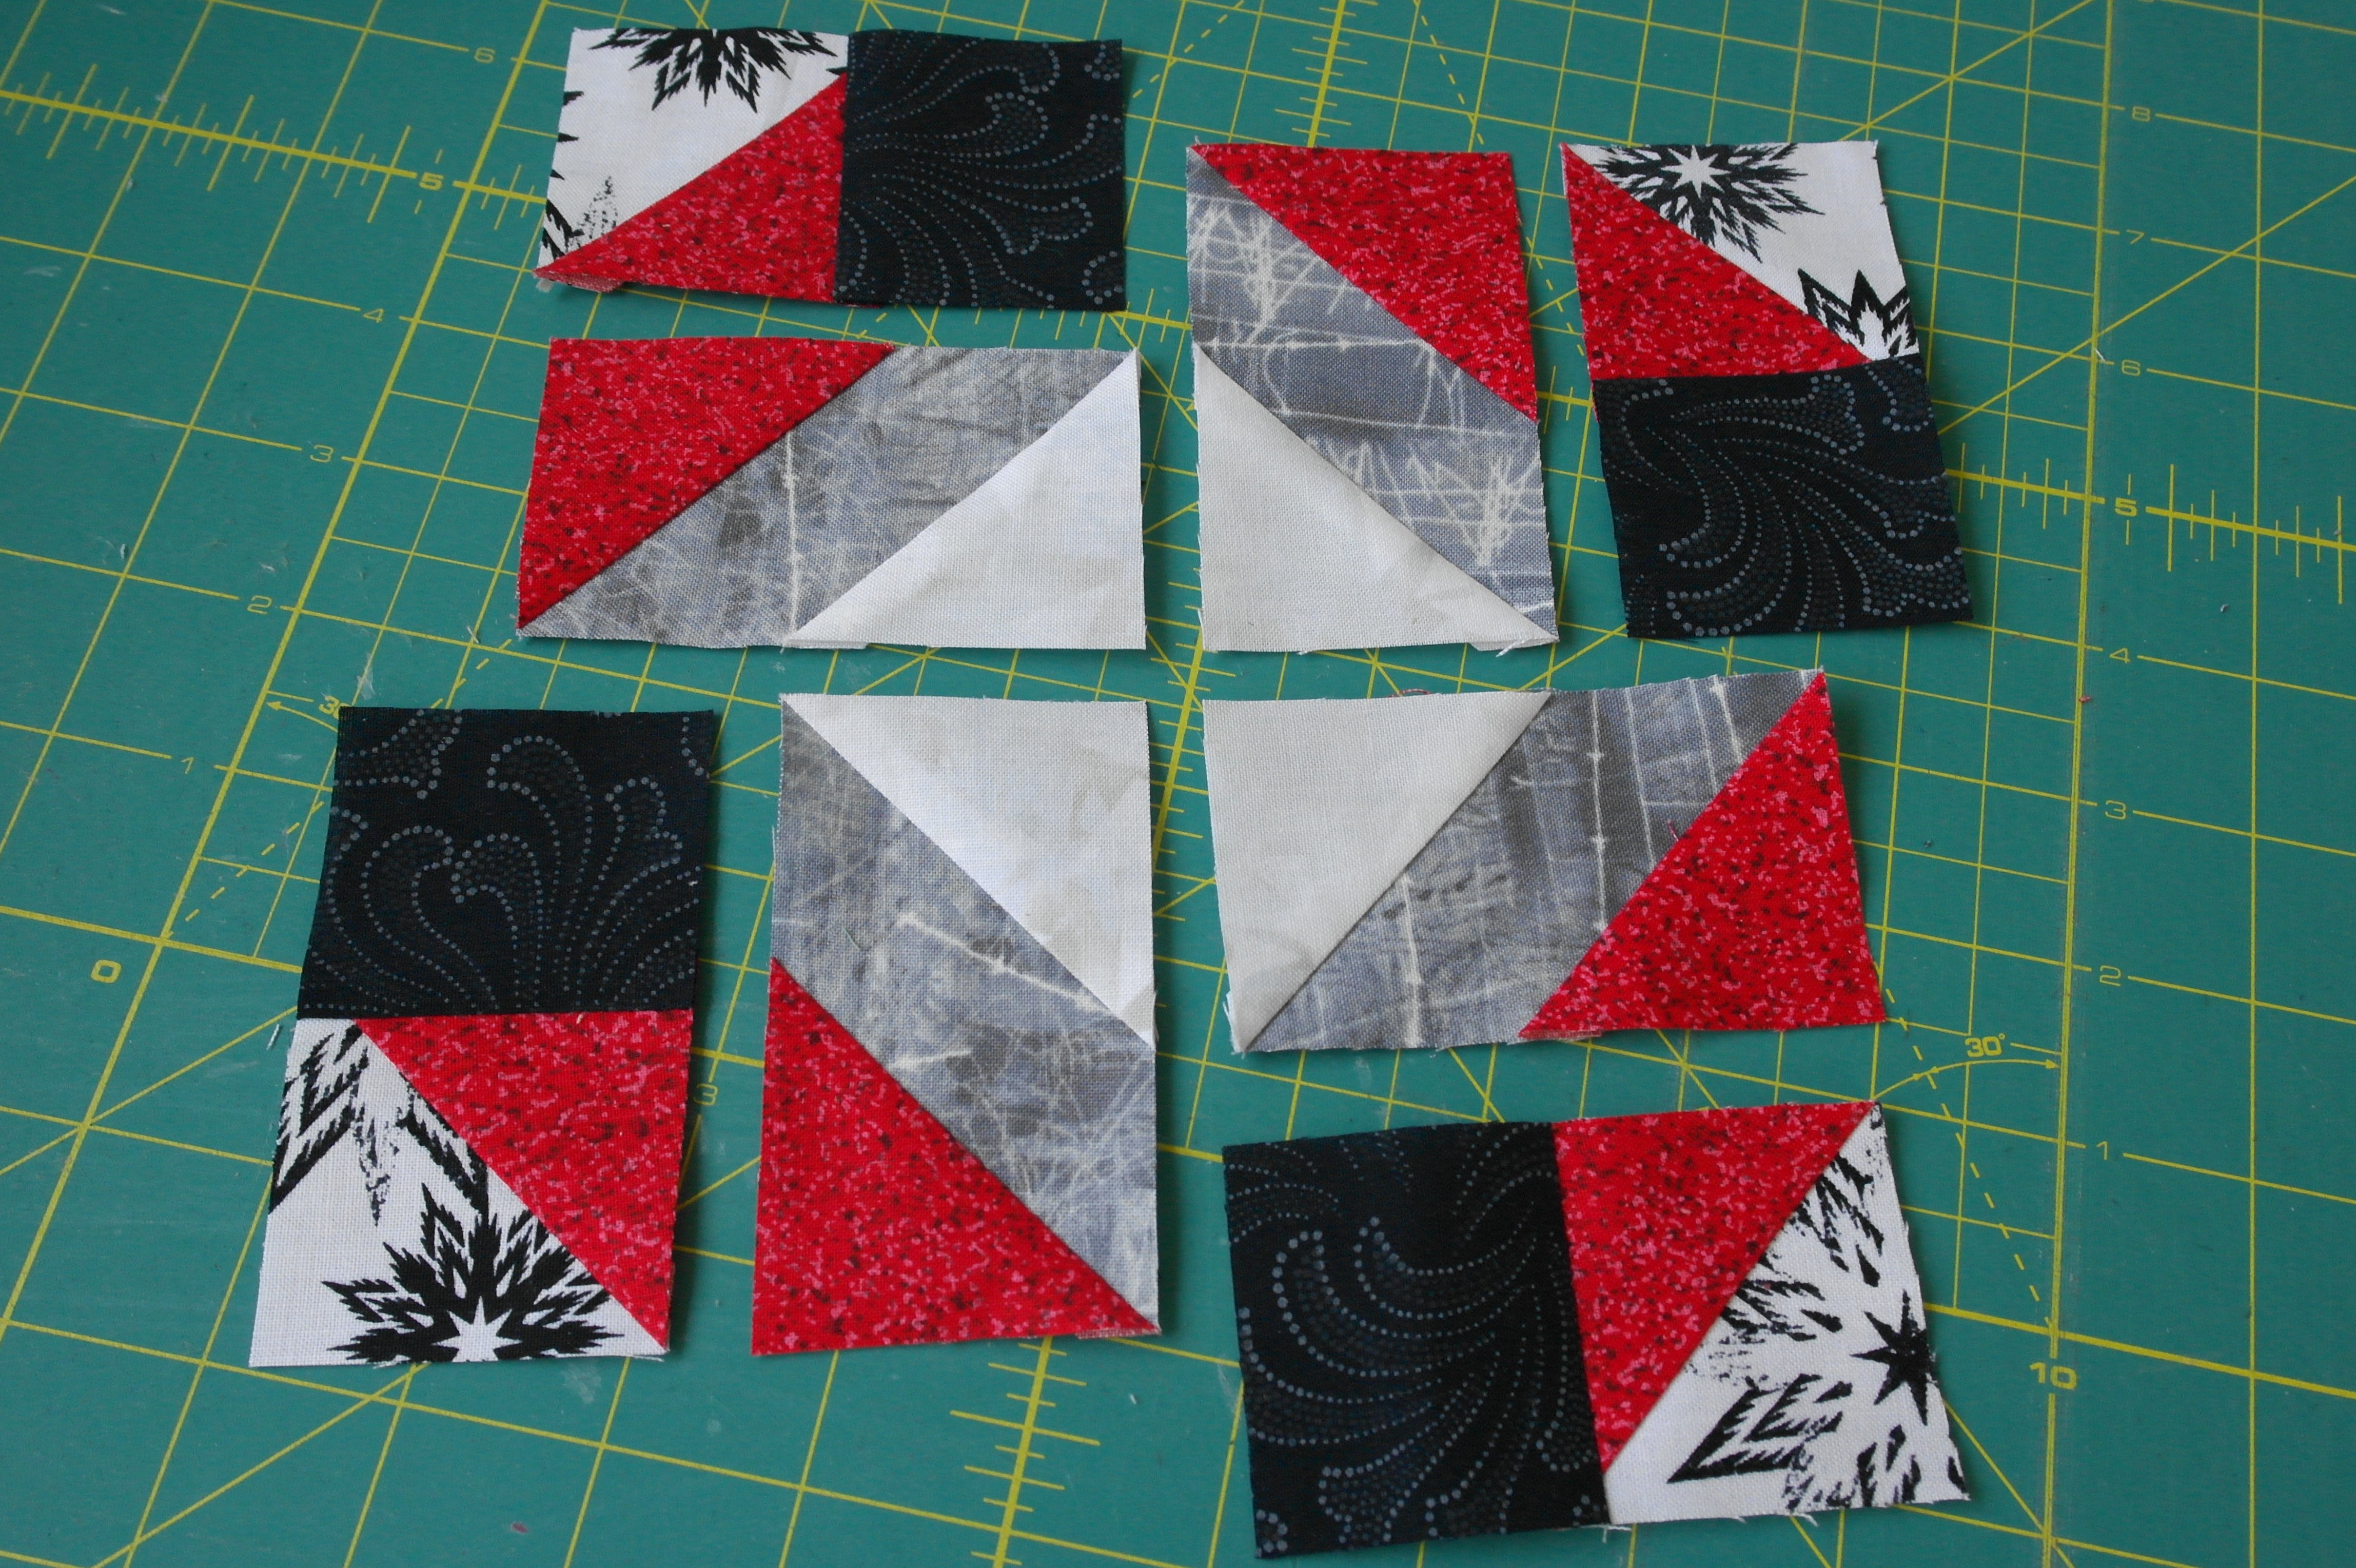
Sewing it – 1/4 inch seam allowance, stitch length back to ‘normal’- folding it to the right side and pressing. The corner – black square – looks great. I have pressed the seam towards the black square, with each quarter.

Four squares are ready: I have placed them back on my cutting mat, to keep the overview.
Now I have joined 2 x 2 squares into halves.
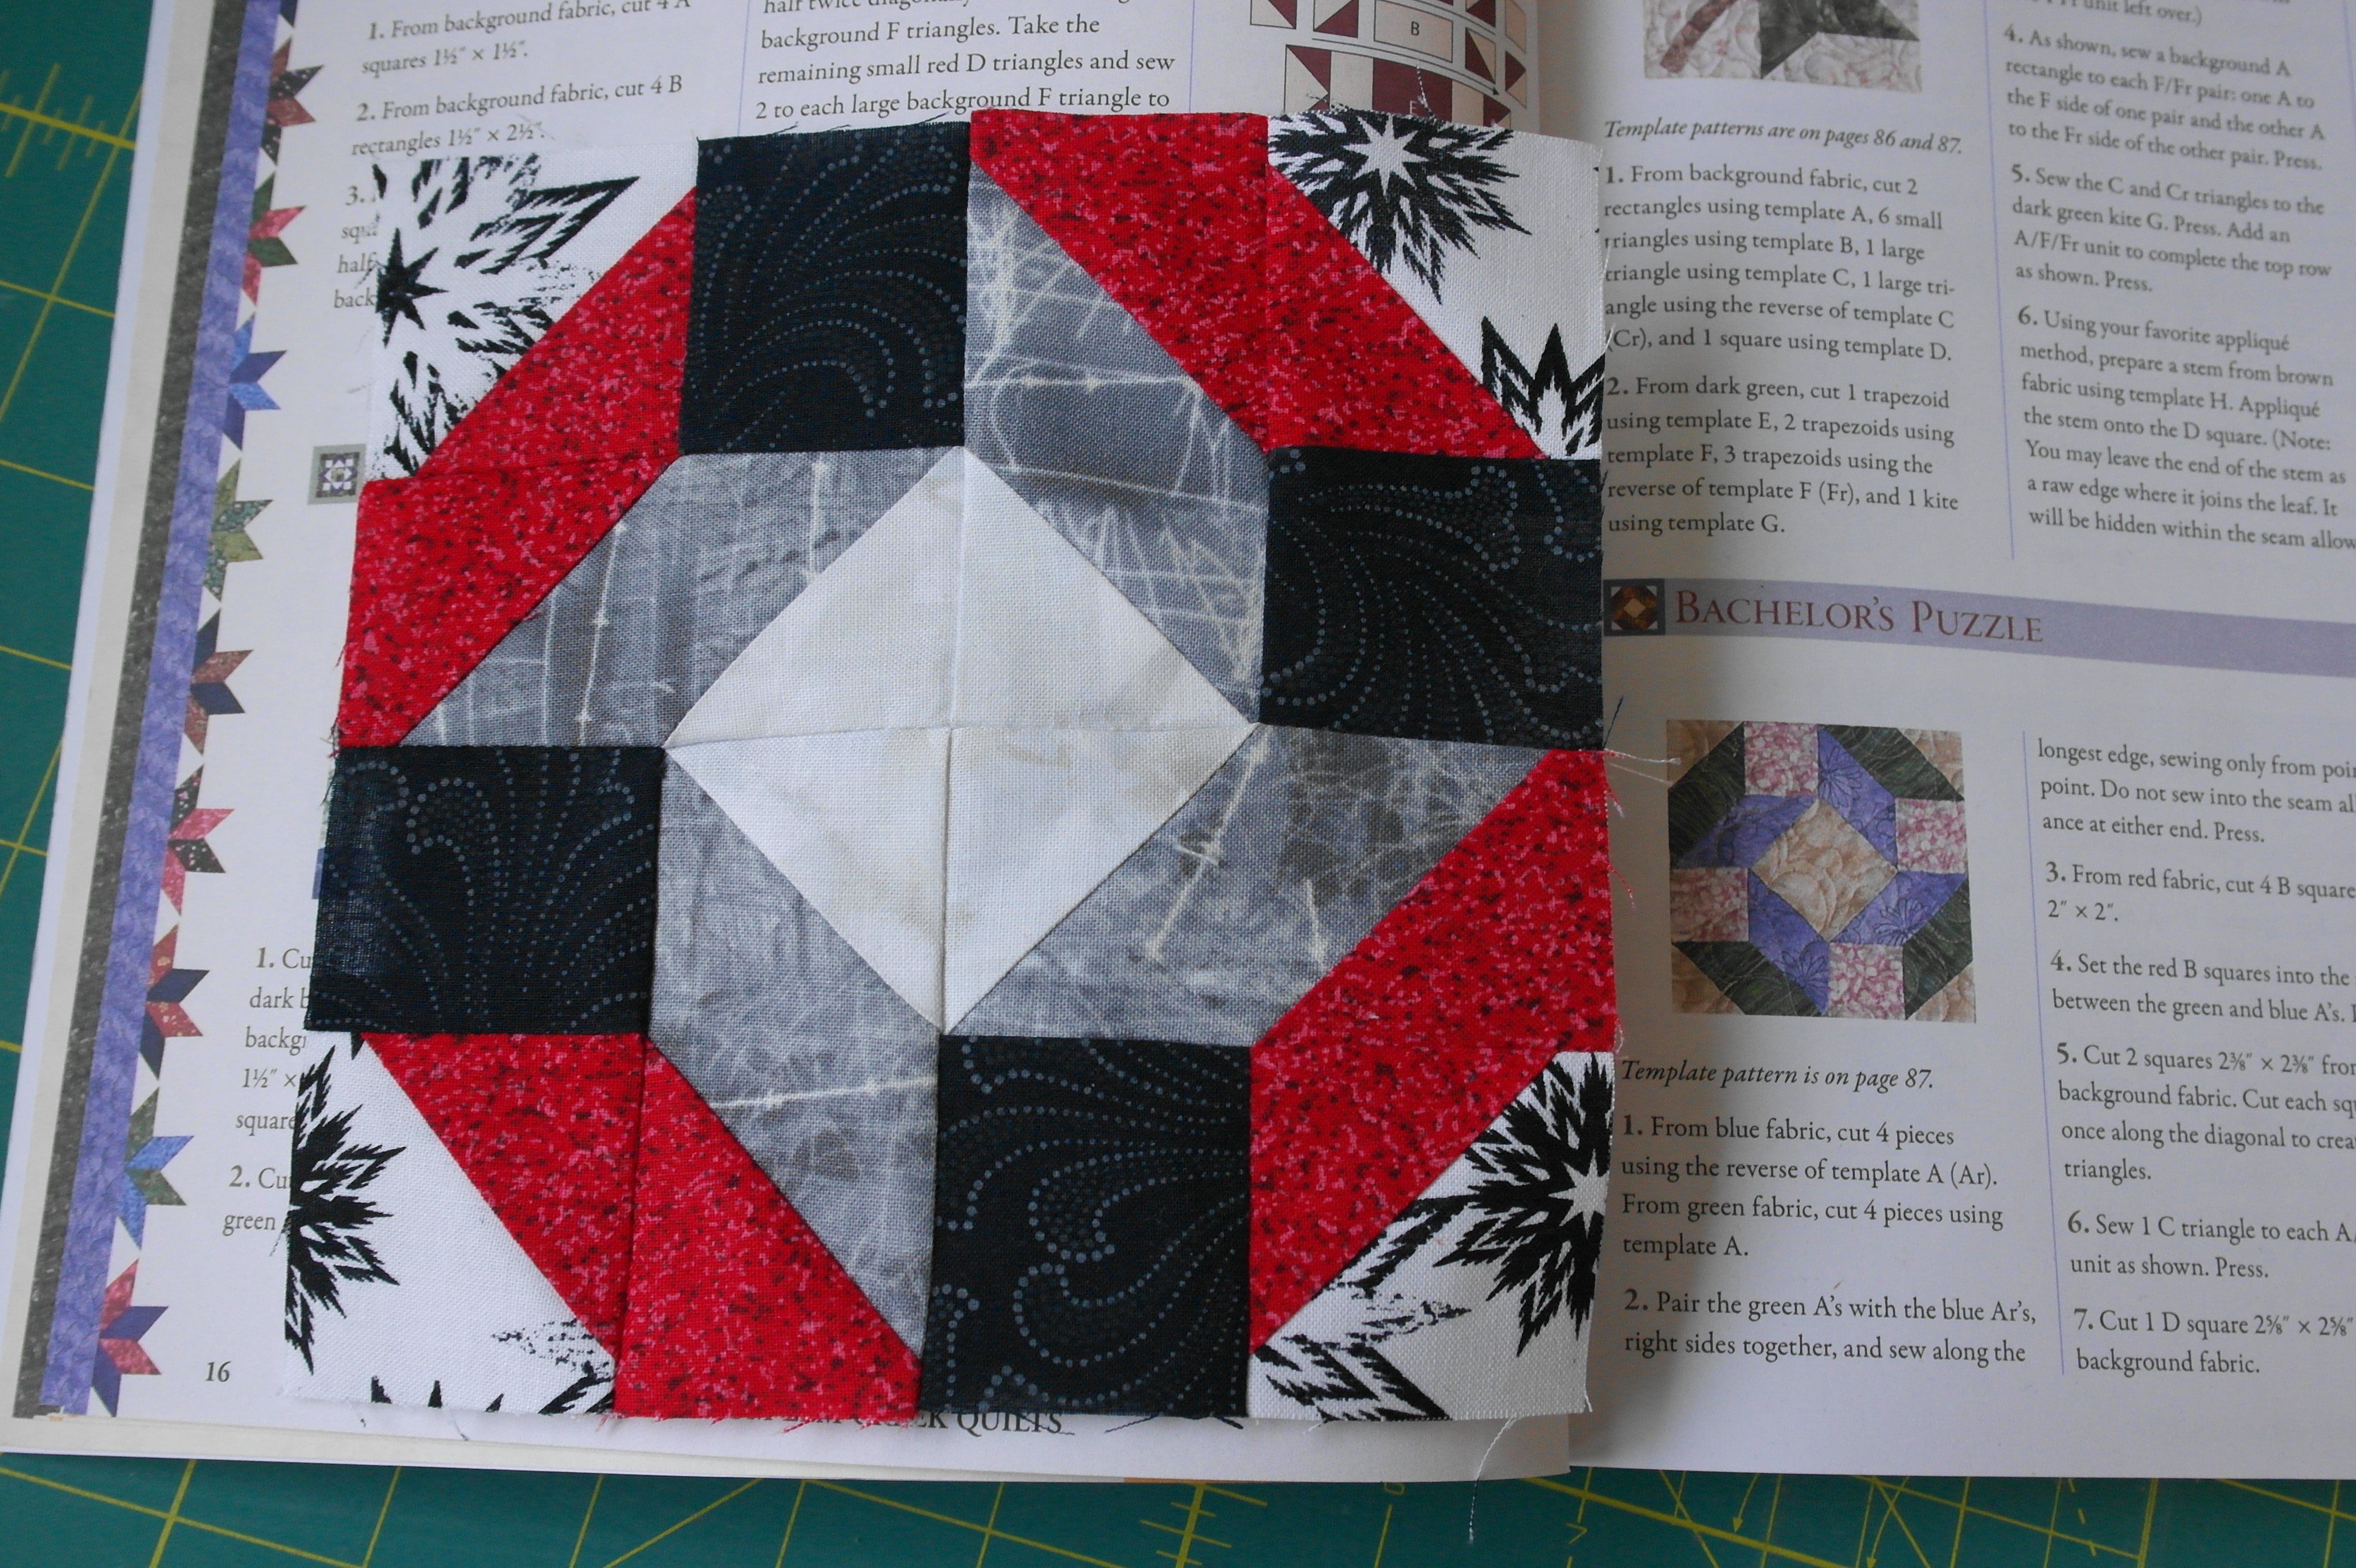
and finished the block. Pay attention to the cross section in the center of the block – I have pressed the seams flat, pushed one side up and one side down.

To do this properly, I’ve cut the seam open at the back, 2 mm away from the stitches. You can also rip a couple of stitches, but be careful not to cut/rip too far. Can you see how the seams look like a mini-windmill?

Sometimes I will convert a block to paper piecing, but not all: part of it will be cut via templates. Block A8 Star of the Orient is different from the original block: because I have changed the sequence of sewing, I had to cut the red and black triangles in two. Originally there were 2 colors to make the star points, I have used 3. When all cross points meet properly, it won’t show the 2-sectioin points, because then it looks like one section. Making the cross sections meet is therefore essential. If they don’t: frog it and try again.
You can show your blocks in the Community of this BERNINA Blog: so we all can enjoy them.
See you next time!
Sylvia Kaptein
Sylvia’s Art Quilts Studio
*If you don’t want to cut up the diamonds, use the traditional technique, shown in the book.


Thank you
You’re welcome Claire. Hope it has inspired you