 BERNINA Corporate Blog -
No paper piecing today, but traditional piecing, with curves and appliqué. Many quilters are struggling with curved piecing, but it is actually not that difficult. Appliqué is daunting to many quilters too, especially needleturn appliqué: but if you use Heatn’ Bond Lite, ironing without seam allowance, it’s a fast and easy job.
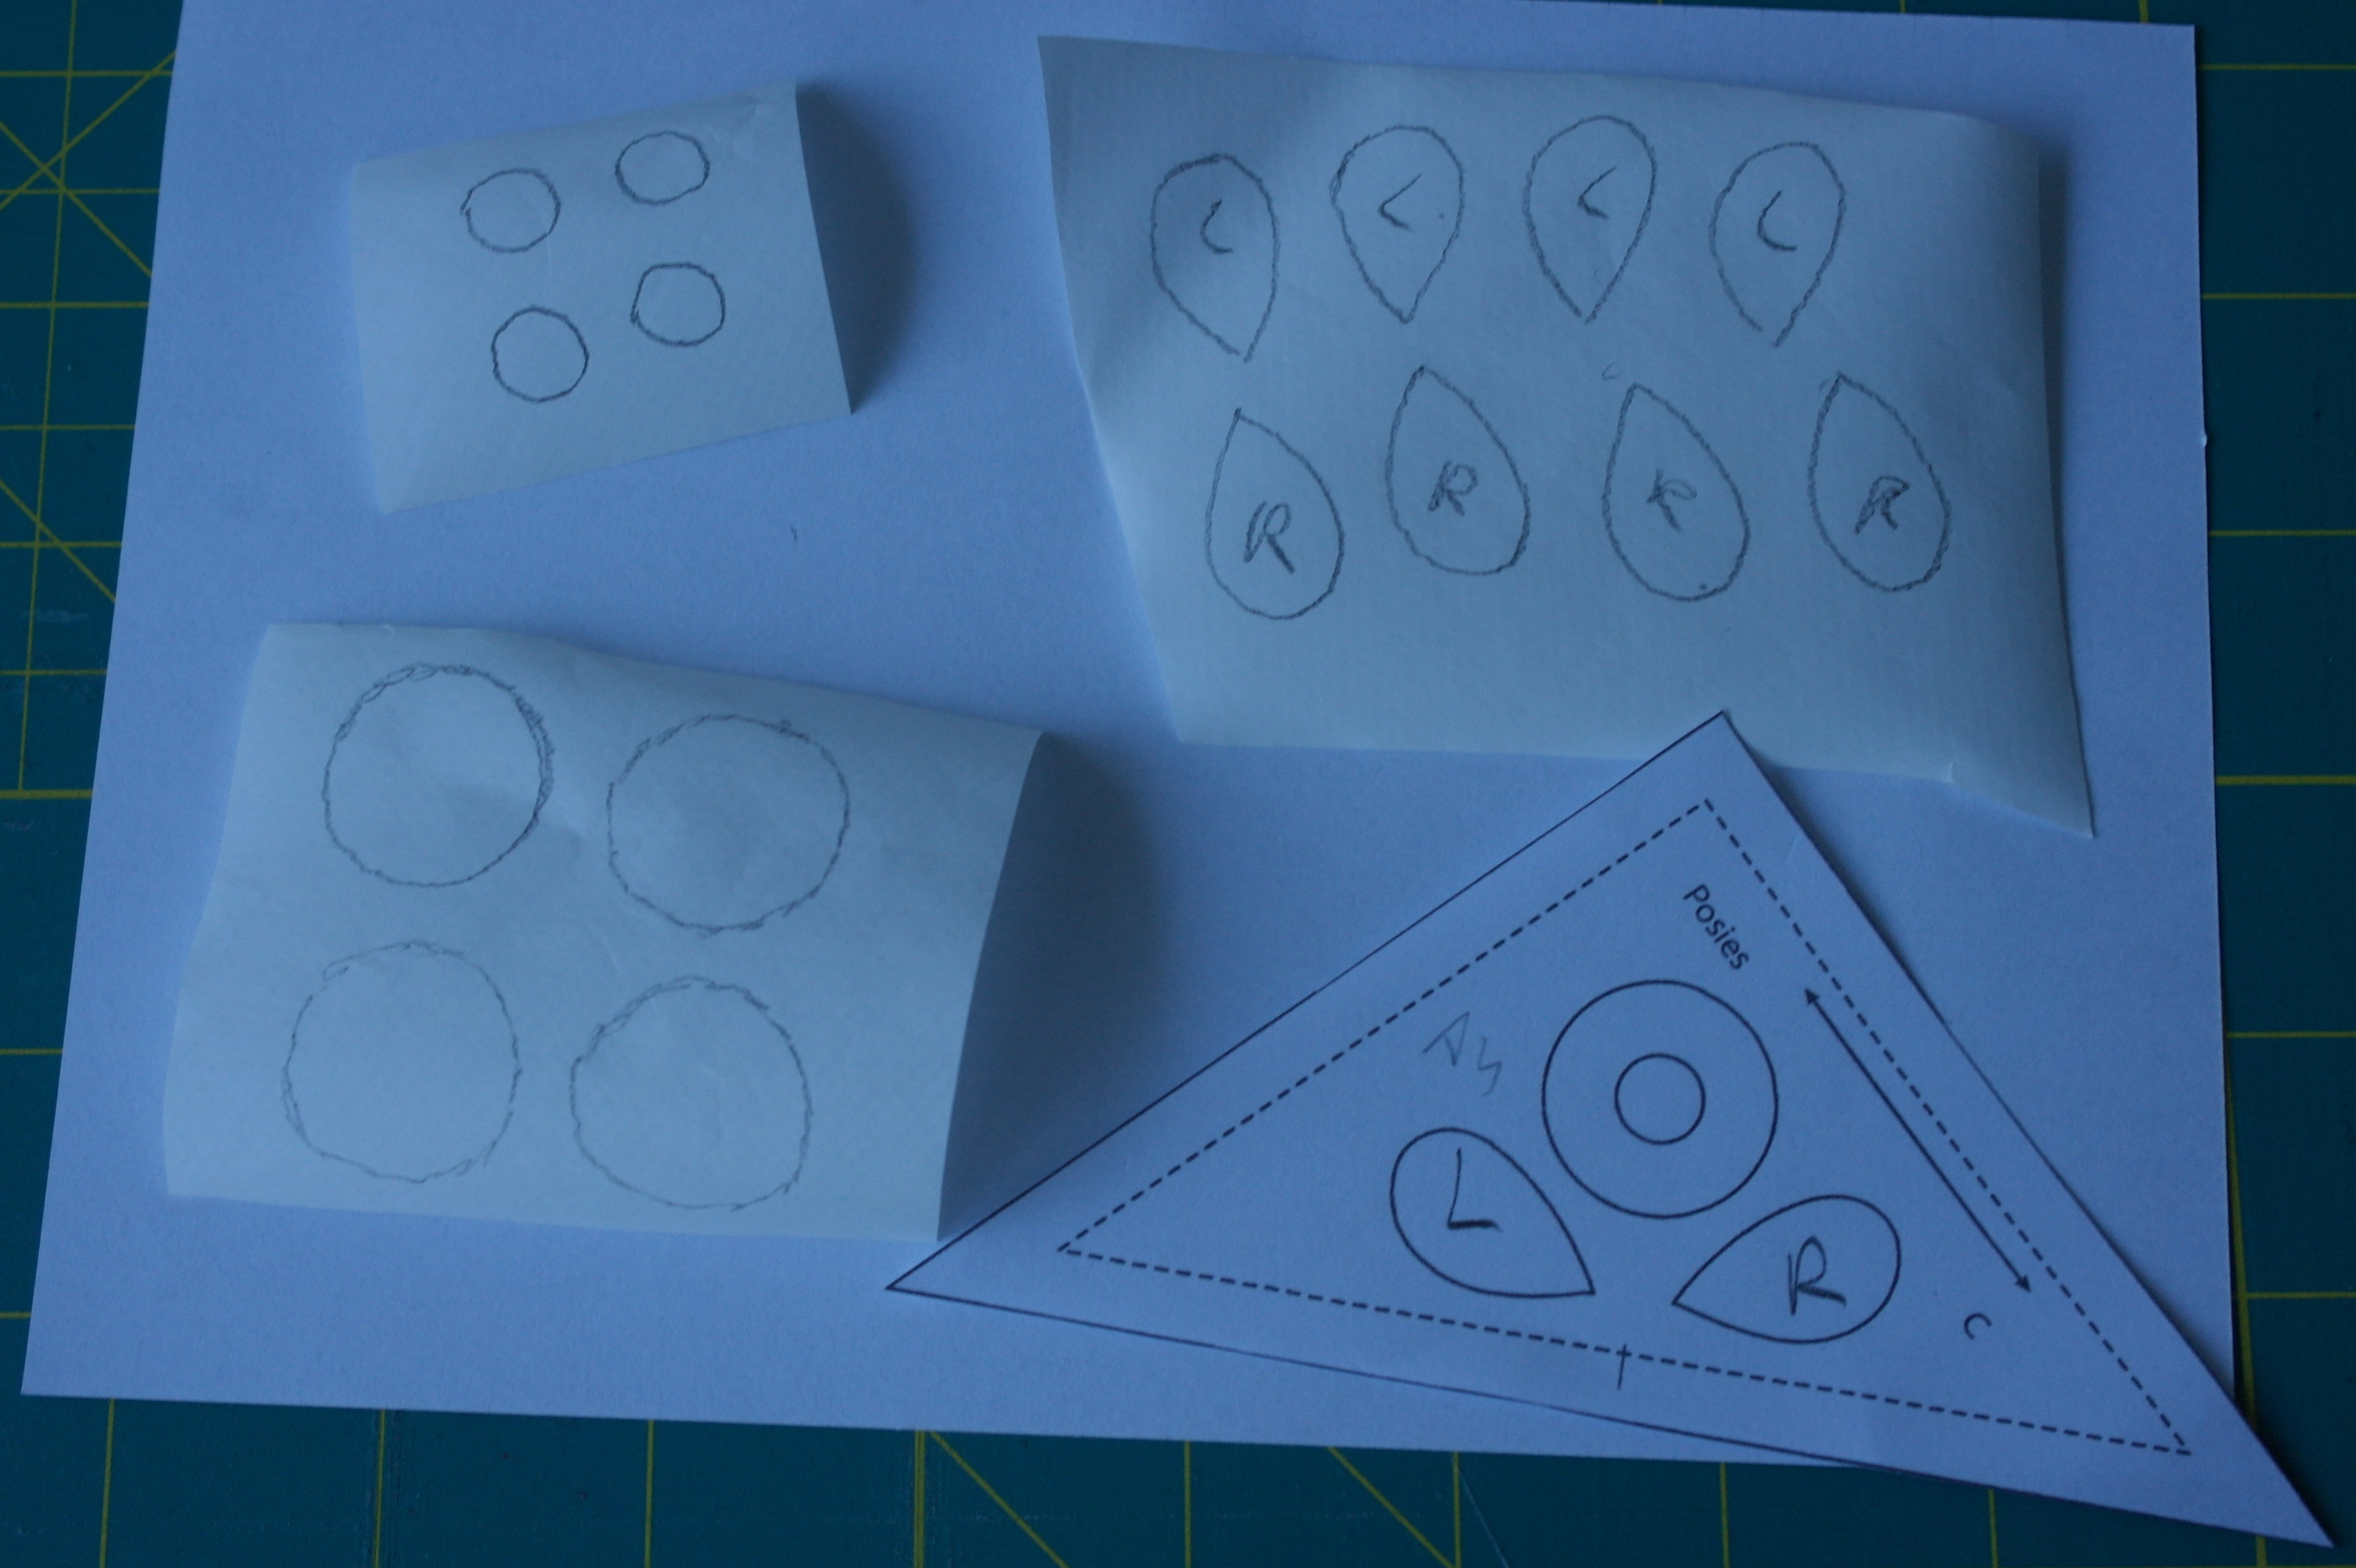
The templates.
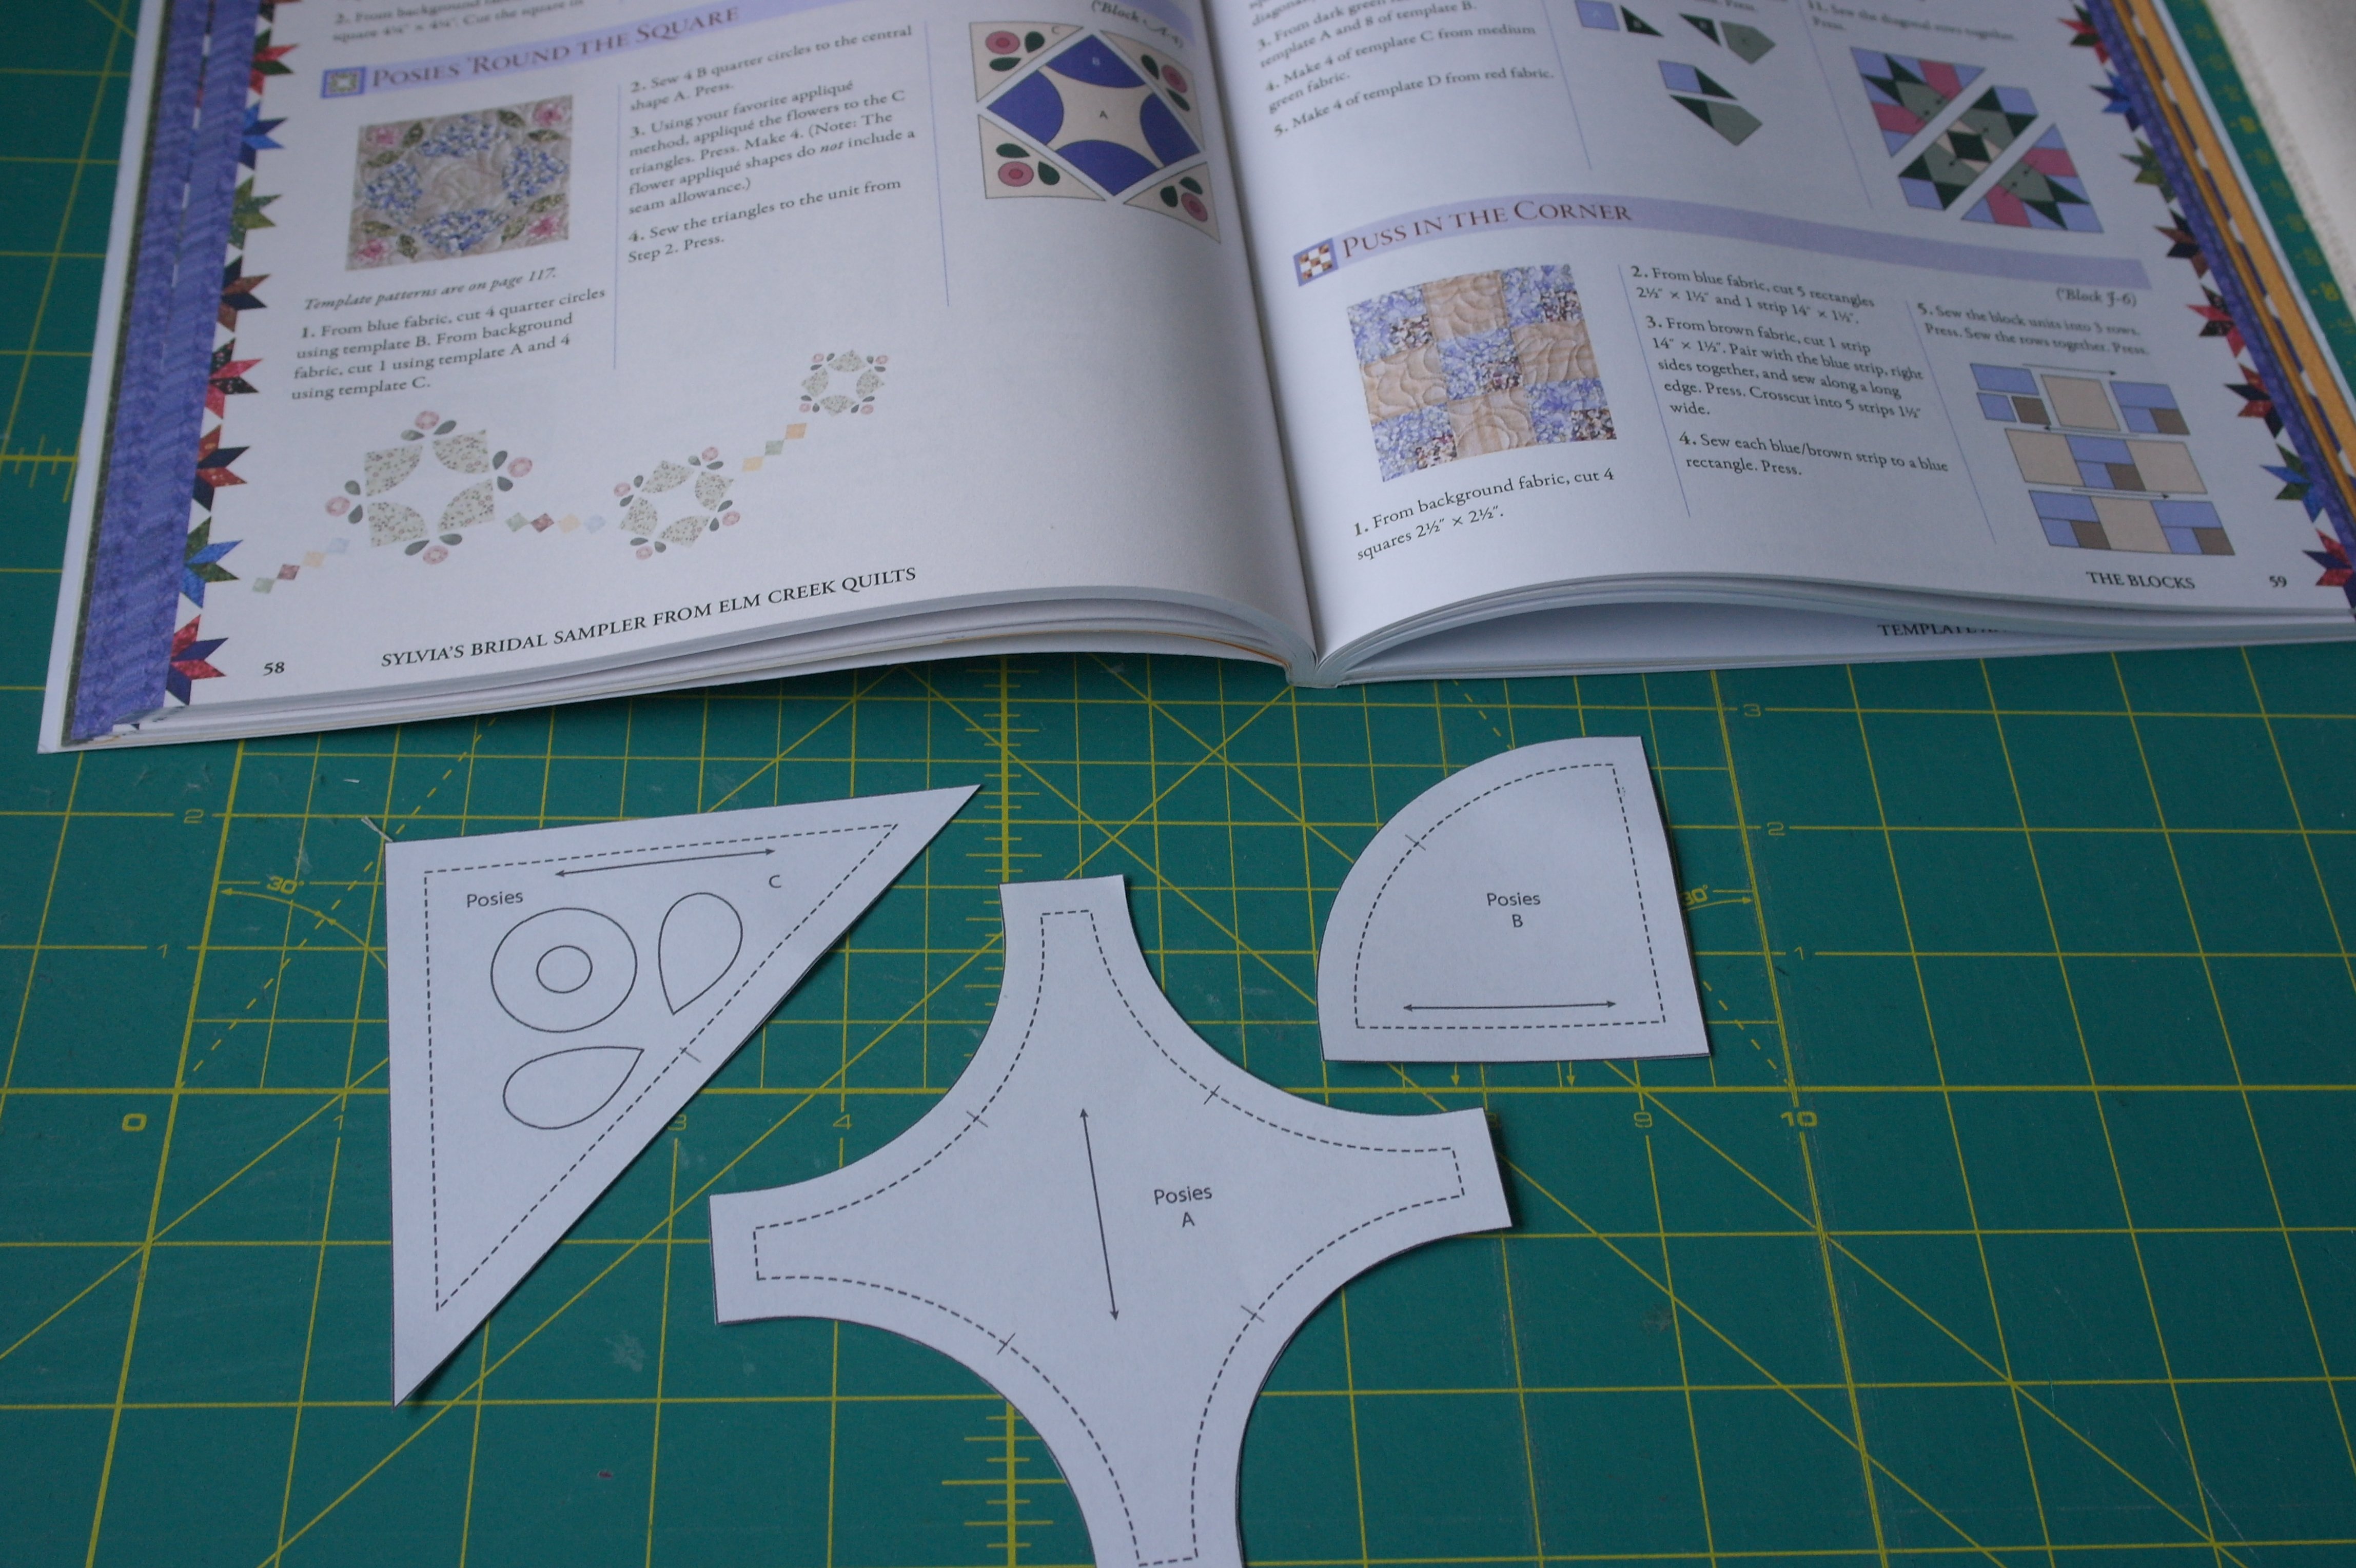
Today I want to make Block A4-‘Posies ‘Round the Square’. Directions on pg. 58, patterns on pg. 117. The templates are cut out, seam allowances included. There are a couple of markings, which are important to use
- Letters A, B and C are indicating the type of template.
- The arrows are indicating the grain of the fabric, for placement. SBS tells you how to place the templates, for best results.
- Small markings (stripe) on the curves with A and B and in the center of the diagonal side of C indicate the middle of the curves/sides. Draw them ON the seam allowance of your fabrics, with pencil or blue water soluble pen.
- There are applique shapes on template C. They will be drawn on the paper side of Heat’n Bond Lite if you do it the easy way. I am not using the needleturn technique, but ironed appliqué without seam allowances.

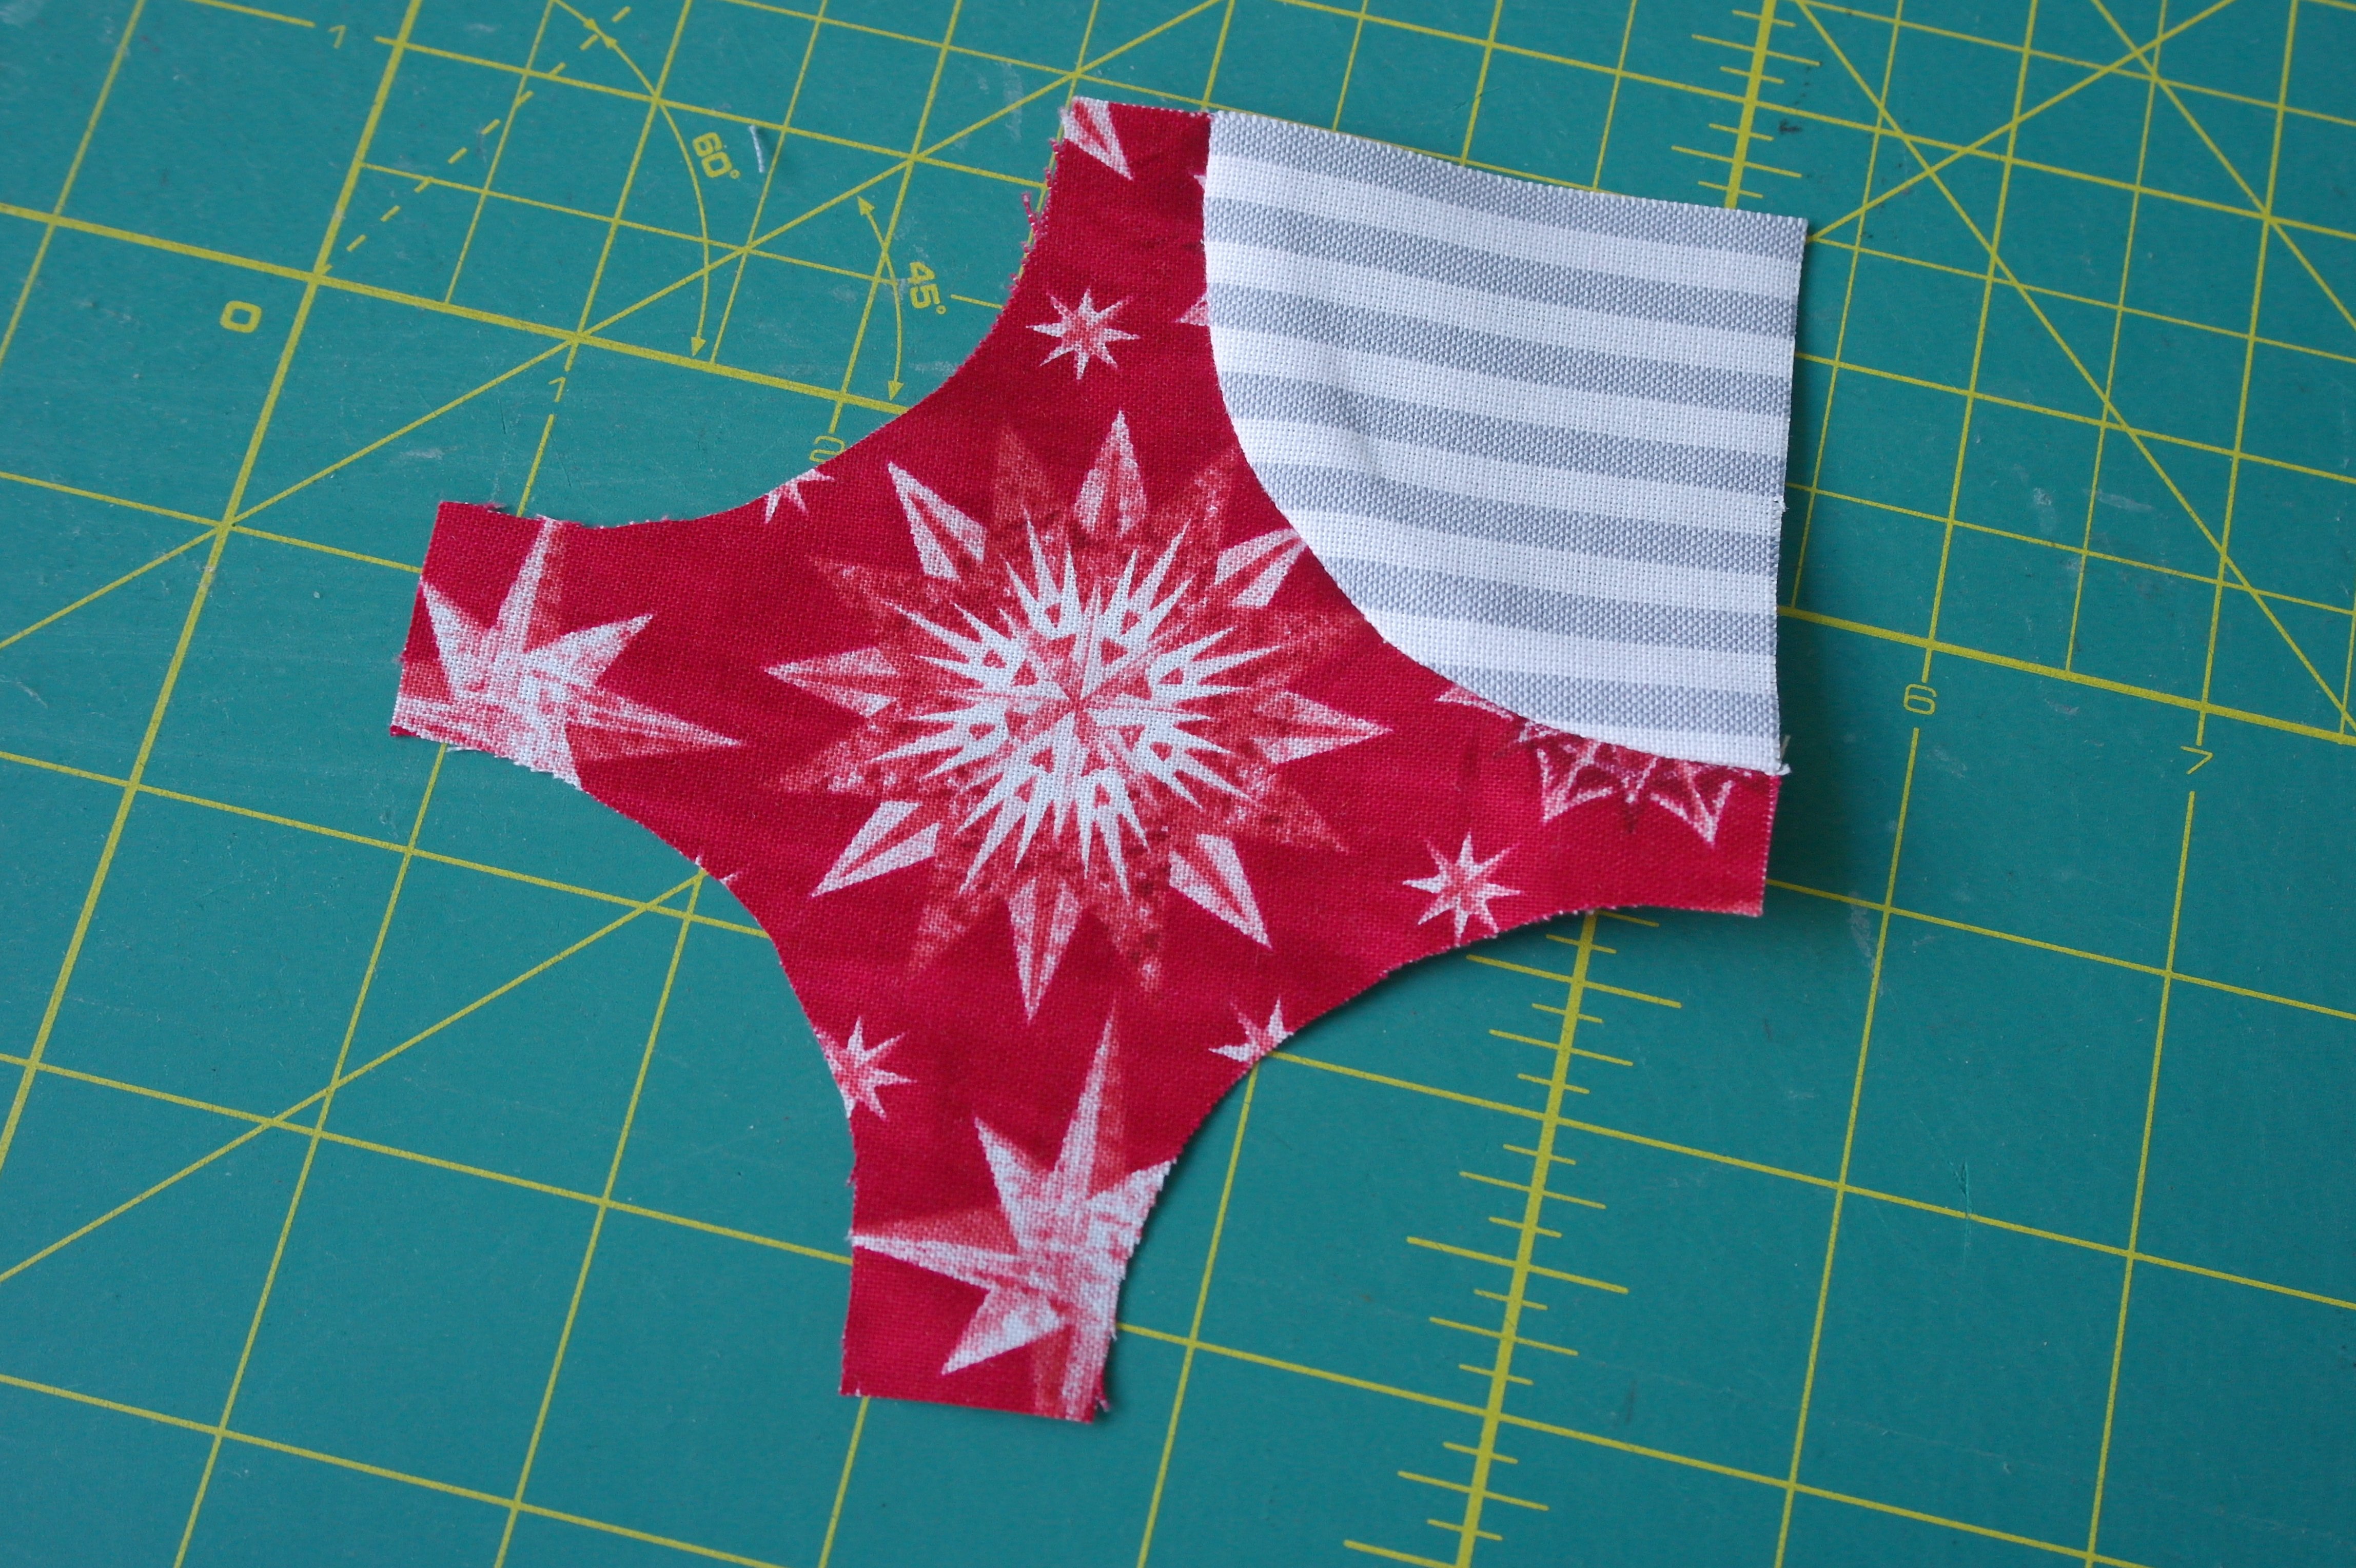
Template A is placed on the back of the fabric, drawn with pencil and cut out. I have centered a star shape, for special effect.
Template B must be cut out 4x. Because I have used stripes, this can be done in different ways:
- 2 x template B to one side, 2 x template B in the opposite direction, to make sure the stripes are all aligned, once they are sewn.
- all 4 templates B to one side, giving a special look. The stripes will not be aligned, but opposite in two directions, thus creating motion.
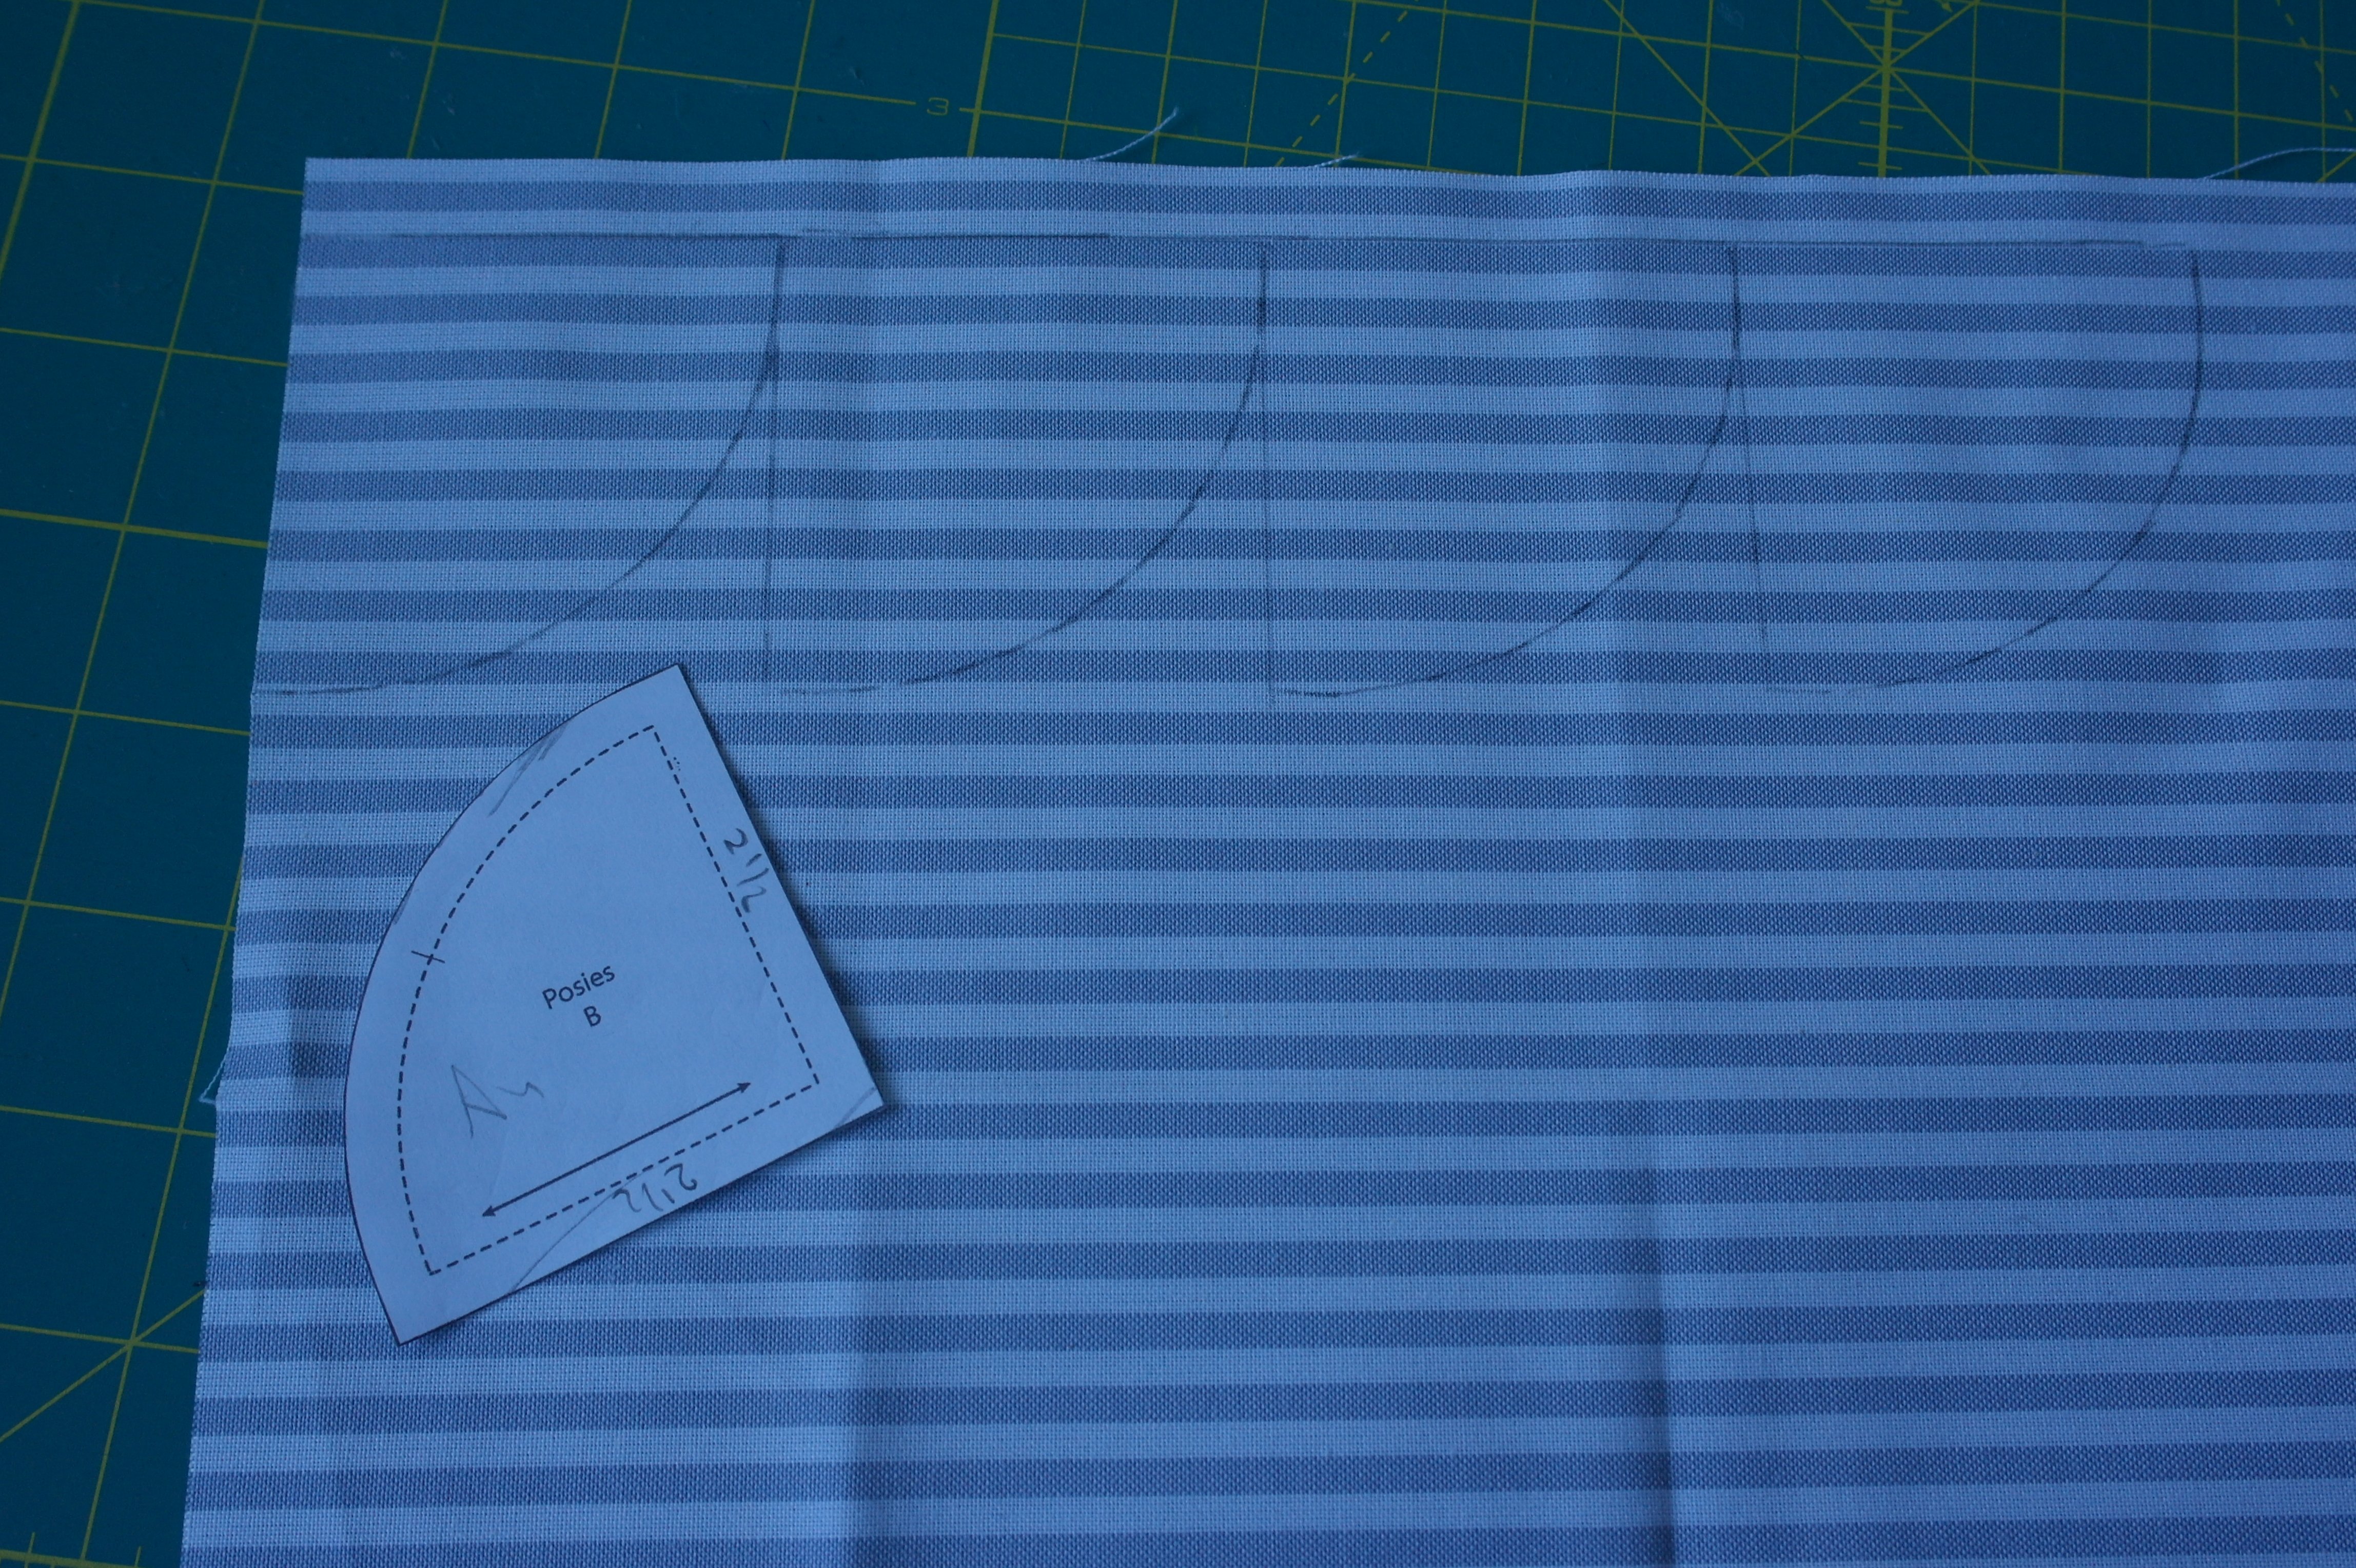
The second option was my choice, because I love to change the appearance of a block, comparing to the original ones in the SBS quilt.
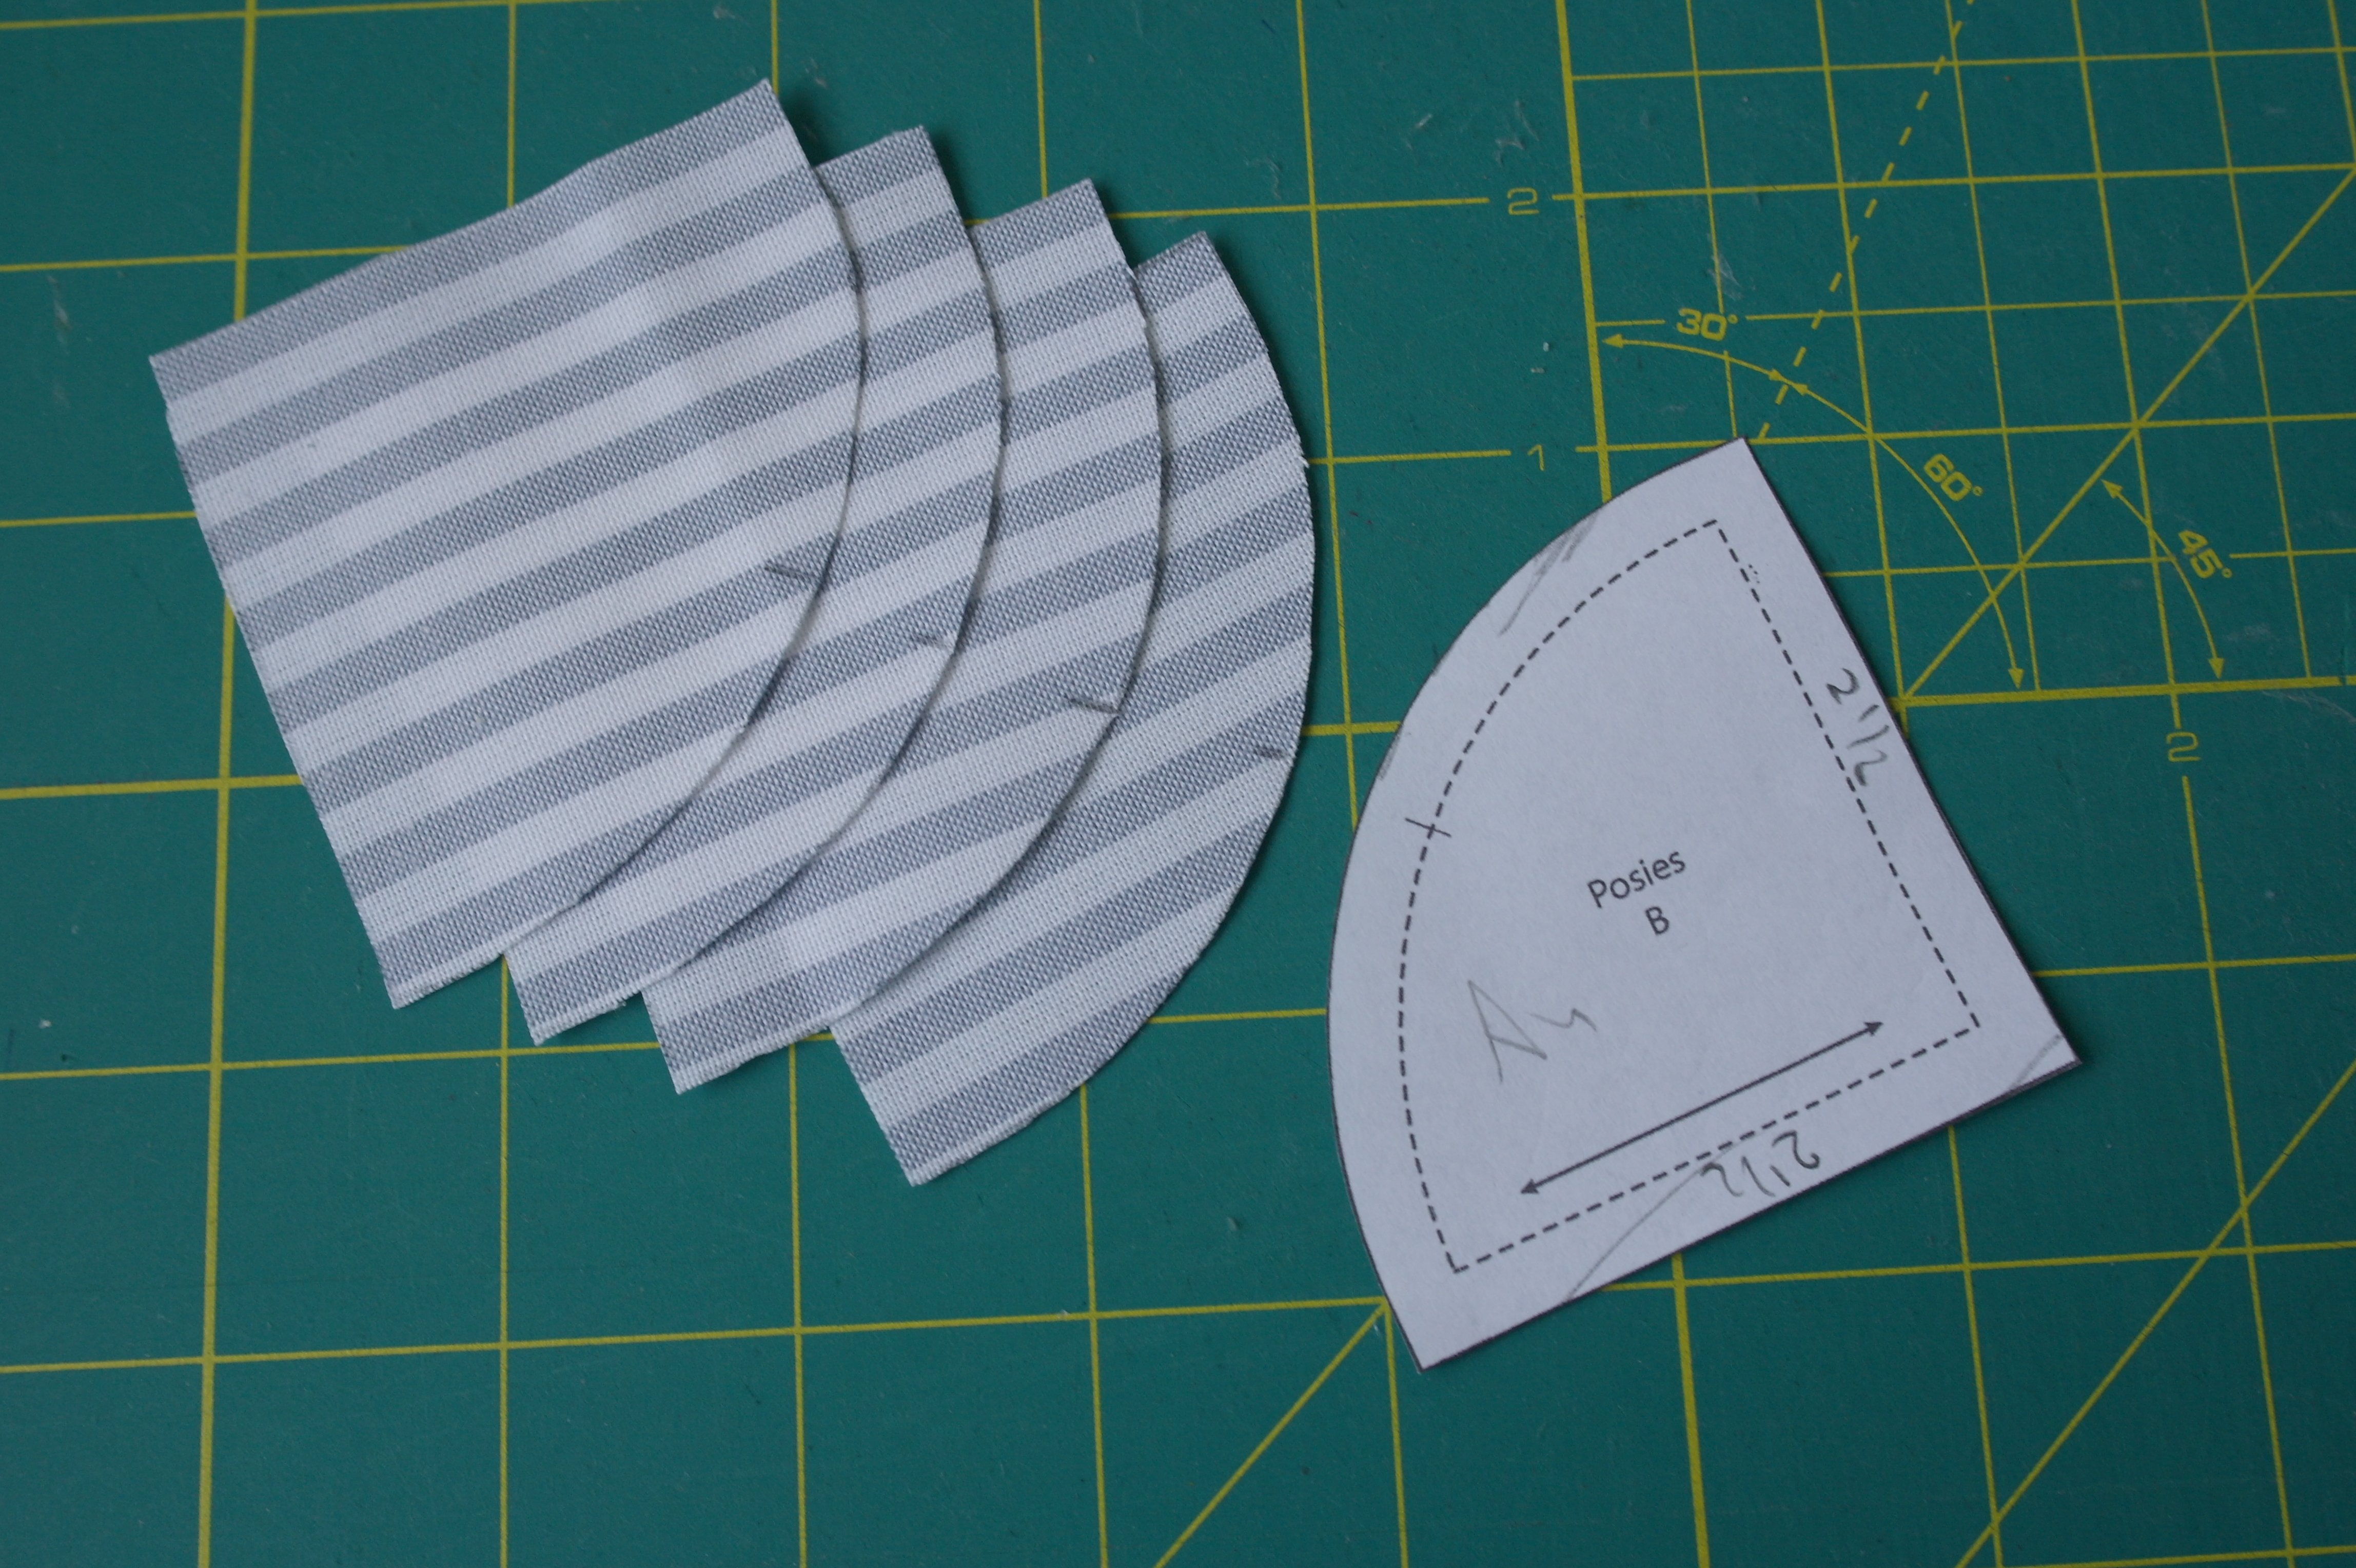
The center markings are placed on the curved sides of B.
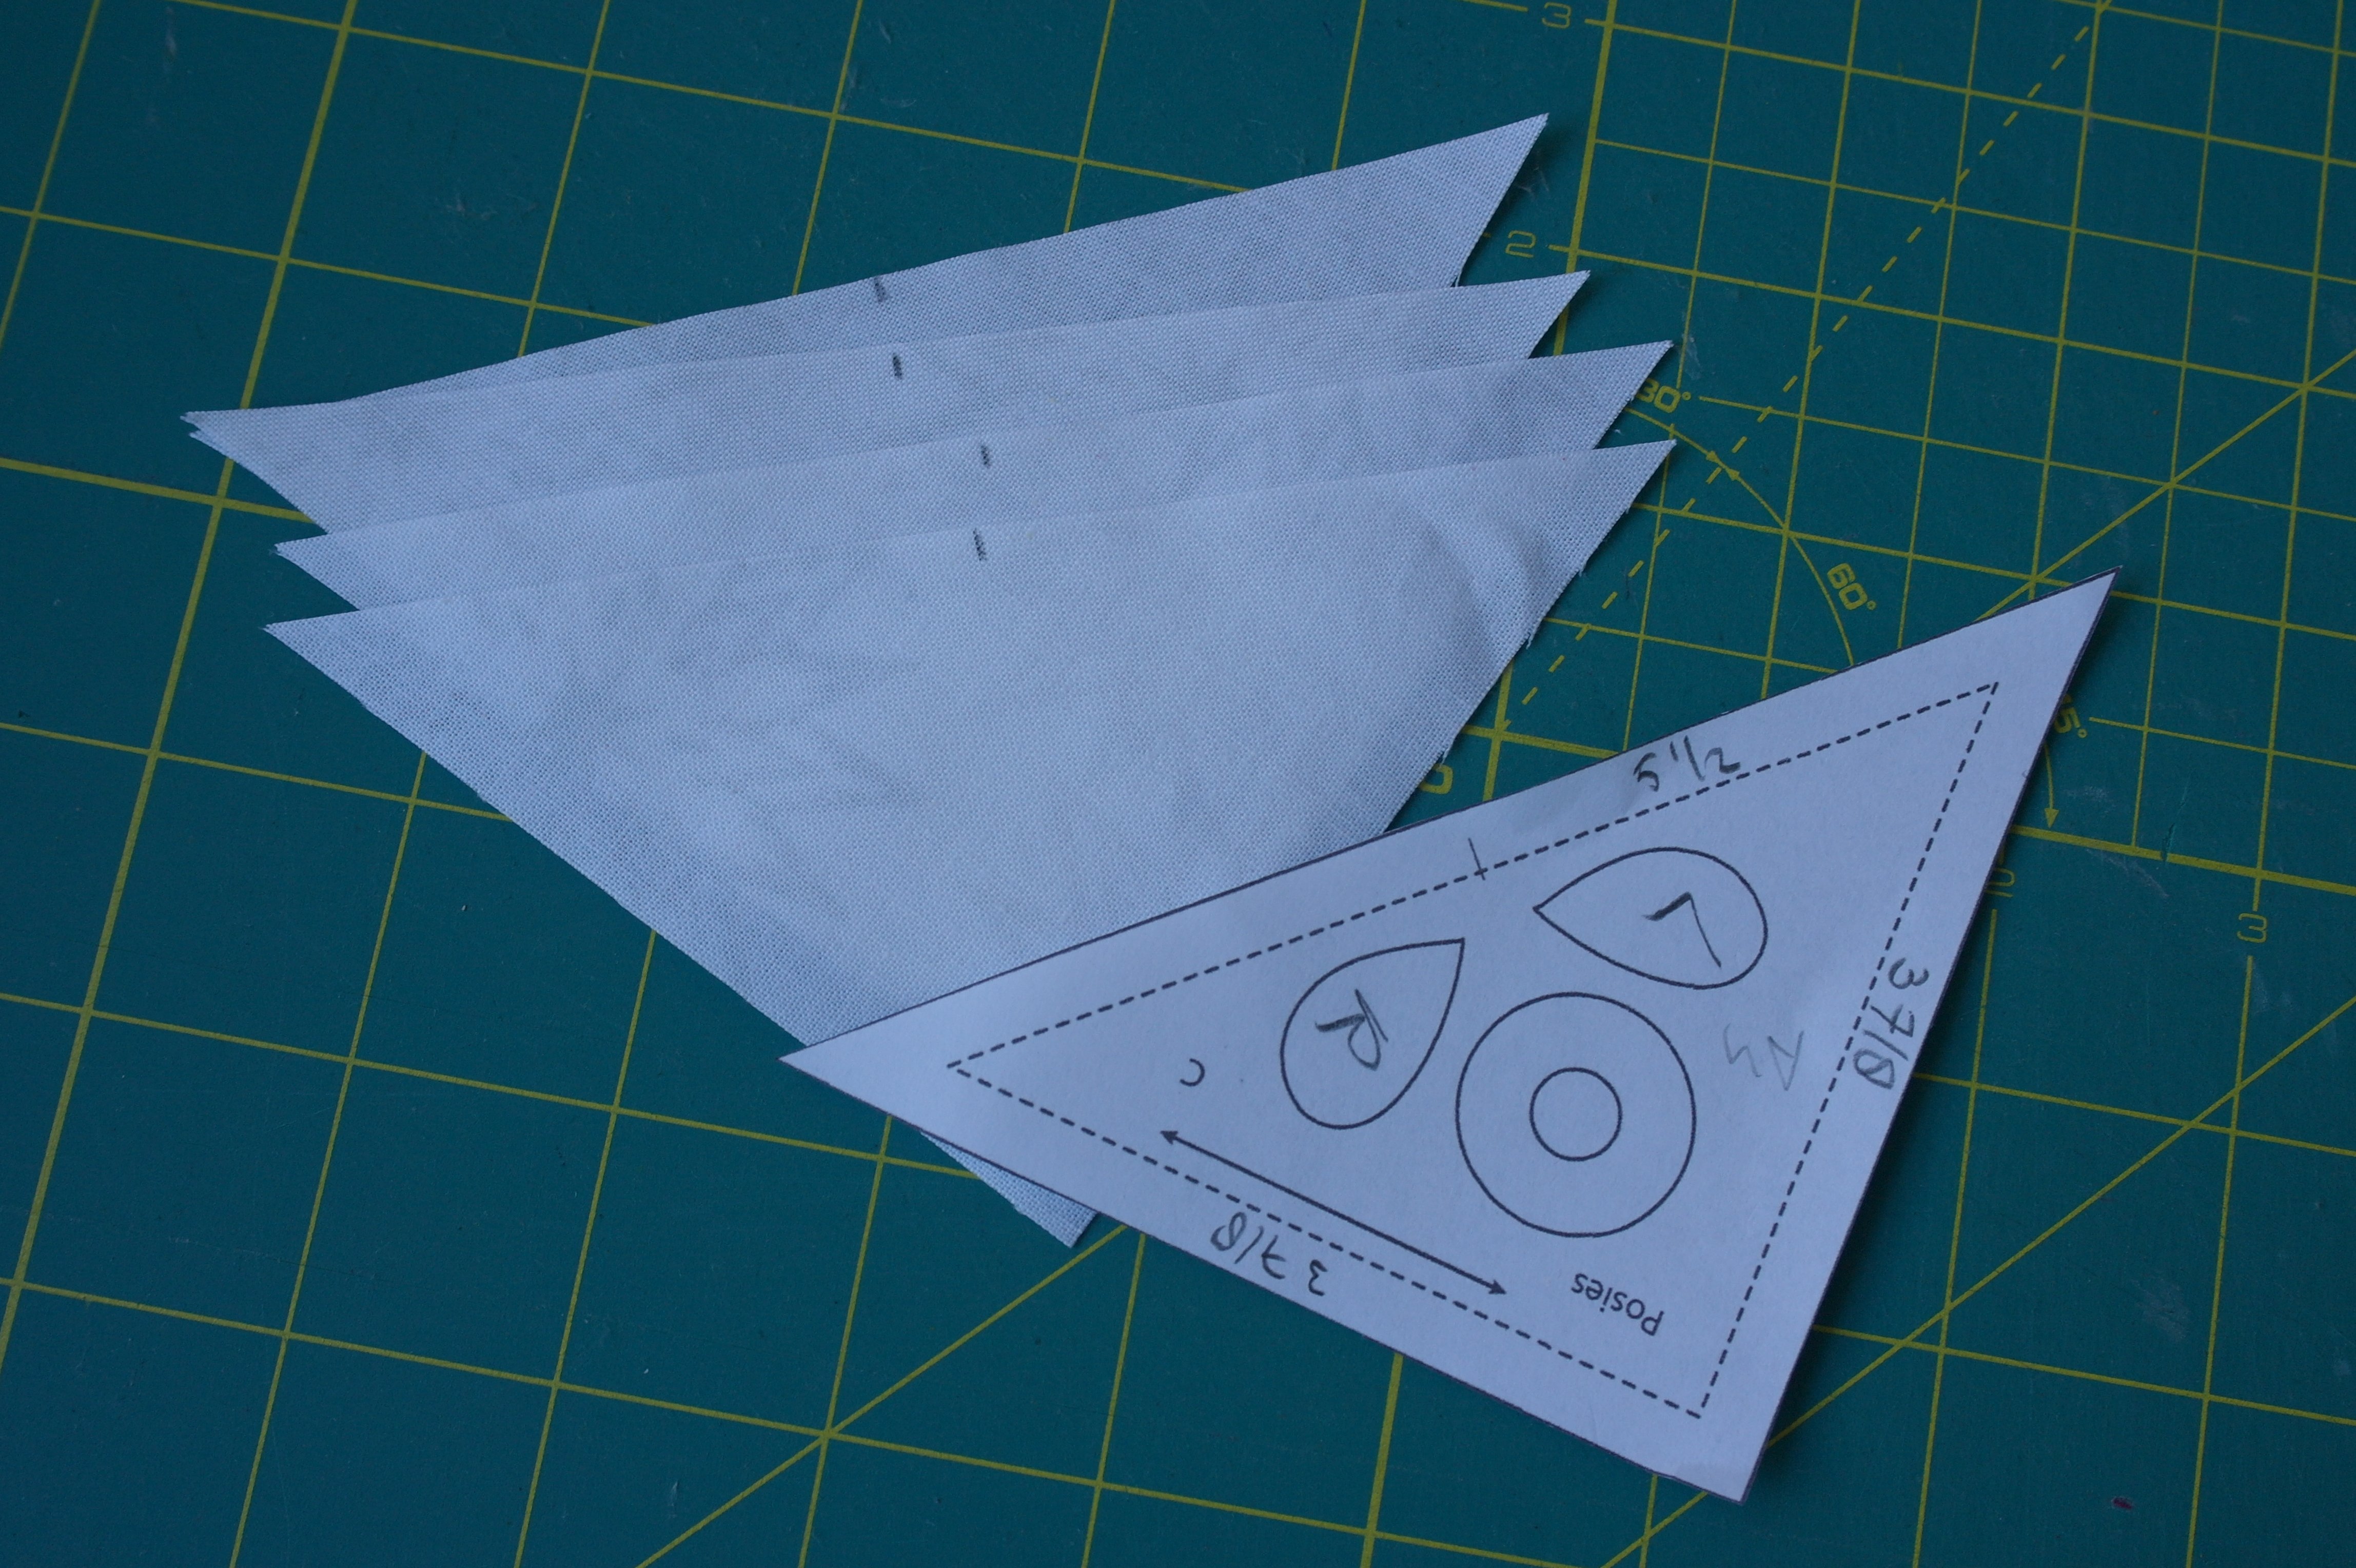
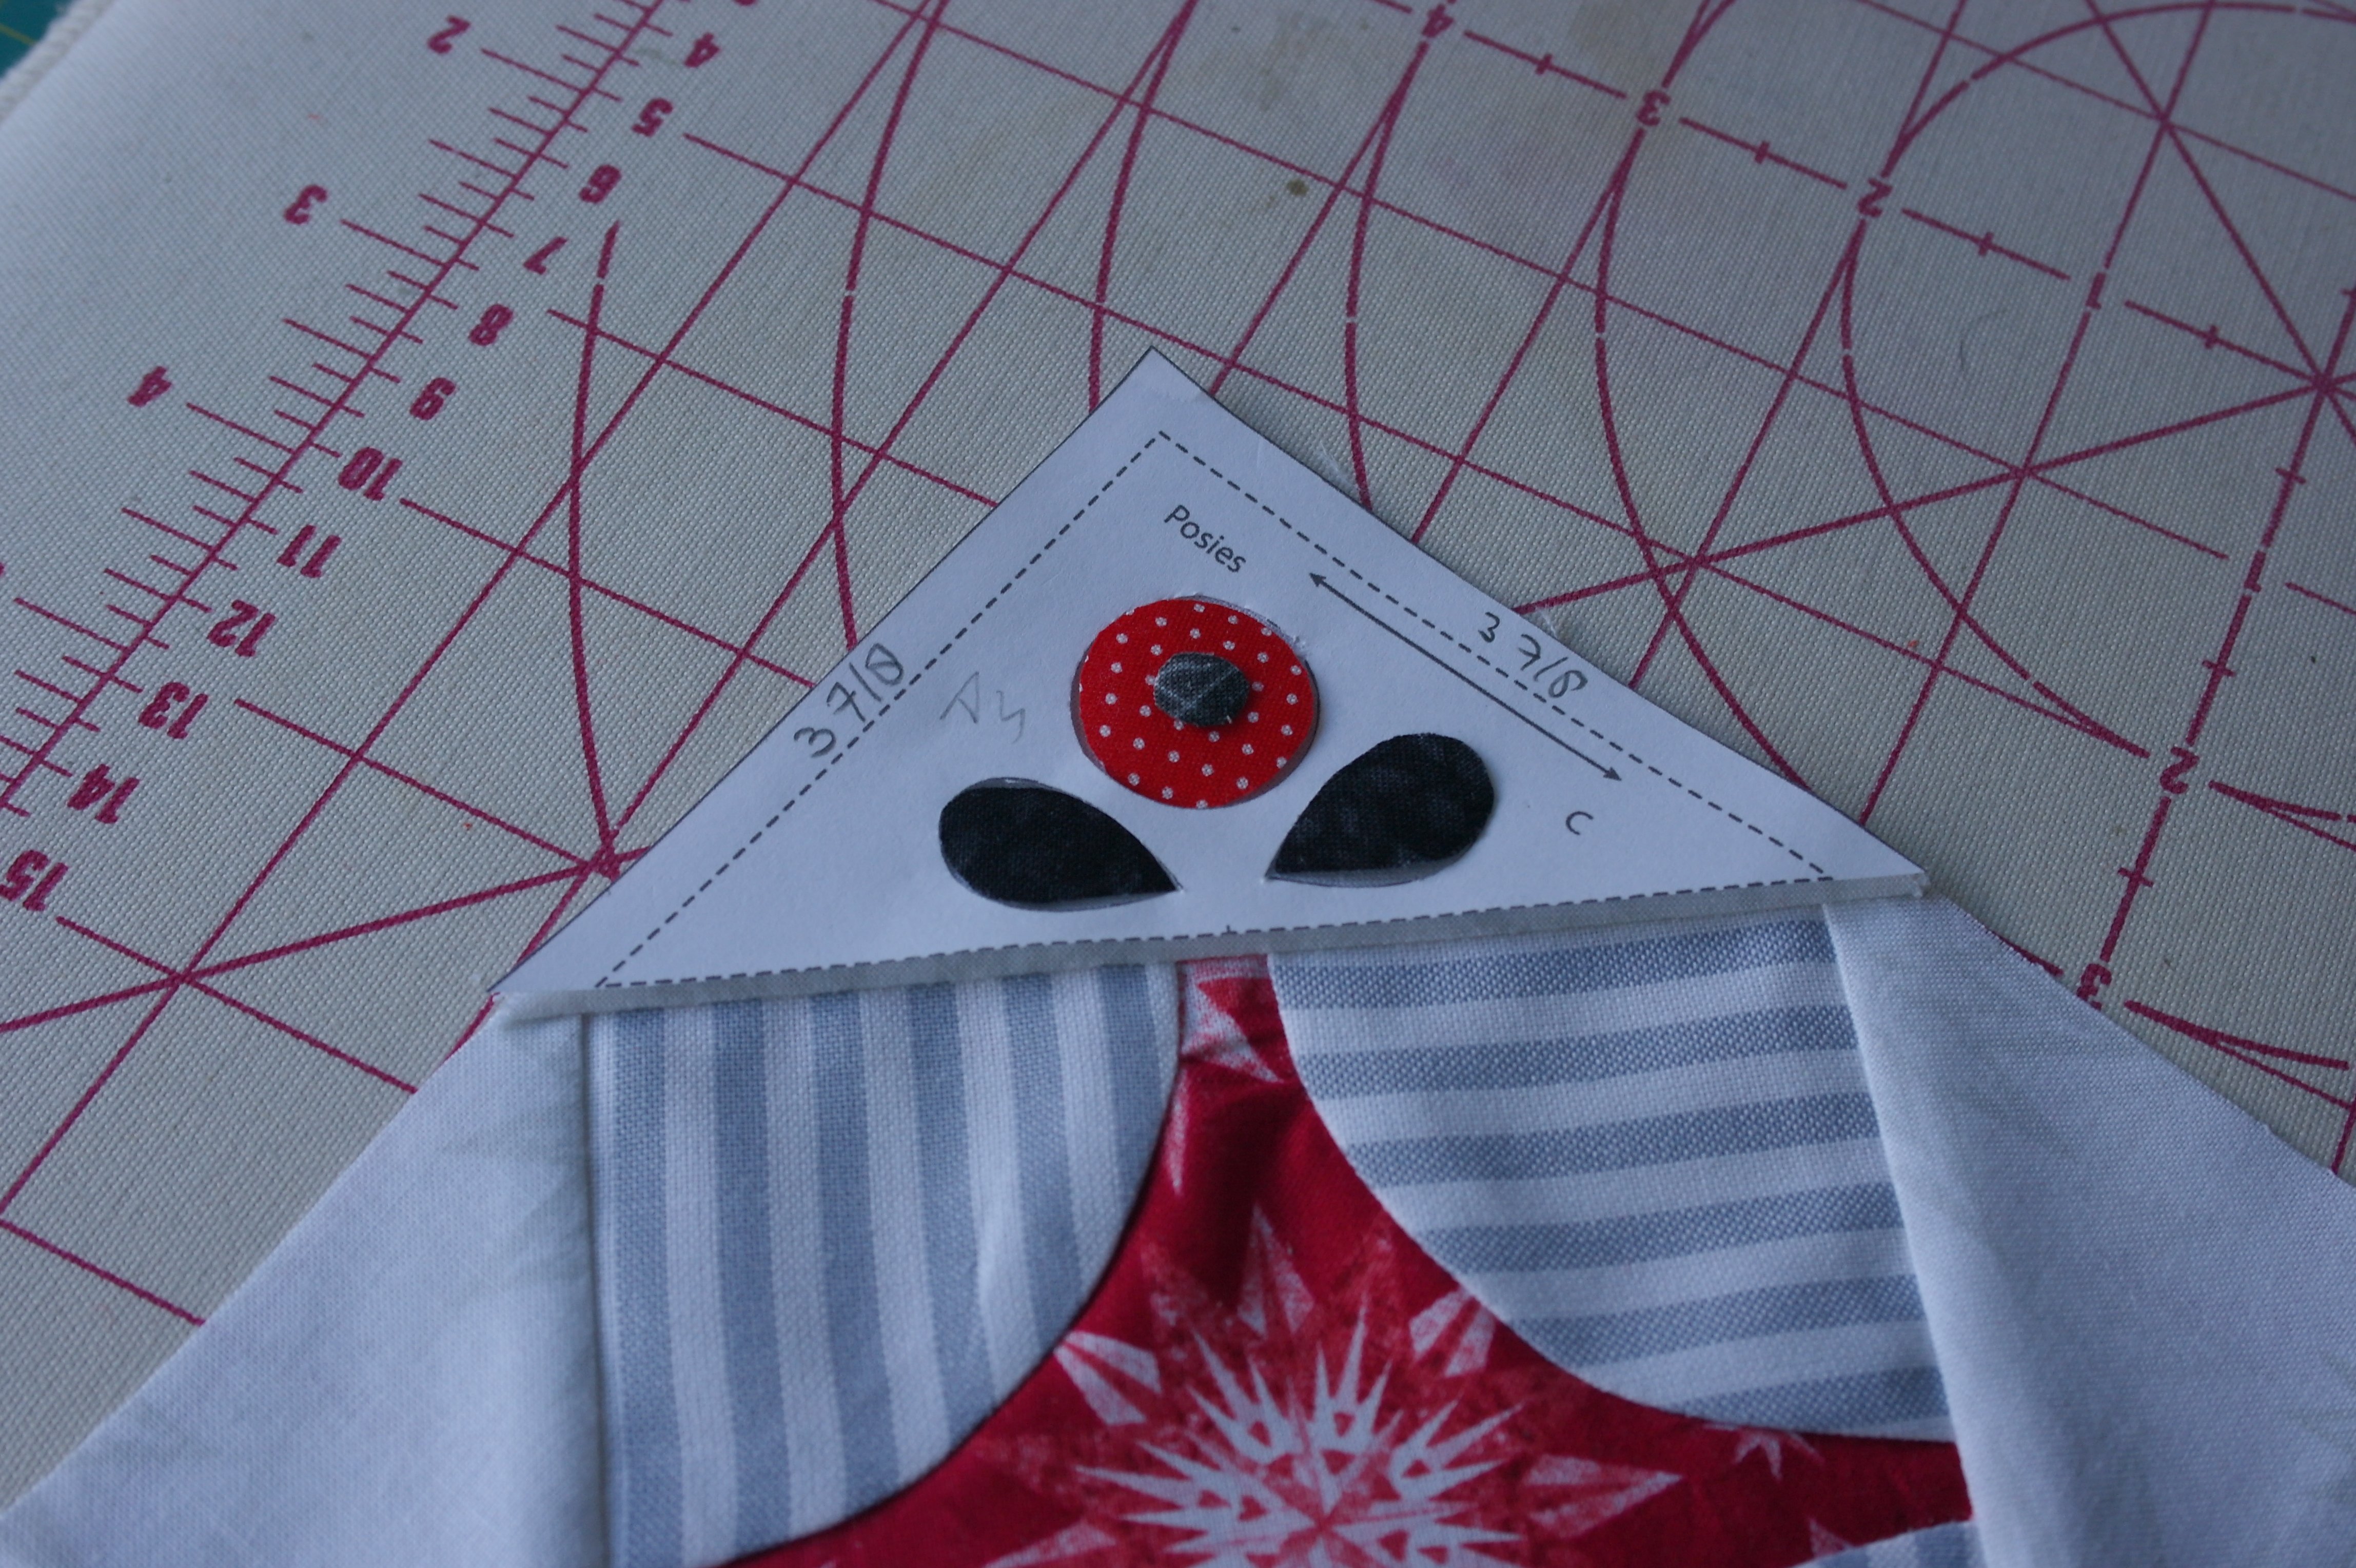
Template C is a triangle, for the 4 corners of the block, so I cut 4 of them, marking them in the center on the diagonal side.
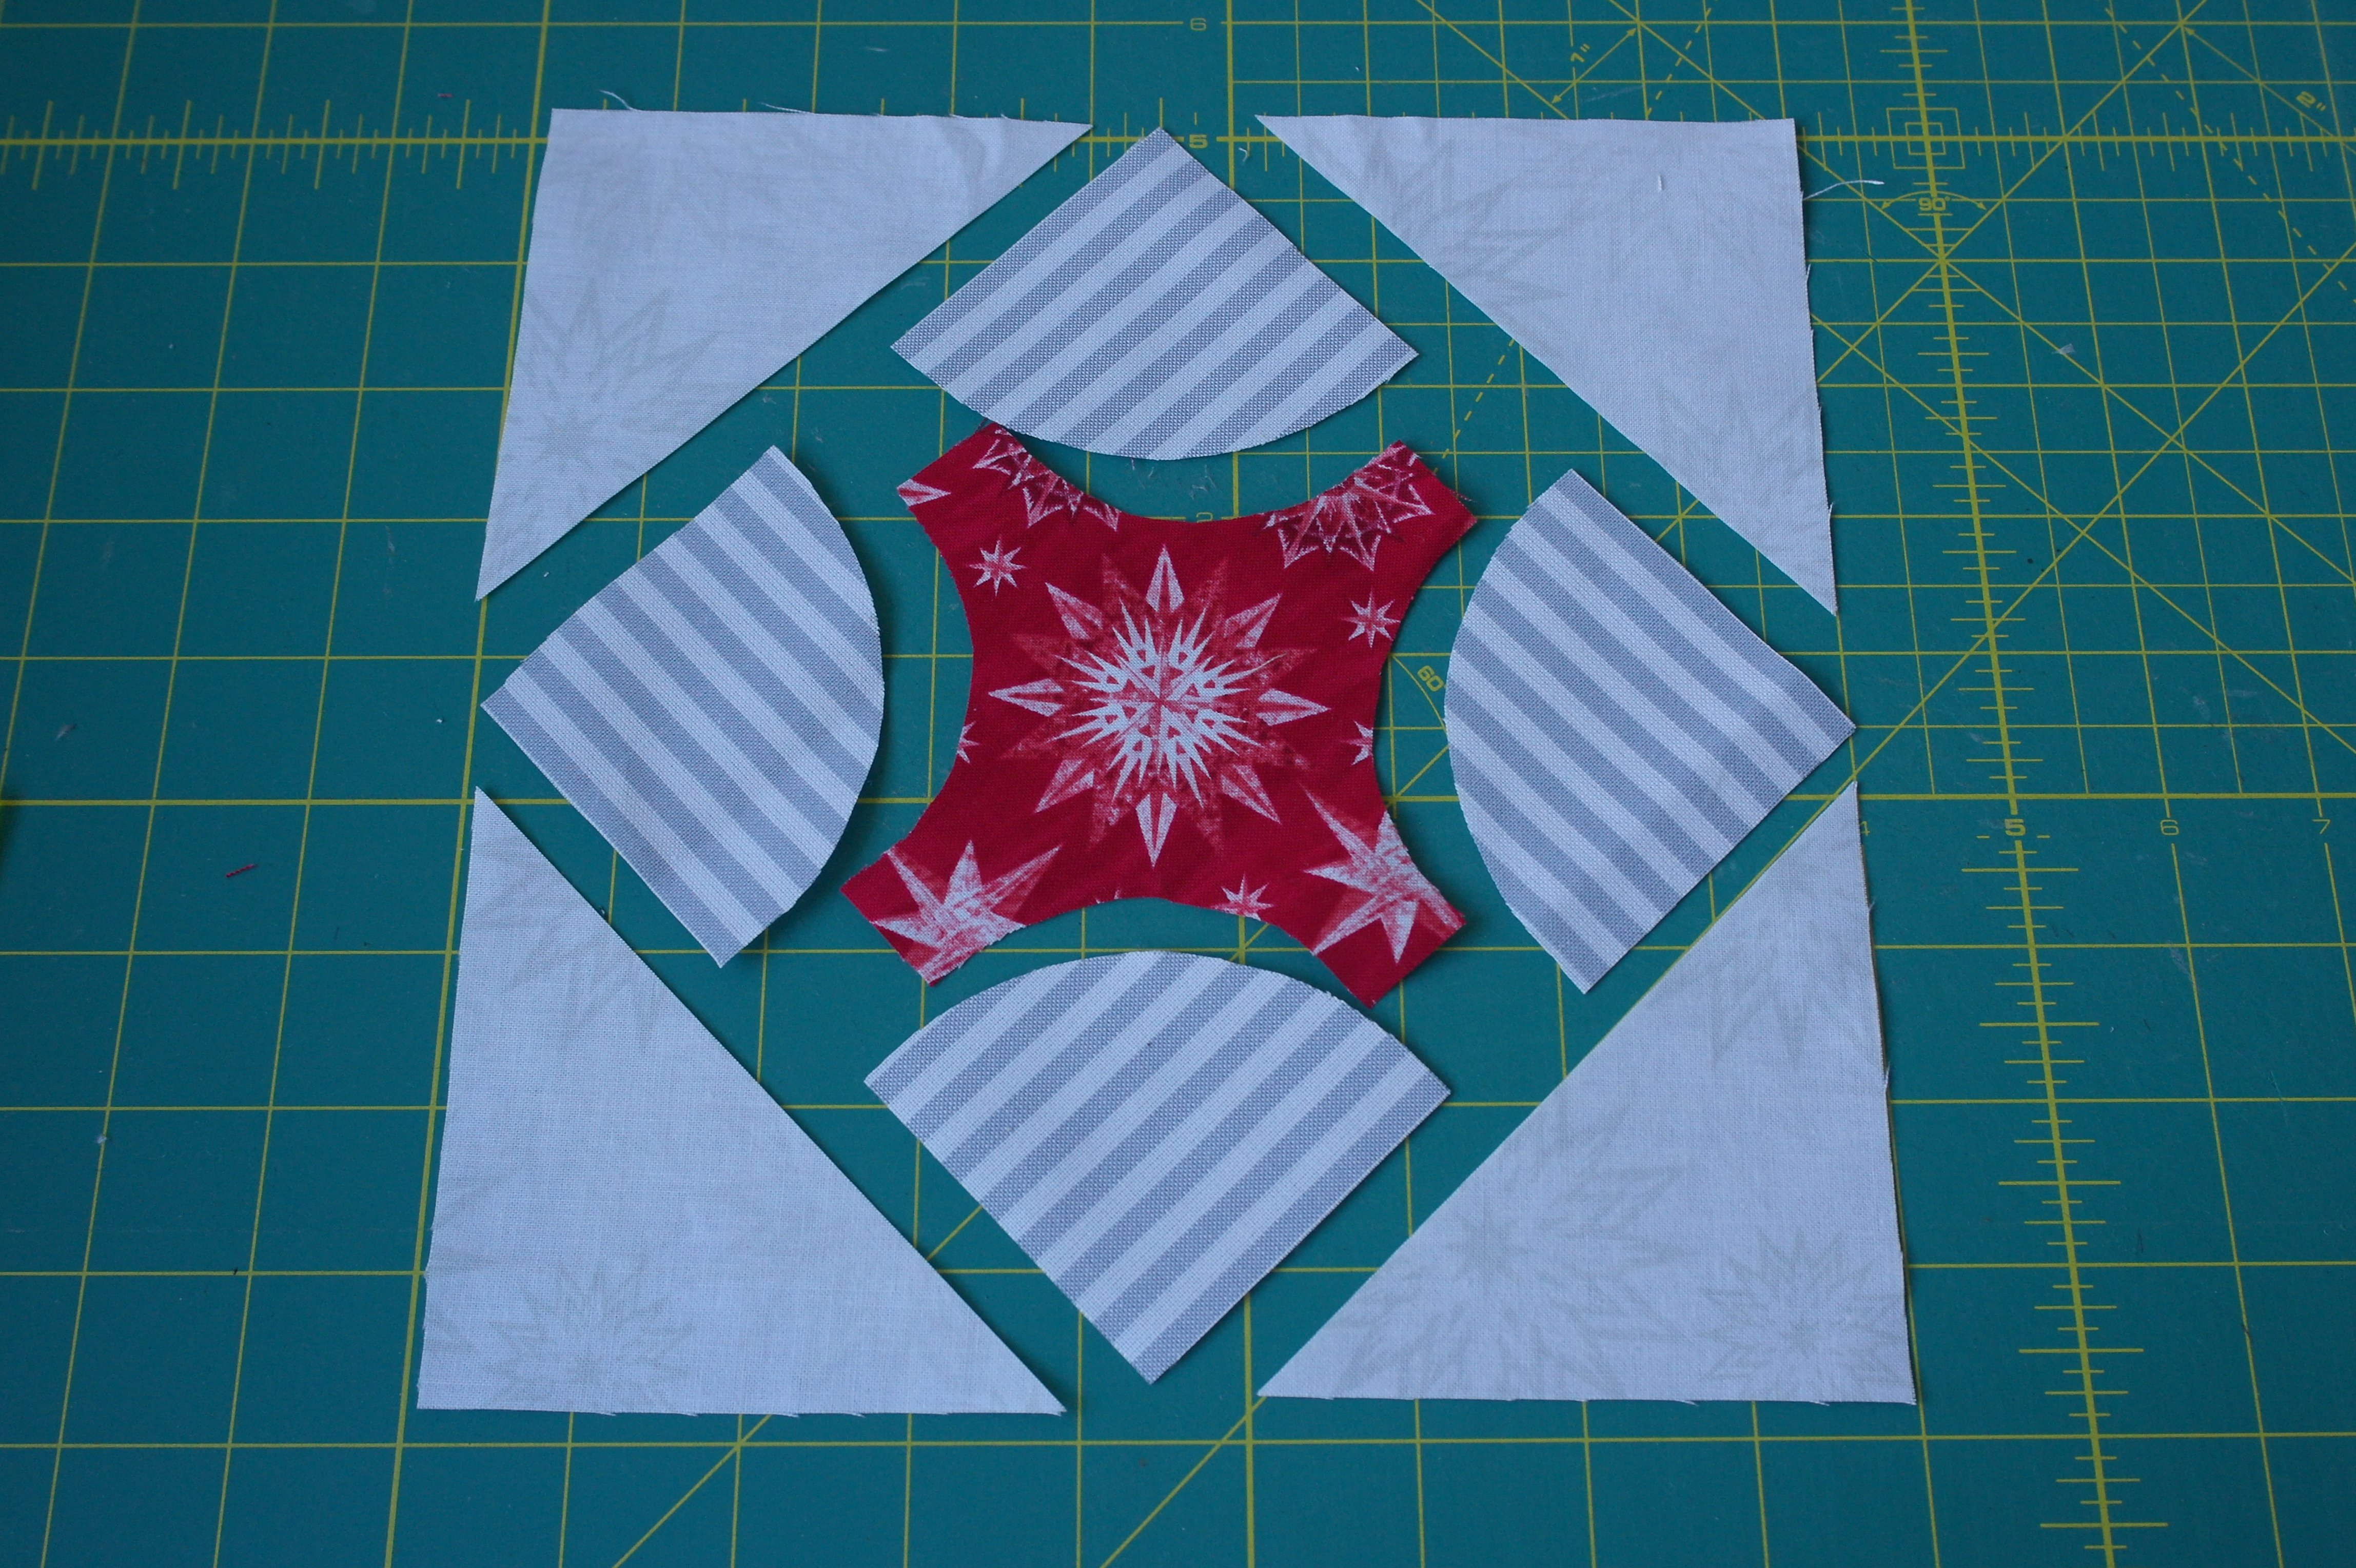
All fabrics are cut for block A4. I have placed them in sewing order. You can already see how different the block will be, due to the placement of the stripes.
Sewing curves.
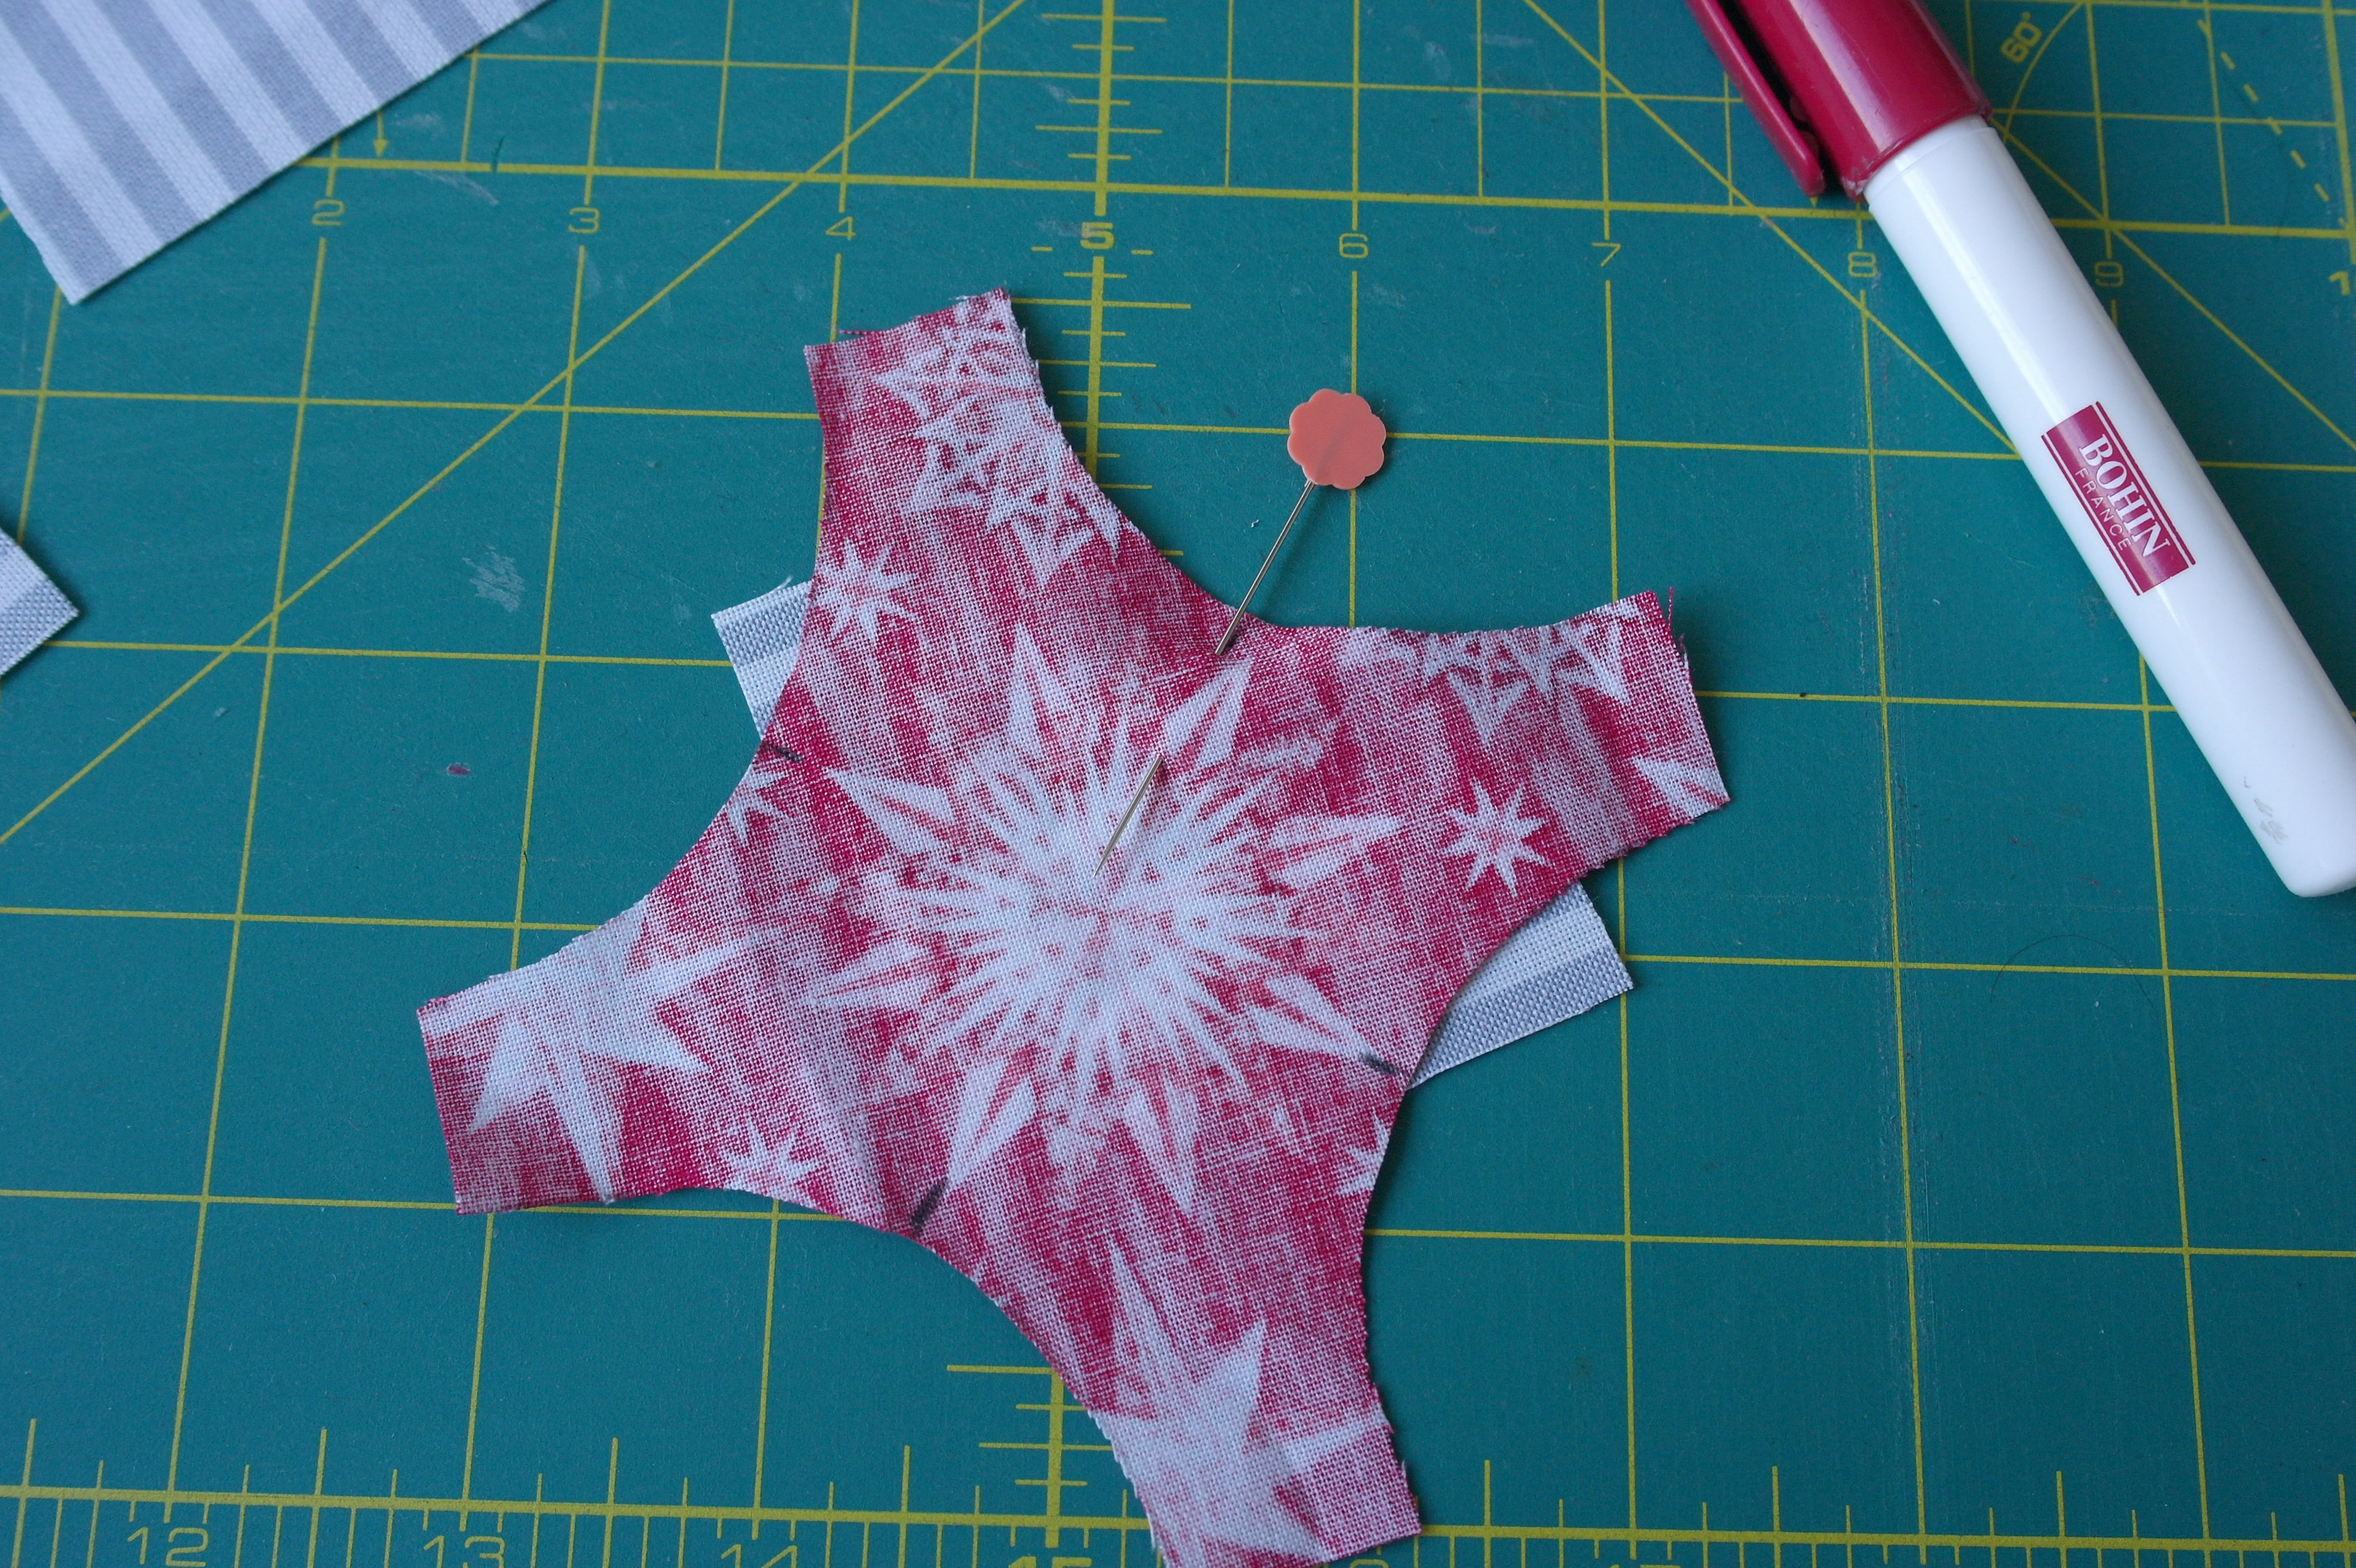
Curved piecing: 4 x B to four sides of A = concave and convex. I always place concave on top and convex on the bottom. In my experience, concave can be pulled straight, which makes it easier to match a convex curve when it is placed on top of that. I have pinned the center, markings matched.

Using Bohin Glue Pen ON the seam allowance, I have placed a second pin on the right side, weaving it (twice through and through) to secure it.
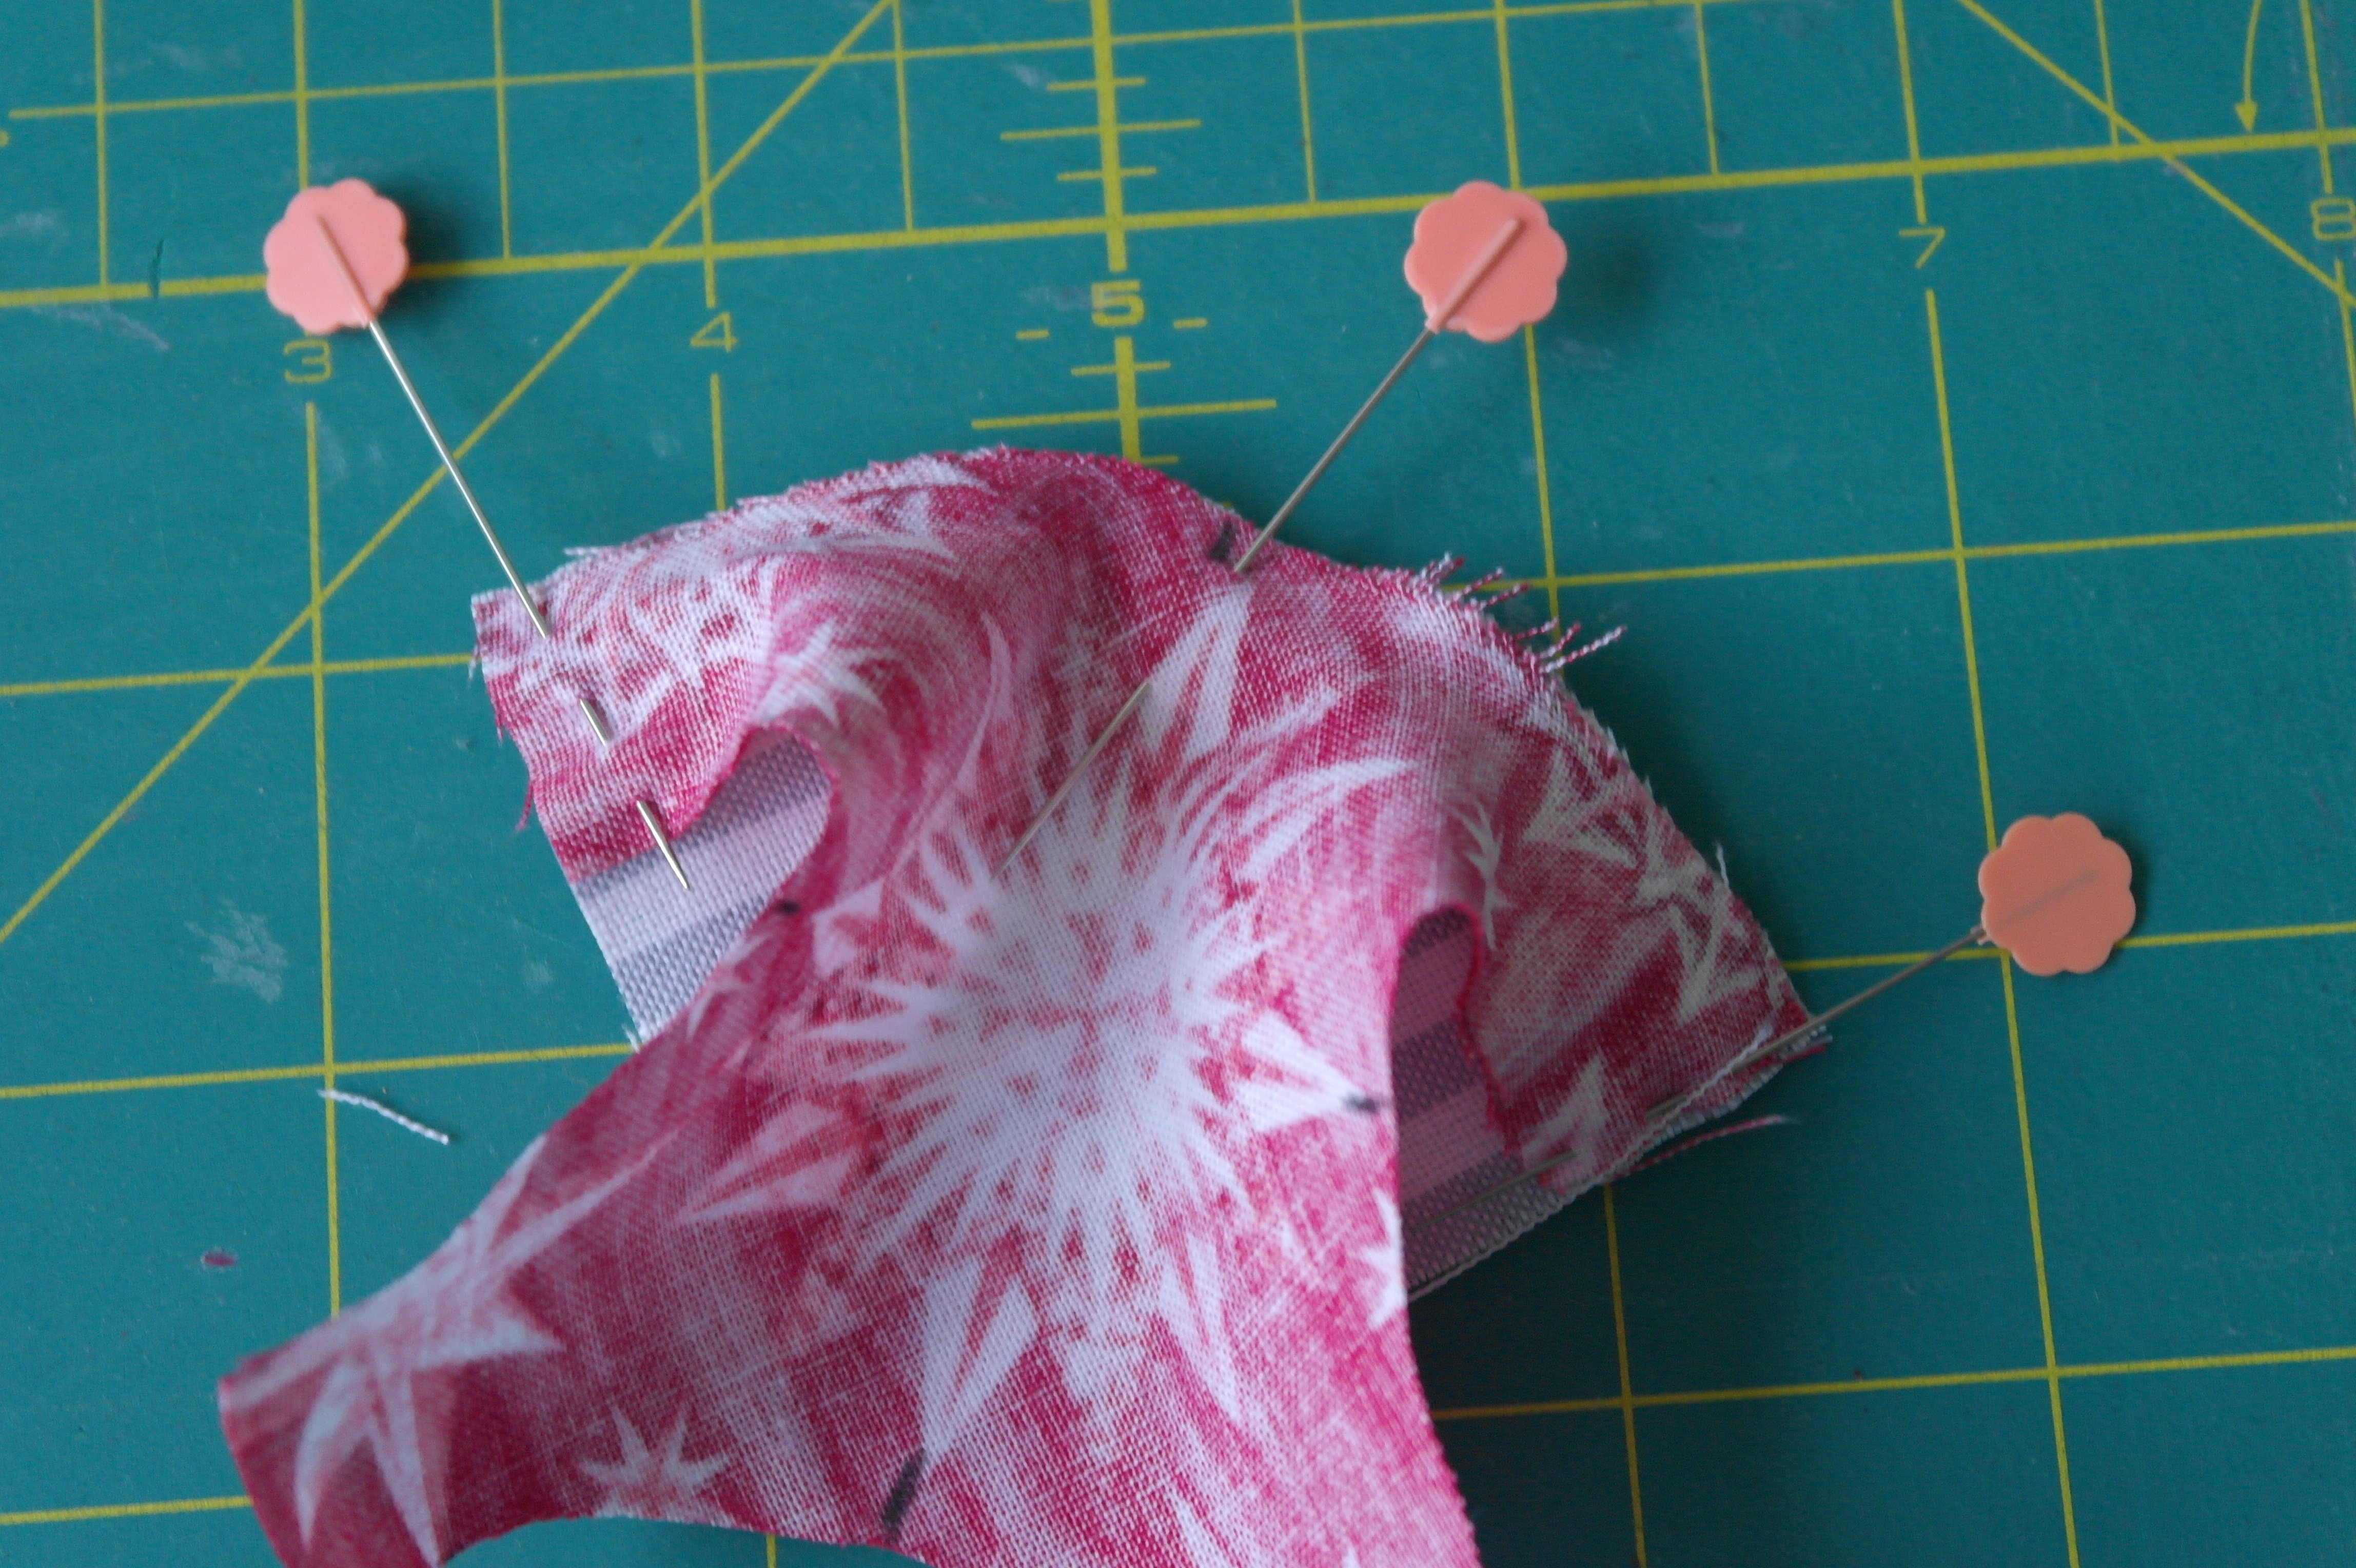
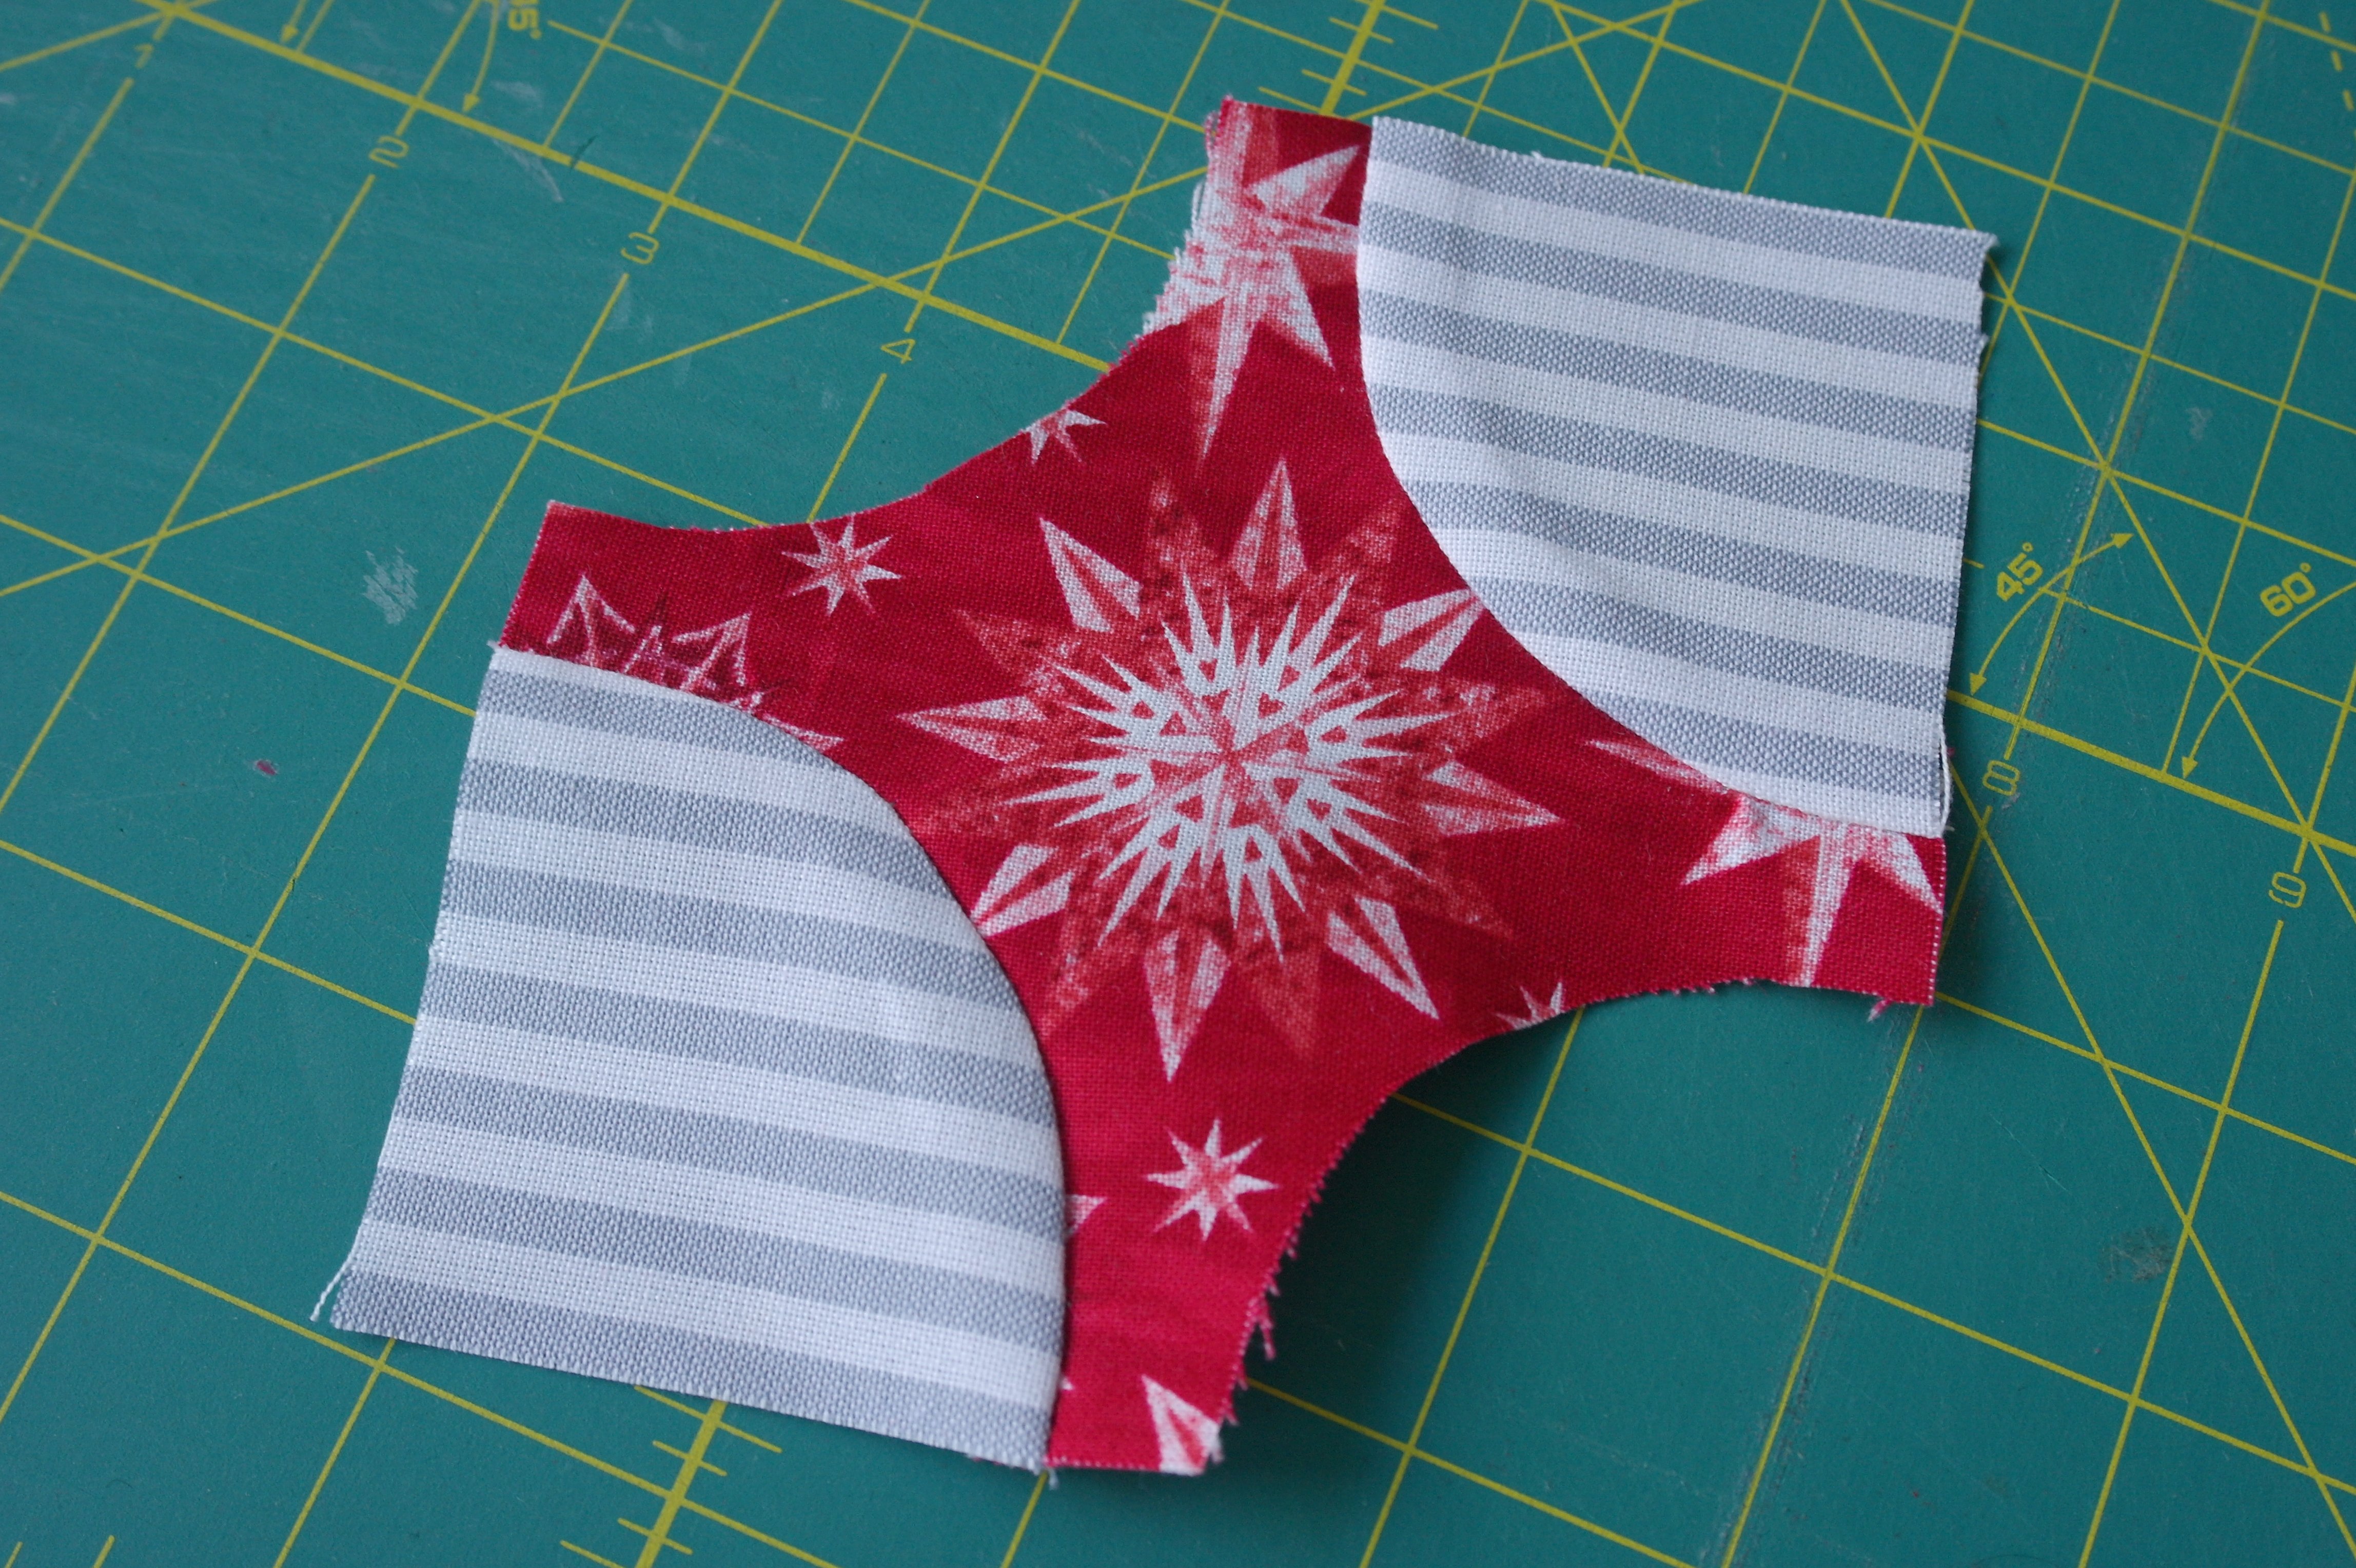
A third pin is placed on the other side, also woven. Now the concave side of A is pulled straight, onto convex B, matching it all. You are looking at A right now,
and this is B: it’s all smooth.
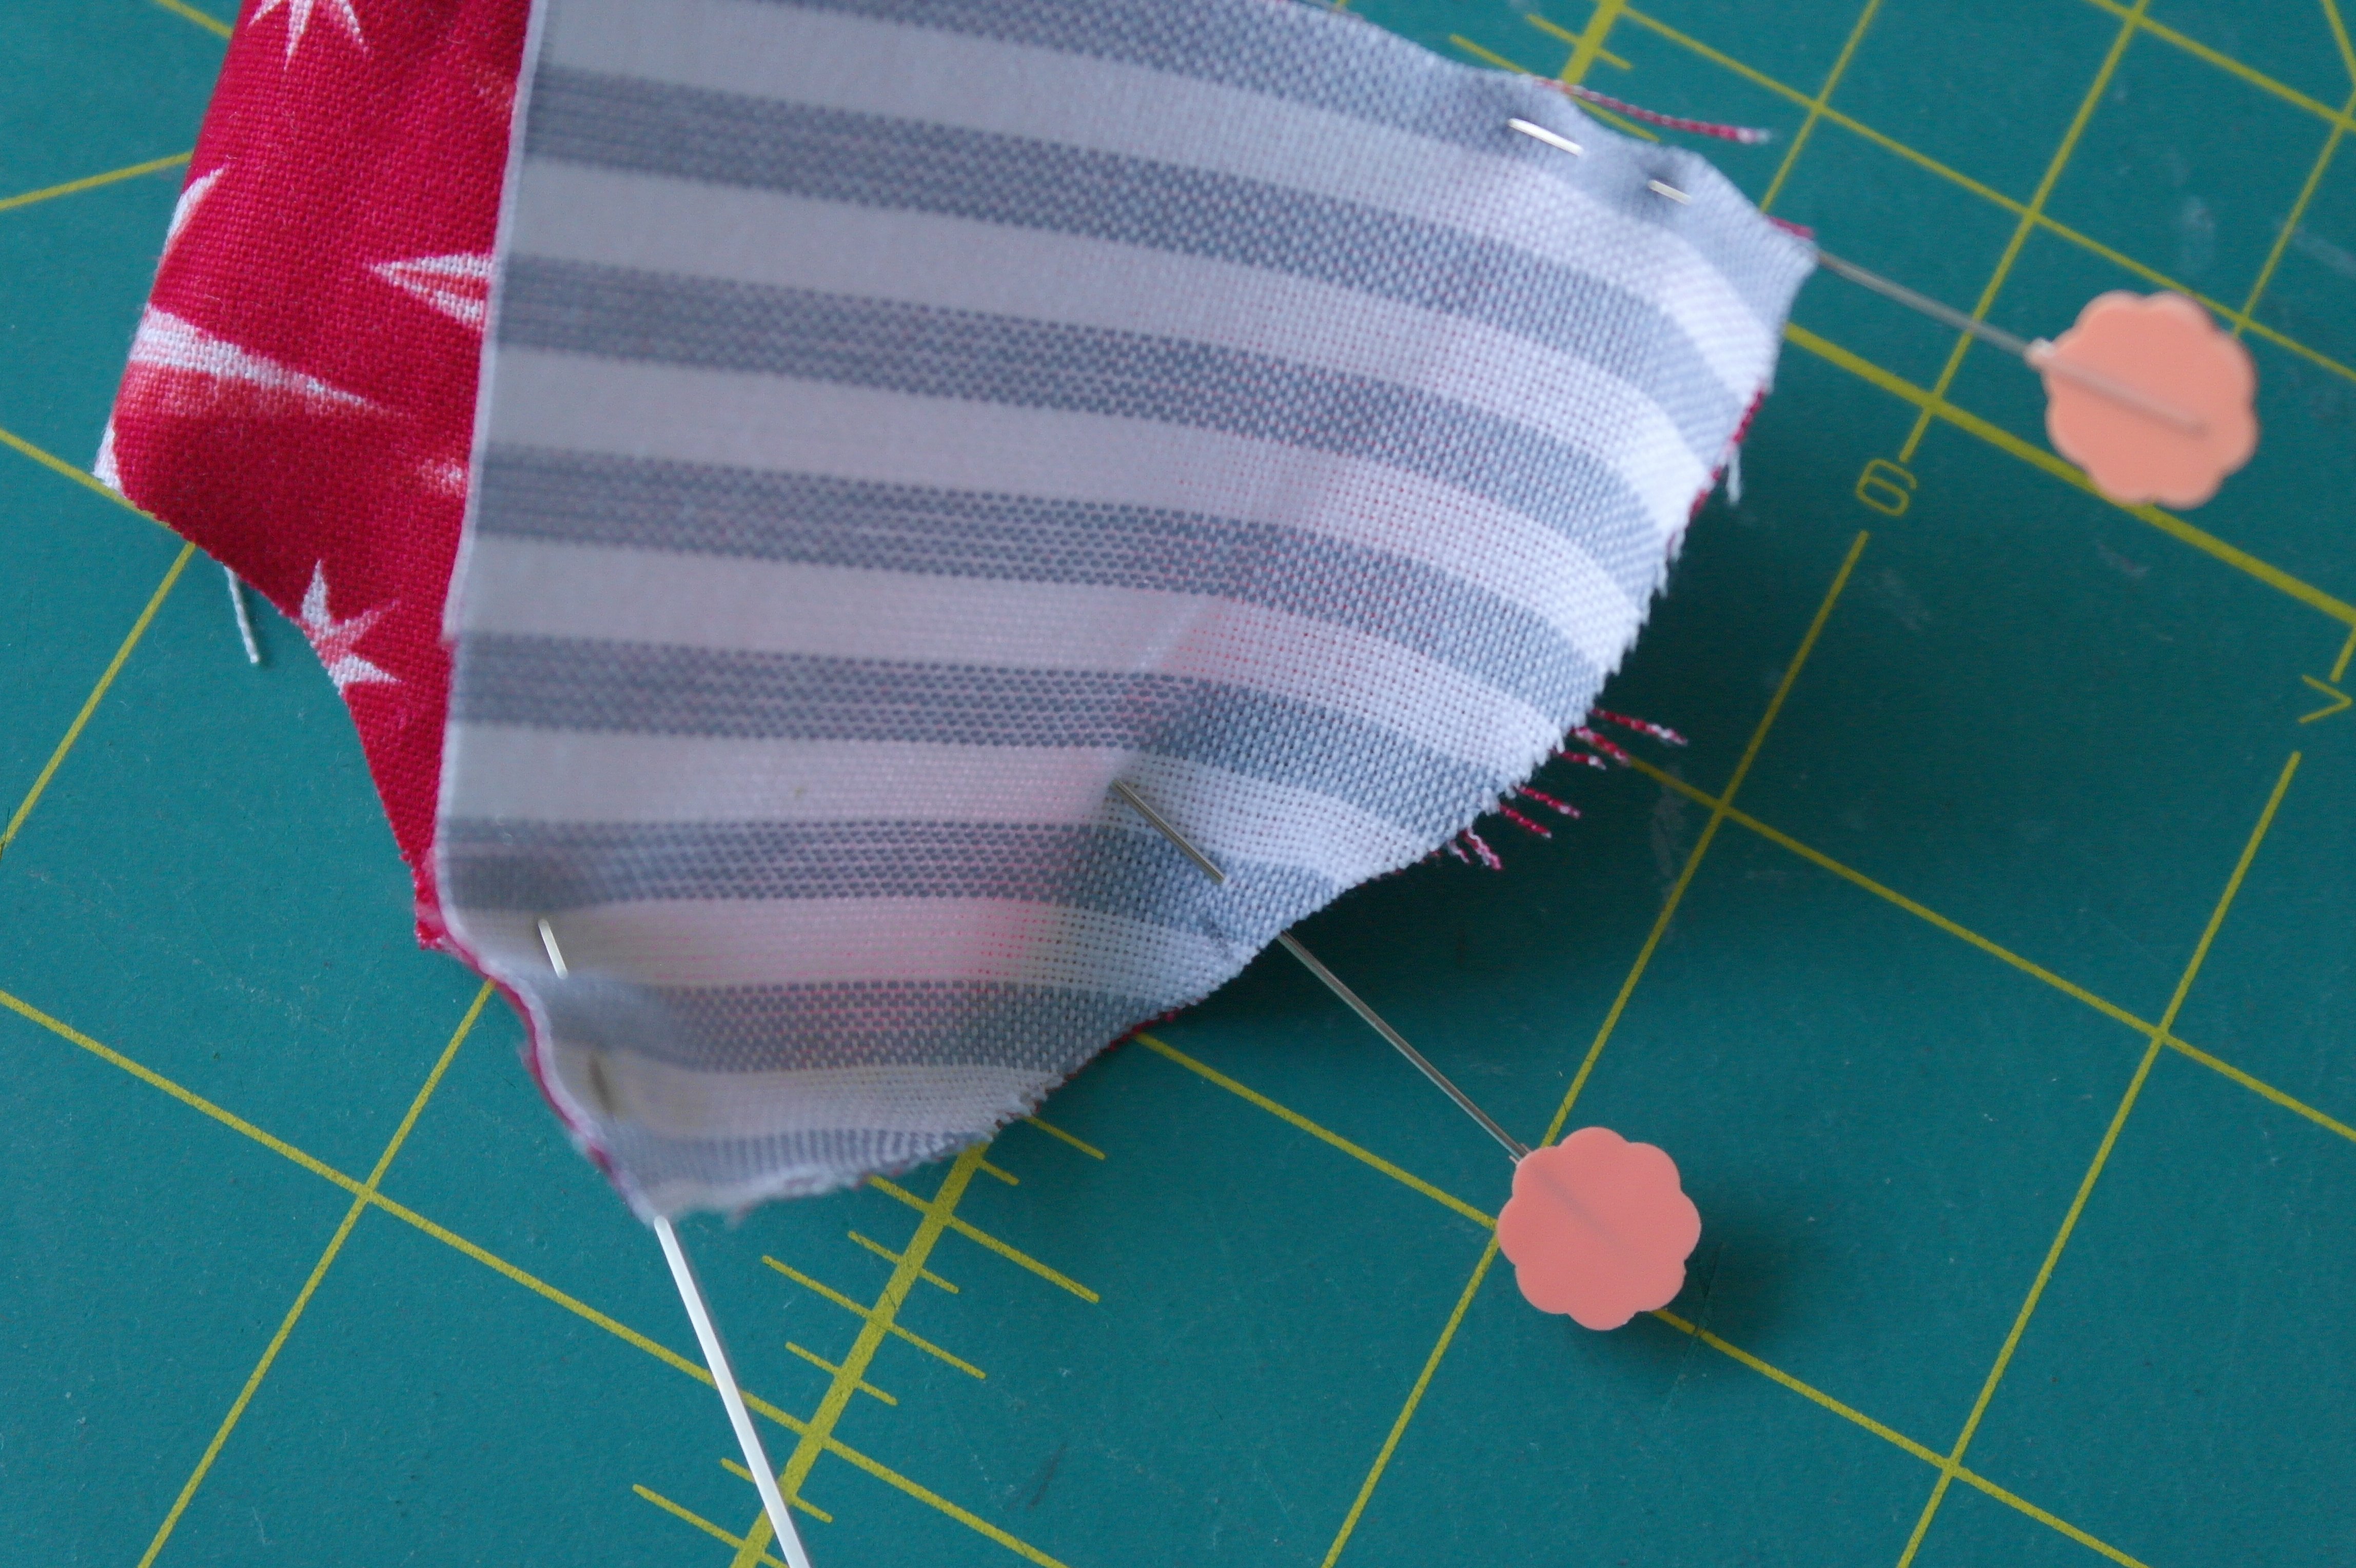
Using my B770QE, 1/4 inch foot, to make perfect 1/4 inch seam allowances. The first B is sewn, pressed the seams towards B – when pressing seams towards A, there will be too much bulk, due to the small size of that point.
Second B was sewn on the opposite side of the first: this way it balances.
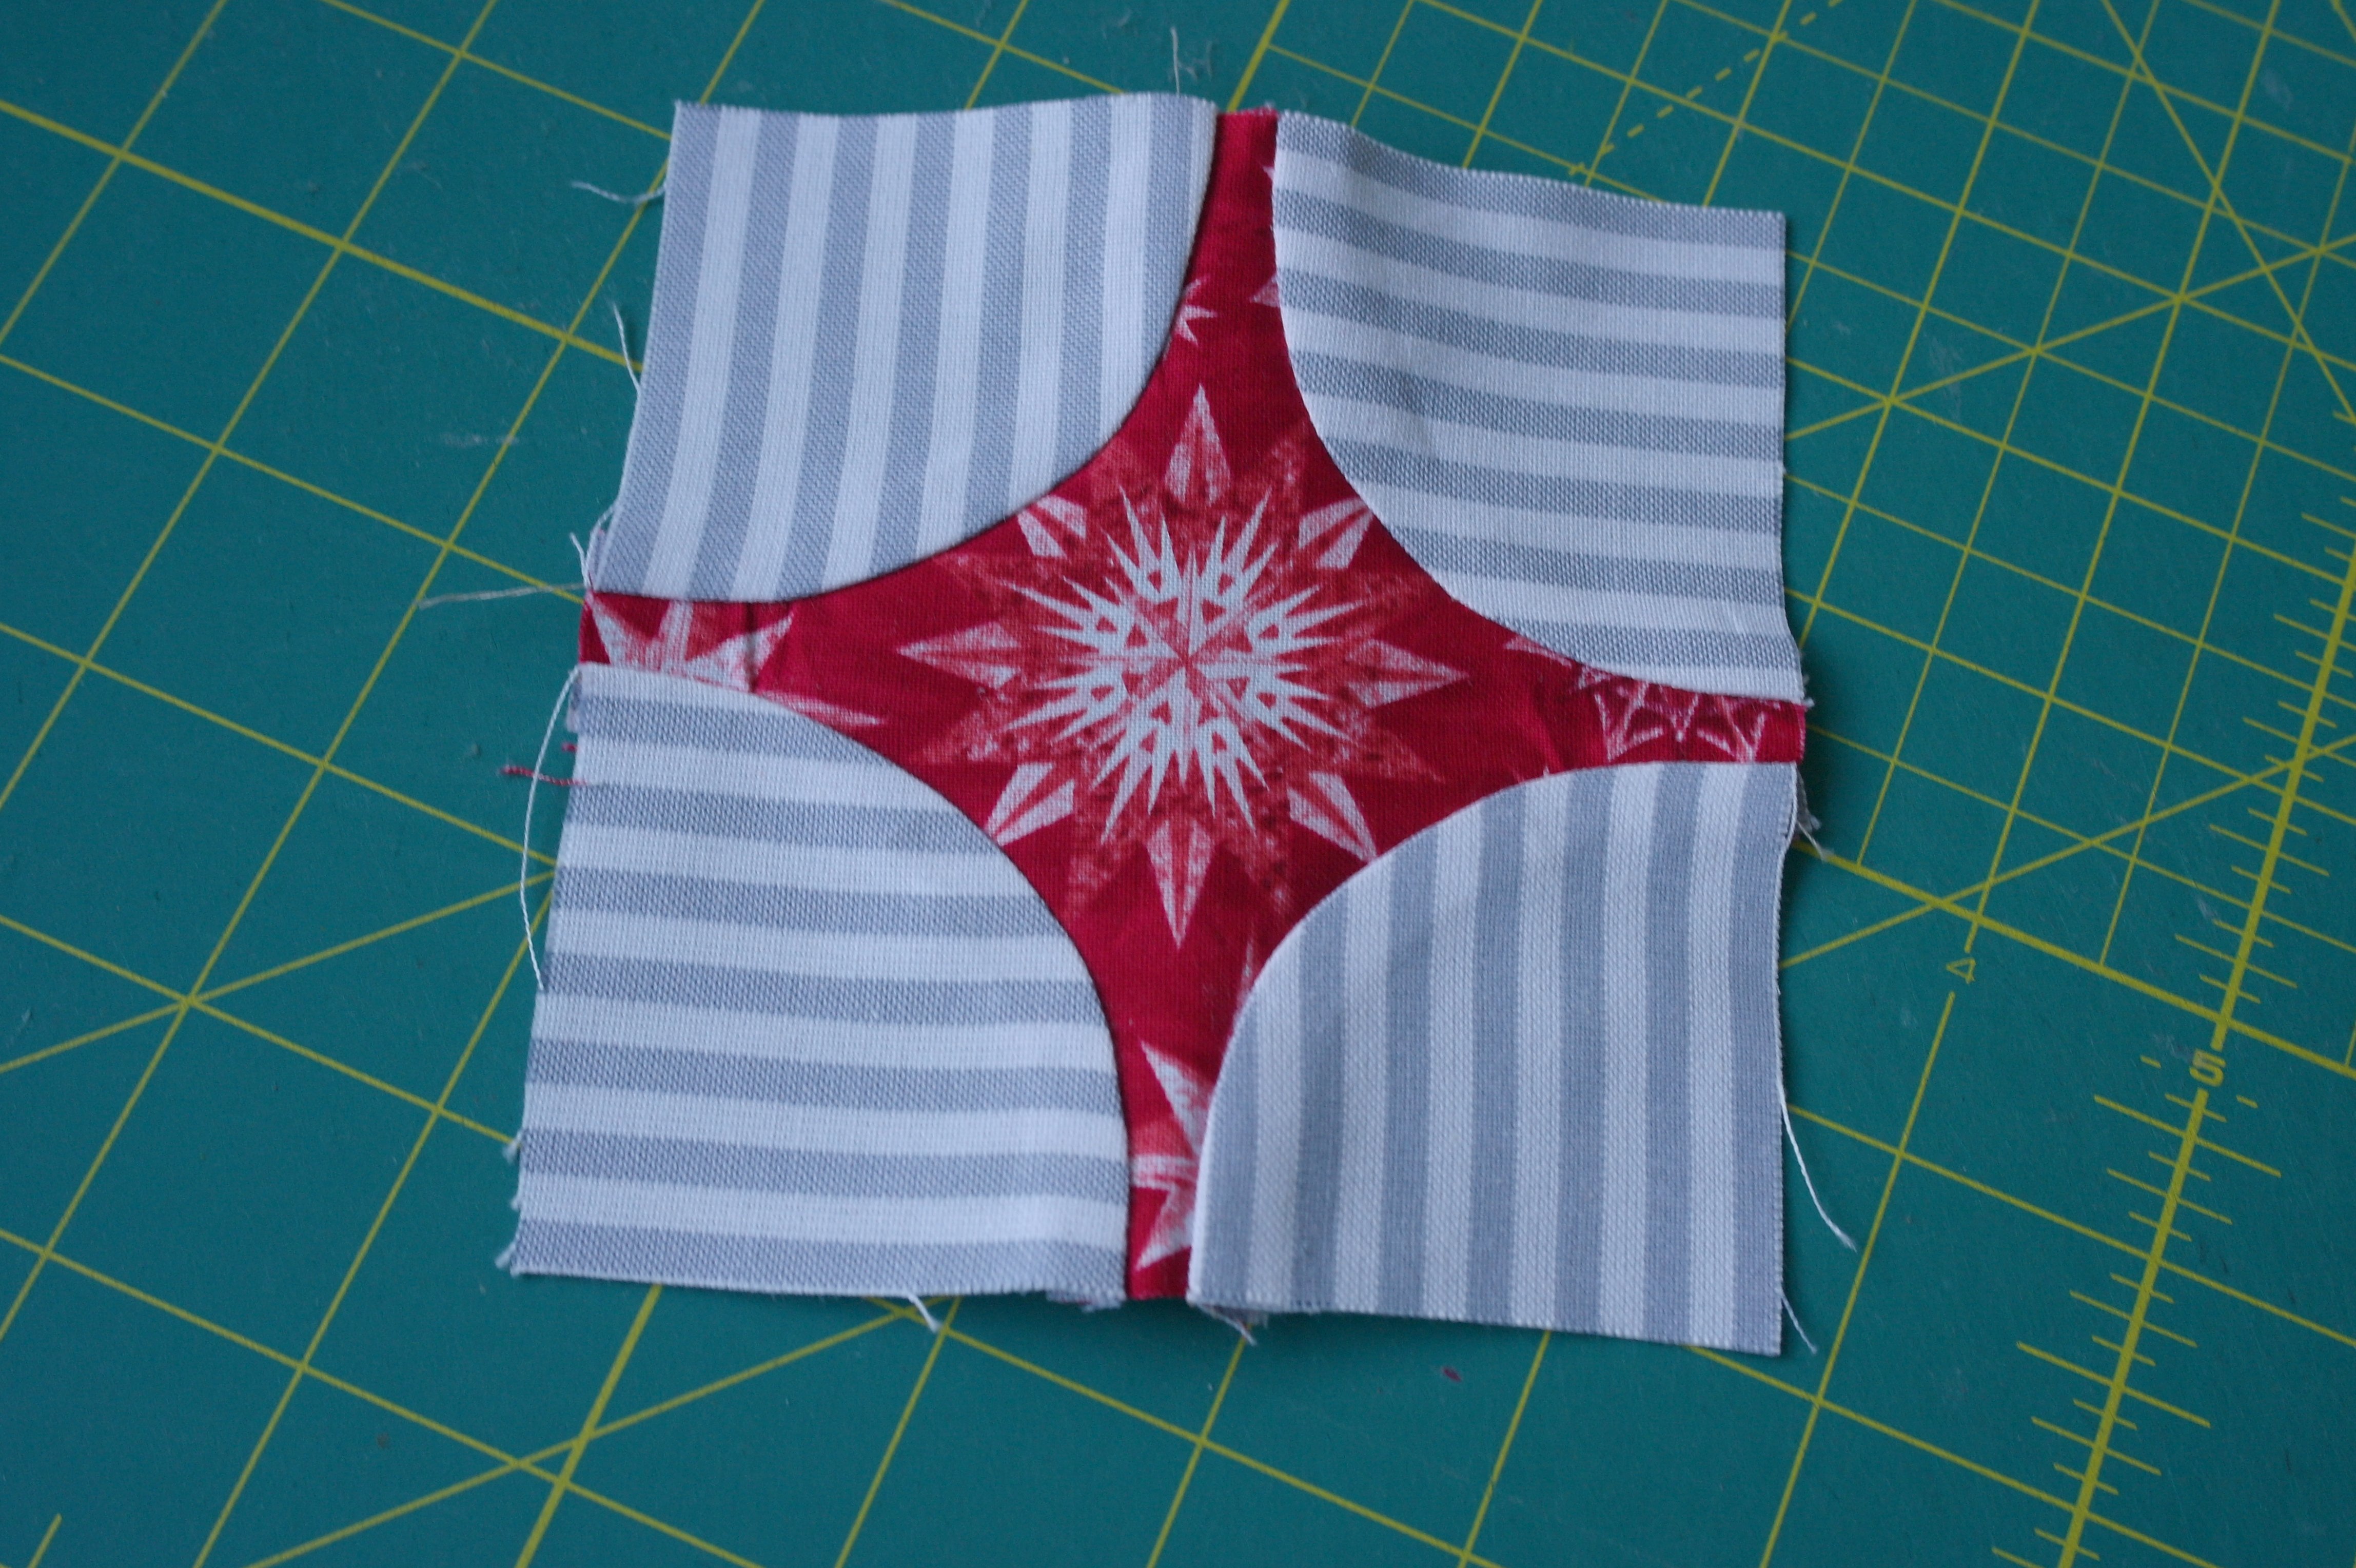
The next two B’s are sewn in, all seams pressed outward and the center piece is done.
The four corners C are sewn, again matching the markings in the center of the seams. The points are very sharp, no Smart Corners here!
The appliqué.
Heat’n Bond Lite is used for applique without seam allowances. No bulk and no difficult hand-sewing, but just ironing them onto the background. There will be stitches involved while quilting, but until that time, the block will be stowed away.
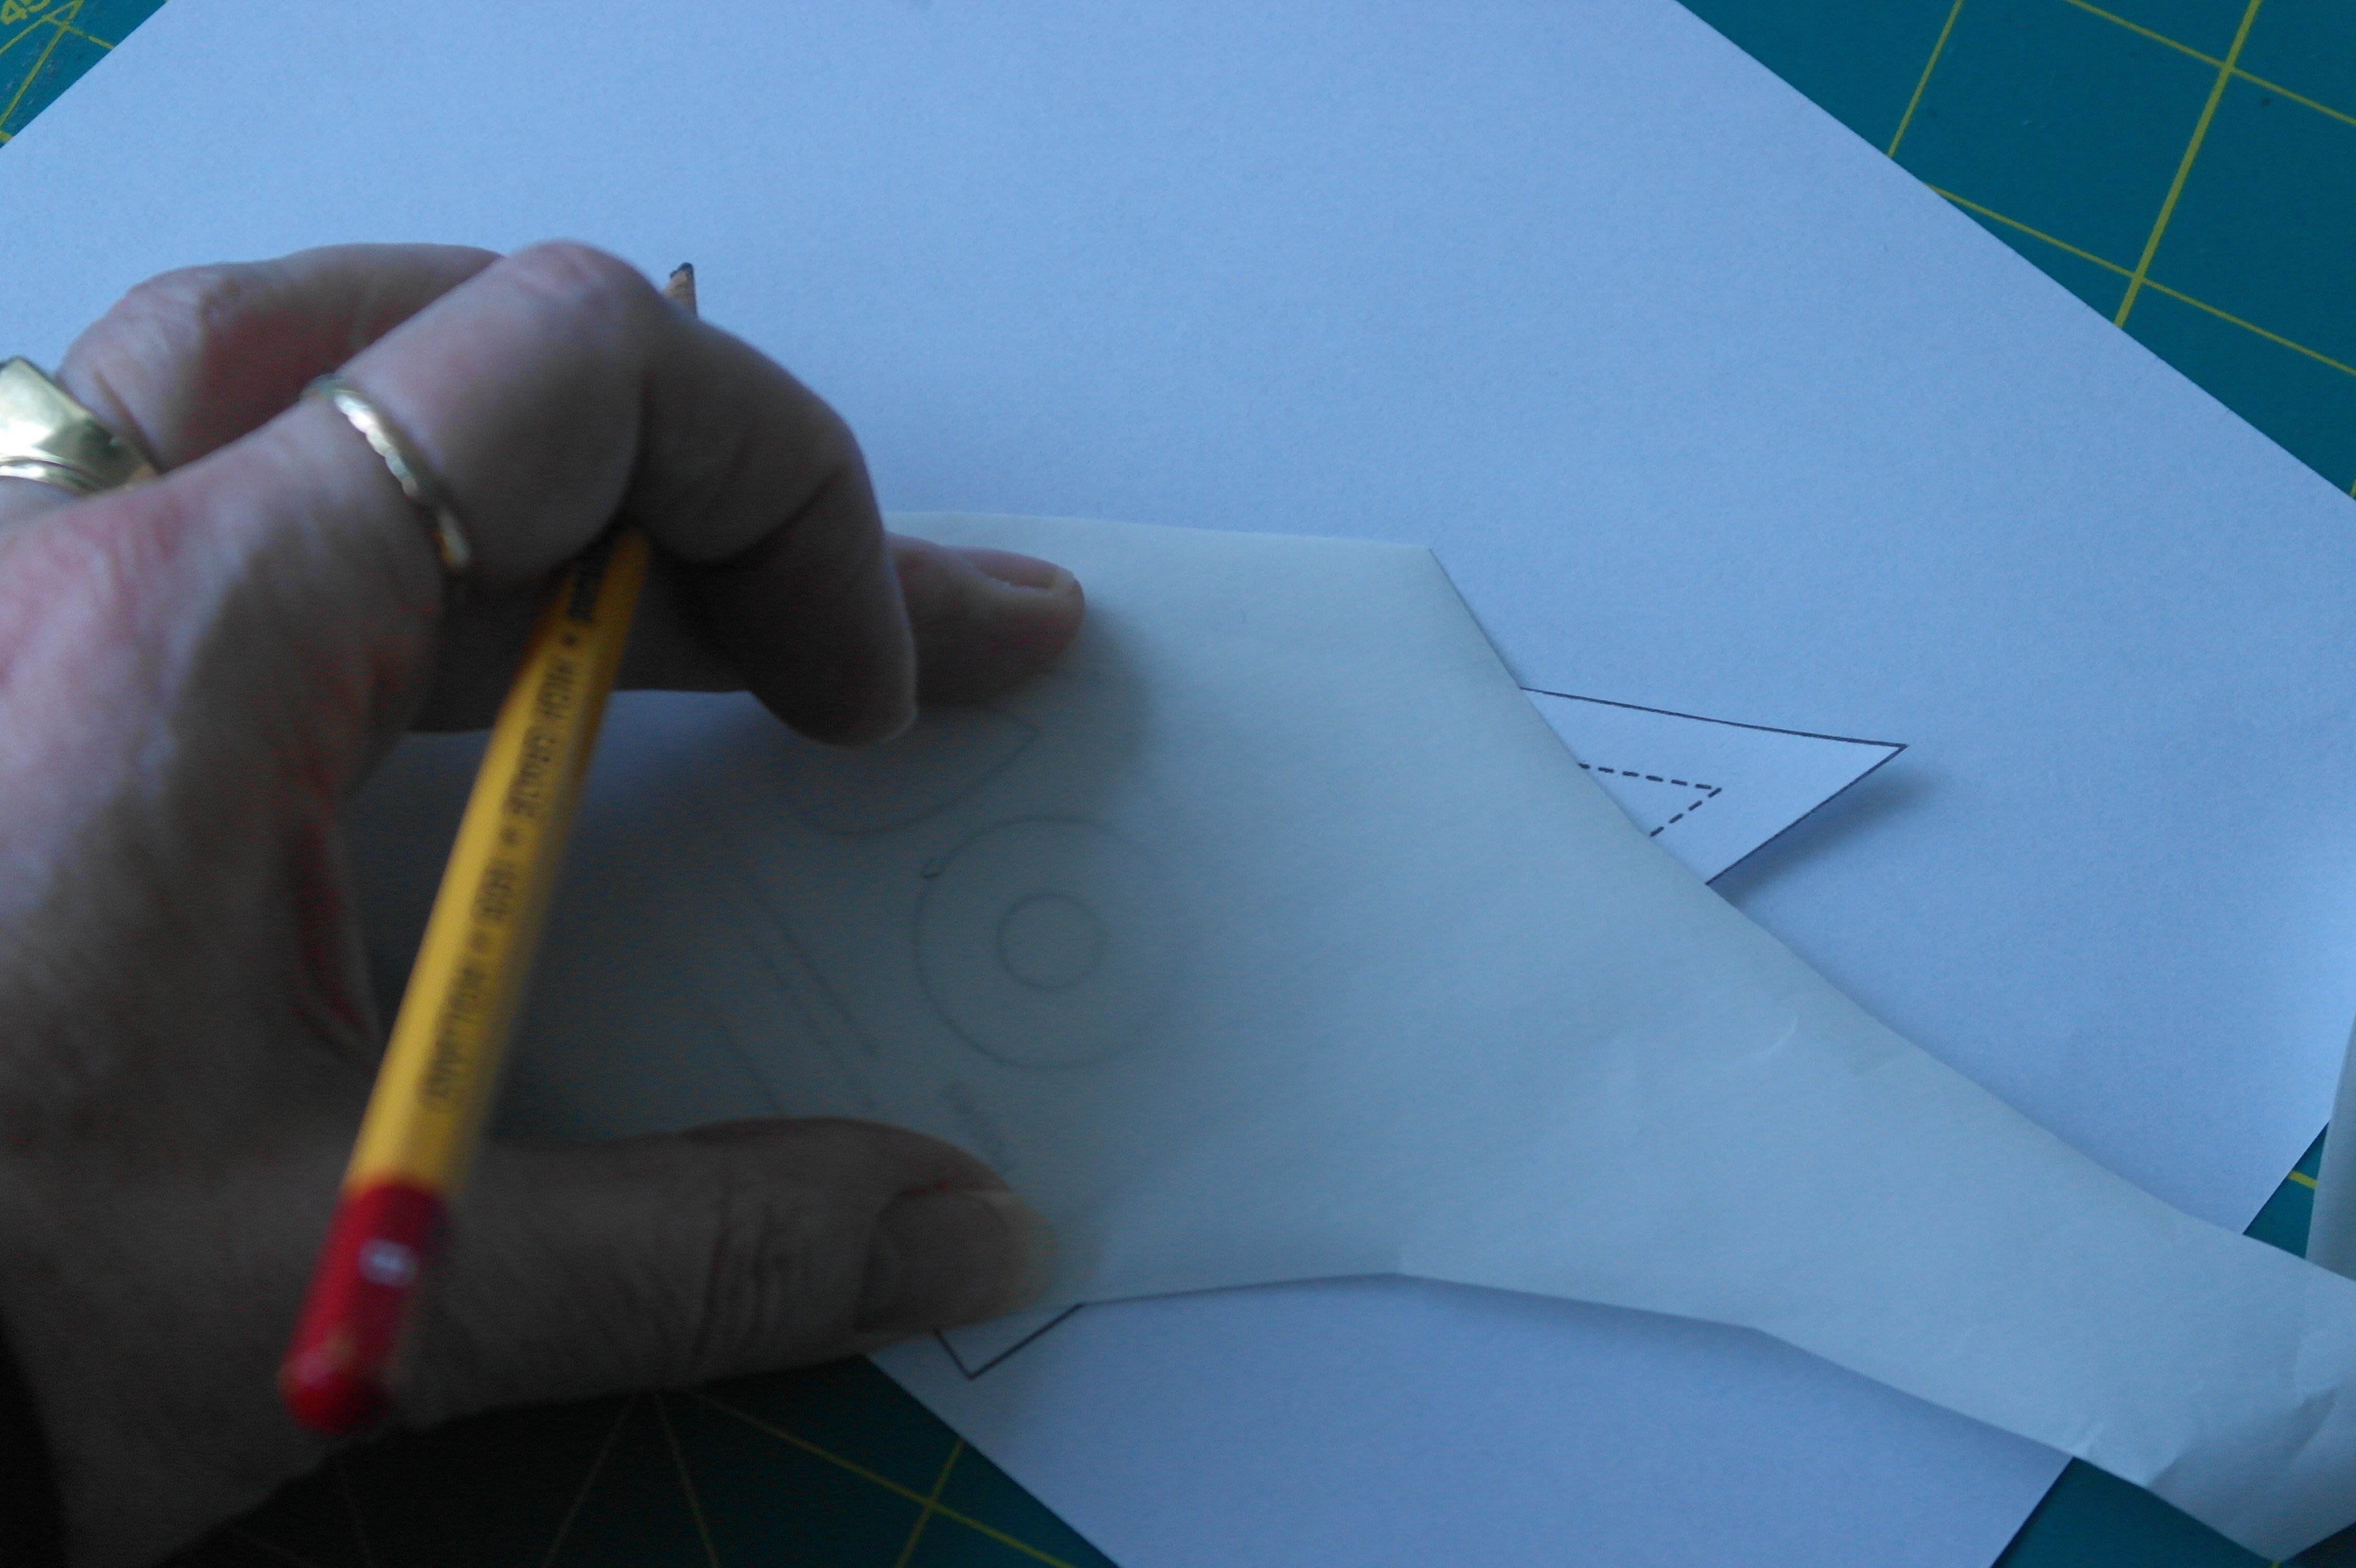
I have placed the template with appliqué shapes on a white piece of paper, to be sure all lines are visible. A piece of Heat’n Bond Lite is placed on top, paper side up (I always use remnants when possible, so don’t throw the smaller pieces away!), drawing the shape each 4 times, one for each corner.
I have grouped them, to be able to iron them on one fabric. I have named teardrop shaped appliqué ‘L’ and ‘R’ to be sure the right one is placed, because these are not symmetrical.
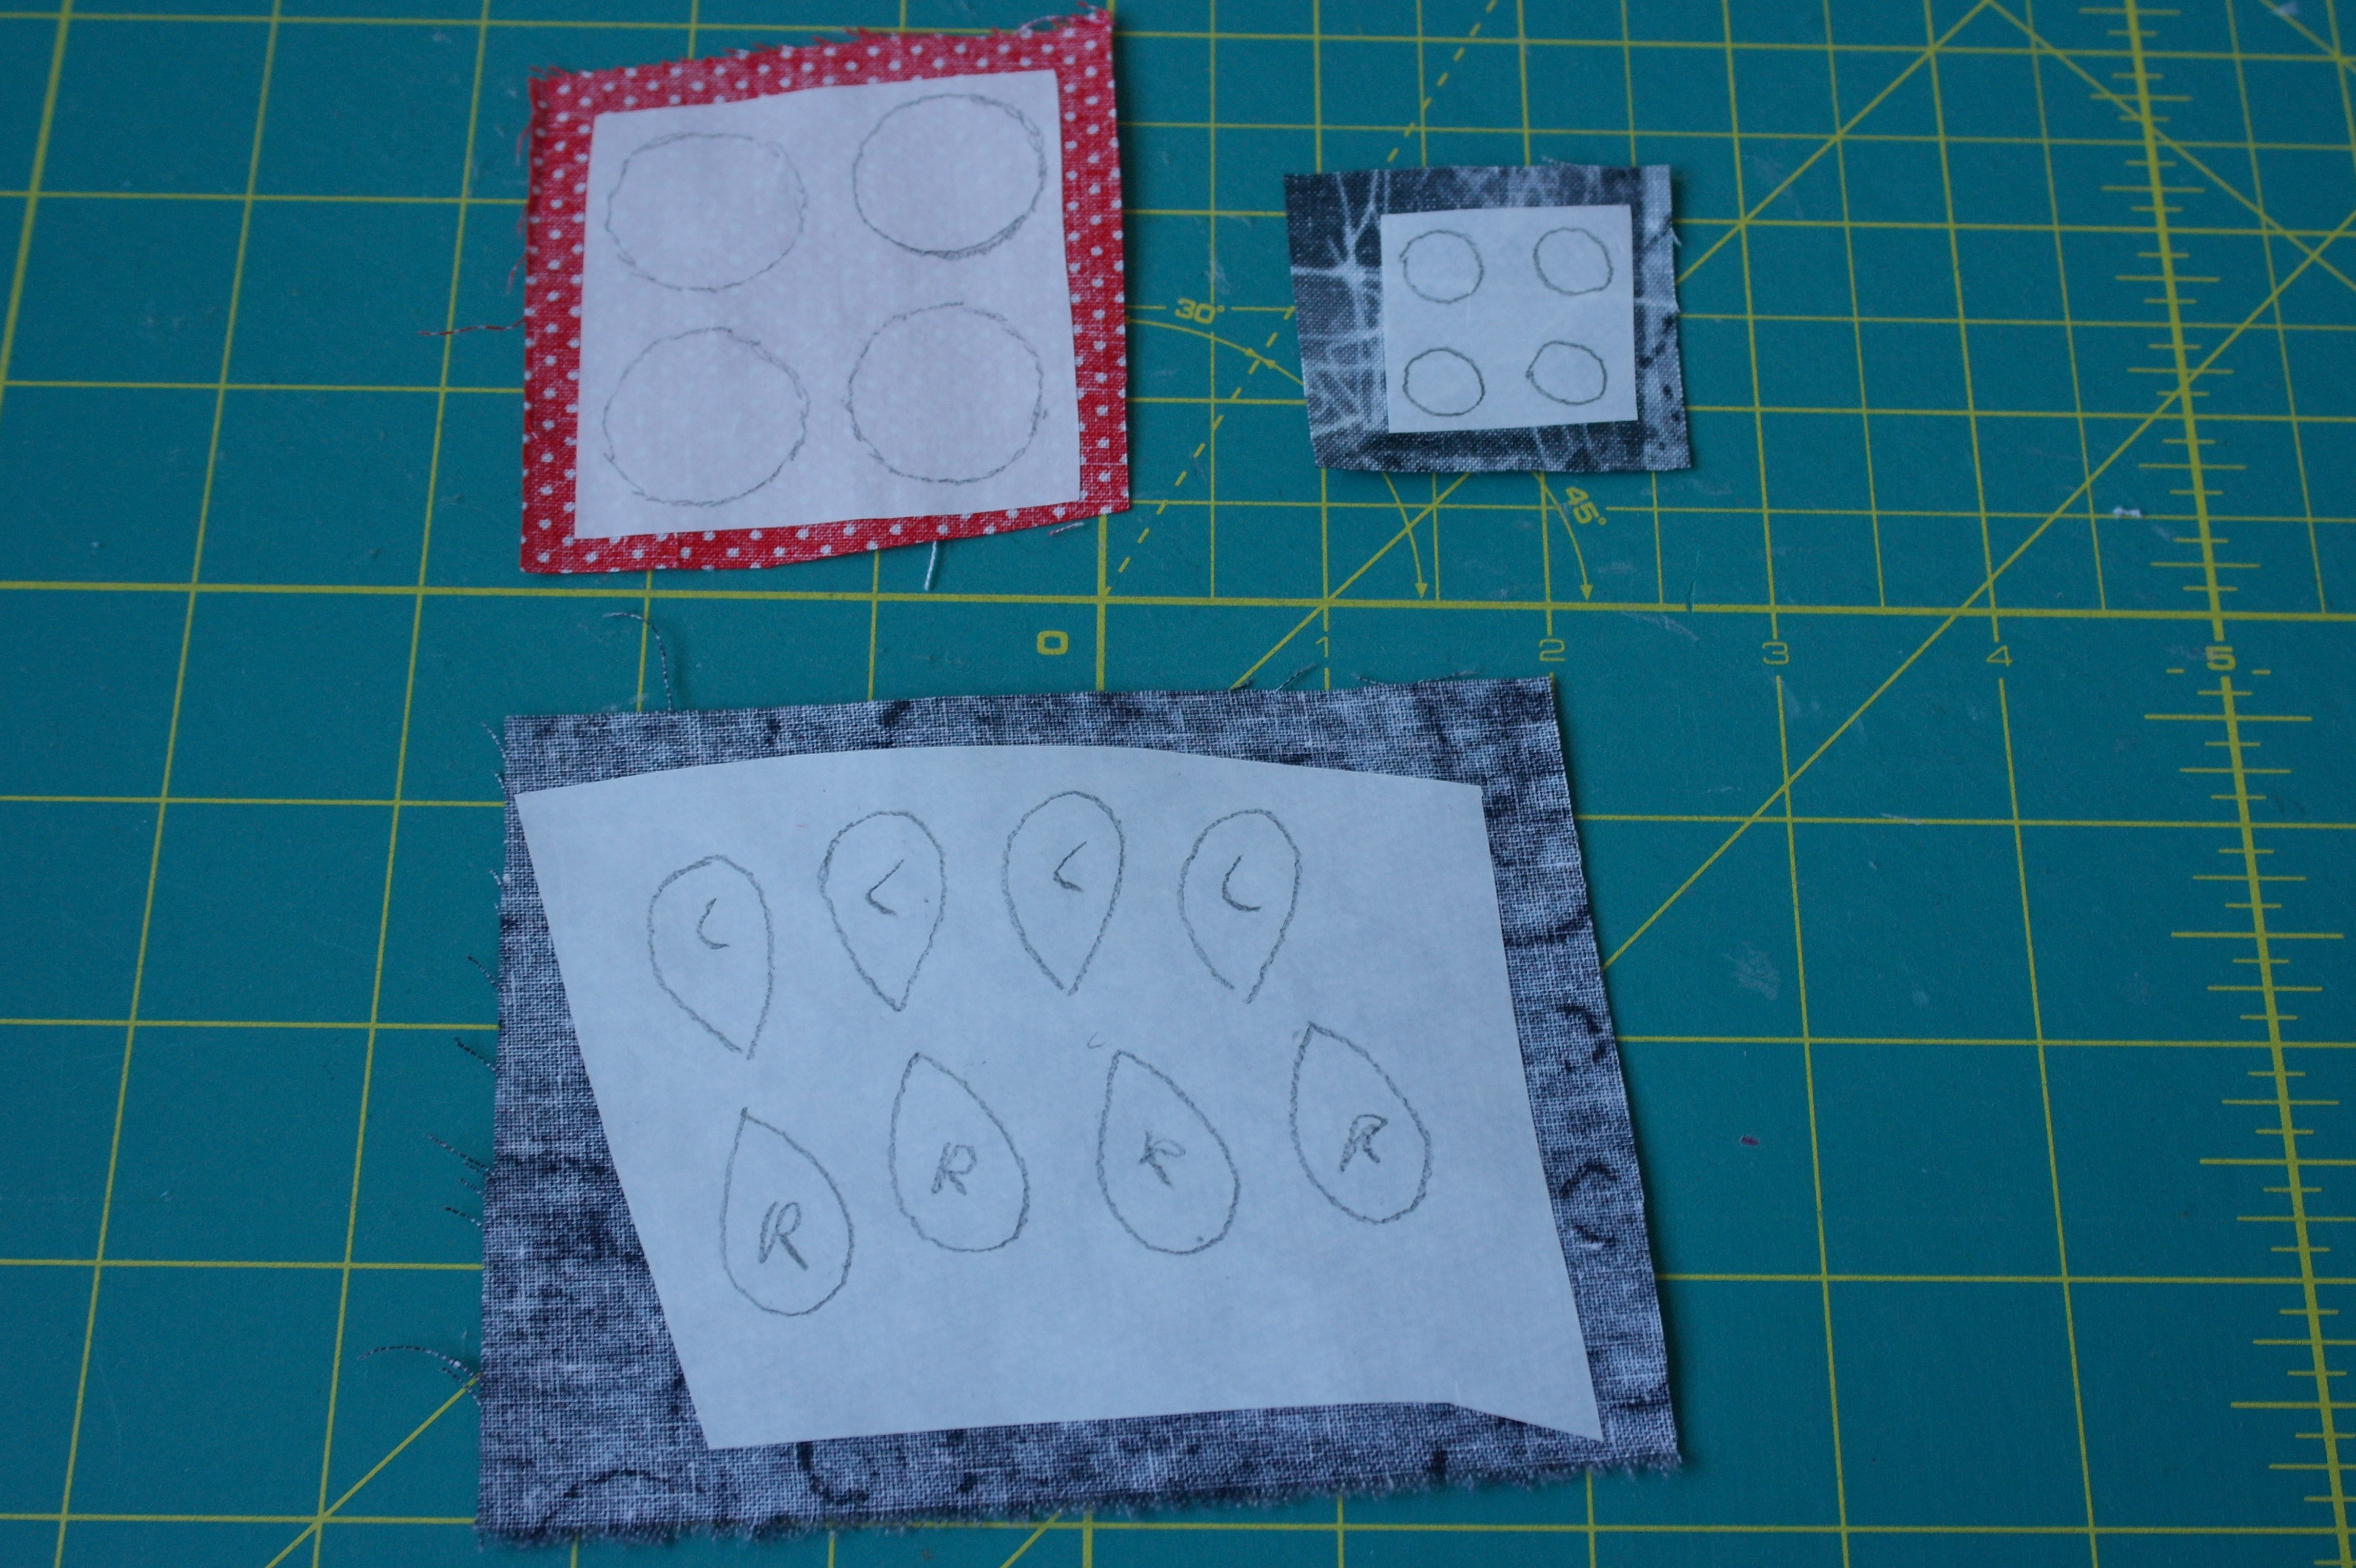
These are my applique shapes, ironed them on the back of the fabric,
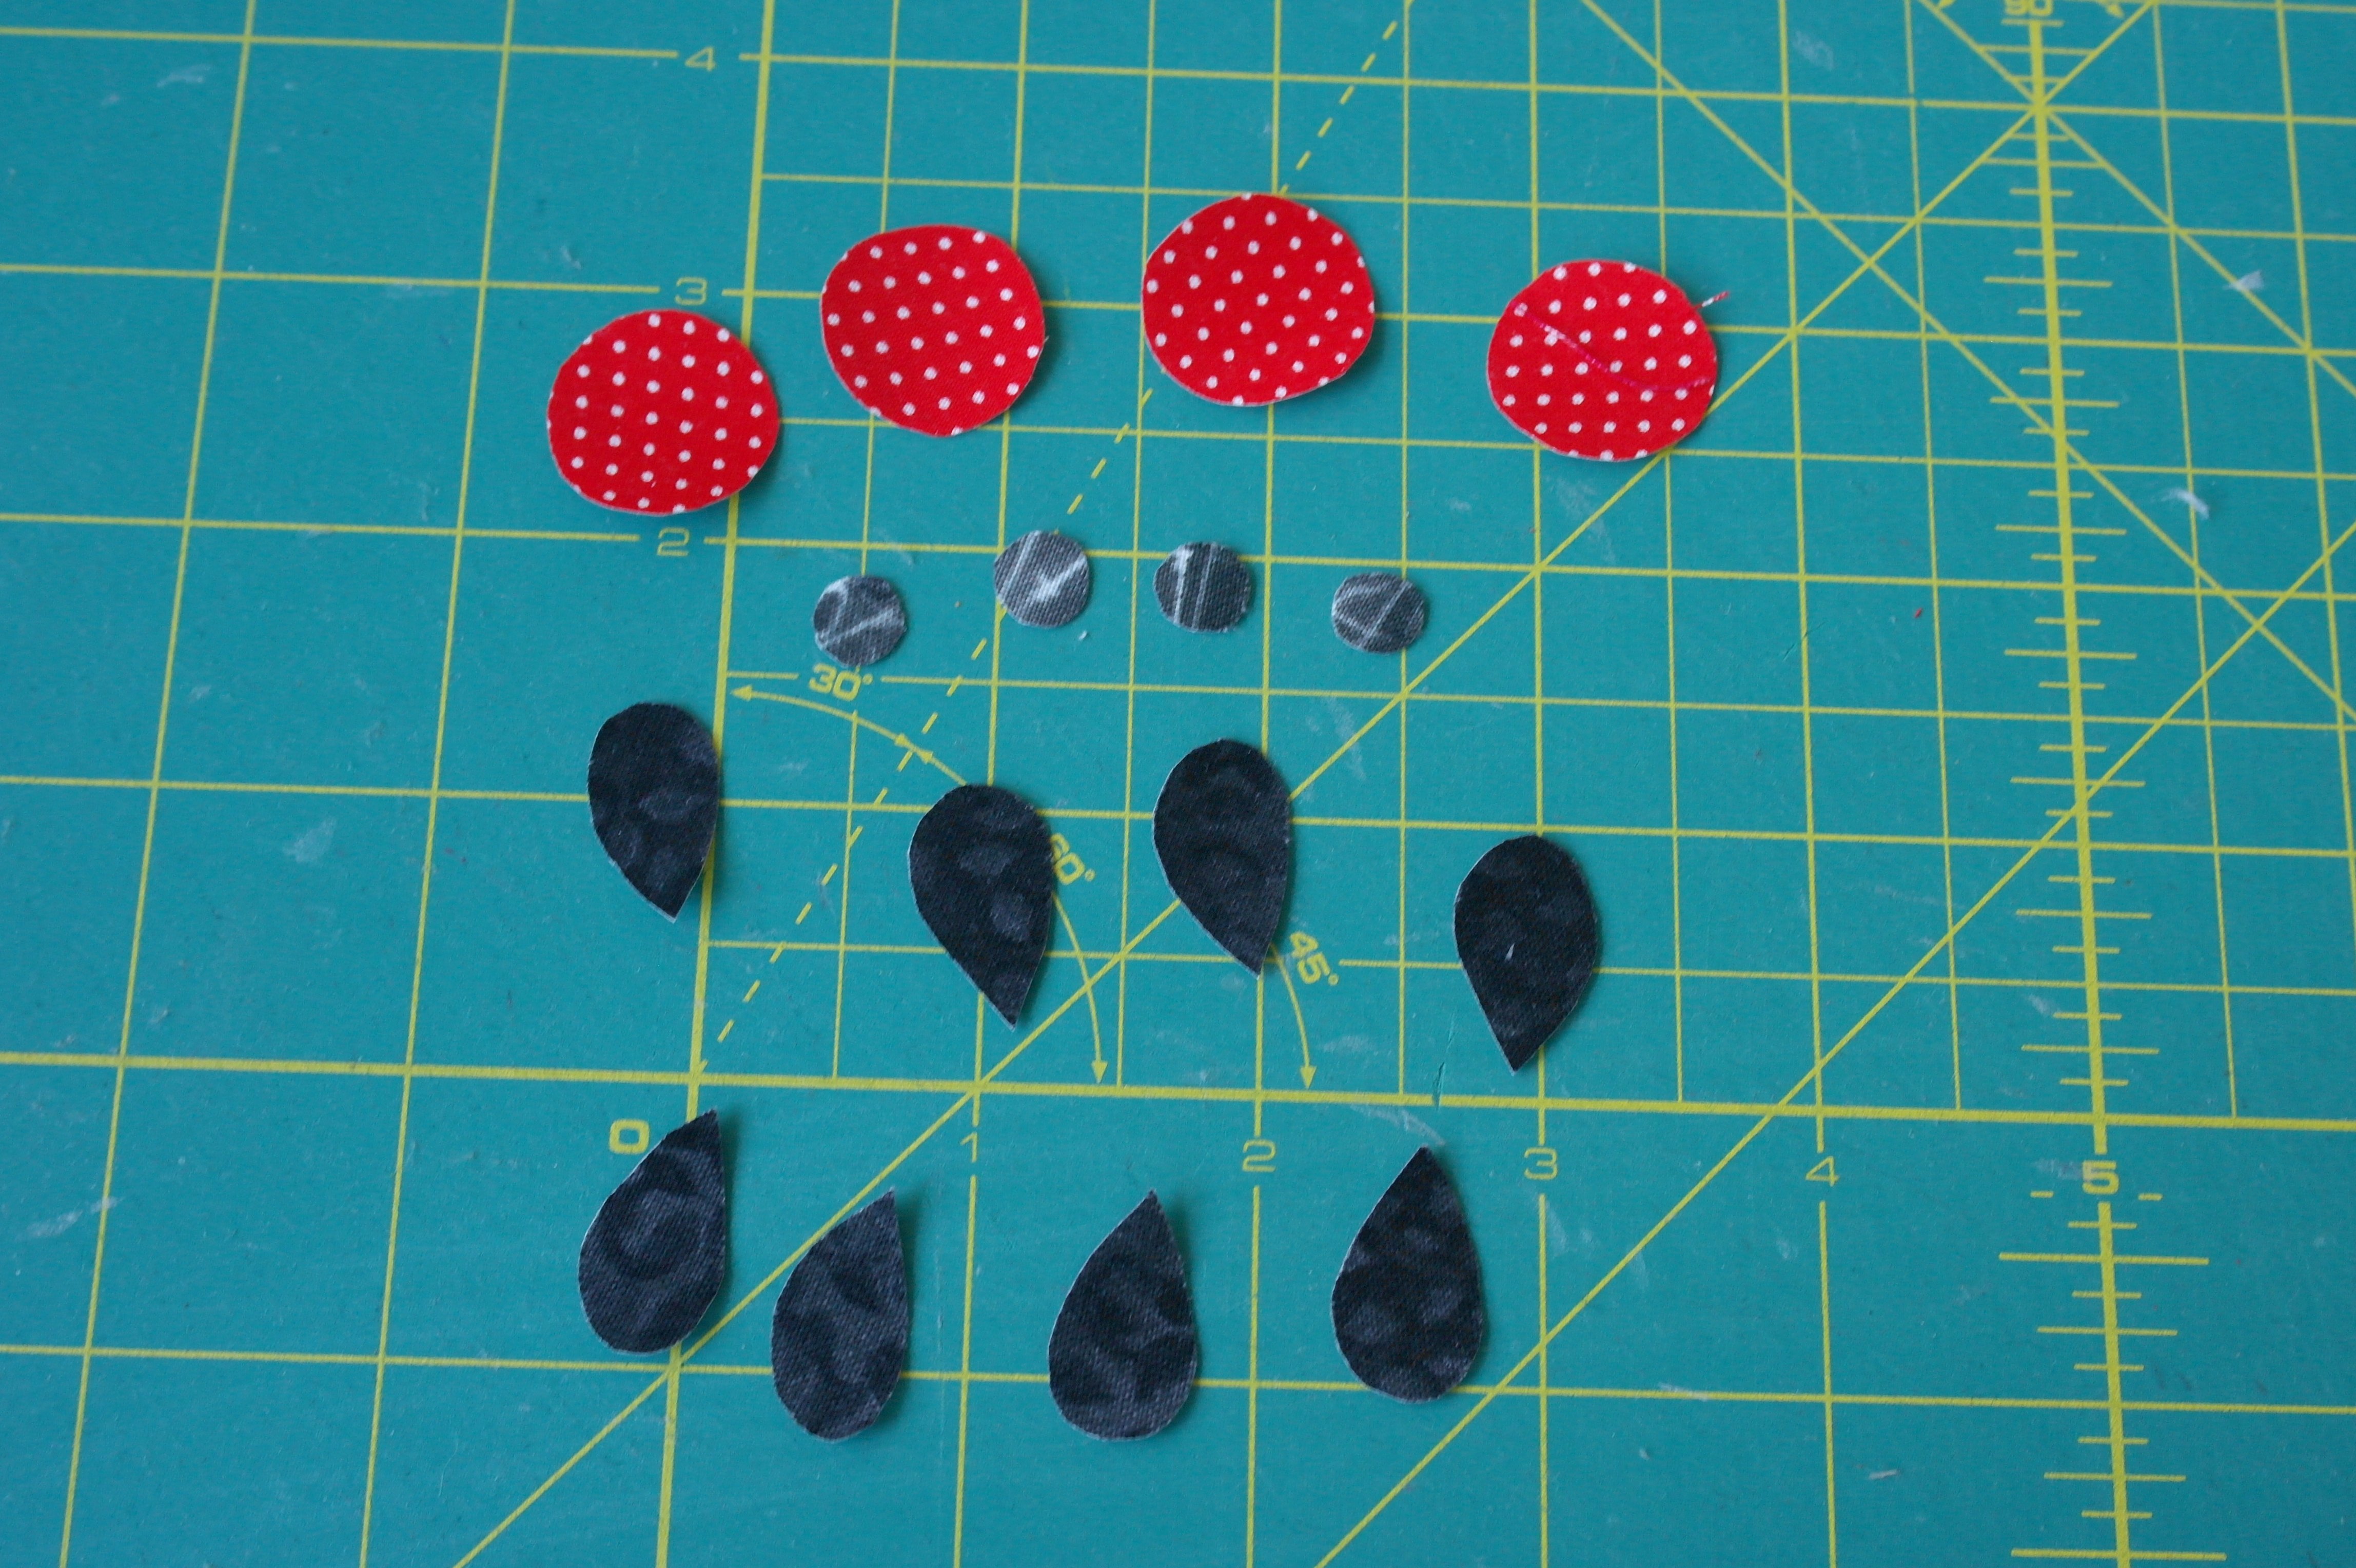
cutting them out. I don’t use my best fabric scissors, but an ‘old’ one, just for this purpose.

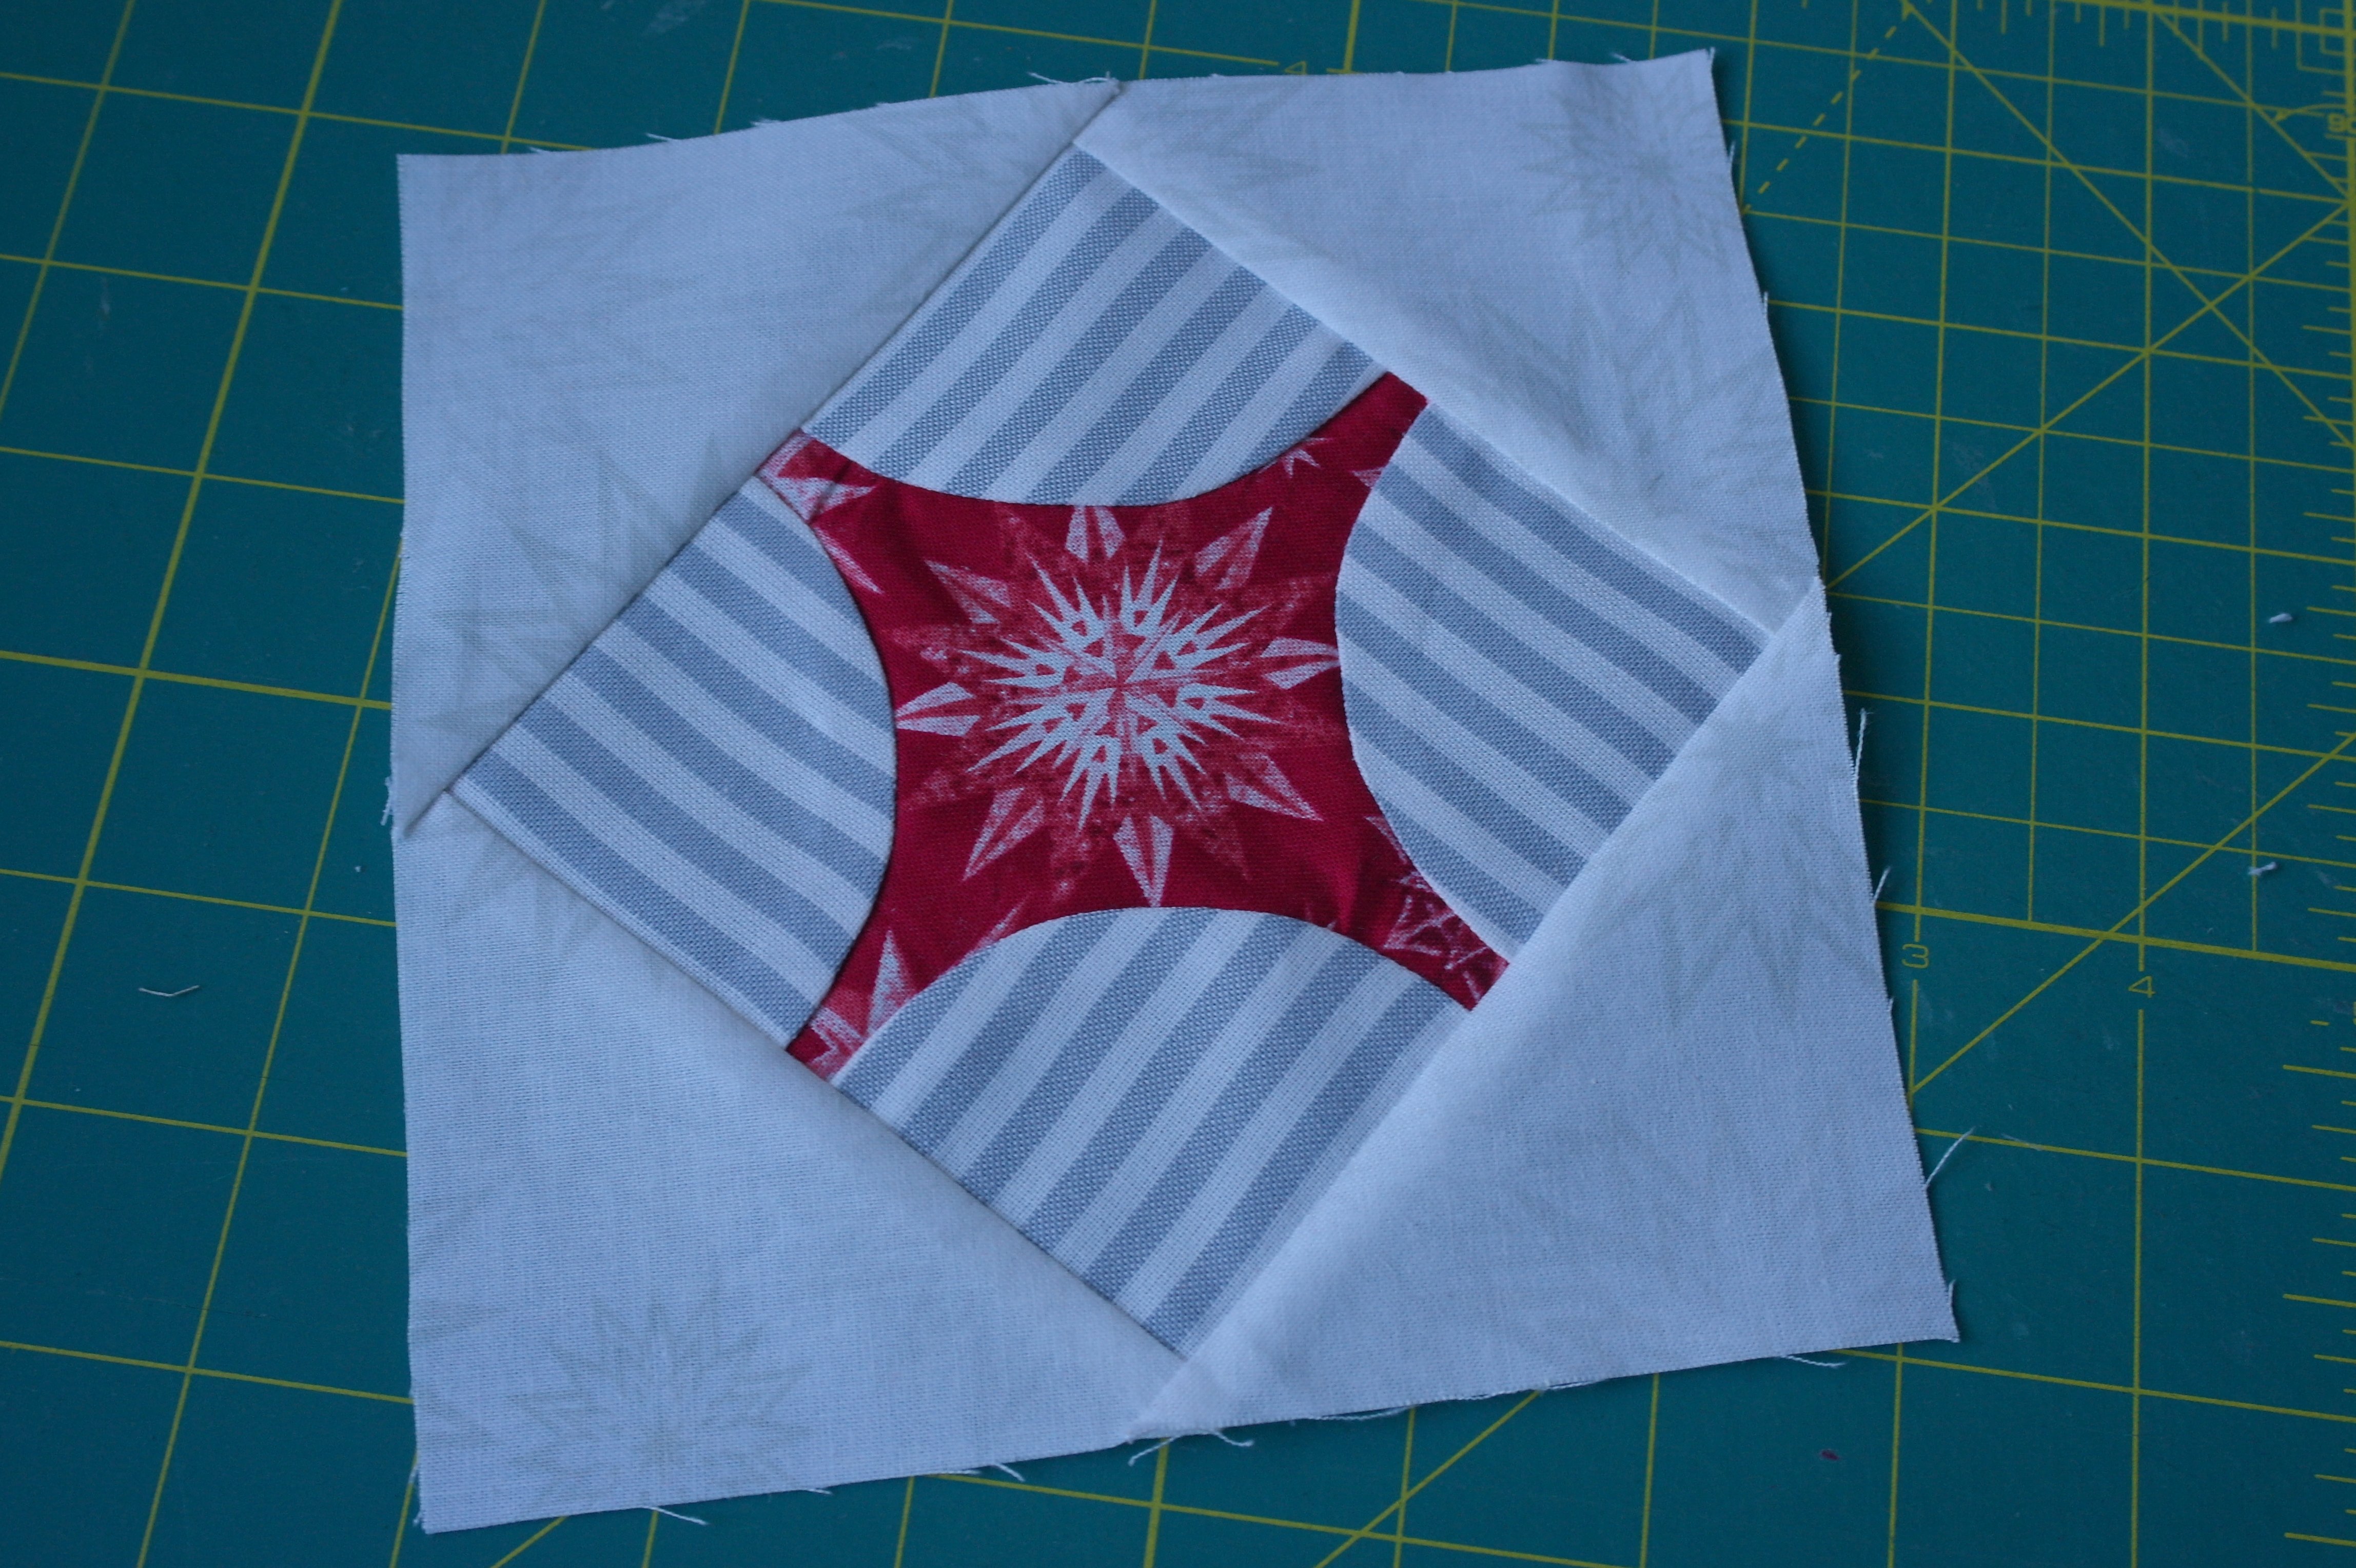
To be sure the placement of the shapes will be correct, I have cut the shapes out of the template. Also the seam at the diagonal side was cut, because at that point, the fabrics are sewn together, so no seams involved there.

Now I can place the template right on the seam A/B, with the seam allowances to the sides of C matching.
Removed the paper at the back of the appliqué shapes, placing them inside the cut-outs of the template and tapping with my hot iron just to be sure they don’t shift. Next, I have removed the template, pressing the appliqué shapes once more to secure them.
This will be my method for all appliqué blocks, when possible. Makes appliqué even easier.

All 4 corners are done, but not sewn. Again: while quilting, stitches will secure them.
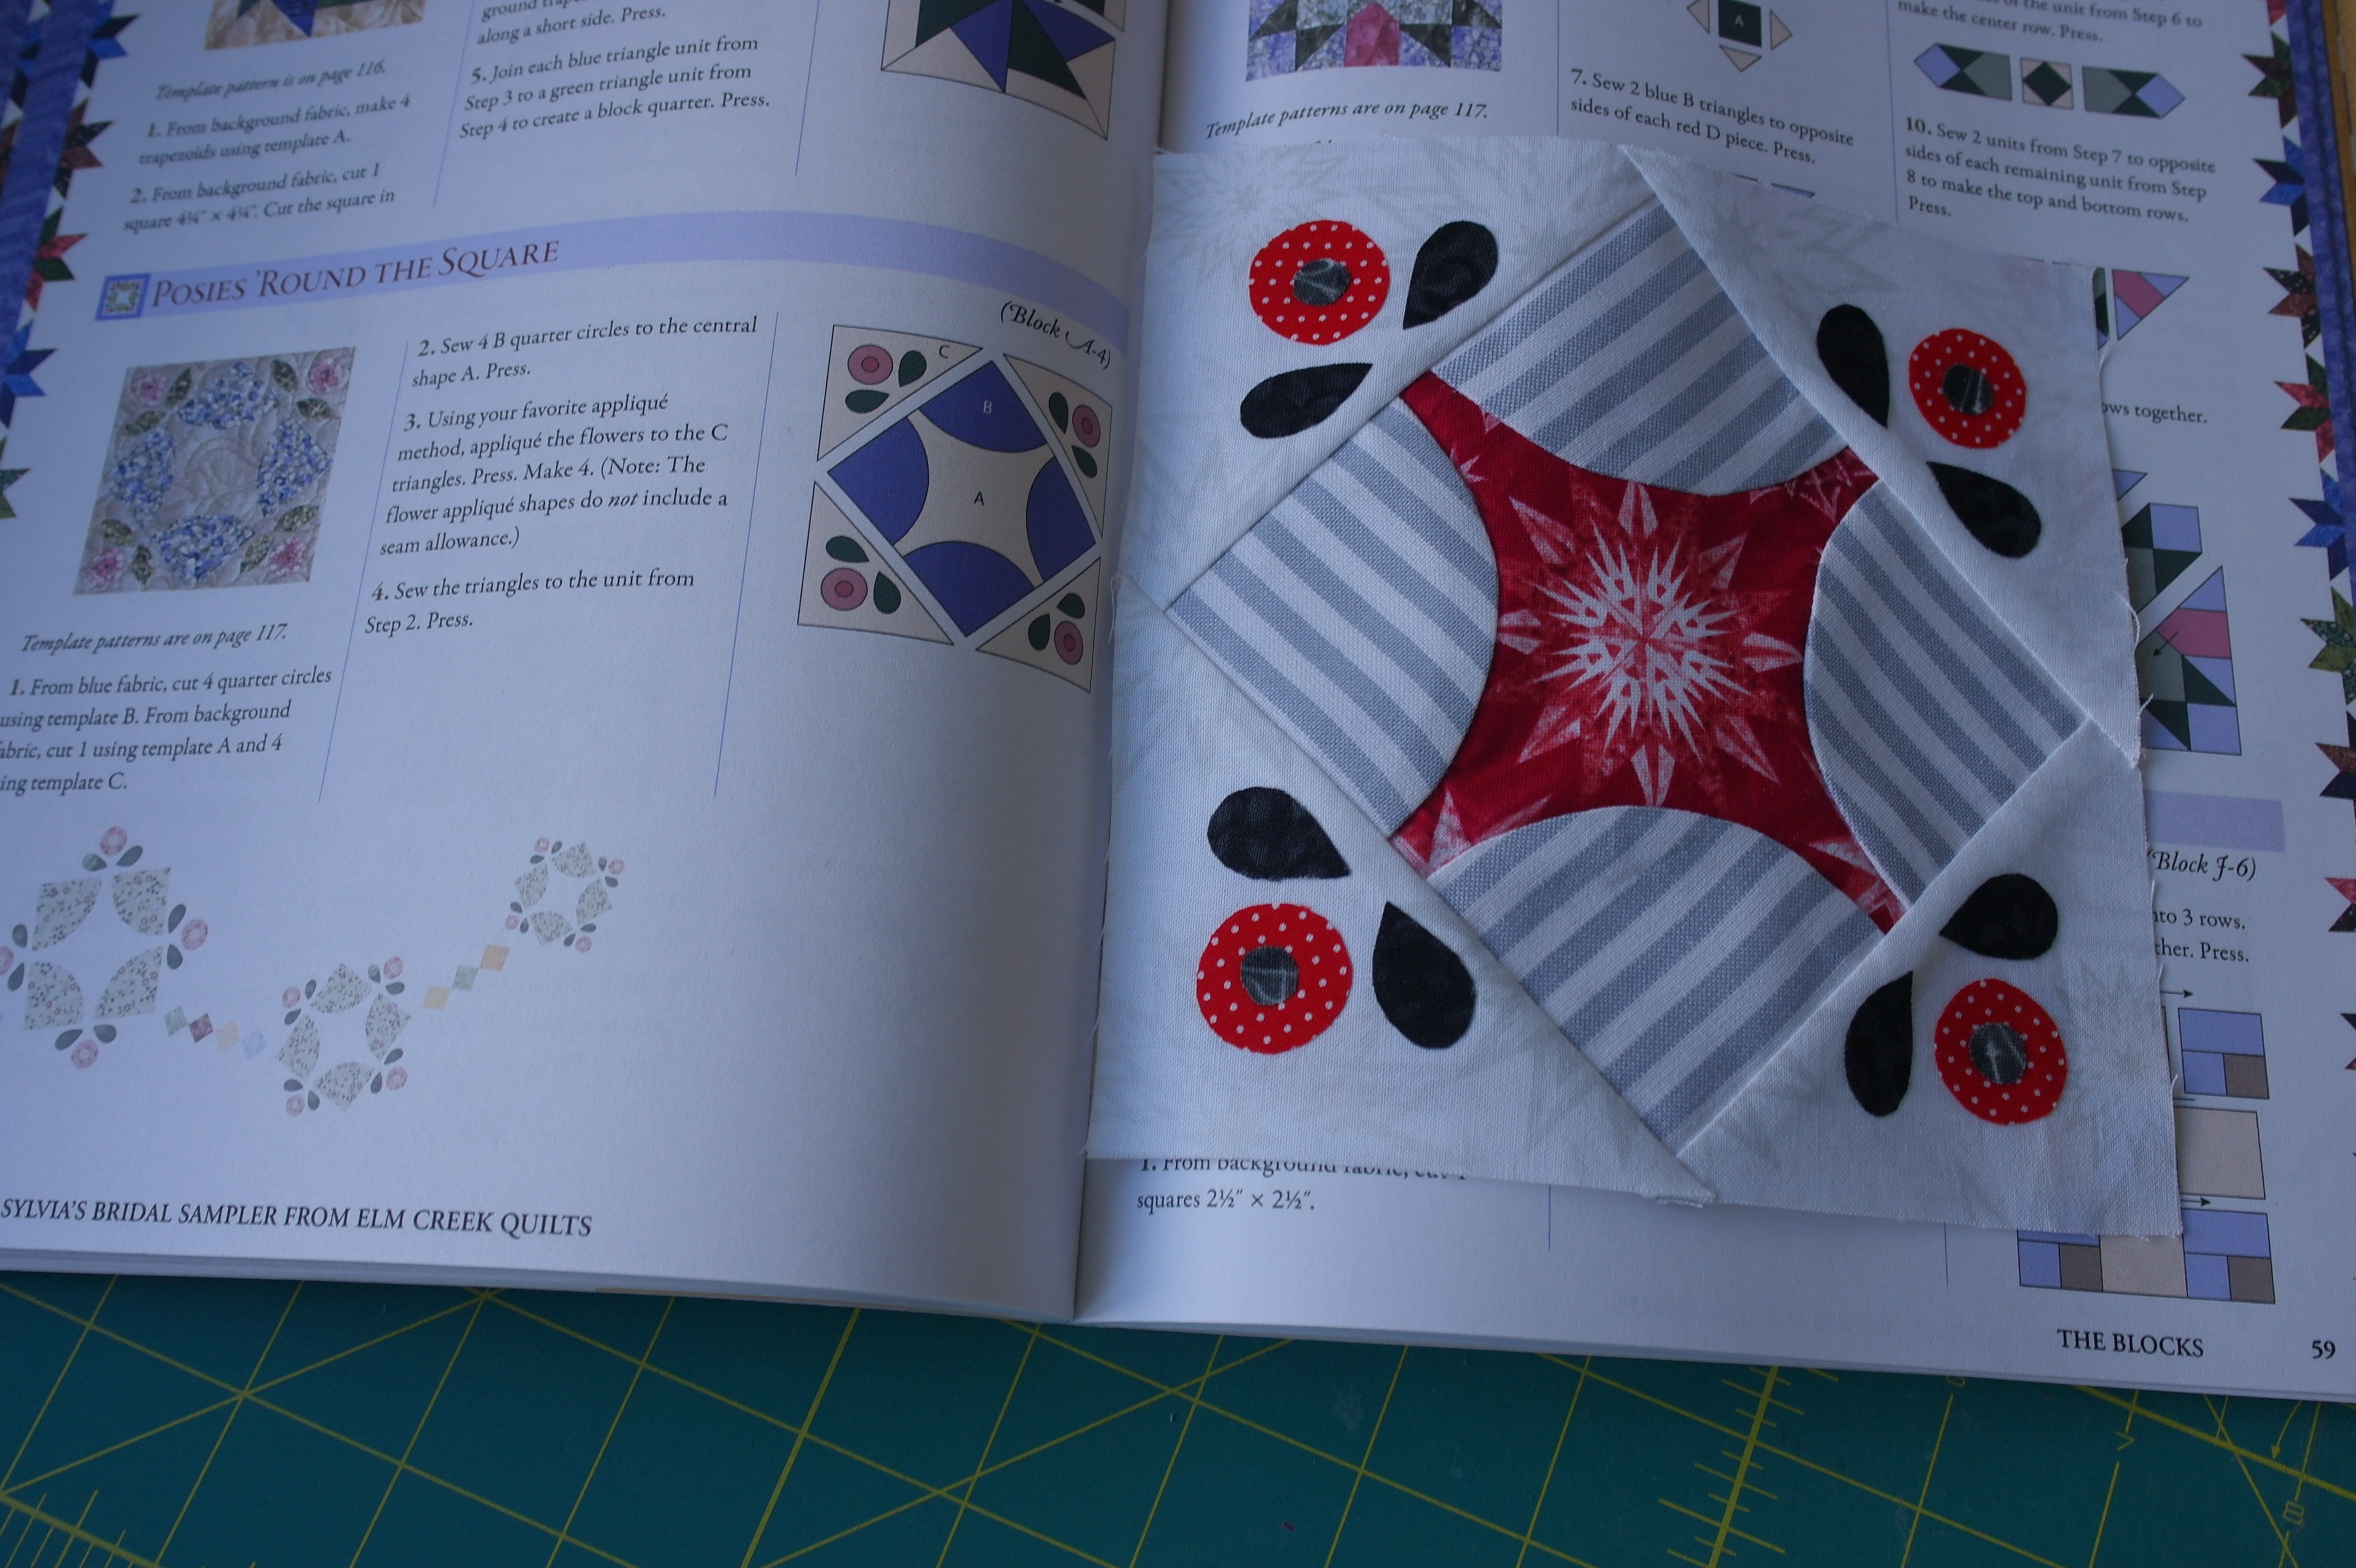
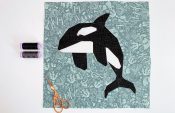
Blok A4 is done too: quite different from the original block, and that’s exactly how I want it.
Next time more blocks for SBS. See you then!
Sylvia Kaptein
Sylvia’s Art Quilts Studio


0 Responses