 BERNINA Corporate Blog -
After making the first few rows of the quilt along, some questions have been popping up in the comments below the blog posts, on Facebook and You Tube. So let’s do a FAQ with the most asked questions. When you have a questions that hasn’t been answered yet. Just leave it down in the comments below so we can help you over there.
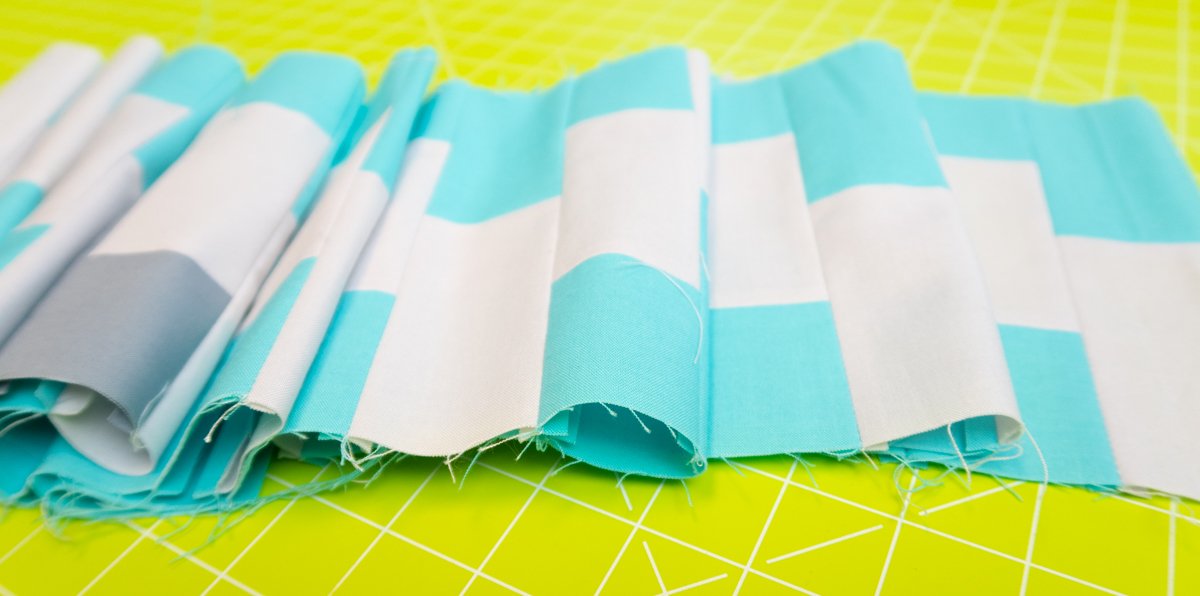
How long are your rows?
Why aren’t all the rows the same size?
How long should they be?

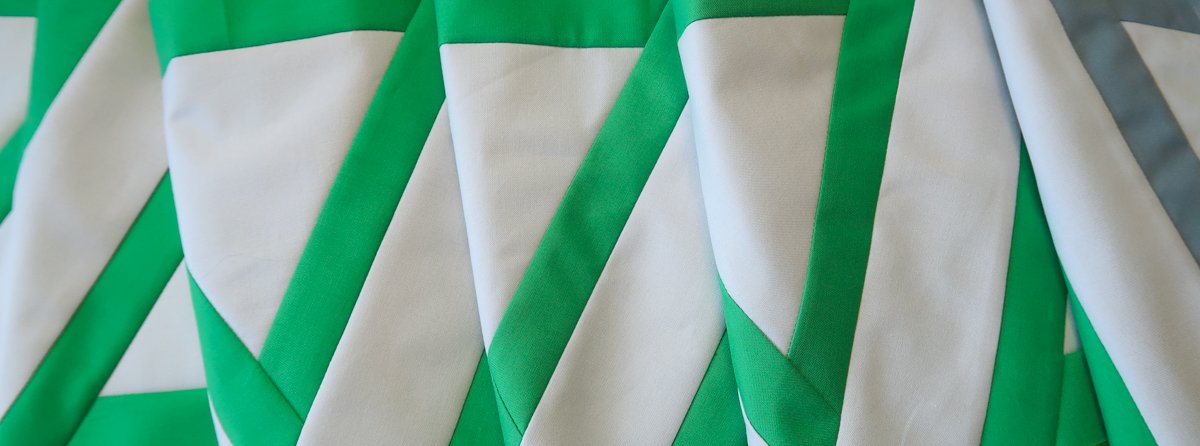
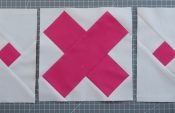
Sashing
The rows in this quilt will be assembled with sashing (thin strips) in between them. For those of you who want to cut those strips on forehand here is some more information about the sashing.
What do we need for sashing?

Which rows need sashing?
Some of you asked if they could already add the sashing to the row. Yes you can. But keep in mind that there are a few rows that already include sashing in the design. Those rows are row #6 and row #10.
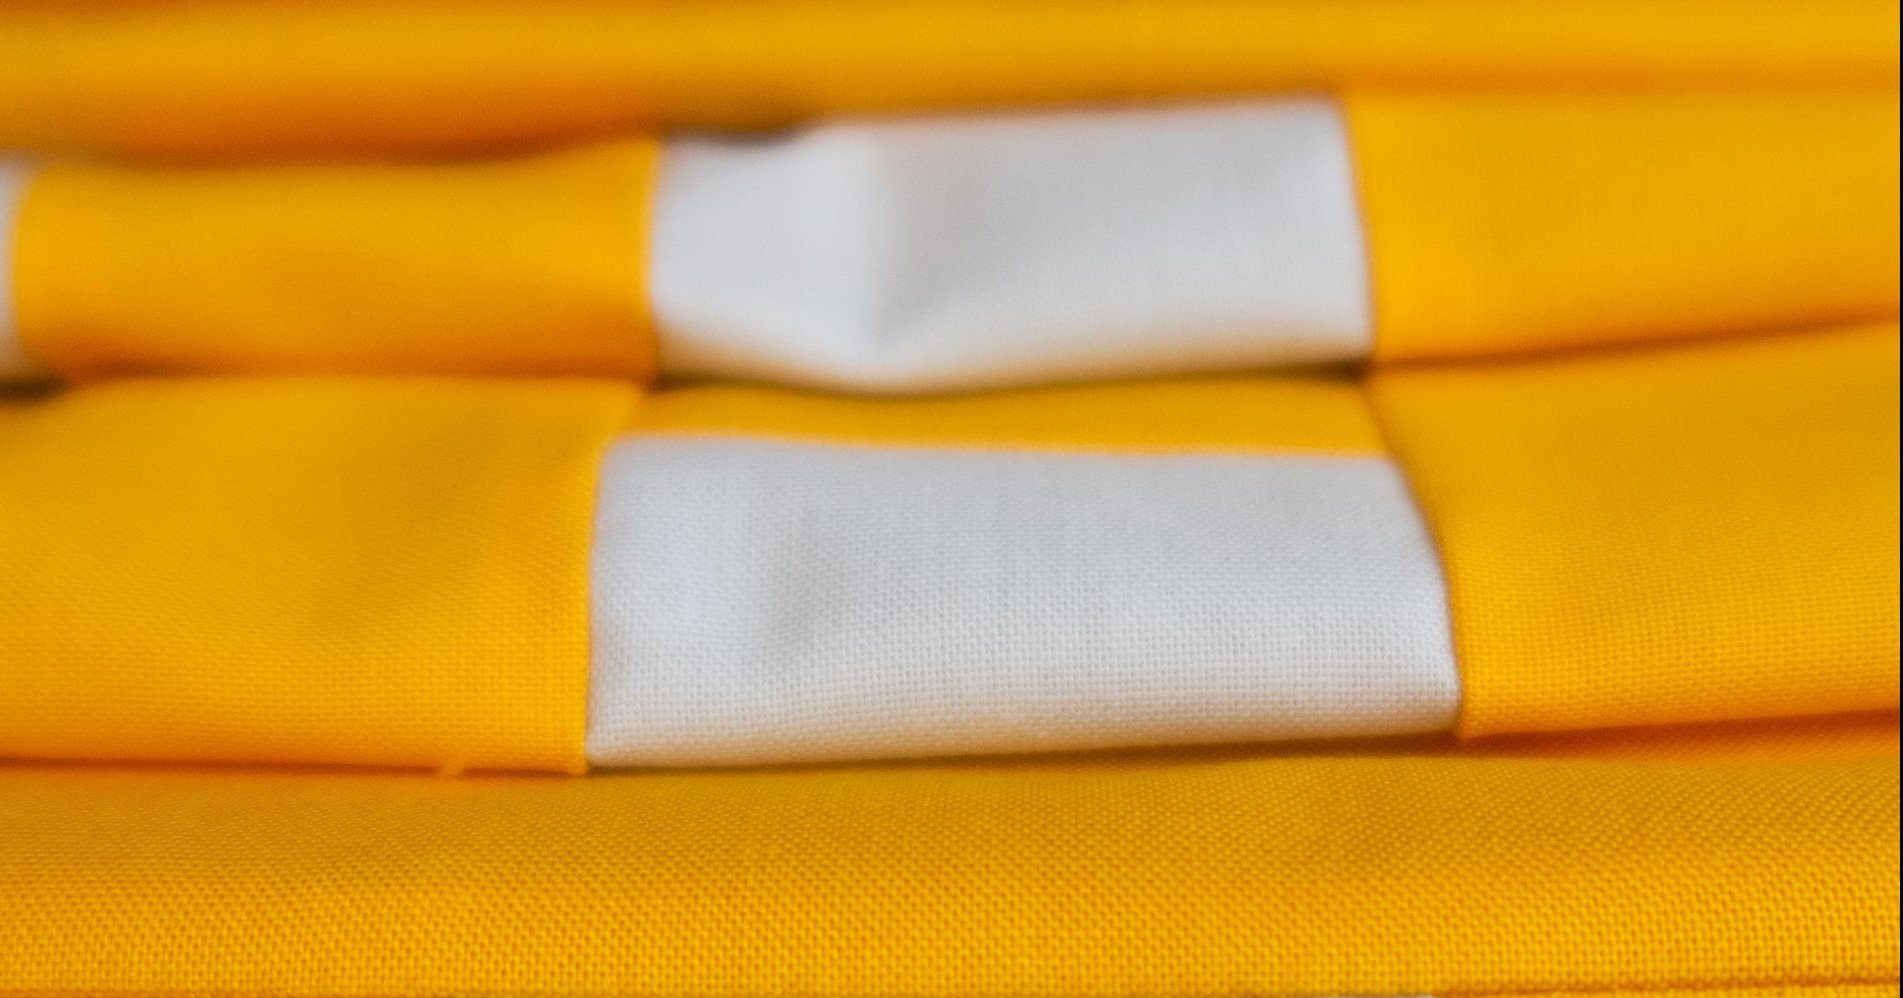
Row #6 has sashing included on the top of the row, so you only need to add sashing to the bottom of row #6.
Row #10 has sashing included on the top and bottom of the row.
This also means you don’t have to add sashing to the bottom of row #9, the top of row #11 and the bottom of row #5.
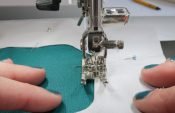
Foundation paper piecing
Many of you are trying foundation paper piecing for the very first time. That does bring up some questions. So here I’ll discuss what and why about foundation paper piecing with freezer paper and tea bag paper.
What is tea bag paper and where can I get it?
Tea bag paper is the paper that tea bags are made of. Haha yes, it’s as simple as that 🙂 It is perfect for foundation paper piecing because it is thin and sea through. You can leave it behind your work when your done. I have tea bag paper stocked in the Sugaridoo webshop in quantities of 1, 2, 5 and 10m.
Do I really need tea bag paper?
No. You can also just use normal printing paper, baking paper or any thin kind of paper that you have lying around. A sewing machine can sew through printing paper, so you do have other options than tea bag paper. When you are using something else than tea bag paper or another kind of foundation paper you do need to rip away the paper after you’re done sewing.
Freezer paper or tea bag paper?
For all my foundation paper piecing projects I either use freezer paper or teabag paper. These methods will give you the same result, so basically you can just go with the method you like best. The biggest difference is that you can reuse your freezer paper pattern, but a pattern on teabag paper can only be used once.
When I would only make one block of something, like in the Sugaridoo Sampler, then I would use teabag paper. When I need to make the same block many times, like in the Tree Tree House pattern, then I will transfer the pattern to freezer paper and use that to make multiple blocks.

Giveaway
A very exciting part of a quilt along is of course the giveaway. After our first Mettler thread giveaway we will have a giveaway with row 6 of our QAL and than the big one at the end when the rows of the quilt are assembled. Here are some FAQ’s about that.
How can I enter the giveaways?
The next giveaway will take place with part 6 of the quilt along. When you’ve finished all first sixs rows you can enter to win a bundle of fat quarters handpicked by me in the Sugaridoo studio.
In the blog post and video on part 6 you will find all the details on how to enter. Just make sure that you’re on schedule and have finished the first six parts of the quilt before part 7 is published 😉
I’m making two quilts, can I enter the giveaway twice?
Yes. Each finished quilt top will count as an entry for the giveaway.
I joined the QAL later, can I still participate in the final giveaway when I don’t participate in the half way giveaway?
Yes. The giveaways are separate events and they are not linked to each other.
I want to quilt my quilt in parts, is it OK if I don’t assemble my quilt for the giveaway?
This quilt is indeed pretty big to quilt it in one piece. So I’m going to show you how to quilt it in one piece and in three pieces. To enter the giveaway you can choose to assemble the whole quilt top. Or have it assembled in three pieces (four rows in each piece). These options are both valid for entering the giveaway.
I’m making my quilt smaller. Can I still enter the giveaway?
When you’re making your rows shorter or when you’re leaving out rows of the design to make your quilt smaller, you can not enter the giveaway.
When you’re scaling down the entire design, but still make all the blocks/rows in the same way that it was designed you can enter the giveaway.
Does anyone have a recommendation for backing fabric?
I finally caught up with my Sugaridoo QAL! July and August were spent gardening which put me way behind. I worked like mad and got the last 3 rows done this month….just in time for the final row. Can’t wait to put it all together


Love your fabrics. The circles look like planets!!
All caught up! Yeah! The Foundation Paper piecing has been fun! Learning a lot! Thank you. Great pattern. Think I will make it twice!
stumbled on the Sugaridoo QAL by chance while watching the awesomely inspiring, Karen Brown’s channel on You Tube, “JustGetitDoneQuilts”.
so I joined pretty late, but it’s been great and love seeing how creative everyone is and how infectiously enthusiastic and lovely Irene is, in presenting each row every 4 weeks. Have finished 4 so far. Took me a while to get everything cut and set as there were so many to make already! Hoping I can catch up soon before she posts the next one!

I’m behind schedule so i’m just posting part 6 row 7. Please explain how to post.
Here we are after the release of row 6. When is the halfway giveaway? I’m nearly caught up and I would hate to miss out when I’m sew close to qualifying.
I love all of your pattern and again, Thanks for sharing this quilt along with us. Who knew how important it would have become for us to have this positive and happy project to look forward to each month! Stay safe ❤️
Melissa from Canada
Ok I believe this has been answered already but I would like to make all rows bigger to fit my king bed. Will I still be eligible for give away with mine bigger
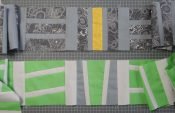
A few weeks after completing the Delta Row that the pattern didn’t print full size. My row was 6 3/8 inches too short and 1/2 inch too narrow. I added another piece with 2 half deltas to solve the problem
Thanks Irena,
I’m having lots of fun.
cheers
Seren
My main concern is about respecting the grainline with foundation paper technique, eg my strip with indication of the grainline.
Thanks for explaining the difference in the row lengths. The one I was most concerned about was my delta row that only measures 70 inches. It’s very awkward to add a half inch to a row. I remade my accent triangle and left it untrimmed at the end so when we are finished I can cut it down to the correct size. This might be helpful if anyone else had the same issue. Thanks!
Thanks Irene! Have a great day!