 BERNINA Corporate Blog -
As soon as the Inspiration Spring 2020 (01/2020) magazine arrived at my home, I was inspired by the little birds for machine embroidery. I had an idea to create birthday cards: three cards, one with a bird.
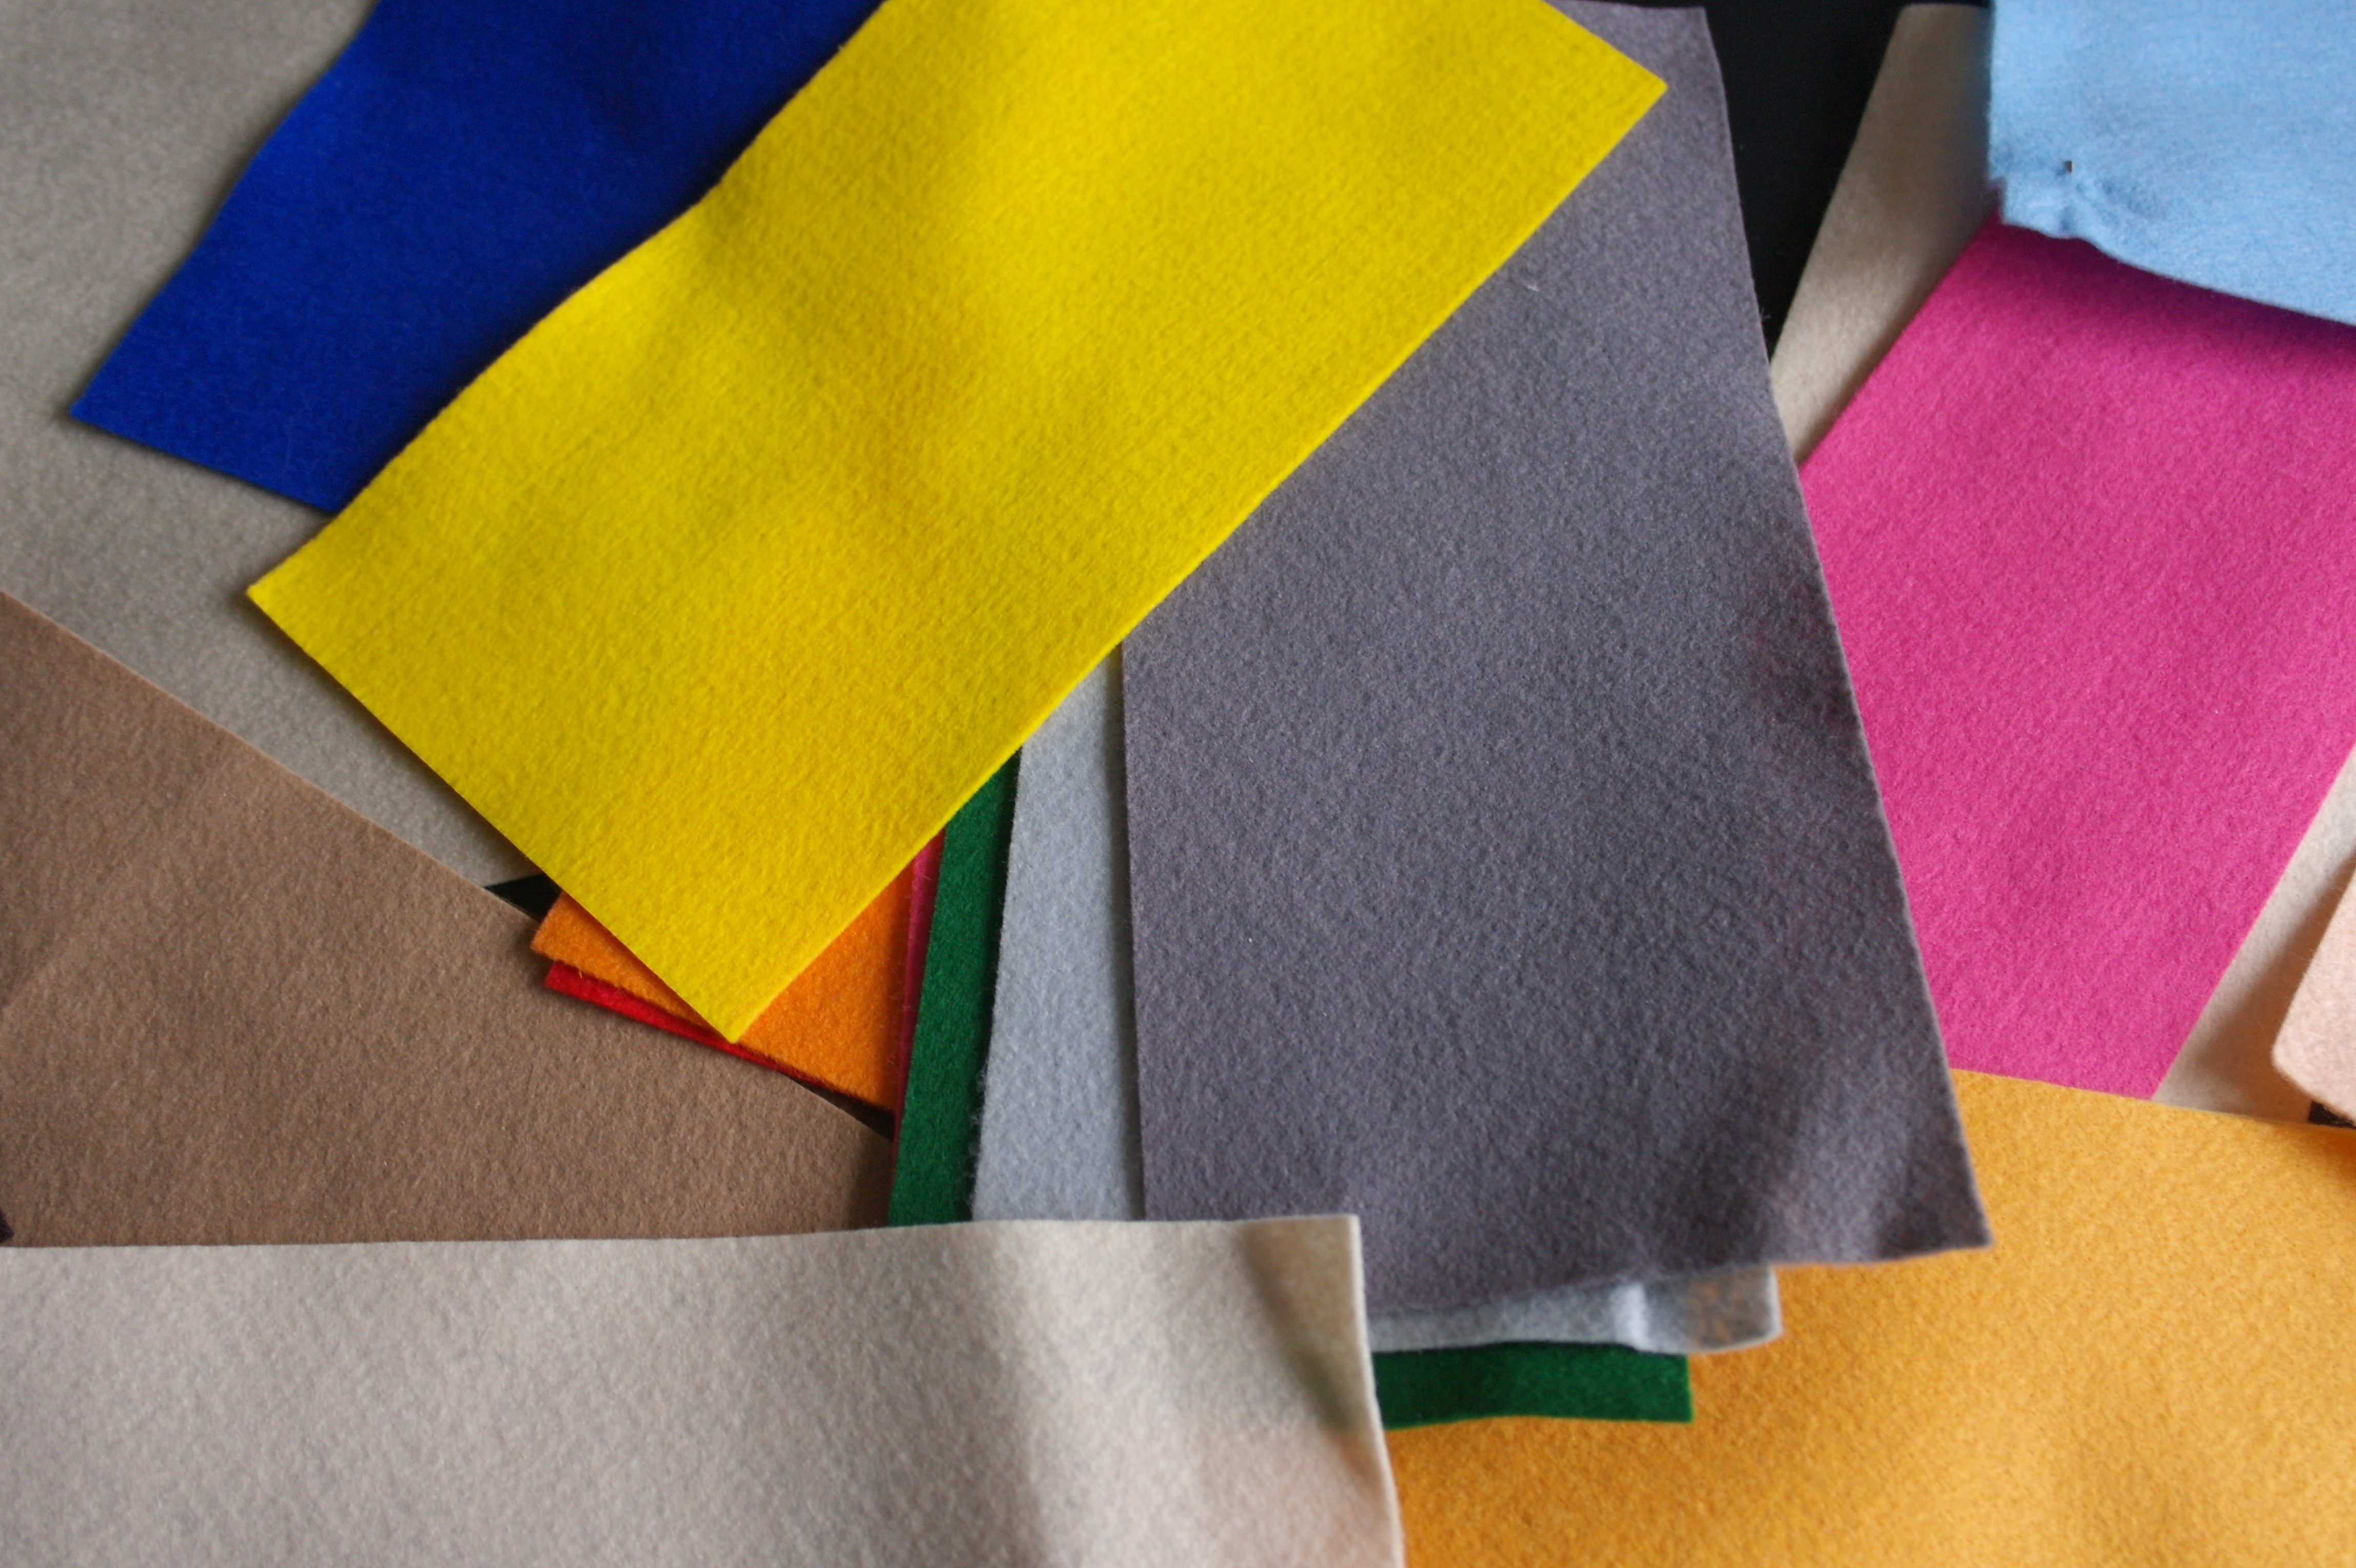
You don’t need much material: so this is a sustainable project. Remnants of Embroidery Felt, embroidery threads etc, are sufficient, because the birds are small, with little objects/parts to embroider.
What do you need?
- Larg(er) remnants of embroidery felt (not to thick) – the size of a card you can fit in an envelope minus 1,5 cm
- Left overs from Sulky Rayon 40
- Bobbins with DecoBob/Wonderfil
- Bohin Glue pen
- Of course the BERNINA Borduursoftware V8
- The embroidery designs from the BERNINA/Inspiration 01-2020: you can download them via the website: go to Inspiration Magazine, issue Spring 2020 (01/2020), free downloads, you will find the birds with ‘Spring is Coming’.Better is to subscribe to Inspiration, or purchase it from your BERNINA Dealer – there are much more projects to look at. BUT REMEMBER: there is always a copyright to respect the designer. You can use and edit the design for personal use, to create something as a present, but honour the person that has done all the preparations en designing, for you just to edit. You are not allowed to re-sell the designs.
- Your embroidery machine: I will use my BERNINA770QE with embroidery module
- Embroidery Foot #26
- Required embroidery hoop
- Sewing machine with open embroidery foot #20C for the second part
- Stabillizer- also for the second part.
Preparations.
I have cut embroidery felt to a size of 12 x 16 cm – I have measured an envelope in which I will send the cards. Those measurements were 13,5 x 18,5 cm, the embroidery felt was cut approx. 1,5 cm smaller to fit. This has to do with the thickness of two layers of embroidery felt.

This is the envelope and one cut sheet of embroidery felt.
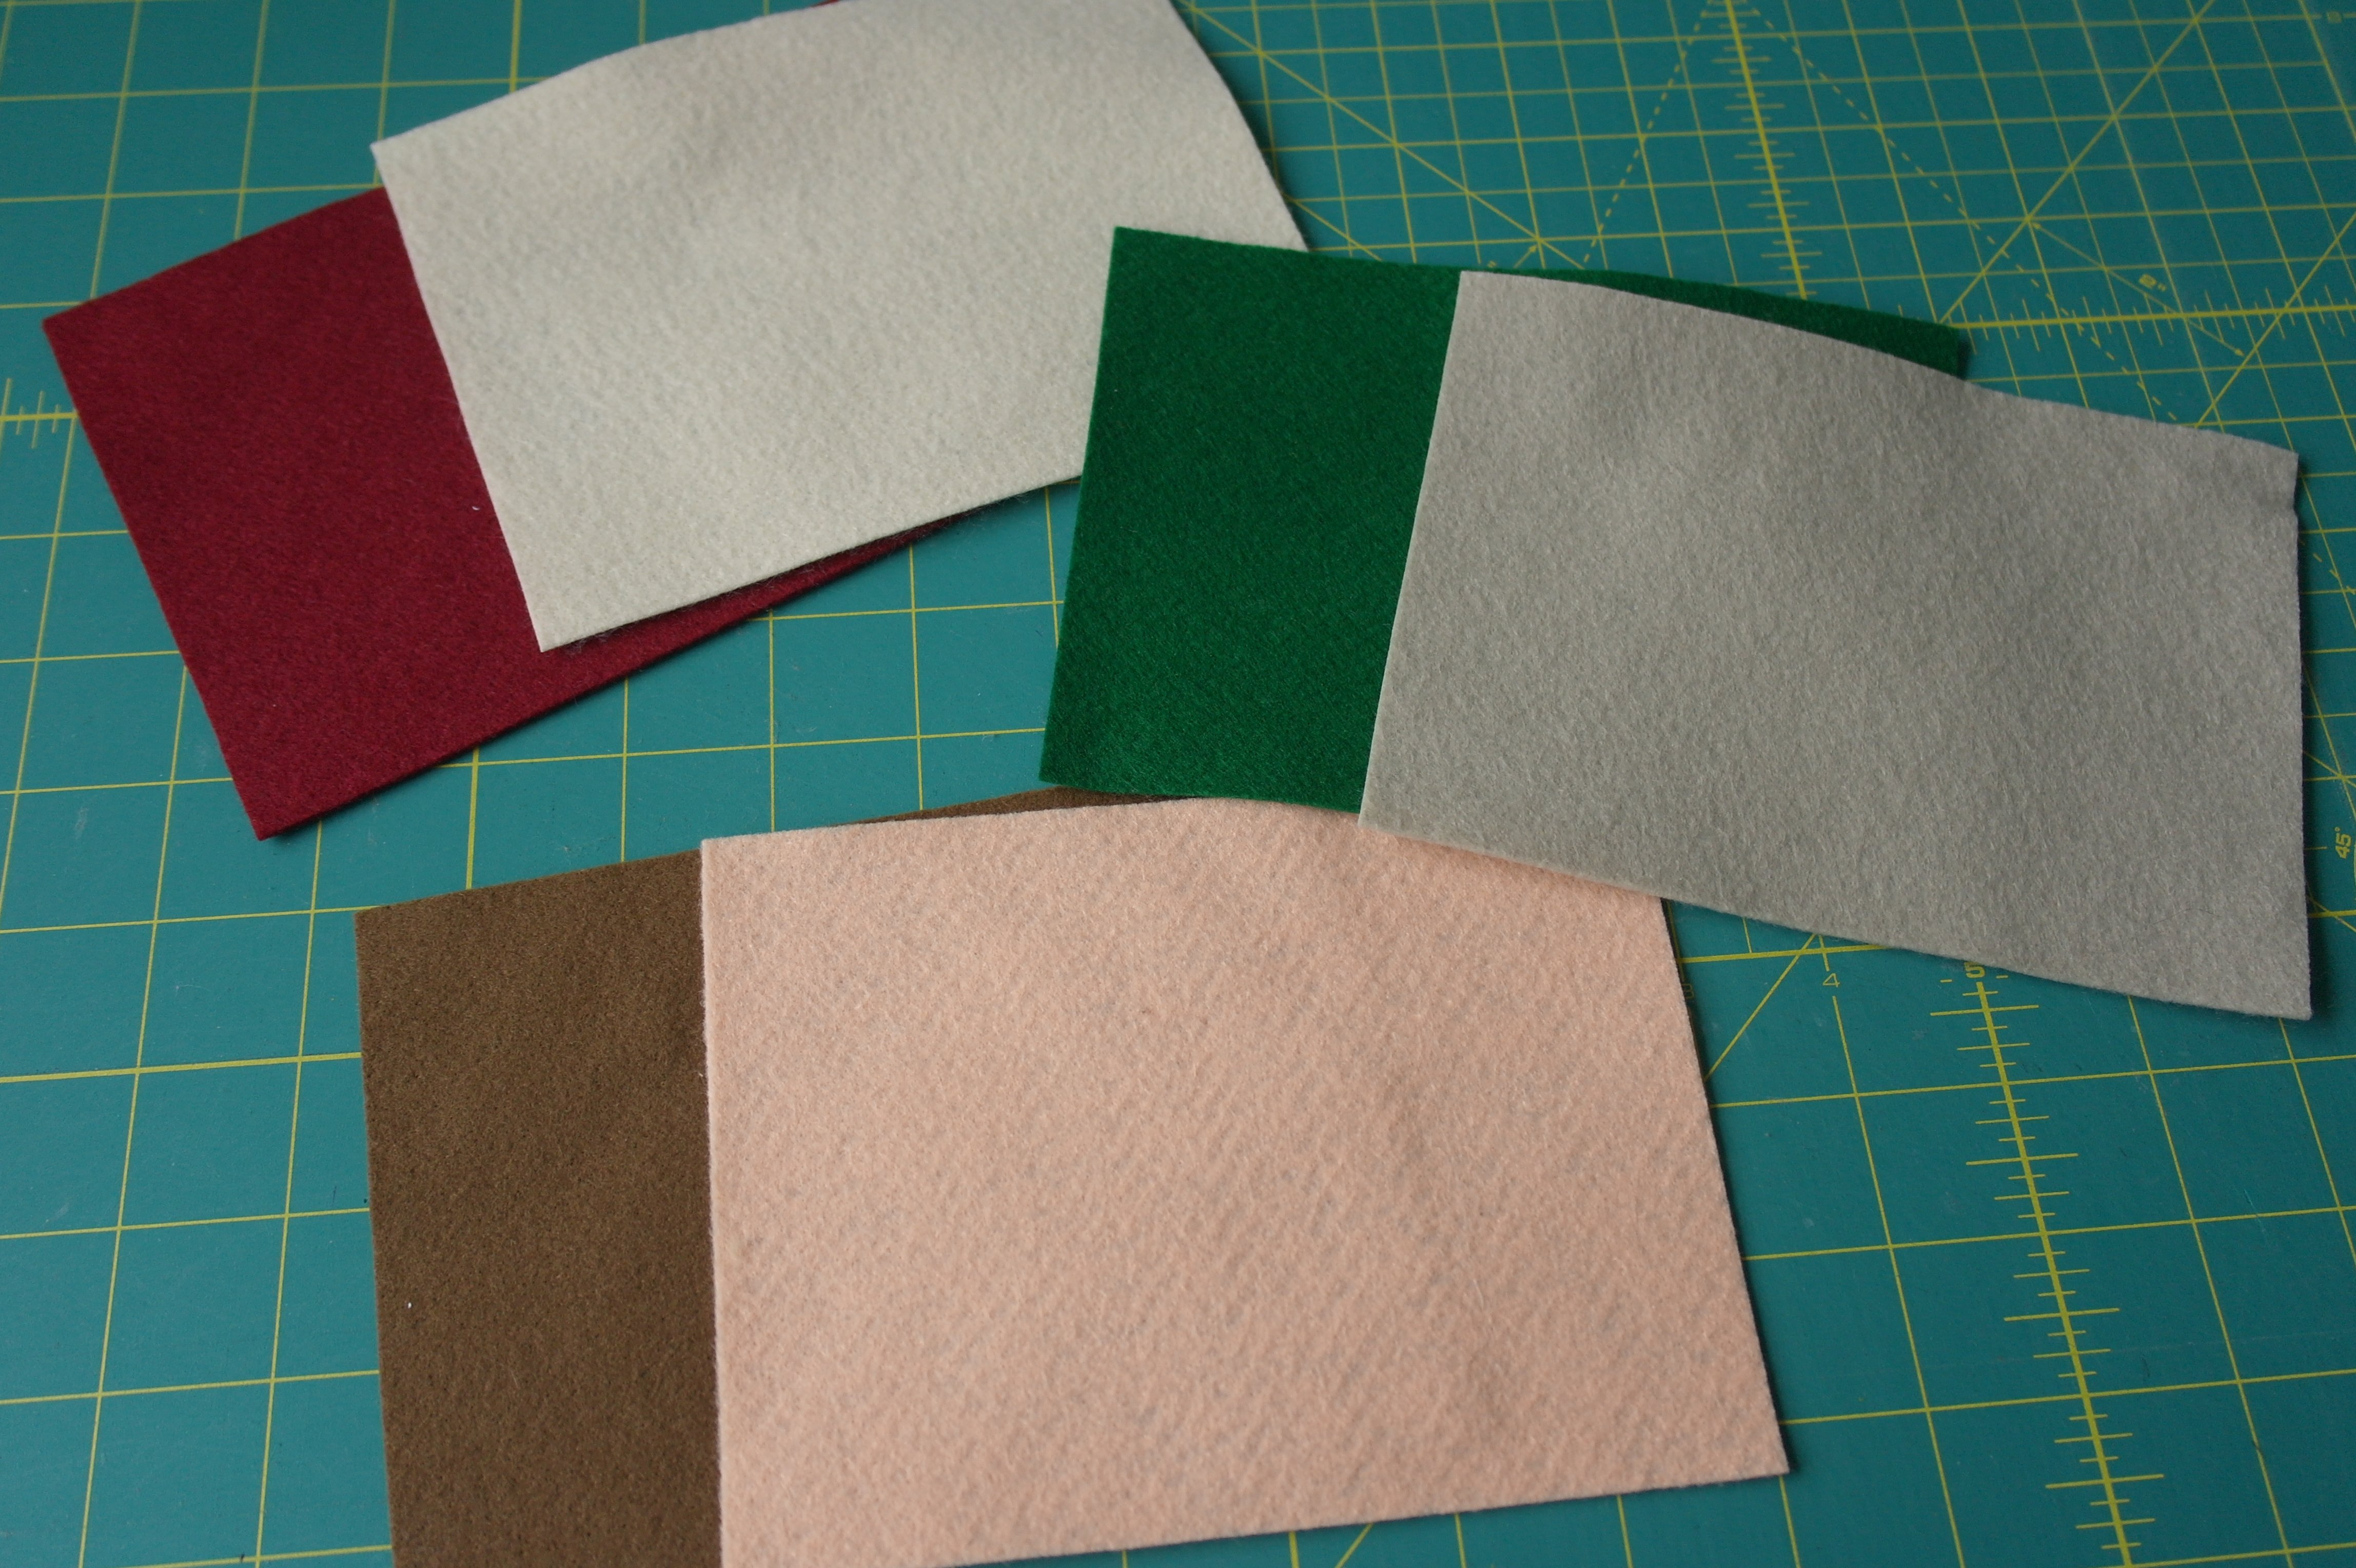
I will use two colors for each card: light for the front, dark for the back. These are my three combinations.
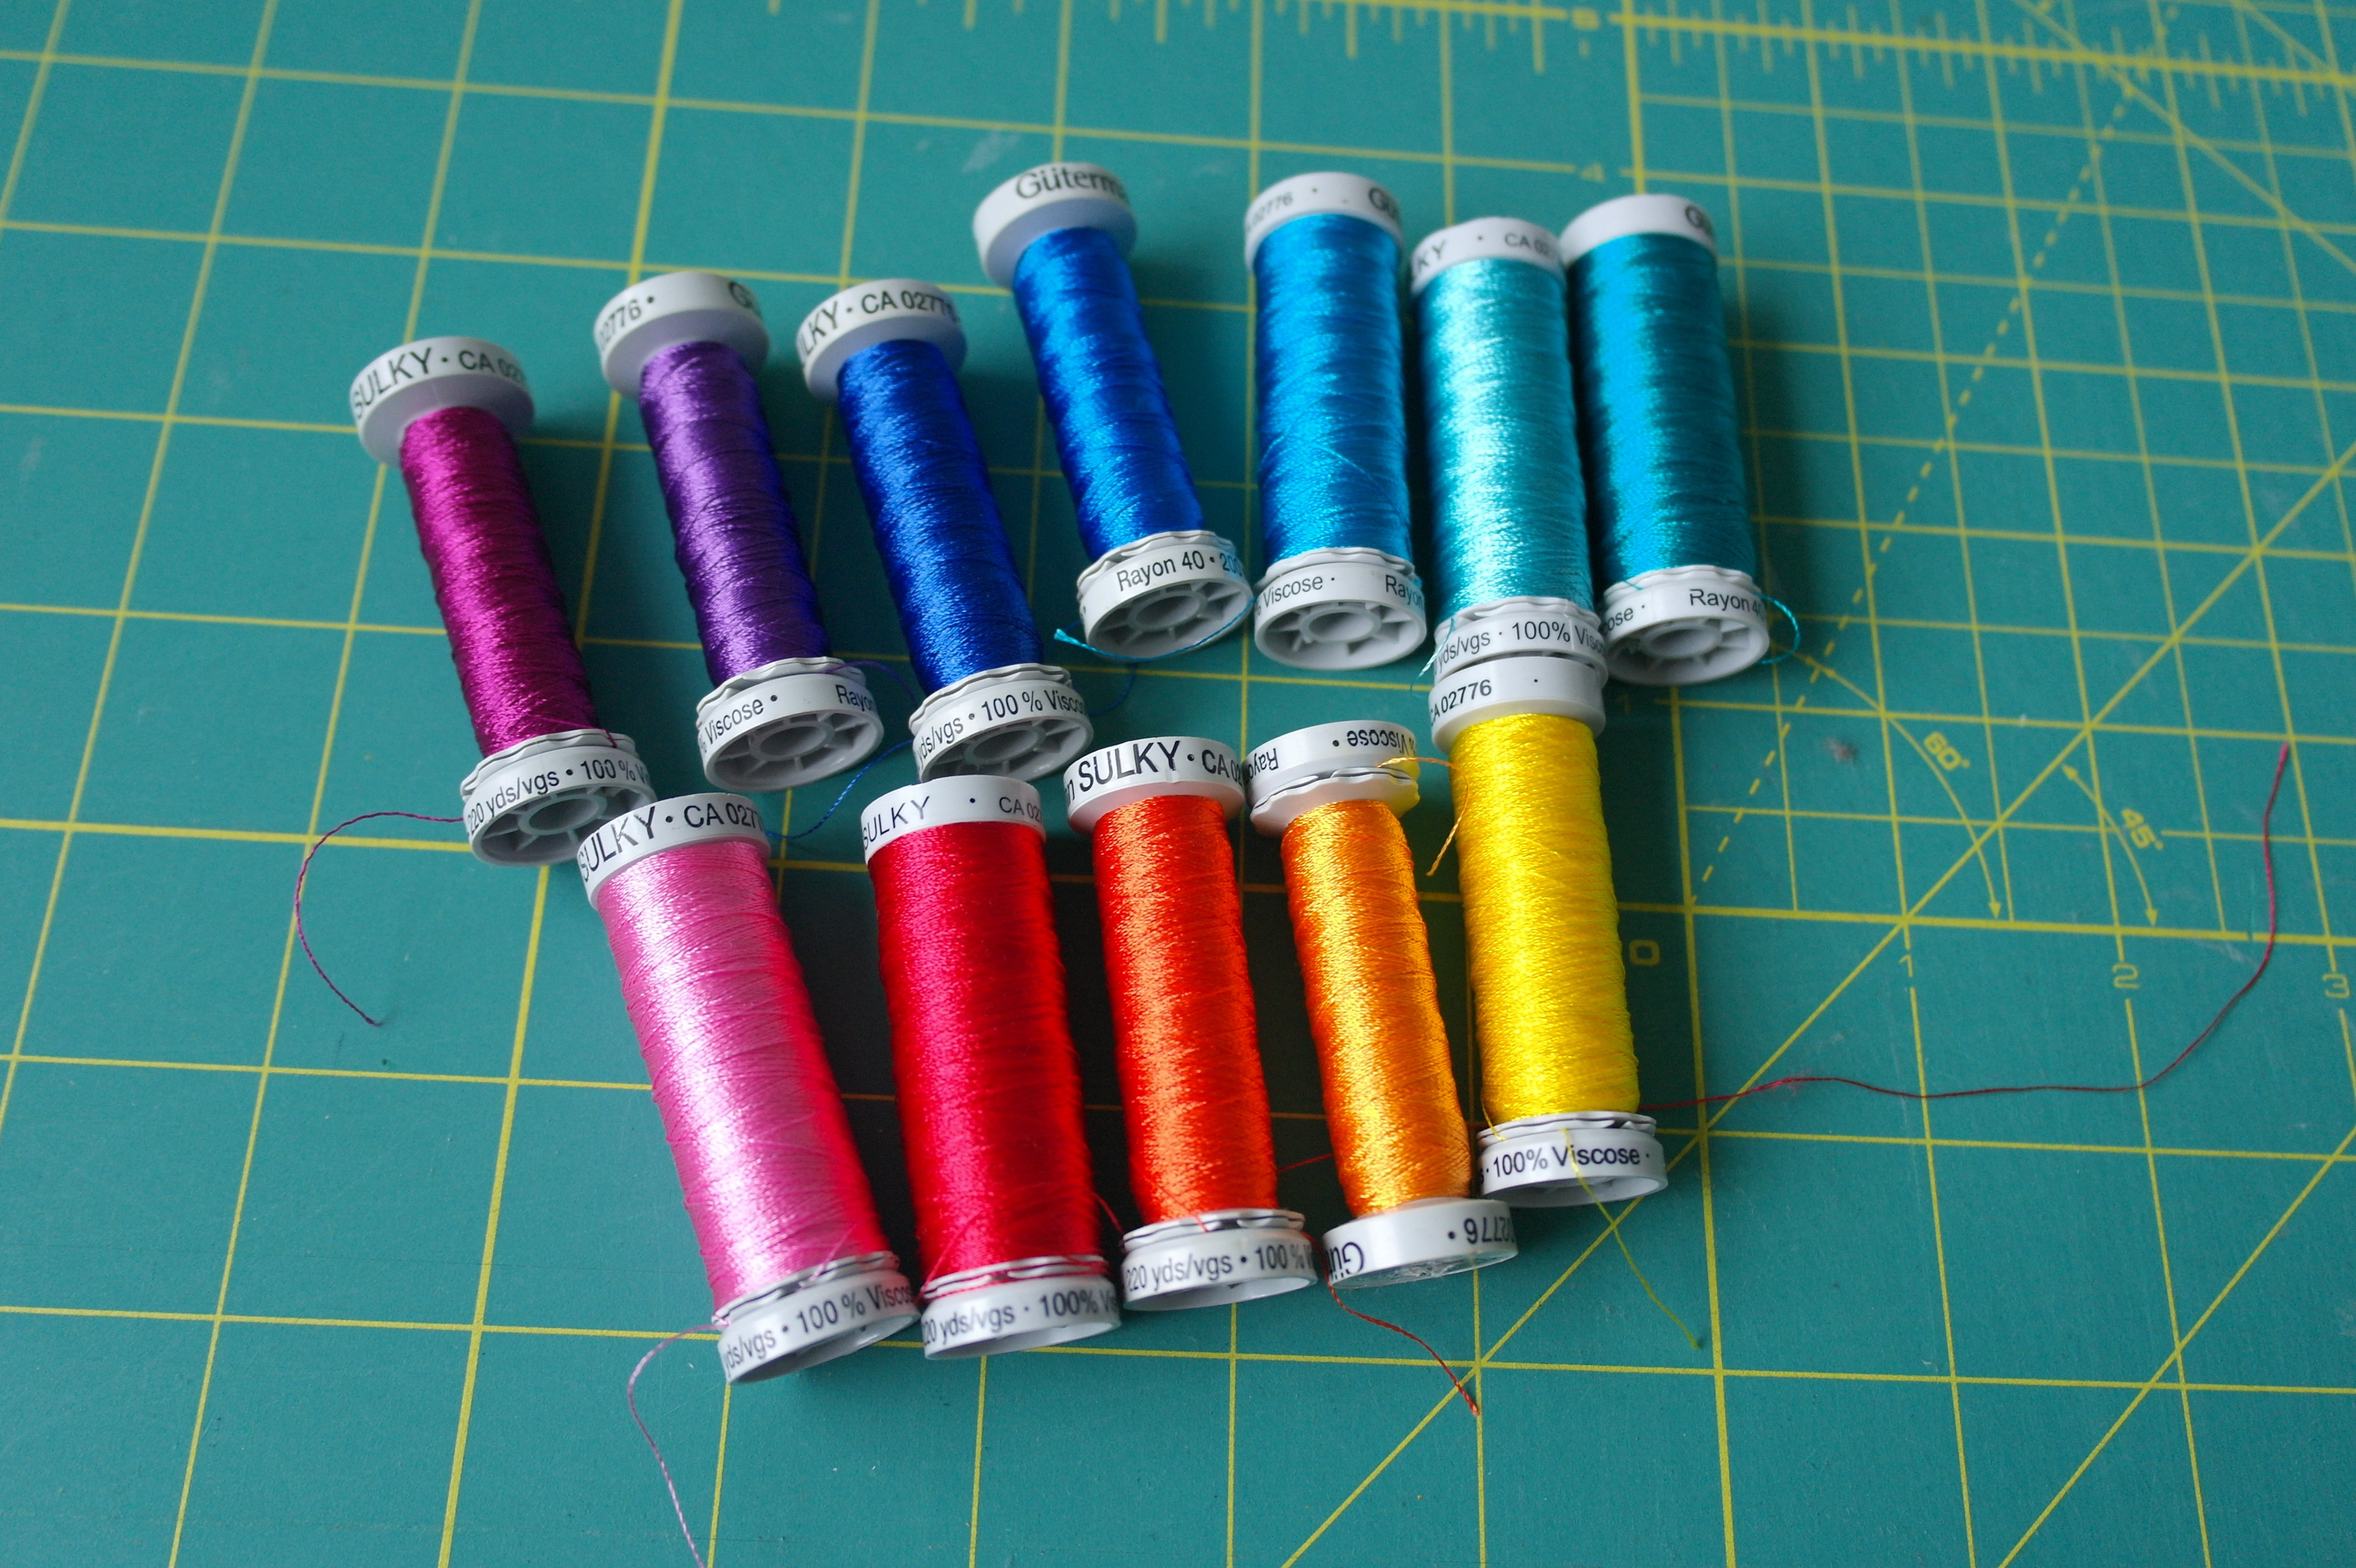
Bright colored Sulky Rayon 40 is ready: sometimes you will need just a little bit of thread, so you can even use spools with a small amount left.
The embroidery file.

Downloading the embroidery files from the BERNINA website, there are a couple of options for the birds. I have chosen file 120-47_Birds_MaxiHoop.ART80 because all three birds are available with this design.
I have removed the lines by clicking and ‘Delete’, because I will just need the birds.
Each bird is then selected separately – drawing a marquee around it.
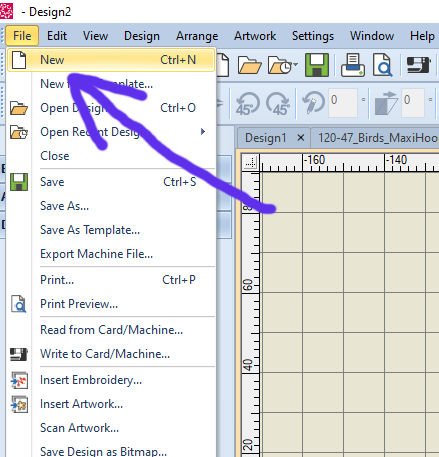
Use Ctrl+C (Copy) to copy the bird, use ‘File’ with the Menu bar, and click ‘New’,
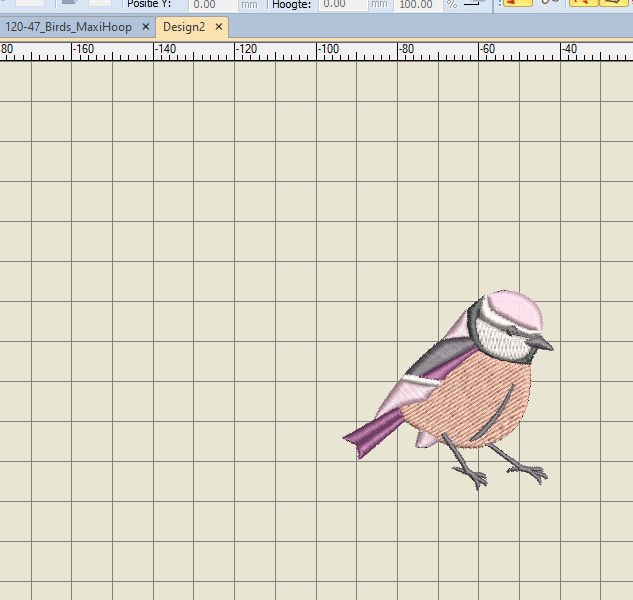
then use Ctrl+V (Paste) to place the copy on a new tab, which will be called ‘Design2’.

Save it under a different name to preserve the original design, and edit this new one. Mine is called: ‘Vogeltje1’, in the category ‘Vogeltjes Inspiration 1_2020’. This way I can find it again, for future use.
Editing the bird.
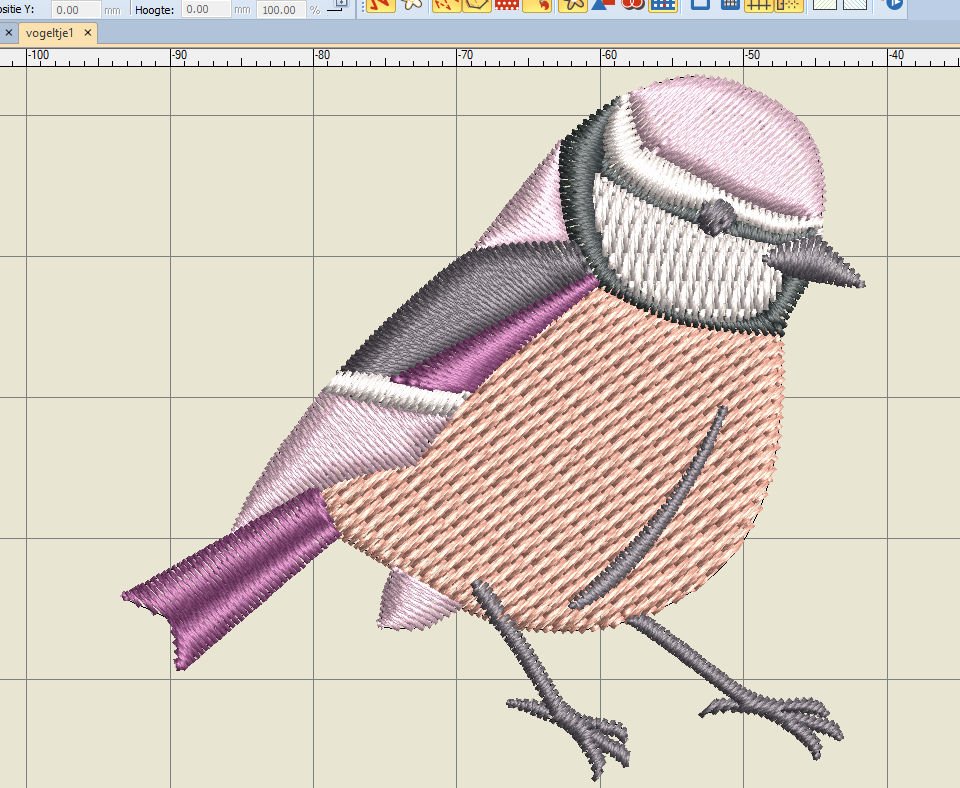
No matter how nice the original bird is, I will edit it. As you can see, some objects are made with Satin stitches: I don’t like to use this for my cards, since these stitches are often long and fragile. With placing the embroidered card in an envelope, and the recipient pulling it out, the stitches can distort.
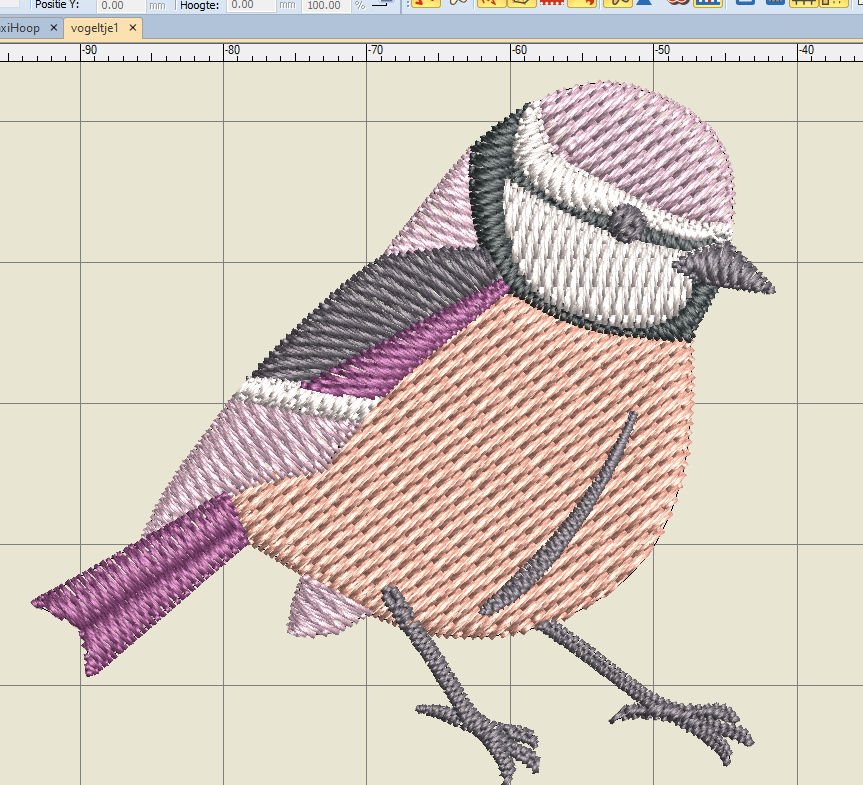
So, I will turn them into Straight Stitches: selecting the entire design and use the icon at the Stitch Bar. That means the stitch count will increase: from 2.993 to 4.026, because there are much more needle penetrations. But that’s not a problem.
Changing colors.

The colors are not the ones I would like to use: you can change them to your threads. I will use Sulky Rayon 40. By selecting the objects, via boxes in the docker ‘Color Film’ you can change the color number via ‘My Threads’. For Sulky numbers, fill out ‘942-‘ before typing the number. So color 1192 will be 94201192.
Select an object, choose the right thread/color and use ‘Enter’ to set.
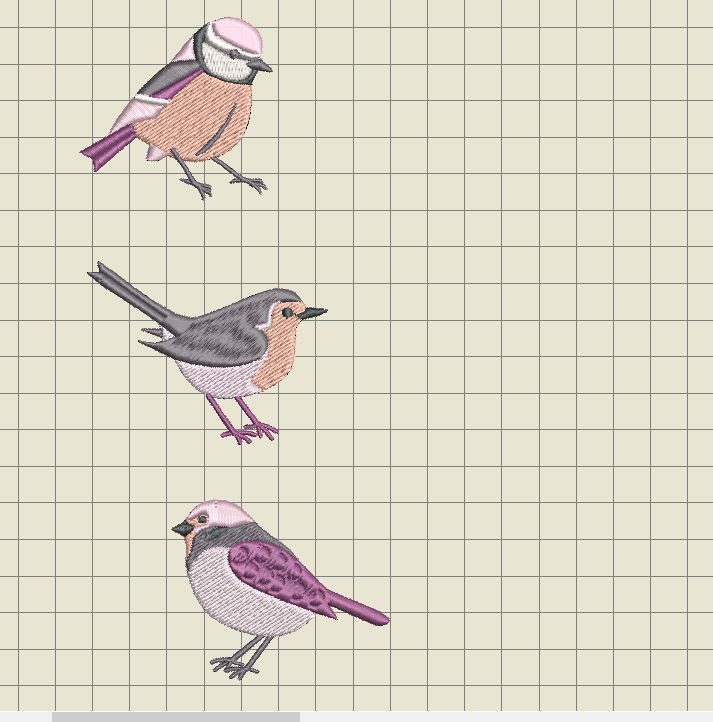
I’ve changed the three birds separately. Sometimes I’ve added colors, where multiple objects originally were colored the same, to make my own adaptation. It’s fun, to change it like this: you can even make a black and white bird if you like.

Clicking on ‘Hide Unused Colors’ will leave just the used colors. I’ve saved this design – again, I cannot emphasize enough, to do this often while working. You never know if there comes a power failure, or something else happens with your computer. You don’t want to start all over again after editing.
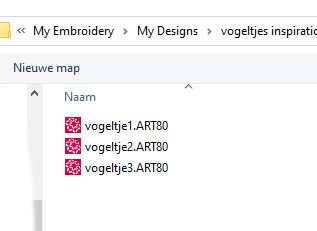
These are my three files (in Dutch): bird1, bird2 and bird3.
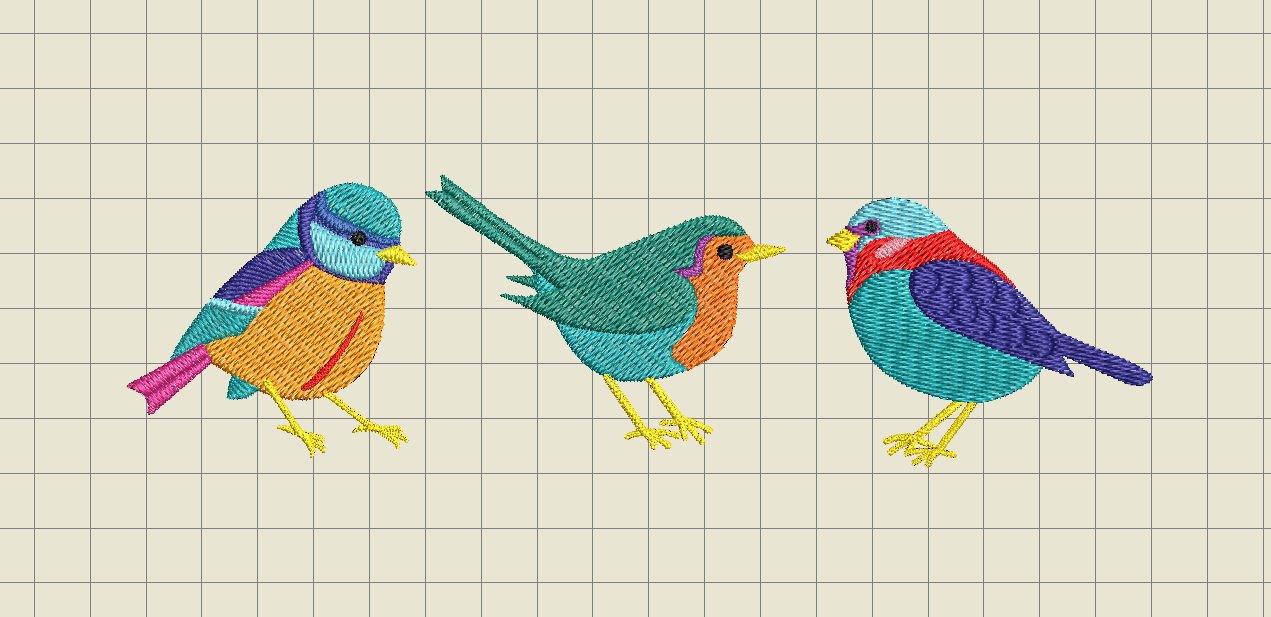
I’ve placed them together, to show how different they are after changing colors and editing stitches.
What else can do to make embroidery easier?
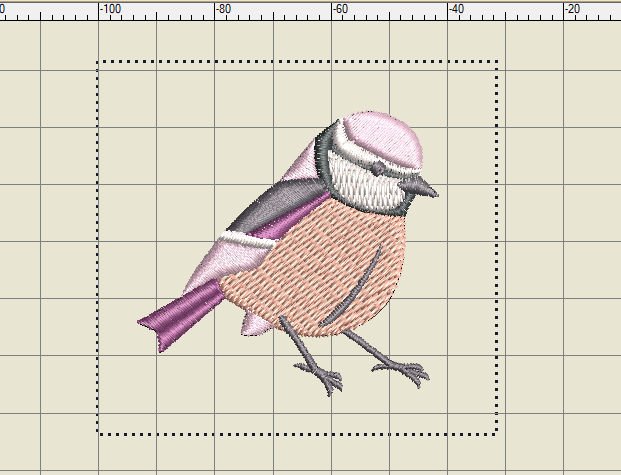
If you know the measurements of the object you are going to embroider, you can use ‘Show Work Area’ . This way you can add text, replace the bird, or even embroidery multiple birds on that work area. Because I am making cards, I know I will need a piece of Embroidery Felt – 12 x 16 cm, so my work area should be the same size. –
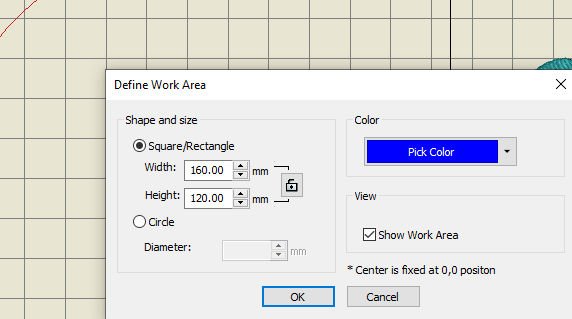
Changing the size of the square/rectangle is easy: change the width and height, opening the ‘lock’ by clicking on it, to be able to change both into different numbers. Also the color of the workspace can be changed: I chose a blue color. Be sure the box ‘Show Work Area’ is checked.
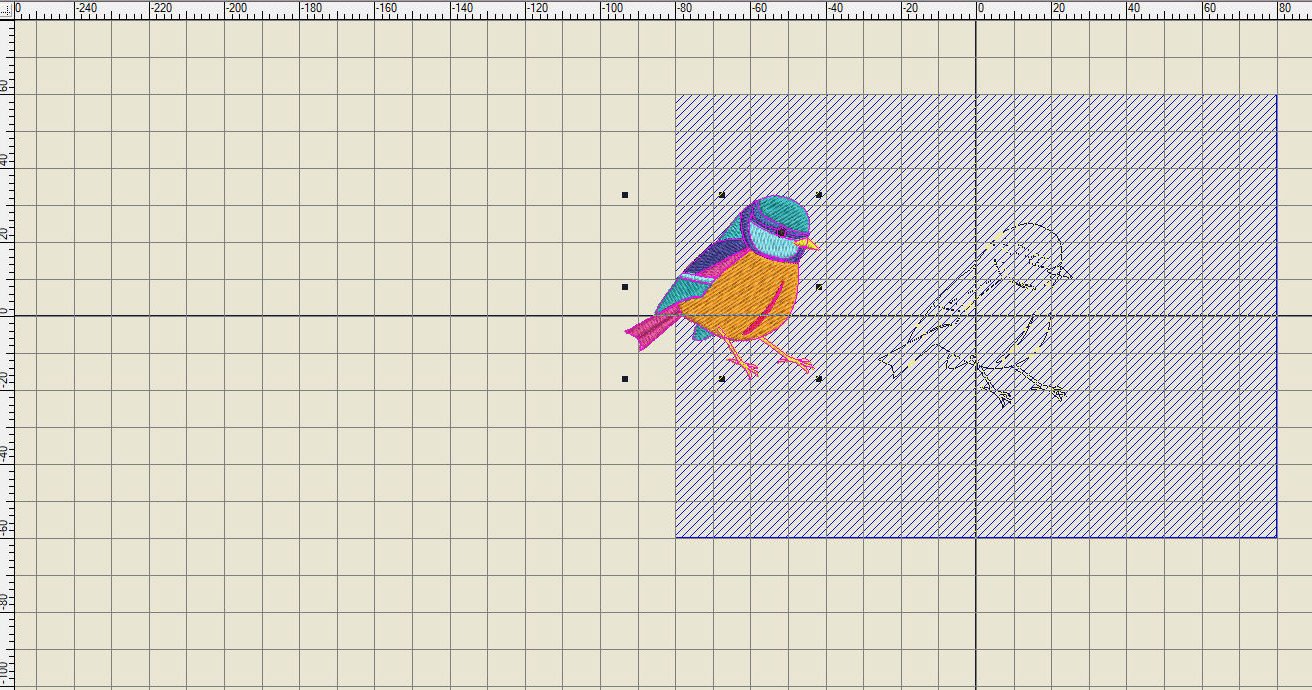
PAY ATTENTION: below ‘Show Work Area’ V8 tells you ‘Center is fixed at 0.0 position’. If you want to center the bird onto the work area, find the 0.0 position of your workspace. or click and drag the bird to a different position, if you want to use the empty space for adding text.
Adding text.
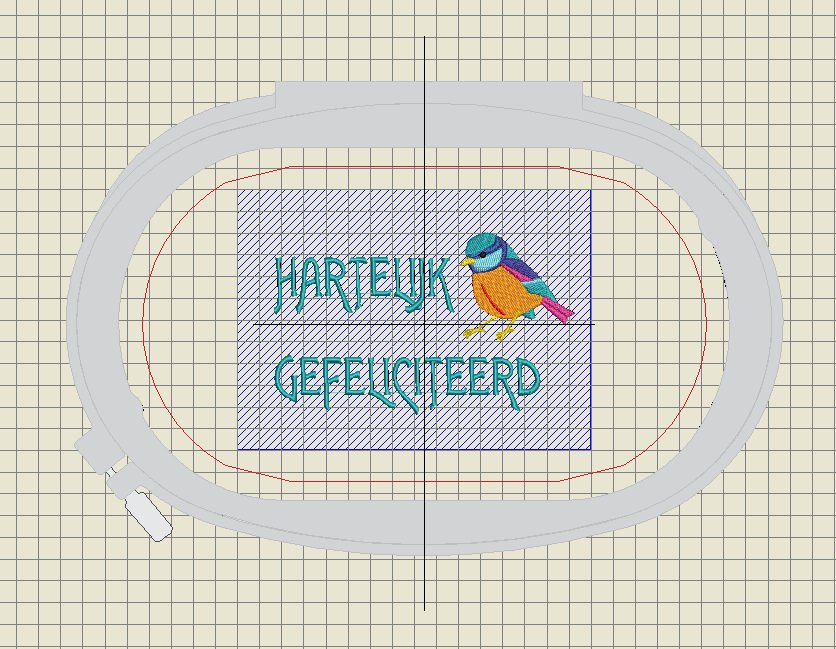
I’ve mirrored the bird, placed it to the right, to be able to add text to the left, using ‘Lettering’ with the left toolbar ‘Toolboxes’, ‘Digitize’. There are two options:
- Left mouse click: option is activated – click on the spot where you want to place the text, and start typing. Afterwards you can change the font or editing hight and width, by double-clicking on the text.
- Right mouse click: menu with ‘Object Properties’ appears: fill out the text in the empty box, choose a font and change size/spacing. Use ‘OK’ to set.
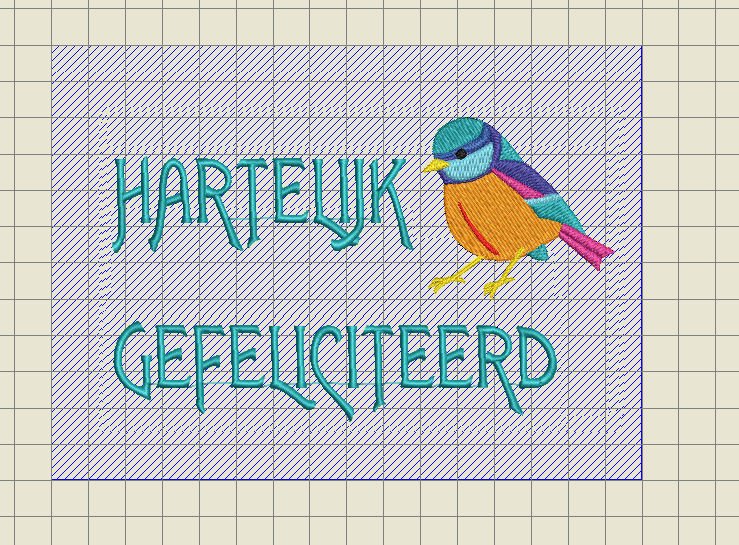
The picture above show my card: the Dutch text is translated as ‘Happy Birthday’. The font is ‘Alice’, by default in the font-list with ‘Lettering’. It is a ready-made embroidery font in V8.
With the bird and text placed on a work area, I know how my card will turn out before the actual embroidery.
Choosing the right embroidery hoop.
I will use the Large Oval Hoop: right-click on ‘Show Hoop’ to set the type of hoop, the embroidery foot (#26) and ‘automatic centering’. Set by using ‘OK’.

The hoop is vertically placed over my embroidery design, but as you can see, it should be horizontally. I can rotate the design, but better is to rotate the hoop (2 x 45° or rotating 90°.
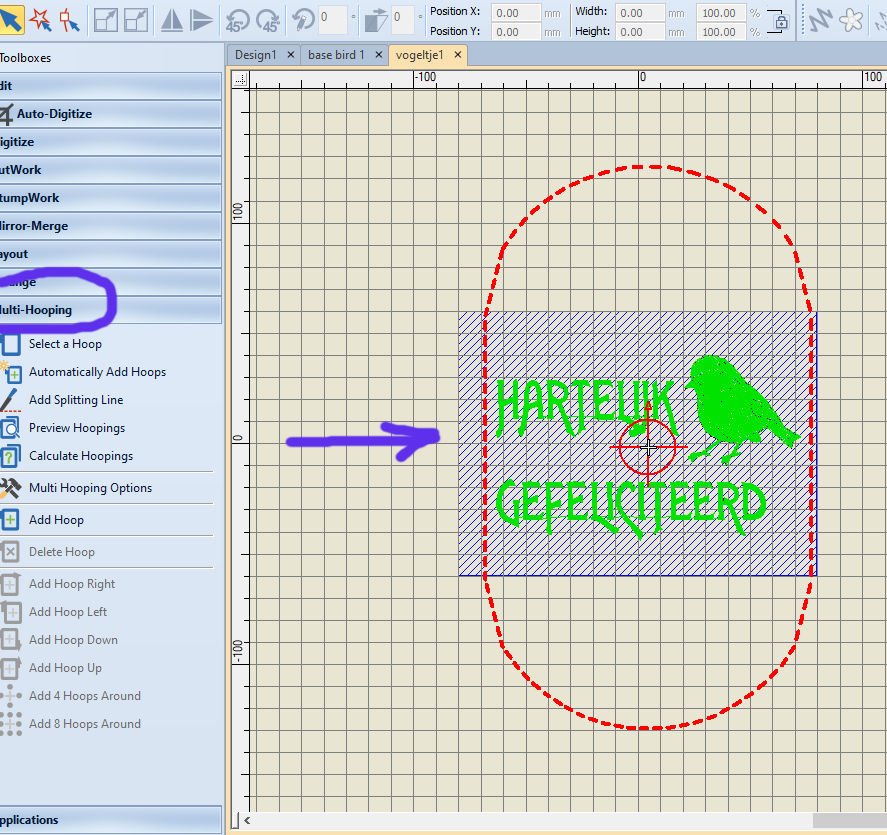
Use Multi-Hooping with the left toolbar: the embroidery hoop is now a dotted line, which is the actual safety line. The center of the hoop is also indicated.
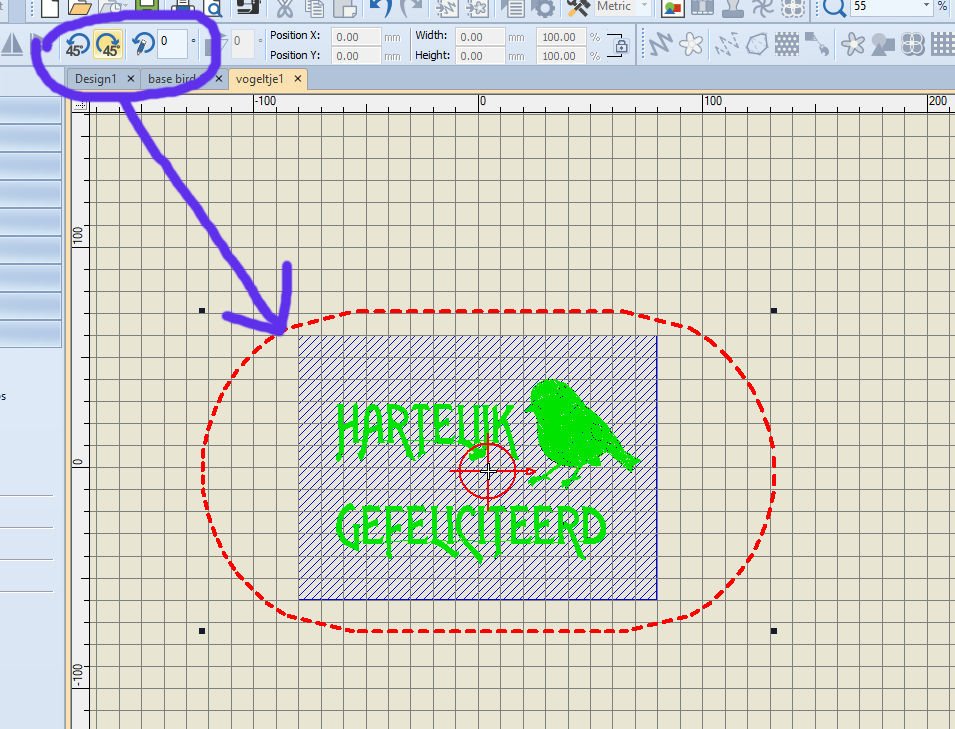
Click on the hoop/red dotted line, to select it, activating the rotation icons. When using 45° rotation – either left or right – click twice to rotate 90°. If you want to rotate in one click, fill out ’90°’ with the rotation icon and click to set.
Click ‘Digitize’ again, to see that the embroidery hoop is now placed horizontally. Don’t forget to save this file again. If this is the last thing you will edit, you can bring the design to your machine:
- But first print a ‘print preview’, 100%/actual size, to be able to use the center point for placement in the embroidery hoop.
- Write the design to card/USB stick – to be able to bring the design to your embroidery machine.
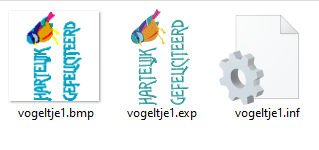 There should be 3 files per design: a .BMP = image, an .EXP = embroidery design with the extension, suitable for your type/brand of machine and an .INF = information. Your machine will need these three files combined for just one design.
The same procedure can be used for the other two birds: I will show you how I’ve embroidered the birds/texts and making cards in the second part (March 30). See you then!
Happy Stitching!
Sylvia Kaptein
Sylvia’s Art Quilts Studio


Thanks for blog.
my mind is clear which method is best for embroidery digitizing.
This is really very nice, but I have looked everywhere & can’t find the bird file… can you help please?
It’s on the BERNINA Website, go to ‘Inspiration magainze 01/2020’, to download the free embroidery files and look under ‘Spring is Coming’, the birds are there.
Have fun
Sylvia
?
Hi Ann, thanks again. Have fun with it