 BERNINA Corporate Blog -
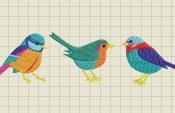
This time I will show you how to embroider the birds from Inspiration 1-2020 – created in V8 on March 11 in this BERNINA Blog.
Embroidery machine – I am working with my BERNINA 770QE and embroidery module
Large Oval Hoop
BERNINA 770QE
Presser foot #26
Sulky Rayon 40
Bobnnin thread DecoBob/Wonderfil
Bohin Glue Pen ofUHU/Pritt stift
1 large pin
Blue watersoluble marker for center point
Filmoplast
The embroidery…

Find the center of the piece of Embroidery Felt: pin it. You can mark it with the blue water soluble marker, placing a dot in the center.
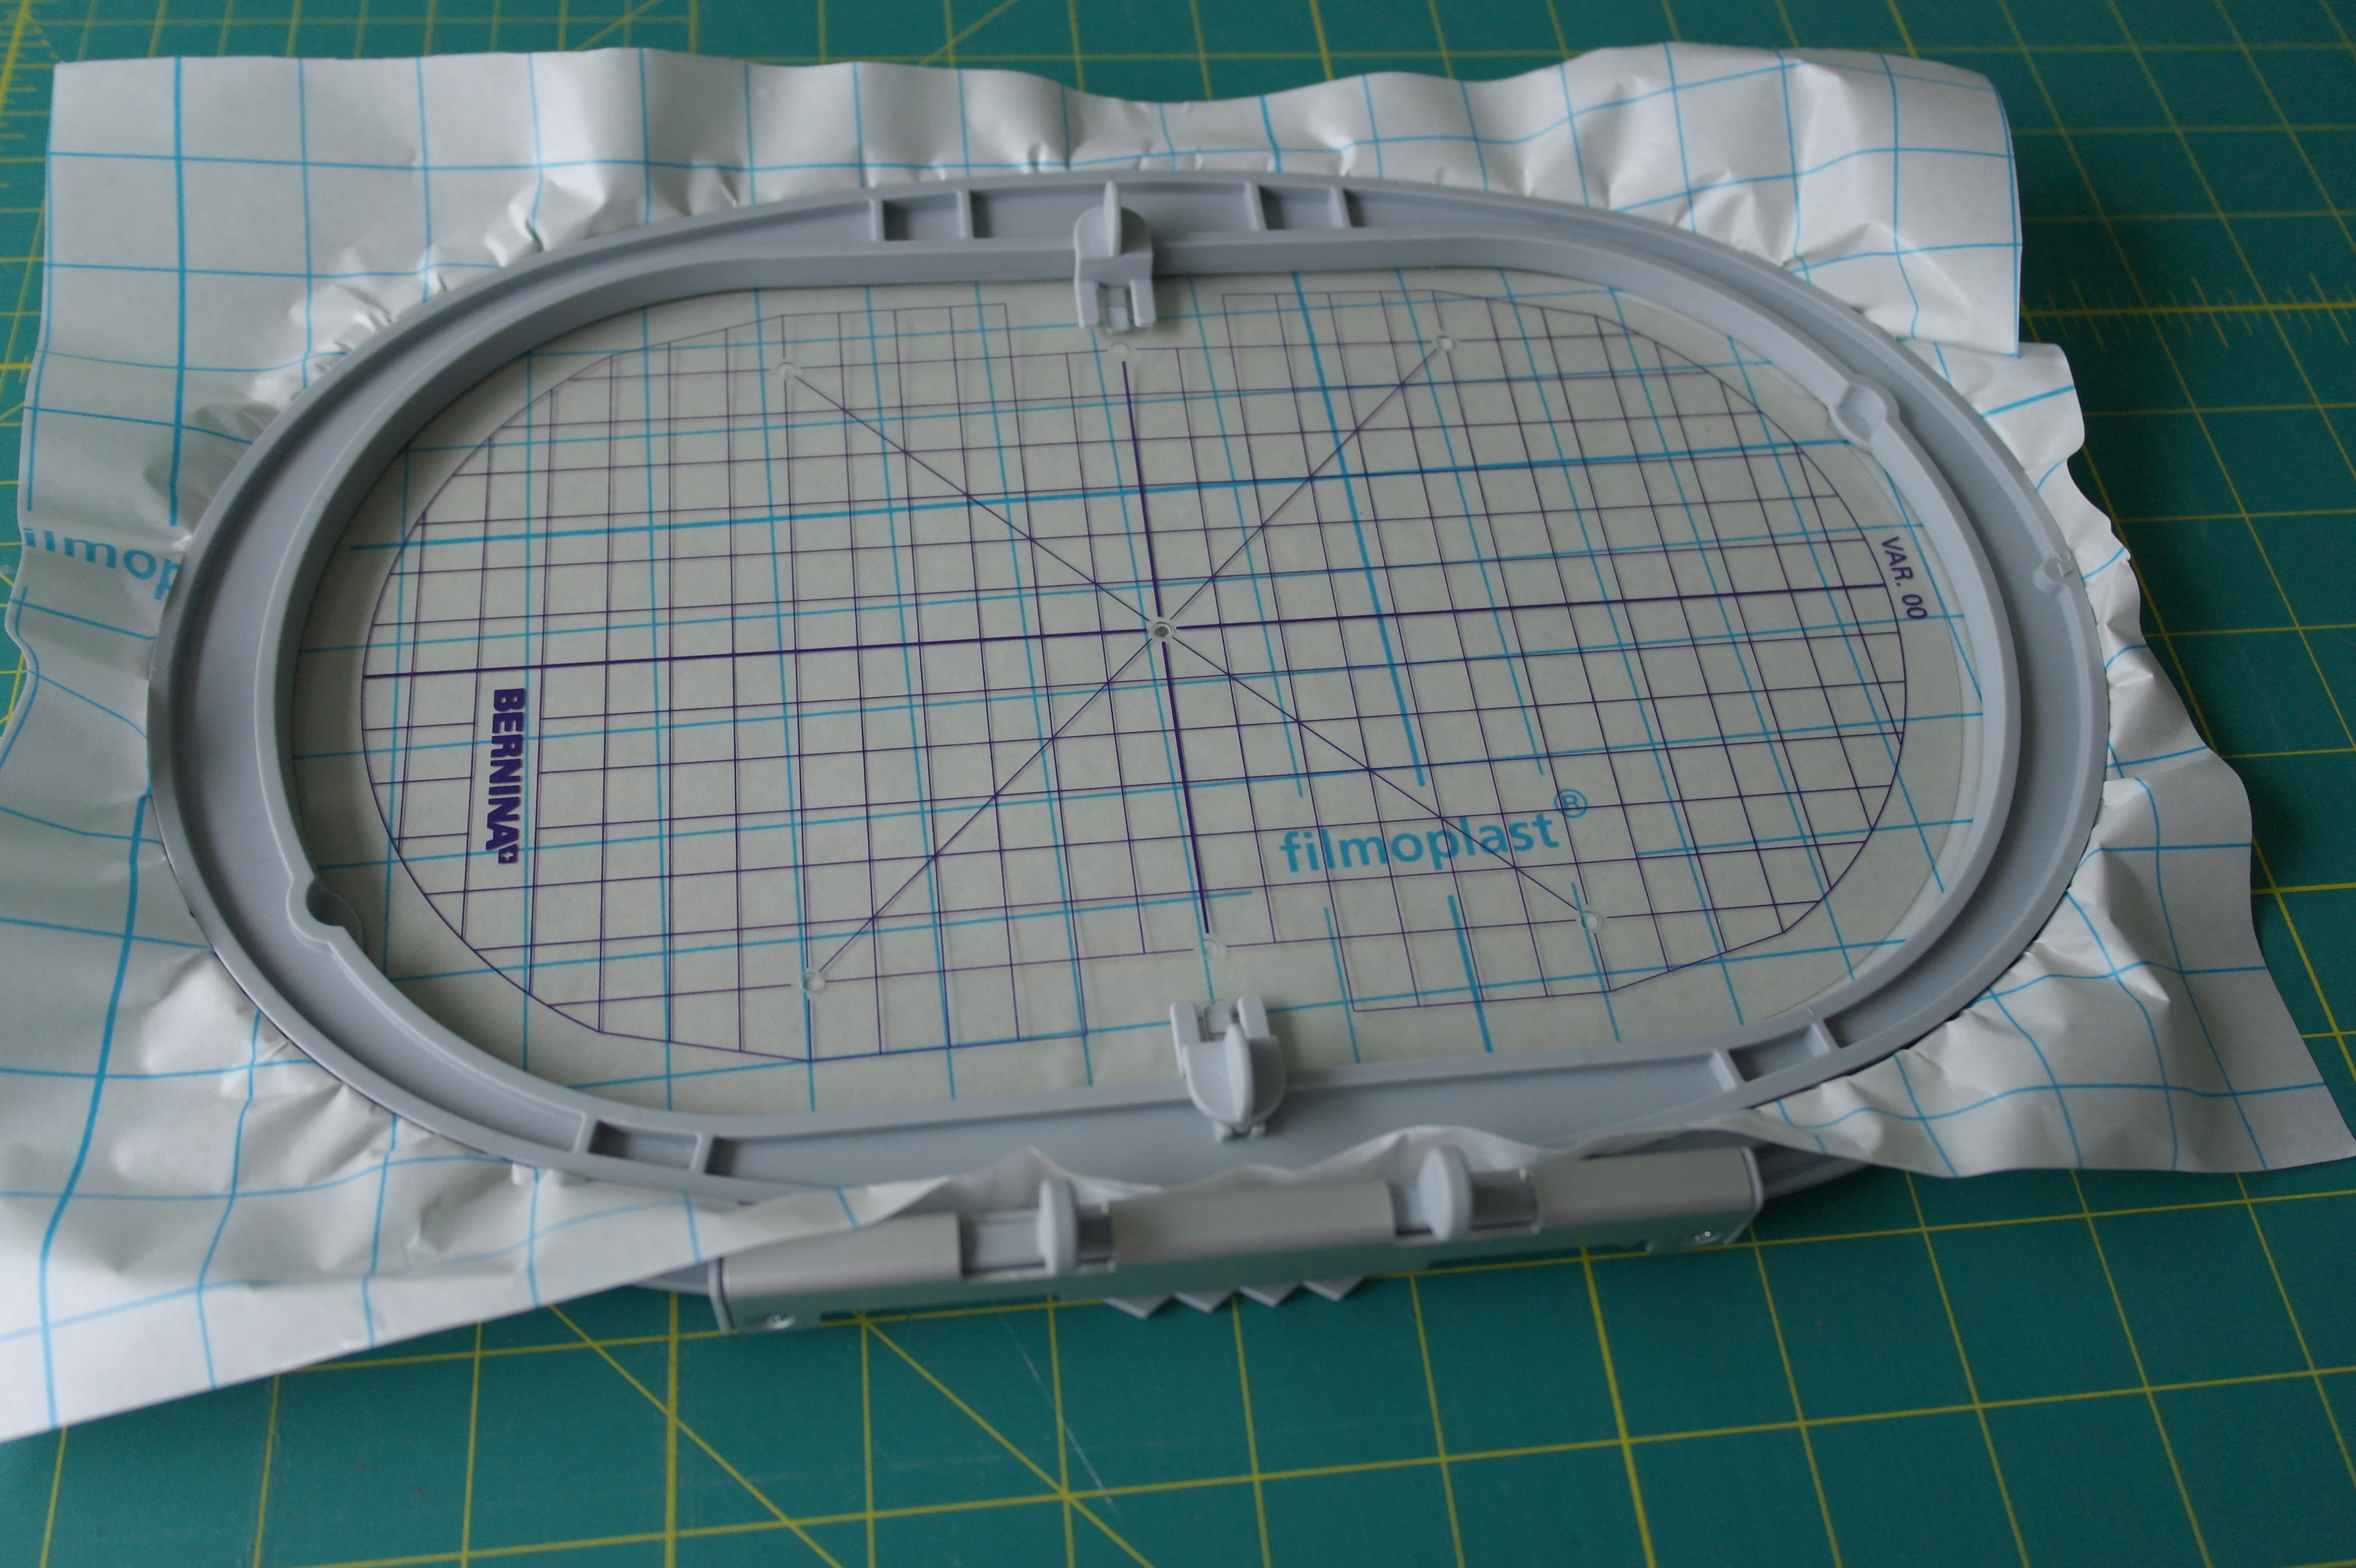
Place Filmoplast in the Large Oval Hoop. Use the template which comes with the hoop, and mark the center via the small hole in the middle.
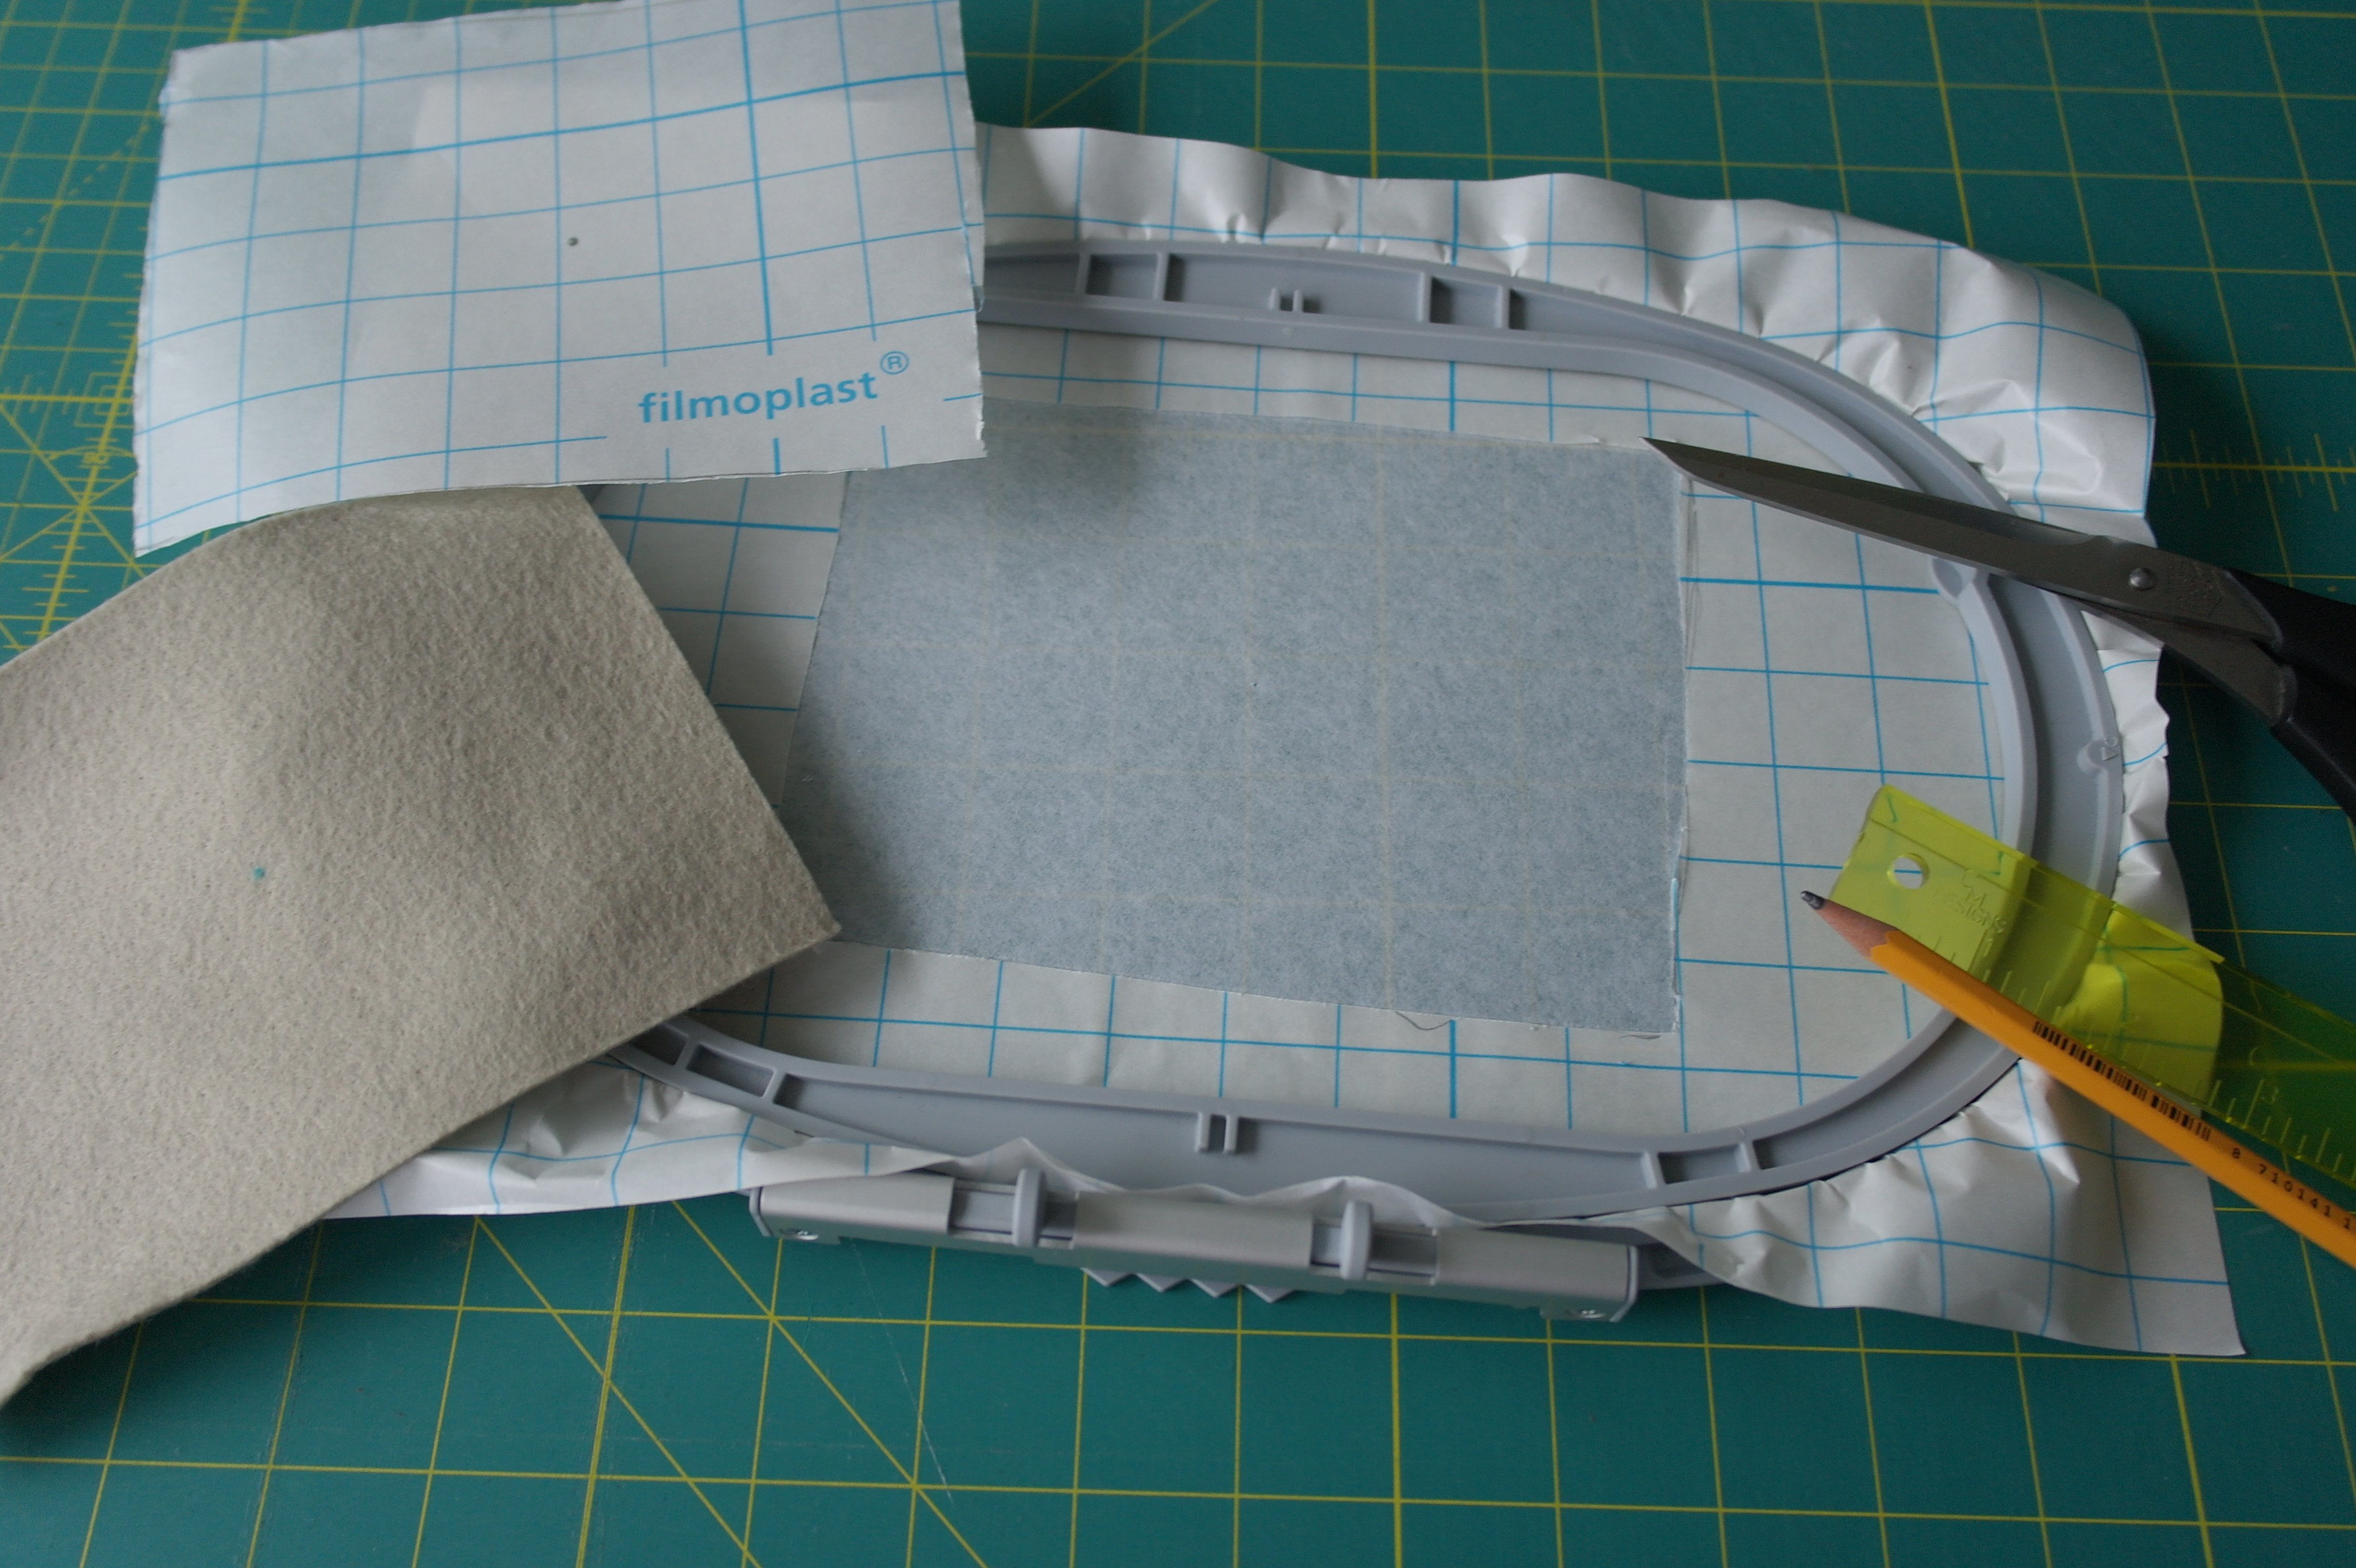
Place the Embroidery Felt on the Filmoplast, use the pin to center it. Draw lines around it with a pencil to get the exact measurement. Remove the felt, and the paper layer of the Filmoplast: the sticky part of the stabilizer is now available. BE SURE just to cut the paper on top, not through all layers of the stabilizer.

Place the piece of Embroidery Felt on top of the sticky stabilizer: it should fit exactly. Mark the center with the blue marker.
Prepare your embroidery machine: feed dogs down, select presser foot #26 and stitch plate 0-mm,

Center the hoop via the blue dot/marking. You can use the buttons on the top/right of your (BERNINA) machine to be sure the needle is exactly above the marking.
There is no need to add a stitch line around the embroidery area: the sticky part of the Filmoplast will make sure the Embroidery Felt doesn’t shift during embroidery.
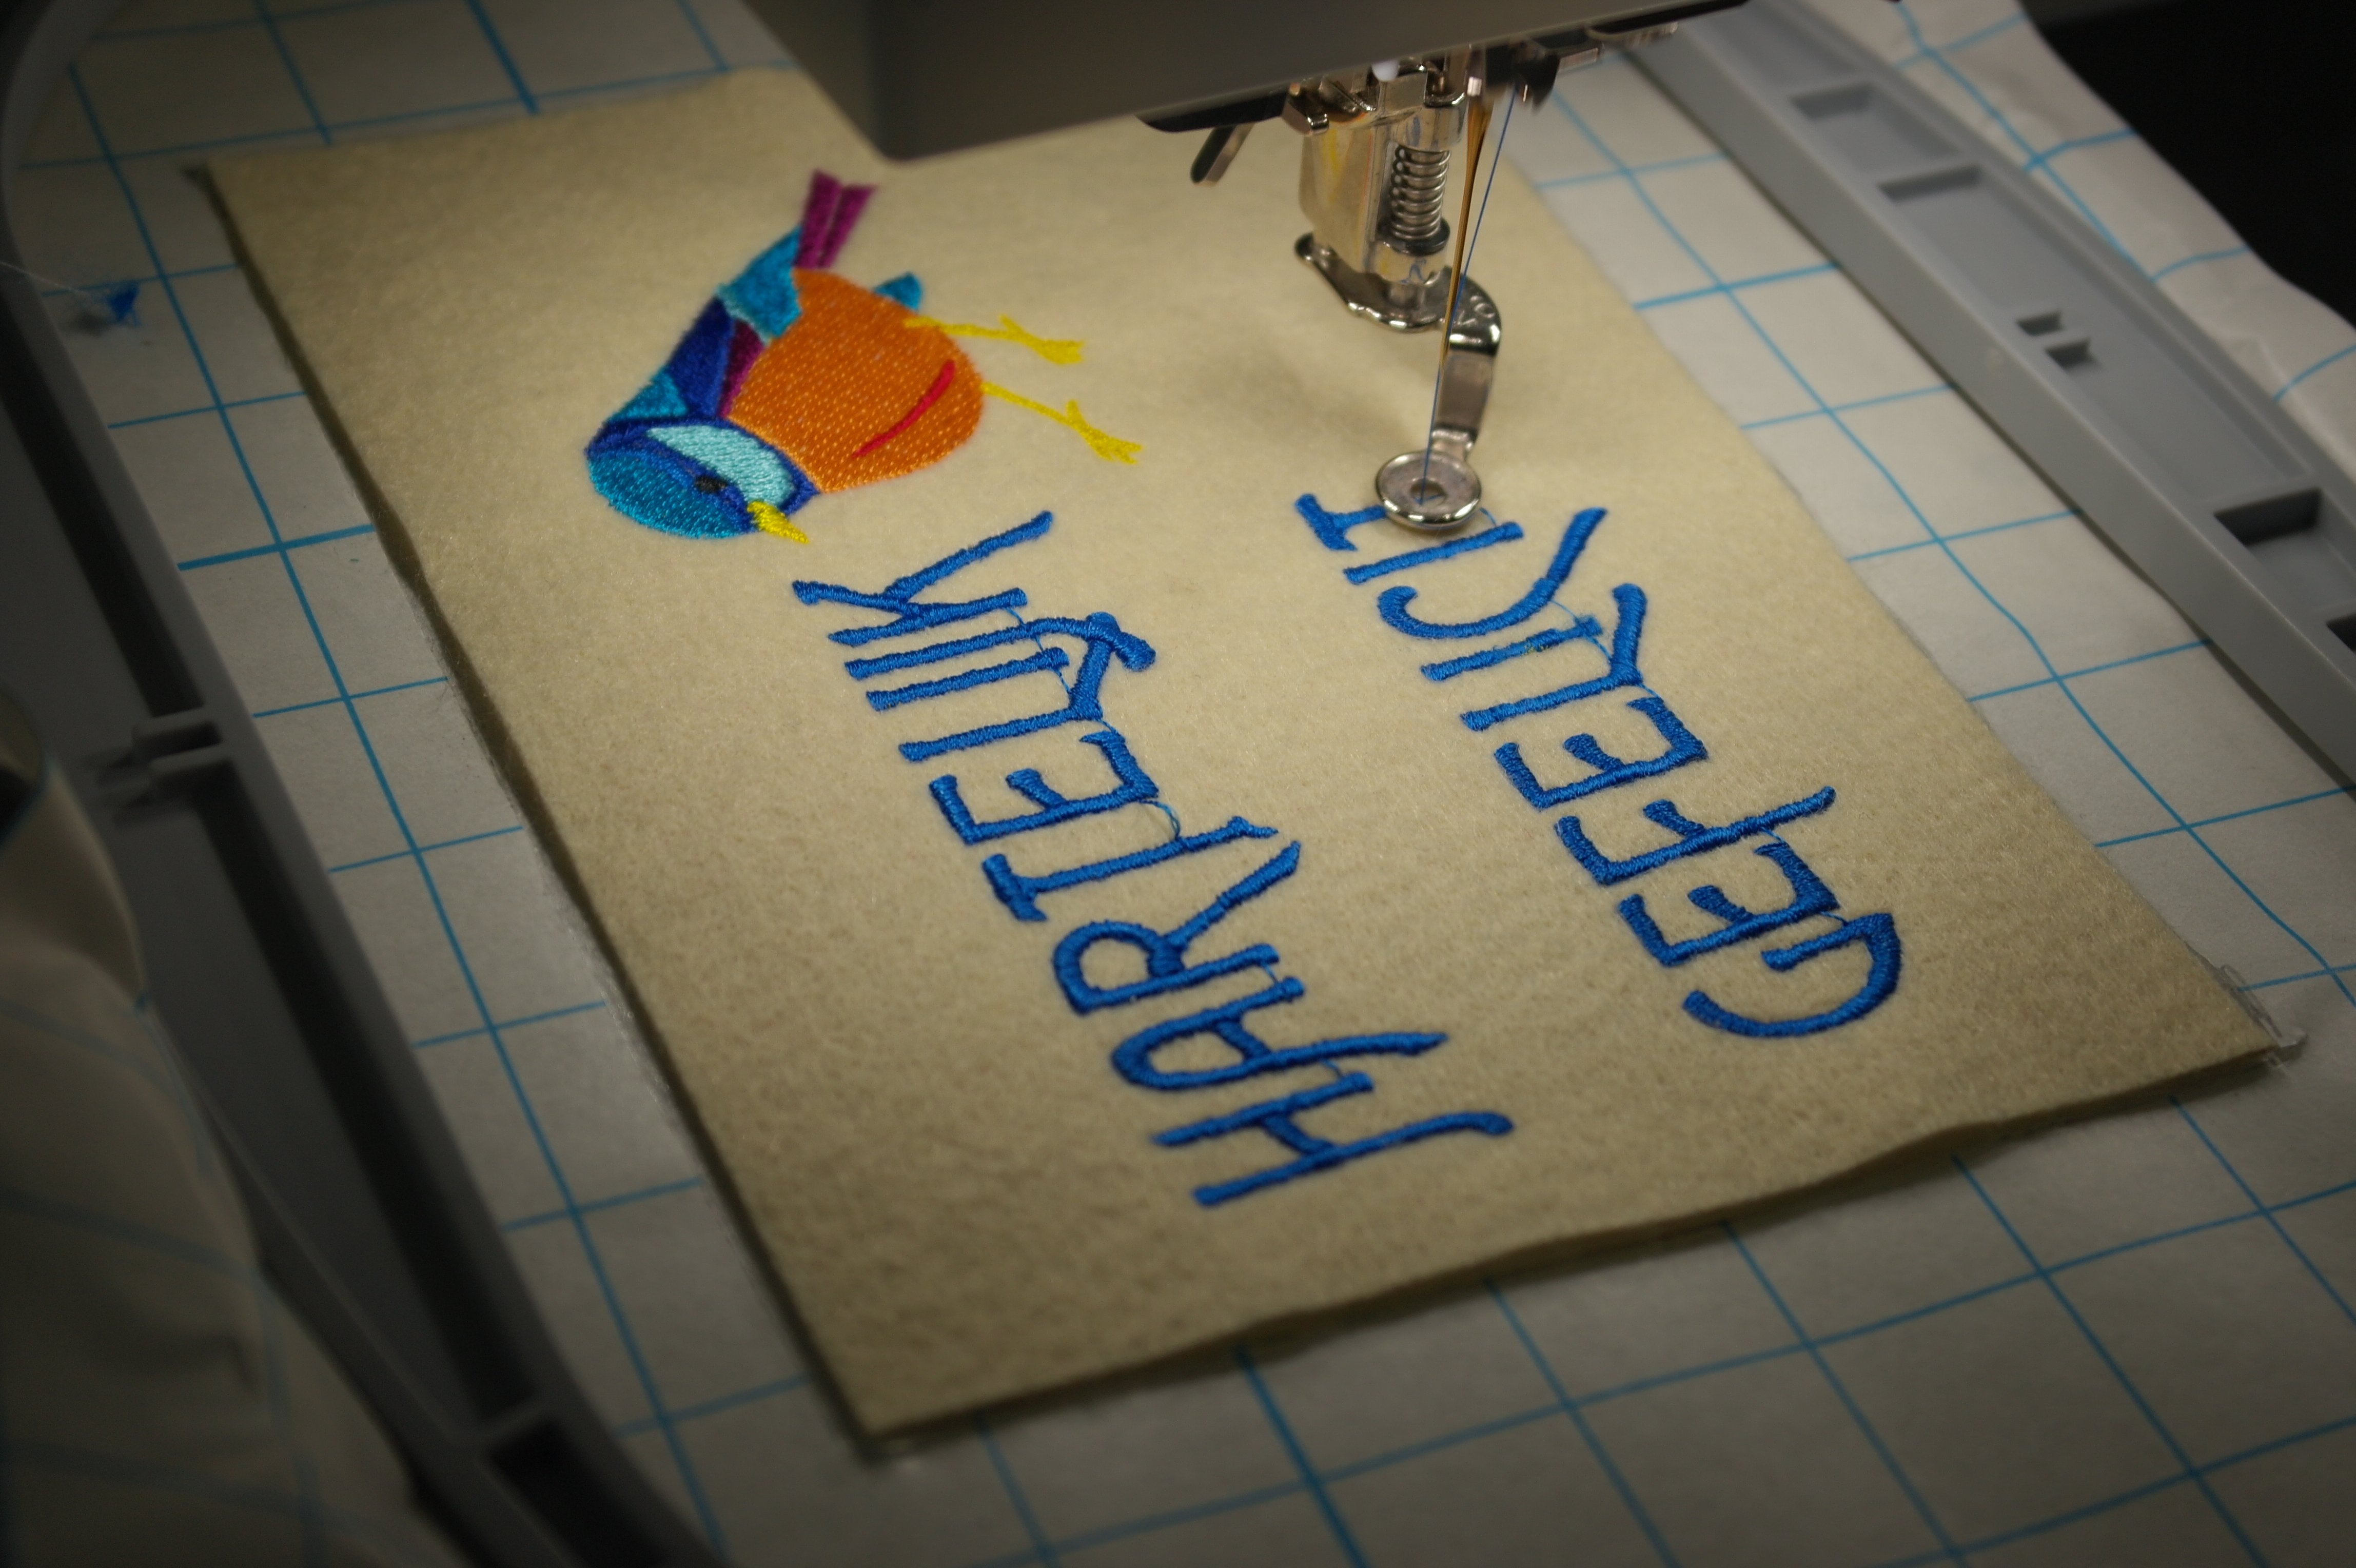
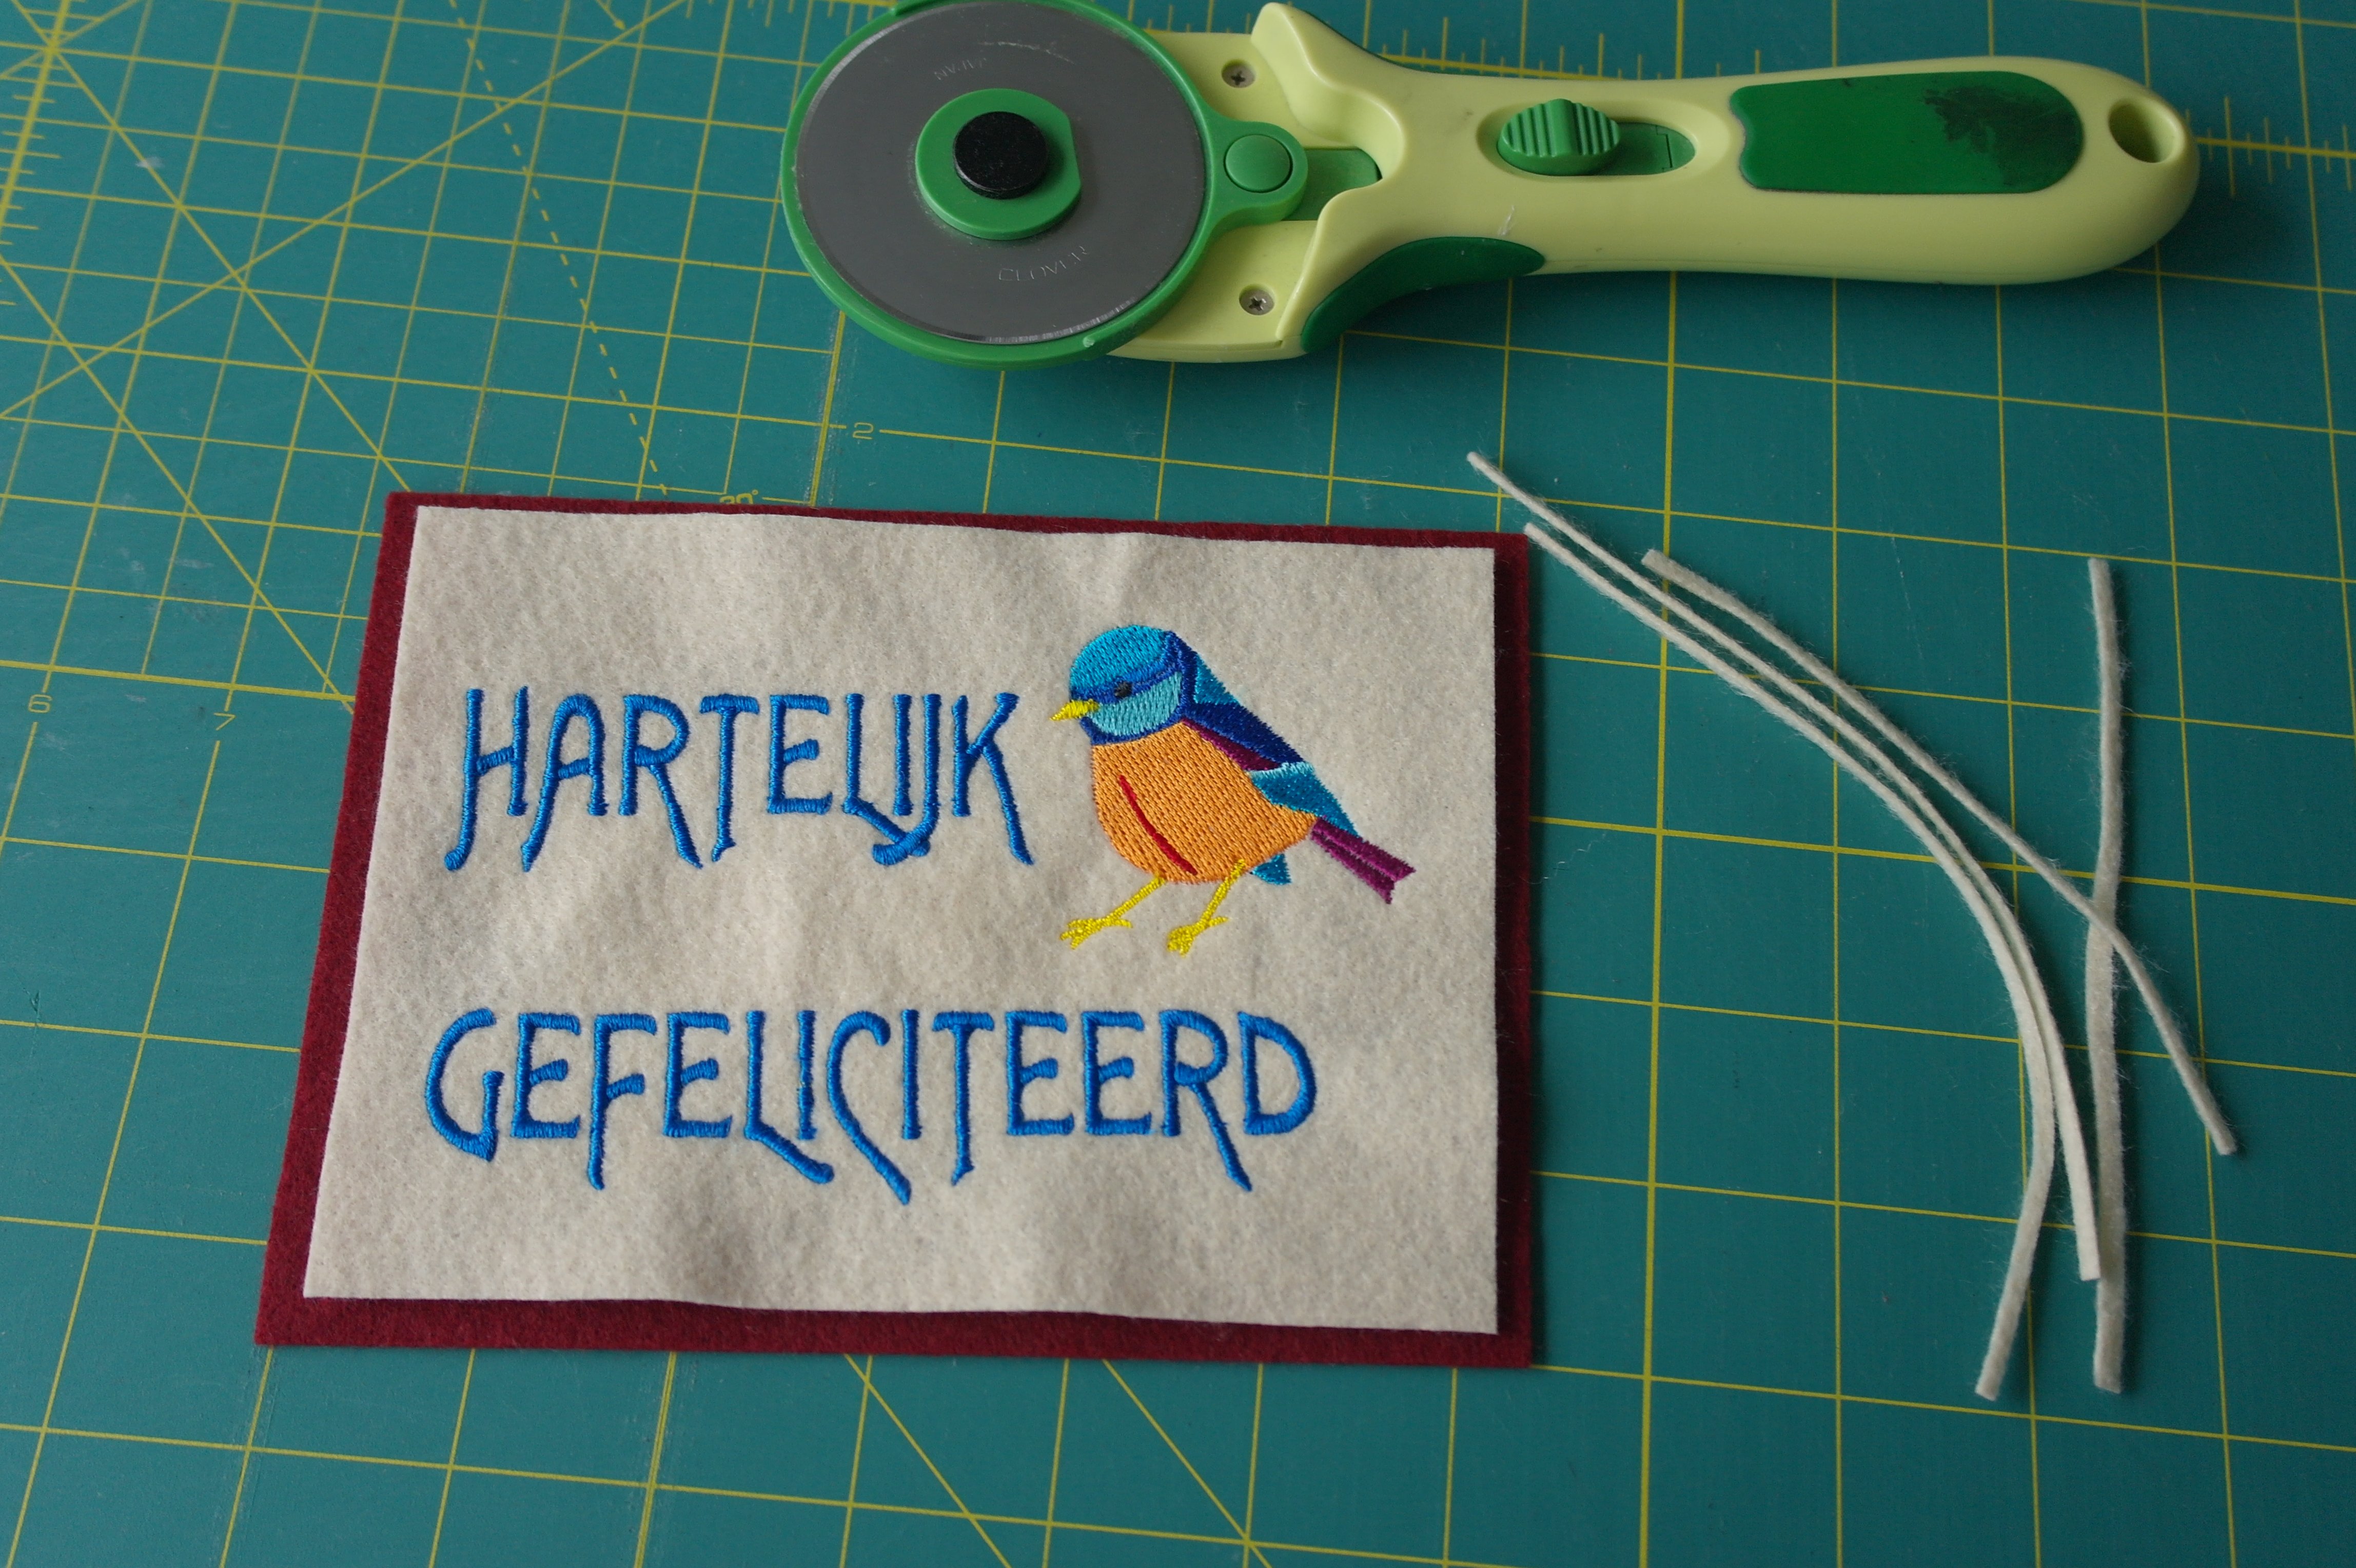
Isn’t this fun: color after color, making a bright blue text. Bird number 1 is almost ready.

And it’s done: I have de-activated ‘cutting’ with my B770QE; that’s why there are jump stitches between the letters. I will trim them later.
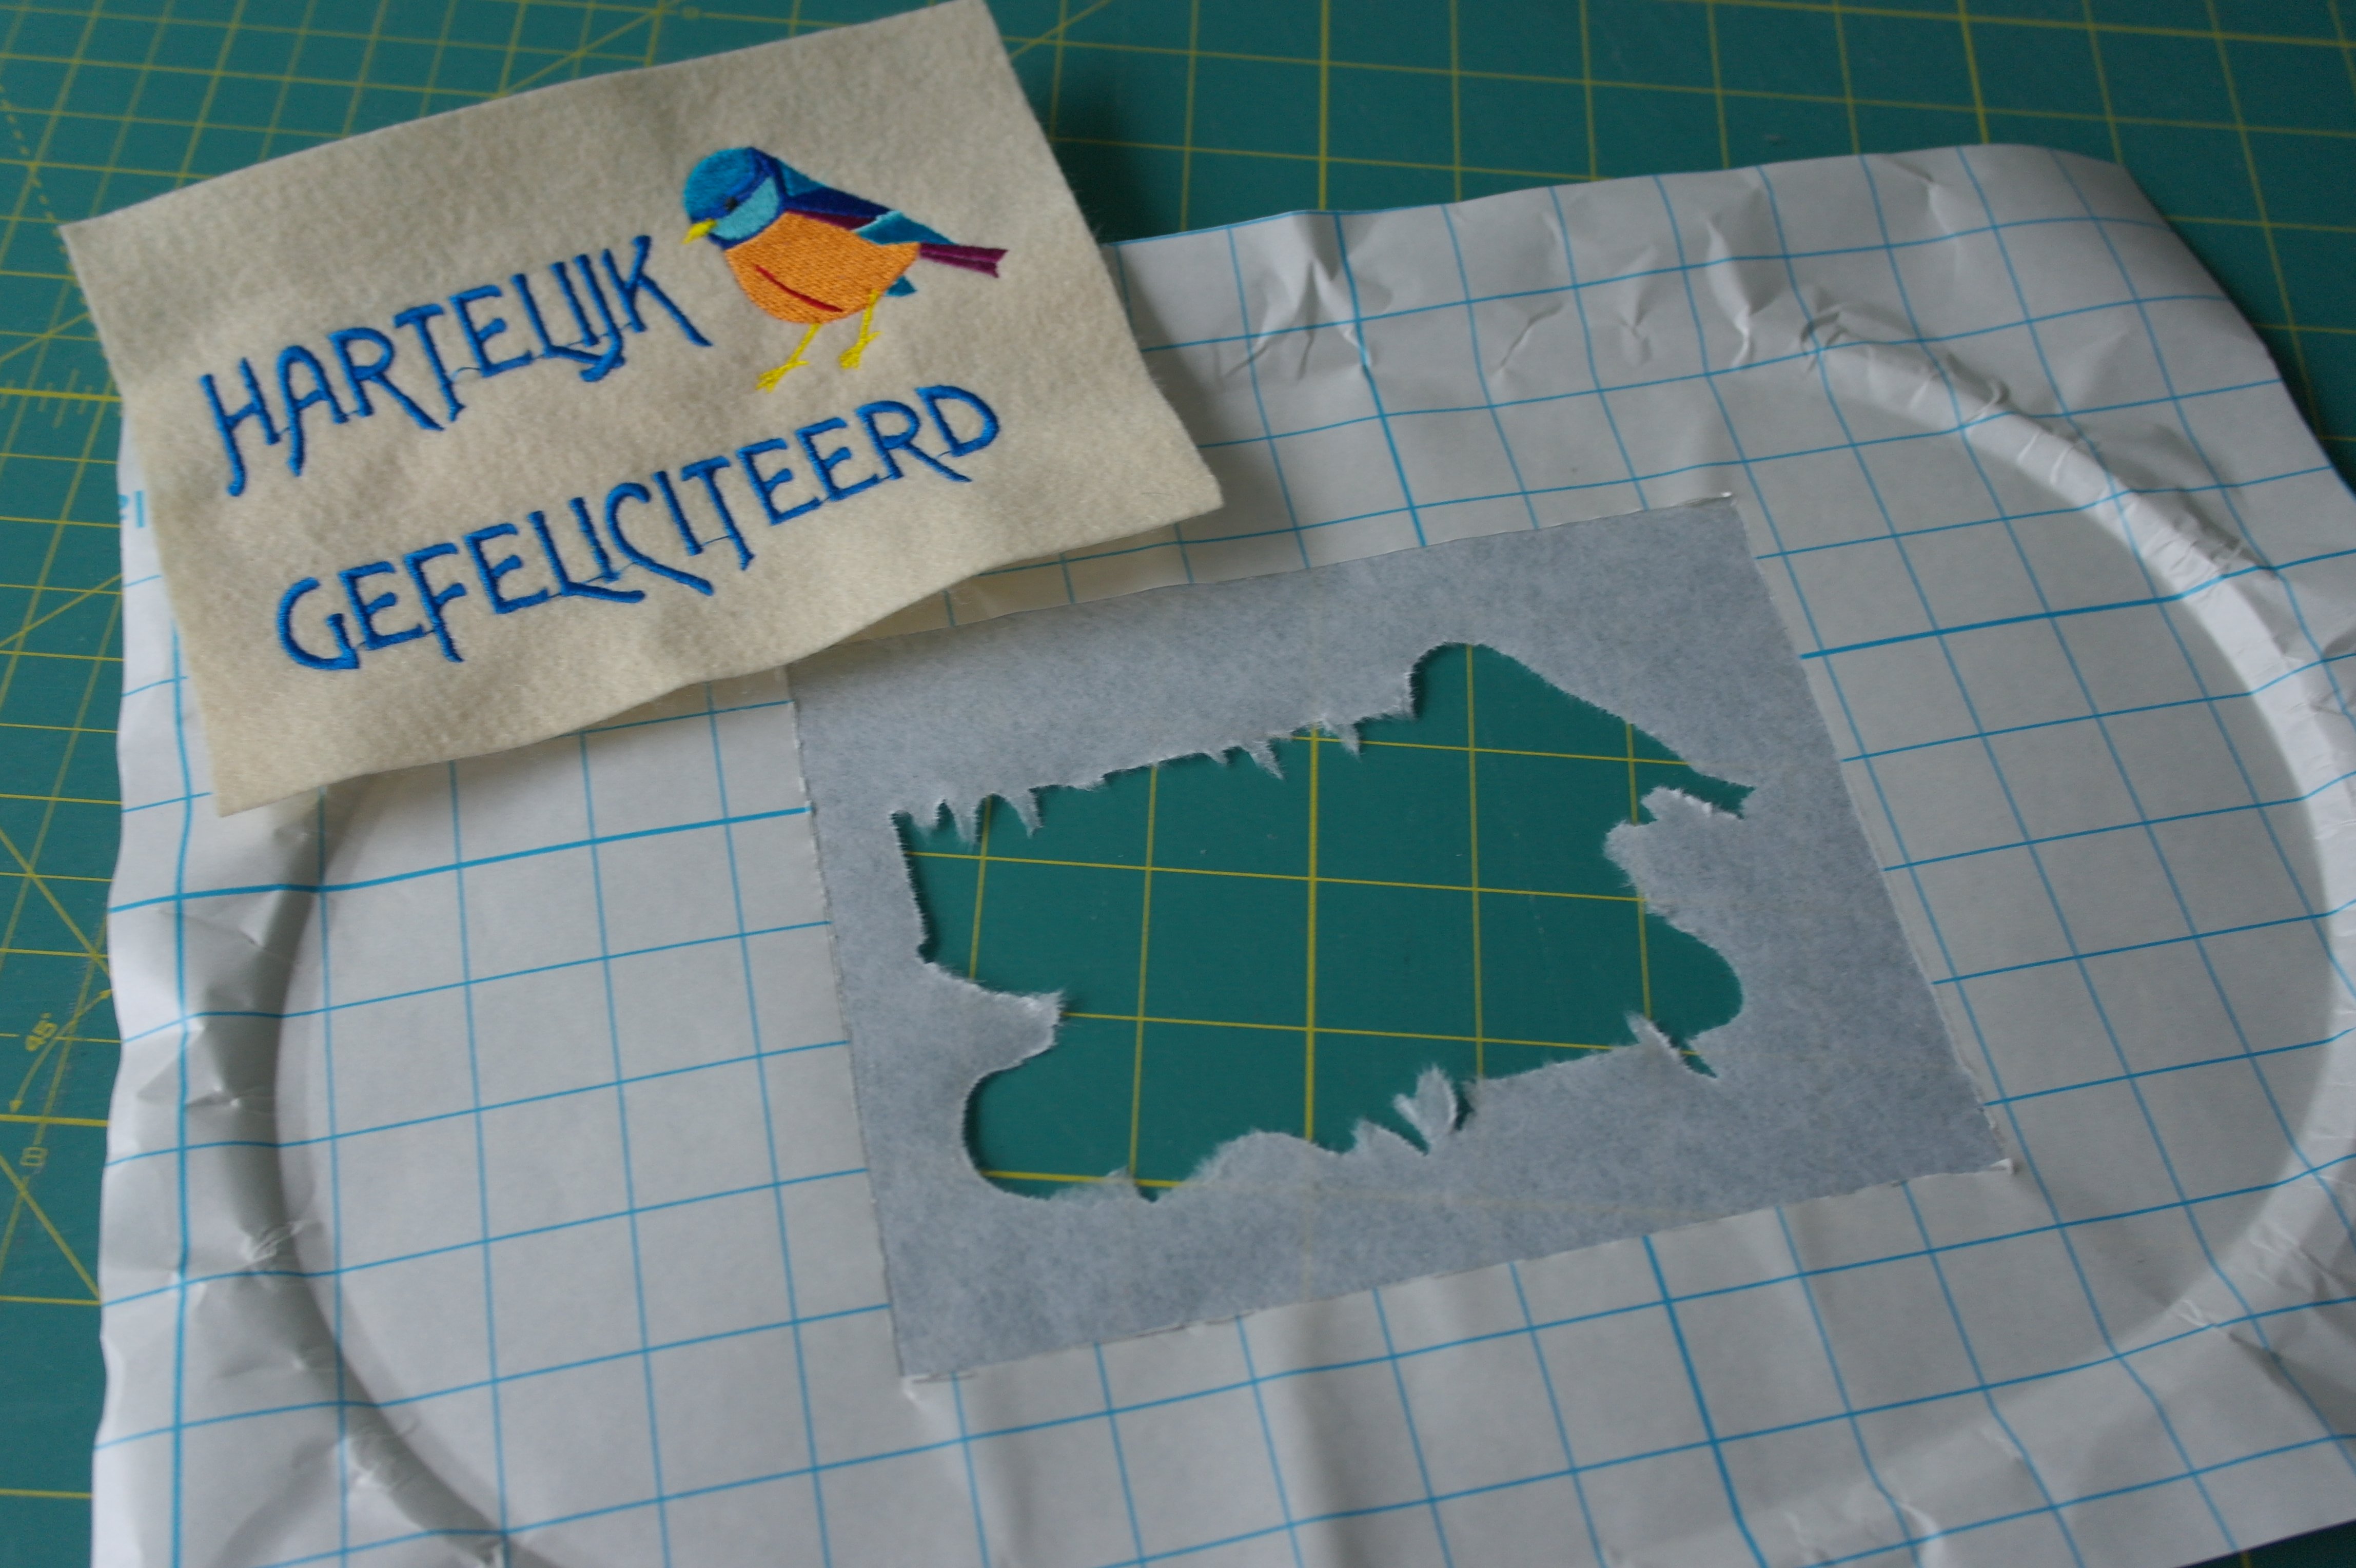
The design can be removed from the Filmoplast: it tears easy, the sticky part stays at the back of the embroidered shape. You can also cut along the sides of the Embroidery Felt if you think that’s best.
Finishing the borders 1
But both layers of Embroidery Felt – one with and one without embroidery – make sure they are cut at the same size. The felt with the embroidery has probably shrunk a bit, because of the stitches. Tip glue on the back of one piece of felt – make sure to cover the entire back, and place both pieces wrong sides together. Let it dry under pressure (stack some books on top of this).
You can embellish the card, quilting or adding ribbons if you like.
The open embroider foot #20C is used to finish the sides. If you want to make decorative stitches, be sure to replace the 0mm stitch plate with the 9mm (or 5mm) stitch plate. Raise the feed dogs again, and select a decorative stitch.
I have used a straight stitch and stitch nr. 6, for special effect.
Finishing the borders 2
You can also cut the top layer of the card – the embroidered side – slightly smaller than the back, showing the color of the back piece of felt.
Glue both pieces together, as with ‘Finishing the Borders 1’. Be sure NOT to put glue on the actual sides of the top piece of felt. Make sure both layers are smooth – place weight on top of them, and let it dry.
Use open embroider foot #20C for sewing the borders: raise the feed dogs again. If you want to make decorative stitches, be sure to replace the 0mm stitch plate with the 9mm (or 5mm) stitch plate. Raise the feed dogs again, and select a decorative stitch.
I have used stitch 6: which will go forward, back and forward again on the same spot. This will result in a firm stitch.

Three birthday cards, of which two are shown at the picture above (the third was sent right away). It is so much fun to make these cards: add decorative stitches, quilting, ribbons etc. Be sure to check the magazine Inspiration 01-2020 for more projects. Thanks again,, BERNINA, for these wonderful designs.
Happy Stitching!
Sylvia Kaptein
Sylvia’s Art Quilts Studio


0 Responses