 BERNINA Corporate Blog -
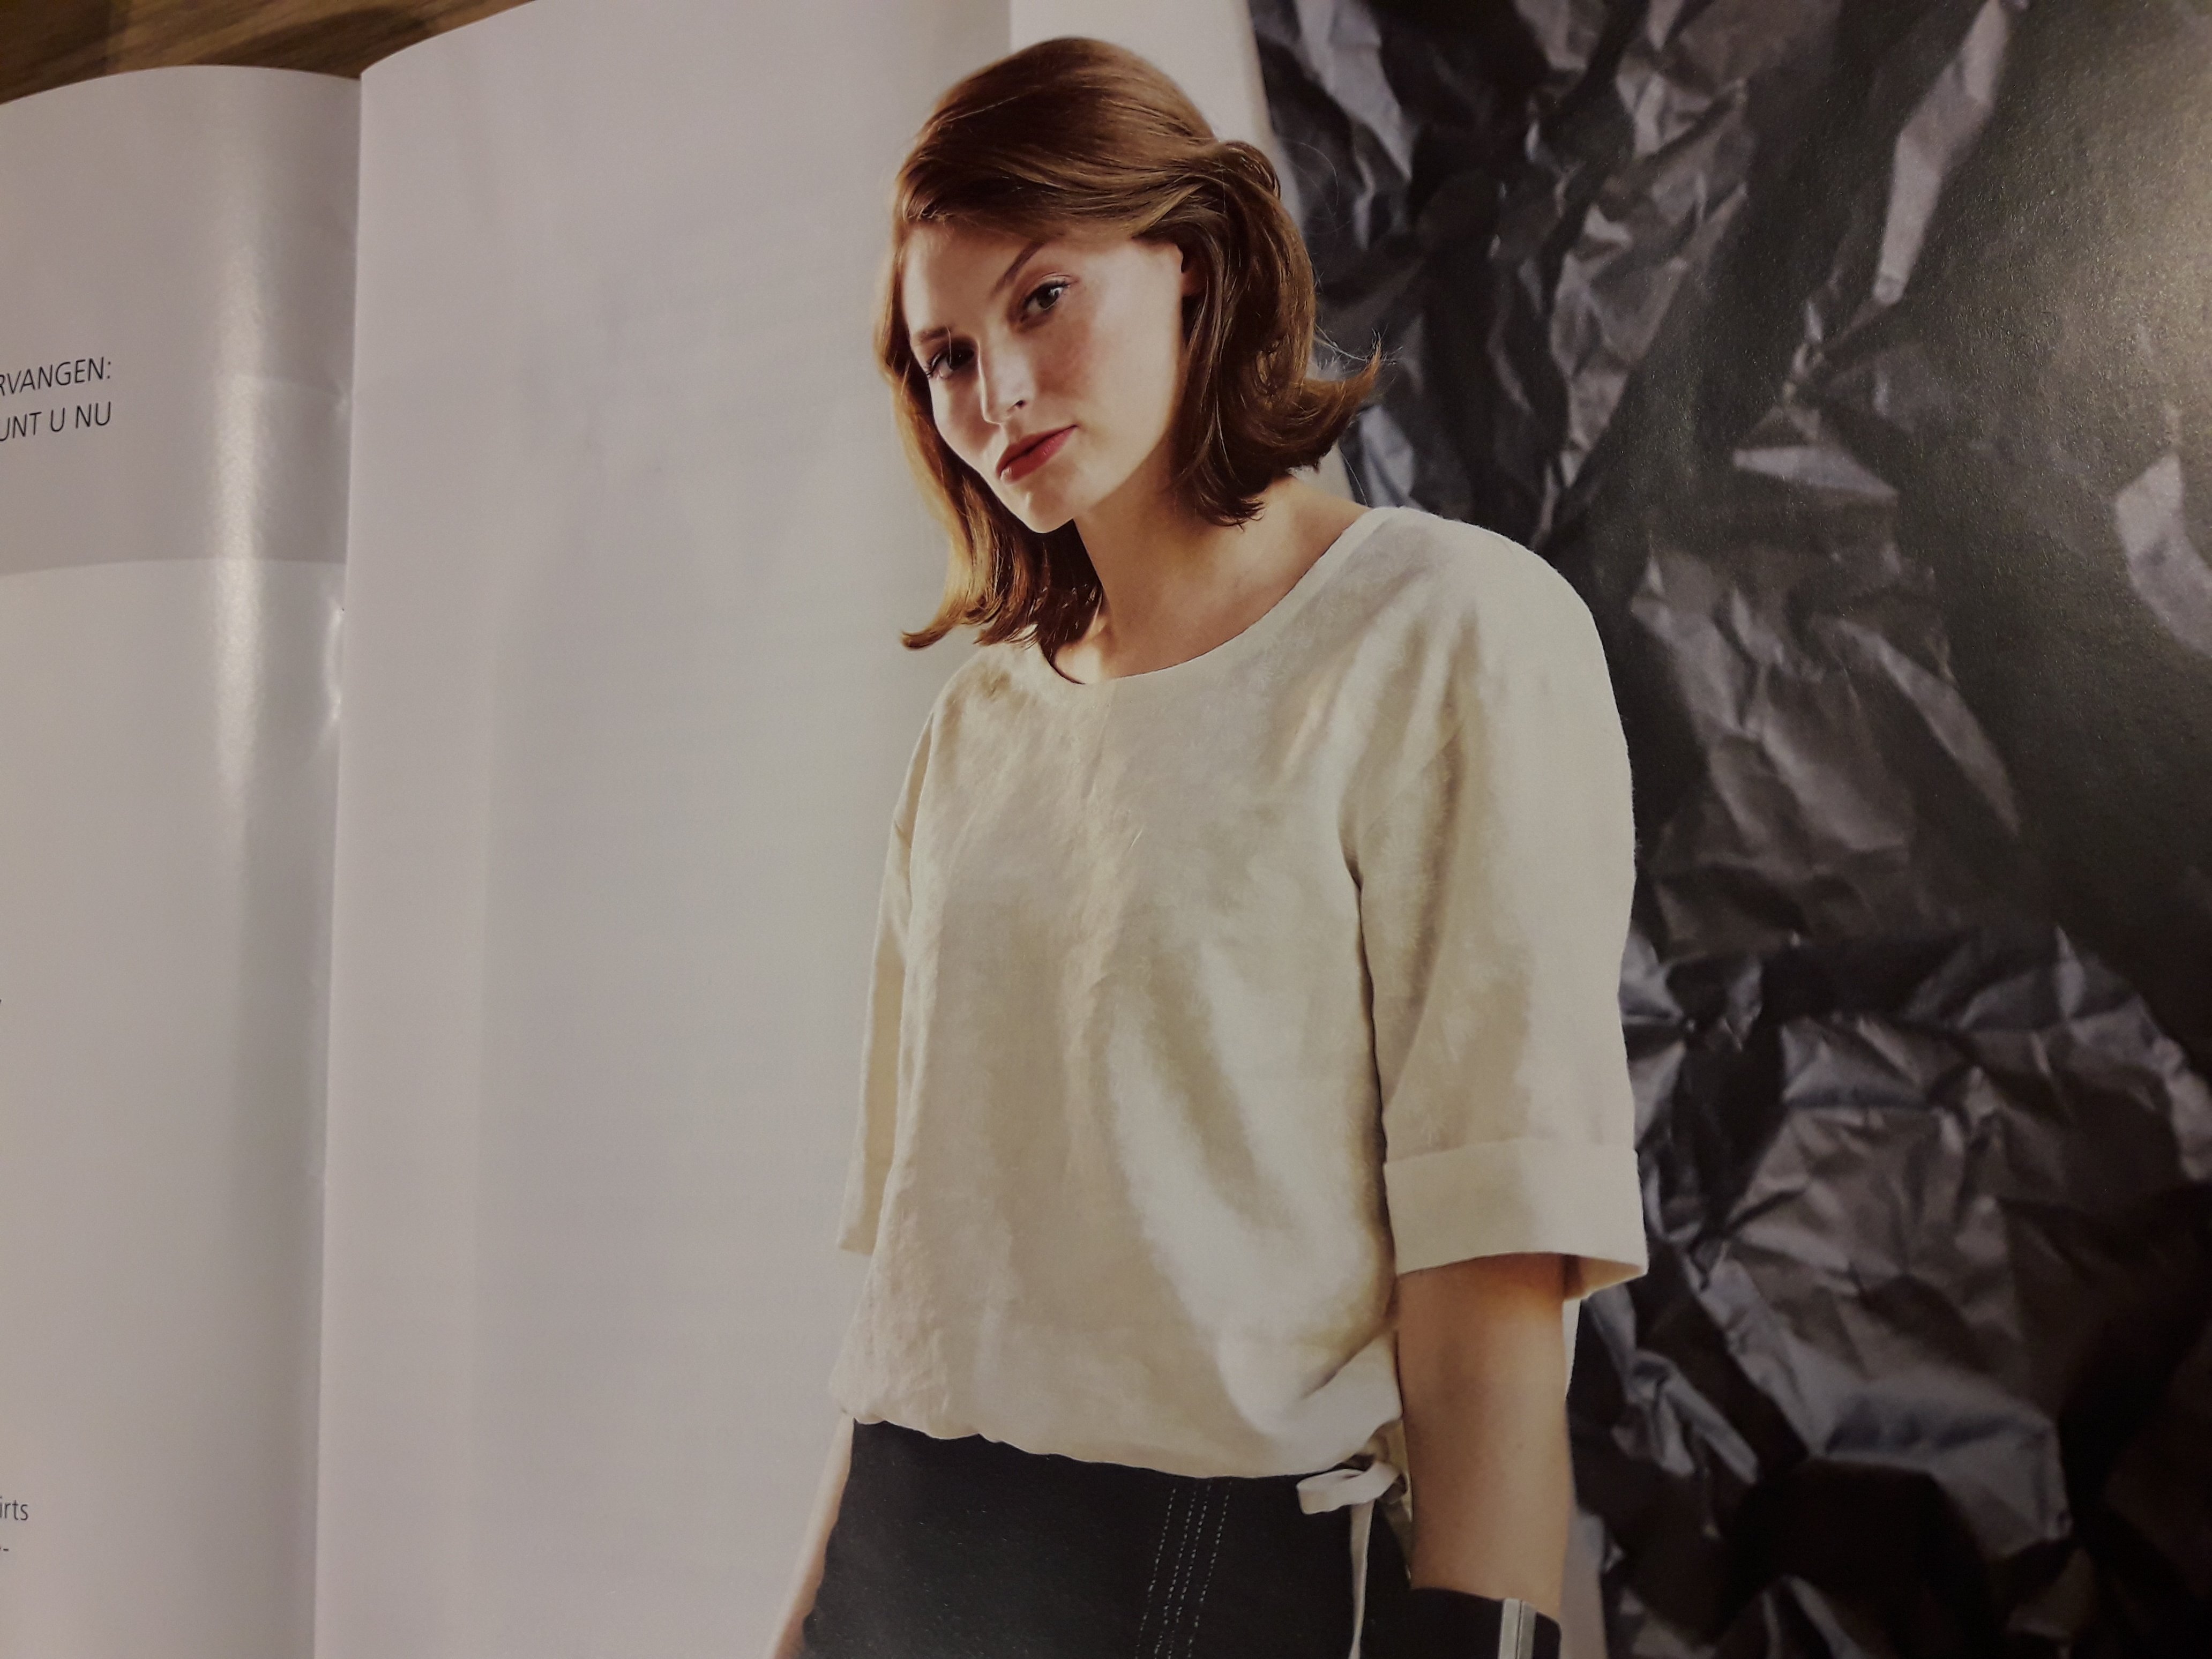
I Spring is coming and I start thinking of the light Summer blouse Amy from INSPIRATION 1/2020 – Part 1
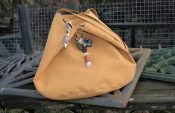
As soon as I got the magazine, I thought of a combination of 2 flowered cotton fabrics from my stash.
My BERNINA 740 will help me 🙂
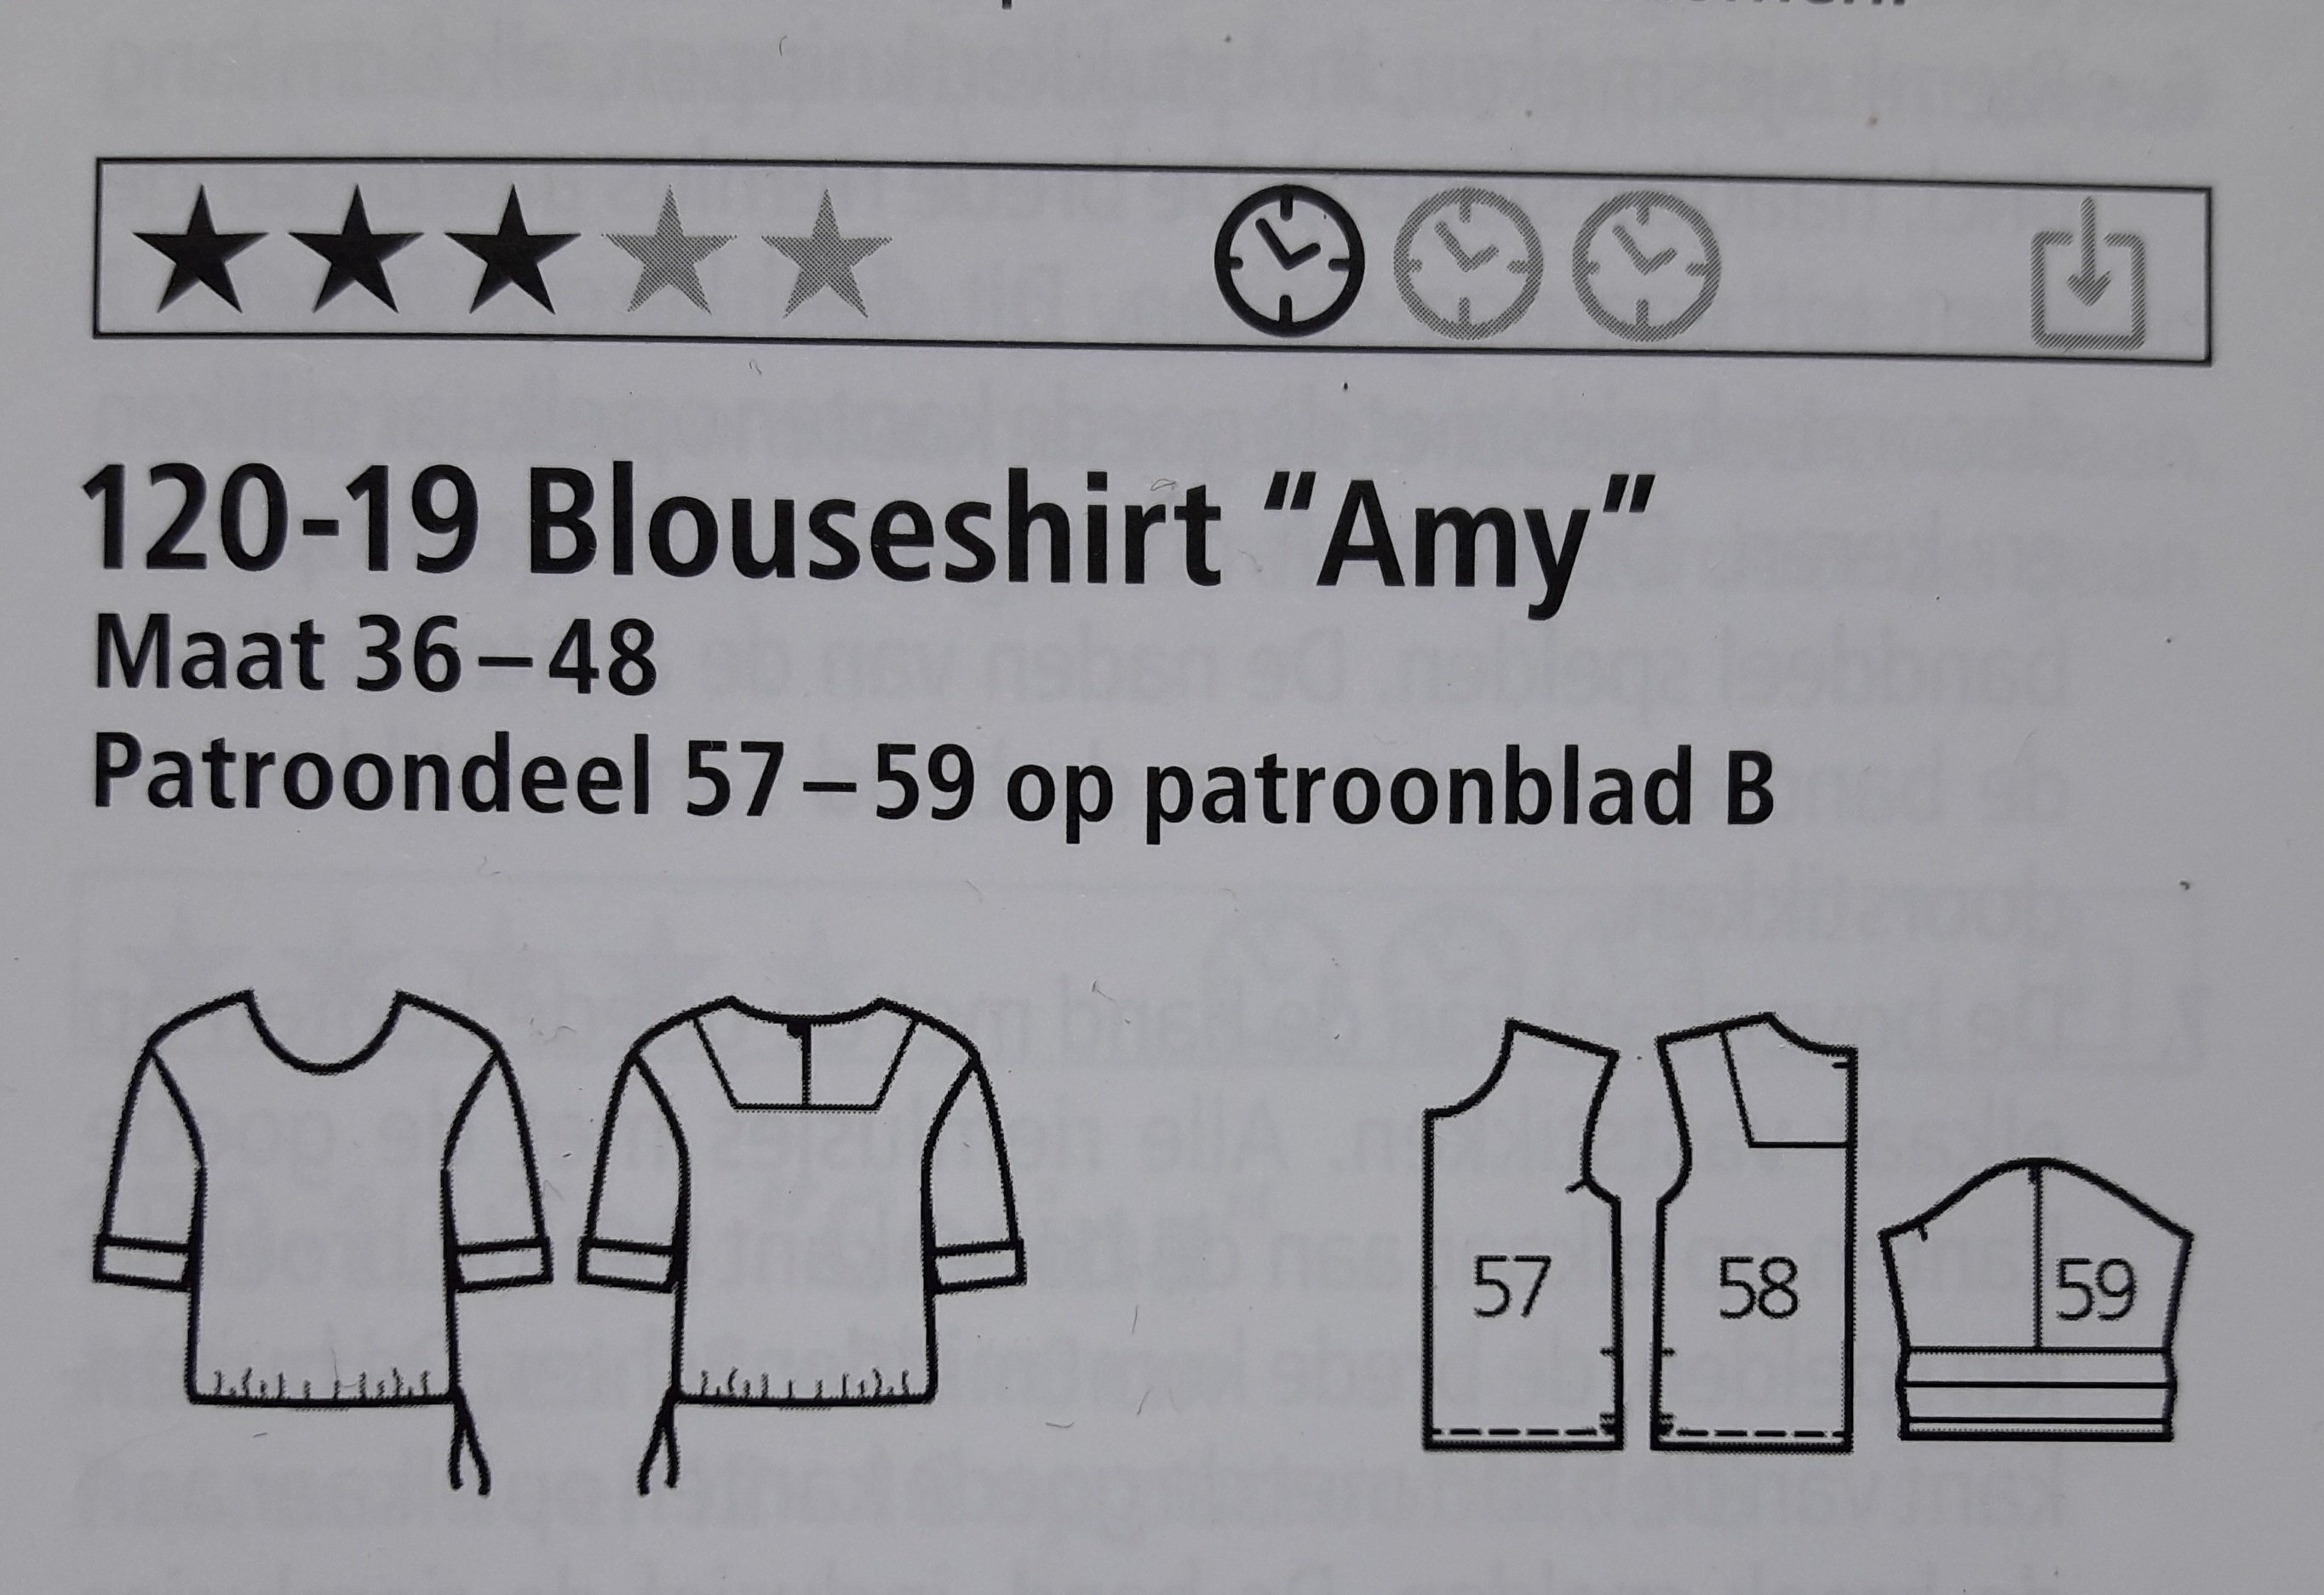
Always read the description before getting started.
These are the pattern parts:
- Cut 57 (front) and 58 (back) on fabric fold.
- Take yoke 58 from the back and cut it twice on the fold.
- Cut the sleeves 59 twice.
And off we go for the summer blouse Amy from Inspiration.
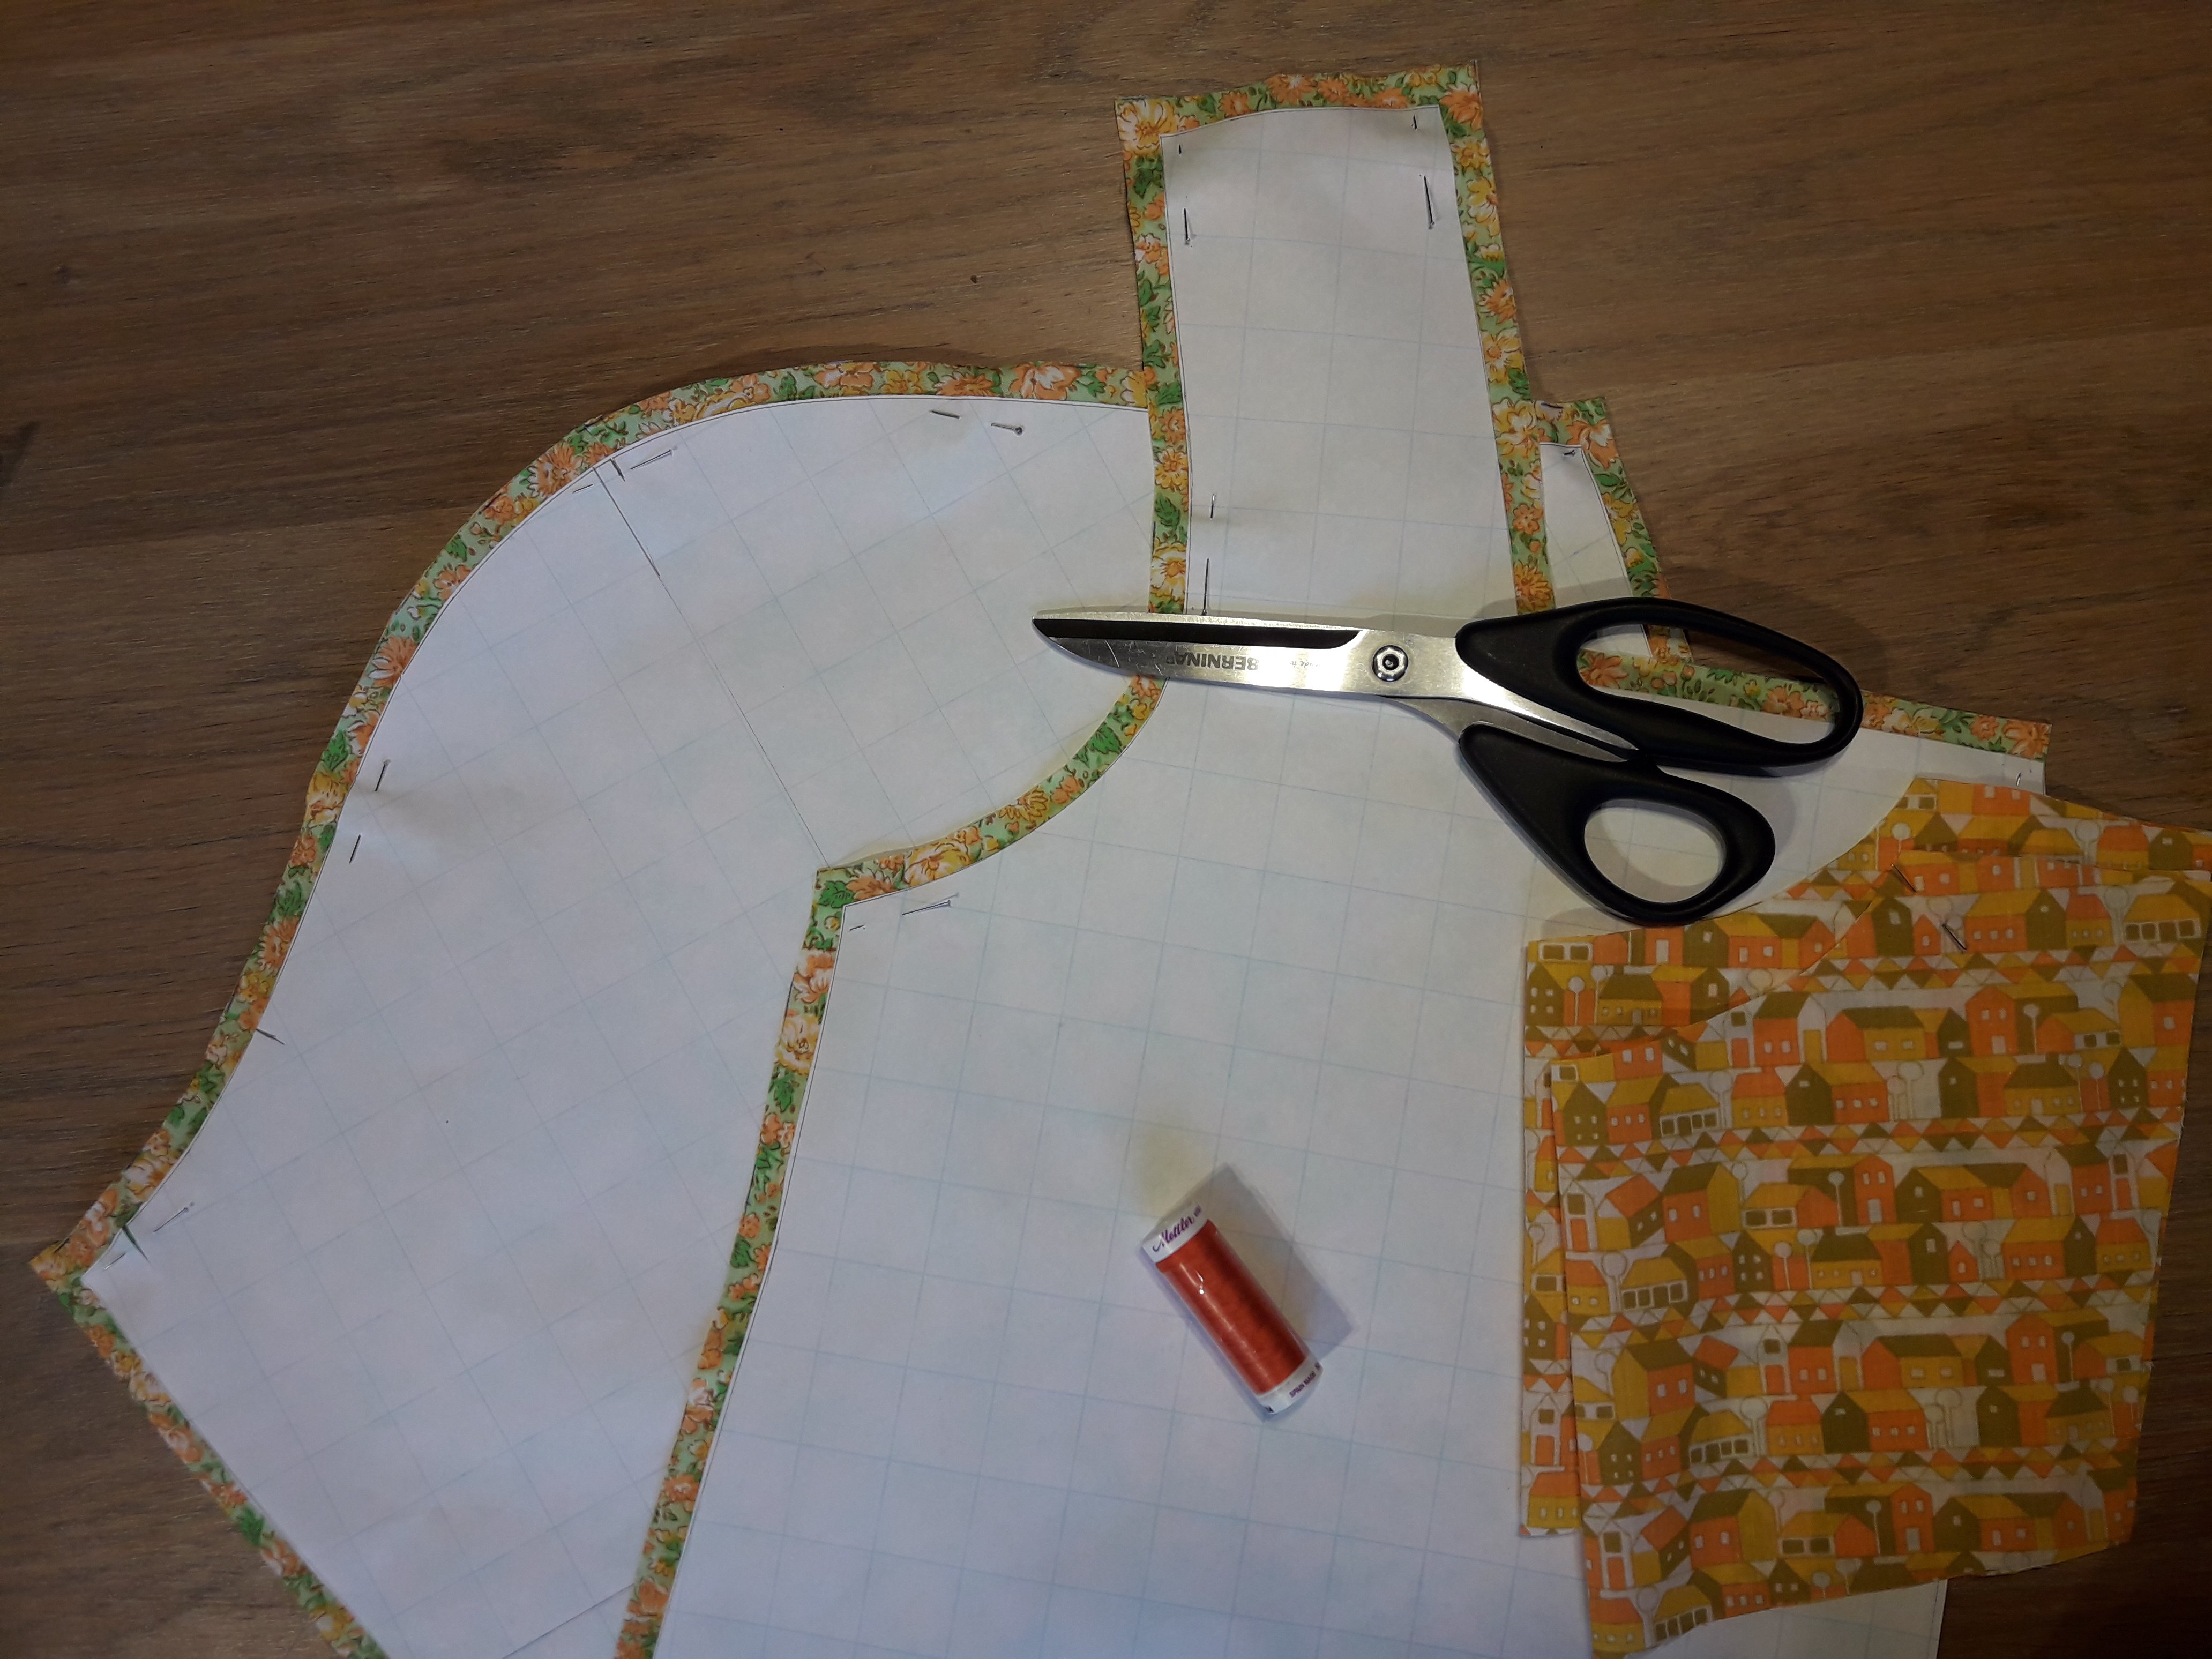
I start copying the pattern in my size. It is very important to check the sizes to your own measurements. Small corrections are to be taken for me.
I cut the pattern from prewashed fabric, and choose for a 1 cm seam allowance.
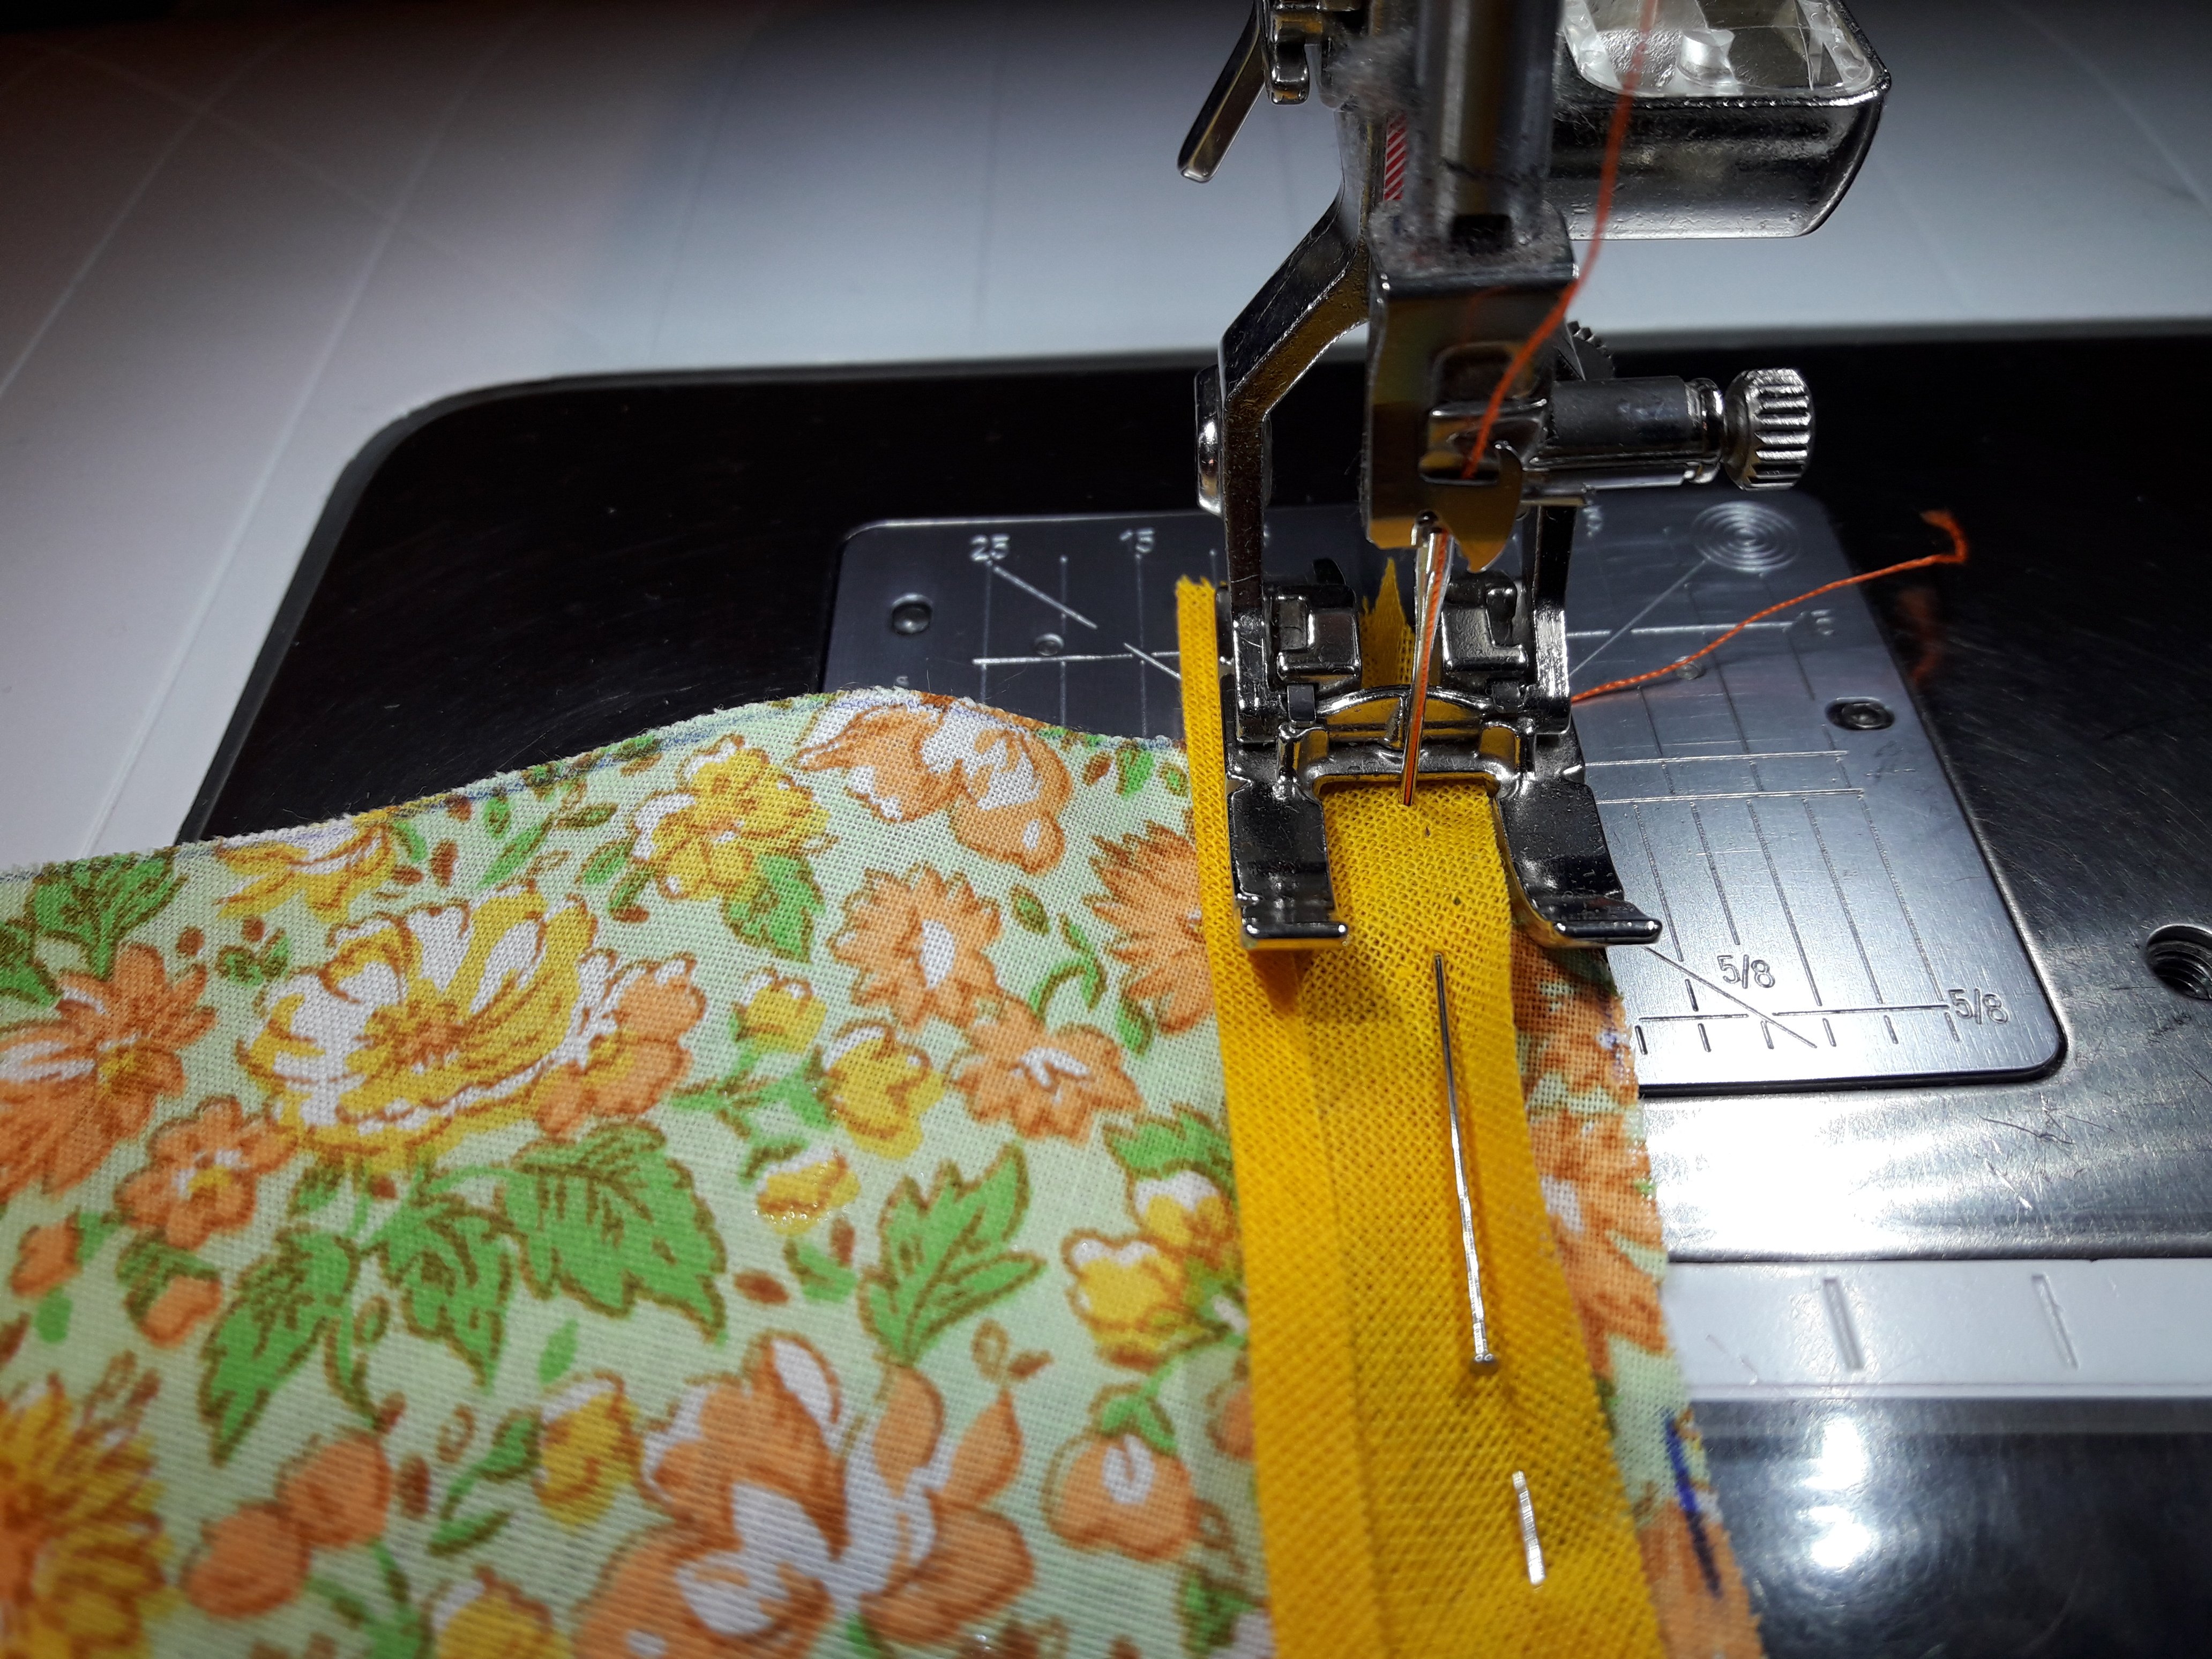
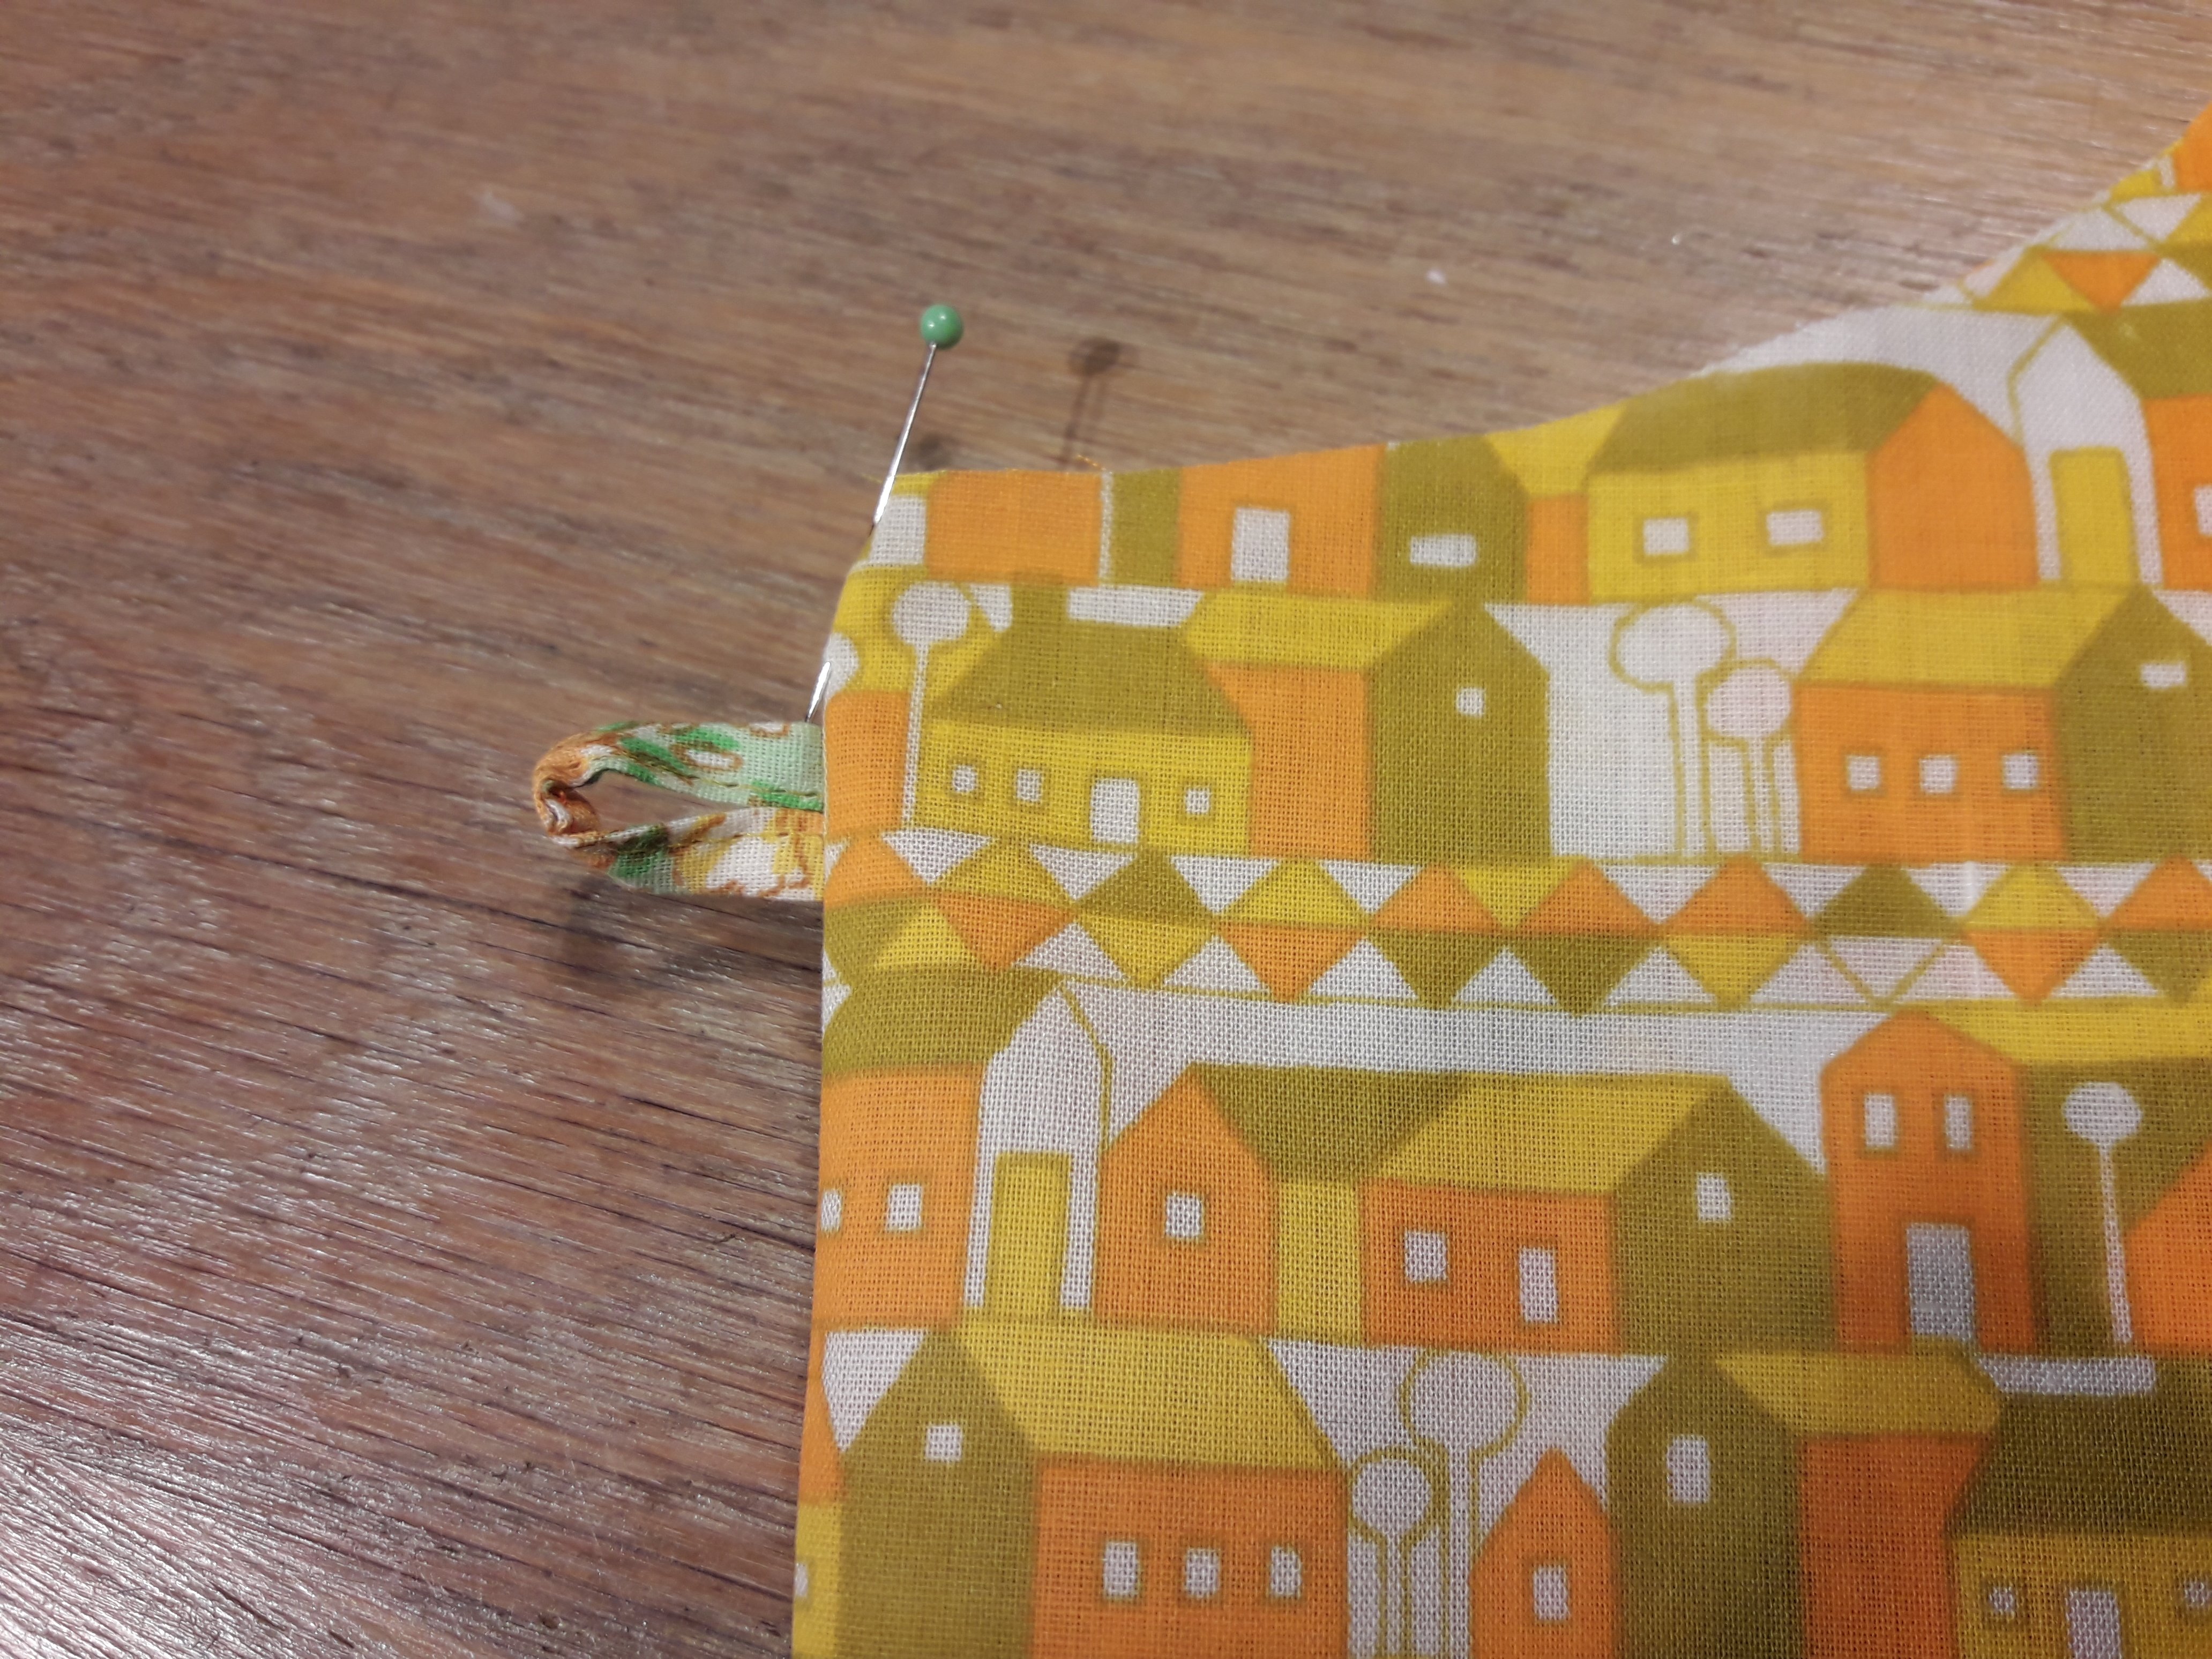
I pin the biastape round the neckline. My tape is smaller than the one one in the description. I stitch it at a 1 cm seam allowance. Presser foot 20, the open embroidery foot gives me a clear view on the needle position. Be sure to take away pins in time, if you pin along the fold of the tape.
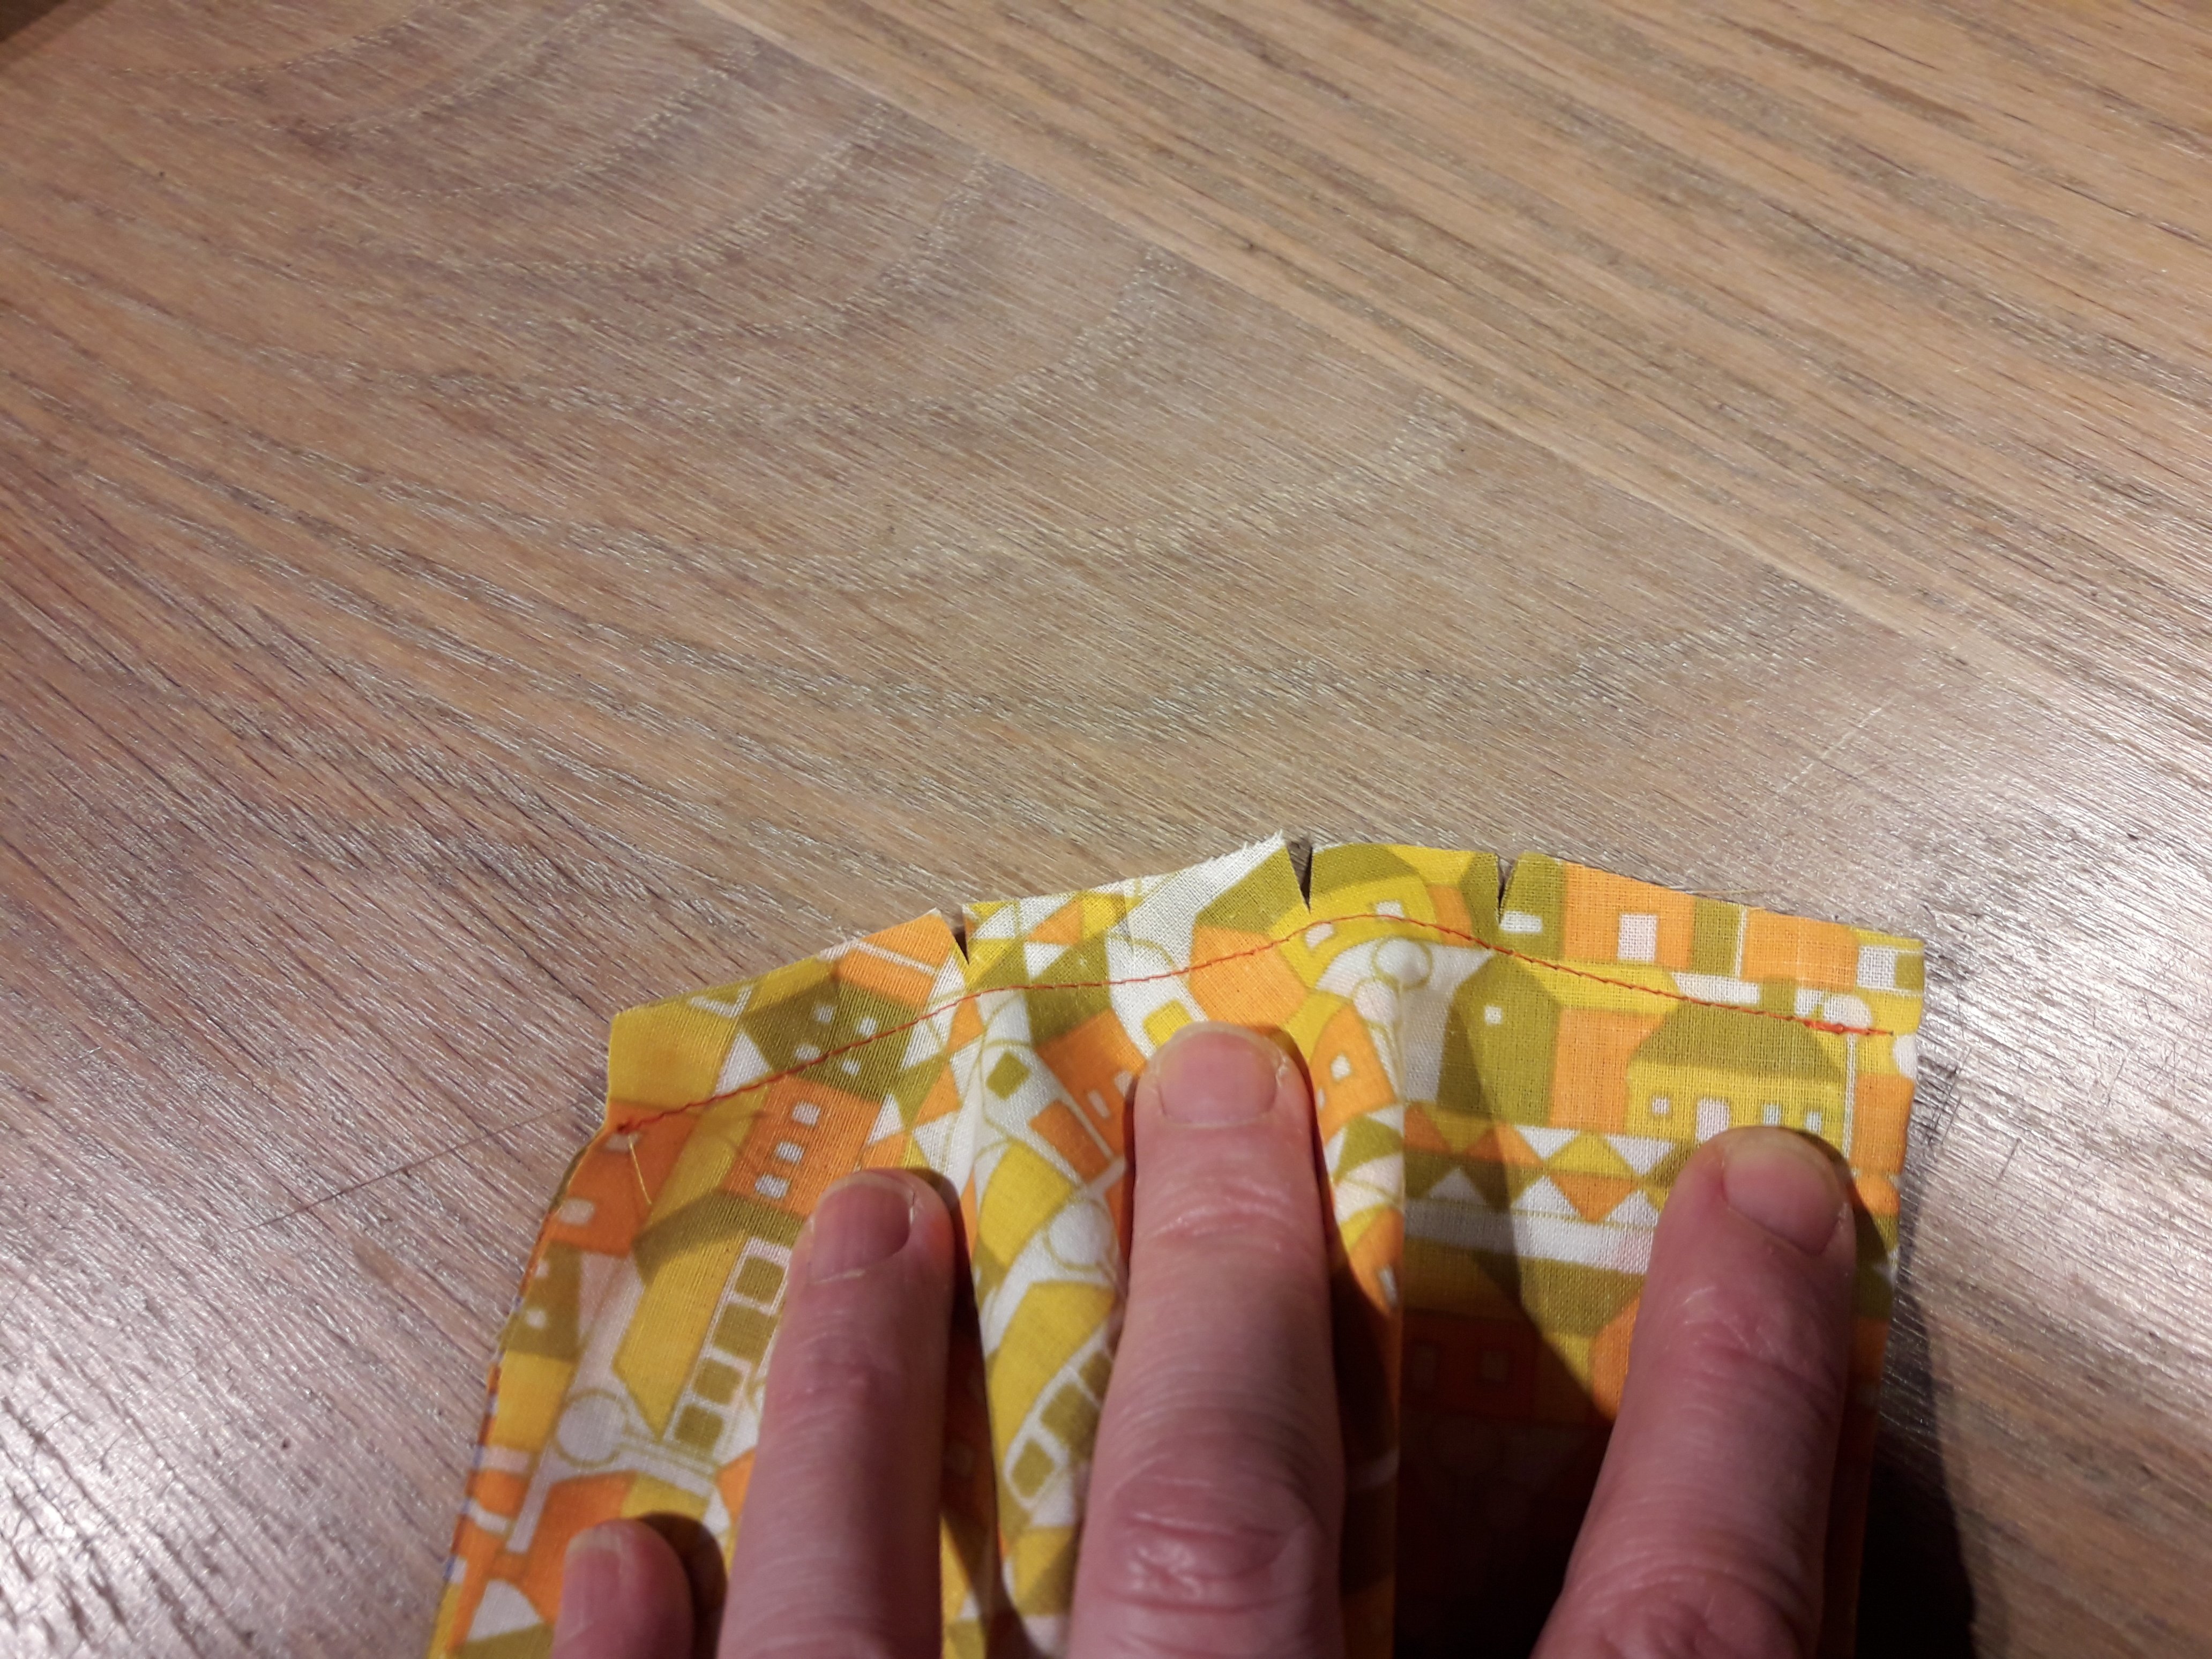
I sew the biastape and fold it over.
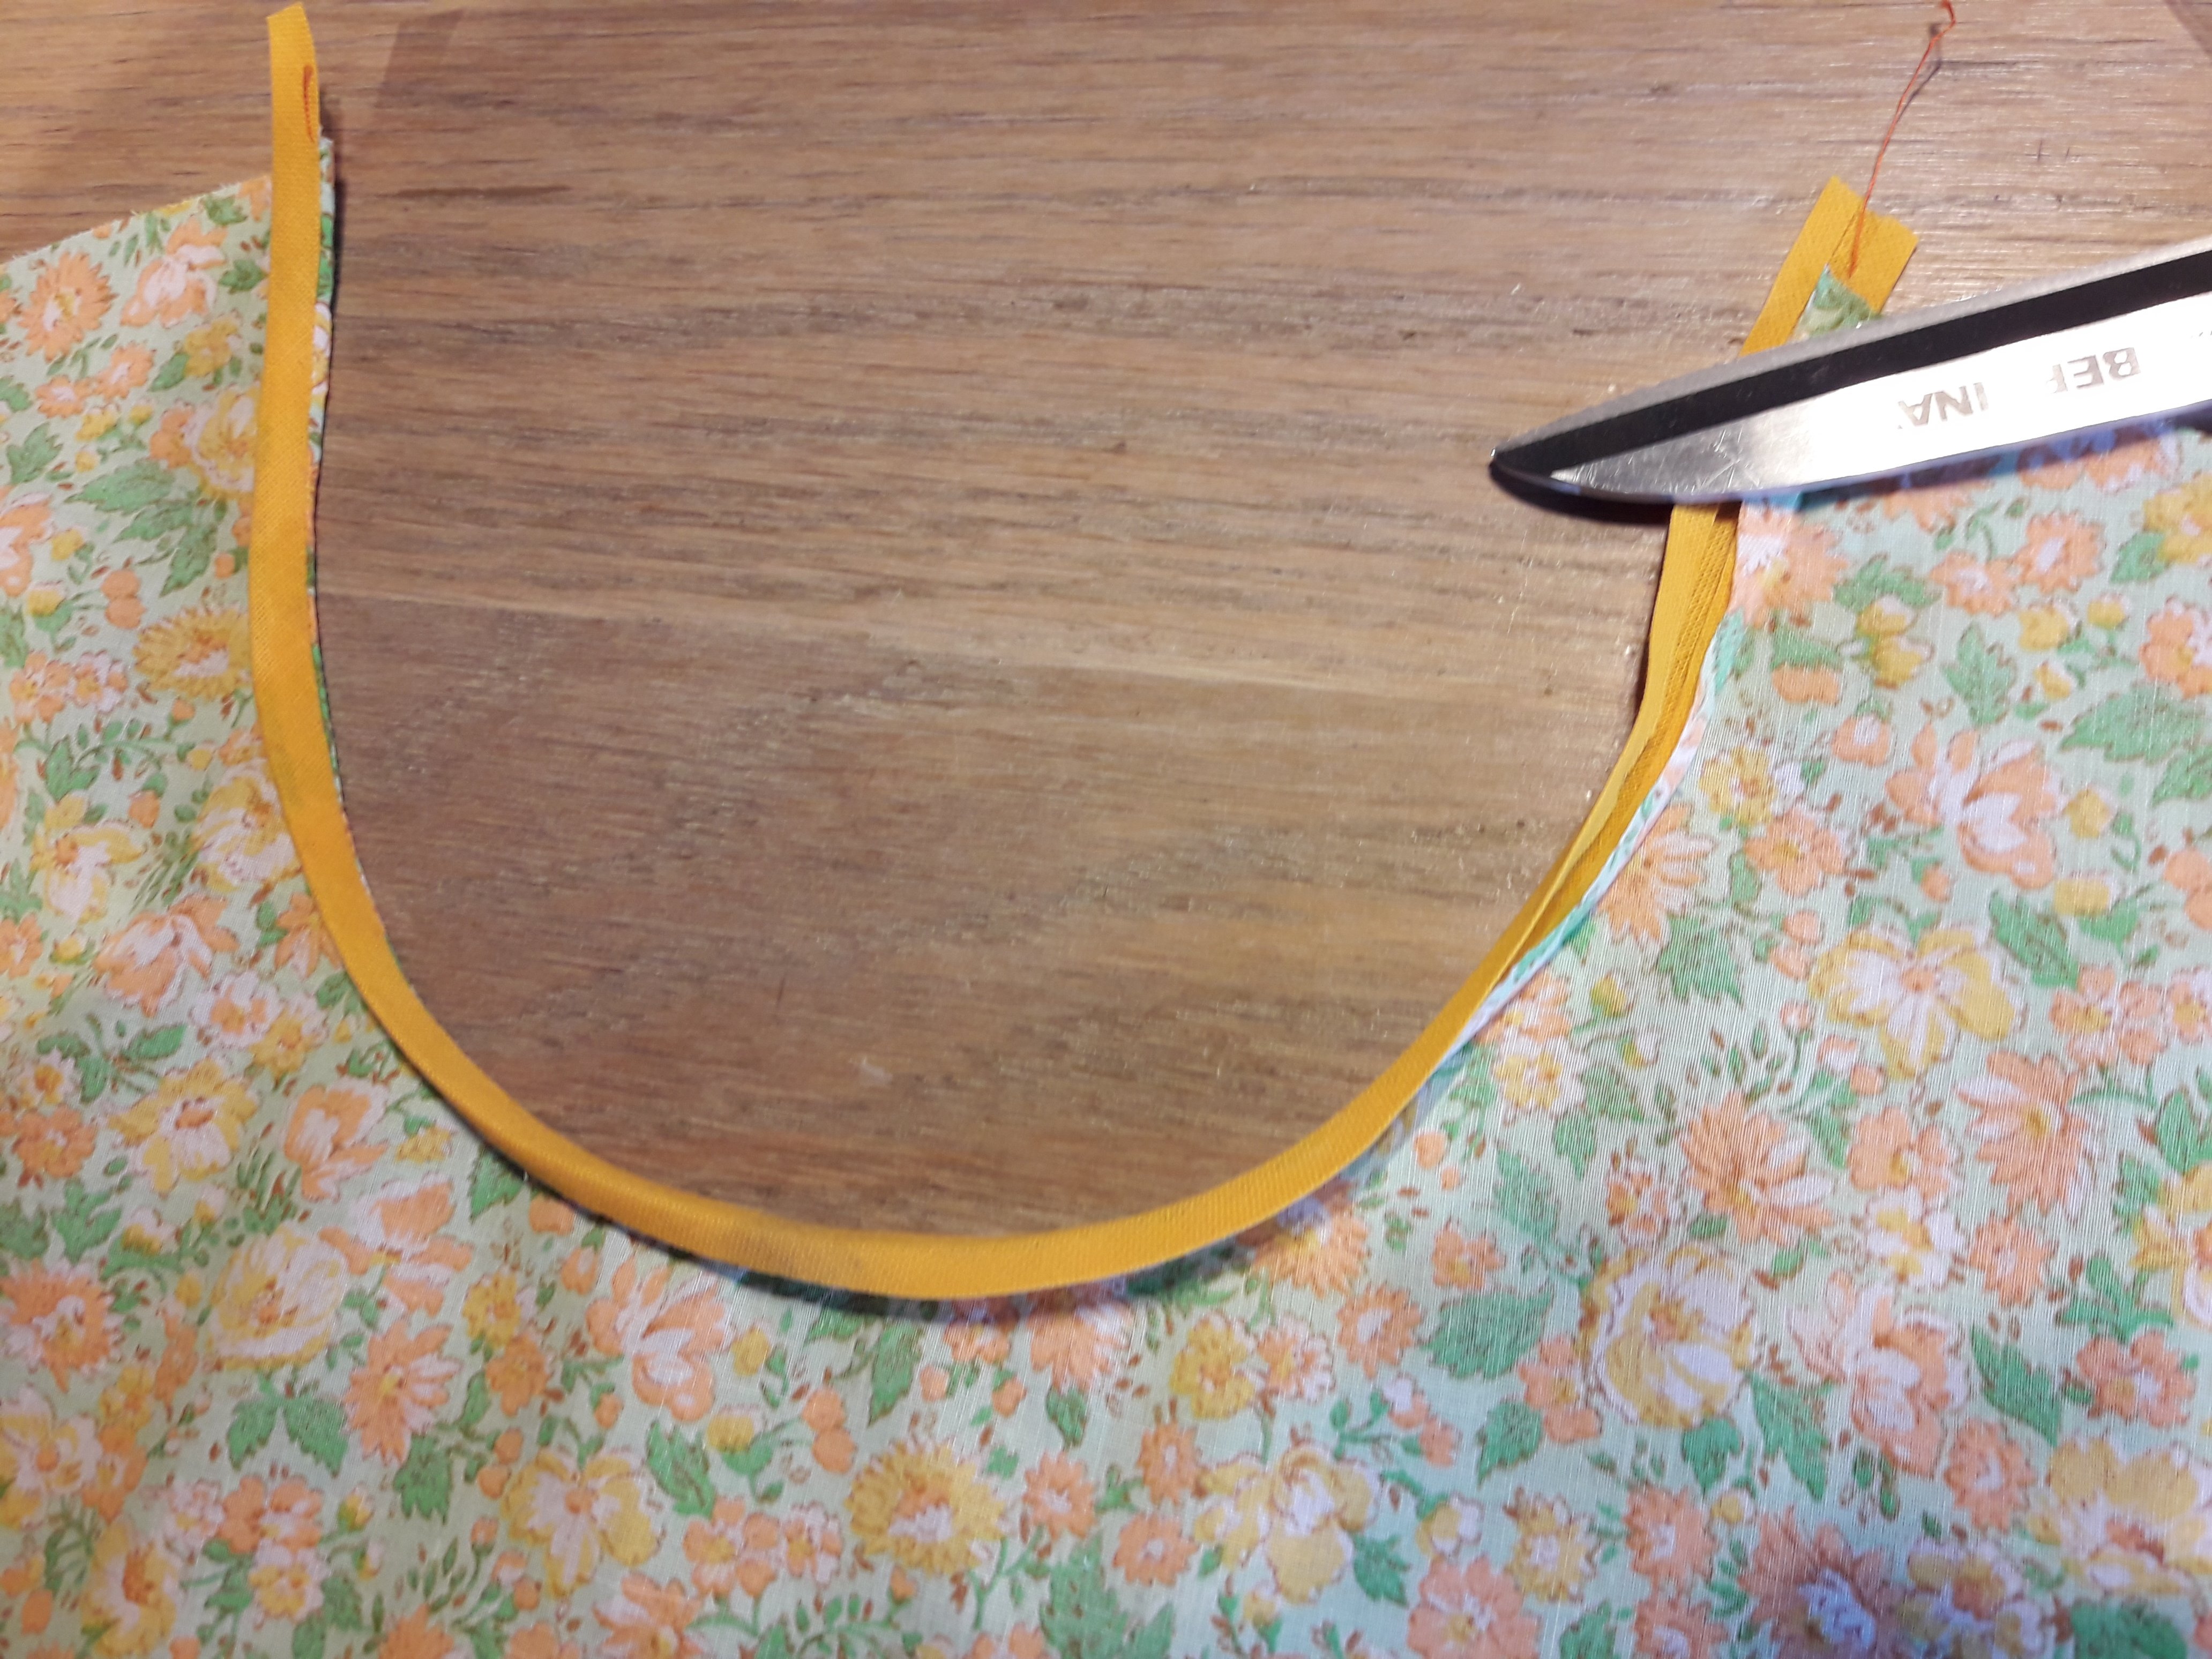
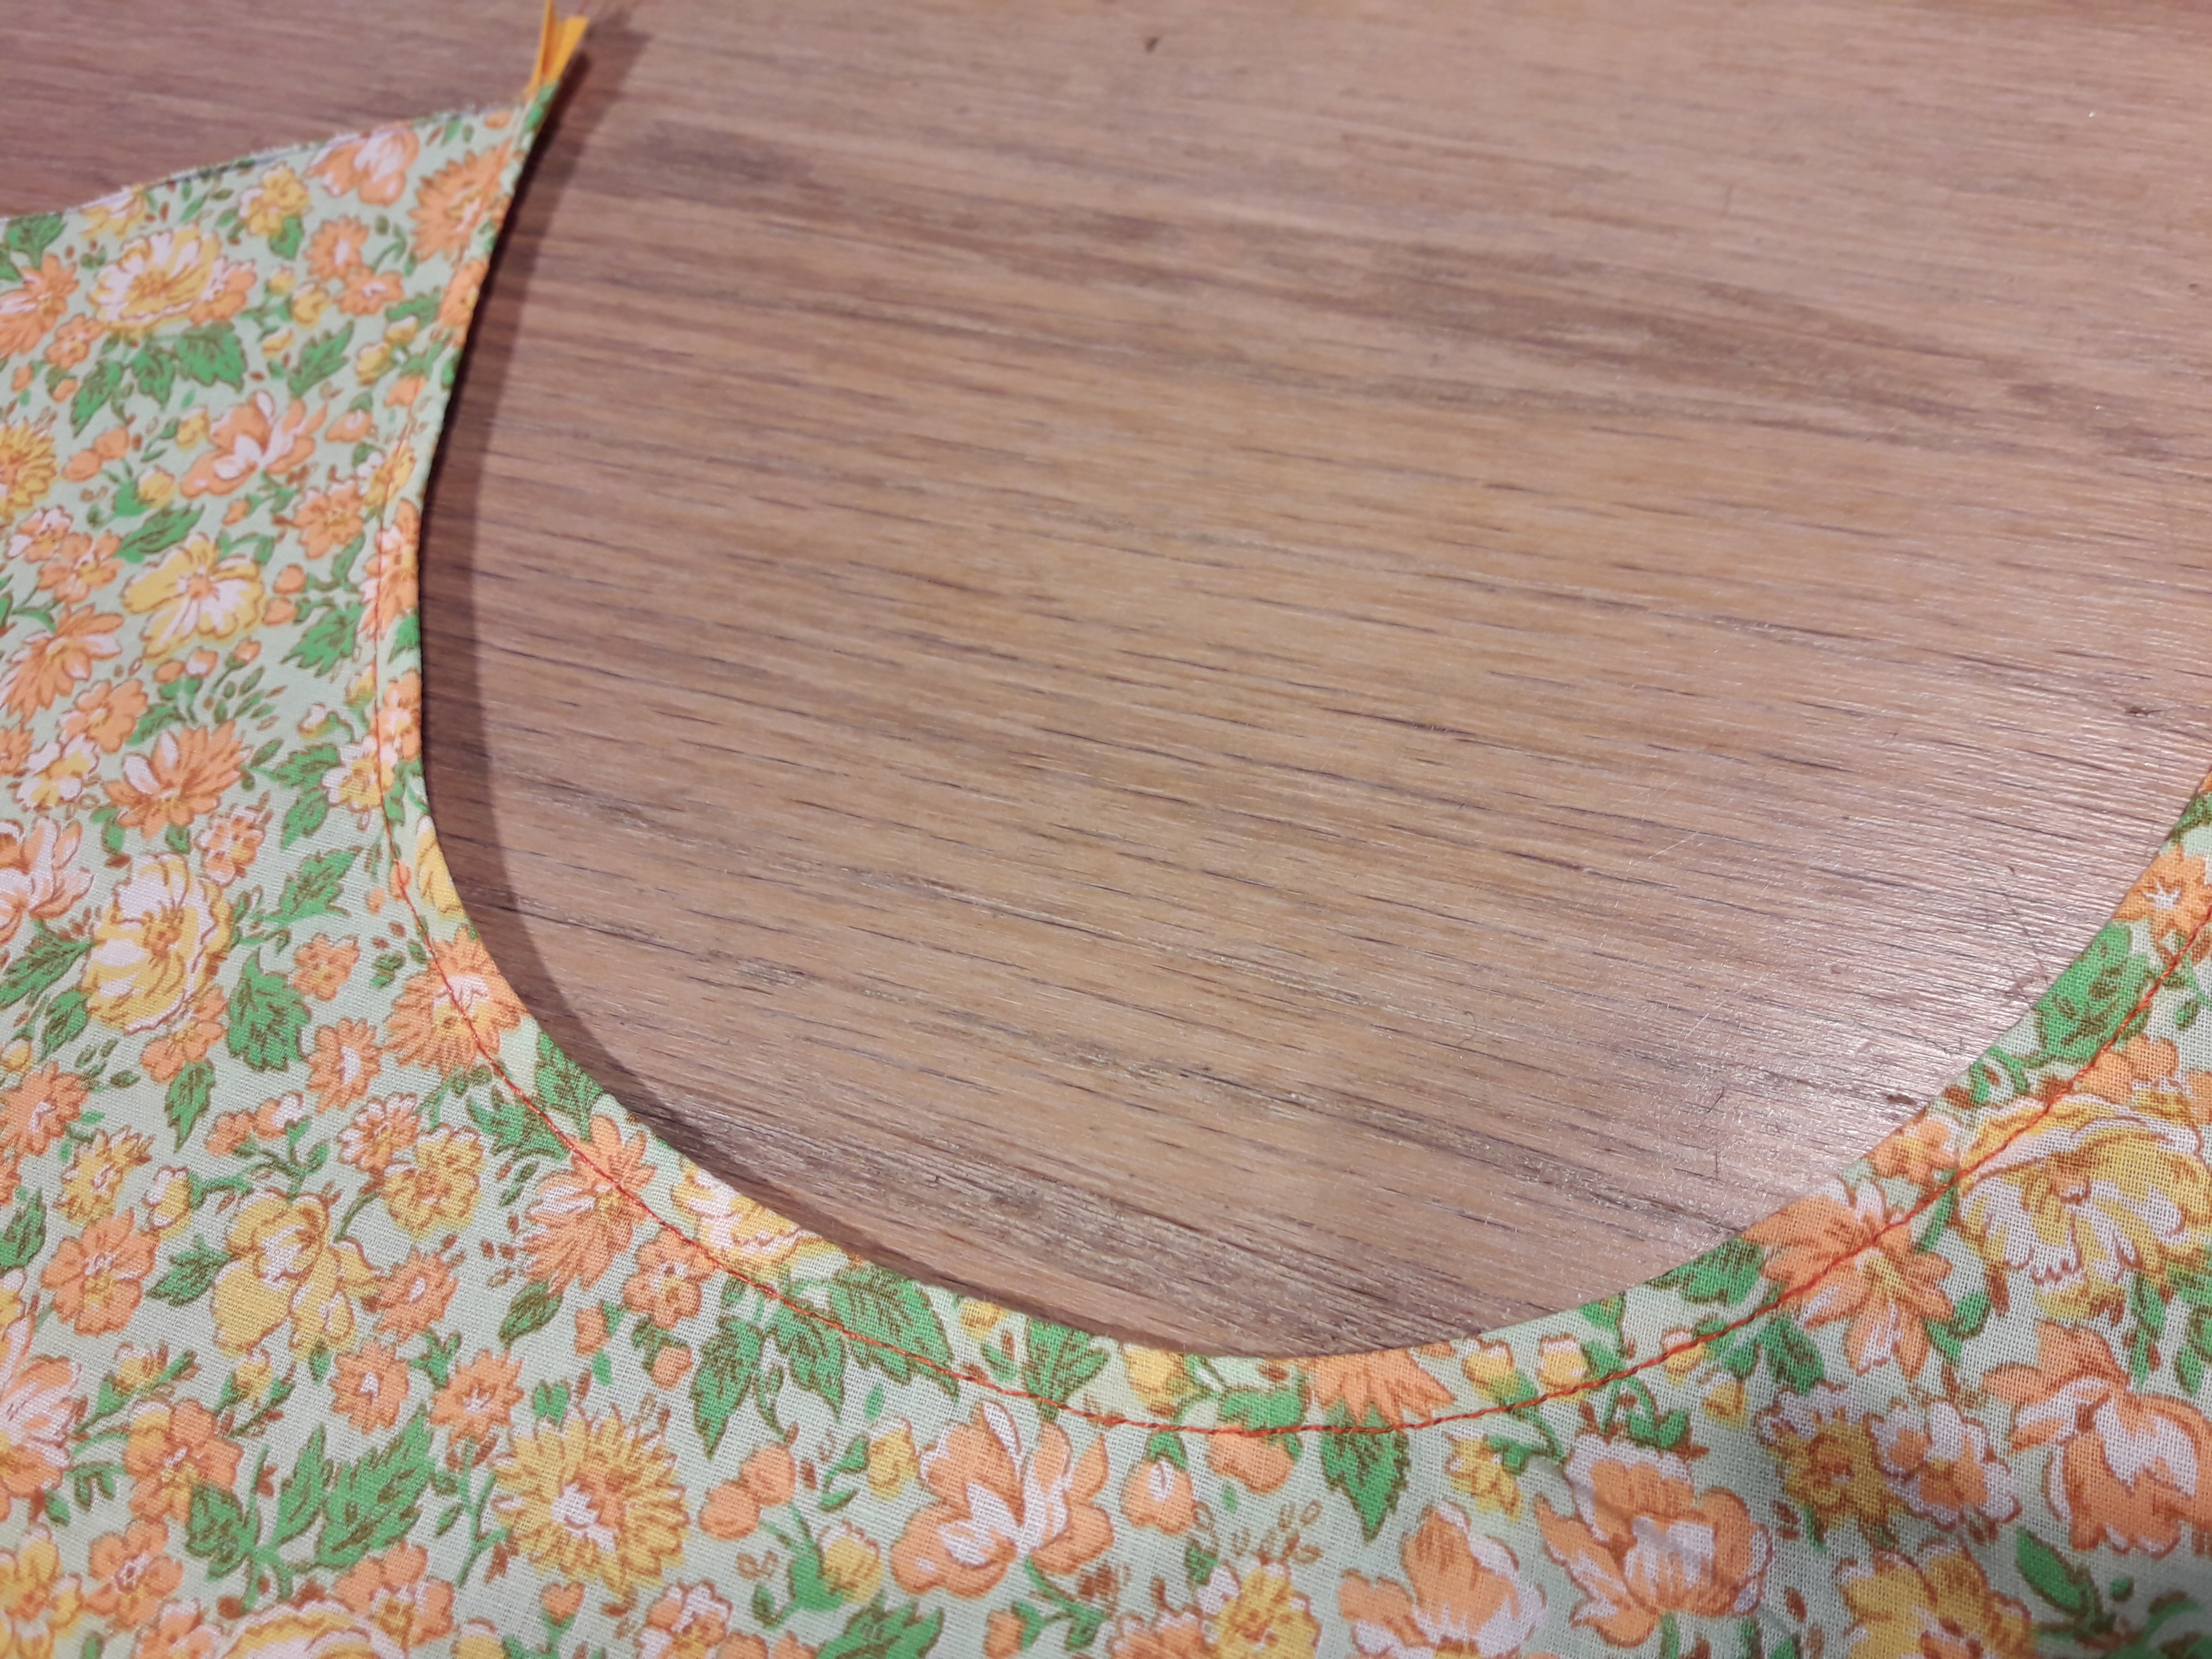
The next thing to do is topstitch on the right side of the blouse.
Continue with thye yoke for the summer blouse.
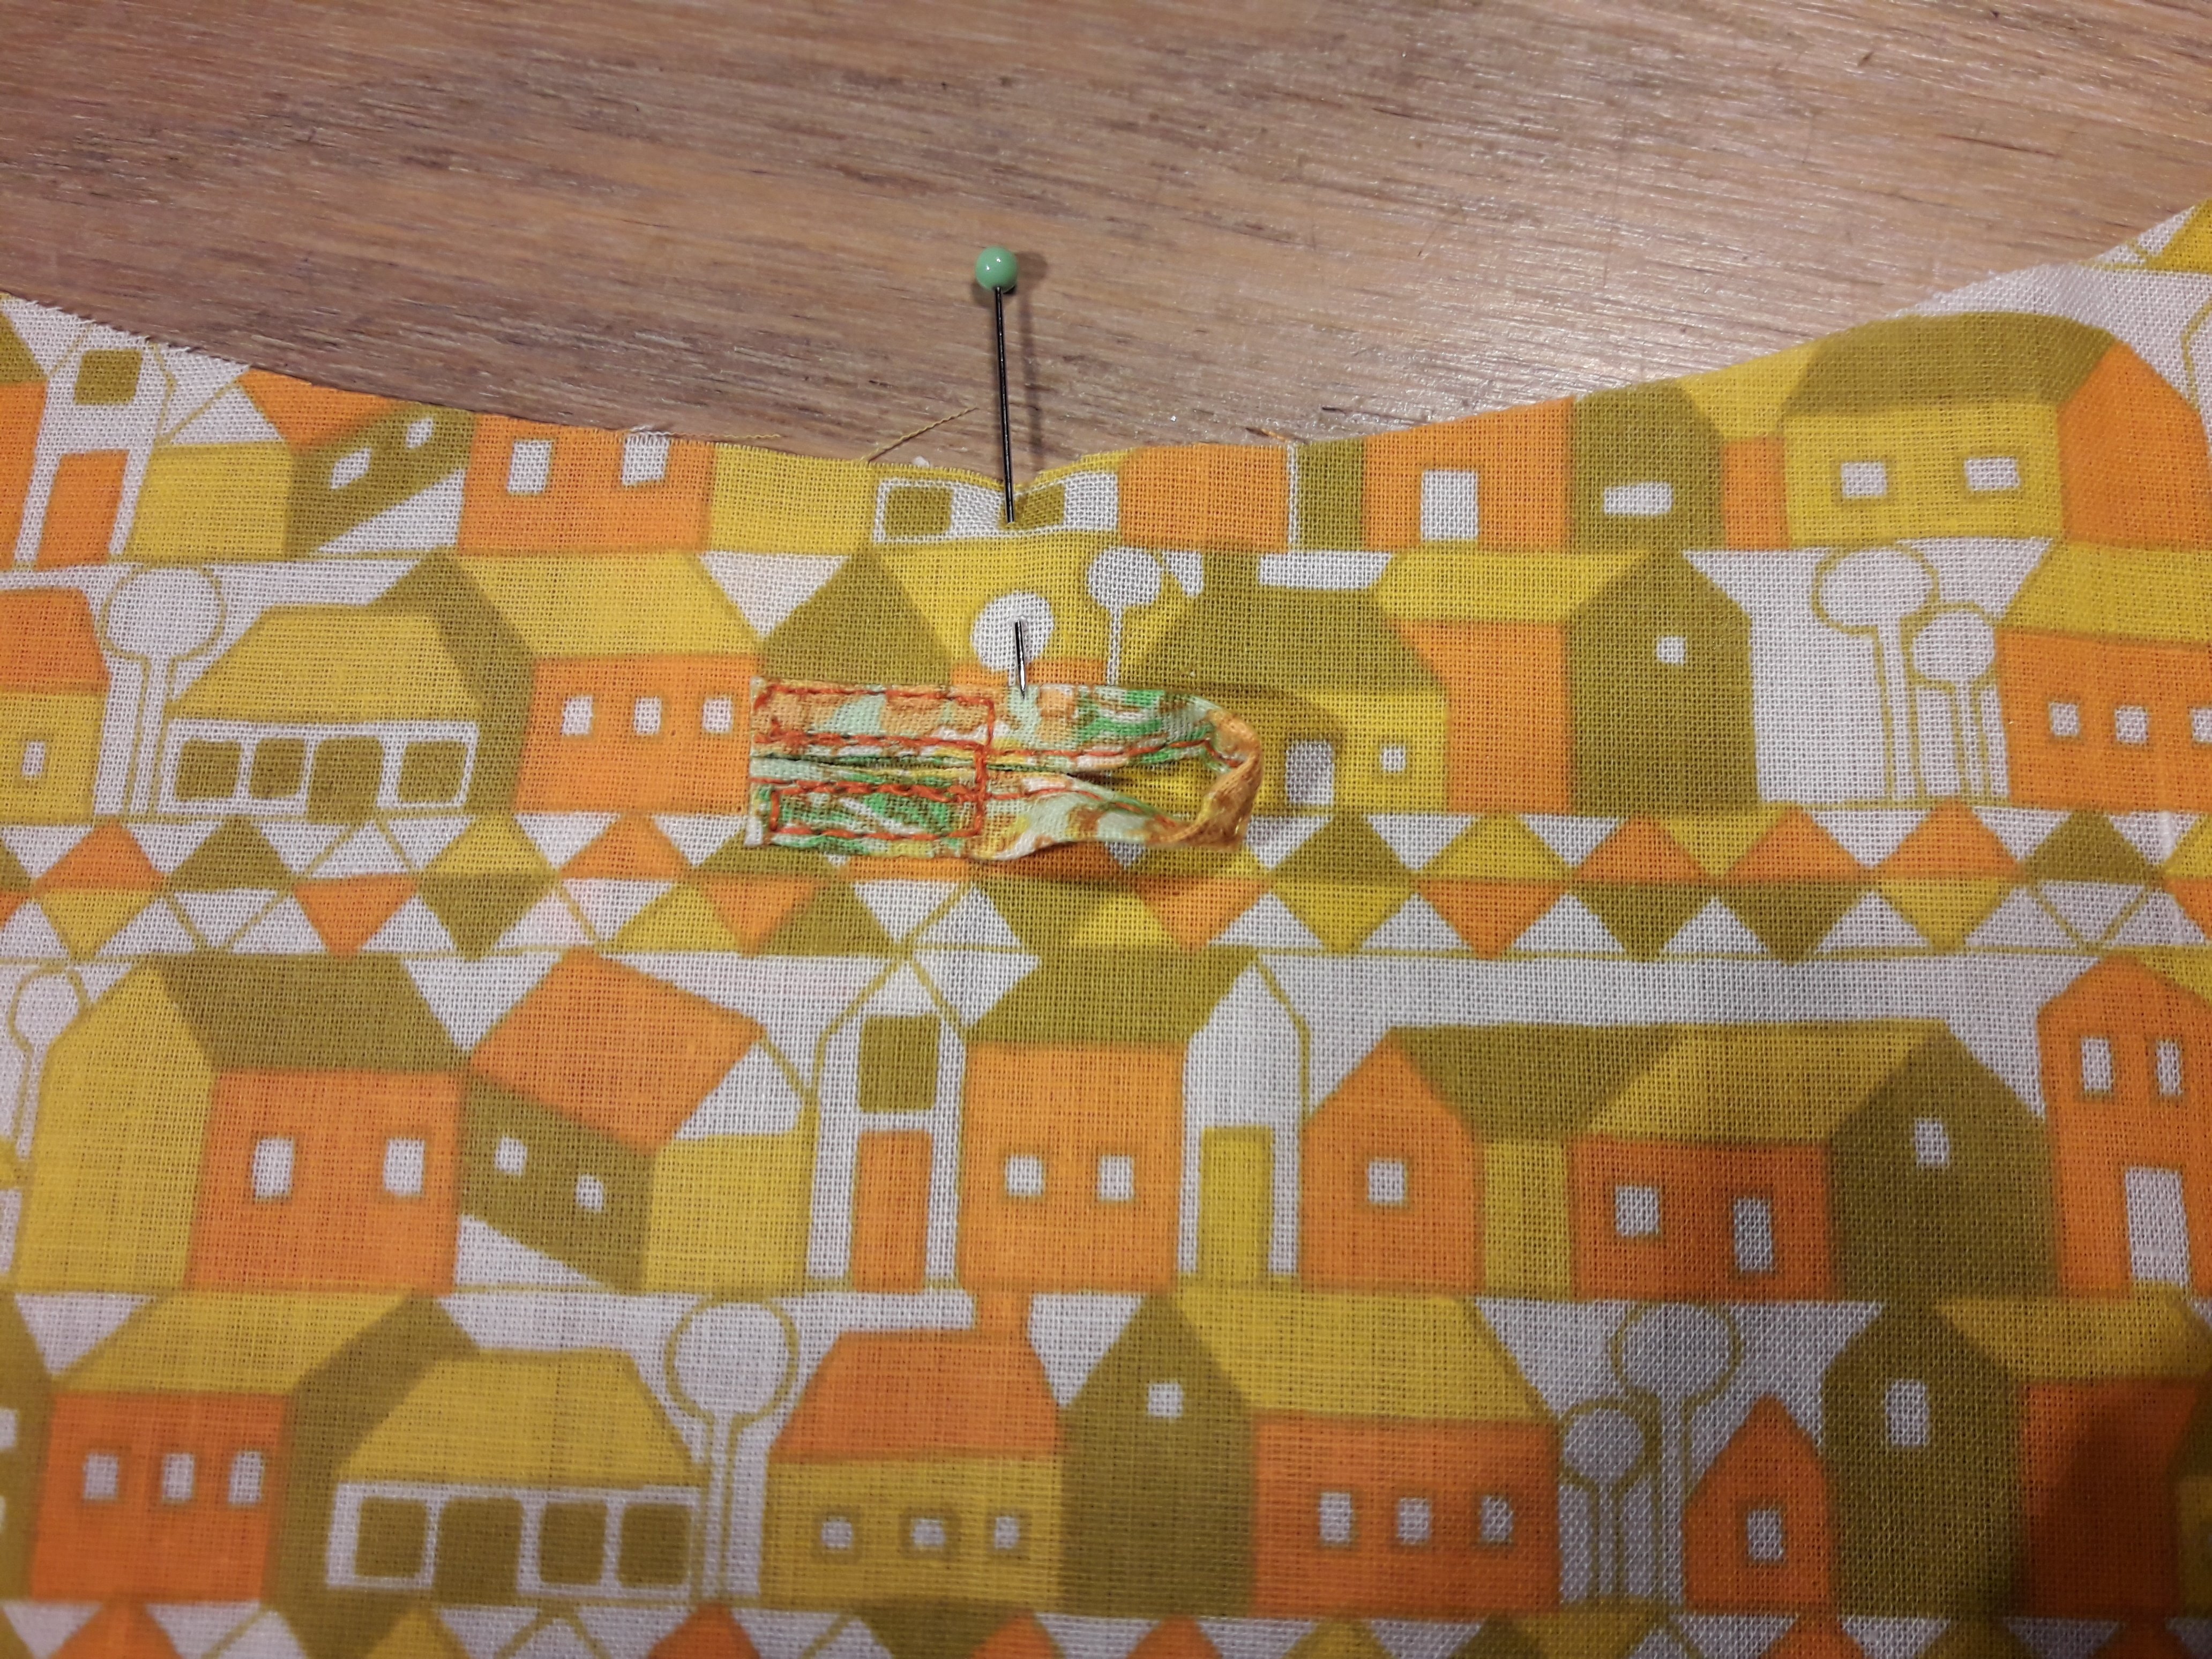
Fold both parts of the yoke with right sides out. Position them on the back of the blouse to find out where to sew the button tape. You should sew it on the left yoke. Stitch it to the innerside of the yoke, on the right side of the fabric.
Sew both yokes right sides together. Turn over and watch the button tape appear :).
Cut in the seam allowance, but take care to keep a 1,5 mm distance from the seam.
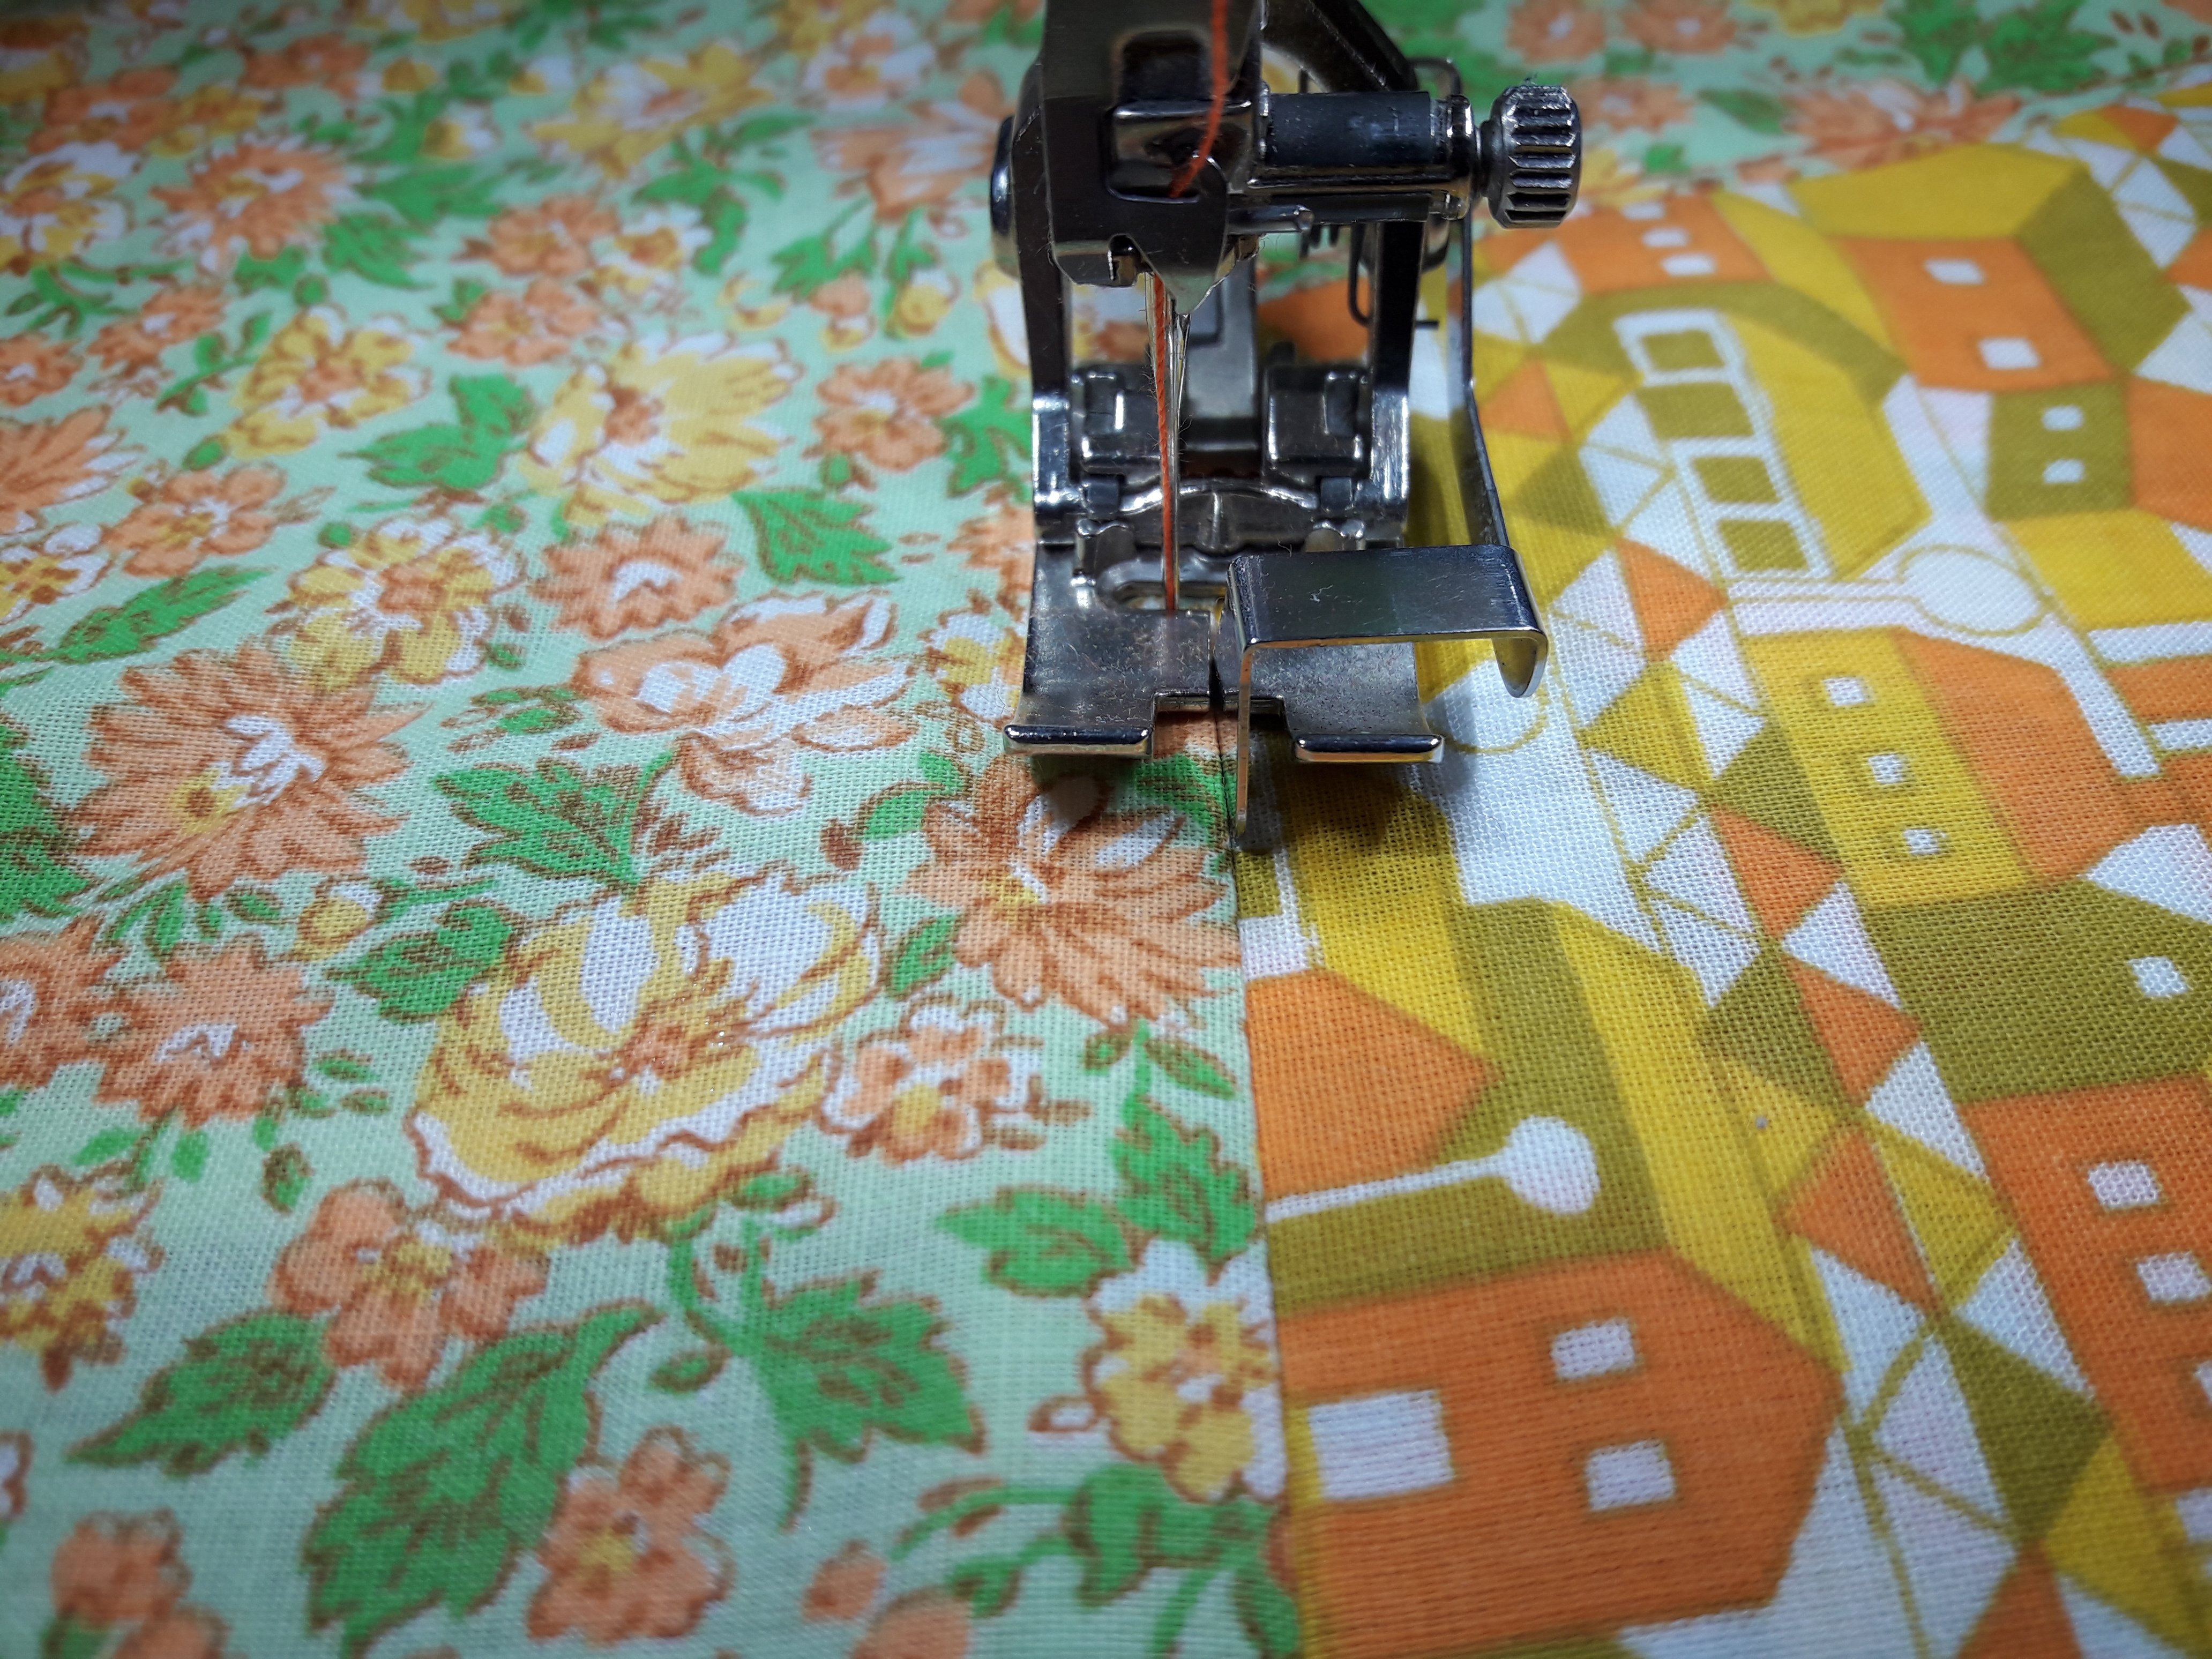
Topstitch the yoke. Edgestitch foot # 10 is so easy!


Iron stabilizer on the corners of the back if necessary, and cut in the corners (to 1,5 mm zone from the exact corner). Pin the back to the yoke.

Sew the yoke to the back, check if no folds are stitched, overlock the seam and topstitch on the right side. How comfortable it is to stitch with the edgestitchfoot again. This presserfoot is one of my favourites!
This is what we have now: the yoke is stitched in the back.
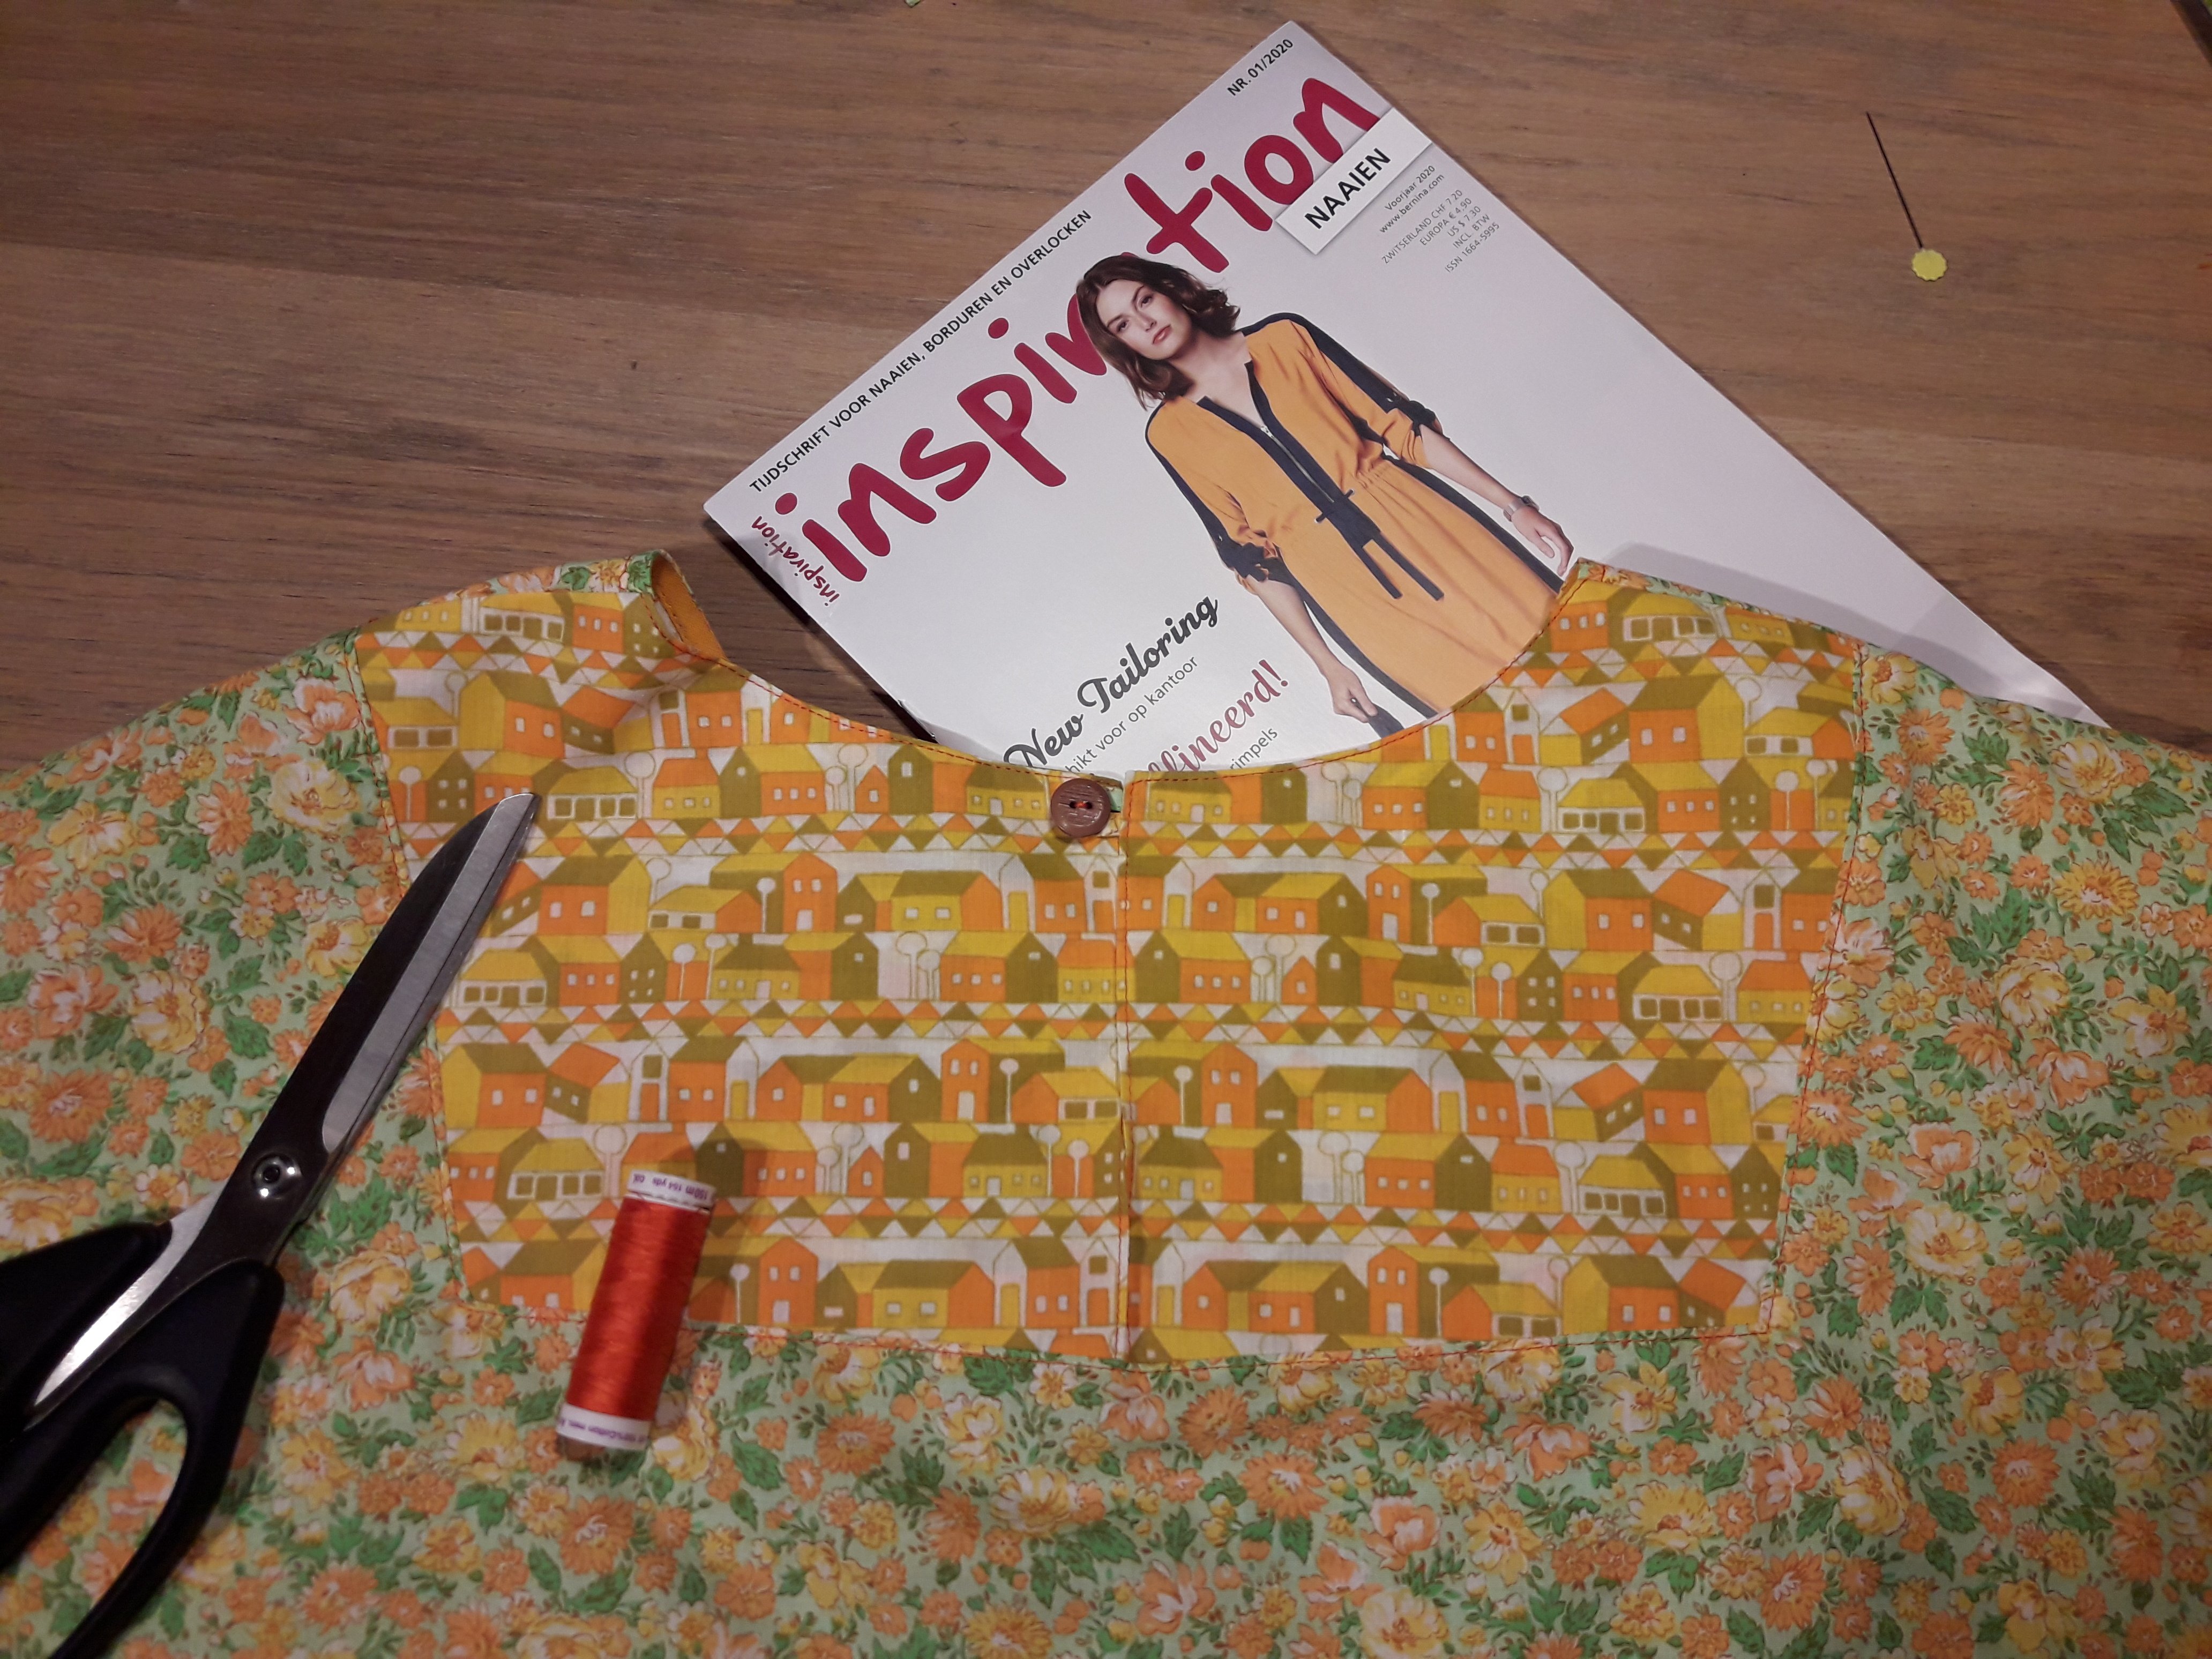
You like combination of the prints? I do! I got the fabrics both from a 90y old relative. It is a coincidance they both match so well!
In a next post, we will finish the summer blouse Amy.


I hope Part 2 of the Blog entry is coming soon. I am currently struggling with the sleeves for the blouse. I can’t figure out how to fold and sew them. Would be great to have a detailed description abd pictures 🙂
thank you!!
Merle, there are quite many folding lines and signs in the sleeves, you are right. But it all comes to a logic end! See the second blog post on the Amy blouse on Monday March 9.