 BERNINA Corporate Blog -
In the first blogpost about the summer blouse ‘Amy’ from INSPIRATION 1/2020 you could read about how to sew the neck and yoke.
Let’s finish it with the sleeves and bottom tunnel.
And there we go to sew the summer blouse Amy:
Pin the shoulderseams for back and front (right sides together), sew and lock. Iron the seam allowance to the back and topstitch on the right side.
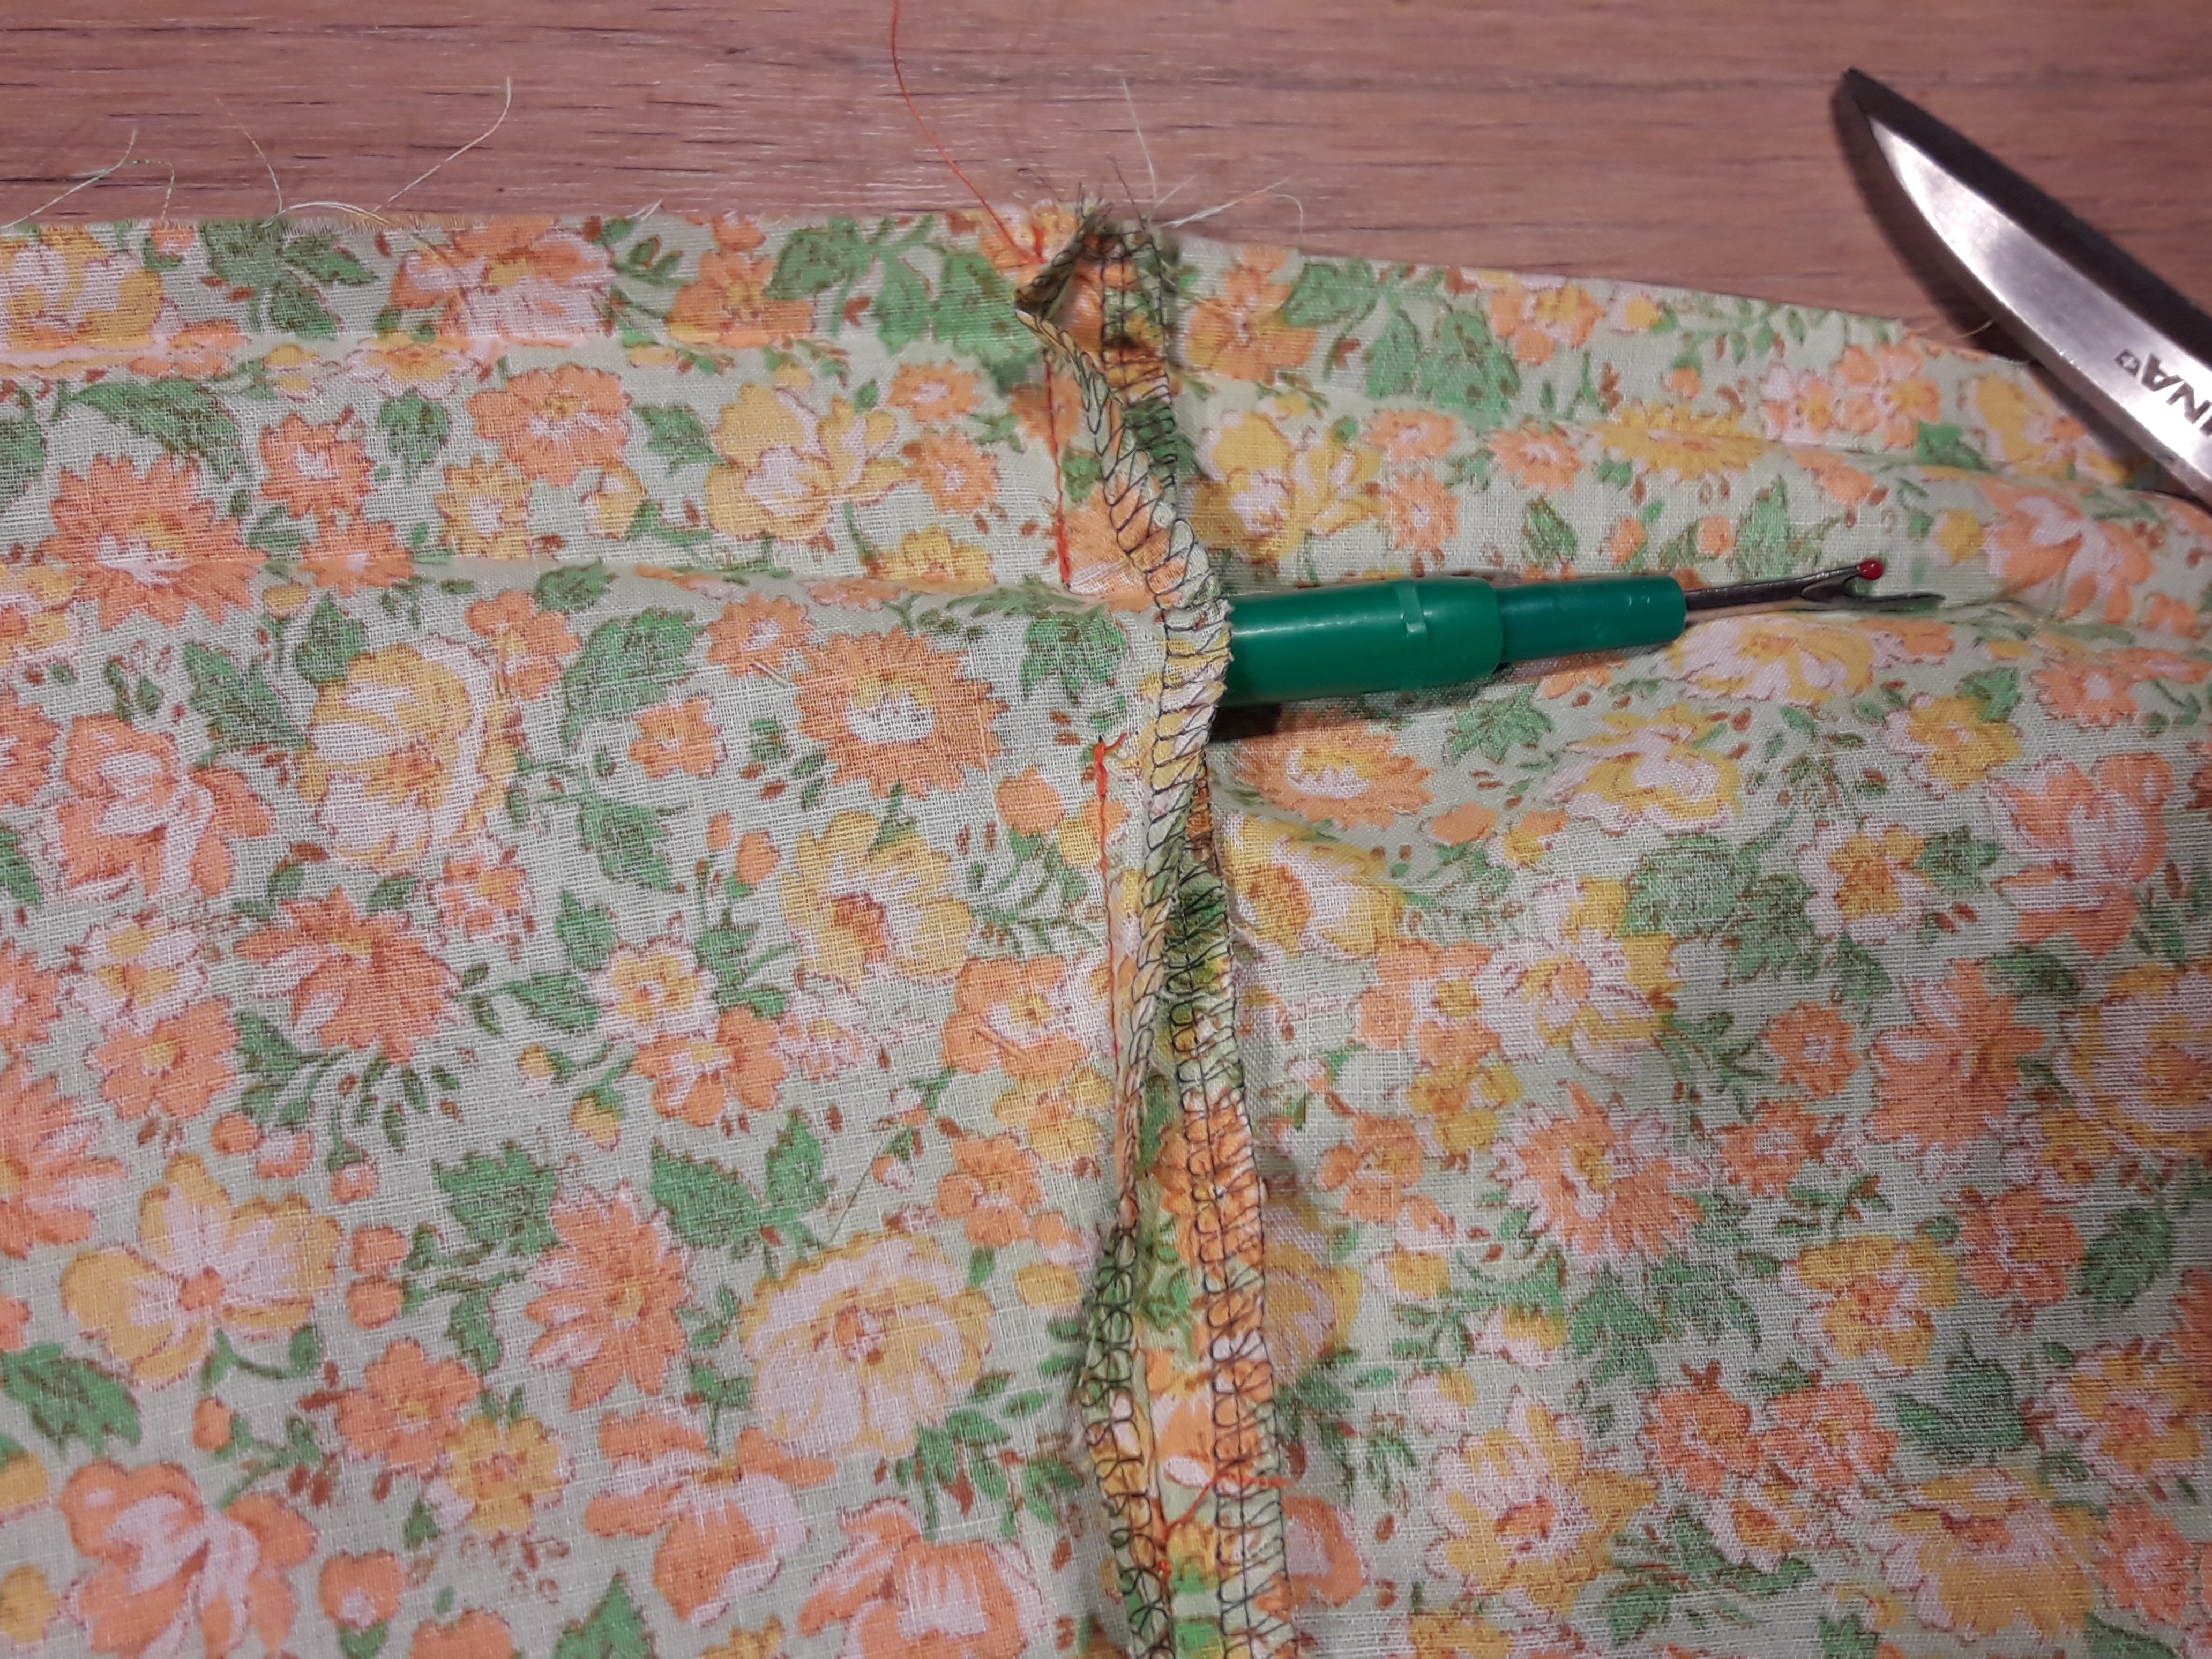
Overlock the side seams of front and back separately (before sewing the seam).
Pin both sides, front and back with good sides together. Don’t forget to leave a 2 cm gap above the for the ribbon to come out. You will find the marks on the pattern. See on the picture below where the ironed folds for the tunnel are and where the opening is.
I choose to wait for the biastape to make and insert it. That will prevent me from stitching them to the blouse when handling it over… I have a certain selfknowledge 🙂
Off we go for the sleeves:
Iron all marked lines of the sleeves. You can do it by cutting in half of the seam allowance.
Close the sleeves by pinning and sewing right sides together.

Sew the sleeveseam and overlock.
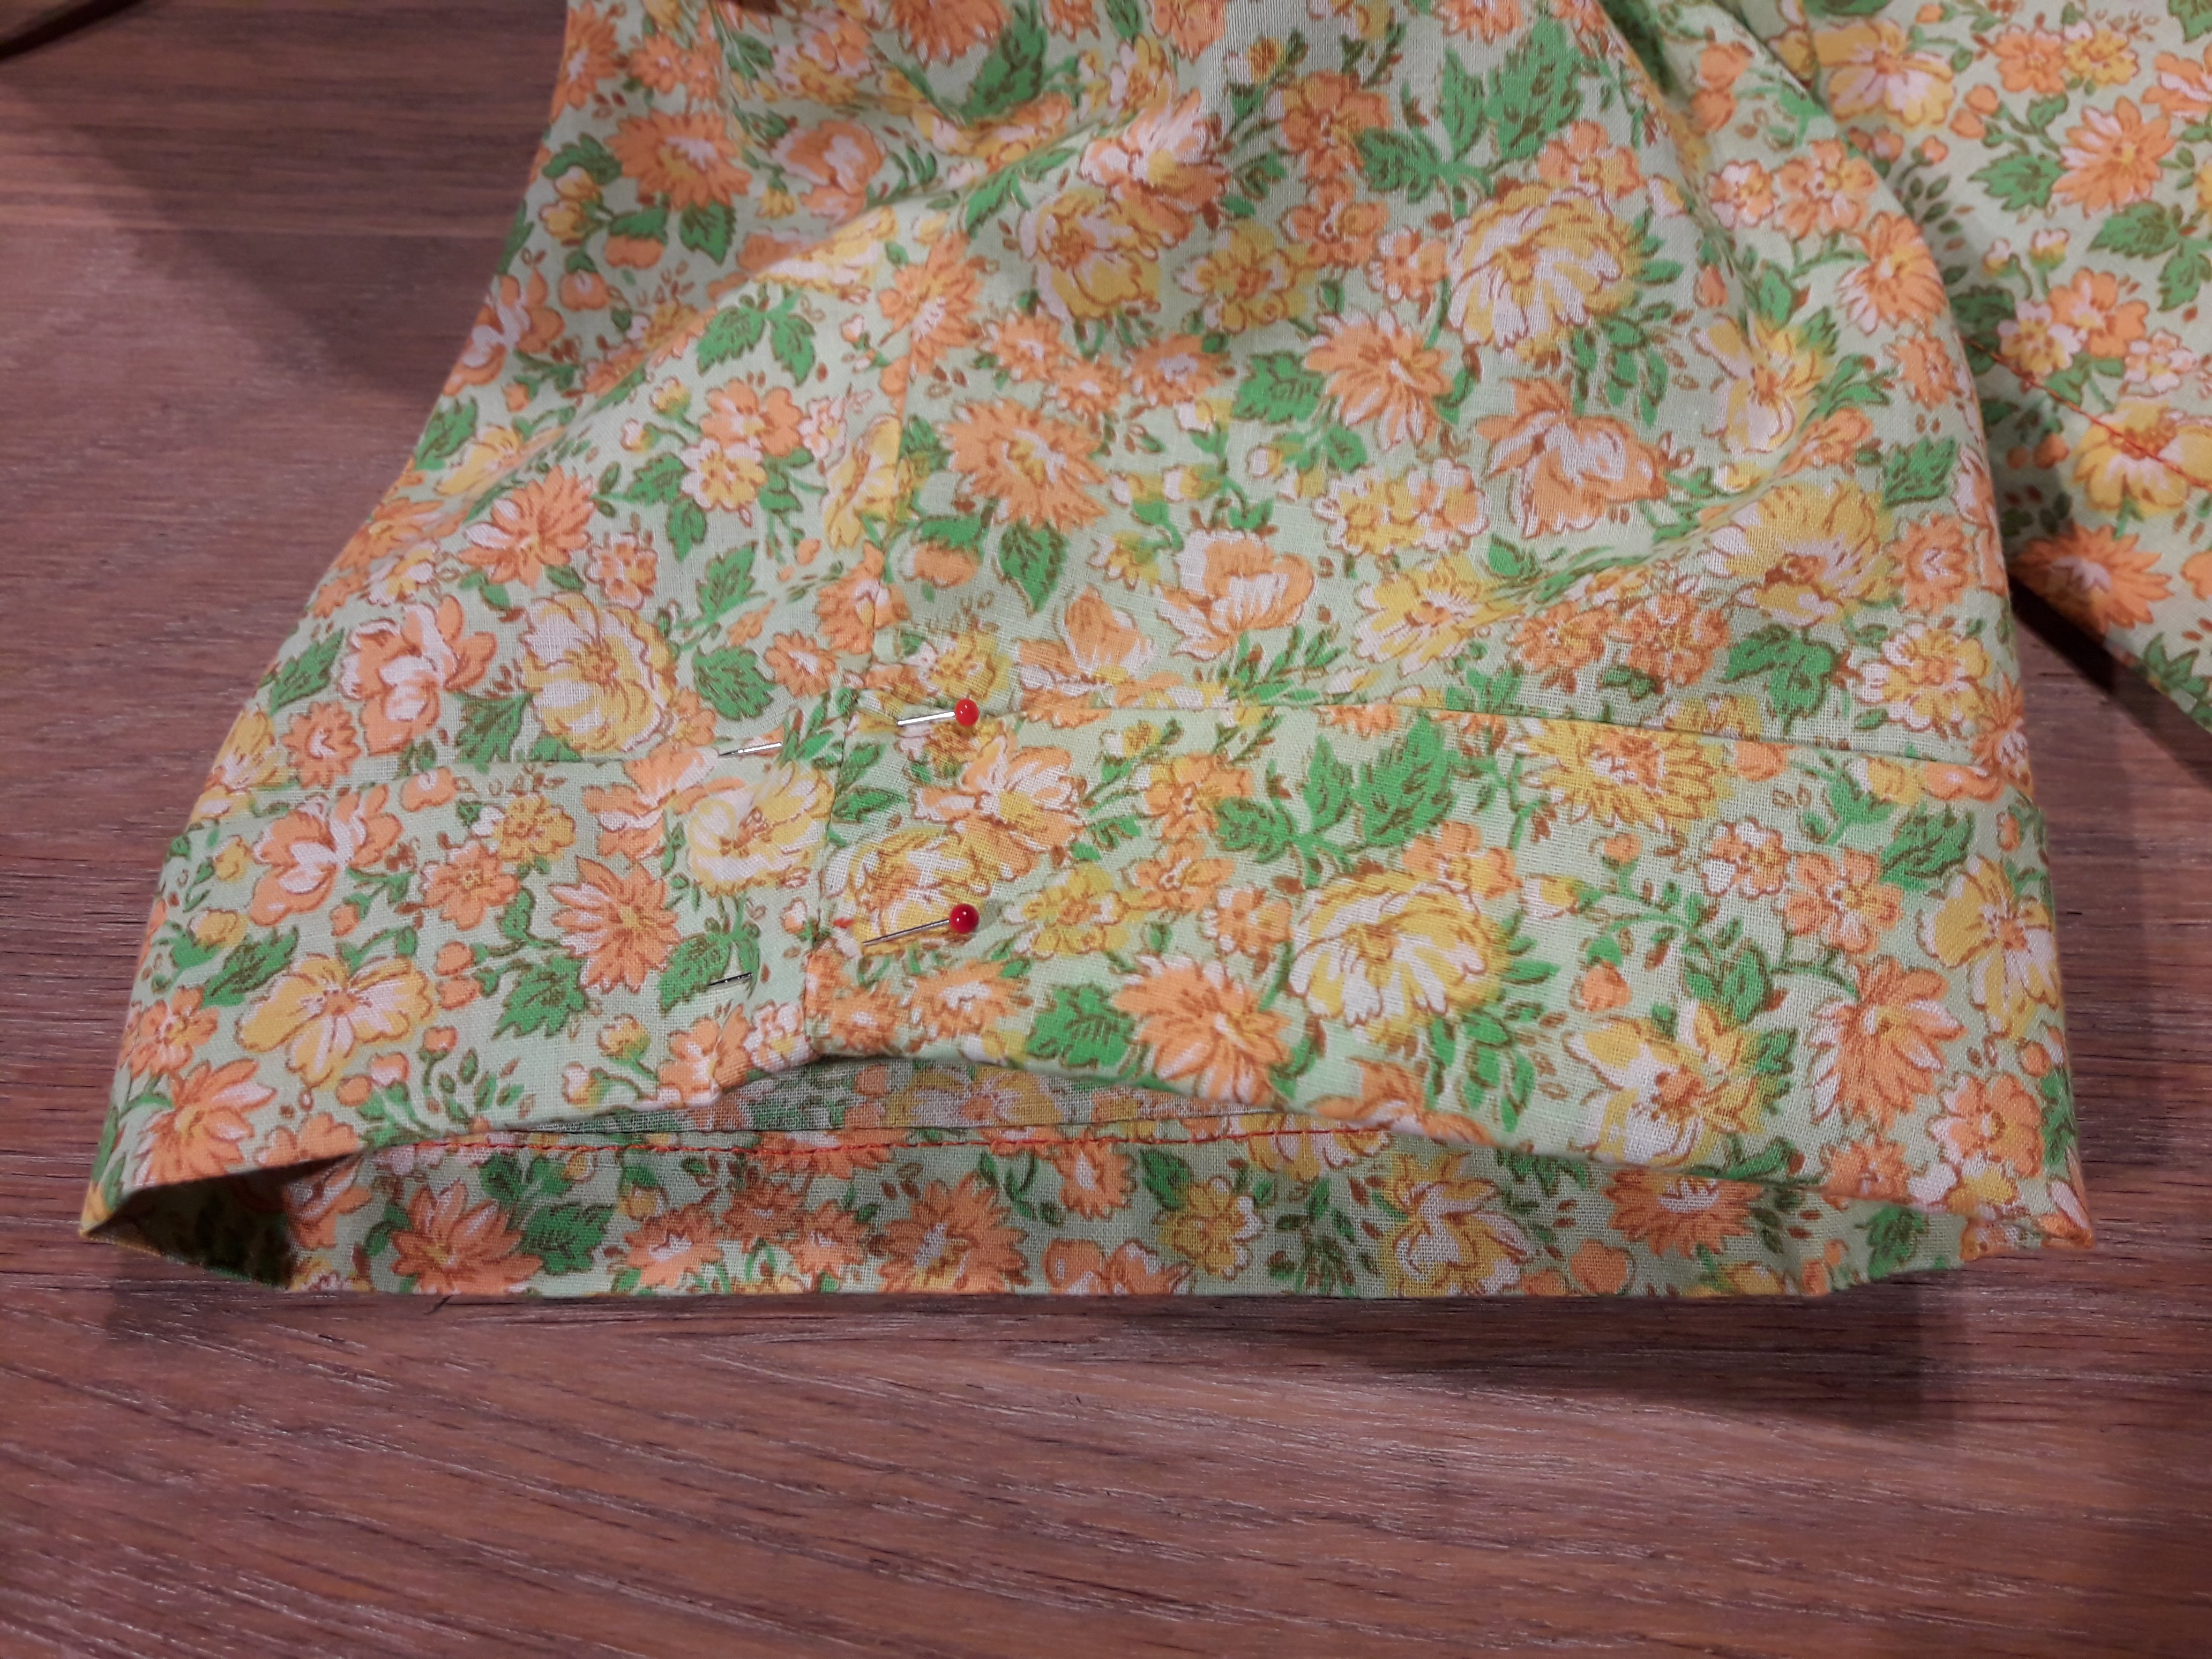
Fold the turn-up over to prepare to sew the seam to the sleeve. The picture above shows you which ironed line you should choose to fold the sleeve and you can see on the right side that I have a 1 cm seamallowance. (The marked line with the red arrow will appear on the right side when finished, and it is the upper side of the turn-up.)
If you doubt, just pin it, fold it and see what you get, it will help to understand how the turn-up is constructed.
Now you have the right sides of the fabric on the outside. The fabric part you see on the left is the seam and on the right it is the back side of the sleeve. In this picture I just finished to go round the sleeve.

The edgefoot nr 10 helps me to follow the edge very neatly. It’s one of the presser feet I use most!
Fold the turn-up up and stitch in the ditch of the sideseam to prevent the turn-up to fall down again.
Sew the sleeves to the blouse.
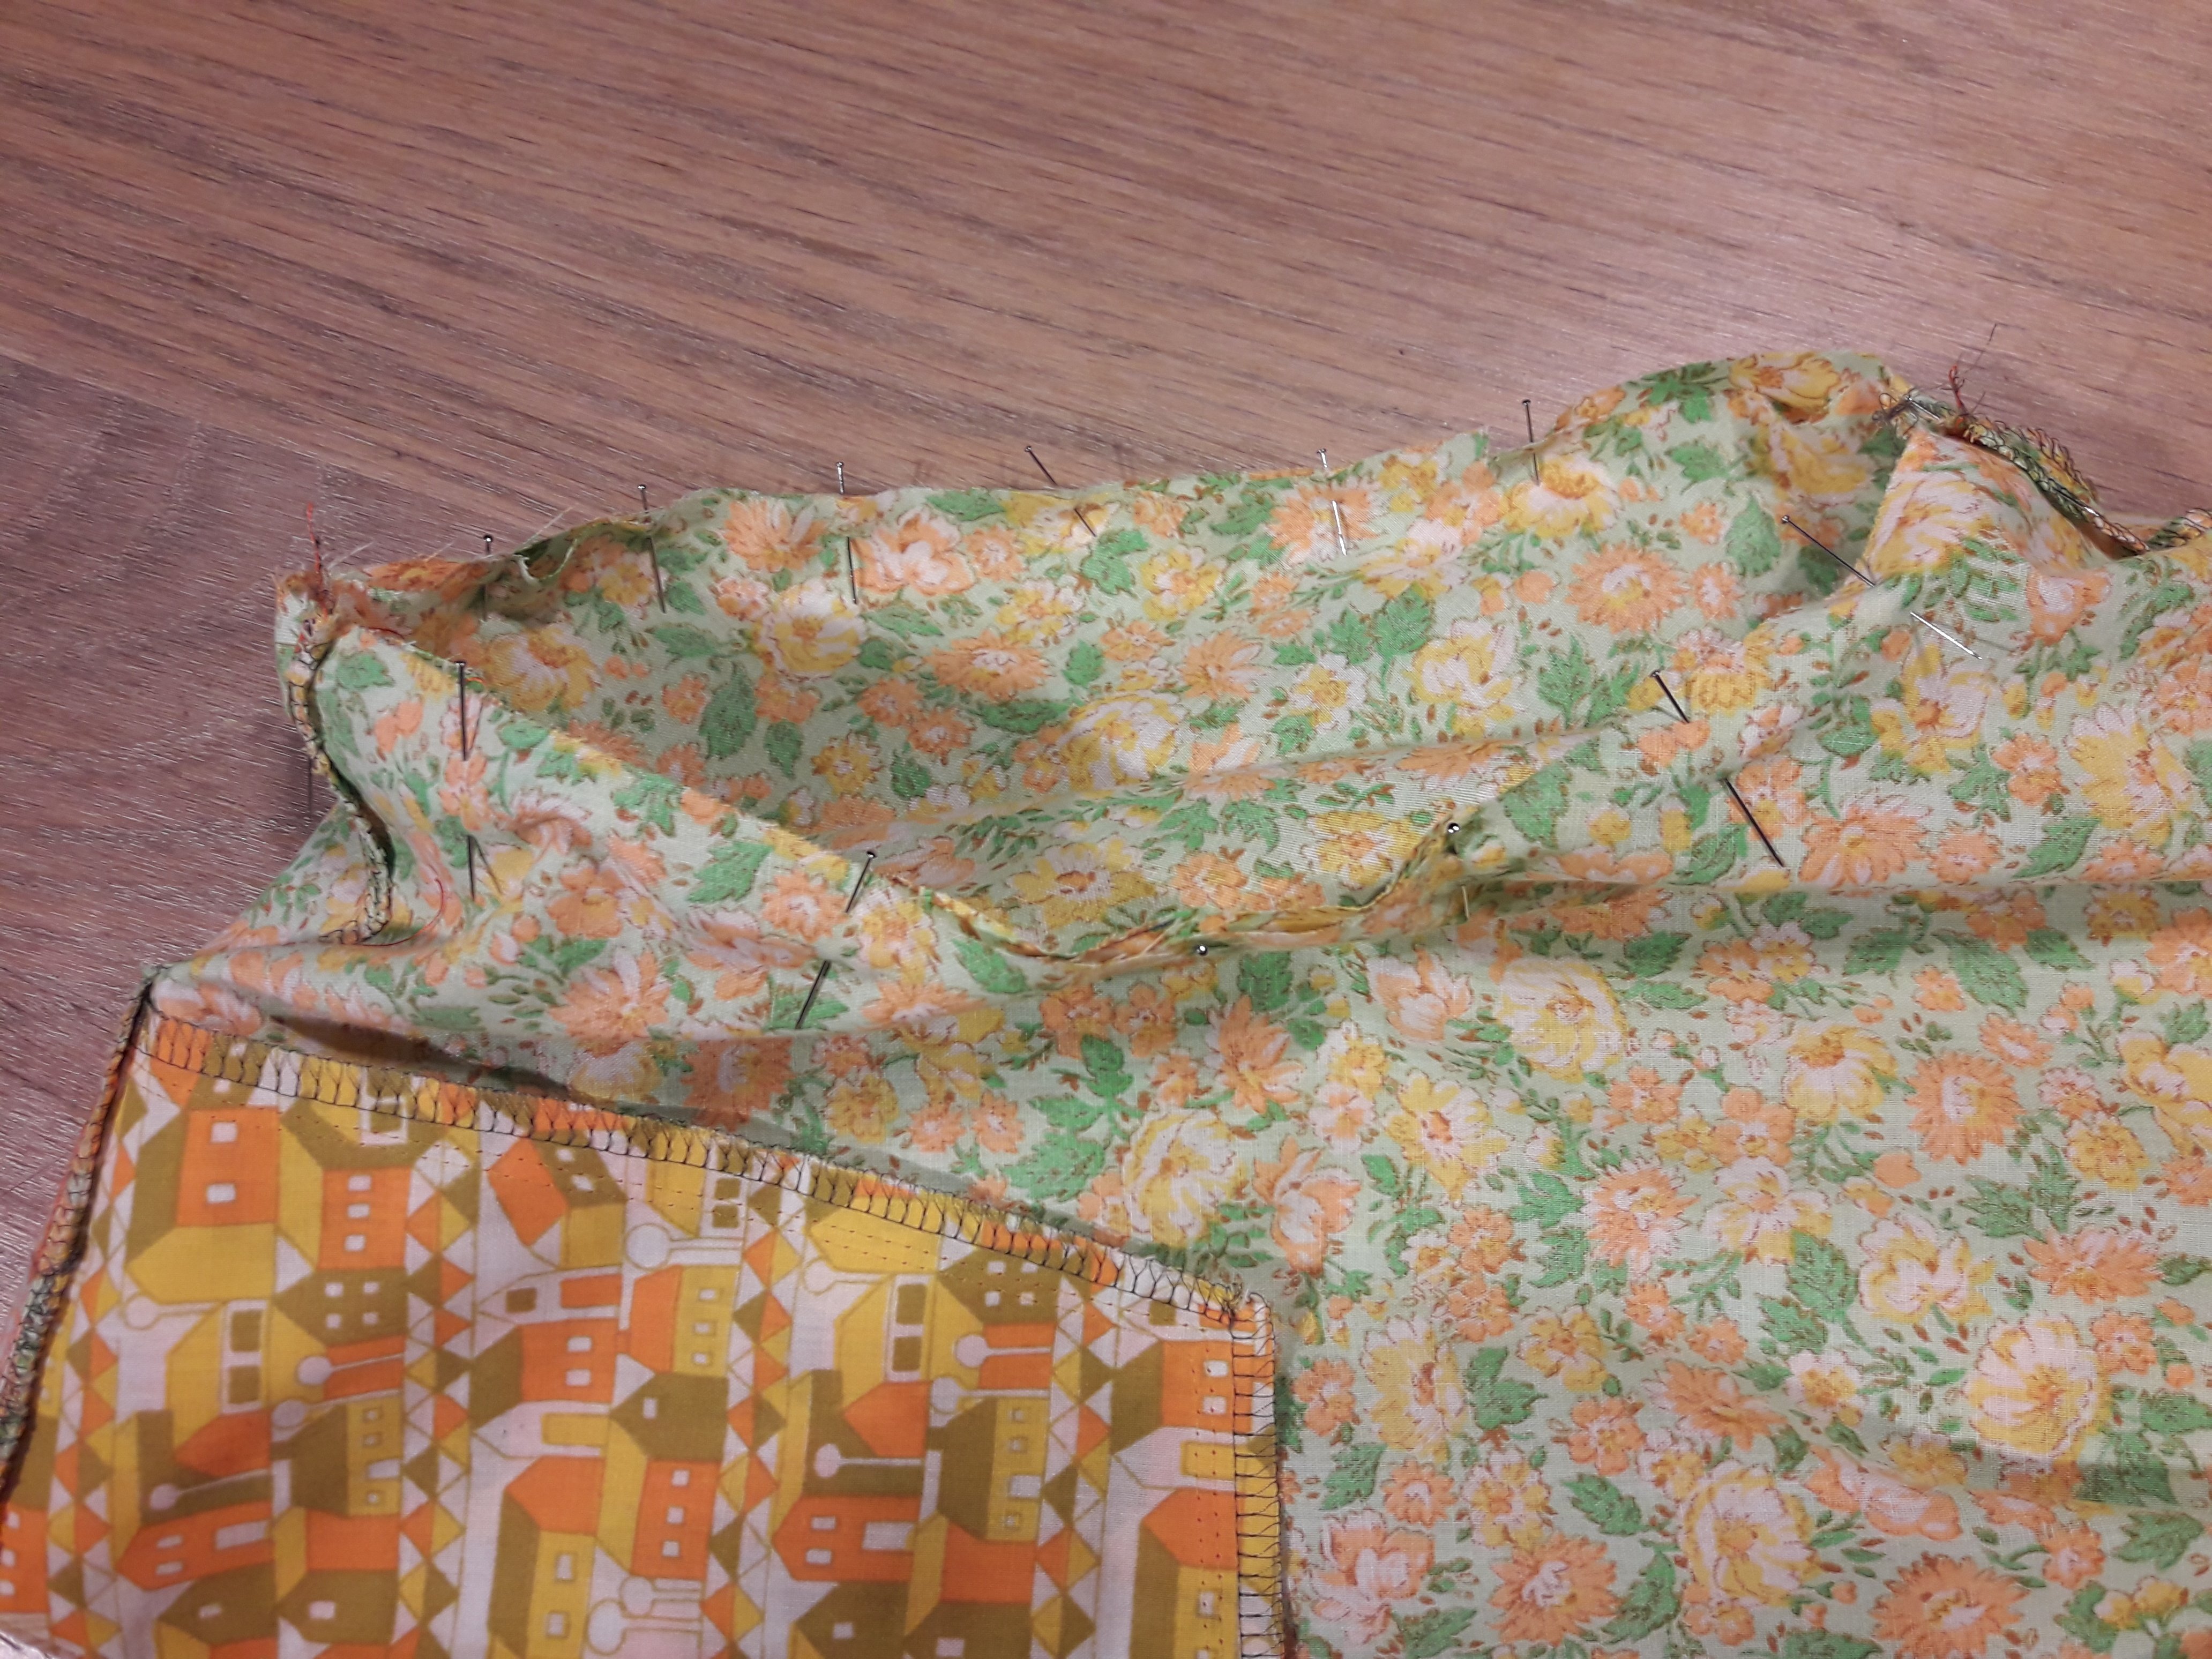
Pin the sleeves and the blouse right sides together. Watch the sign on the sleeve, that shows you where the front is. Sew the seam and overlock.
Finish the tunnel:
Iron the seam (1 cm) and the tunnel (2 cm) over. Sew the tunnel to the blouse.
You will find that the opening for the biastape is in the tunnel on the right side of the fabric.
Ready to sew biastape?
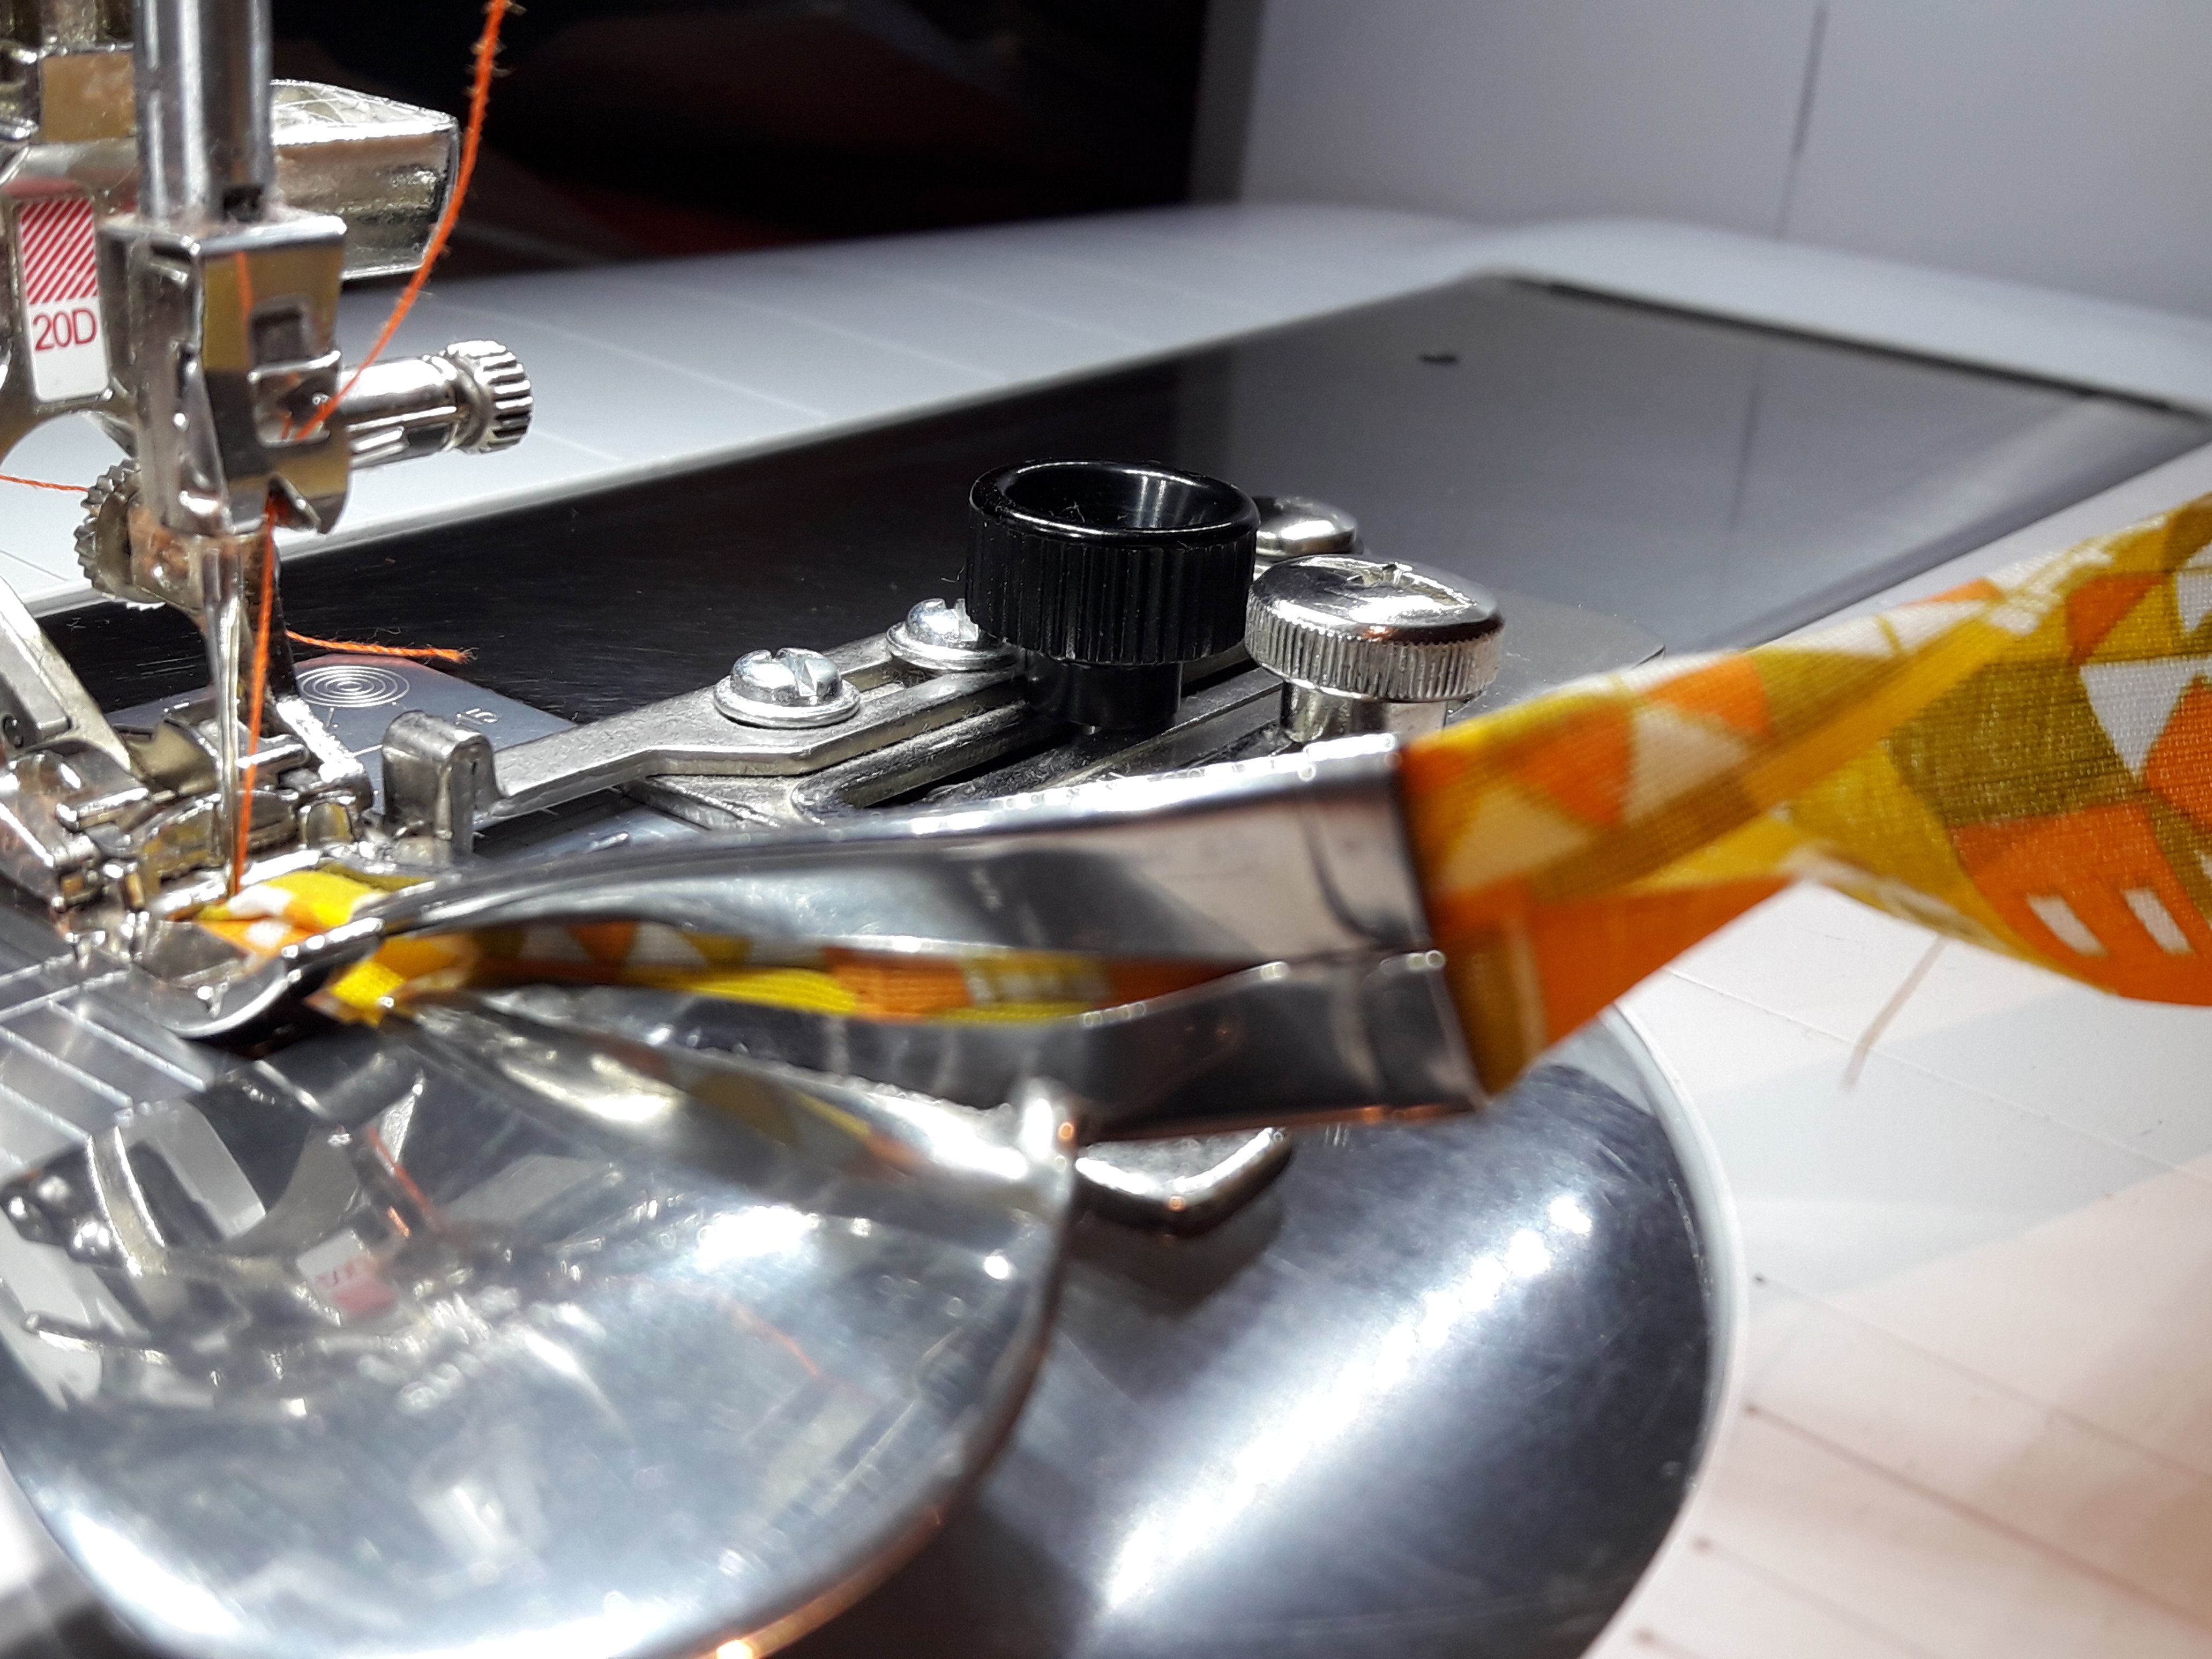
Sew a ribbon with double folded biastape. With the accessorie tapebinder 87 13mm it works quick and comfortable! I cut a 3 cm tape and that is a good size.
I always combine it with the open embroidery foot nr 20, in needleposition -2. The tape runs in the middle of the foot. While engaging the dualfeed transport, it works fine!
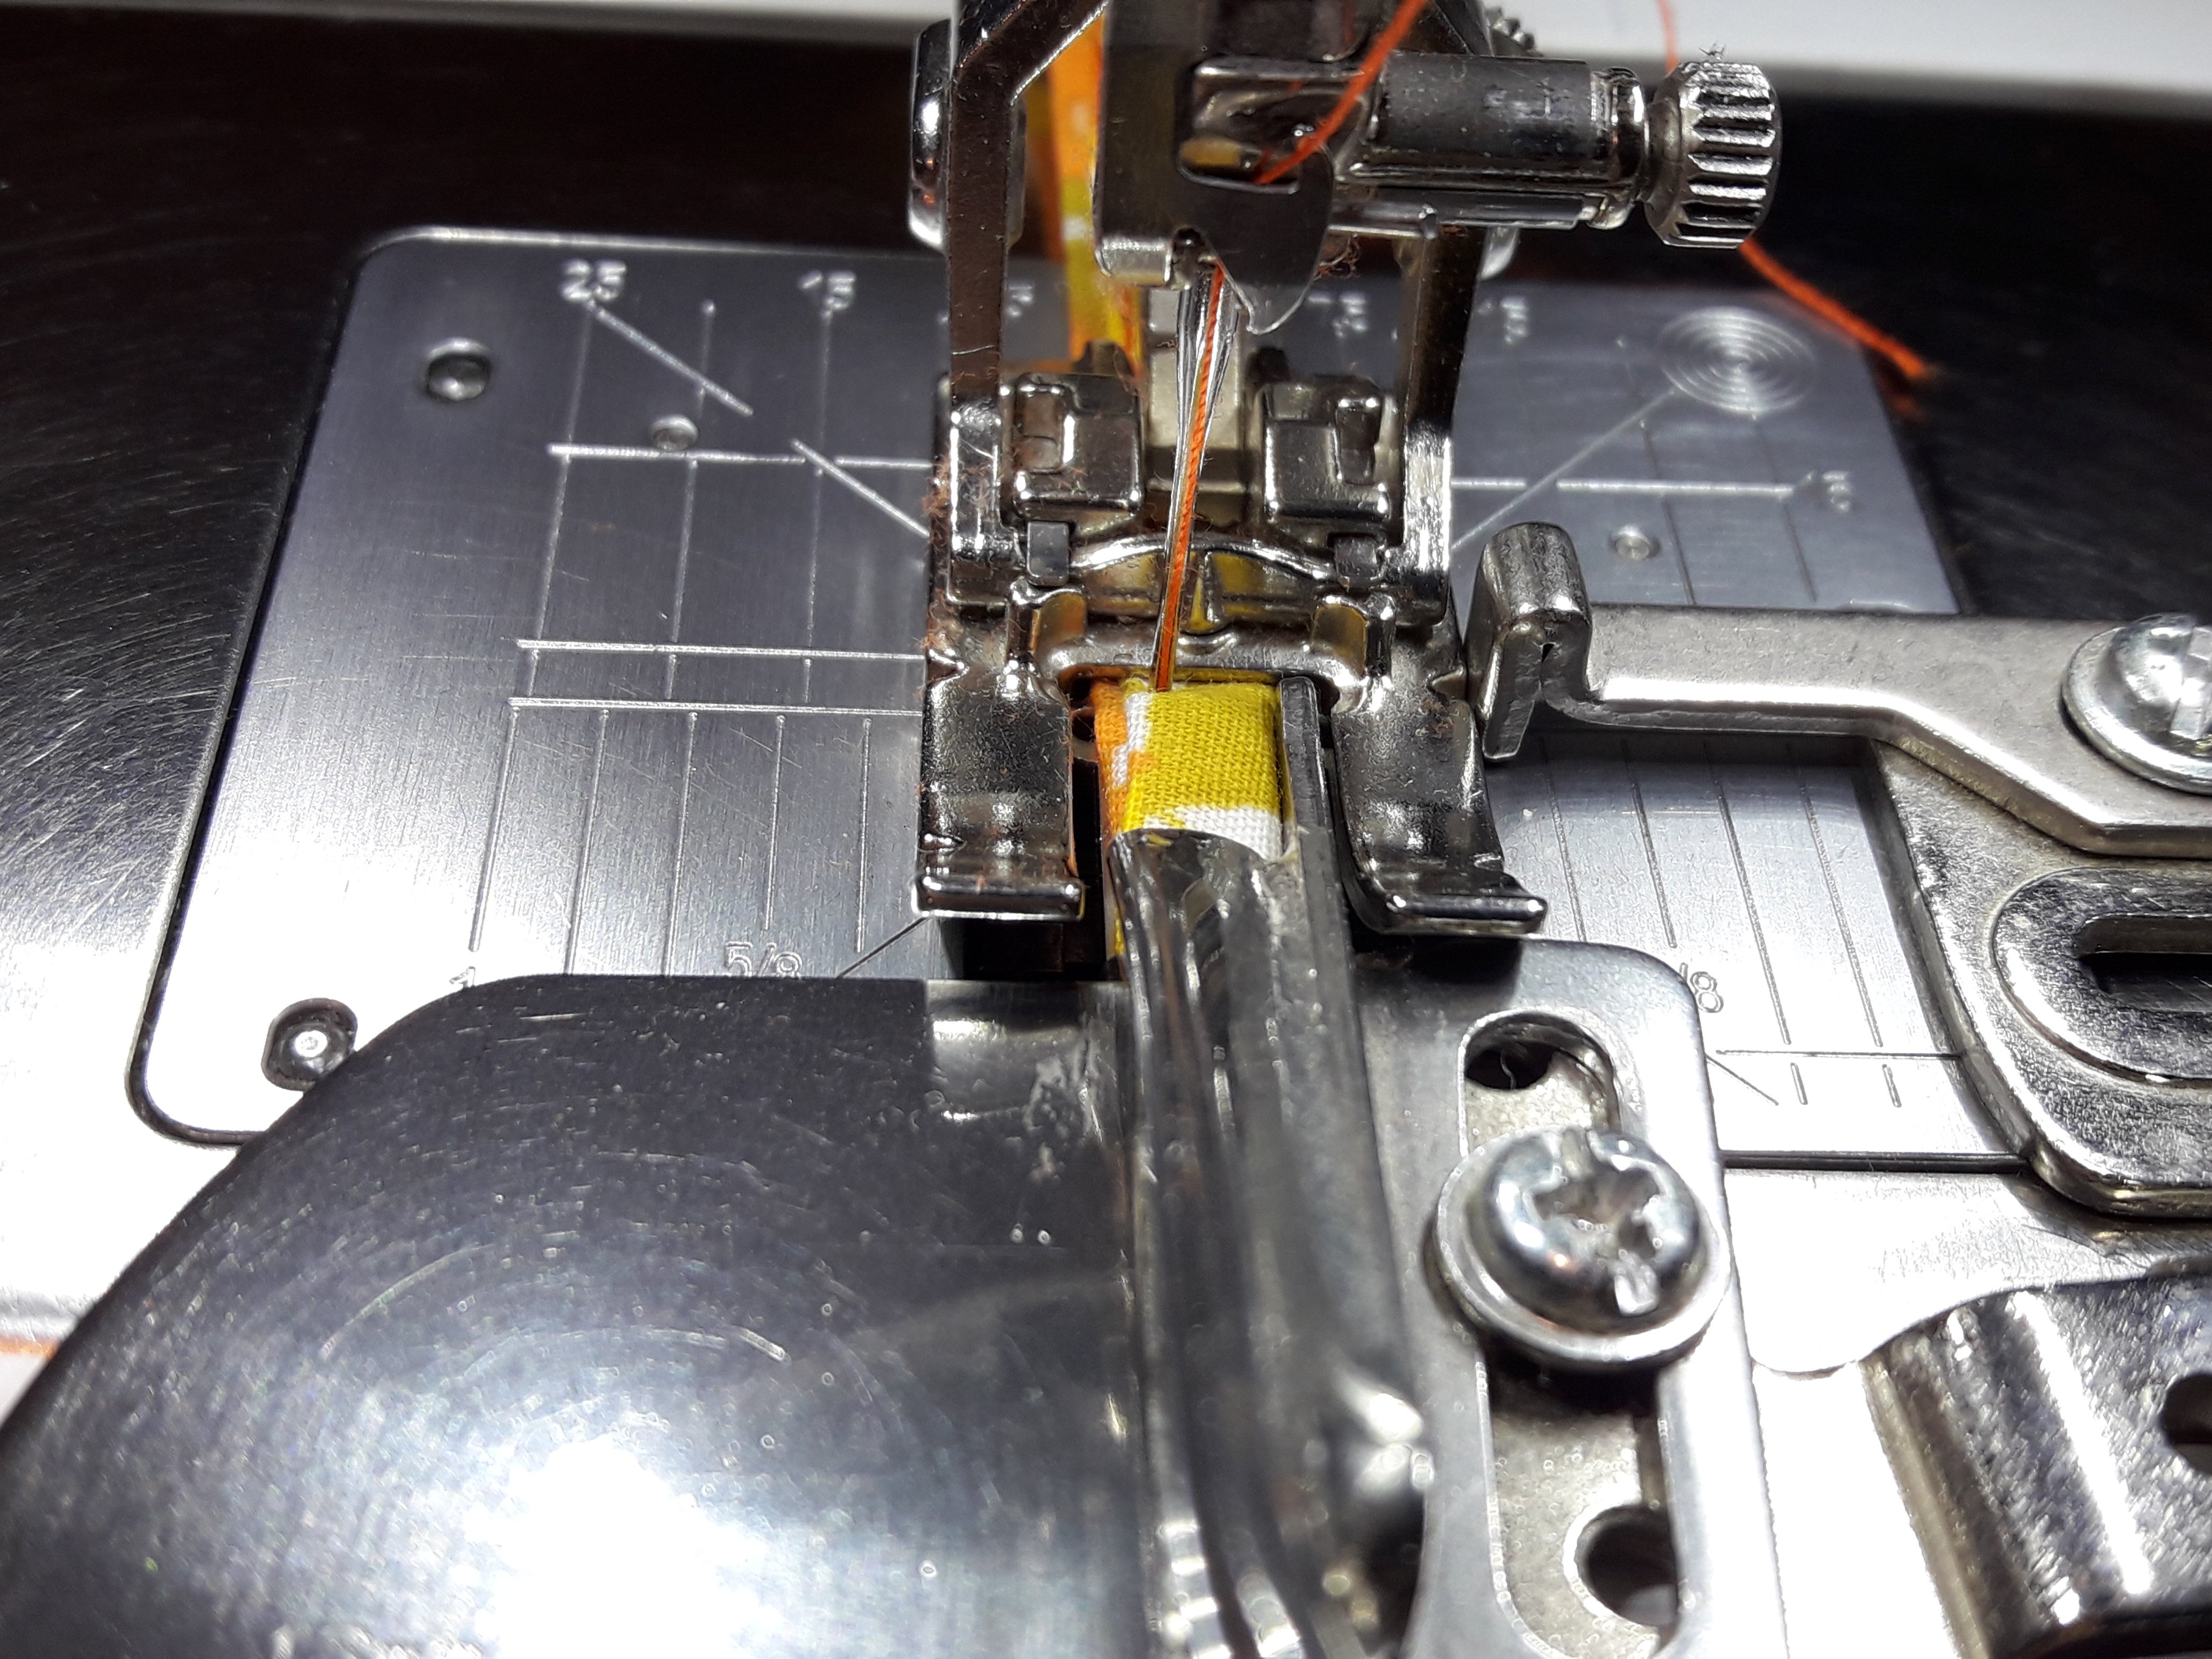
I conduct the tape through the accessory with my right hand. I can feel if it feeds well:
Insert the tape in the tunnel with a safety pin.
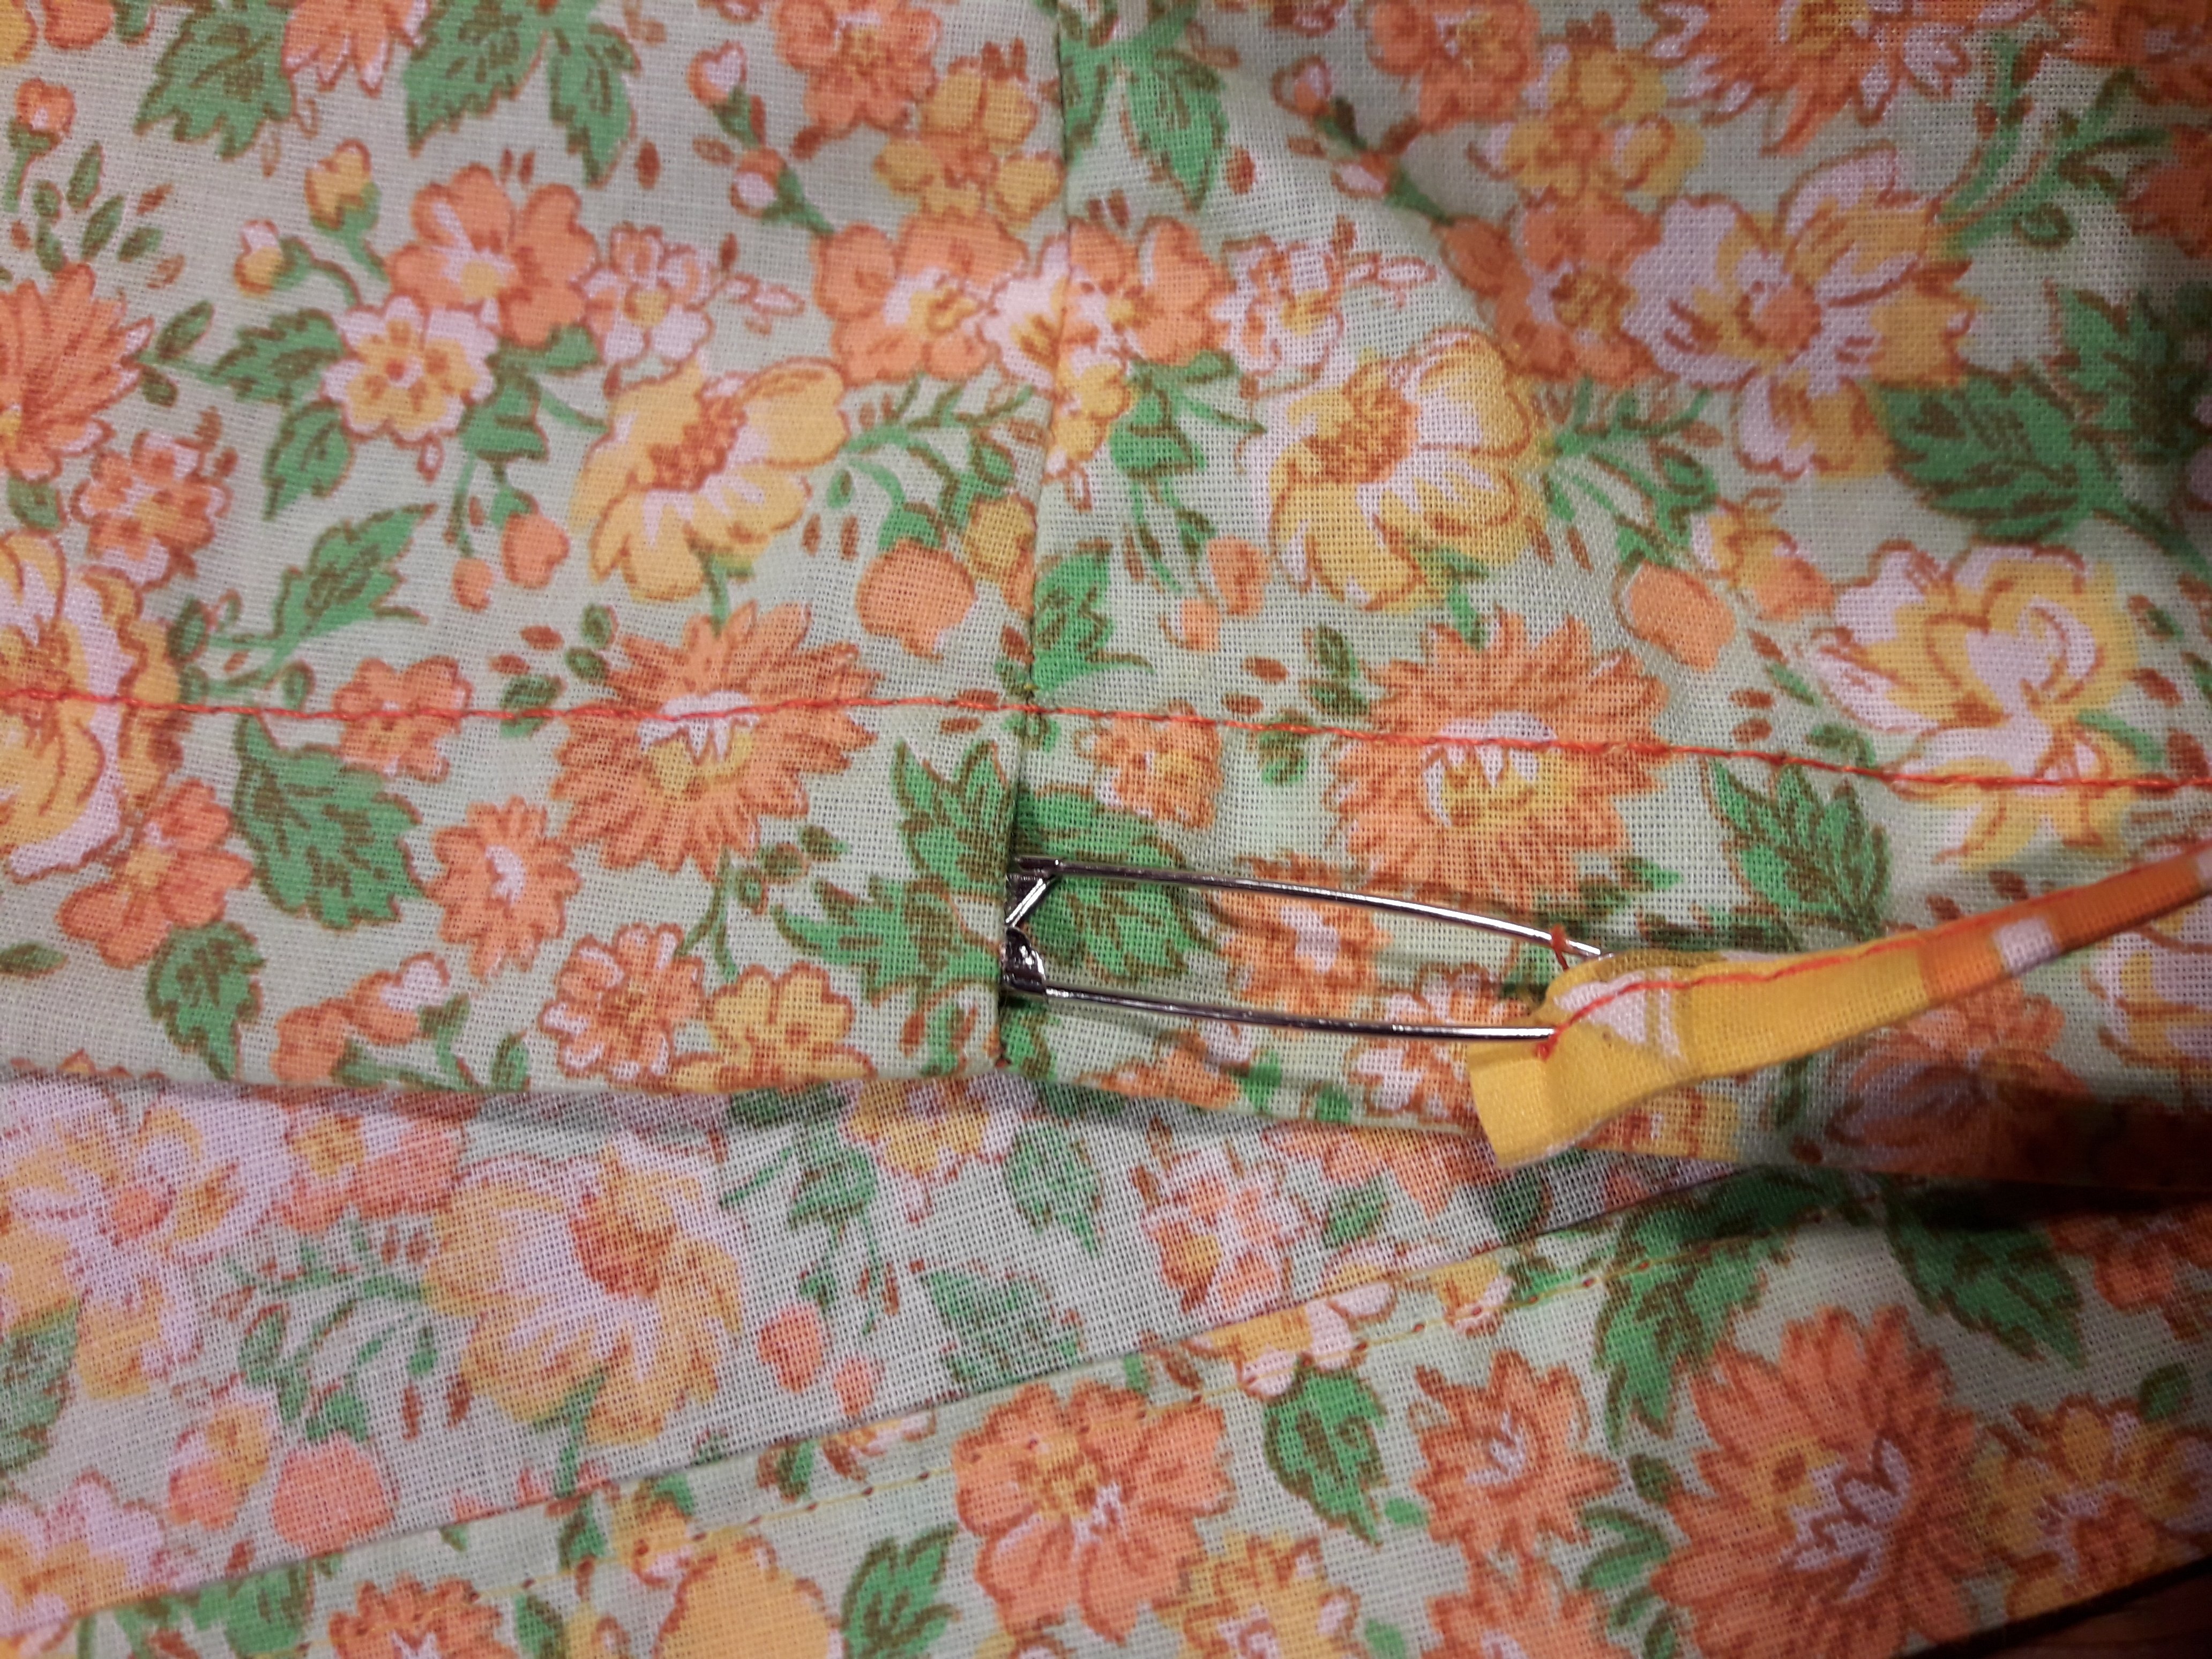
Tie the ends to prevent unravelling.

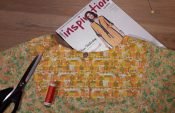
I’m ready for Spring! I already decided to make more blouses with Summer blouse ‘Amy’ from INSPIRATION 1/2020. When adjusting (sleeve)length, next blouses will sure look different.


0 Responses