 BERNINA Corporate Blog -
Try something unusual and experimental.
-

- Our embroidery machines and embroidery software offer us unlimited possibilities to be creative. A recent idea I started experimenting with was how a flat heavily embroidered shape could become a 3 dimensional object.
- Try stitching some of these triangular shapes yourself and you will discover that they are fun to manipulate and handle. It has texture to the touch, and poses the question does our embroidery always have to have a practical or decorative use or can it just be an art form? If you know someone who is visually impaired they may enjoy the textural differences.
FREE DESIGN TO TRY Here are the zipped files in EXP and ART format if you would like to try stitching these forms. It fits into a 100cm x 130cm medium hoop so is suitable for all embroidery machine.
3d triangles This is a zip file.
This idea all stemmed from my searching for some new ideas of forms and shapes that I could use for 3 dimensional beaded shapes. Several years ago I discovered a project called ‘ Contemporary Geometric Bead work’ and it has lead the bead work, that I have enjoyed over many years, in a new direction.

This is both a bracelet and a decorative form and I love the way tiny solid glass beads can be made to take a 3 dimensional shape that is not natural to them. It can be manipulated in your hands in a number of ways.
One project was to create kaleidocycles using multiple triangular beaded pieces which were then stitched together. So I tried a similar idea by using felt and embroidered triangles but these also had to be stitched together and I was not very pleased with the finished effect.

So back to exploring on the internet, and I came upon a form of origami called ‘Rigid Origami’ where a single piece of paper or other material is formed into shapes including curved shapes. That appealed to me!
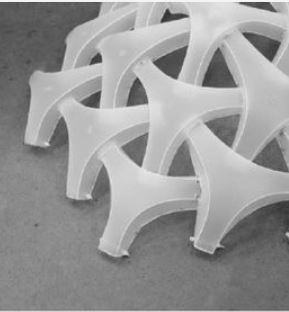
I liked the above triangular shape, but this is part of a number of mathematical projects and after a number of failed attempts at trying to design the basic flat shape I eventually found an outline shape that I could use.
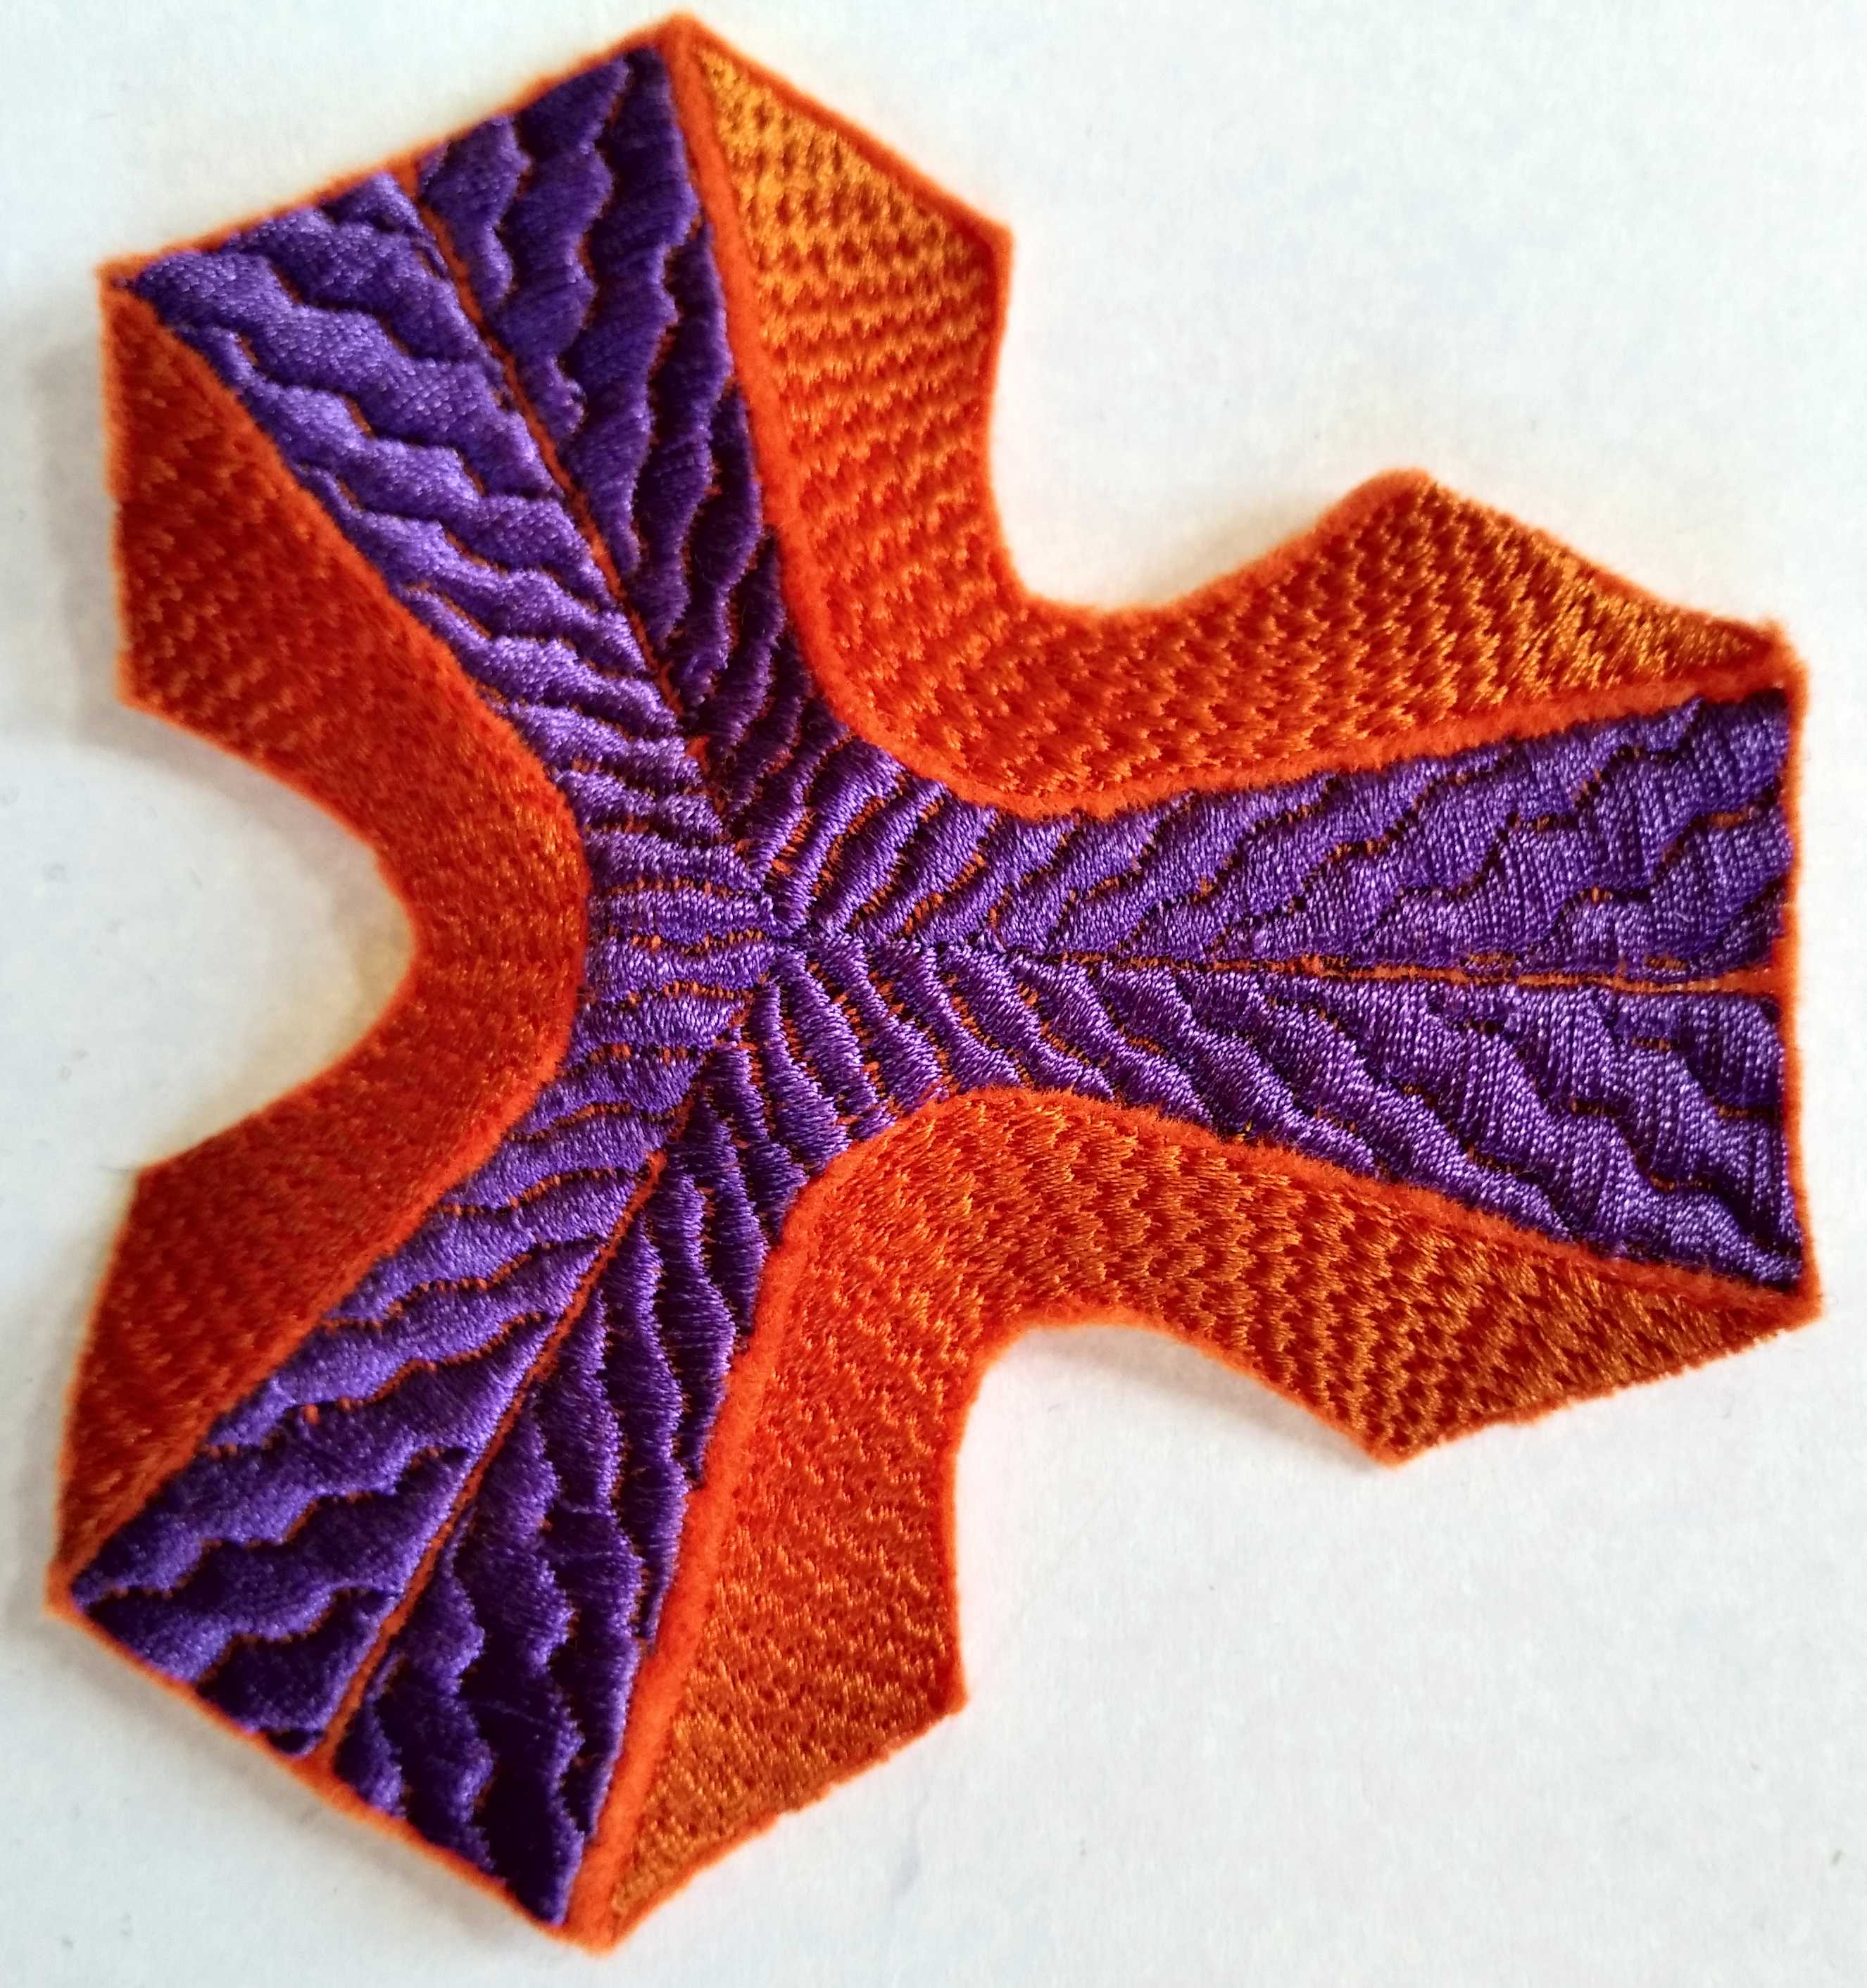
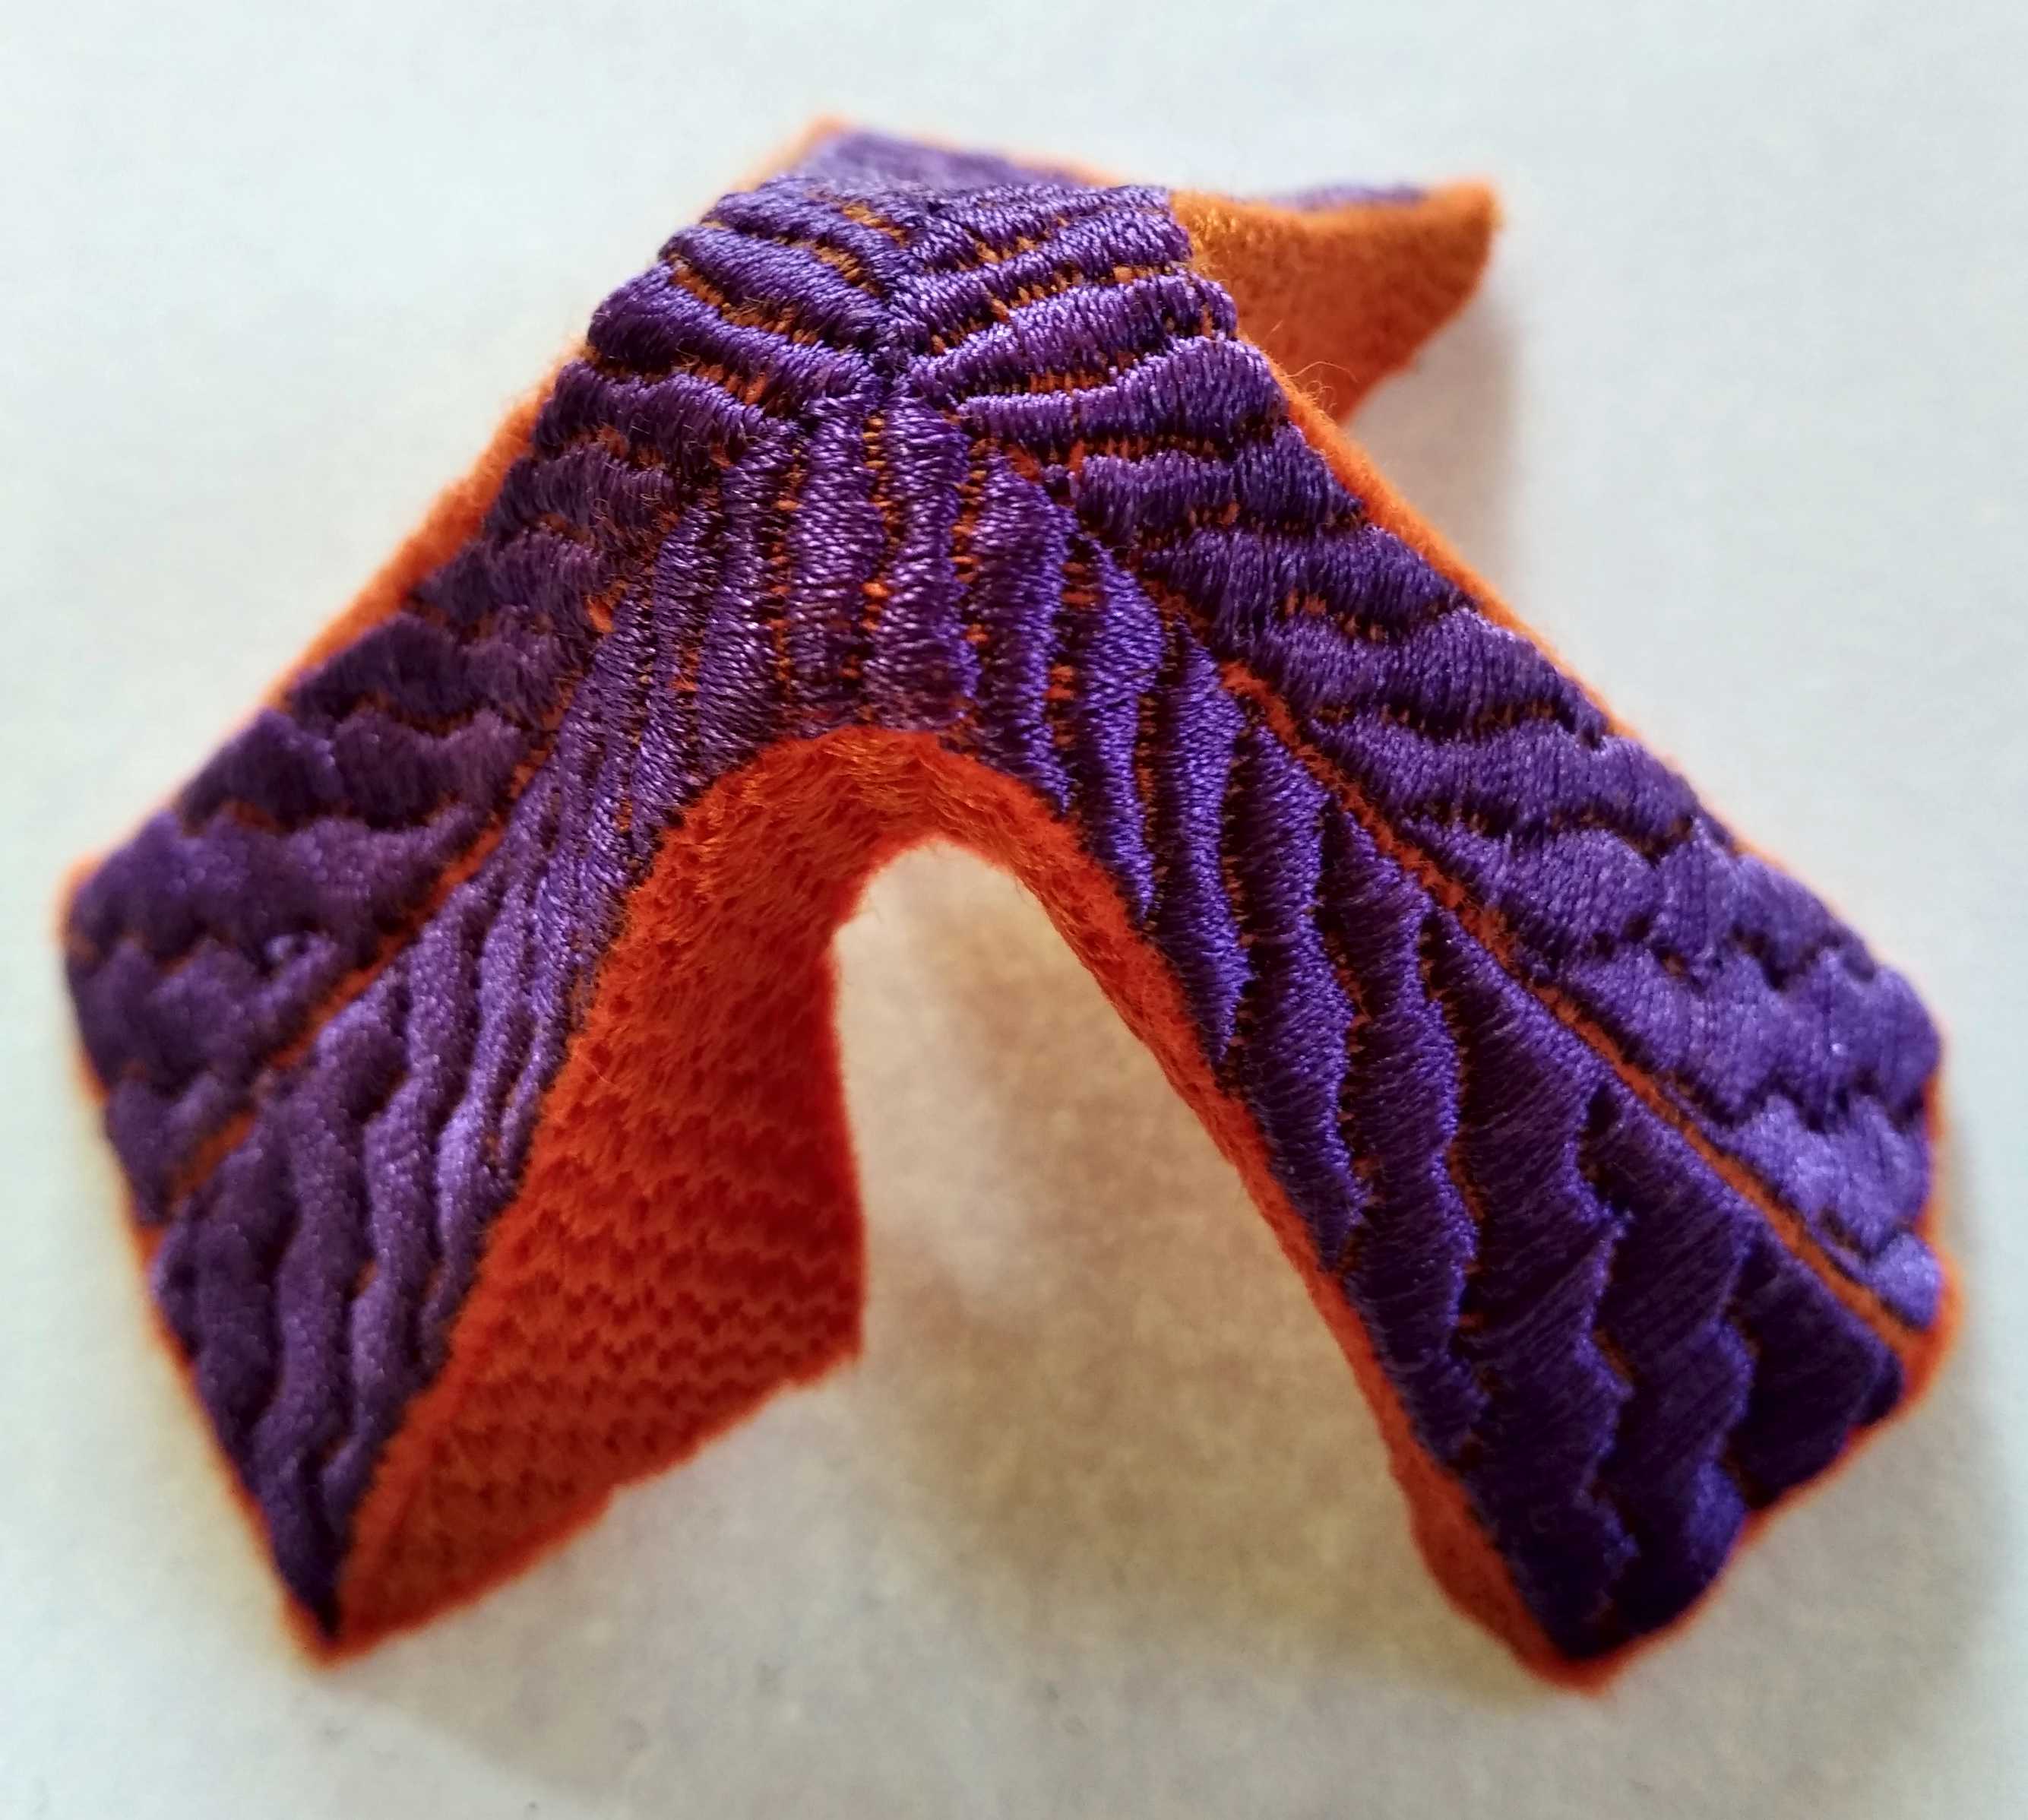
Once I had created my basic 3 legged shape I then simply started experimenting with different fill stitches, and stitch angles, and really enjoyed the experimental challenge. I experimented using wave fills, fancy fills and pattern fills. In other recent work I have been using both the wreath and mirror imaging technique so I divided each of the legs and used the wreath feature in the software to create a more 3 dimensional look. For stitch angles I used the wave effect as this empathised the nature of the curves. Again I use wave angles in a lot of my work and this seemed to help emphasis the shapes, especially of the curves,and create pattern effects.
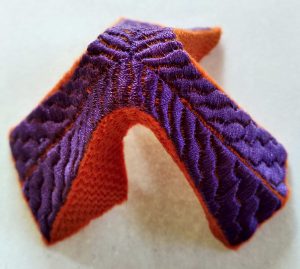
Here are close up pictures of 3 shapes stitched cut out and ready to fold.

I used felt as the background fabric and cut very close to the edge of the stitching. Then I folded the curved shape which to my delight folded very easily.
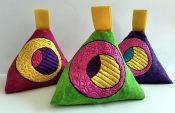
Then I started arranging and manipulating my forms.

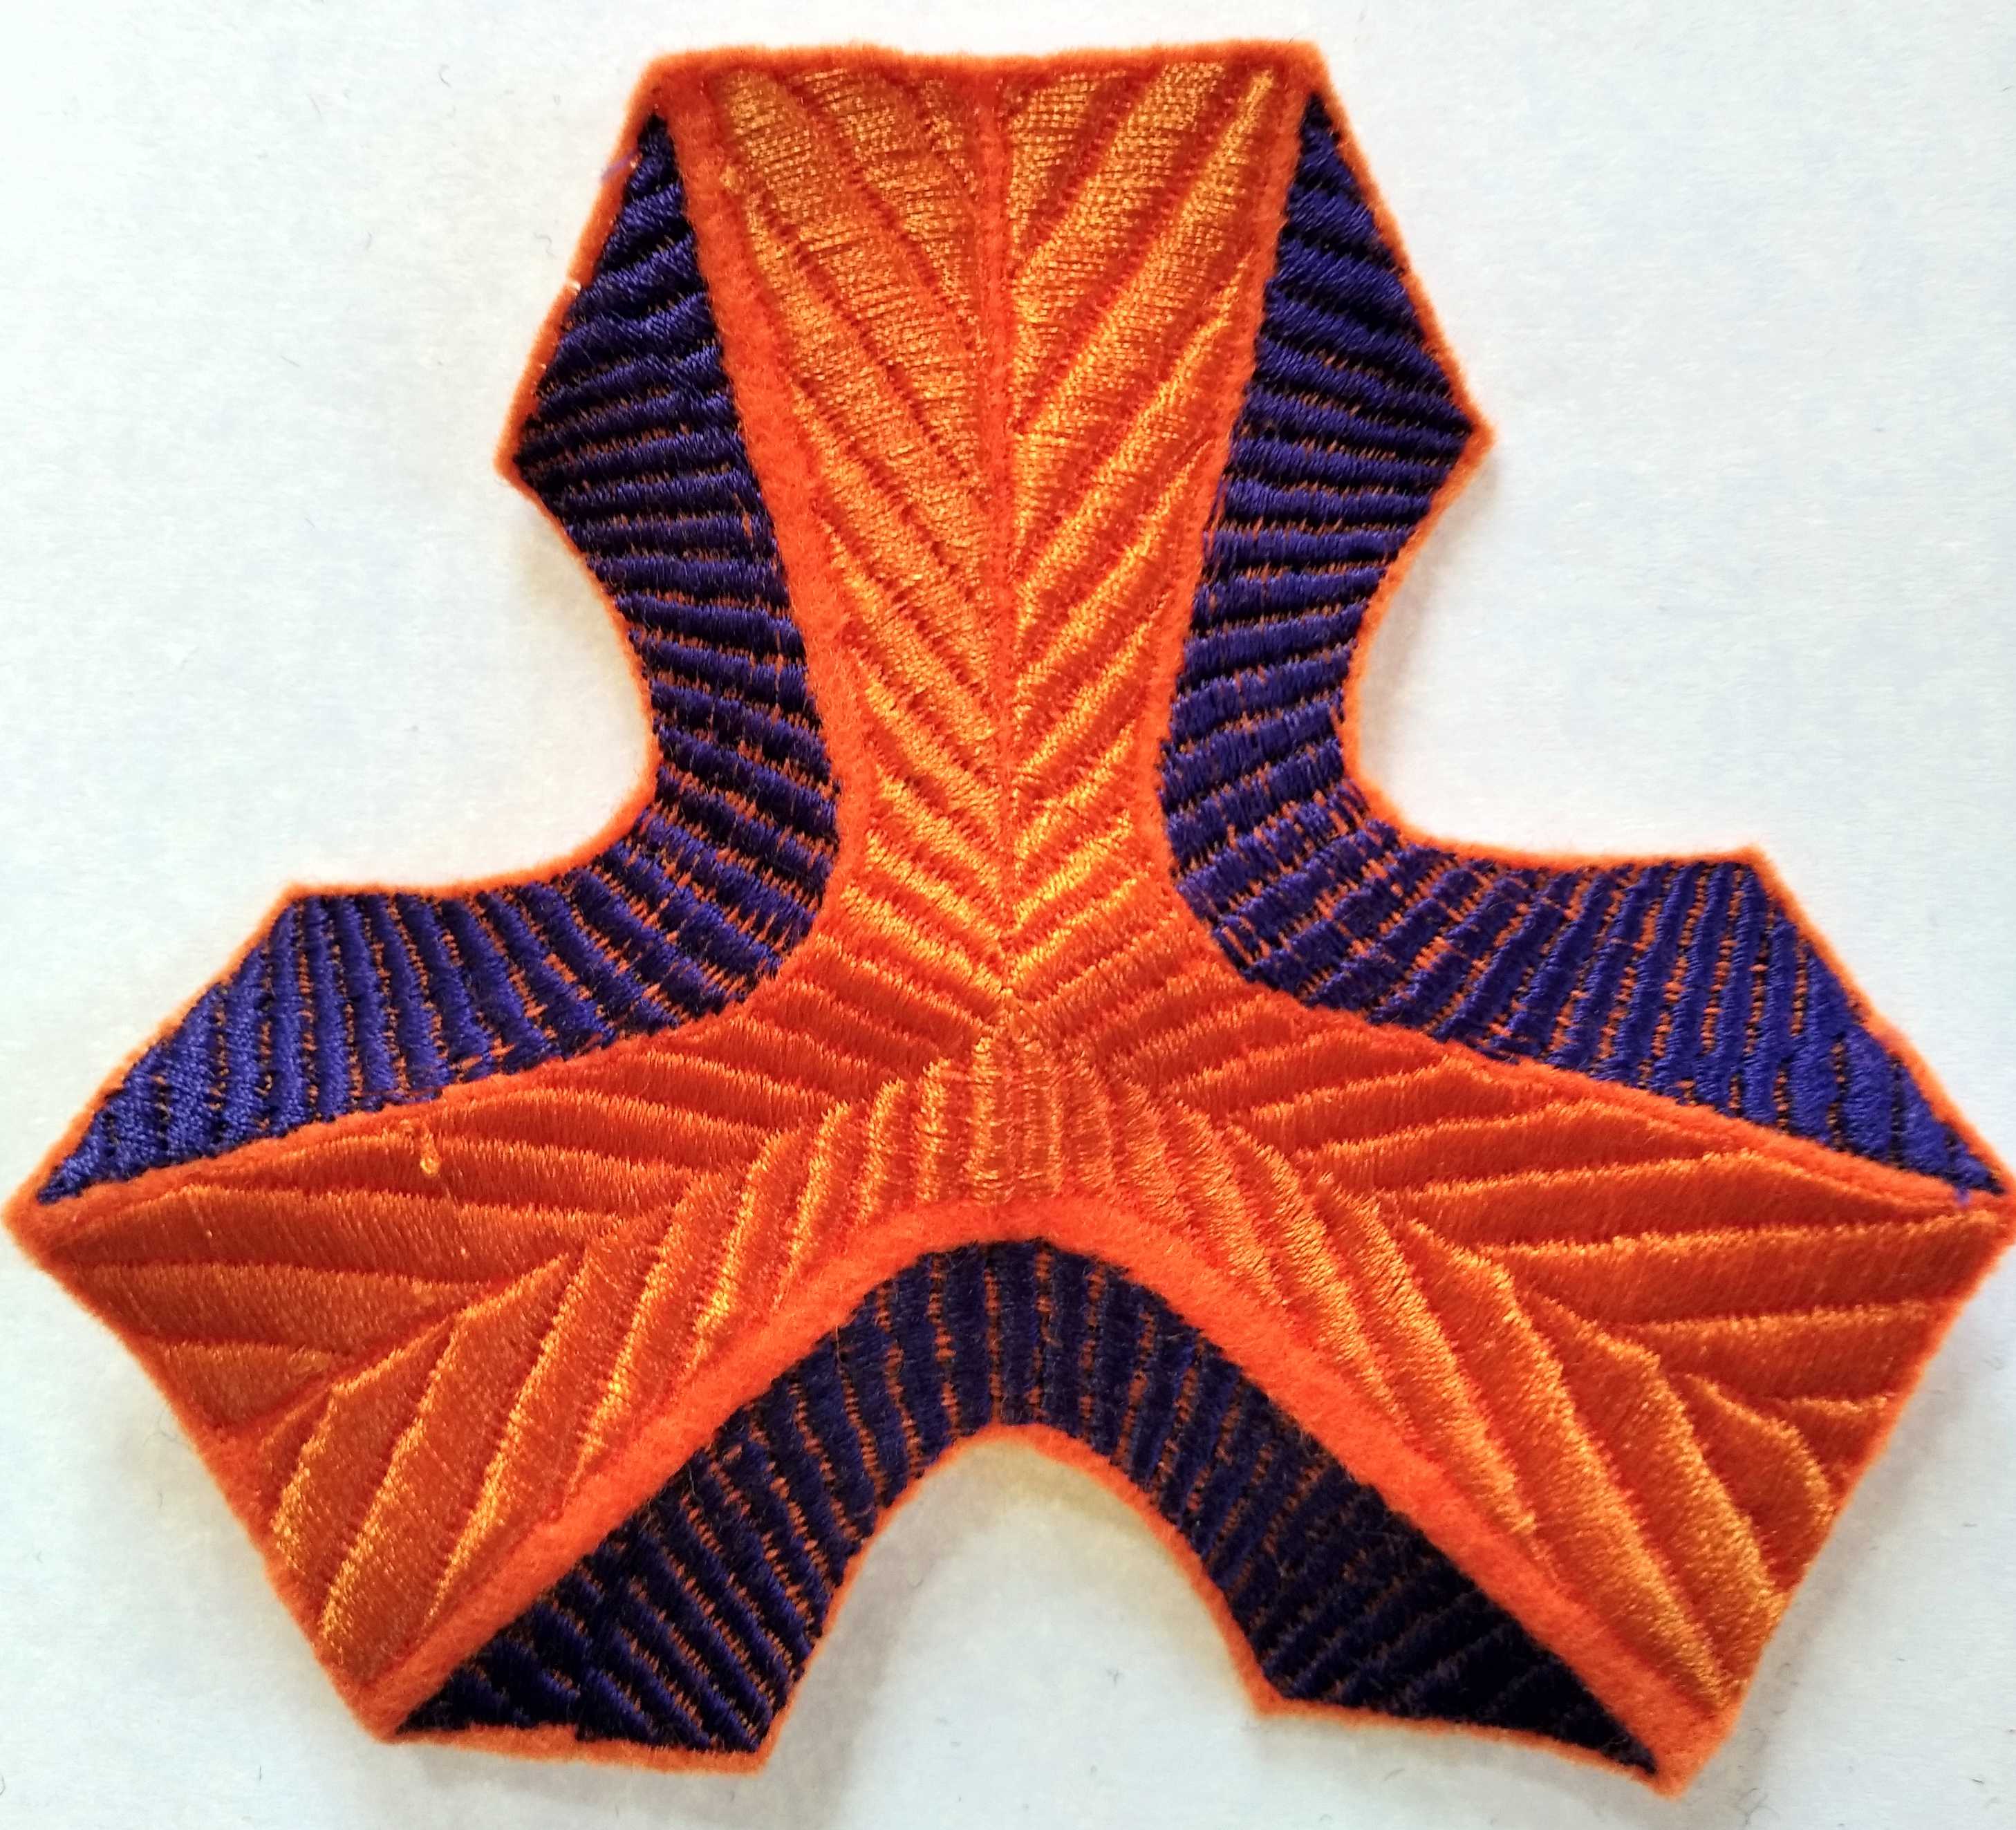
A different colourway.

So play and have fun and I hope that it might give encourage you to experiment.


Did you stitch over a pre-made shape?
No, I dont stitch over a pre-made shape. It is the stitching that forms the shape, and then you use your fingers just to help mould the shape a little. Hope you try the design it’s fun!
Really like the 3D effect. Materials are on hand so fun just to play. Thanks.