 BERNINA Corporate Blog -
Stipple Fills are fun: you can find them in the BERNINA Embroidery SoftwareV8: users asked me to explain more about this topic. You can find these fills at the Stitch Bar.
But first, let’s see what is the definition of ‘Stippling’? It’s the art or process of drawing, painting, or engraving using numerous small dots or specks’.
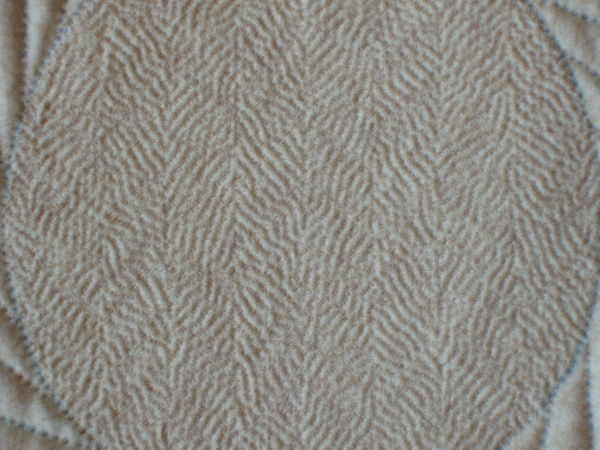
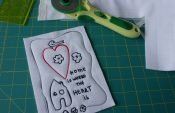
The picture above shows hand stippling, where the quilting covered a large area. Normally, when I quilted by hand, I did a small part of the ‘negative’ space, not that much, but many antique quilts are showing this much quilting, to emphasize sections of the quilt – leaving feathers and other shapes more open, thus giving it all a ‘Trapunto’ look.
With the wonderful (BERNINA) machines you can use your Free Quilting foot, or the BSR, meandering large figures or small. When your meandering is very dense, it is called ‘stippling’ too.

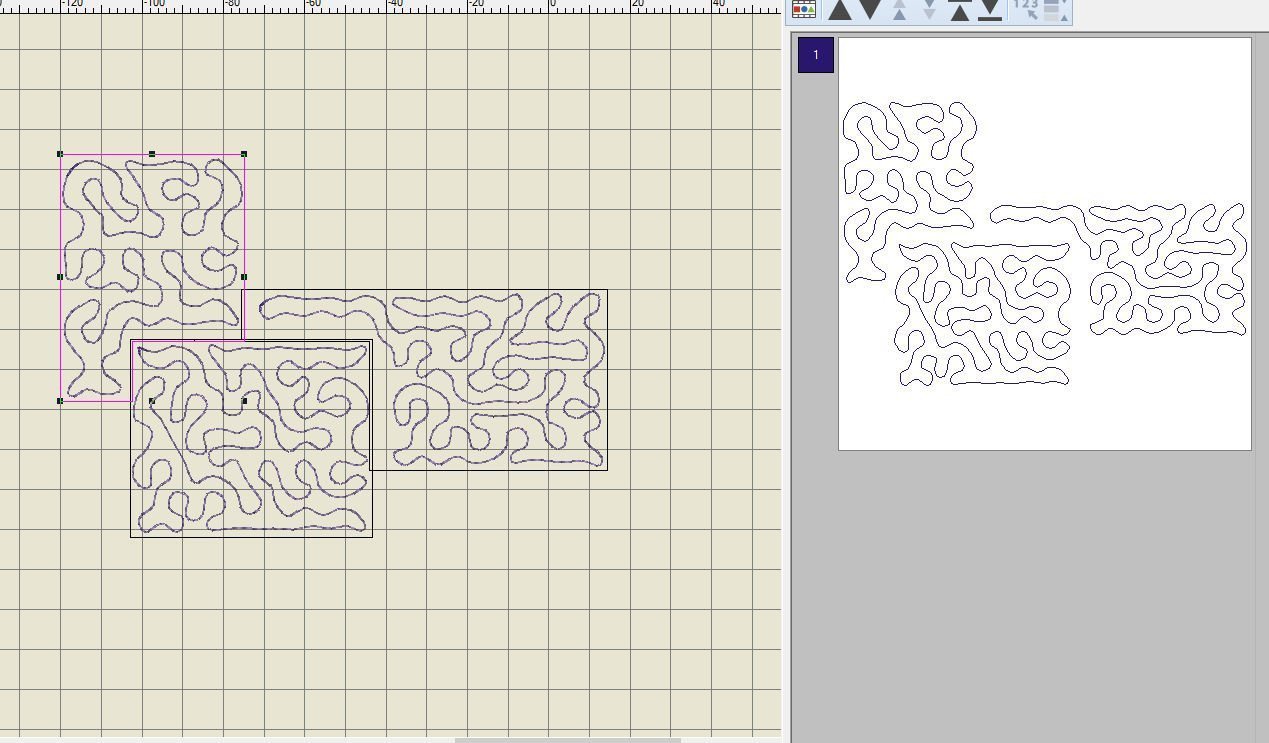
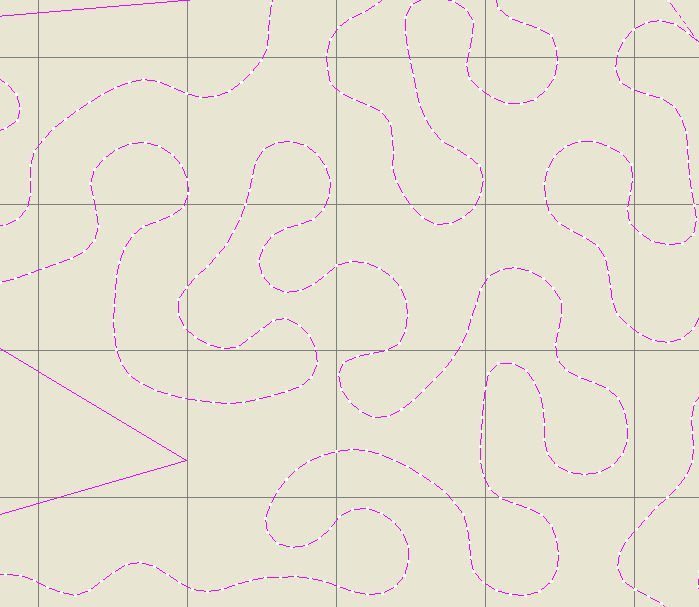
And these are the three icons to use: the first is a Stipple Run Fill, to cover sections with by meandering.
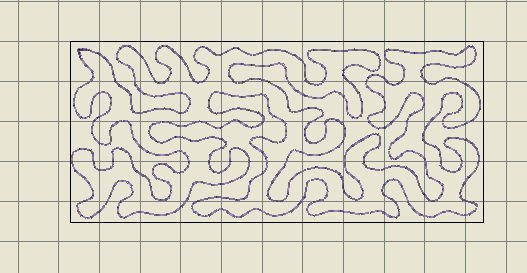
Activate the icon, make a rectangle, using that option with the left toolbar ‘Toolboxes’, then ‘Digitize’. As soon as you release the mouse button, a triangle shape is filled with Stippling.
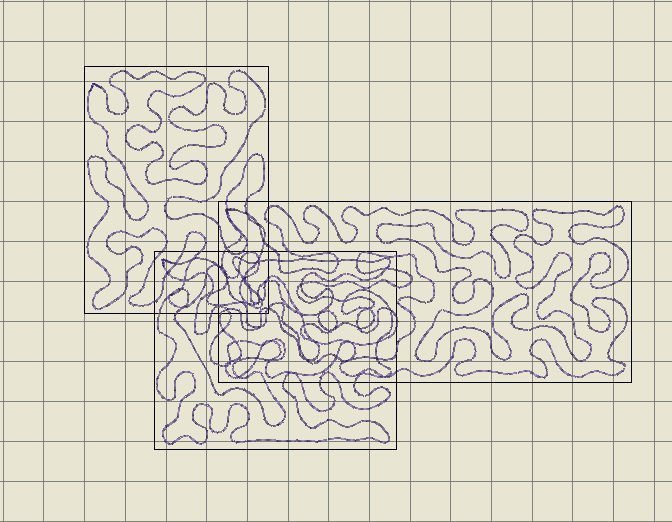
Every time – after drawing a rectangle – new shapes are filled up. I have placed three rectangles on top of each other – the stitches are overlapping, which will be a mess after embroidery.
so I have removed the overlaps. First I had to Ungroup them via ‘Arrange’, then removed the overlaps with ‘Edit’, choosing that option. Check the docker ‘Color Film’ to see every shape separate, where the underlying stitches are removed.
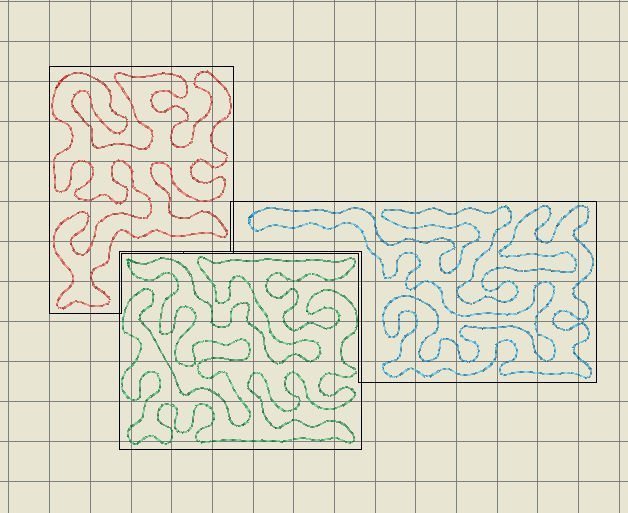
I have changed the color of each ‘rectangle’ shape, giving it a nice appearance. Notice the rectangle lines? They will NOT be embroidered, unless you are boxing the shapes, surrounding them with an outline.

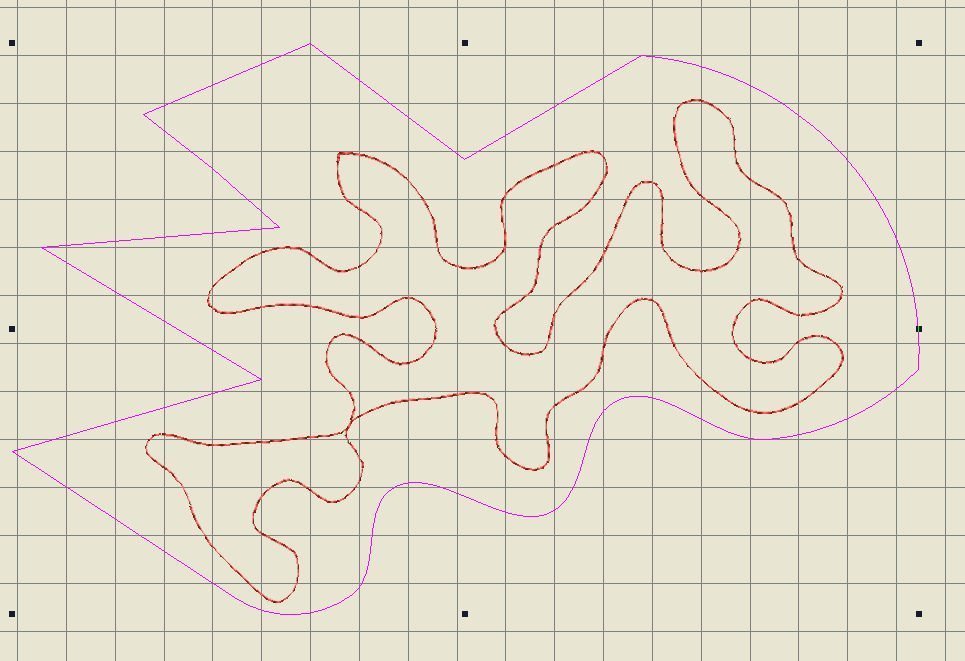
I’ve started with one rectangle again, changed it with the ‘Reshape’ tool. It’s just a sample, so it is fun to add nodes for straight corners (left mouse button) or curved lines (right mouse button). V8 adjusts the stippling every time.
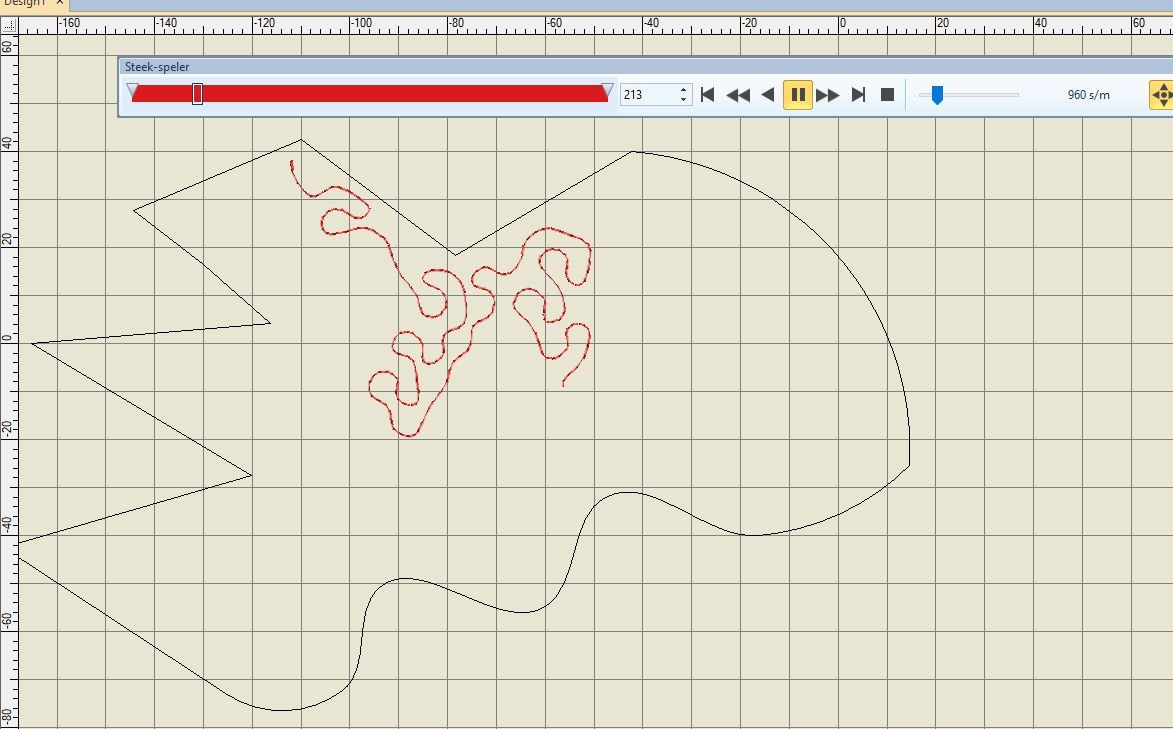
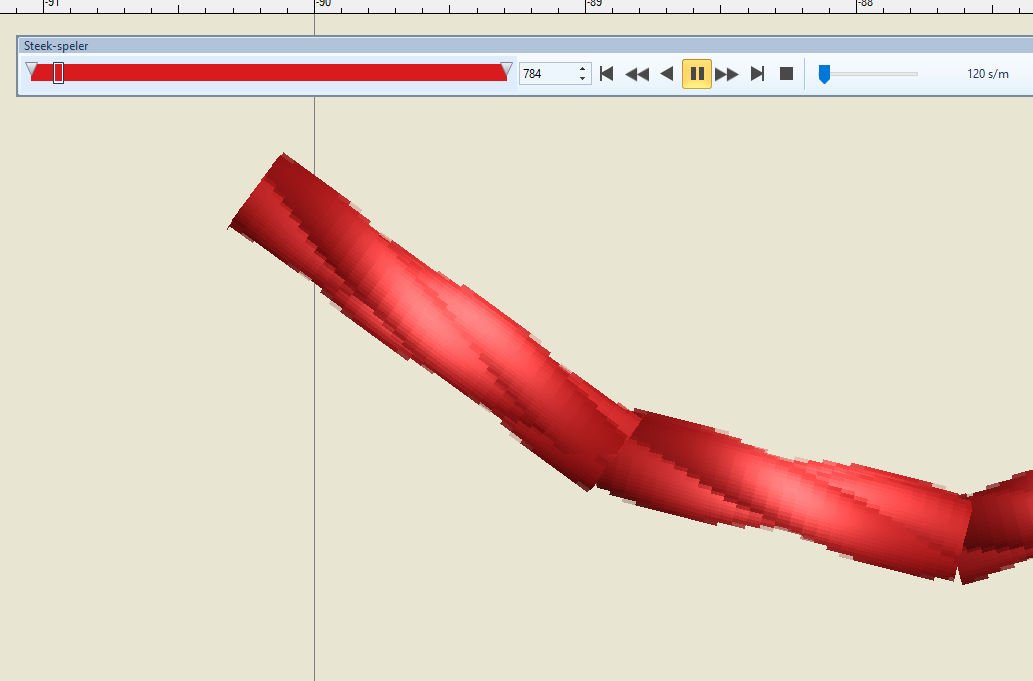
Via ‘Stitch Player’, the sequence of embroidery is shown – you can see that your machine will not embroidery via a single continuous line, but in a logical order – lines are interrupted, started somewhere else again, but in the end, it looks like a continuous line.
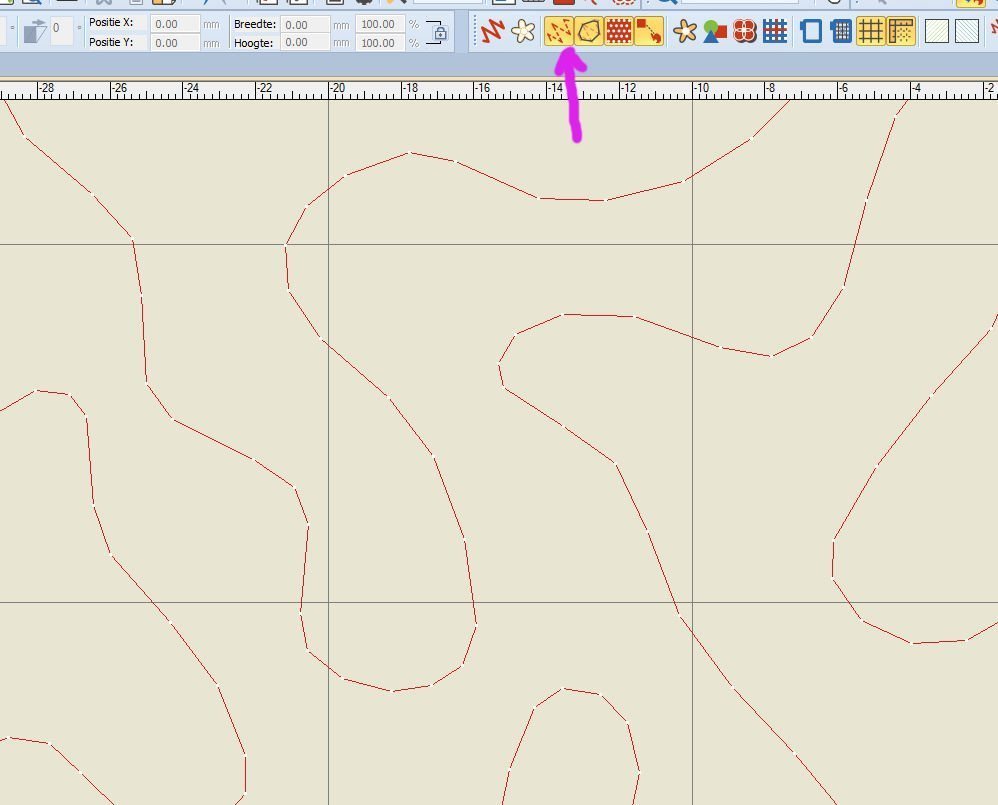
Using the ‘Show Stitches’ icon, zooming in, you can see the needle penetration points = white dots. The lines between those dots are not of the same length, which is different with hand stitching. Overall, the appearance of the Stippling – when it if finished – will look great. There are so much stitches per centimeter, you will not notice smaller or larger stitches after embroidery.
Working with thin or thick thread will change your stitching significantly. A thread weight of Wt 80 or Wt 100 is suitable for background quilting, but thread weight Wt 40 or Wt 30 will stand out more.
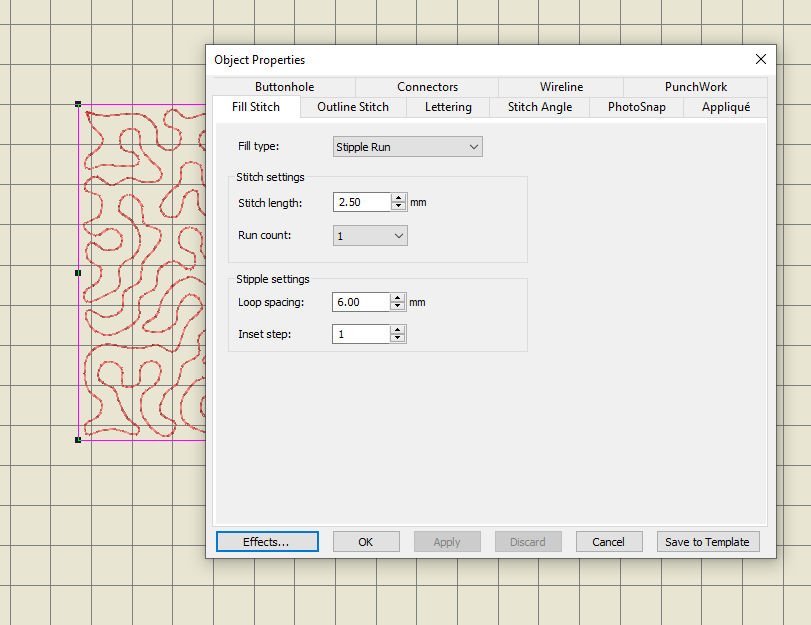
With right-clicking the icon, Object Properties tells you which fill type you are working with, and Stitch Setting can be adjusted. Your object should be selected before doing so.
Stitch length can be reduced with shorter curves and sharp figures. With my sample, I have changed stitch length from 2.50mm to 1.0mm, making more stitches per centimeter. TIP: use thin thread (Weight 80 or 100).
The run count tells you how many stitches are made – if you have a run count of 2, there are 2 stitches made on top of each other, before moving on to the next. That means you can increase thickness too: I have even tried ‘9’ stitches with Run Count, setting the Stitch Player at ‘slow’, to see what happened – it can be done, 9 stitches on top of each other, before moving on to the next. This will be hard to embroider, but the option is there for you.
Adjusting the number of loops will give you the option to embroider more or less loops in a section/shape. Standard, loop spacing is set to 6.00mm. I have changed that into 14.00mm, and it looks quite different. Not as smooth as it was, but it reduced the stitch count a lot.

I have changed the loop spacing to 3.0mm: and look how dense it now is. A lot more stitches to be made.

These were my settings: a lot of fun to try it all.
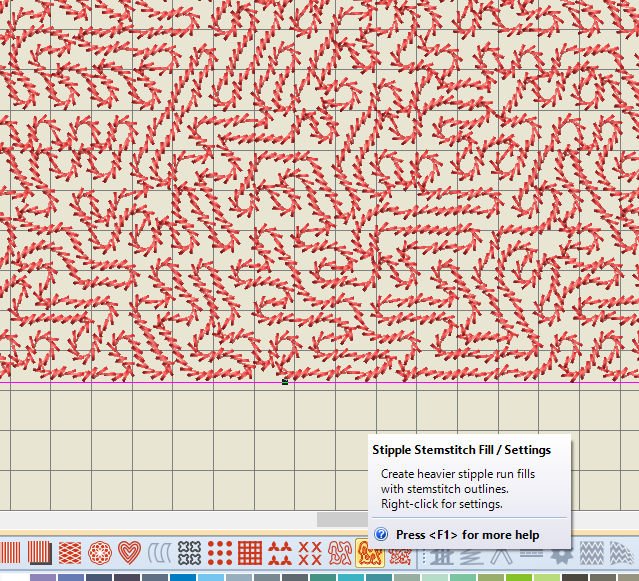
Now I’ve used the second Stippling option – Stipple Stemstitch Fill. Stitch count will go up considerably – this small shape contains 8.792 stitches.

A lot of zigzagging lines, filling up the shape, in an interesting way.
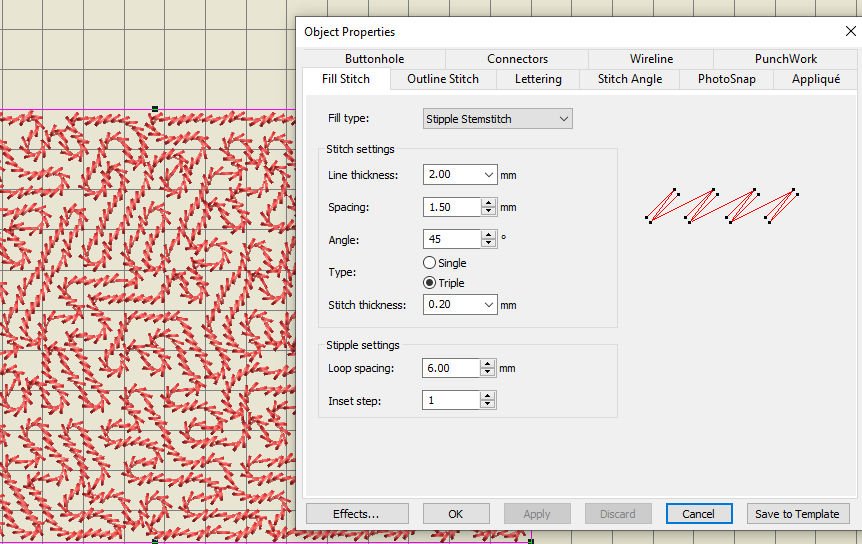
A right click on the icon gives you Object Properties: the type of stitch – box checked – is ‘Triple’. You can change that into ‘Single’, by checking that box, reducing the stitch count.
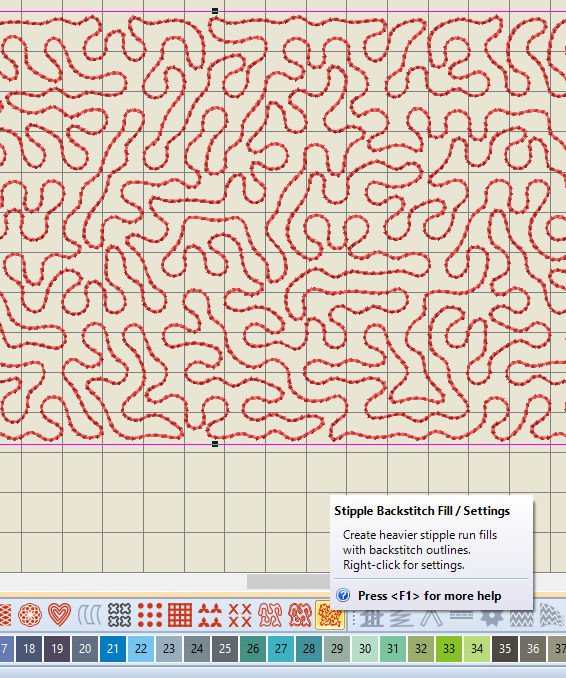
Then use the icon for ‘Stipple Backstitch Fill’: less dense, but somewhere between original Straight Stitch Stippling and Zig Zag Stippling.
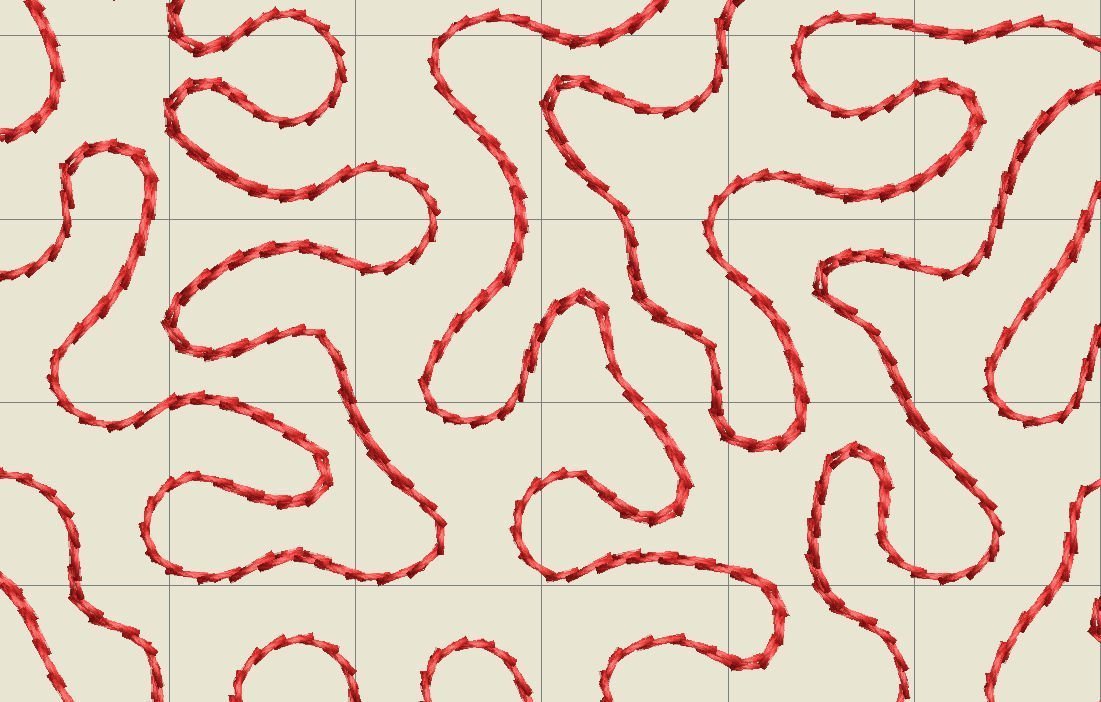
Zooming in shows you there are no straight stitches, but small/flat zigzag stitches.
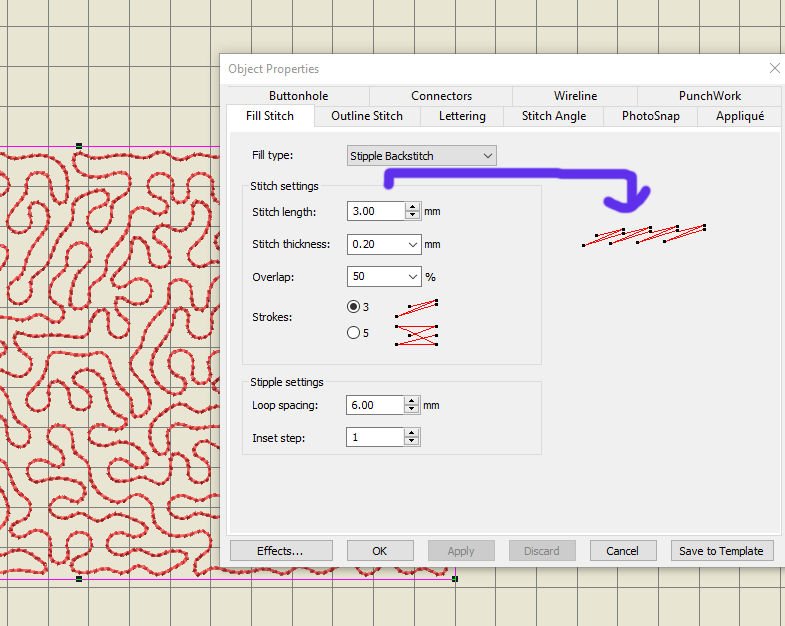
Right Click on the icon, changes can be made. As soon as you hover above one of the Stitch Settings, blue arrows are showing you what you will change, if you use that option. The number of strokes can be changed from 3 to 5: with 5 it will all be more dense.
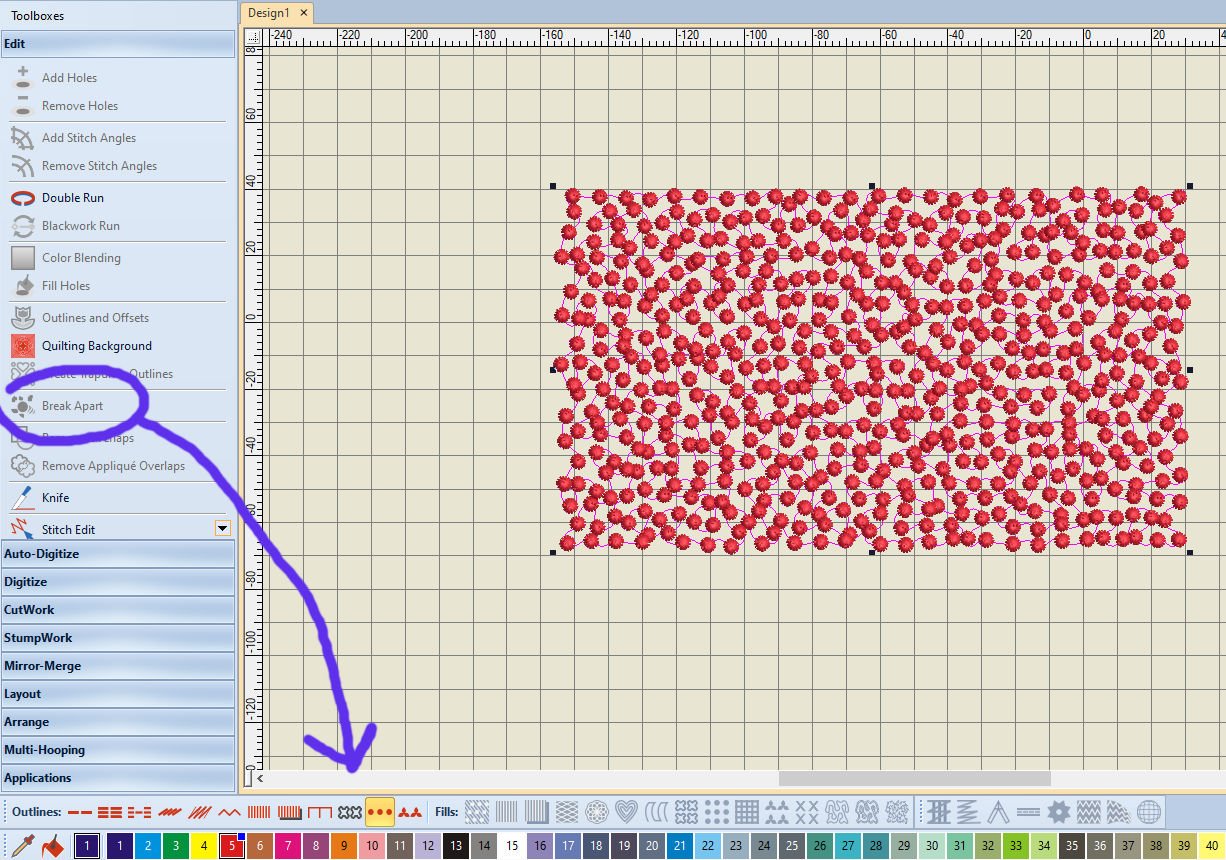
Now for some fun: Select the object, use the option ‘Break Apart’ with the left toolbar ‘Toolboxes’, then ‘Edit’. As soon as you have clicked on ‘Break Apart’, only Outline stitches are available (all Stitch Fills are de-activated = grayed out). I have used a Candlewicking Outline, which changes the Stippling pattern into these figures. But remember: stitch count will go through the roof!

Changing the shape of the rectangle, and choosing for a Pattern Run Outline, makes it even more interseting. Again, your embroidery machine will have a lot to do, and it will take a lot of time before something like this is done. Just have fun.
Next time another topic, see you then!
Happy Stitching
Sylvia Kaptein
www.sylviasartquilts.nl

Sylvia, heb je deze les ook in de nederlandse versie behandeld of lopen je engelstalige lessen anders qua behandelde onderwerpen en qua volgorde?
Ik hoor het wel weer van je. Goede paasdagen toegewenst!
Hetty, het is les 78 op de Nederlandse BERNINA Blog. Ik heb een aantal lessen ook voor de Engelse BERNINA Blog bewerkt. Dat heb ik veel later gedaan, dus de volgorde is niet hetzelfde.
Fijne Paasdagen
Every post, you amaze and delight me even more. Fabulous fun here.
And fun is all we want now, staying at home. Keep busy, stay healthy!