 BERNINA Corporate Blog -
Make someone smile with a quick and easy embroidered cat.
This is an ‘in-the-hoop project’ and includes all embroidery and seam lines . Depending upon the speed of your machine it will take approximatly 15 minutes to stitch. It also shows how using an embroidery machines makes seaming complex shapes really easy!
Here is the Download link to the embroidery design in both EXP and ART format. This is a zip file so requires unzipping before use. embroidery files clarence the cat
The design fits into the medium oval hoop so is suitable for all Bernina embroidery machines.
Requirements
2 x 15cm squares cotton fabric
Tear away stabaliser
Polyester stuffing
Embroidery thread.
Instructions
1. Spray starch and iron each square of fabric if possible. This makes placement of fabric easier.
2. Hoop tear away stabaliser and stitch fabric placement line.

3. Lay square of fabric over placement line and stitch tackdown line.

4. Embroider the cat following design with chosen colours.

5. Place second square of fabric rightside down and the seam line will stitch. This is a double run line to reinforce the seam with an opening.
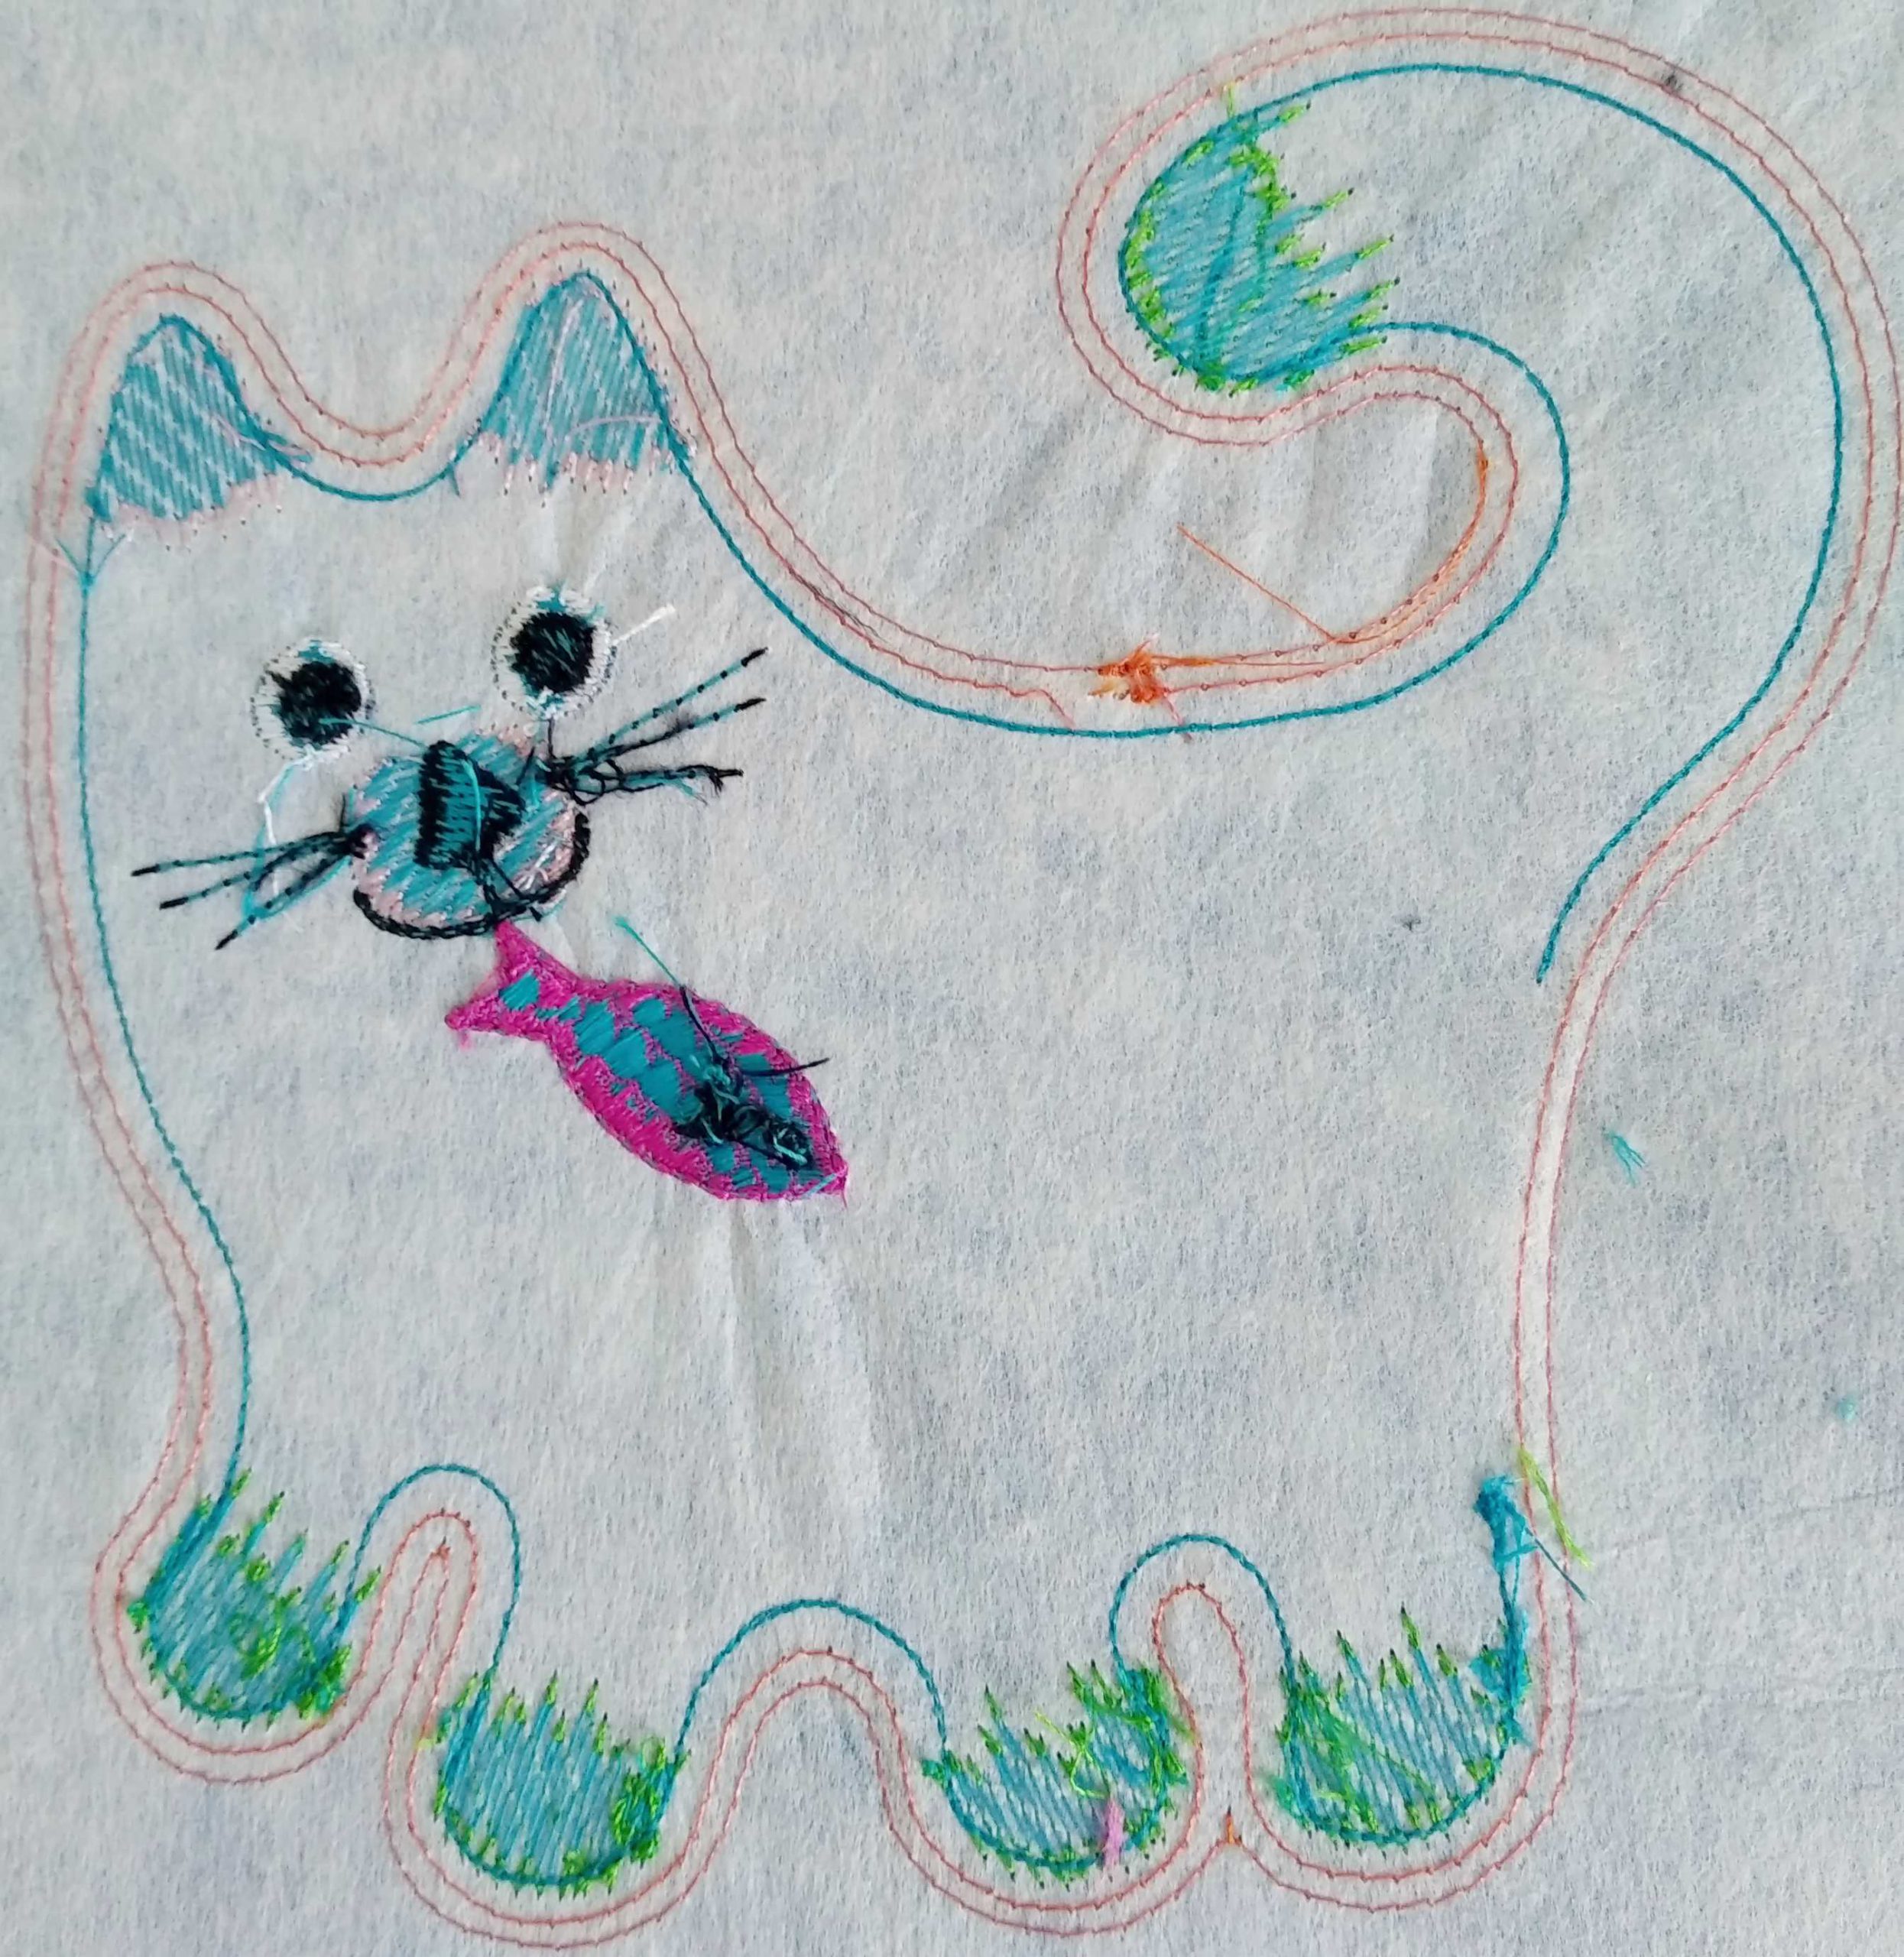
6. Remove from hoop and look at stabaliser side of the design. Here you will see as in this photo the seam line, (stitched in blue in this photo,) then two outer stitched lines, (both orange in my photo.) The outer orange line is the tack down line which held the first piece of fabric down. The inner orange line was the placement line and was just stitched on the stabaliser. This now becomes your cutting line as it represents a 3mm seam allowance.
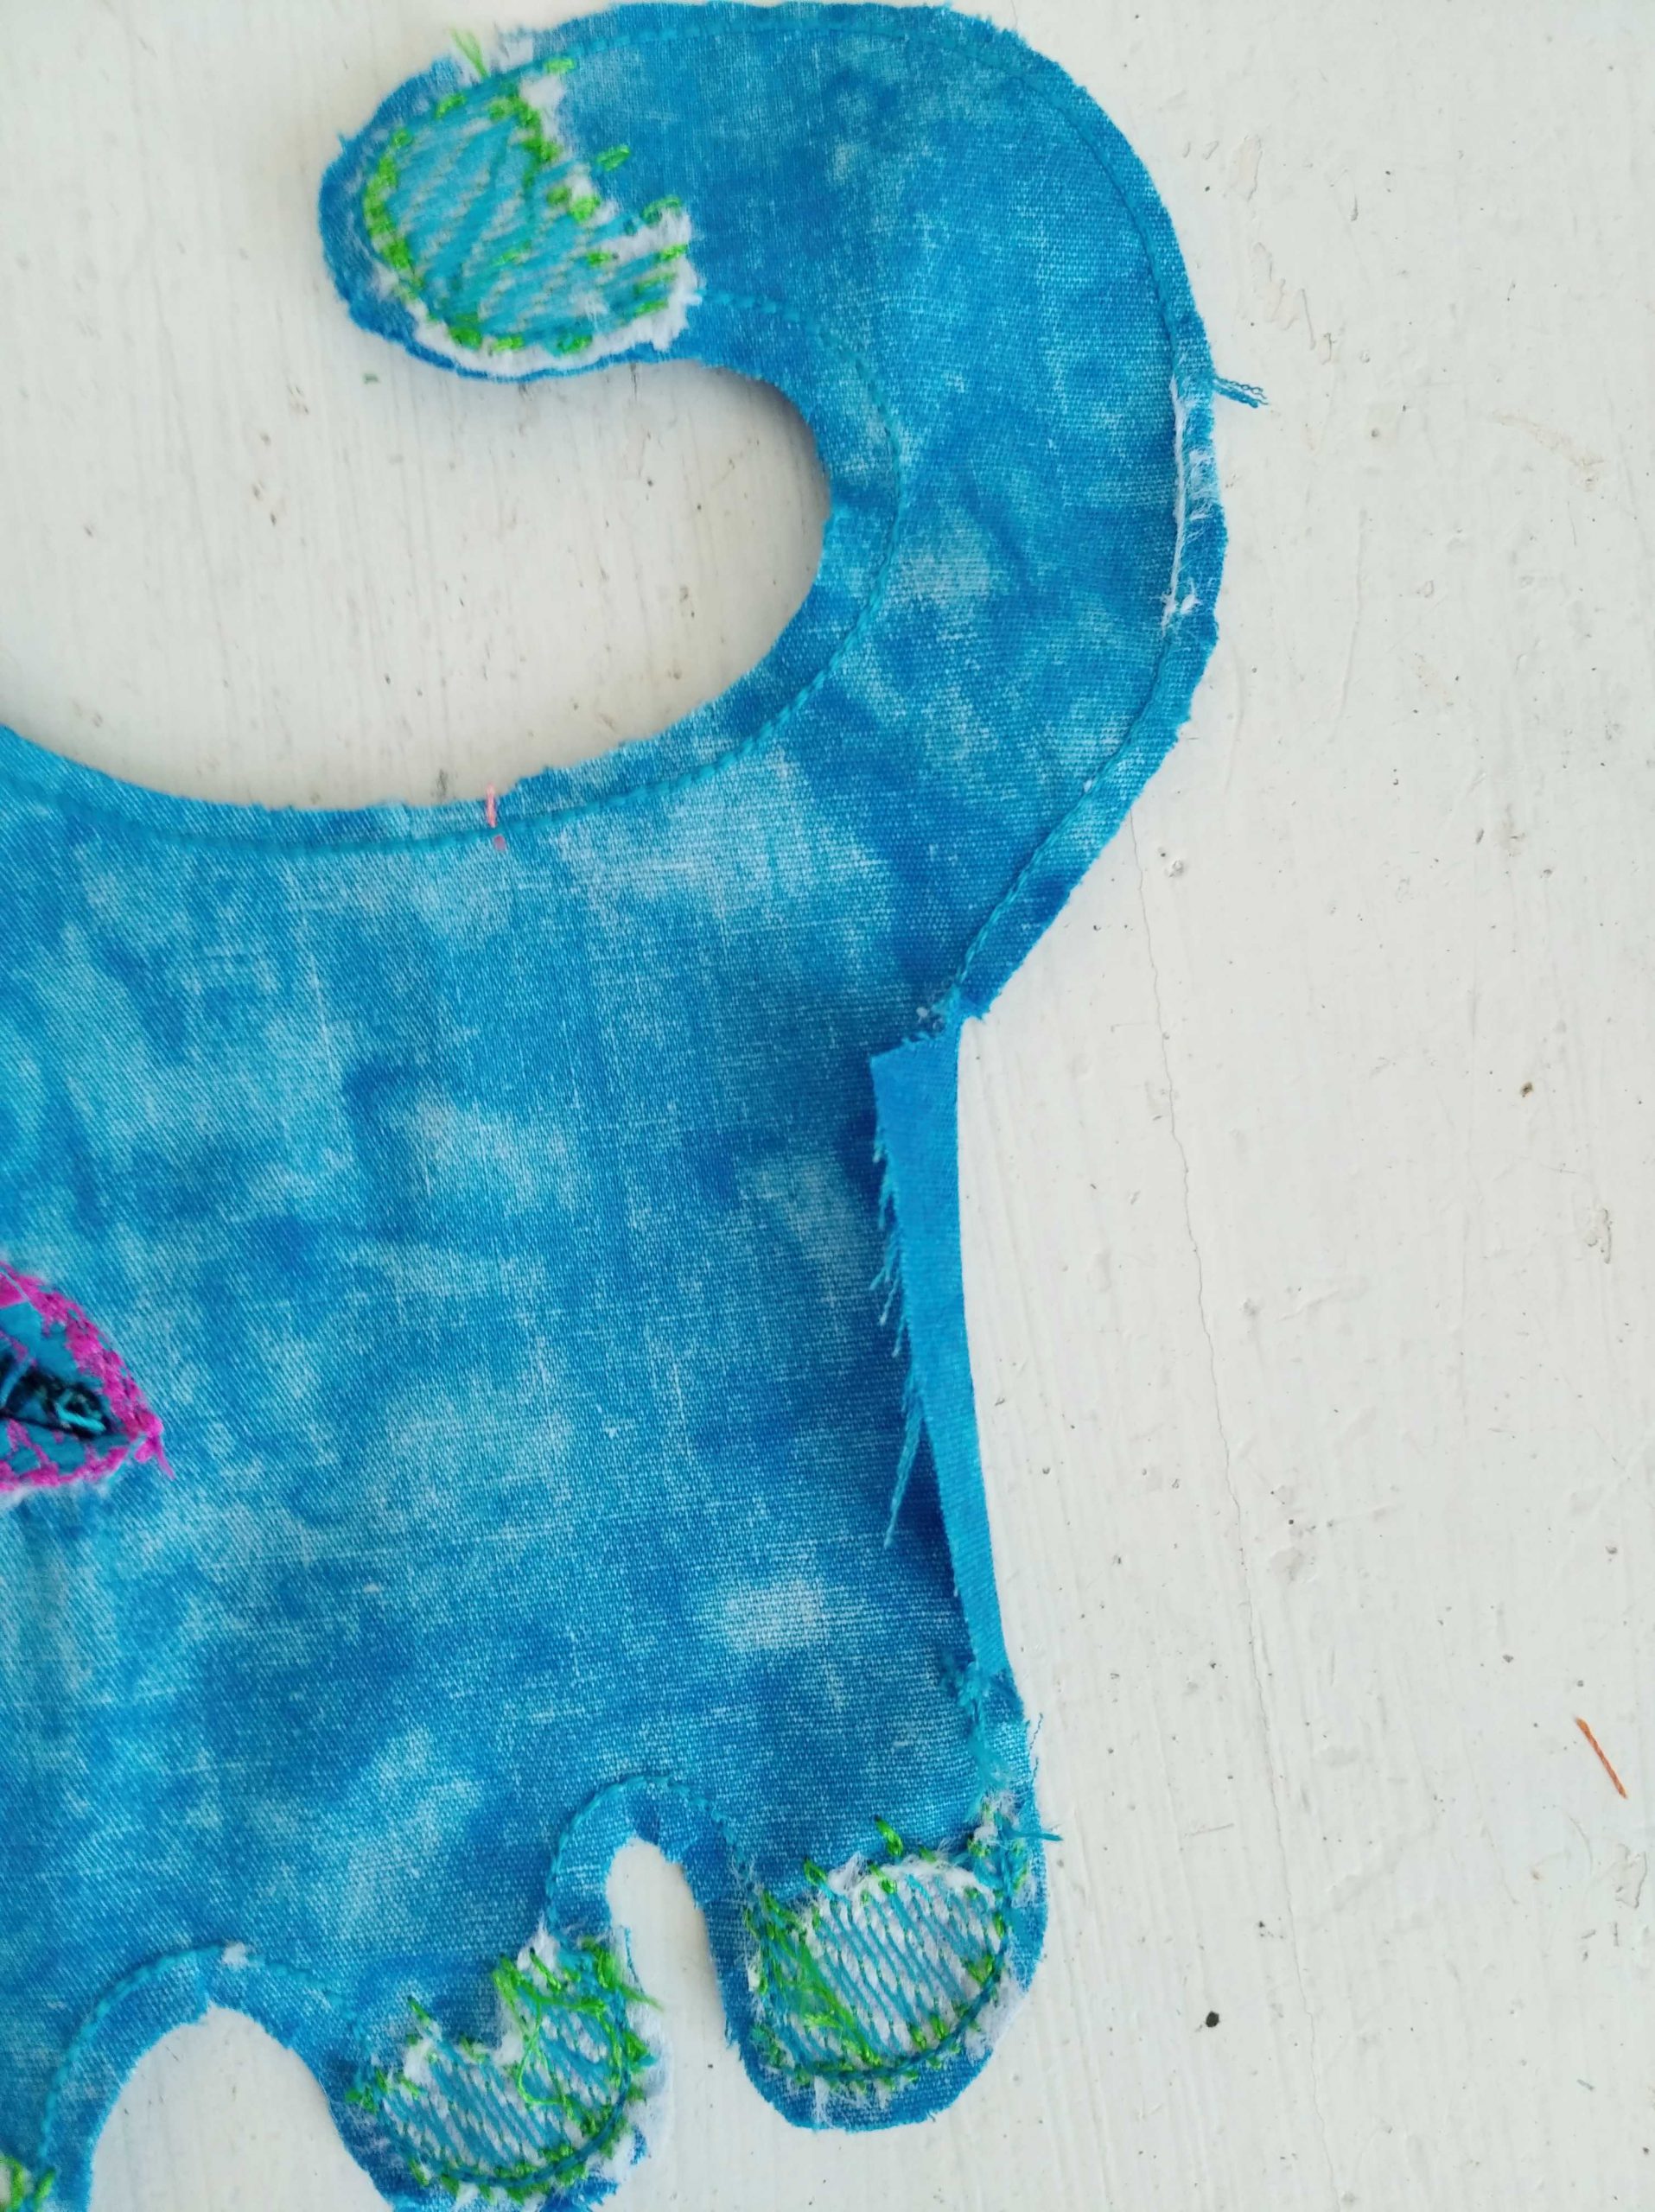
7. Cut along this inner orange line following it carefully but leaving a larger seam allowance at opening.
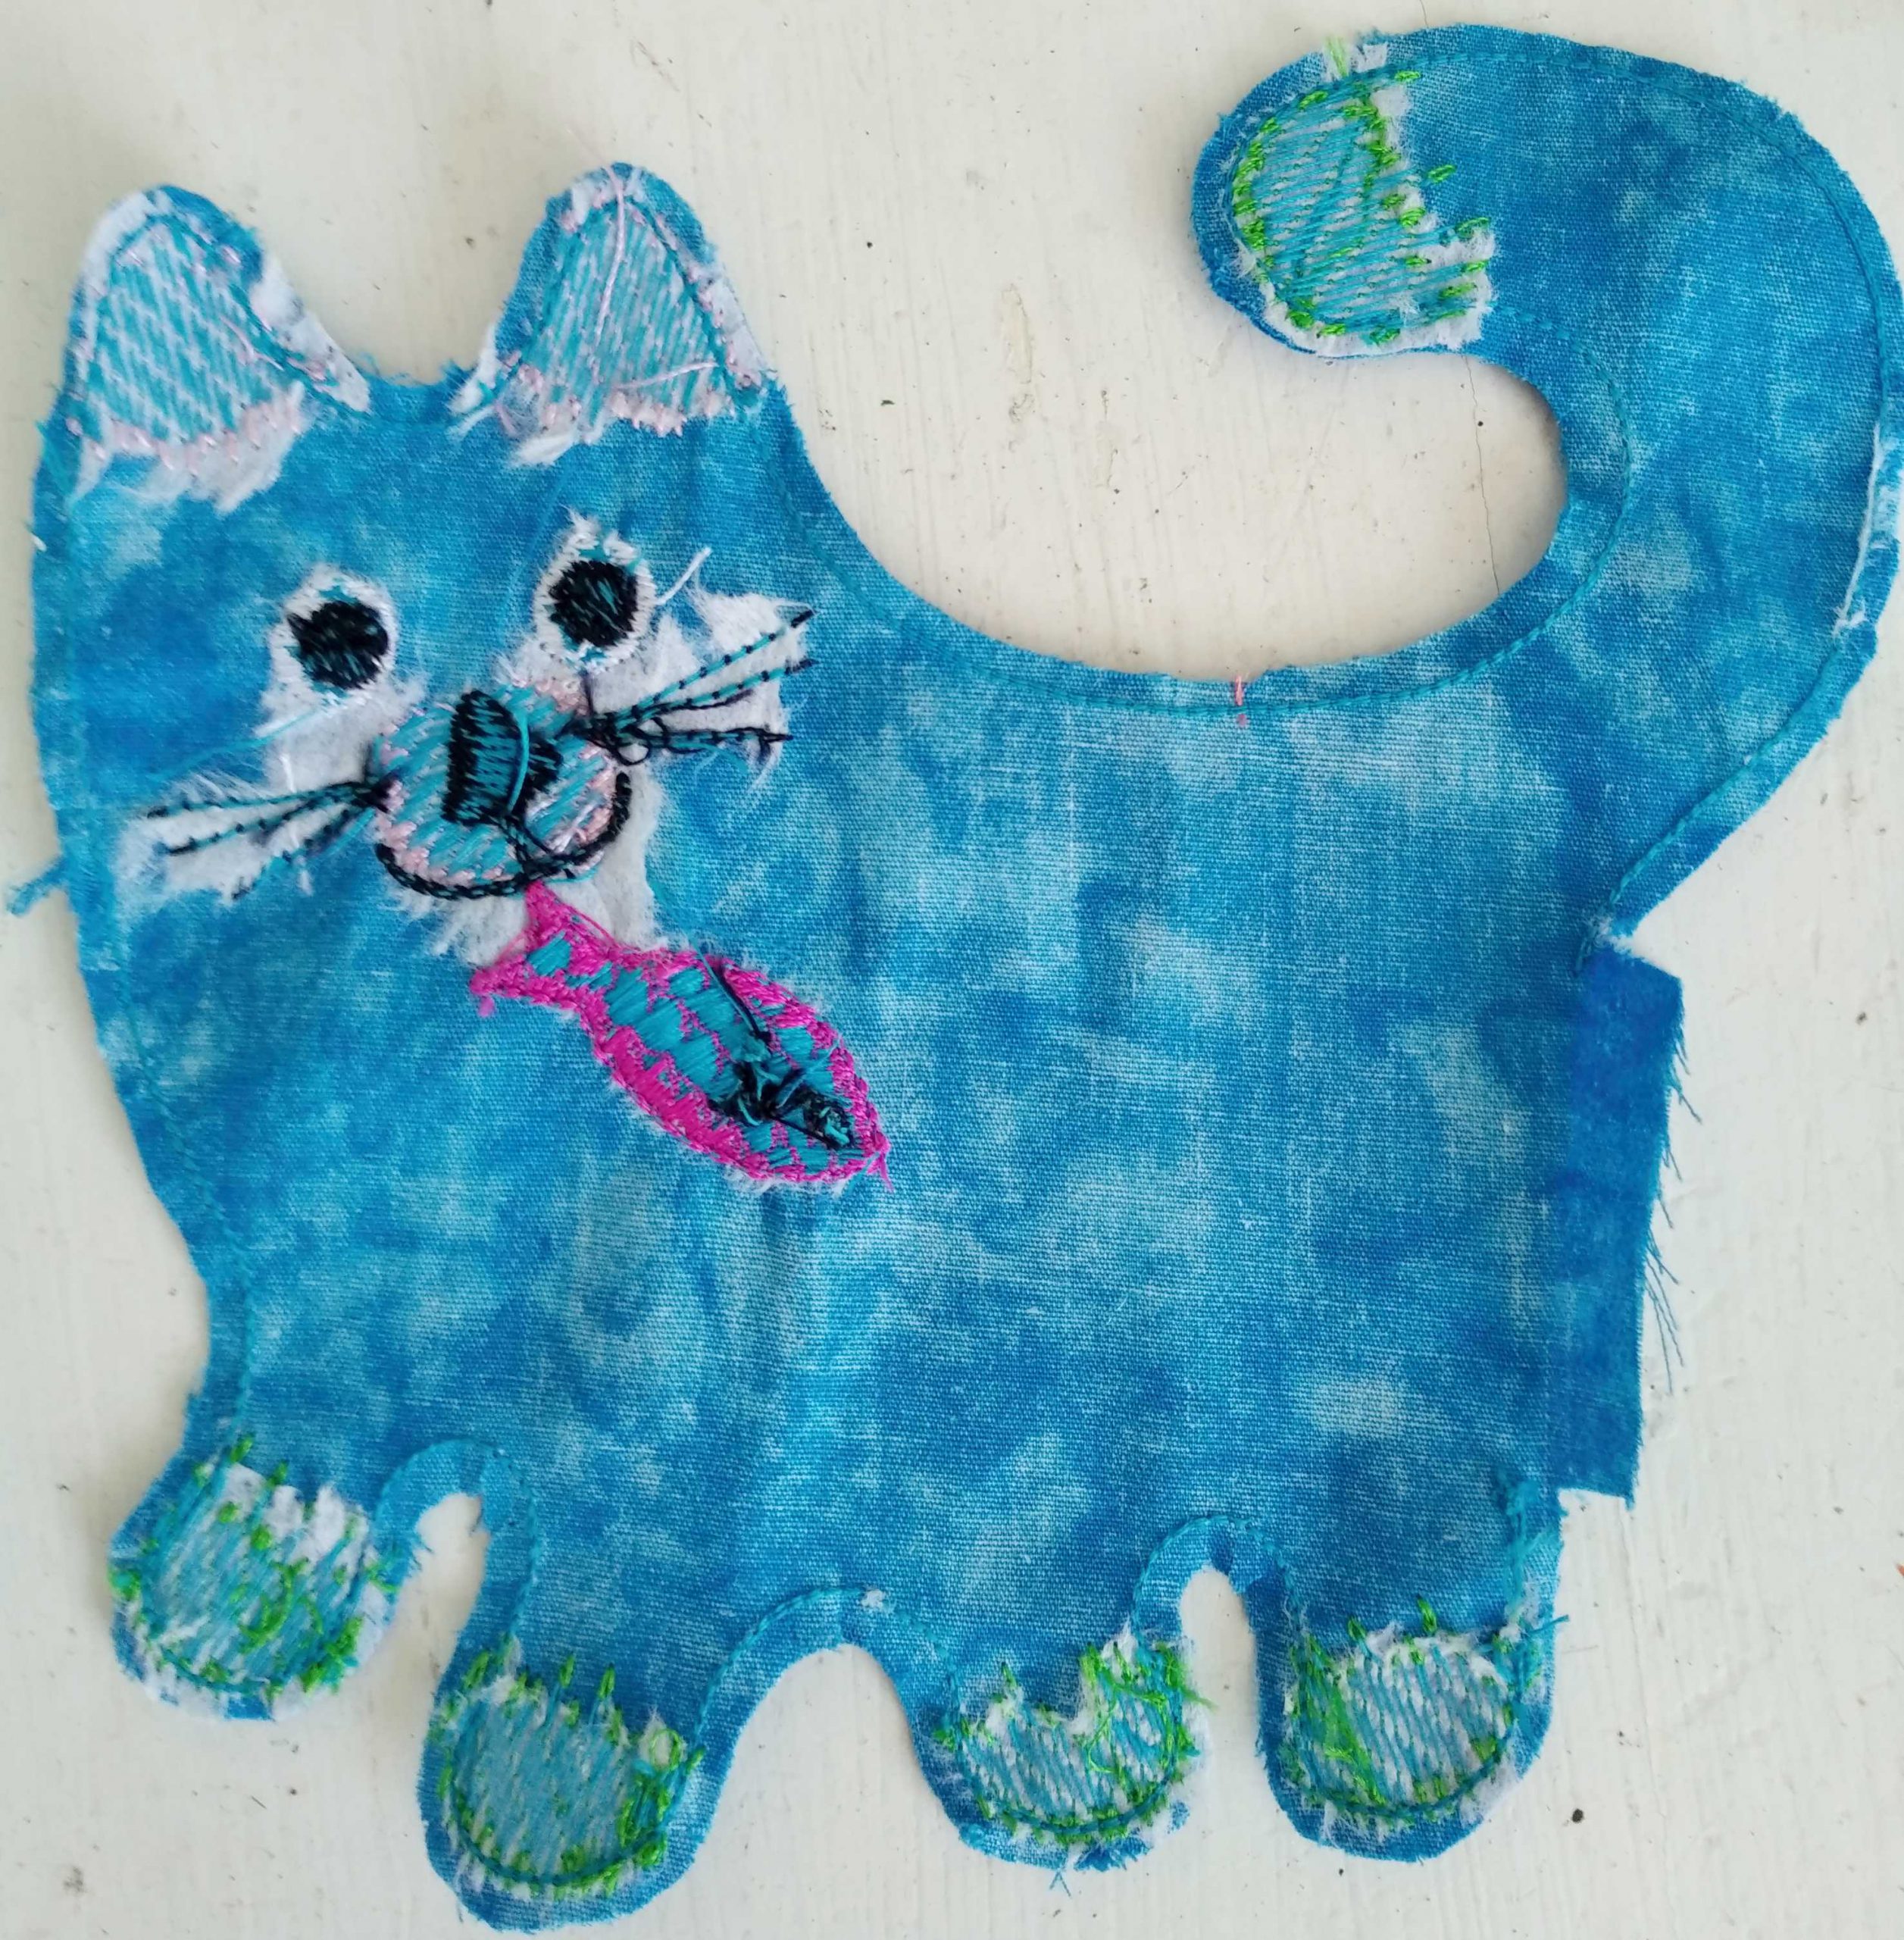
8. Cat cut out

9. To make turning this small shape easier to turn out, remove as much of the tearaway stabaliser as possible. It really is worth doing this!!
10. Finger press ths seam allowance down at the opening, and carefuly clip all curves.
11. Turn right side out, this is a little fiddly, but a pair of good tweezers will help or if you have them pressure forceps. Then stuff and sew the opening closed with a ladder stitch.
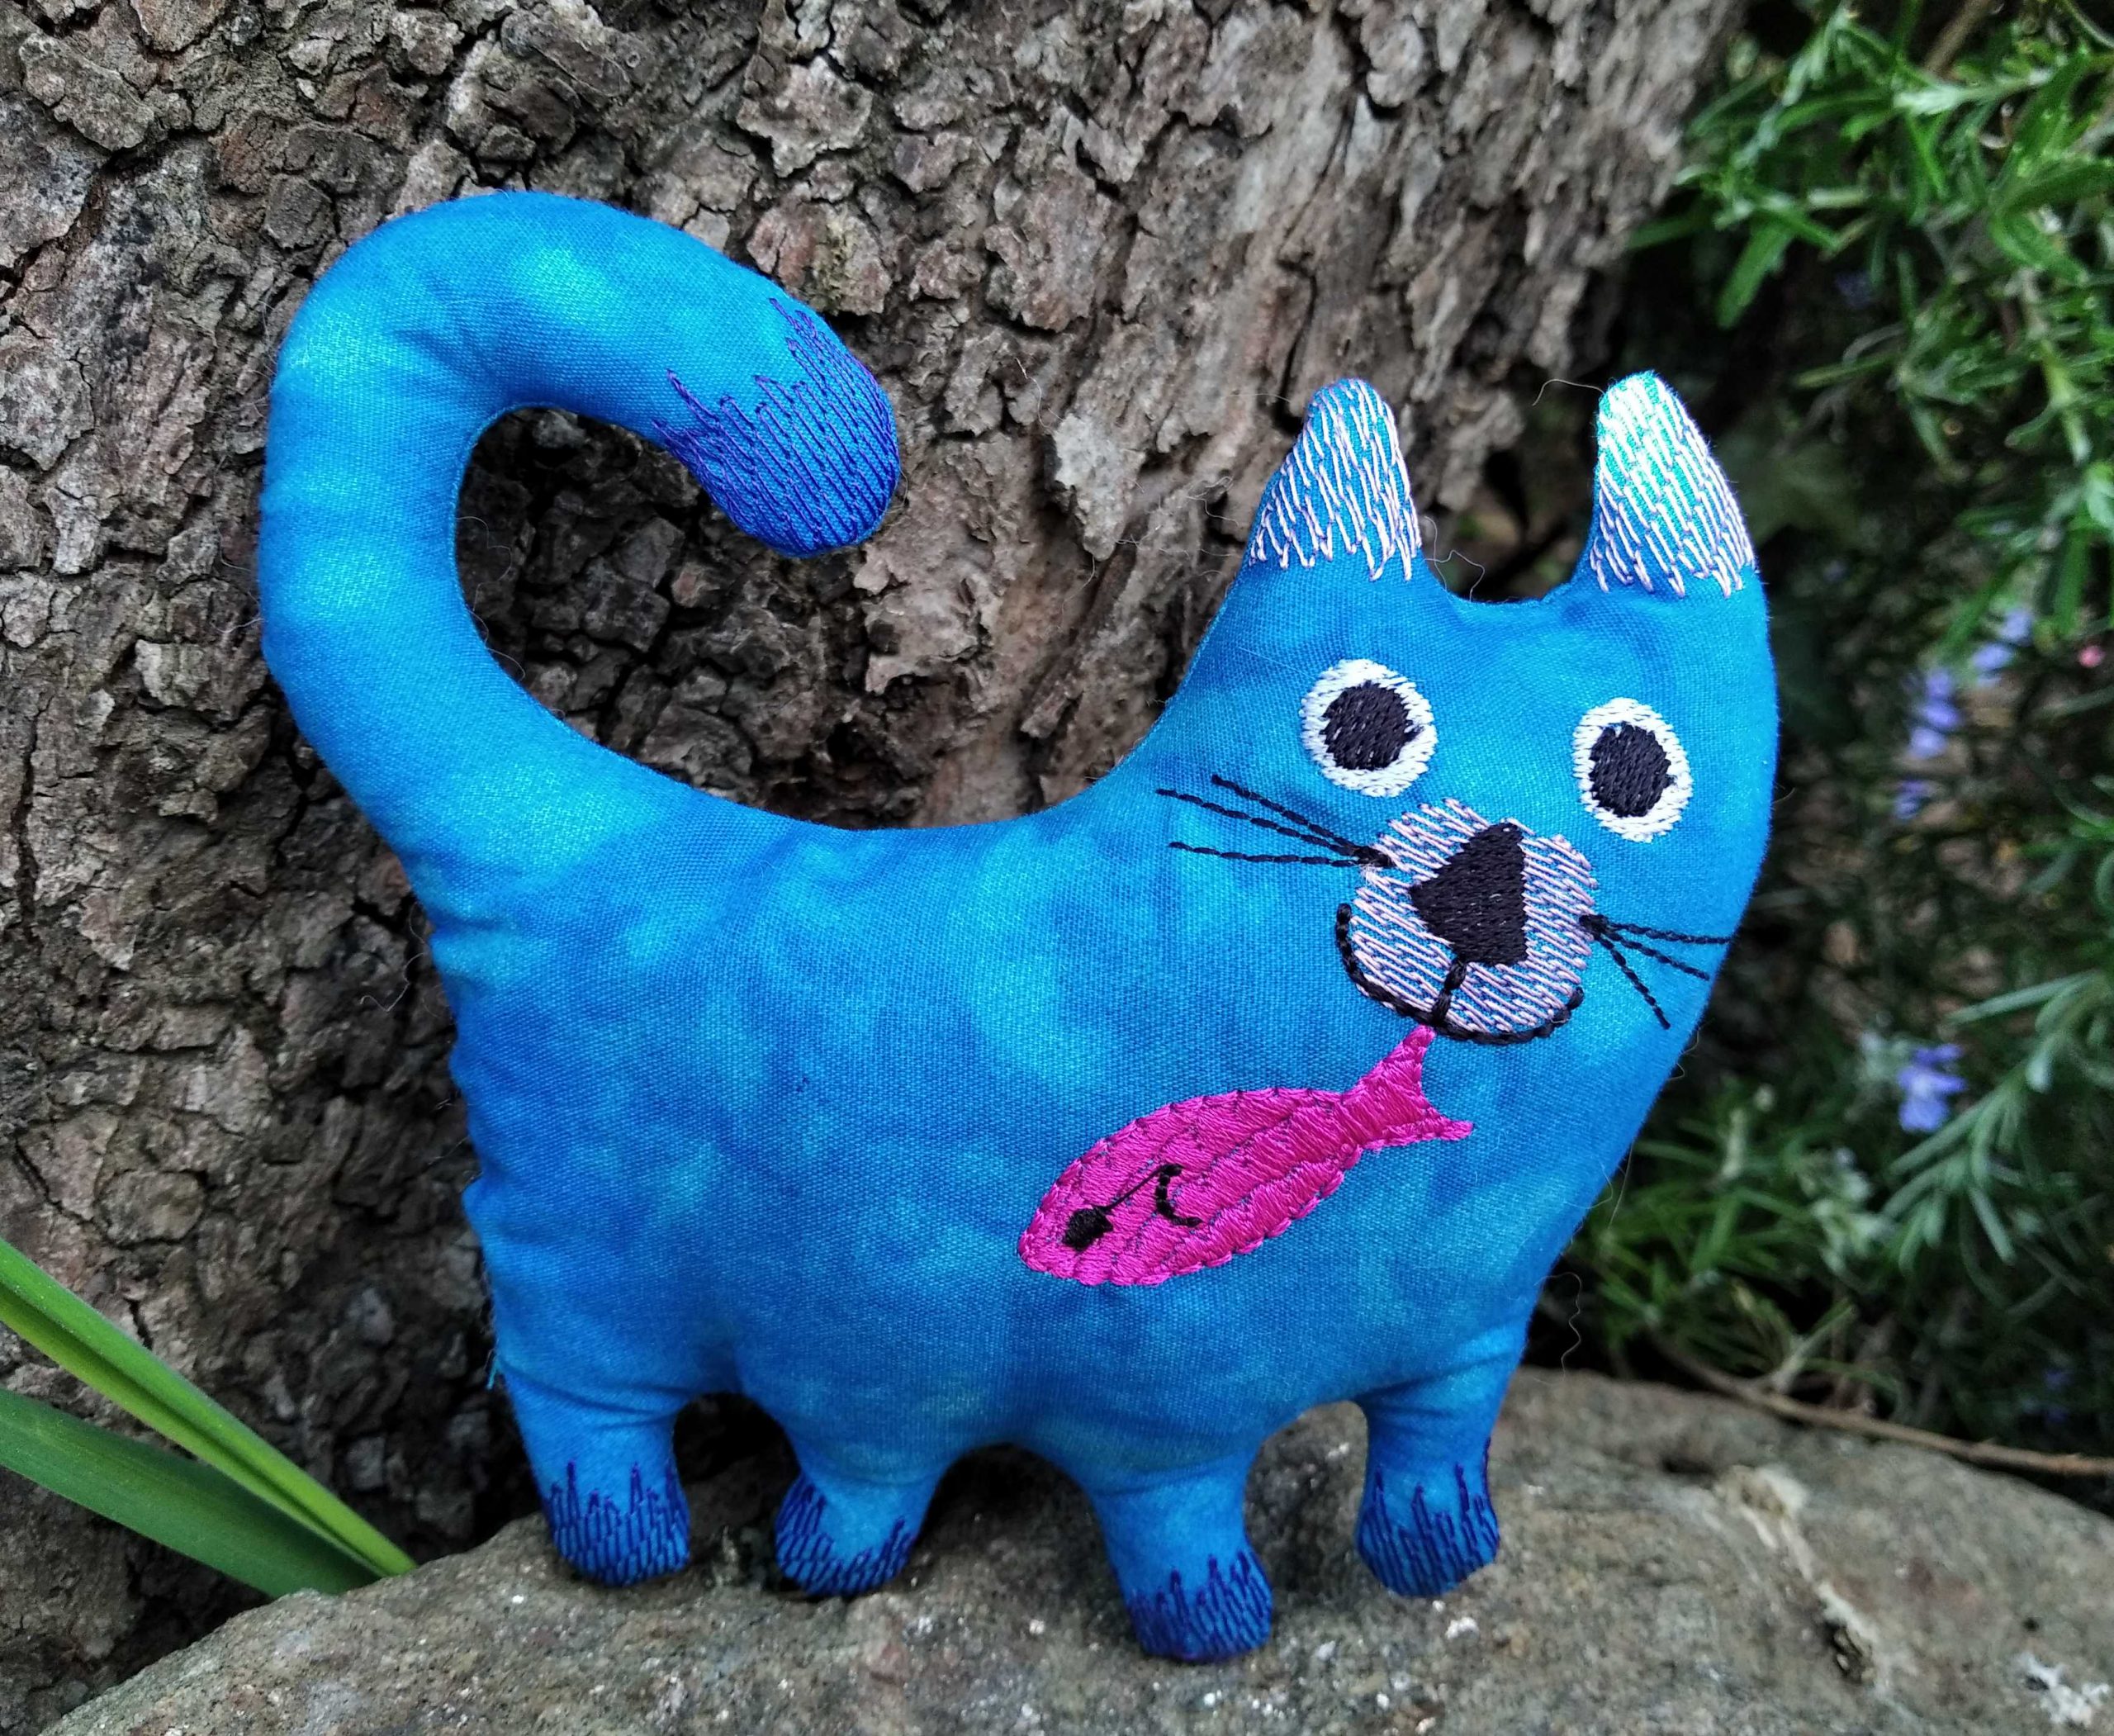
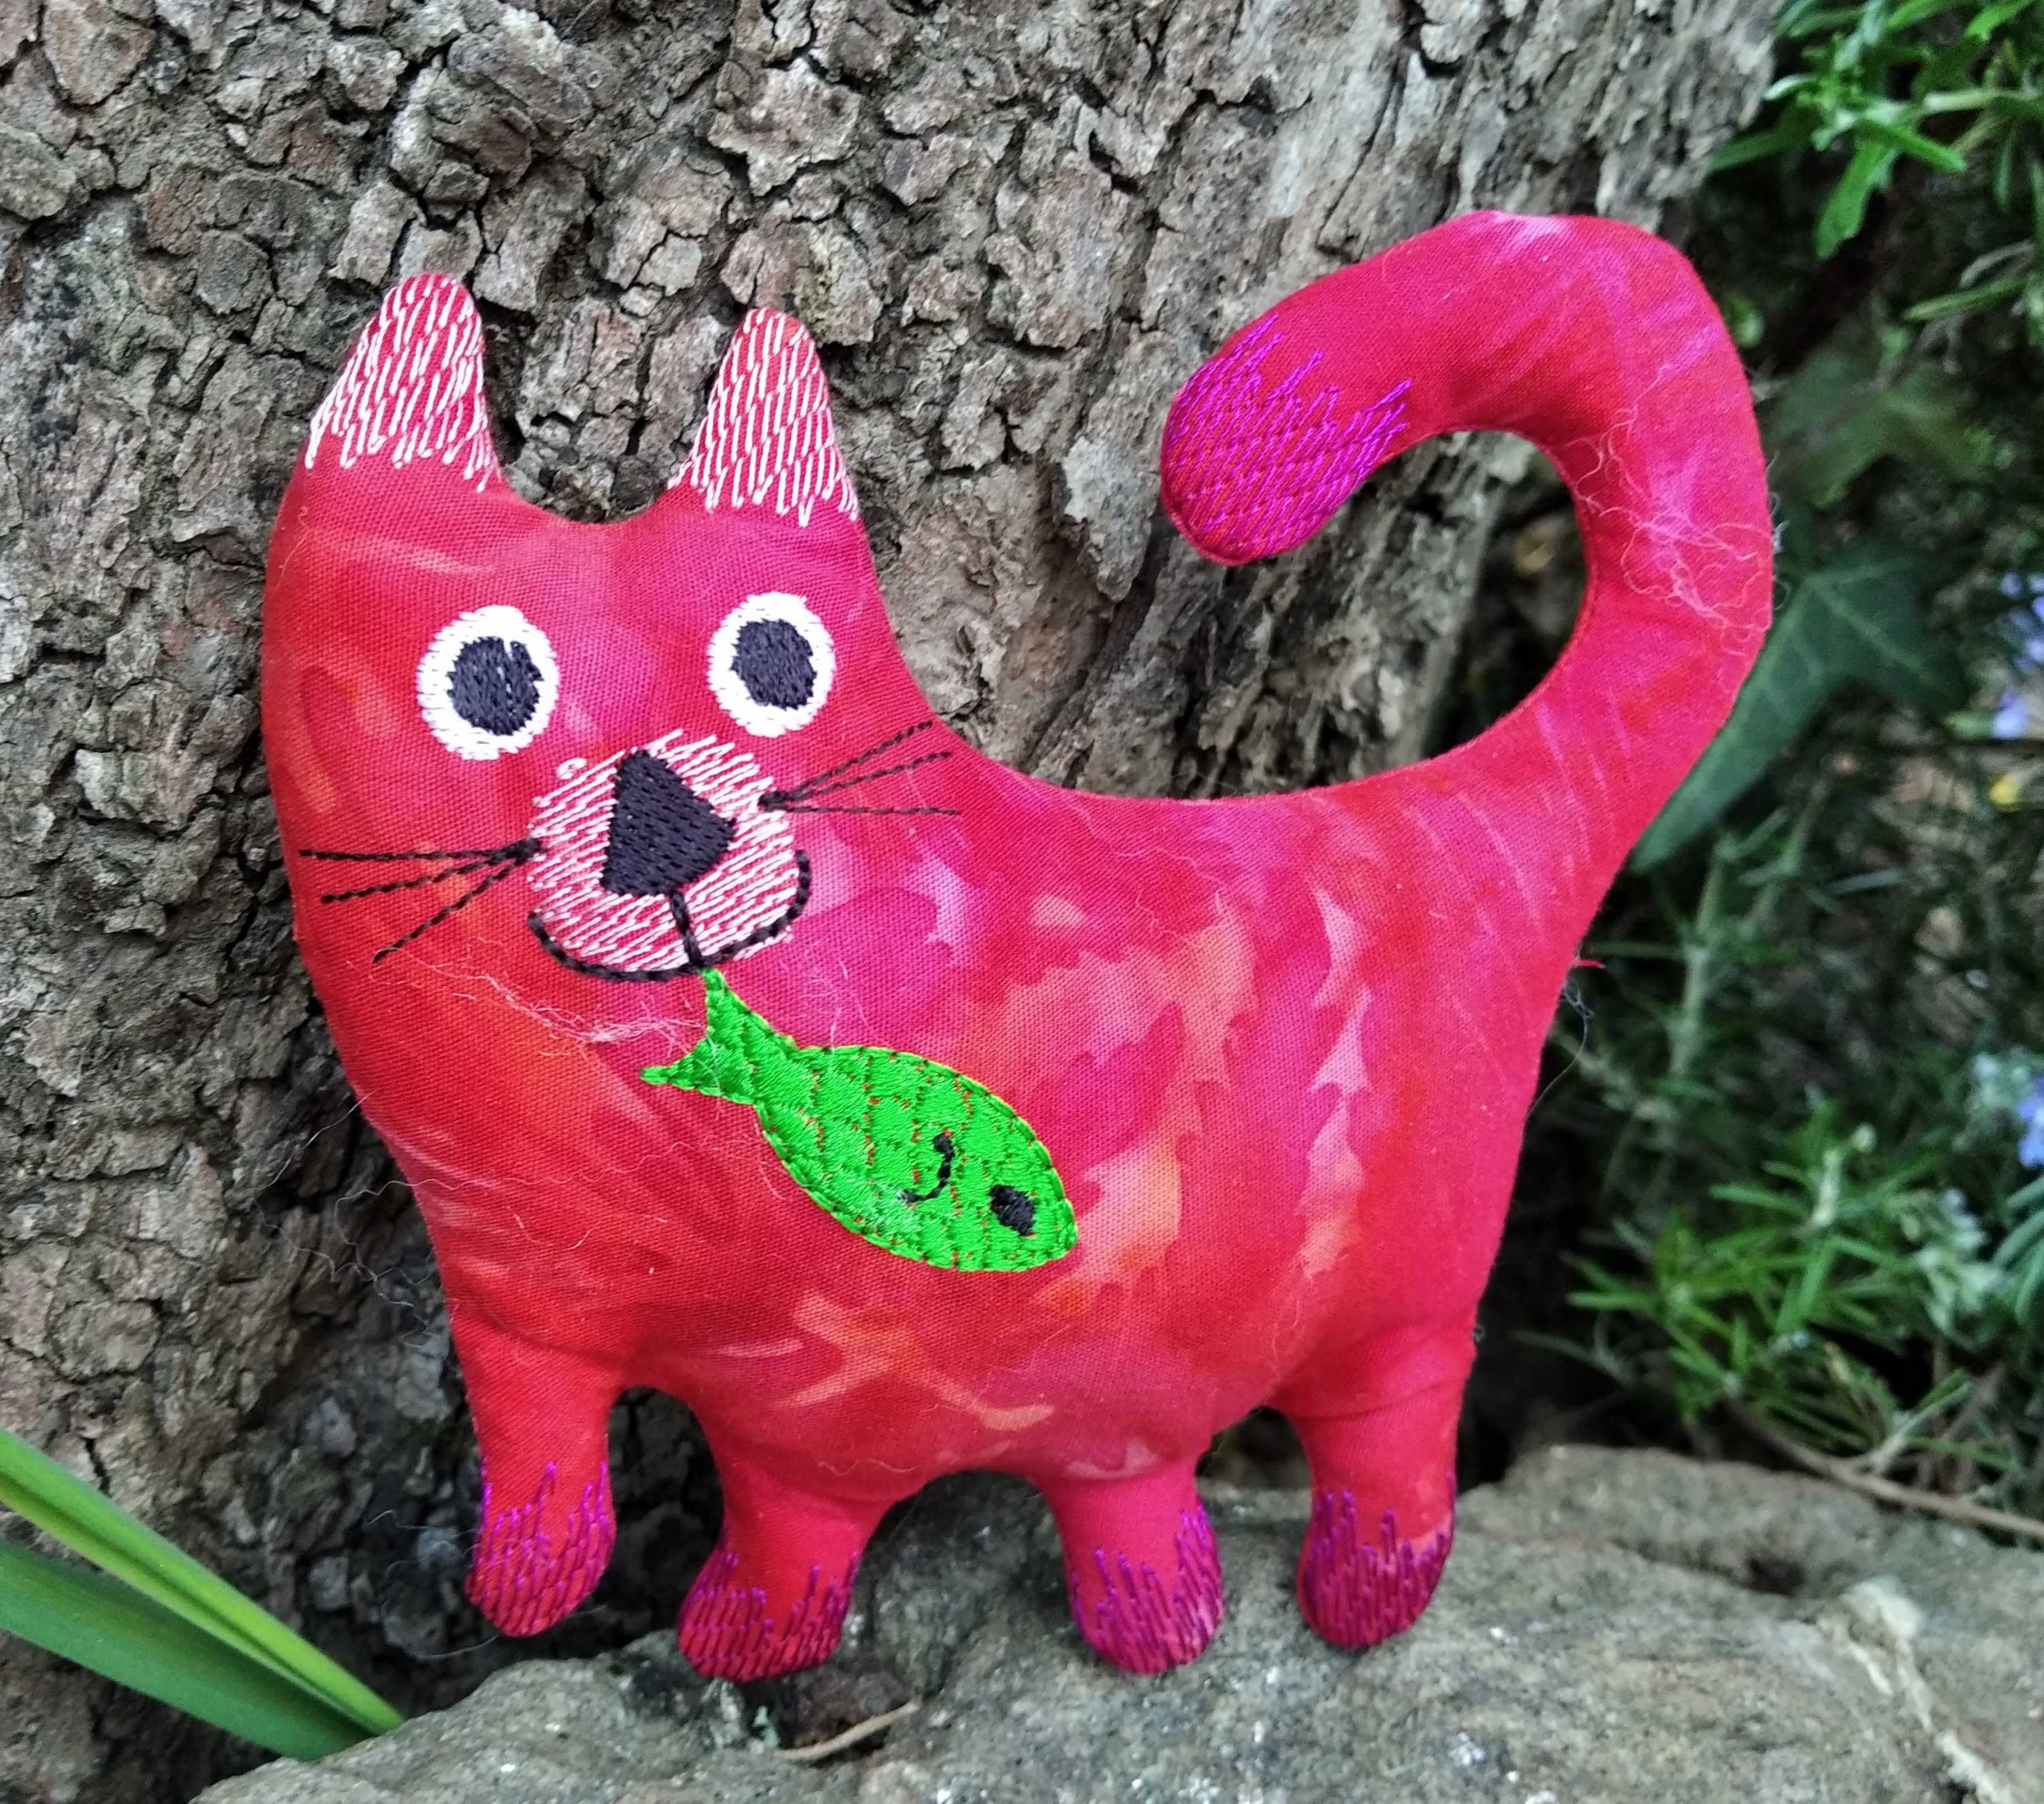
Your cat is finished. Use the mirror iamge feature on your embroidery machine to make it look the other way as I have with the pink cat. Have fun.

this is so cute
If you go to the sewing page of this Blog there is a PDF pattern. Enjoy
So cute! And such a great use for fabric scraps. This worked perfectly on my Bernina Artista 630.
Pat Faunt1 min ago
My Bernina is an 820, so no embroidery unit ! I would love to make some little cats for my Great Grand Son. Can I follow this pattern and embroider by hand. Any tips re things like “tack down line” etc. Also Art and Esp Design. I don’t know what they are !
Many thanks for your help.
Pat in England
Thank you for a good idea. I will post a pattern for ordinary sewung machines and to hand embroider the face etc this weekend. Glad you like the cats. Art, EXP and tackdown lines are all just relevant to embroidery machines. Carolyn
On the sewing page of this Blog there is now a PDF pattern for sewing machines. Carrolyn
My Bernina is an 820, so no embroidery unit ! I would love to make some little cats for my Great Grand Son. Can I follow this pattern and embroider by hand. Any tips re things like “tack down line” etc. Also Art and Esp Design. I don’t know what they are !
Many thanks for your help.
Pat in England
The art files are files that are read by the embroidery machine and determine all the sitting the machine will do. The thread changes and the order of stitching. They are only readable by the embroidery machine or a software program for designing or amending these types of files. I think if y oh wanted to make this you would need to sketch out a pattern yourself.
Here is the pattern for a regular machine:
https://blog.bernina.com/en/2020/04/clarence-the-cat-for-sewing-machines-free-pdf-pattern/