 BERNINA Corporate Blog -
Really? But stabiliser is not that expensive? That’s right, but when you are embroidering for a while, and get as addicted as I am, you probably like to watch out with your material. I really like to work with the Maxi Hoop, and it gobbles up your stabiliser. So, save on stabiliser for embroidery.
In a YouTube movie, I noticed the tip not to cut the stabiliser in the size of your hoop for each project. It works better to cut the width of your hoop for the length of your stabiliser, or even double width of what you need for one hooping.
I’ll show you what I mean in a project:
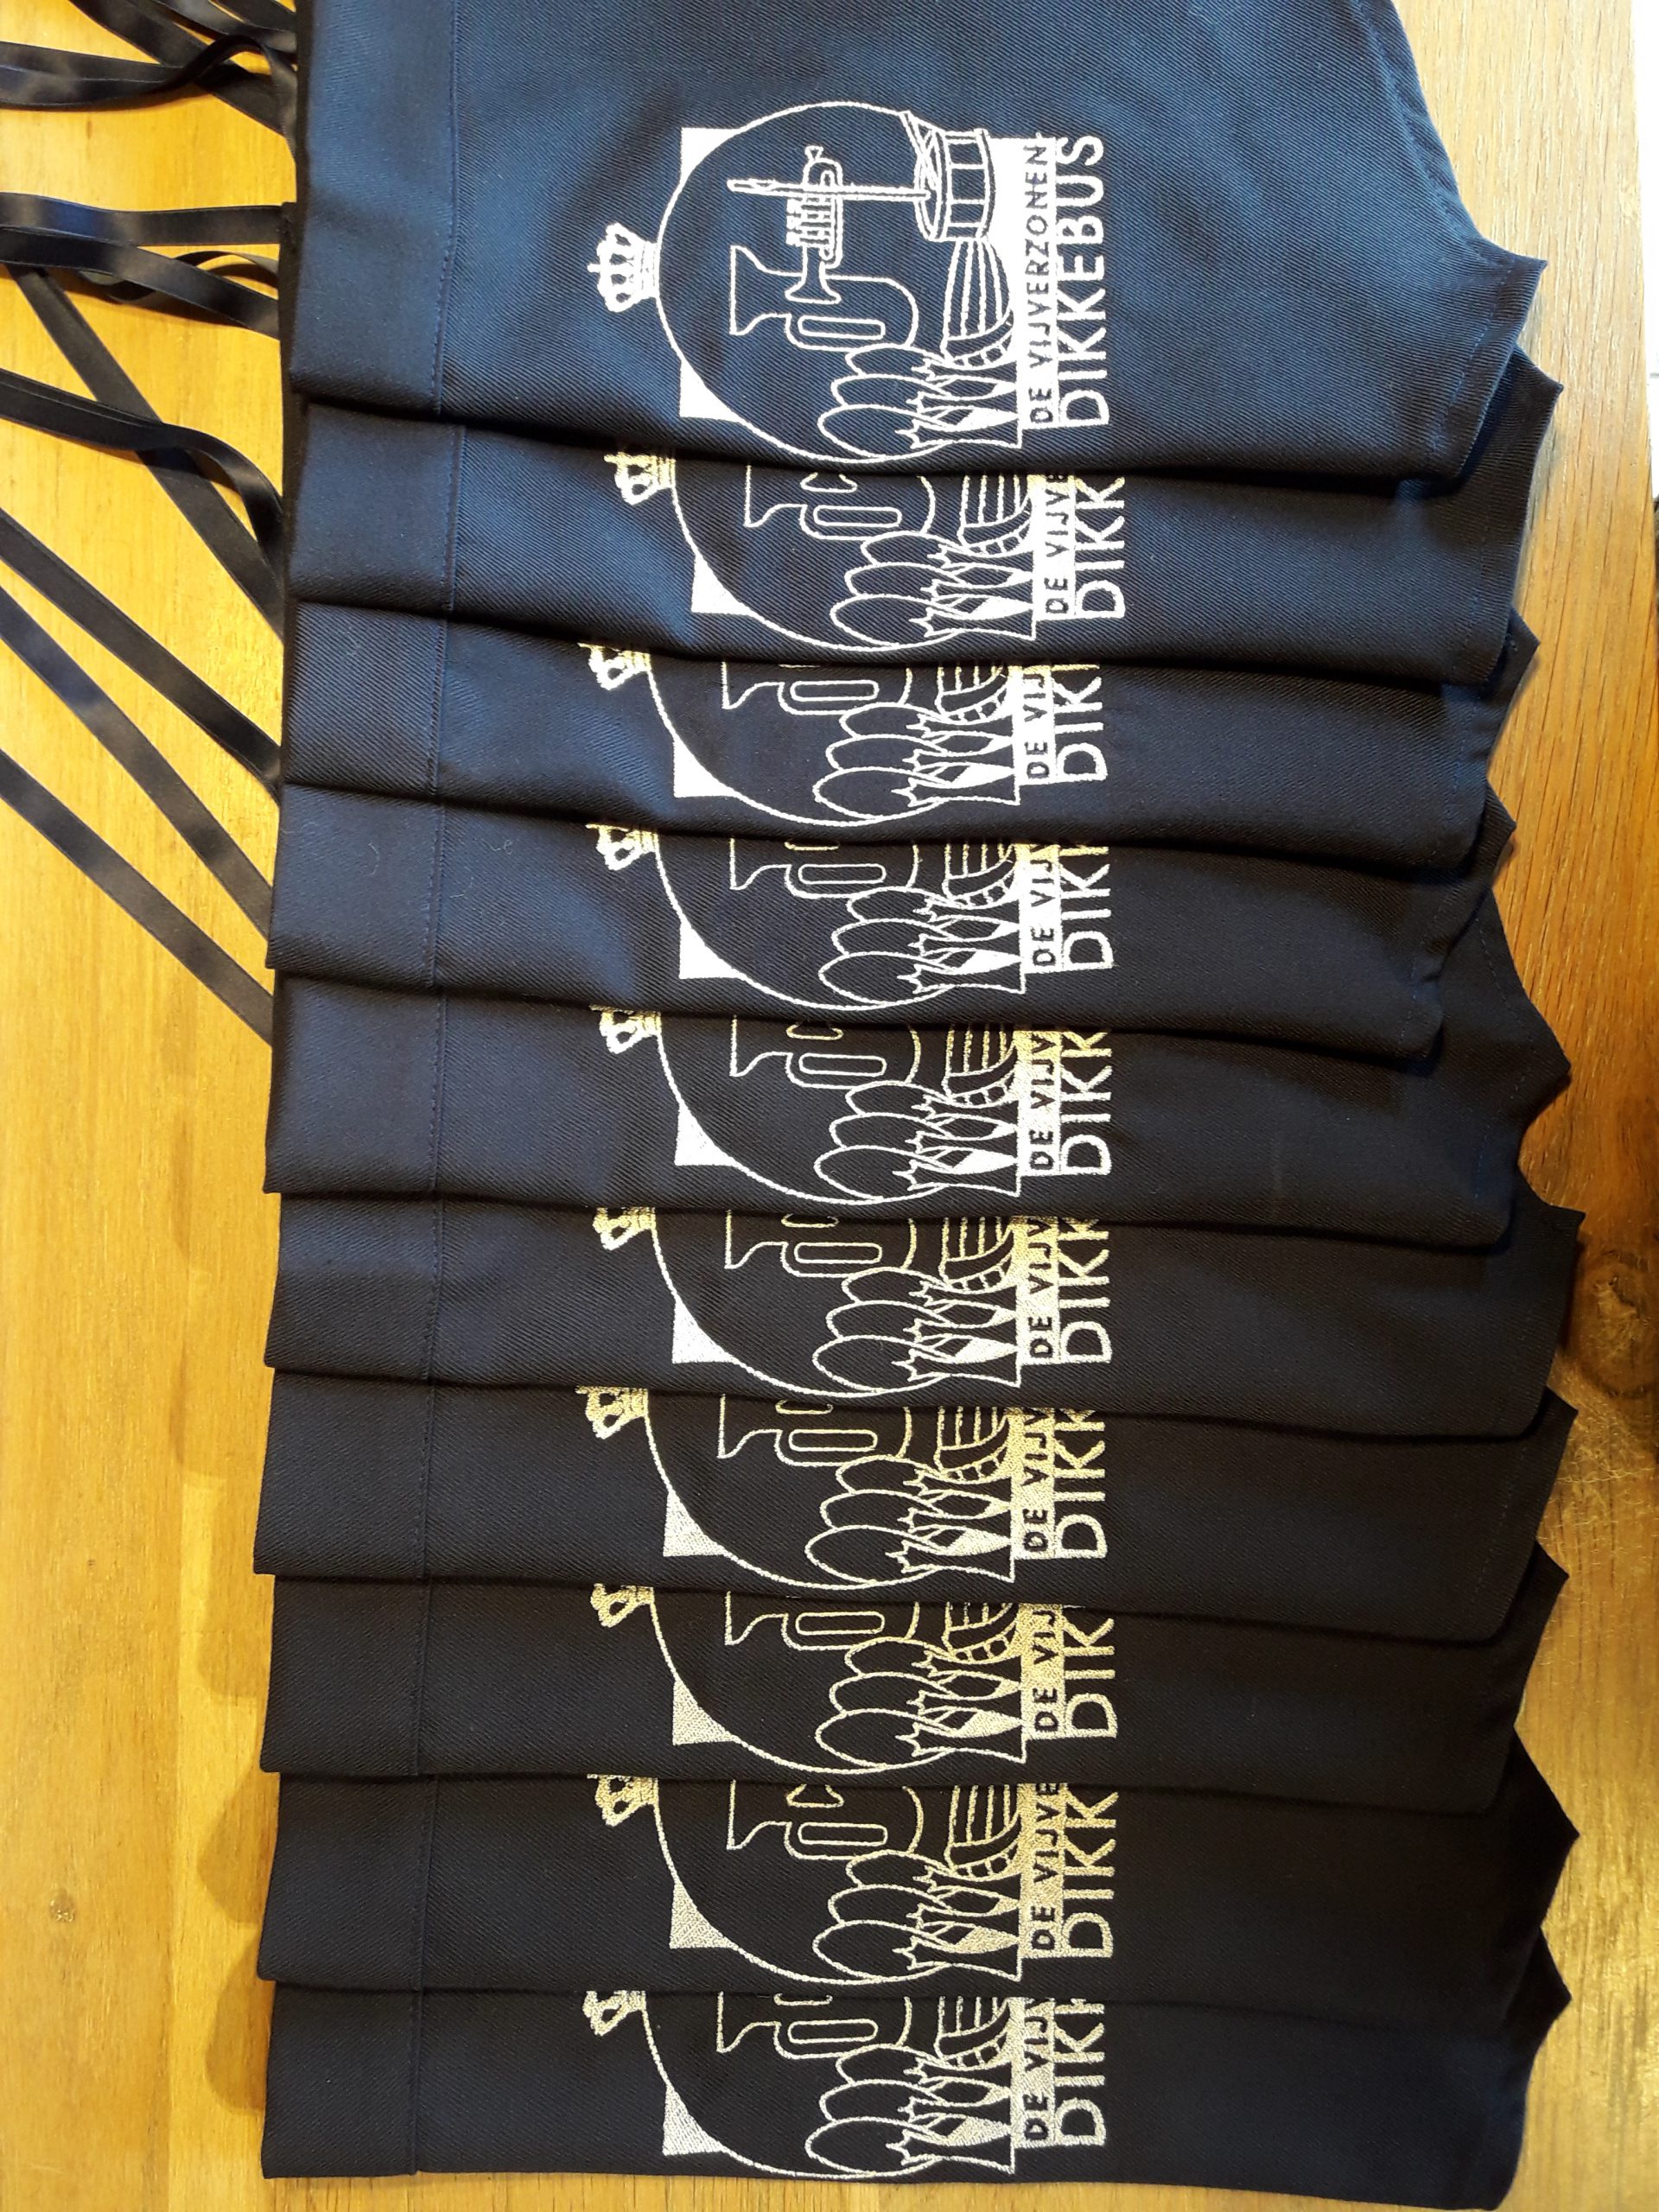
Our son Simon asked me to make patches for the drummers of his music harmony, Koninklijke Harmonie De Vijverzonen. A number of young kids started to drum and they all need a patch for their instrument.
Of cours, I don’t refuse… This is their logo:

Can you see how proud Alexia is, aftyer the garden concert in the theme ‘Heroes’? I was proud too!

And this is the result:
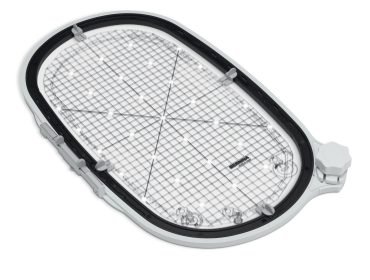
My first step was to embroider 2 logos in one hooping, using the Maxi Hoop. I hooped the stabiliser, fixed it with Mettler Web Bond temporary adhesive spray to the fabric and embroidered the first logo. Then I folded it over, pinned it to the side and prepared for the second logo.
I did not cut the stabiliser for each hooping, but worked with the bigger size.
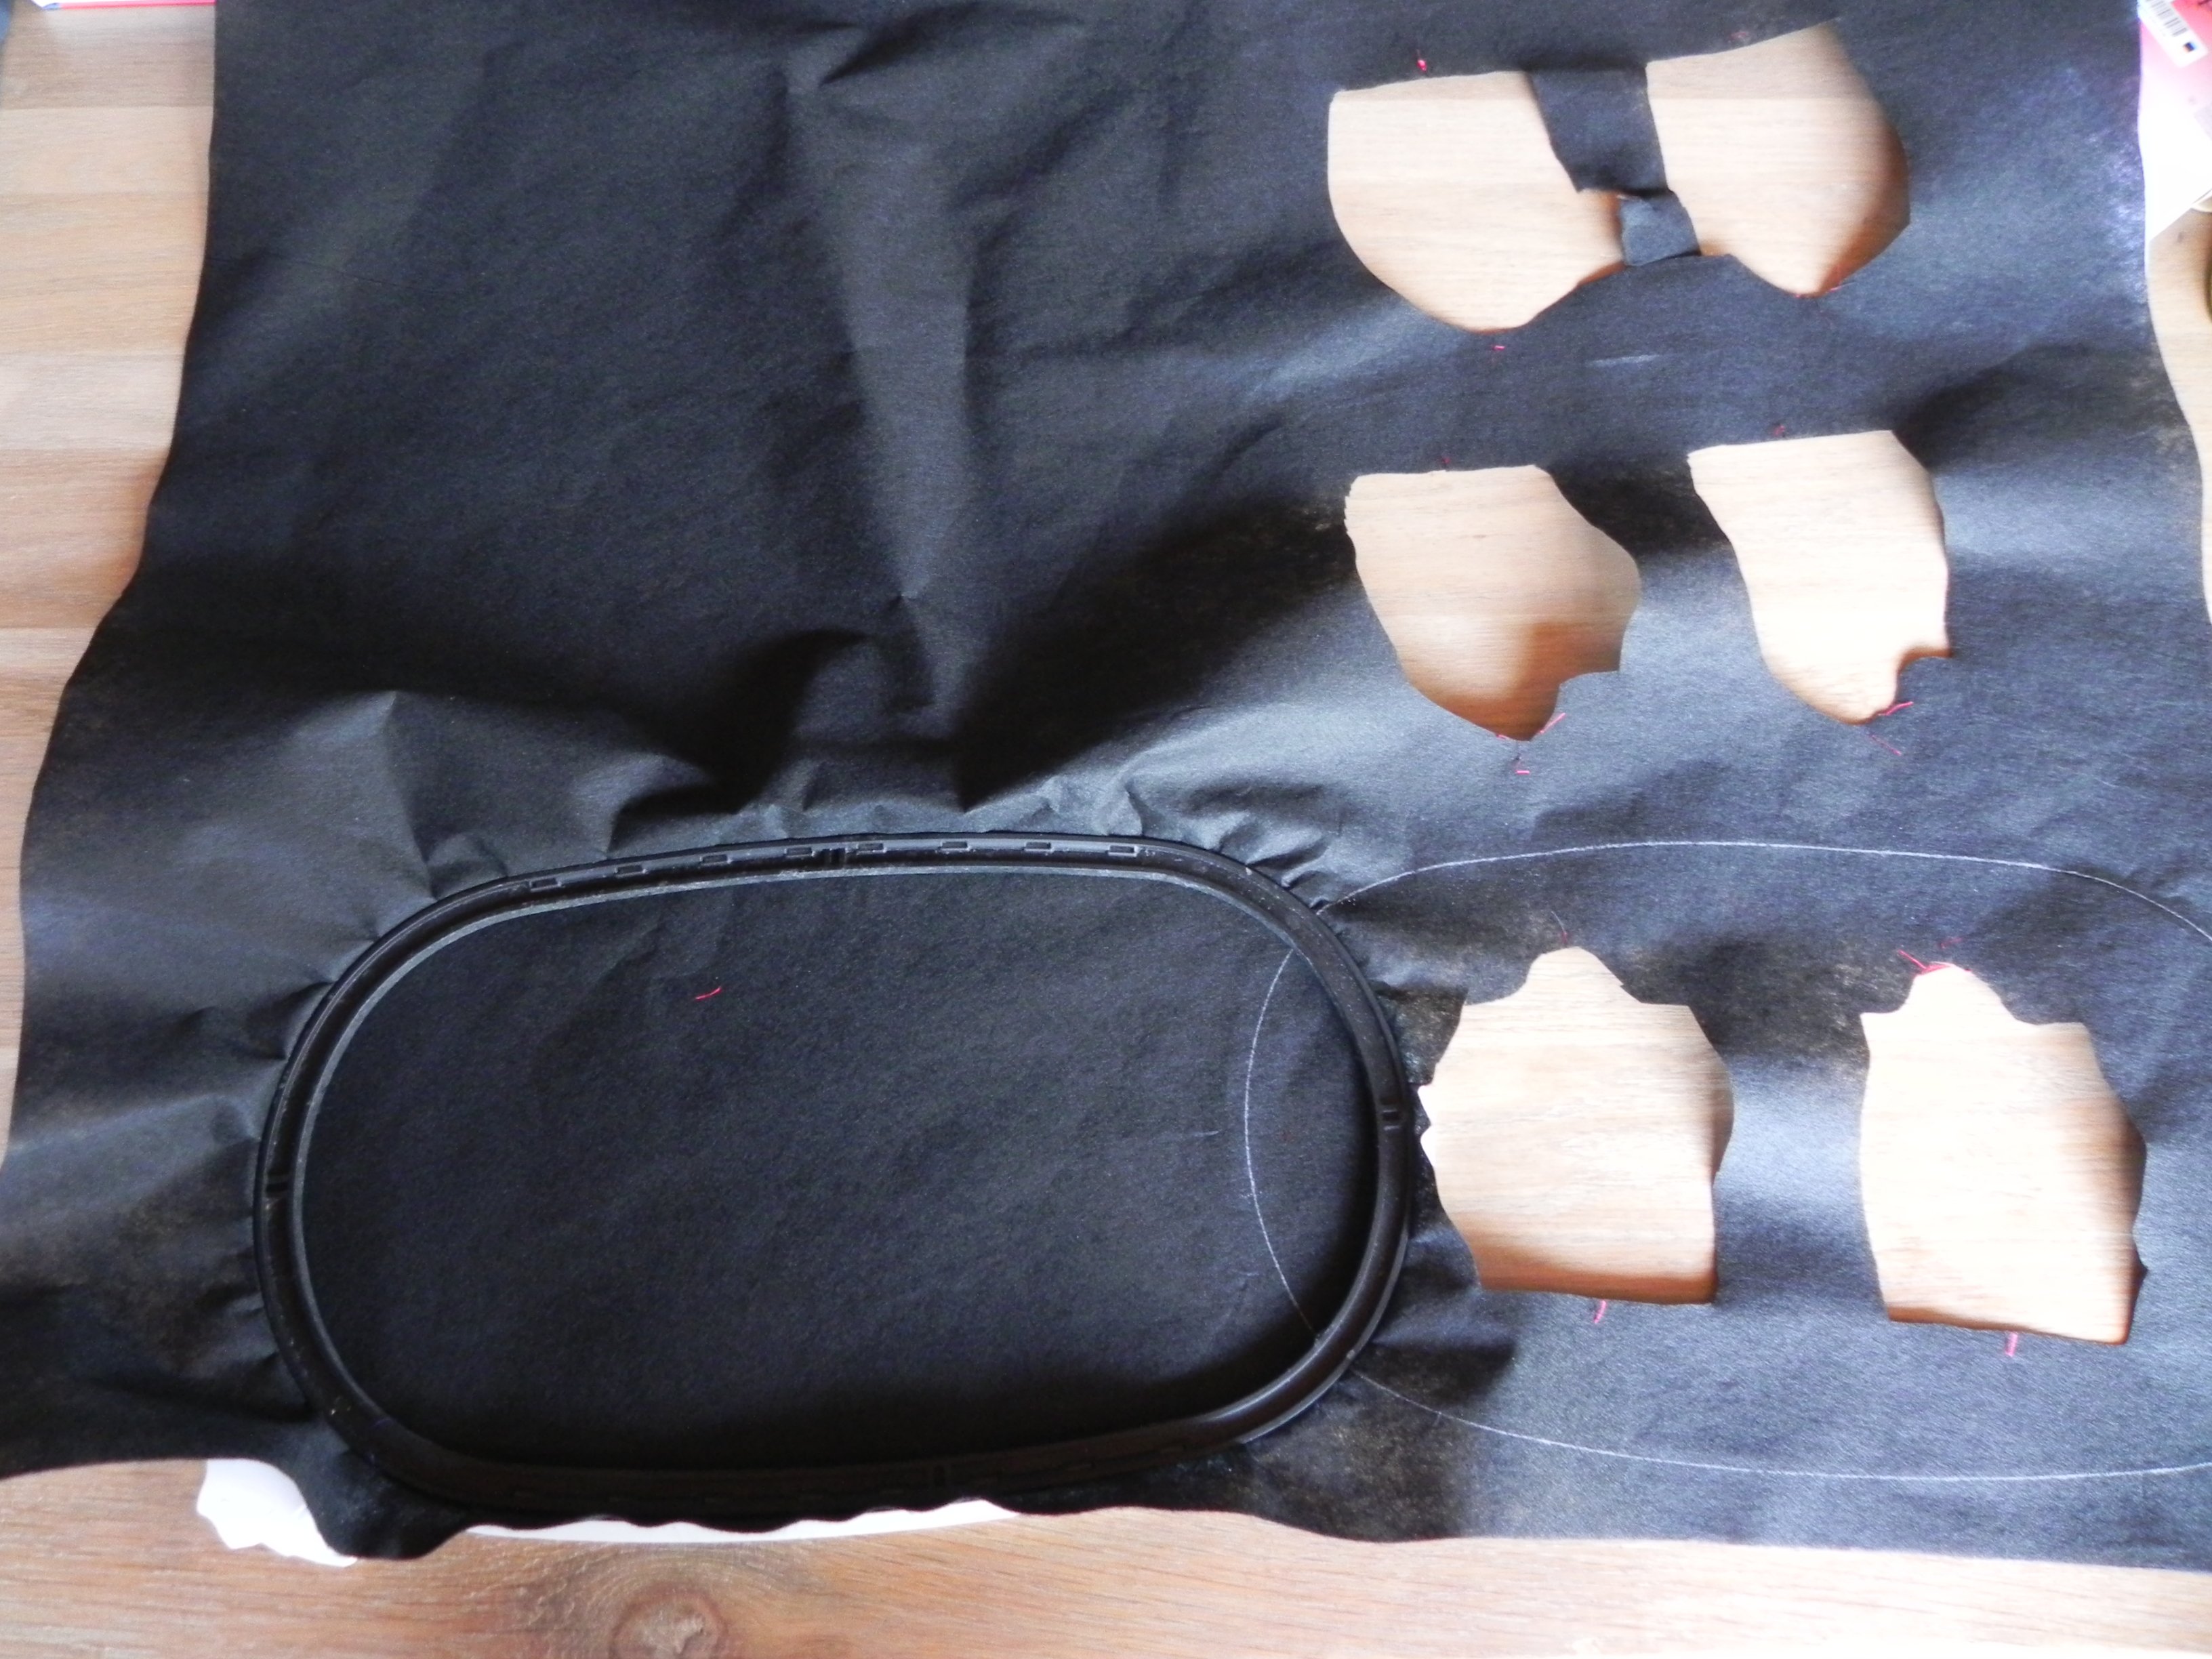
Watch the stabiliser and see what surface you gain. It is marked with the white line. By keeping it in double with and height, I can save in two directions.

Especially with the bigger hoops, there is a remarkable strip on each side, that is not embroidered. Sometimes you can use it for the small hoops. But I rarely use the smaller hoops, so I keep the sidestrips to recycle and reuse in the Maxi Hoop.
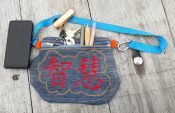
For a sample or a covered project, you can easily stitch these strips together to obtain a new wider surface. Well, I would not really puzzle with dozens of patches, my economical attituce has limits, but 2 composed pieces work really well.
Be careful if you do this with tear-away stabiliser, to cut the thread of the seam, instead of tearing apart. You could harm your project if you did not.
Look on the picture beneath, you can see the seam sewn in black thread, in the middle of the patch. I can still use it for the Medium hoop.

Another tip is to donate your rests to a friend who uses the smaller hoops 🙂
Do you have other tips to save on stabiliser for embroidery? I am curious to learn from your experience!


When I’m making multiple s I just patch the spot and do next one. For example corner monogram on napkins.I can do four in each hoop.I do cut, not tear,each design out.
Hi Dee, it’s a smart way of planning. There are several methods to save on stabilizers. Just organise well and think of placement.
Beth, another good idea, thanks for sharing your tip!
If you stitch left-over tear-away pieces together with water-soluble thread, you can spritz it with water after embroidering on the recycled tear-away stabilizer before removing tear-away. (Also works with soluble stabilizer pieces.)